DIY Fabric Gift Bags for the Holidays
Create DIY fabric gift bags this holiday season! These reusable gift bags are perfect for small gifts and make cute fabric tote bags that can be used all year long! Grab the free fabric gift bag pattern to get started!


It’s the first day of my series “12 Days of Holiday Crafts” and I am so excited to get started sharing new holiday crafts for the season! Today I’m sharing these cute DIY fabric gift bags! If you are looking for ways to make your holiday more earth-friendly and sustainable, these reusable gift bags are a great place to start.
For my gift bags, I chose to use a flannel fabric in a cute holiday print I found at Joann Fabrics. You could make these bags out of quilting cotton as well. I like flannel because of the added thickness, it helps the tote bag keep its shape more than a thin cotton would.

These fabric bags for gifts can be made with holiday fabric and used year after year, either by the recipient of the gifts or by yourself if you can take the bags back. I already save gift boxes and bows from the gifts we give to our kids and our immediate family, so I plan to start saving these as well!
If you choose to use non-holiday fabric, these bags make cute fabric tote bags that can be used all year long! They are a small-sized tote bag, so I think they are perfect for kids. Pick a fun fabric in a print they would love and the gift wrap will become a gift in itself!
Below you can see a few pictures of gifts that would fit in these gift bags. The bags measure 10.25″ wide by almost 11″ tall. The bottom expands to about 3.5″ wide. They are on the small side, perfect for card games, a piece or two of clothing, small puzzles etc.


Below is the tutorial for creating your own reusable fabric gift bag! They are fun to make and go fairly quickly – especially after you make the first one. I am sharing a free pattern in my Resource Library so you can make as many fabric gifts bag this season as you want!
DIY Fabric Gift Bags for the Holidays
Choosing Fabric
You will need two fabrics for each tote bag – fabric for the bag and fabric for the bag handles. I chose to use flannel for each. Flannel at my Joann Fabric’s store is always on sale, comes in huge selection of prints to choose from, and is a great weight for these bags. One yard of fabric will fit three tote bags using my printable pattern. A half-yard of fabric will fit handles for four bags.
If your fabric has a directional print, like my cute woodland fabric, you will need to cut the tote bag in two pieces. If you use a solid fabric or a print without a direction, you can cut the tote bag as one piece. Both versions of the pattern are included in the printable packet.
Supplies Needed
- Fabric Gift Bag Pattern – Grab the free file by filling out the purple form at the end of this post.
- Fabric for the tote bag and handles (I used Snuggle Flannel from Joann Fabrics)
- 1 yard for the body of the bag – 1 yard makes 3 tote bags
- 1/2 yard for the handles – 1/2 yard makes handles for 4 bags
- Matching thread
- Fabric turning tool
- Fabric scissors
- Ruler
- Sewing Pins
Step by Step Tutorial
Step One: Cut the fabric. After printing the pattern, cut out the pieces and tape them together. Use the pattern to cut out the tote bag fabric. For the handles, cut four pieces from your handle fabric that measure 2″ x 20″.

Step Two: Finish the top edges of the bag pieces. Start by folding the top edges of the tote bag down 1/4″ and press with an iron, then fold 1.75″ under and press again.


Stitch the folded edges down 1/8″ away from the top and bottom edges.


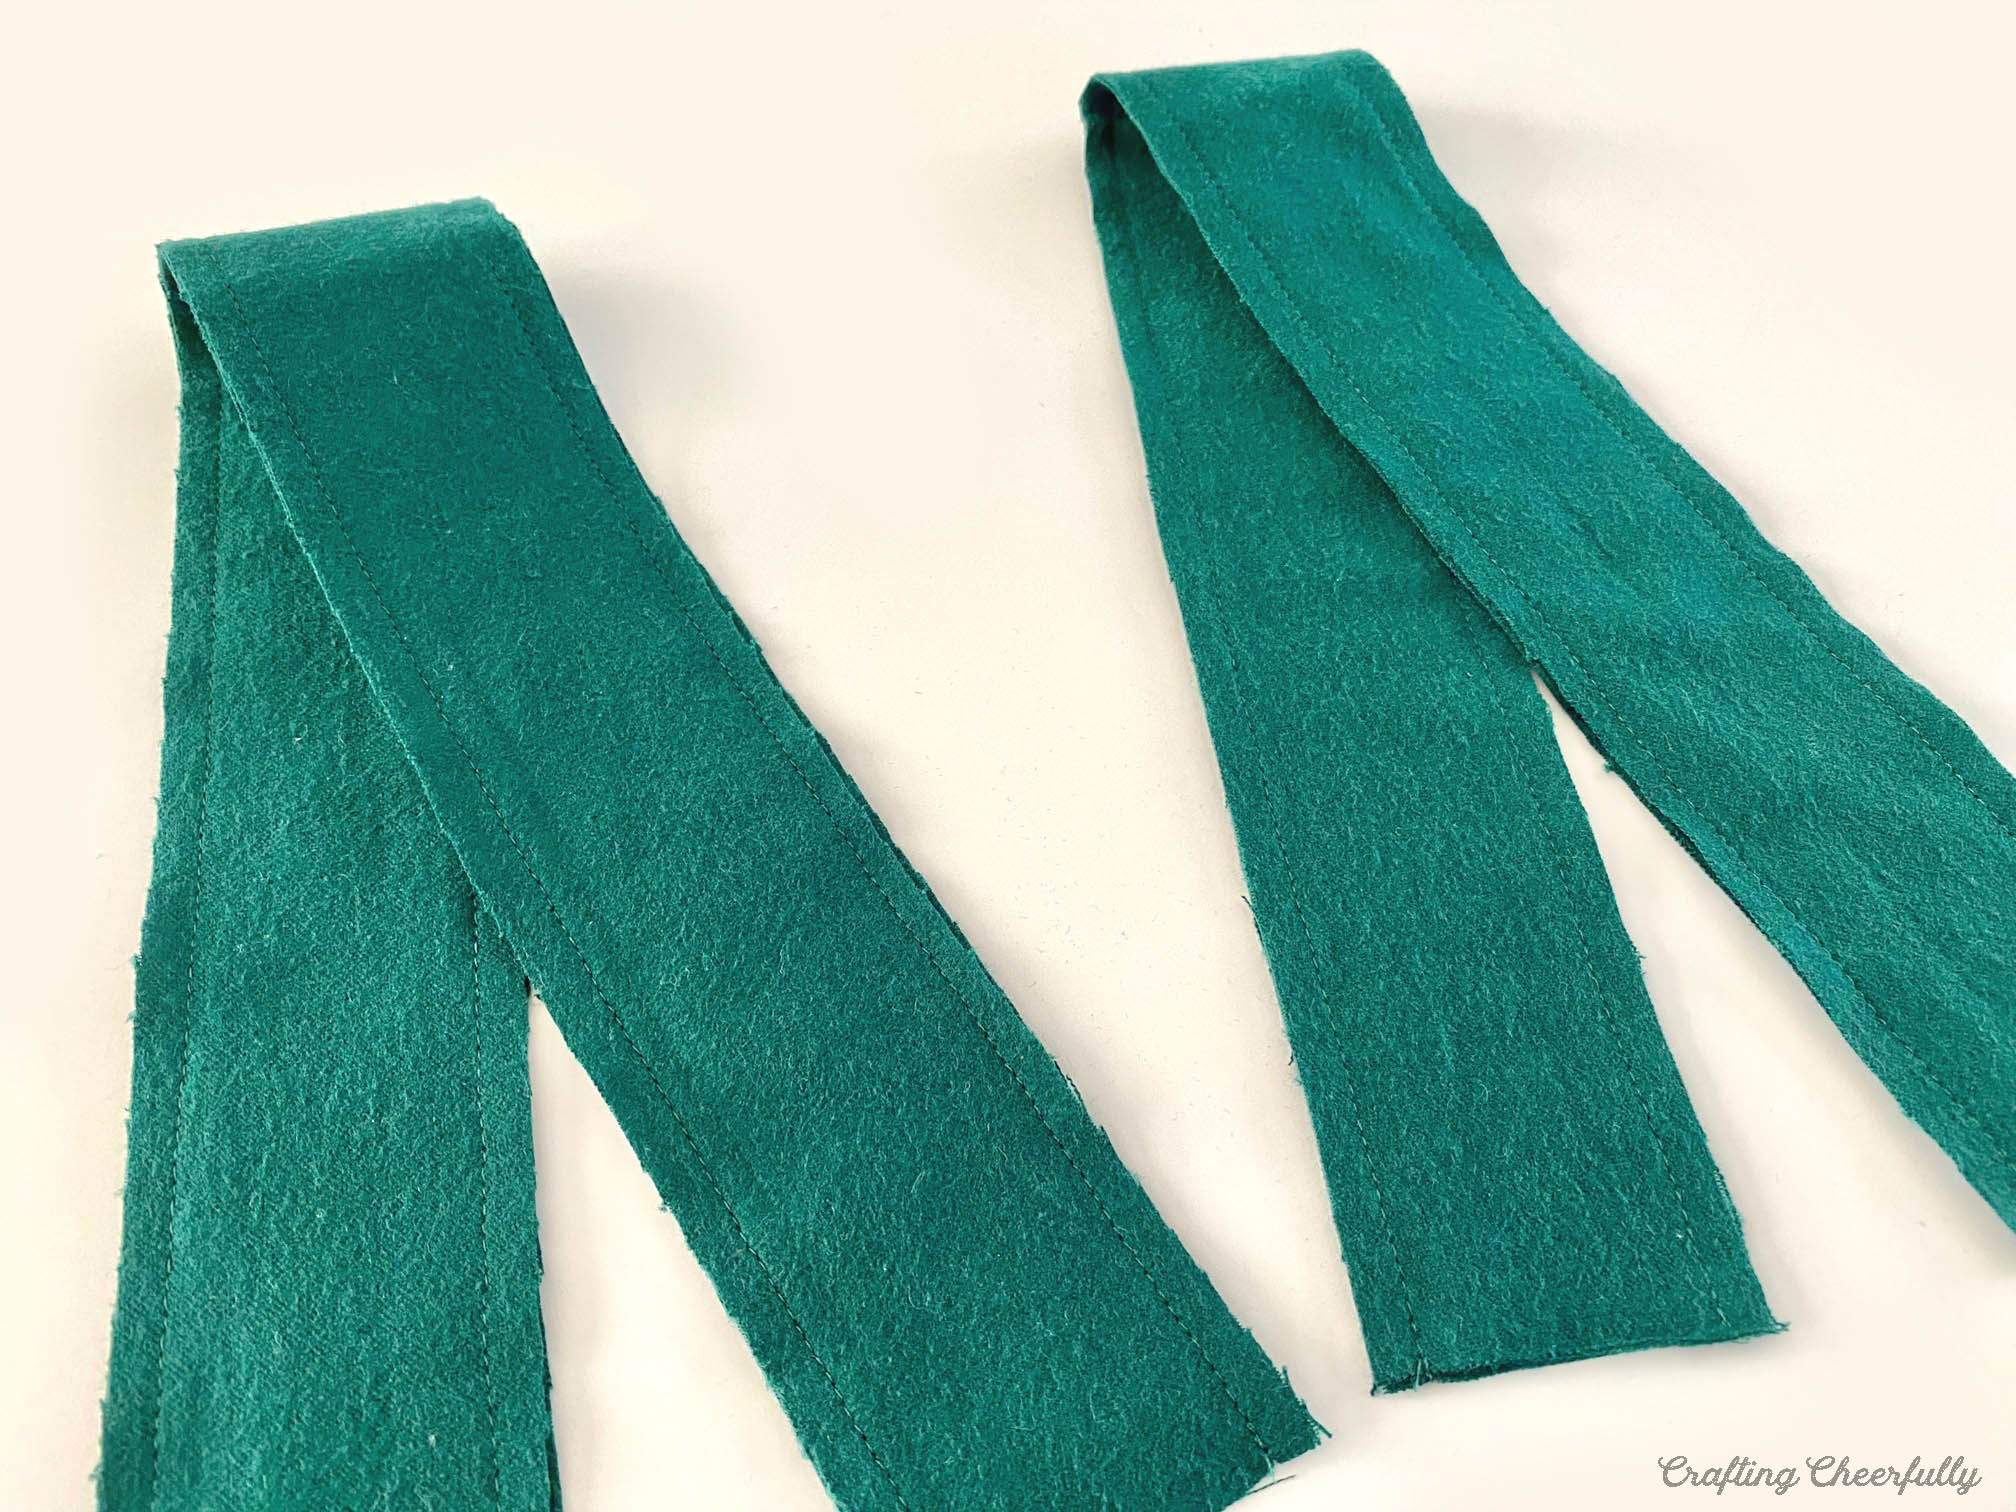
Step Three: Create the handles. There are four pieces of fabric to make the handles. Stitch two together, right sides together with a 1/4″ seam allowance, to create long tubes.

Flip the tubes right side out.

Once the tubes are turned right side out, press the tubes open. At the same time, press the ends under 1/2″. *Tip: Press the tubes along the seam line first to open the seams. Then press the tubes with the seam lines on the edges. After the handles have been pressed, top stitch along 1/8″ from the edge.


Step Four: Attach the handles to the tote bag. Place the handles so they are 2″ from the side edges of the tote. The edges of the handles should line up with the stitched lines from folding over the top of the tote bag.

Stitch the handles following the 1/8″ stitch lines. I used green thread with a white bobbin so my thread would match the handles on the inside and the tote bag on the outside.

Step Five: Stitch the bag closed. If you cut two pieces for the tote bag, stitch them together along the bottom using 1/2″ seam allowance. Press the seam open.


Next it’s time to sew the bottom of the bag closed. You are closing up the two “V” shapes. Start with one “V” and stitch both sides of the tote using a 3/8″ seam allowance.

For the second “V”, stitch again with a 3/8″ seam allowance. You won’t be able to sew all the way across like you did the first “V”. Instead, start at the previous stitch line and sew out to the edge of the fabric.

Once the bottom of the tote is closed up, sew the sides of the tote bag with 1/2″ seam allowance.

Turn the tote bag right side out and press the side seams open. Stitch the of the seam allowance down.


The bag is finished!!

These tote bags are so cute once finished! I think they are perfect for small gifts and especially great for holding gifts for kids. Cheers to a more sustainable holiday season!
Looking for more DIY holiday crafts! Check out my Christmas crafts page!

Get the Free Fabric Gift Bag Pattern!
Fill out the purple form below with your first name and email address! The free file will be sent straight to your inbox! If you have already filled out the form below, don’t worry – you won’t be added to my list twice! This freebie is for personal use only. I hope you enjoy crafting something special. Please let me know if you have any questions :)


