Handmade Bunny Dress with Simplicity Pattern 1208
Create a sweet handmade dress using the Simplicity Pattern 1208. This dress is perfect for spring time and Easter!
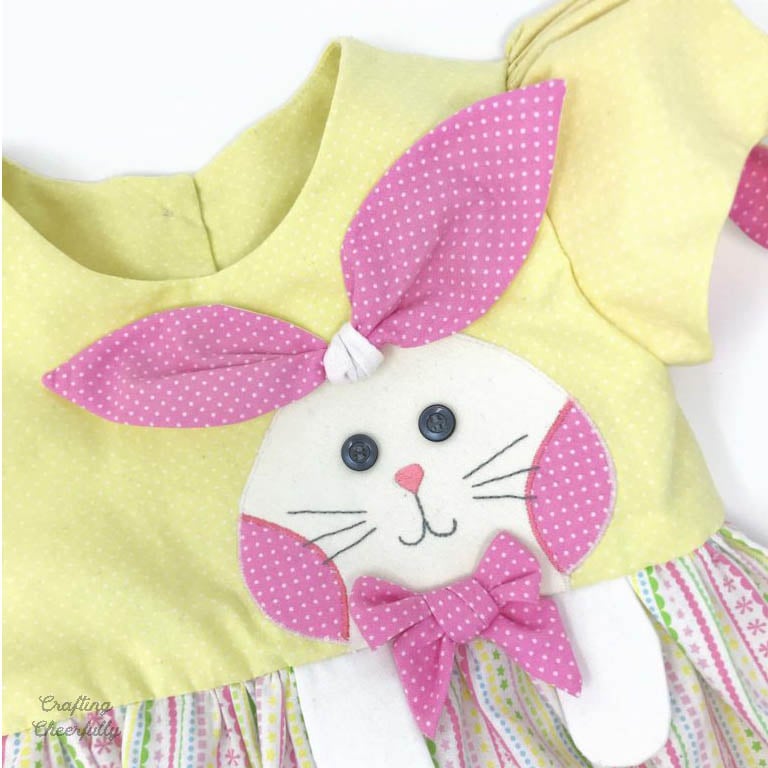
With Easter coming up soon, I thought it would be fun to make my daughter a new Easter dress. I love sewing for the holidays and creating something special. Sewing for Easter is especially fun since it’s the perfect excuse for pretty prints and pastel colors. Anything that reminds me of Spring! For this dress I used the pattern, Simplicity 1208, to make an adorable Easter bunny dress. I love how it turned out!
The pattern comes with three main designs and lots of fun design elements you can switch around. I made option C, the cute bunny dress, but added the sleeves from option A. We usually have cold weather (sometimes snow!) at Easter, so the sleeves seemed to fit our weather a bit more than the sleeveless dress.

For the dress I chose pastel fabrics. The skirt is made from a striped print from Comtempo’s “BoBo Baby” collection by Maggie and Flo. It is perfect for Spring with small flowers and sweet colors. For the top of the dress I used a yellow cotton with a faint polka-dot print and a sweet pink cotton which also had polka-dots! The pink is used for the bunny appliqué and the bows on each sleeve.
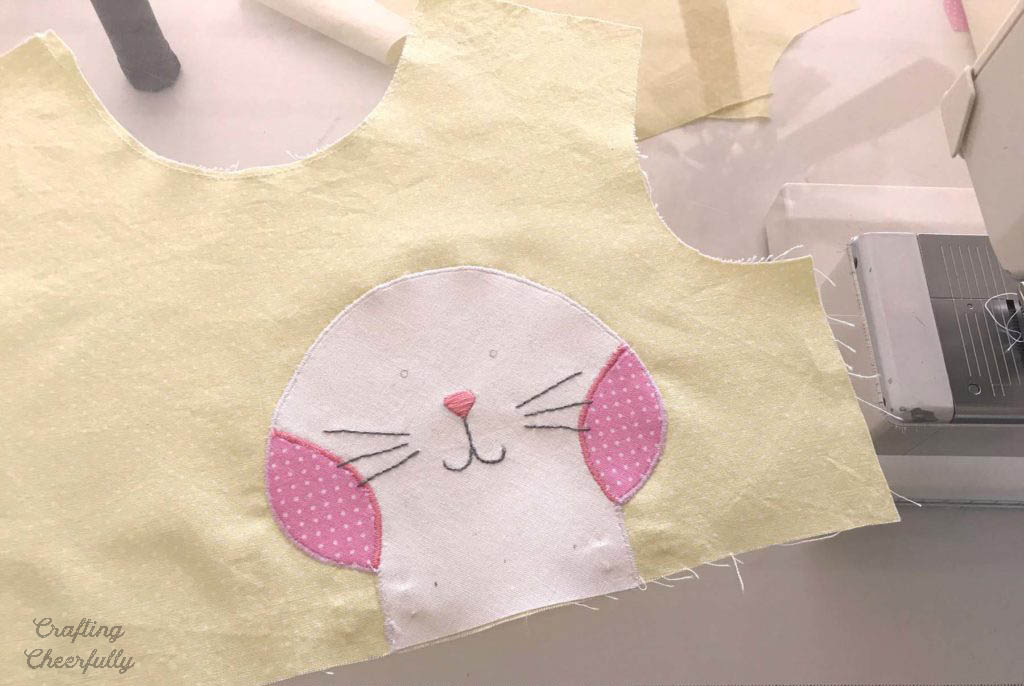
Making the bunny appliqué on the front of the dress was my favorite. The ears tied in a knot and the cute bowtie are my favorite part! Below you can see a few in-process pictures below as I worked on the appliqué..

The dress closes in the back with three tiny buttons. I used white flower buttons I found in a shoebox of buttons my grandmother gave me. It was fun searching through the buttons trying to find three that matched. These were perfect!

The only problem I ran into with the dress was the button loops. The pattern had me create three loops for the buttons made from the same fabric as the bodice. I didn’t get a picture of them, but they looked so sweet. It wasn’t until after I stitched on my three white vintage buttons that I found I couldn’t get the fabric loops to work with the buttons. The loops, made from two layers of cotton fabric, were too thick and stiff. I ended up taking them out and replacing them with small ribbon loops using 1/4″ ribbon. This worked much better and I was able to keep my vintage buttons.

This dress turned out so cute and is perfect for Easter and the entire spring season. The pattern came with another dress featuring a little kitty so I’m hoping to make that one too. It also has patterns for making a matching purse which would too cute!
Here are a few more dresses I’ve made using commercial patterns from Simplicity or McCalls!
Choo Choo Train Dress – with Free Train Applique Pattern – Simplicity 1205
Little Black Cat Dress – Simplicity 1205
Little Red Riding Hood Dress – Simplicity 1205
Woodland Part Dress – McCalls M5791
Fourth of July Nautical Baby Dress – Simplicity Sew Easy 1447
Have a wonderful week!







I would so appreciate your help on the bodice instructions. I am making Dress C, so on Bodice C. I am confused on Step 18 if you could clarify as I do think the instructions and picture are not clear. Thanks so much!
Hi! I checked the pattern and agree that Step 18 can be confusing. In Step 15 they have you stitch the bodice to the bodice facing along the center back edges stopping at the large dots. After you flip it right side out and understitch the neck and armholes they want you to finish stitching the center back edges but this time you are just stitching bodice to bodice and facing to facing. Everything above the large dot is for the button closure and meant to be open – everything below the large dot is not part of the opening and needs to be closed so you can attach the skirt. Start with the bodice (not the facing) and with right sides together finish stitching the center back seam. Then do the same to the facing back seam. So above the dot the facing and bodice are attached and below the dot they are separate! Another way to say it – above the large dot the center back is open and below it is sewn closed. I hope that helps and makes sense!! If it still doesn’t email me at craftingcheerfully@gmail.com and I can send a little doodle to help!! :) I hope you are able to finish your dress!
Hi how did you finish off the bodice as I don’t understand the pattern instructions!
Hi! I’d be happy to see if I can help! I made this a few years ago but I still have the pattern so you could let me know what number step you are stuck at.