Christmas Sweater Gift Boxes
Create festive Christmas sweater treat boxes for the holidays! These cute boxes are perfect for holding small gifts, sweat treats and more!

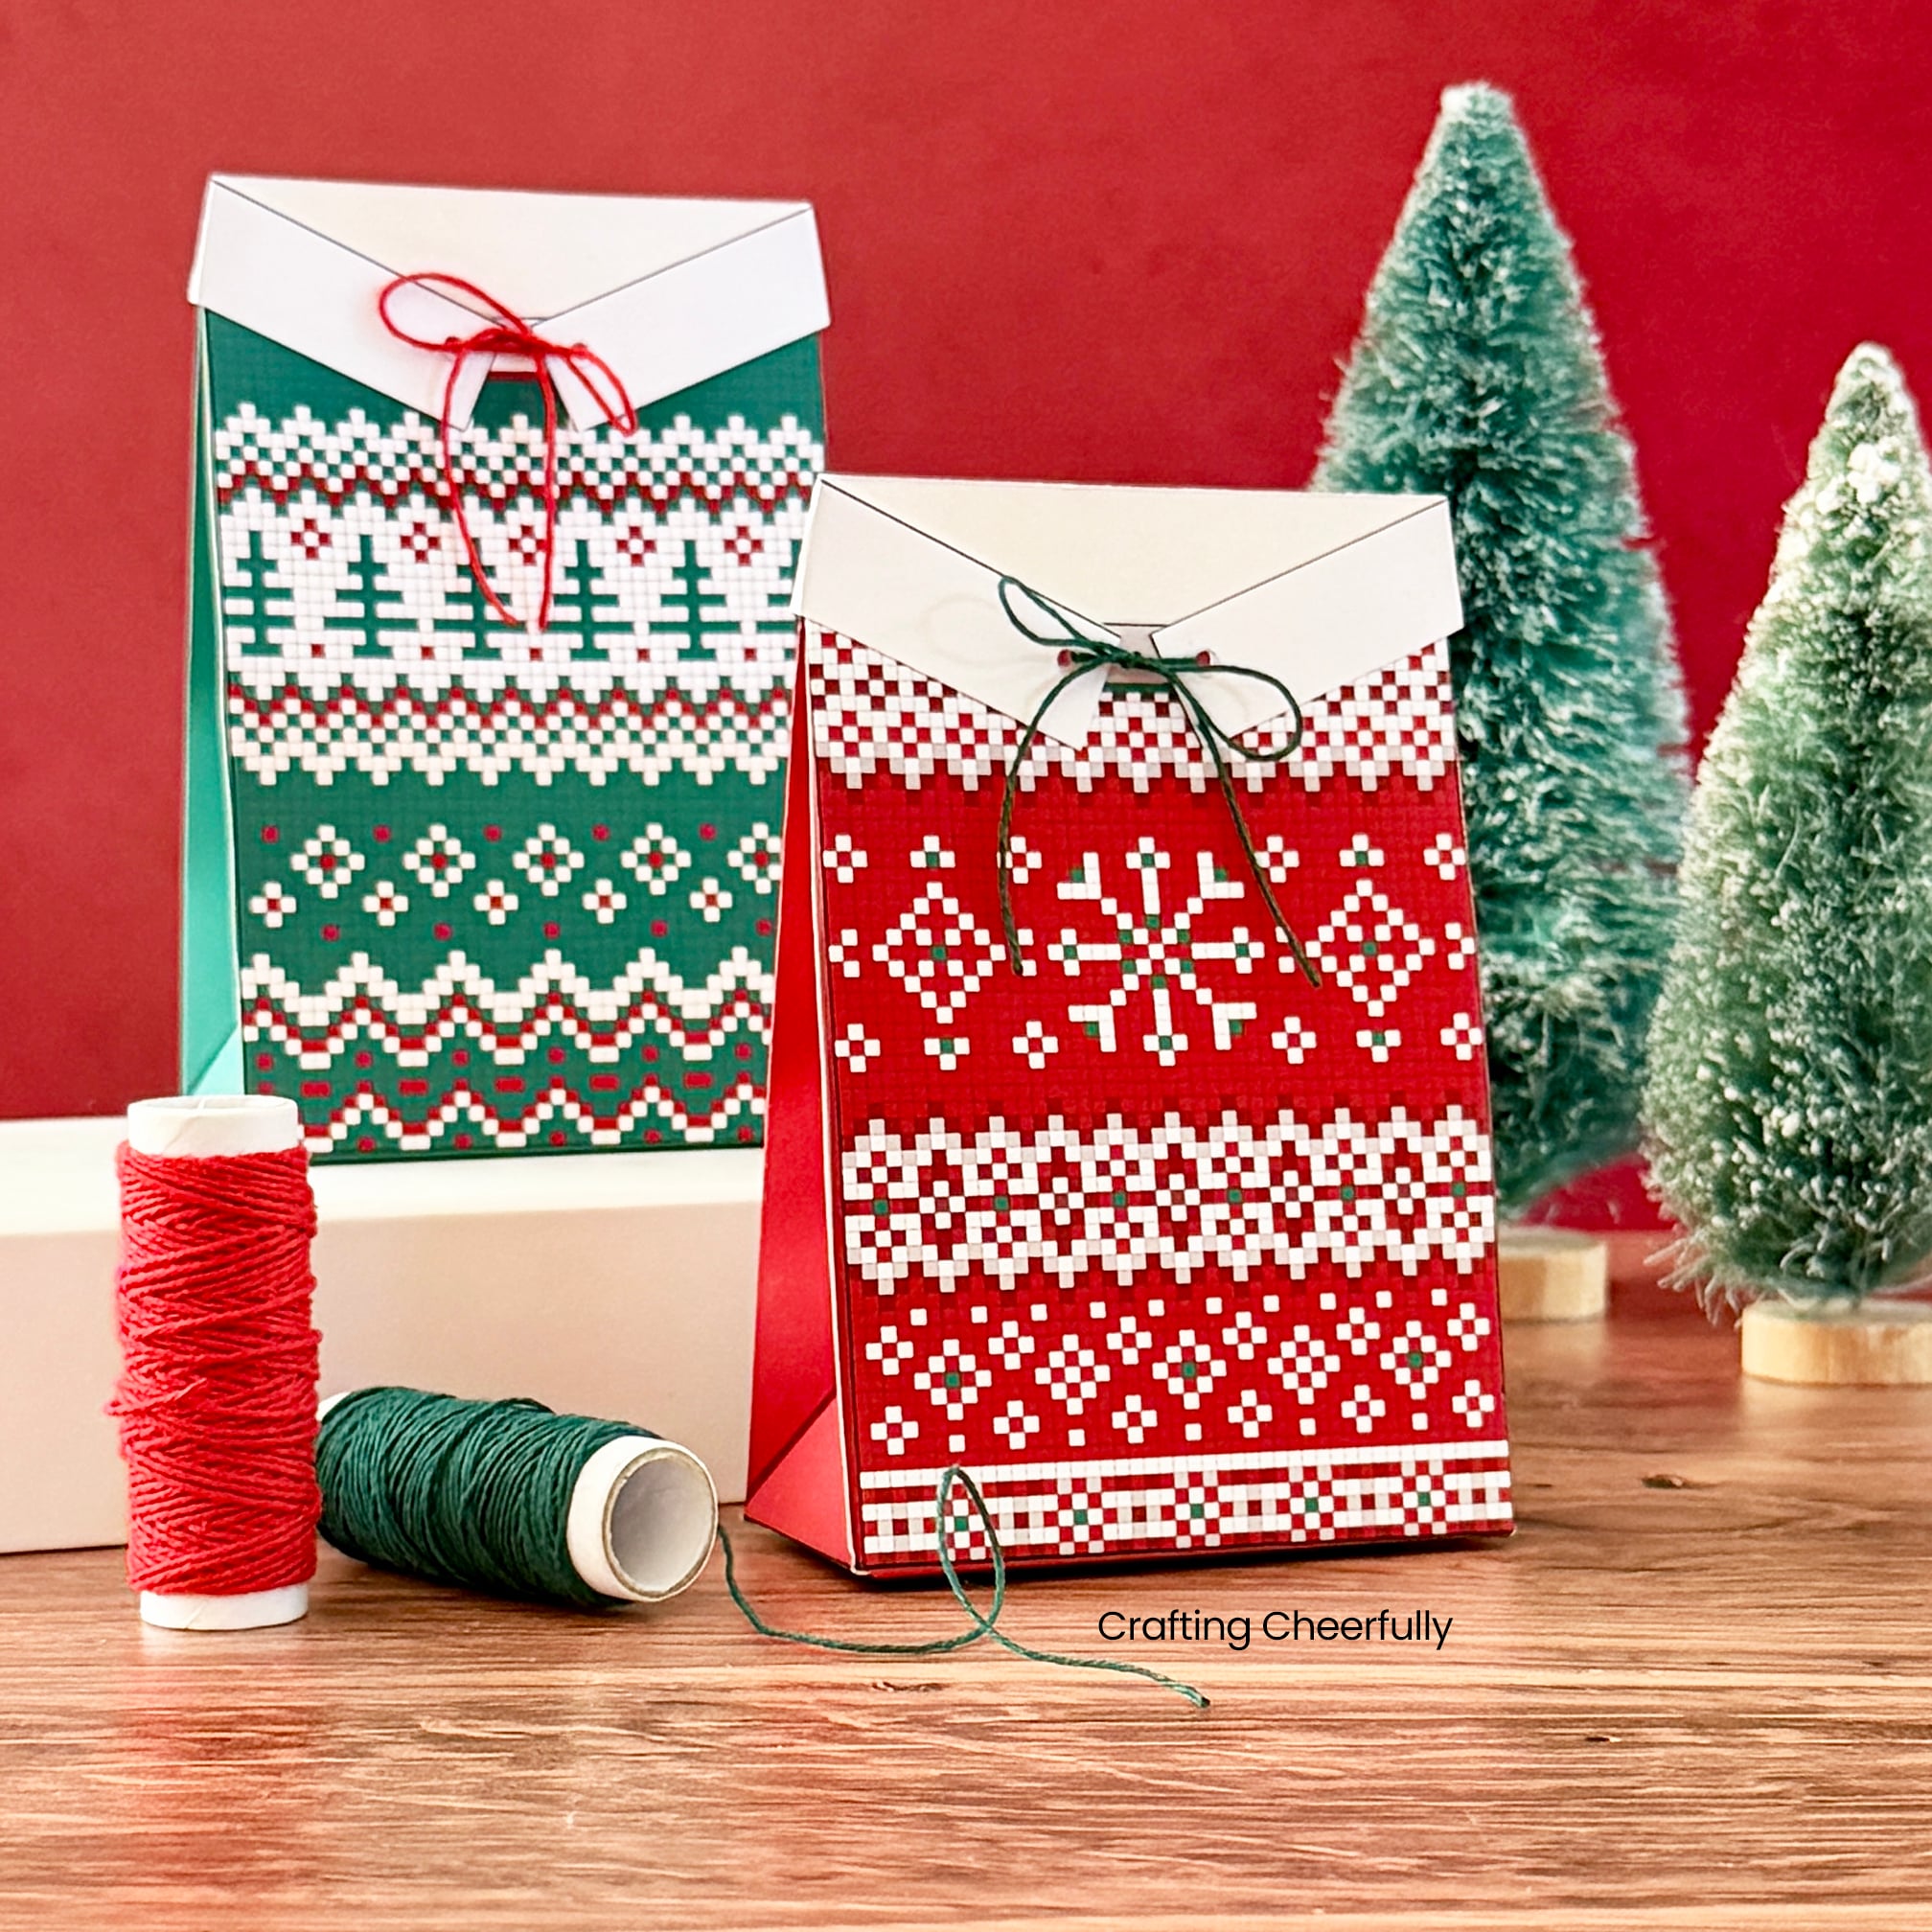
I had a lot of fun creating the designs for these holiday sweaters. I make them in Photoshop, adding color to one little grid square at a time until I like the pattern. I chose to keep these in classic red and green colors and they feature traditional holiday icons like snowflakes and trees.
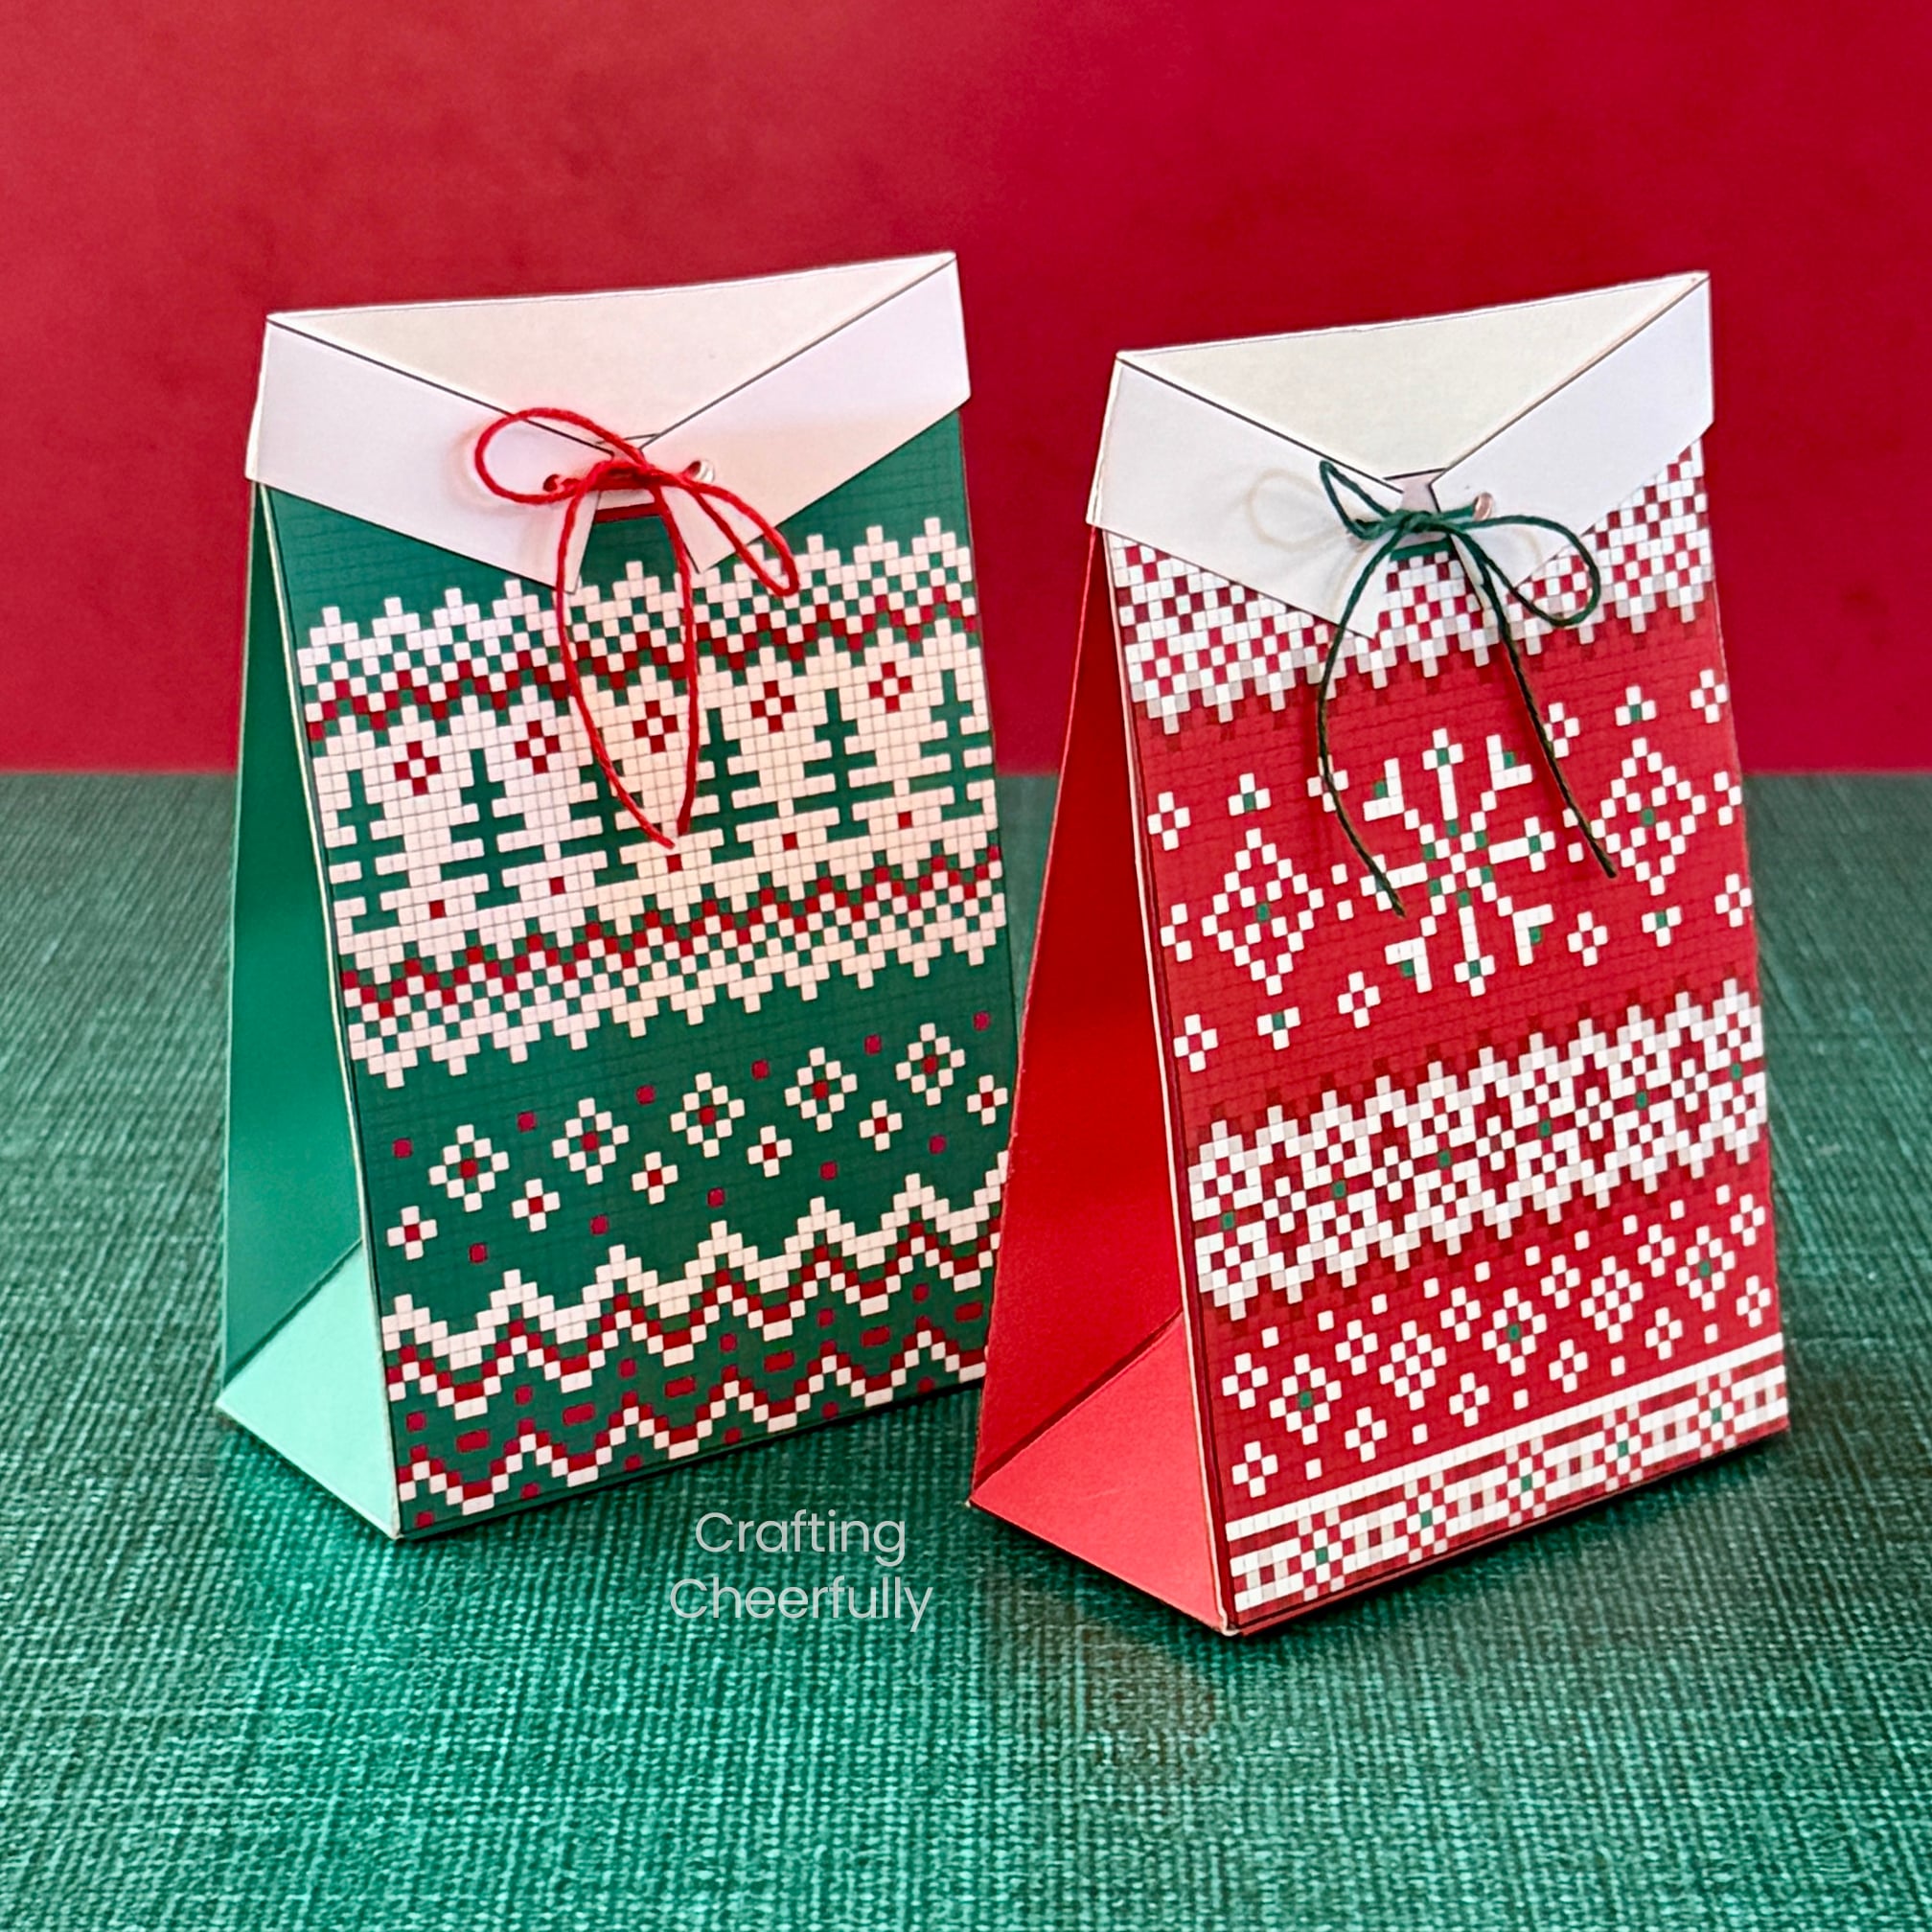
Each box prints on one sheet of paper keeping it nice and simple! I’ve recently switched to printing on Matte Photo Paper and I love how crisp and vibrant my printables are coming out. The paper is just a bit more expensive than the Astrobrite I was using, but wow what a difference! It even cuts better with my paper trimmer. I’m hooked and have been buying up extra reams whenever I see them on sale!
Below is the tutorial for making these sweet boxes! The sweater printables are a FLASH FREEBIE now through the end of the week. After November 6th, that they will make their way to my Etsy shop where you can purchase the files.
Also in my Etsy Shop, you’ll find my Autumn Sweater Boxes (perfect for Thanksgiving) and my Halloween Sweater Boxes.
DIY Christmas Sweater Gift Boxes
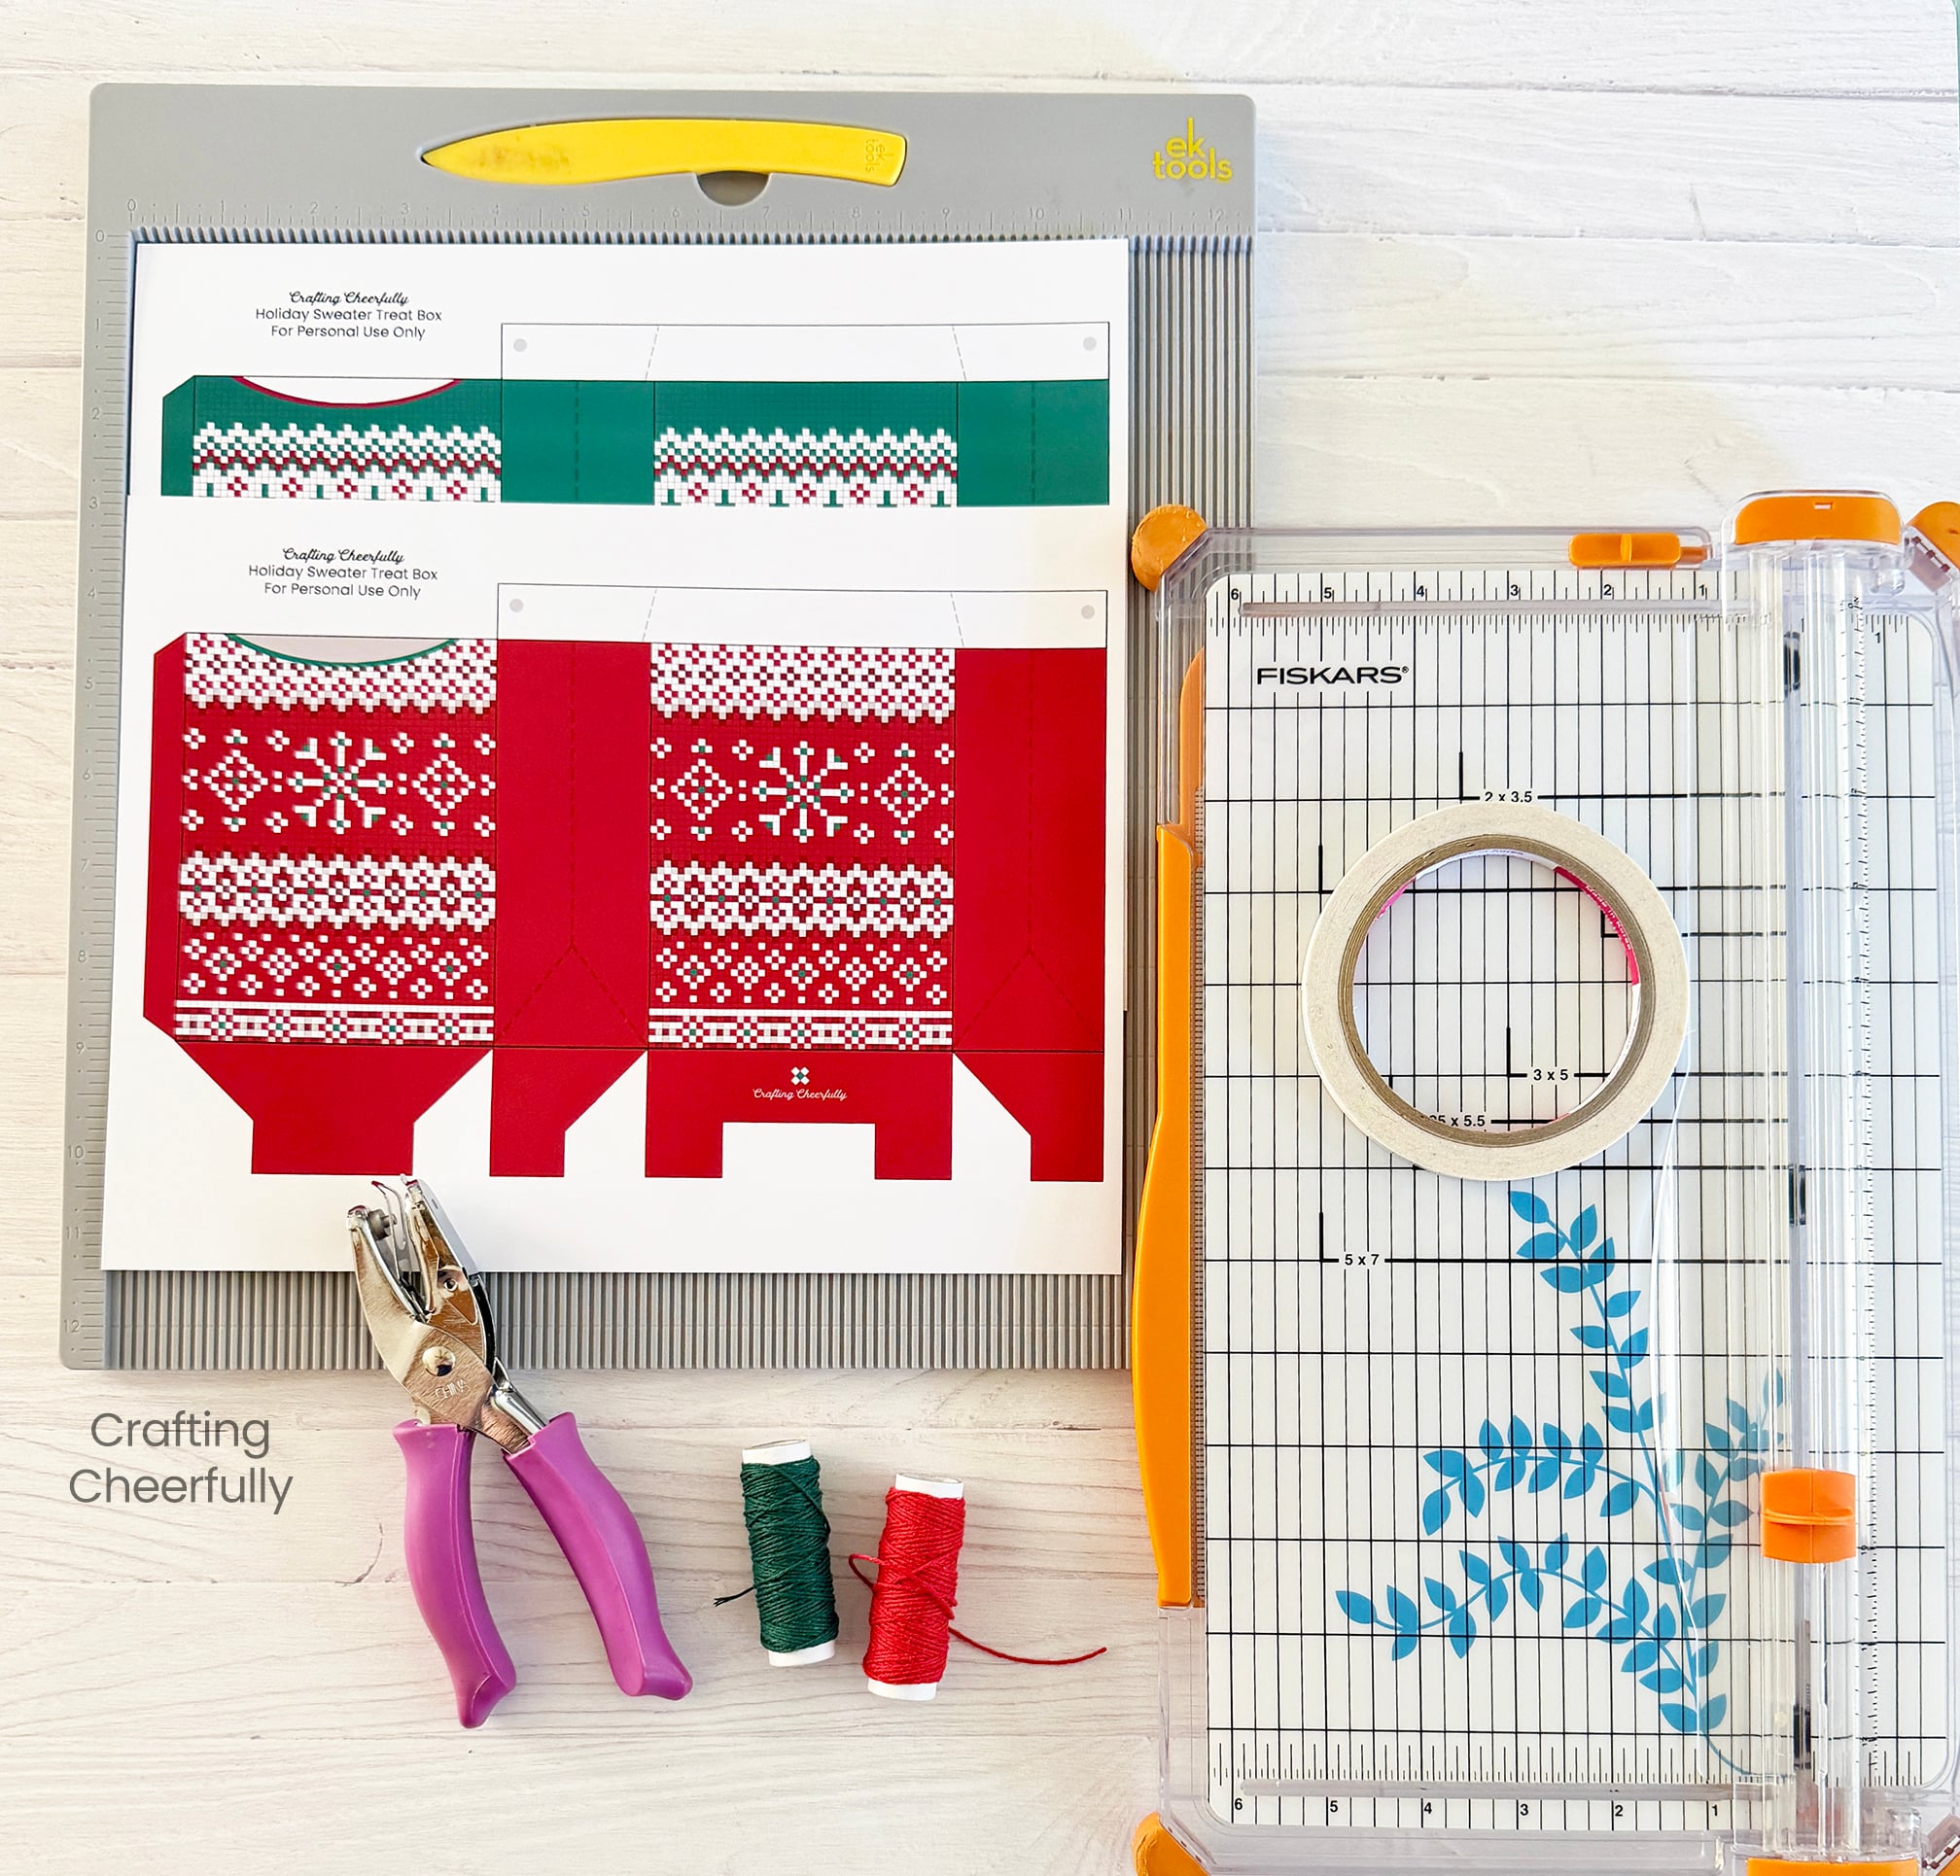
Supplies Needed
-
- Printable boxes – Flash Freebie through November 6th. Fill out the purple form at the bottom of this blog post.
- White cardstock – I used Canon Matte Photo Paper
- Paper trimmer and scissors
- Scoring board
- 1/4″ Score Tape
- 1/8″ Hole Punch
- Baker’s Twine
- Printer – I have the Epson EcoTank 5880 Printer (I’ve linked to it on Amazon but I purchased mine on sale from Costco!)
Cutting Out the Treat Boxes
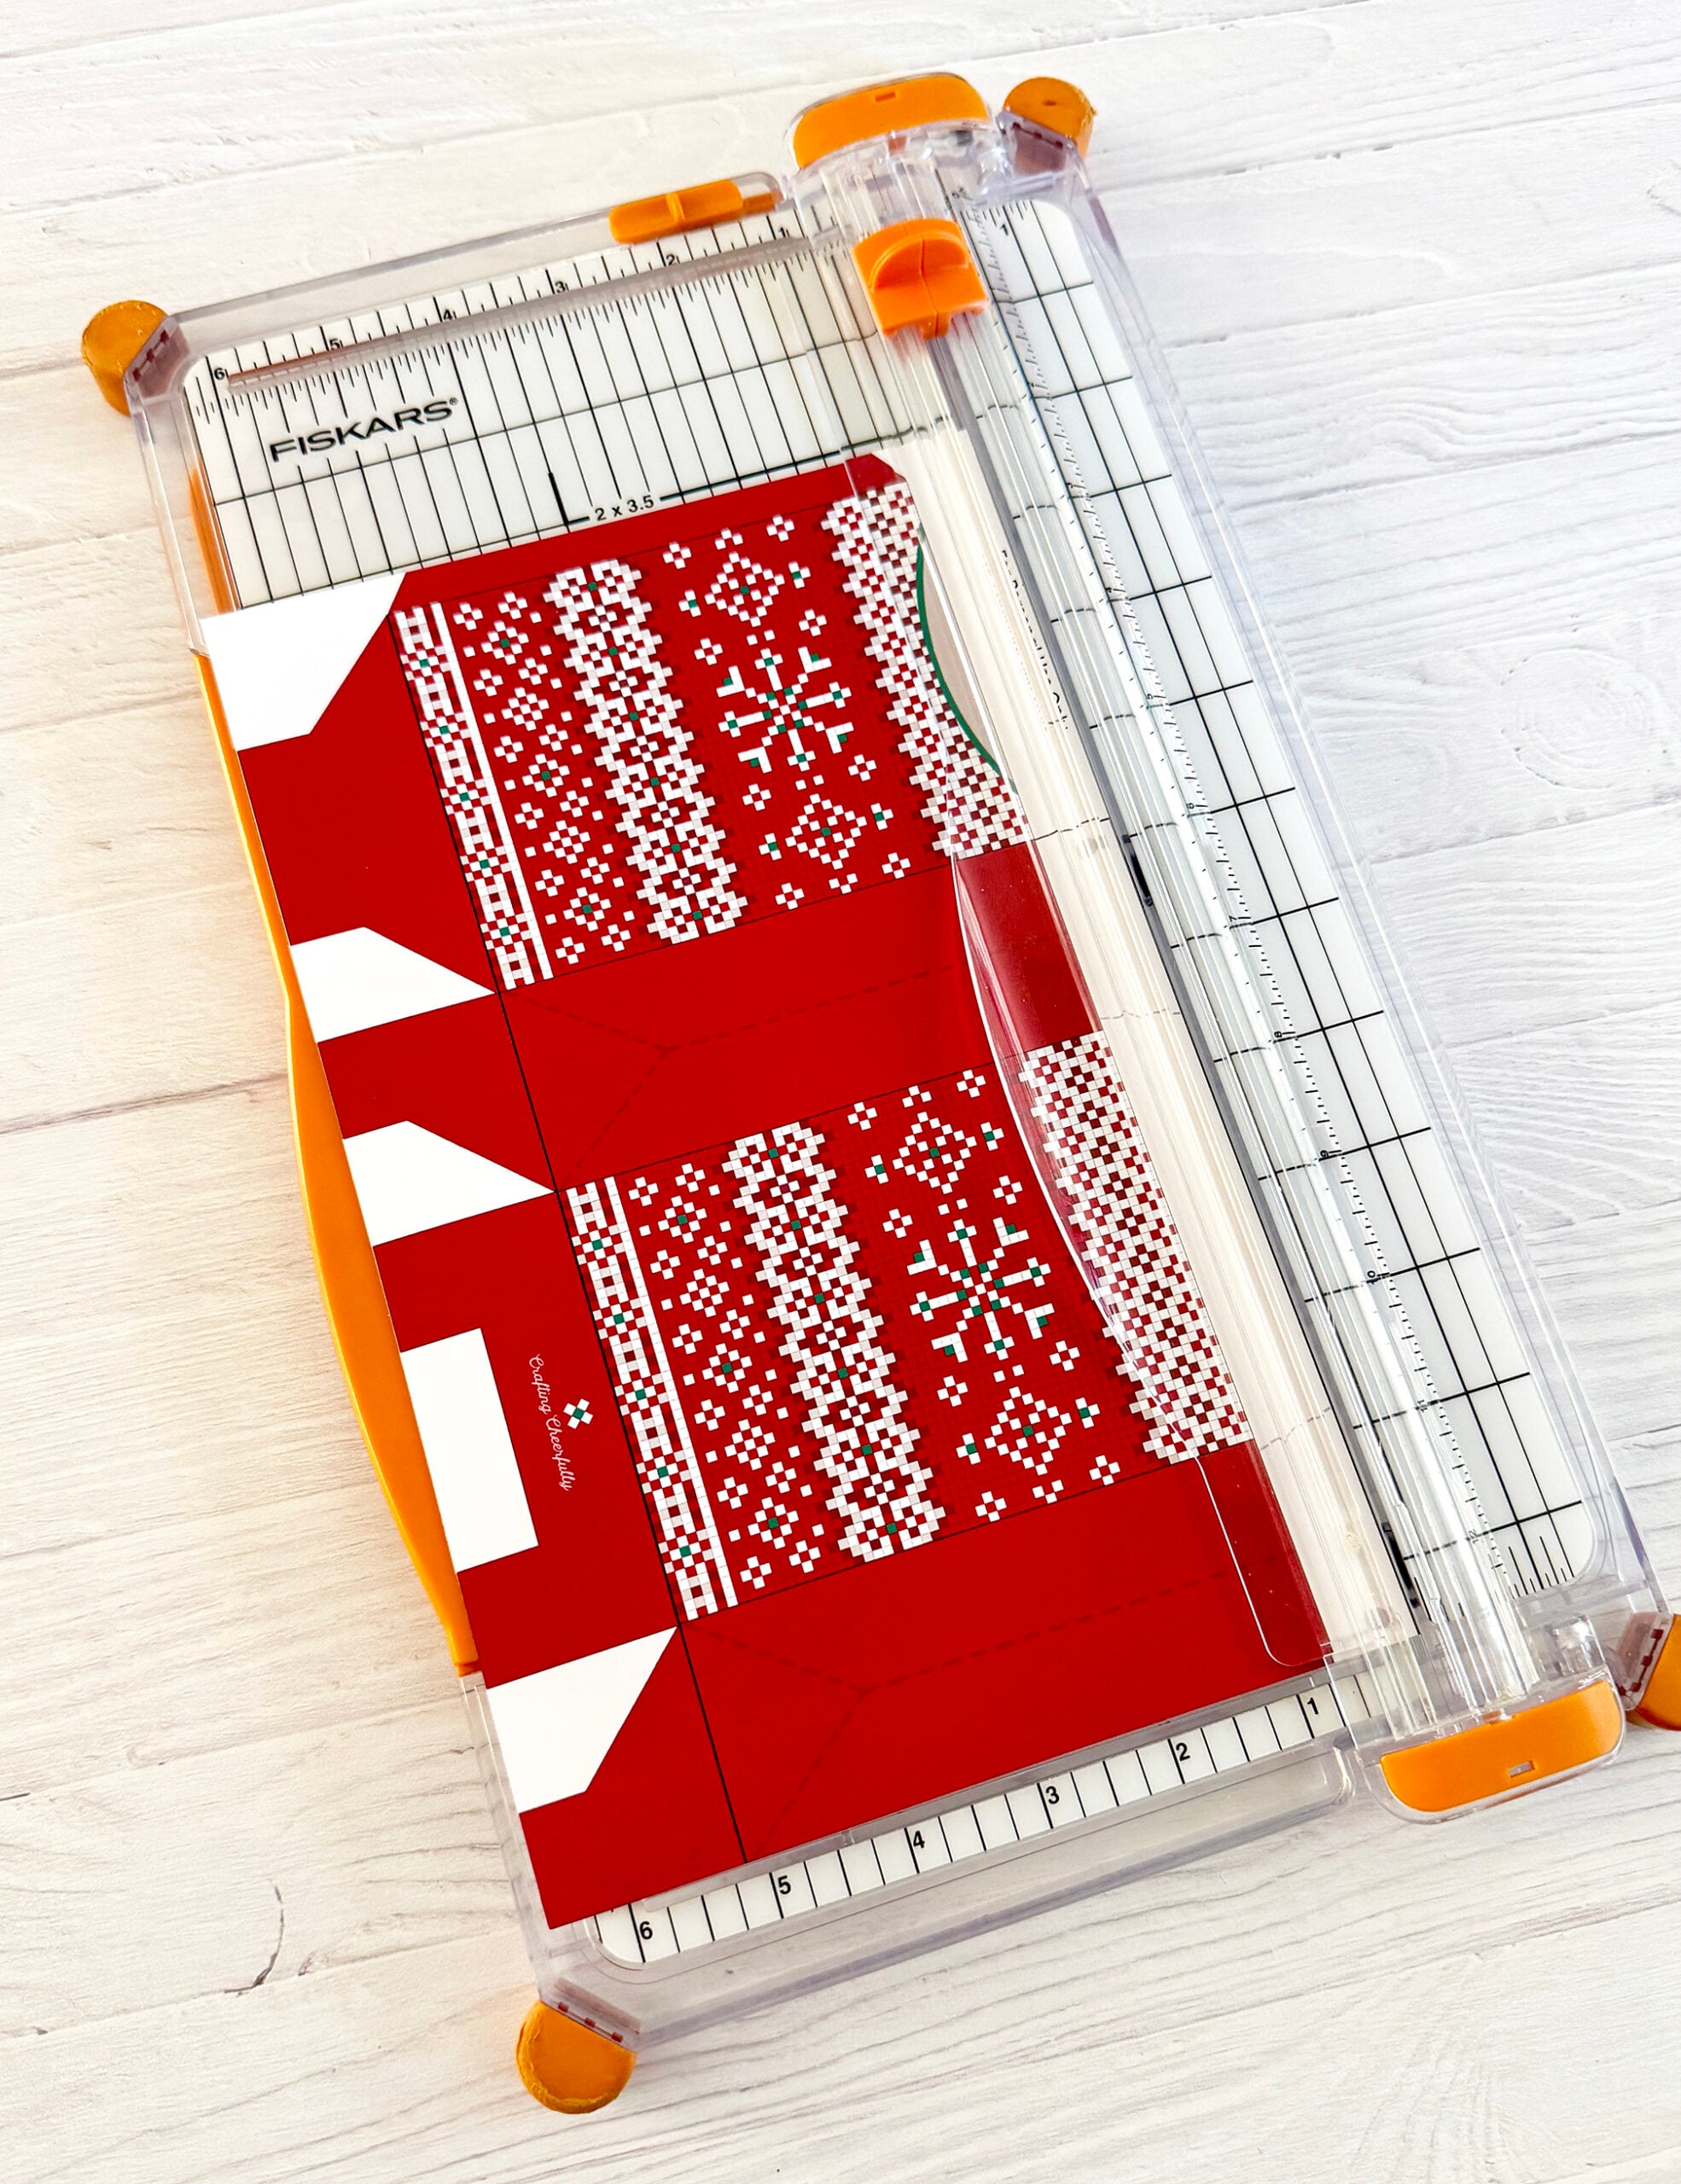
Step One: Download, print and cut out each sweater box. I like to use a paper trimmer to cut along the large straight edges and my precision scissors to cut around the tabs of the treat box.
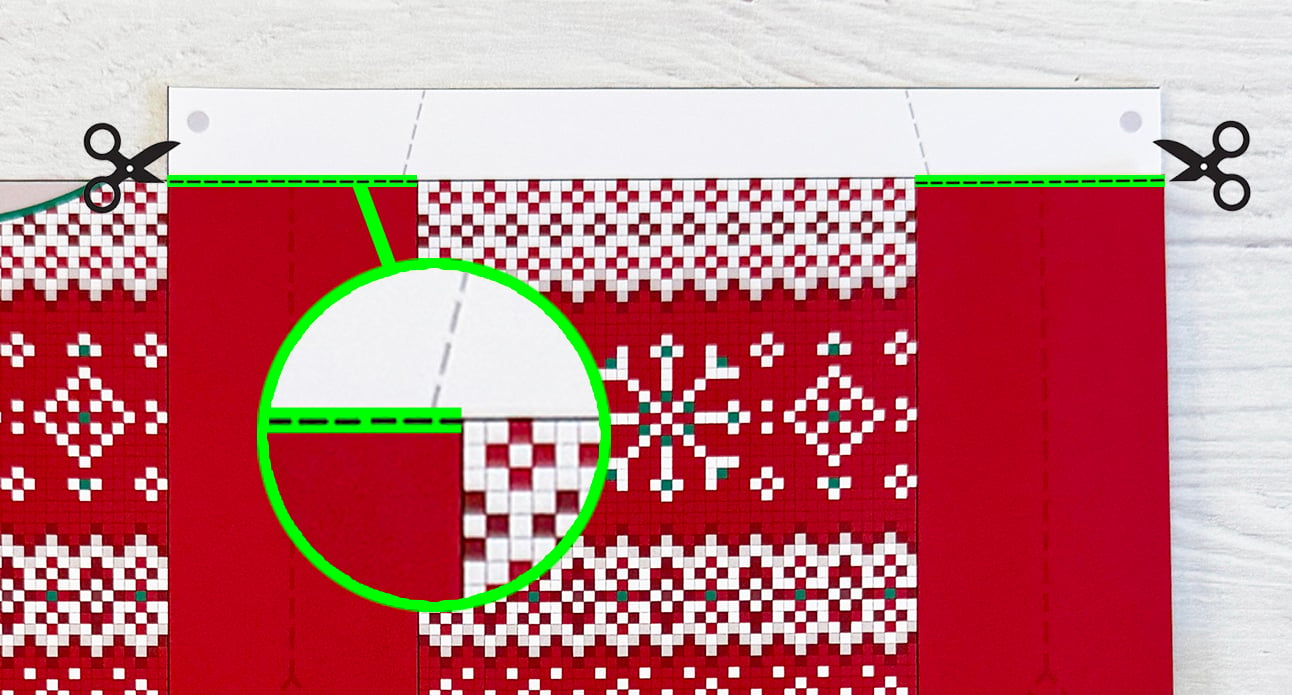
There are two cuts you will need to make under the collar. The picture below shows where to cut. You will cut along the black dotted line going past the light gray fold lines marked on the collar but stopping before you get to the sweater design. This makes it so the back of the collar extends slightly past the back of the sweater.
SCORING THE SWEATER BOXES
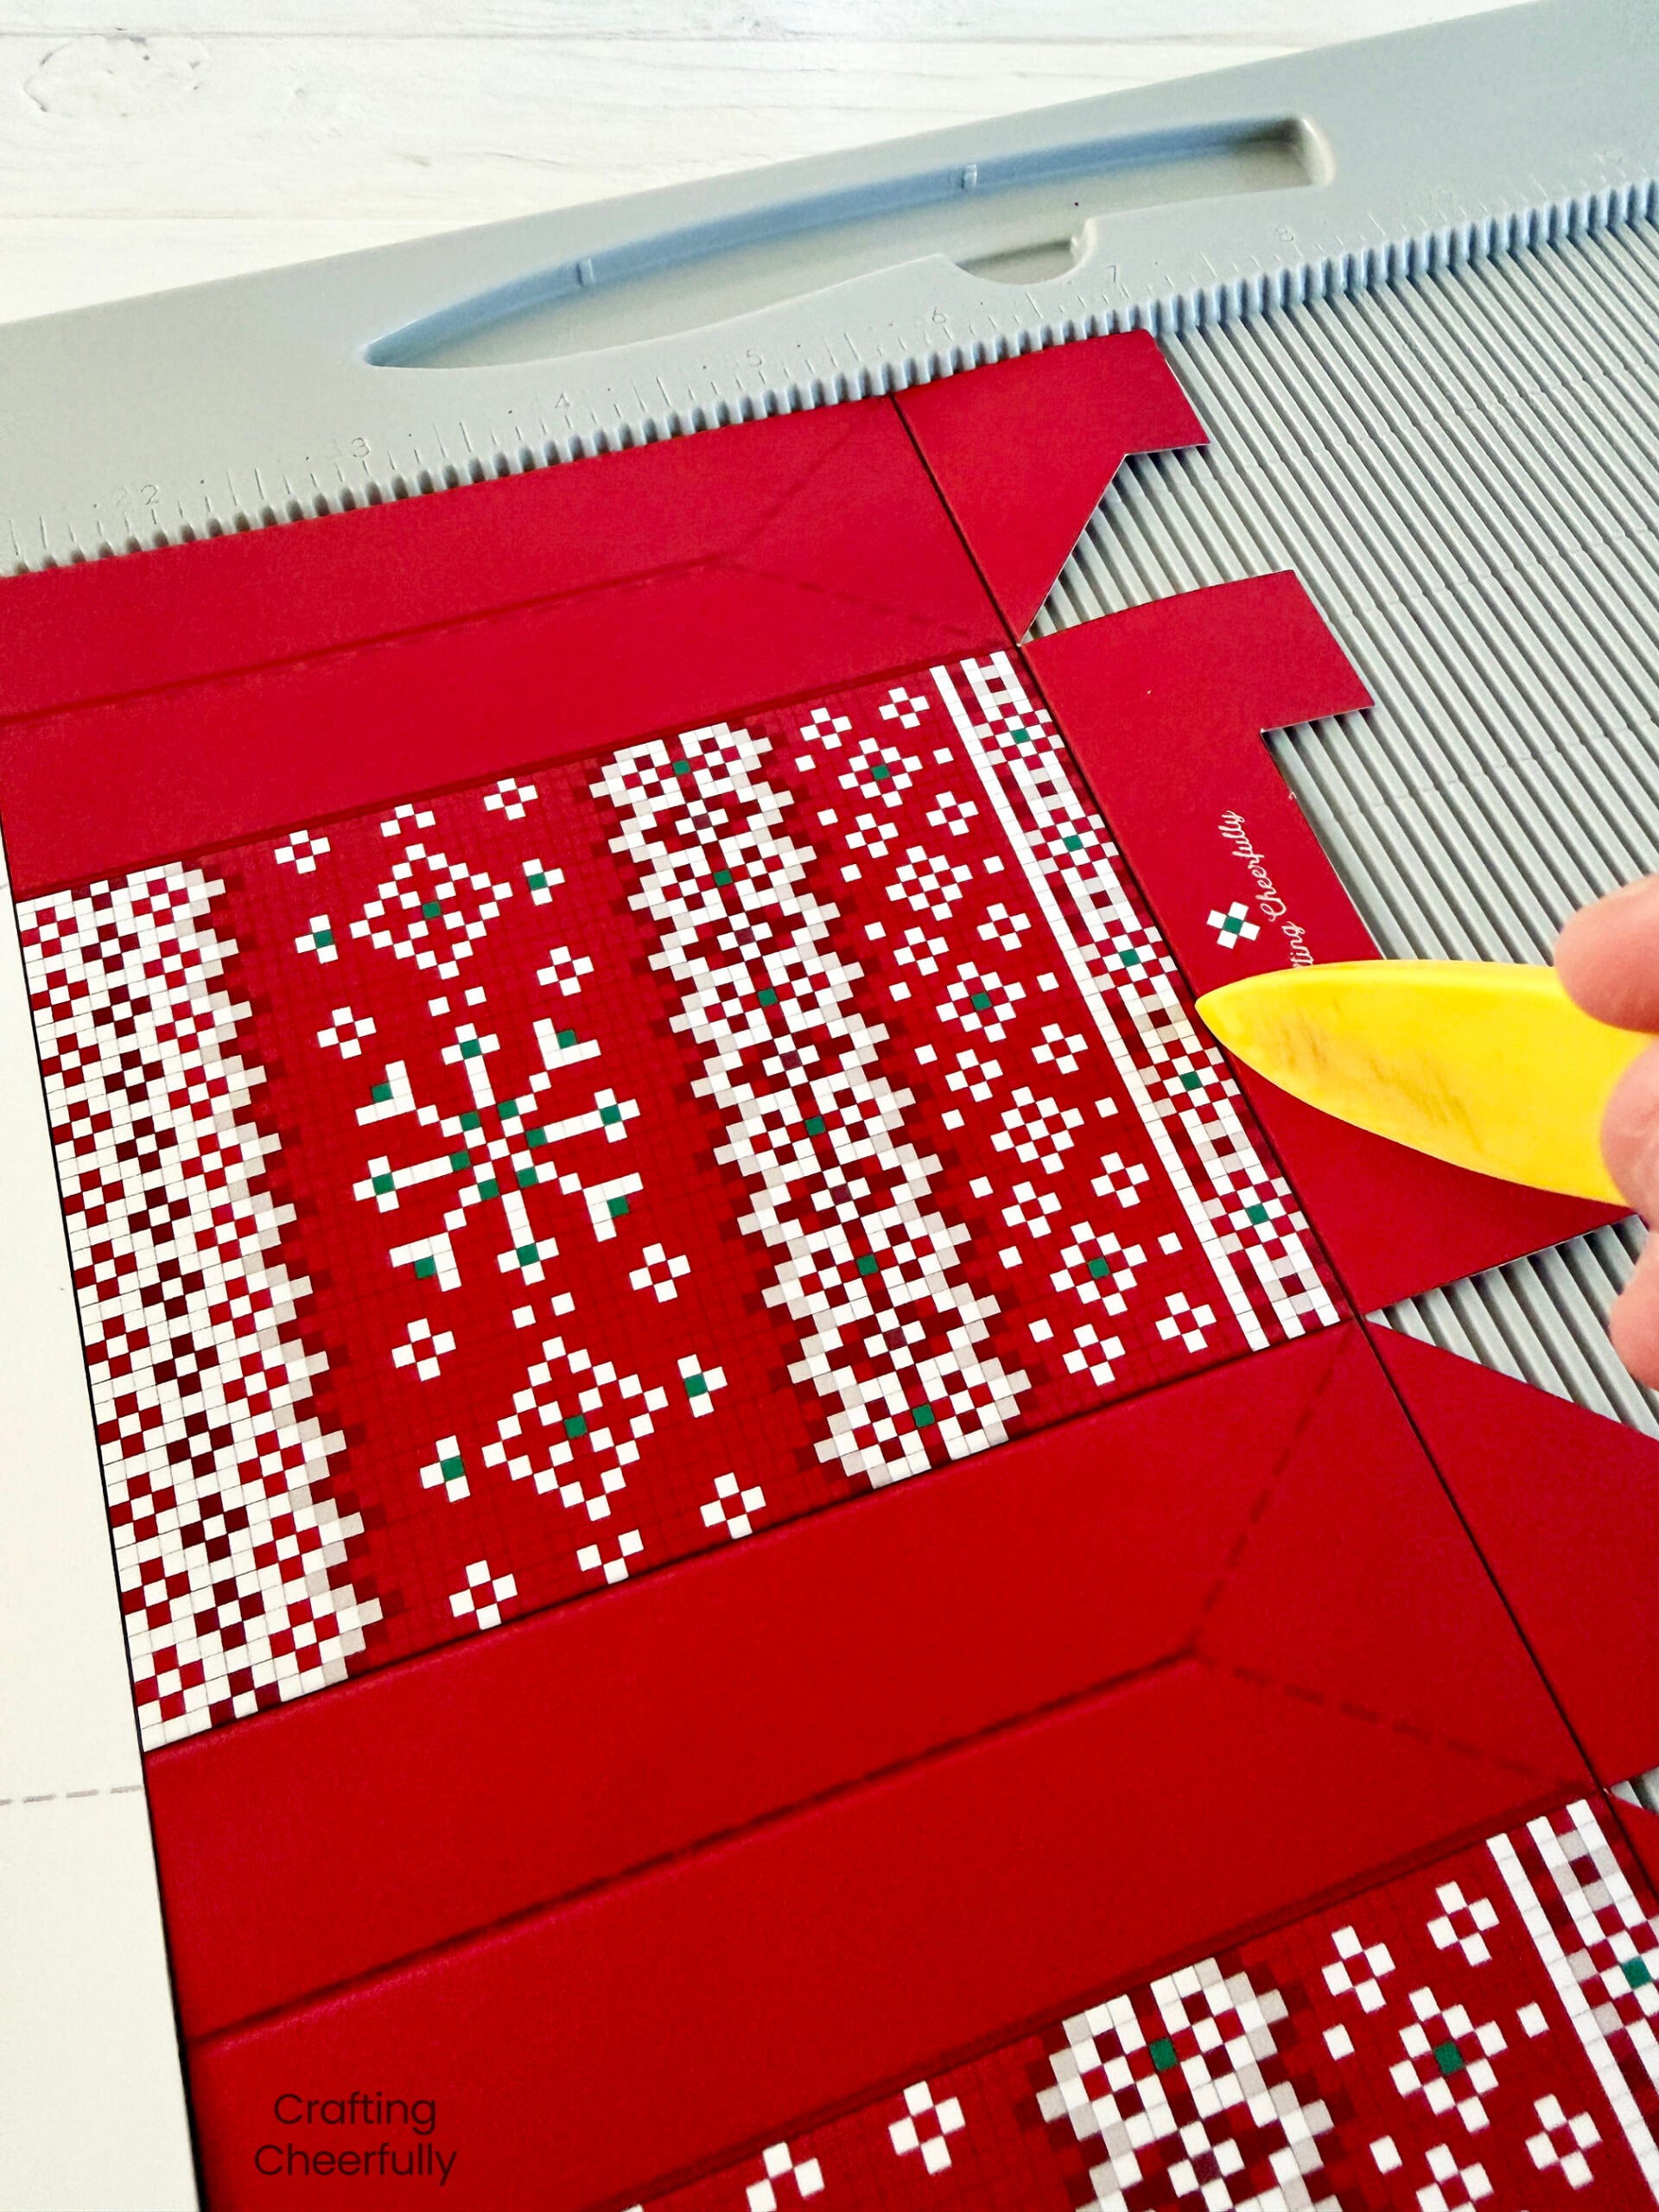
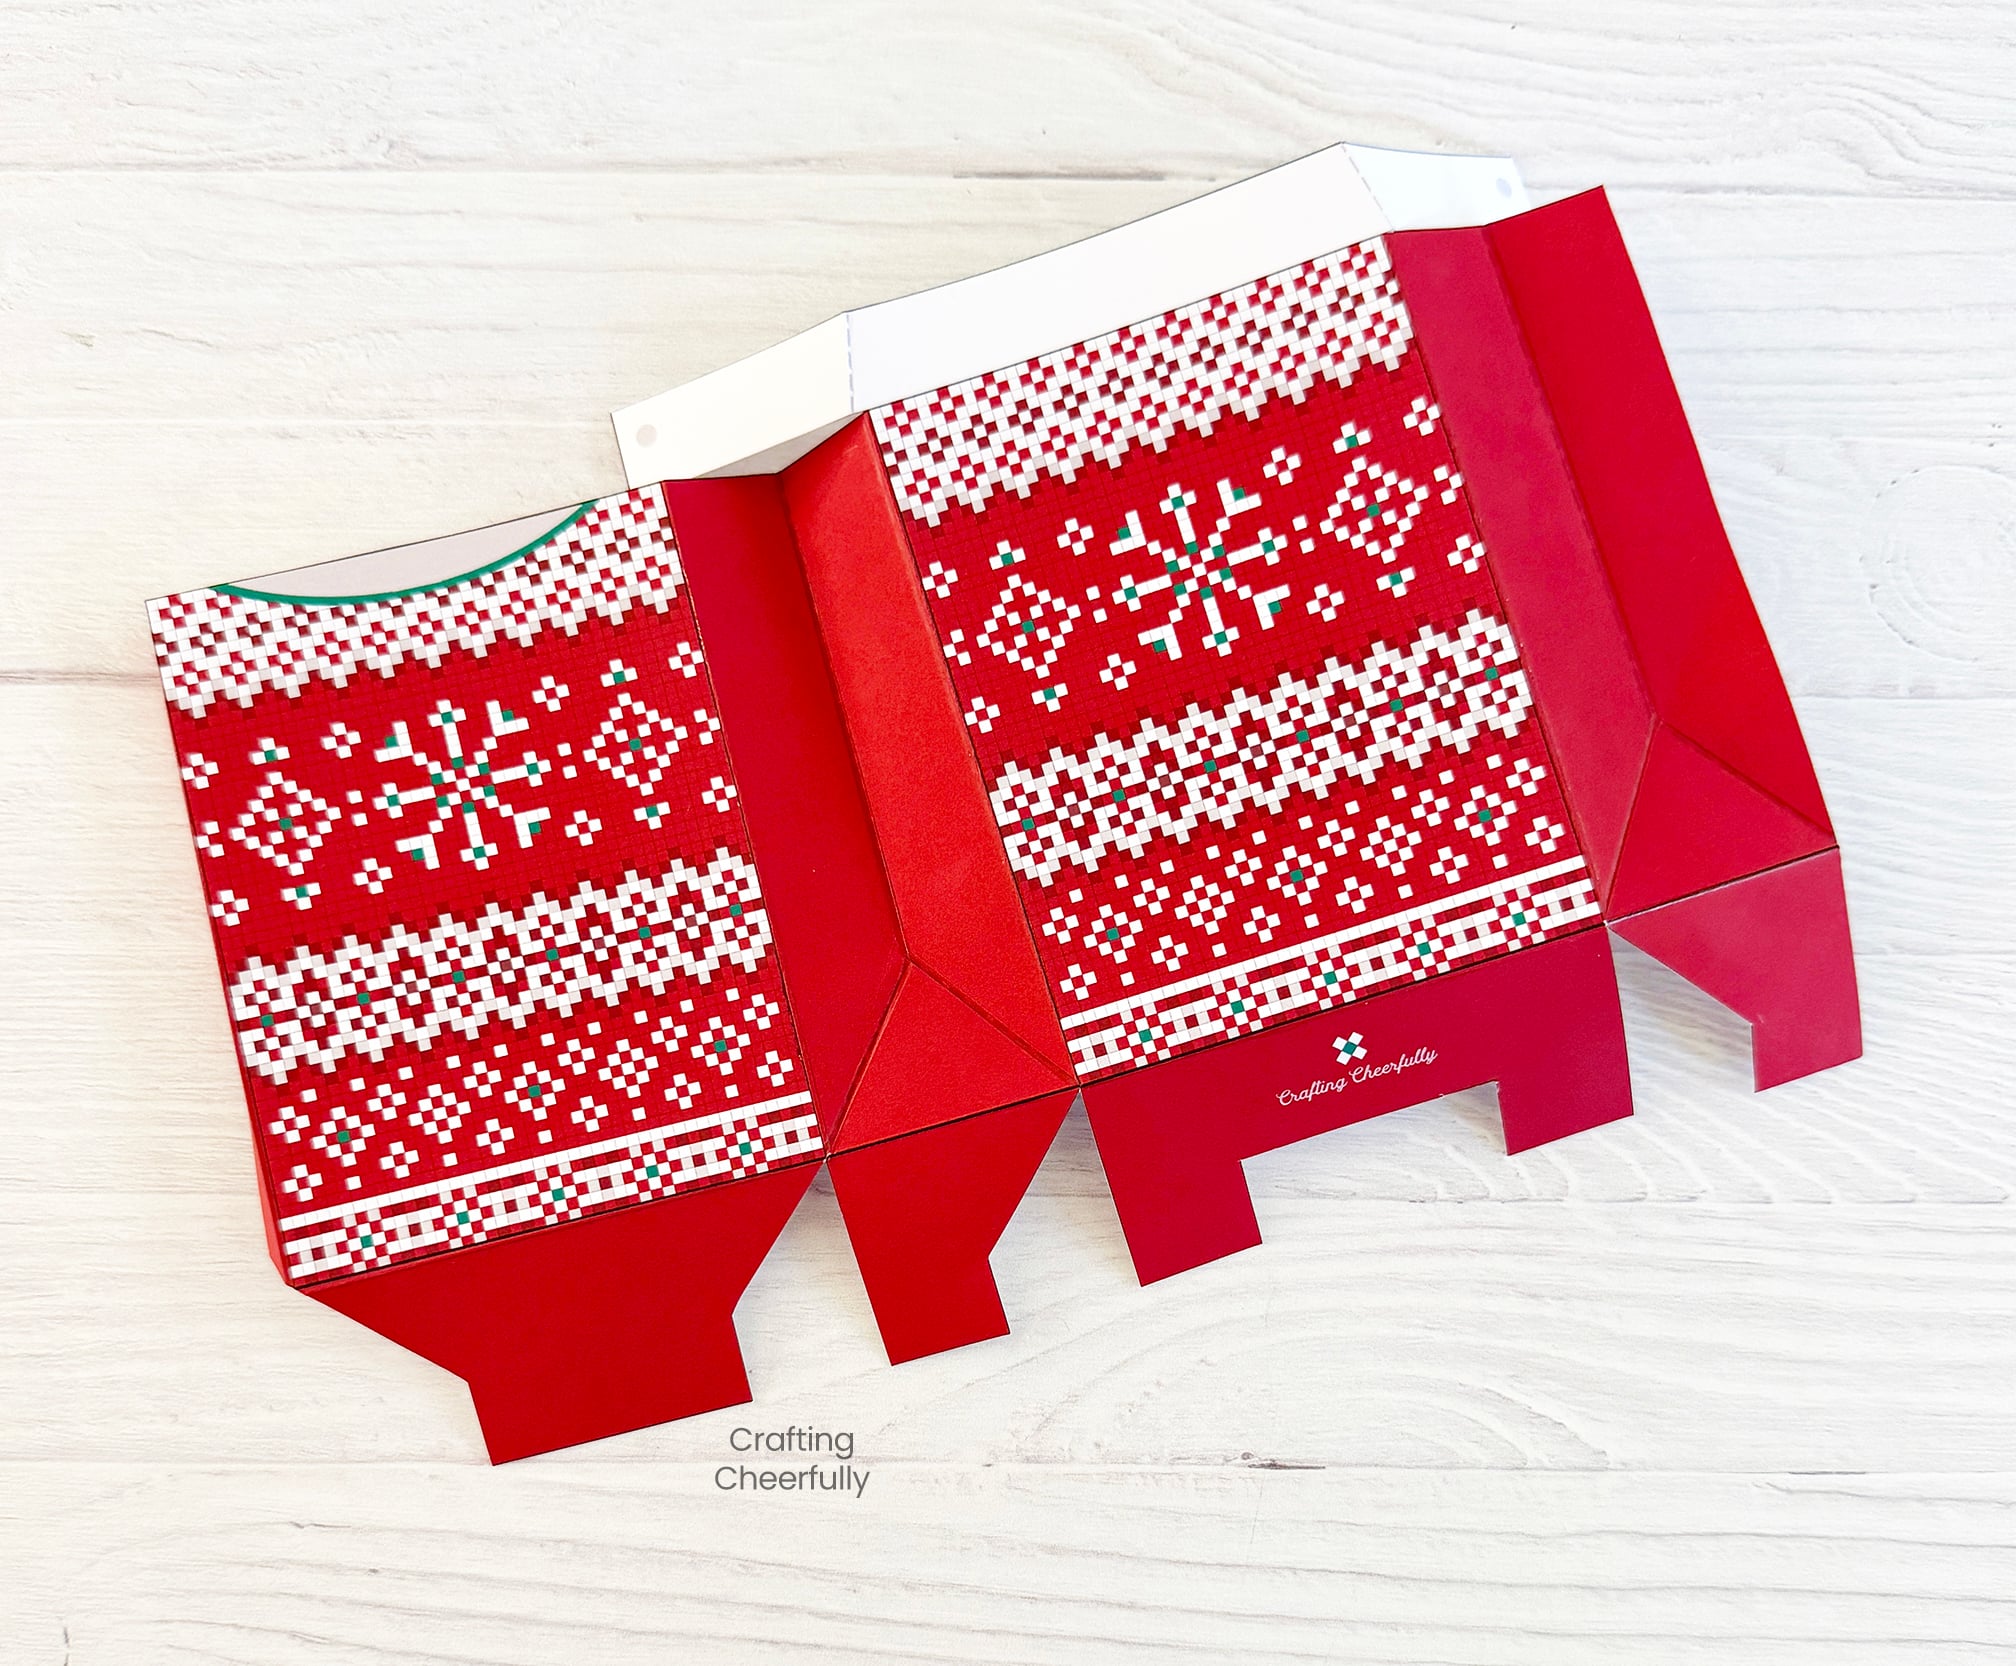
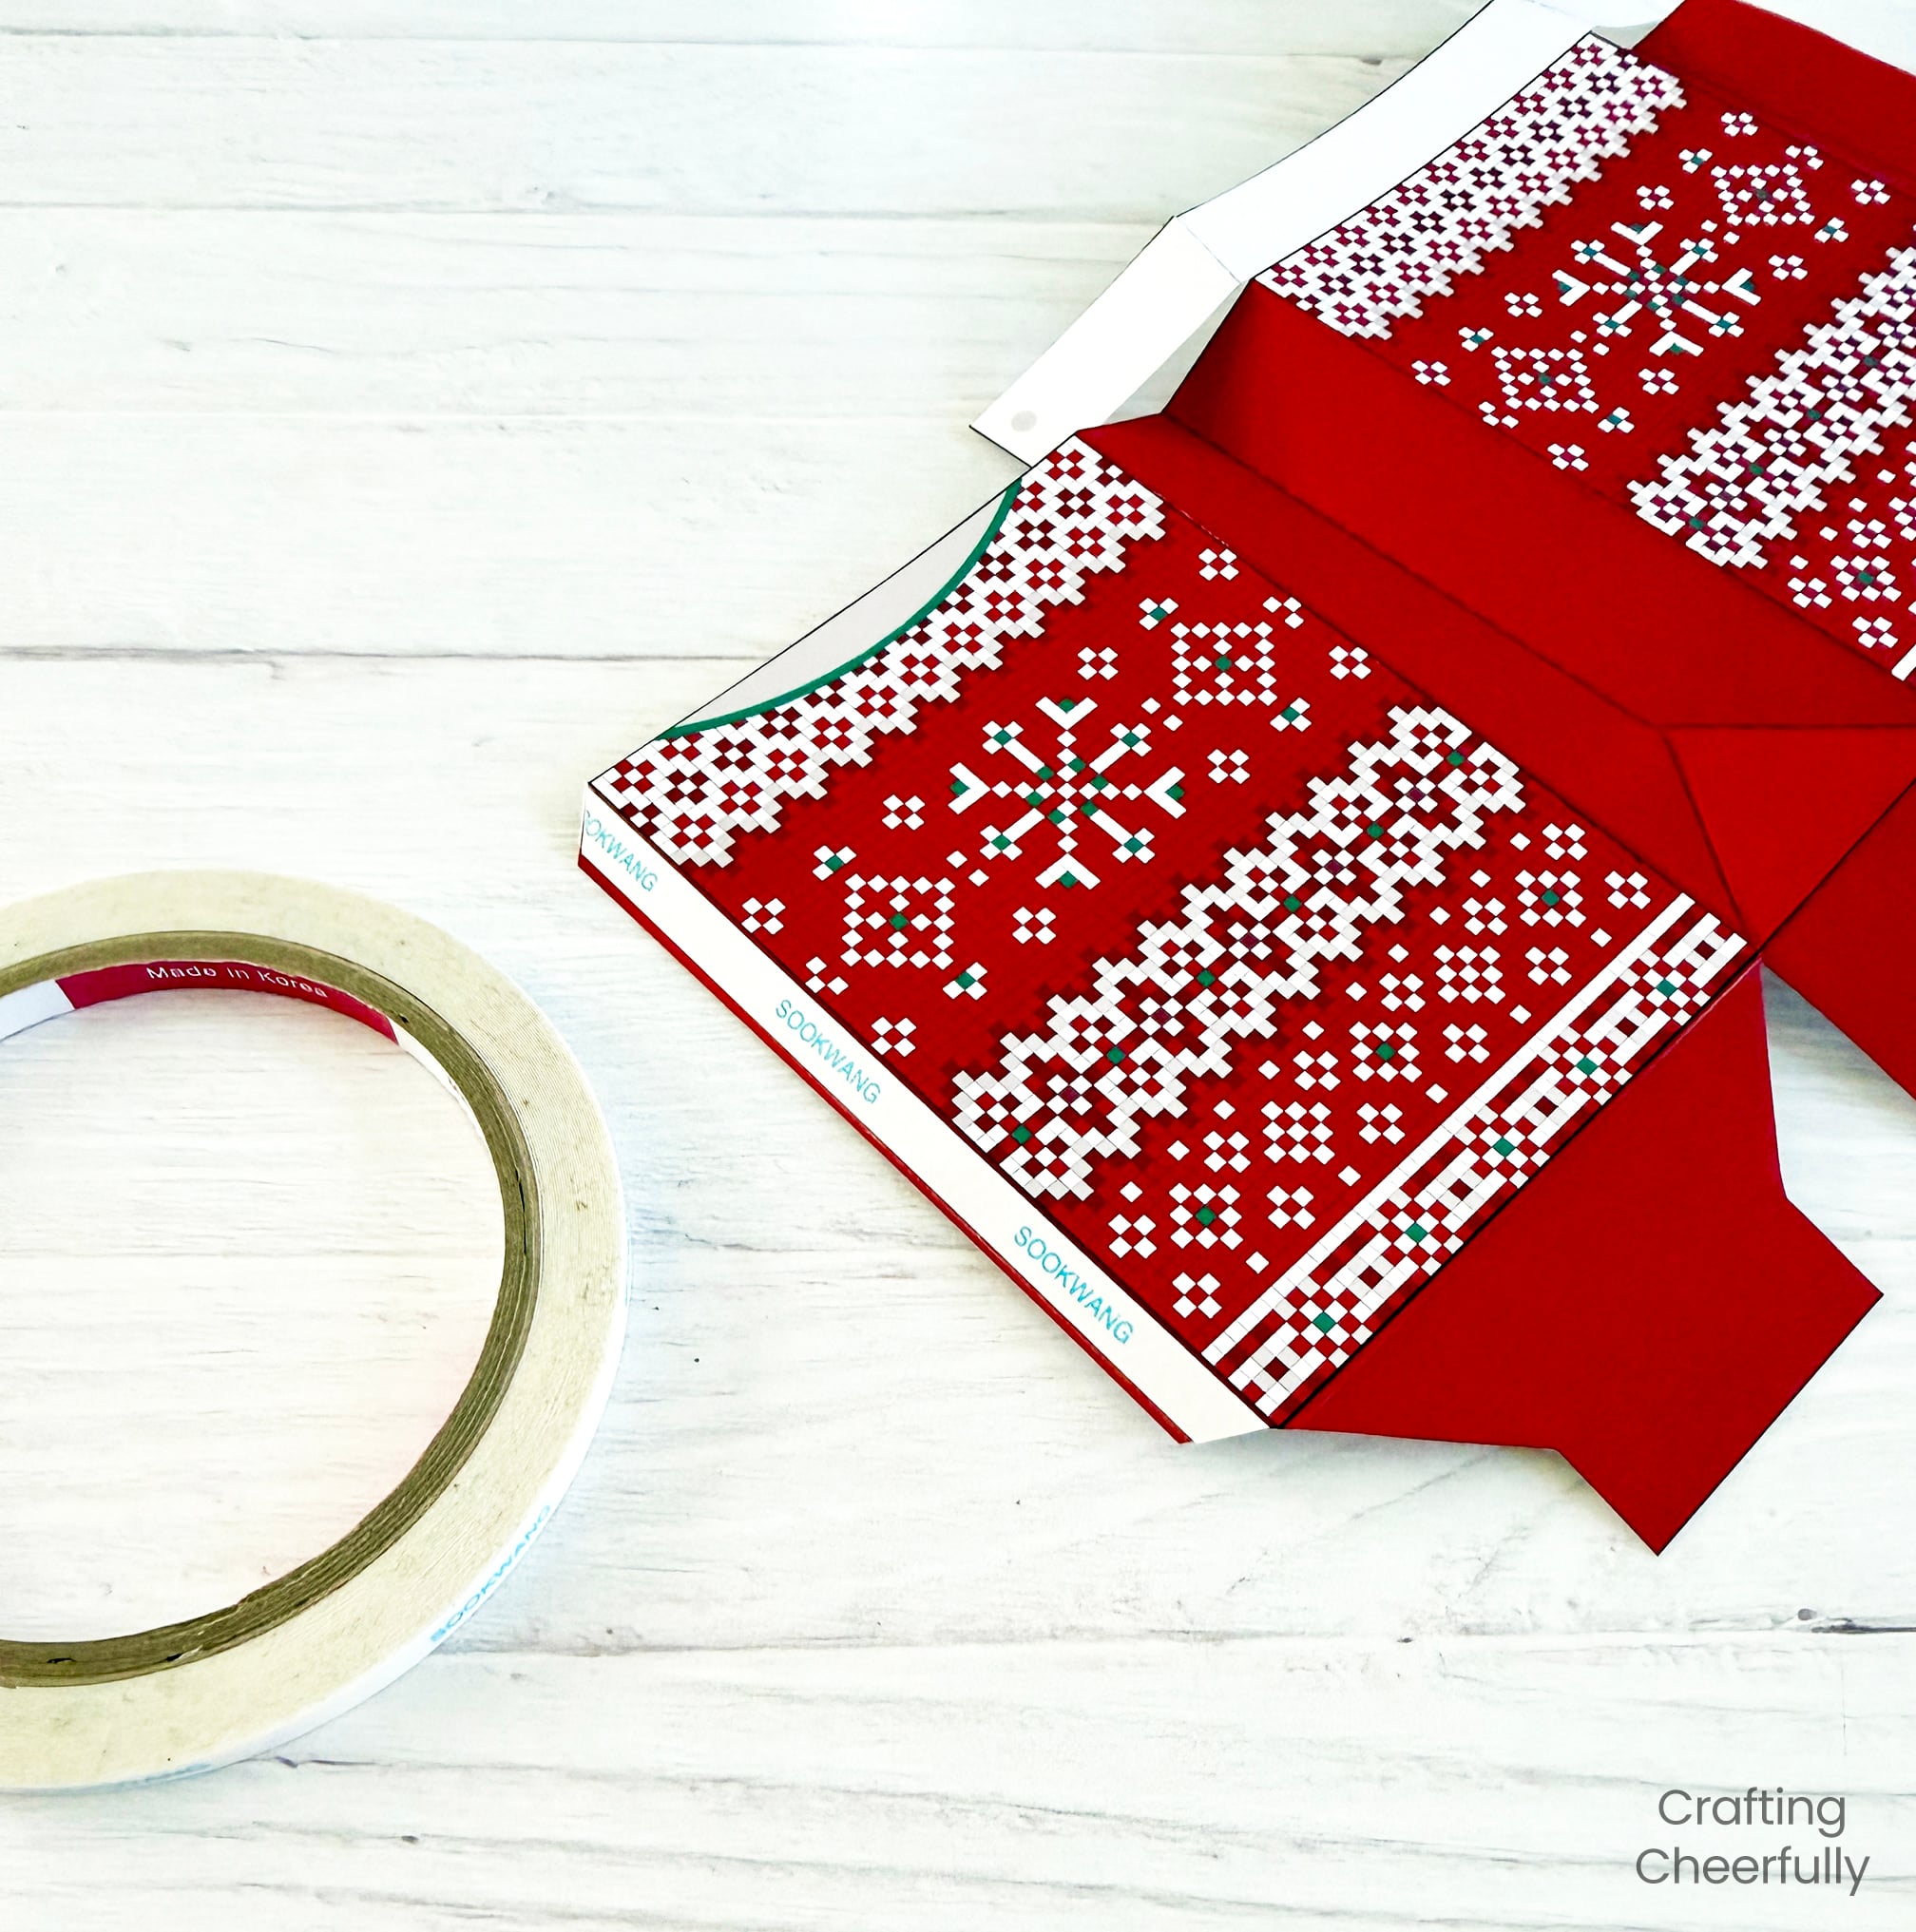
Step Two: Score along the sides of the box and the dotted lines. I like to use a scoring board and stylus. For the diagonal lines, I rotate my box so I can still use the scoring board. Once the box is scored, gently fold along the score lines. The sides of the treat box fold in like a paper lunch bag.
ASSEMBLING THE SWEATER BOXES
Step Three: Apply double-sided tape to the box tab and then form the treat box by attaching the tab under the opposite open side of the box.
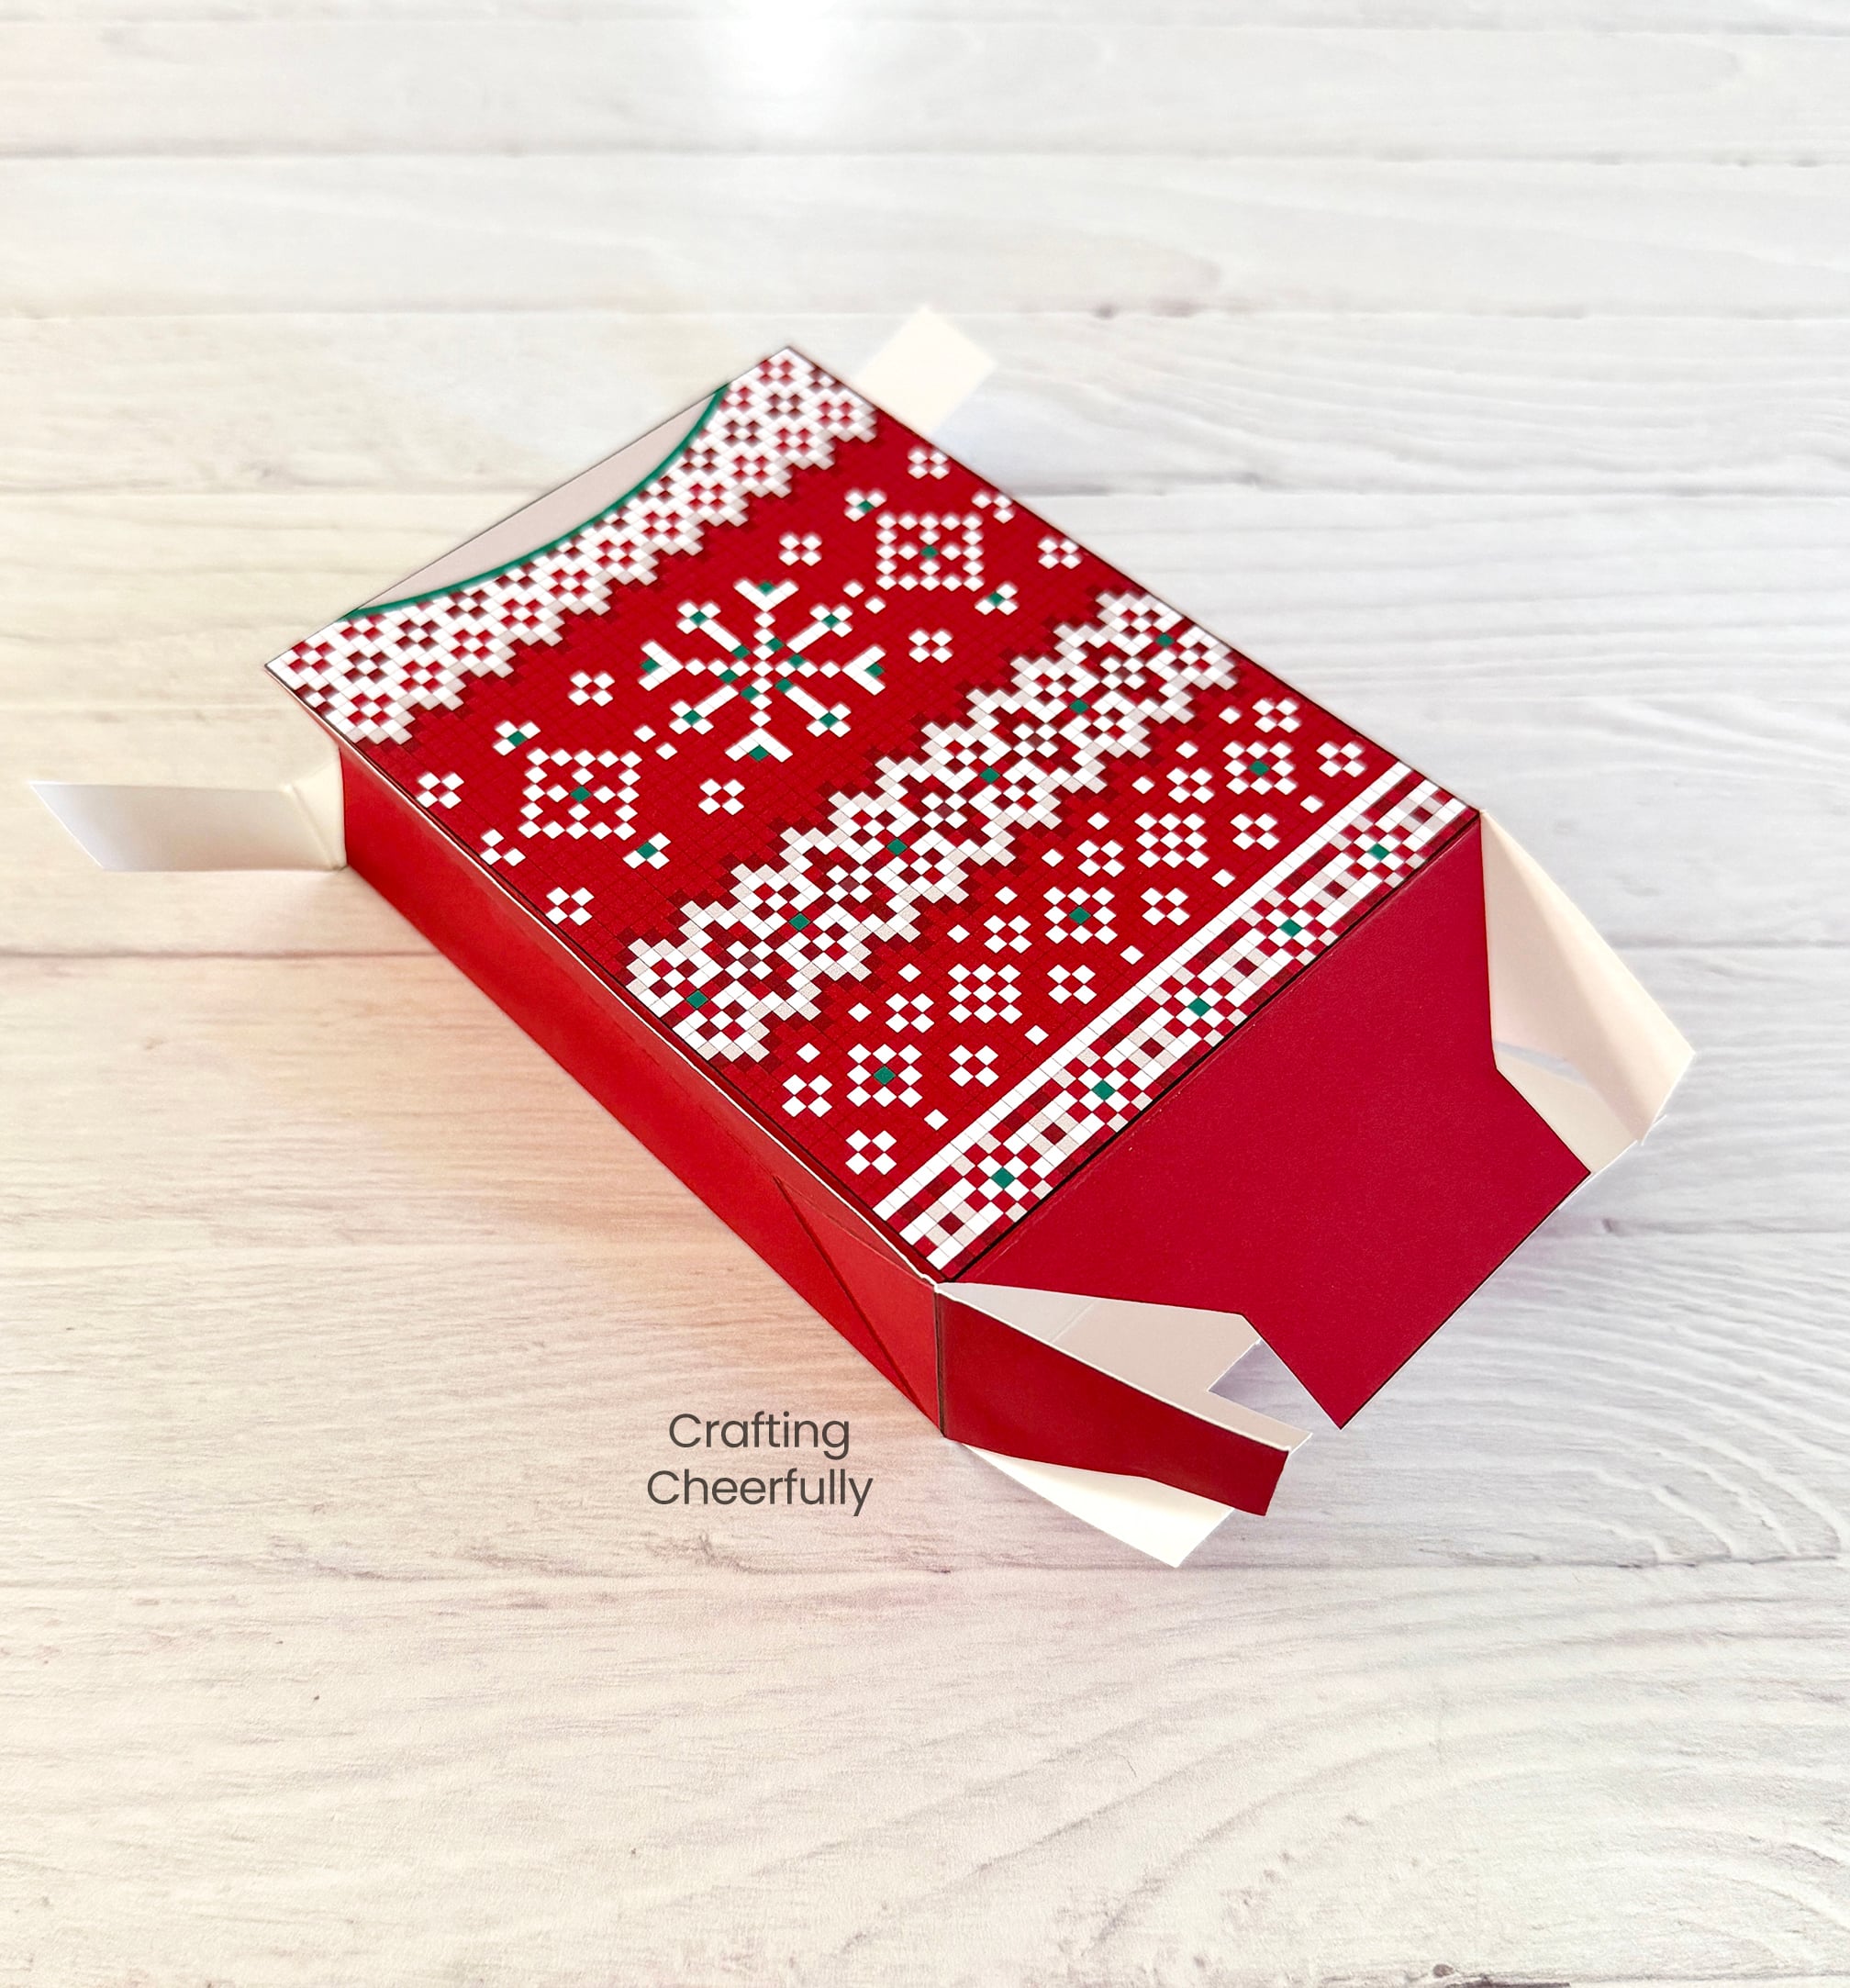
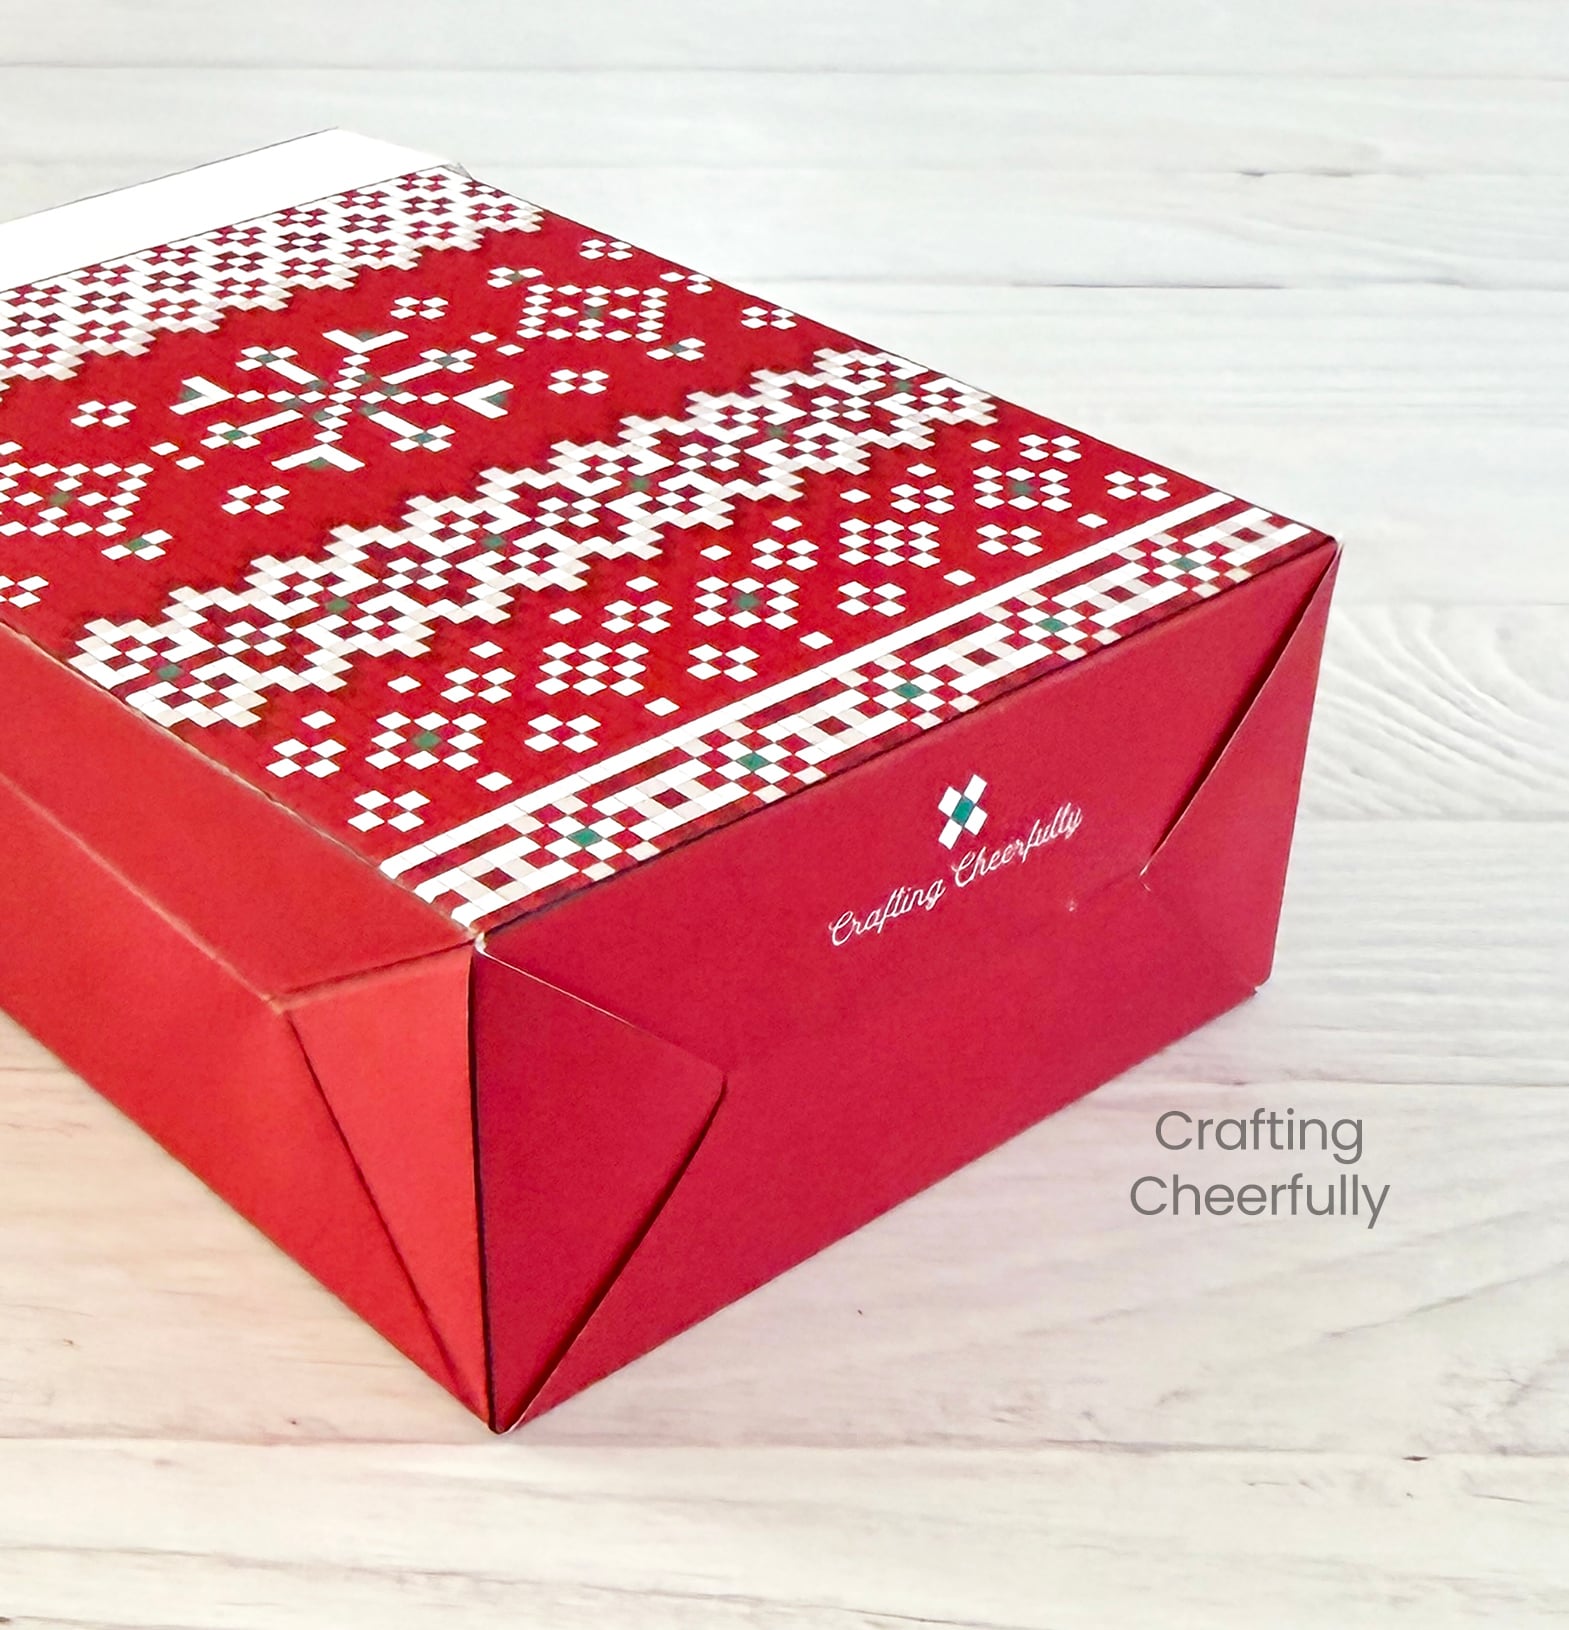
Close the bottom of the box by folding in the tabs. First the H-shaped piece is folded down, followed by the two side flaps. Finally insert the last Y-shaped piece to close the box.
CLOSING THE SWEATER BOXES
Step Four: The final step is to close the top of the treat boxes. Fold the sides of the collar forward so they overlap with the front of the box. Line up the top corners of the collars with the top of the box, then holding them in place, punch a small hole through all three layers (the shirt collar, sweater front and sweater back.
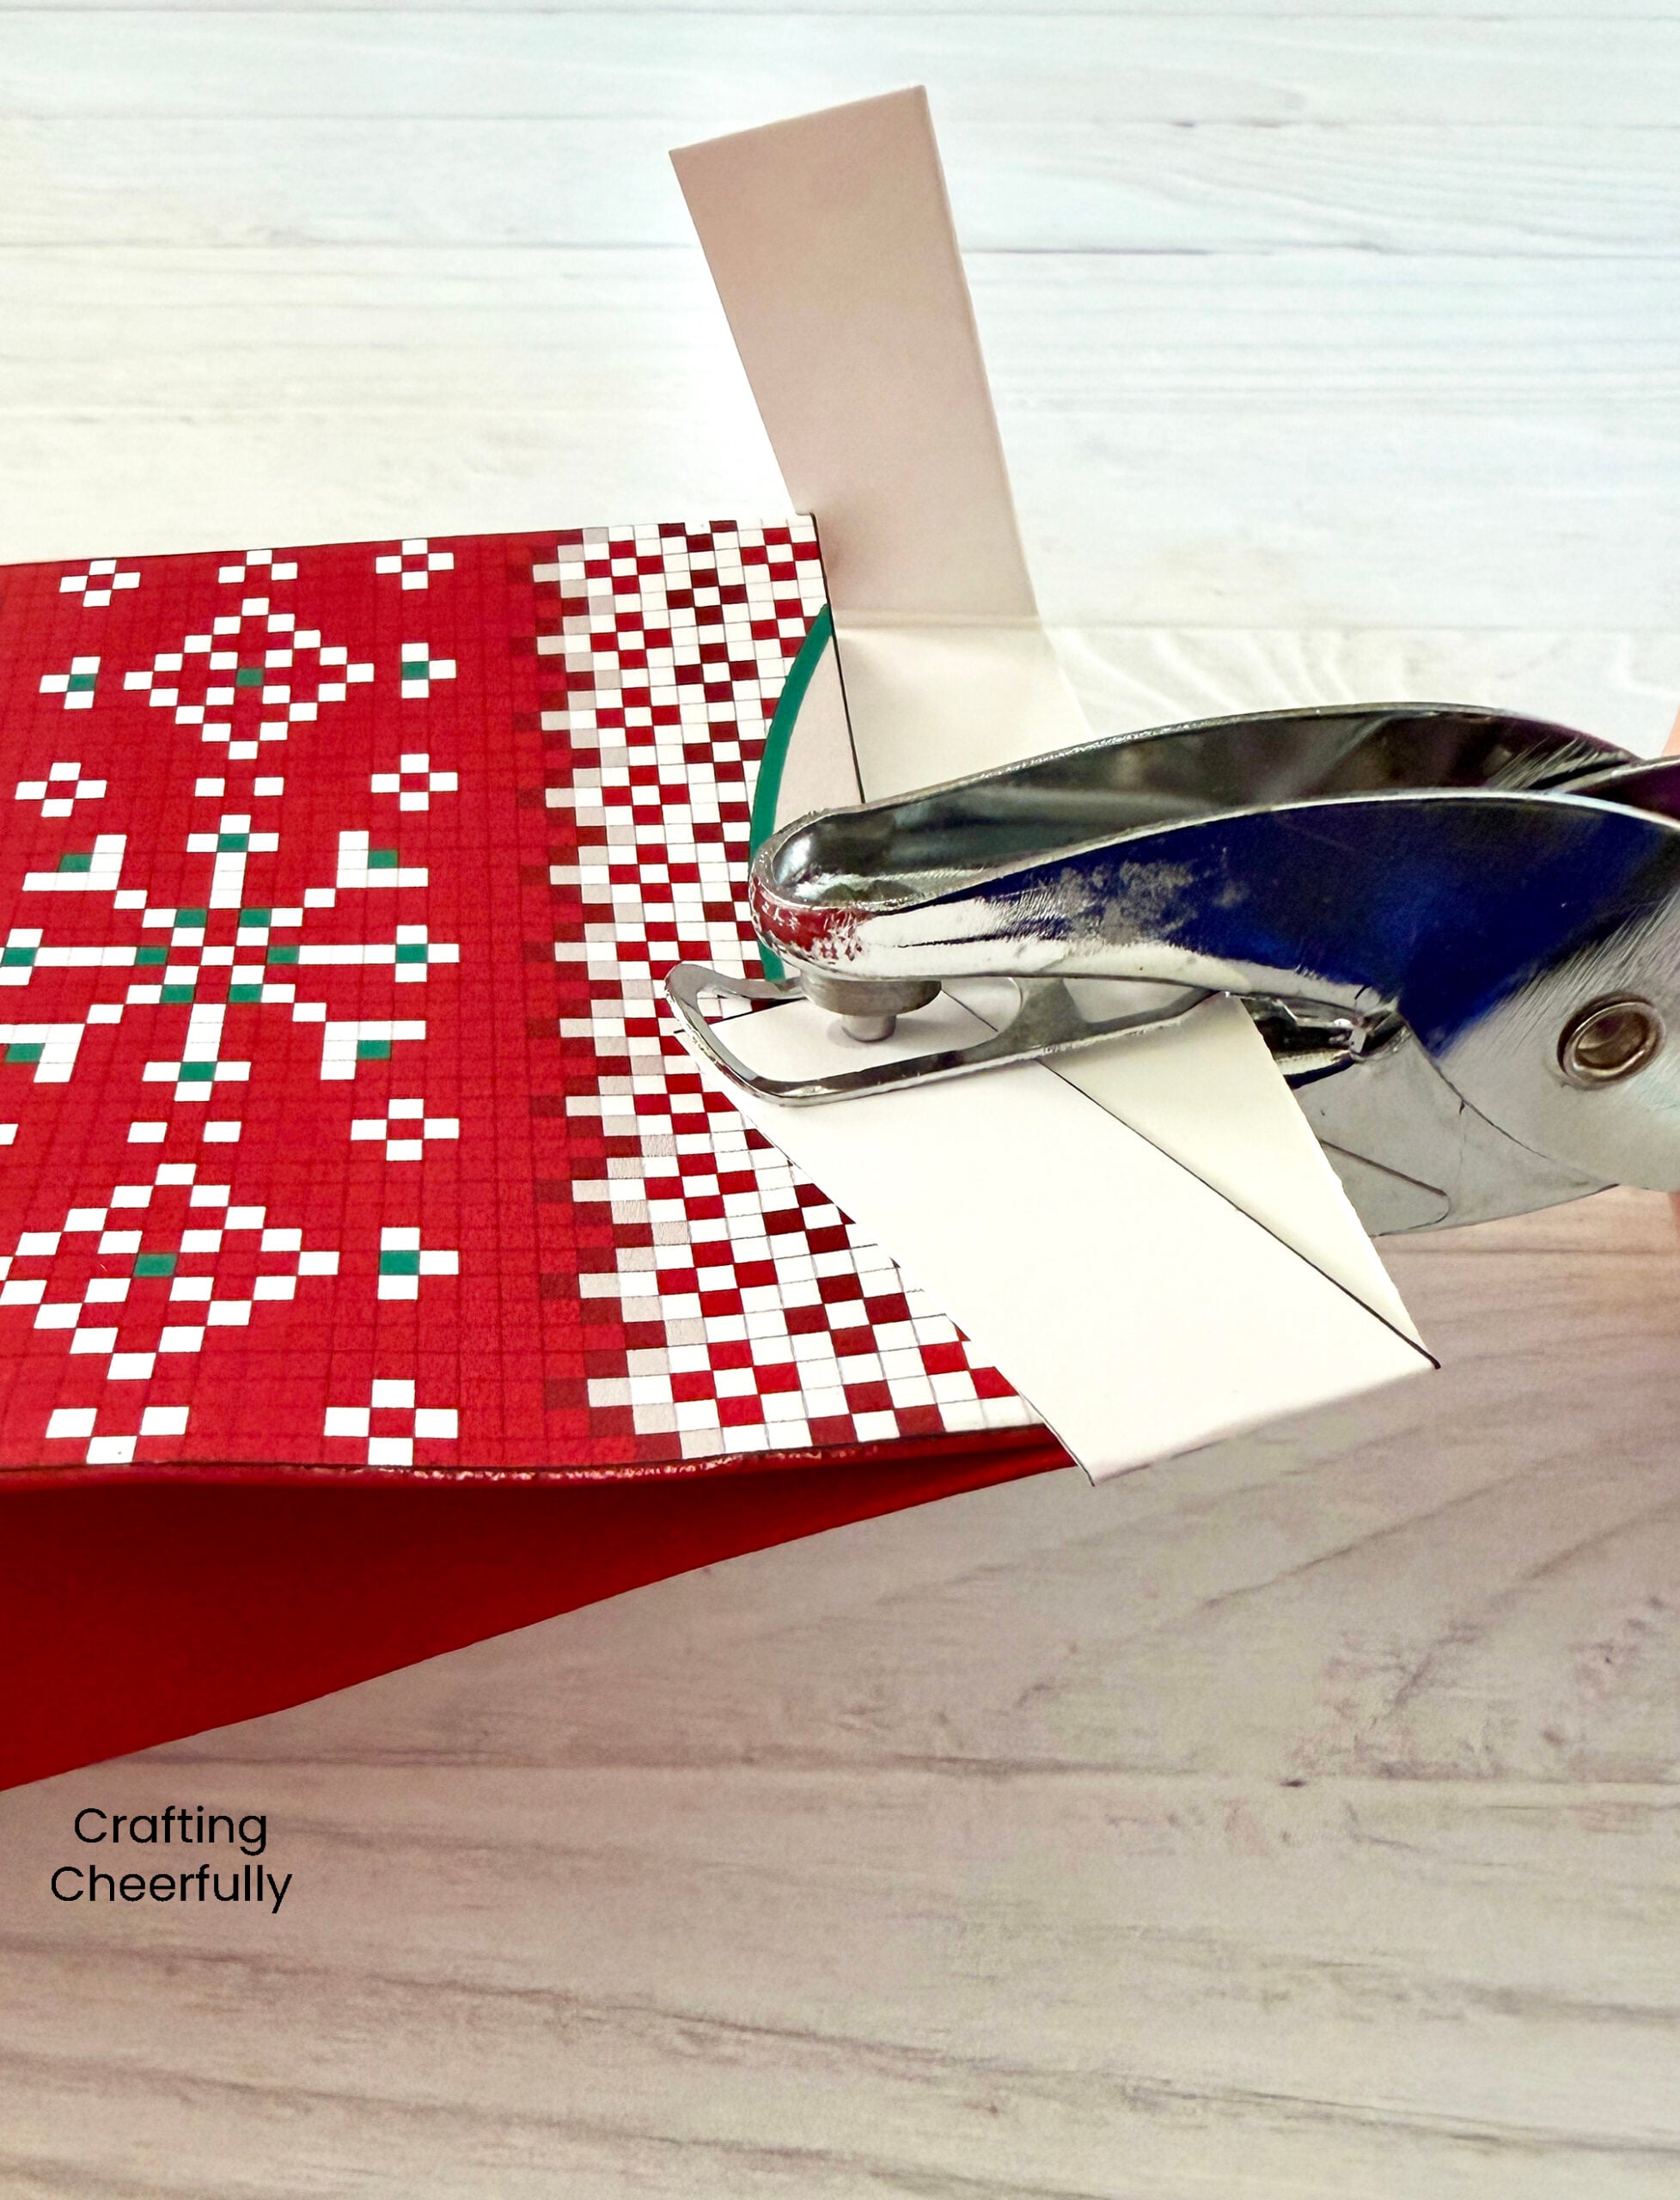
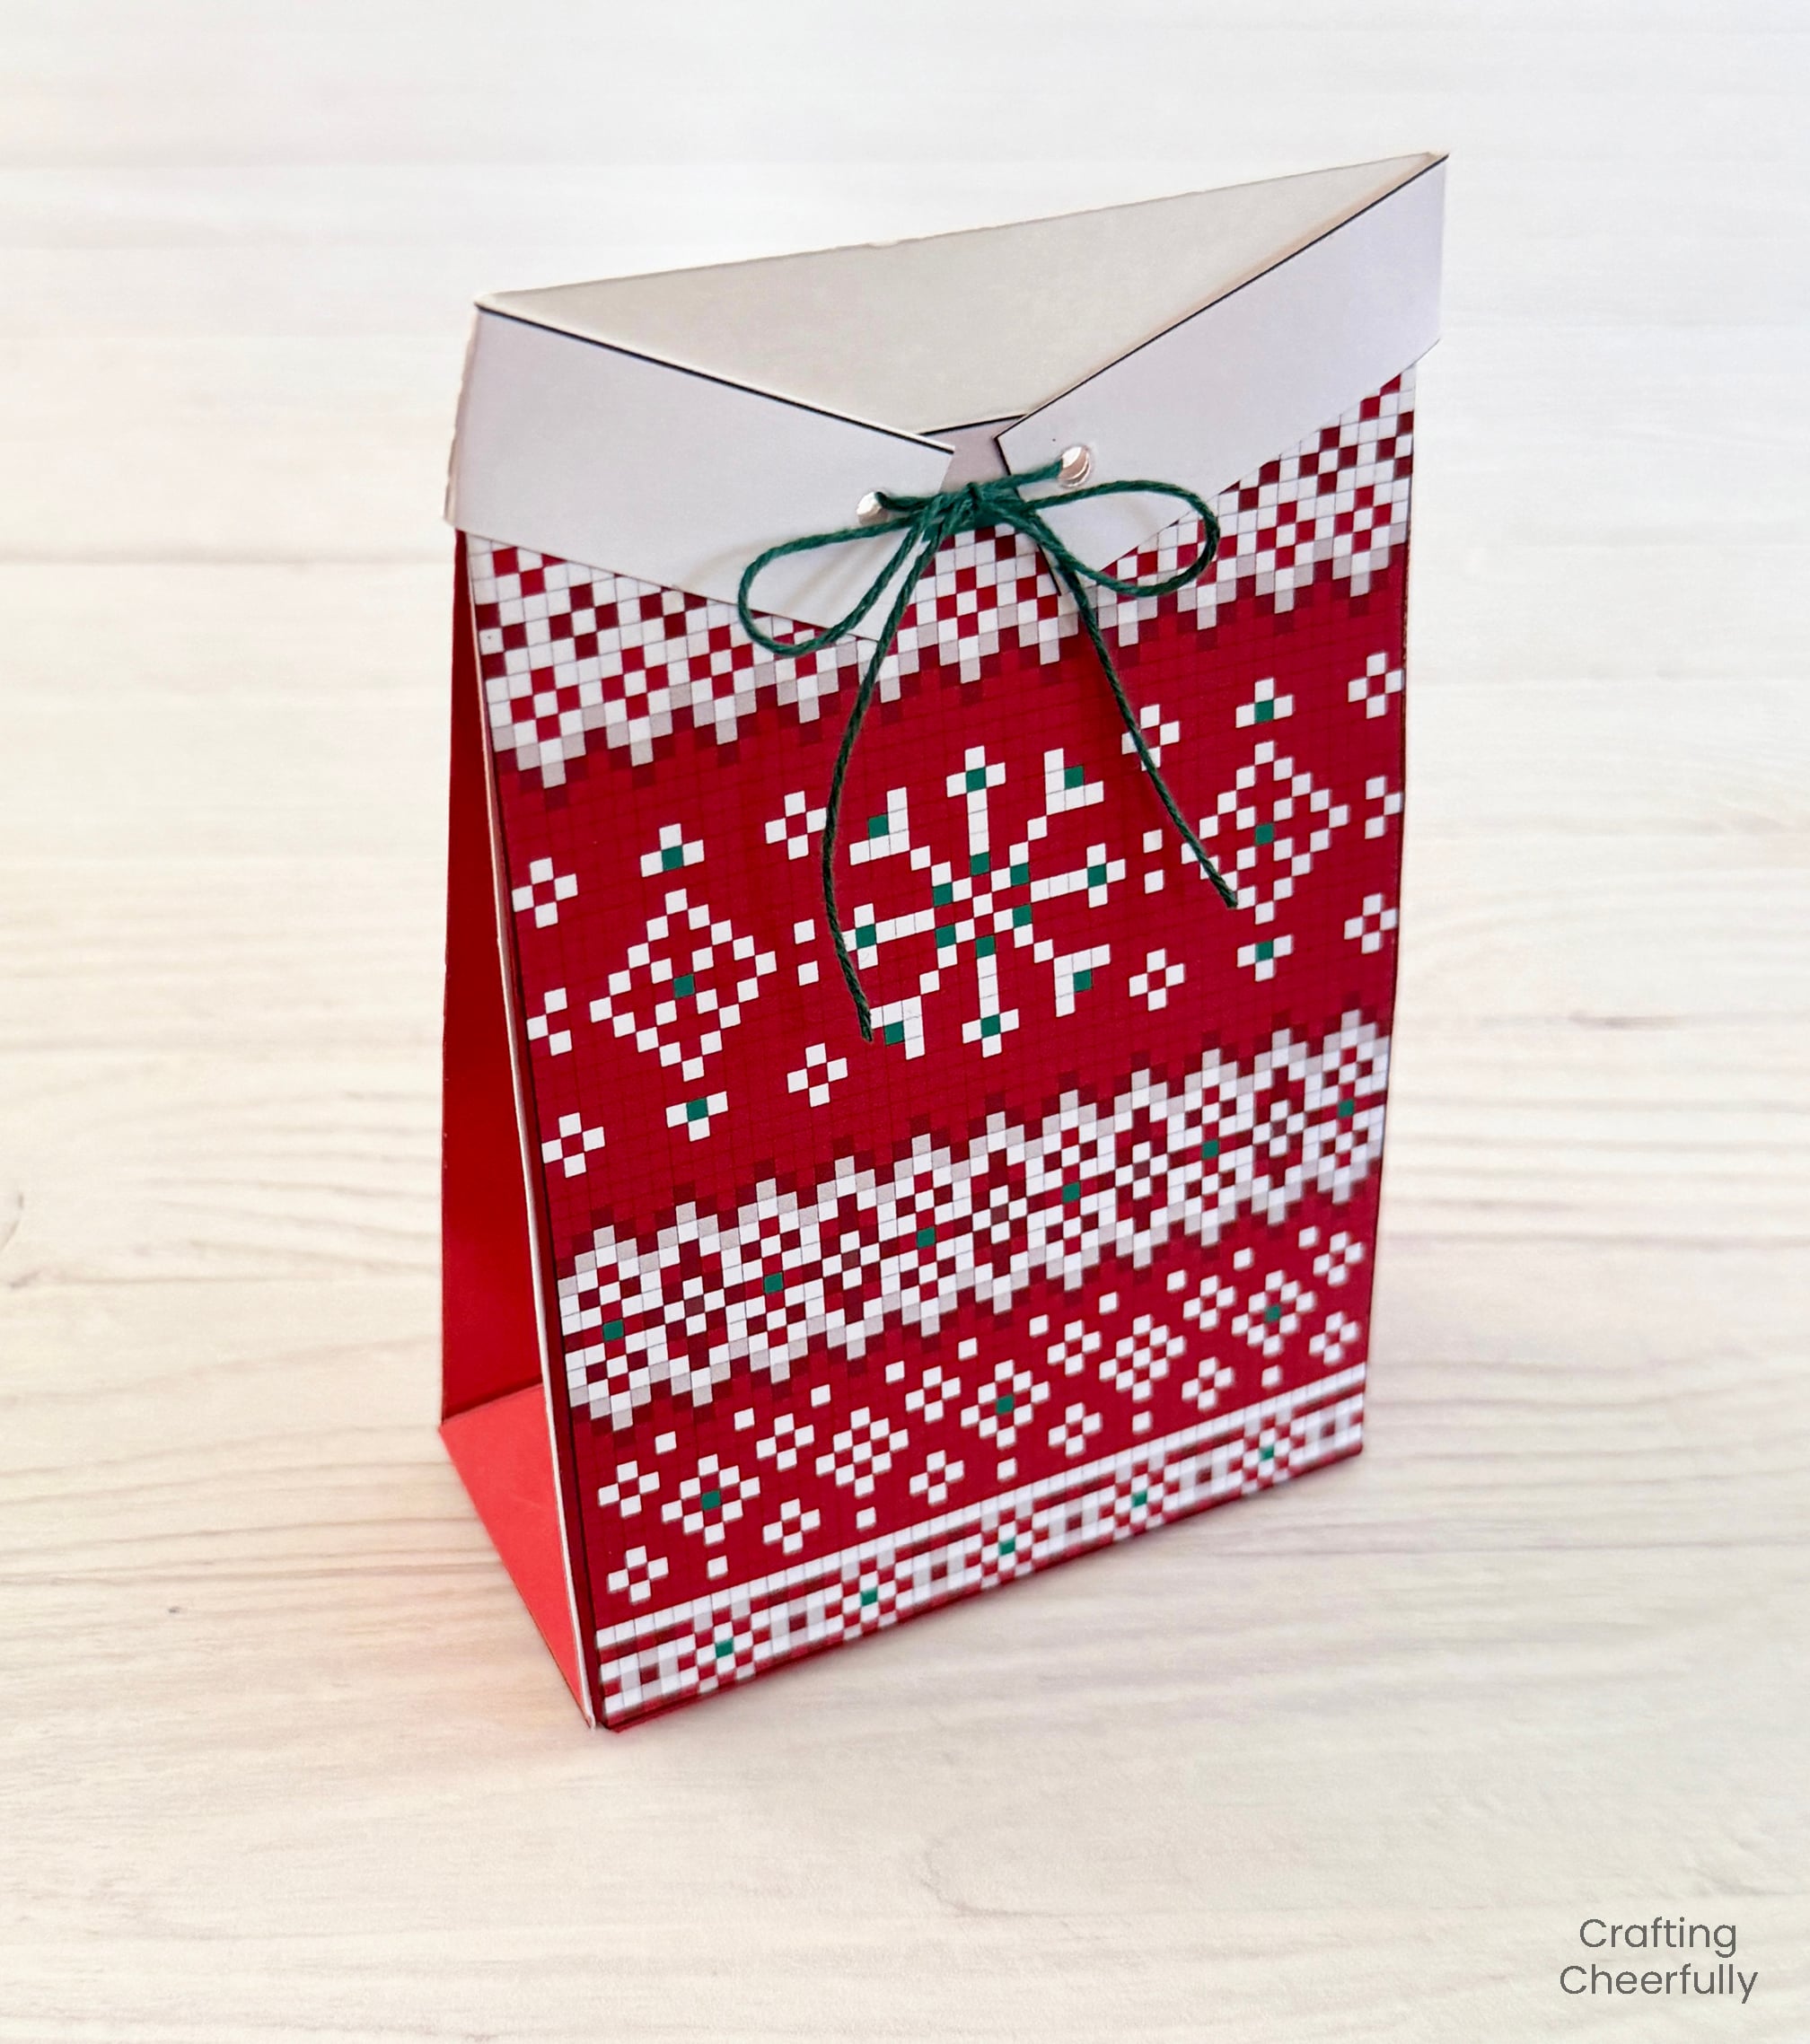
Add your treats, gift card, small gifts or candy to the boxes then close them with string, Baker’s Twine, yarn or ribbon. It was easiest for me to tie the boxes if I laid them on their backs. If you want to skip the hole punch/string closure, you can also staple them closed.
I hope you enjoy these fun, festive treat boxes! I’ll be back tomorrow for the second day in my series, 12 Days of Holiday Crafts! Until then, be sure to check out my other Christmas printables and Christmas Treat Boxes!
FLASH FREEBIE
Now through November 6th you can fill out the purple form below with your first name and email address to receive the free files! They will be sent straight to your inbox! If you have already filled out the form below, don’t worry – you won’t be added to my list twice! This freebie is for personal use only. I hope you enjoy crafting something special. Please let me know if you have any questions :)