DIY Halloween Cupcake Banner
Create a spooky and fun Halloween cupcake banner using paper and rick-rack trim! Grab the free cut file or paper template so you can create your own in time for the holiday!
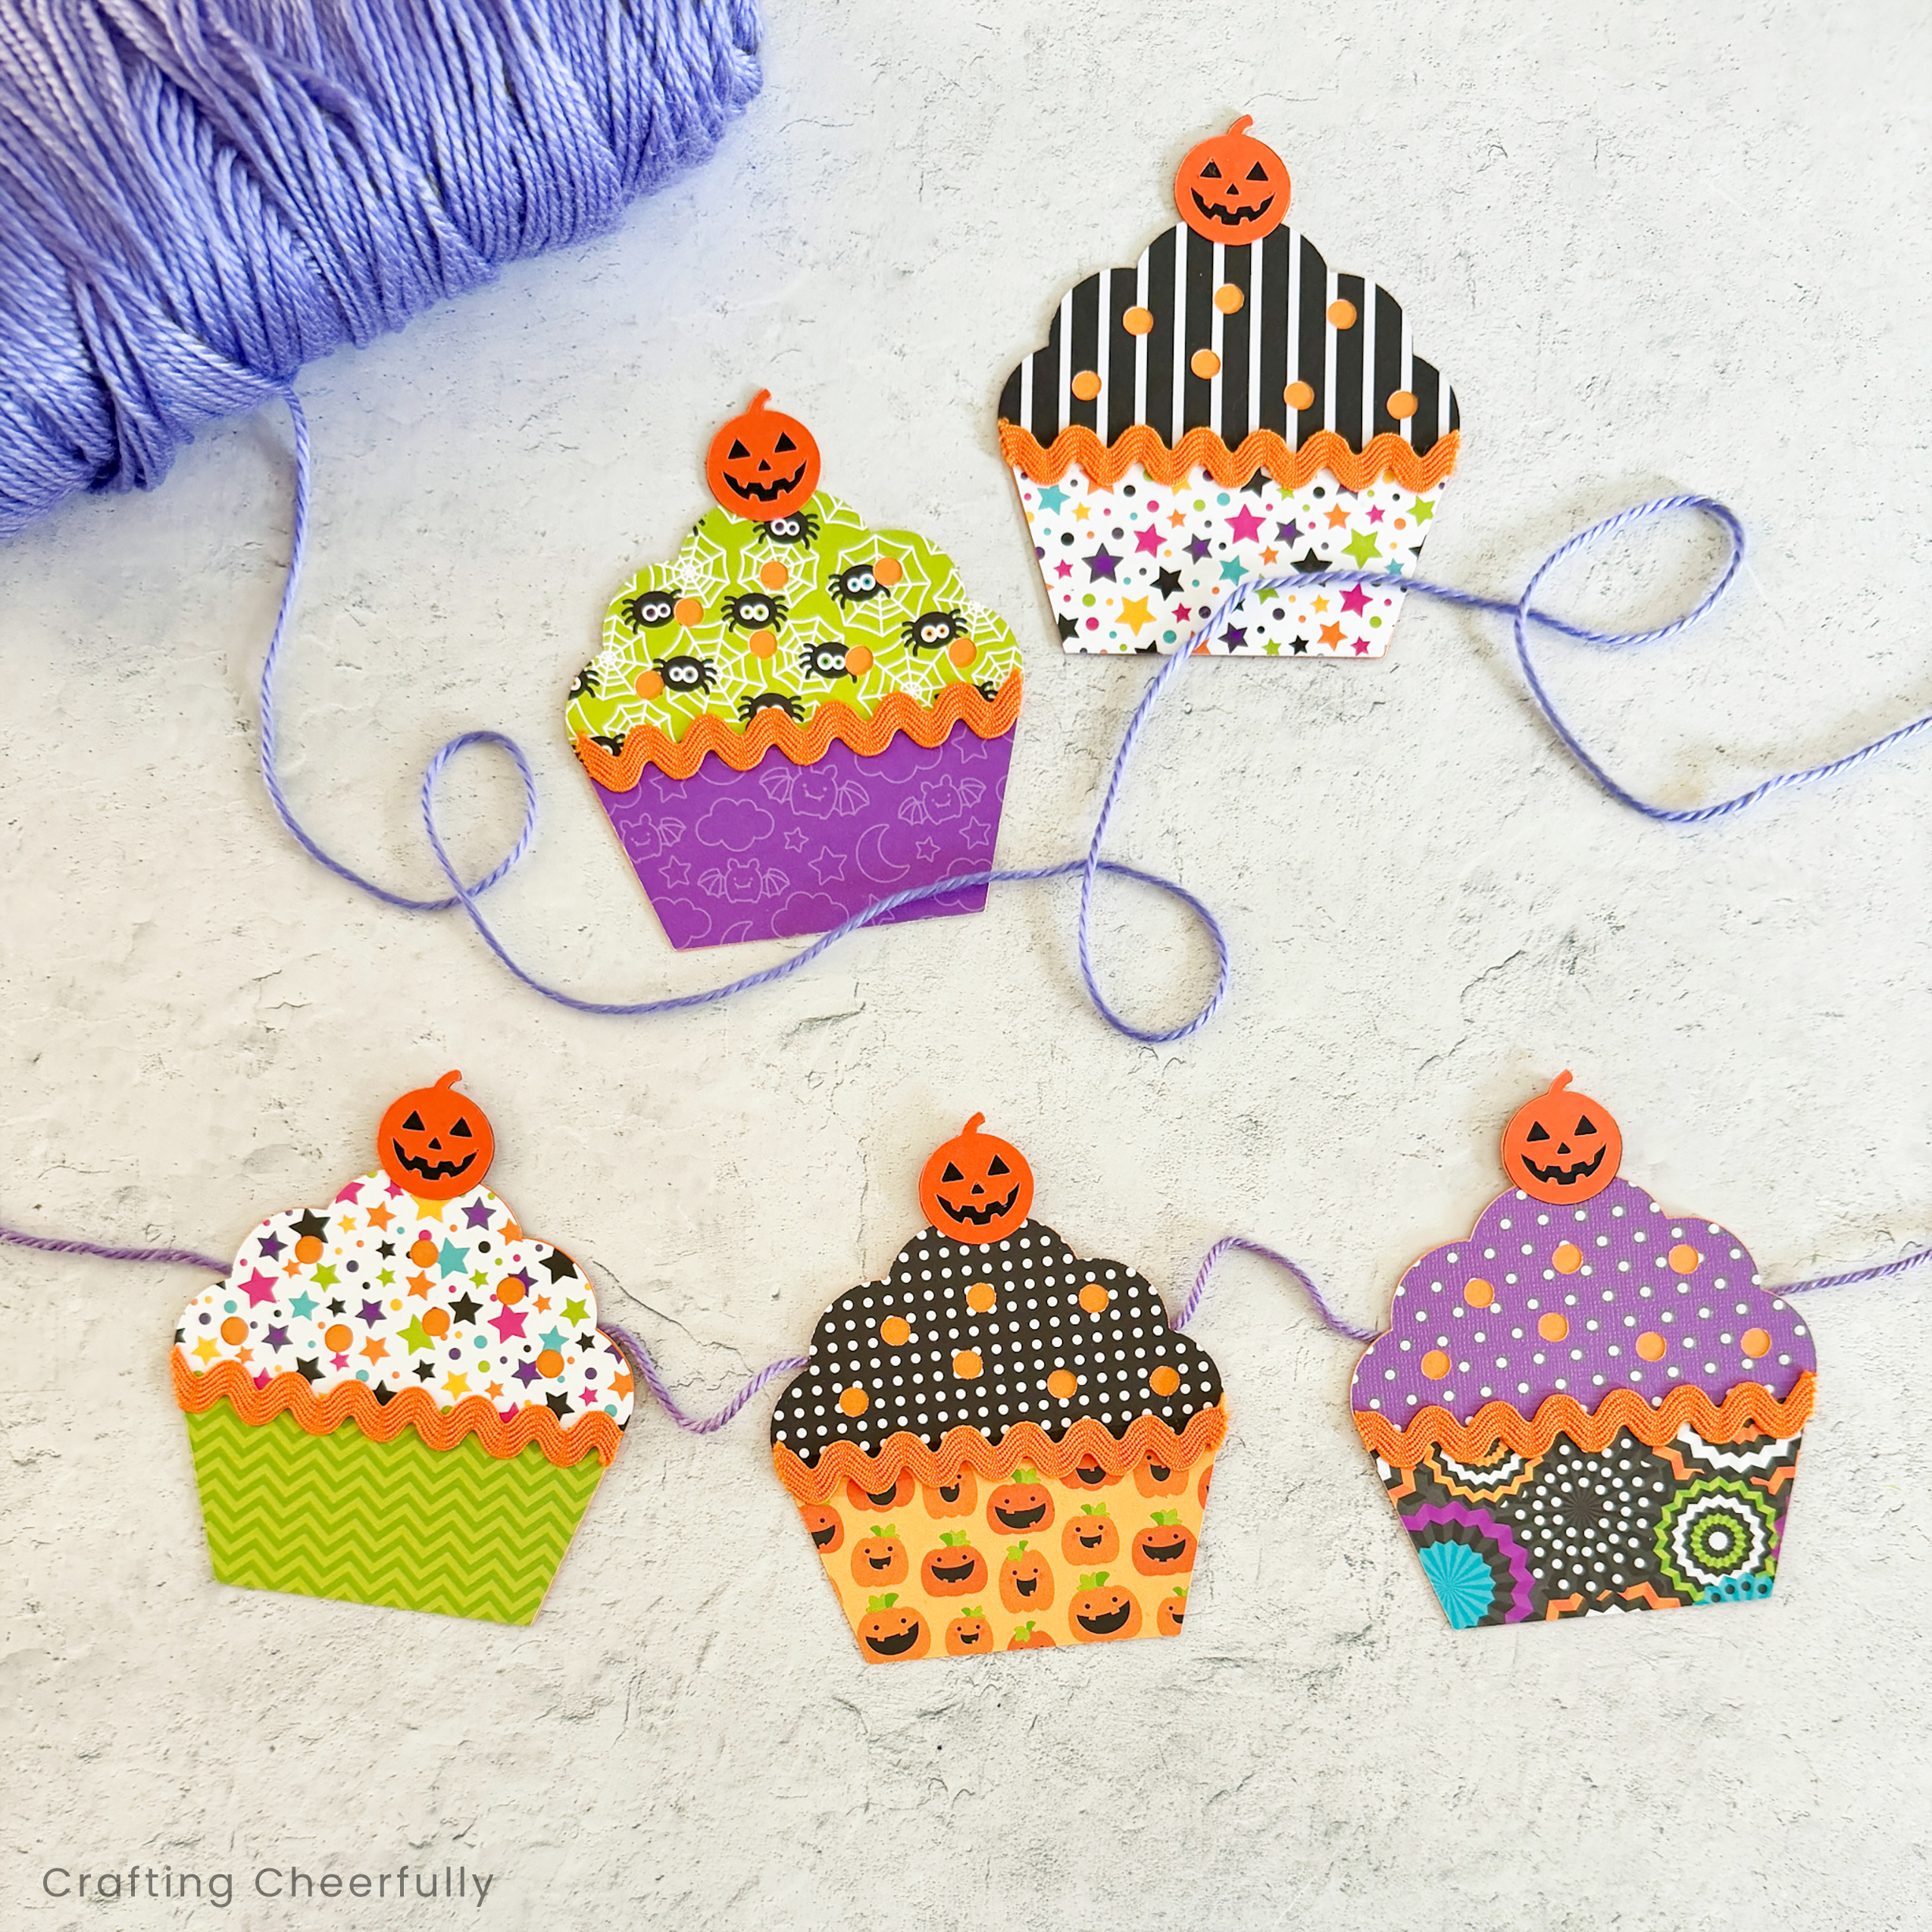
Hello Crafty Friends! Sweet treats are one of the best parts of Halloween and today I’m sharing a cute Halloween cupcake banner you can create for the upcoming holiday. This banner is made with just a few supplies including paper cardstock, rick rack trim, and yarn. This is a simple craft you can make using my free SVG cut file and your cutting machine. I also have a free PDF template you can use to cut the cupcakes out by hand.
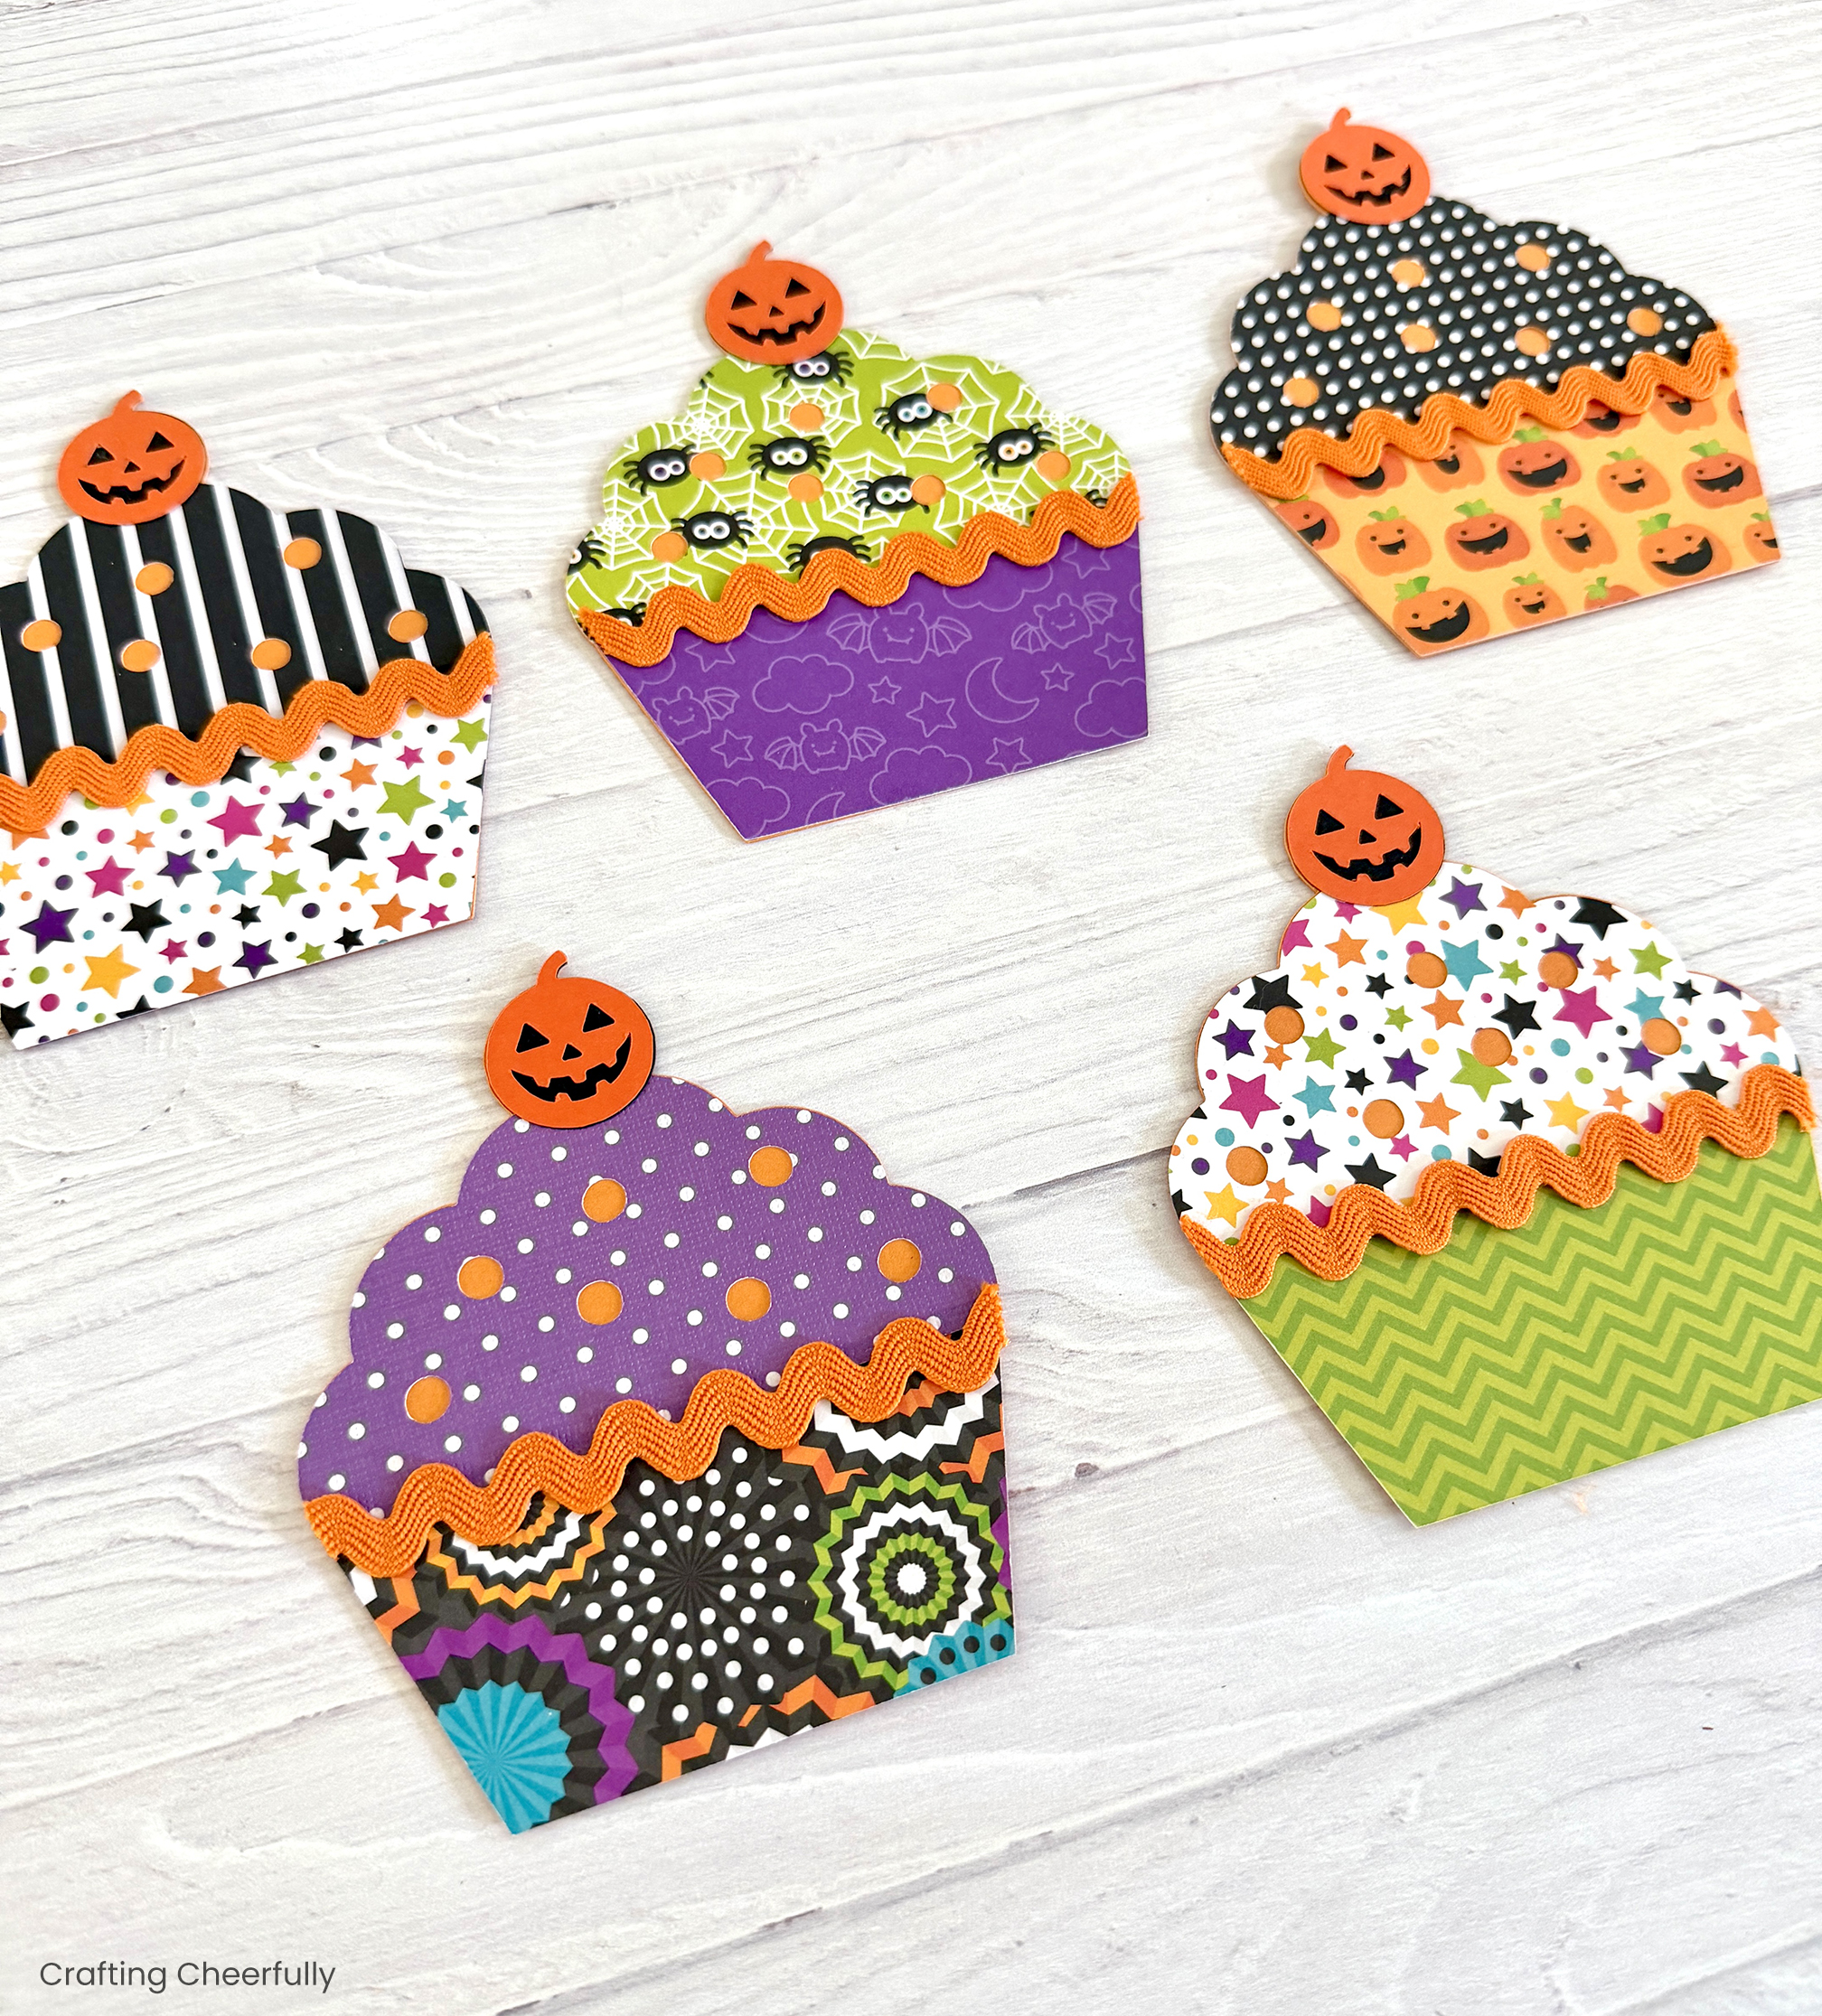
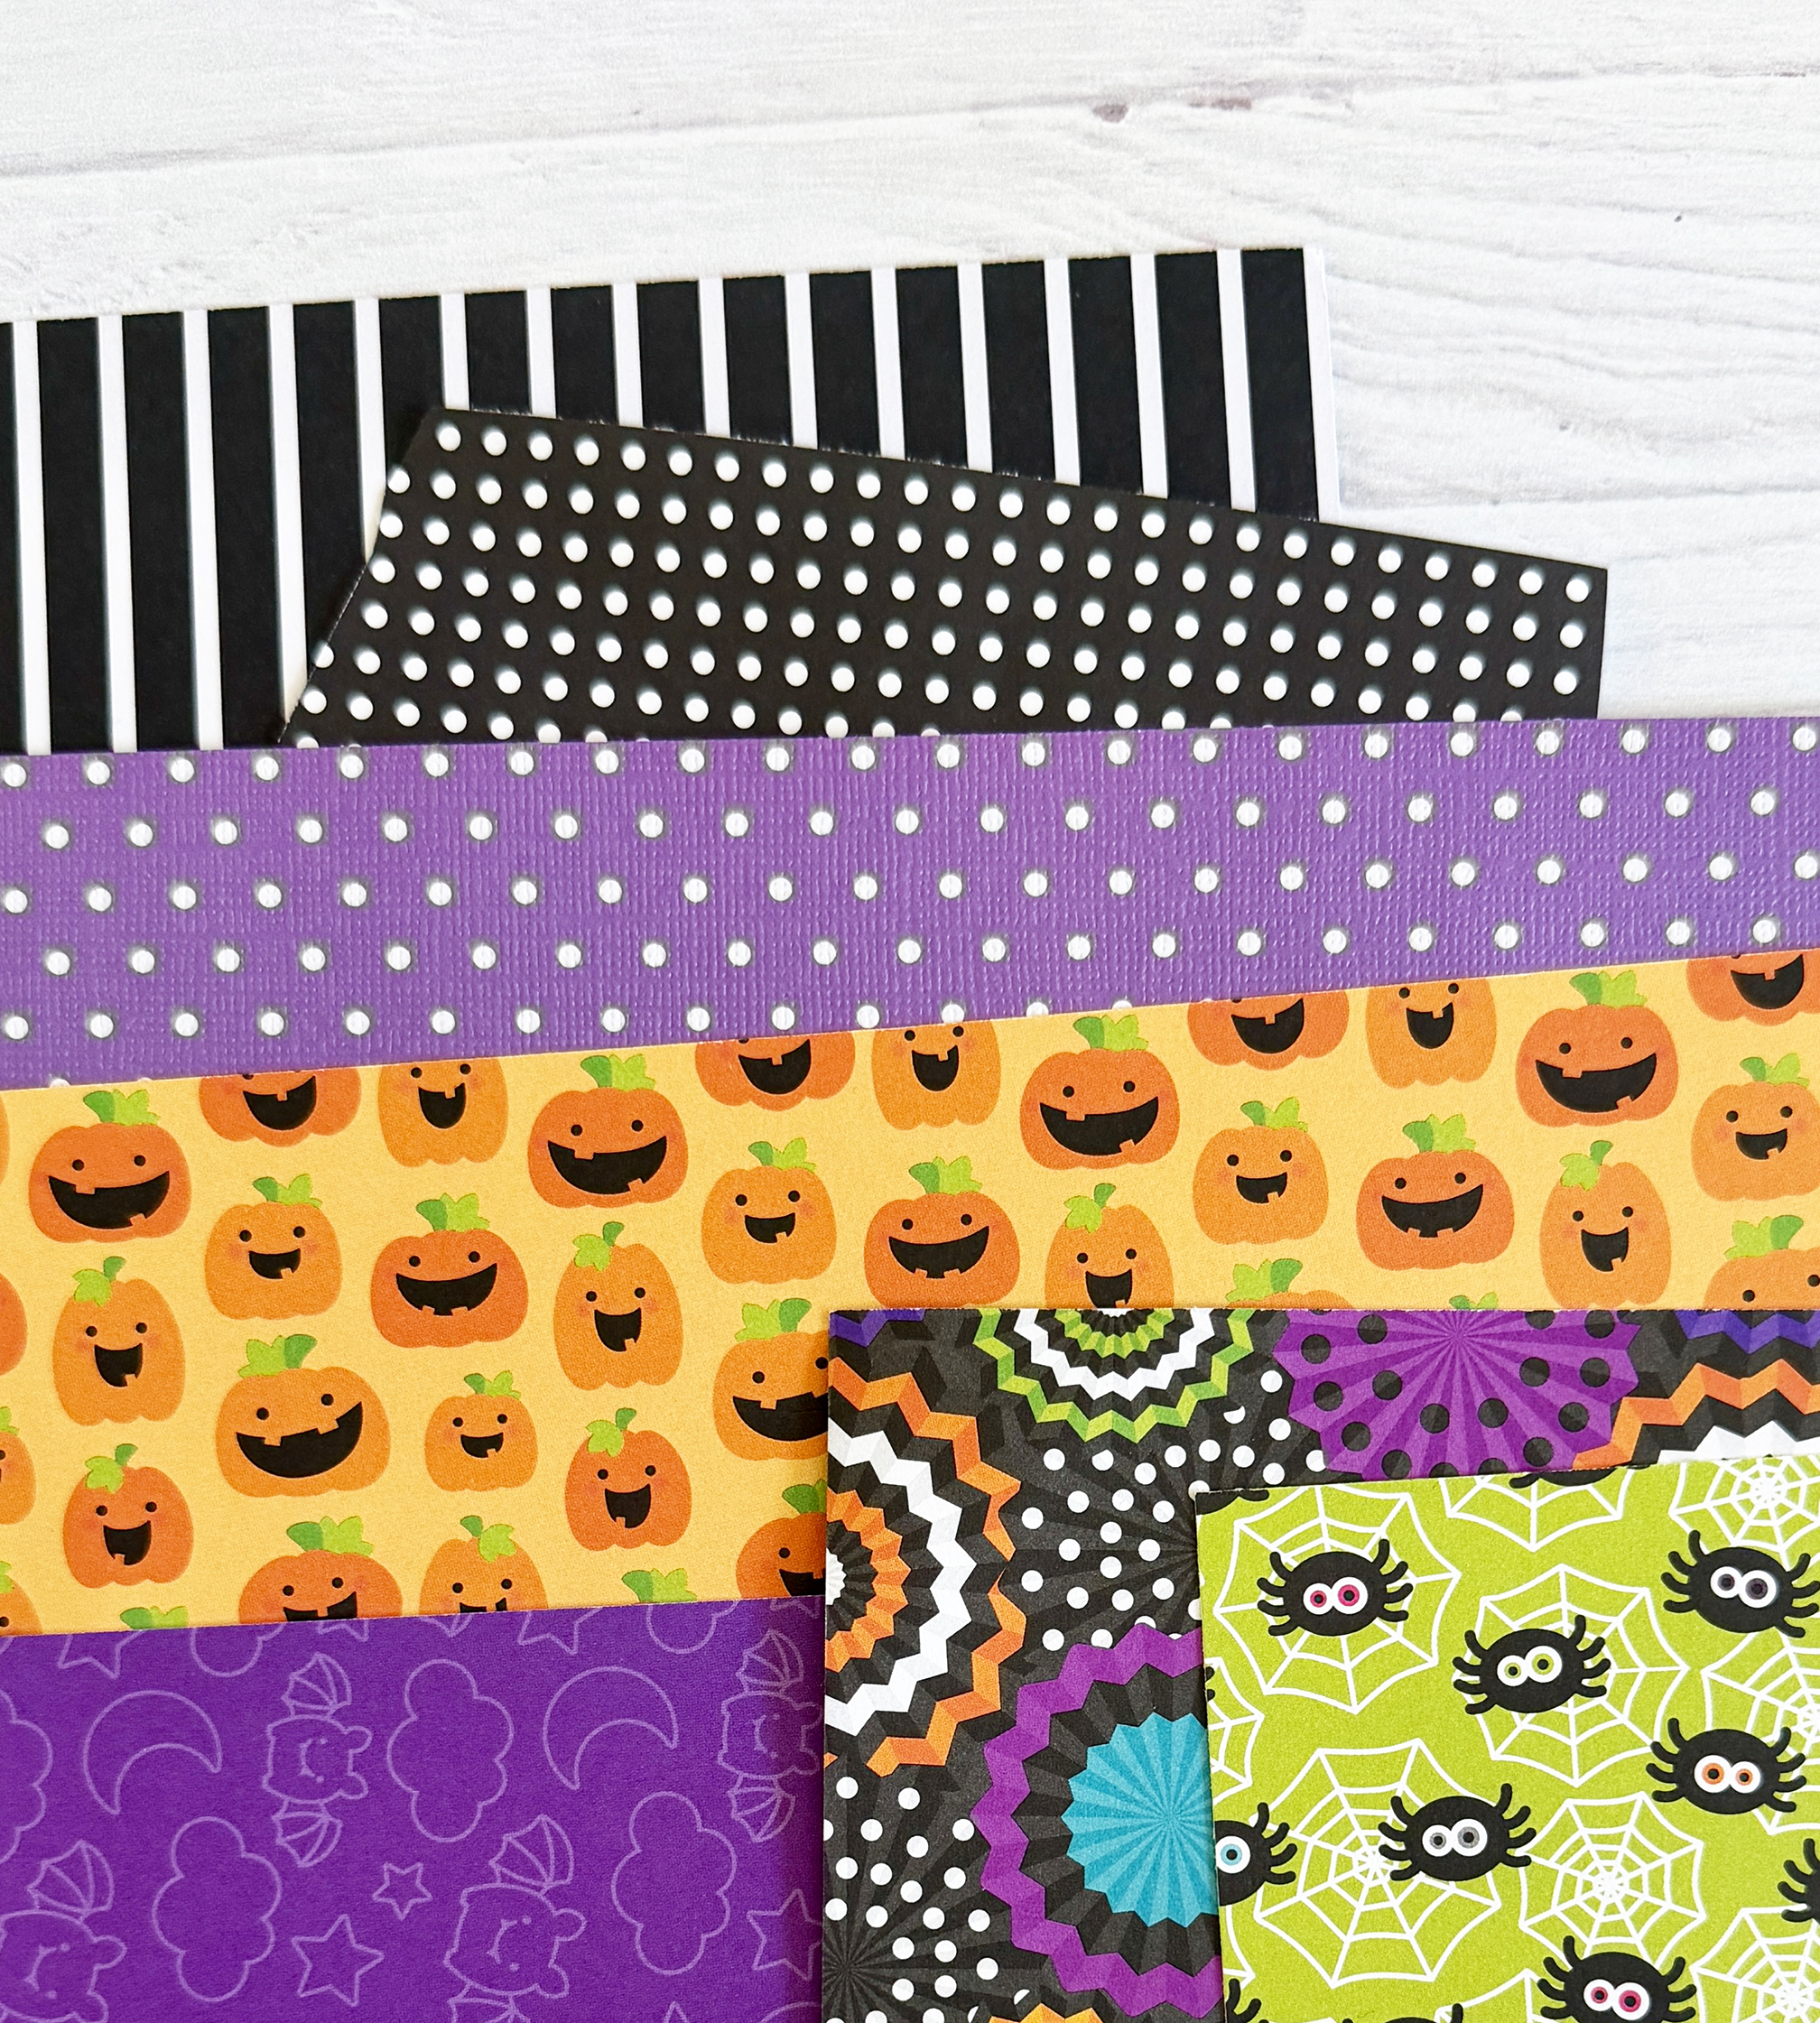
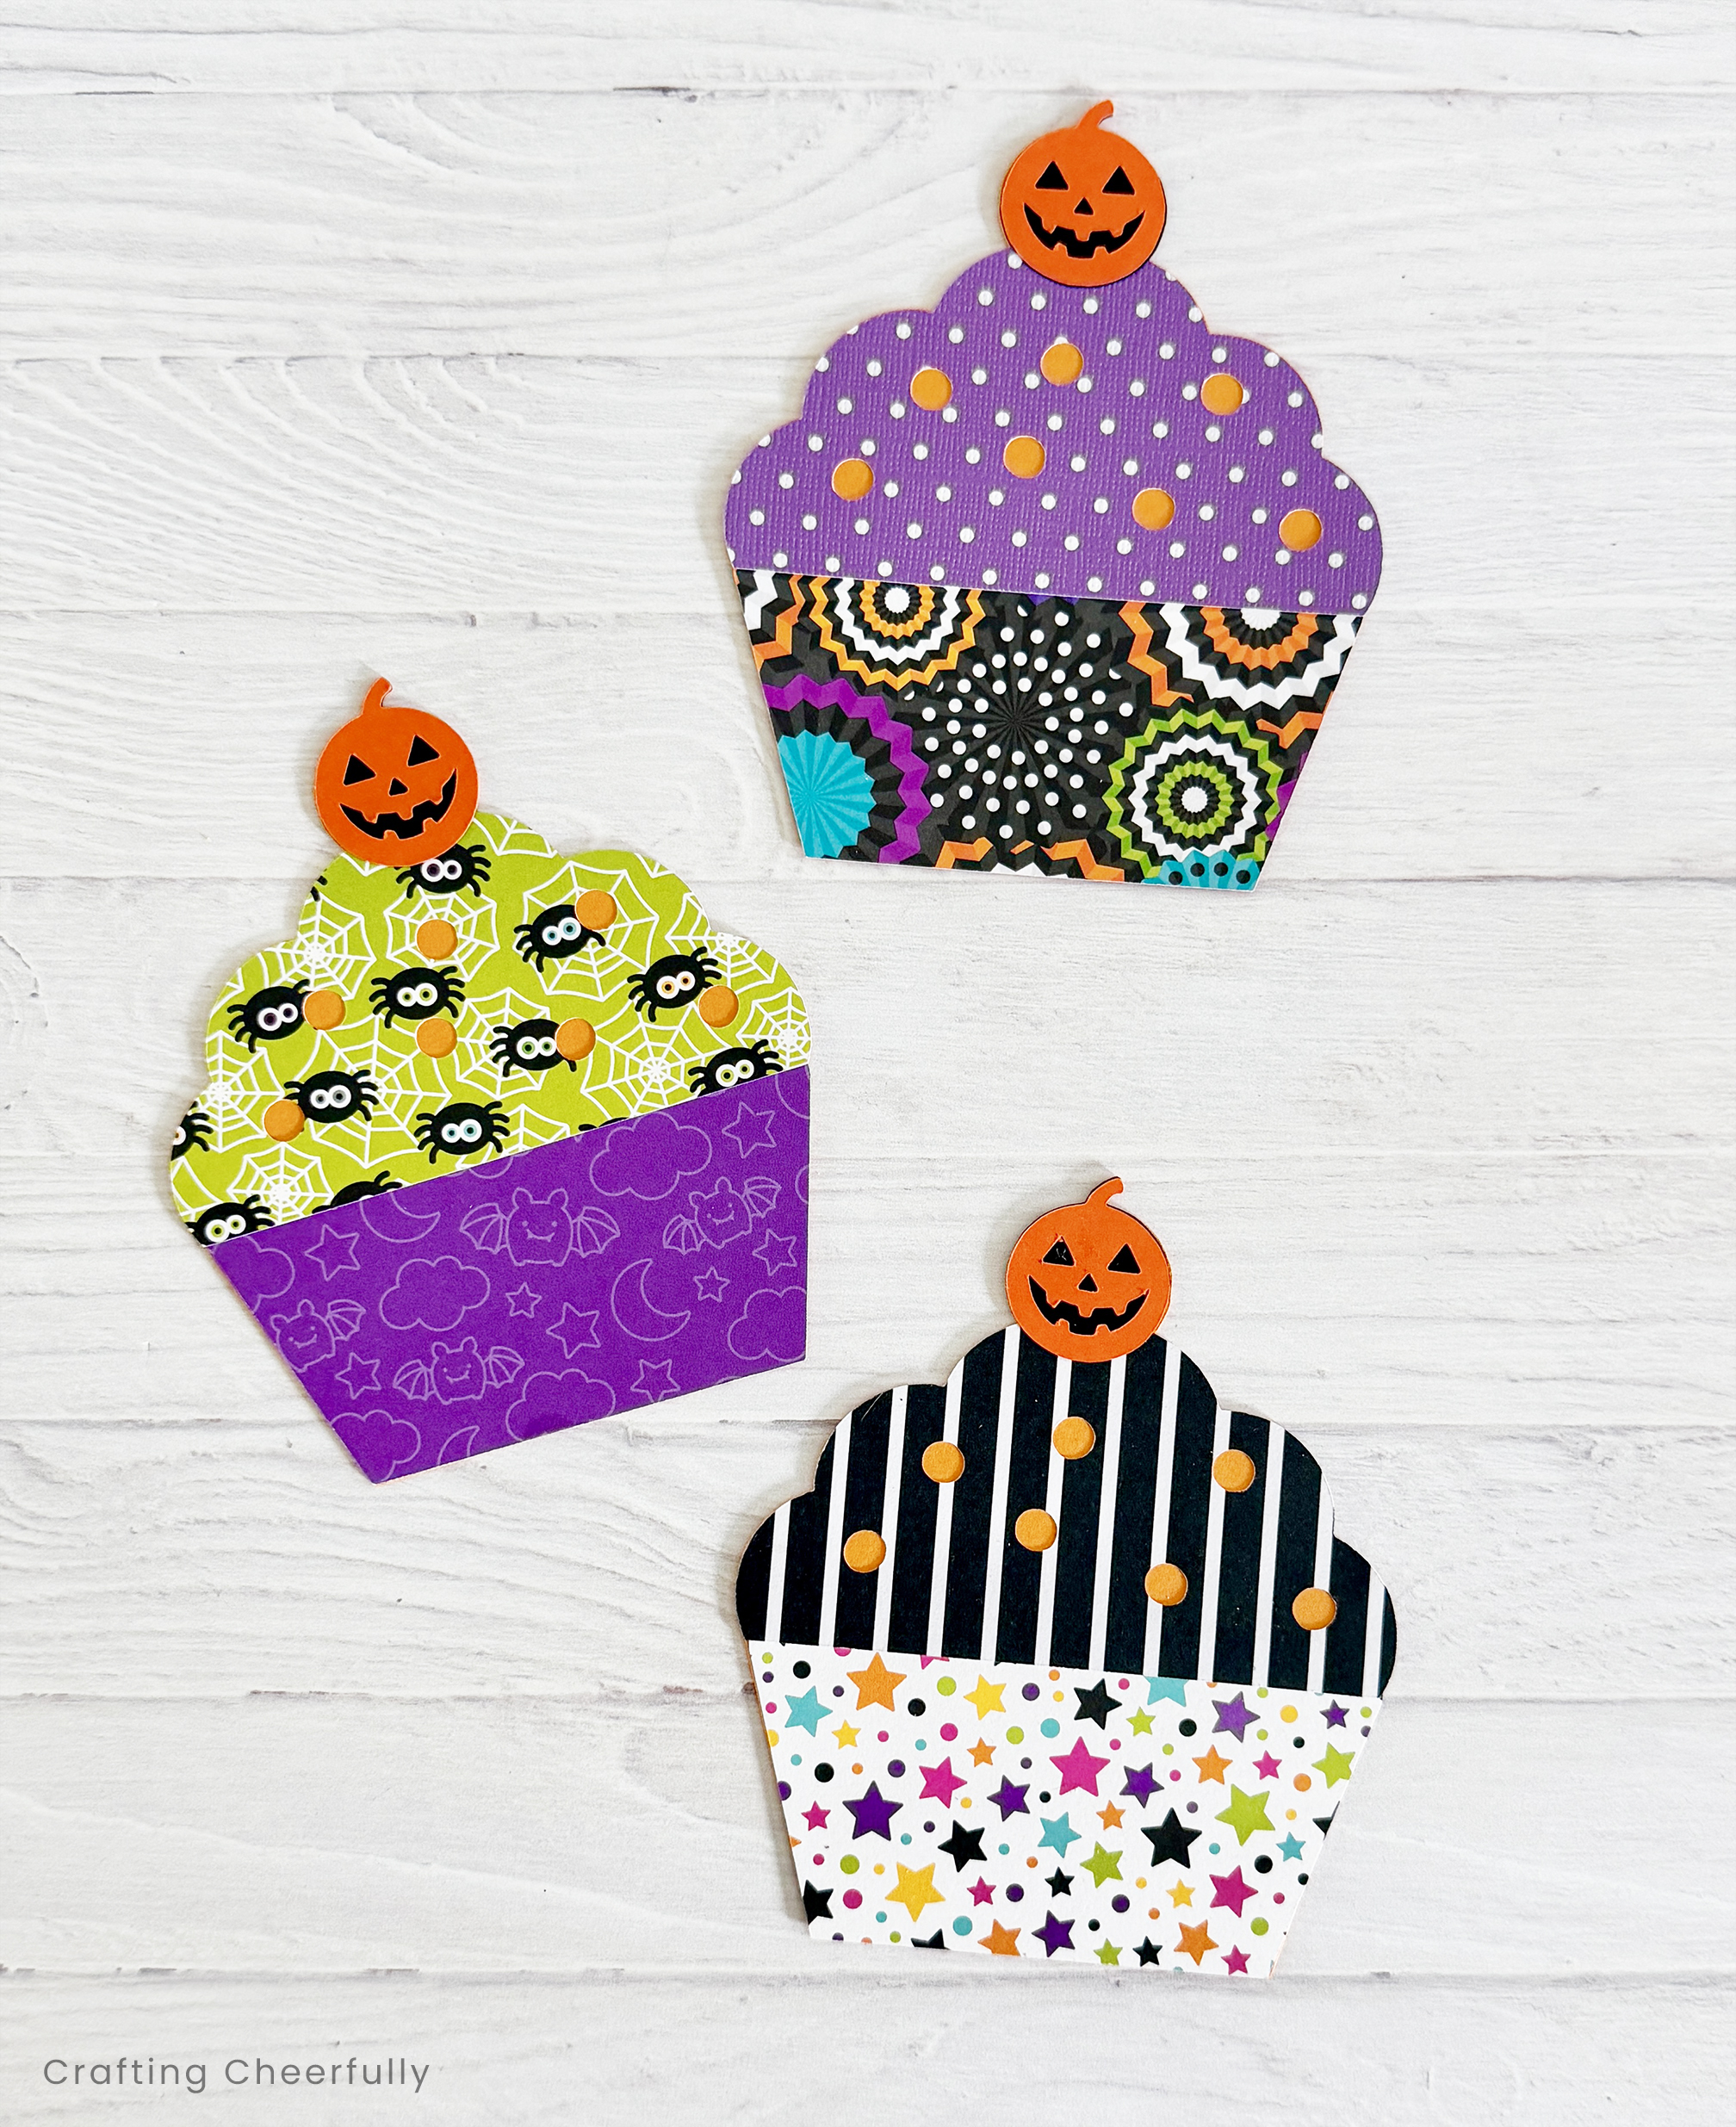
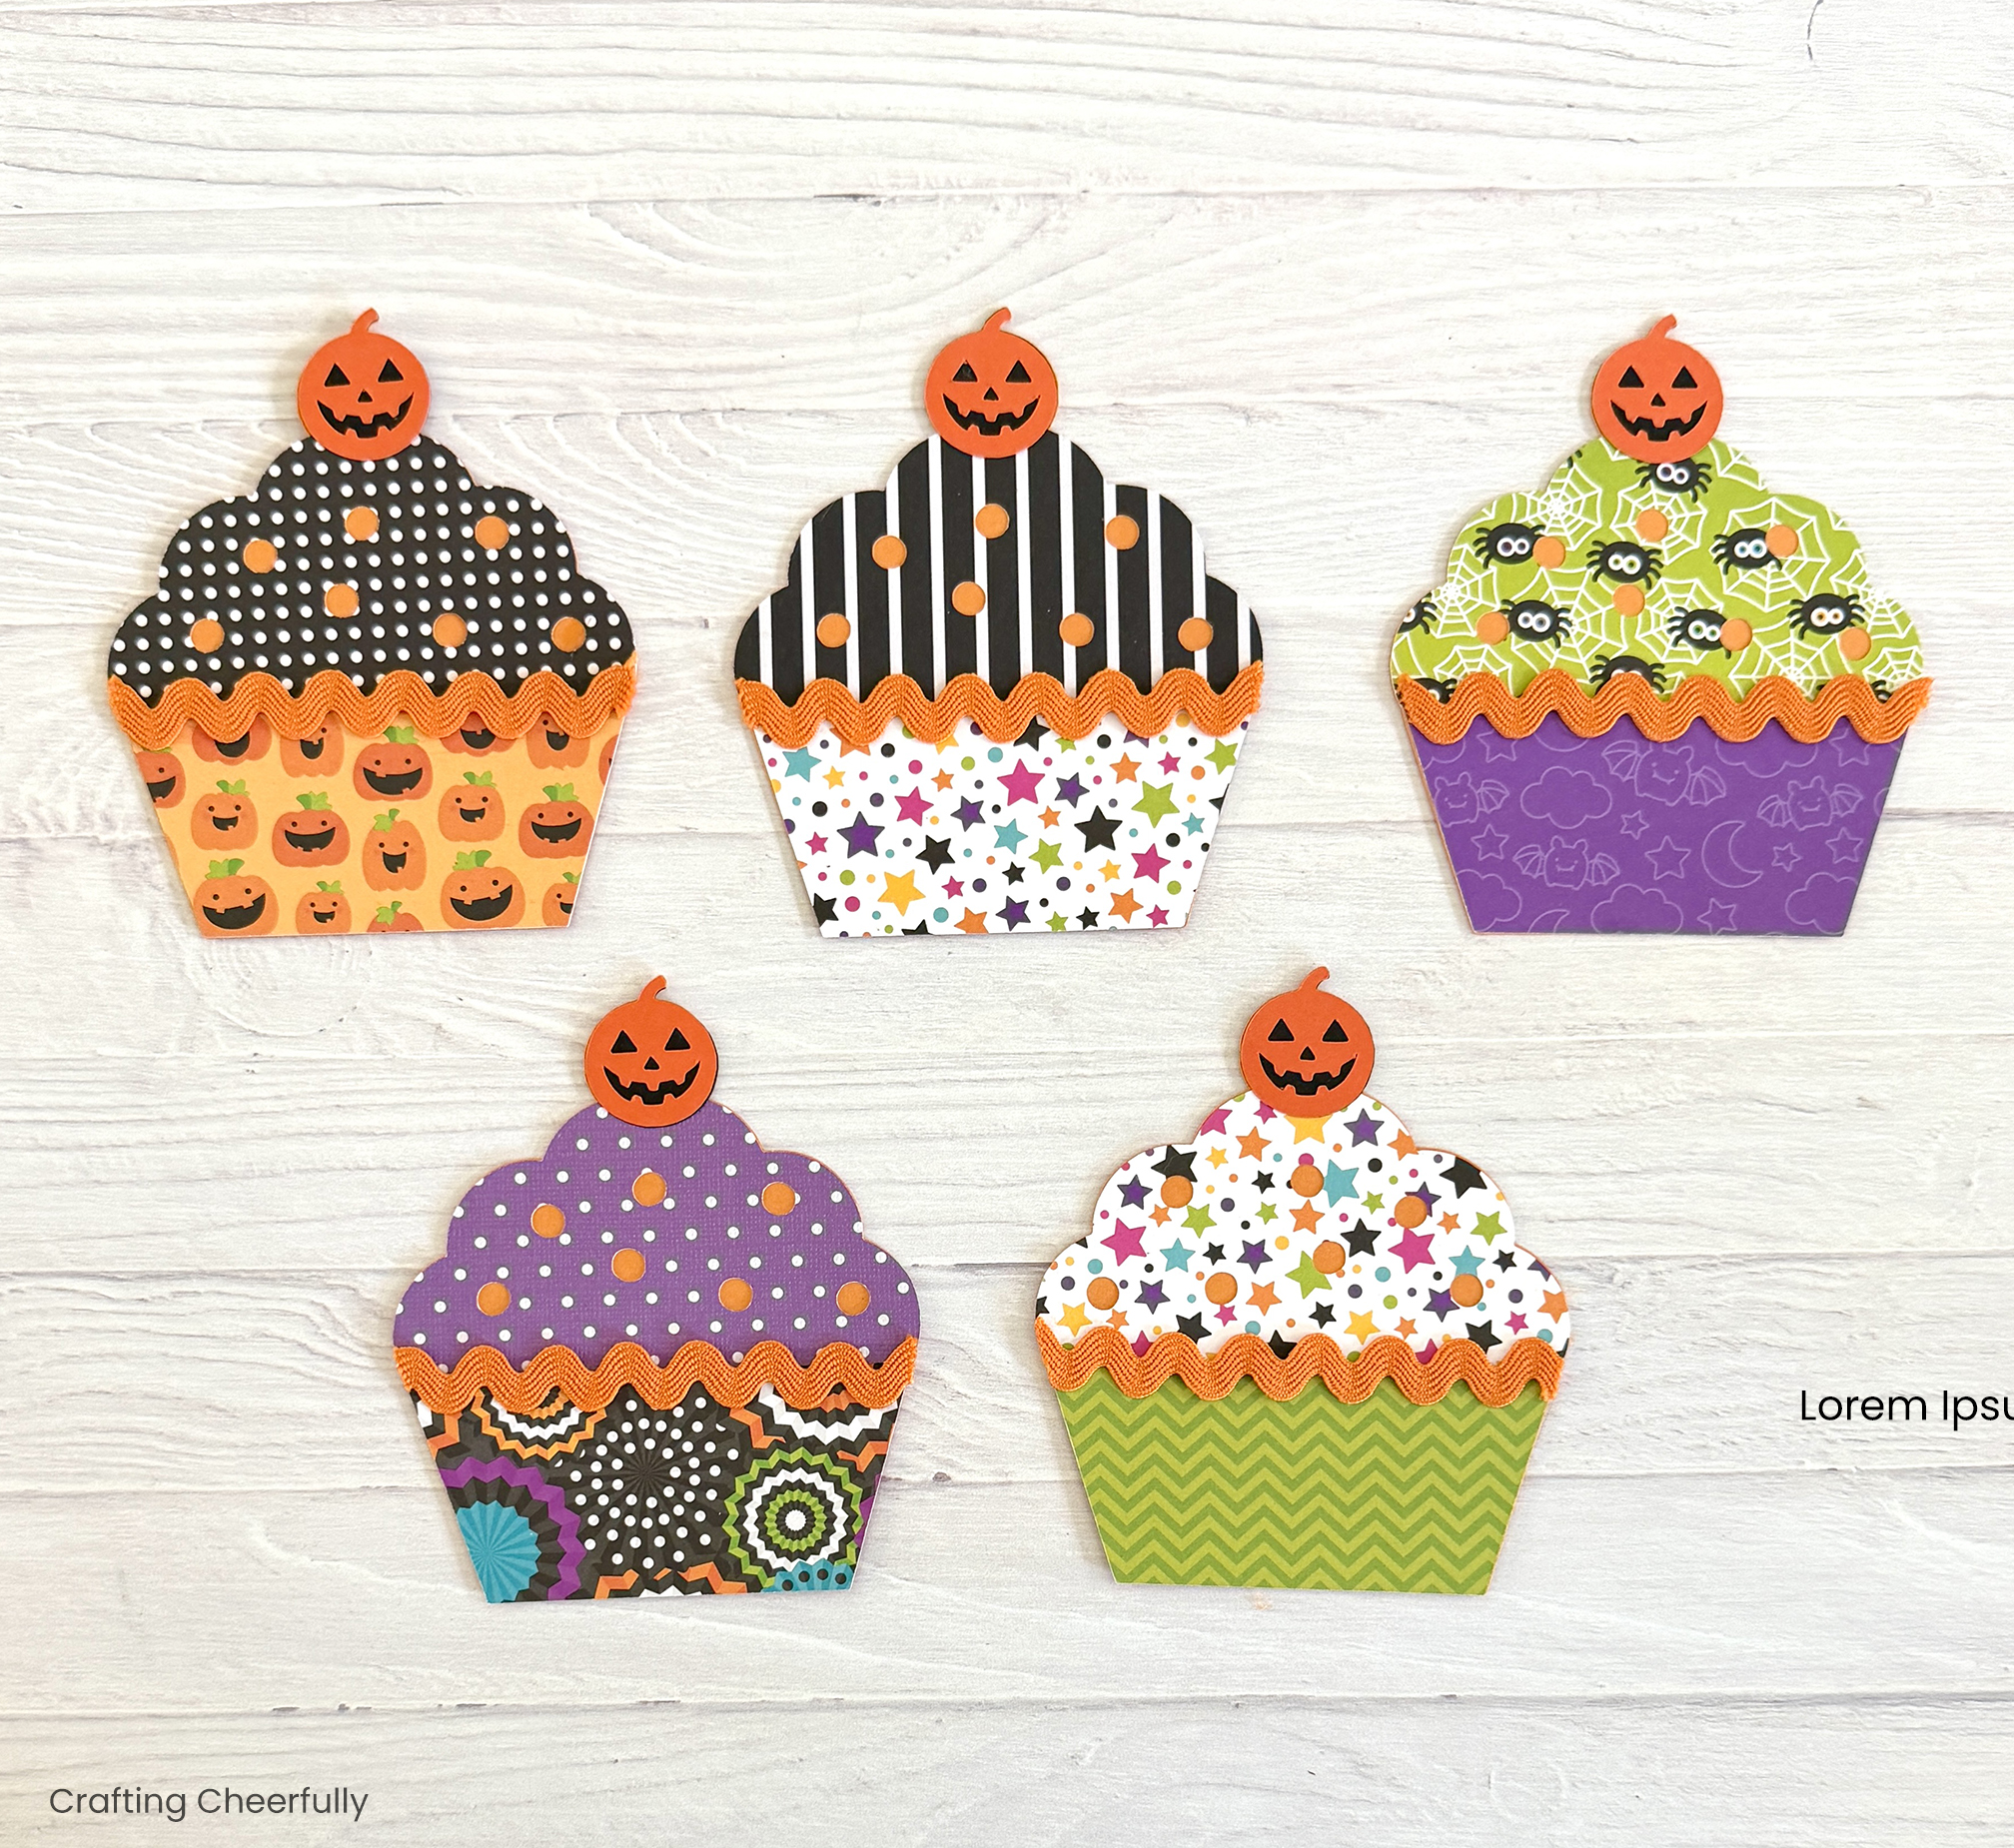
One of my favorite parts of making this banner was picking out the paper. I searched my paper stash and found Halloween-themed scraps leftover from the Halloween Accordion Album I made a few years ago. I paired these scraps with polk dots, stripes and zig-zag patterns for a festive banner!
Banners are one of my absolute favorite ways to quickly decorate for a special occasion, event or holiday. They can be reused over and over again and usually store flat. I keep a couple birthday banners in a drawer in our dining room so I can quickly add a birthday banner for birthday dinners. They instantly make any space feel festive!
Choosing the Paper
For my cupcake birthday banner I chose to use Halloween-themed paper from Doodlebug Design. I love using their cute paper prints! The paper for this banner is from their Pumpkin Party and Monster Madness collections. These collections are a few years old but their newer collections, like Sweet and Spooky, would be perfect for this banner!
For the back of my pumpkin pennants, I like to use a sturdy cardstock that will hold up well. I used a sheet of orange Bazzill cardstock.
Adding Rick-Rack to the Banner
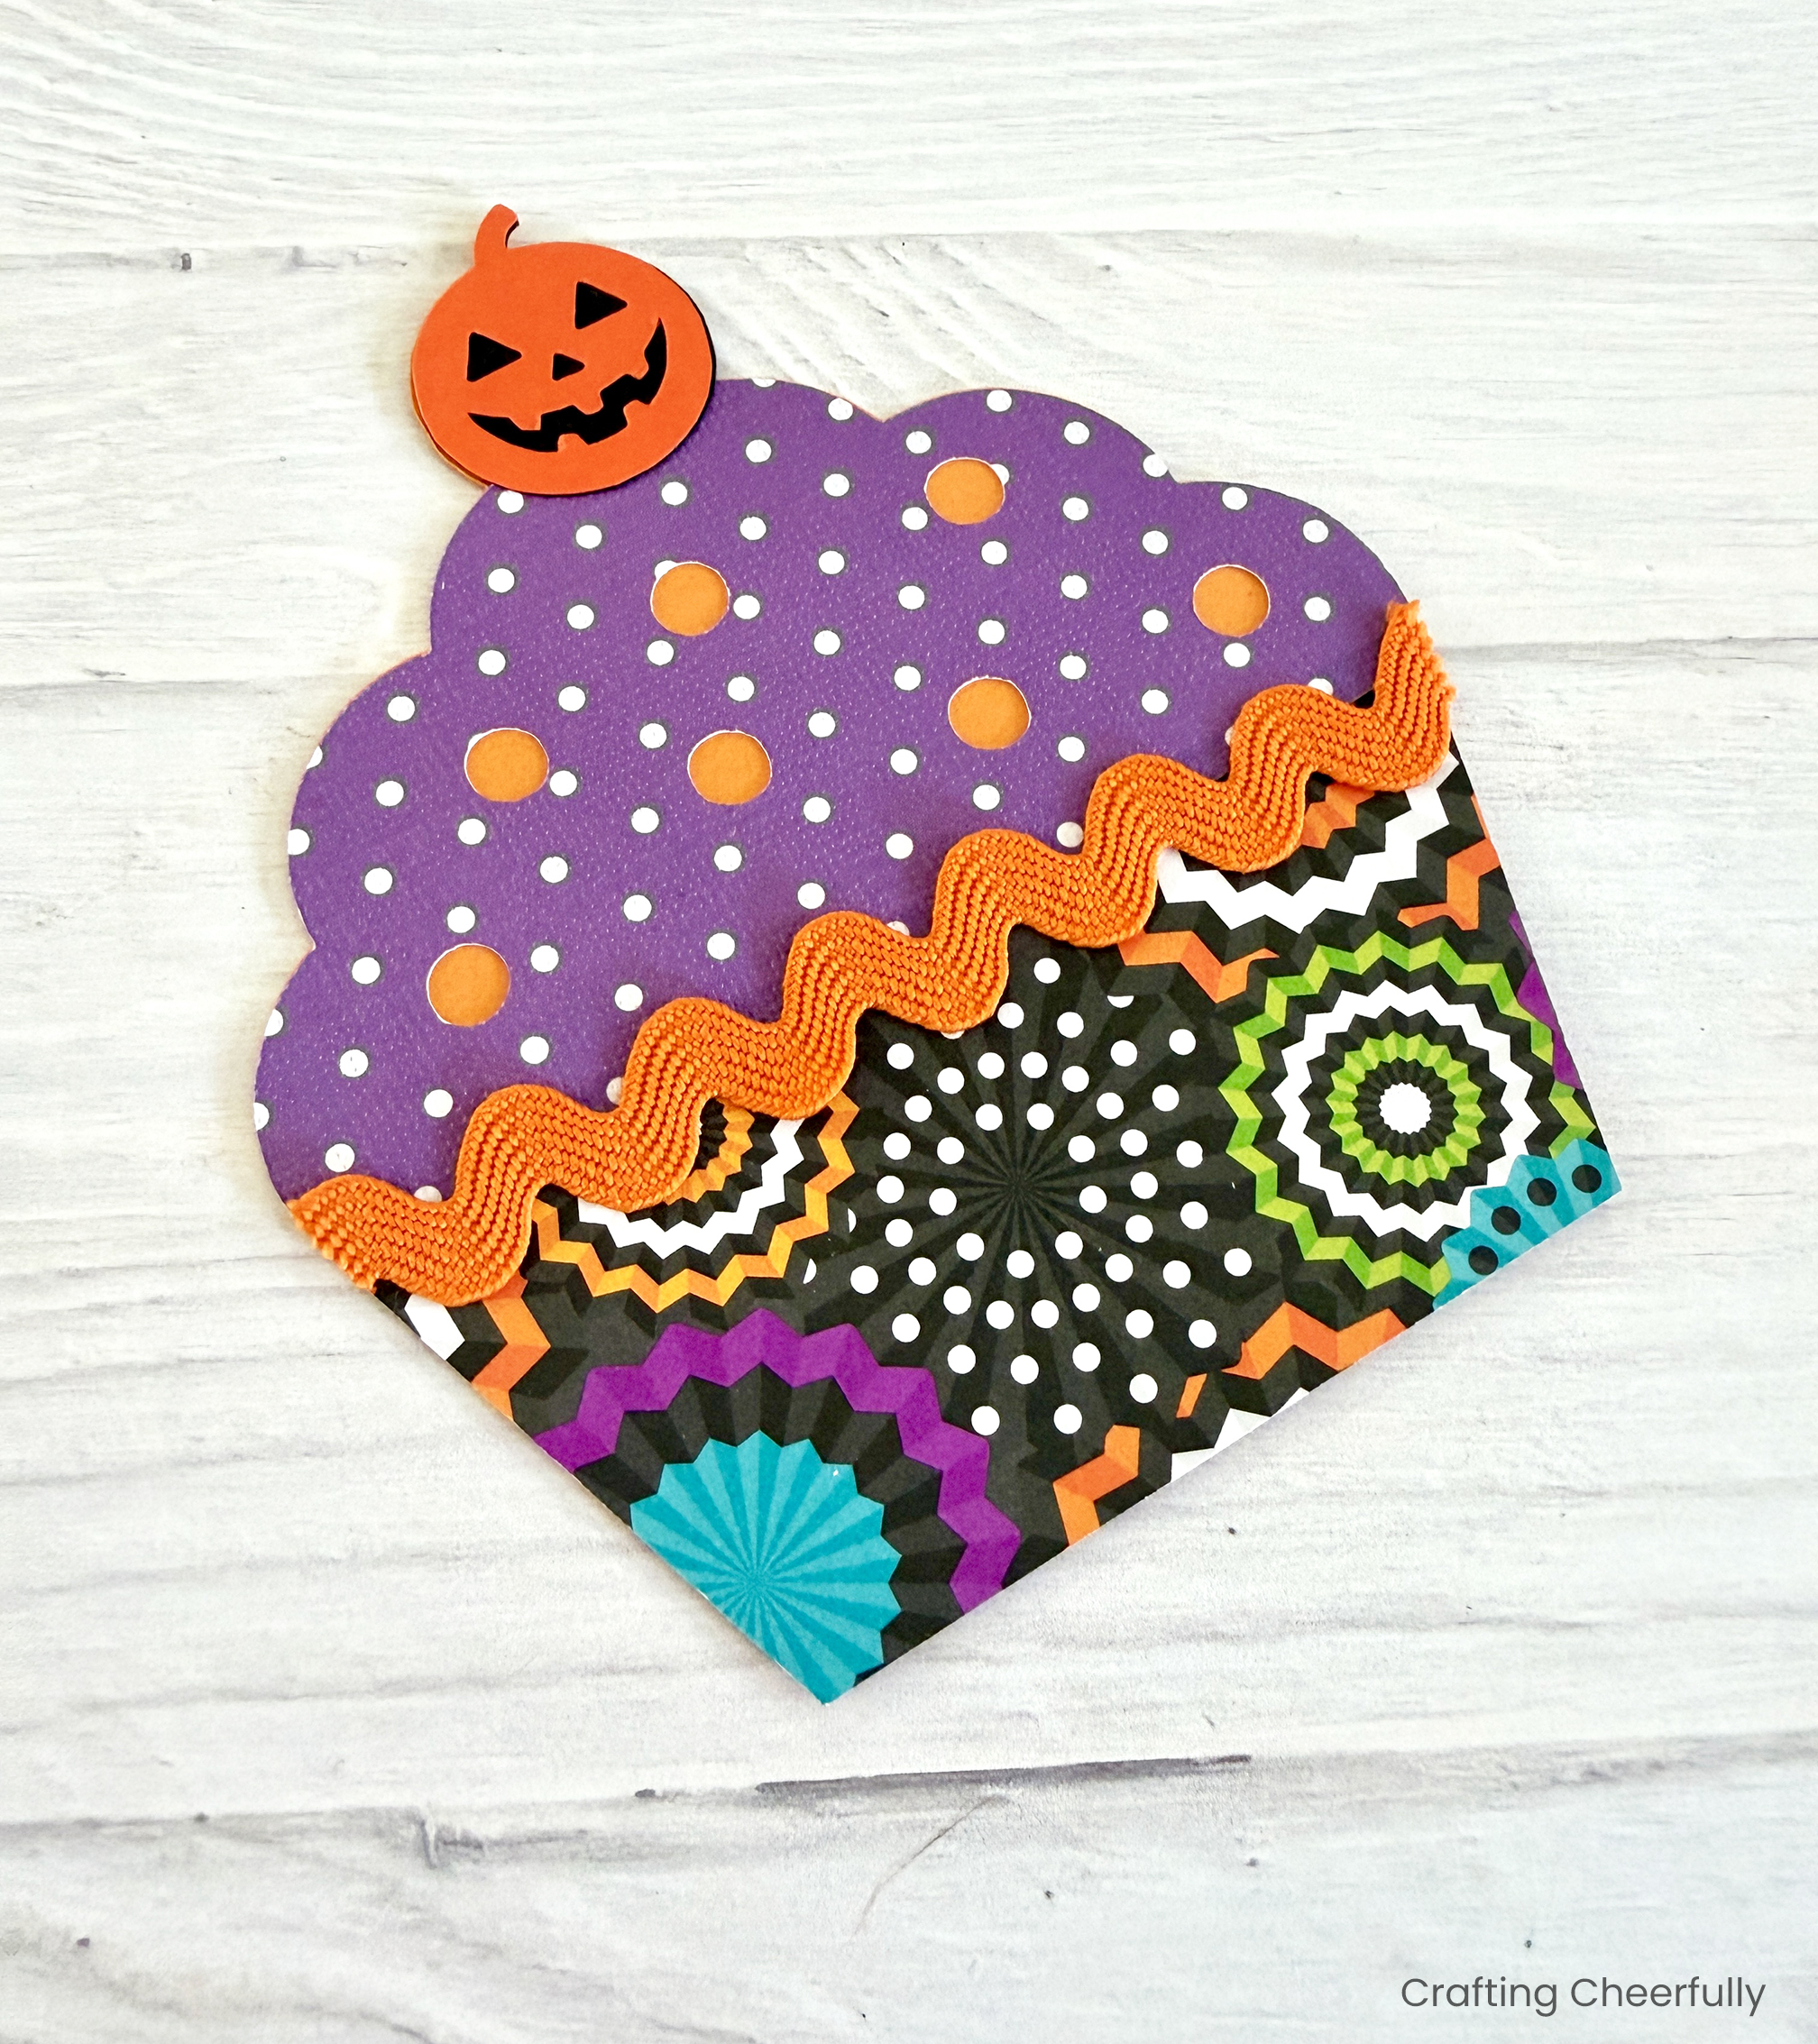
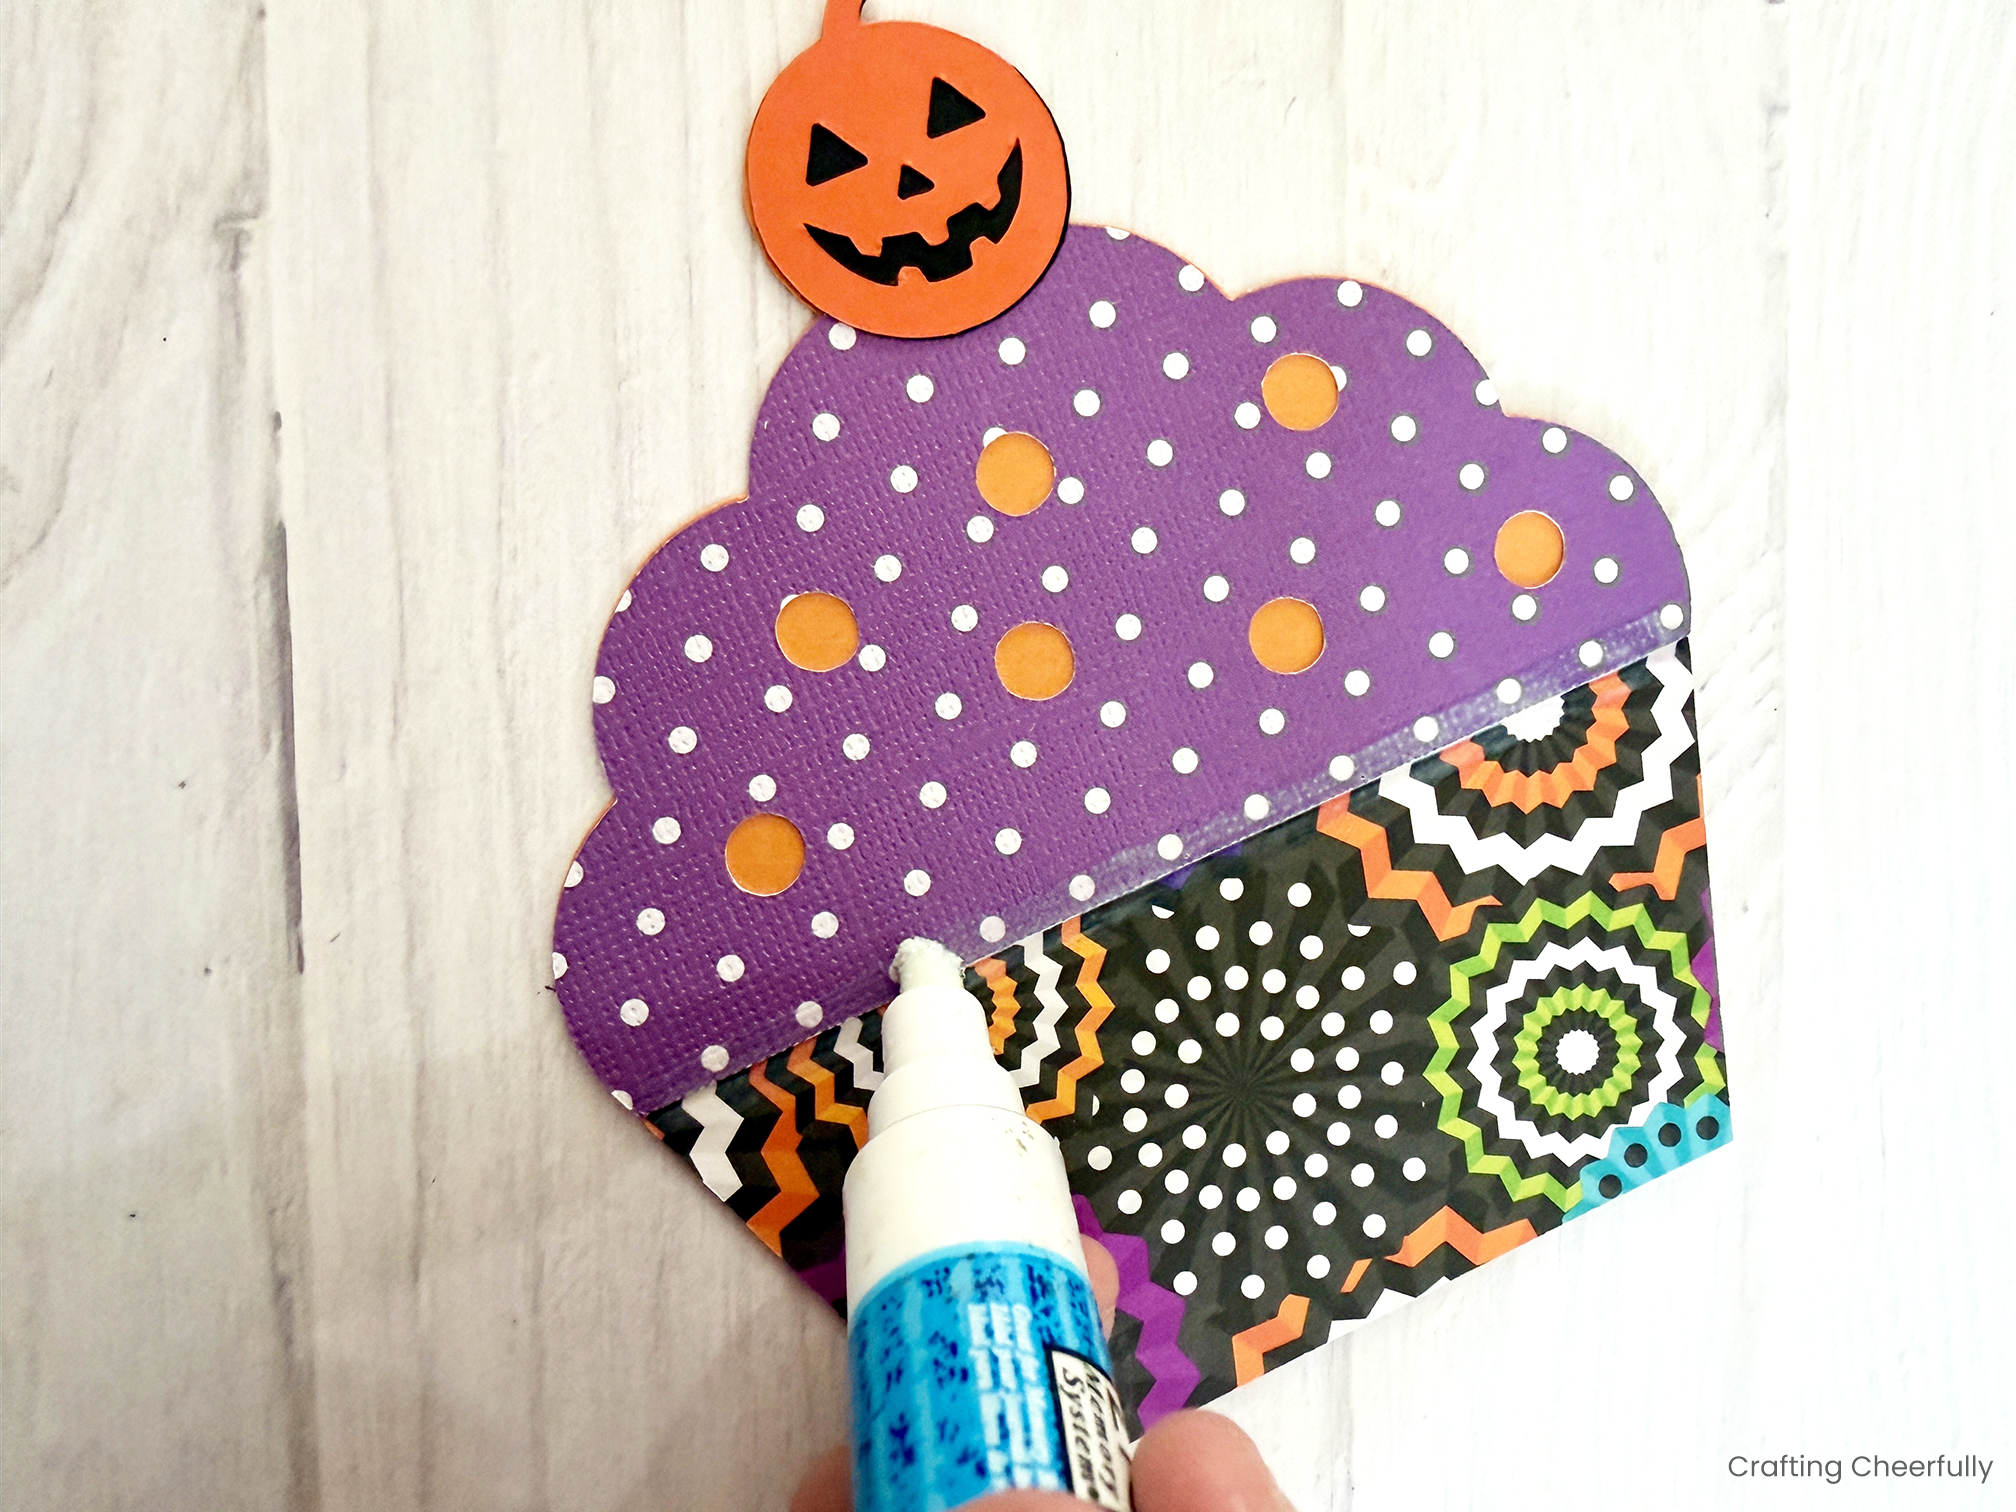
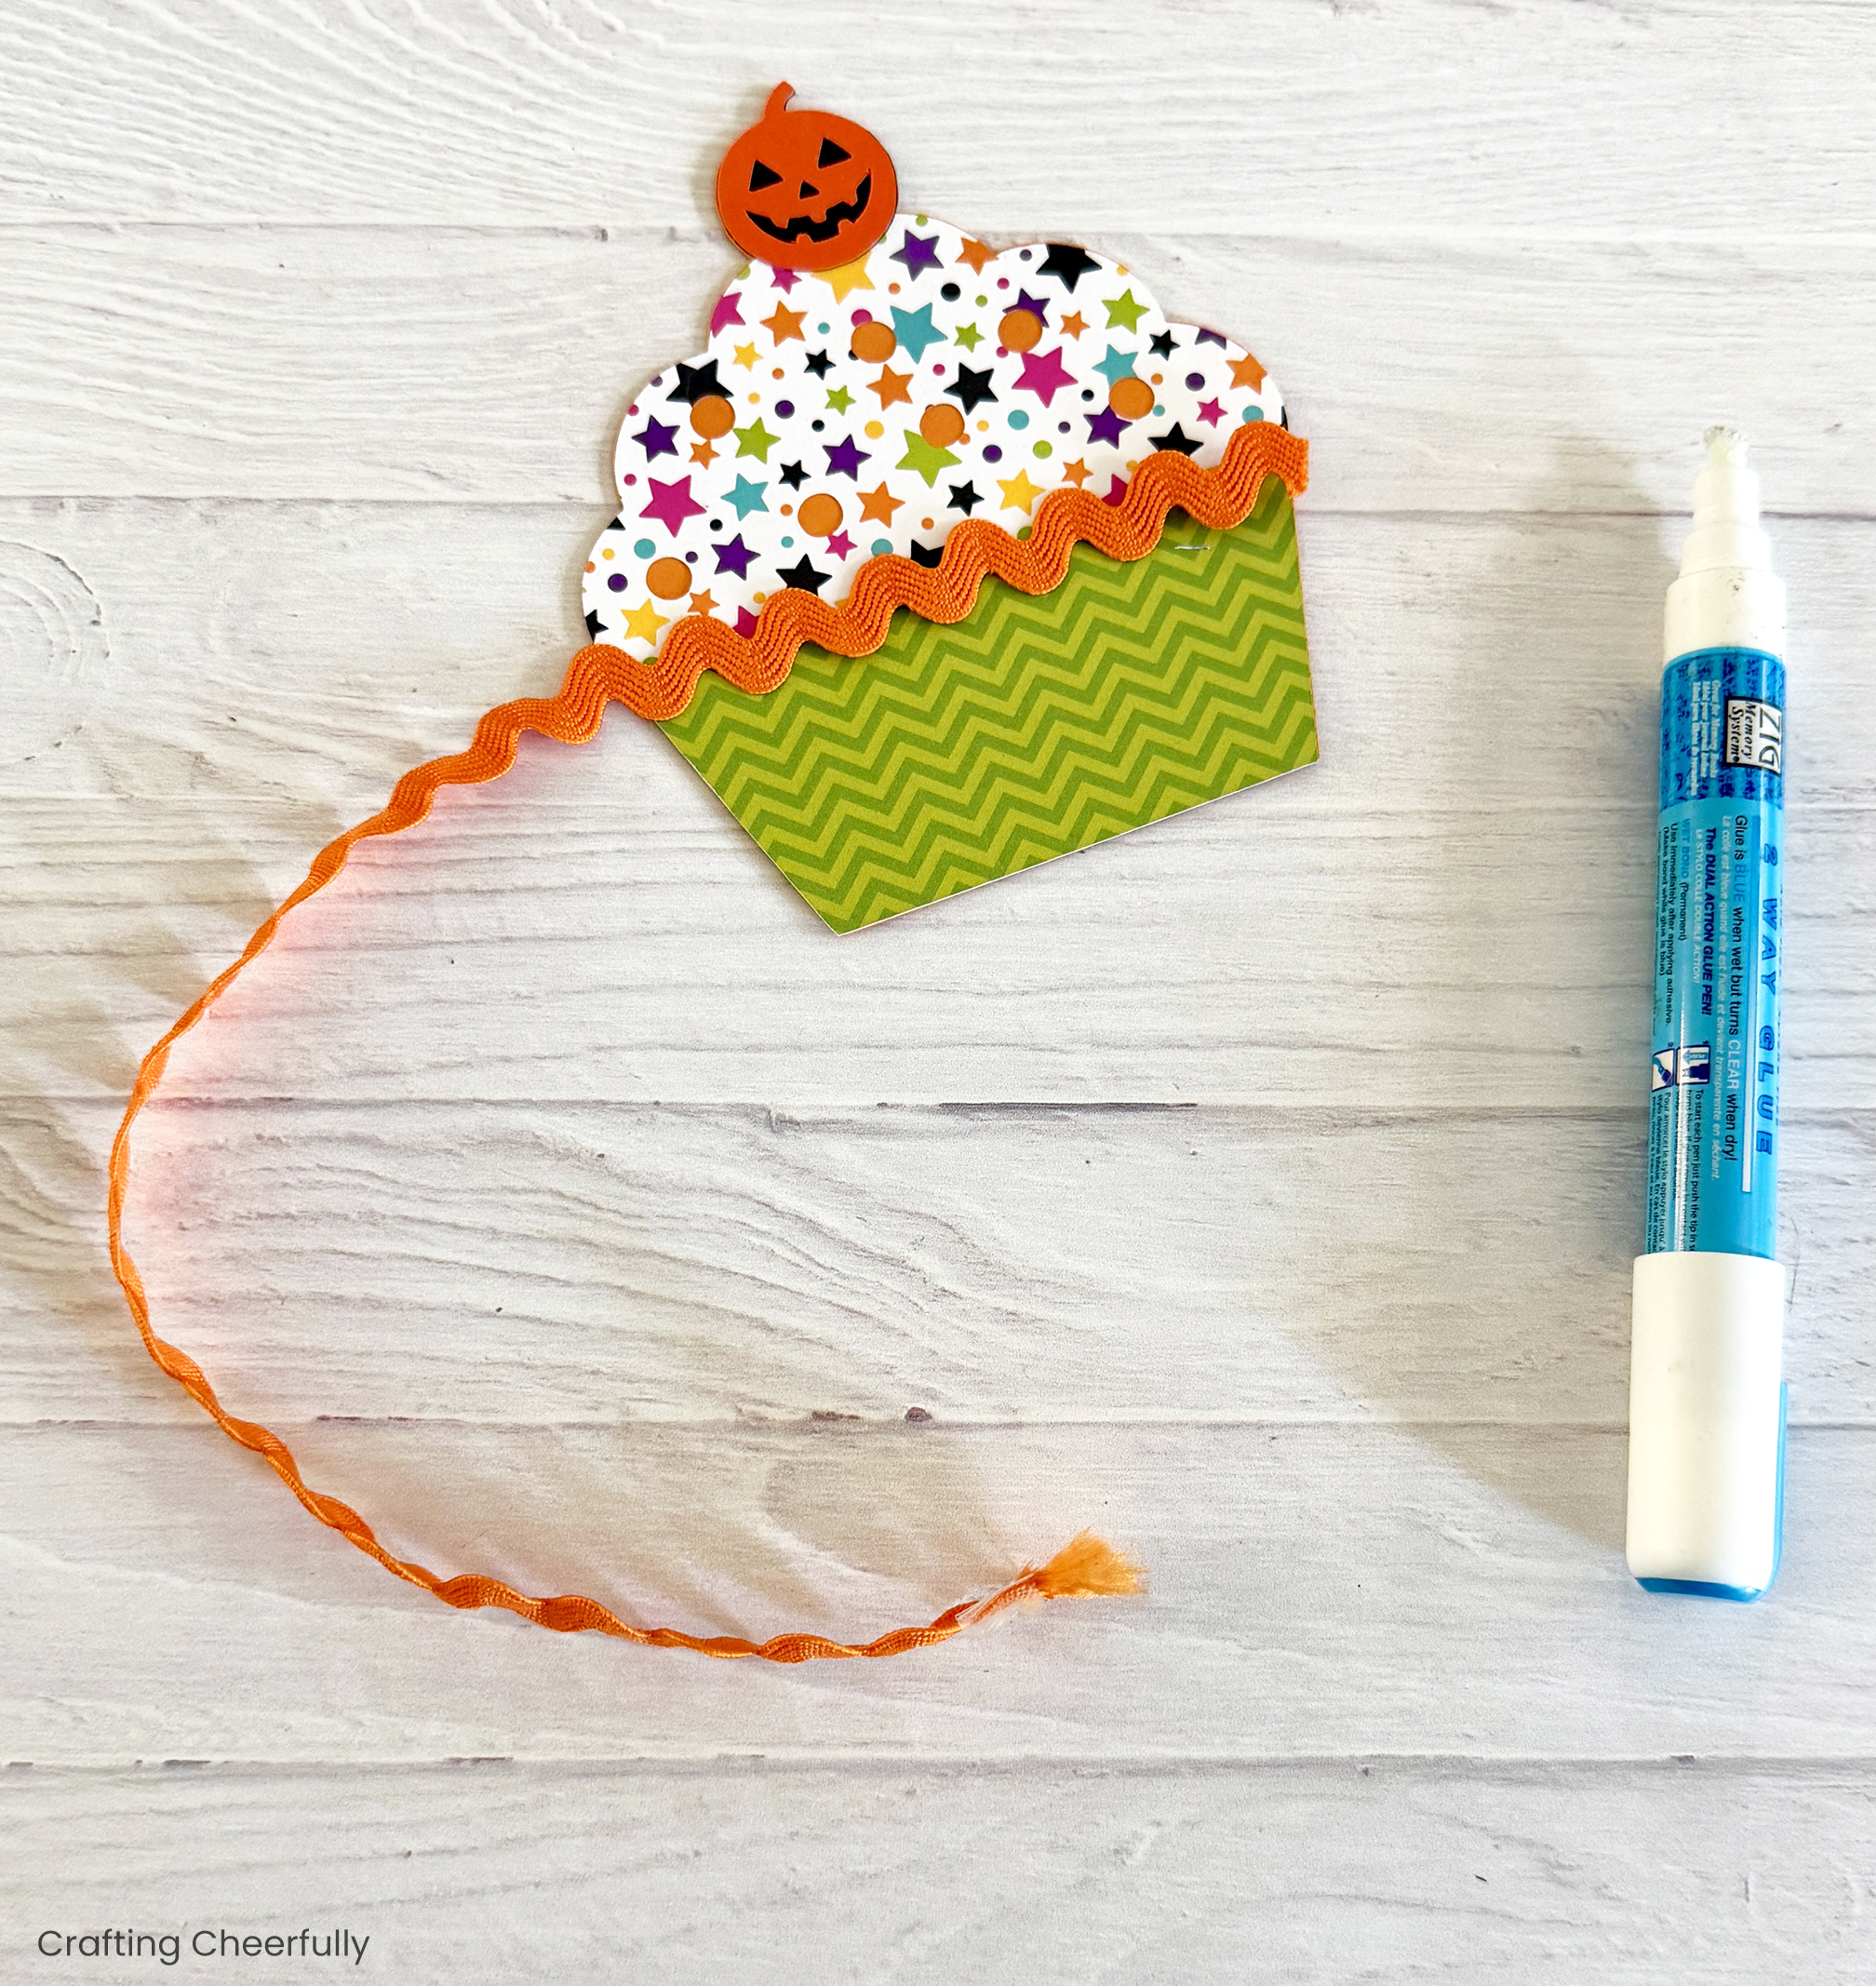
My favorite part of this banner is 100% the rick-rack trim on each of the cupcake pennants. It adds such a fun dimensional element to the paper banner and is perfect for imitating the top of a real cupcake liner.
How to Make a Halloween Cupcake Banner
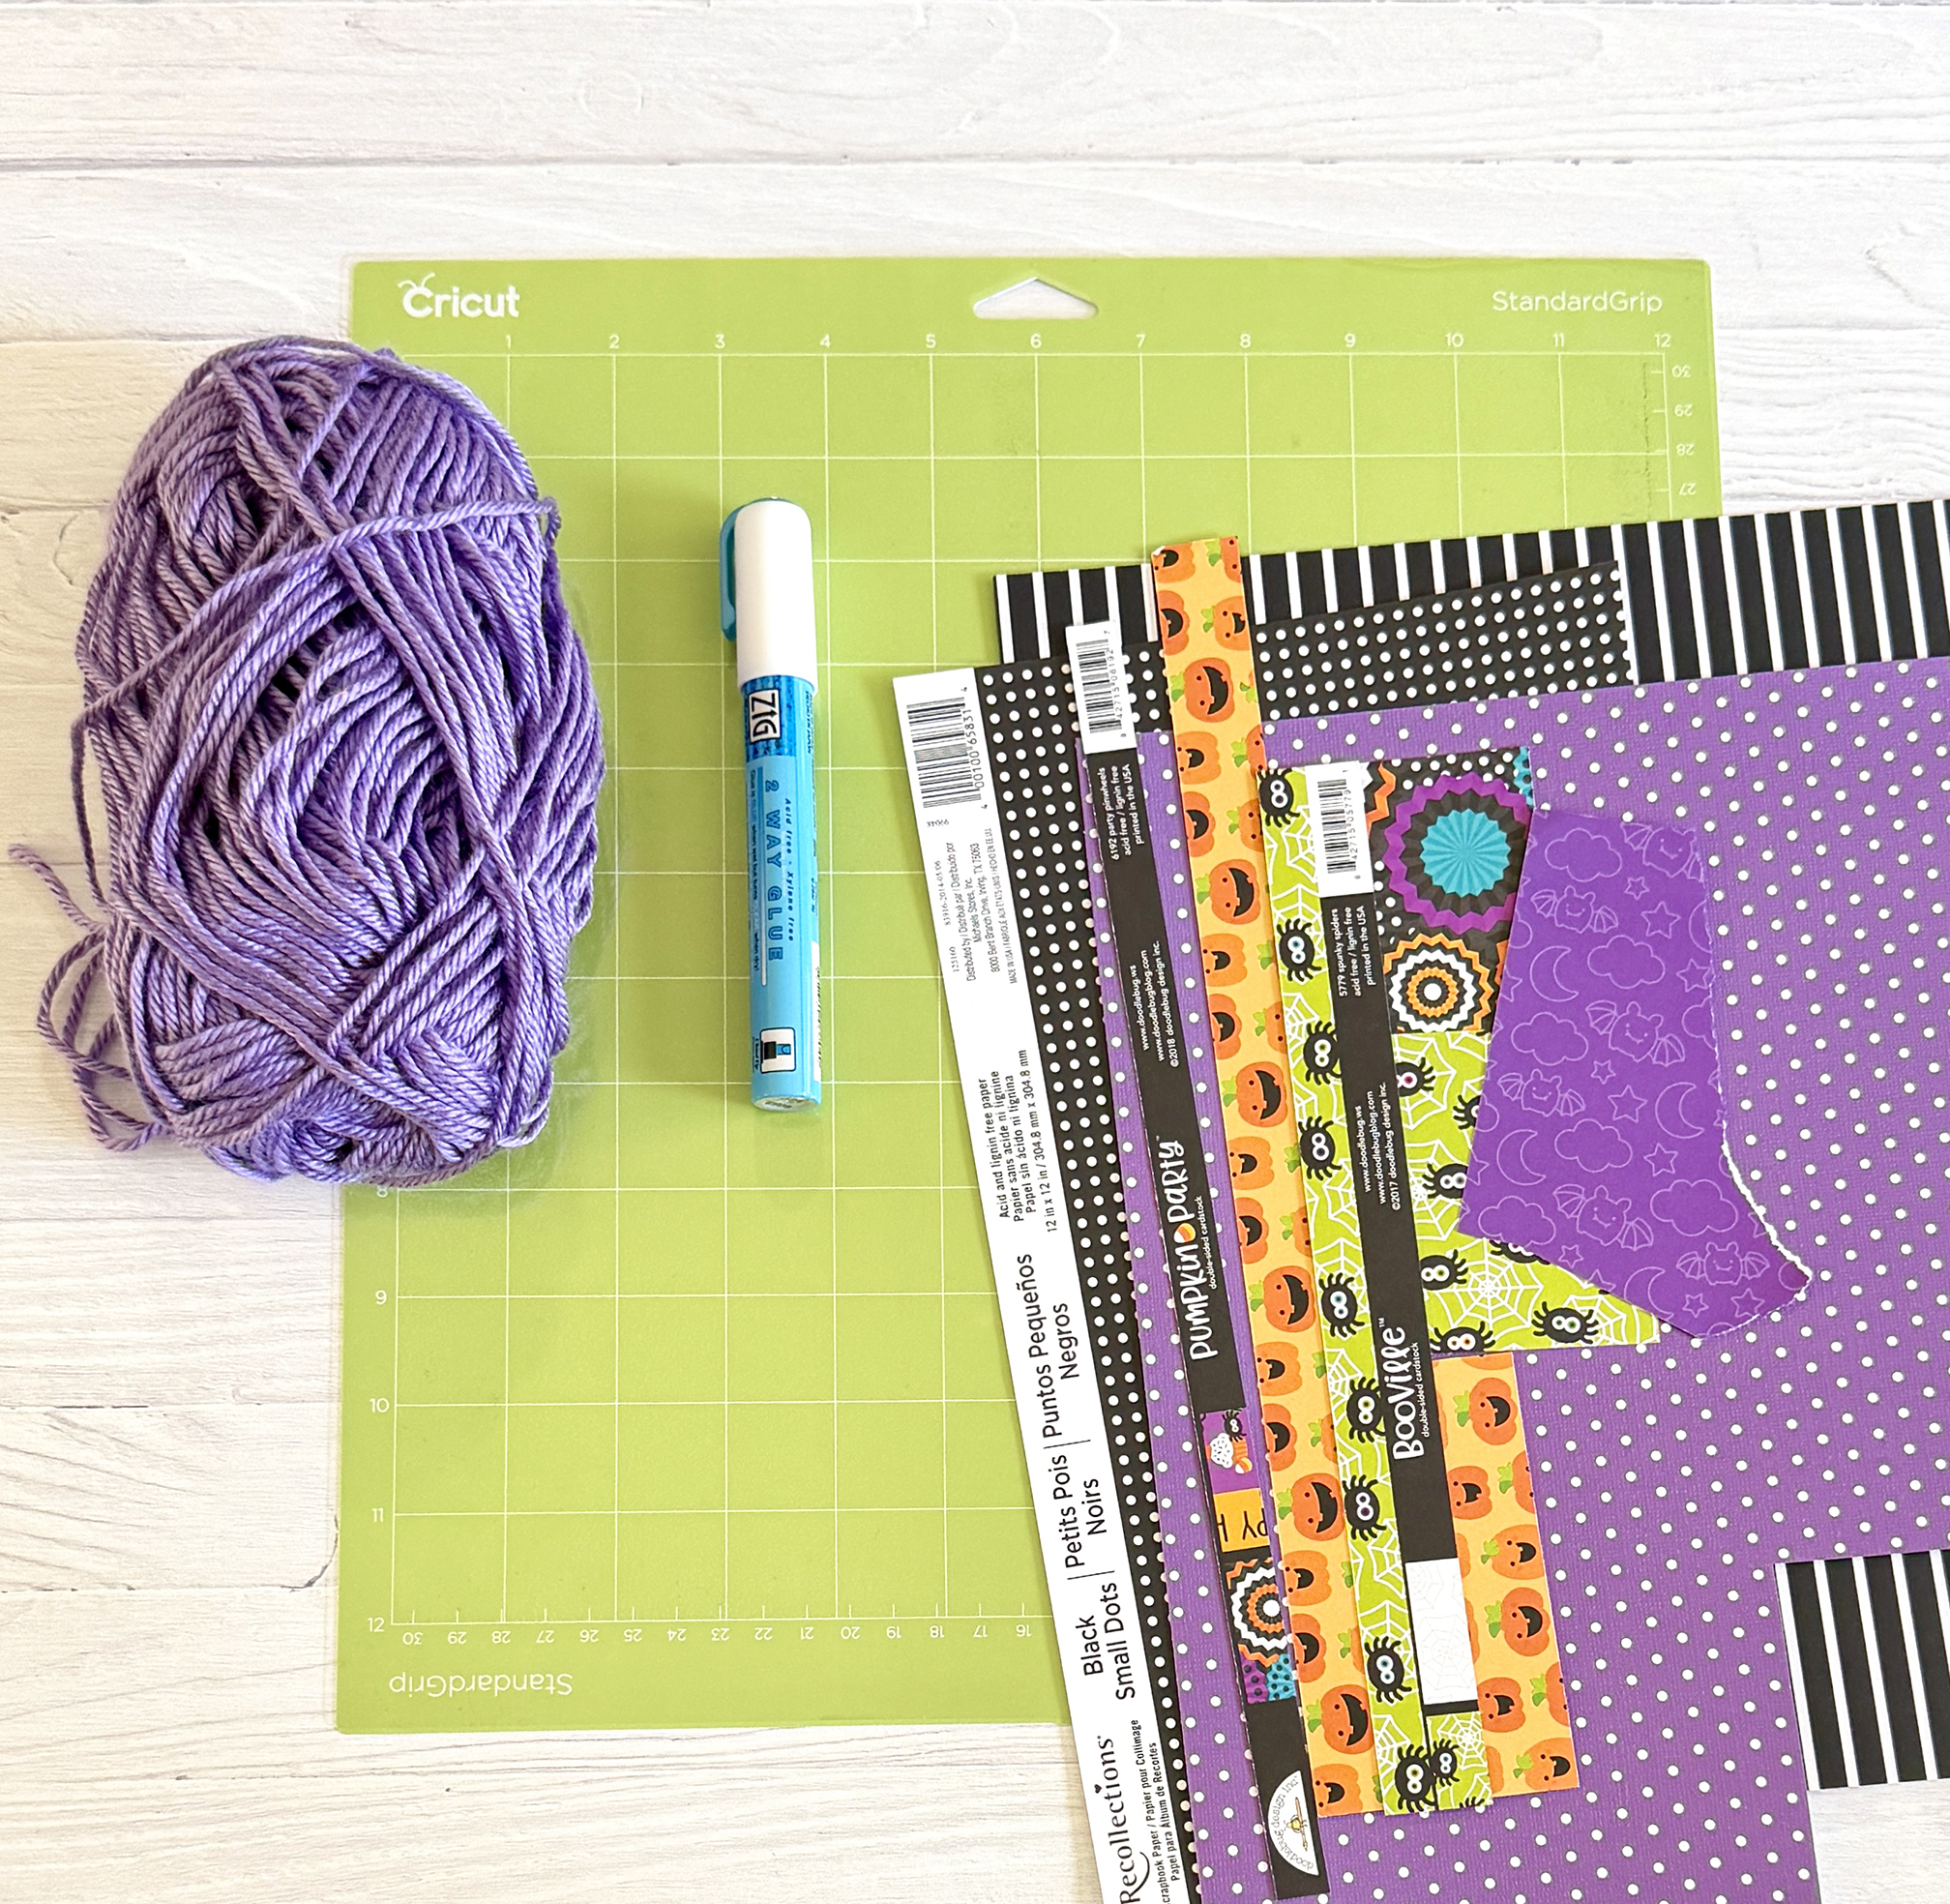
Supplies Needed
- Free cupcake PDF and SVG cut files – Grab the free files by filling out the purple form at the end of this post.
- Cardstock
- Sturdy orange cardstock for the base of each cupcake – I like to use Bazzill cardstock for this.
- Patterned paper to decorate the cupcakes
- Orange and black cardstock for cherries
- Rick-rack trim in coordinating colors
- Glue pen
- Yarn
- Hole punch
Step by Step Tutorial
Step One: Cut the pieces for the banner using your Cricut cutting machine. First download and save the cut file to your computer. Open Design Space and upload the image, then insert it into a new project. I made my banner have five pennants.
If cutting the pieces by hand, the jack-o’-lantern “cherry” will be tricky to create. Skip cutting out the tiny black pumpkin and just cut the tiny orange pumpkin, then use a black pen or marker to draw the jack-o’-lantern face onto the orange pumpkin pieces.
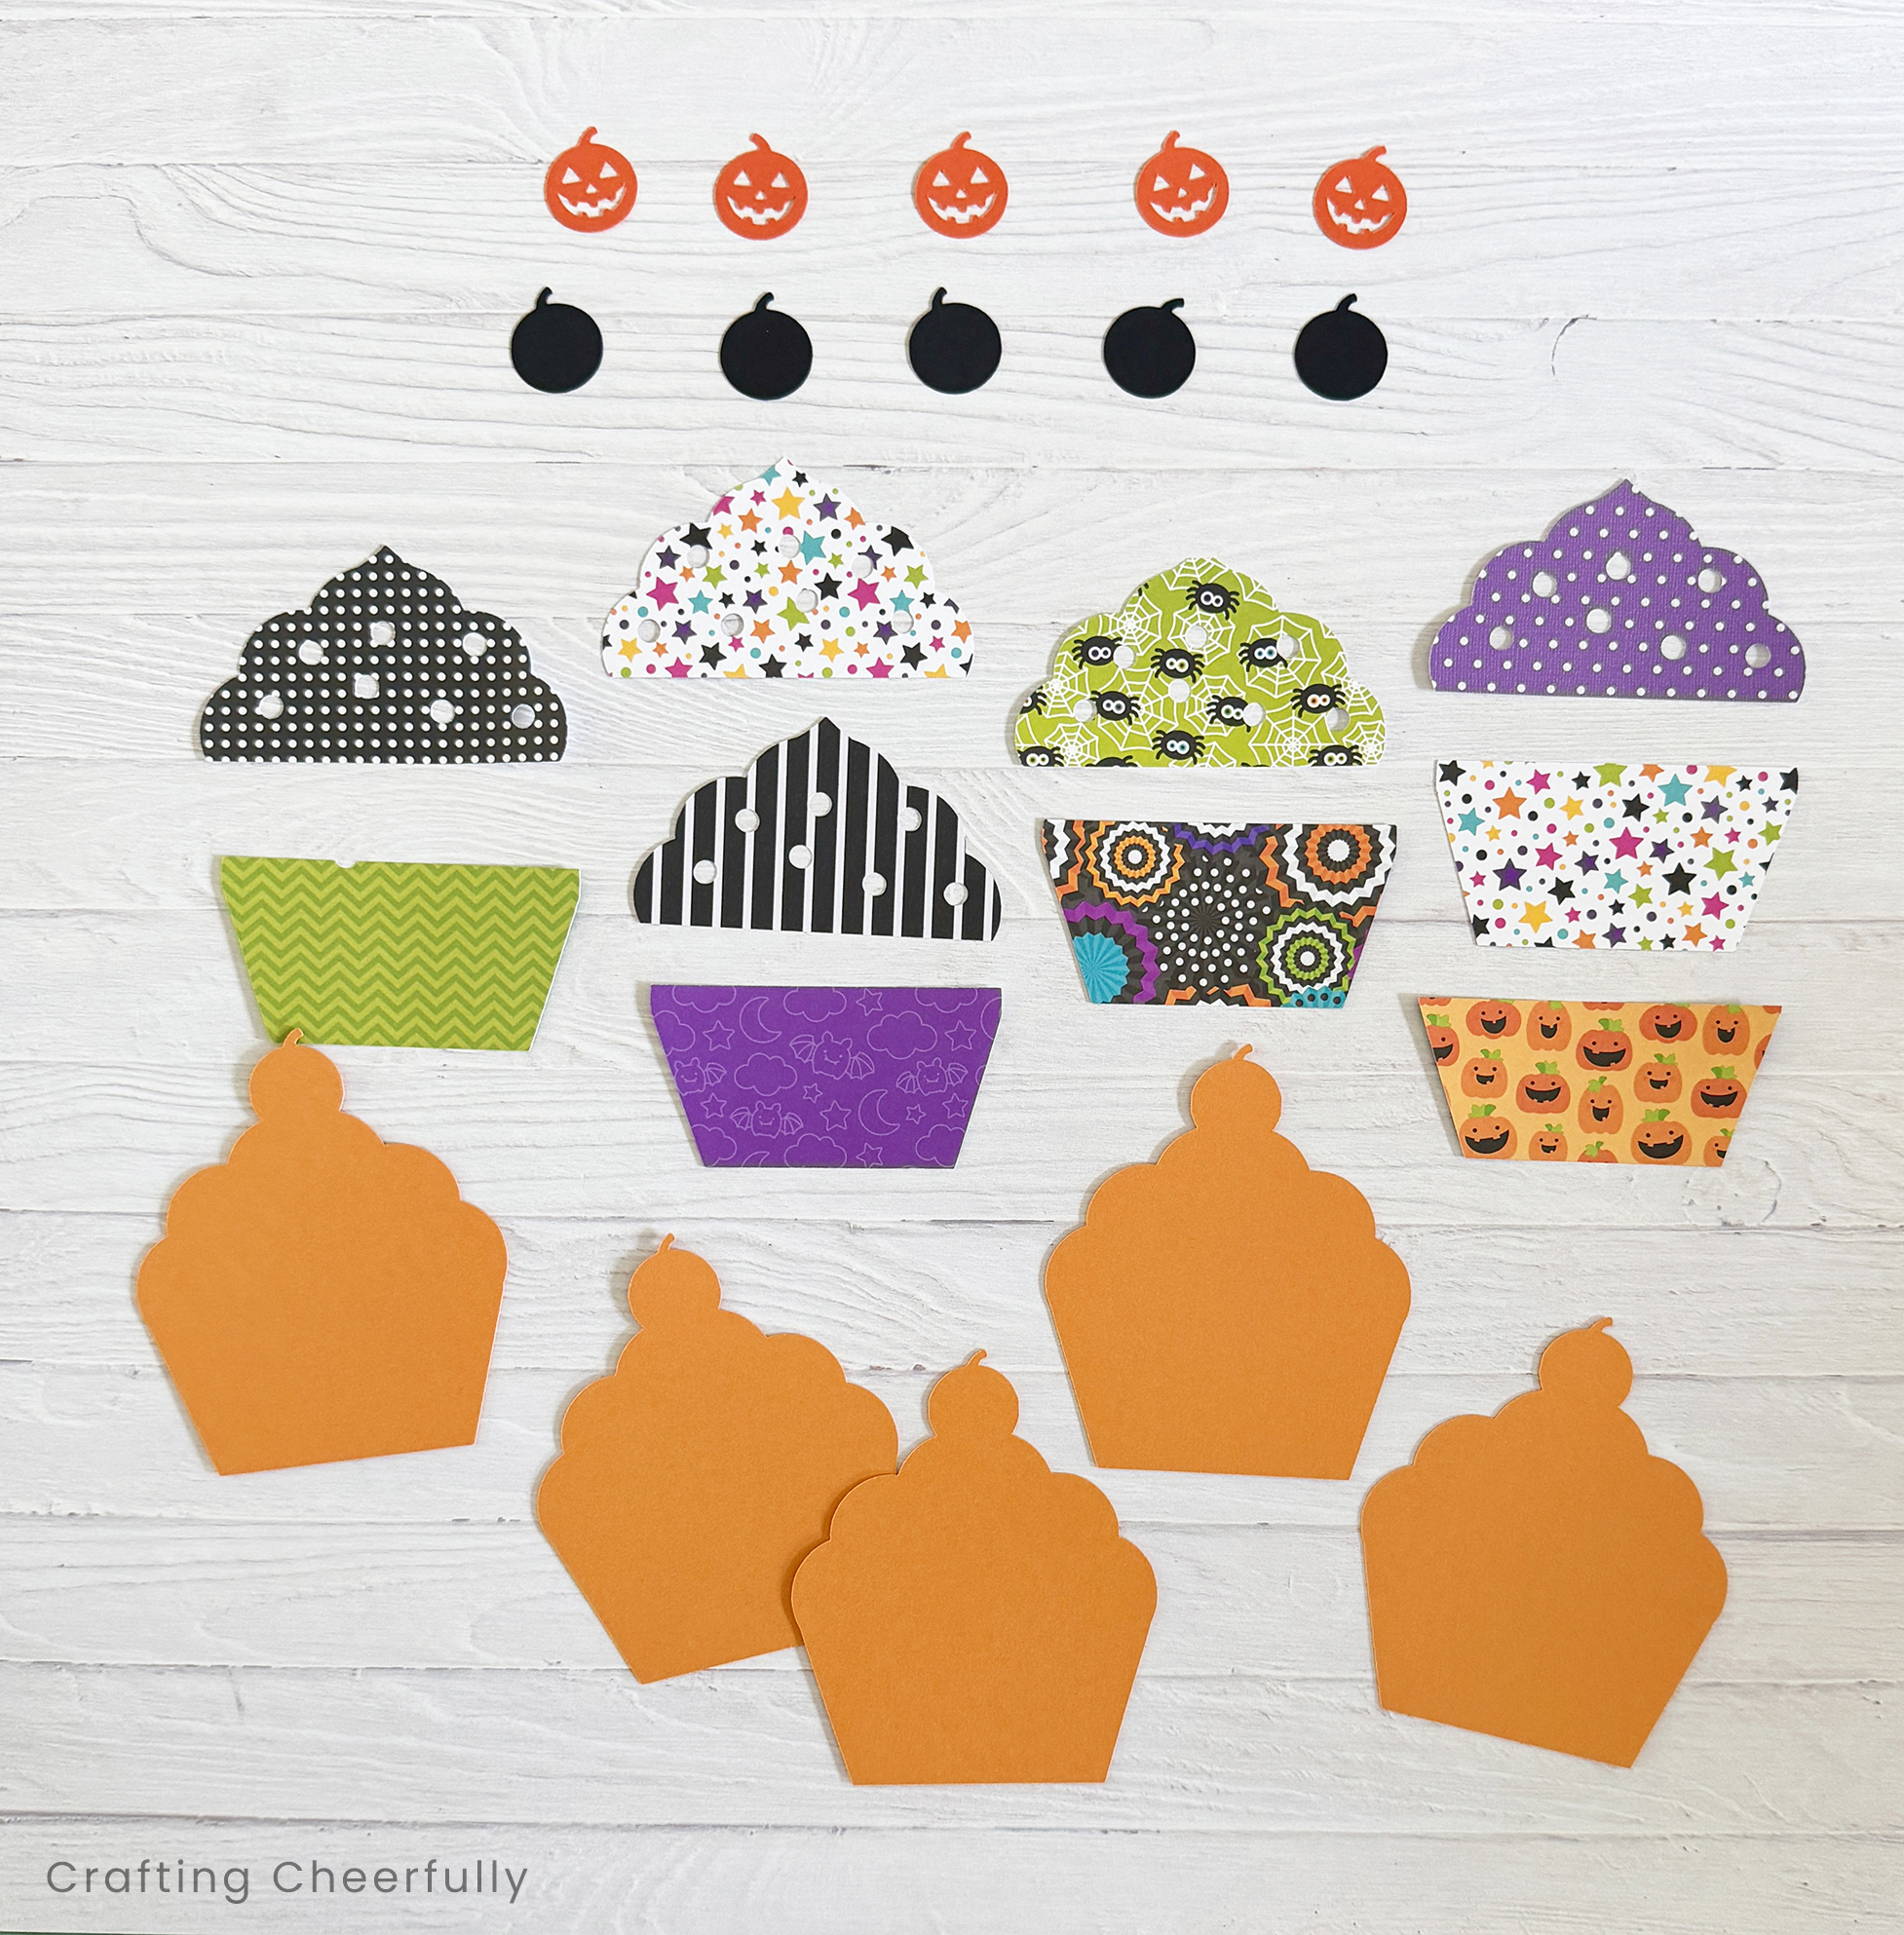
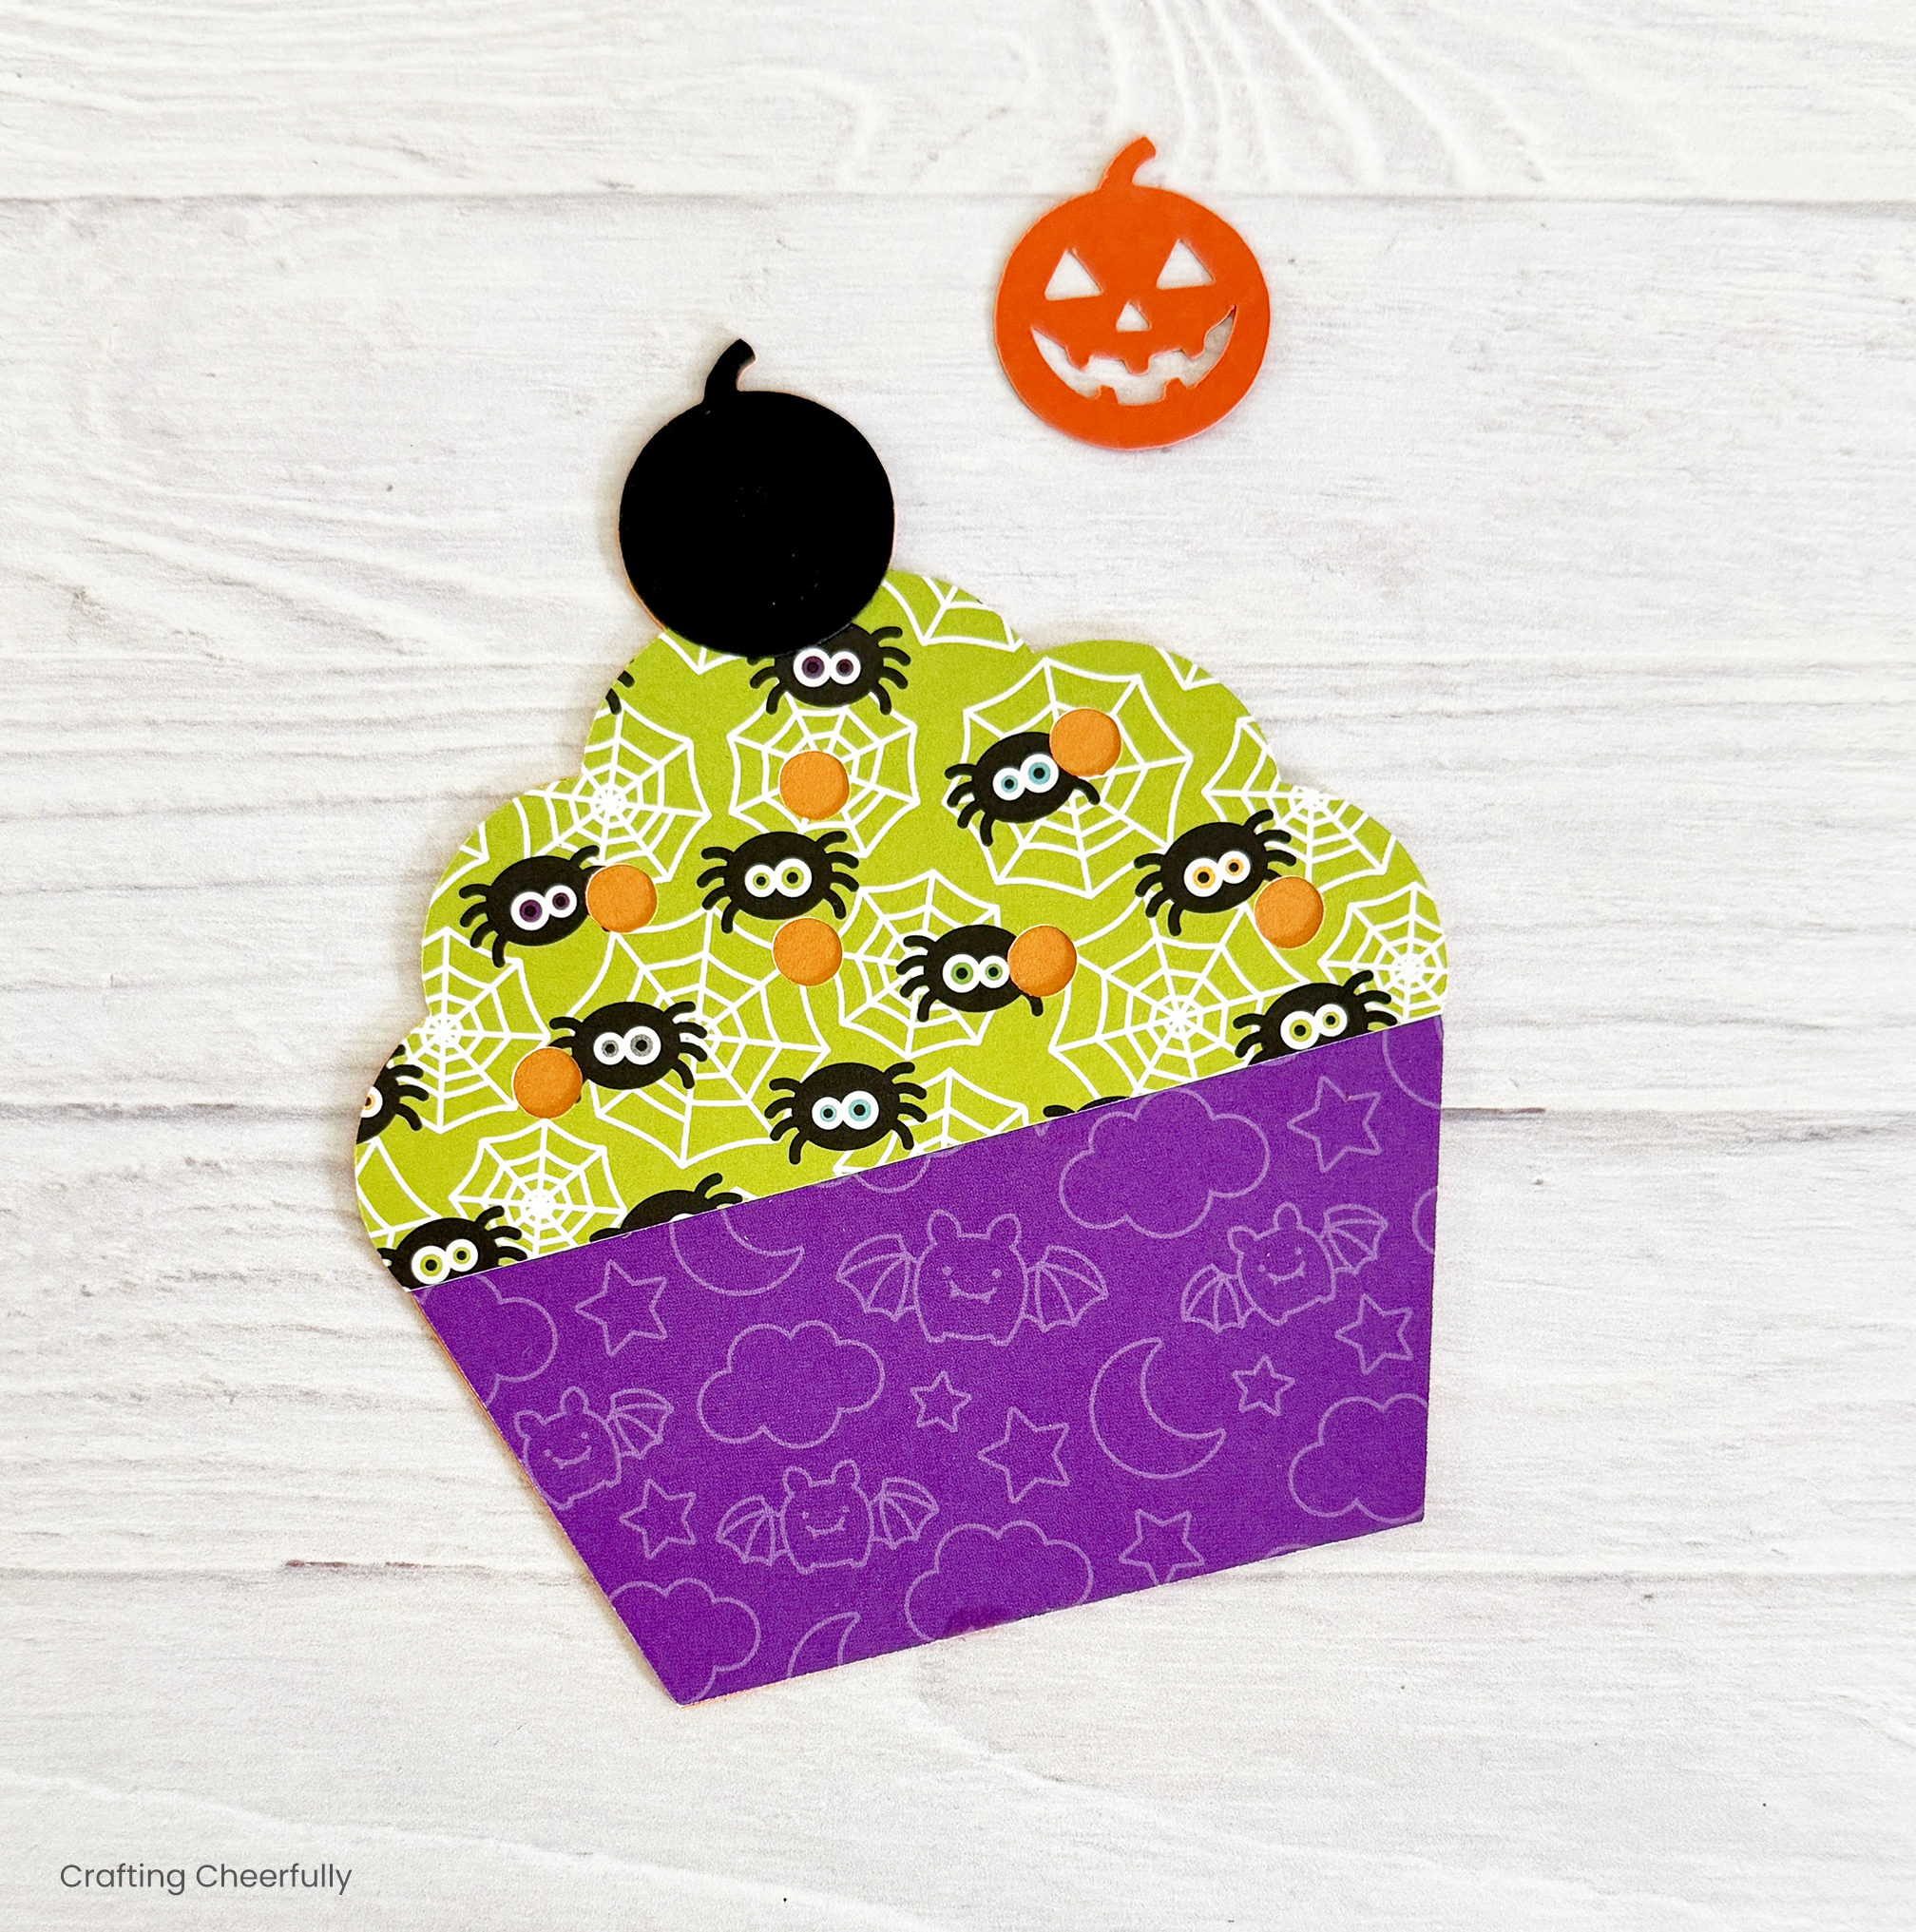
Each cupcake is made with 1 large cupcake base, 1 frosting, 1 cupcake liner, and the two pieces needed for the jack-o’-lantern cherries.
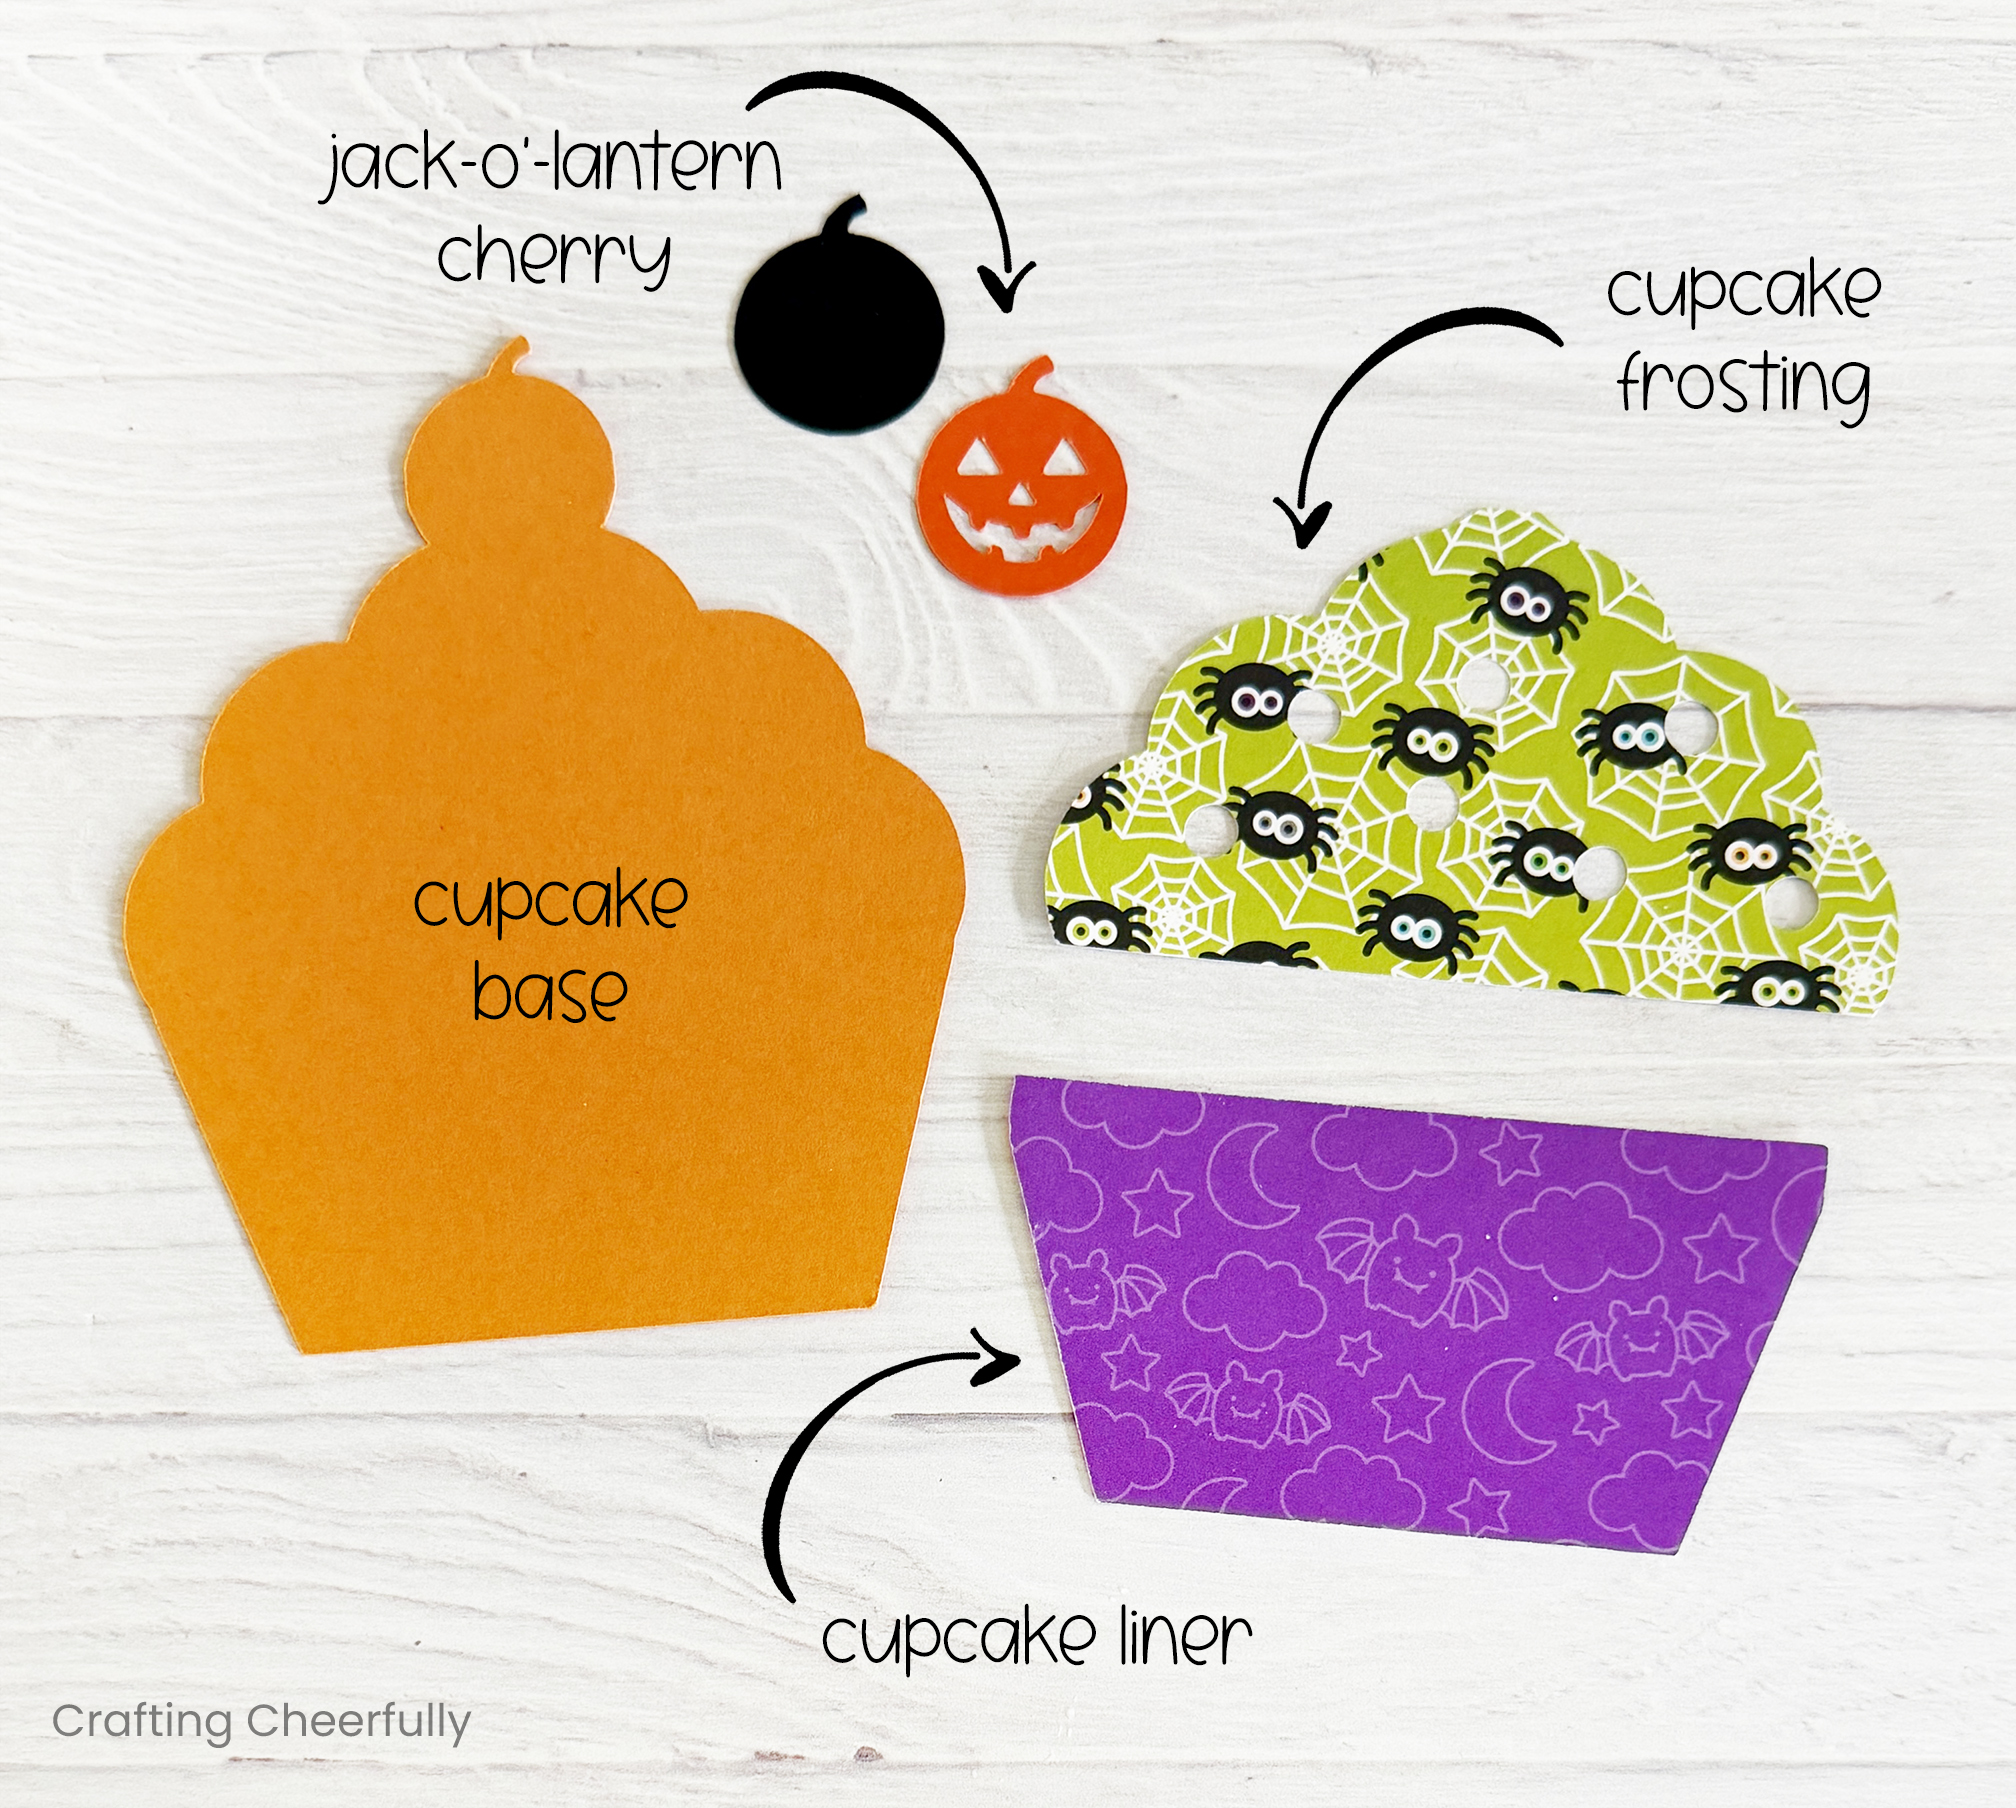
Step Two: Glue each cupcake pennant together. Start by attaching a liner and a frosting to each cupcake base.
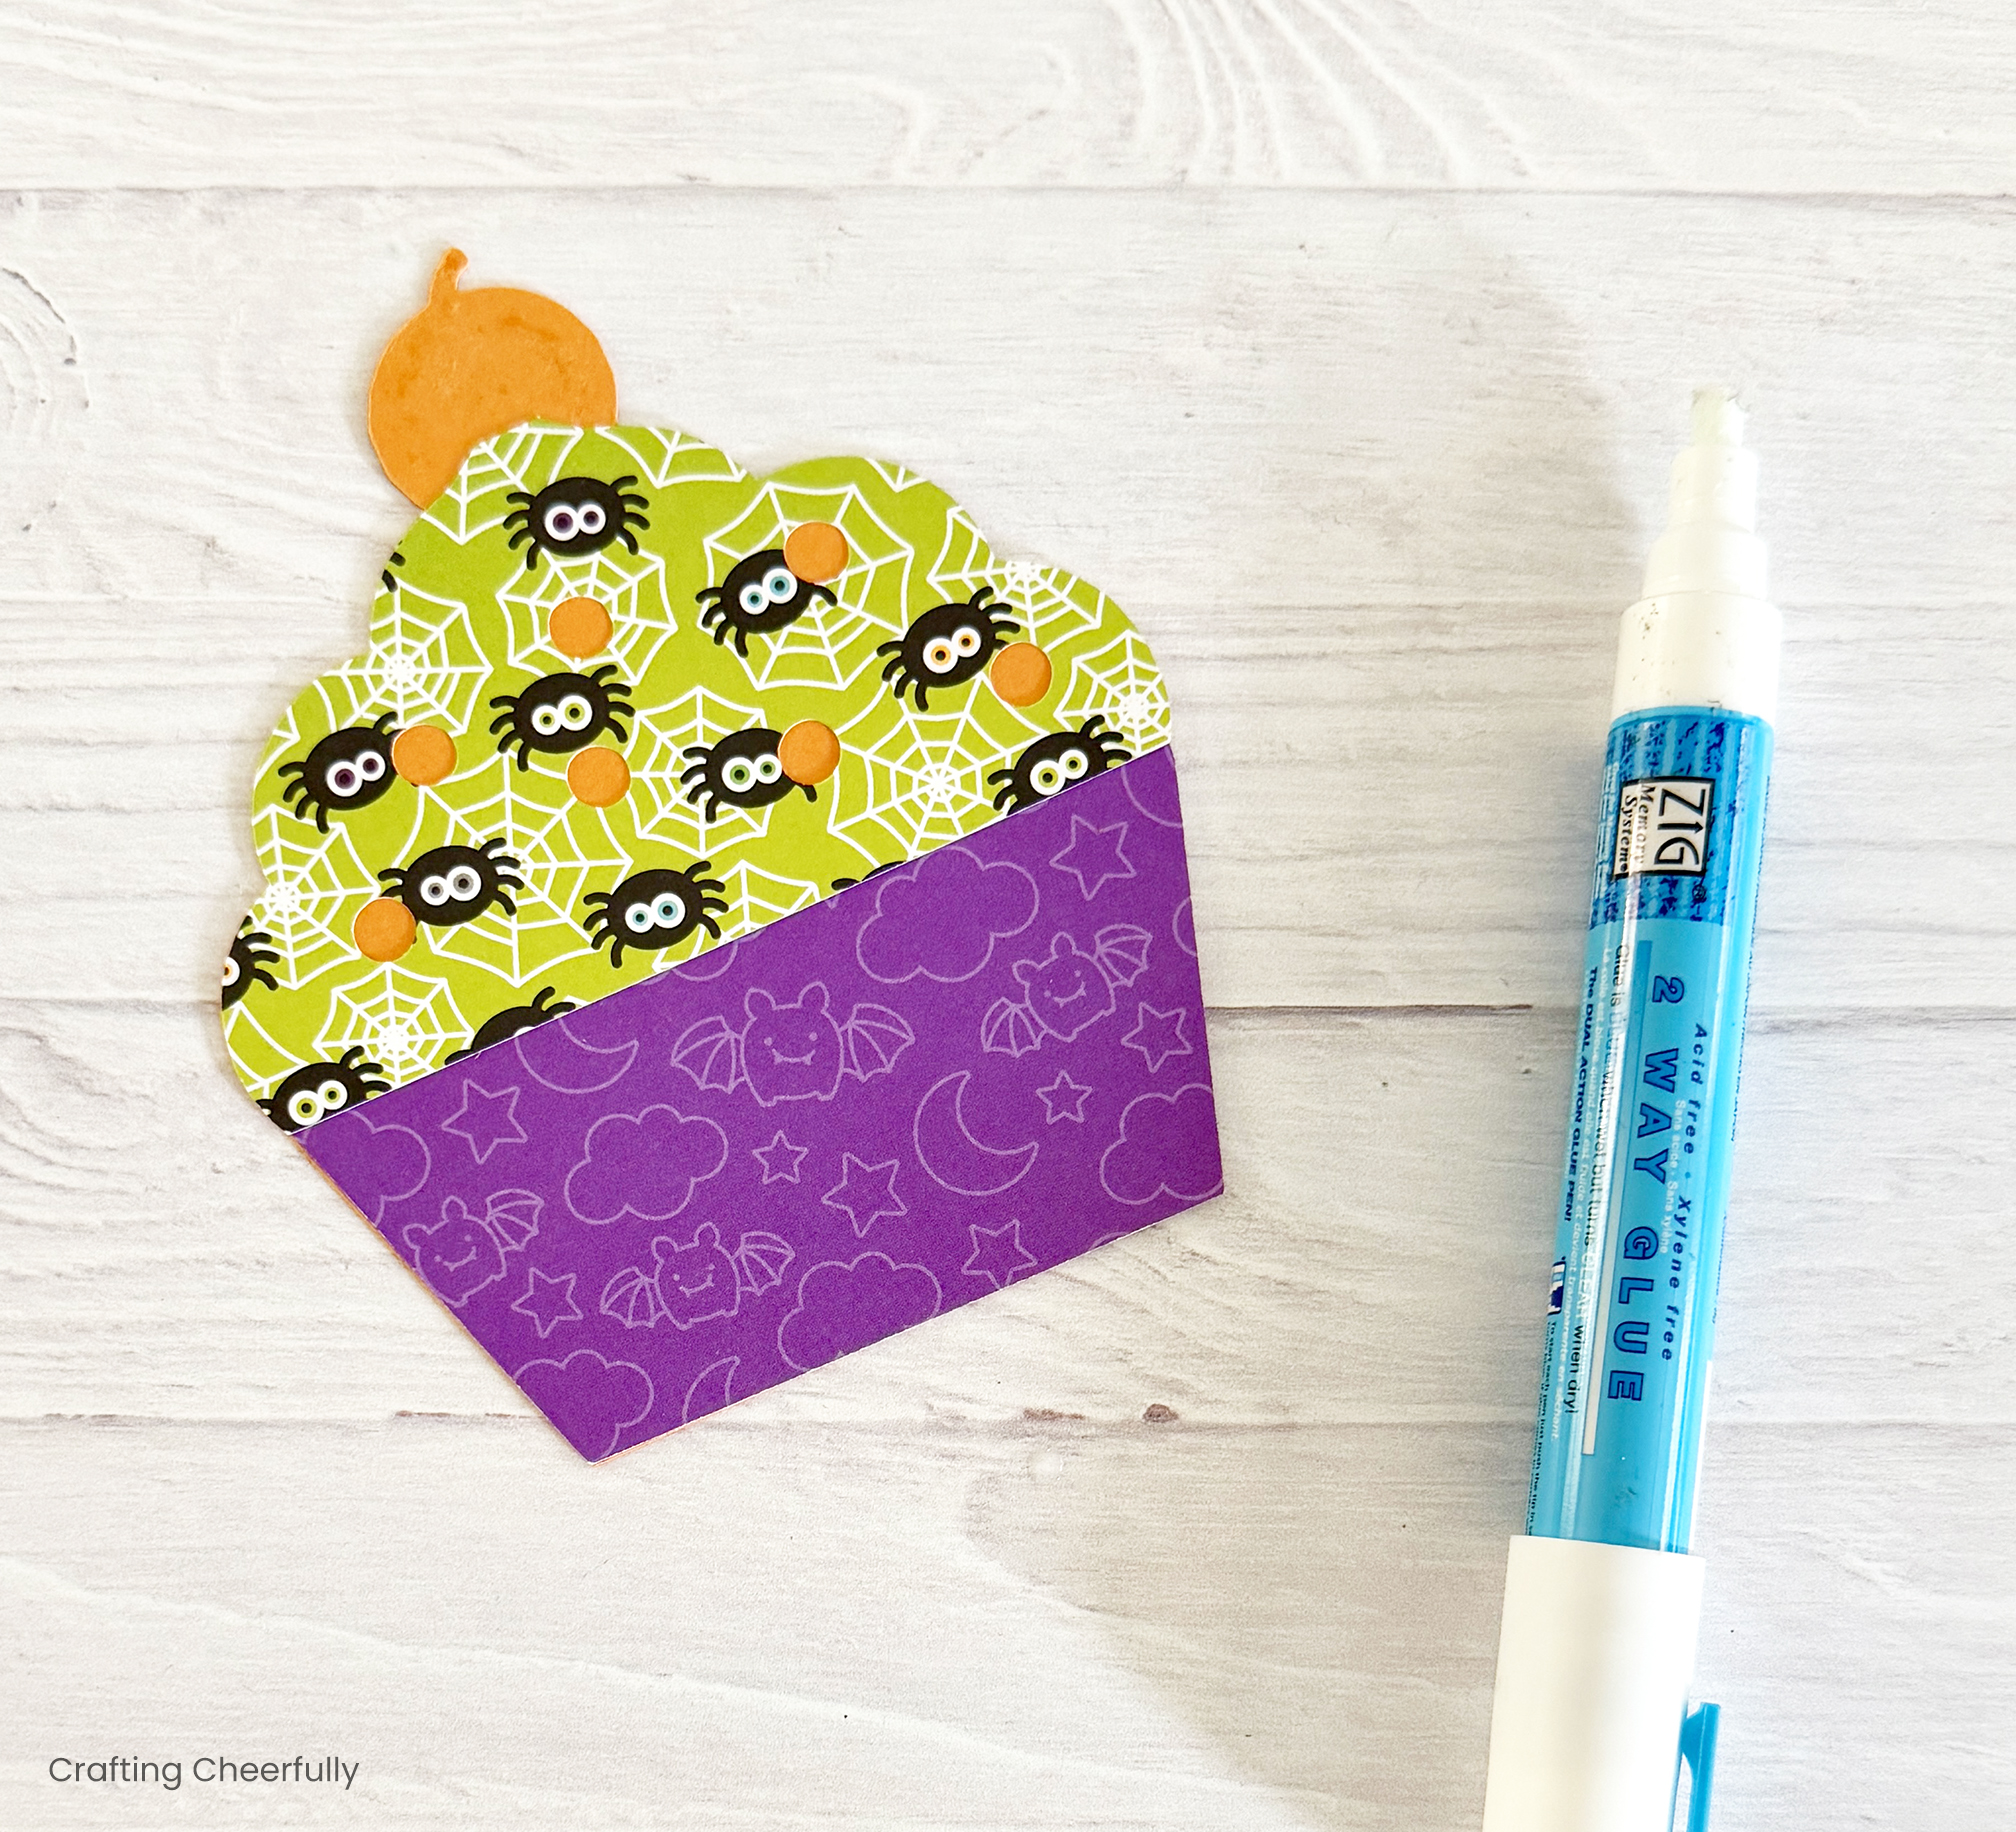
Next, add the jack-o’-lantern cherry to the top of each cupcake starting with the black piece, then adding the orange.
Step Three: Add a row of rick-rack along the line where the frosting and liner meet.
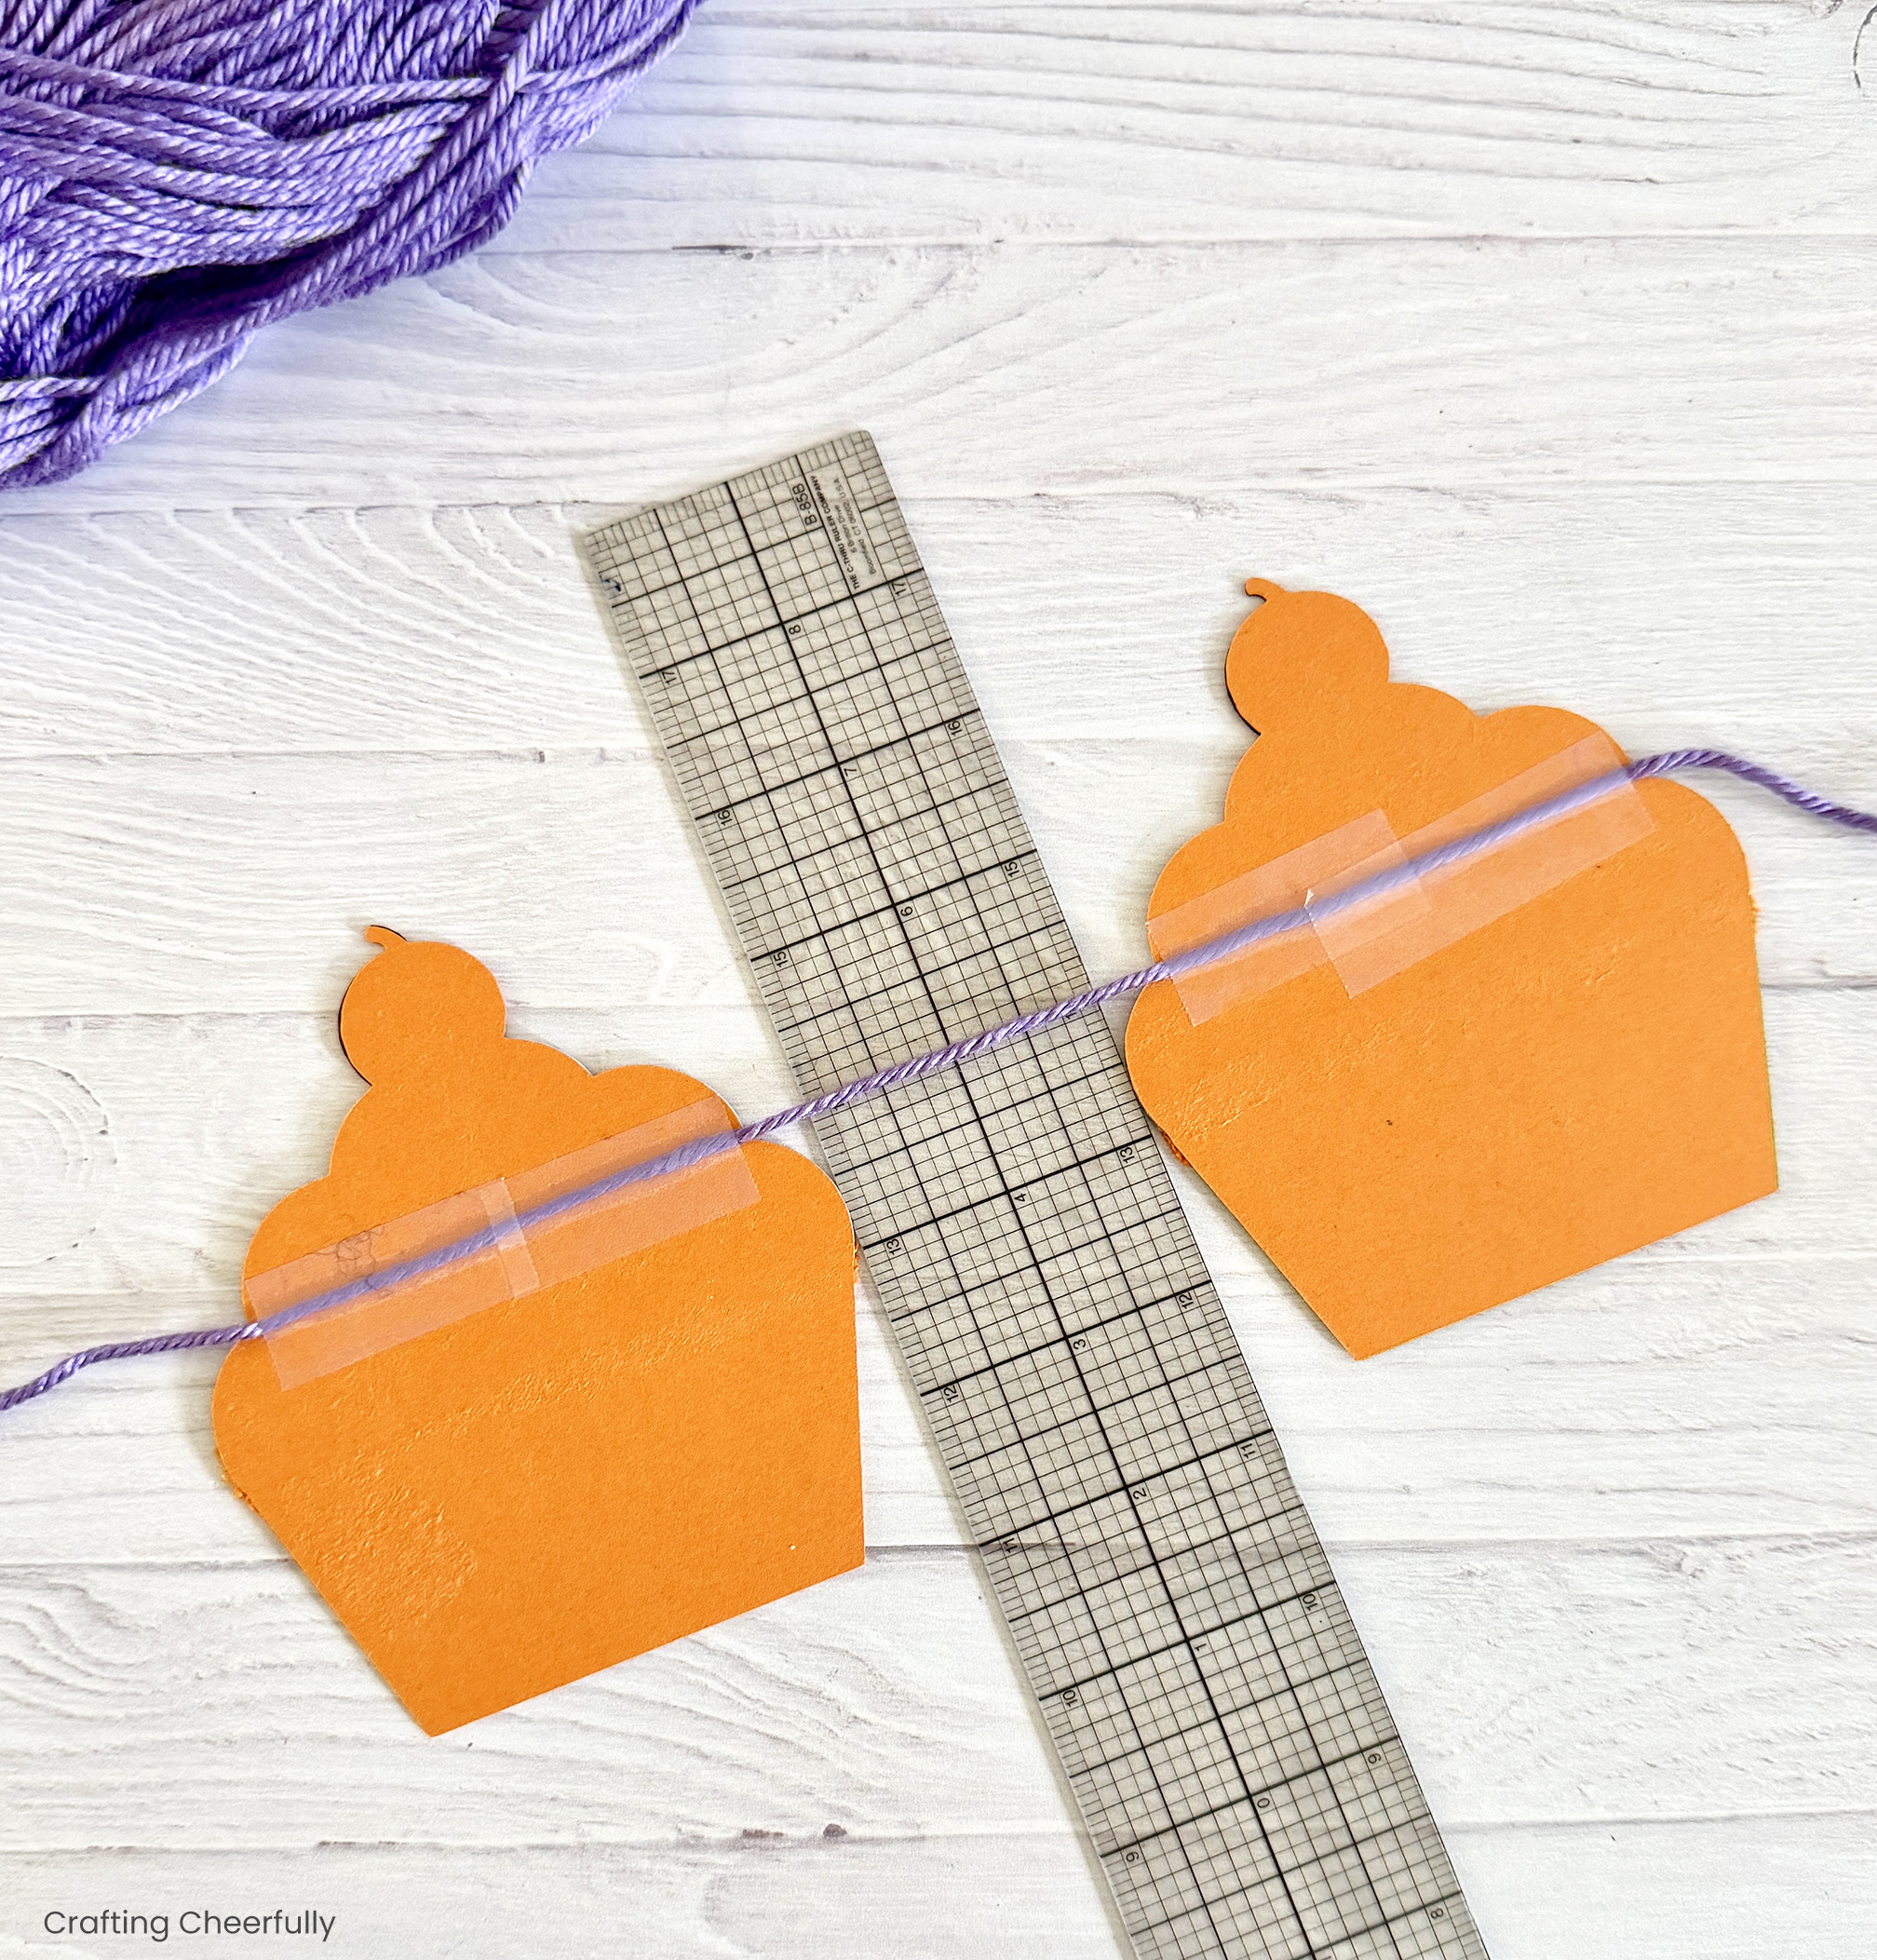
Step Four: String the cupcake together to create the banner. I used a piece of orange yarn to connect my cupcake pennants together. Work from the back of the banner and place the yarn so it lines up with the first groove in the frosting, then tape the yarn to keep it in place. I spaced my cupcake pennants 2″ from each other using a ruler as a guide.
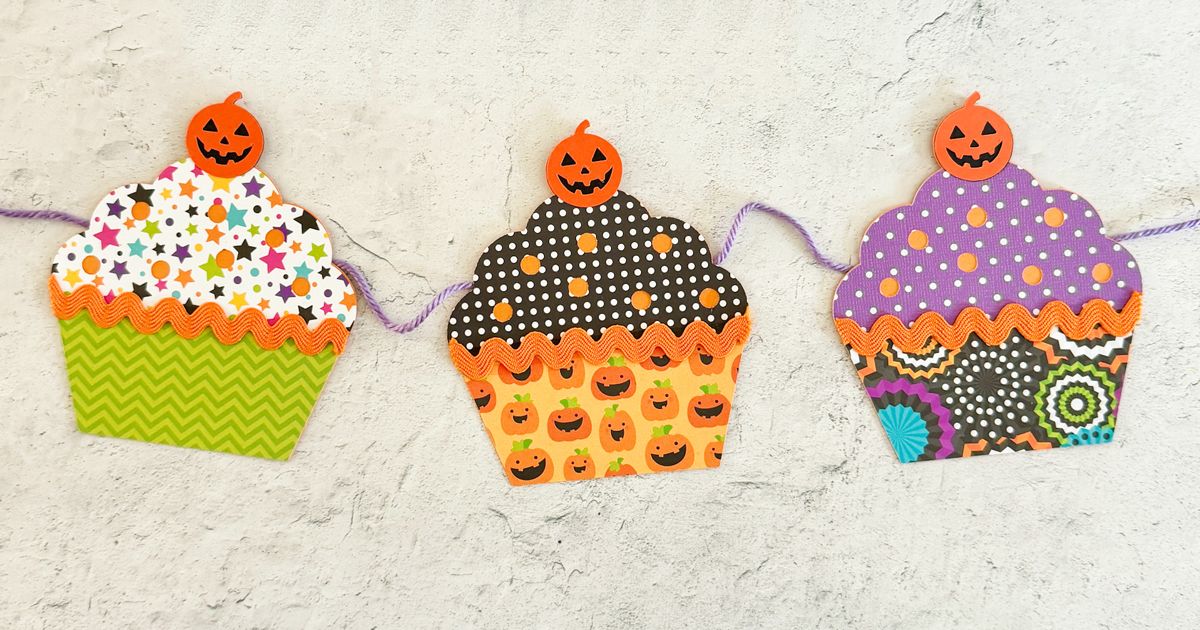
The banner is finished and ready to be hung up and enjoyed! I love creating banners for the holidays. They are such a quick way to decorate any space and make it feel festive! if you are looking for more banner ideas, check out my party banner tutorials.

Get the Free Halloween Cupcake Banner Files!
Fill out the purple form below with your first name and email address! The free file will be sent straight to your inbox! If you have already filled out the form below, don’t worry – you won’t be added to my list twice! This freebie is for personal use only. I hope you enjoy crafting something special. Please let me know if you have any questions :)