Pumpkin Fabric Wall Hanging – Reverse Appliqué
Create a pumpkin wall hanging using scraps of fabric and reverse appliqué. Cute and spooky home decor for the Halloween season!
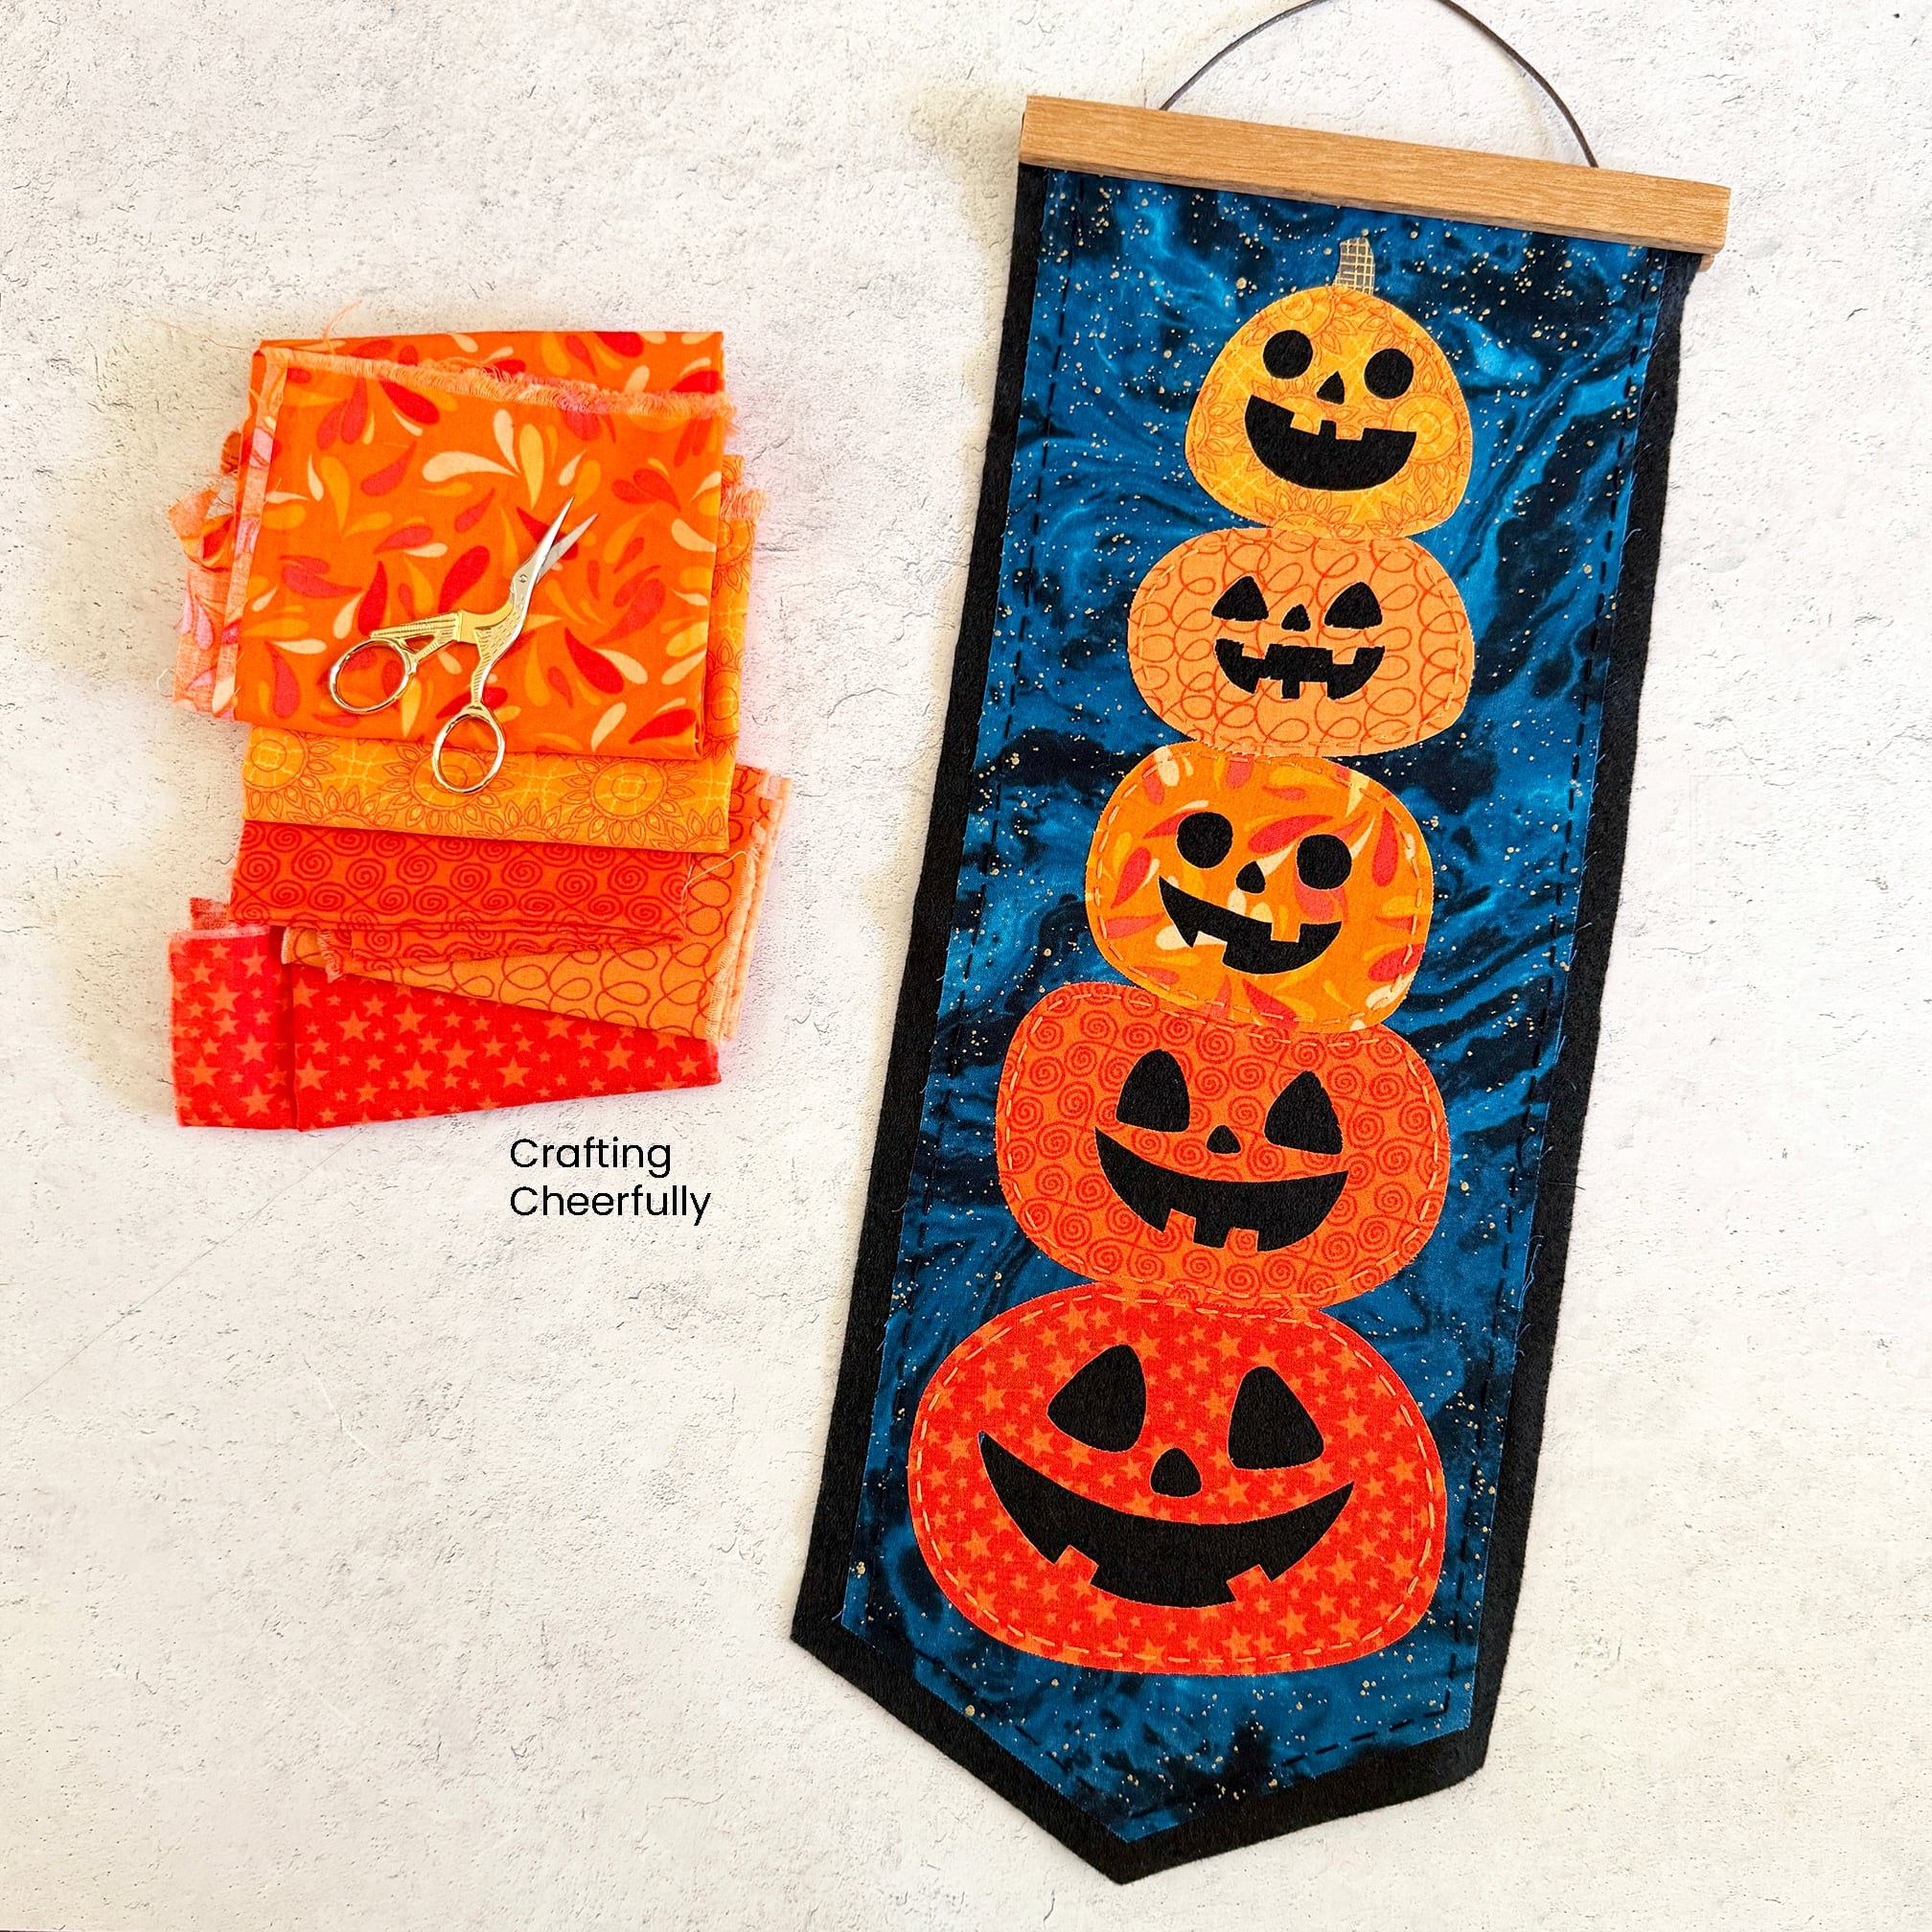
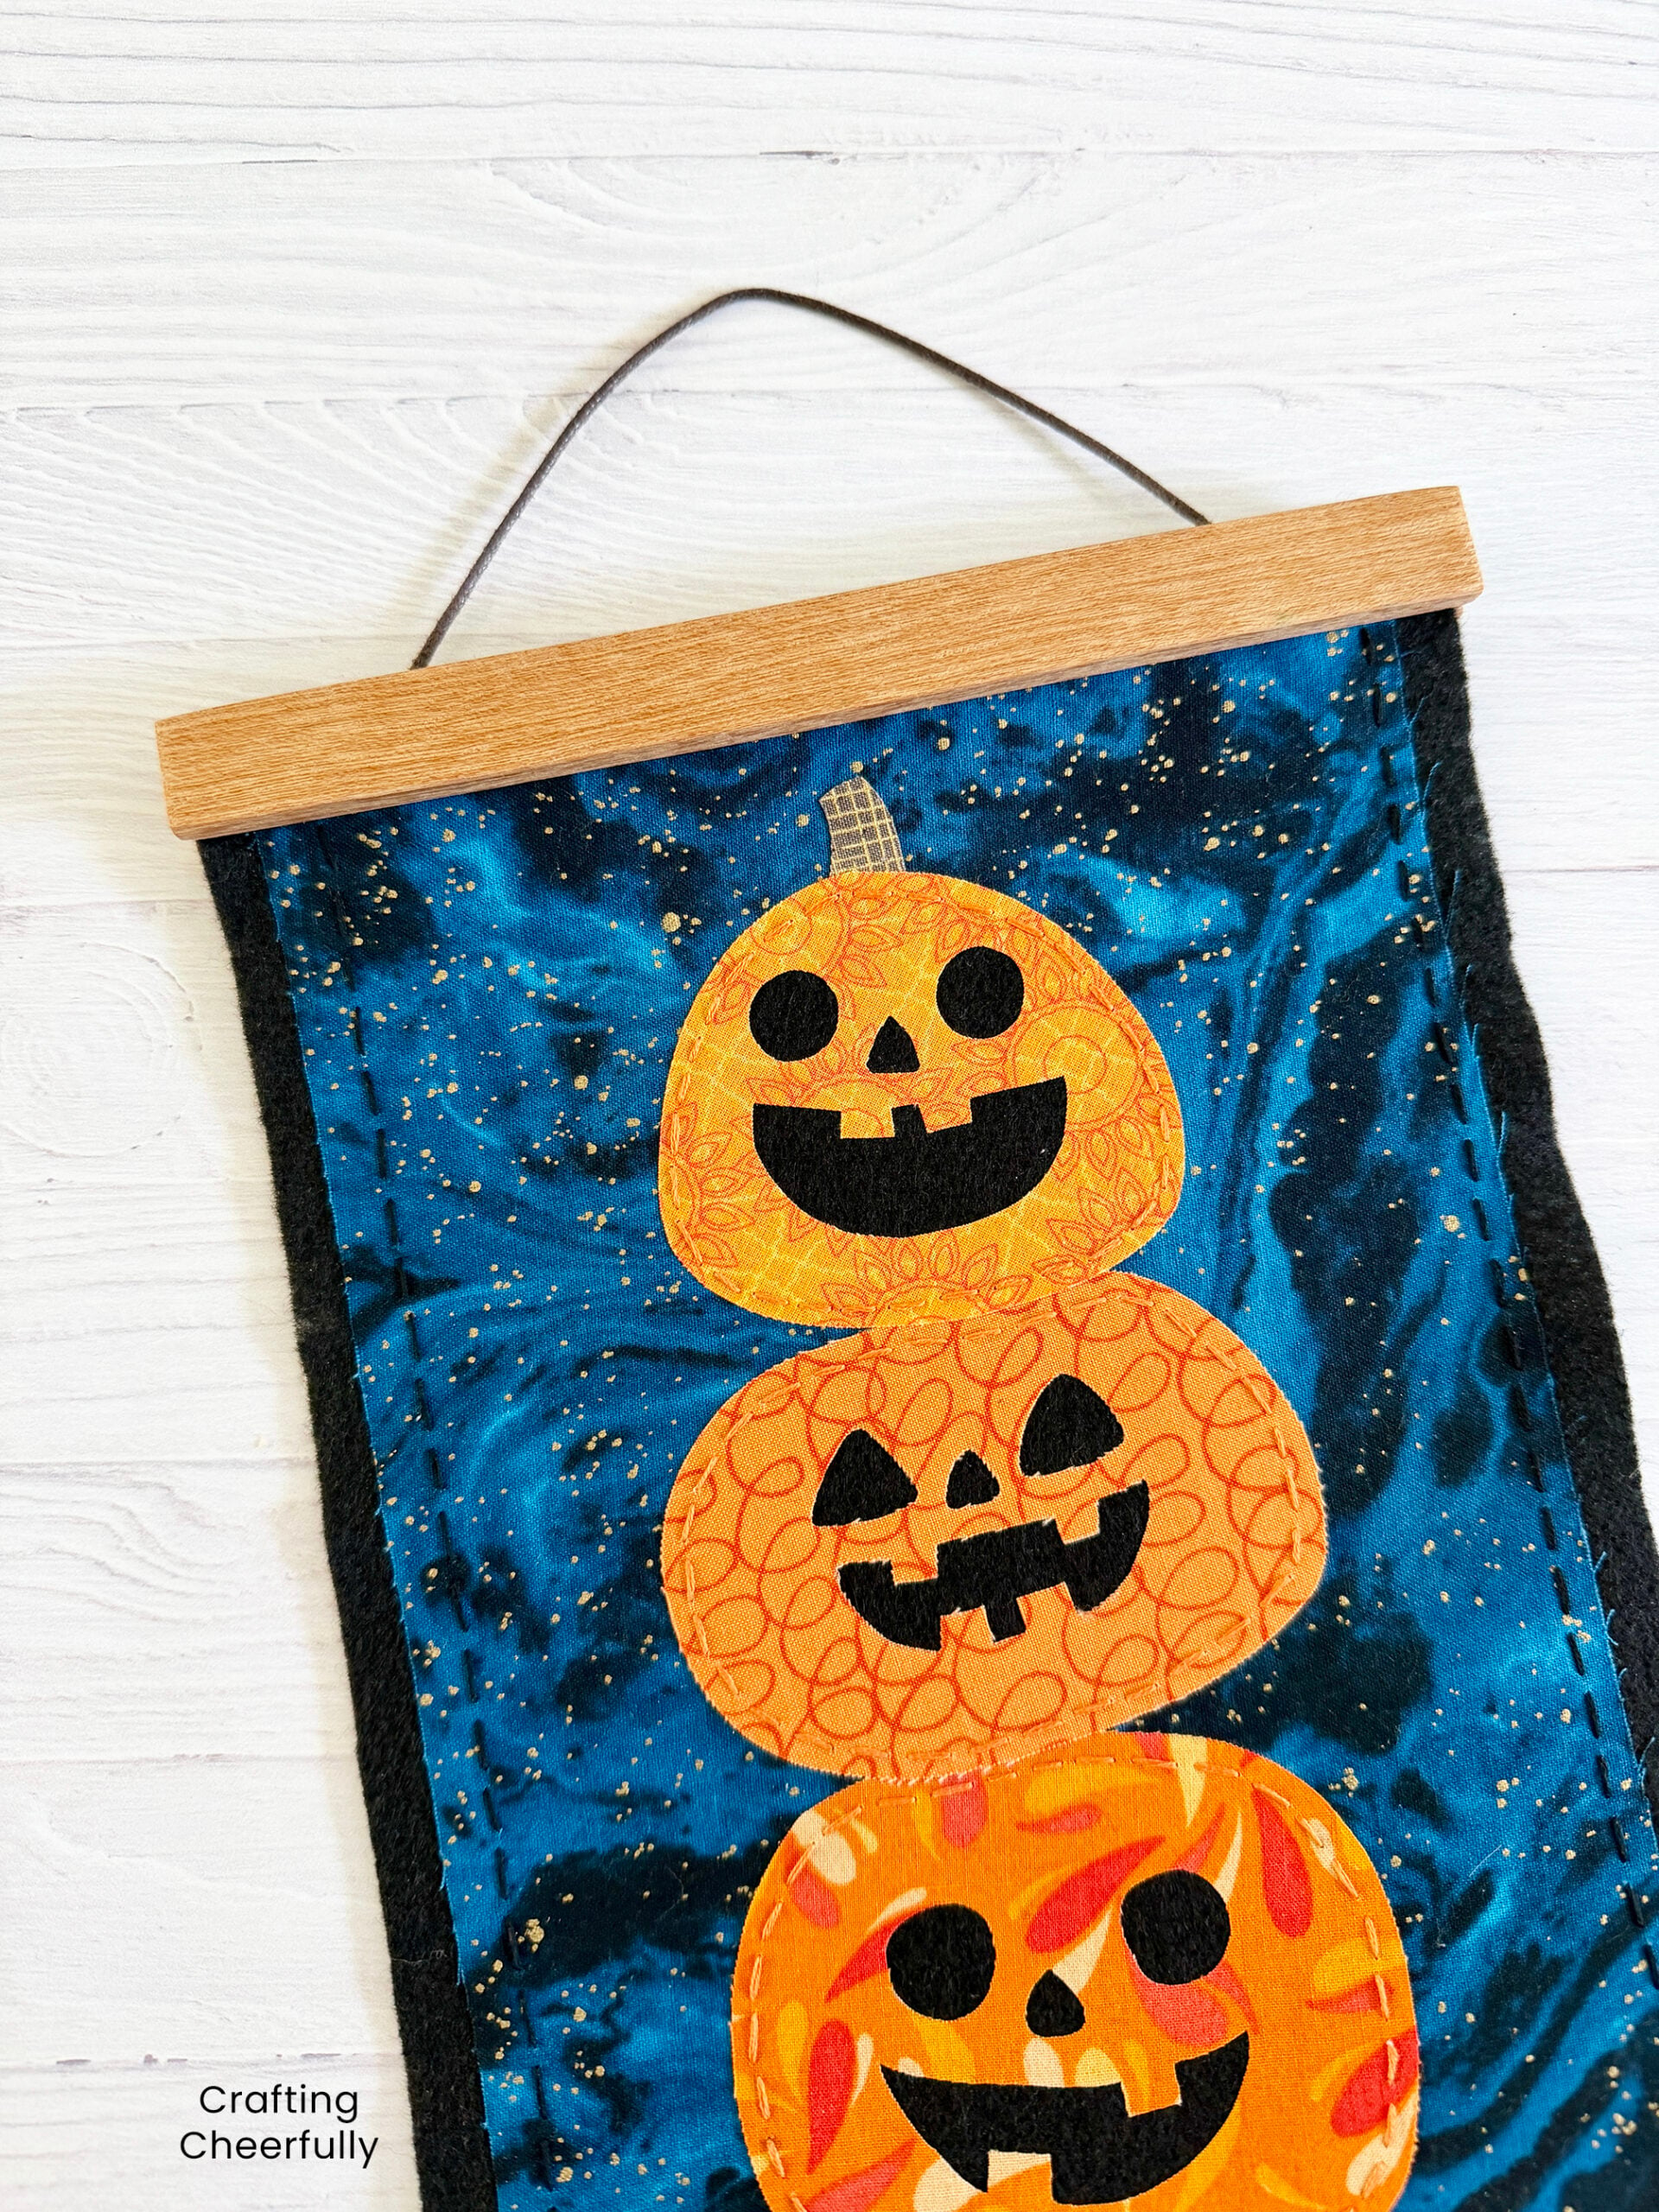
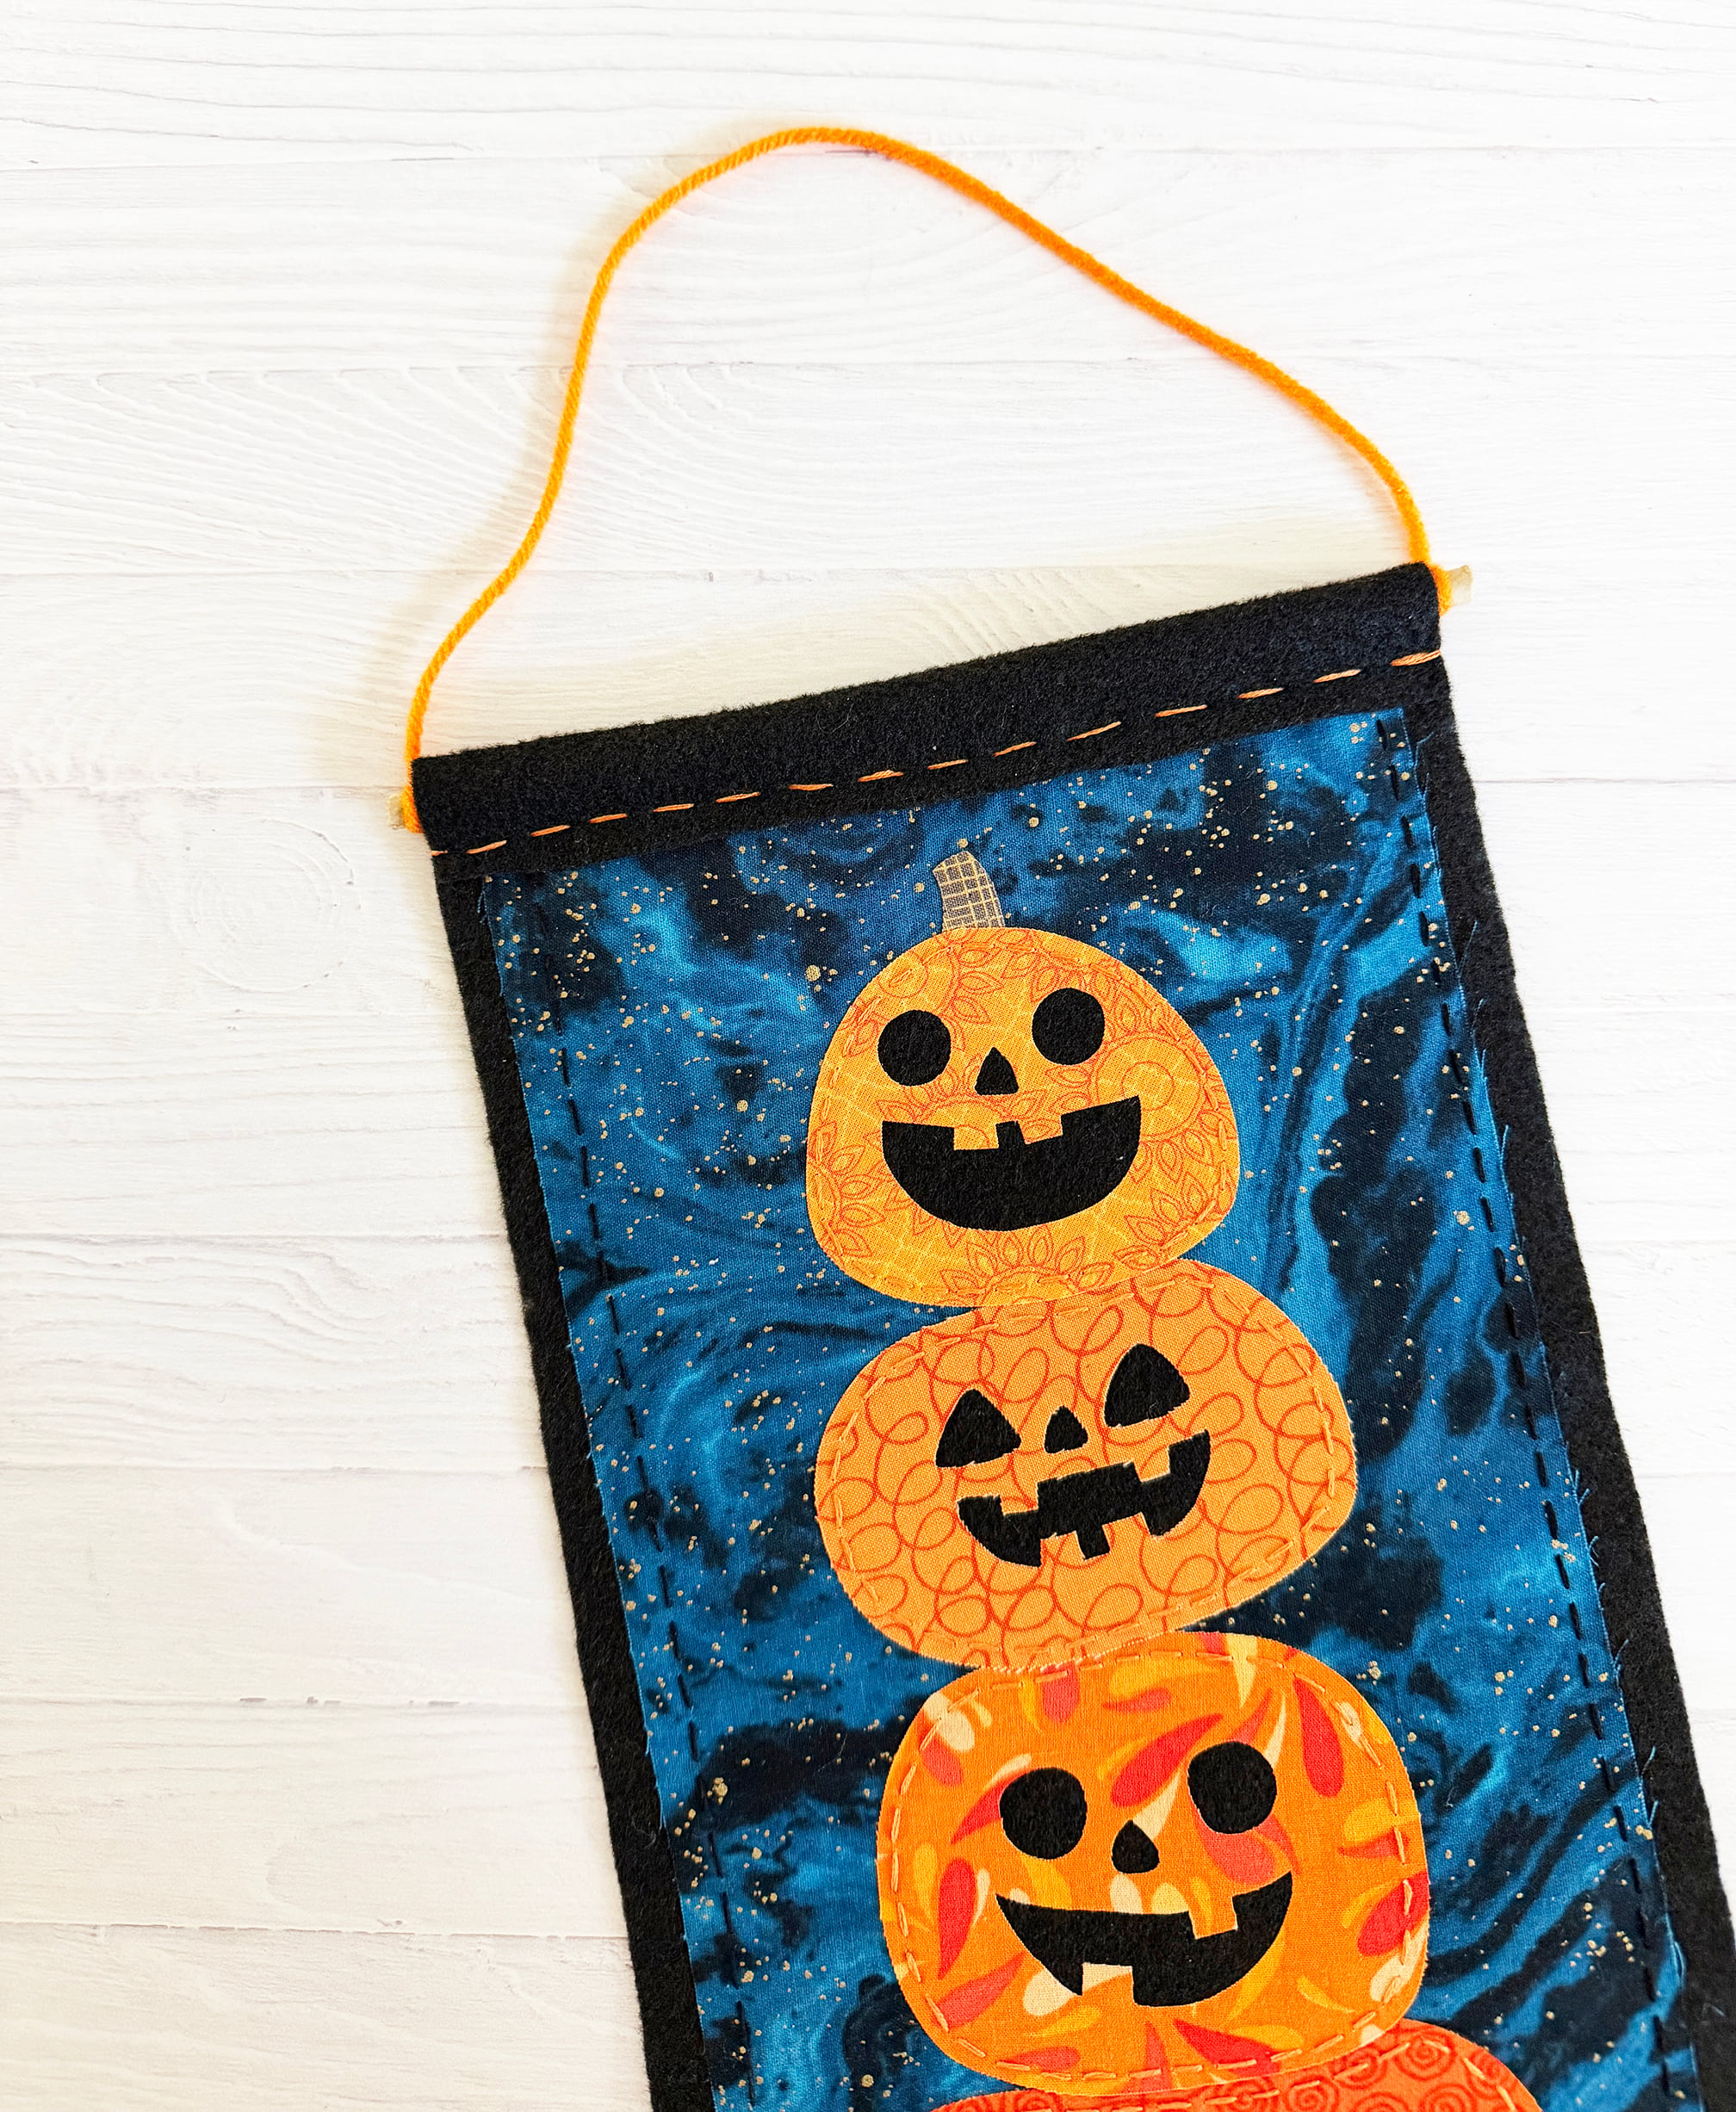
Hello Crafty Friends! Today I’m excited to share a new scrappy fabric project with you that is perfect for the Halloween season – my fabric pumpkin wall hanging! This sweet pennant features a happy stack of pumpkins and a fun technique called reverse appliqué.
Halloween Pumpkin Wall Hanging
More About the Pattern
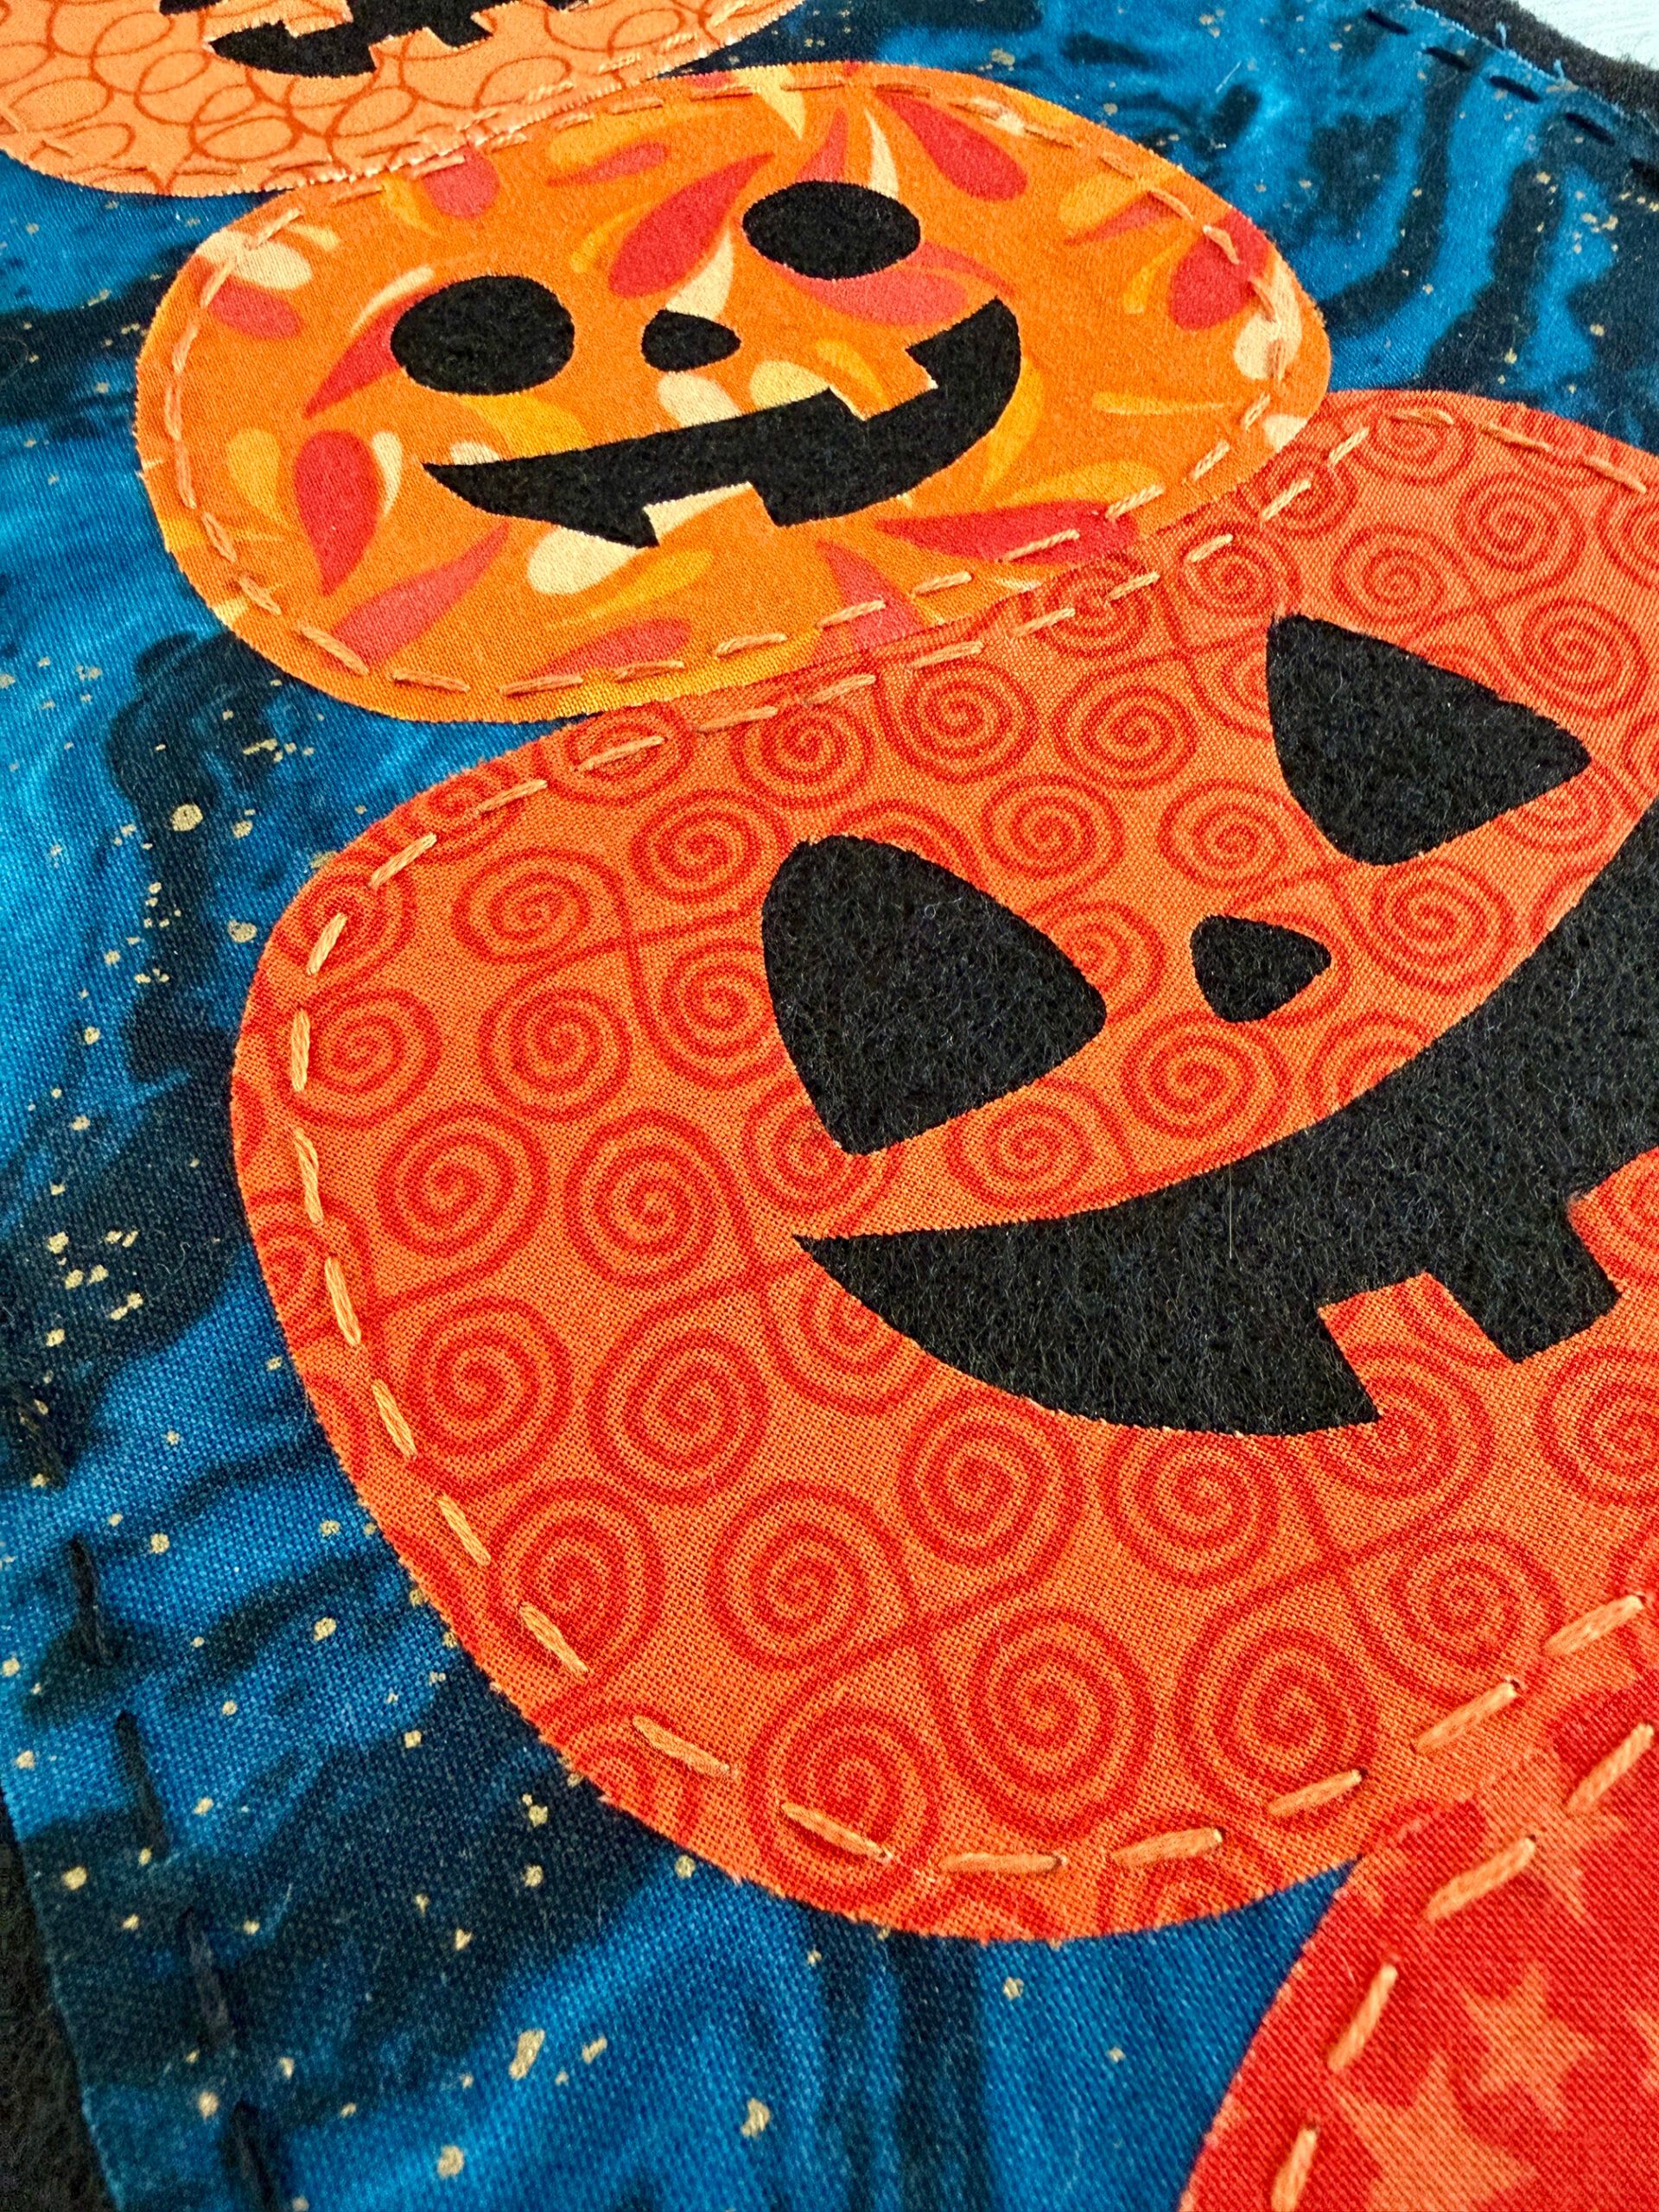
The pumpkin wall hanging features five silly pumpkins, stacked up and ready for some Halloween fun! This is a reverse appliqué project that uses one simple hand sewing stitch that is perfect for beginners and still fun for experienced sewers! Search your stash for scraps of fabric or pick out cute fabrics from your local fabric store.
The pattern is available in my shop and includes an ad-free step-by-step picture tutorial along with a stitching guide and directions for finishing the wall hanging in two different ways so you can display it for the Halloween season! The wall hanging measures 8” wide and 20” long.

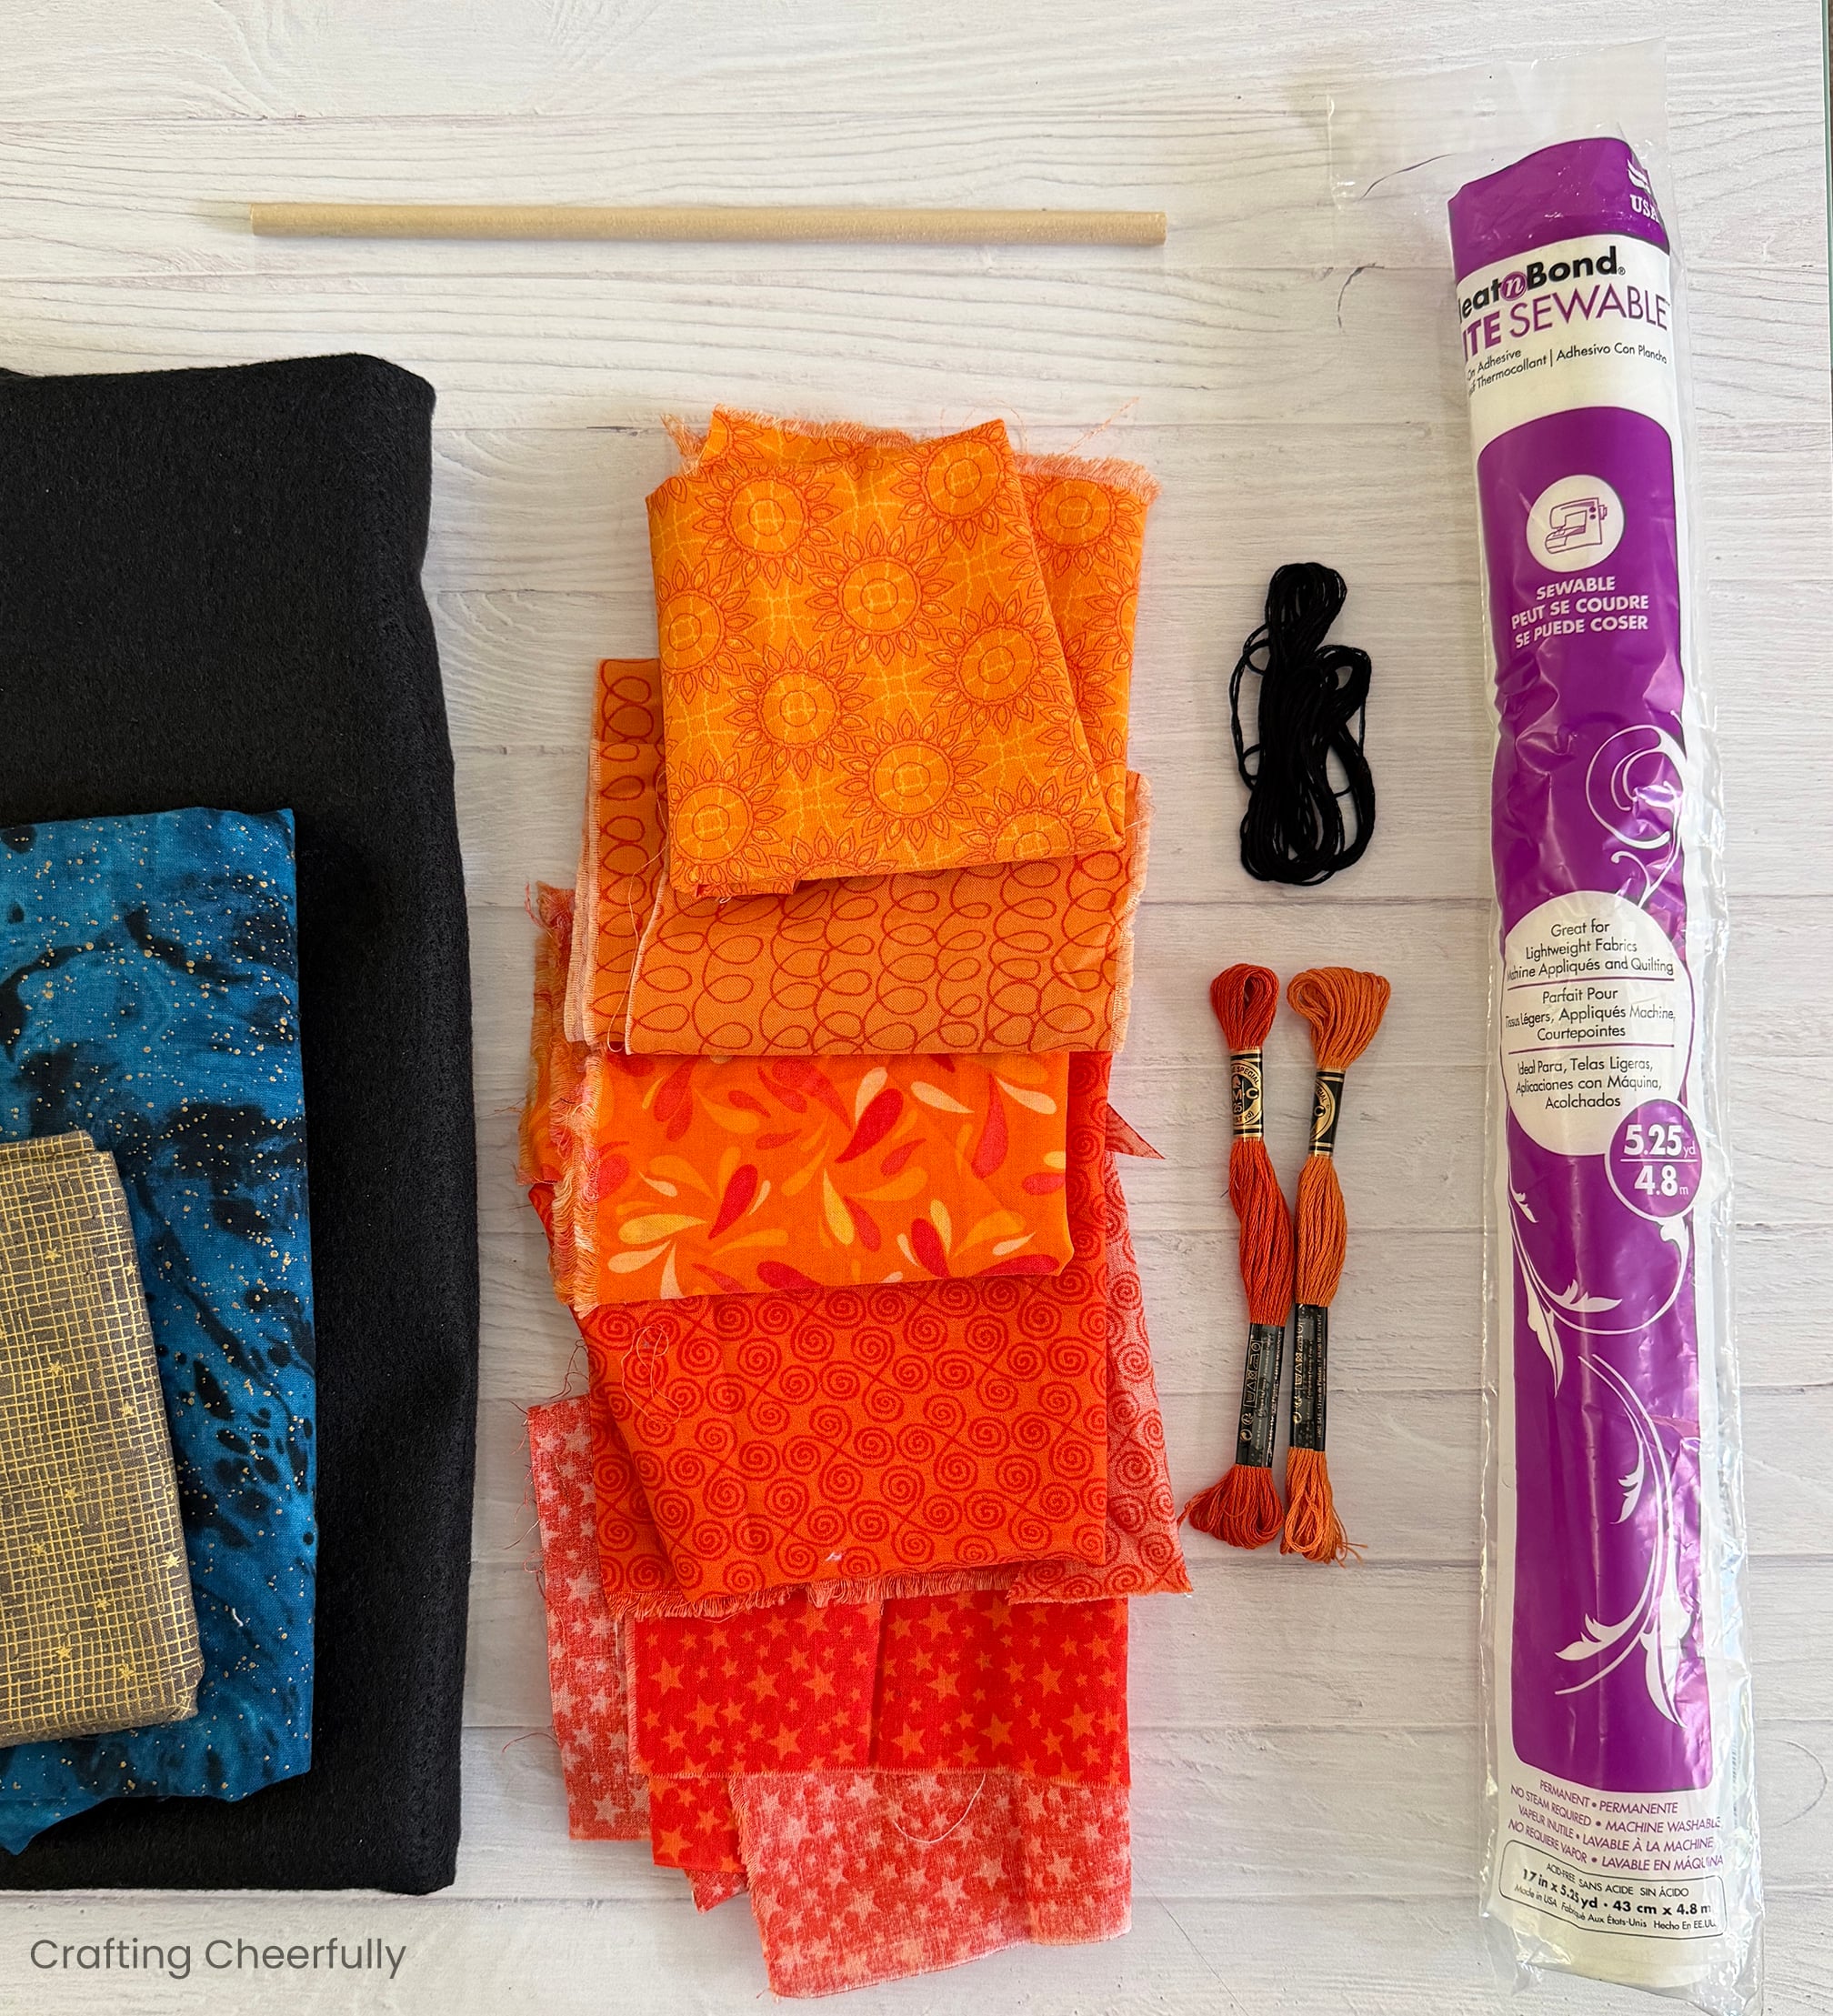
Supplies Needed:
- Pattern – available in my shop. Includes a step-by-step, ad-free, picture tutorial
- Black Felt – for the base of the design.
- Background Fabric – I chose a blue/black galaxy print that reminded me of a spooky night sky!
- Scraps of orange fabric – mix and match different fabric patterns to create five unique pumpkins.
- Small scrap of gold or brown fabric – for the top pumpkin’s stem
- Fusible Web Interfacing –Thermoweb HeatnBond Lite Sewable or Pellon Brand Wonder Under. Make sure to use sewable interfacing so you can stitch through it.
- Embroidery Floss – orange and black
- Display Options – 8” Magnetic wooden poster hanger or 8.5” dowel and yarn
- Sewing tools – fabric scissors, embroidery scissors, pencil, embroidery needle
- Iron – I like to use my little Cricut Mini Heat Press and wool pressing mat.
Choosing the Fabric
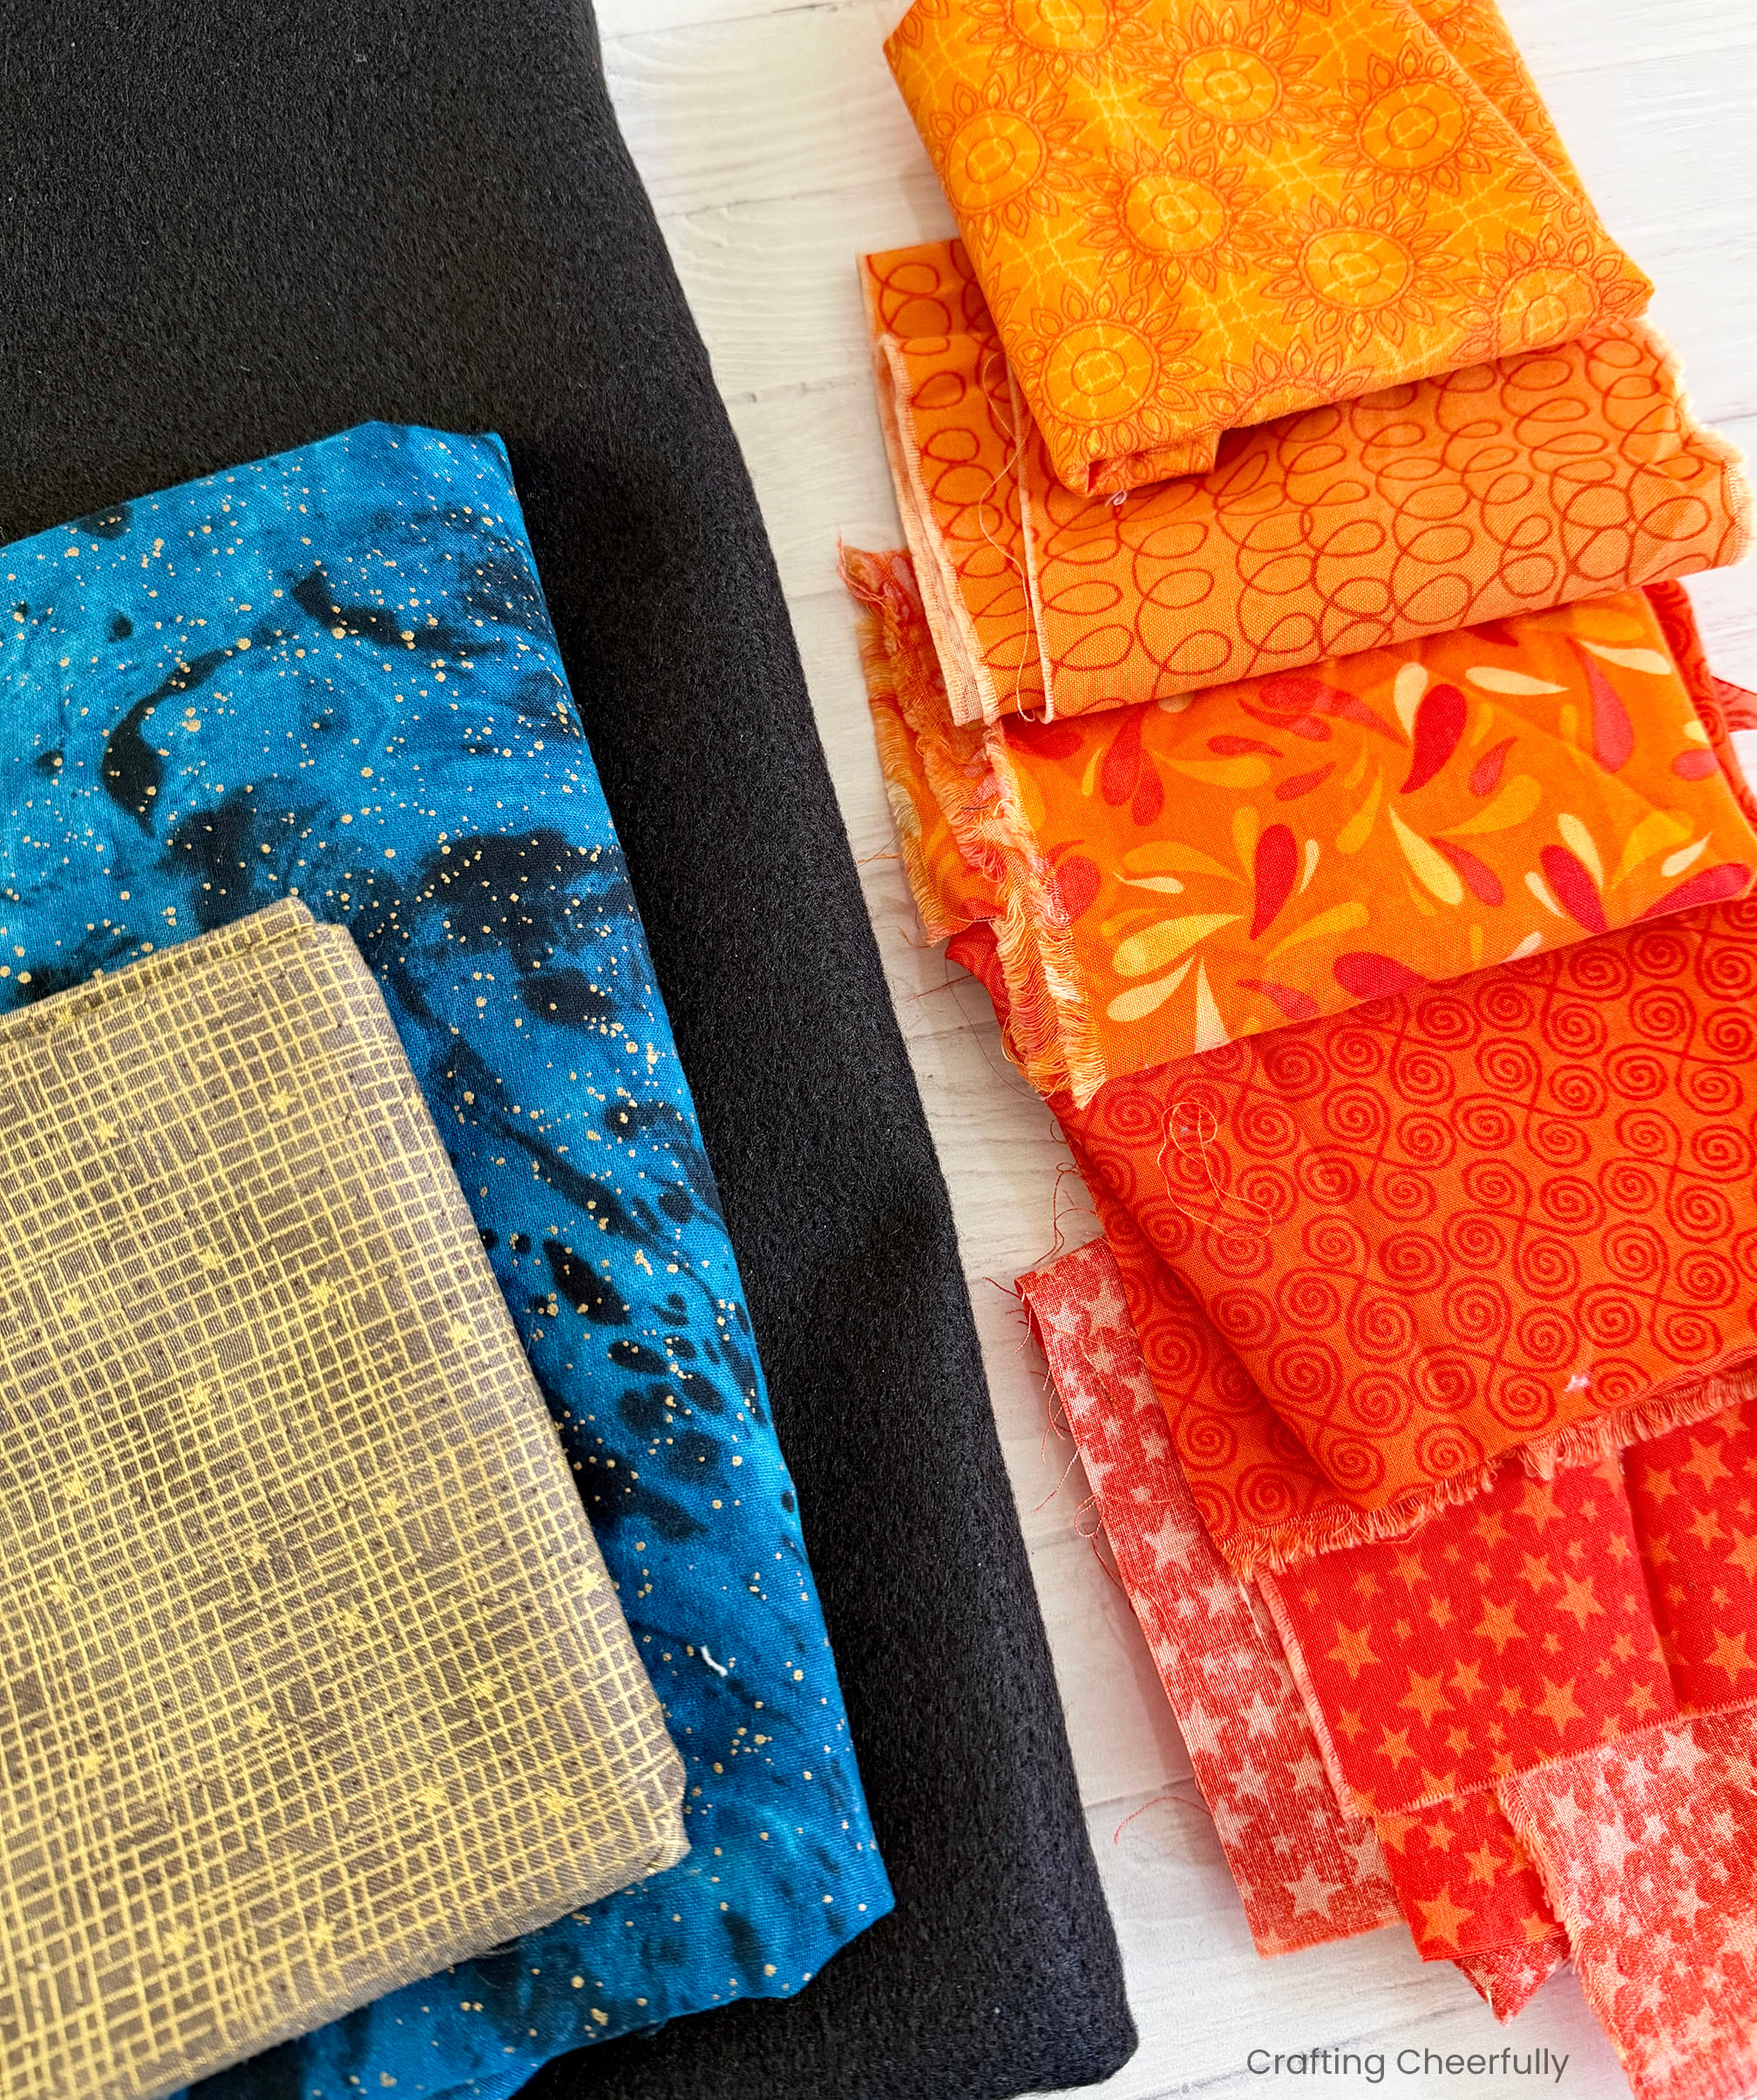
This project is perfect for using up scraps in your stash! I created my wall hanging by first searching through my bins of fabric. If you’ve been around here for awhile you may recognize some of the fabrics from my Carrot Banner and Space Detective Costume! The black felt was leftover from my son’s Fireman Costume from 8 years ago! So this was definitely a fun way to use up some of the materials that I have had for a long time.
When picking out fabrics, try to choose five different orange fabrics in different shades and patterns. For the background of the wall hanging, I picked out the blue and black galaxy print because it reminded me of a spooky night sky on Halloween! The wall hanging uses fusible interfacing so I left all of my edges unfinished. I don’t mind the slight fraying of the background fabric as I think a little bit of fraying can add to the charm of a handmade project!
What is Reverse Appliqué
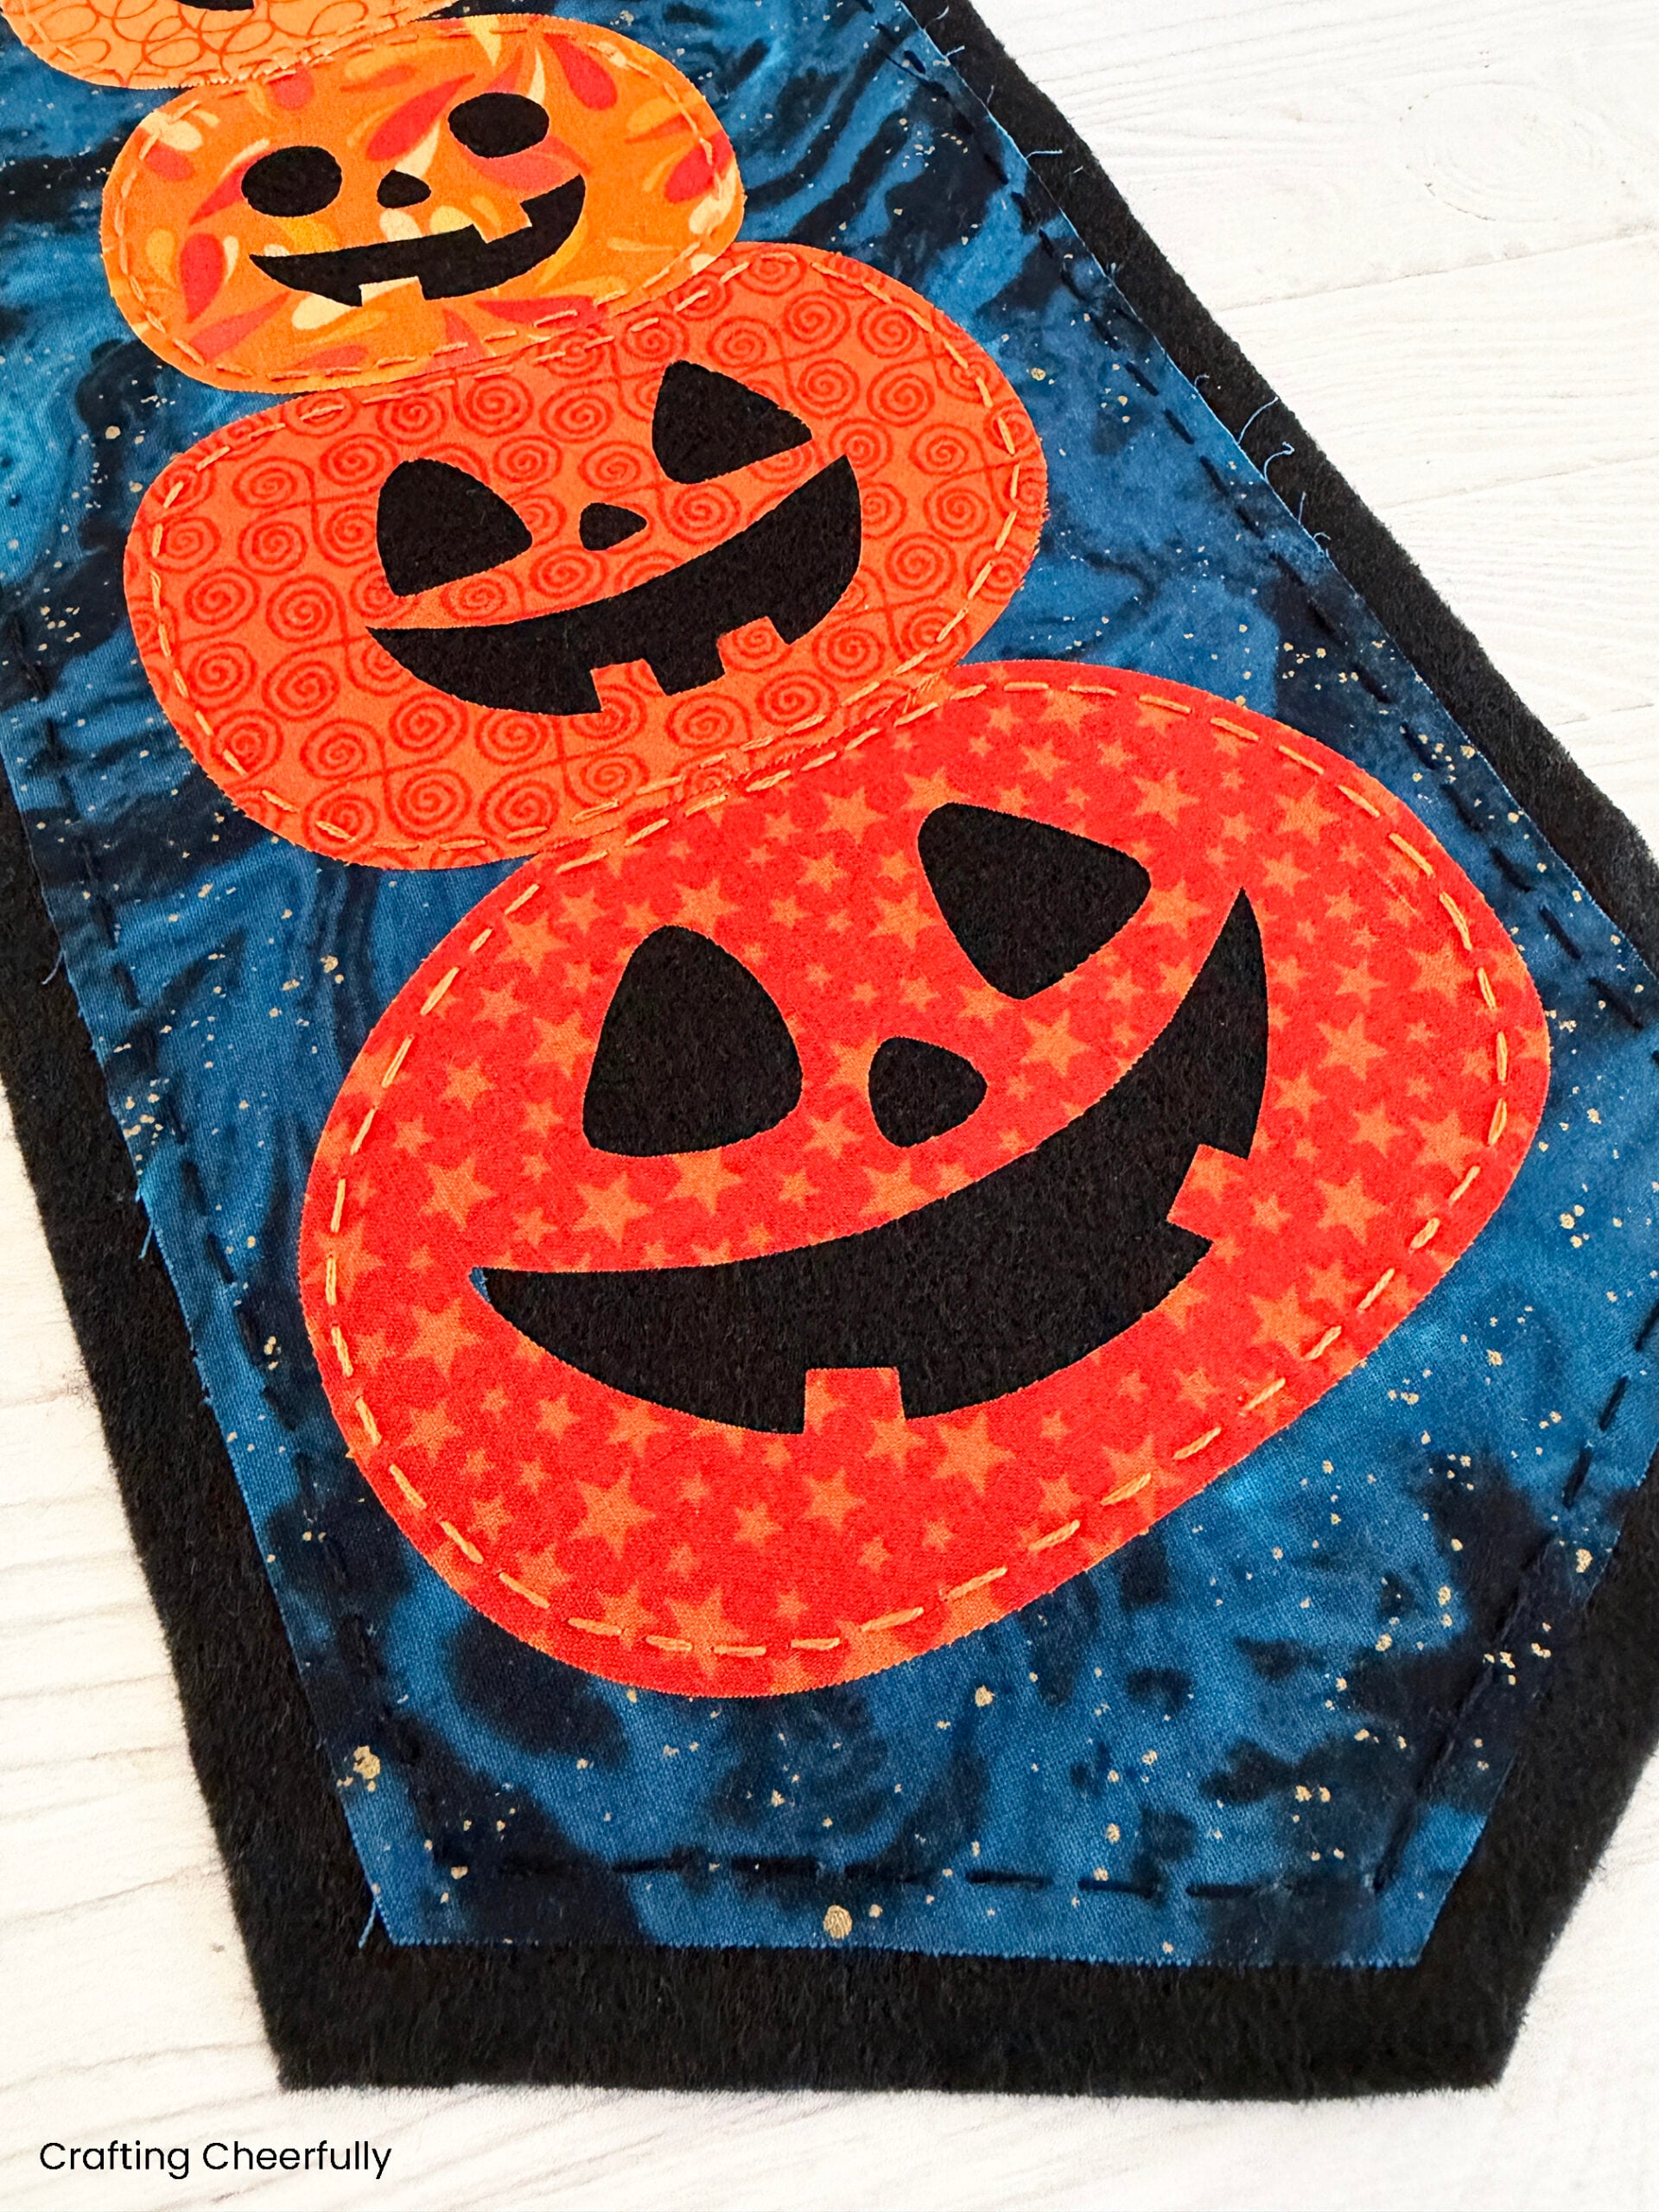
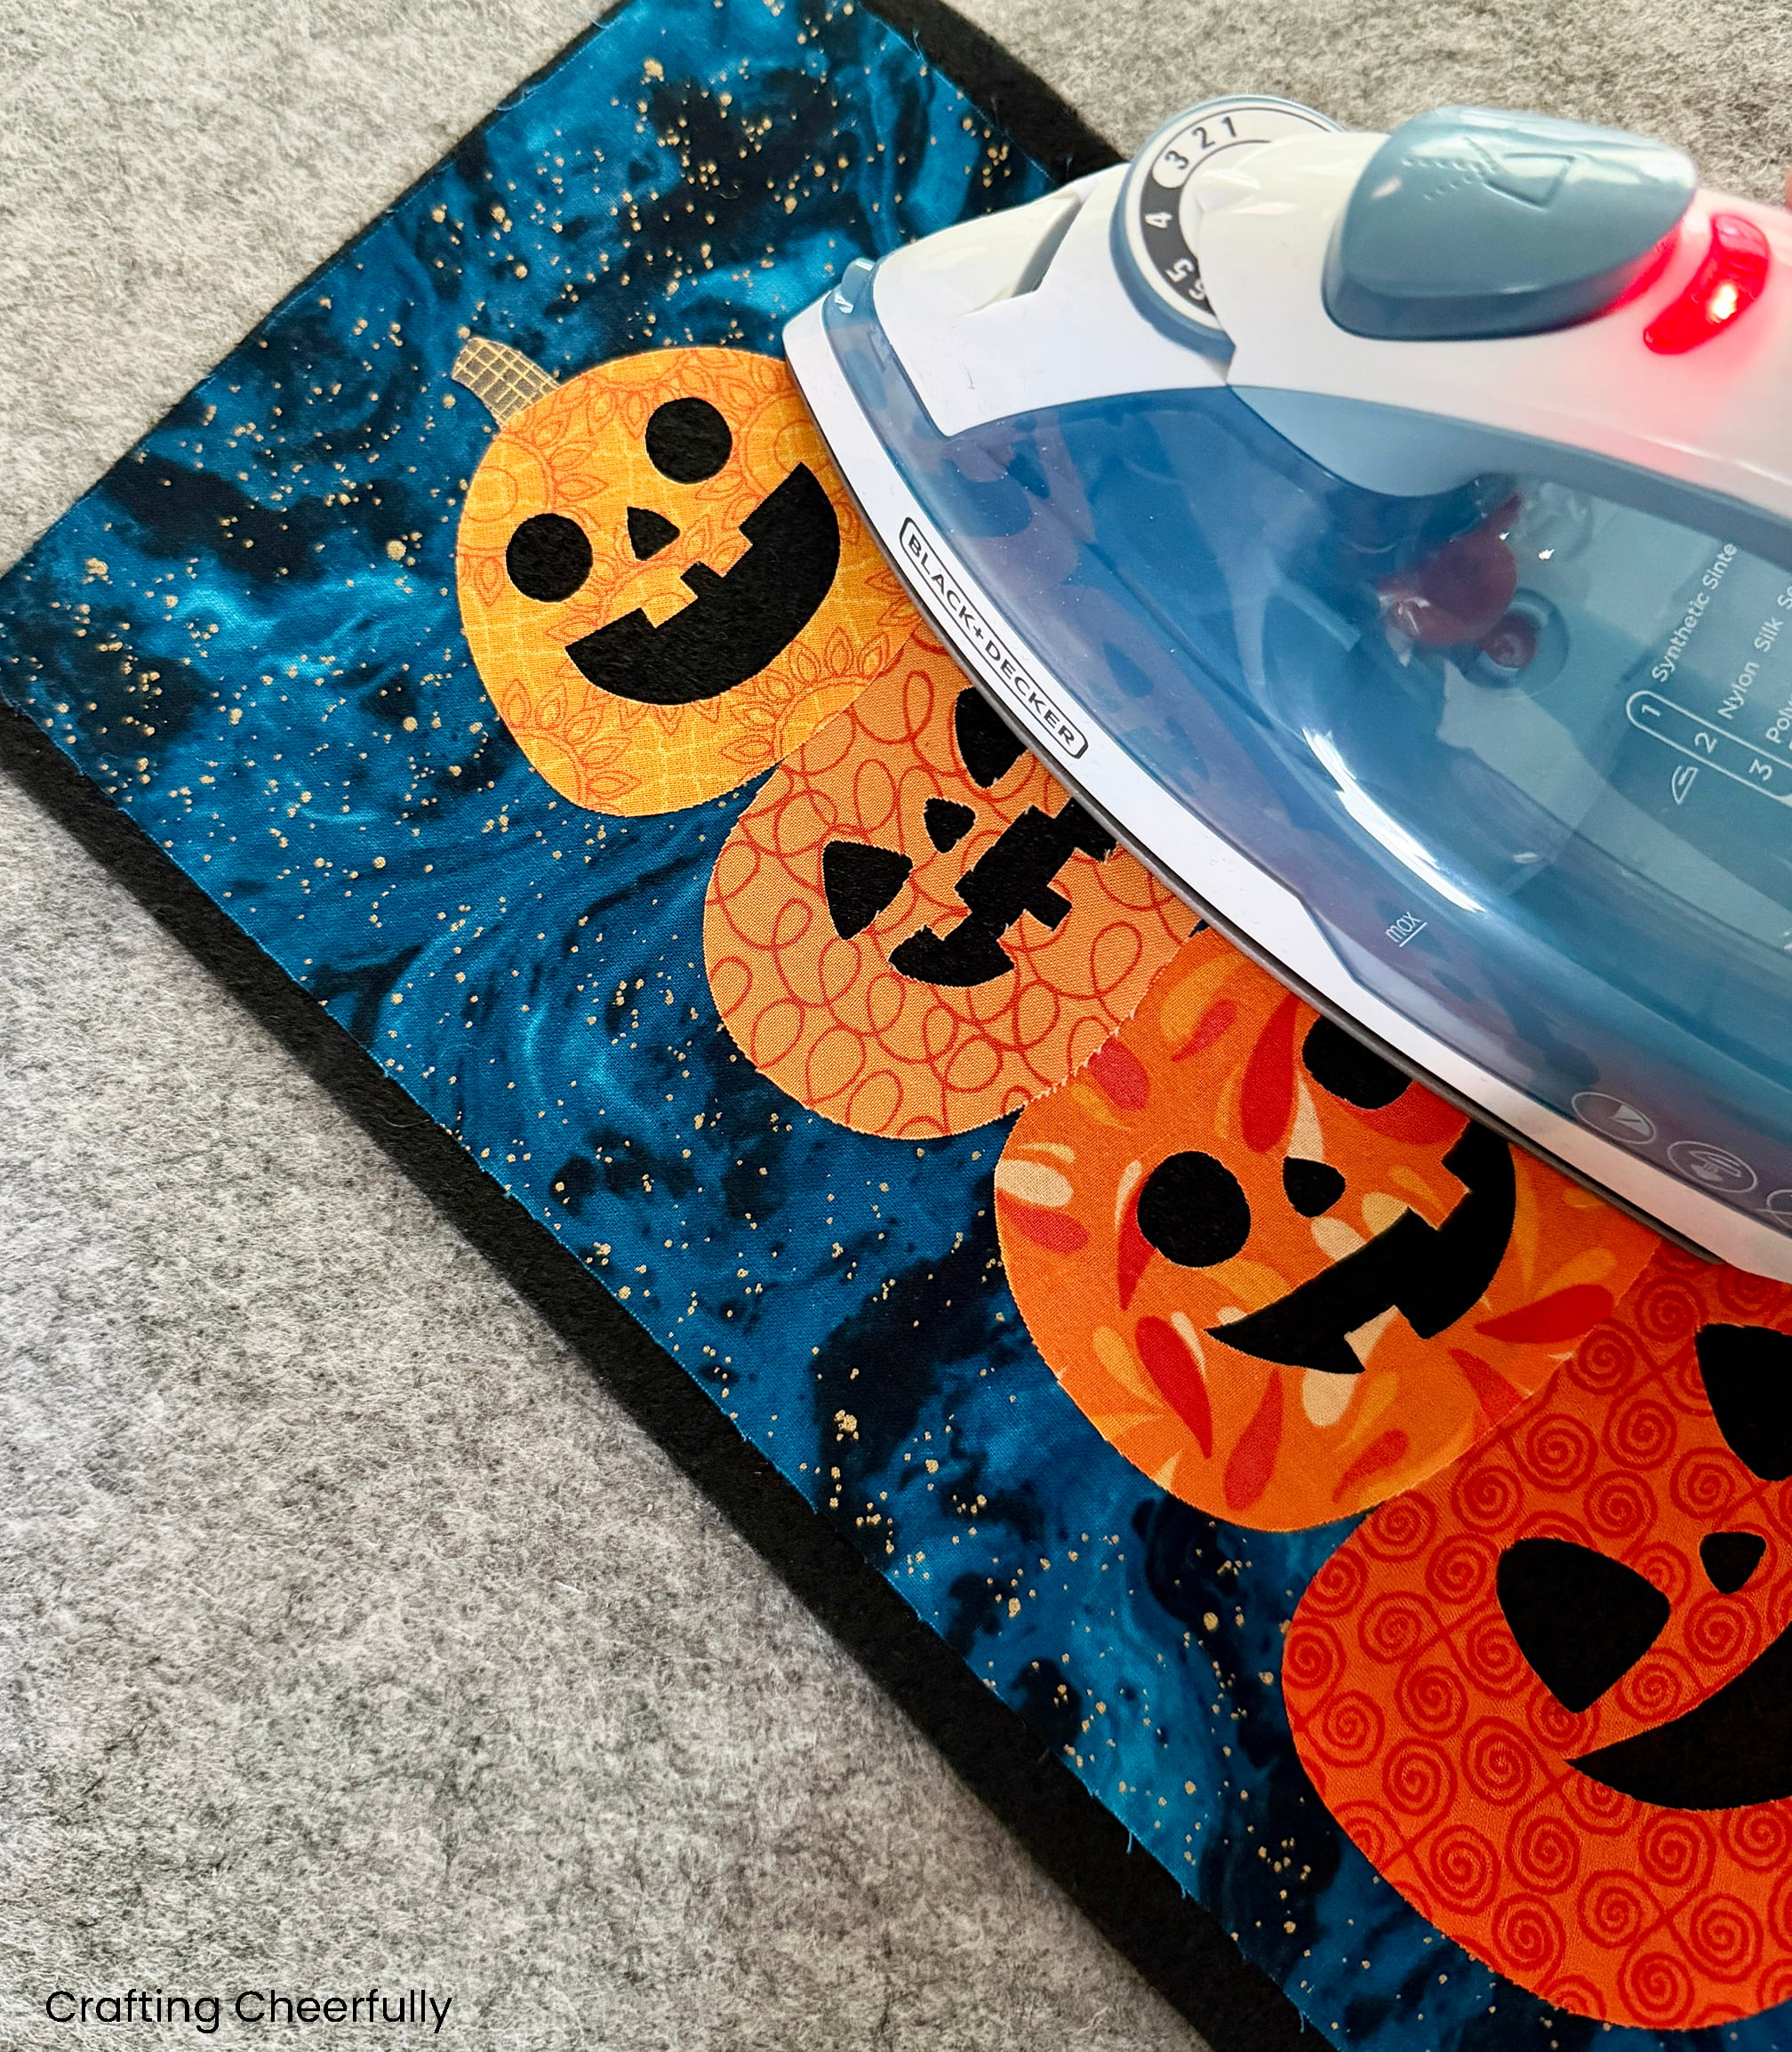
When we think about appliqué we usually think about playing a piece of fabric on top of another and stitching it in place. This can be done on a sewing machine with a special zig-zag stitch and satin thread or by hand – which is usually what I do. Reverse appliqué is the opposite! We are still layering together two pieces of fabric, but this time the top layer is cut away to reveal the layer underneath. I tried this out last Christmas when making a Holiday Banner and really enjoyed it!
For this banner, we are using reverse appliqué. The faces of each jack-o’-lantern are cut away to reveal the black felt underneath. Because the cut out areas on this design are pretty small, the areas are pre-cut using fusible interfacing. I also opted to skip stitching around each opening. I tried it, but didn’t care for the crowded look of the stitching in such a small area. So this pattern uses reverse appliqué, but in a slightly different than the traditional version. I love the finished result!
Displaying the Wall Hanging
The PDF tutorial that is included with the pattern shows two different ways of finishing the top of the wall hanging. The first way uses a magnetic wood hanger which is super quick, simple and fun! The second way adds a felt pocket to the top of the wall hanging to hold a wooden dowel. Once the dowel is passed through the pocket, a length of yarn can be used to add a hanger. Both ways create a nice finished look to the wall hanging!
I hope you give this Halloween reverse appliqué project a try! The pattern and detailed step-by-step tutorial are available in my shop. As we near Halloween be sure to check out my other Halloween Projects or Appliqué Projects!