Holiday Frames with DIY Fabric Photo Mats
Turn your picture frames into festive decor with DIY photo mats! These holiday frames use fabric to dress up for the holidays!


Hello Crafty Friends! Happy 6th day of my series “12 Days of Holiday Crafts“! Today I’m sharing a quick tutorial that will instantly add festive cheer to your home – holiday frames with DIY fabric photo mats!
I recently saw holiday picture frames on Pottery Barn’s website and loved the red and green plaid mats the frames came with. I knew I could replicate the look with frames I already had. Luckily I had a few different holiday plaids in my fabric stash that were perfect to use for this project!

One of the best parts of this project is that you can use frames you already have and replace the current mats with these holiday-themed ones. Once the holidays are over, take out the holiday mats and save them for next year!
I love replacing photos in our frames with ones to match the season. I do something similar around Halloween too. Its so fun to look at holiday pictures from when my kids were younger or family memories from previous years.

If using frames you already own this is an inexpensive project. While I chose holiday plaid fabric you could choose any print or pattern you’d like!
How to Make Your Own Christmas Photo Mats
Supplies Needed
- Frames – I used this 5″ x 7″ Silver Frame and a 2 Opening 4″ x 6″ Collage Frame I bought at Michaels.
- Holiday-themed fabric
- Cardboard or Chipboard – I used 0.024 inch chipboard but this 0.03 inch chipboard is close!
- Glue – I used simple School Glue
- Paint brush
- Fabric Scissors
- Paper Scissors
- Paper Trimmer
- Double-sided tape

Step-by-Step Tutorial
Step One: Cut out the photo mats from chipboard.
Start by removing the mat that came with the frame and trace it onto a piece of chipboard or cardboard. Trace it in a corner of the chipboard so two sides are perfectly straight. Use a paper trimmer or scissors to cut the mats out.
If your frame did not come with a mat you can easily create your own. First draw a shape that will fit into your frame and then an opening for the photo. For my 5″x7″ frame, the mat measured 8″ x 10″ and the borders were 1.75″ wide. The size of your mat will depend on what size your frame is and what size photo you are planning to use.


Step Two: Apply the fabric to the front of the chipboard mat using glue.
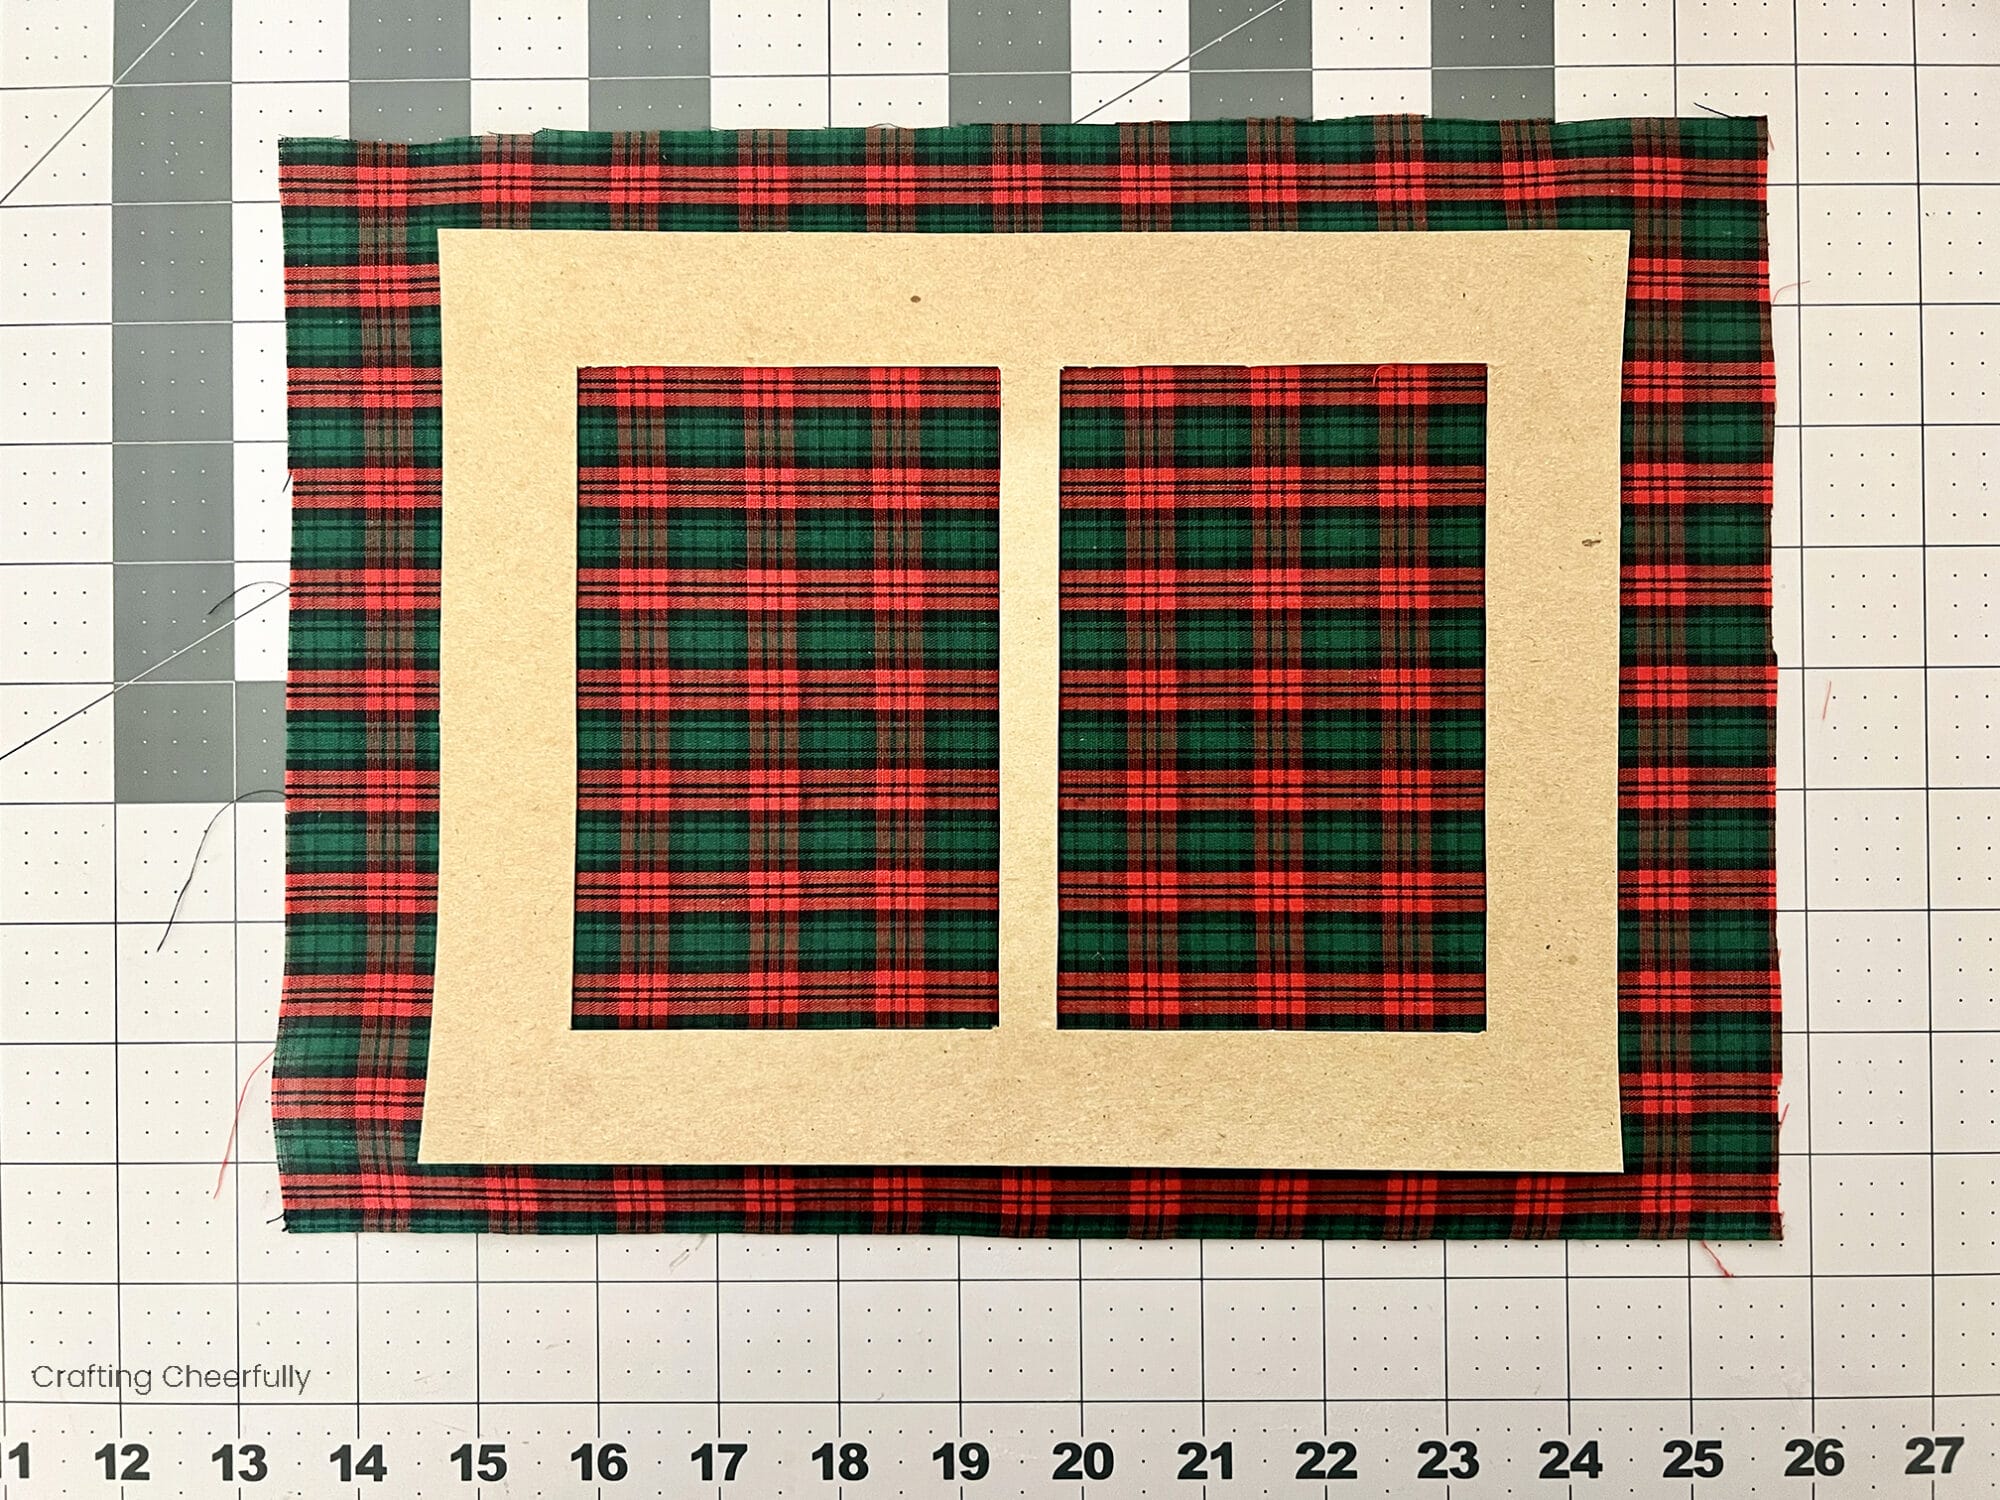
Start by ironing the fabric you plan on using. Apply a thin layer of glue to the chipboard mat and then place the mat onto the wrong side of your fabric. I lined my mat up with the lines on my plaid fabric.


Step Three: Add double-sided tape to the back of the chipboard mat.
Add double-sided tape to the mat around all of the outside and inside edges. I tried using glue for this step but found my double-sided Scor-Tape was stronger and worked better for holding the fabric.

Step Four: Cut the fabric from the photo openings.
Carefully use a sharp fabric scissors to cut the fabric from the photo openings. I cut diagonally right up to the corner of the openings.


Step Five: Wrap the fabric around to the back of the chipboard photo mat.
Start with the photo openings. Lift the paper backing off of the double-sided tape and wrap the fabric to the wrong side of the frame.

I had to use a few extra pieces of double-sided tape to get the corners secured.You may notice a little fabric fraying at the corners. It will depend on what type of fabric you are using but my cotton didn’t fray too bad. After I added the mats and my photos to the frames, I didn’t notice the small bit of fraying.

Step Six: Add your mat to the frame and display your favorite holiday photos.
Display your favorite holiday photos with your new holiday photo mats!


I love how festive these frames look! I can’t wait to add my holiday photos to them and display them through the holidays!

I’ll be back tomorrow for the 7th day of my series “12 Days of Holiday Crafts“. Thank you for following along! :)


