DIY Whimsical Christmas Peppermints
Create some fun Christmas decorations with these fun peppermints! Made with plastic paper plate holders this is a fun DIY for the holiday season.

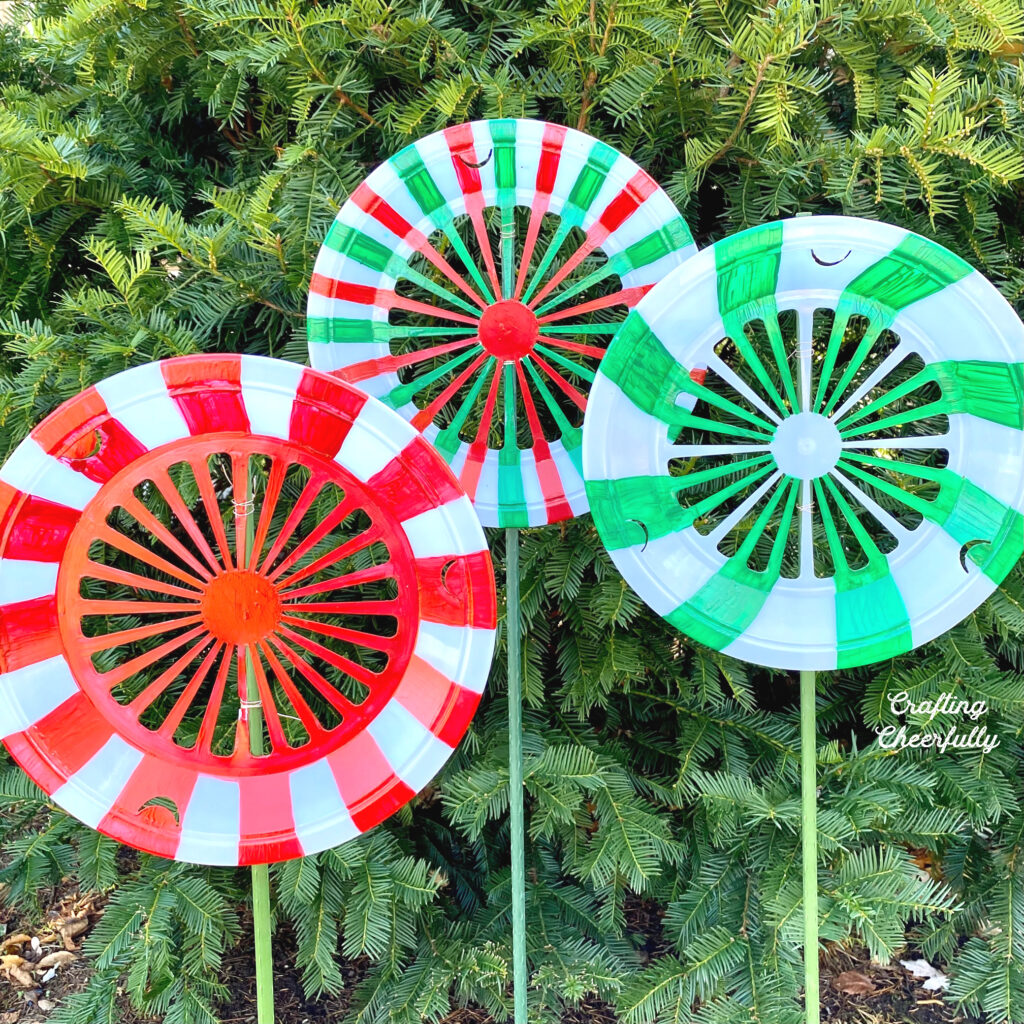
Welcome to day #7 of my “12 Days of Holiday Crafts” series! Today I’m sharing these fun DIY Peppermint Christmas decorations! These peppermints are made using outdoor acrylic paint and plastic paper plate holders. They can be set outside or used as whimsical indoor decorations!
This past summer, I made a bunch of garden decorations including lawn ornaments made from the same plastic paper plate holders. They lasted the entire summer and still look great so I decided to make some for the holiday season. My favorite outdoor acrylic paint is DecoArt Patio Paint. I have used it to paint stepping stones as well as lawn ornaments and find it holds up well. For this project I used the colors “Mistletoe Green” and “Holly Berry Red”. You can paint using red and green as I did or make a group of colorful peppermints using bright, rainbow colors!
*Update: After putting my paper plate peppermints outside last Christmas I discovered that they do best in a sheltered area – like under a porch or under a roofline if your area will get a lot of snow and freezing weather like we did. The peppermints I had that were sheltered and set in planters did really well! The ones I stuck in the ground unsheltered became frozen in the ground and their paint started chipping before I could remove them in the Spring.
Our winters are pretty rough where I live with lots of snow and freezing temperatures. Depending on where you live these may be better as whimsical indoor decorations or if you do use them outside, find a sheltered area like a patio or porch!

This is a fun DIY that is simple but requires a little patience. The plates will take a few coats of paint to cover. Don’t worry too much about them looking perfect – from a distance they will look great! :)
DIY Outdoor Christmas Decorations
Supplies Needed:
- White Reusable Plastic Paper Plate Holders
- DecoArt Patio Paint in Holly Berry Red
- DecoArt Patio Paint in Mistletoe Green
- DecoArt Multi Purpose Primer and Sealer
- Thin wire
- Stakes
Step-by-Step Tutorial
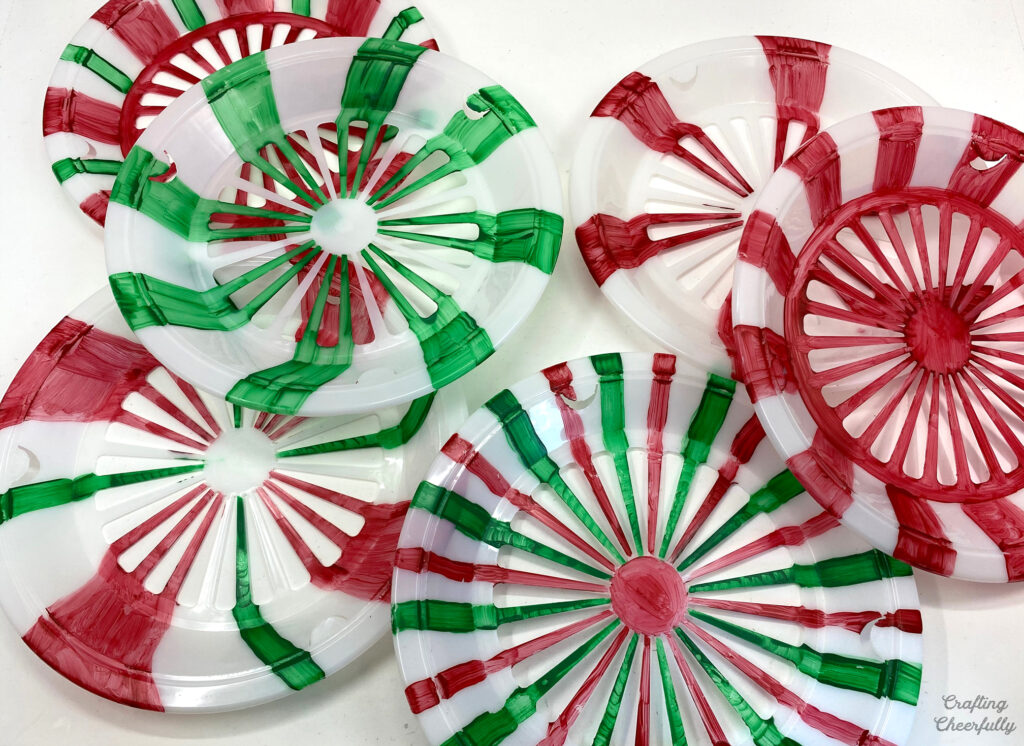
Step One: Paint the plates with a peppermint pattern!
Use outdoor acrylic paint to paint a peppermint pattern on each plastic plate. I tried to do a different pattern or color combination on the five plate I painted. If you have a Primer/Sealer you can start by first applying a coat of primer to each plate.

Start with one coat of paint and let it dry before adding a second. Repeat for a third layer.

Step Two: Cover the plates with sealer.
After the plates are painted and the last coat is dry, apply a layer of multi-purpose sealer.


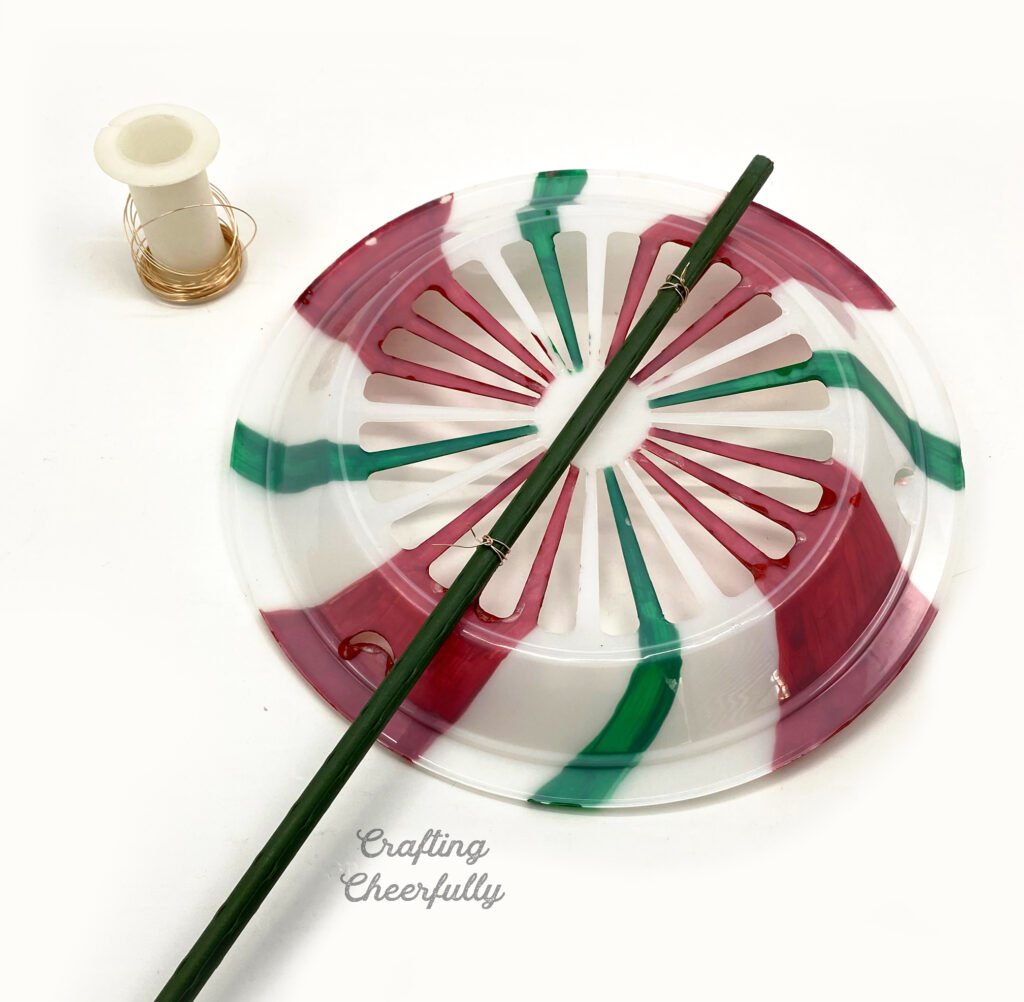
Step Three: Attach the peppermint plates to garden stakes.
Use thin wire to attach the peppermints to a garden stake. Attach the plate at two points, wrapping the wire through the slats of the plate and around the stake. Be careful not to slide the plate up and down once the wire is wrapped as this could cause the paint on the plate to chip.

Below are some of my finished plates!
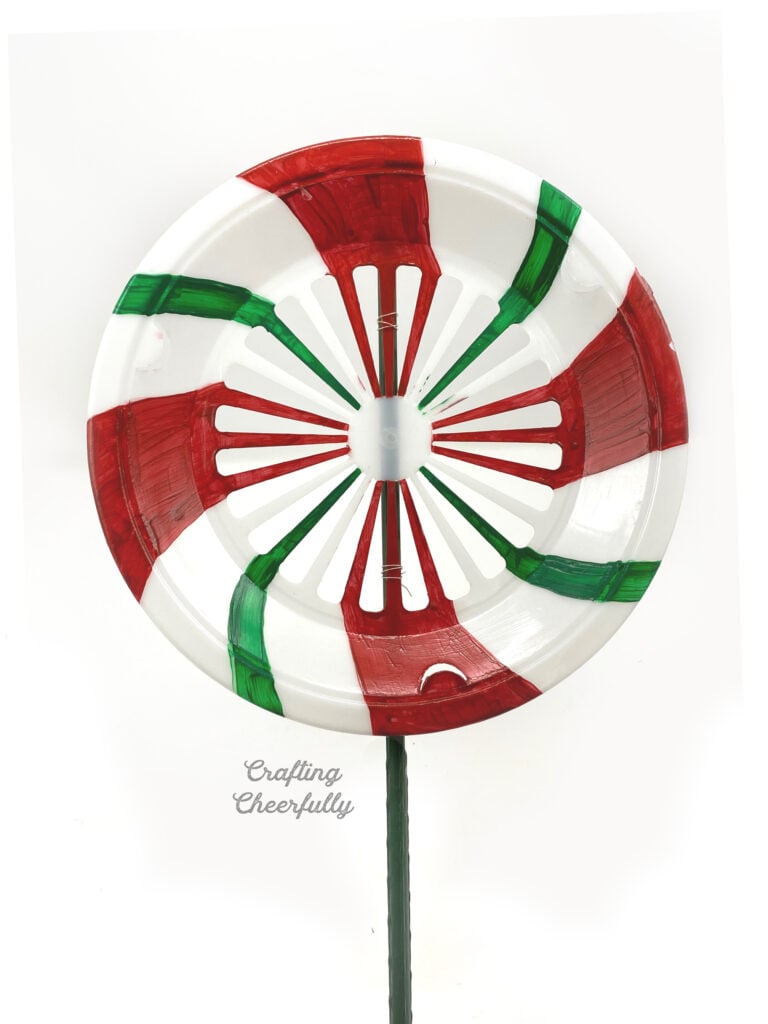
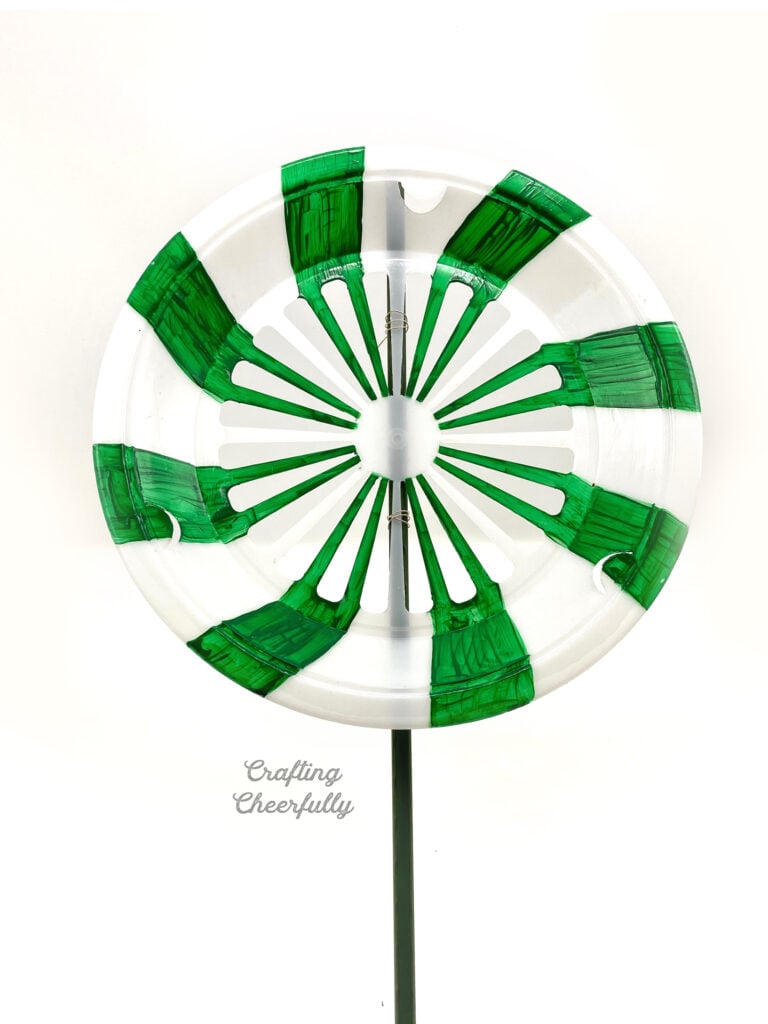


Display them this holiday season! We haven’t had any snow yet this year, which is a little unusual for us, so I had to take these pictures with leafs on the ground. I think they will look so fun when there is snow!

I hope you enjoyed this fun DIY craft tutorial! Tomorrow I’ll be back for day #8 of my holiday craft series!




Great idea I’m going to try making some of them.
Thank you, I hope you do! They were really fun to make and are so far holding up well outside :)