DIY Harry Potter Wall Art with Your Cricut
Create your own DIY Harry Potter wall art featuring all four Hogwarts houses using your Cricut cutting machine!

Hello Crafty Friends! We recently updated some of my children’s wall art and replaced it with these fun Harry Potter-themed designs featuring each of the four Hogwarts houses. This project was so fun to make using my Cricut!
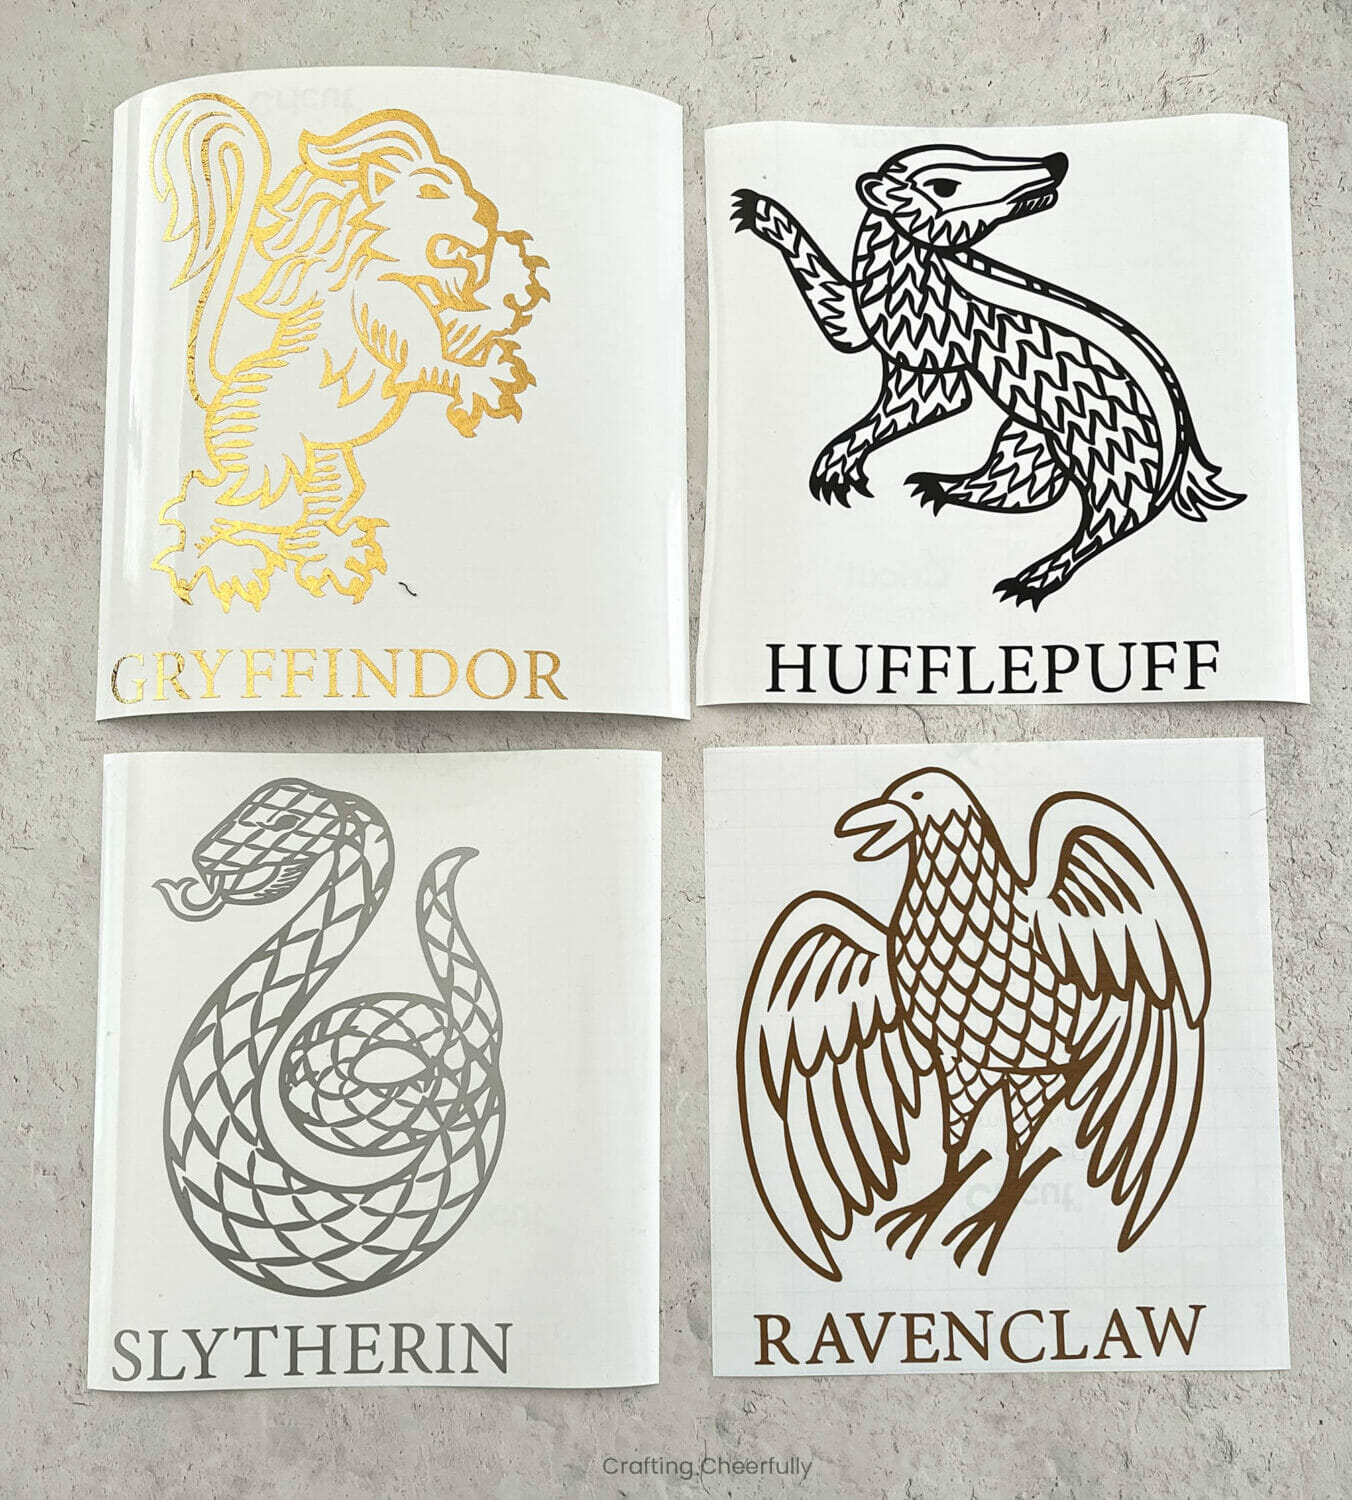
Hogwarts, the magical school Harry Potter and his friends attend in the wizarding world, is made up of four houses; Gryffindor, Slytherin, Hufflepuff, and Ravenclaw. The students are sorted into houses when they first arrive at Hogwarts. Each house is represented by an animal. A lion for Gryffindor, serpent for Slytherin, Badger for Hufflepuff and an eagle for Ravenclaw. It is a lot of fun to take a sorting quiz online and find out which house you would been sorted into!
Since we had four frames, we decided to make each of the Hogwarts house mascots. My whole family loves the way these turned out and how they look grouped together on the wall. You could skip making all four houses and just make your favorite house or the house you would belong to if you went to Hogwarts. One house would look really beautiful on its own or as part of a Harry Potter-themed gallery wall!

Below is the tutorial on how you can create your own Harry Potter wall art! You can also check out all of my DIY Harry Potter Crafts for more fun themed craft projects!
How to Make Hogwarts House Wall Art
Supplies Needed
- Frames – I used frames meant for 8″x10″ photos so the actual opening in the mats was 7.5″x9.5″.
- Cardstock and vinyl. Below are the colors I used for each house.
- Gryffindor: Core’dinations Sandable Burgandy and Gold Vinyl
- Slytherin: Bazzill Aspen and Silver Vinyl
- Hufflepuff: Bazzill Classic Yellow and Black Vinyl
- Ravenclaw: Bazzill Arctic and Brushed Copper Vinyl
- Transfer Tape
- Cricut cutting machine
- Cricut Design Space project file
- Cricut Tools and standard cutting mat

Using Vinyl on Paper
To make these art prints, I used cardstock as the backdrop for each design and vinyl to add the house mascots. Using vinyl on paper, instead of paper on paper, made the intricate designs easier to cut and weed. It was also far easier to attach the designs since I didn’t need to worry about using glue. This is a quick Cricut project because each picture only takes one cut on the machine. Just be sure to take your time weeding!
Setting up the Files in Cricut Design Space
The files to create these fun Harry Potter house prints are available in Cricut Design Space. You can use my Design Space file to help you get starts. Since this design uses Harry Potter images, you will need to purchase each of the four images (they are not included in a Cricut Access subscription). The images are sized to fit my frames which were meant for 8″x10″ photos so they had a 7.5″x 9.5″ opening. If your frames are a different size, you will need to resize the images.

Before cutting, hide the four colored rectangles if you plan to cut the background paper using a paper trimmer as I did.

Cutting the Hogwarts House Files
After each house mascot has been cut, weed the image.

Applying the Vinyl to the Cardstock
Use Transfer Tape to transfer the image to the cardstock. Place a piece of Transfer tape over the image and use a scraper to help transfer the image to the tape. Turn over the image and use the scraper to apply pressure to the back of the image as well.
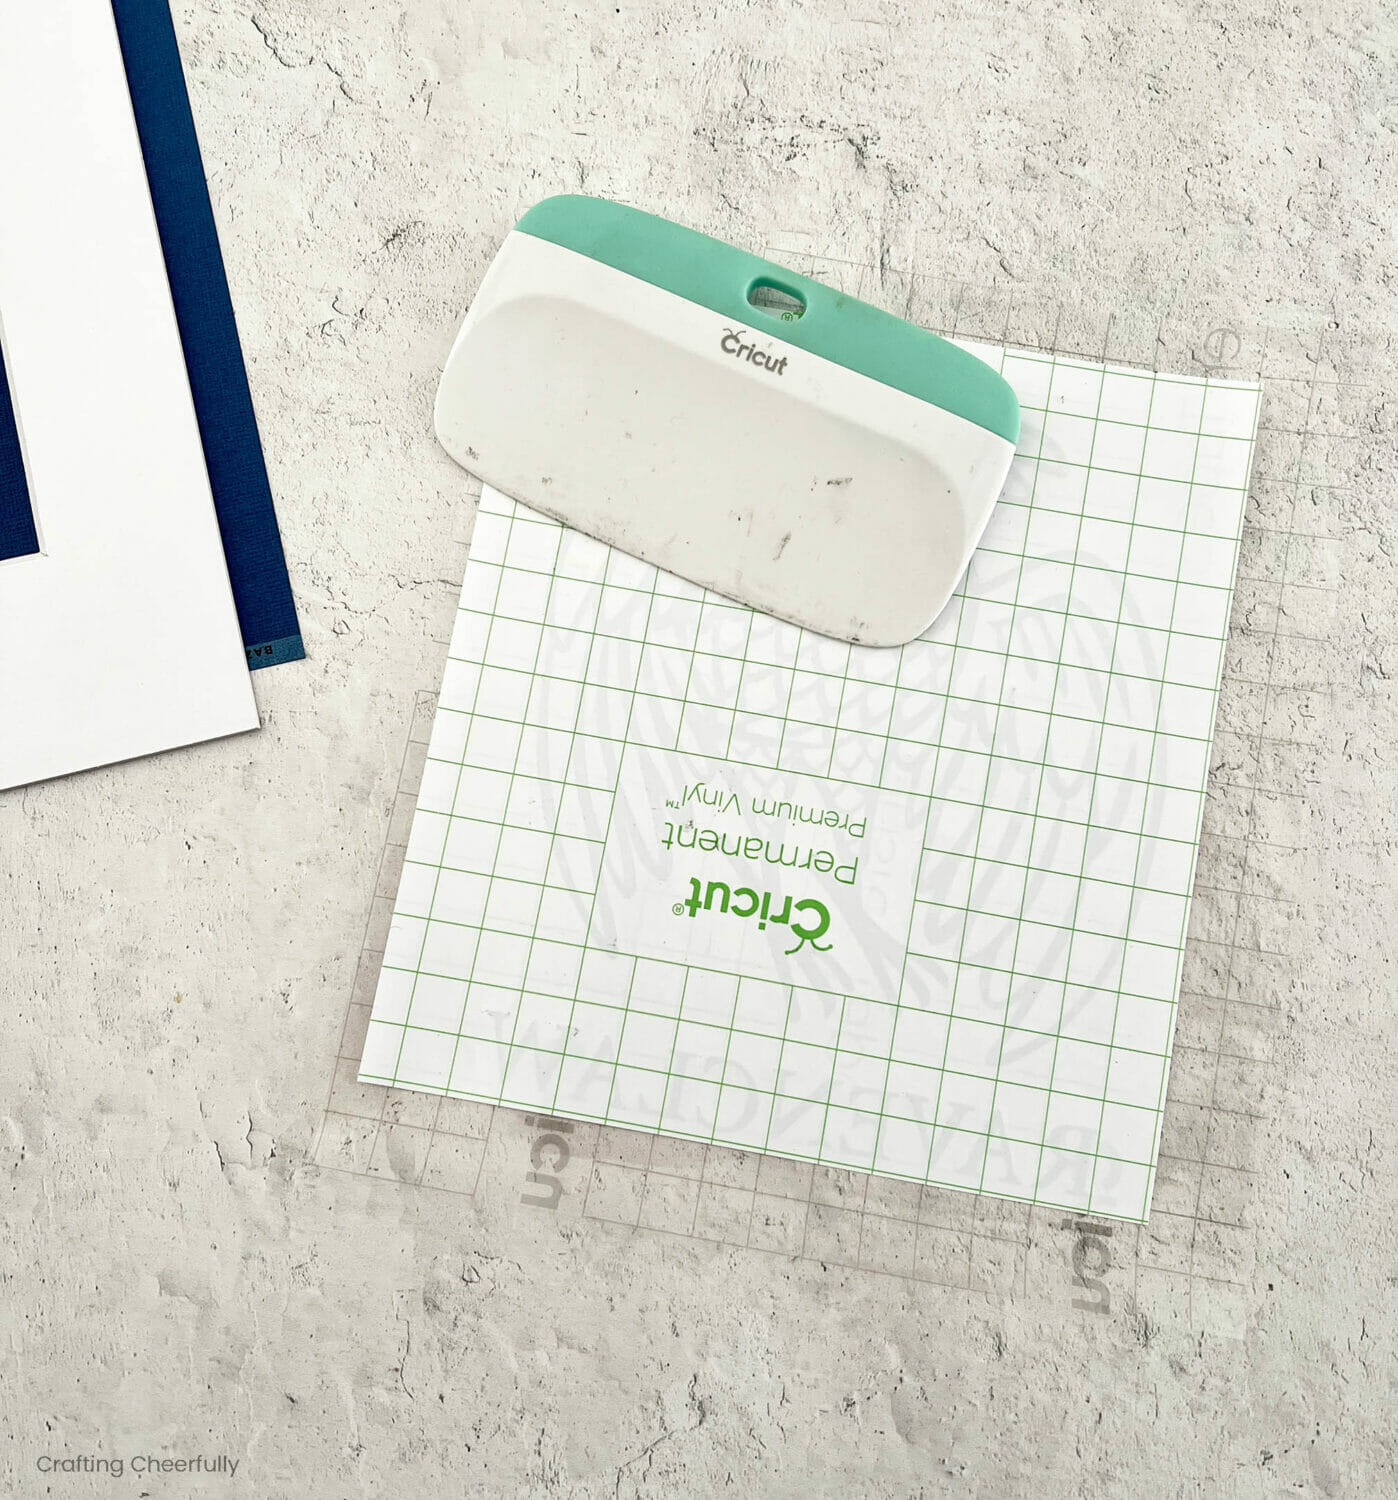
Carefully peel off the vinyl backing, leaving the image on the Transfer Tape. Pulling at a 45 degree angle can help. Go slowly and if the image is not sticking to the tape, lay the backing back down and try rubbing the scraper back and forth on it a bit more.

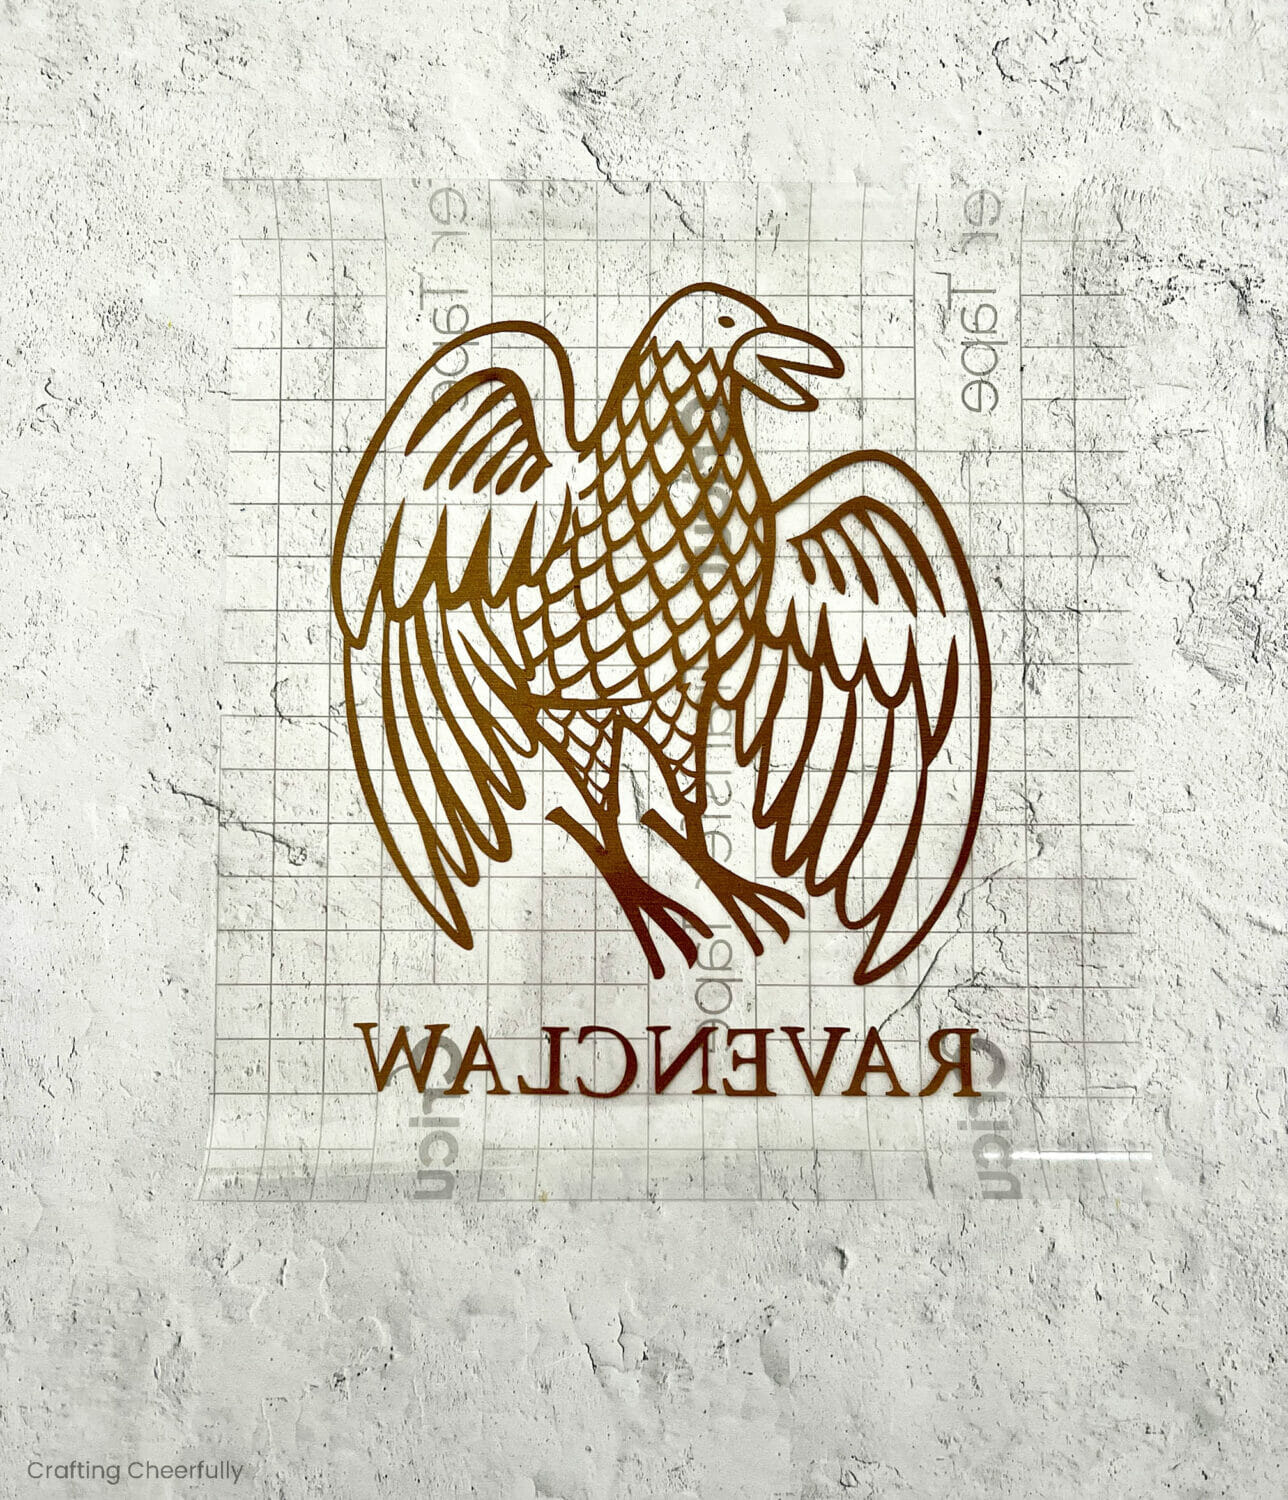
Next, apply the image to a piece of cardstock. Since I was using 12″ x 12″ cardstock, I placed the image in the center of my paper. Gently rub the image (not much pressure is needed), then carefully peel back the Transfer Tape. Be gentle with this step so you do not peel up the cardstock with the Transfer Tape.

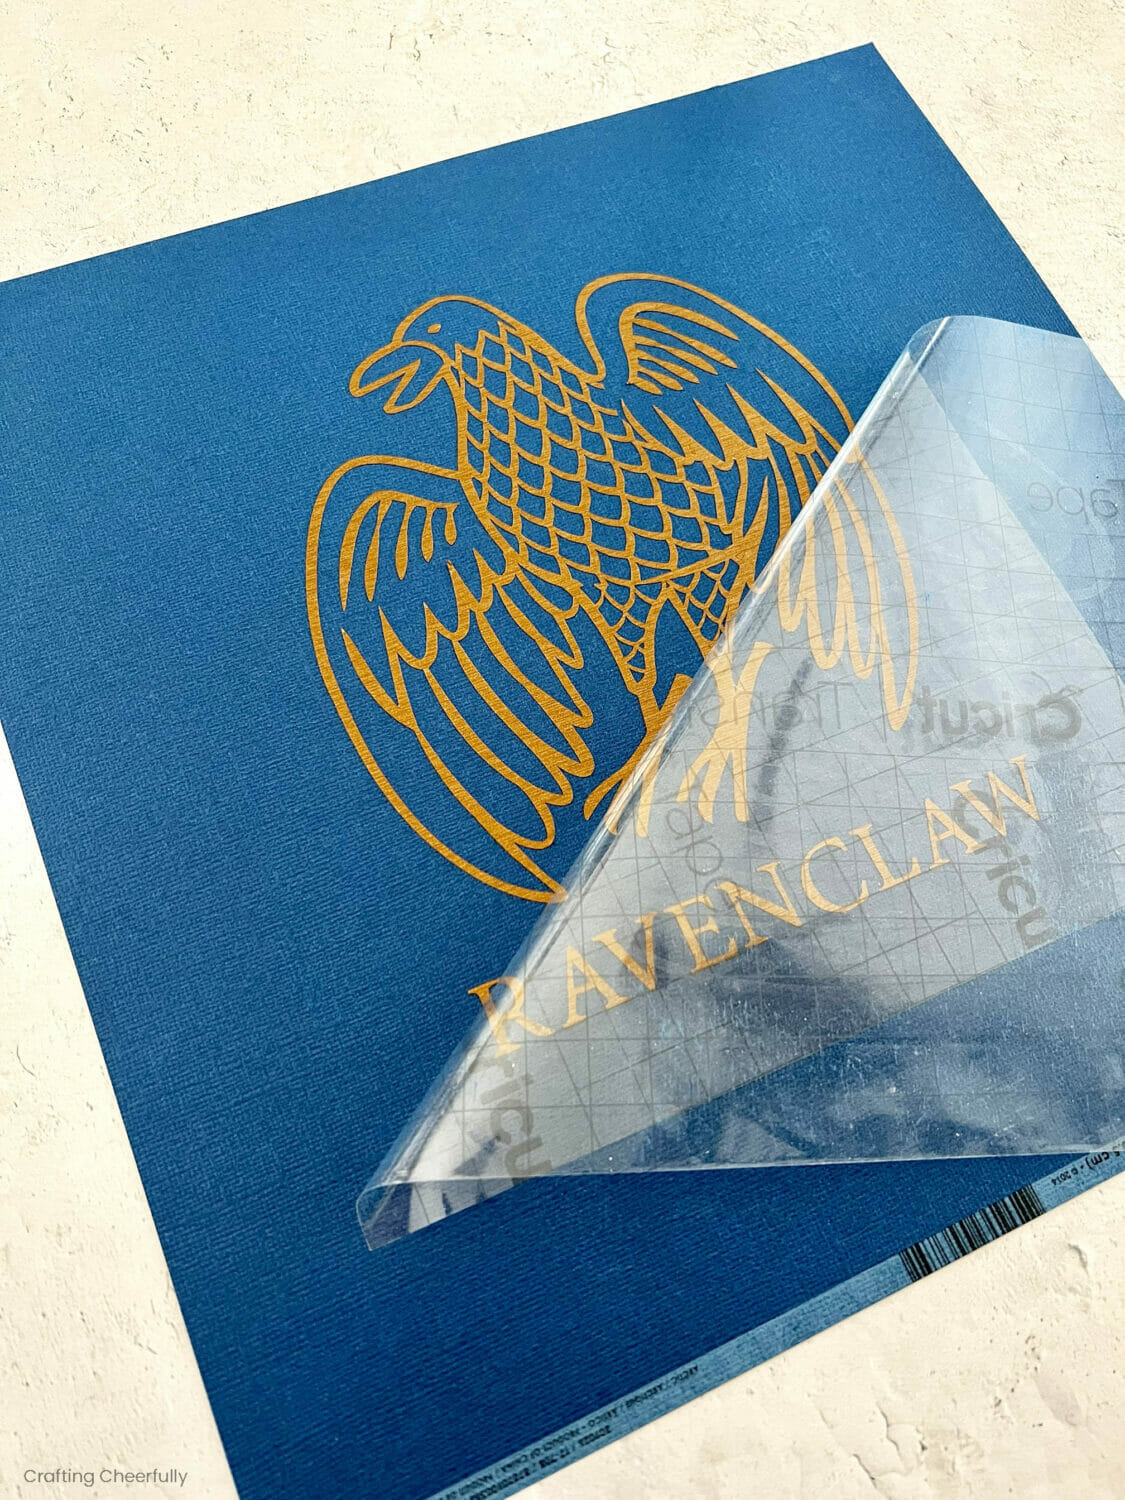
Repeat for each Hogwarts house animal.

Framing the Designs
Once the designs are created, it is time to frame them. I trimmed just a little bit from each side of my cardstock.

Since I was framing all four houses and I knew they would be hanging right next to each other, I wanted to make sure each one was positioned the same. I used a ruler to help center the design under the white mat. The bottom of the house text is 7/8″ away from the mat. Depending on the size of your frame and mat you have different measurements. Just make sure you are consistent with all four designs.


Use small pieces of tape on the back of the mat to keep your designs in place.
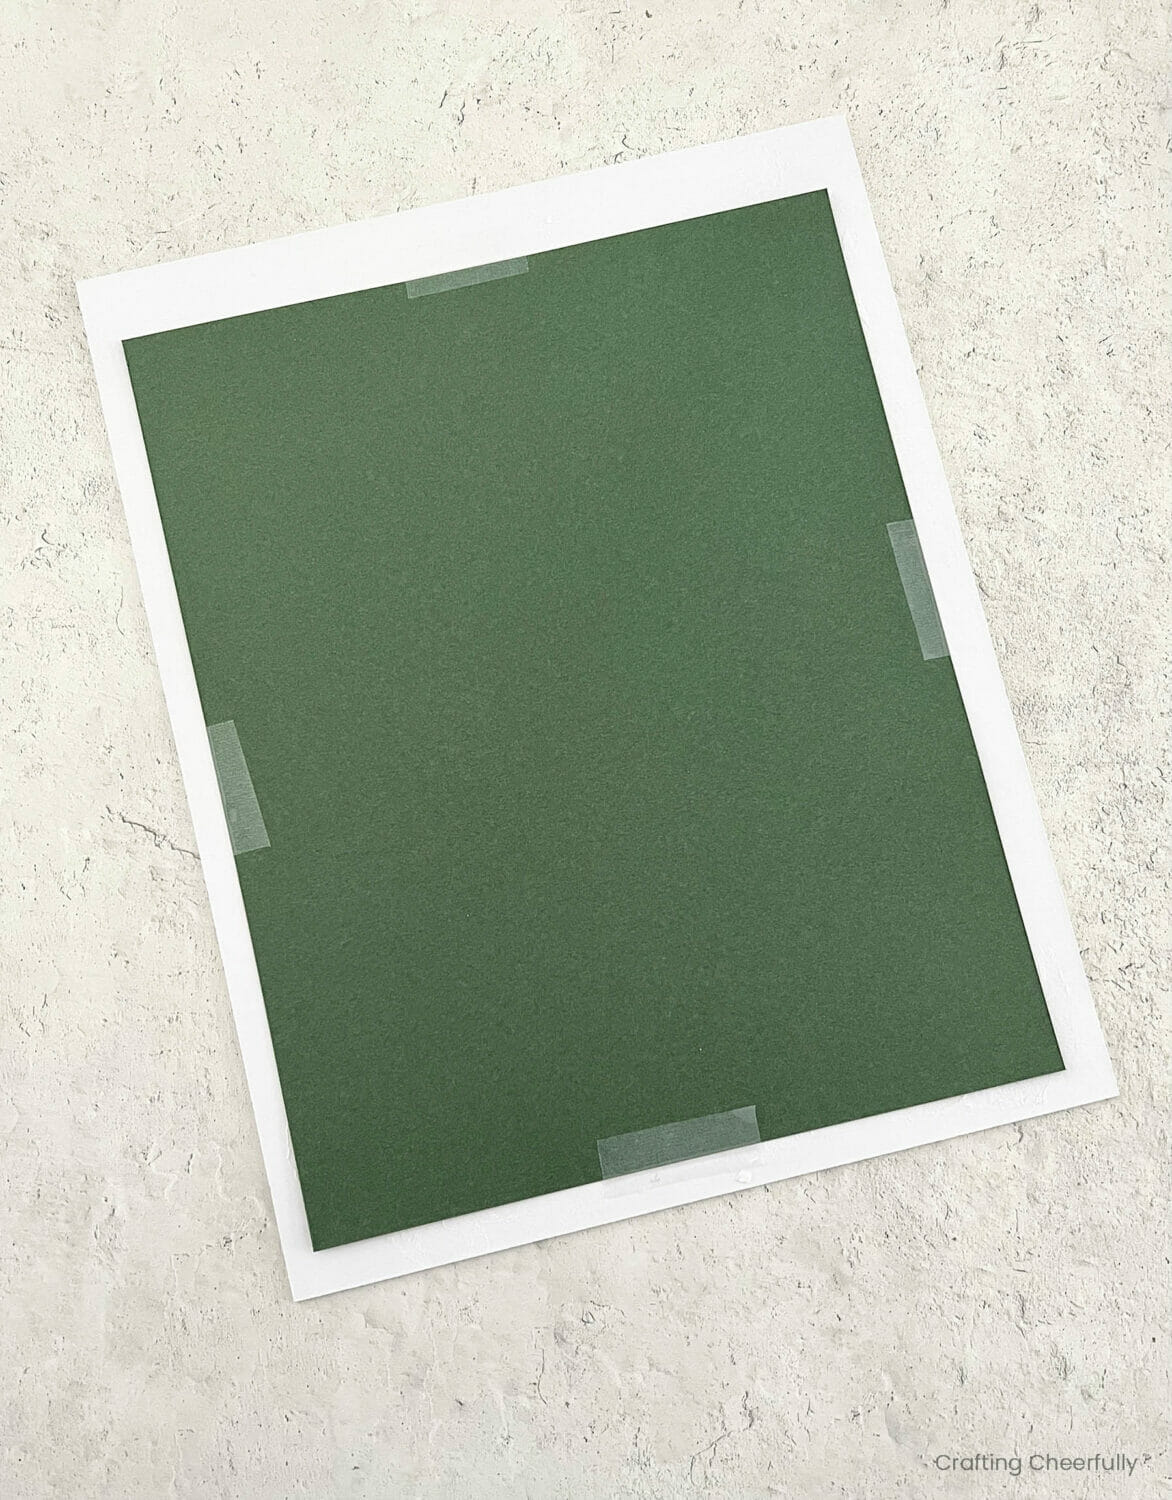
Repeat for all four designs.

The last step is to add the mats to the frames and your new Harry Potter wall decor is finished and ready to be hung up and enjoyed! I use a level, hanging hooks and Command Strips to hang my artwork. Even though I hang our wall art up with hooks, I like to place one or two small command strips along the bottoms edge of the frame. I actually cut each Command Strip in half to since they aren’t really supporting the picture, just keeping it in place. This makes it so each picture is really stuck to the wall and I don’t have to worry about my kids knowing them down!
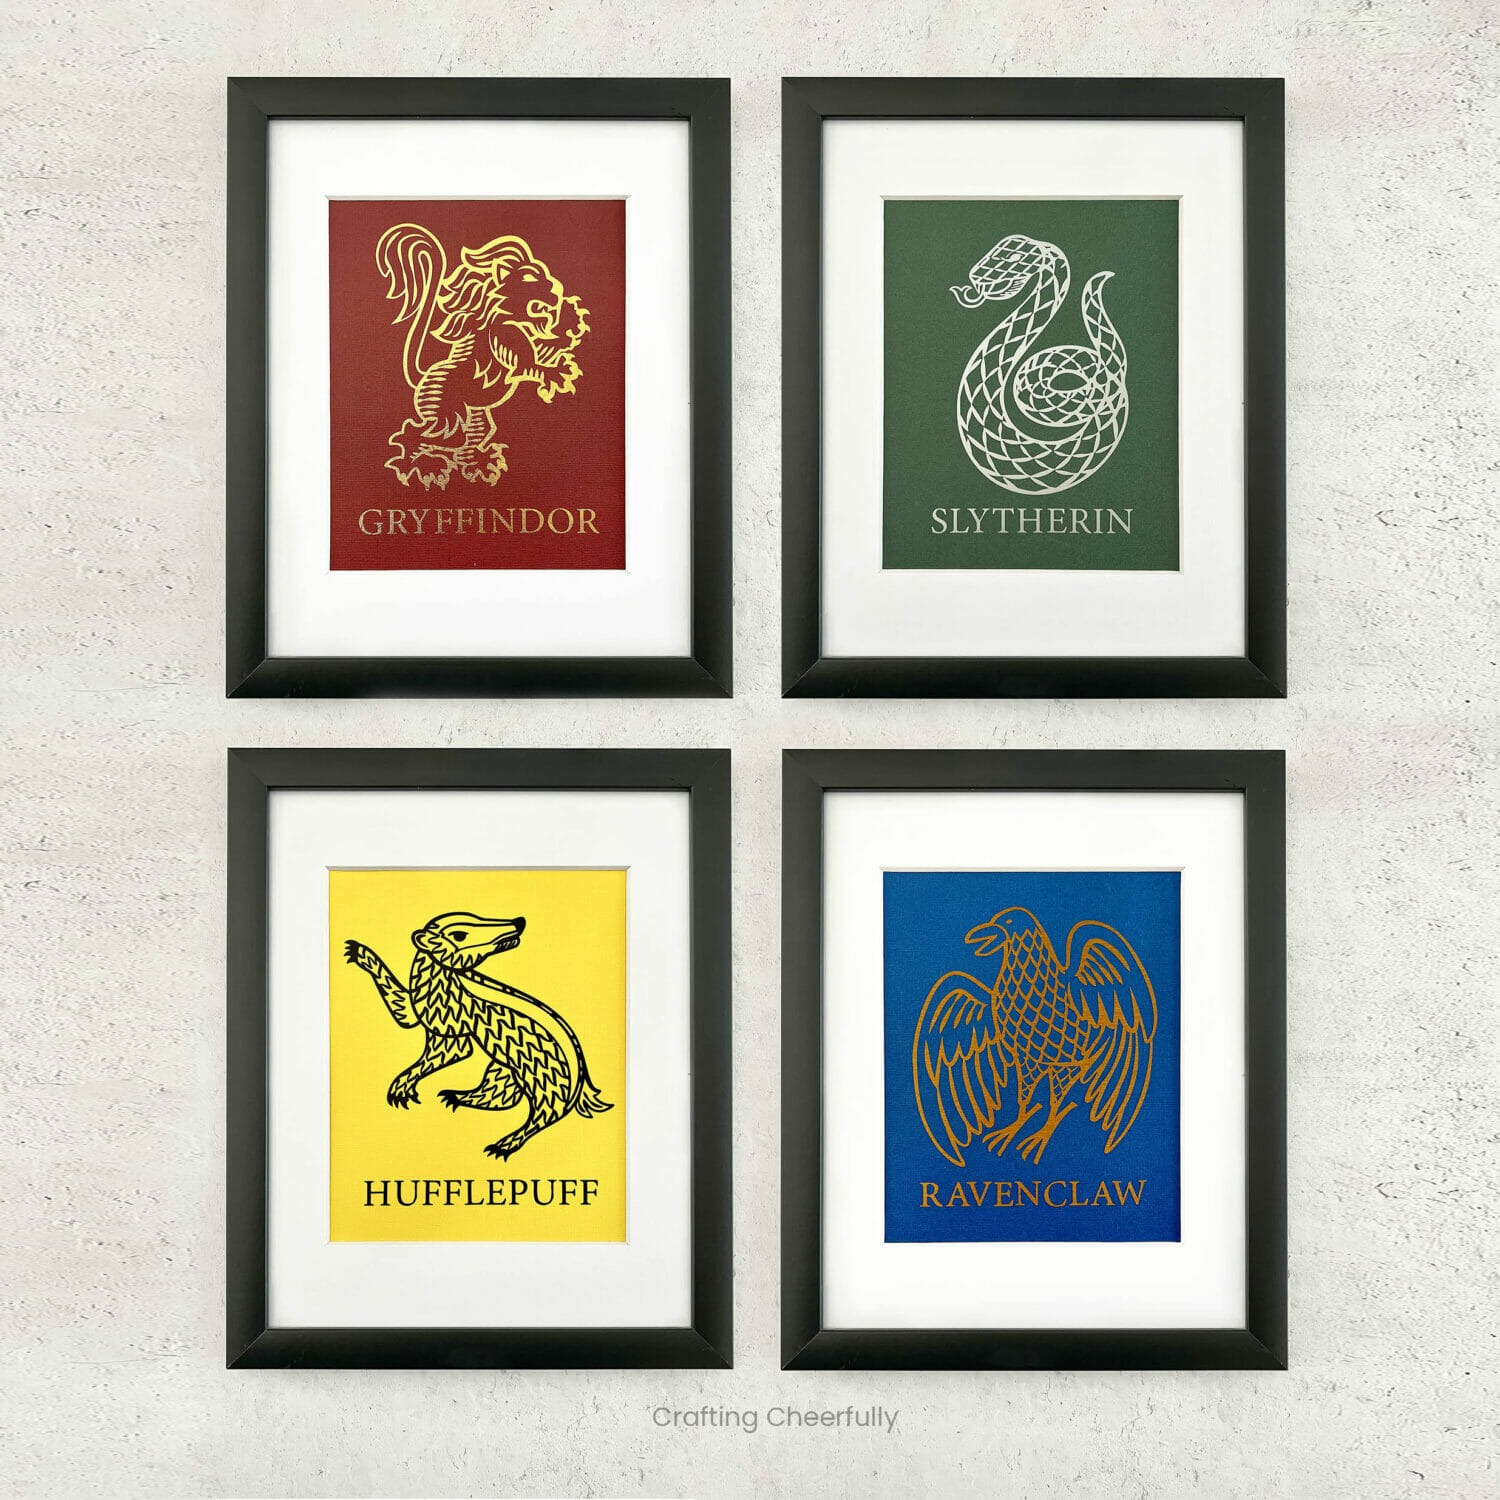
I hope you enjoyed this fun tutorial! These were so fun to make and my whole family loves the way they turned out.
Check out a few of my favorite Harry Potter crafts perfect for decorating your home!
More Harry Potter Home Decor Projects
- 3D Paper Hogwarts Castle
- Harry Potter Paper Plate Wreath
- Three Broomsticks Wooden Sign
- Harry Potter Directional Sign
- DIY Harry Potter Mail Holder


