
DIY Recipe Binder
Learn how to organize your recipe cards and printed recipes into a beautiful DIY recipe binder with this DIY craft tutorial!

Hello Crafty Friends! Today I’m excited to share a new organization project, this time for the kitchen! I recently took a little time to organize my recipes and am so excited with this new binder. Before this I had a small recipe book for my recipe cards but as I have been printing more and more recipes I find on the internet, I needed something that could keep everything all together.
This binder is perfect for holding both my recipe cards and the recipes I print from food sites and food blogs. With everything in one place and organized, it’s easy to find what I am looking for!

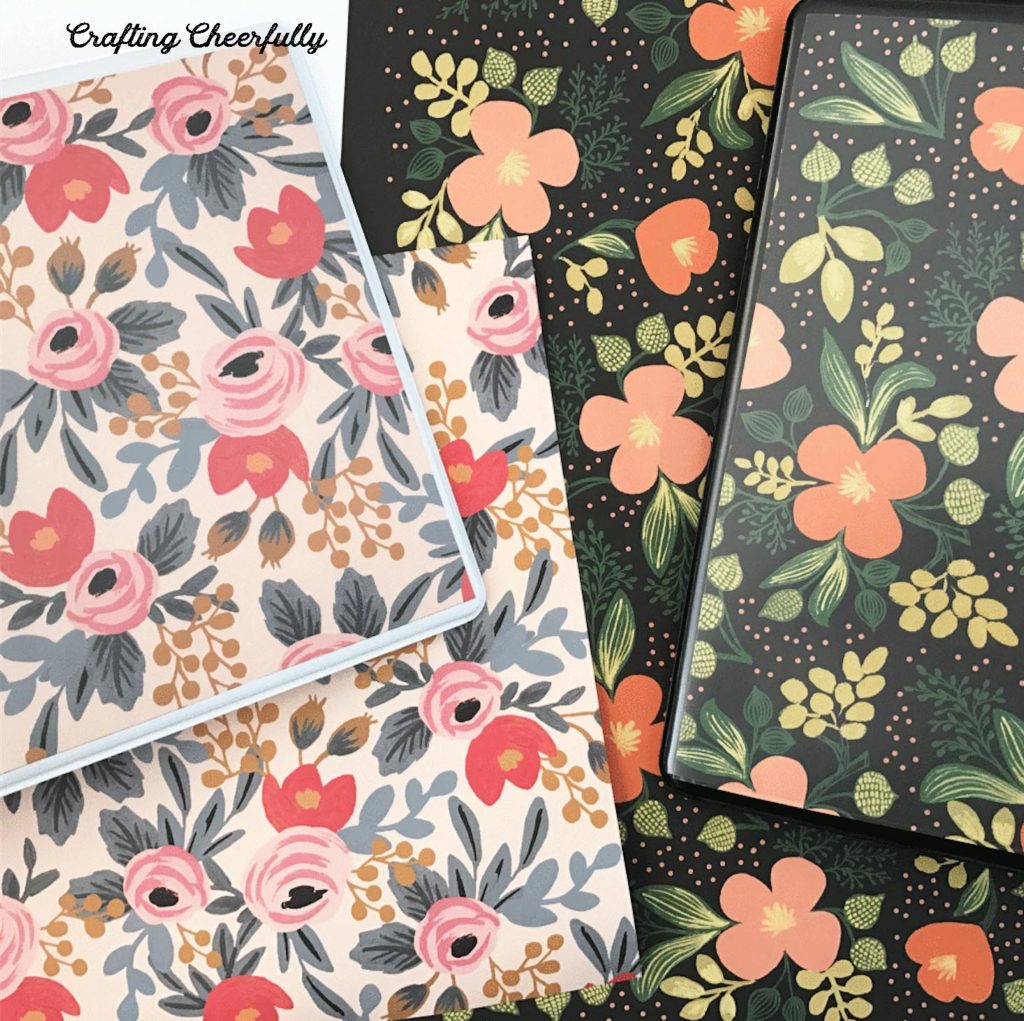
For some time now I have really wanted to get a Rifle Paper Co. recipe box. I think they are so beautiful and love the floral patterns on them. The only problem with a recipe box is it wouldn’t hold my printed recipes. While I could copy them to recipe cards, I knew I would never take the time. I decided instead of getting a recipe box, to get a Rifle Paper Co. sheet of paper and create this recipe binder!
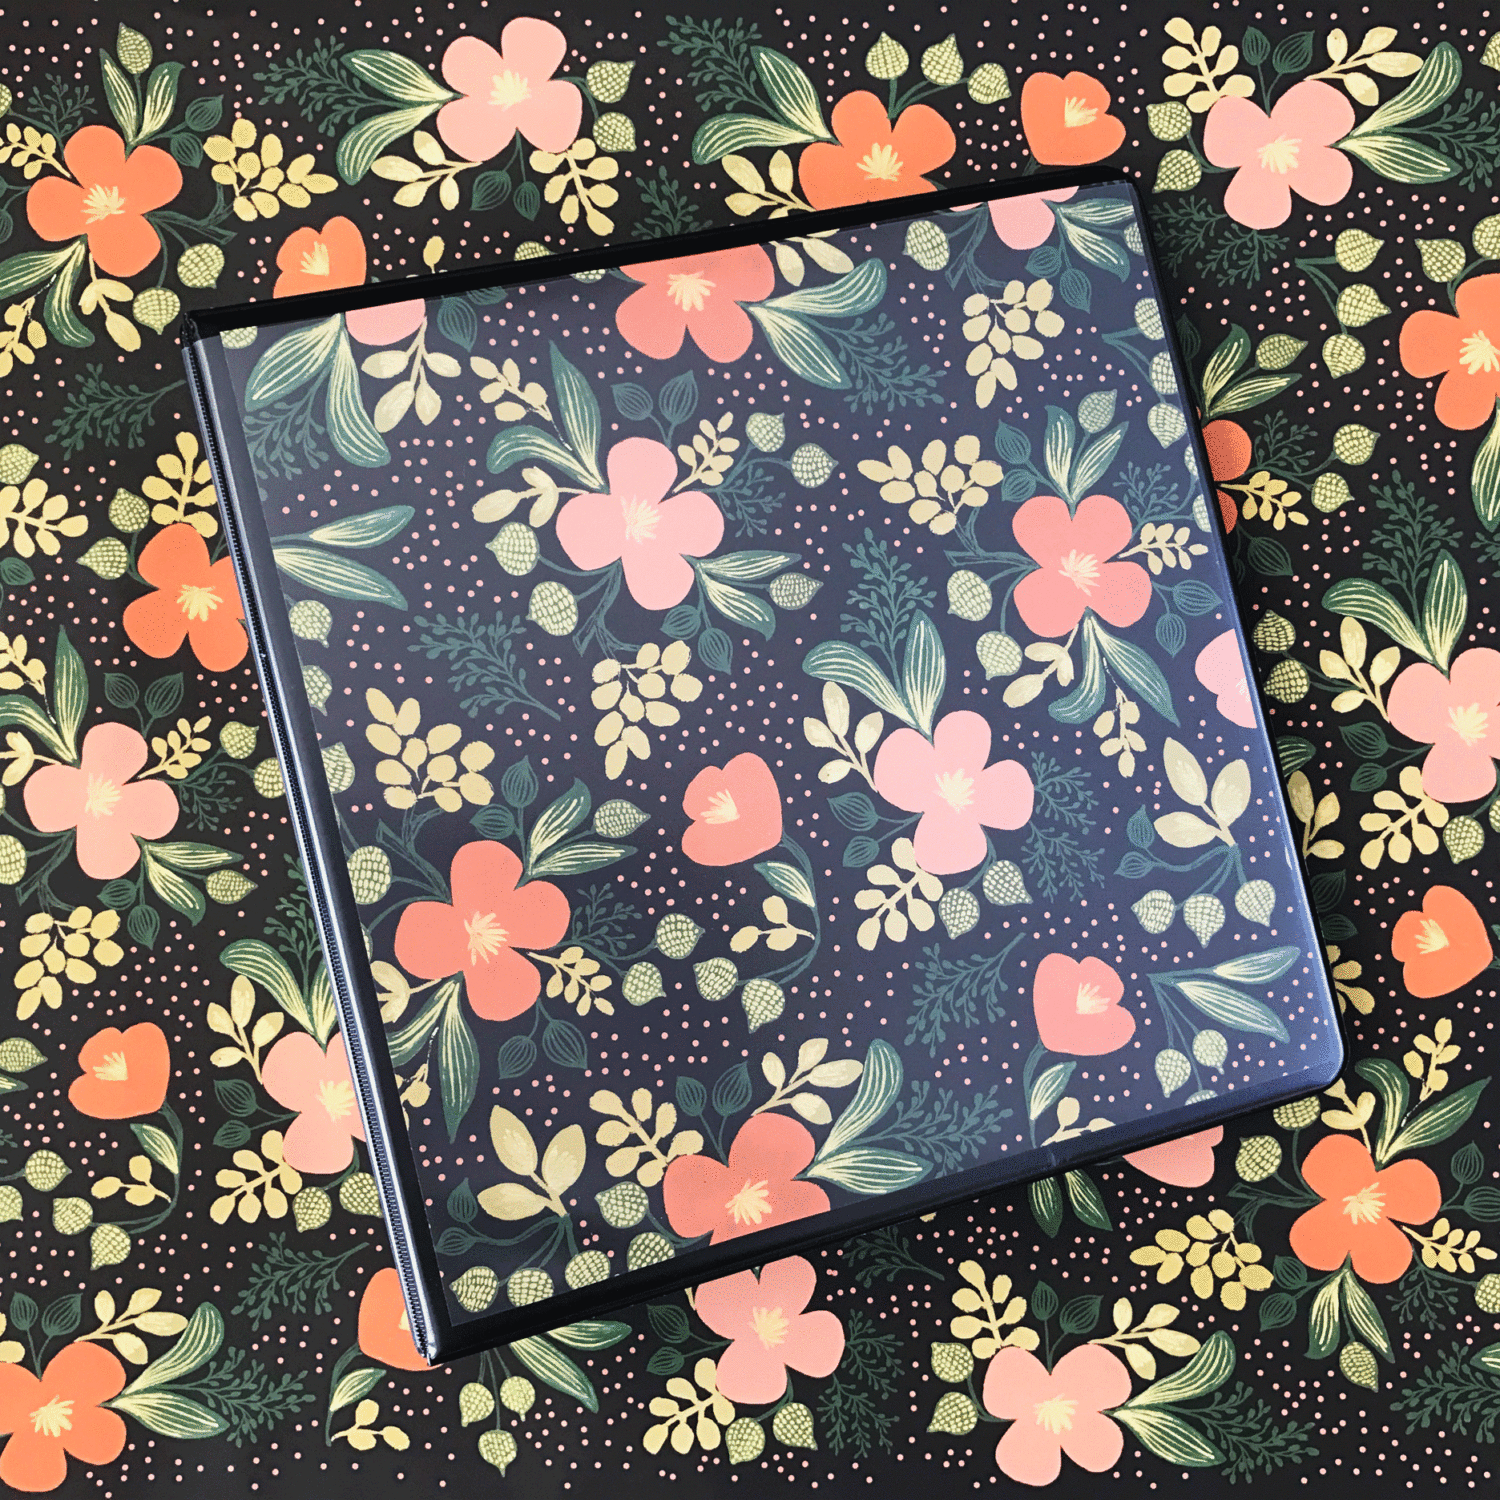
You can use any floral paper, including scrapbook paper, or floral wrapping paper to create a similar recipe binder.
How to Make a DIY Floral Recipe Binder
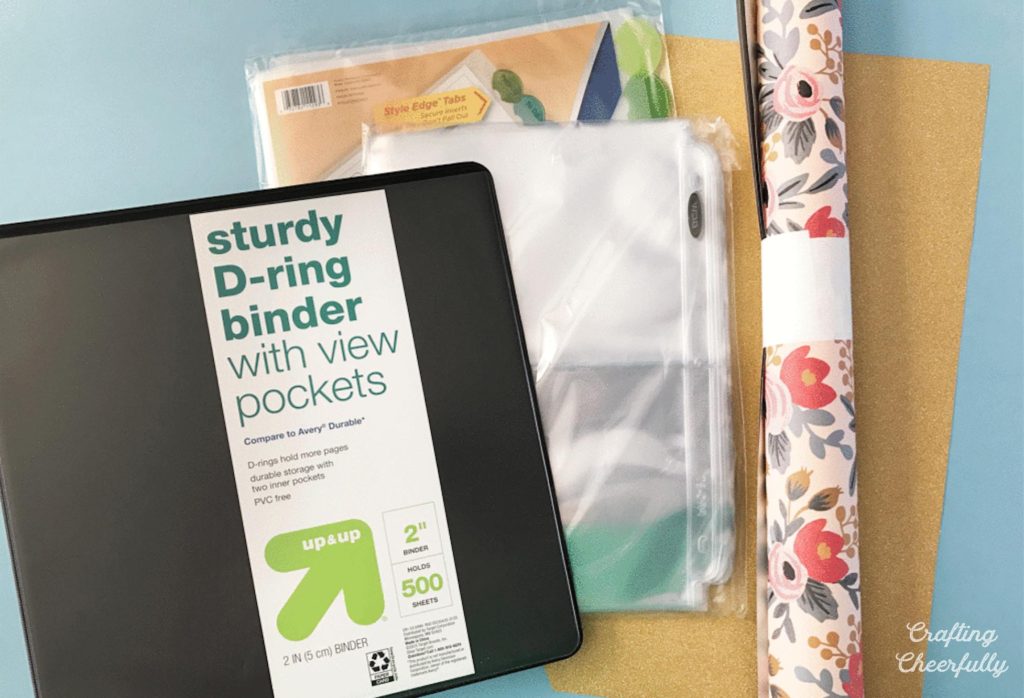
Supplies Needed:
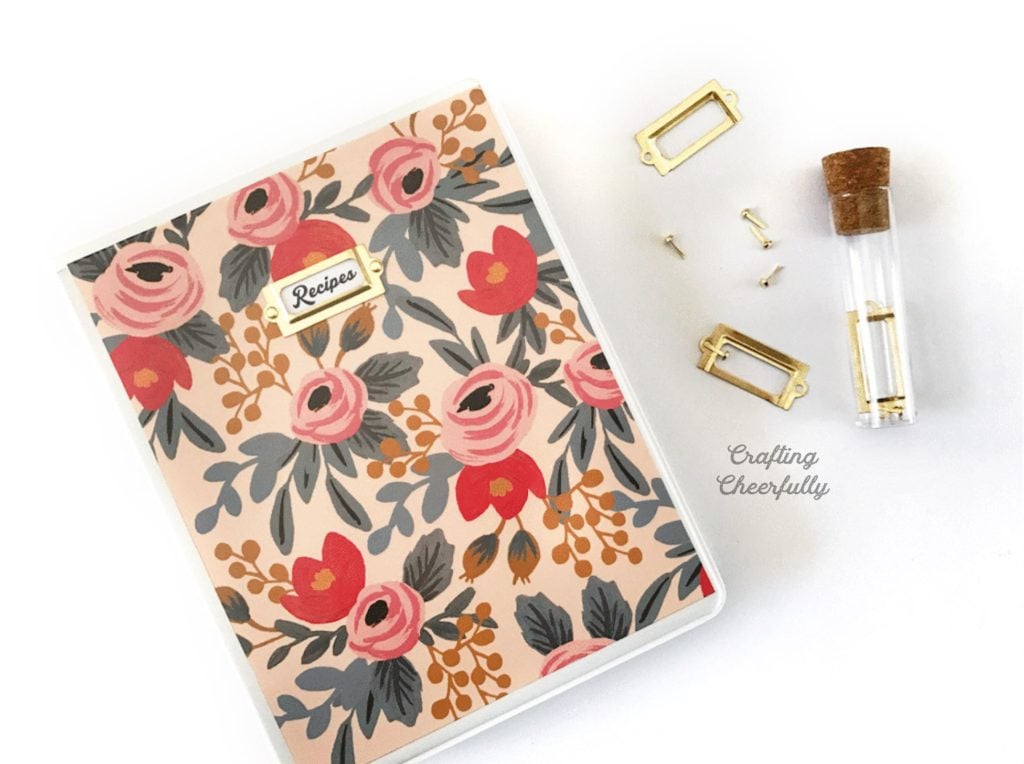
- Floral wrapping paper – I used Rifle Paper Co. paper sheets
- Paper trimmer or scissors
- Decorative label frame like these Tim Holtz Metal Label Frames or these Printable Label Frames
- Ruler
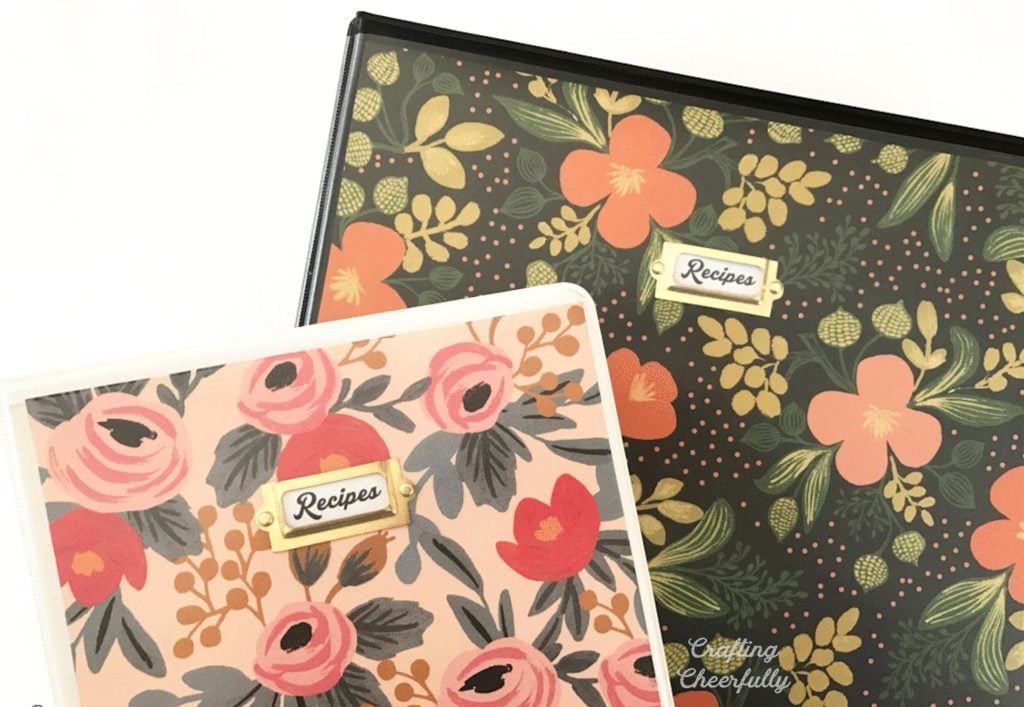
- Binder – I used a 2″ Clear View D-Ring Binder and a small 5.5″ x 8.5″ Clear View Binder
- Page protectors
- Binder dividers
- Recipe cards
How to Create a DIY Recipe Binder
Decorate the Binder
Start by cutting paper to fill in the clear view pockets of the binder. Measure the openings for the front, back and spine. Use a ruler and scissors or a paper trimmer to cut the paper.
I had trouble inserting the thin piece of paper into the spine of my small binder, so I placed it on the outside of the binder and covered it with a piece of clear packing tape. You can’t even tell there is tape over it!
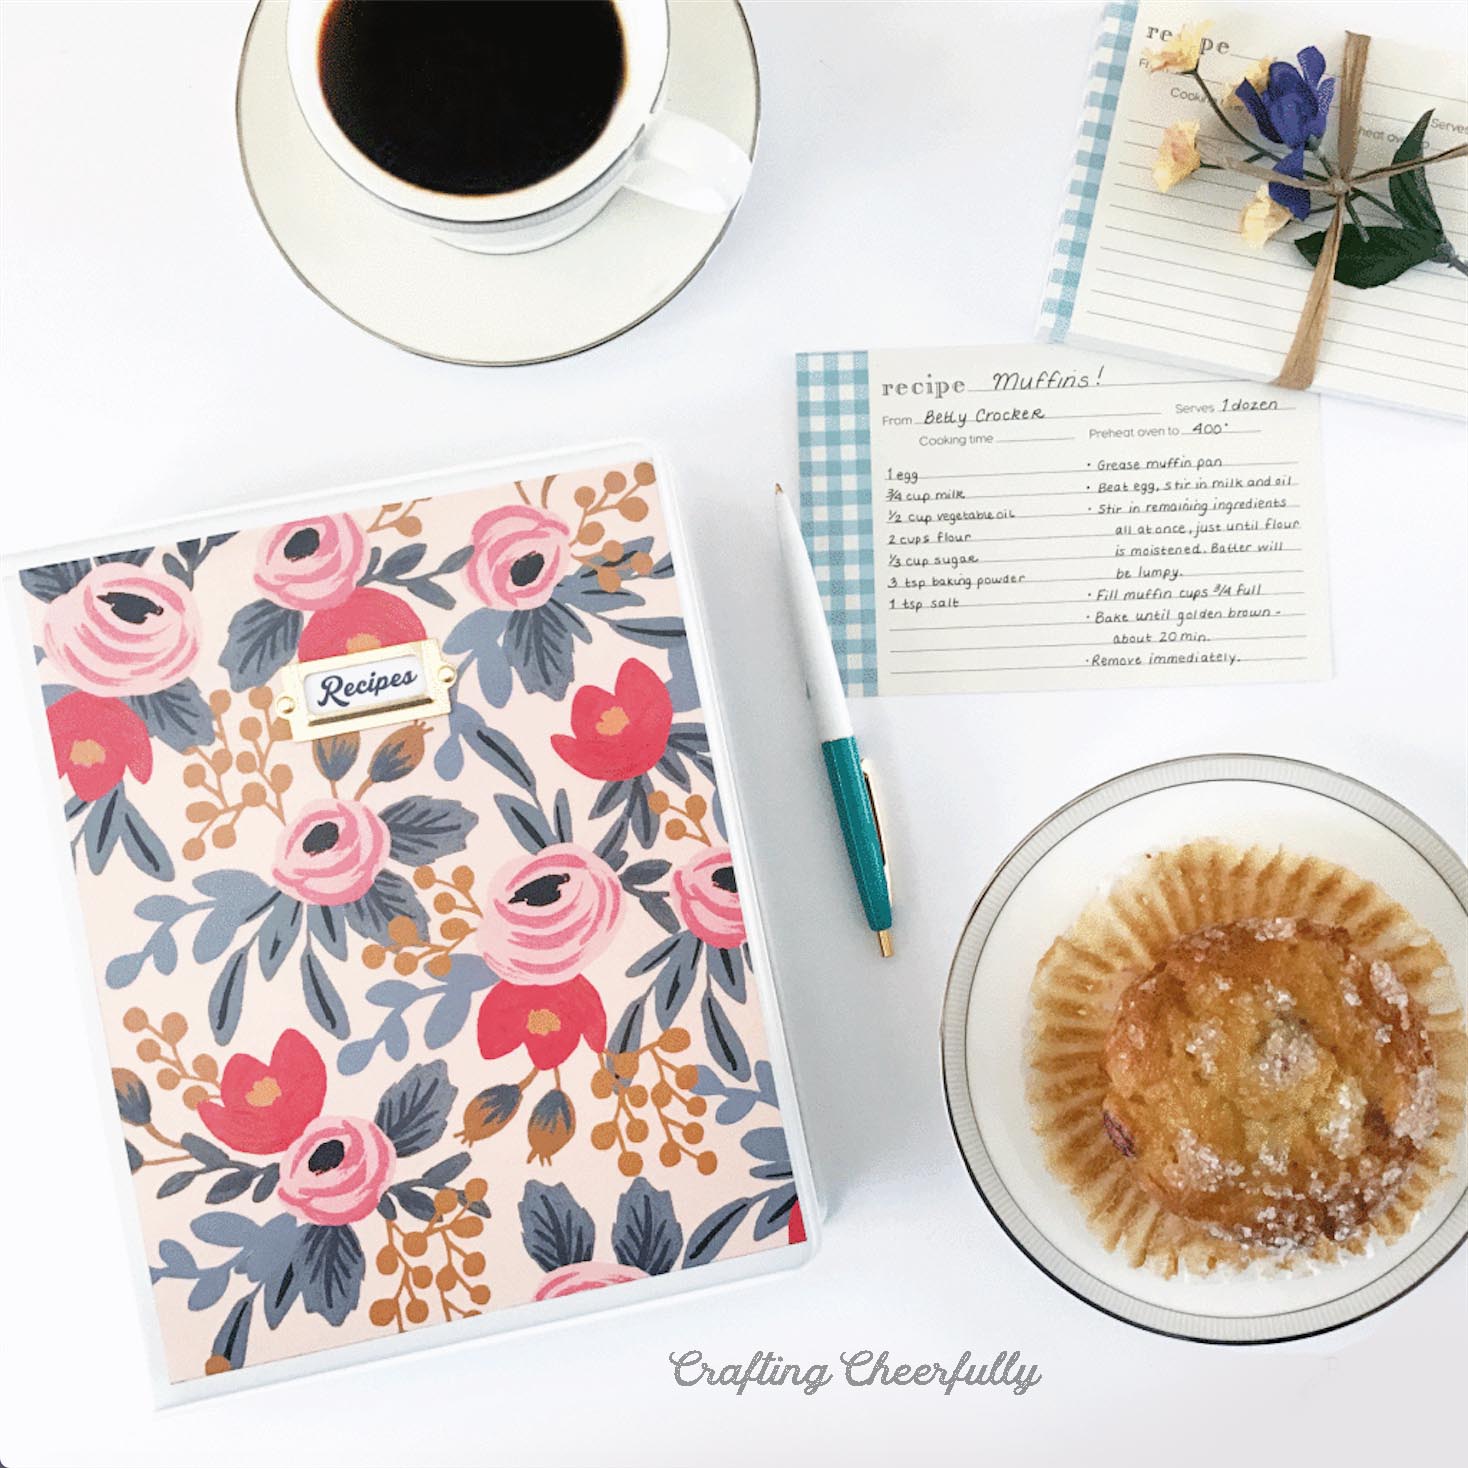
After the binder’s clear view pockets are filled with decorative paper, add a cute label frame to the front. I found label frames by Teresa Collins at Joann Fabrics. I’ve also linked to a couple of online options in the Supplies Needed section. The metal label frames came with brad fasteners to making it easy to use them with paper.
To attach the label frame, pull the piece of paper out of the front pocket of the binder and add the label frame with the brads. Use a pencil and ruler to help center it on the binder. Type or hand write a little label to slip inside. My label wanted to move around so I glued it down inside the label holder. Place the sheet of paper with the new label attached back in the pocket of the binder!
How to Organize the Recipe Binder
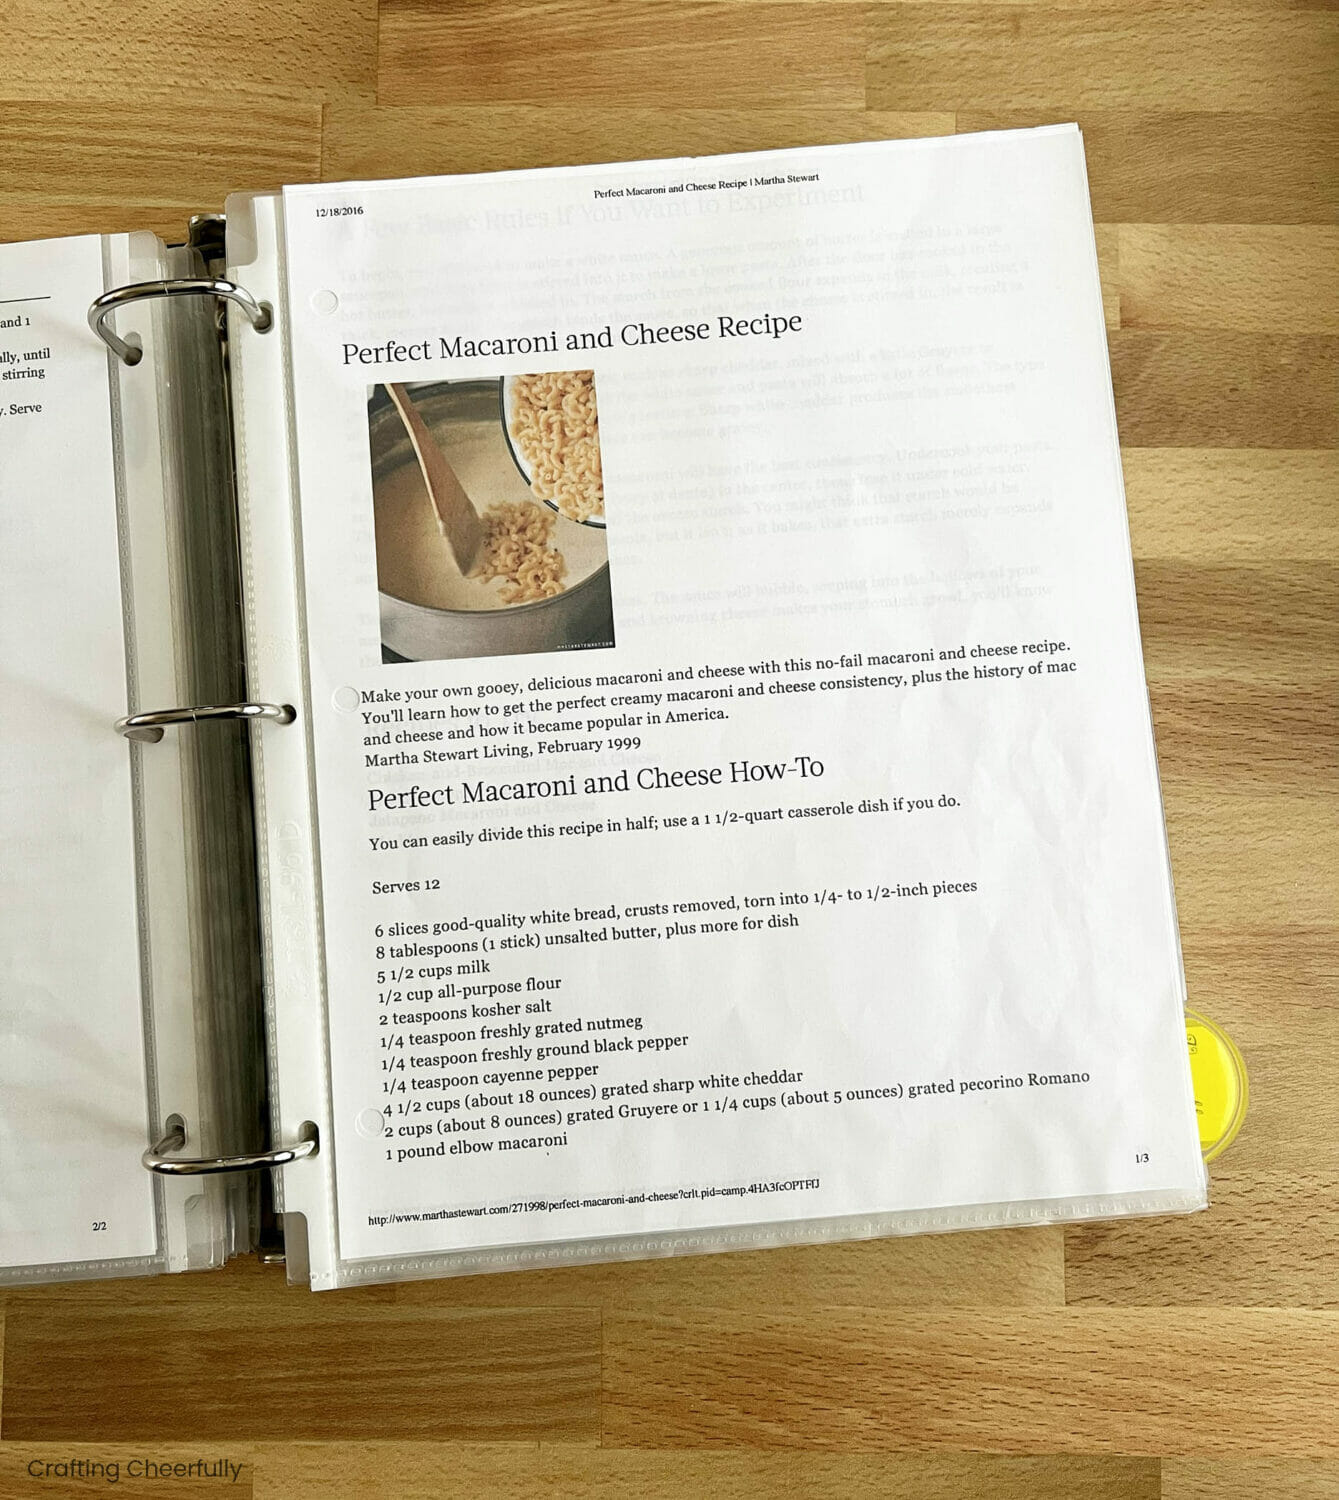
The best part of using a binder for your recipes is you can insert both printed 8.5″ x 11″ recipes and recipe cards! With so many great recipes available online I love being able to print them and slip them into the binder as I really don’t want to take the time to write them out on a recipe card. While I can now fit printed recipes, I also have room to add my old recipe cards.
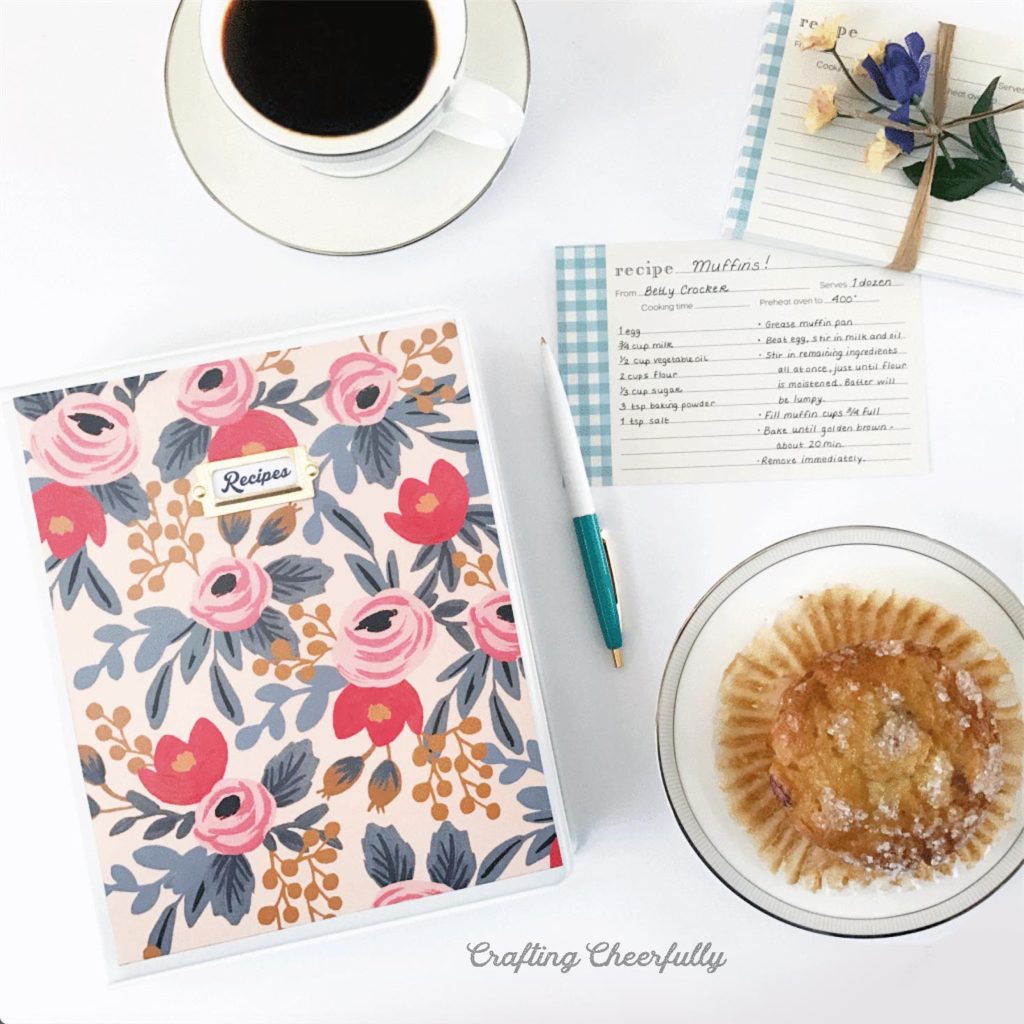
For Recipe Cards
To fit recipe cards in the binder, I found page protectors that can hold two 5″ x 7″ recipe cards. The recipe cards easily slip in the top of the pockets.

For Printed Recipes
To hold my printed recipes, I use regular page protectors for 8.5″ x 11″ paper. I keep a group of empty page protectors in the back of the binder so when I print a new recipe I can easily add it to the binder.
Organizing a Small Recipe Binder
While I made a large recipe binder for myself, I decided to make a smaller recipe binder for my mom for Mother’s Day. I purchased a small 5.5″ x 8.5″ binder as well as small page protectors that fit inside it. For this binder, I used 4″ x 6″ recipe cards and could slip two into each page protector.
I still wanted to add a few printed recipes to the binder even though it was small. To do this, I found I could print the internet recipes at 60%-70% and then trim them down to fit inside the page protectors. To a test a or two to figure out what scale to print the recipes at.
The recipe binders turned out so well and so far I have loved using mine! It is easy to add to and easy to reference while I am making dinner. The binder and page protectors are great for keeping things clean as I can easily wipe off any mess that gets on them while baking or cooking! *Update: I have used this binder for over 5 years and still love using it!
A recipe binder is great to make for yourself but they also make amazing gifts! Check out my tutorial for making a DIY Wedding Shower Recipe Binder!


![]()
![]()

![]()

![]()

![]()


good idea! I was trying to put together a recipe book with recipes from my grandma…..and I needed a way to organize them. I didn’t want to write them all on recipe cards for all her children, so I typed them up and printed. Your way will allow me to just insert into a protective pocket. One of her artistic grandchildren will draw the cover, but putting the gold insert thingy will make it look nice.
That’s such a sweet idea adding artwork to the cover of the binder! I love using binders for recipe books – it’s so nice to be able to take out the recipe when you are making it but still have it in a protective sleeve. Good luck finishing your project – it sounds like it will be an amazing keepsake! :)
What a great idea! I love the idea of a recipe book that has a personal touch but is also functional for me!
Thank you! :)