
Felt Bunny Welcome Sign
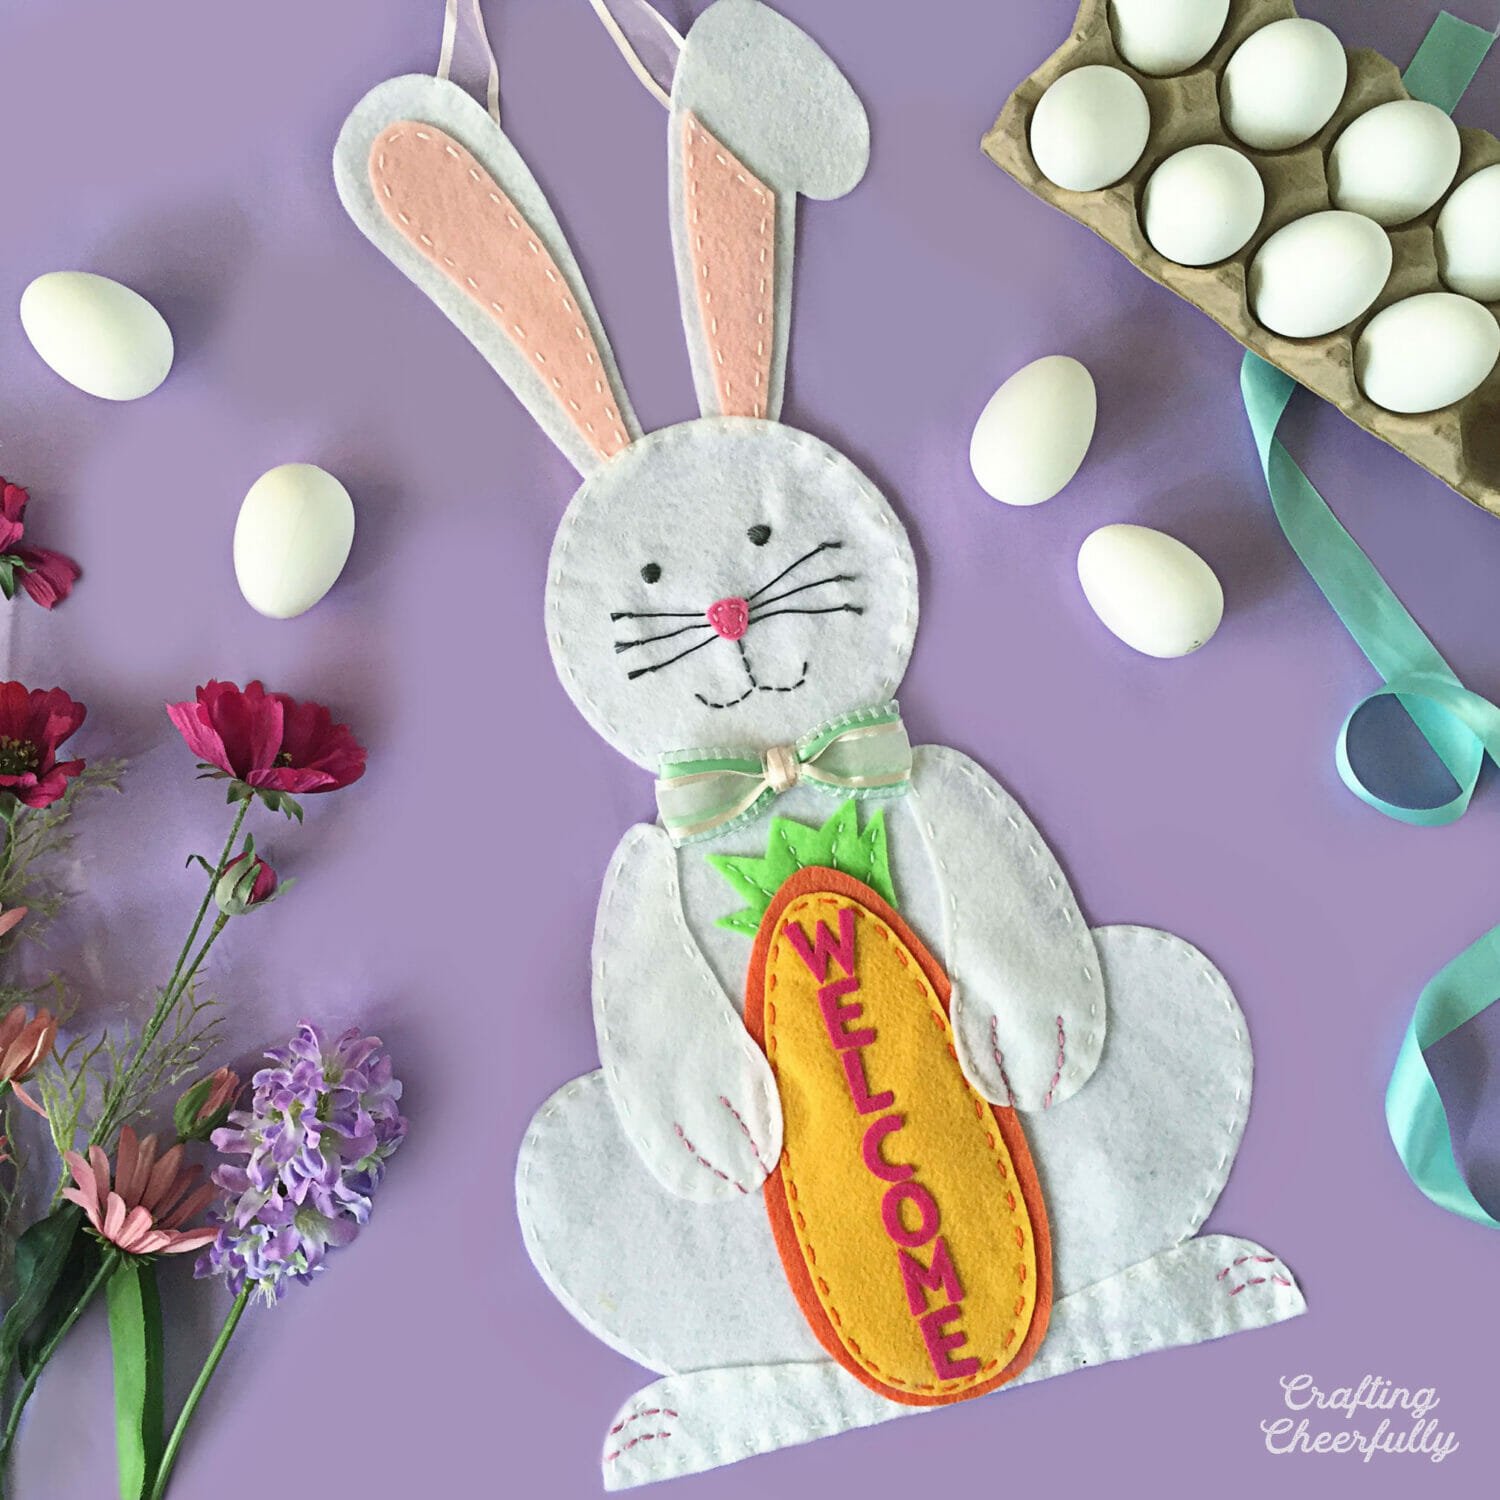
Welcome the spring season and Easter holiday with this sweet DIY felt bunny welcome sign. A fun handmade project to display for the holiday. Free pattern included!
Hello Crafty Friends! Today I have a fun DIY project to help get your home ready for Easter and spring! This Felt Bunny Welcome Sign is a cute and inexpensive way to decorate for the season. Felt, ribbon, embroidery floss, and the free printable pattern is all you need!
I love hanging up spring and Easter wreaths this time of year but wanted to switch it up with something a little different. This cute bunny is so fun! You could make this using your sewing machine or hand-stitch it as I did. I used a simple running stitch and embroidery floss. Below is the tutorial!
Materials Needed
- Free Printable Bunny Sign Pattern: Grab the free file by filling out the purple form at the end of this post.
- White felt – yardage of white felt will work better than sheets of 9×12 since the body of the bunny is 11.5″ wide. I got a 1/2 yard of white felt and it was more than enough.
- Felt scraps or 9″ x 12″ sheets of felt in light pink, dark pink, orange, yellow and light or dark green
- Embroidery floss in white, pink, grey, orange, and green
- Letters
- I originally used felt letter stickers from Joann Fabrics
- HTV and a cutting machine would also work
- *New – I updated my tutorial and pattern to show you how to make your own felt letters
- HeatnBond Ultrahold Fusible Interfacing – for making your own felt letters
- Ribbon for bow and hanging
- For backing your bunny you could use the UltraHold Fusible Interfacing or Fusible Fleece could work too!
- Tools: Sewing scissors, embroidery needles and straight pins.

Step by Step Tutorial
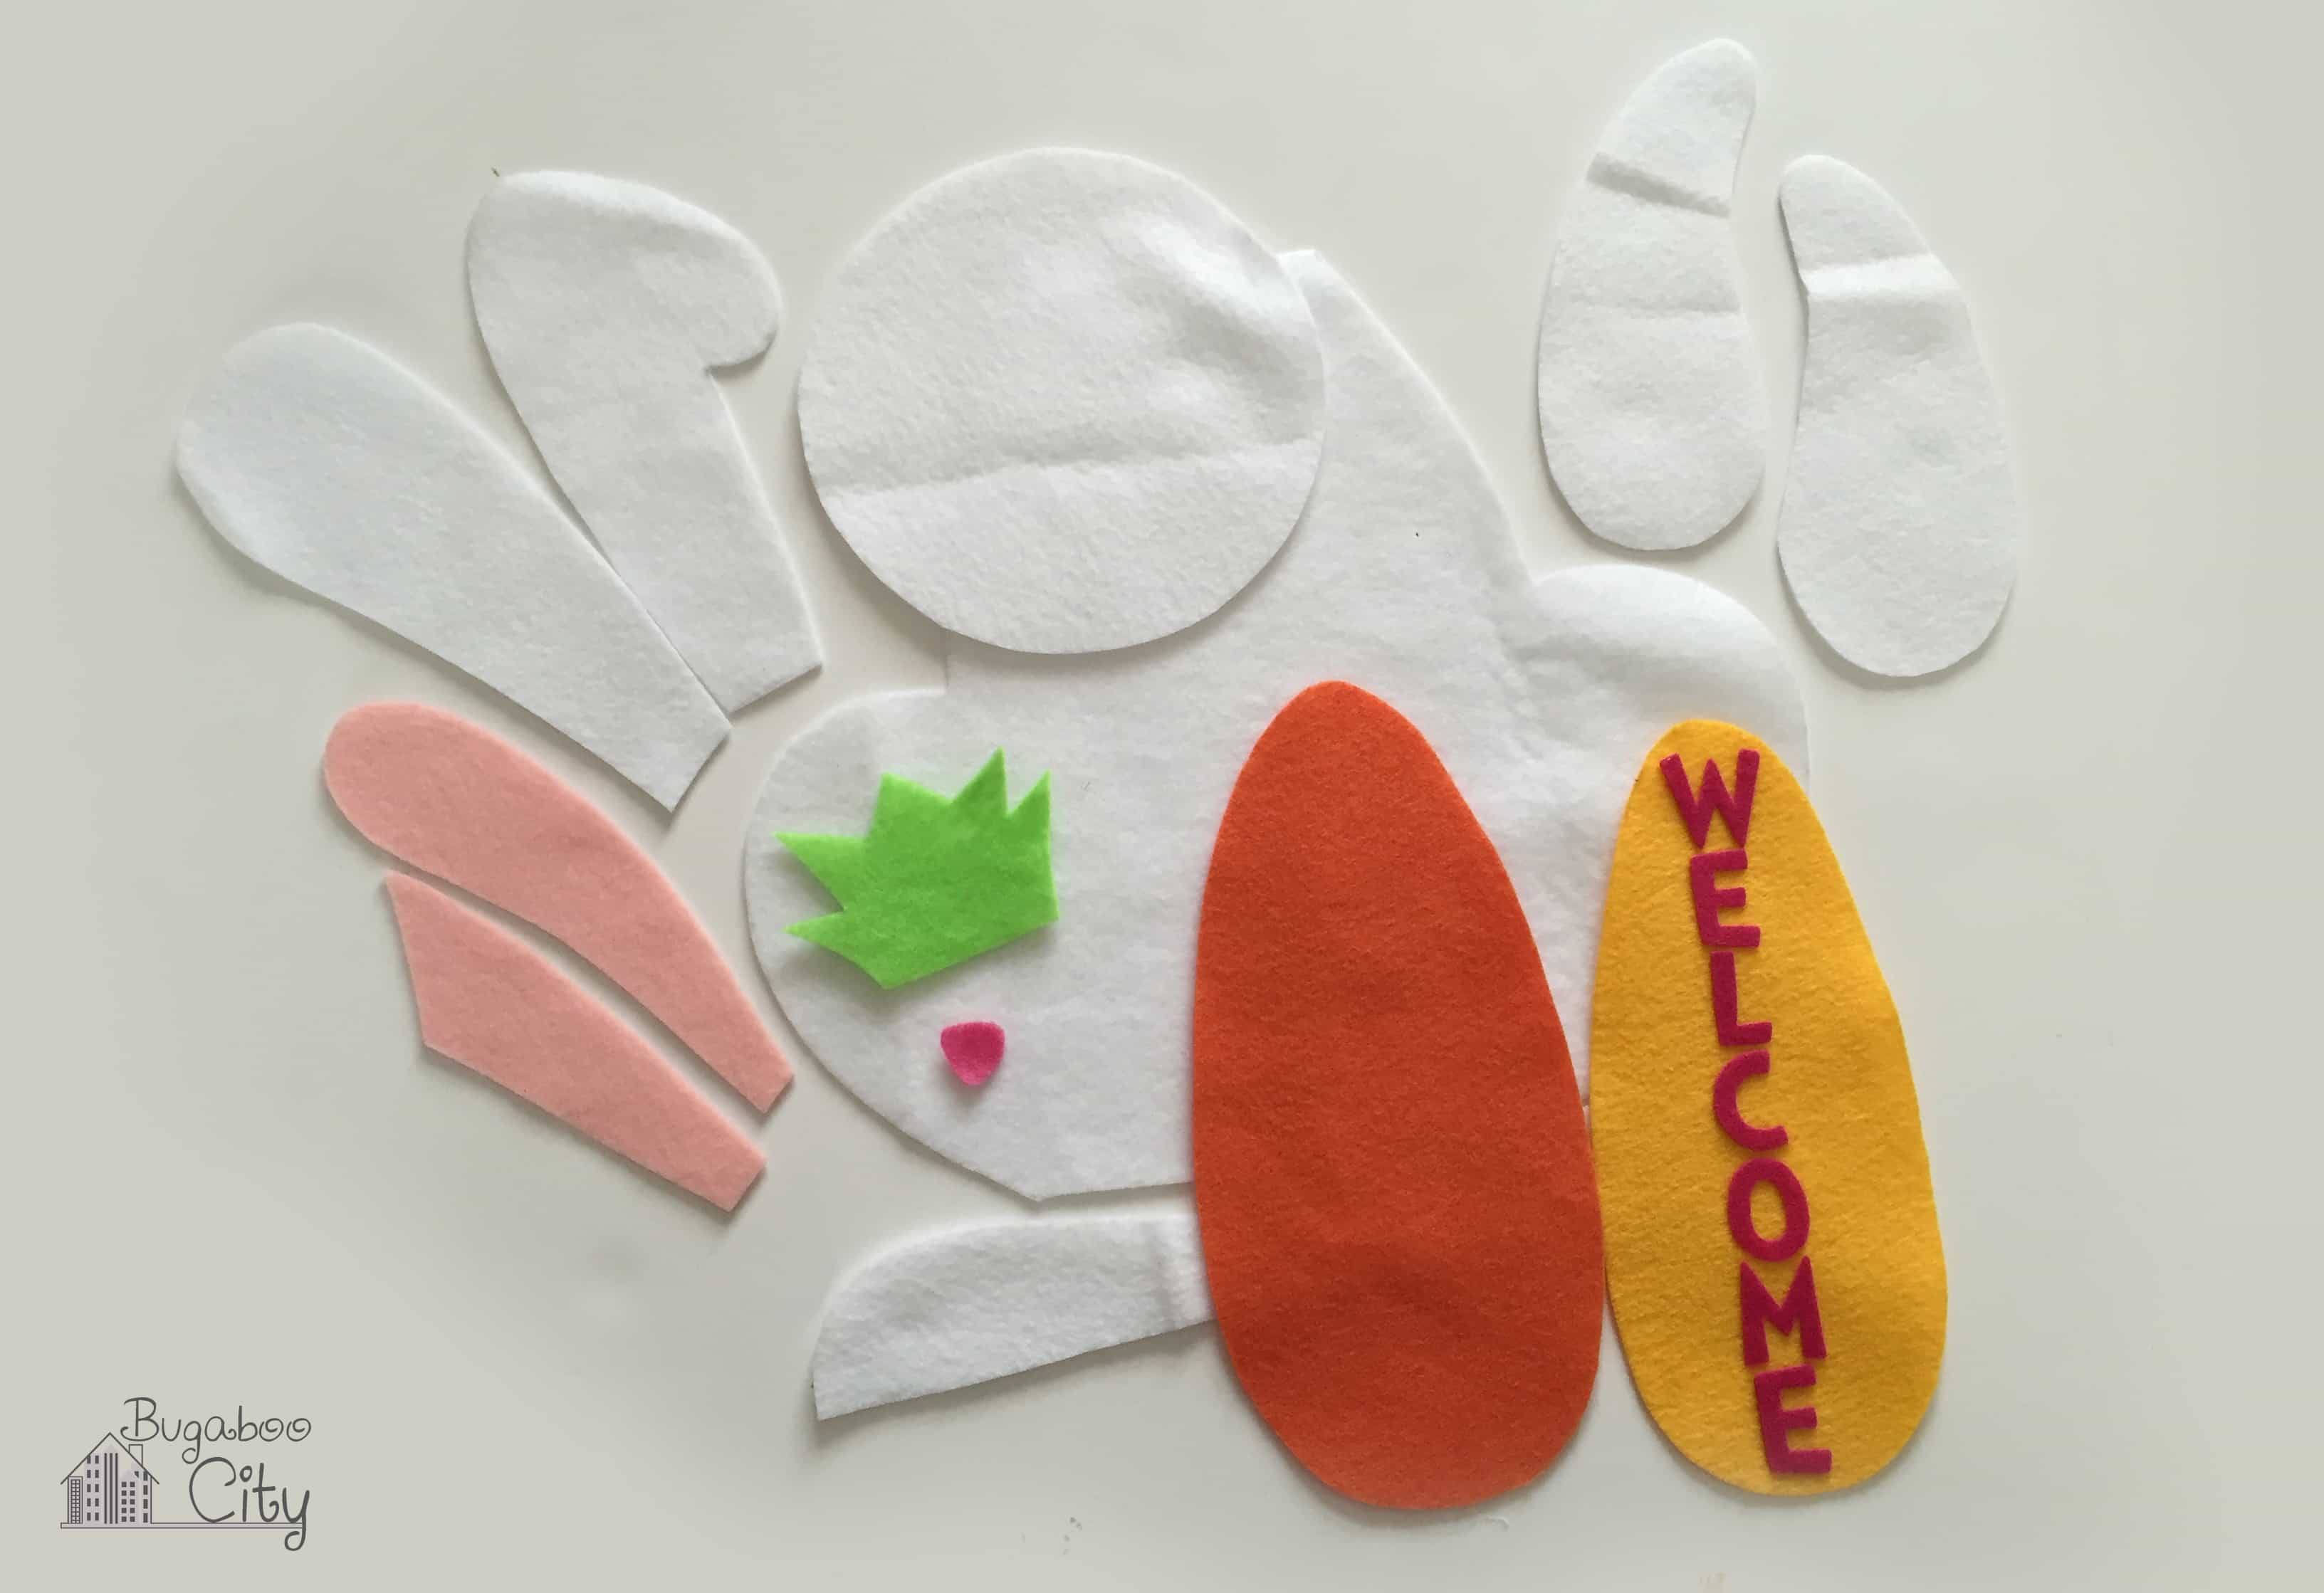
Cutting out the Bunny Pieces
Step One: Cut the pattern pieces out of felt using the free printable pattern. Once everything is cut out, you will have 13 pieces. If you would like to cut your own felt letters, check out Step —-.
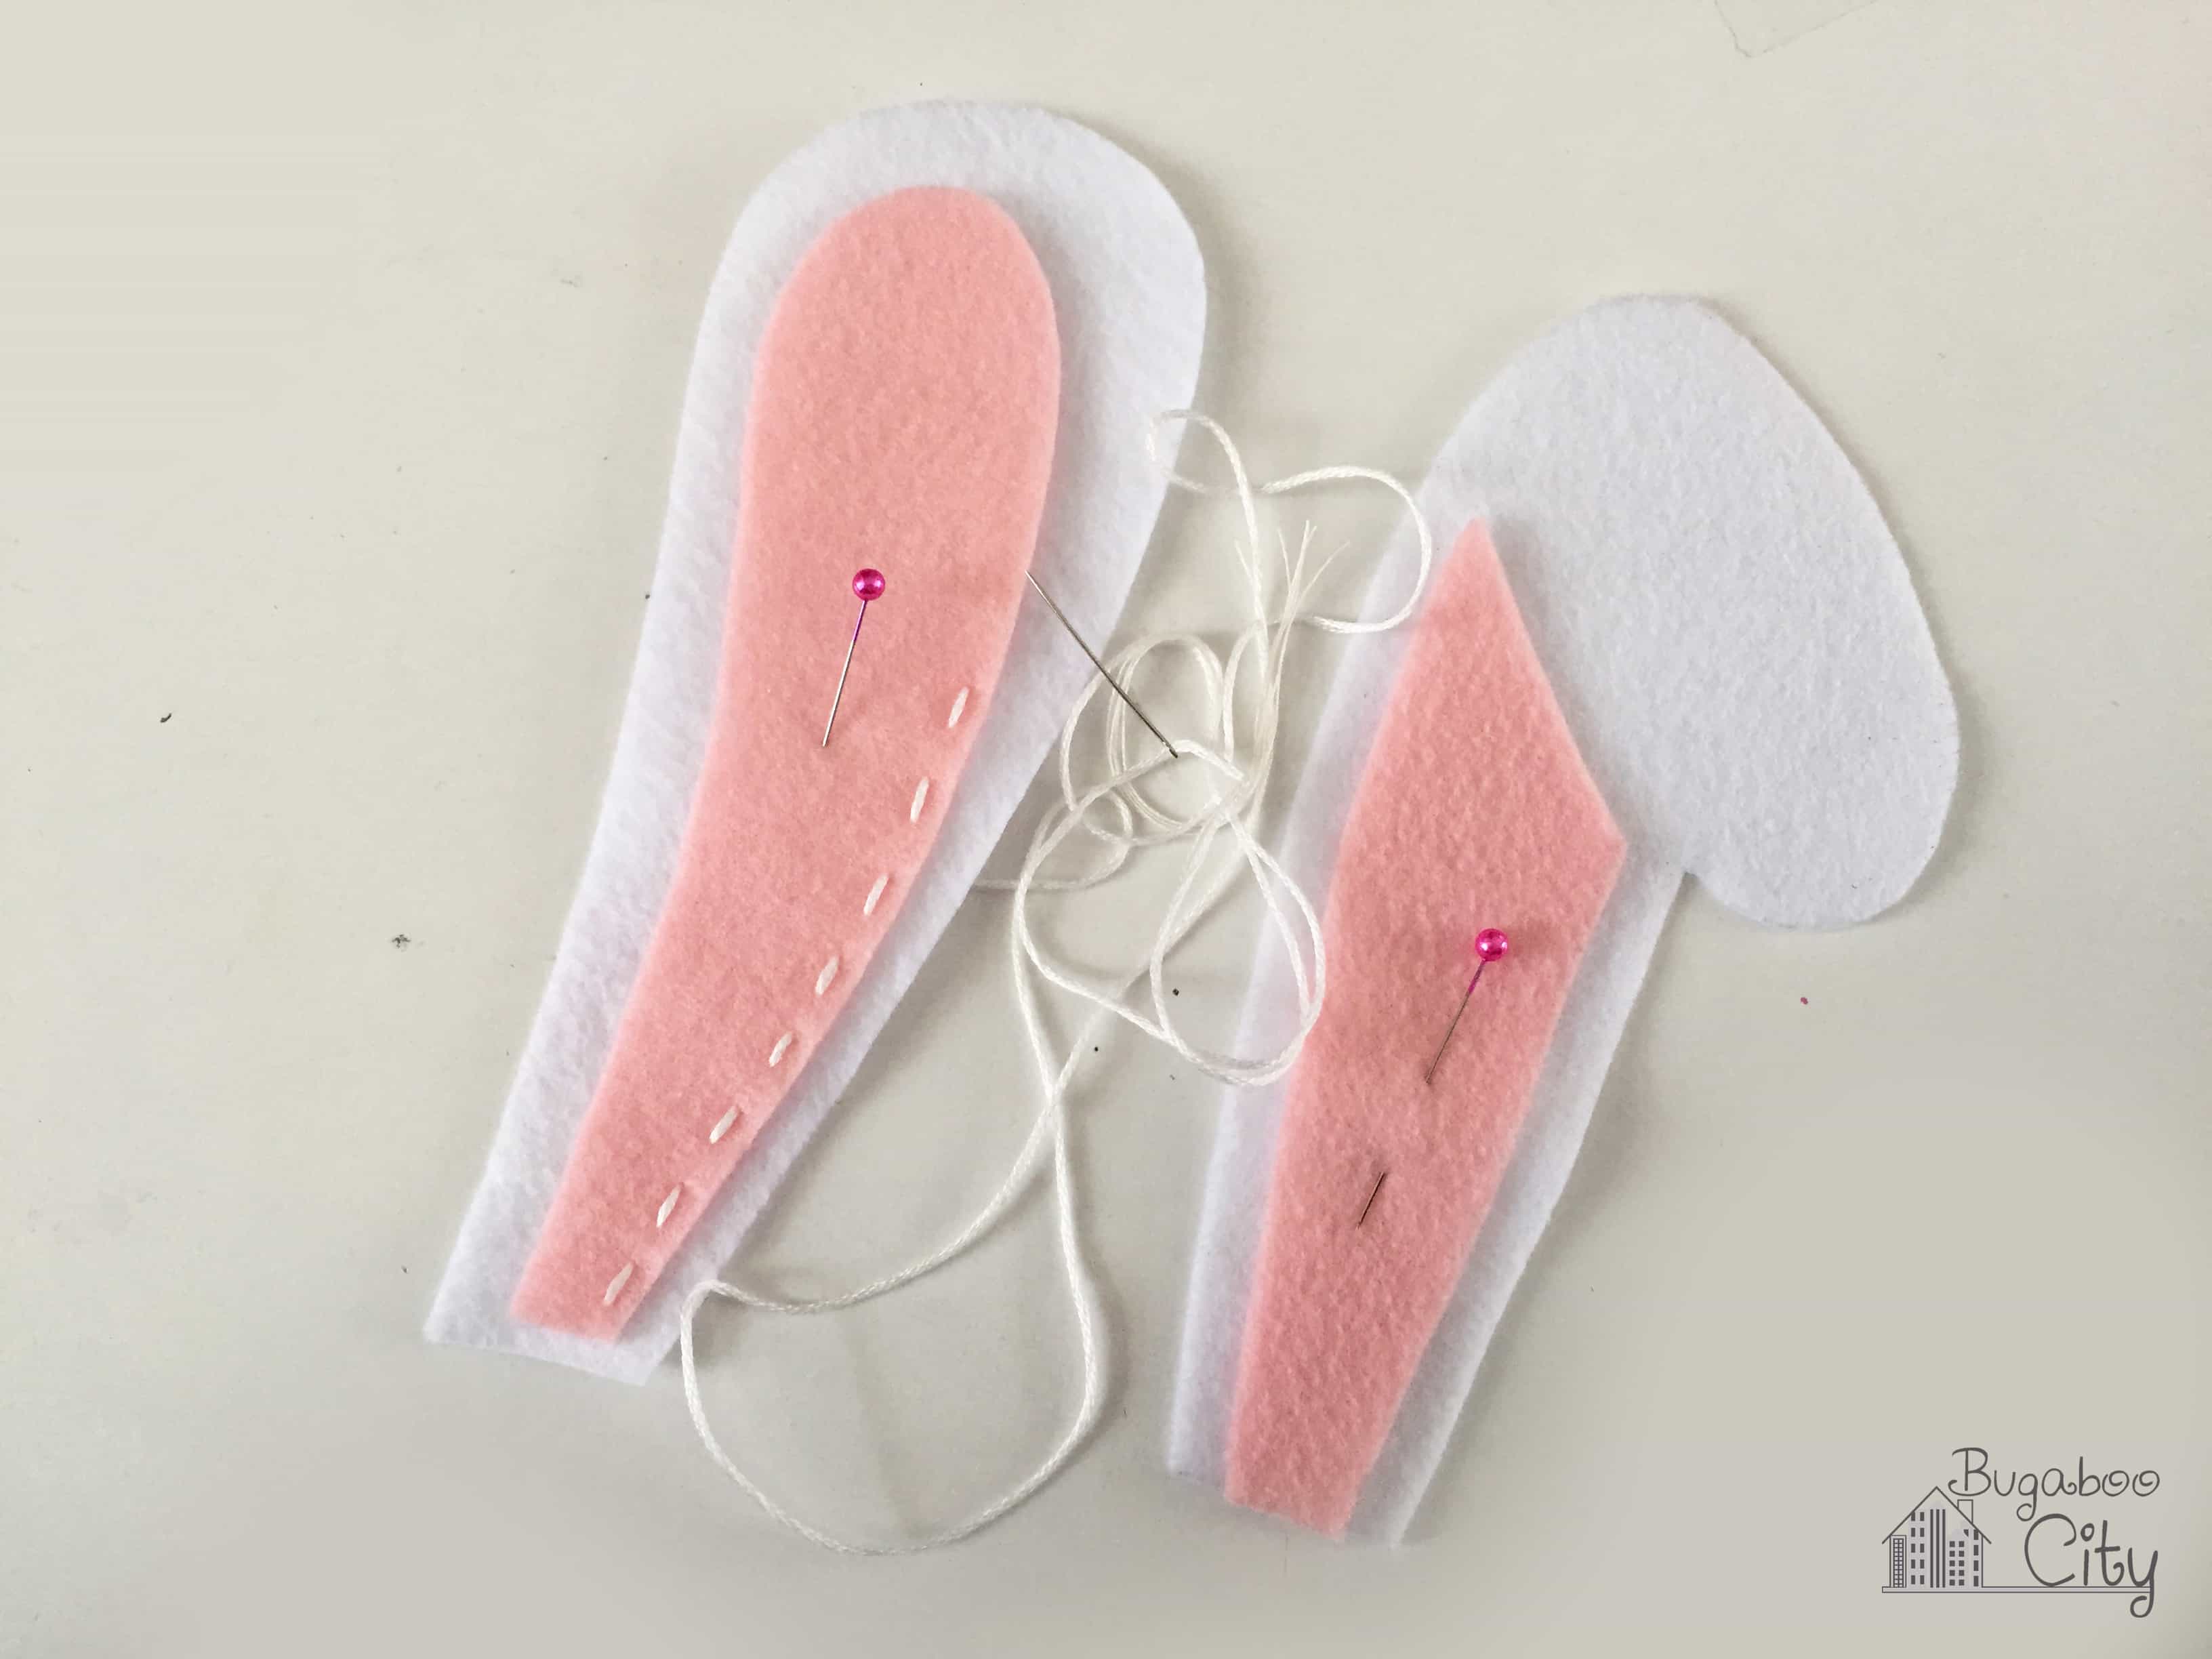
Stitching the Bunny
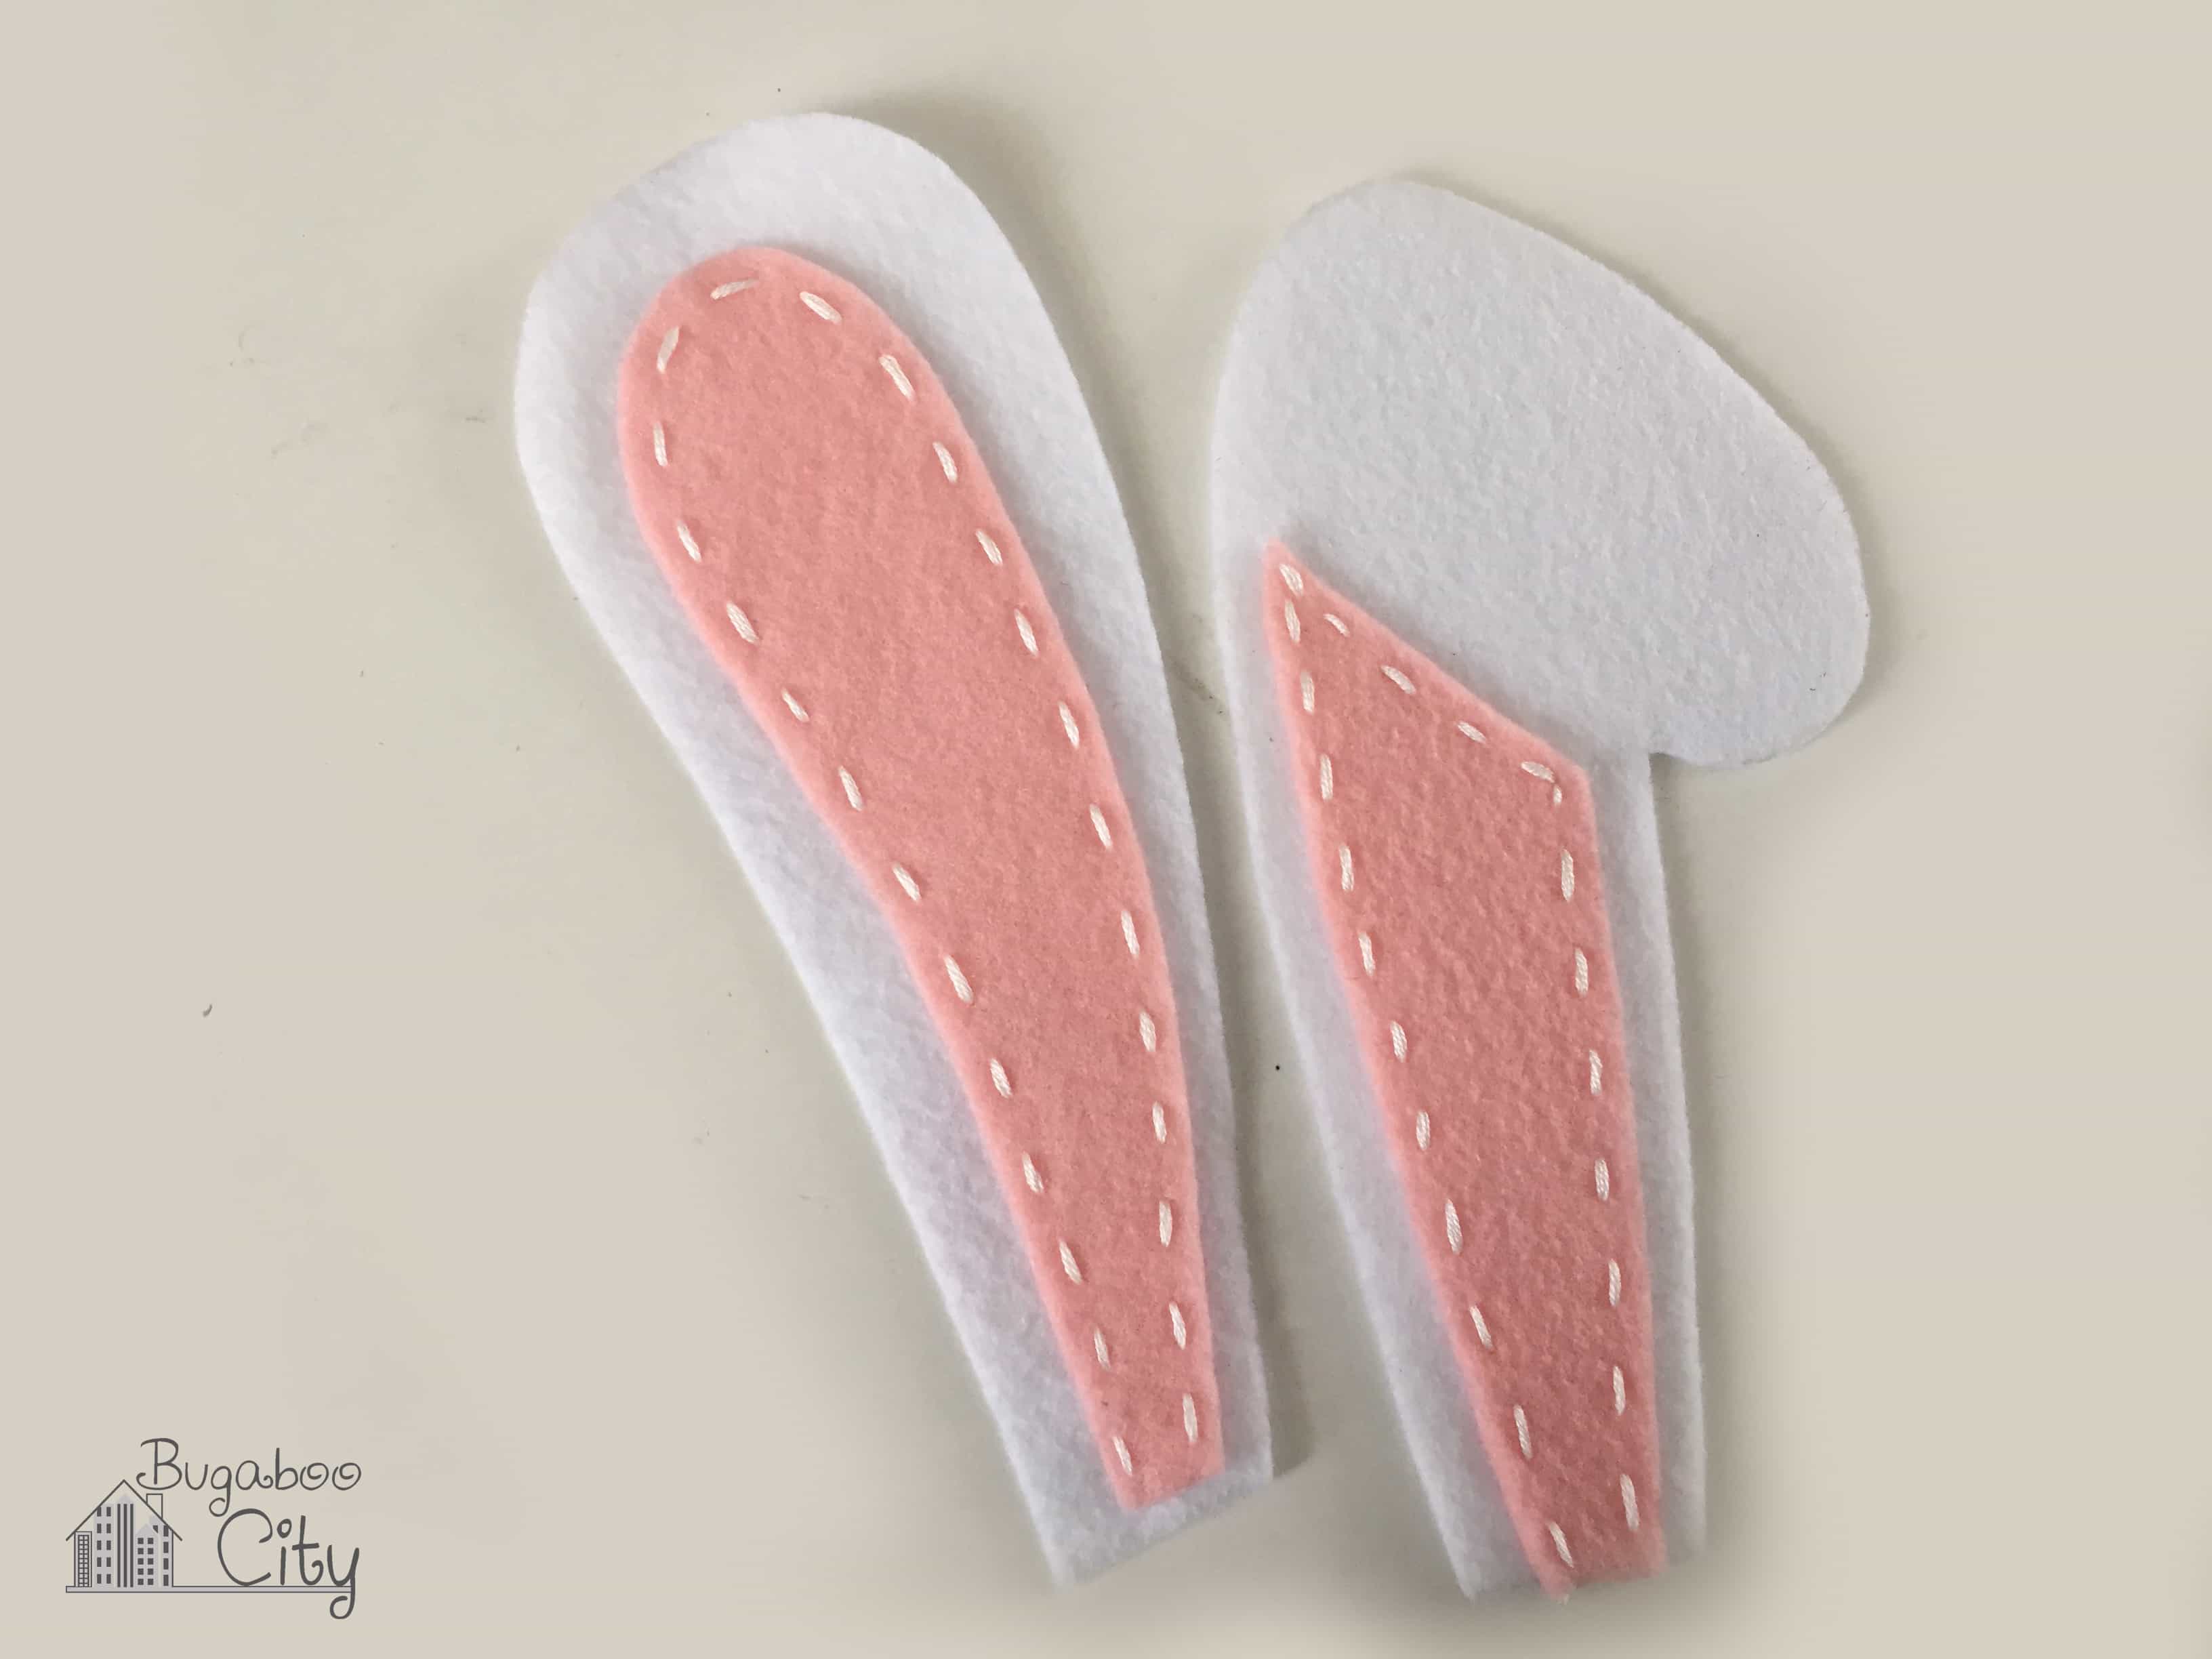
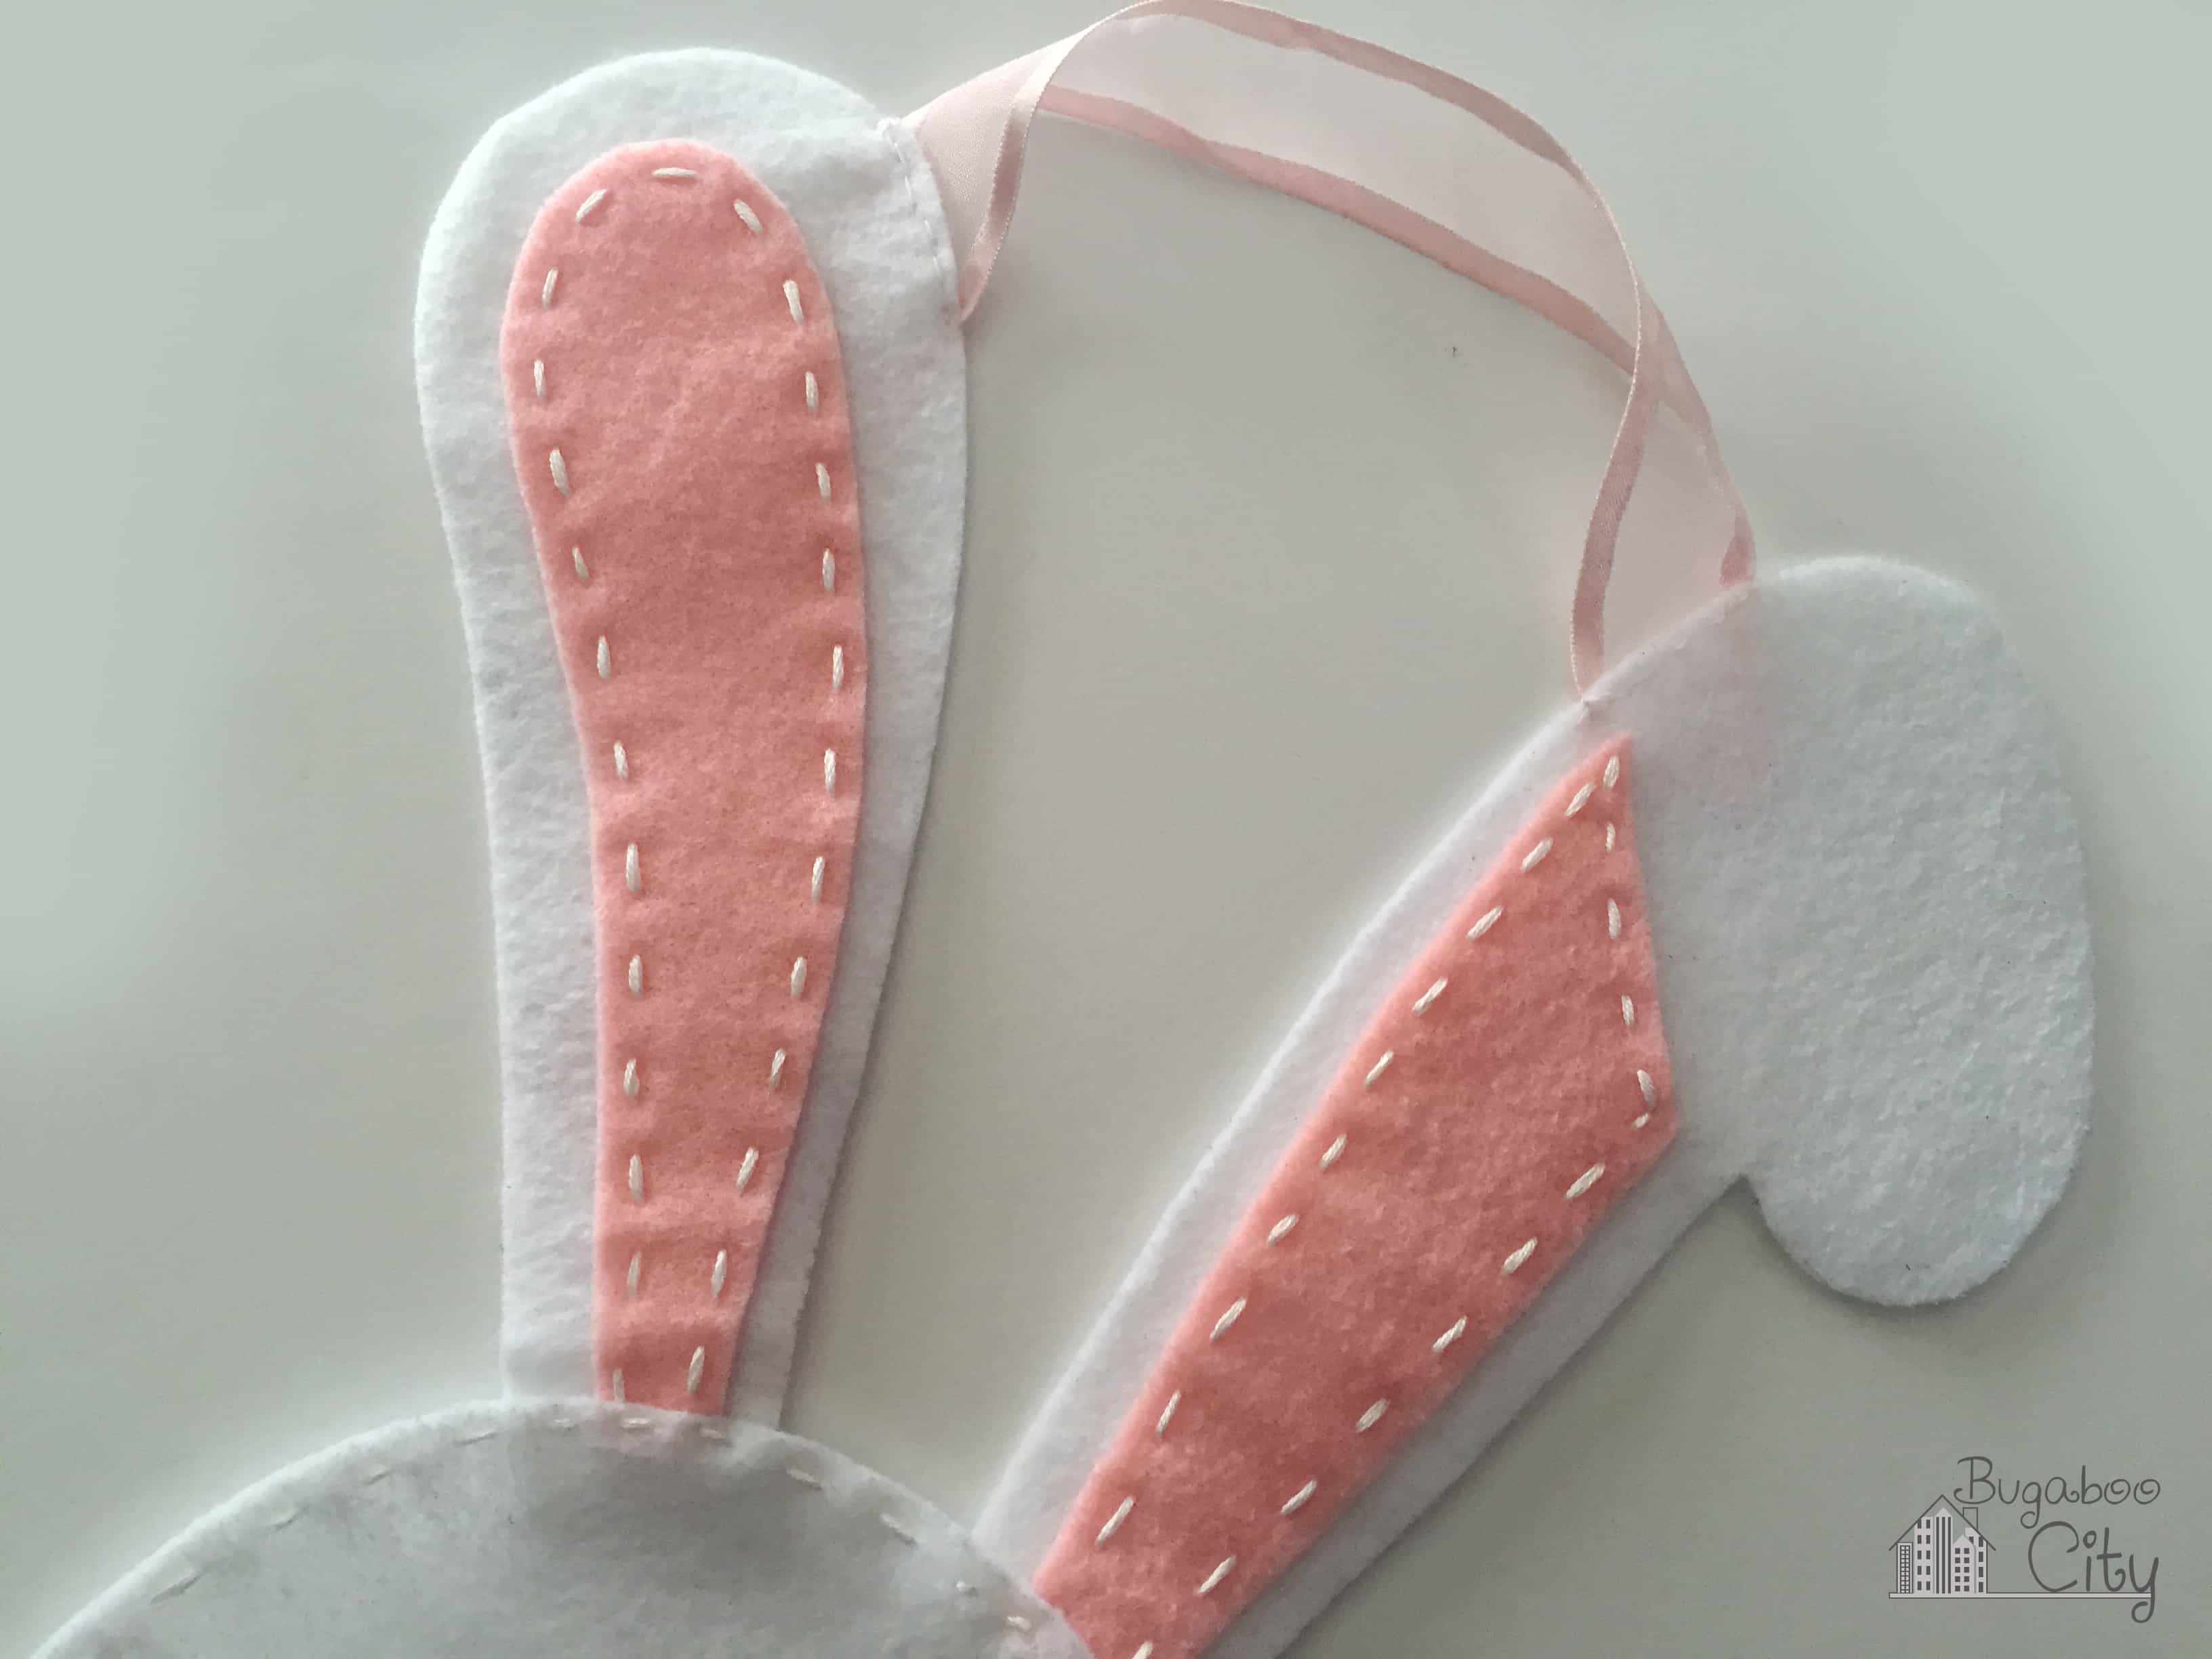
Step Two: Using a simple running stitch and white embroidery floss, hand sew the pink inner ears on top of the white ears. I used all six strands of the embroidery floss and large stitches so they would be more visible.
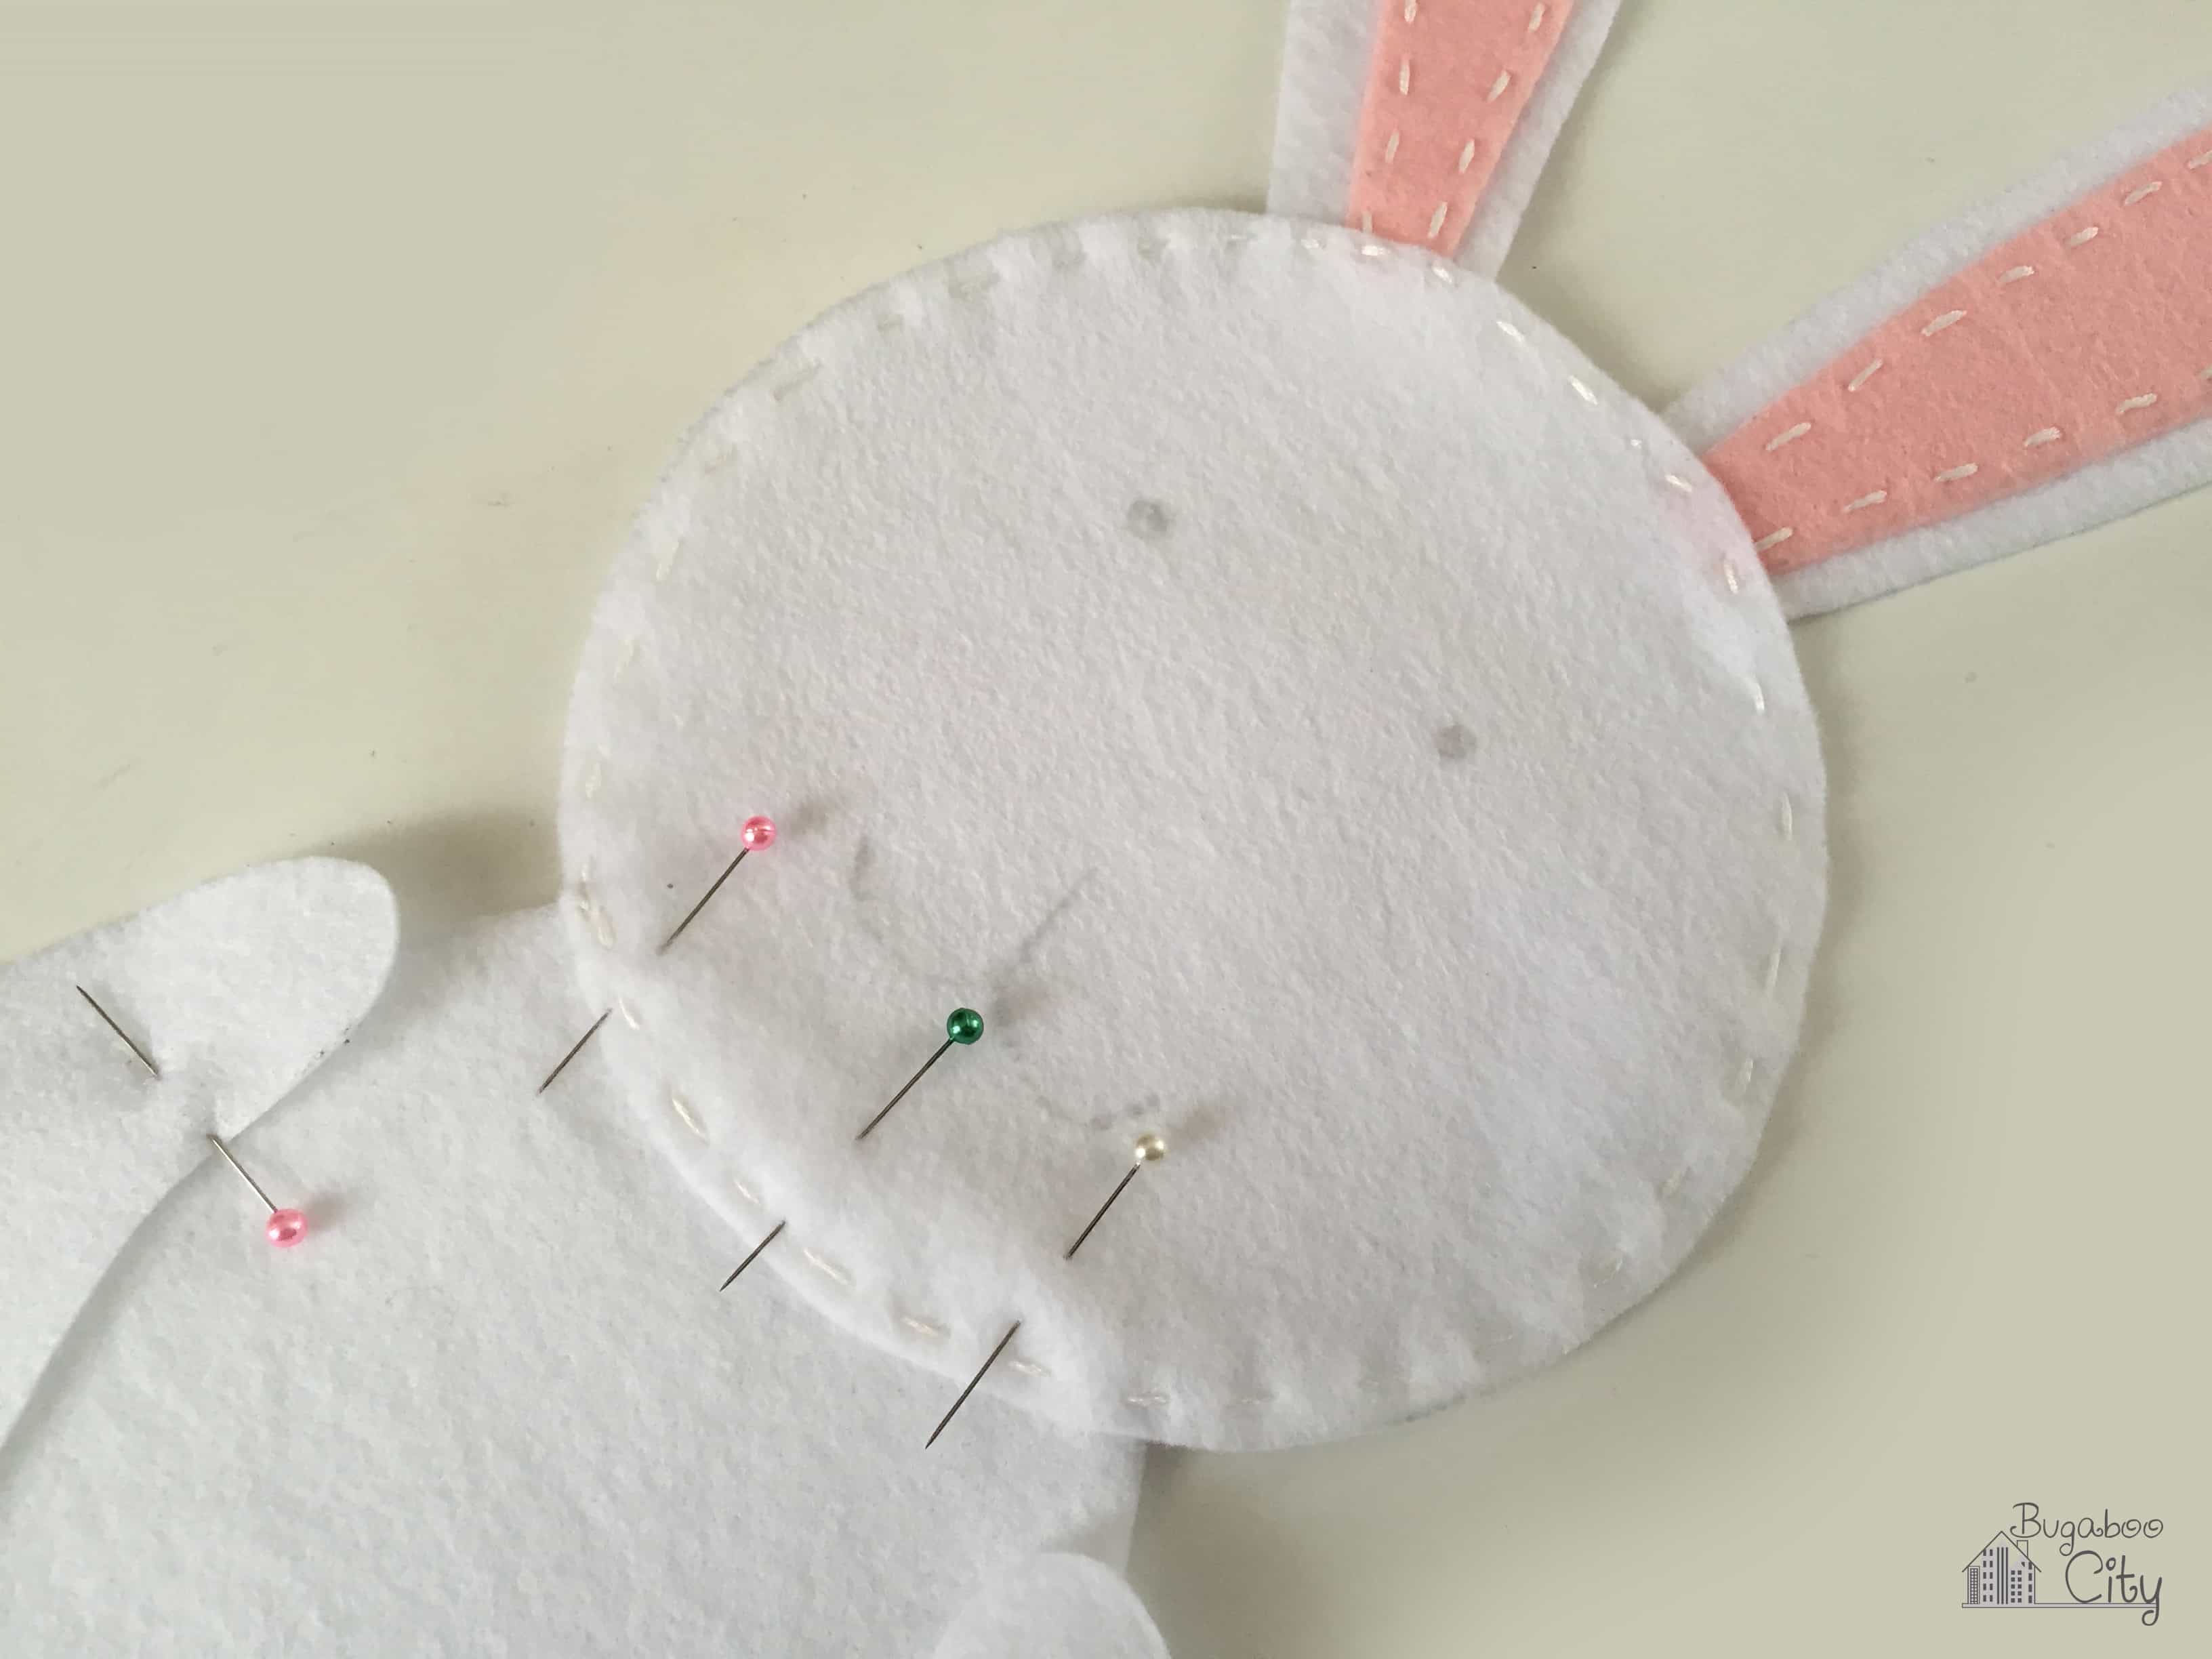
Step Three: Pin the bunny head, feet, ears, arms, and carrot to the bunny body. Use a running stitch and hand sew around each body part using white floss. As you are doing that, connect them to the body by stitching through both layers where ever they overlap.
I started stitching around the the head and when I came to the ears and the body section I stitched through the multiple layers of felt to attach them. After the head is stitched, jump down to the feet and stitch those on. See Step Four for how to stitch the arms on.
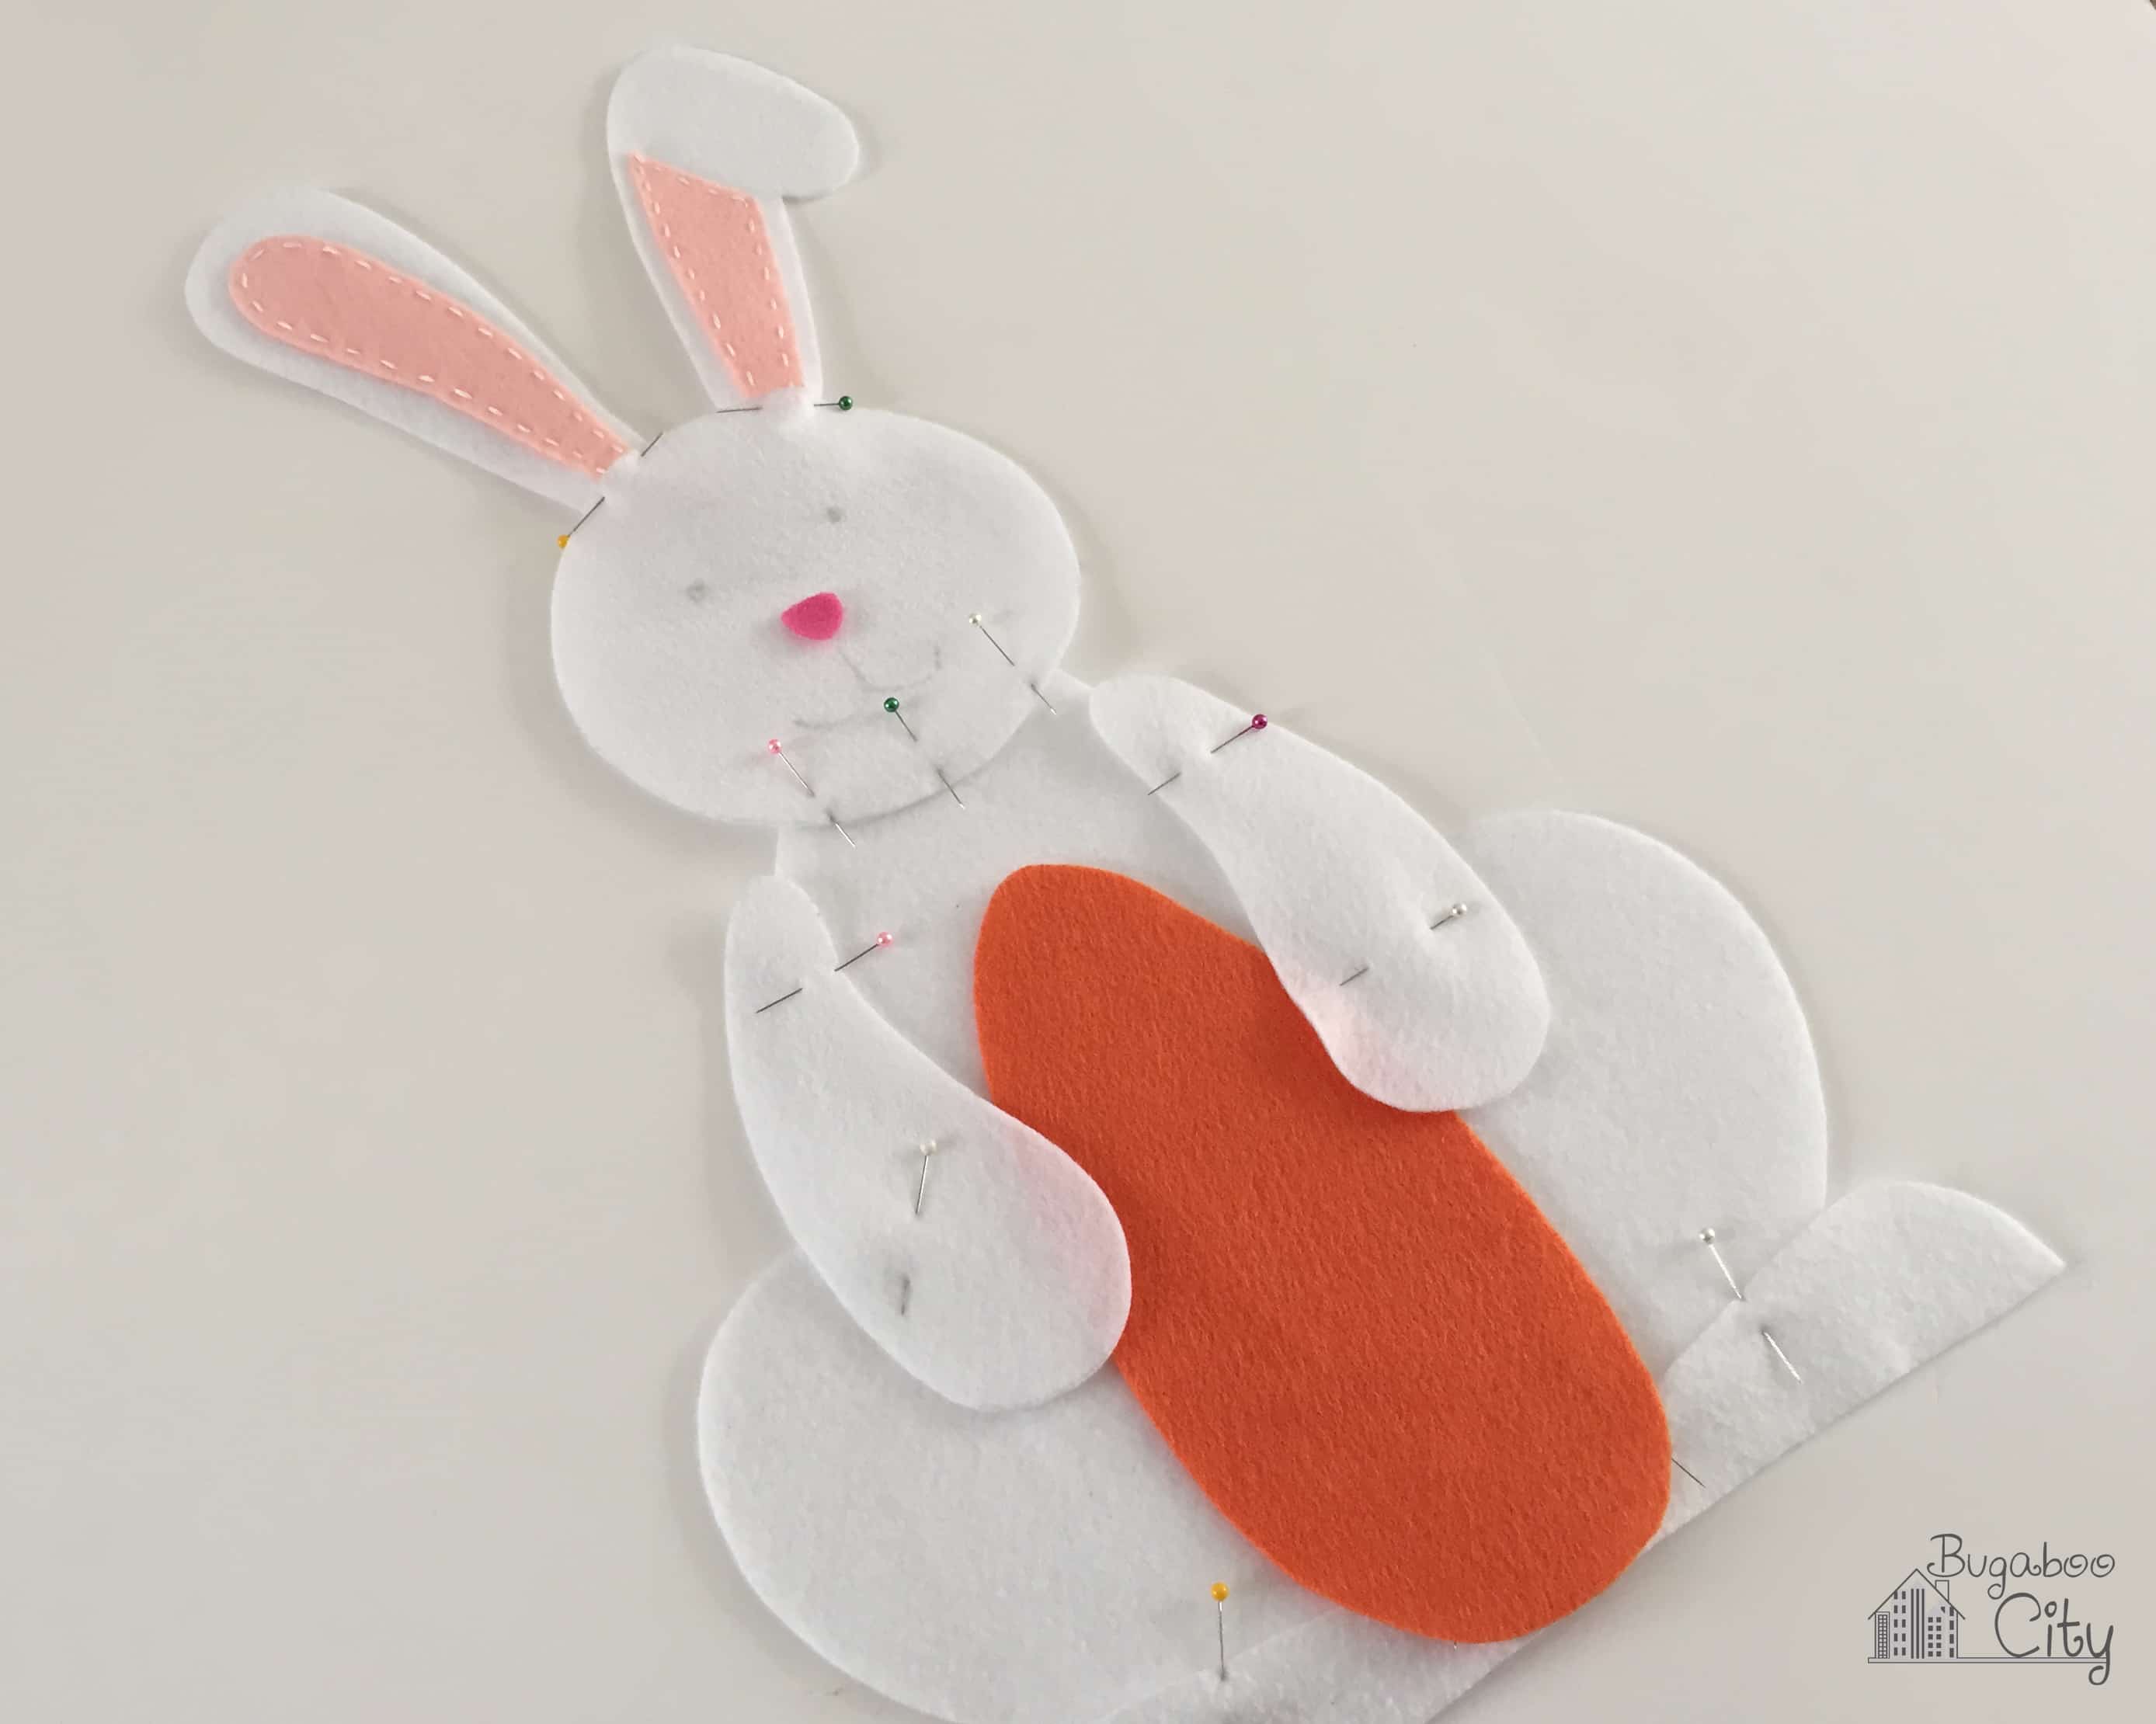
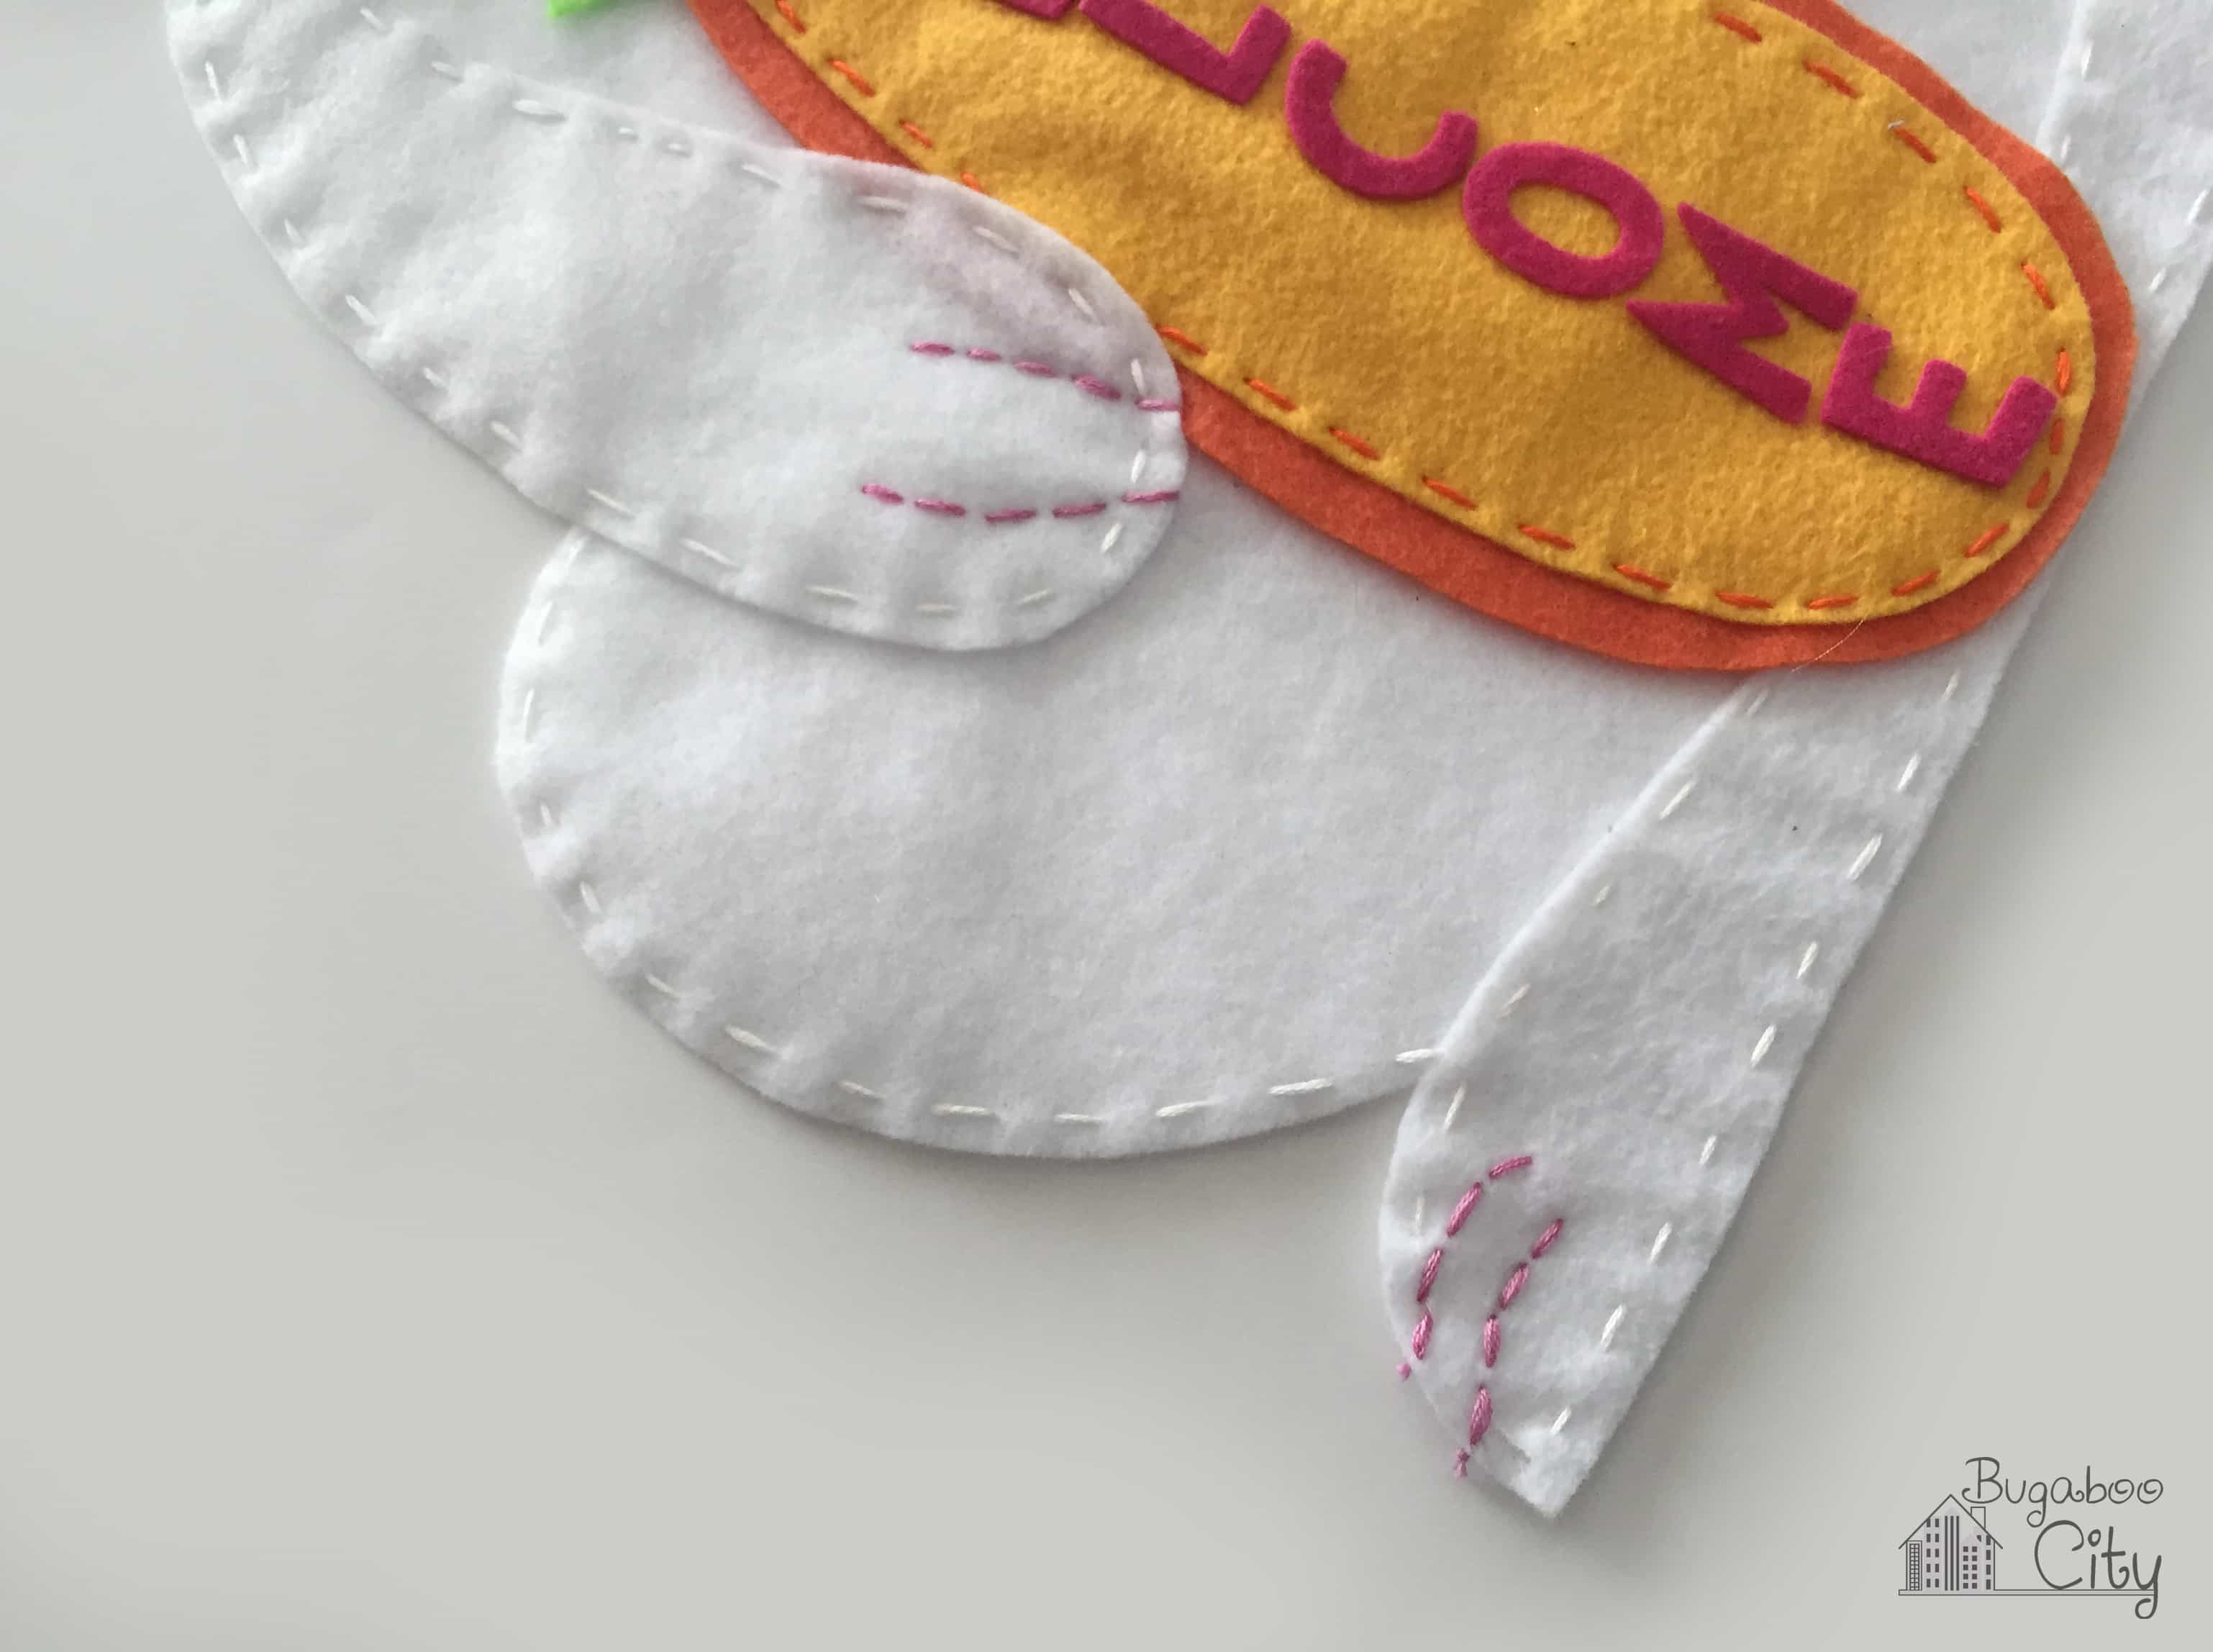
Step Four: To attach the bunny arms, make sure the larger carrot piece is pinned in place. The bunny arms should overlap the carrot slightly so the bunny appears to be holding the carrot. Again, use a running stitch and the white embroidery floss to stitch around the bunny arms. At a couple points near the carrot you will be going through several layers of felt.

Adding the Welcome Carrot
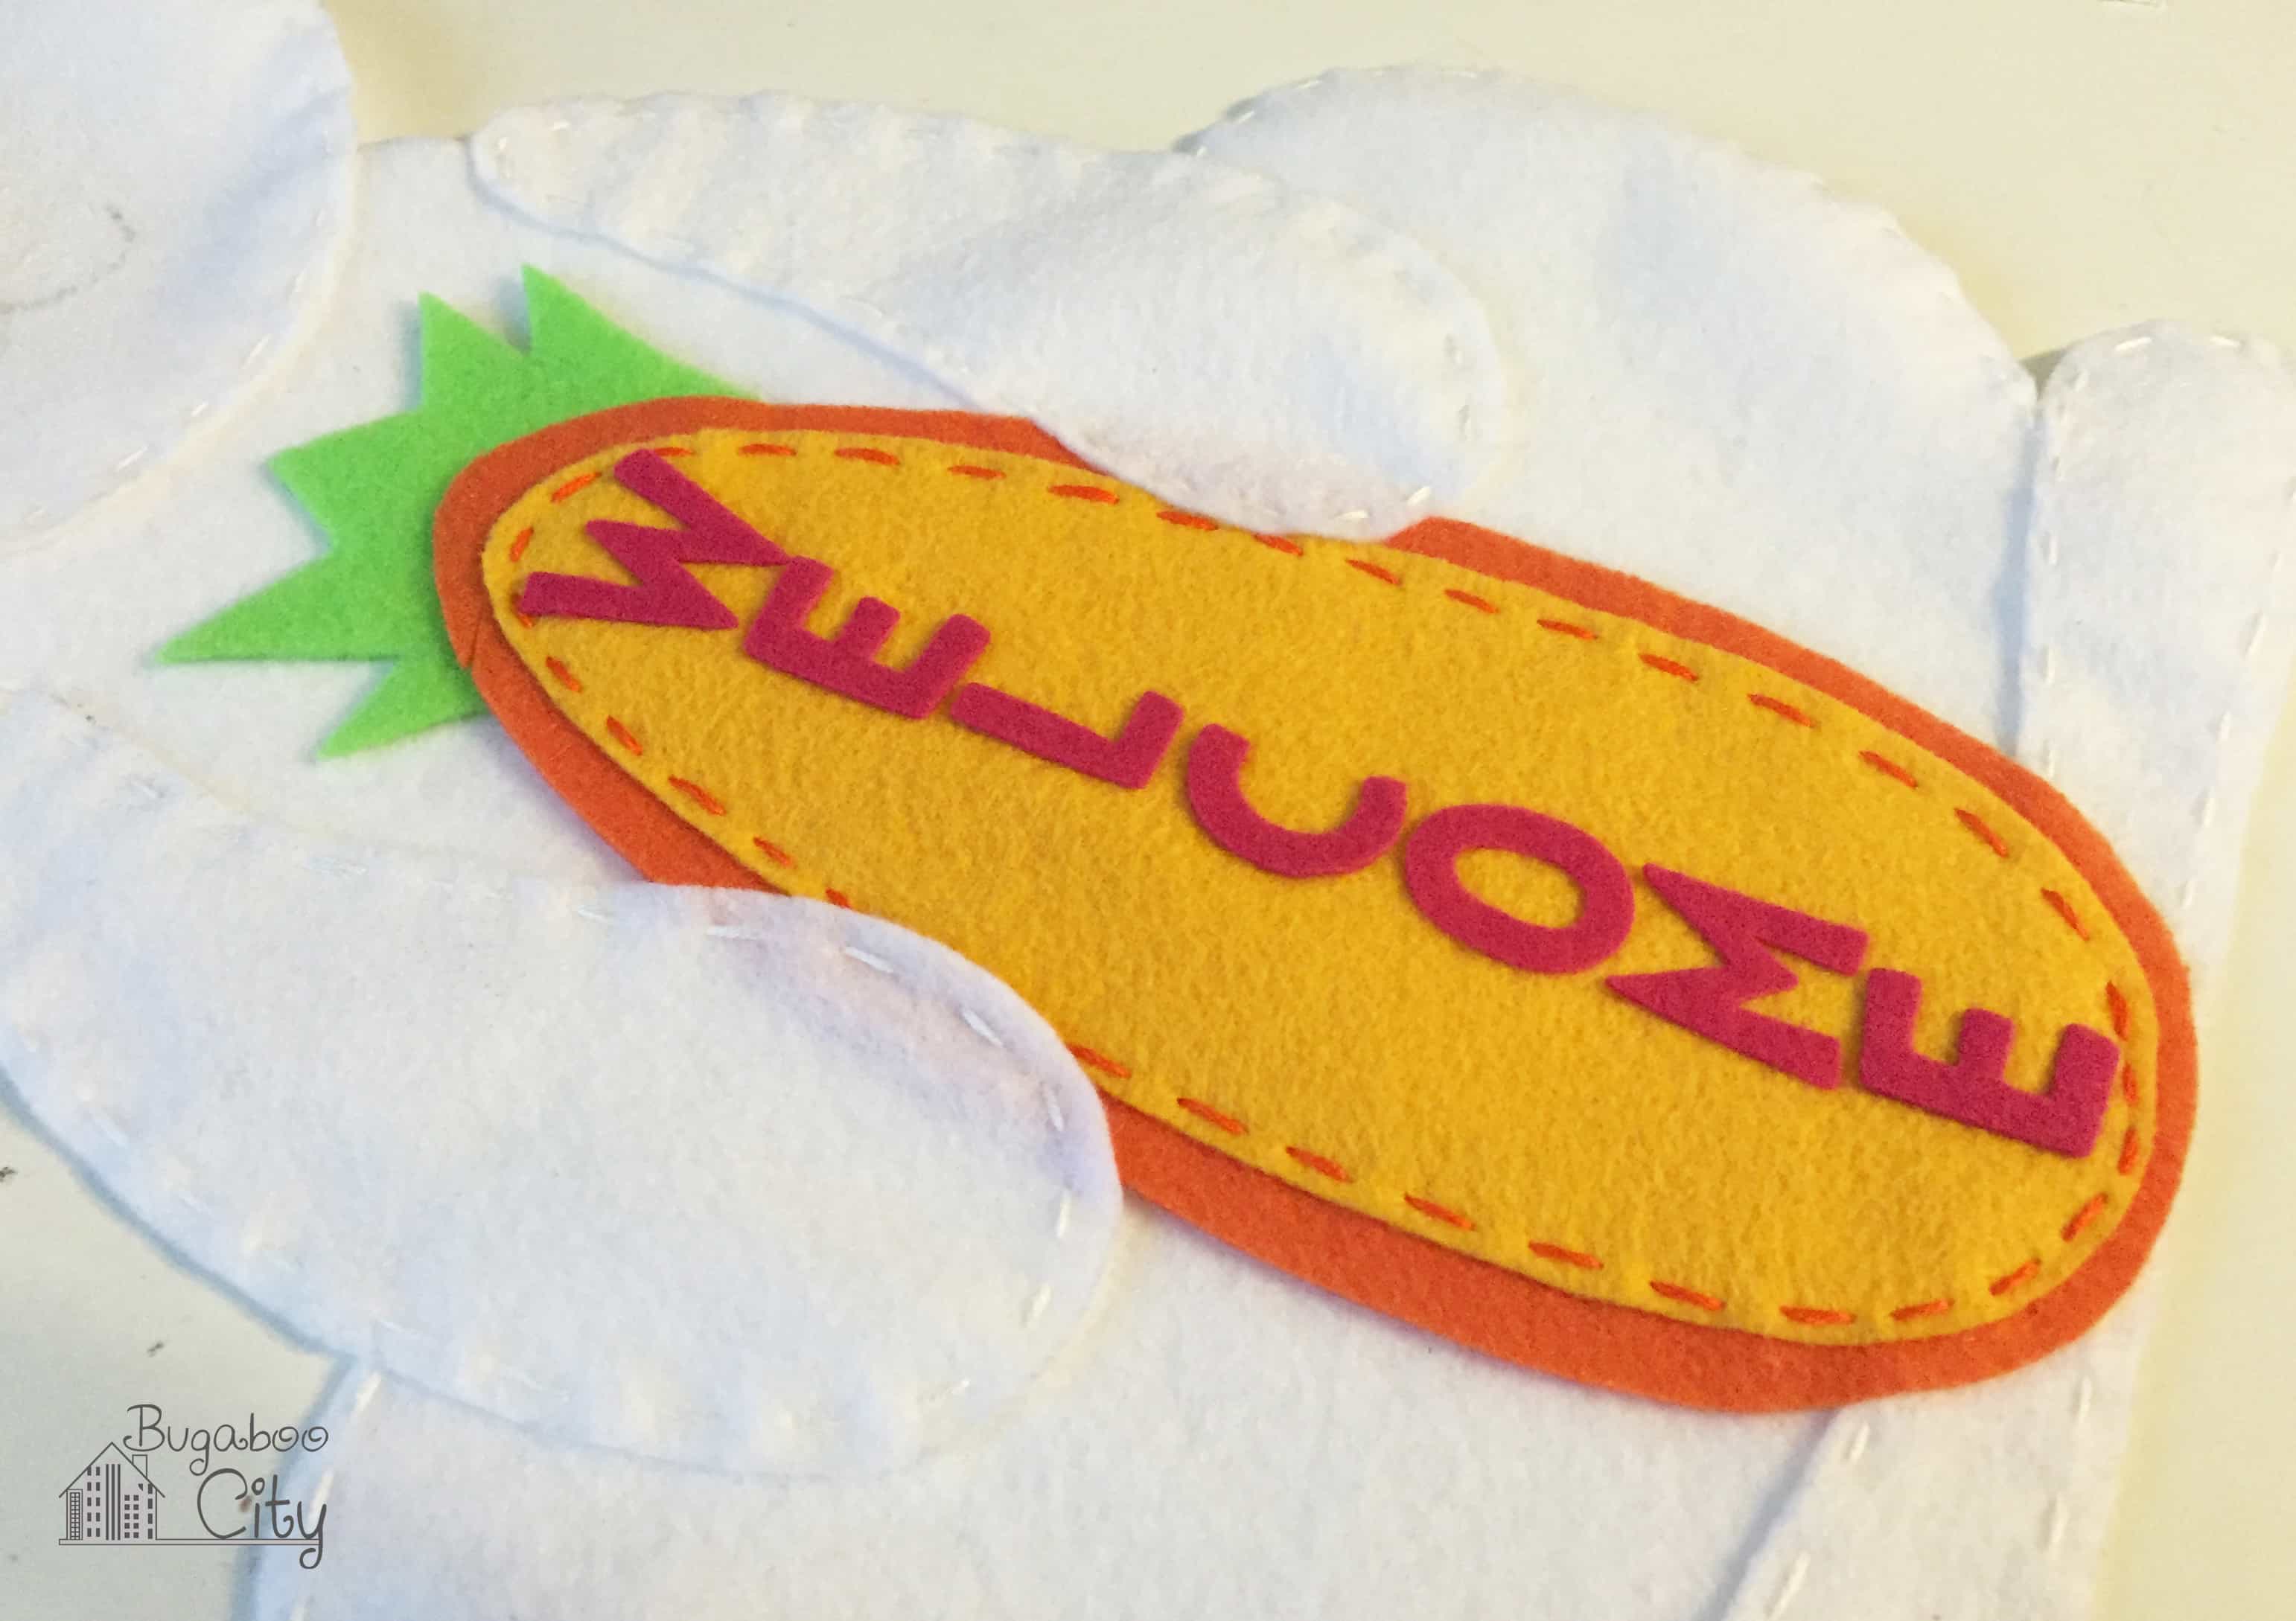
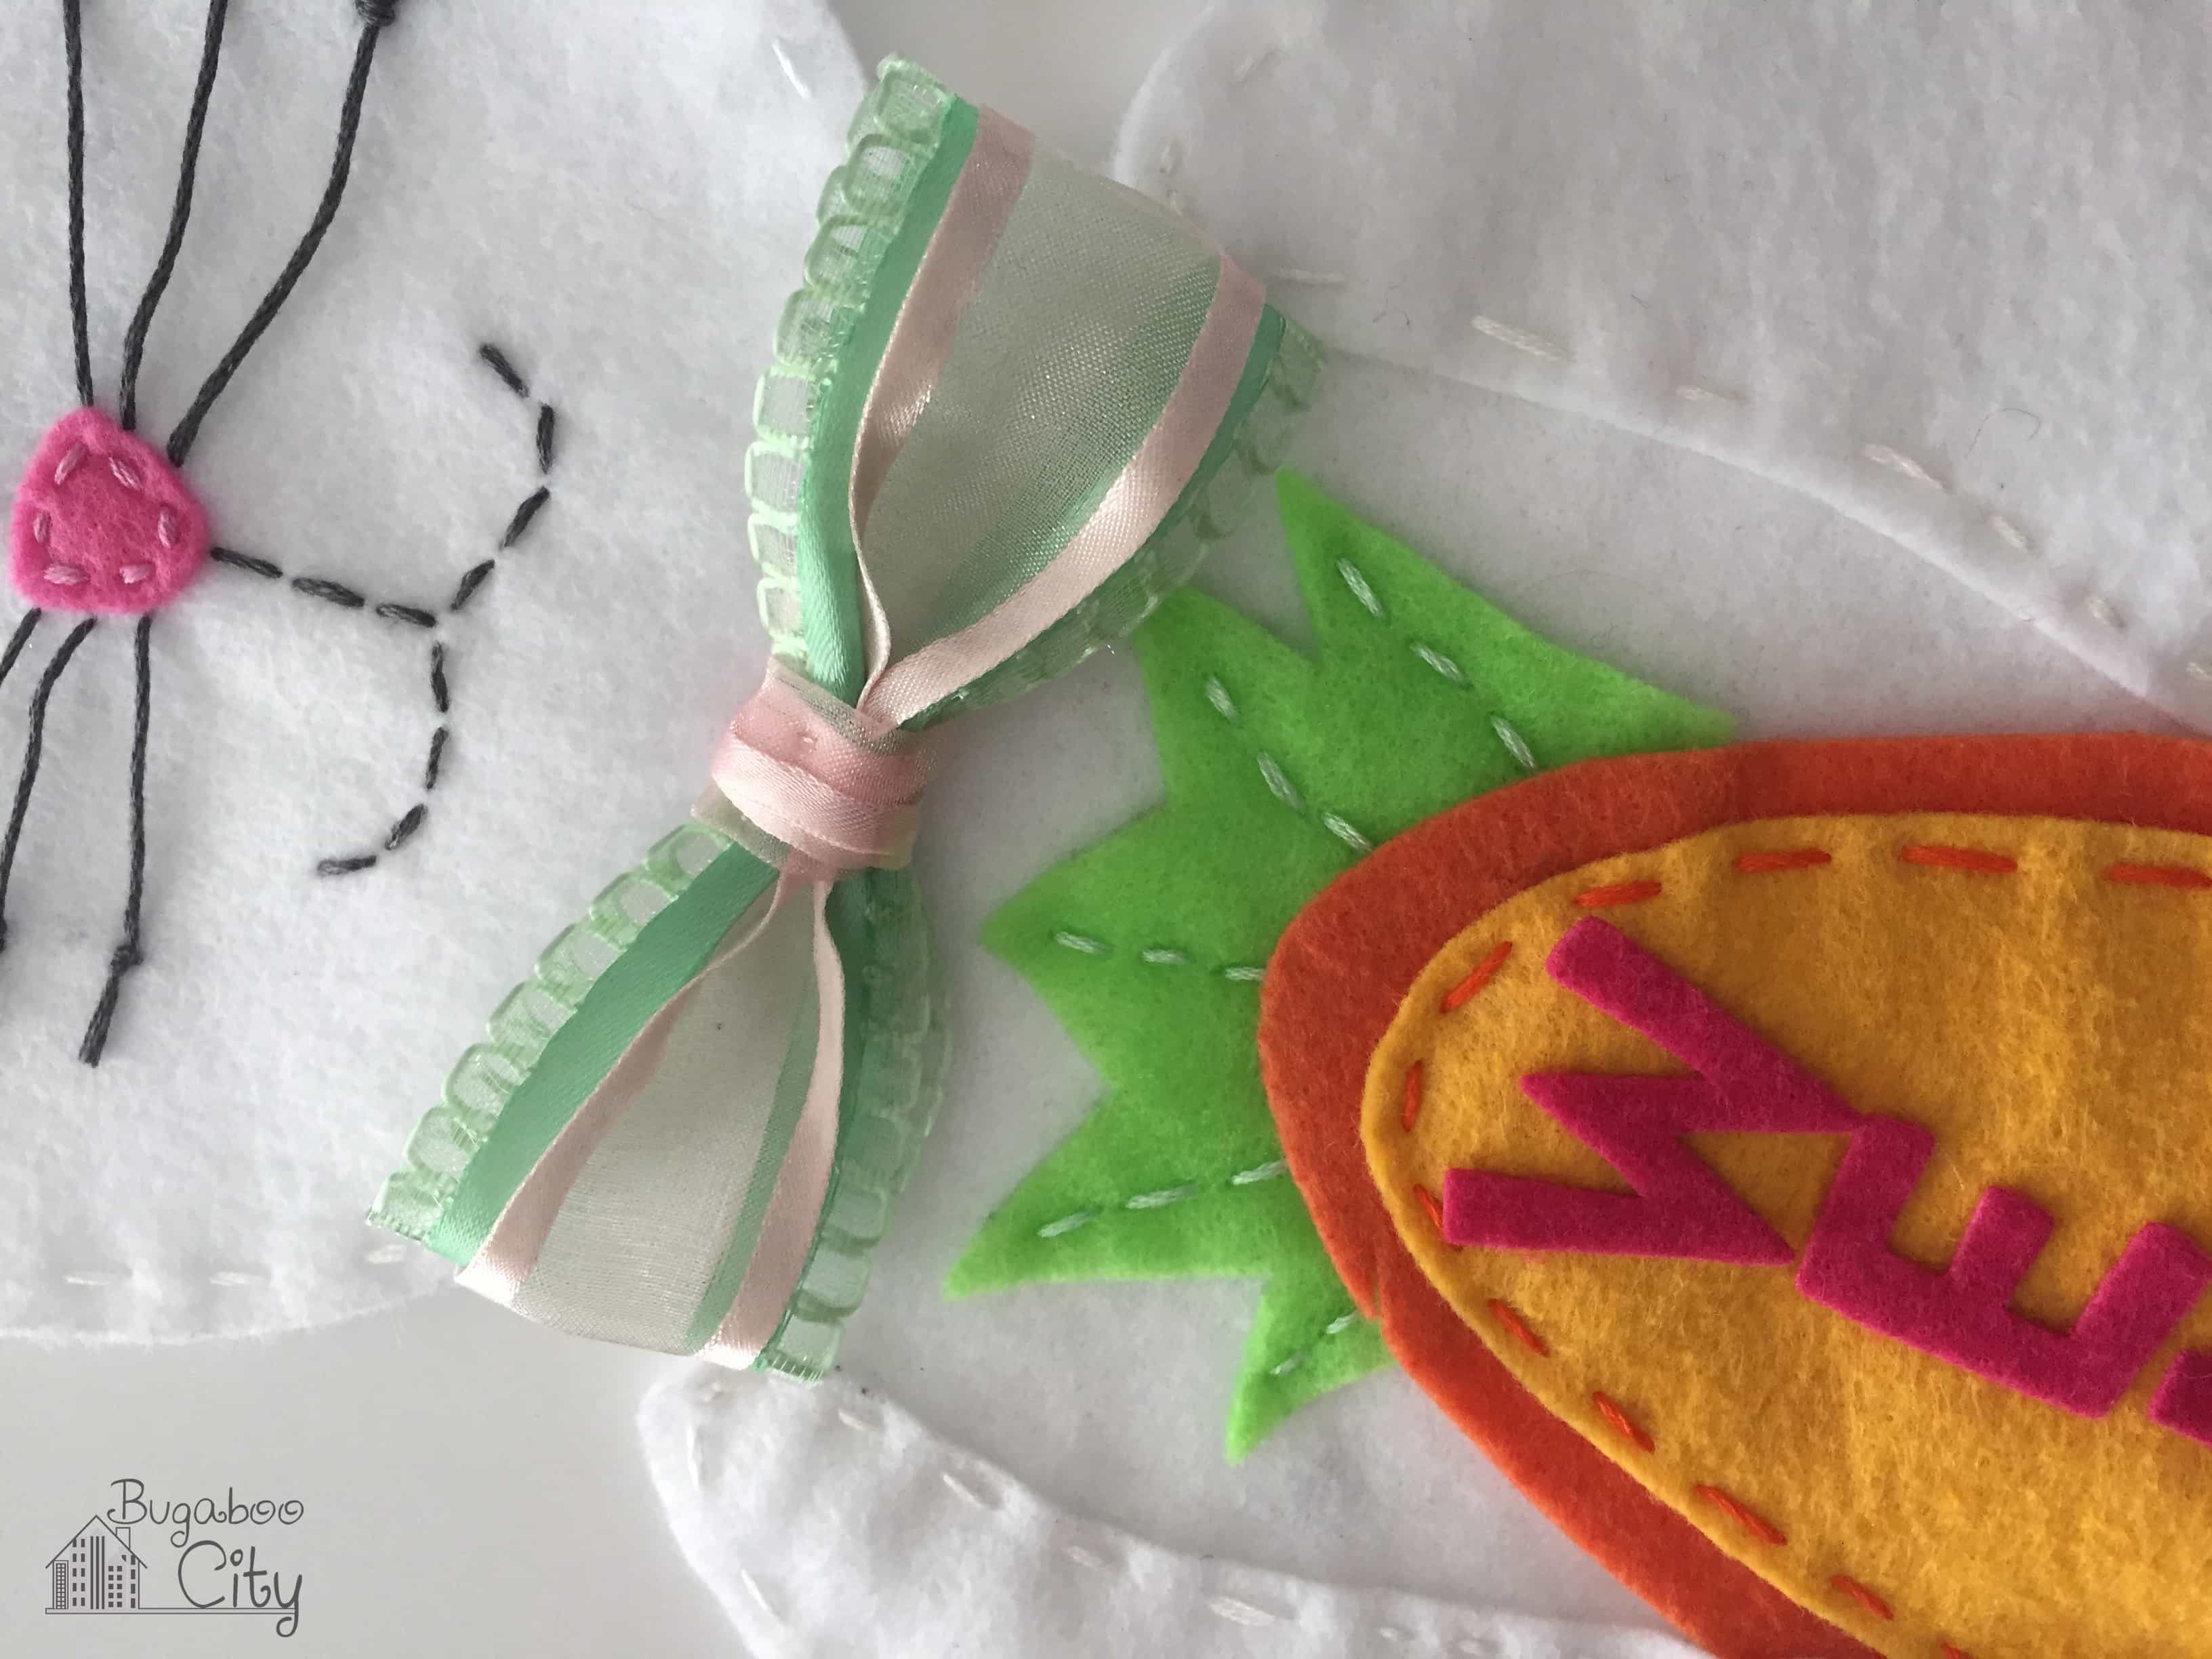
Step Five: Next, stitch around the carrot using orange floss. Make sure to first tuck the light green carrot top under the yellow and orange carrot layers. I just stitched around the inner carrot going through three layers of felt at once – the yellow, orange and white body of the bunny.
Use white floss to attach the green carrot top. Instead of going around this shape, I just added little lines to each leaf.
After the carrot is attached, add the felt letters. If using stickers, use a little bit of glue to ensure they stay attached. You could also use HTV and cut the letters with a cutting machine. Another option is making the letters out of felt and attaching them using fusible interfacing.
Making Your Own Felt Lettters
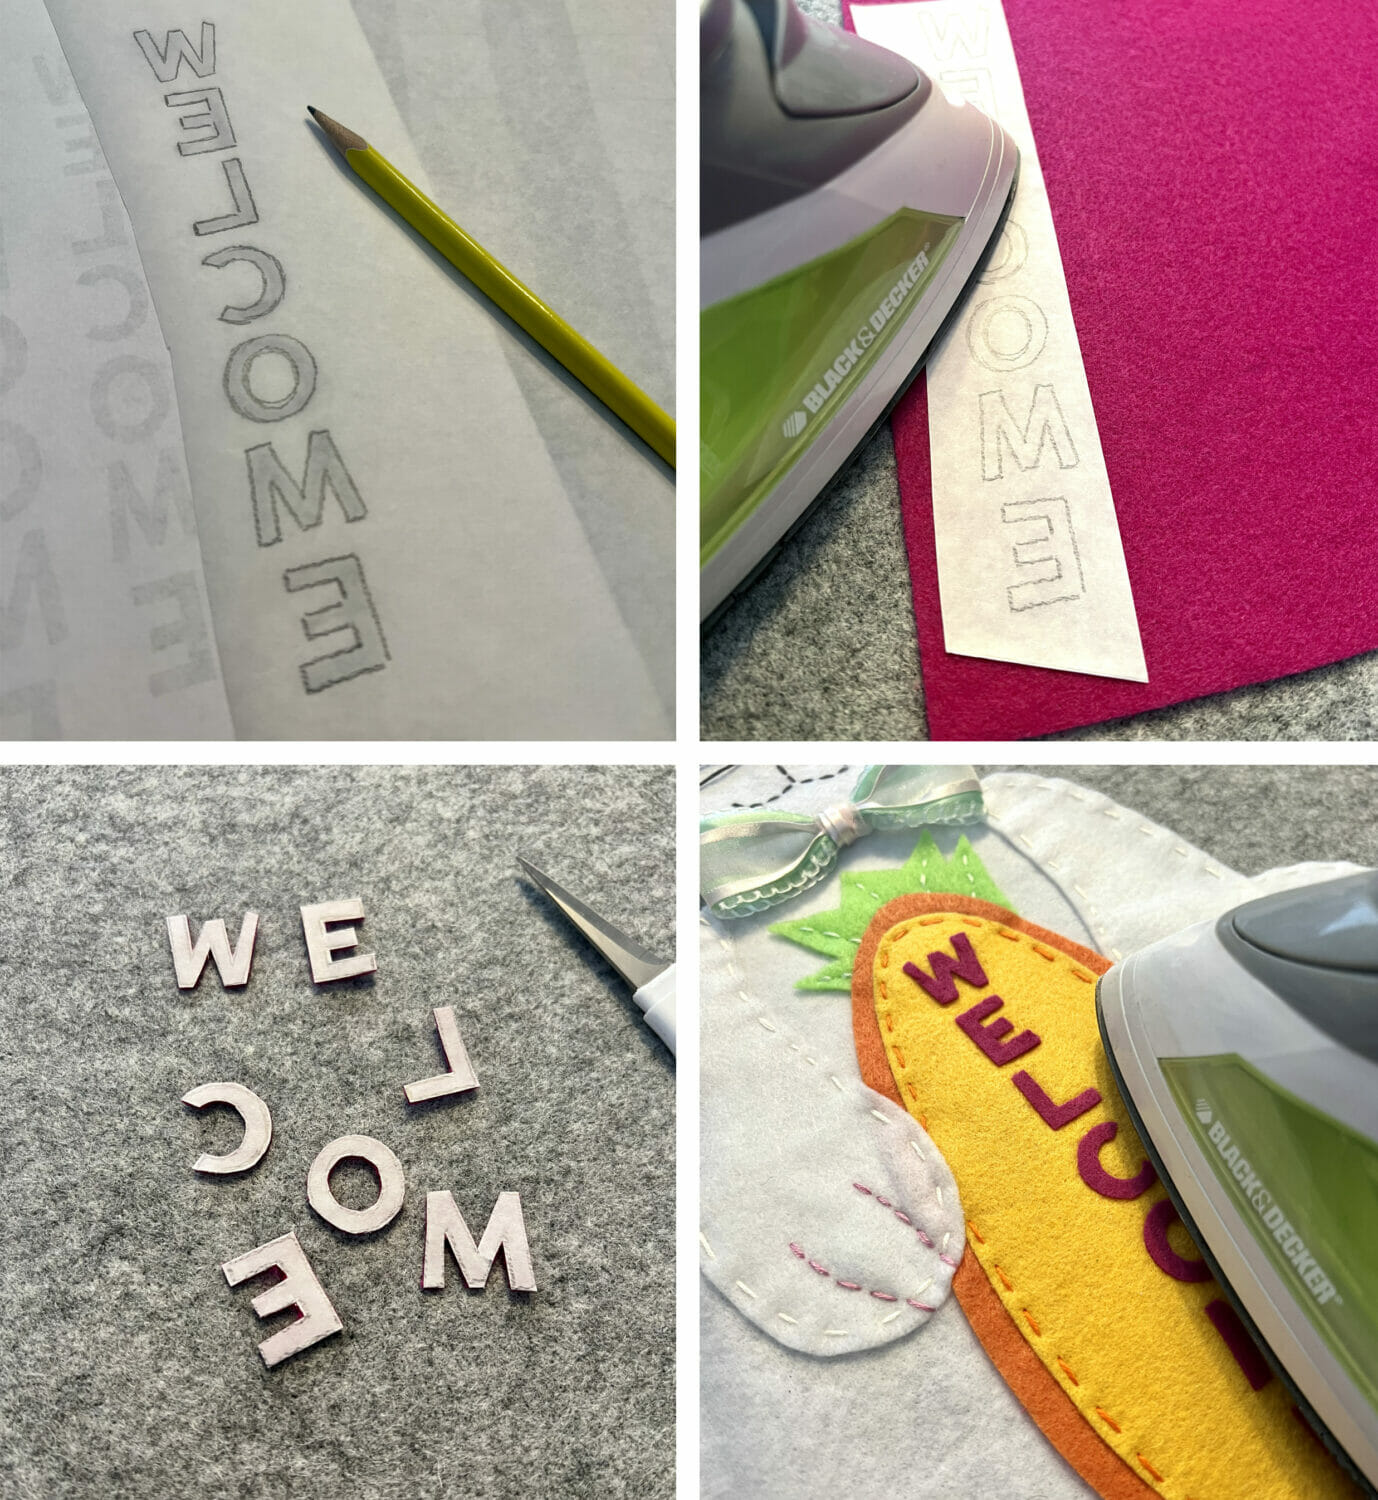
*Update: I originally used felt letter stickers, but they eventually fell off (should have used glue!). I decided to make my own felt letters so I added a pattern for the word WELCOME to printable pattern.
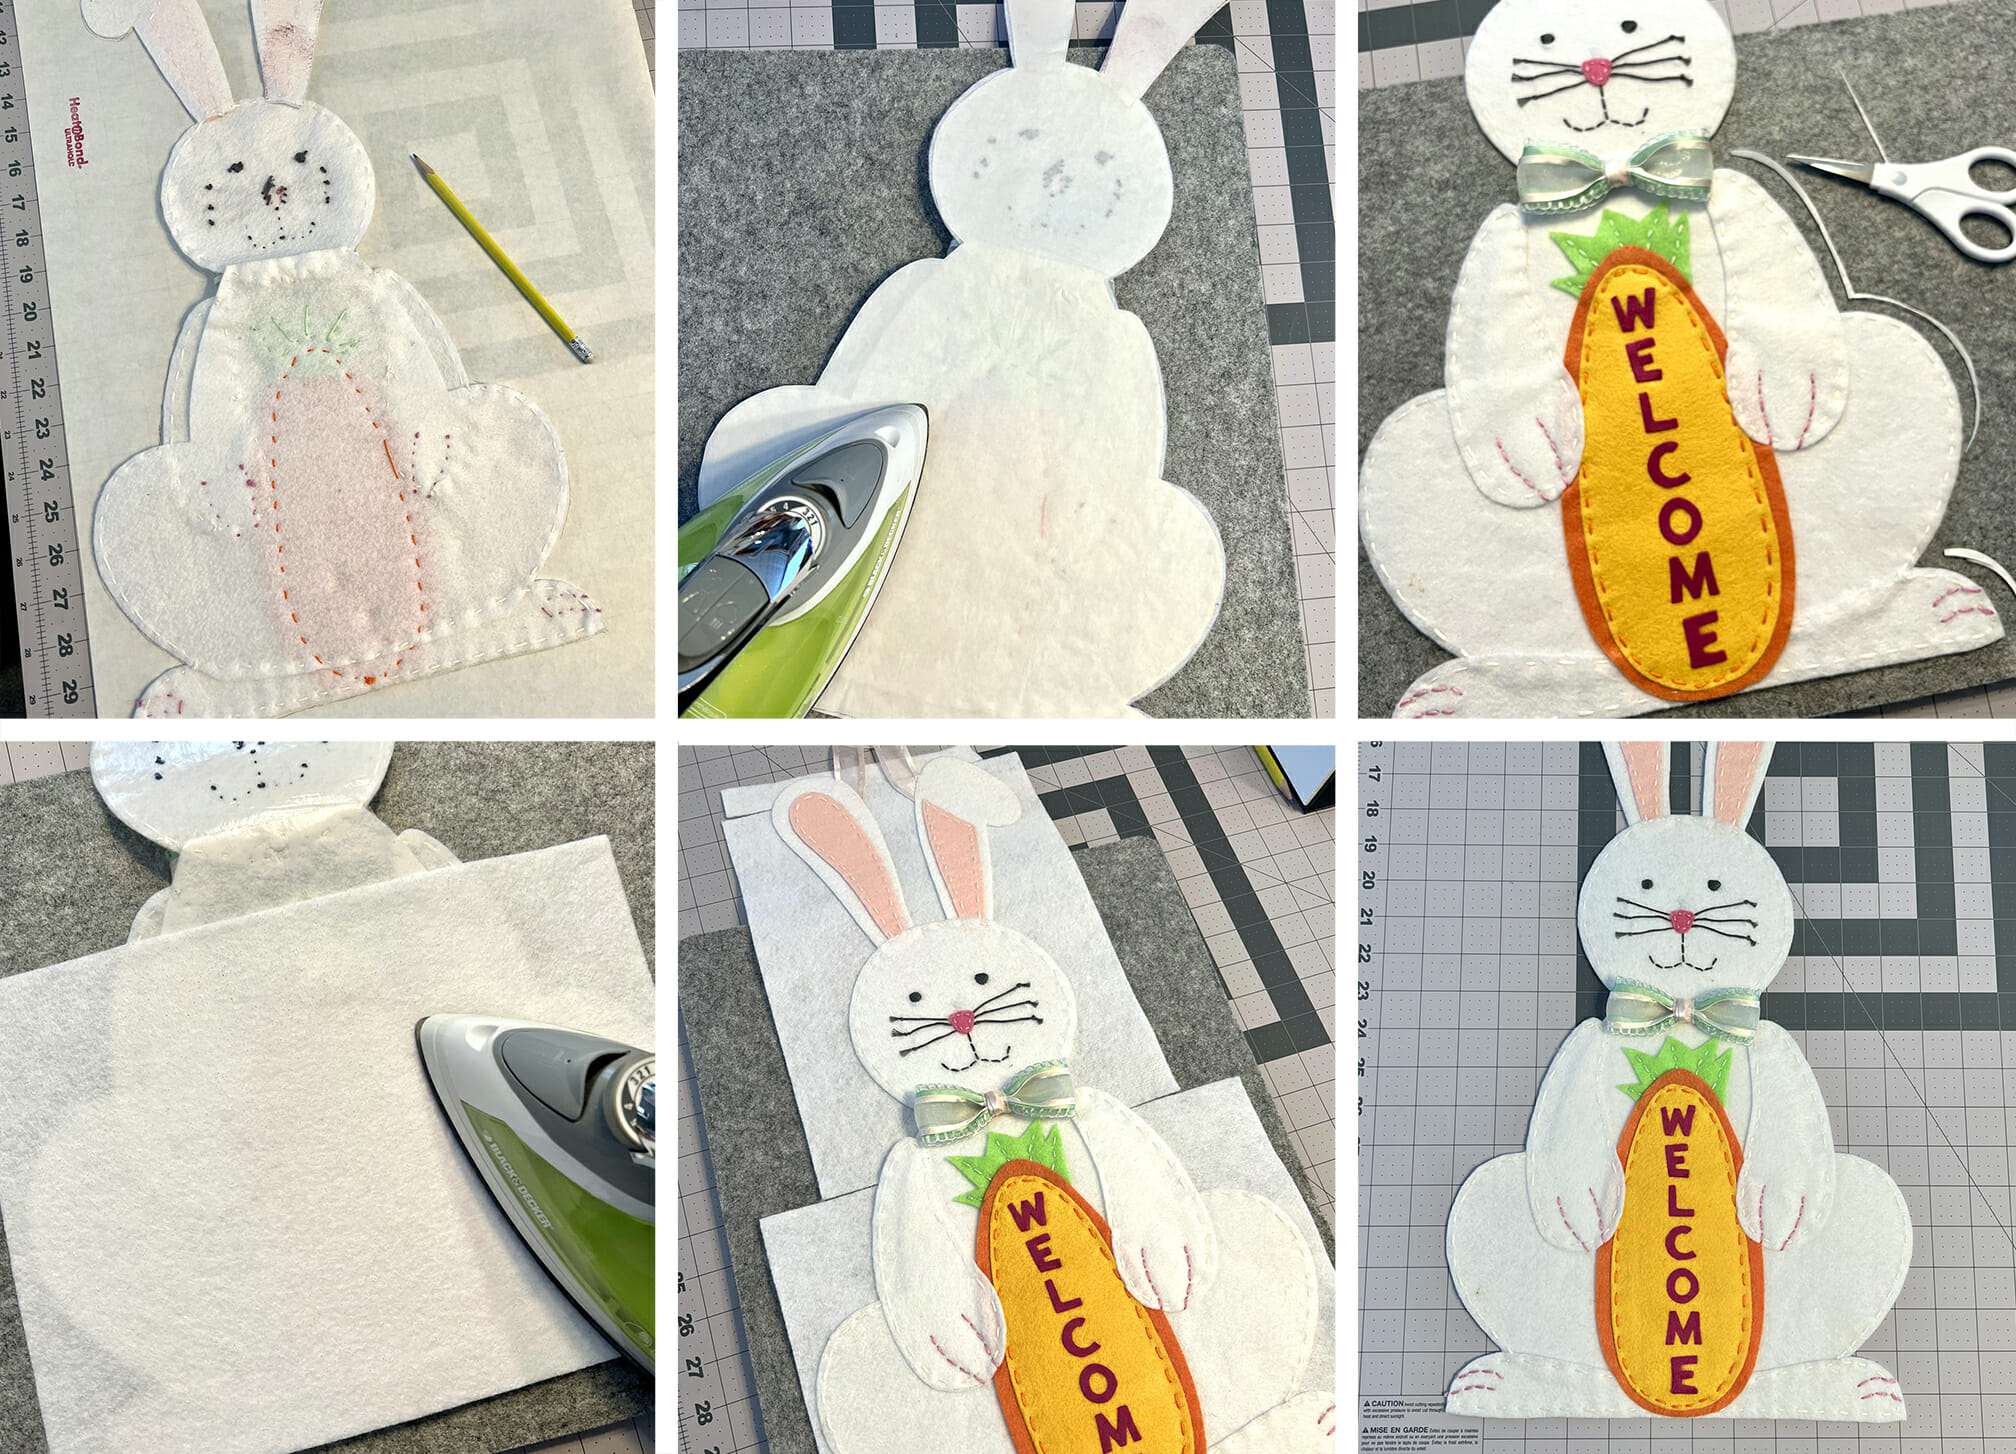
Step Six: To make your own felt letters, lay a sheet of fusible web interfacing, paper side up, over the pattern. Trace the reversed letters using a pencil and cut around them. Iron the fusible web to the wrong side of a sheet of felt, then cut out each letter along the pencil lines. You will now have 7 individual felt letters.
Use Stronghold interfacing if you do not want to stitch the letters (this is what I used) or use a sewable fusible interfacing if you want to add embroidery to each letter. If you’d like to do this, I recommend adding your felt letters prior to Step 4.
Adding the Details!
Step Seven: Add the paw and face details! With pink embroidery thread, add paw lines to the bunny’s hands and feet. Hand sew the pink felt nose on to the bunny head. Using grey embroidery thread, hand sew eyes, a mouth, and whiskers.
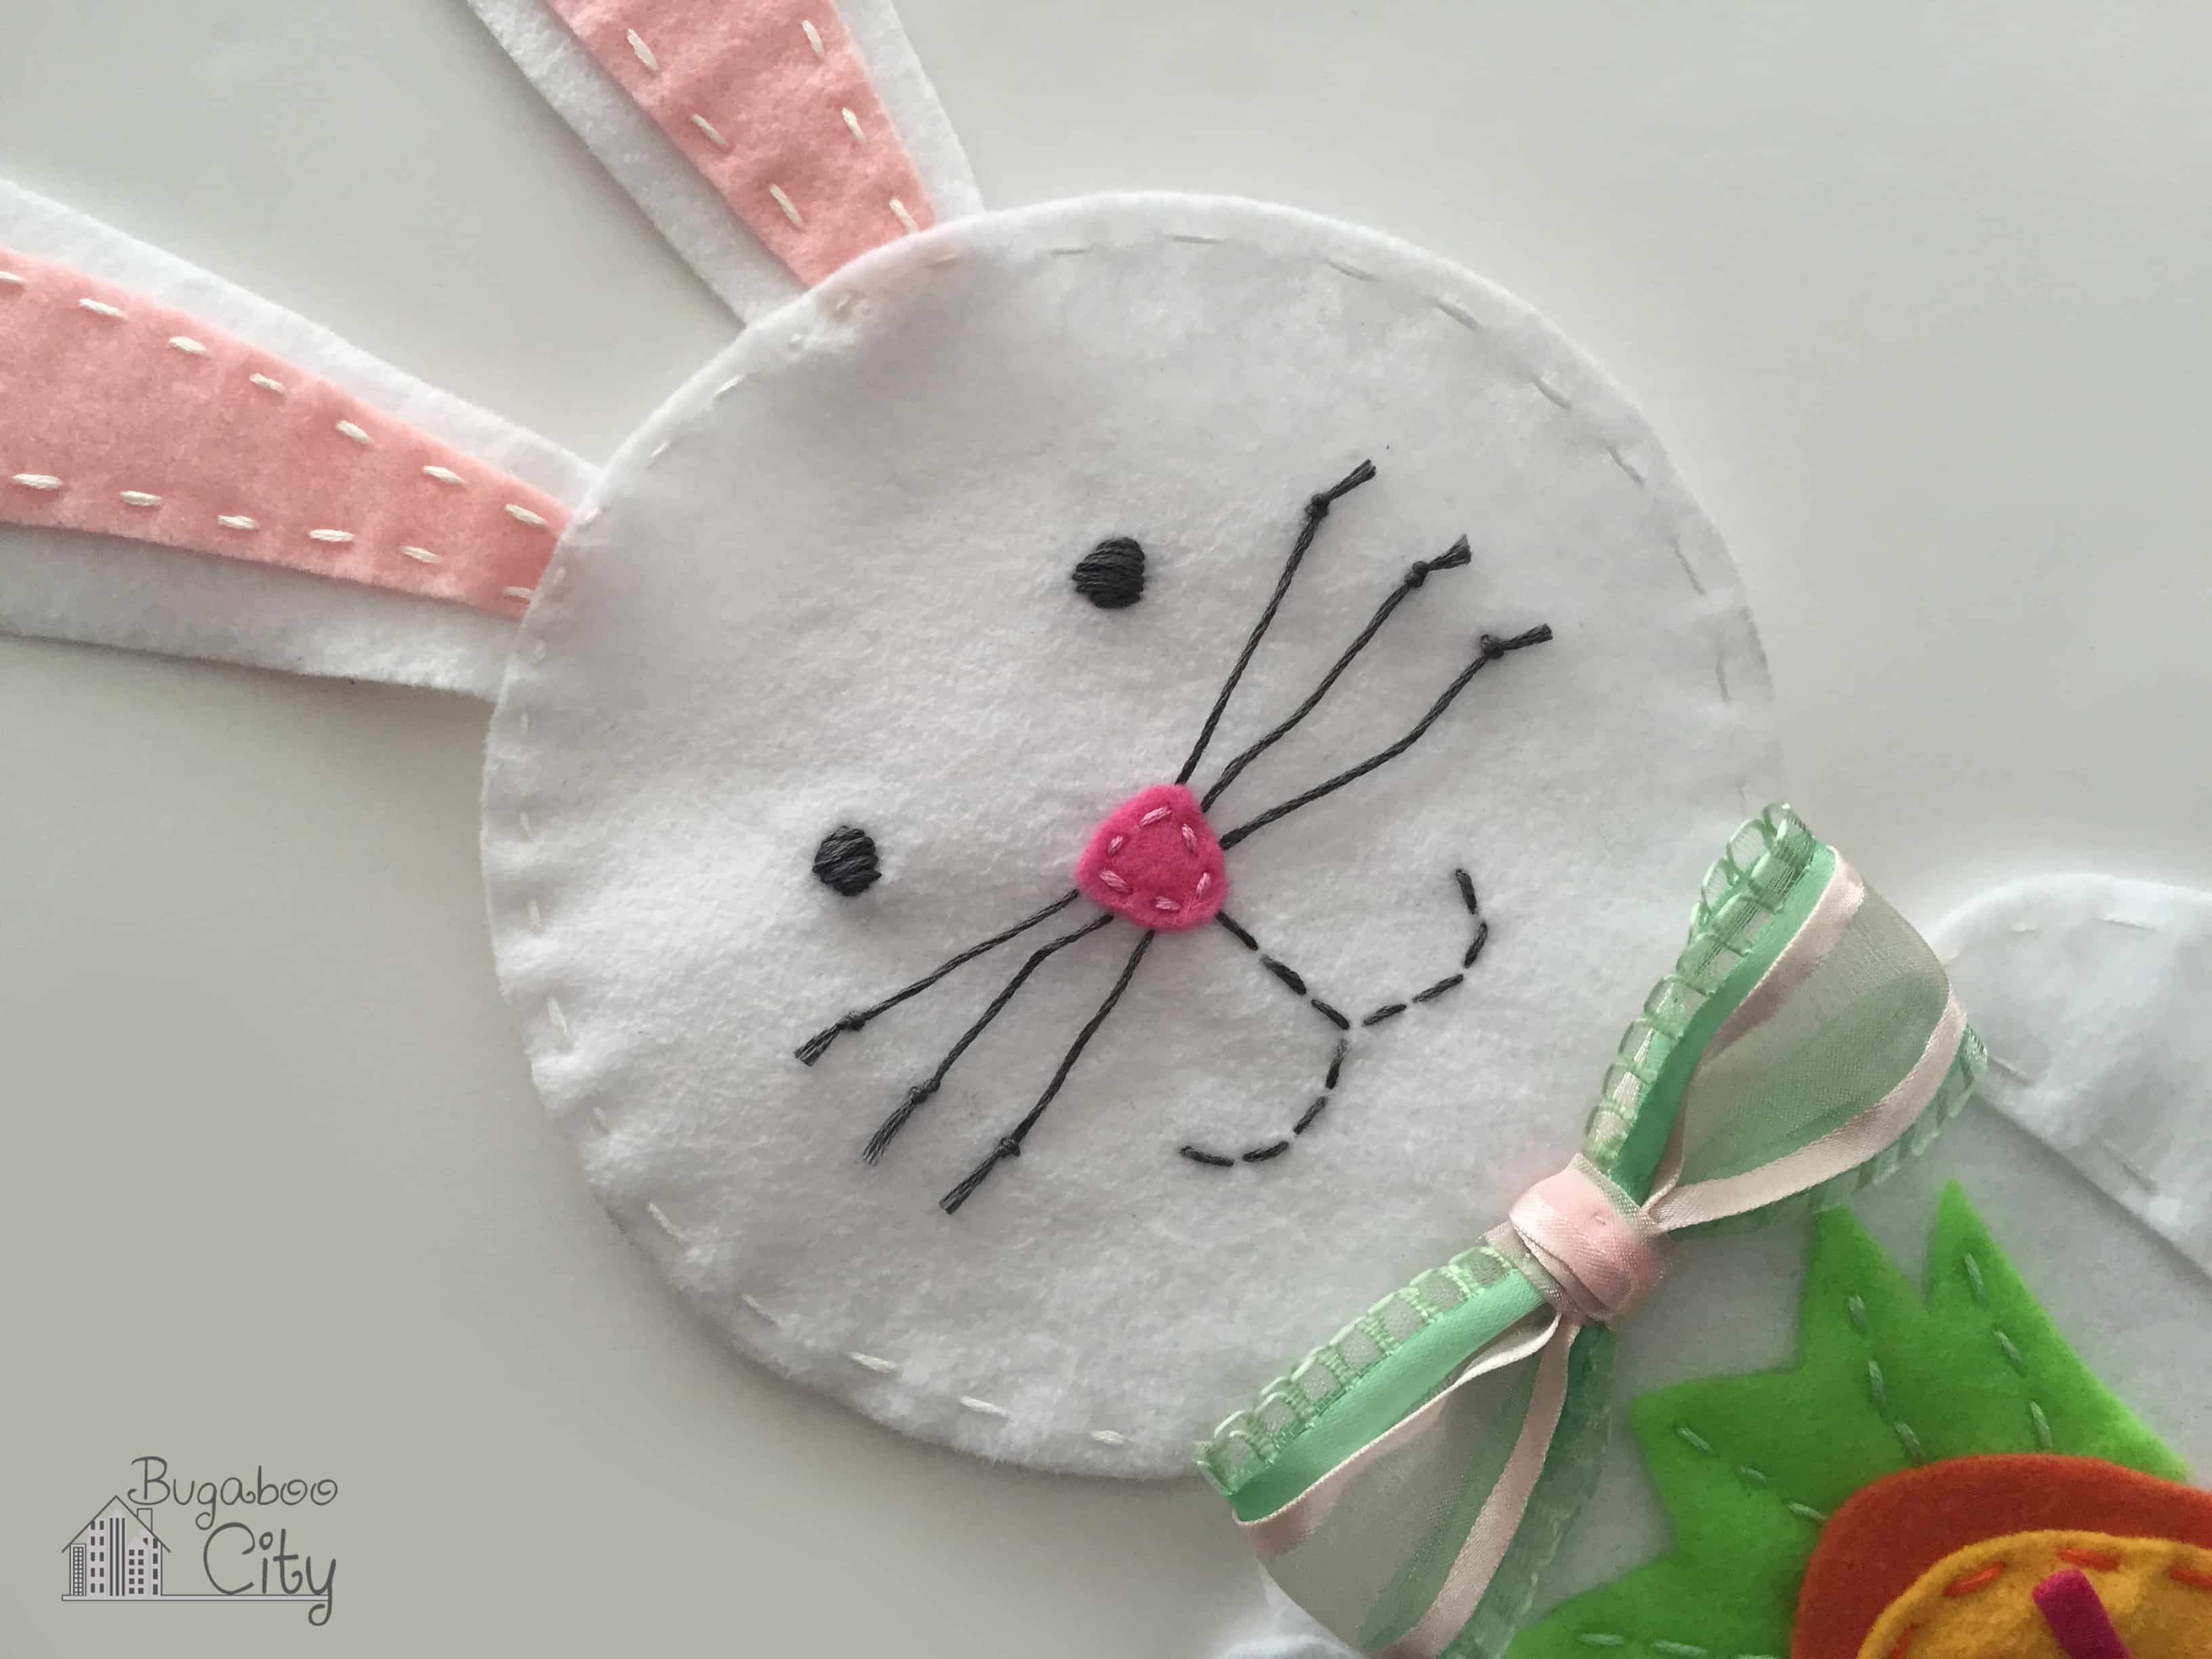
Step Eight: Add a bow tie! Form a bow using ribbon and hand-sew the center to the bunny’s neck. I layered a green and pink ribbon to create my bow. (If you choose to back the bunny, I recommend doing that before adding the ribbon bow and hanging ribbon).
Step Nine: Attach a hanging ribbon. I pinned ribbon to the tops of the bunny ears and then tested them out on my wall. I adjusted where I had them pinned so I wasn’t making the bunny head pucker out. Once I had a good placement, I hand sewed the ribbon into place.
*New – Backing the Bunny
Step Ten: Back the bunny to make it stiffer. The bunny is usable after Step 9 but if you prefer a stiffer door decoration, you may want to back the bunny. There are several ways you can do this including using stiffened felt from the get-go, backing the bunny with fusible interfacing or backing it with fusible fleece (as one awesome reader suggested). Below I’ll show you the way I did it, but know there are many great options! :)
Start by tracing the assembled bunny (right side down) onto the Stronghold Fusible Interfacing (paper side up). Cut the interfacing out along the pencil line and iron it to the back of the bunny. If the bow is already sewn on, this does make it a little tricky, but I was able to make it work!
Trim away any excess interfacing that is visible from the front of the bunny. Next, peel the paper backing off the interfacing and iron the bunny to felt or light-colored cotton fabric. I didn’t have any felt yardage when I did this, so I used sheets of felt and just butted them up to one another.
Be careful not to keep your iron on the felt or fabric backing and don’t let it tough the fusible interfacing. Cut the backing away and you’re left with a stiffer bunny that is also finished nicely from the back!
The reason I used stronghold fusible web is because it does not require sewing and is stiffer then lighter weight sewable interfacing. Waiting until the end and adhering it after the bunny has been assembled means the stitching is covered on the back and I didn’t need to sew through any interfacing. You could alternatively choose to back each piece prior to stitching, but be sure to use a sewable interfacing!
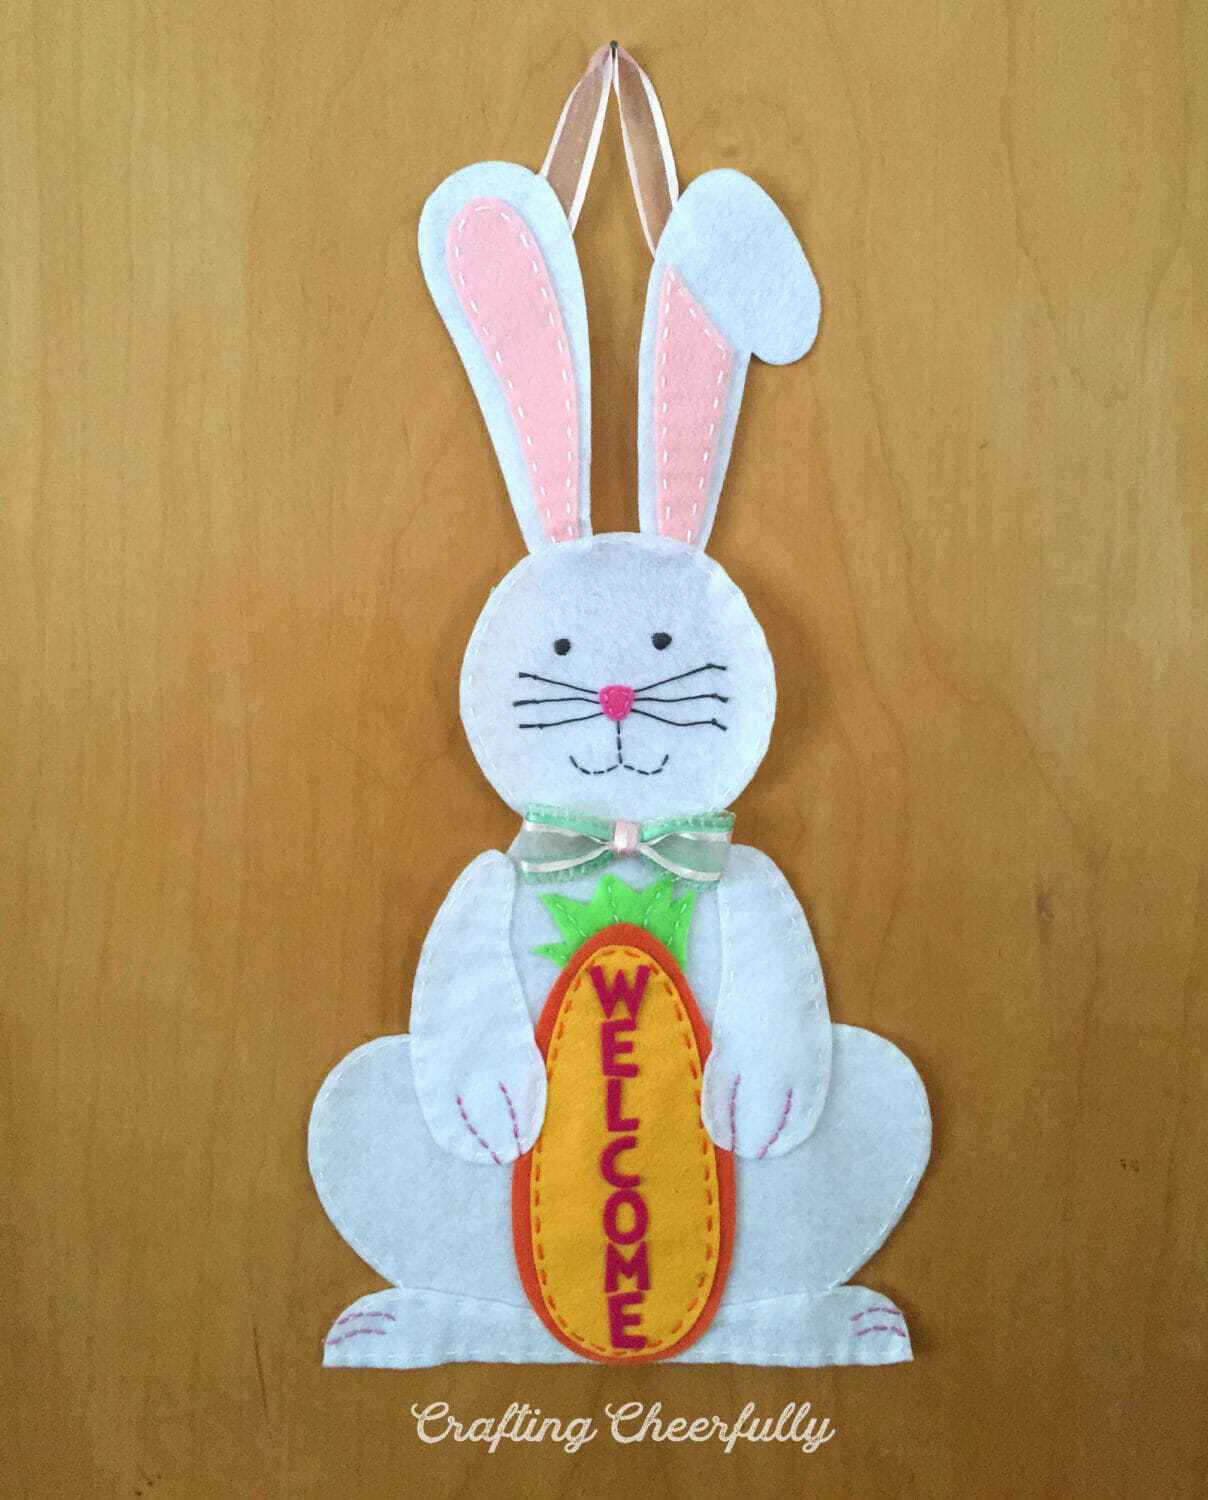
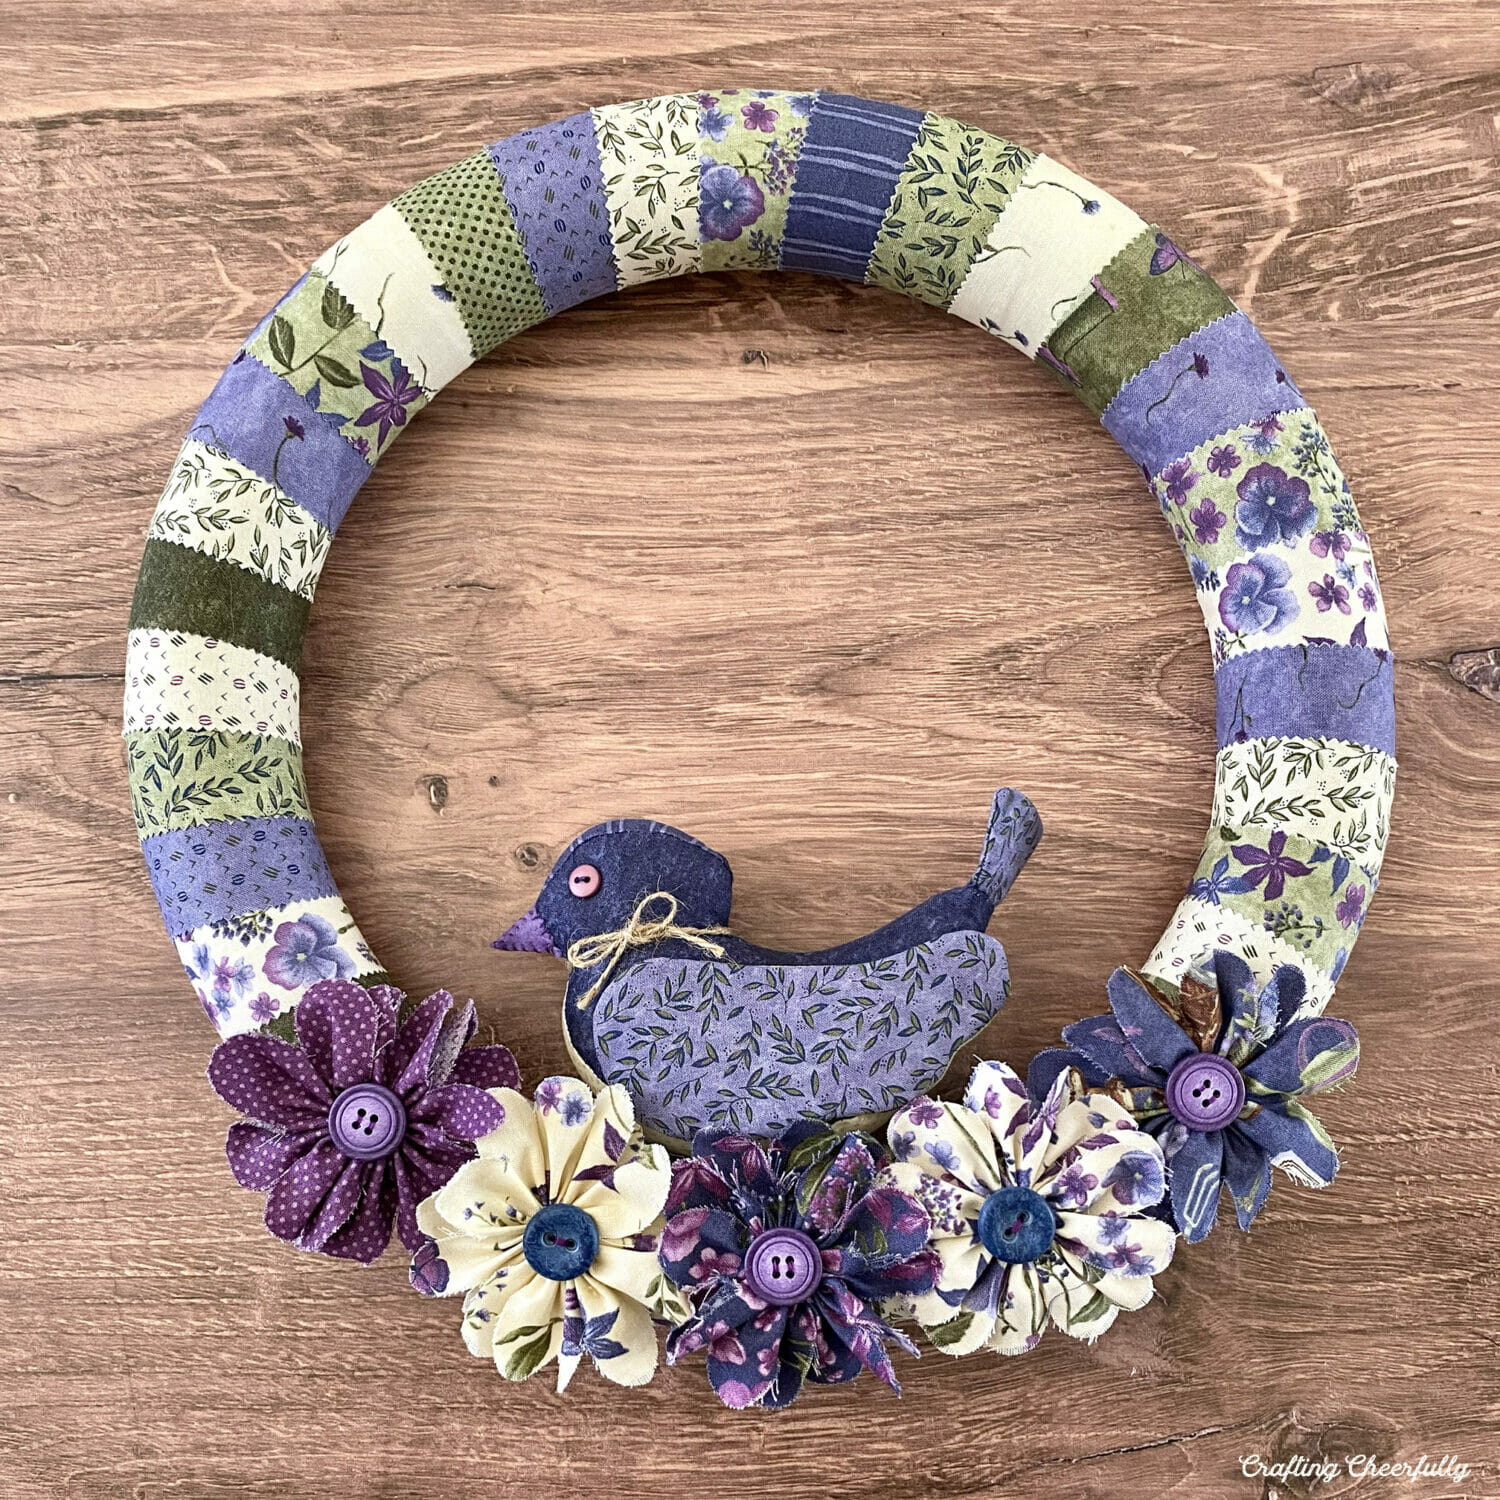
The bunny welcome sign is finished! It looks so cute and is cheerful and bright! This little bunny is ready to welcome the spring season! This bunny, along with the Easter Pillow Wreath I showed you last week, are helping get our house ready. Do you decorate for spring and Easter?

Get the Free Bunny Welcome Sign Pattern!
Fill out the purple form below with your first name and email address! The free file will be sent straight to your inbox! If you have already filled out the form below, don’t worry – you won’t be added to my list twice! This freebie is for personal use only. I hope you enjoy crafting something special. Please let me know if you have any questions :)


The download for the Bunny Welcome Wall Hanging won’t download & I would love to make it for my son’s new house. :(
Hi! I just checked it and it is working. Once you click on the blue link it will ask you to check you’ve read the terms of use and then you can click on the bunny pattern and it will download. If it isn’t working for you, send me an email at bugaboocity@gmail.com and I’ll be happy to email you the pdf file :) Thank you!