DIY Easter Bunny Baskets
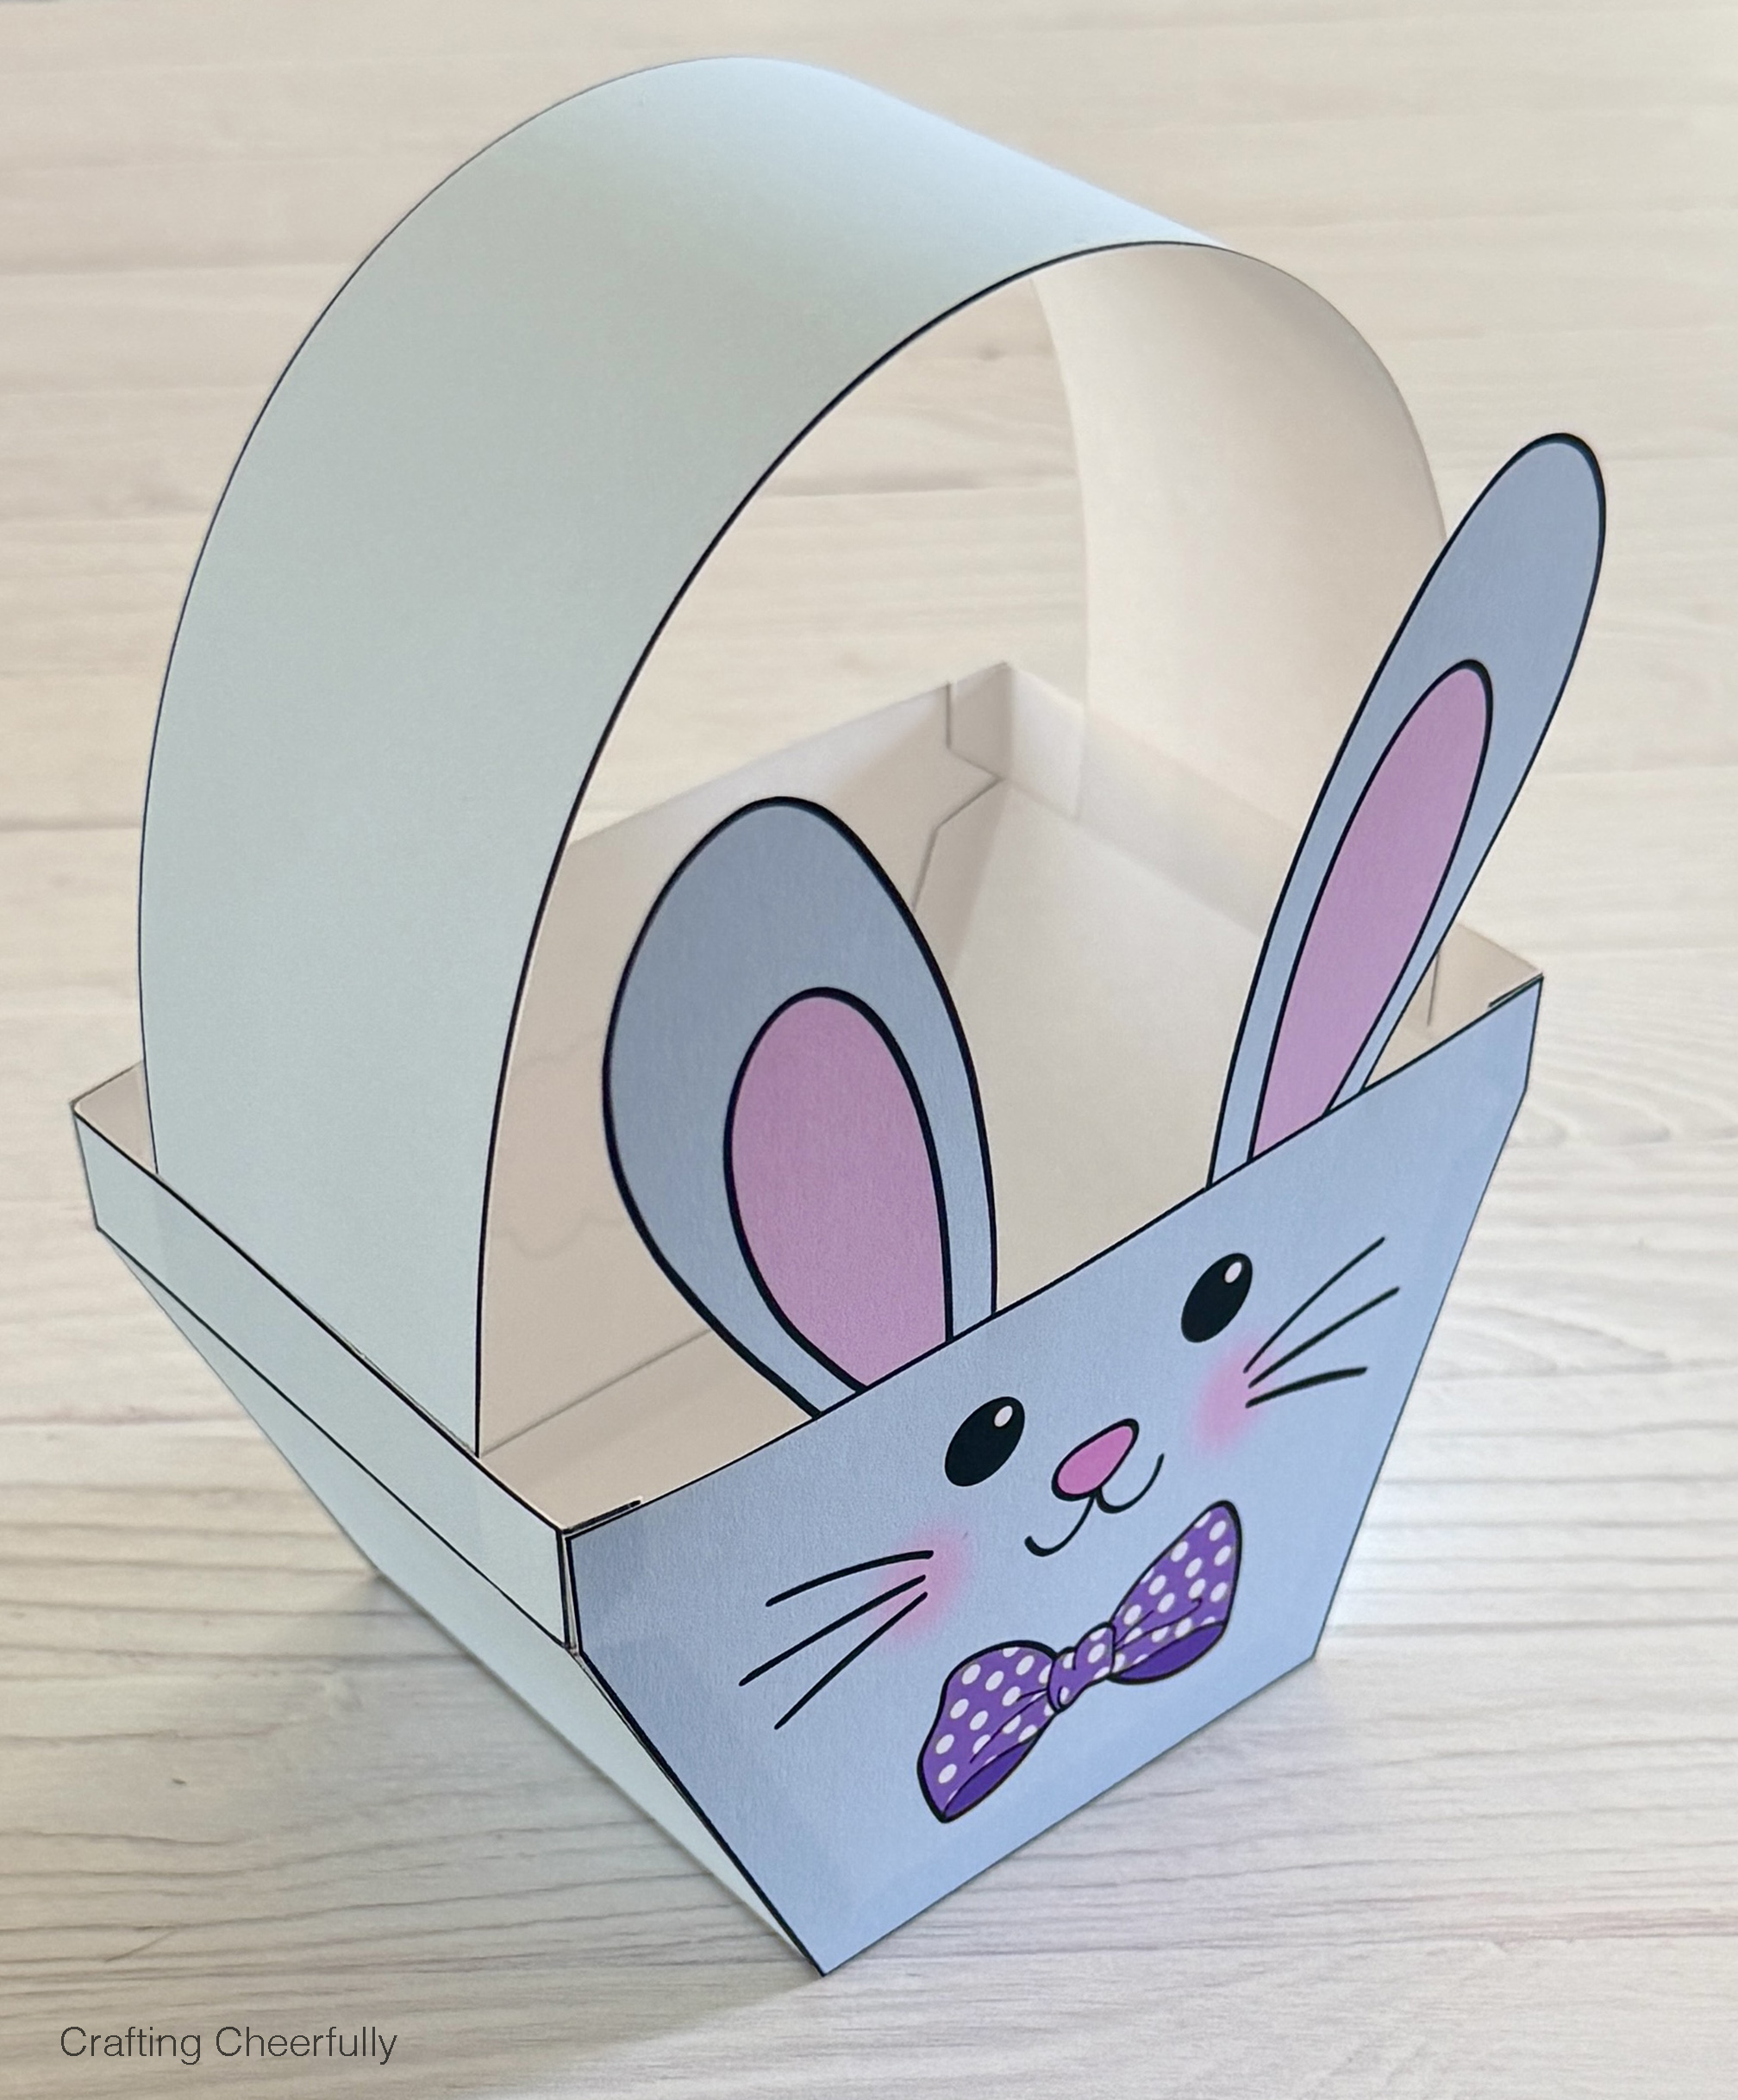
Create a cute paper Easter bunny basket for the holiday! Perfect for filling with Easter sweets and treats!
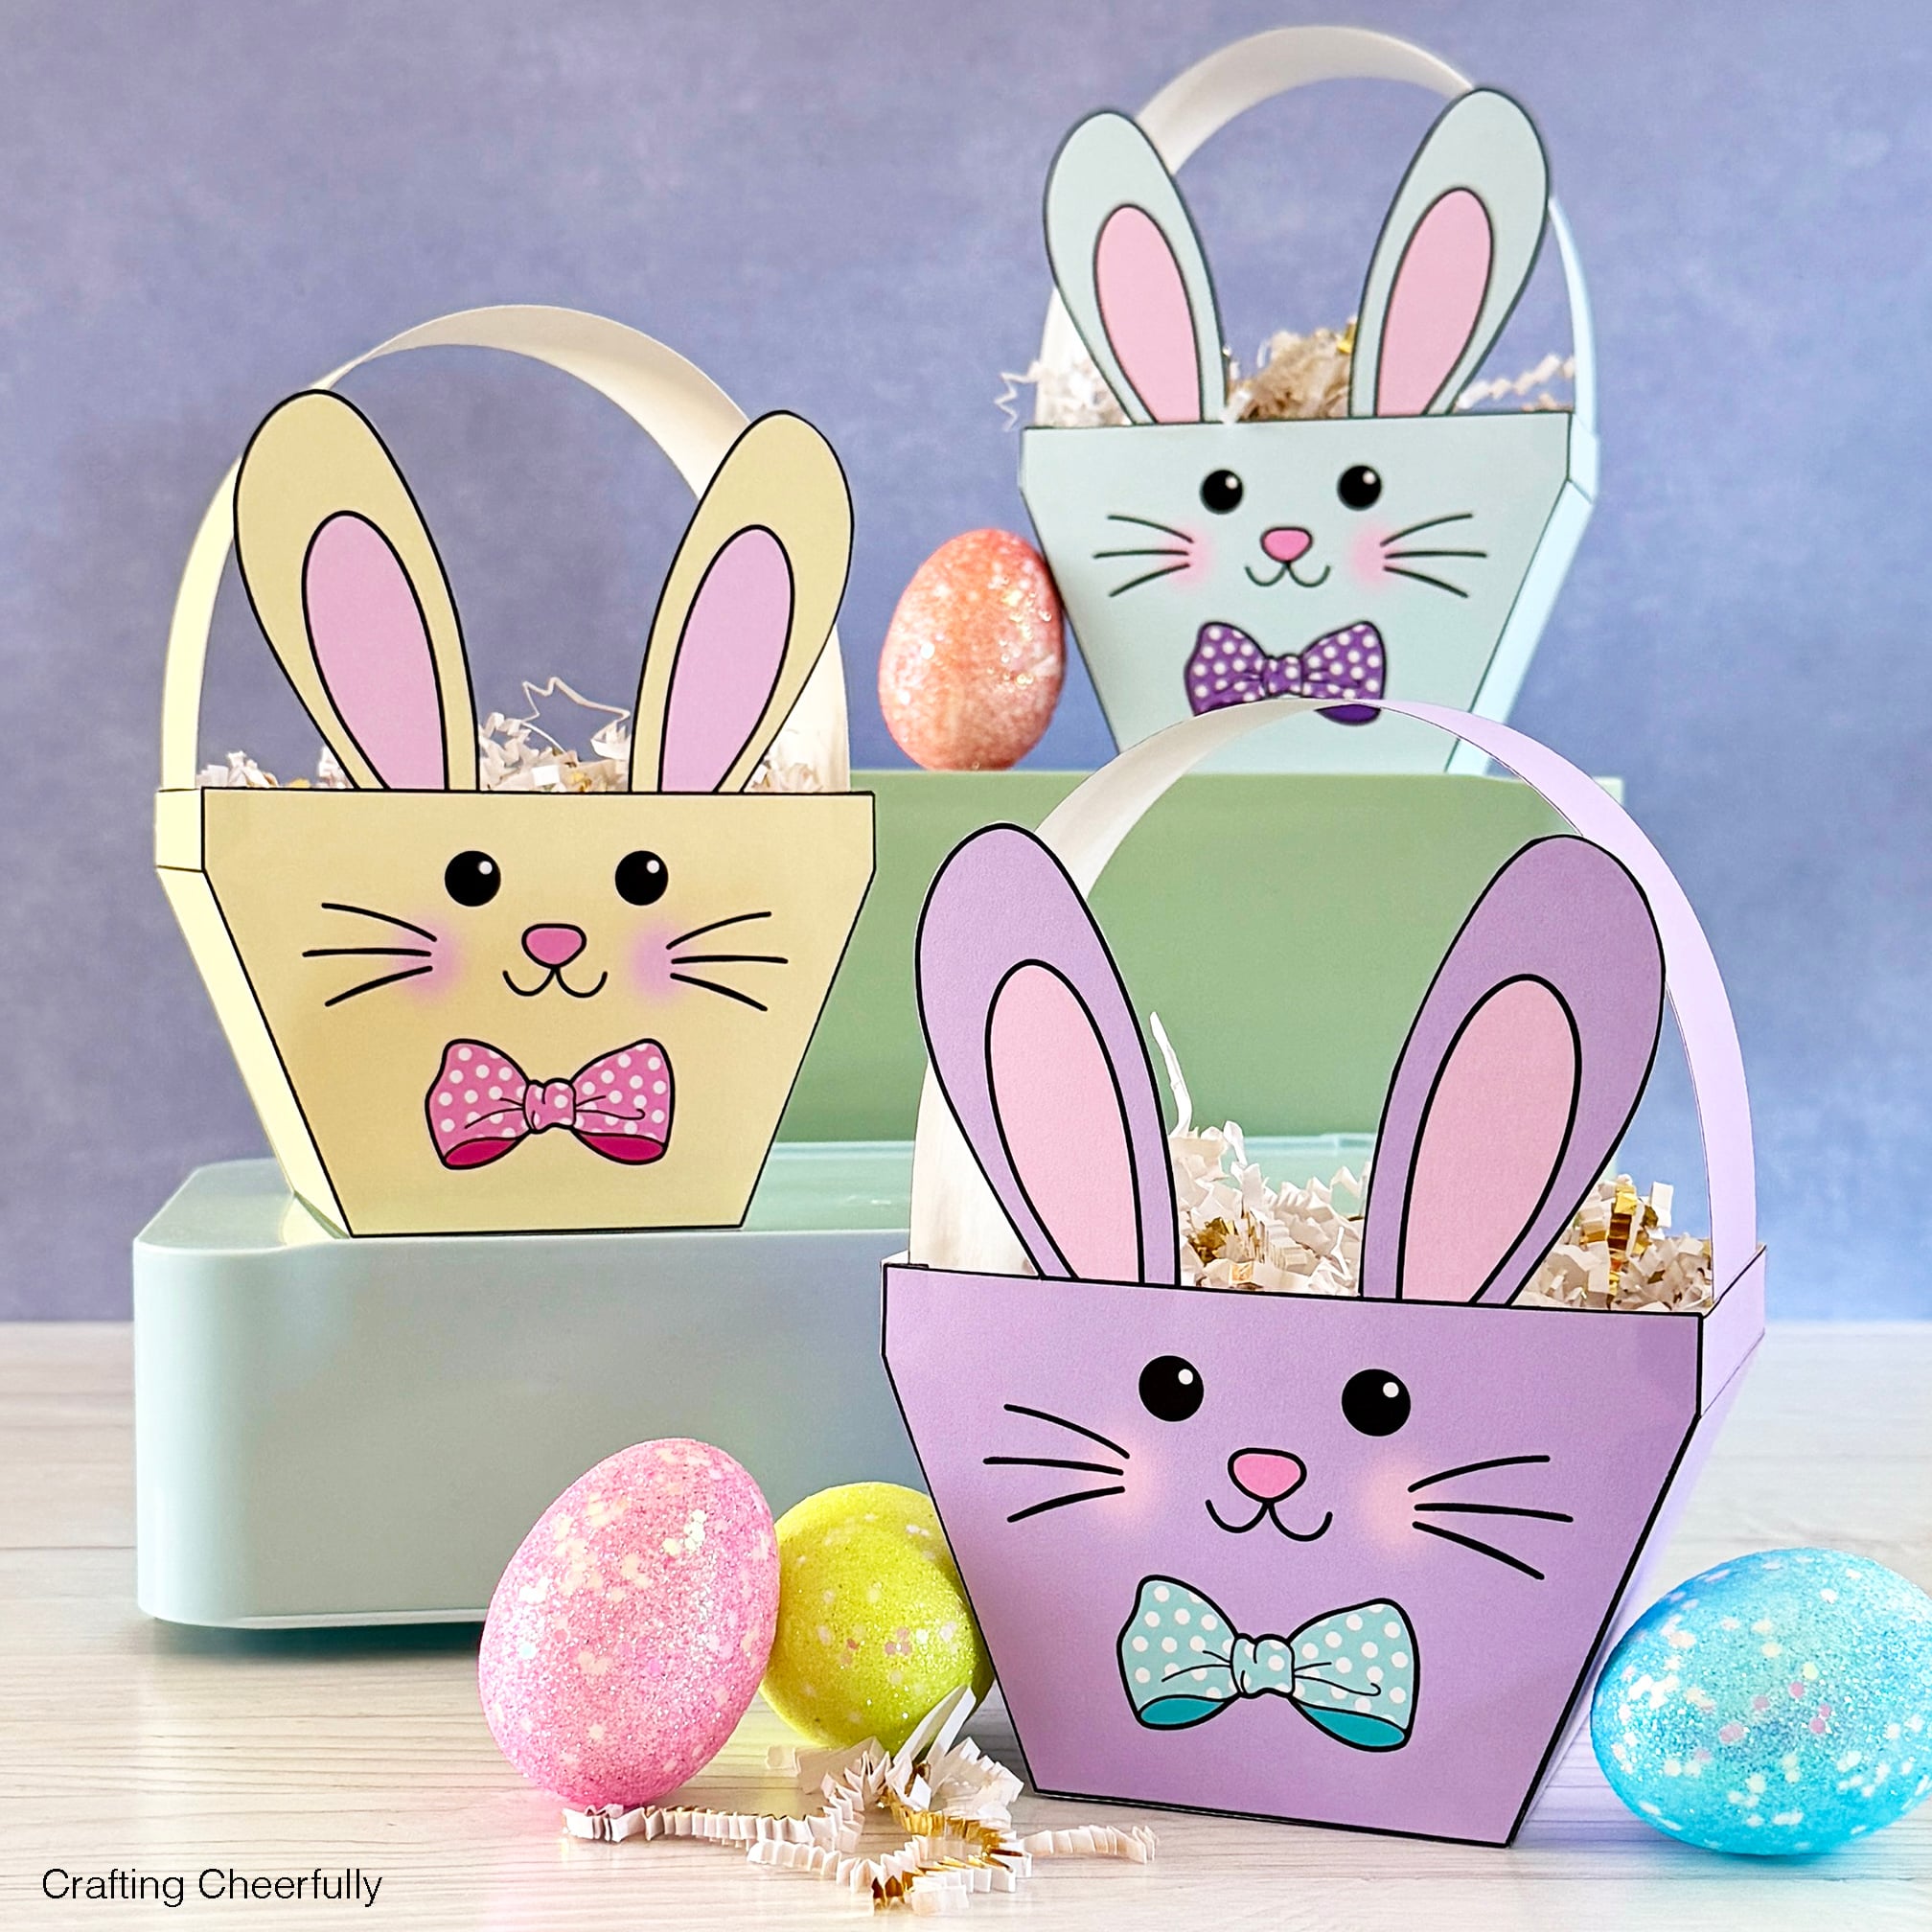
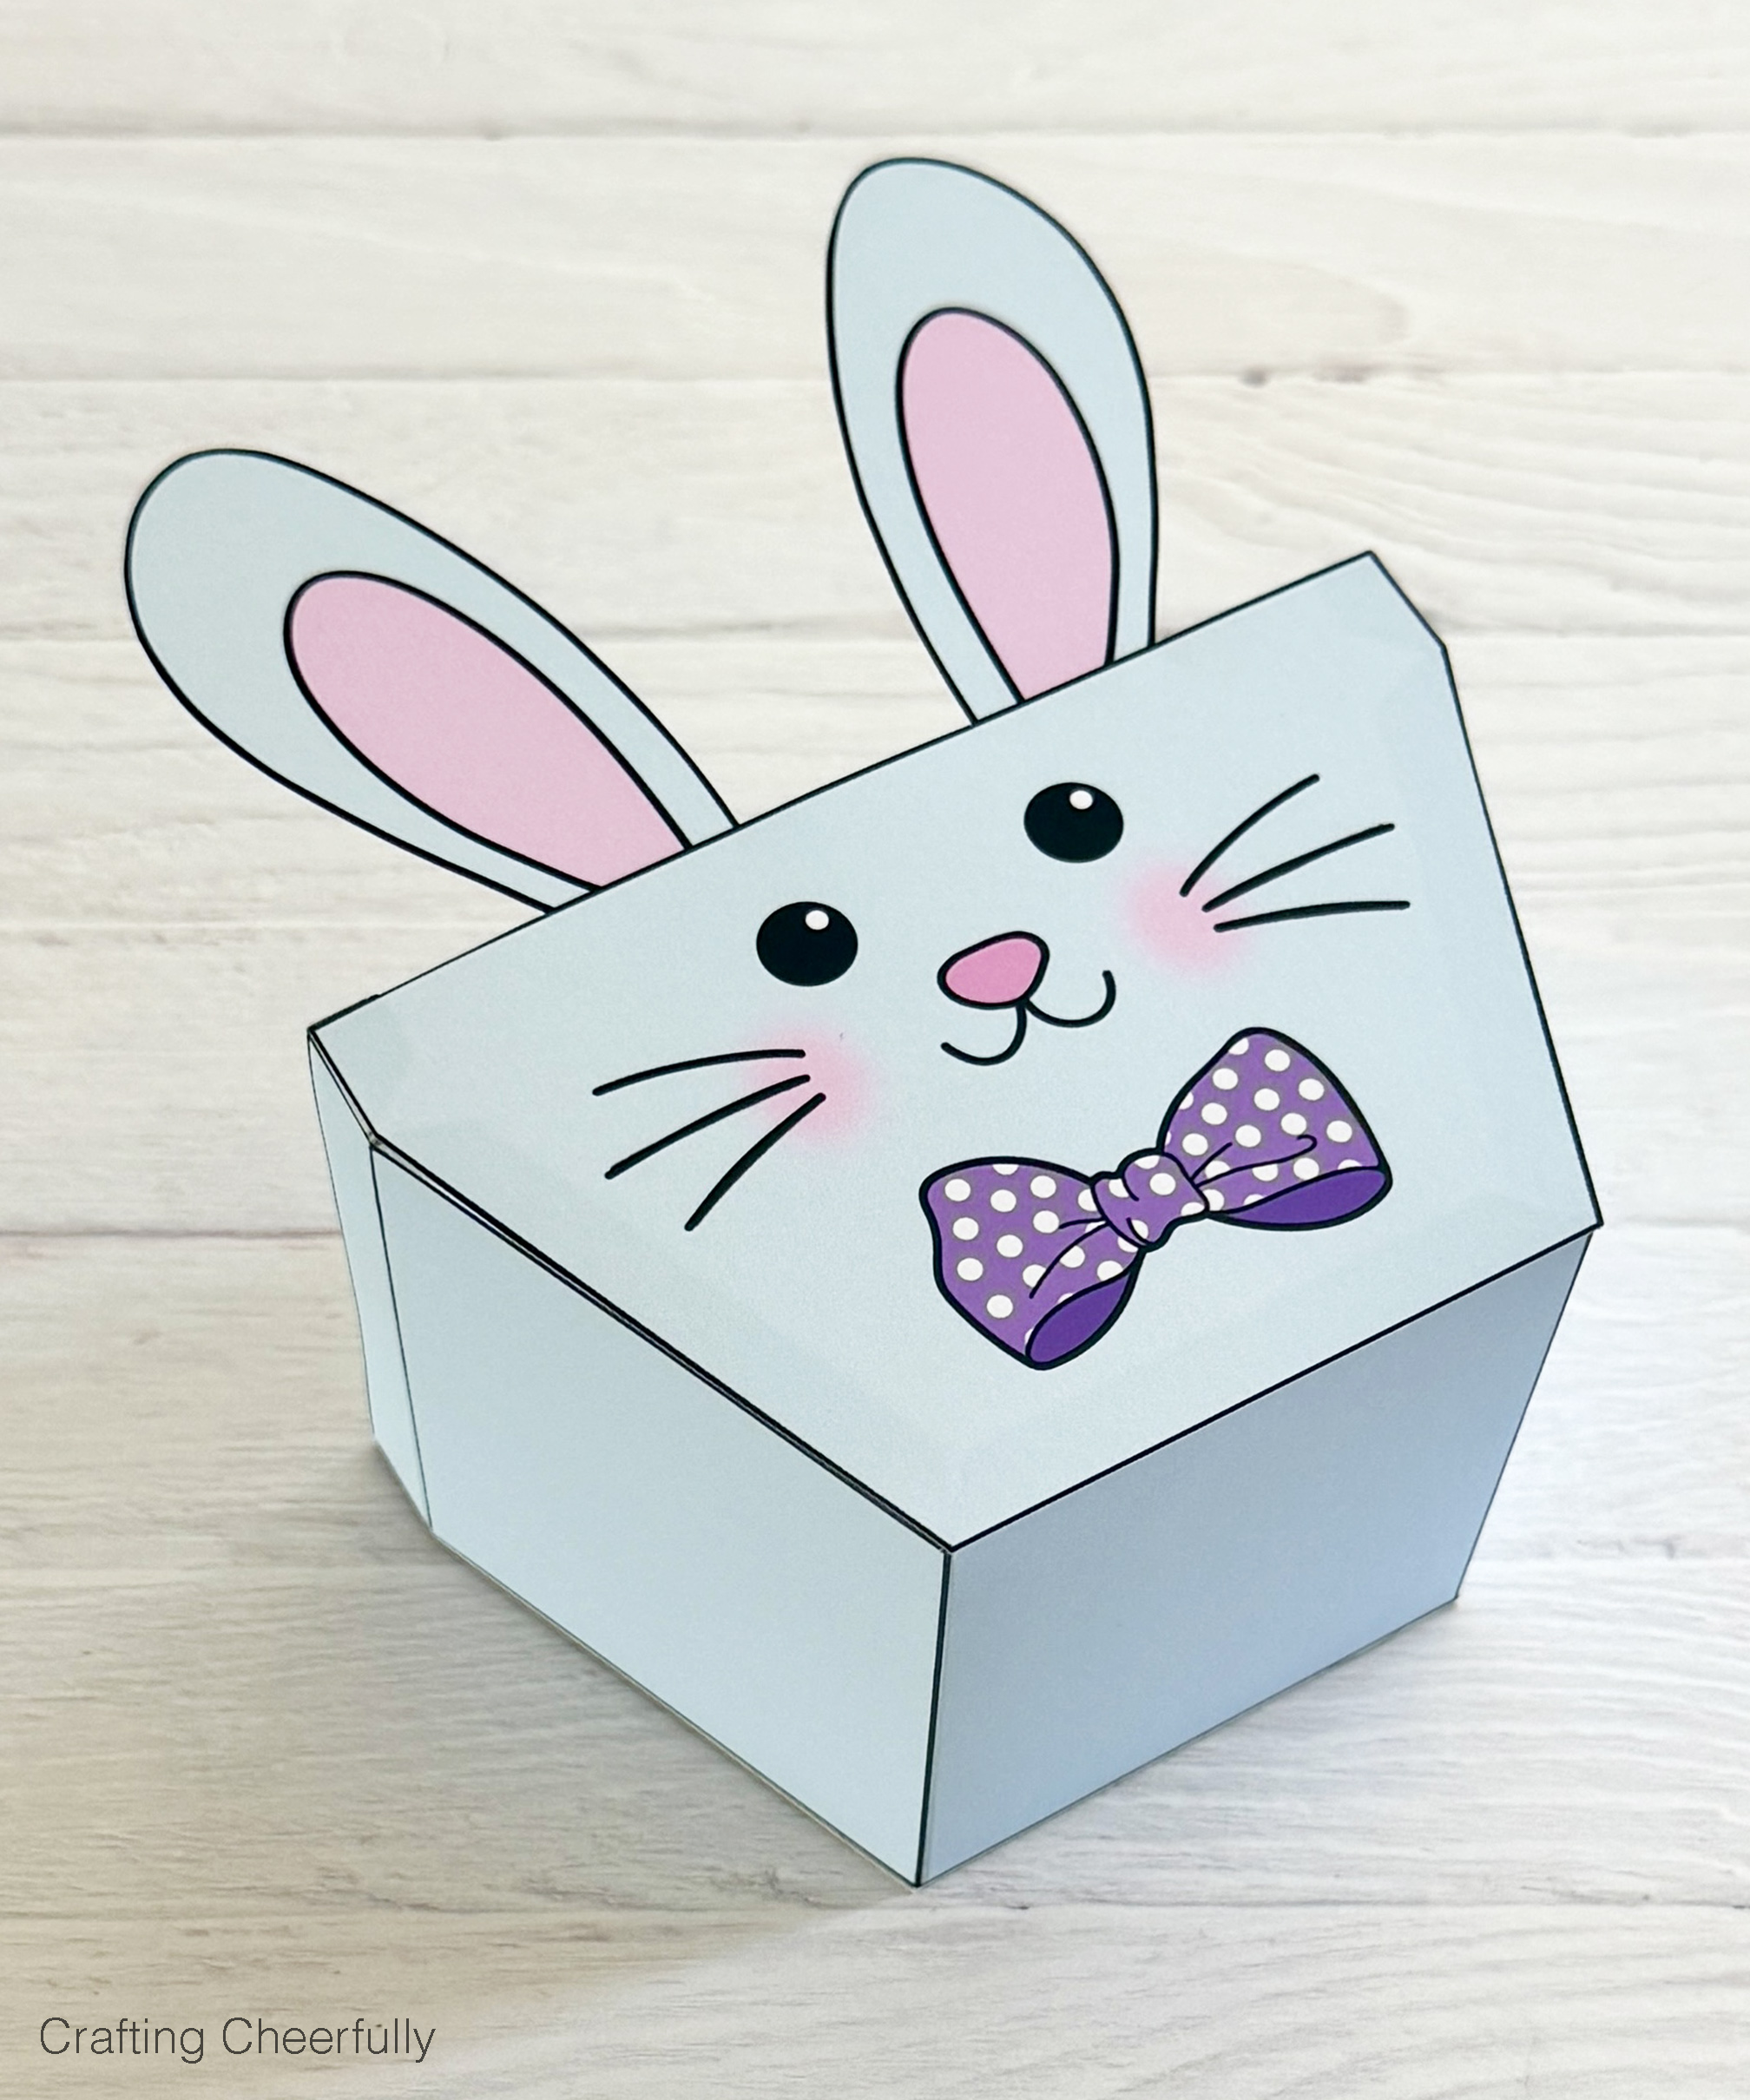
Hello Crafty Friends! Easter is right around the corner so today I’m sharing a set of new paper Easter bunny baskets! These cute paper treat boxes only take a few supplies and come in four colors – purple, yellow, green and blue! They are perfect for holding candy, sweet treats, and other Easter goodies!
How to Make the Bunny Easter Baskets
Supplies Needed:
- Printable Bunny Boxes – Download the free bunny boxes by filling out the purple form at the end of this post.
- Cardstock. I used Canon Matte Photo Paper. Neenah 110lb Index cardstock or AstroBrites White are two other papers I recommend for treat boxes. The Photo Paper prints the colors more vibrantly, but all three papers are sturdy and work with most printers.
- Printer – I recently upgraded our Epson EcoTank to the Epson 5580 and so far really like it. We do a lot of printing so it’s been terrific. I was using an Epson 3750 before and overall really like their EcoTanks.
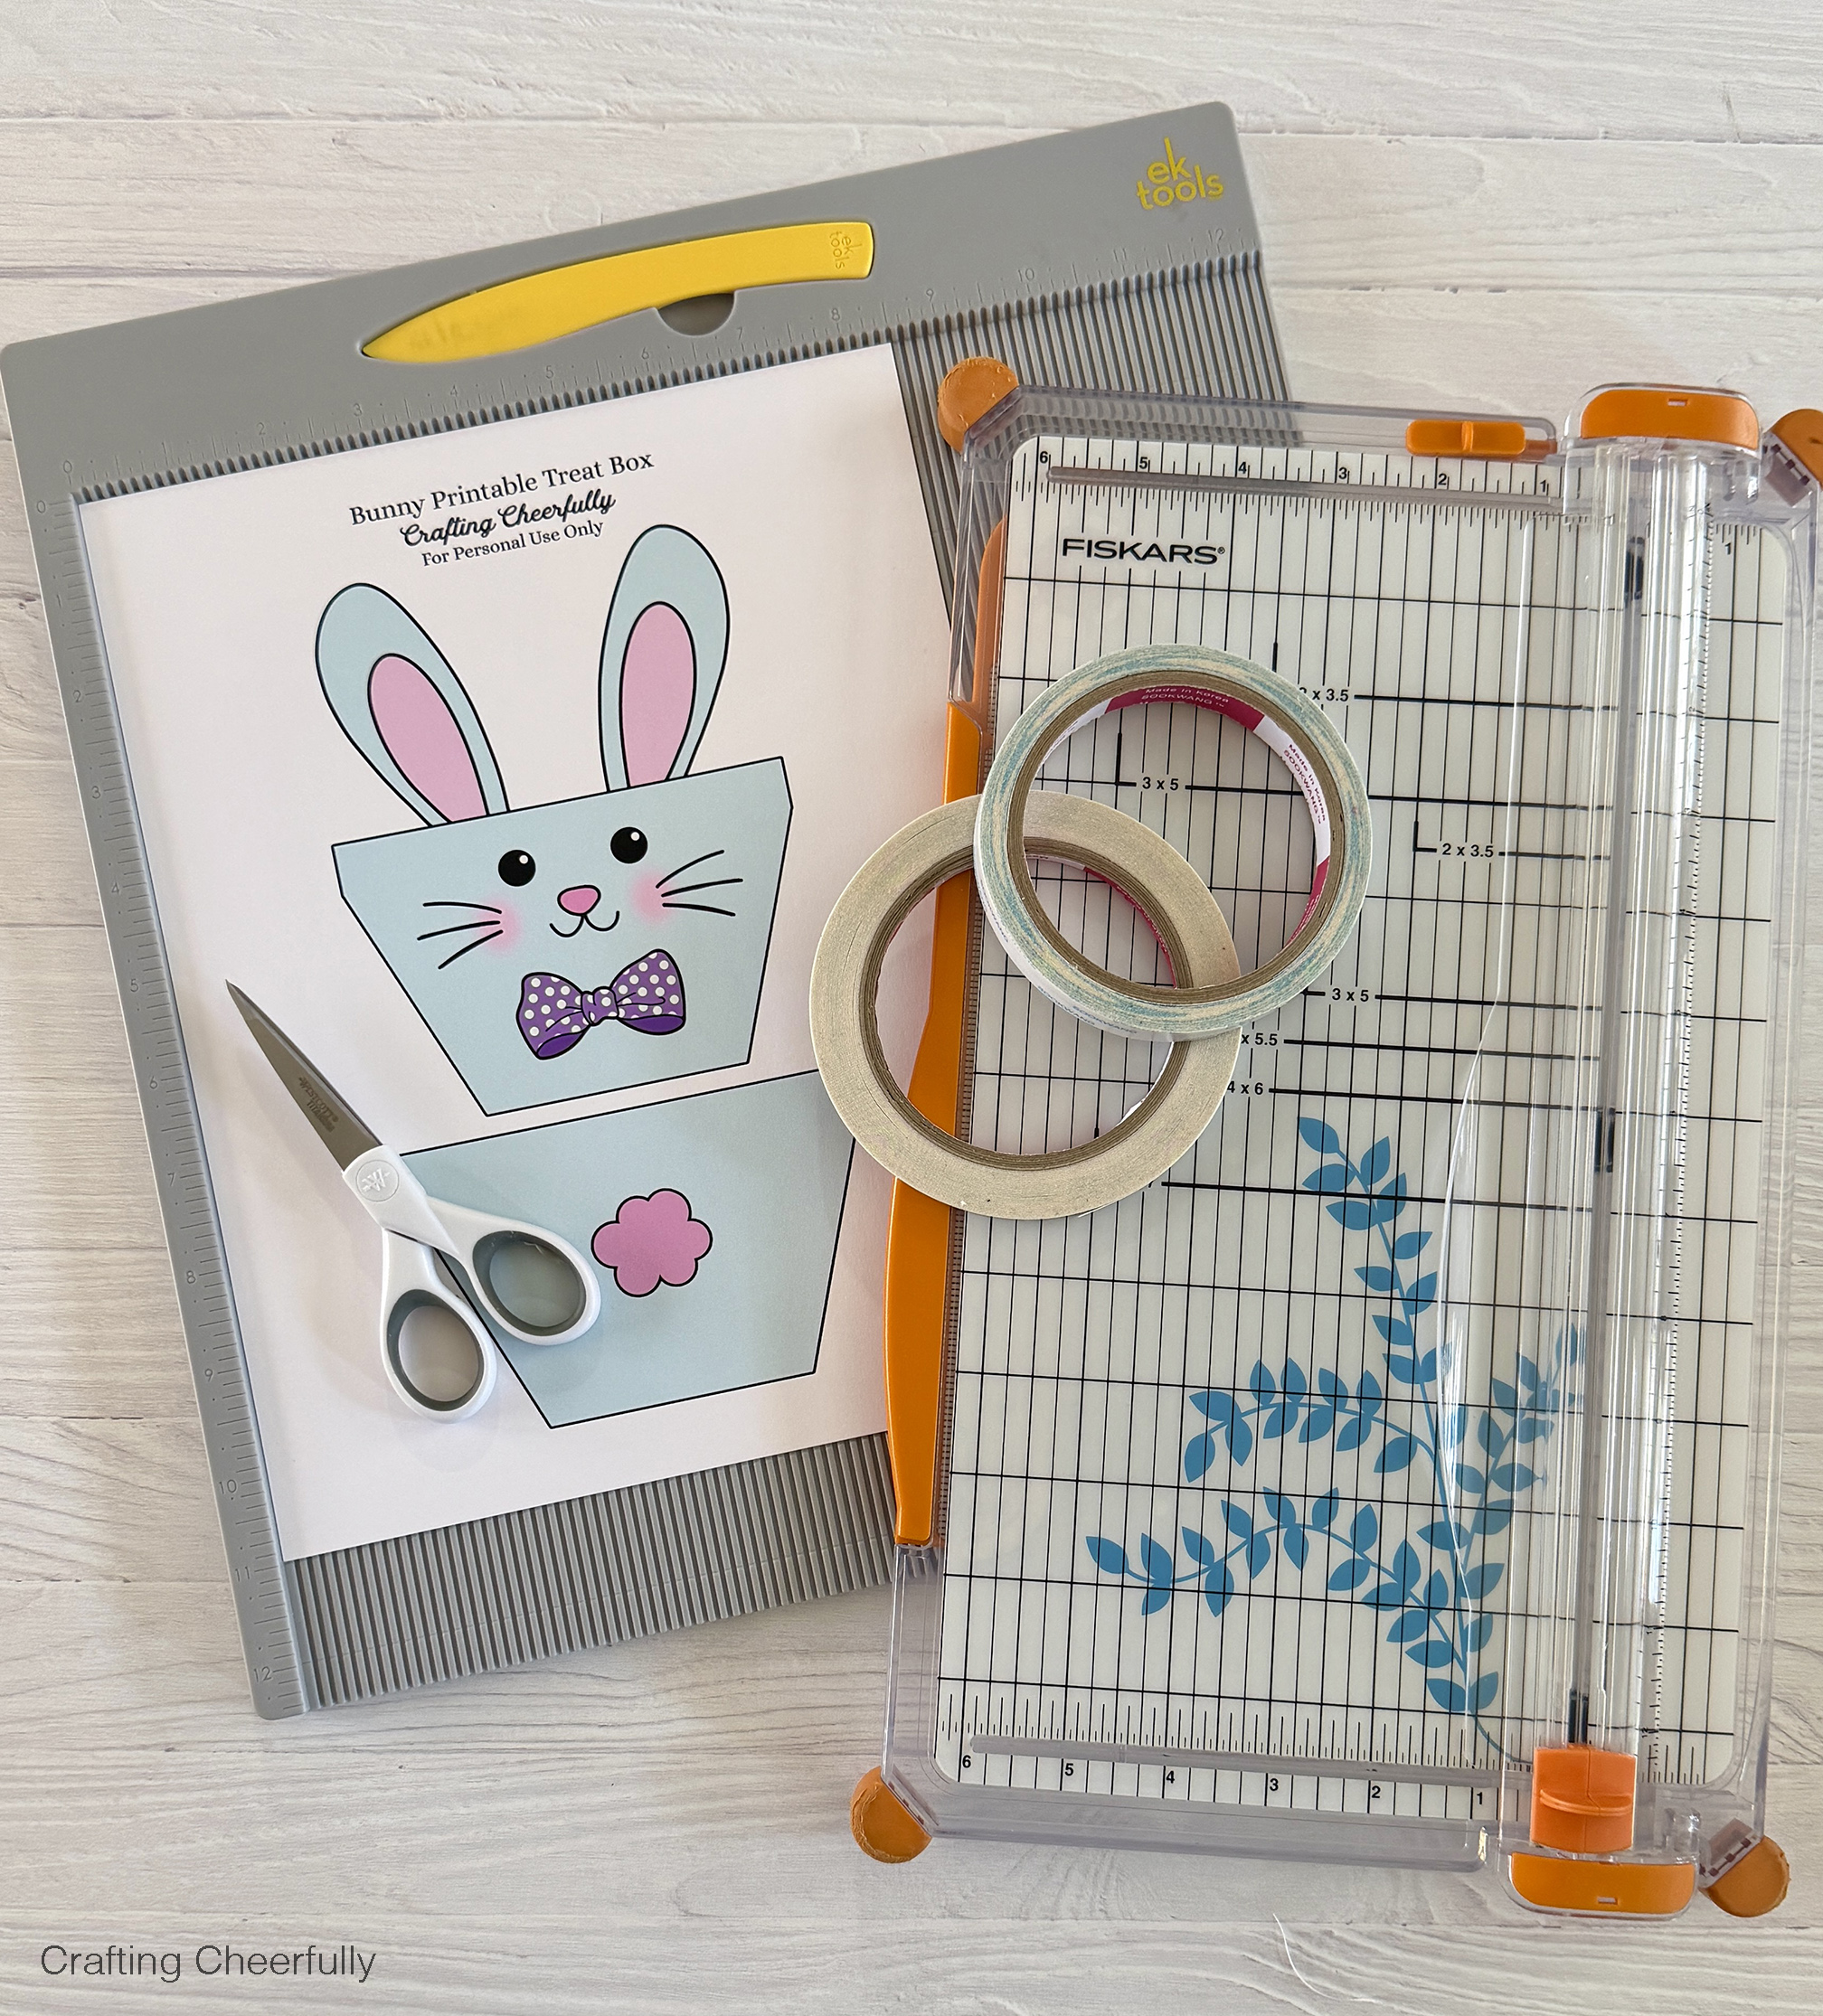
- Scissors – these precision scissors are great for paper and fabric
- Paper Trimmer – the Fiskers paper trimmer is my favorite – I use it for so much stuff!
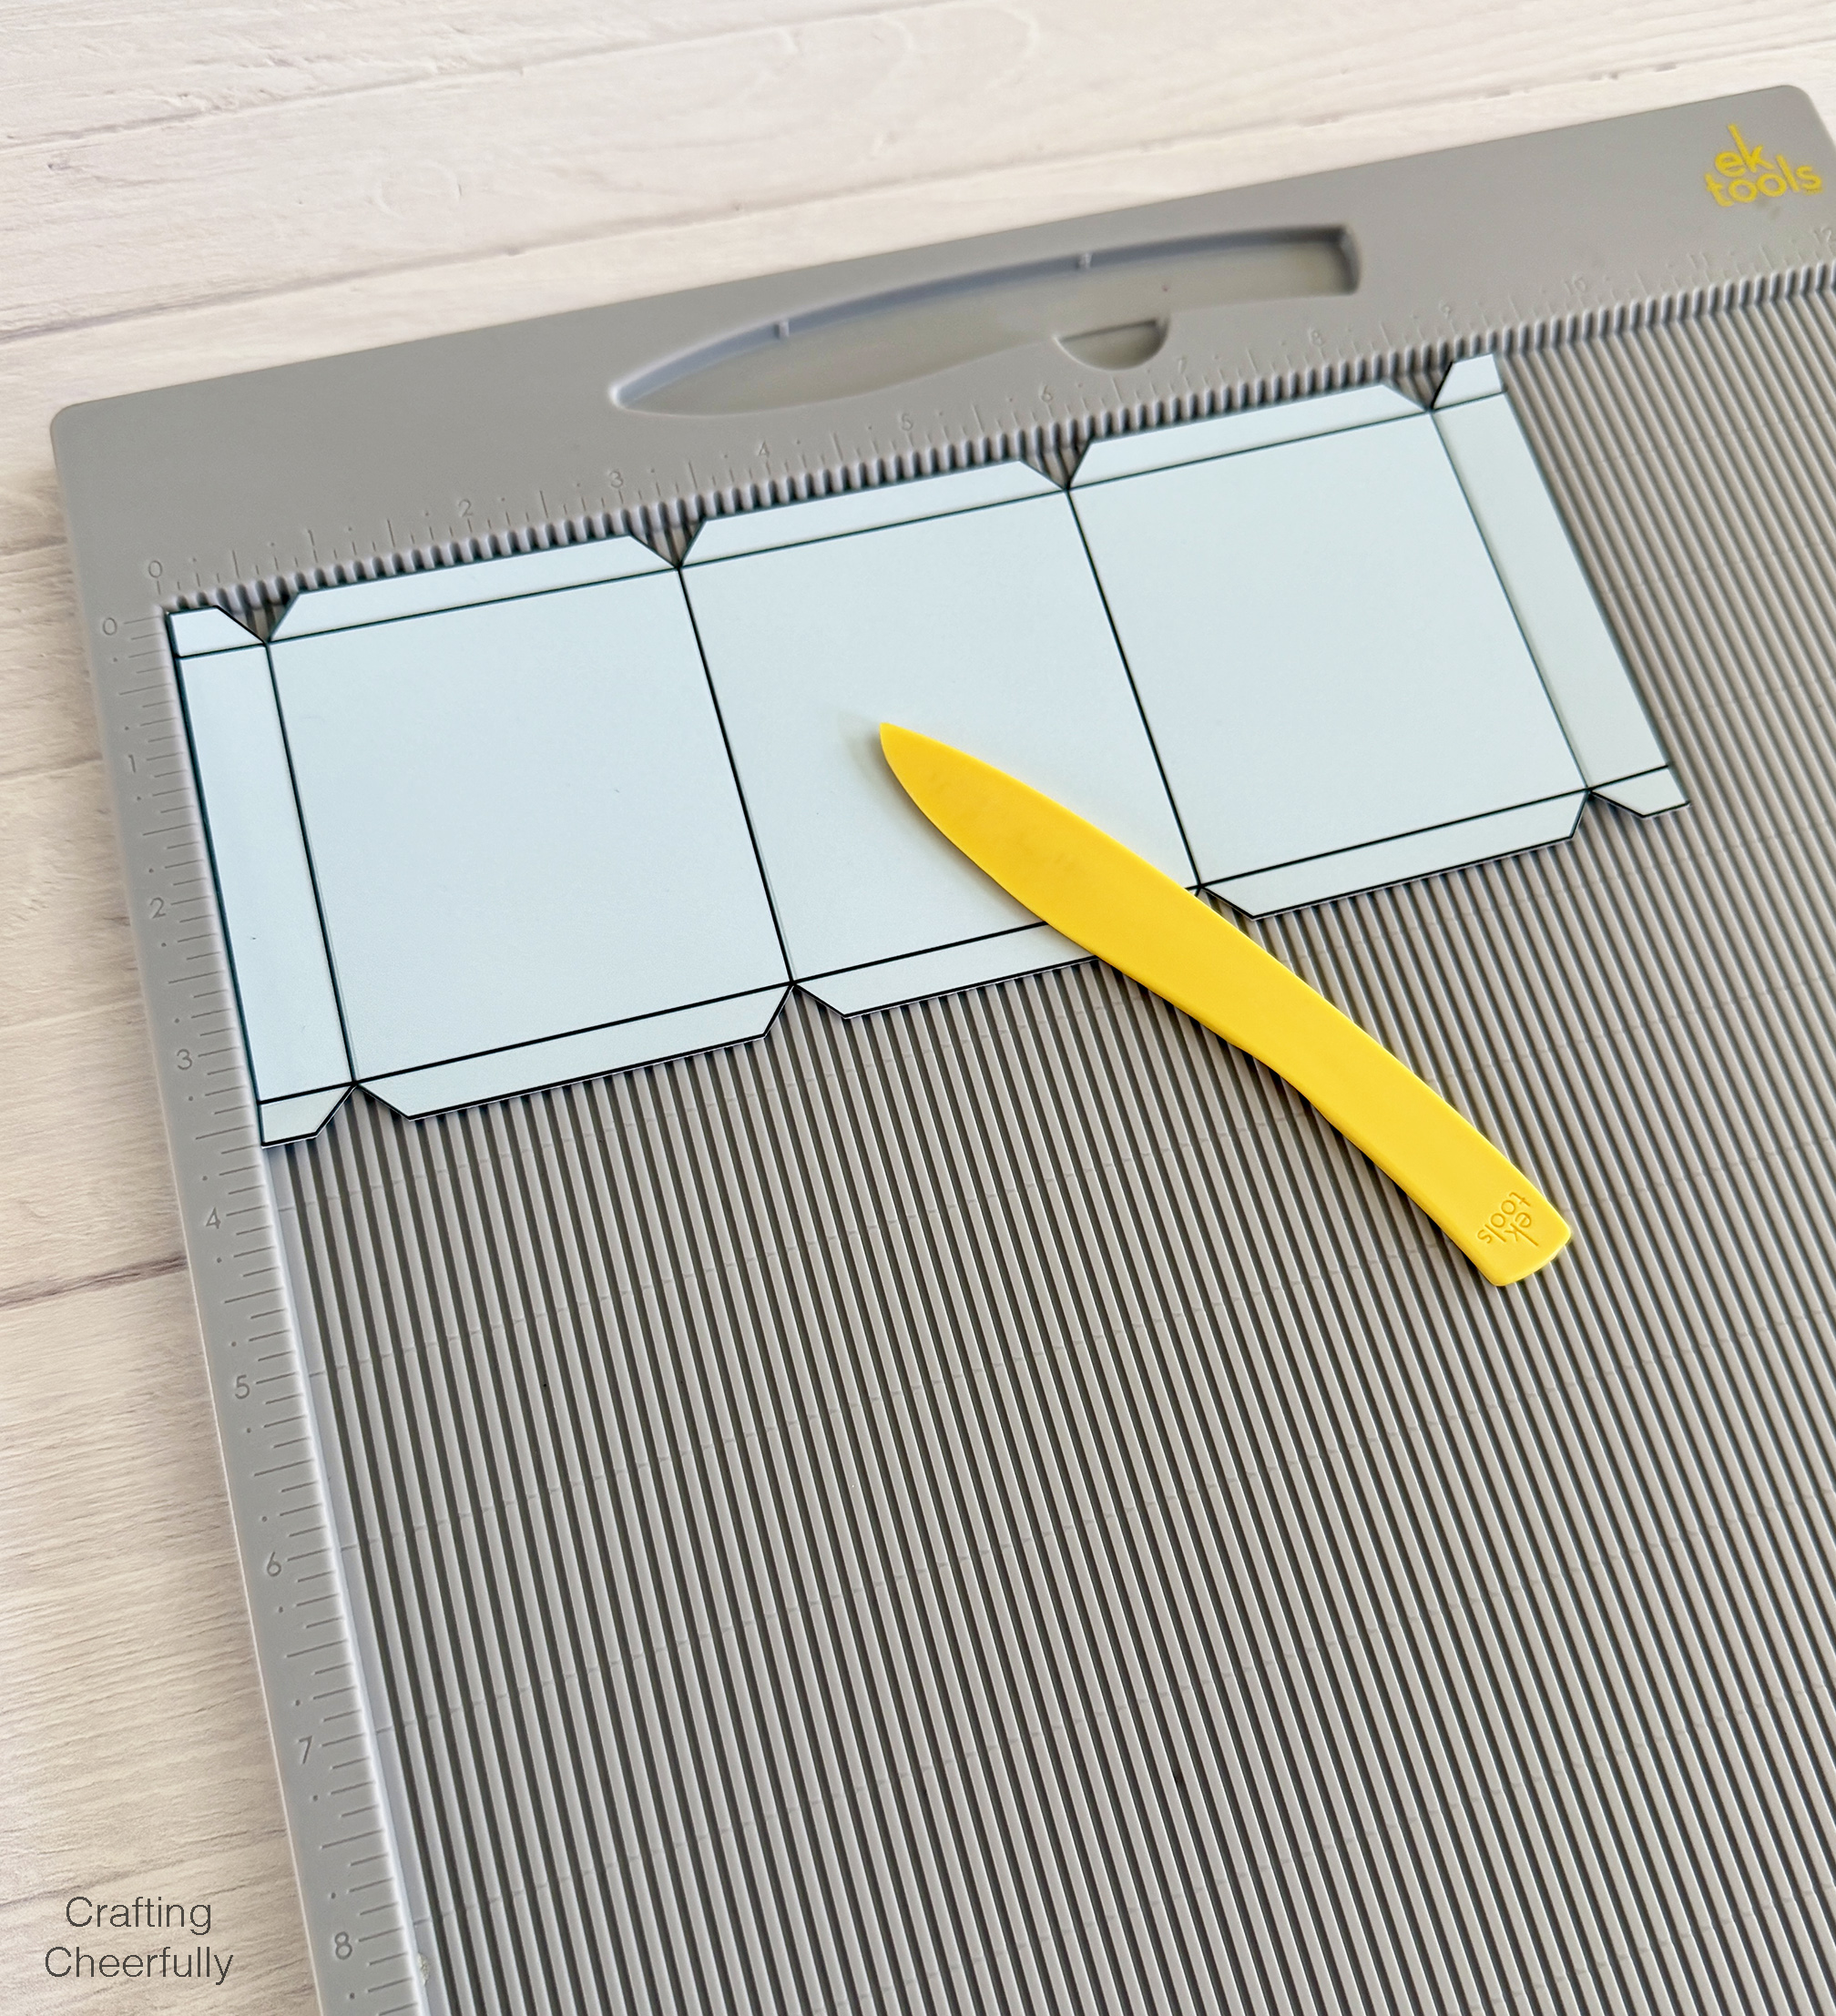
- Scoring Board – this scoring board is really nice to have for paper crafting treat boxes and cards
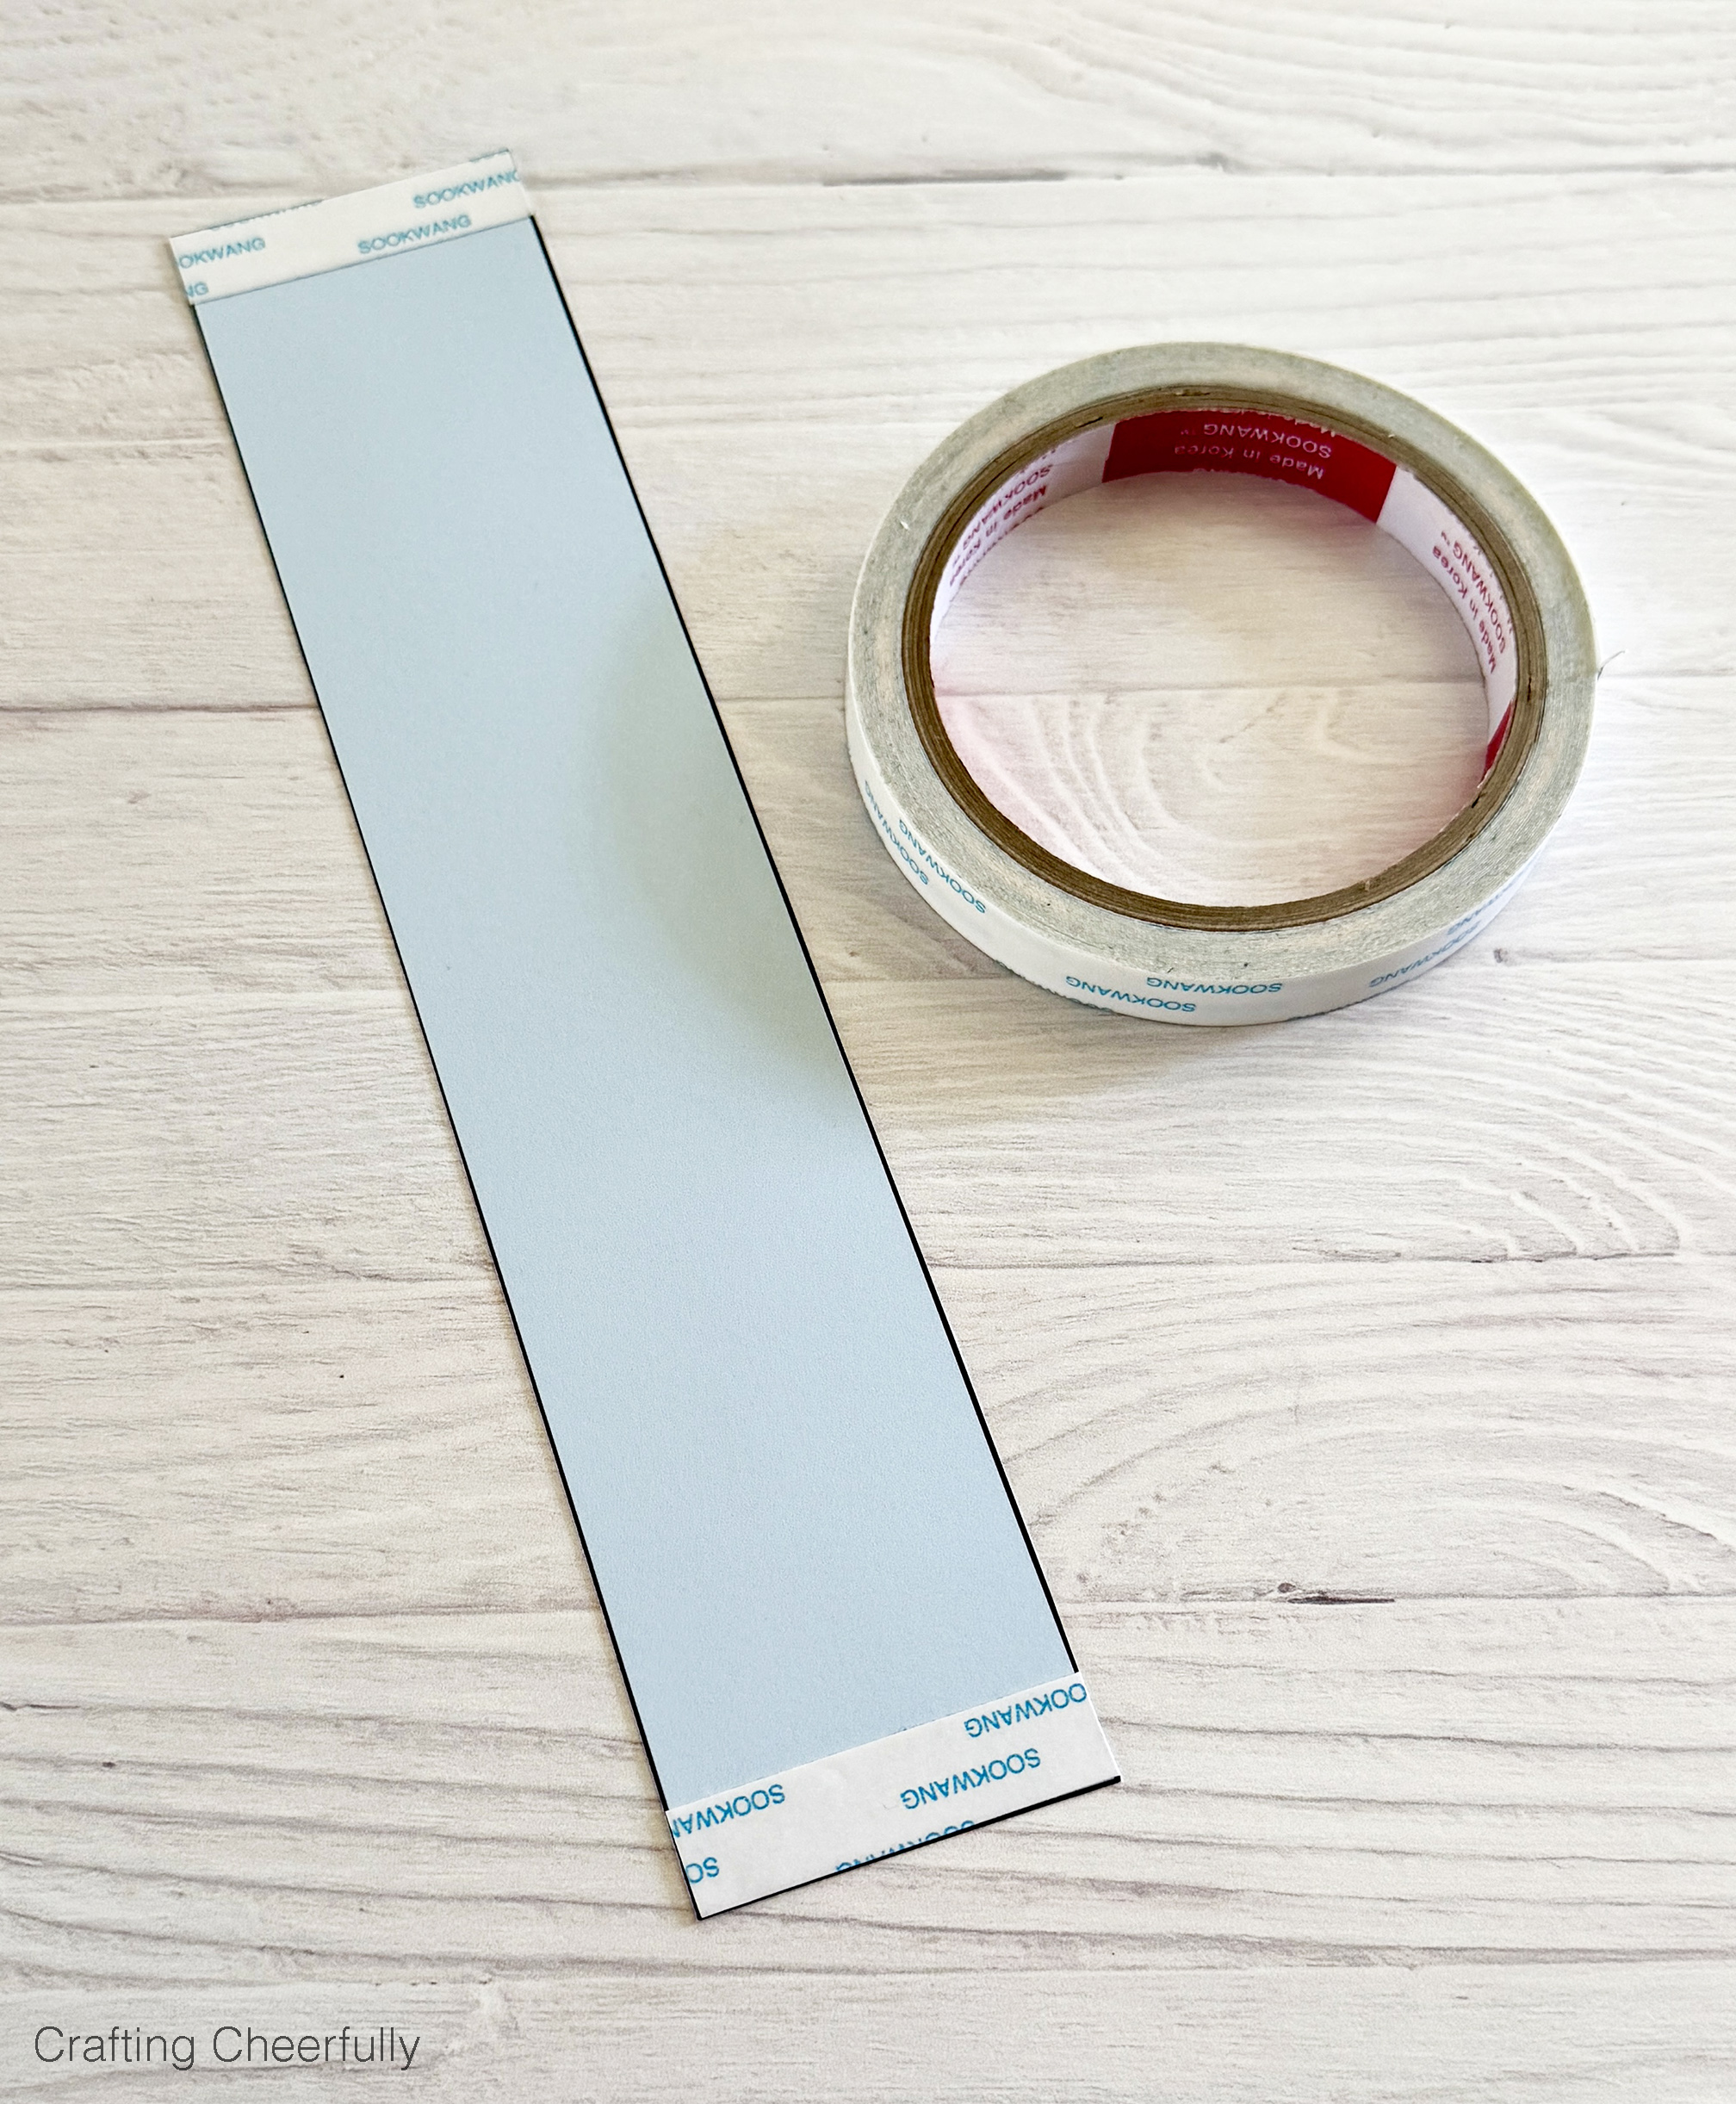
- Adhesive – I used 1/4″ Scor-Tape and 1/2″ Scor-Tape. The 1/4″ is usually cheaper as a three-pack.
Step by Step Tutorial
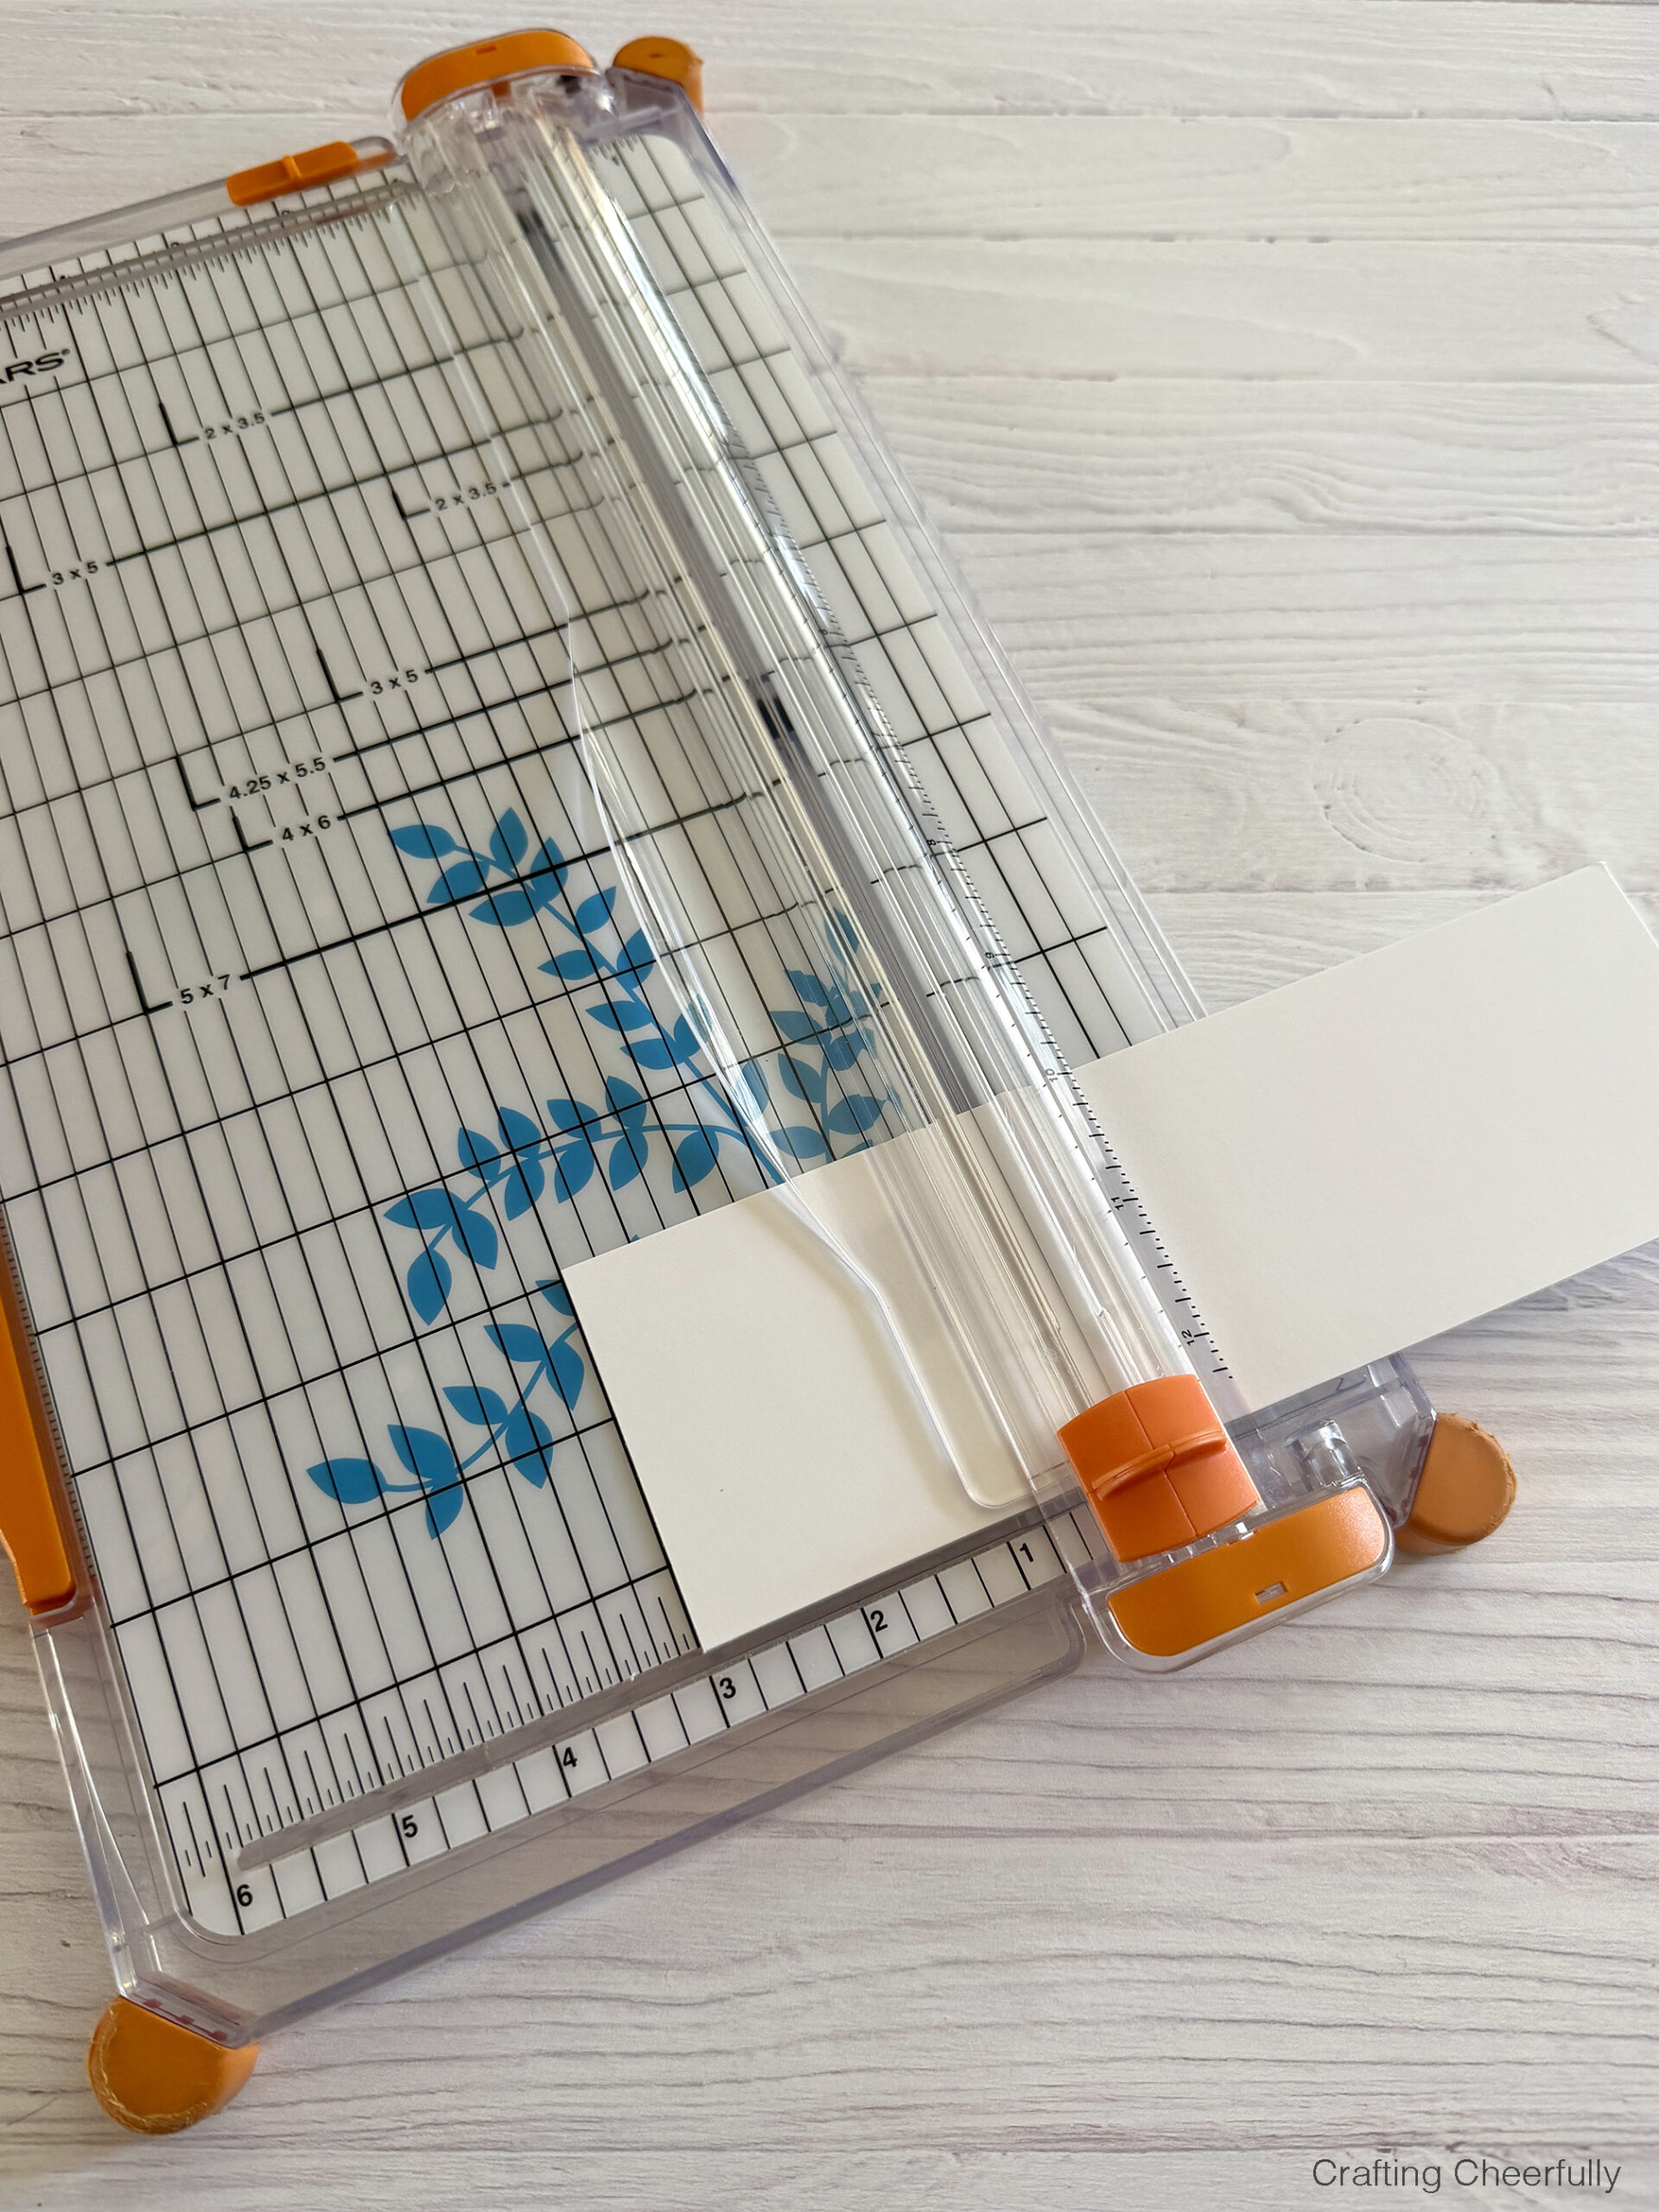
Step One: Print and cut out the the bunny boxes. After the boxes are printed, cut them out. If you have a paper trimmer, you can use that to cut along the straight edges and then use a scissors to finish cutting out the pieces.

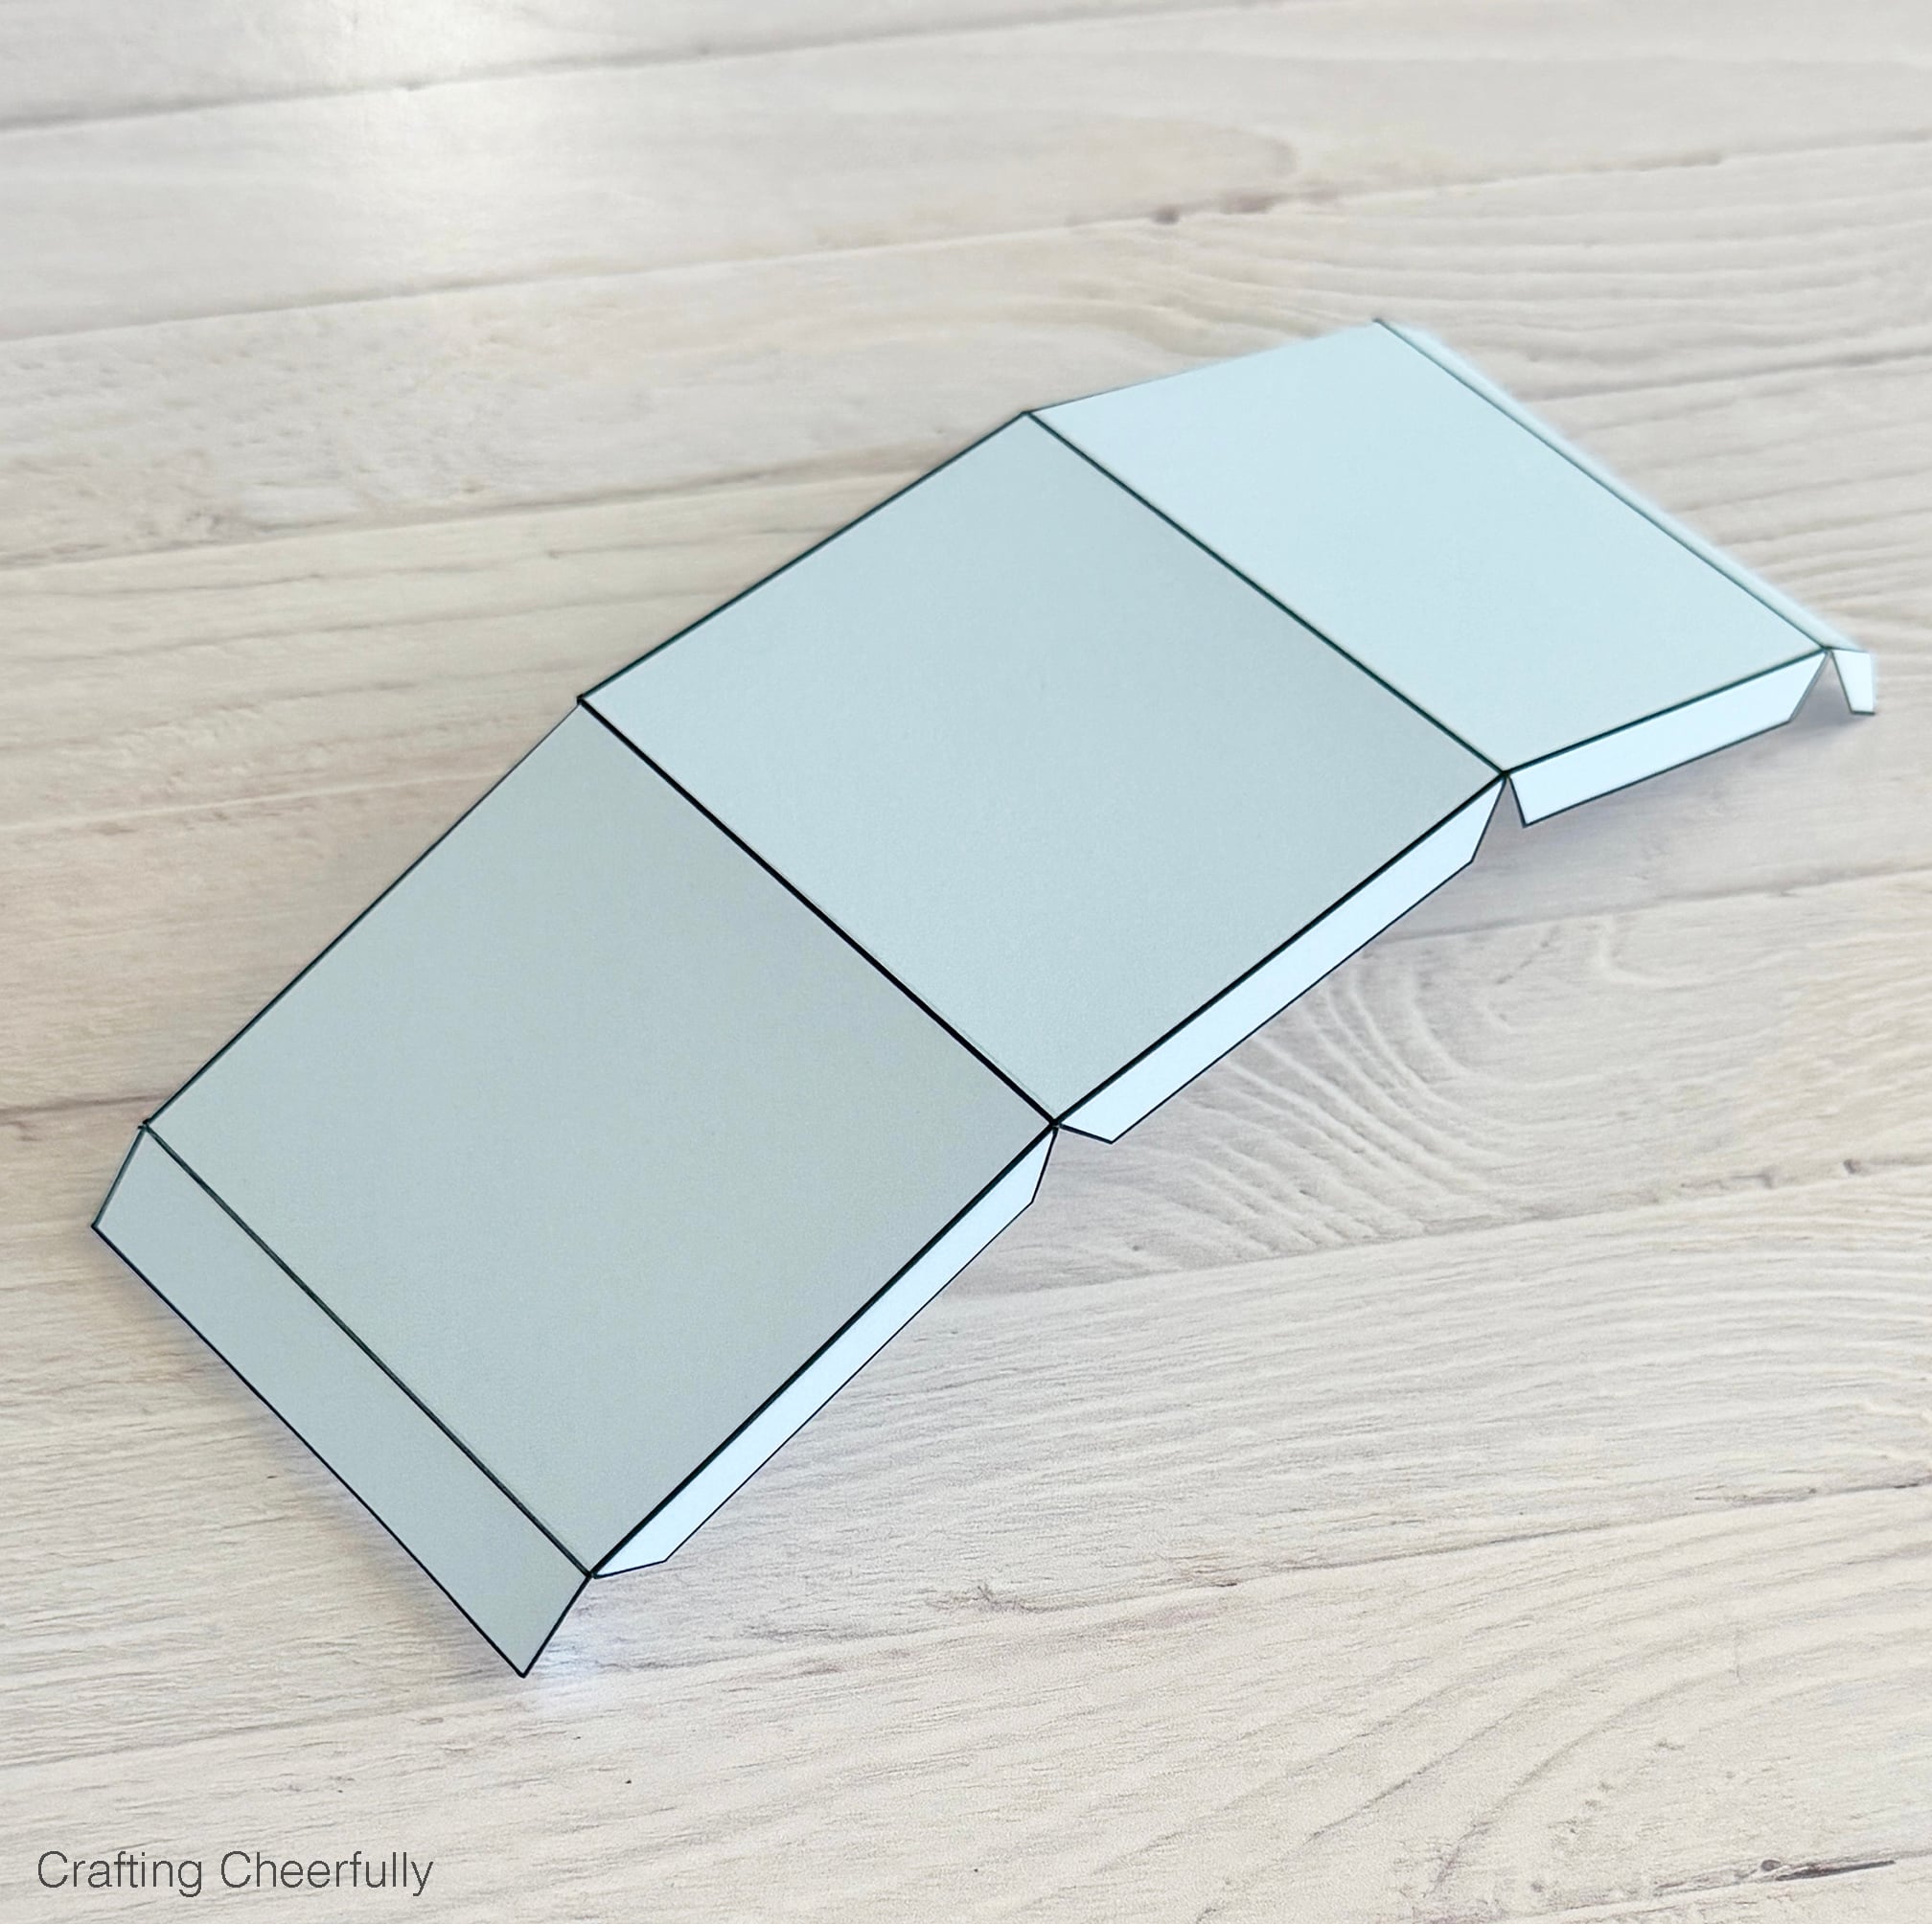
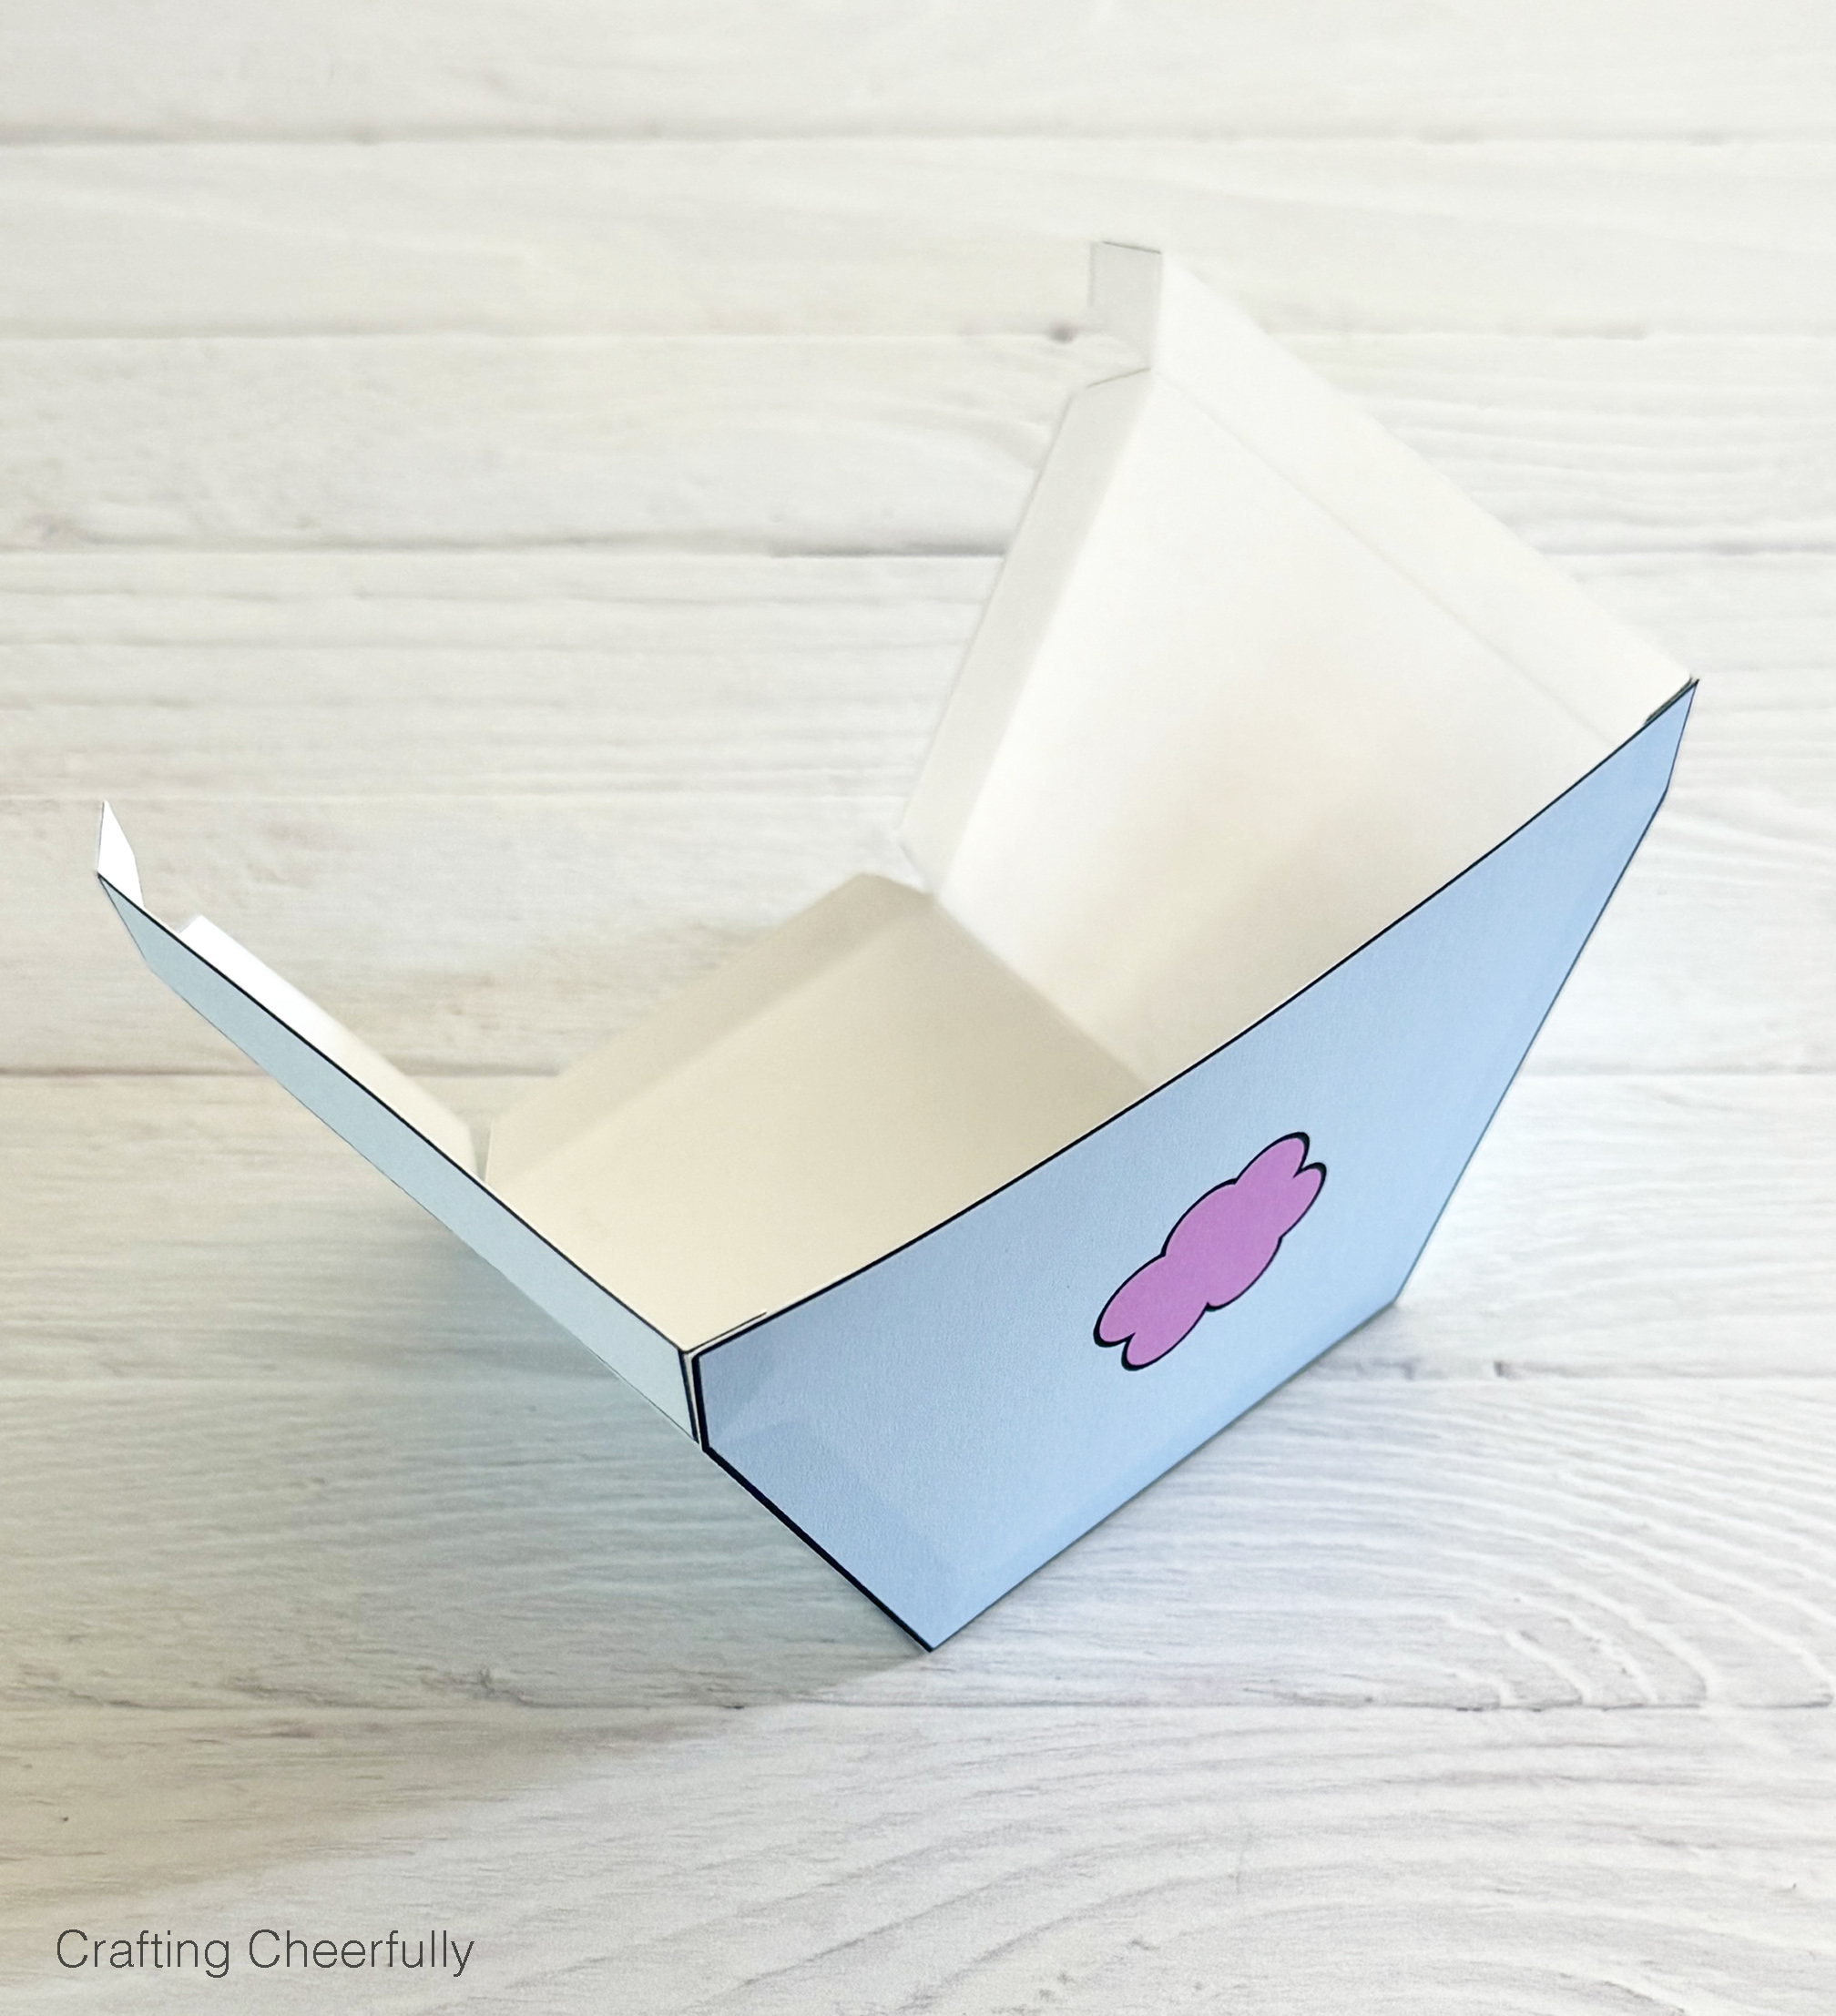
Step Two: Score the box along the fold lines. The large piece of paper that makes the base and sides of the box needs to be folded. I like to use a scoring board and stylus because this creates nice, crisp folds. After scoring, gently fold along the scored lines. You can use the stylus to go over the folded edges to make them extra crisp.
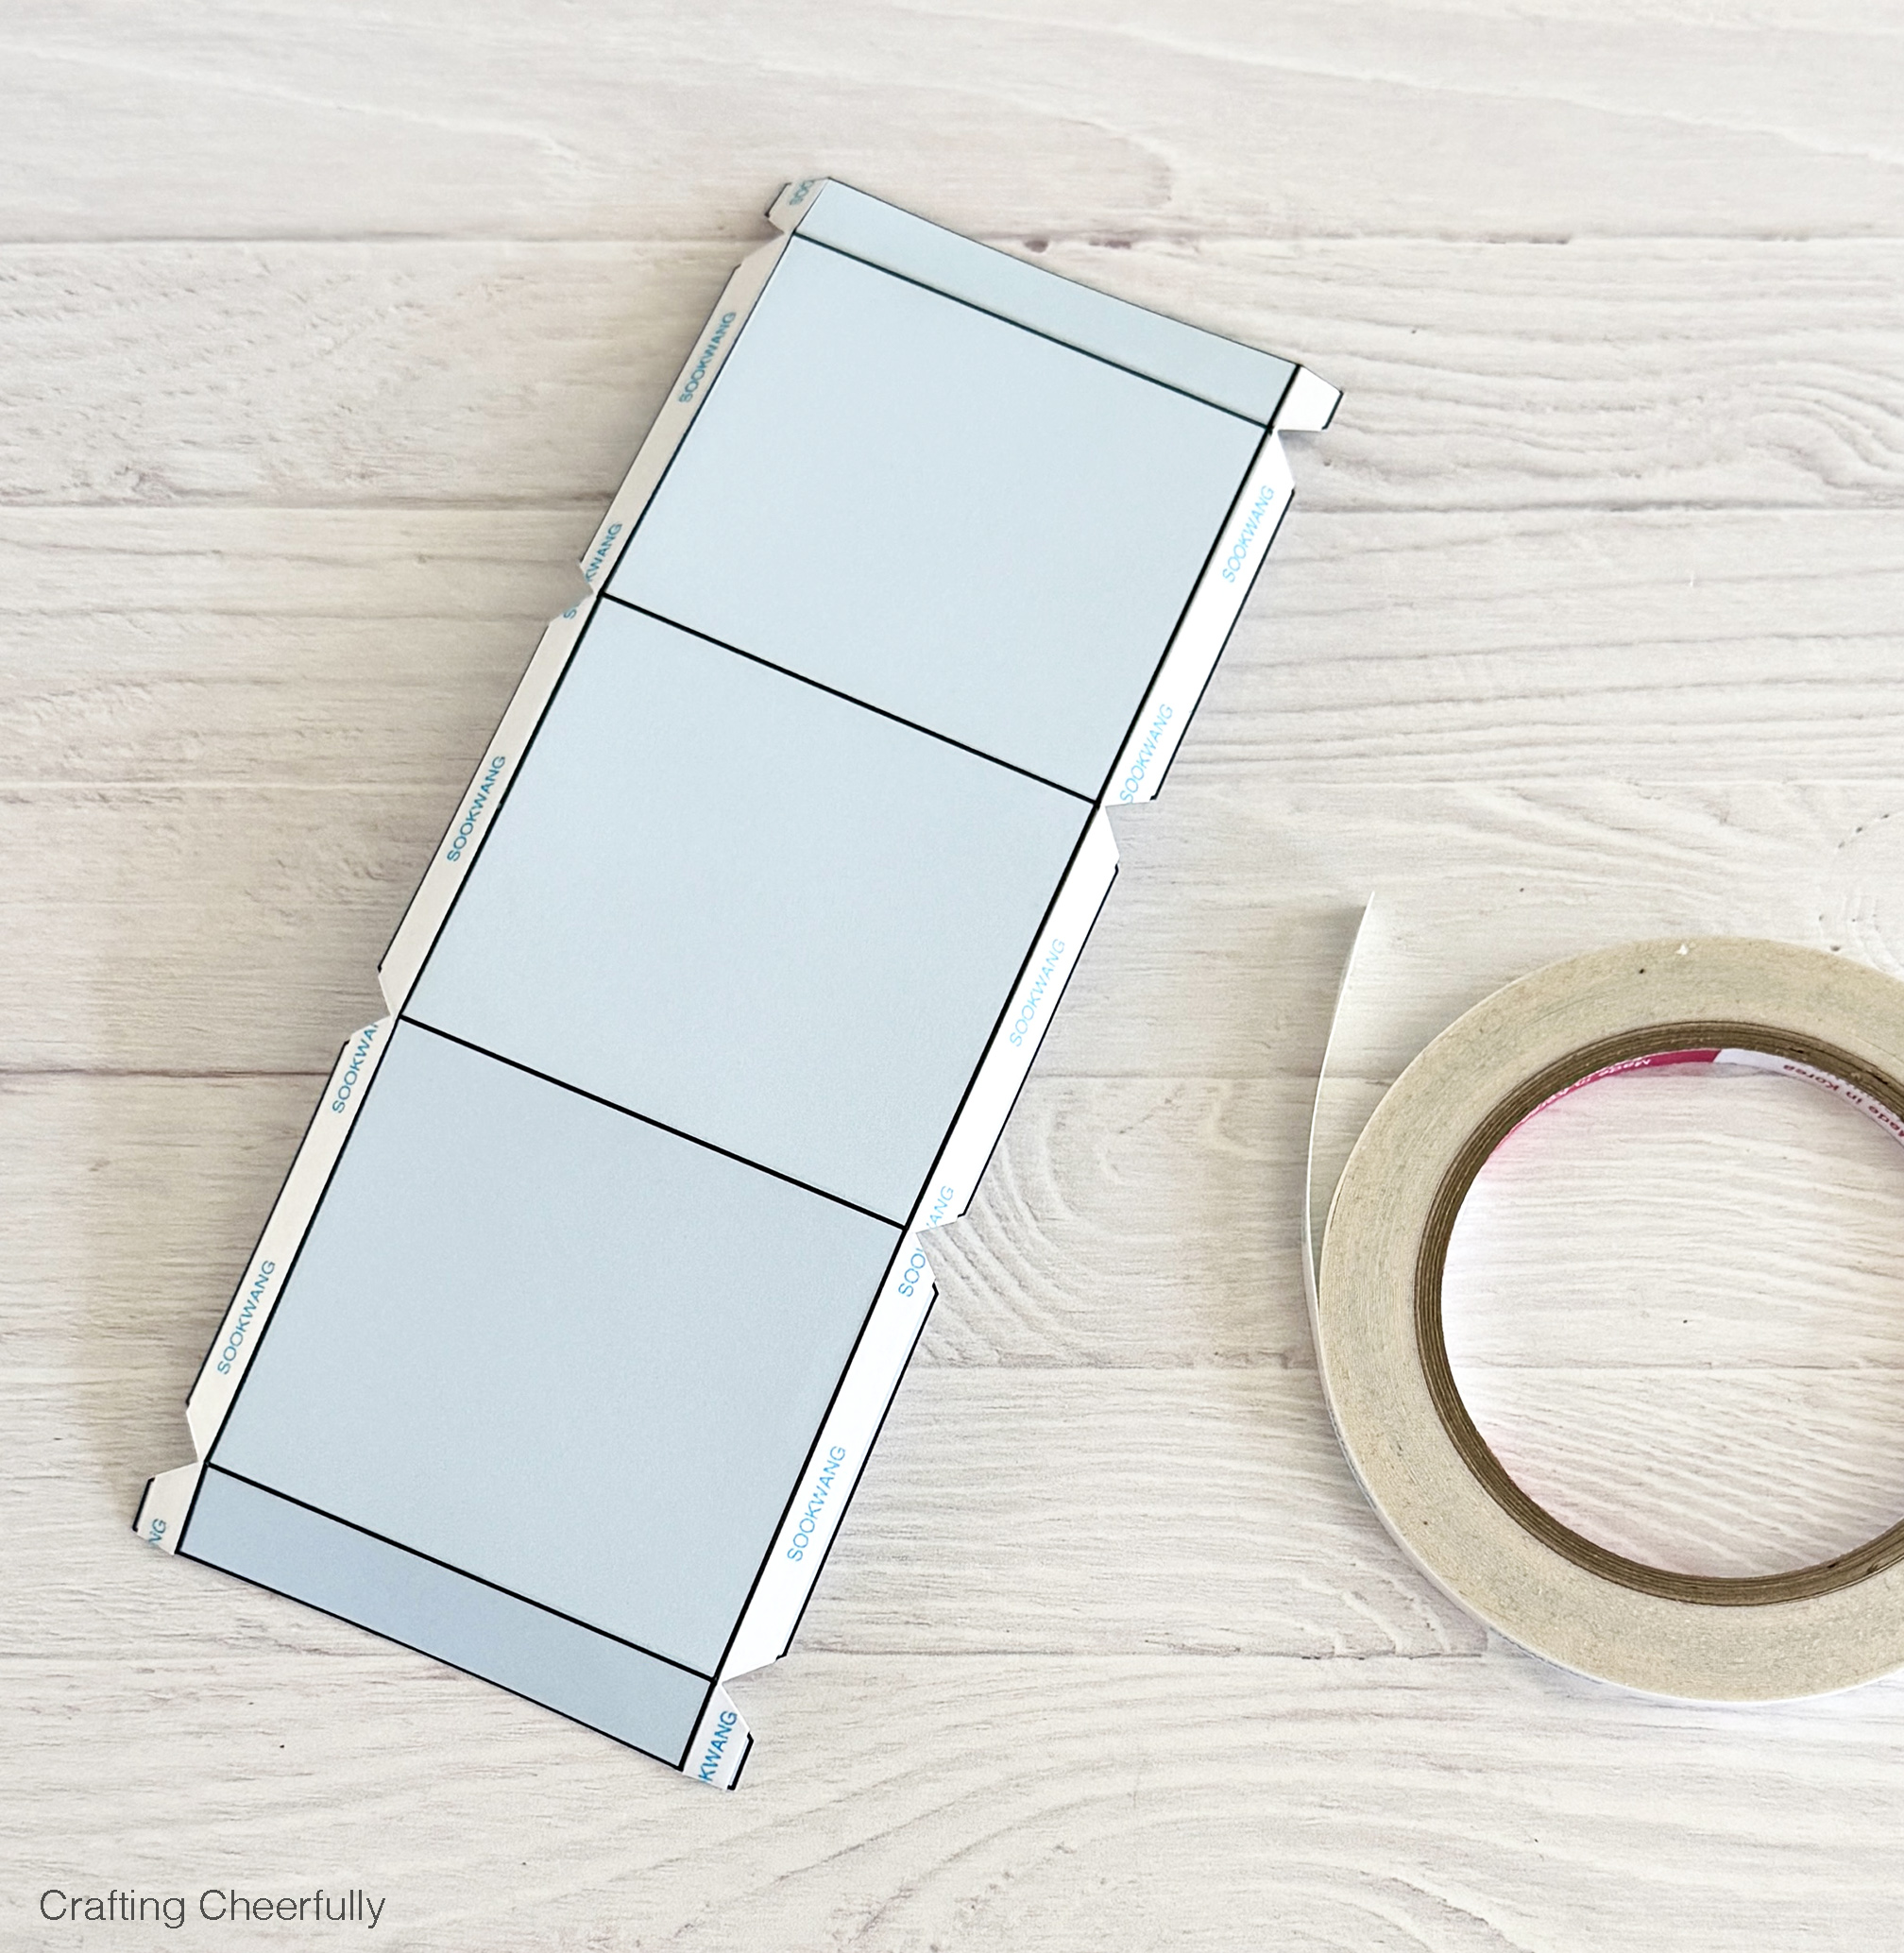
Step Three: Use double-sided adhesive to form the box. Place the adhesive along the tabs. I love using Scor-Tape because it is a super strong adhesive that I’ve found works well for my treat boxes. One thing to keep in mind if using this adhesive is it is not repositionable, so take your time when attaching the pieces.
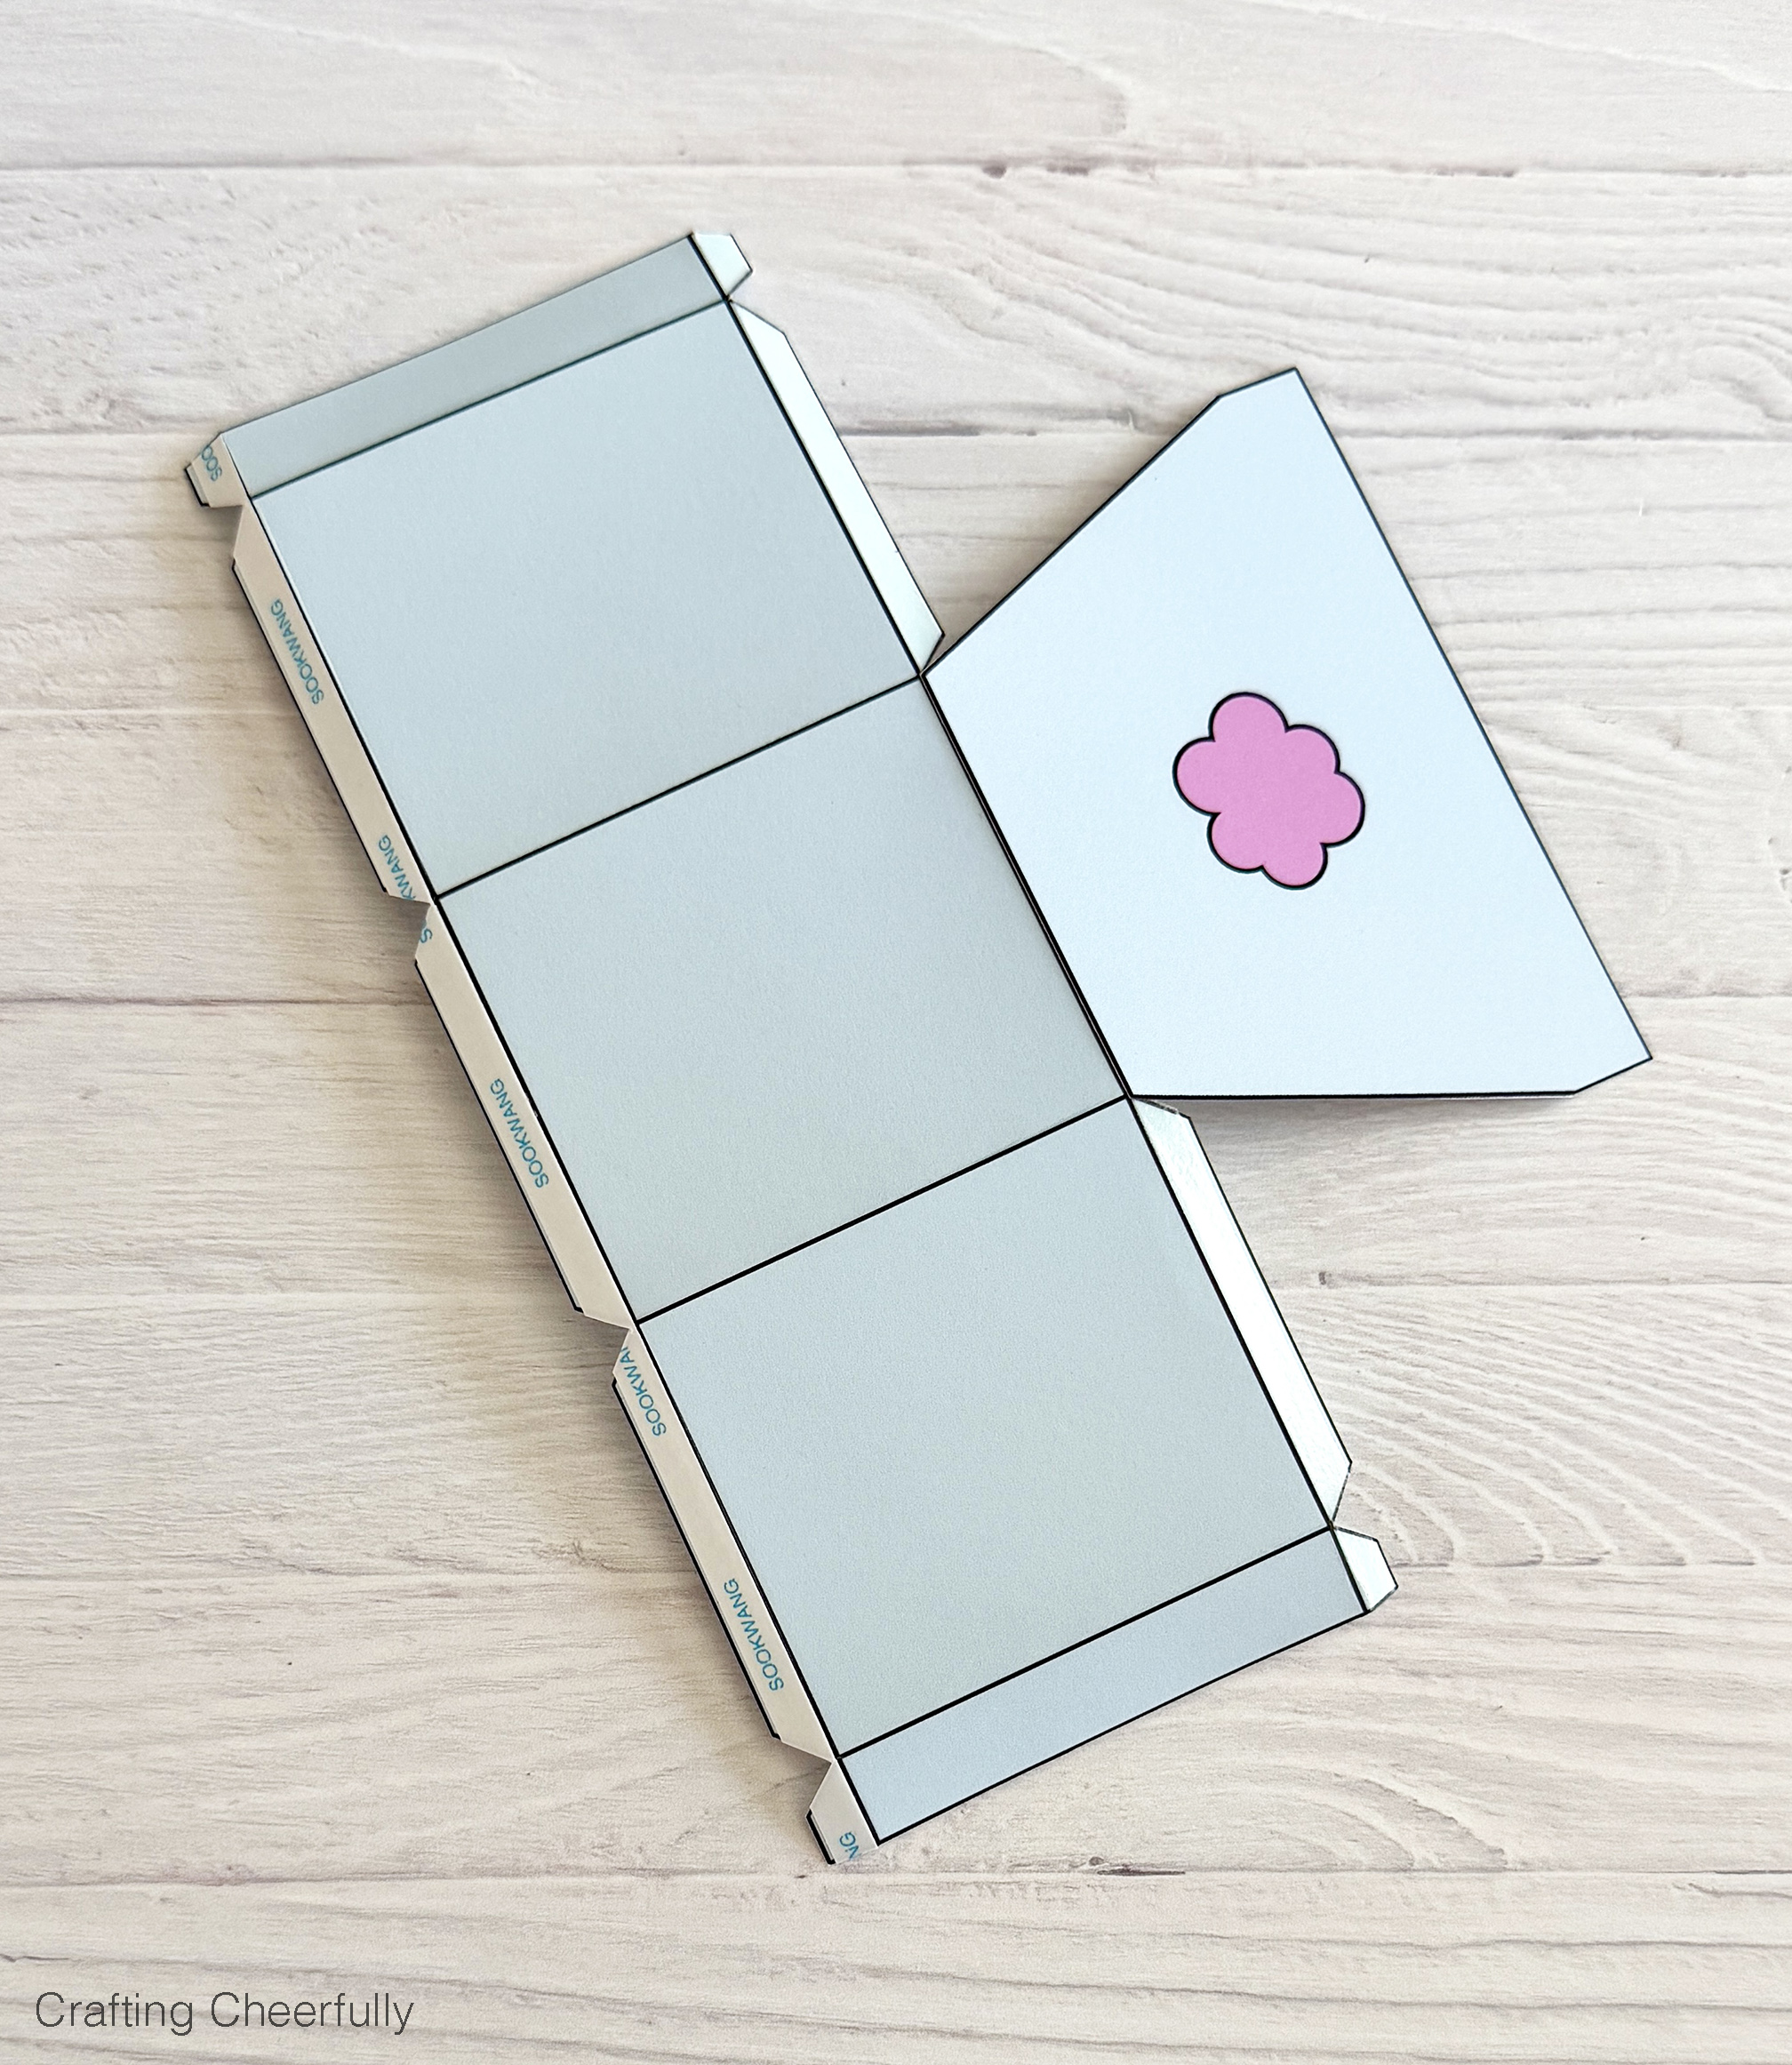
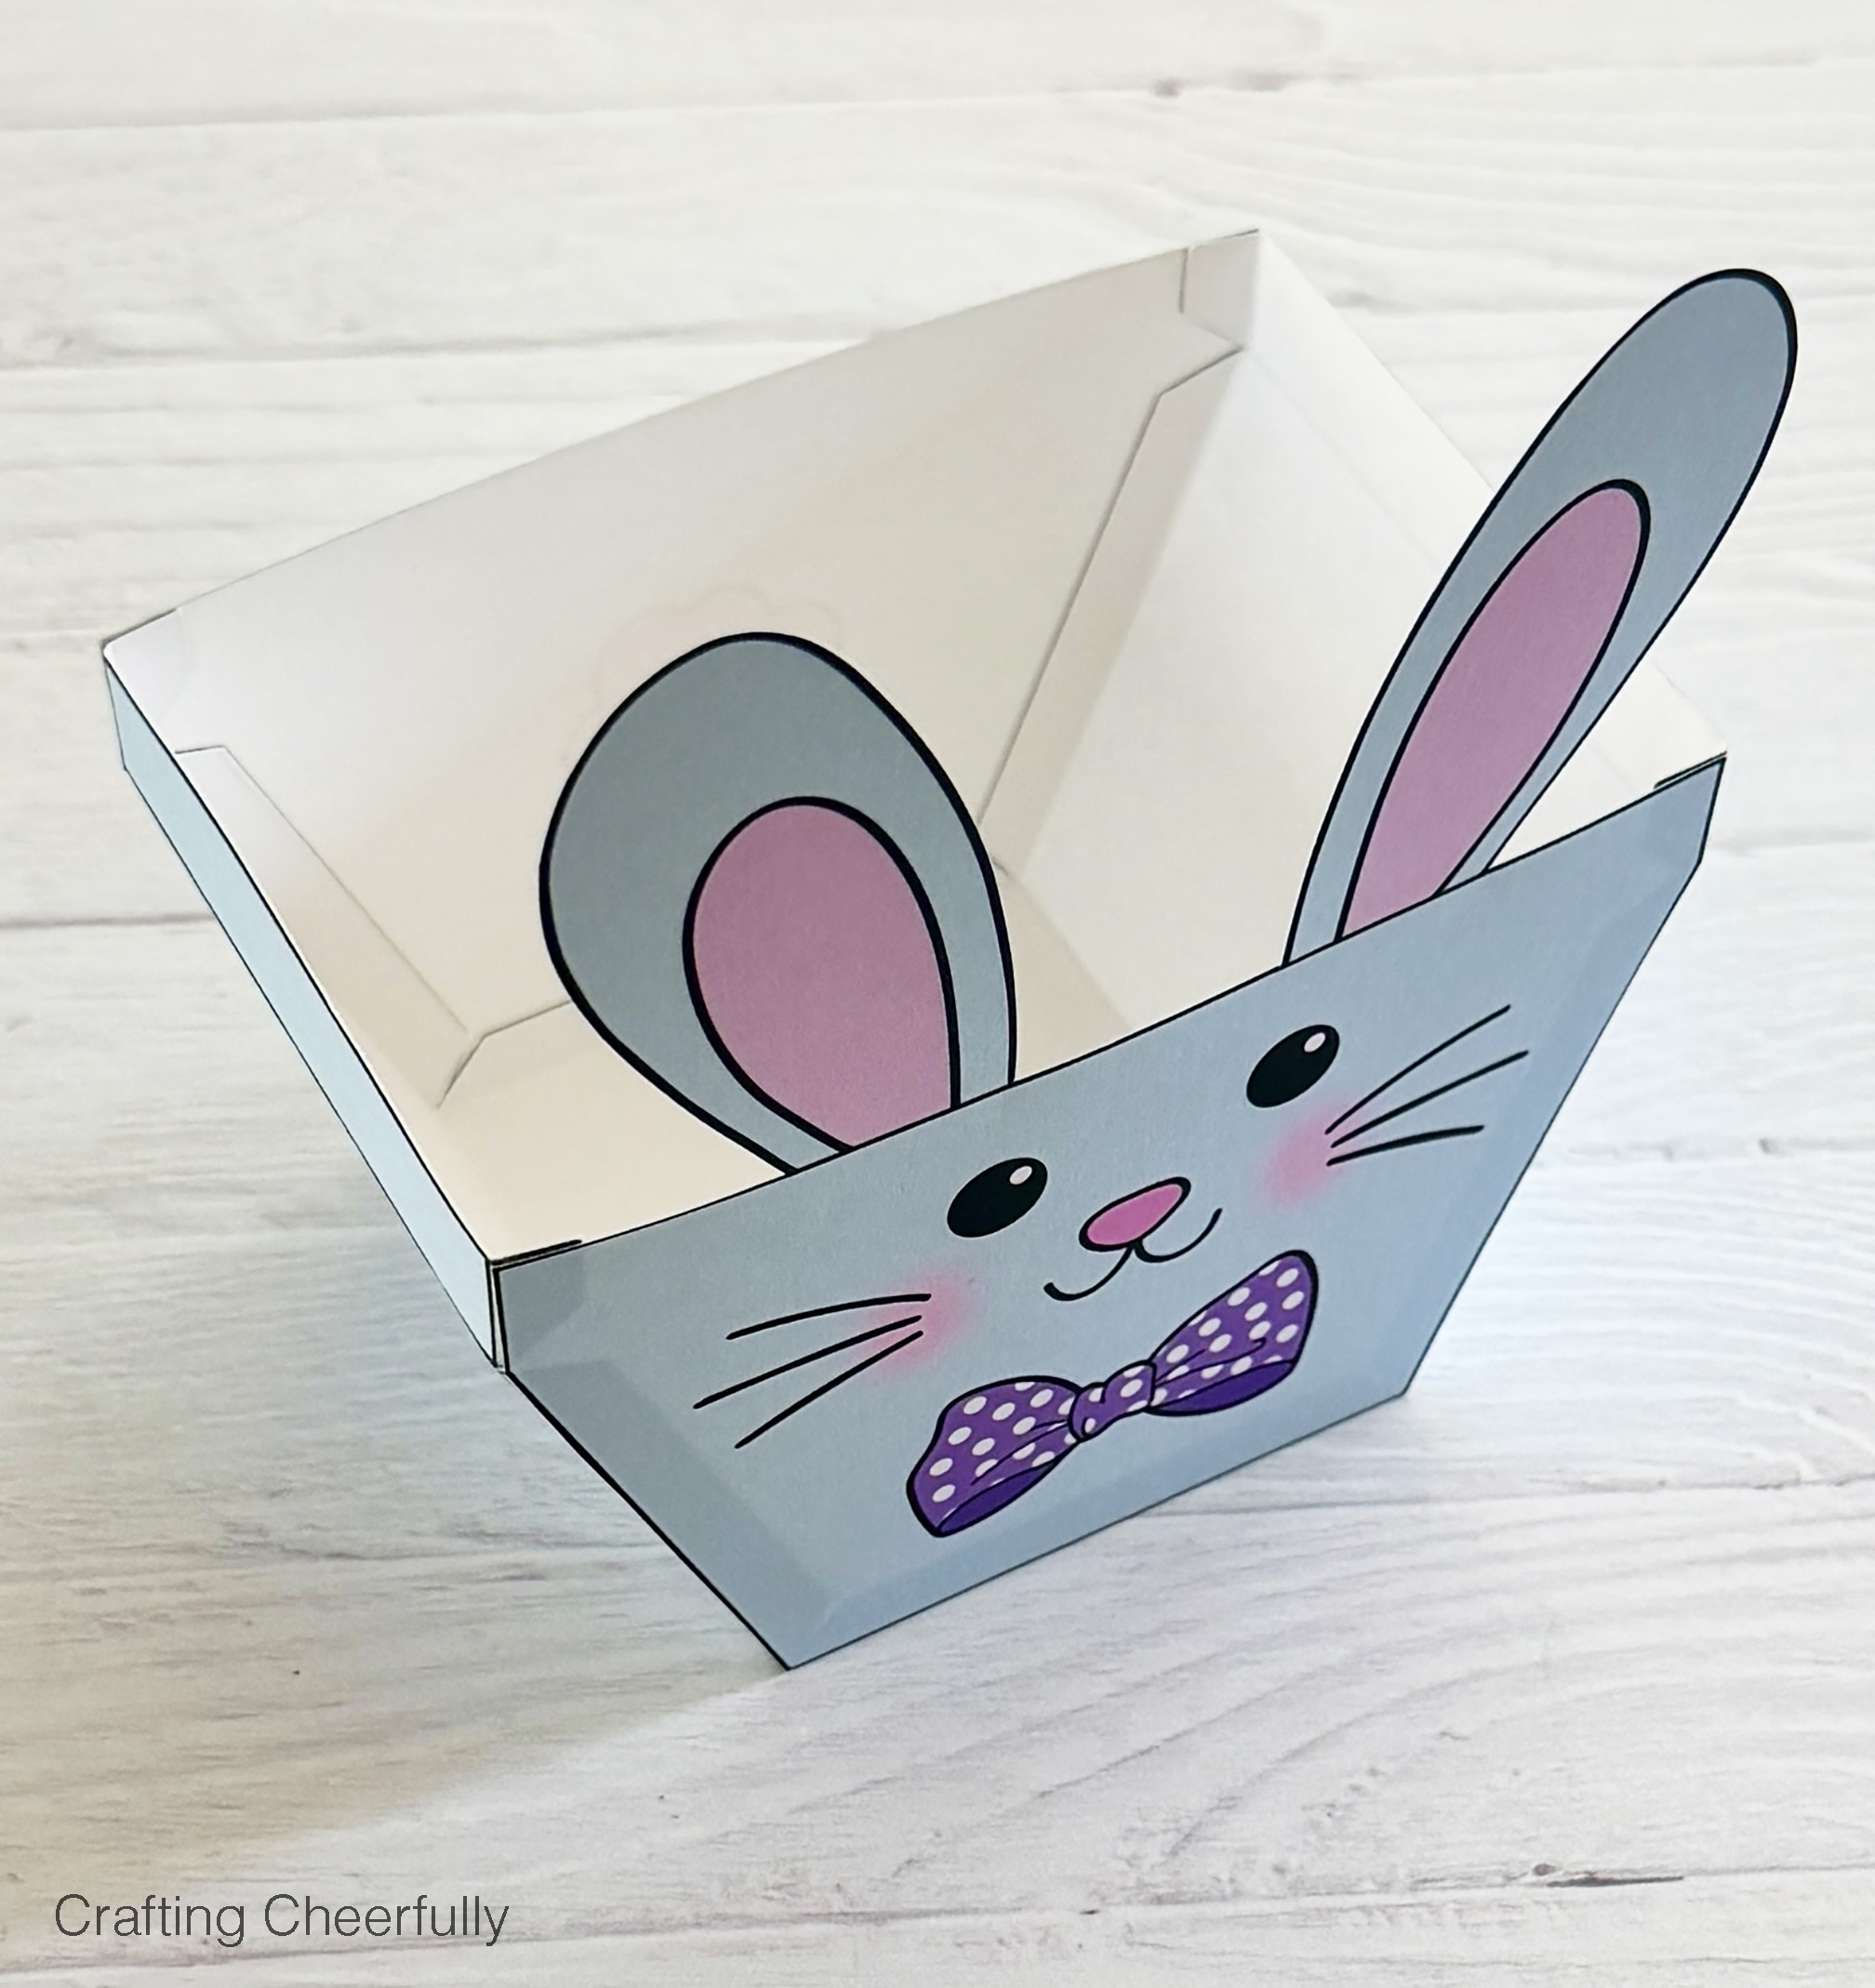
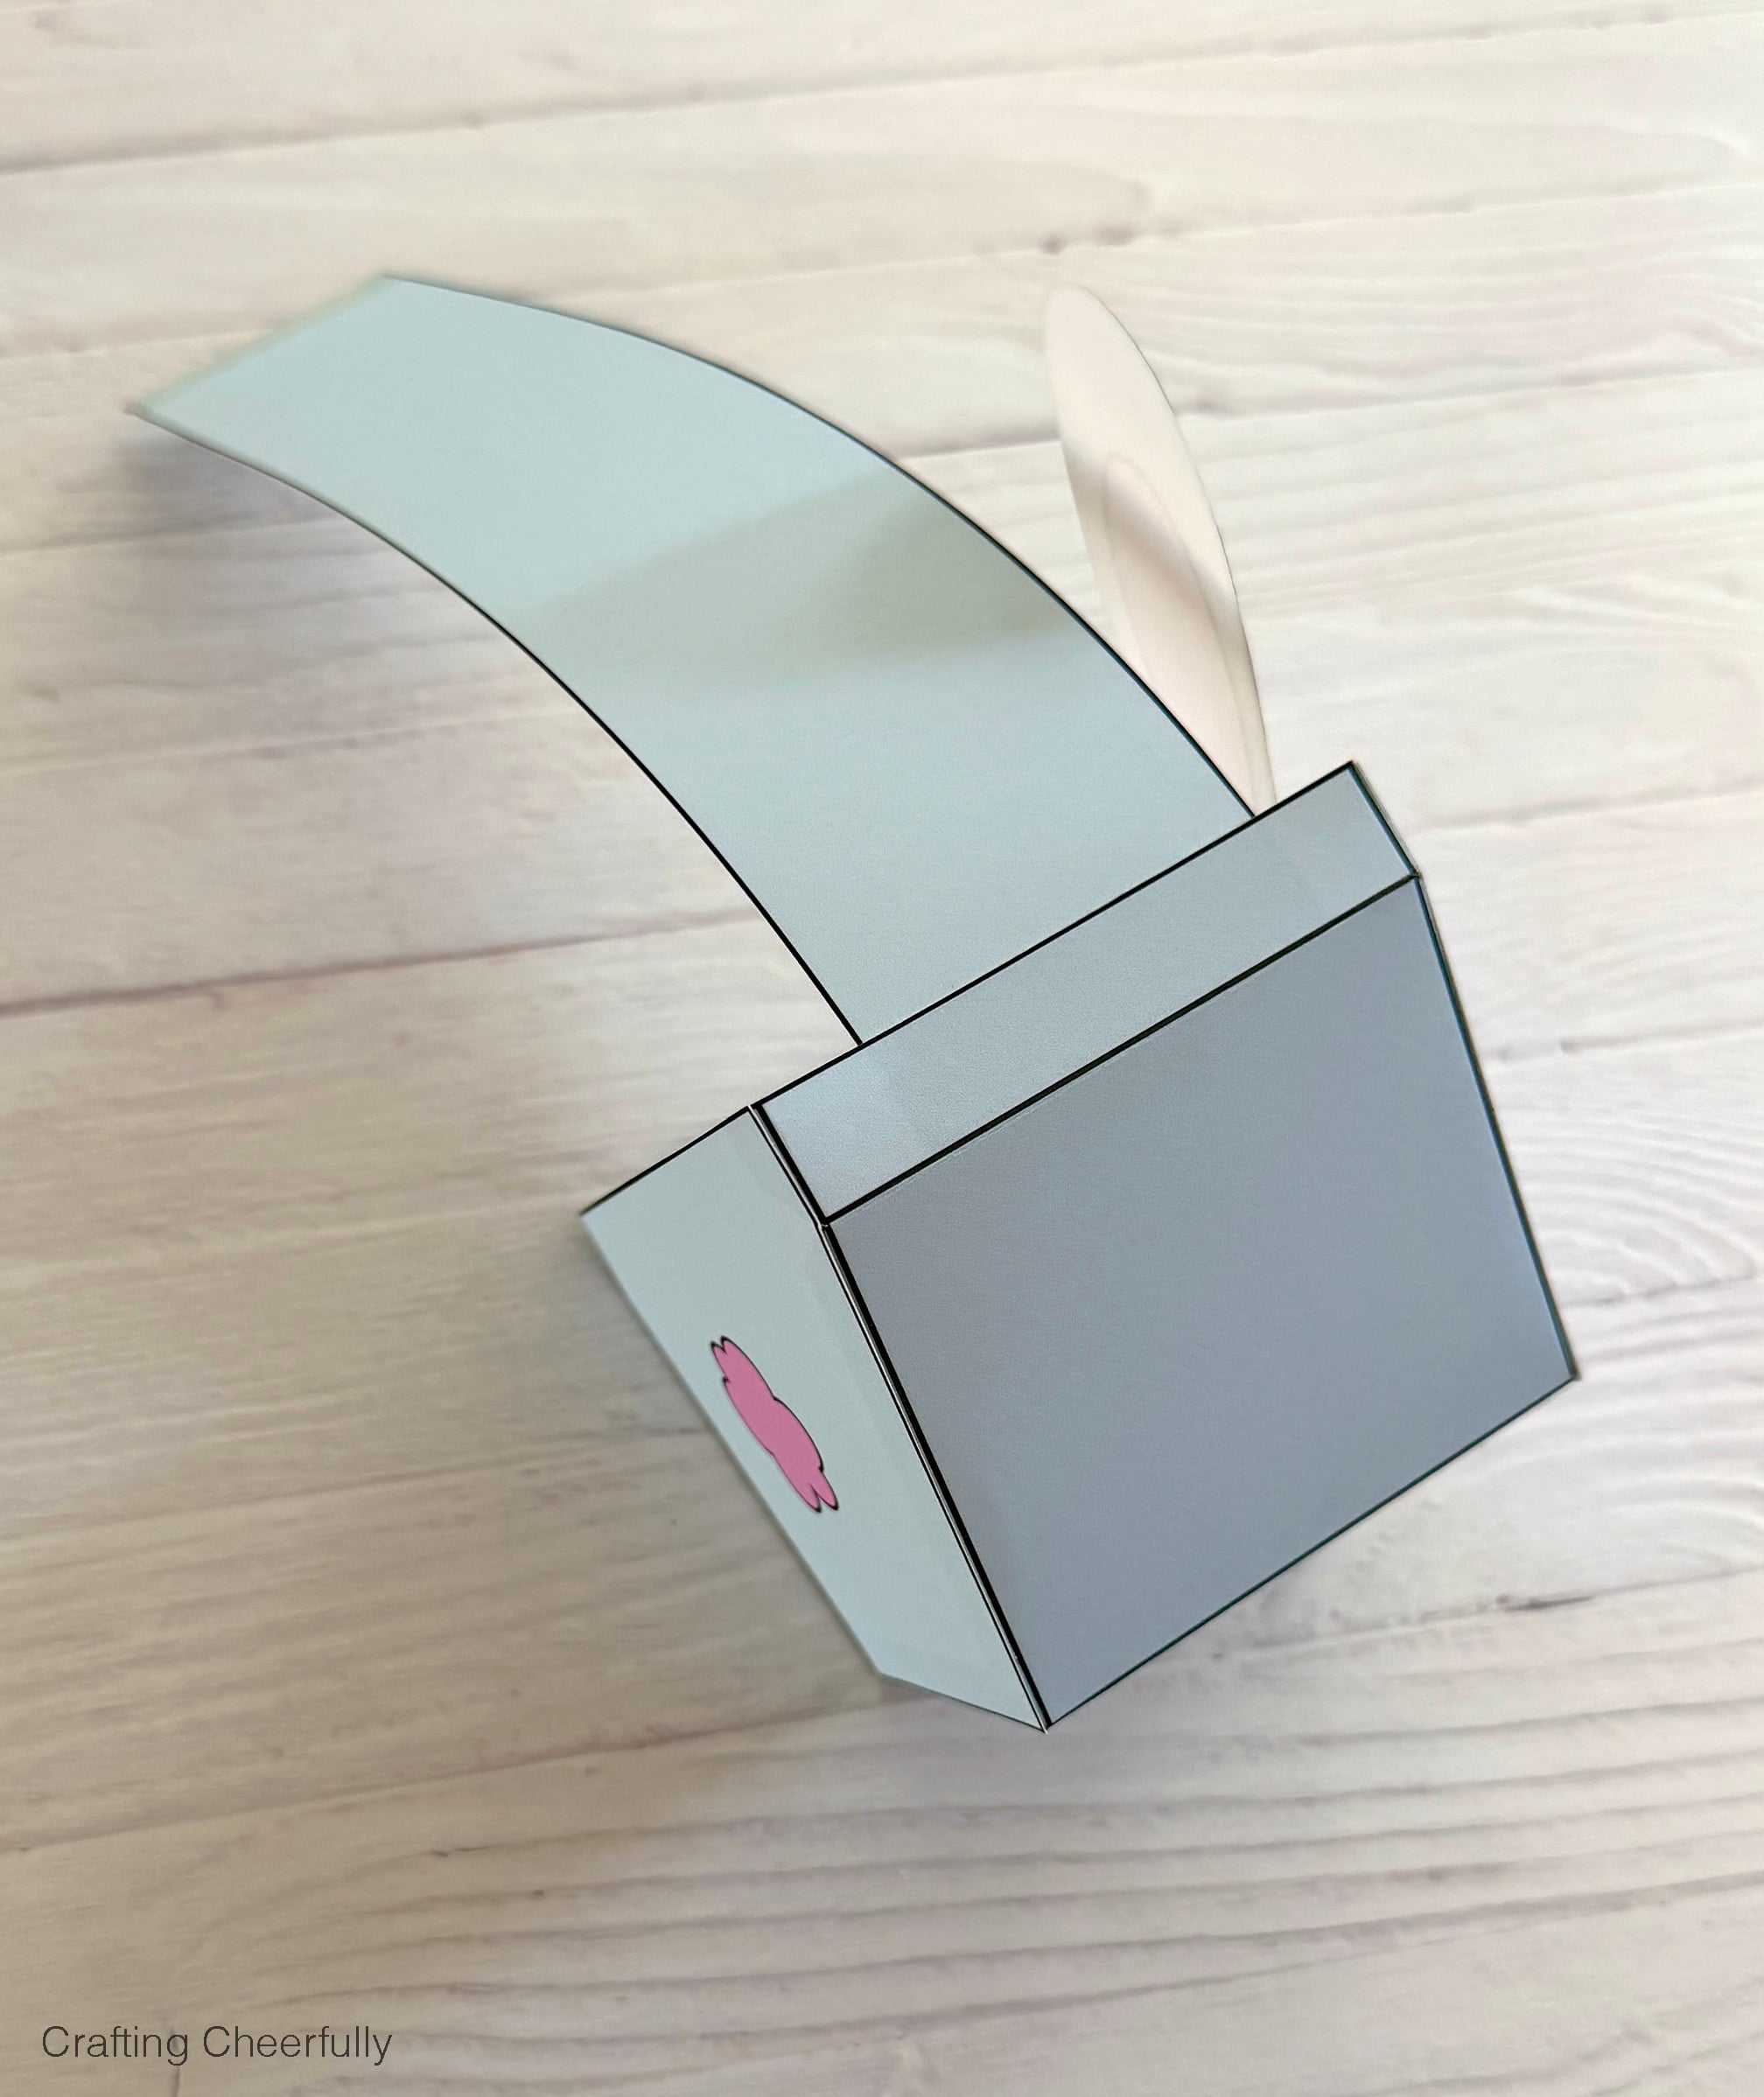
Step Four: Attach the handle. Apply adhesive to the the ends of the handle on the printed side. I used 1/2″ Score-Tape along these edges. Attach to the inside of the basket.
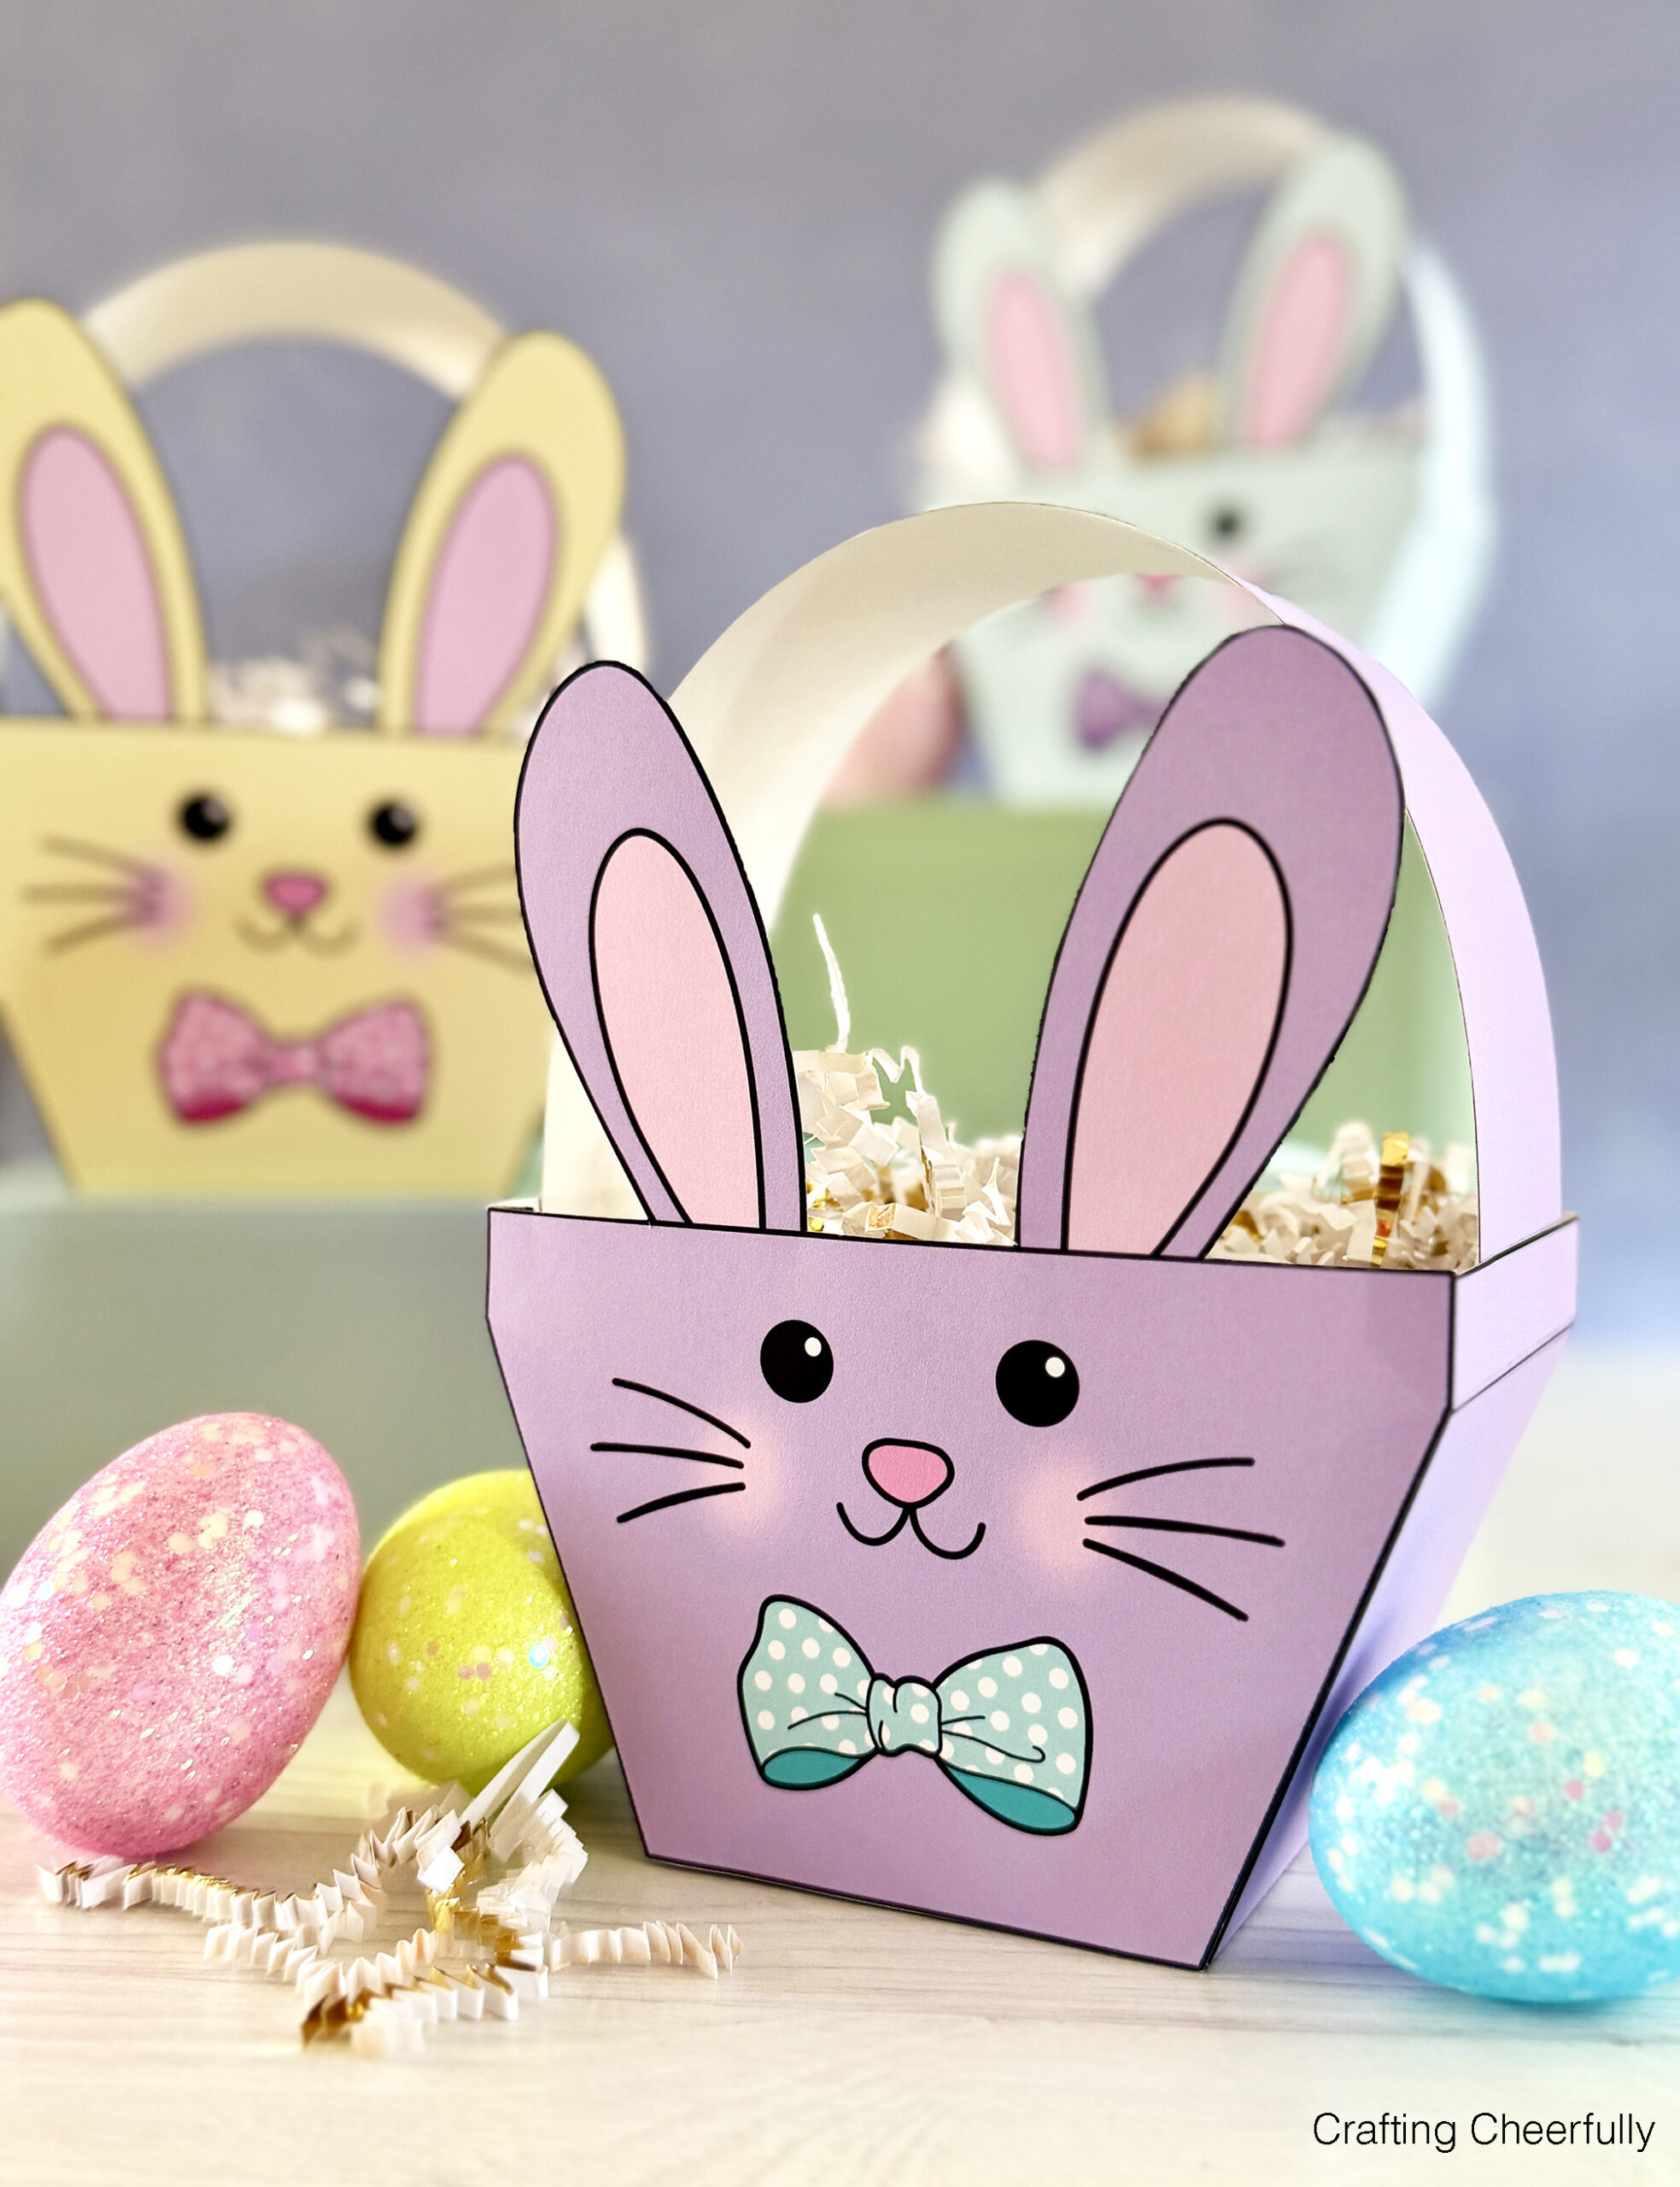
Step Five: Fill the box with sweets, treats and other Easter goodies! If you are adding candy or treats that are on the heavier side, I recommend adding a square piece of chipboard or cardboard to the bottom of the basket. Cut a piece of chipboard that measures 2 5/8″ x 3″. This can help strengthen the bottom of the box.
These cute bunny boxes are fun to make and look adorable when filled with goodies. Create one in your favorite color or make all four! If you are looking for more Easter crafts, check out my DIY Easter Crafts Page. You’ll find more fun craft ideas including other Easter treat boxes like my Color Your Own Easter Baskets and my Garden Vegetable Pillow Boxes.

Get the Free Printable Easter Baskets!
Fill out the purple form below with your first name and email address! The free file will be sent straight to your inbox! If you have already filled out the form below, don’t worry – you won’t be added to my list twice! This freebie is for personal use only. I hope you enjoy crafting something special. Please let me know if you have any questions :)