Fourth of July Firework Wreath
Create this festive Fourth of July firework wreath using hand-painted paper medallions! A fun and simple paper craft for the holiday!
 One of my favorite paper crafts to create is a medallion! They are so easy to make once you get the hang of it, and they are so versatile! You can make them any size or any color.
Since discovering I could also paint designs onto them, I now have even more options of what to create! By painting simple red, white and blue stripes onto my paper before folding it, I turned my medallions into fireworks – perfect for a new Fourth of July wreath!
I love how energetic this wreath is with the firework medallions covering the whole thing. I added a paper banner at the top with the message “Happy Fourth of July” to finish it off. Below is the tutorial to make your own Fourth of July Firework Wreath!

How to Make a Paper Medallion Firework Wreath
Supplies Needed:
- Black paper – I used 8.5″ x 11″ sheets of card stock. The number of sheets needed will depend on how large your medallions are and how many you want.
- White paper – 2 sheets of 8.5″ x 11″ card stock
- Red paper – 2 sheets of 8.5″ x 11″ card stock
- Red, white and blue acrylic paint
- 16″ foam wreath form
- Scoring board and stylus
- Paper trimmer or scissors
- Hot glue
- Red, blue and black markers
Step by Step Tutorial
Step One: Paint the Wreath Form. Prepare the wreath form by painting or spray painting it red.

Step Two: Create the firework medallions. Cut strips of black cardstock to create the medallions. I cut strips of paper in different widths from 9″ x 11″ paper. Below are the widths I used for my medallions – you can make them any size you’d like!
For this 16″ wreath I used:
- Six 3″ medallions – Cut 12 strips of paper 3″ x 11″
- Two 2.5″ medallions – cut 8 strips of paper 2.5″ x 11″
- Four 2″ medallions – cut 8 strips of paper 2″ x 11″
- Seven 1.5″ medallions – cut 14 strips of paper 1.5″ x 11″
After cutting the strips of black cardstock, it is time to paint the paper with red, white and blue stripes. Start all of your stripes on one edge of the paper and swoosh the paint so each stripe stops or fades away before hitting the other side of the paper. You don’t want your stripes to go from edge to edge.
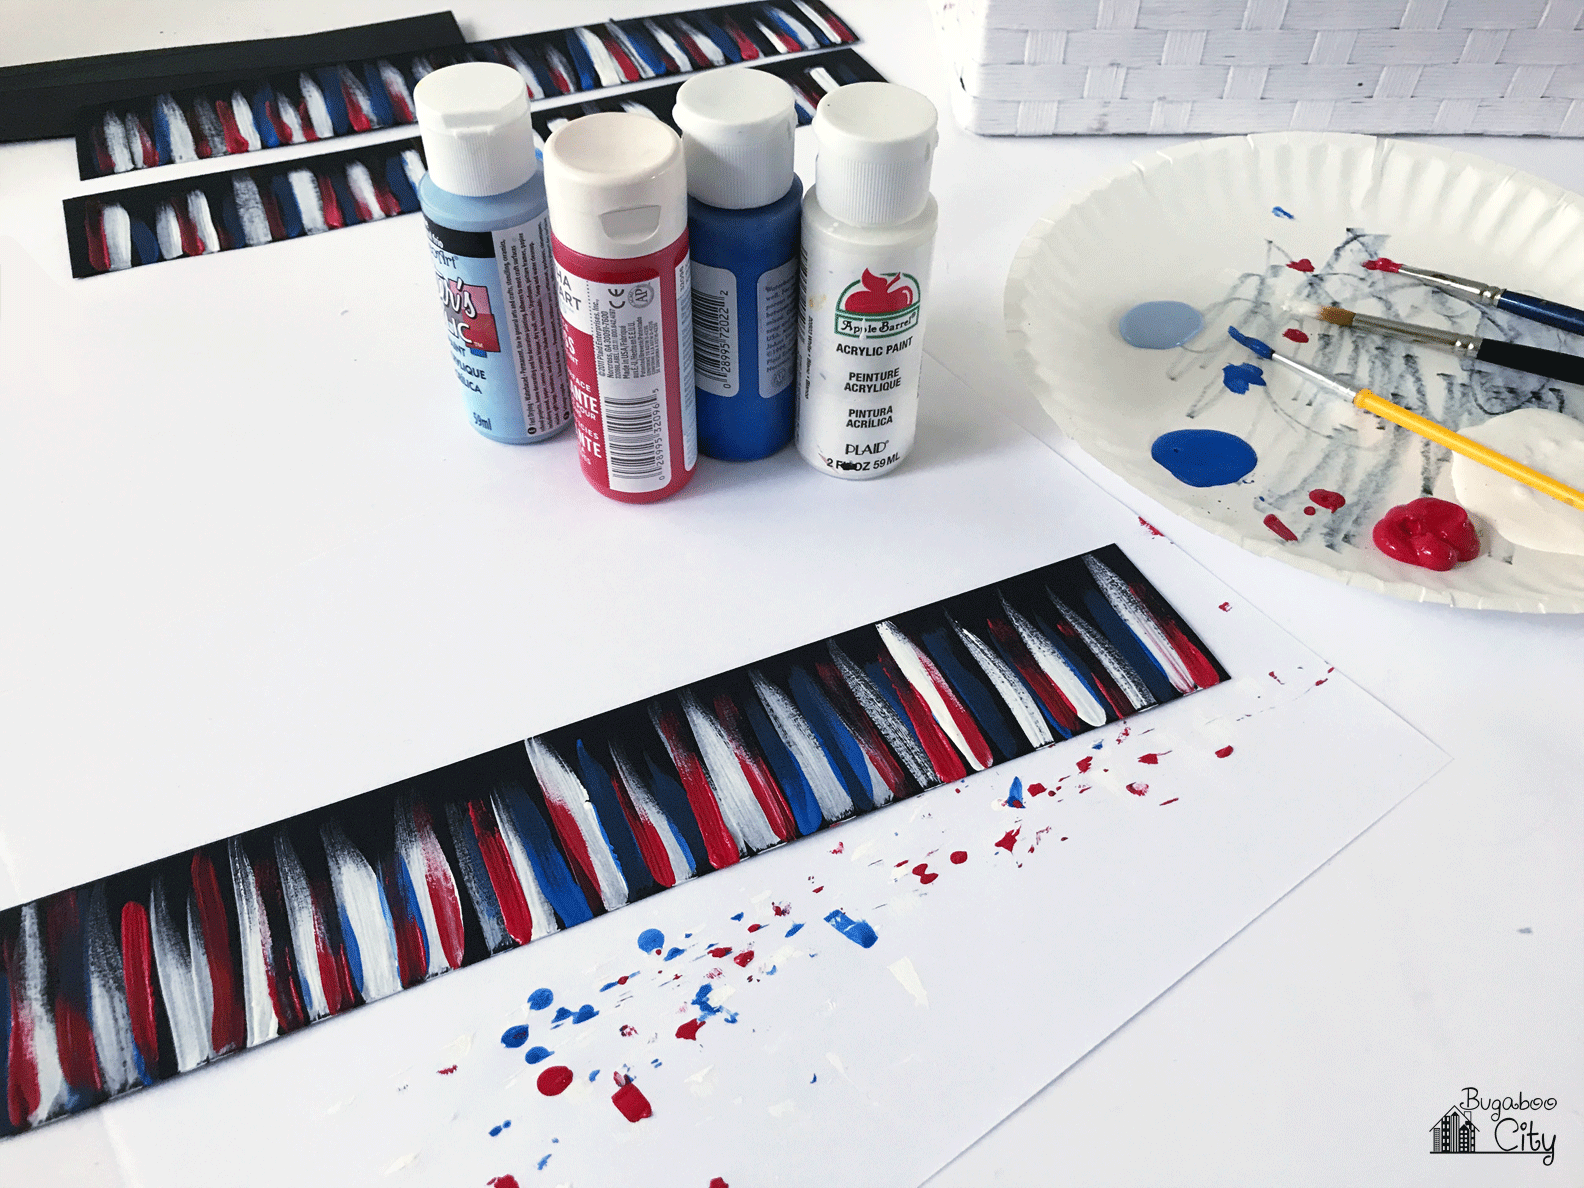
Once the paint has dried on the strips of paper, score each piece every 1/2″. I love using my scoring board and stylus for this because it makes nice crisp fold lines. You can do this without these tools by marking the wrong side of the paper every 1/2″ and folding it by hand.
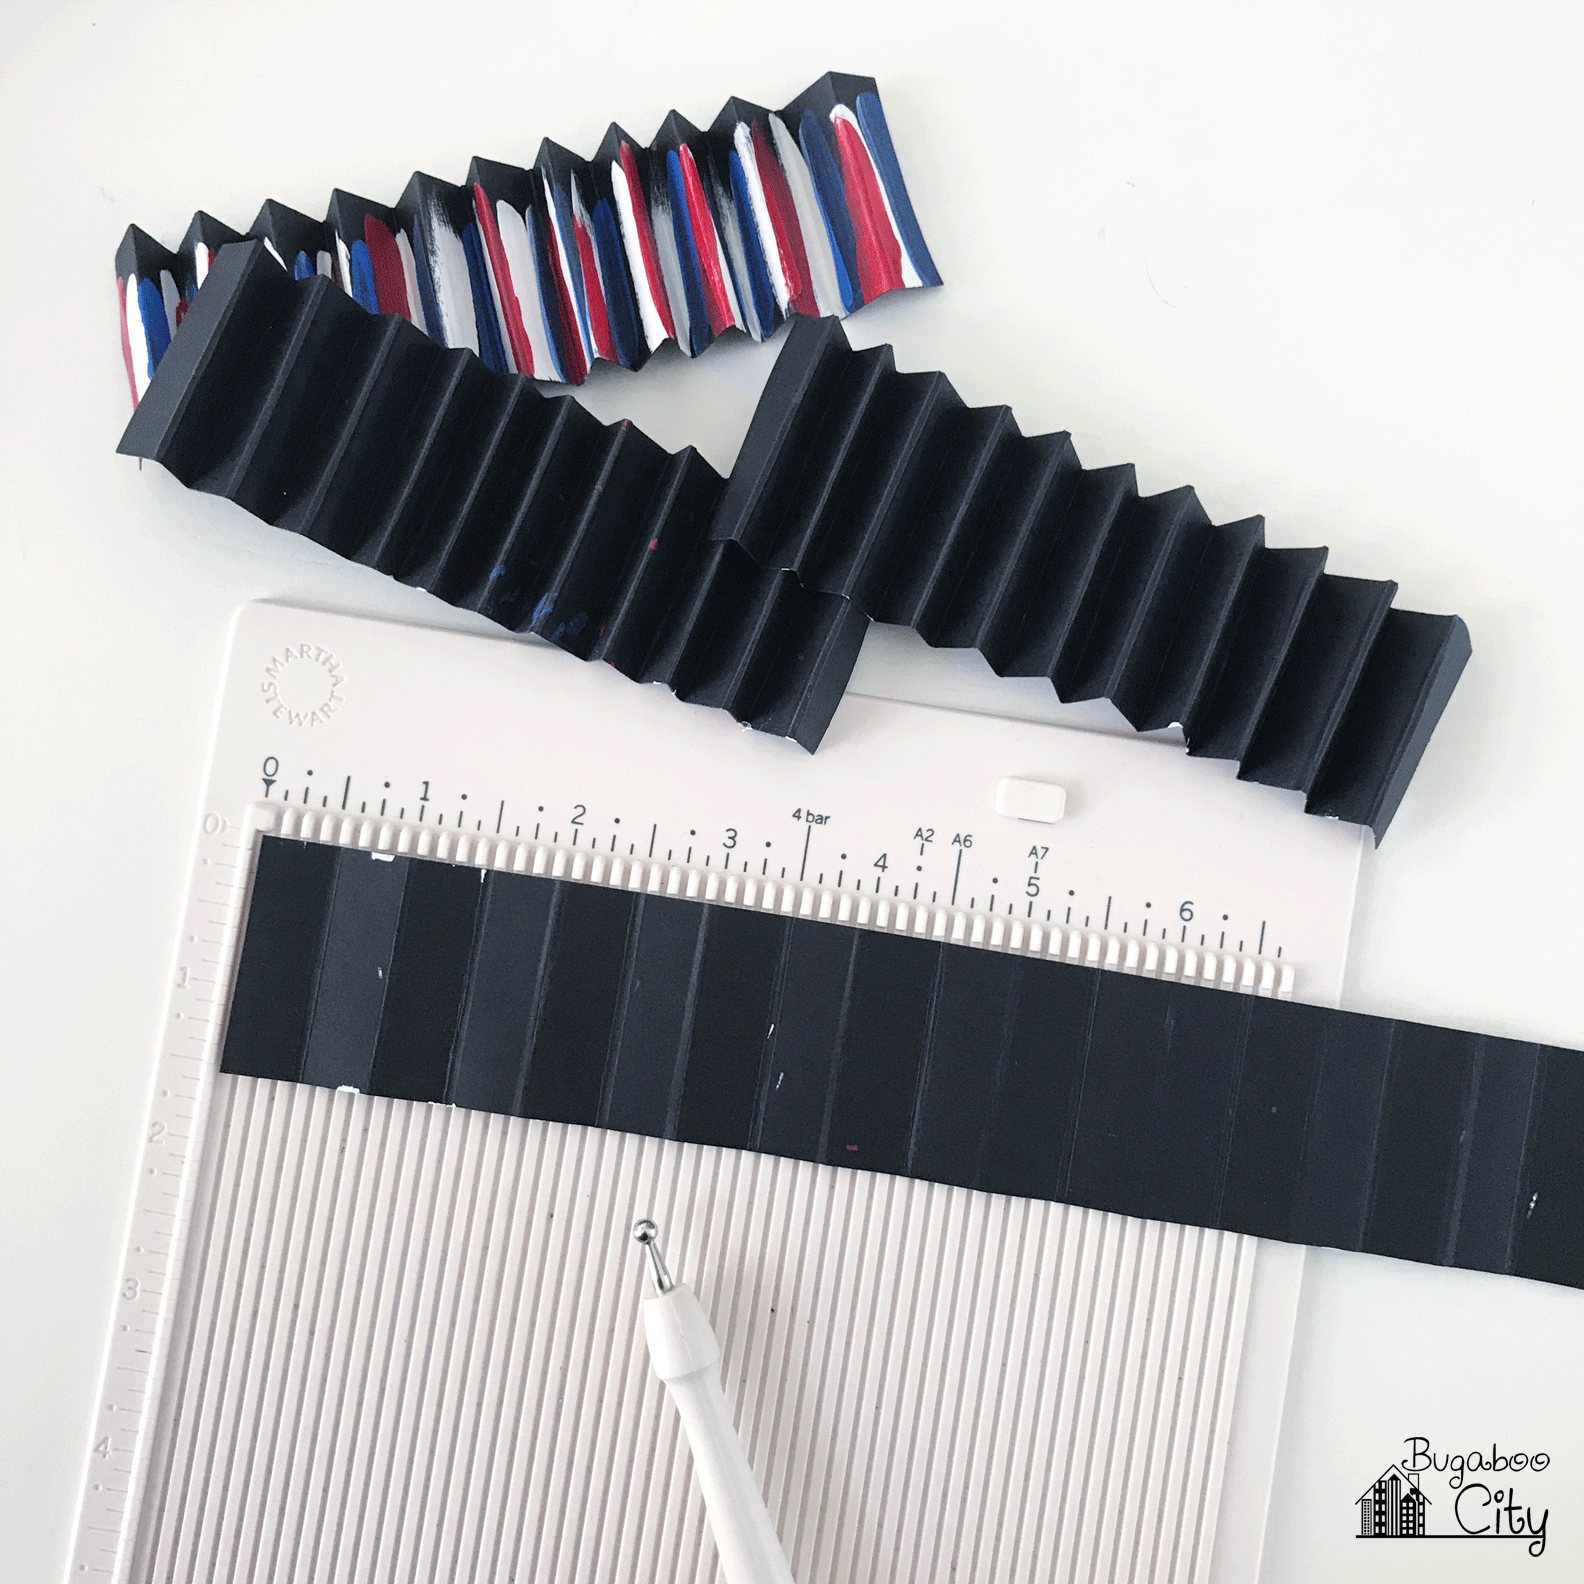

Step Three: Assemble the medallions. Each medallion will take two strips of paper that are the same width. Hot glue the ends together so you have an accordion-folded cylinder. Cut a small square of paper about 1″x 1″. Put a little mound of hot glue in the center of the paper square. Center your medallion cylinder over the square and push the medallion down in the center until it lays flat. Hold it in place for a little bit until the glue holds.

Step Four: Create the paper banner. I used my Cricut to cut a banner shape from white cardstock and red cardstock. I wanted the banner to be 17 inches wide, so I cut half of it at a time and glued the pieces together.
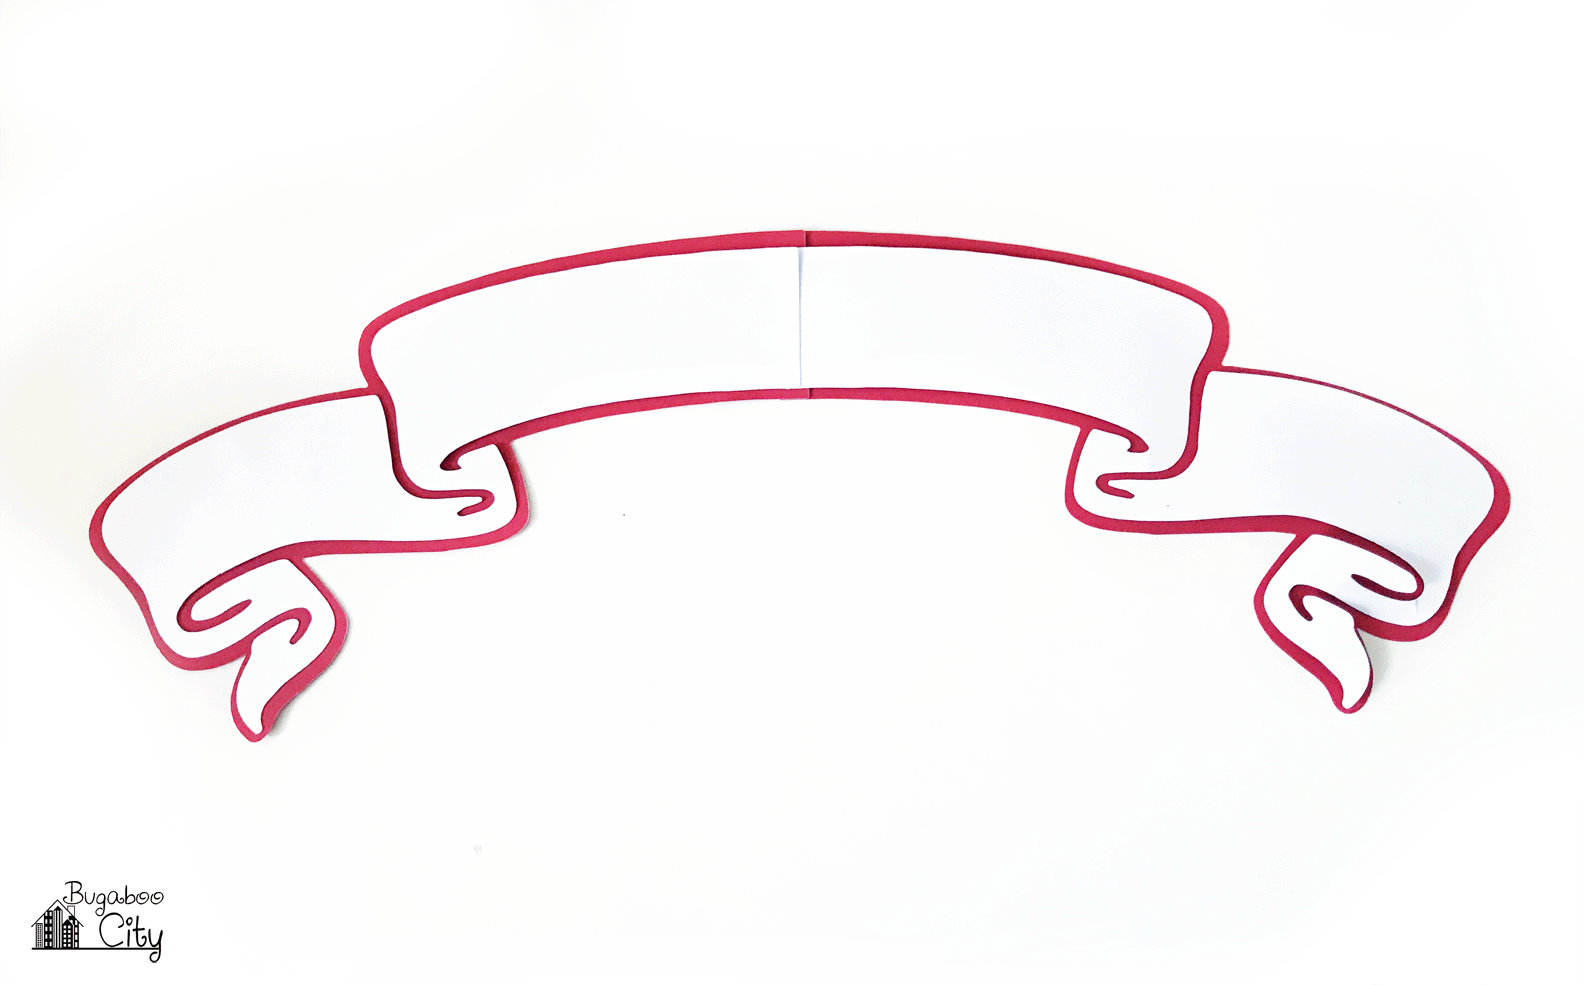
Adding the message “Happy Fourth of July” was simple using a pencil-transfer method. I printed the message out at the exact size I wanted it and used pencil to cover the back of the paper. Then I laid it in place on the banner and traced the letters. This transferred the lettering so I could then go over it with a black marker.


I used red and blue markers to add stripes to each side of the banner.


Step Five: Assemble the wreath. Once the medallions and banner are done, it is time to assemble everything. This was the tricky part. It definitely took me a while to decide on a layout. I took pictures once I had something I liked. This way I wouldn’t forget where things were as I started gluing the medallions in place. Make sure to plan where the banner will go before deciding on a final layout for the medallions!


I’m so happy with how this wreath turned out! It is so fun and festive! You may have a lot of the supplies already on hand for this wreath – besides the wreath form, it’s just paper and paint…and a lot of hot glue! I’ll be back next week with a new painted medallion project! :)





One Comment