DIY Rocket Ship Space Card and Party Invitation
Create a rocket ship space card using colorful paper! A fun party invitation for space-themed parties or a great birthday card for a space-loving kiddo! Grab the free cut file and pattern and learn how to make this cute spaceship card!
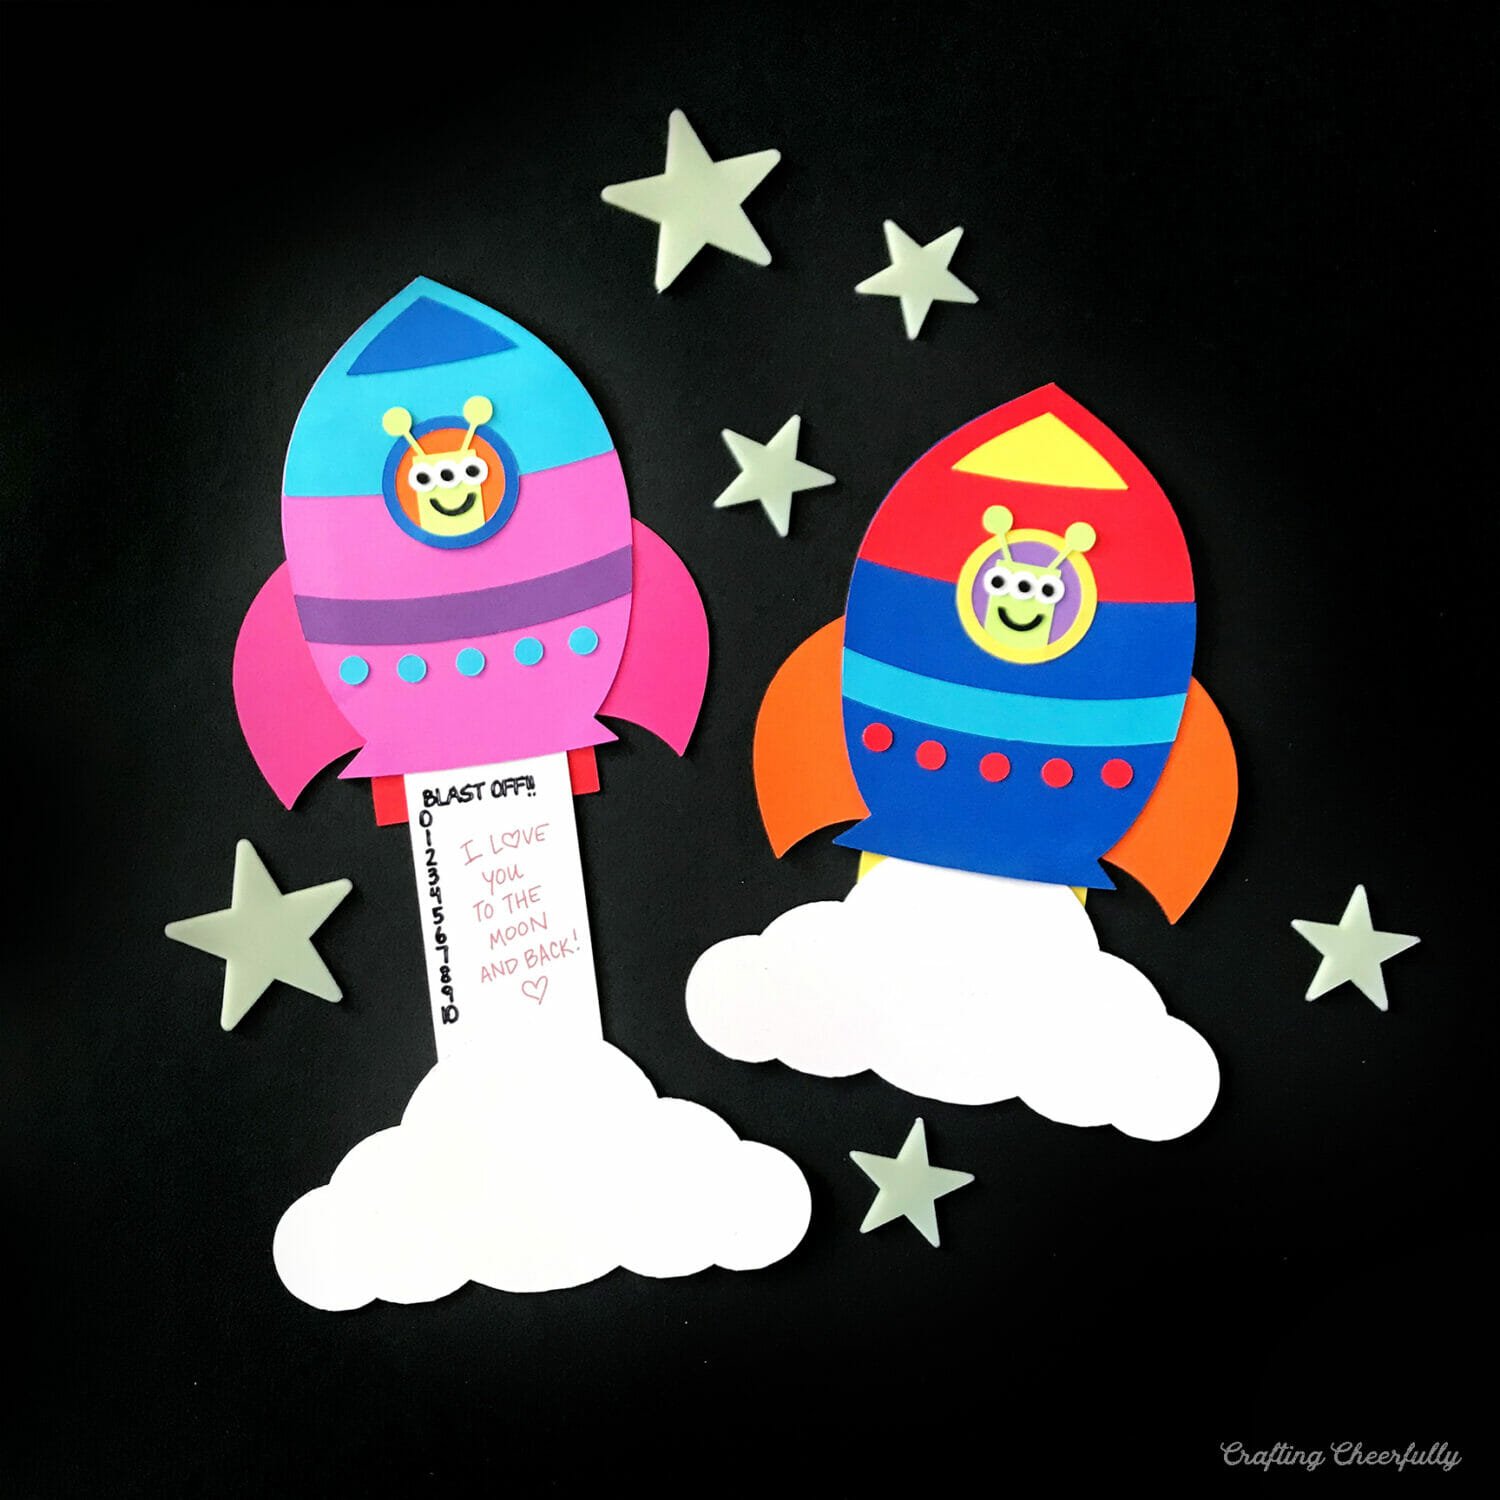
Hello Crafty Friends! Today I’m excited to share another DIY slider card with you – this time a Rocket Ship Slider Card! I had a lot of fun figuring out how to make my Honey Pot Slider Card a few weeks ago, and thought it would be fun to create a cute rocket ship card for our upcoming space birthday party.
I made my spaceship invitations in bright and bold colors, but they could also be made with silver or metallic paper. You can create the cute three-eyed alien, like I did, or put a picture of your child’s face in its place – this would be especially cute for a birthday party invite or birthday card!
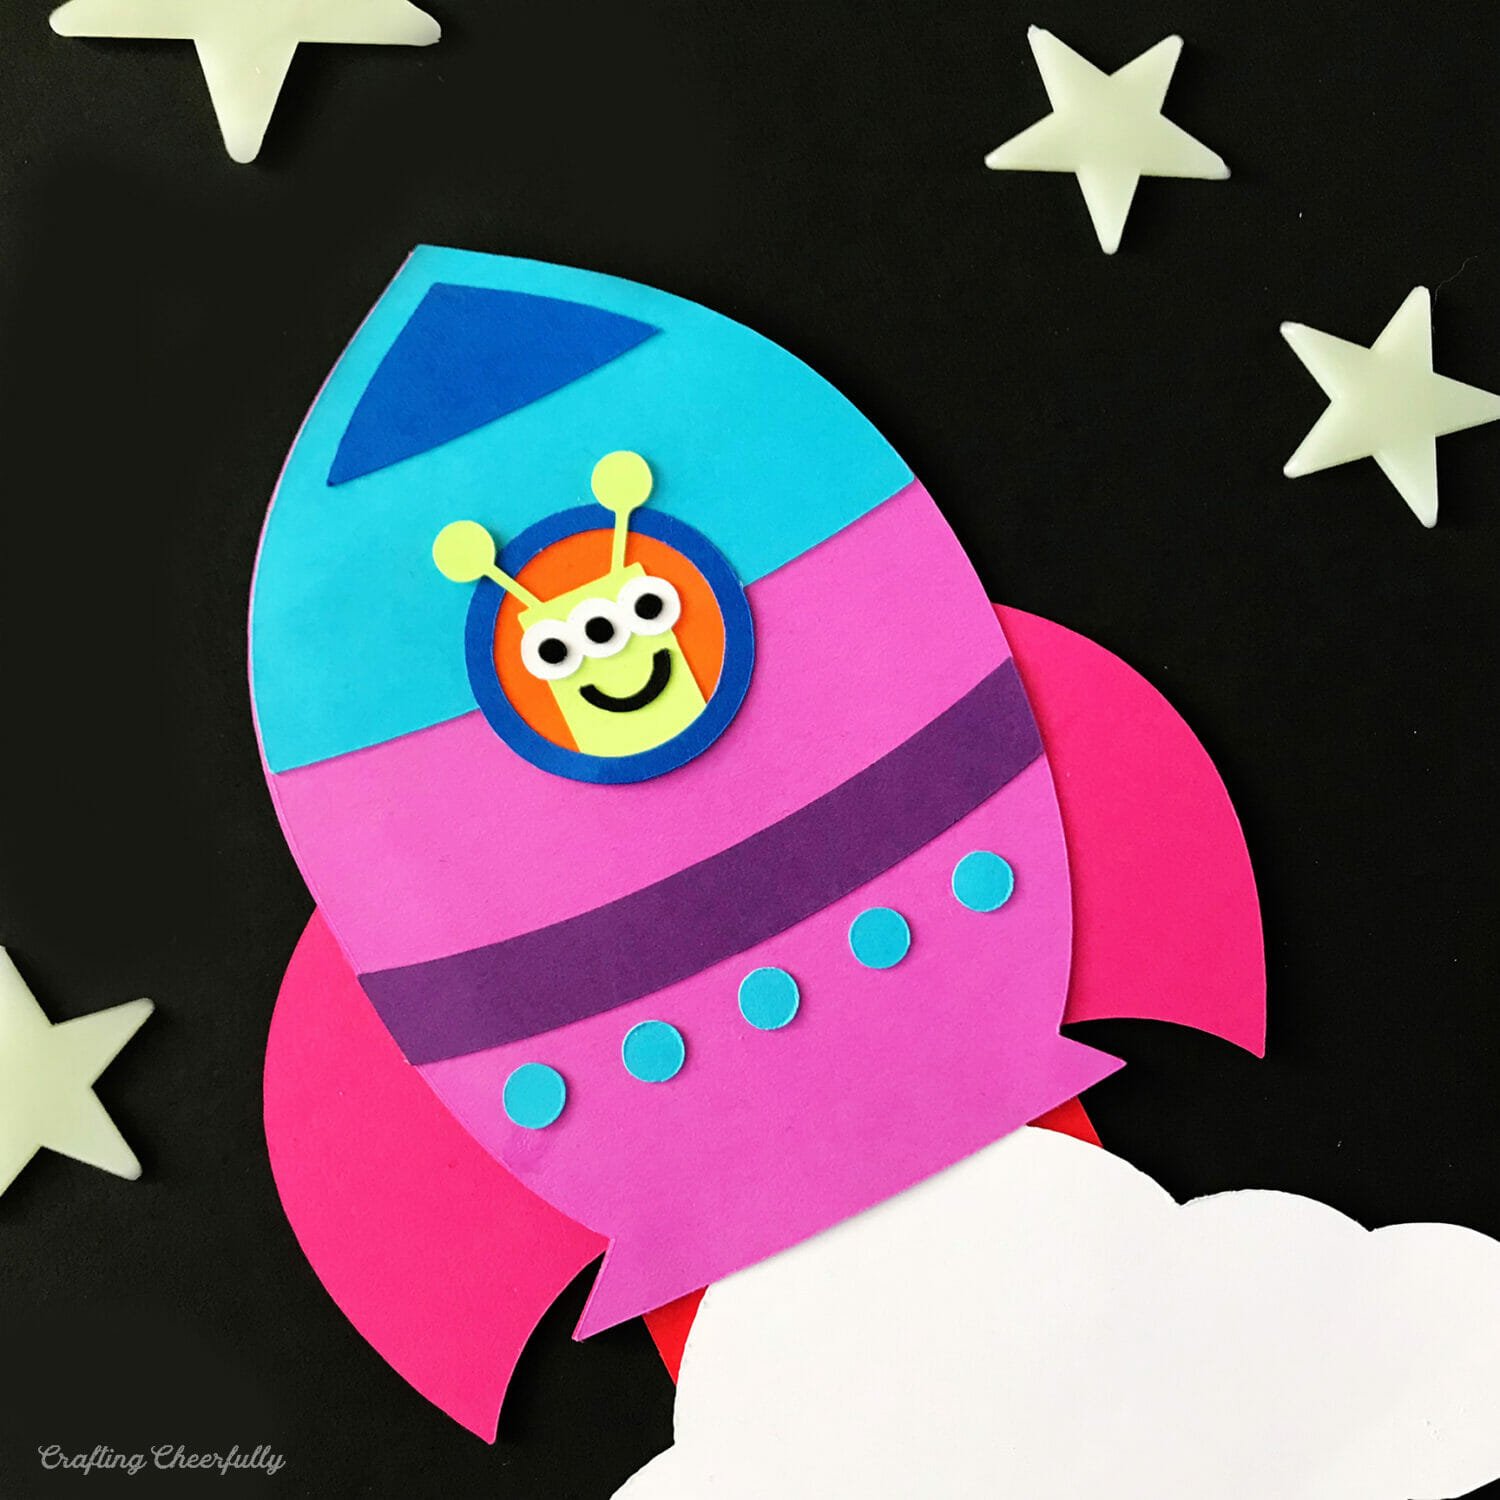
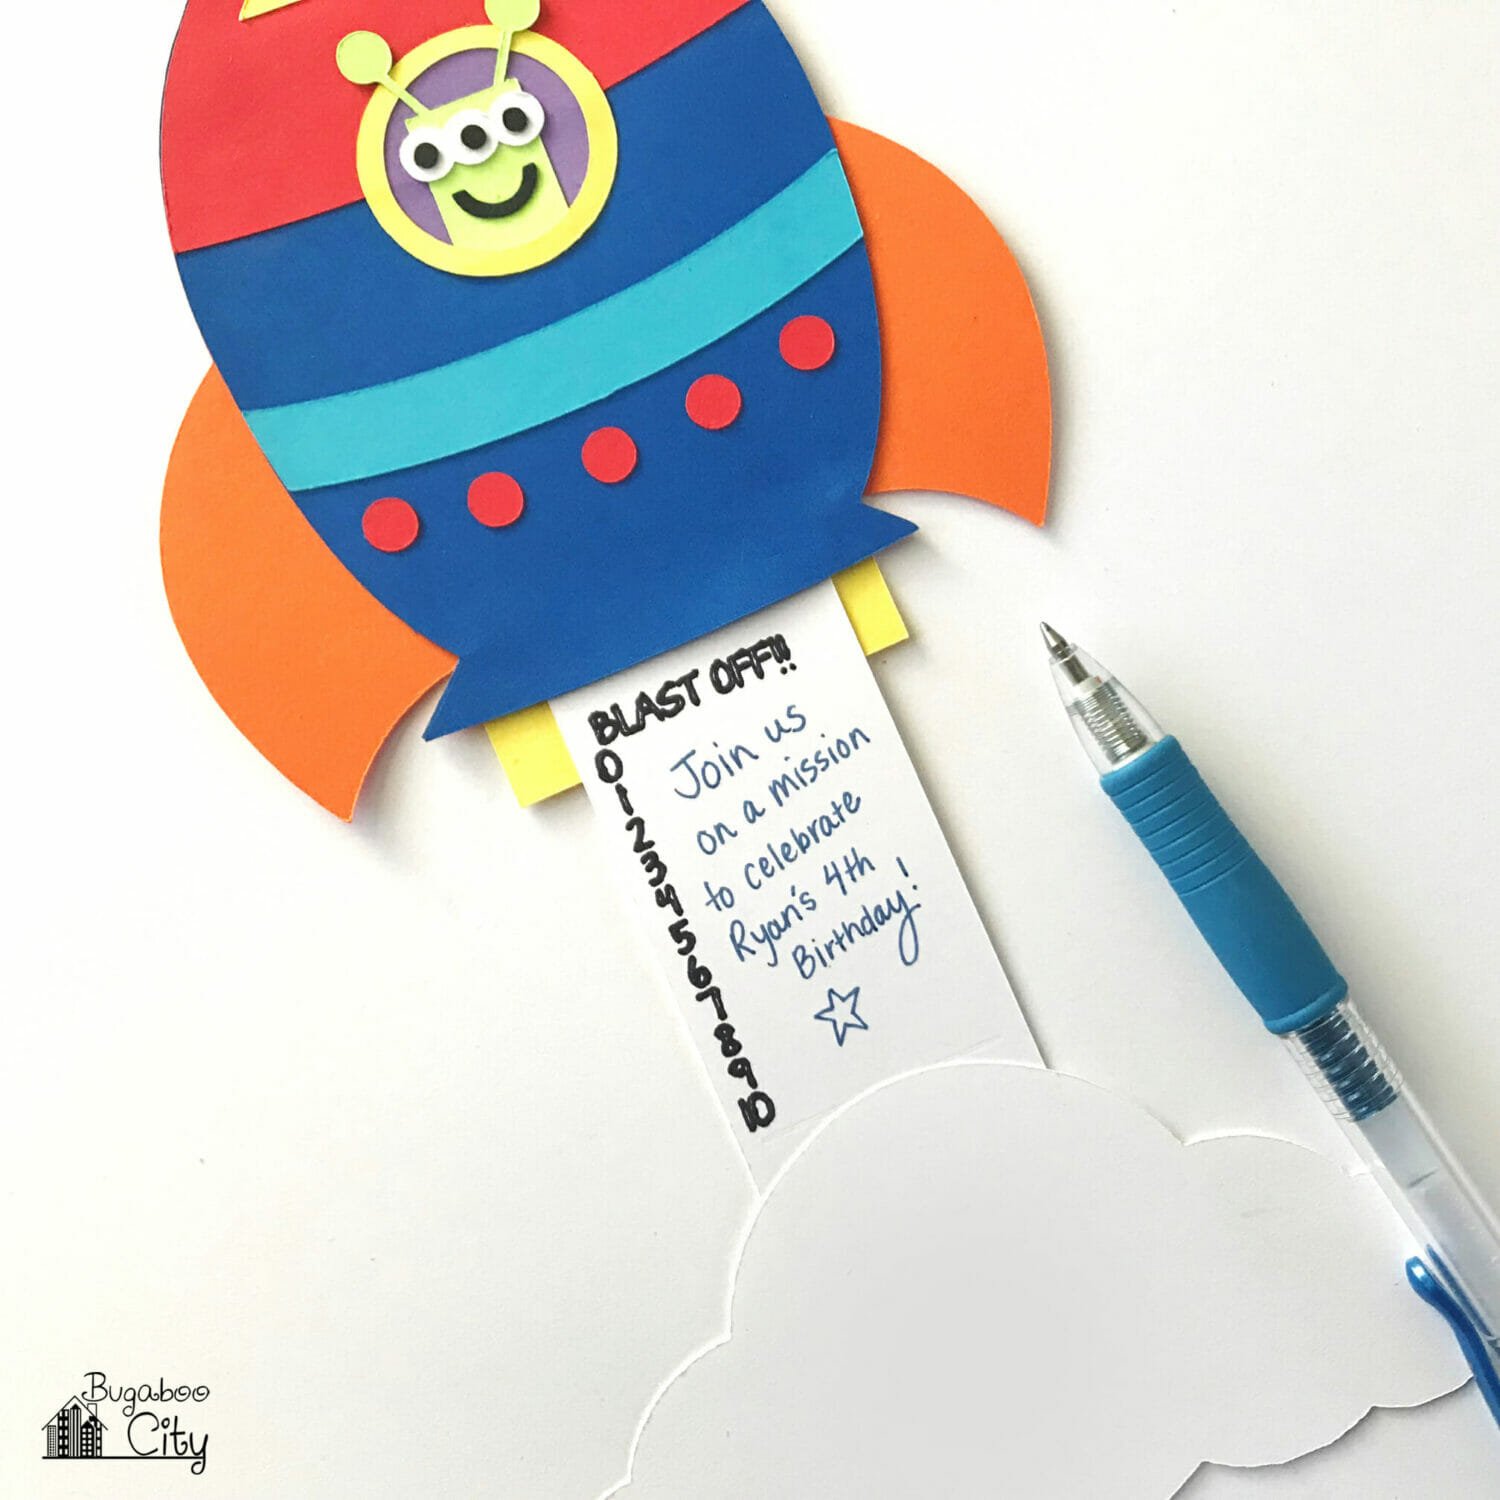
Another fun part to this slider card is as you slide it open you can count down 10-0 to “Blast Off!!” the rocket ship! So much fun! Let me know if you try and make this card! I am new to creating slider cards and have been having fun figuring out the mechanics and creating the cut files.
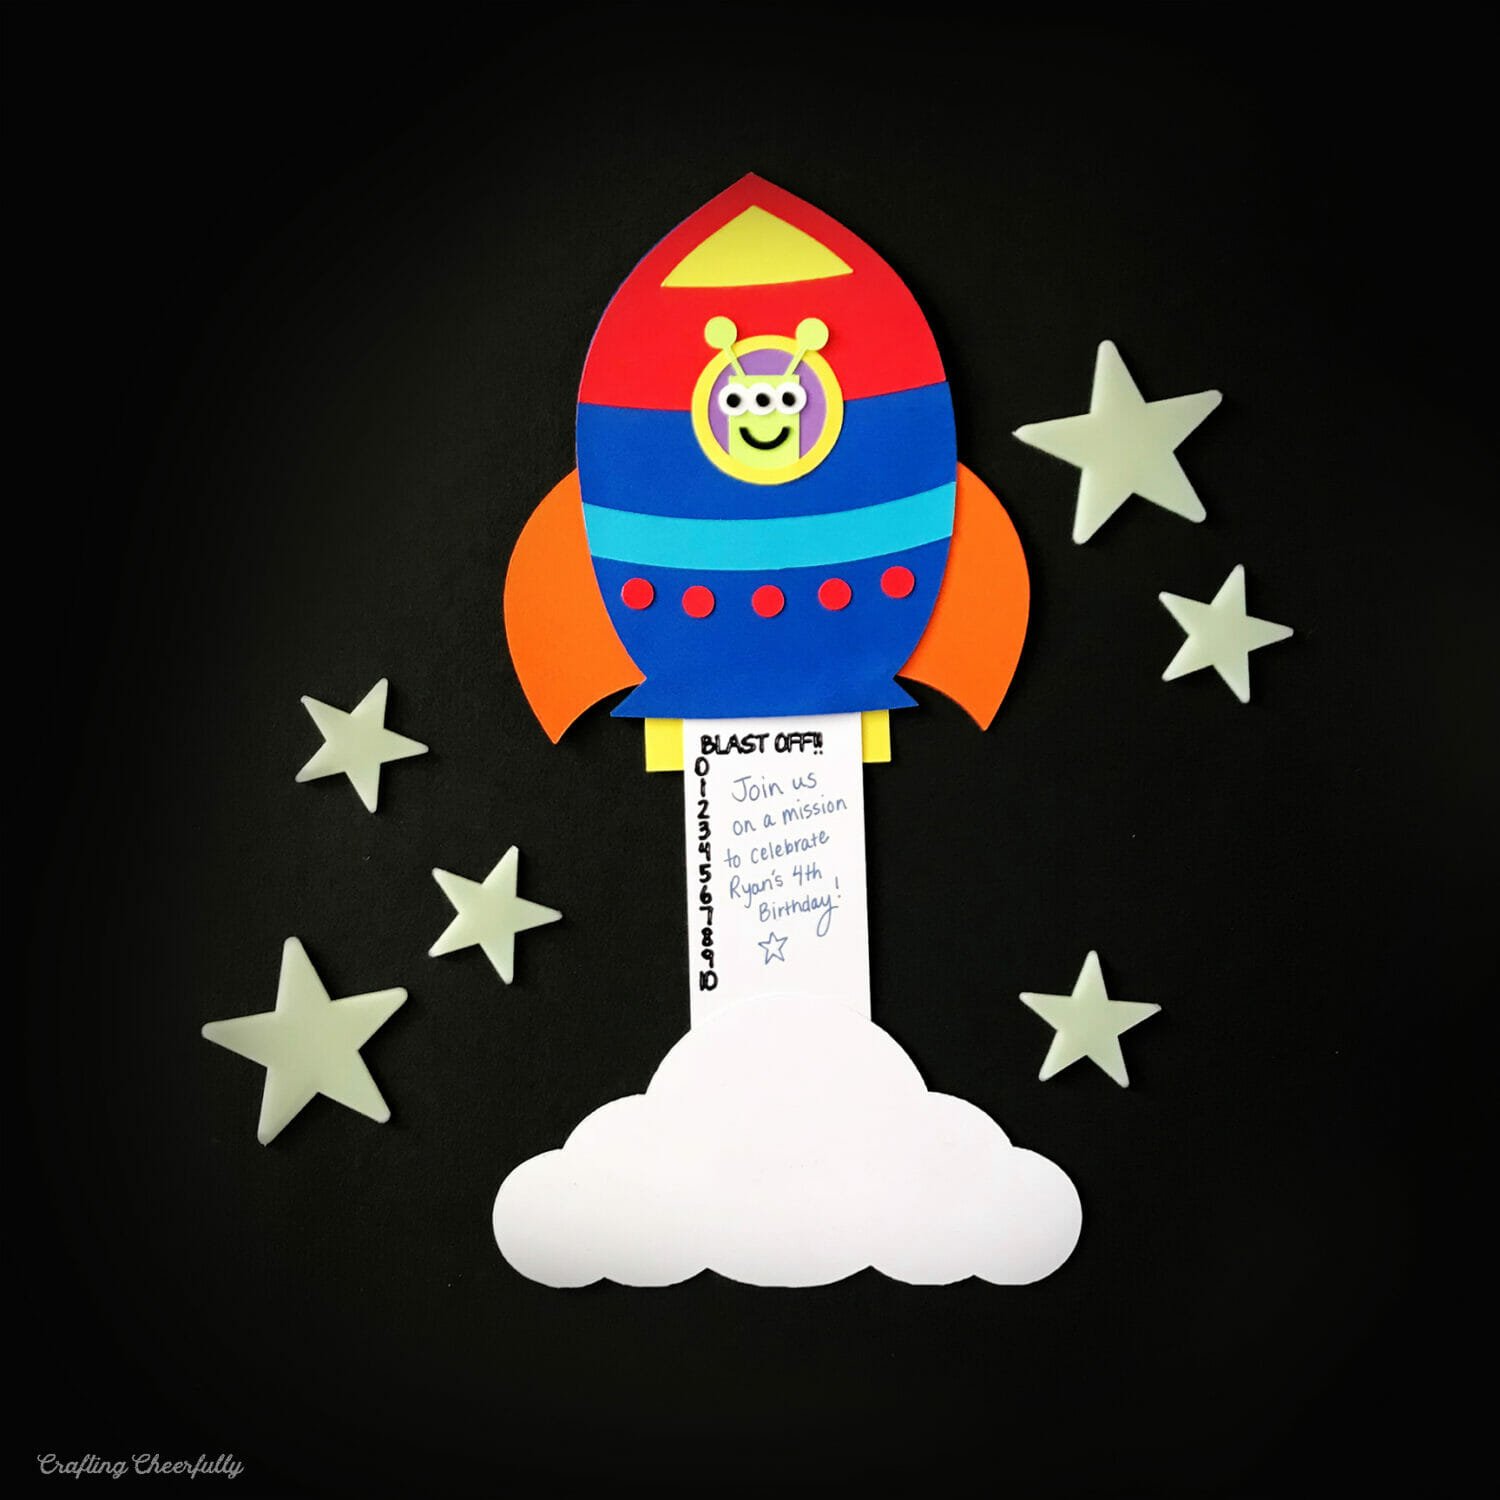
These come together so quickly with my Cricut Explore! Grab the free SVG cut file to create your own or use the PDF pattern to cut it out by hand.
More Interactive Card Tutorials

How to Make a Rocket Ship Card
Supplies Needed for Card
- Free files – Grab the free files by filling out the purple form at the end of this post.
- Cardstock
- Choose a sturdy cardstock – I used 80lb cardstock.
- Bazzill is a great sturdy paper for slider cards that can be found at Joann Fabrics, on Amazon or at Scrapbook.com
- Adhesive: Double-sided tape or Tape Runner
- Glue Stick or Glue Pen
-
Cricut cutting machine – I used my Cricut Explore
- Cutting Mat and Cricut tools for weeding
- Cricut brayer
- Cricut Pen
- If cutting by hand:
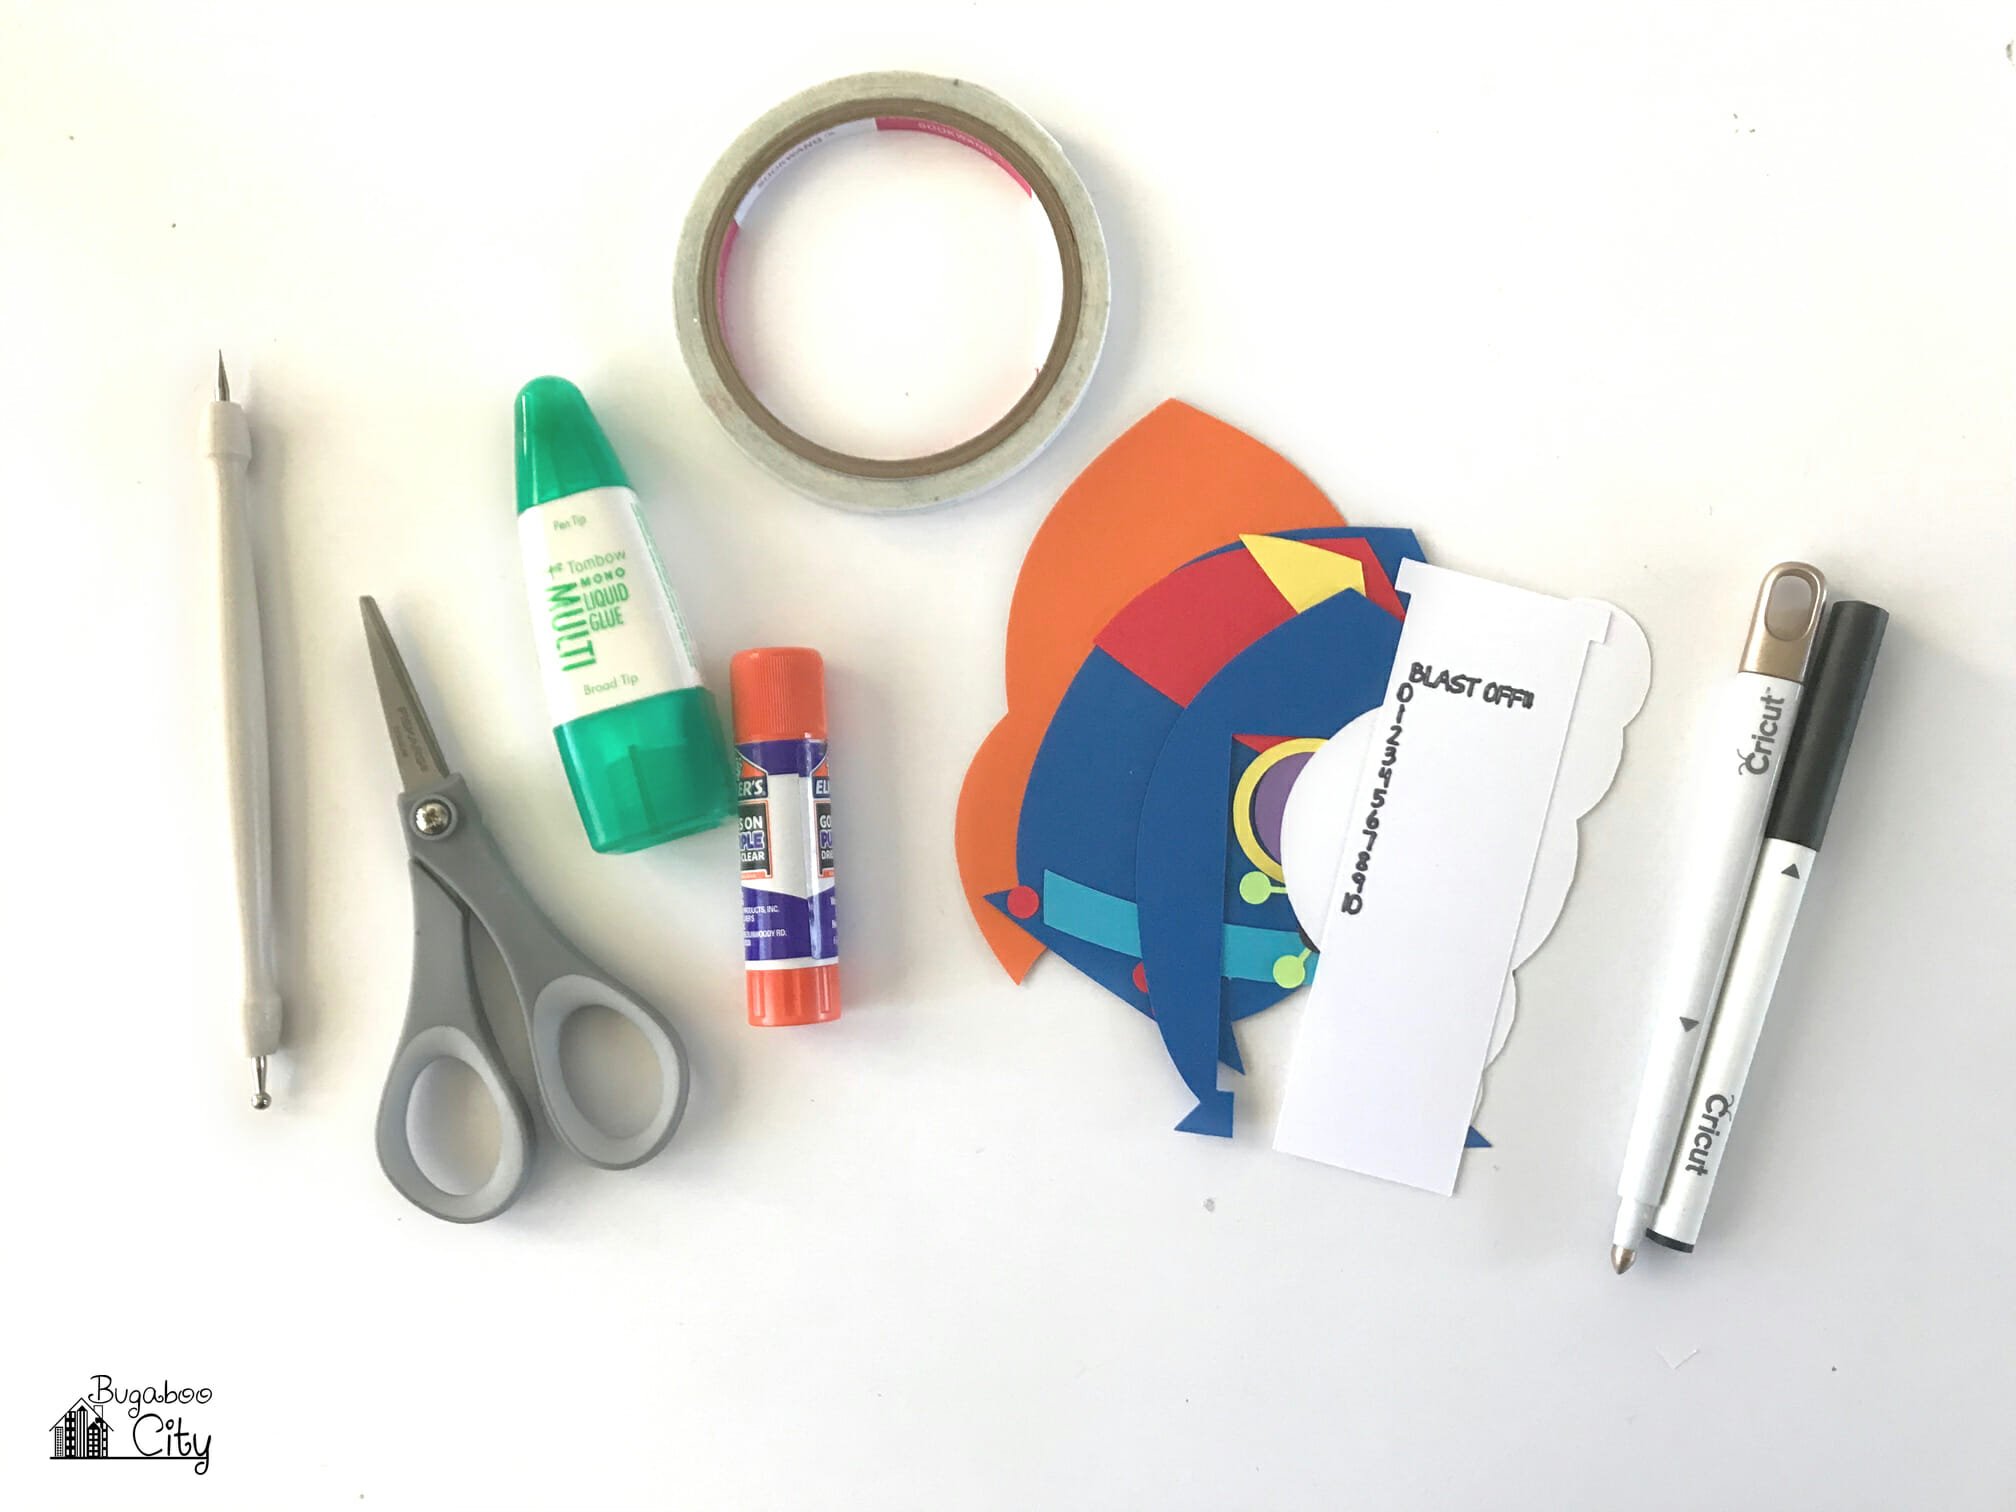
Step One: Use the pattern or cut file to cut out all of the shapes. I used the SVG cut file and my Cricut Explore to cut everything out. I even had my Cricut write the words “Blast Off” and the numbers. You can easily write these by hand if you are not using a cutting machine. Just make sure anything you write stays between the two scor-lines. These lines are marked on the PDF pattern in pink.
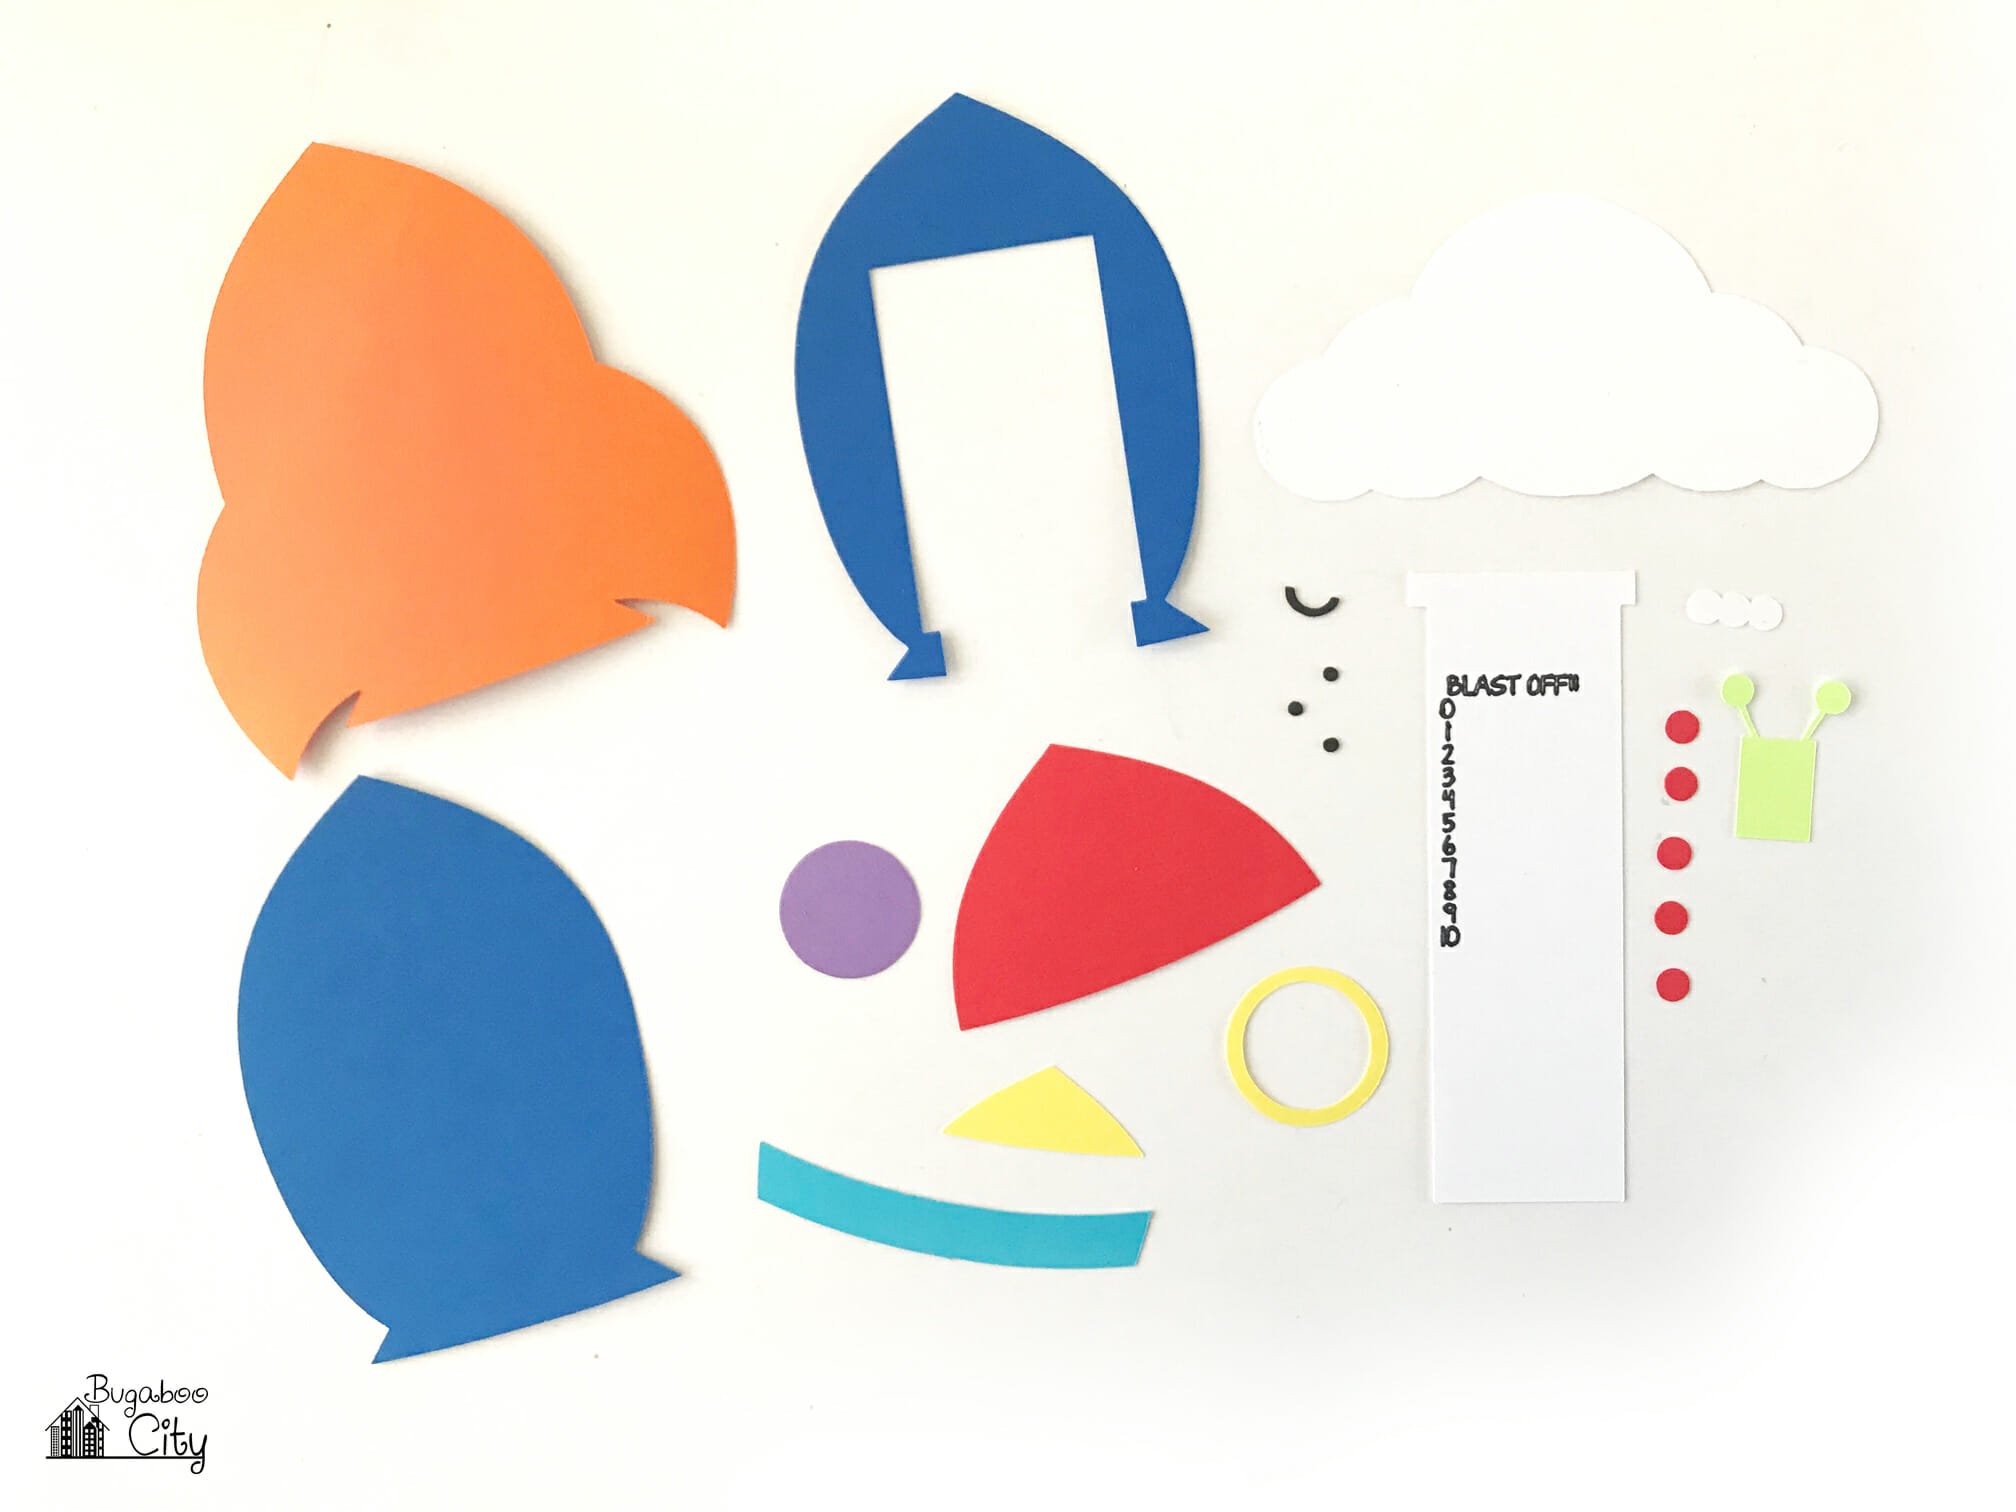
Step Two: Create the sliding mechanism for the rocket ship card. Start by covering the large rocket ship shape, (the one with the rectangle cutout of it) with adhesive. I used Scor-Tape around the straight edges and a glue stick for everywhere else. It is important that the edges around the cutout rectangle have strong adhesive on them to keep the sliding card from slipping out.
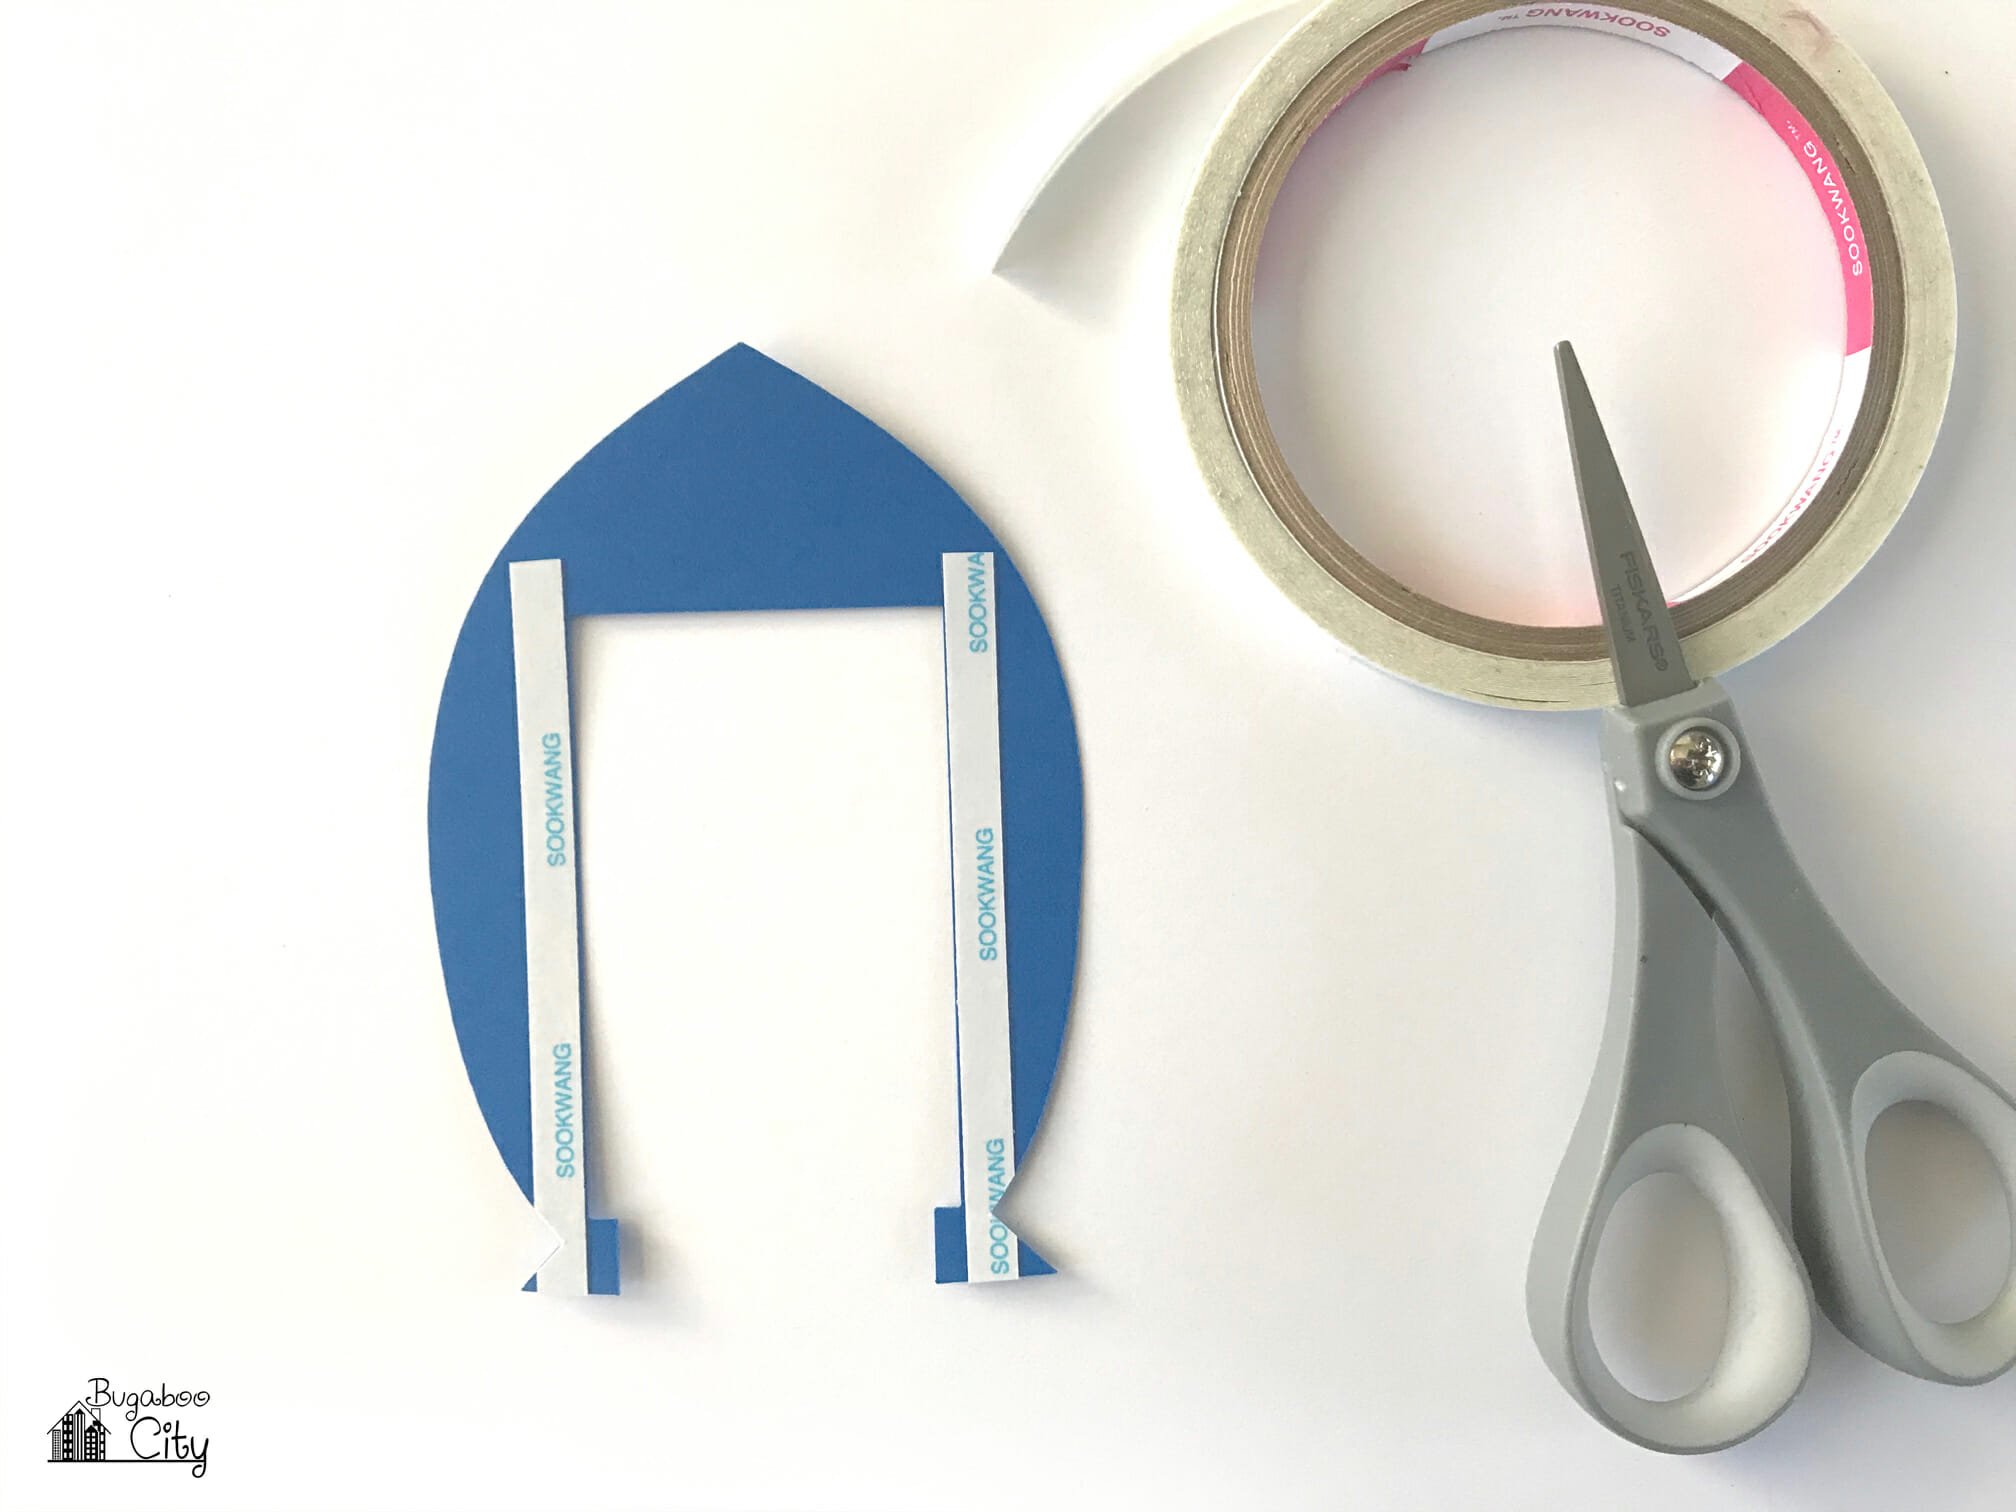
I used my small scissors to cut pieces of double-sided tape to fit the notches at the bottom of the card. Next, I covered the rest of the card with my glue stick.

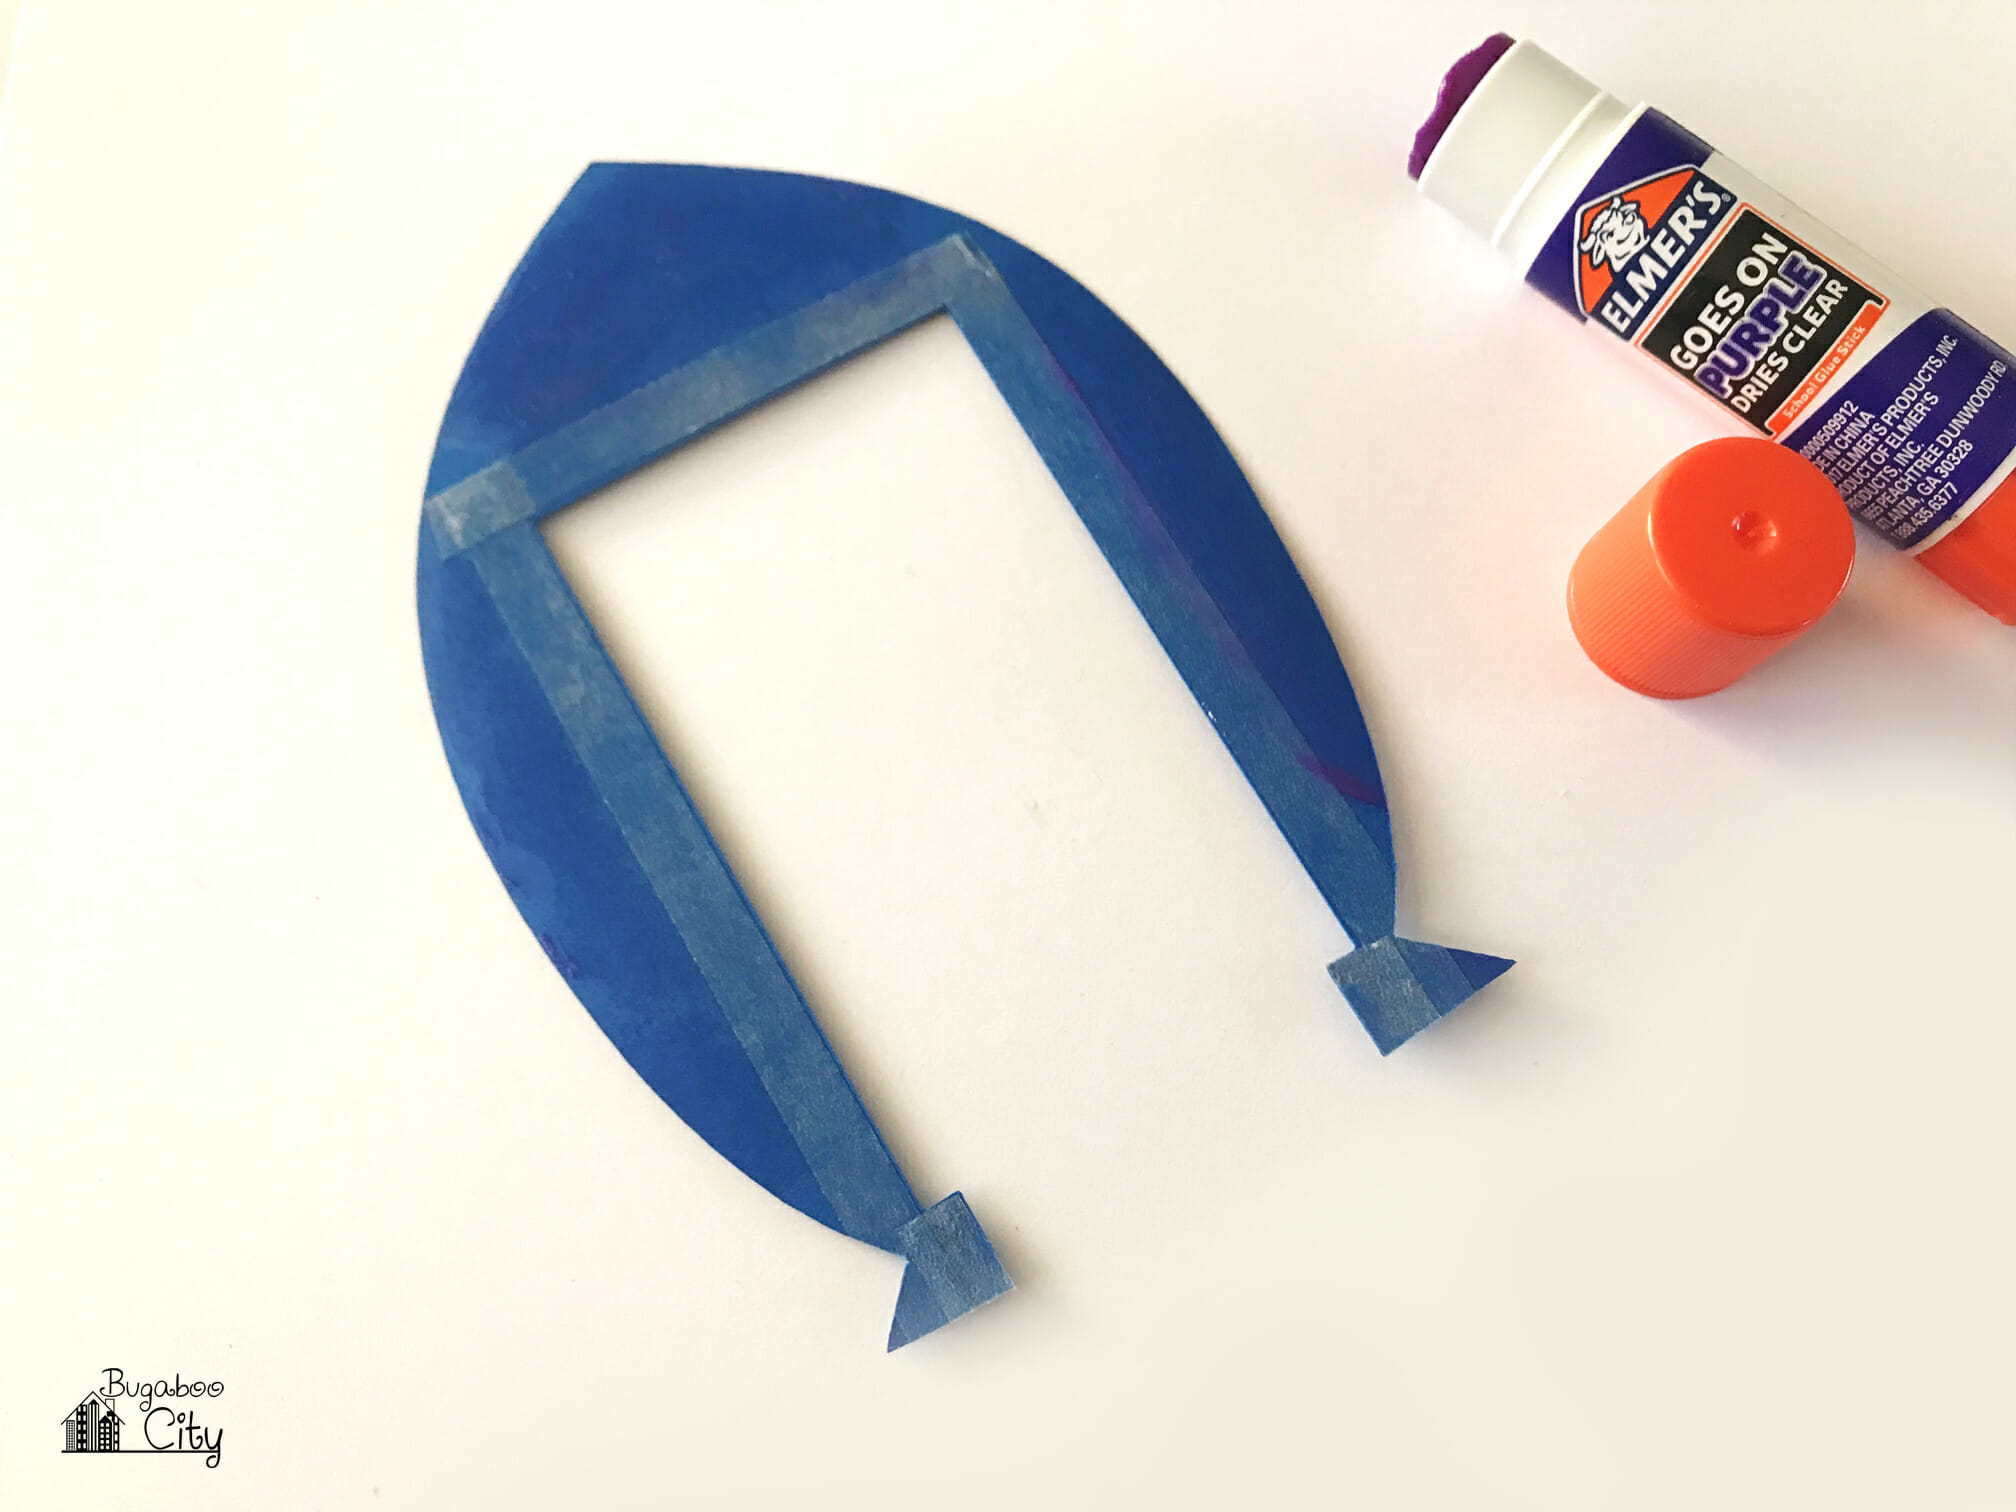
Layer this piece on top of the large rocket ship.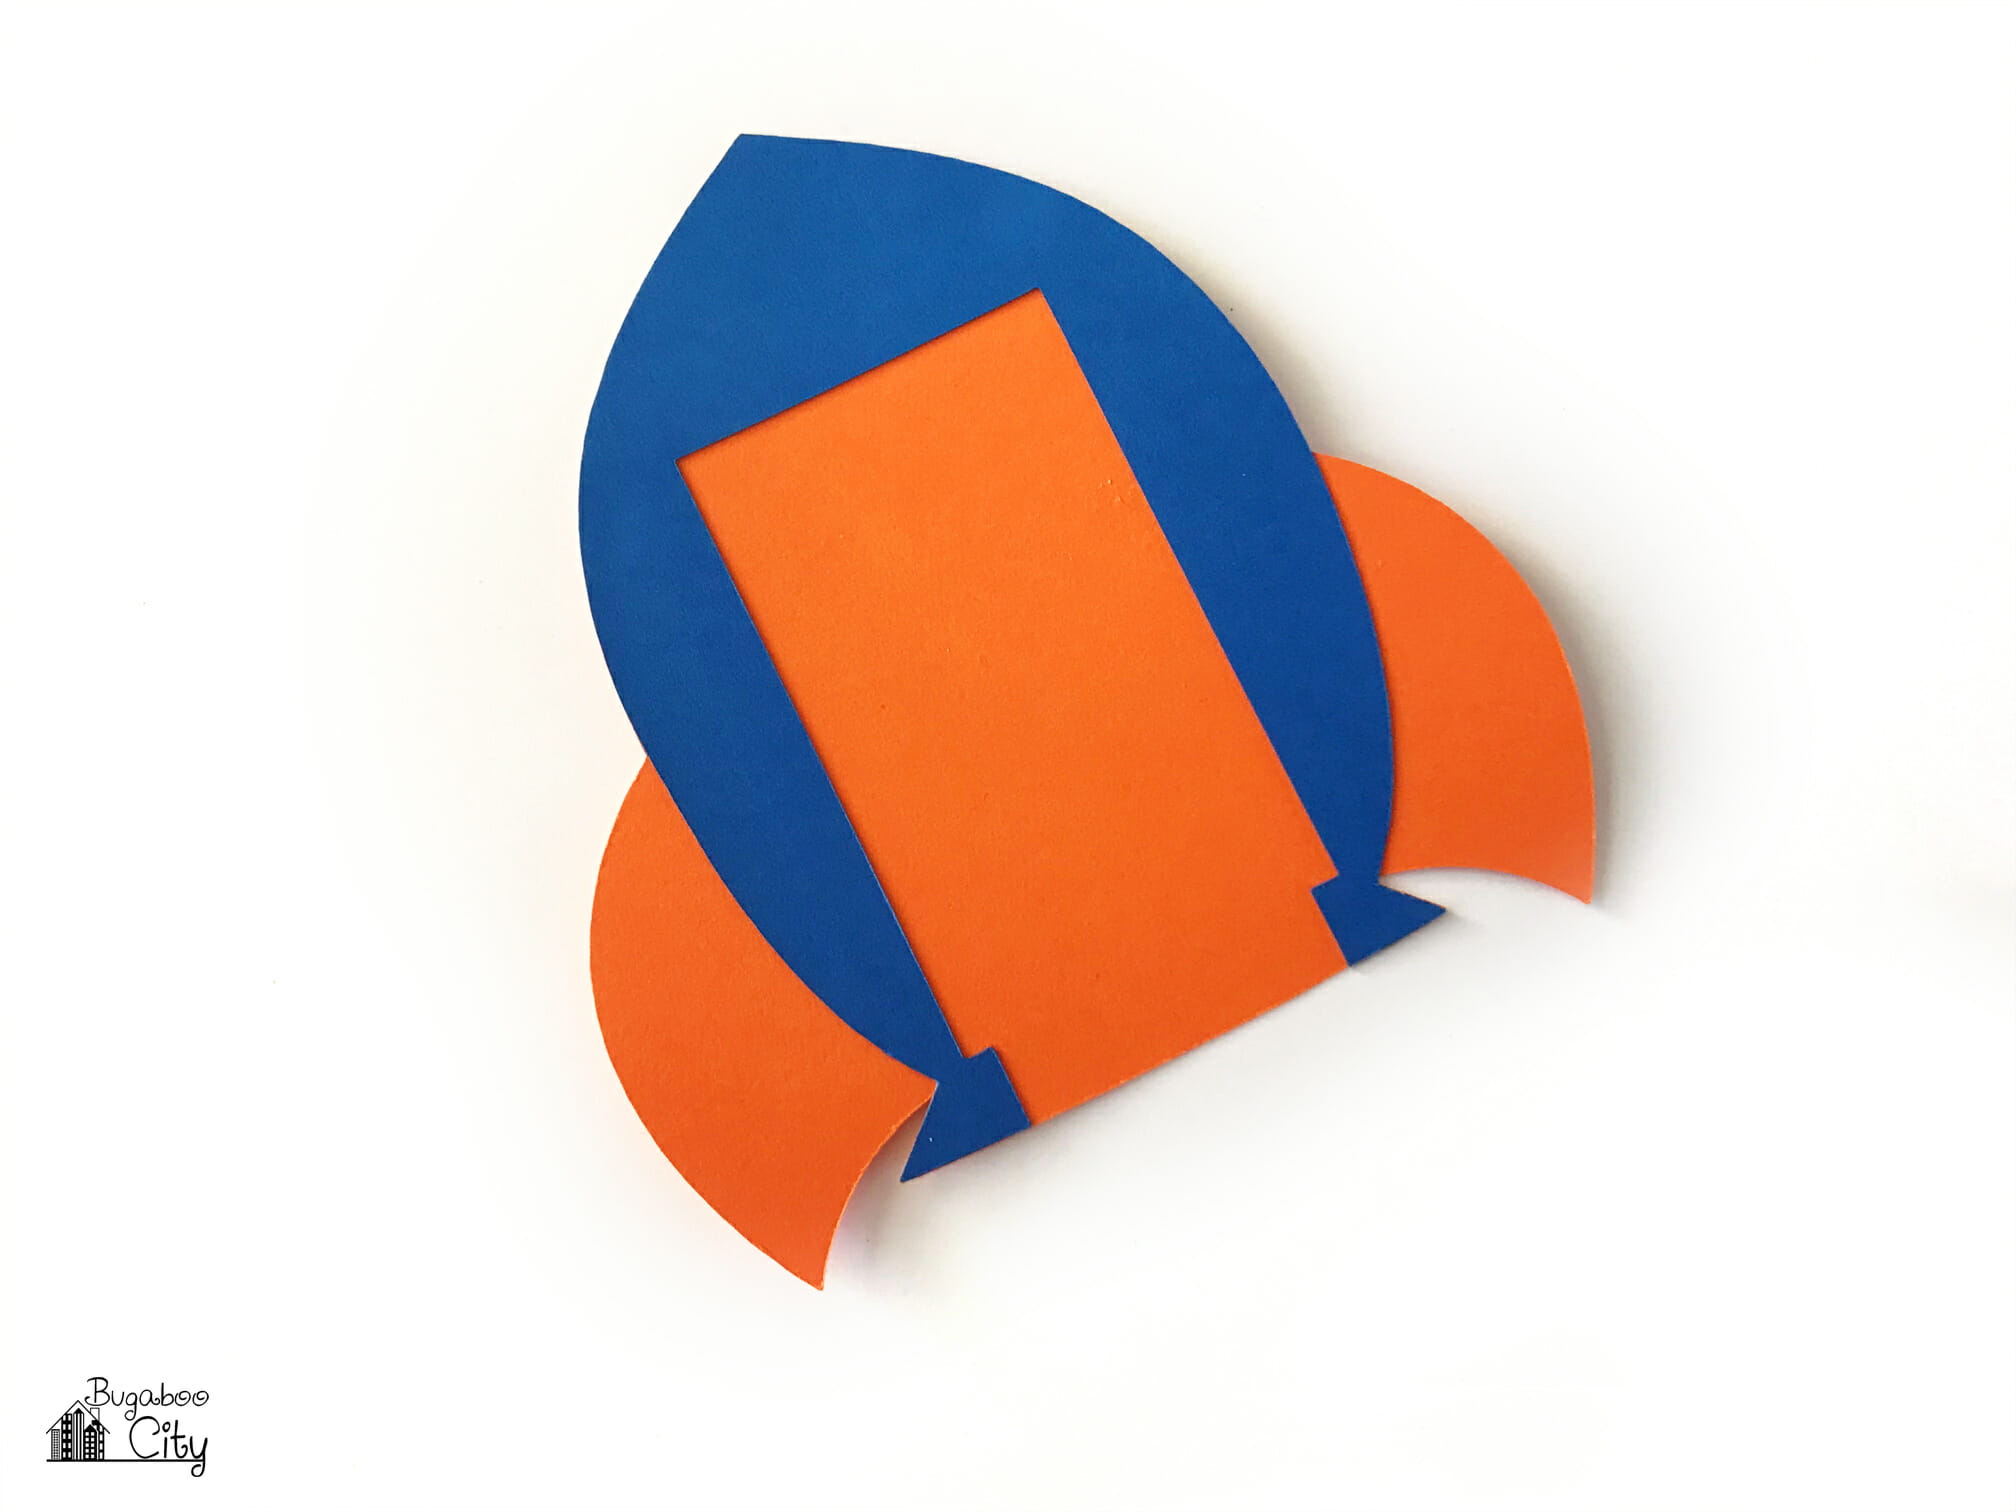
The slider card will now fit perfectly into the cutout area of the rocket ship.
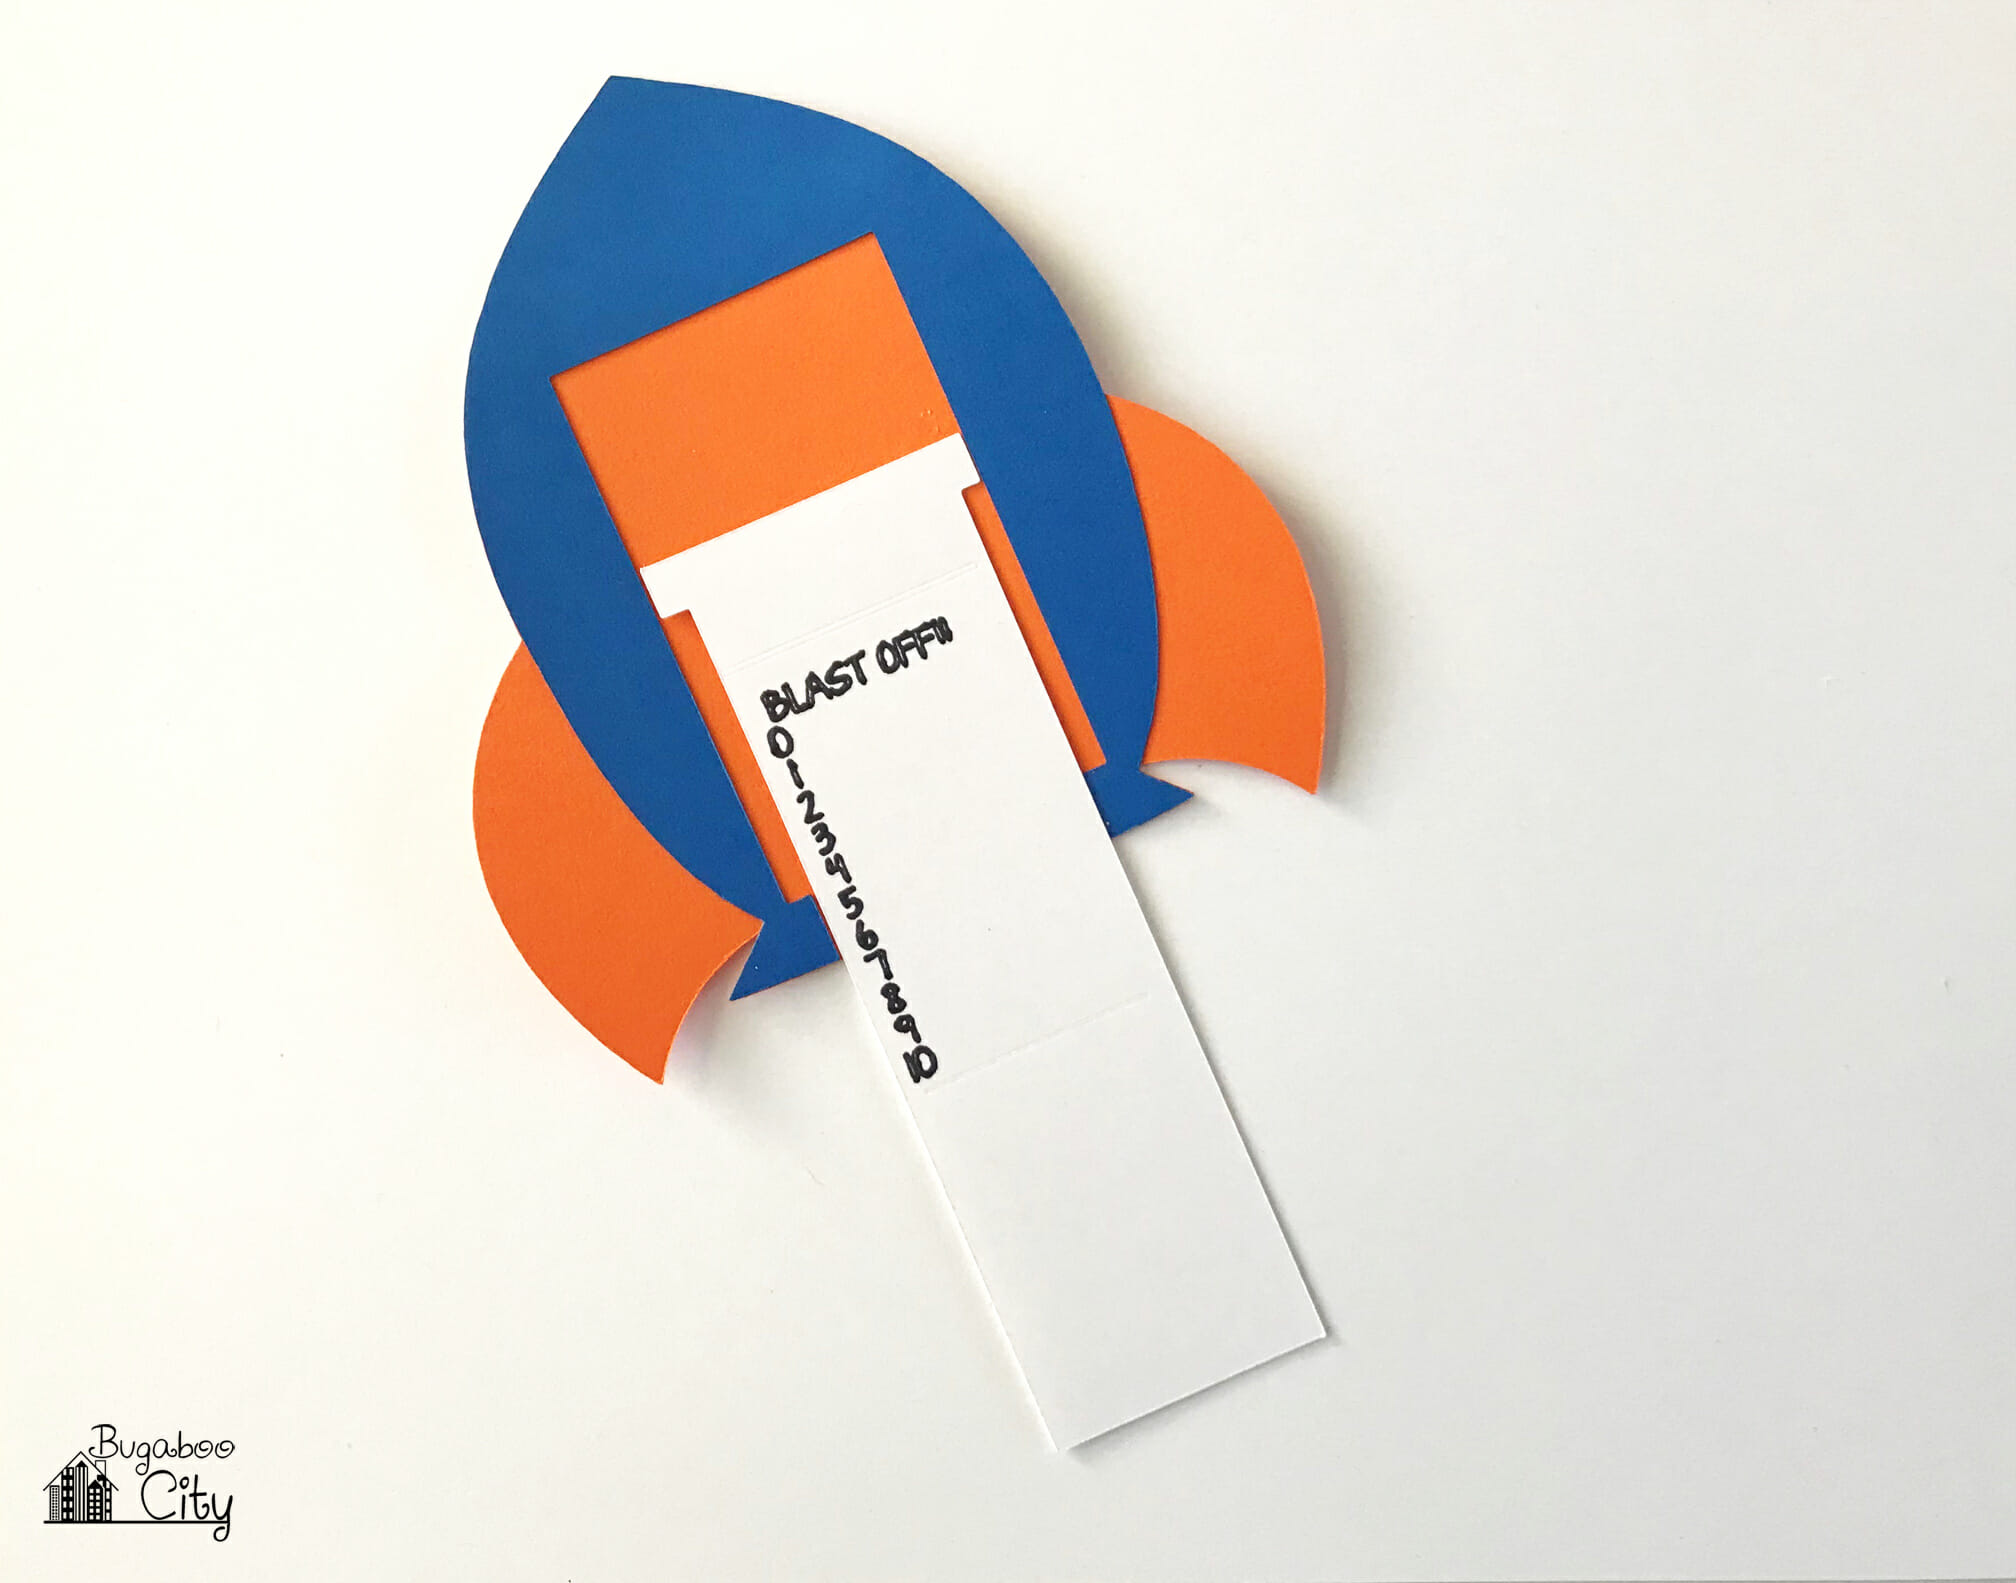
It is time to adhere the top layer of the rocket ship card. Cover the middle layer (the piece with the rectangle cutout) with adhesive, the same way you did before. Again, make sure the area surrounding the cut-out rectangle is covered with strong adhesive.

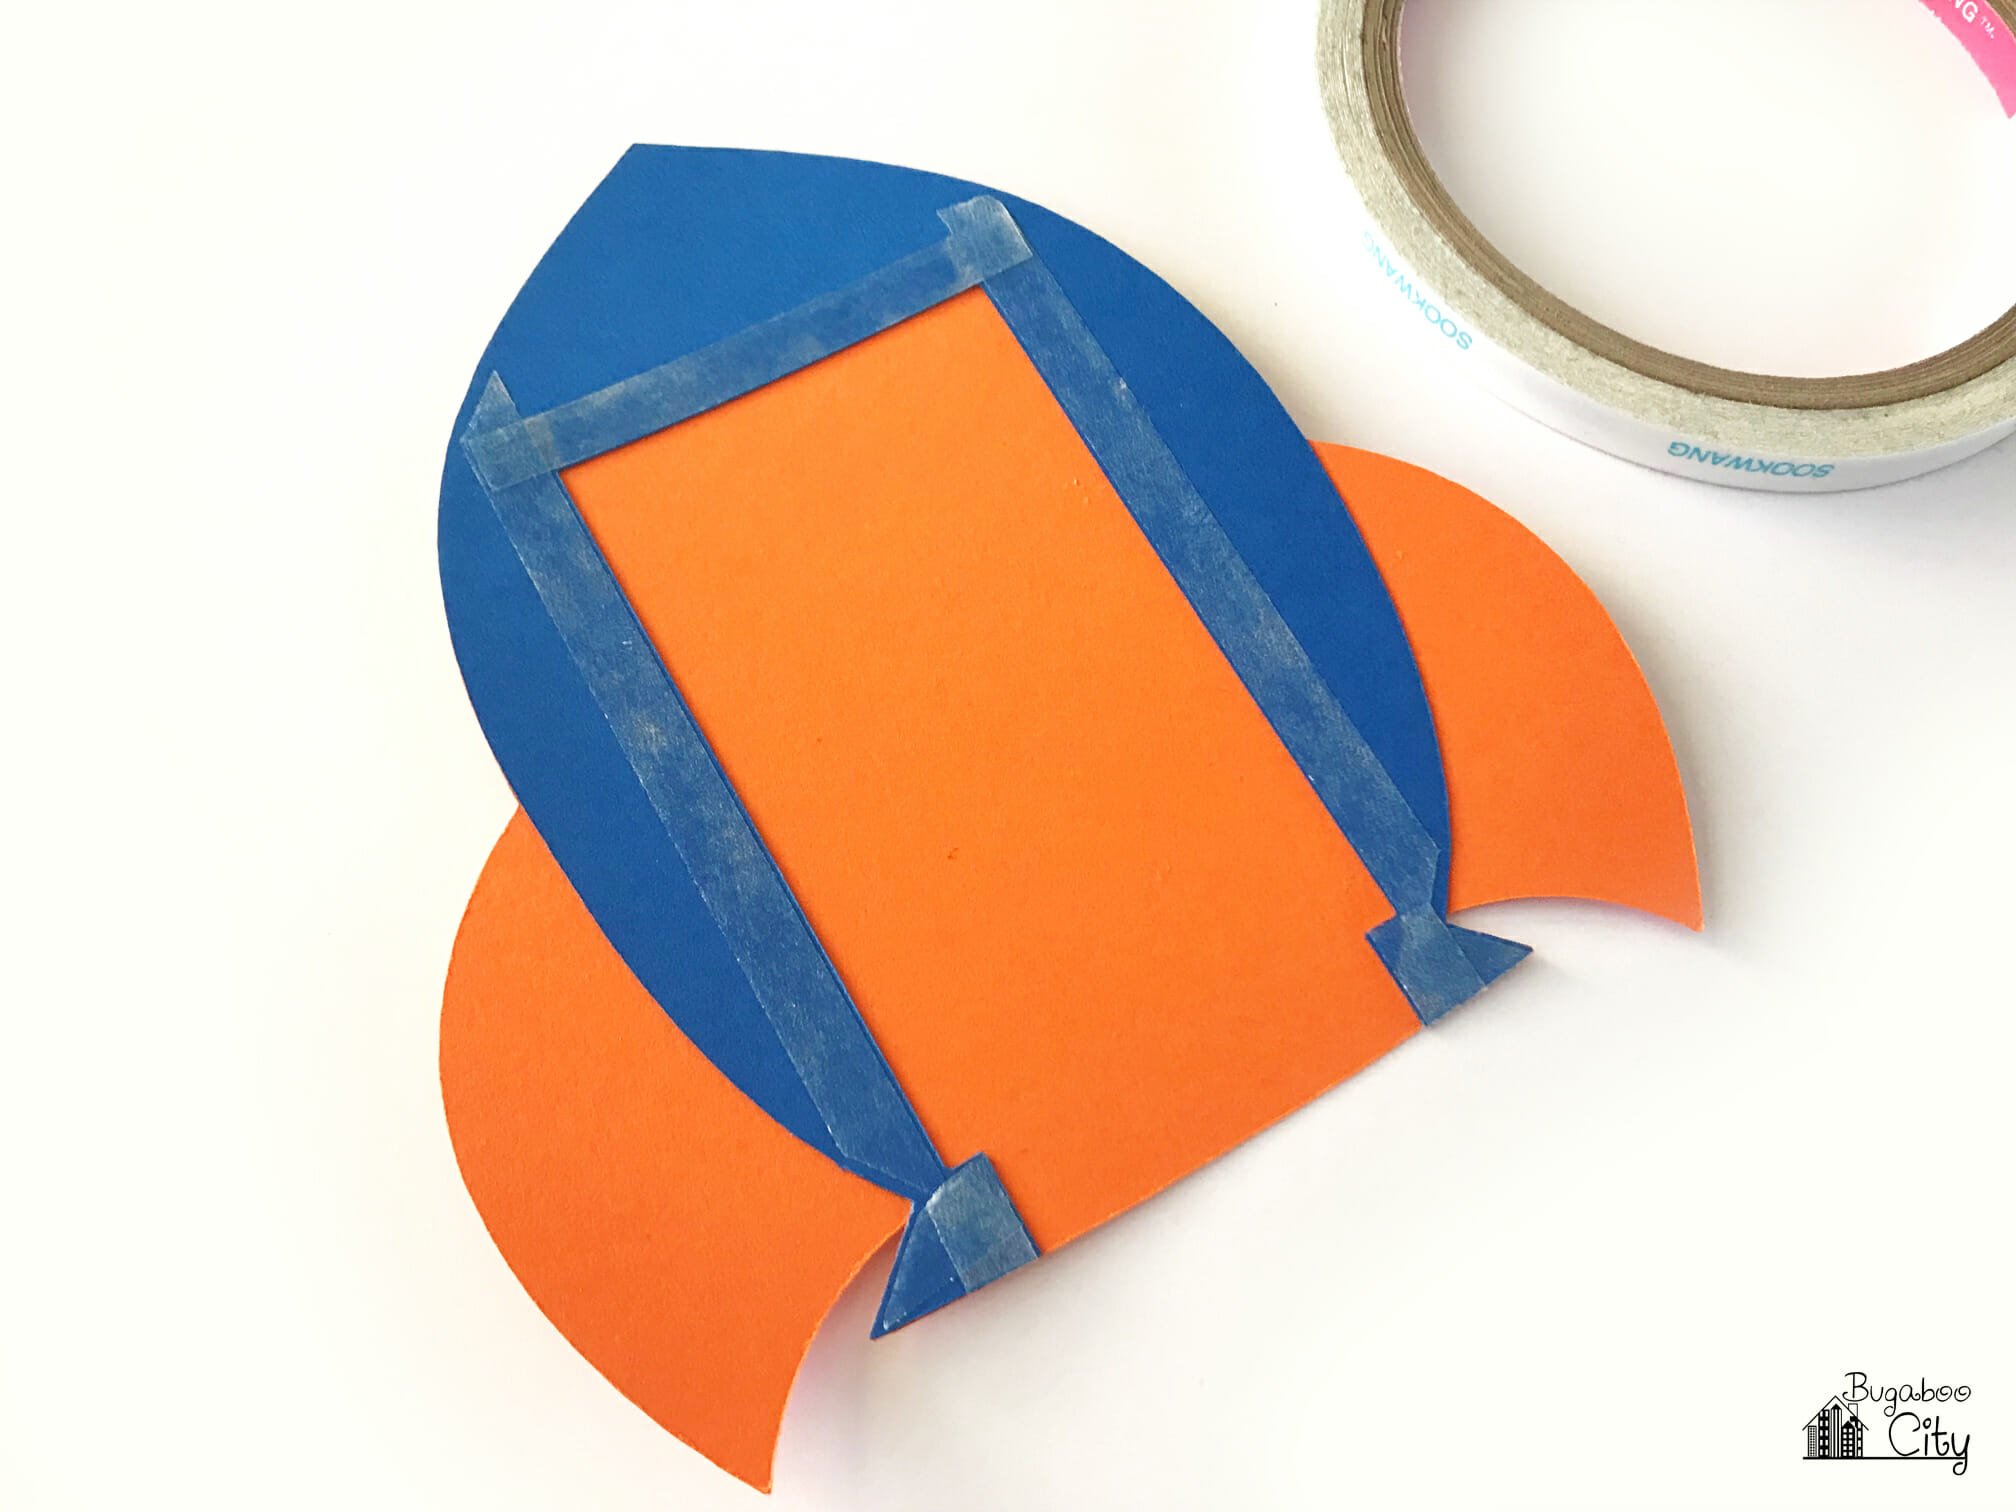
Lay the slider card in place then cover it up with the top rocket ship layer. Press down firmly.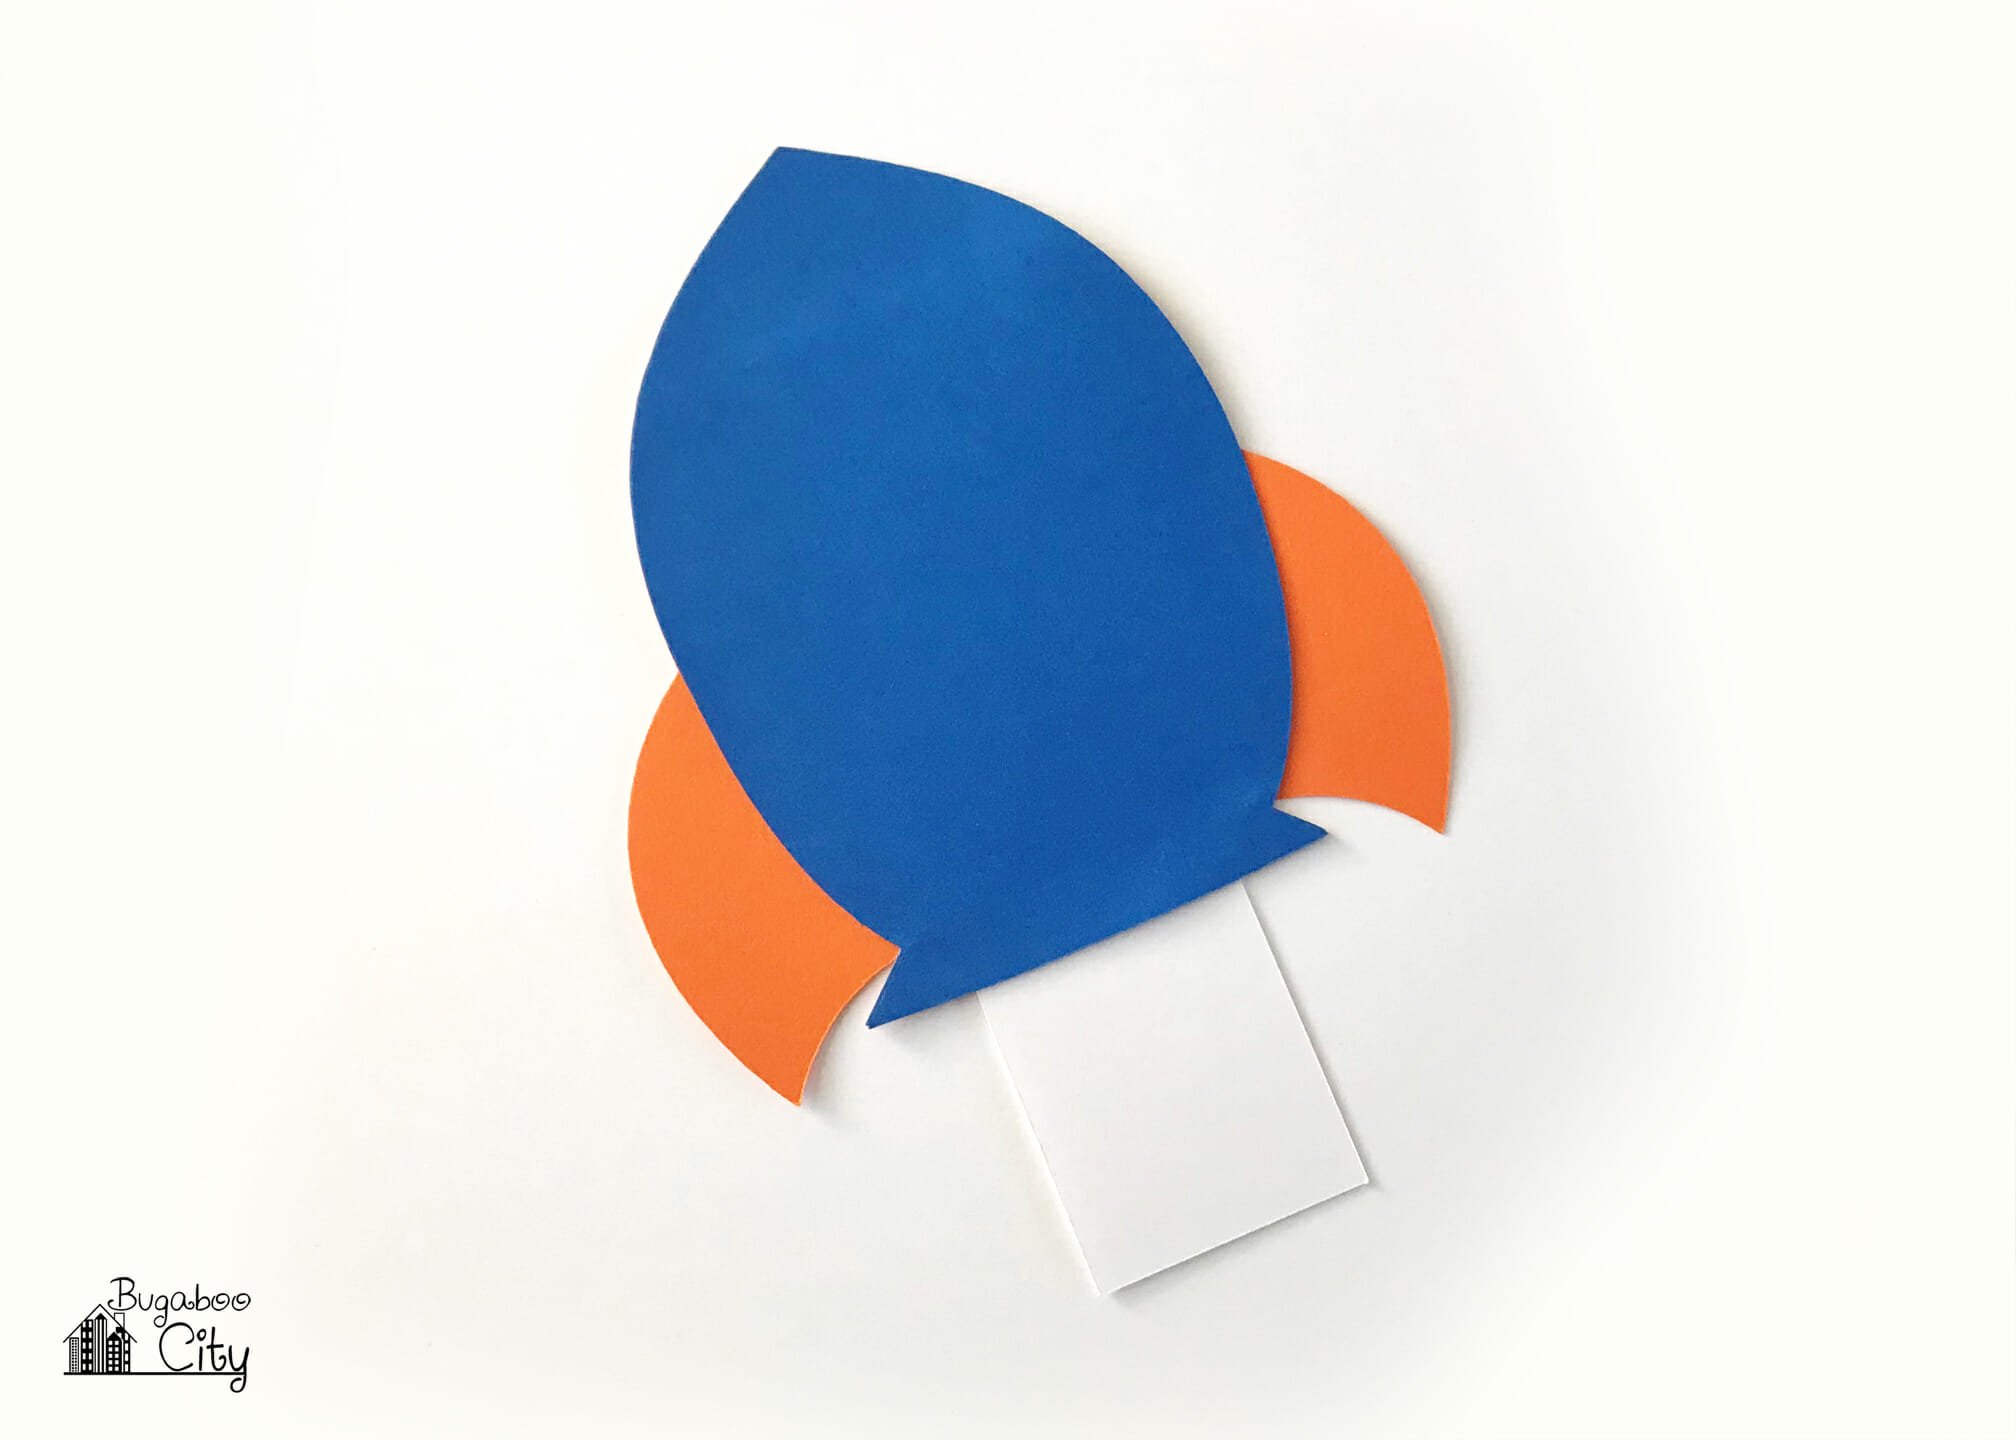
The slider card should now pull out easily – but stop before it pulls out all the way!
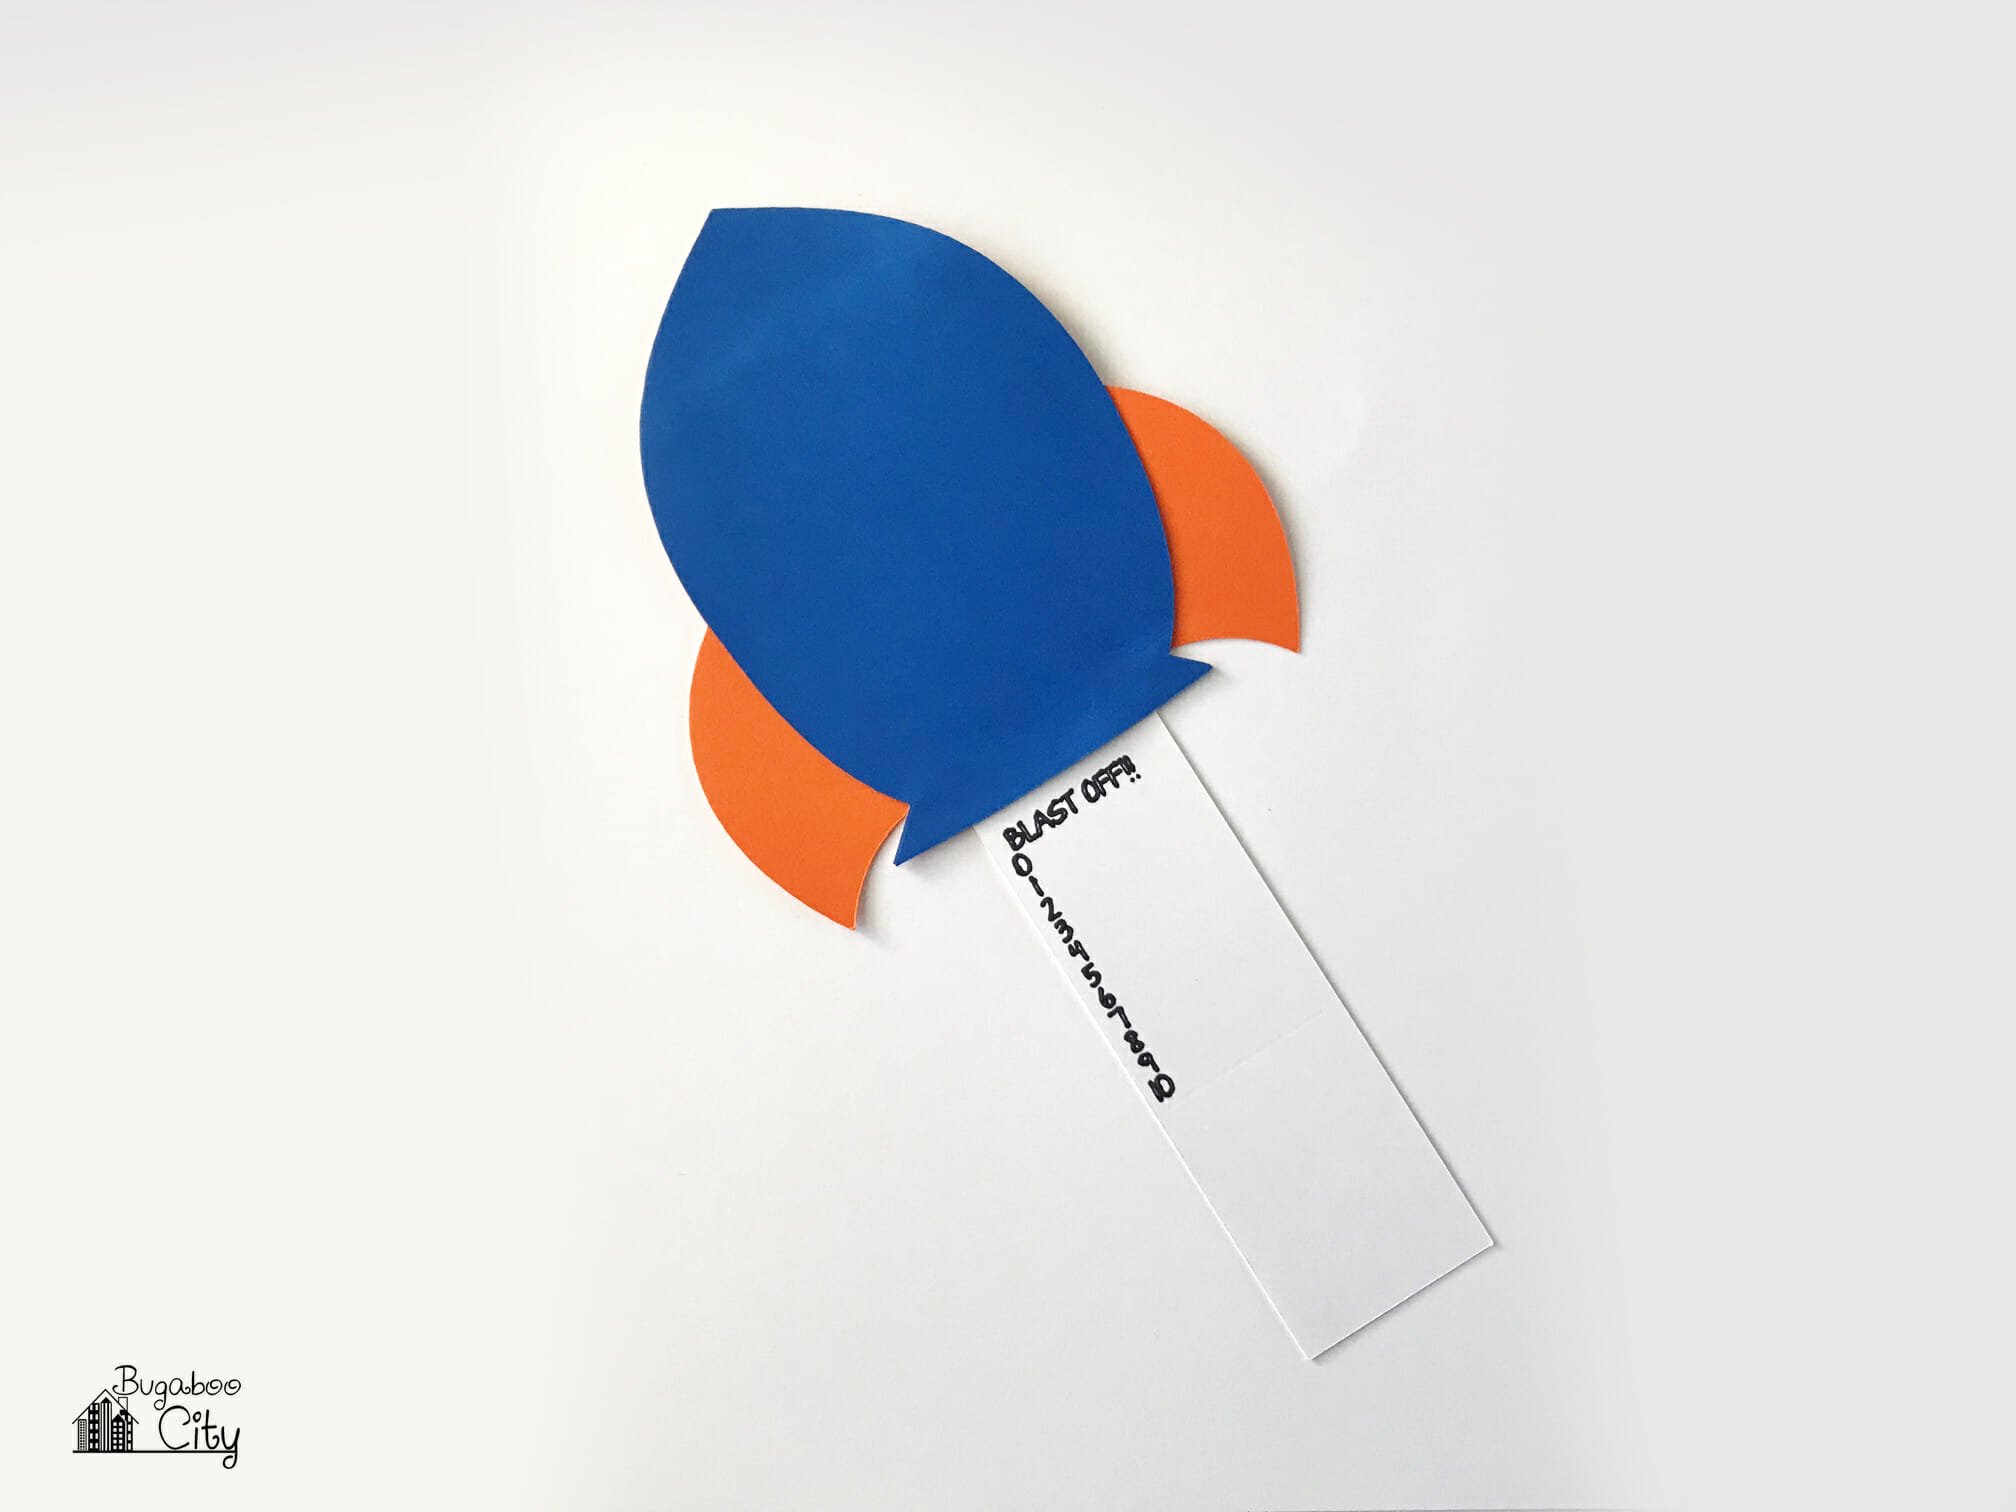
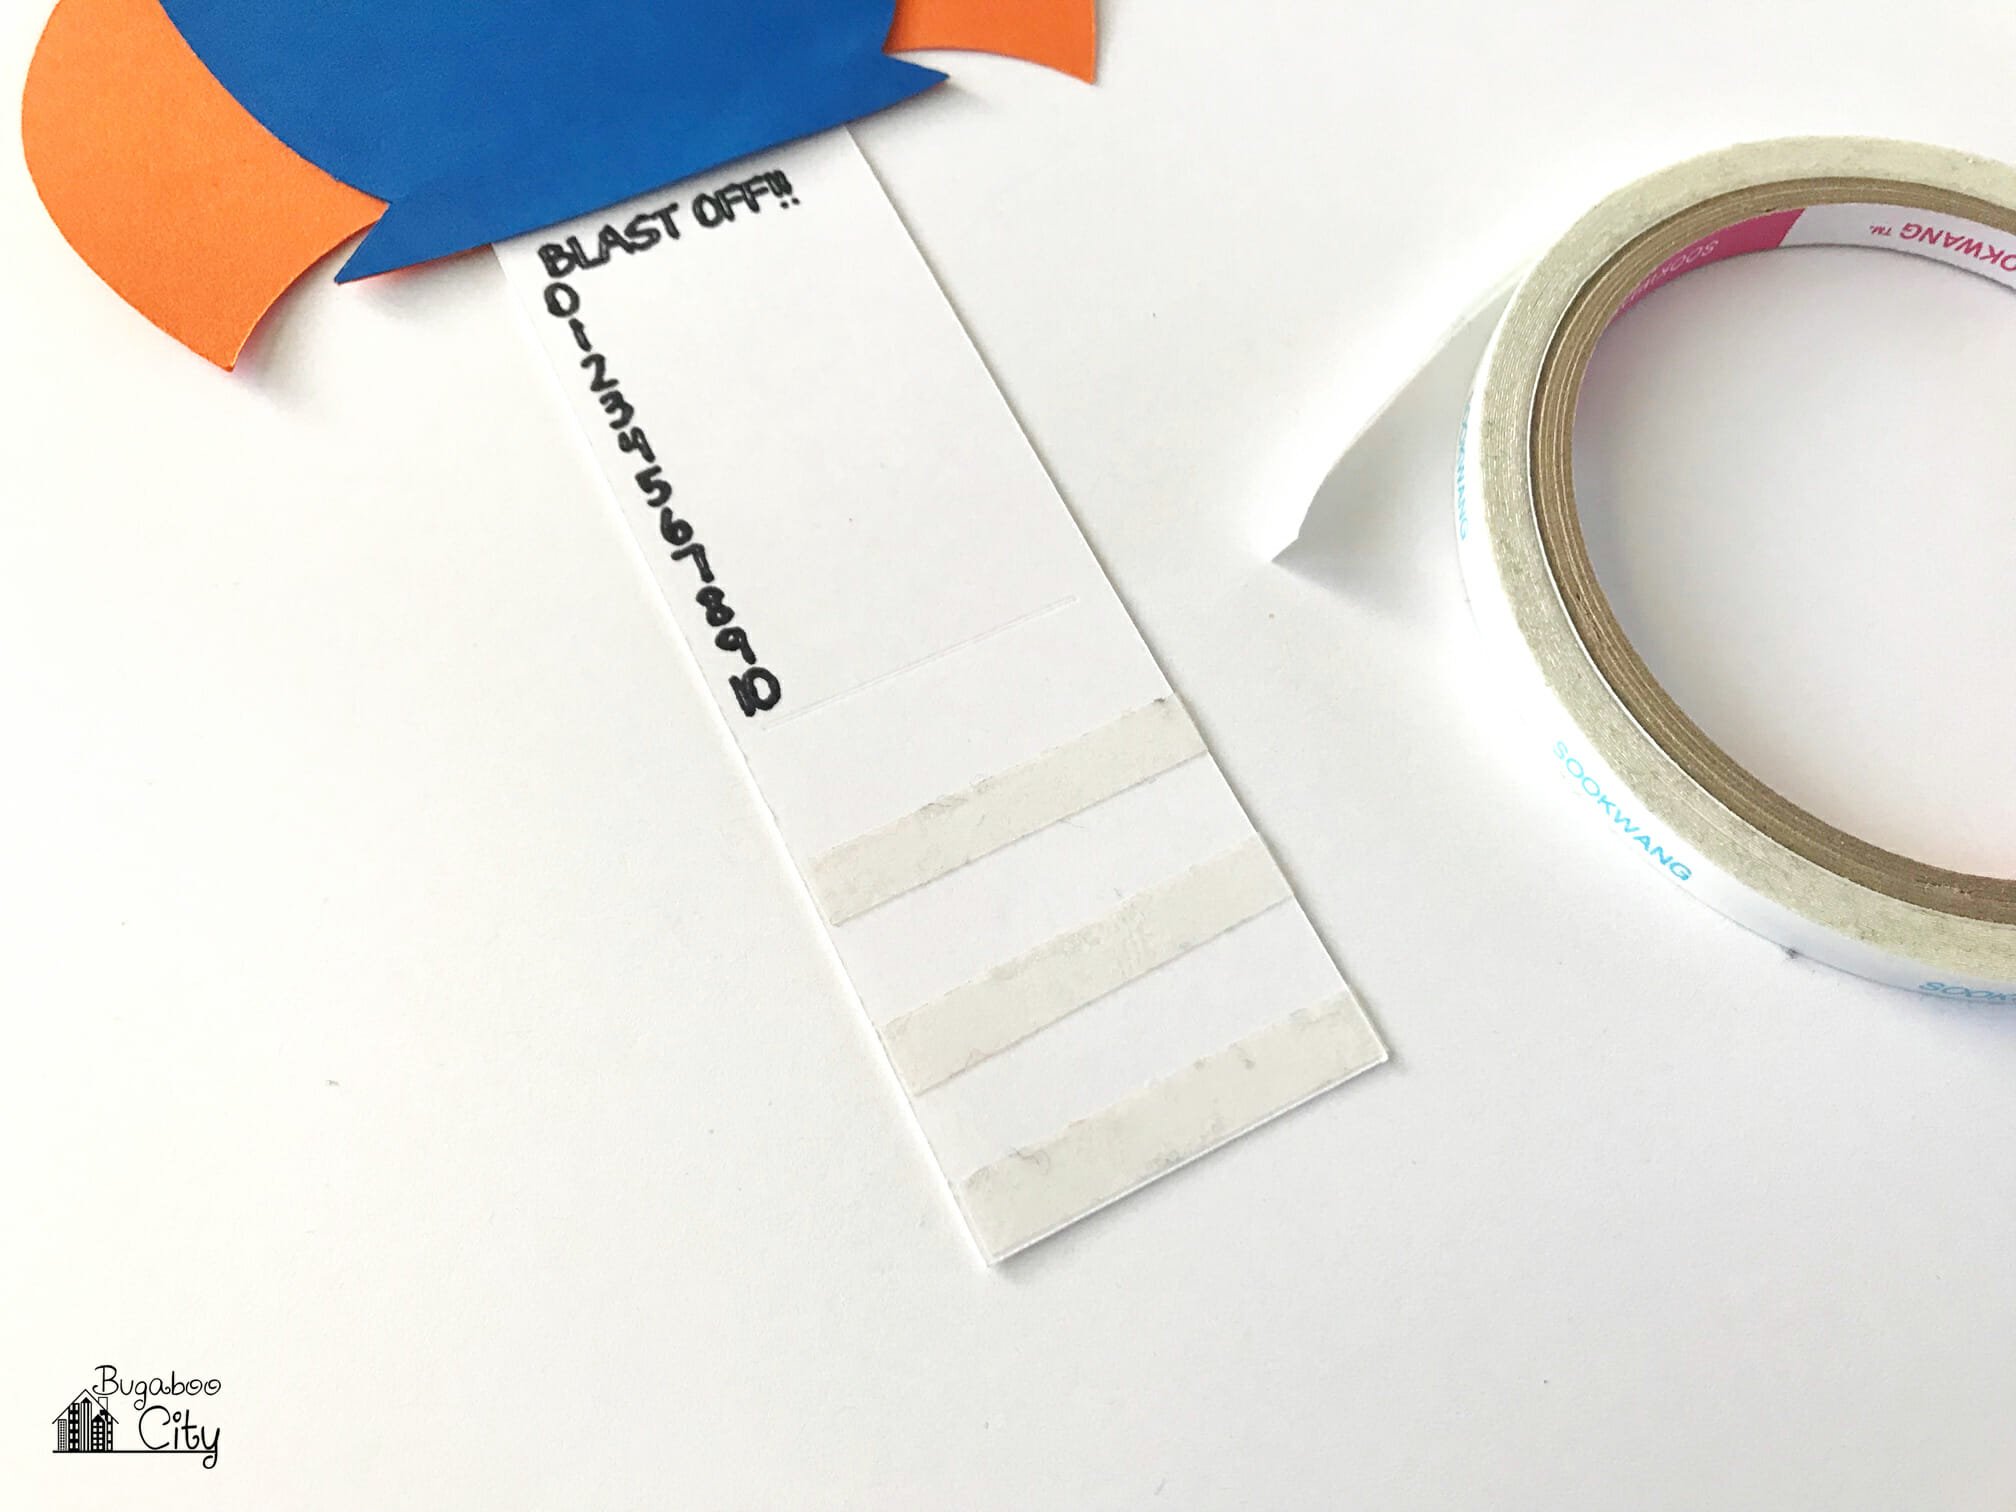
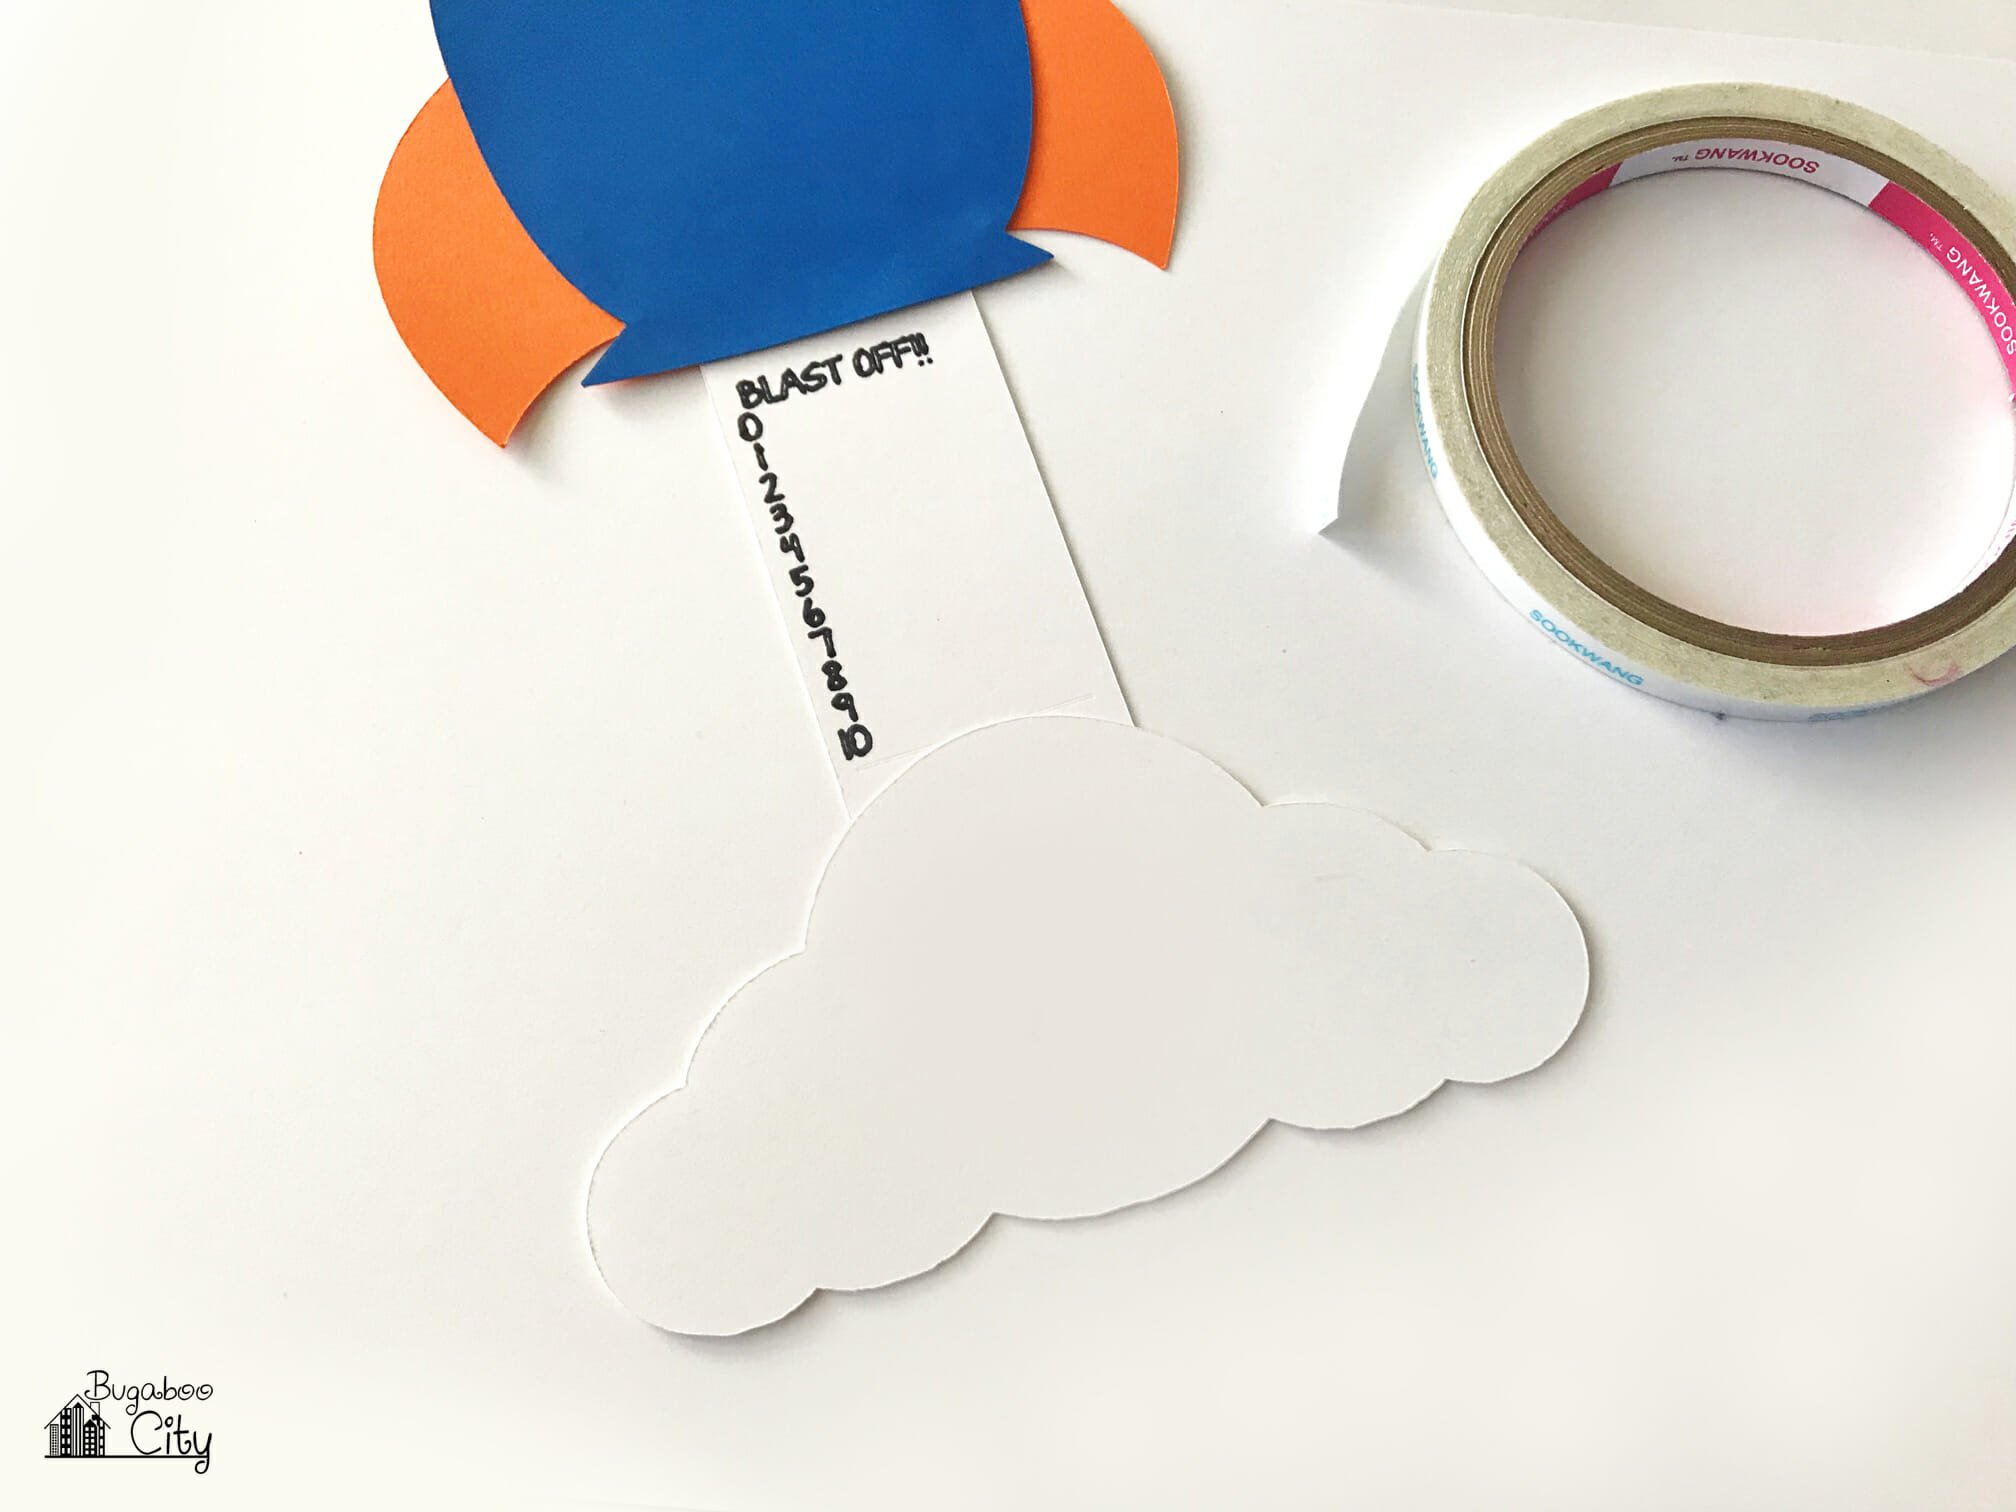
Step Three: Attach the rocket ship card to the poof of smoke. Cover the bottom end of the slider card with adhesive. I used my double-sided tape for this. The top edge of the smoke should line up with the bottom score line.
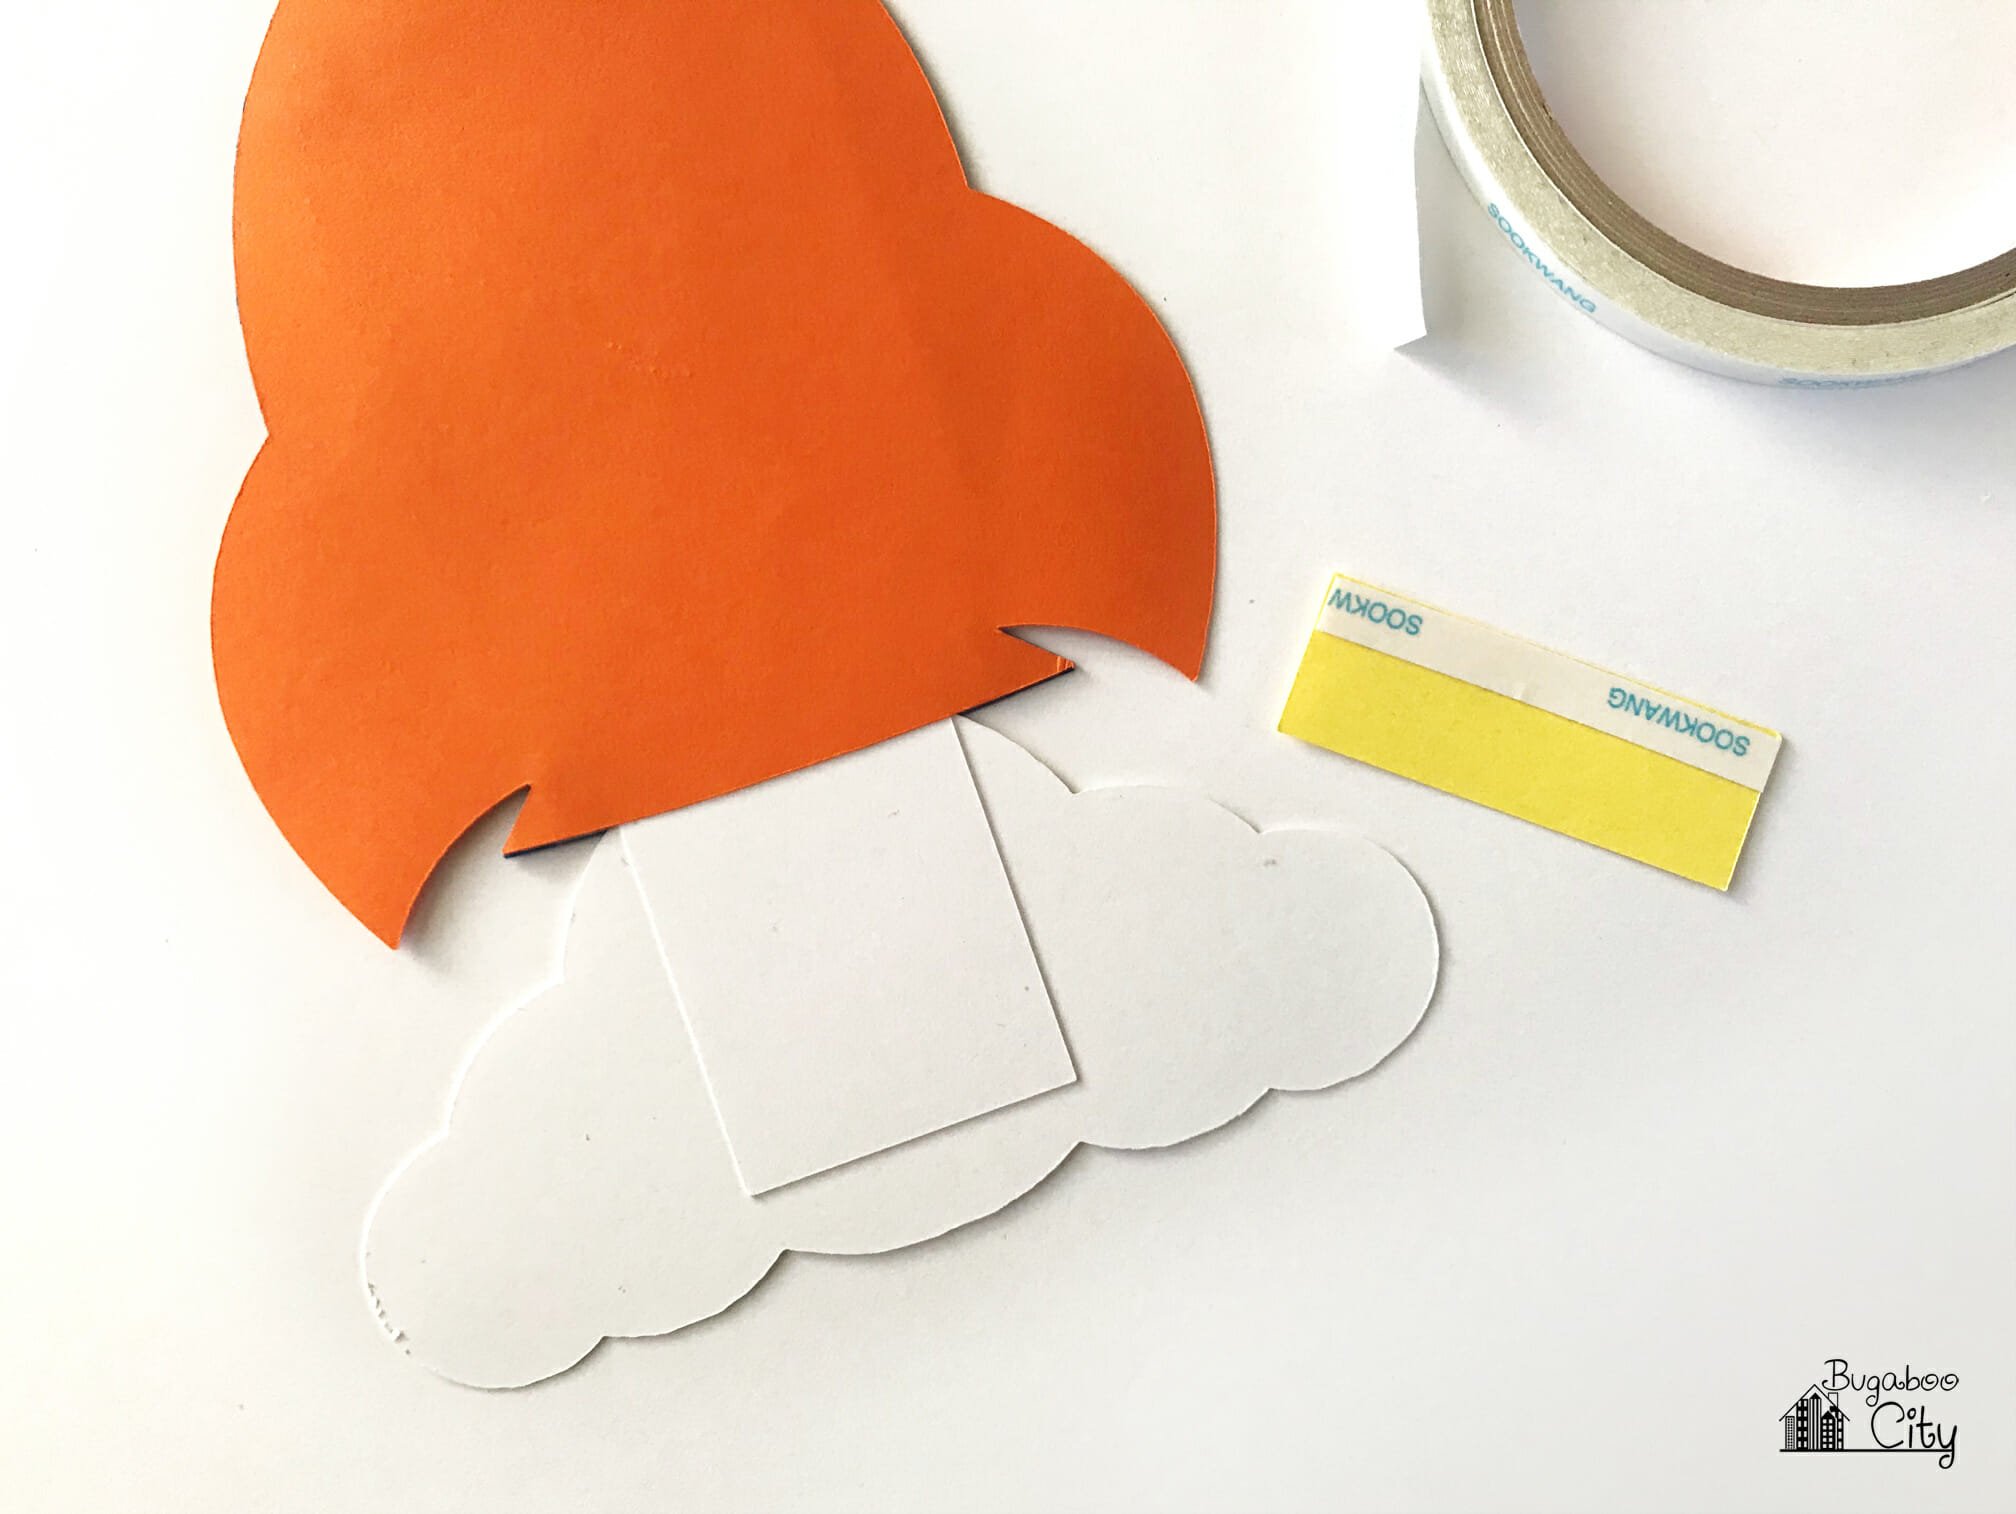
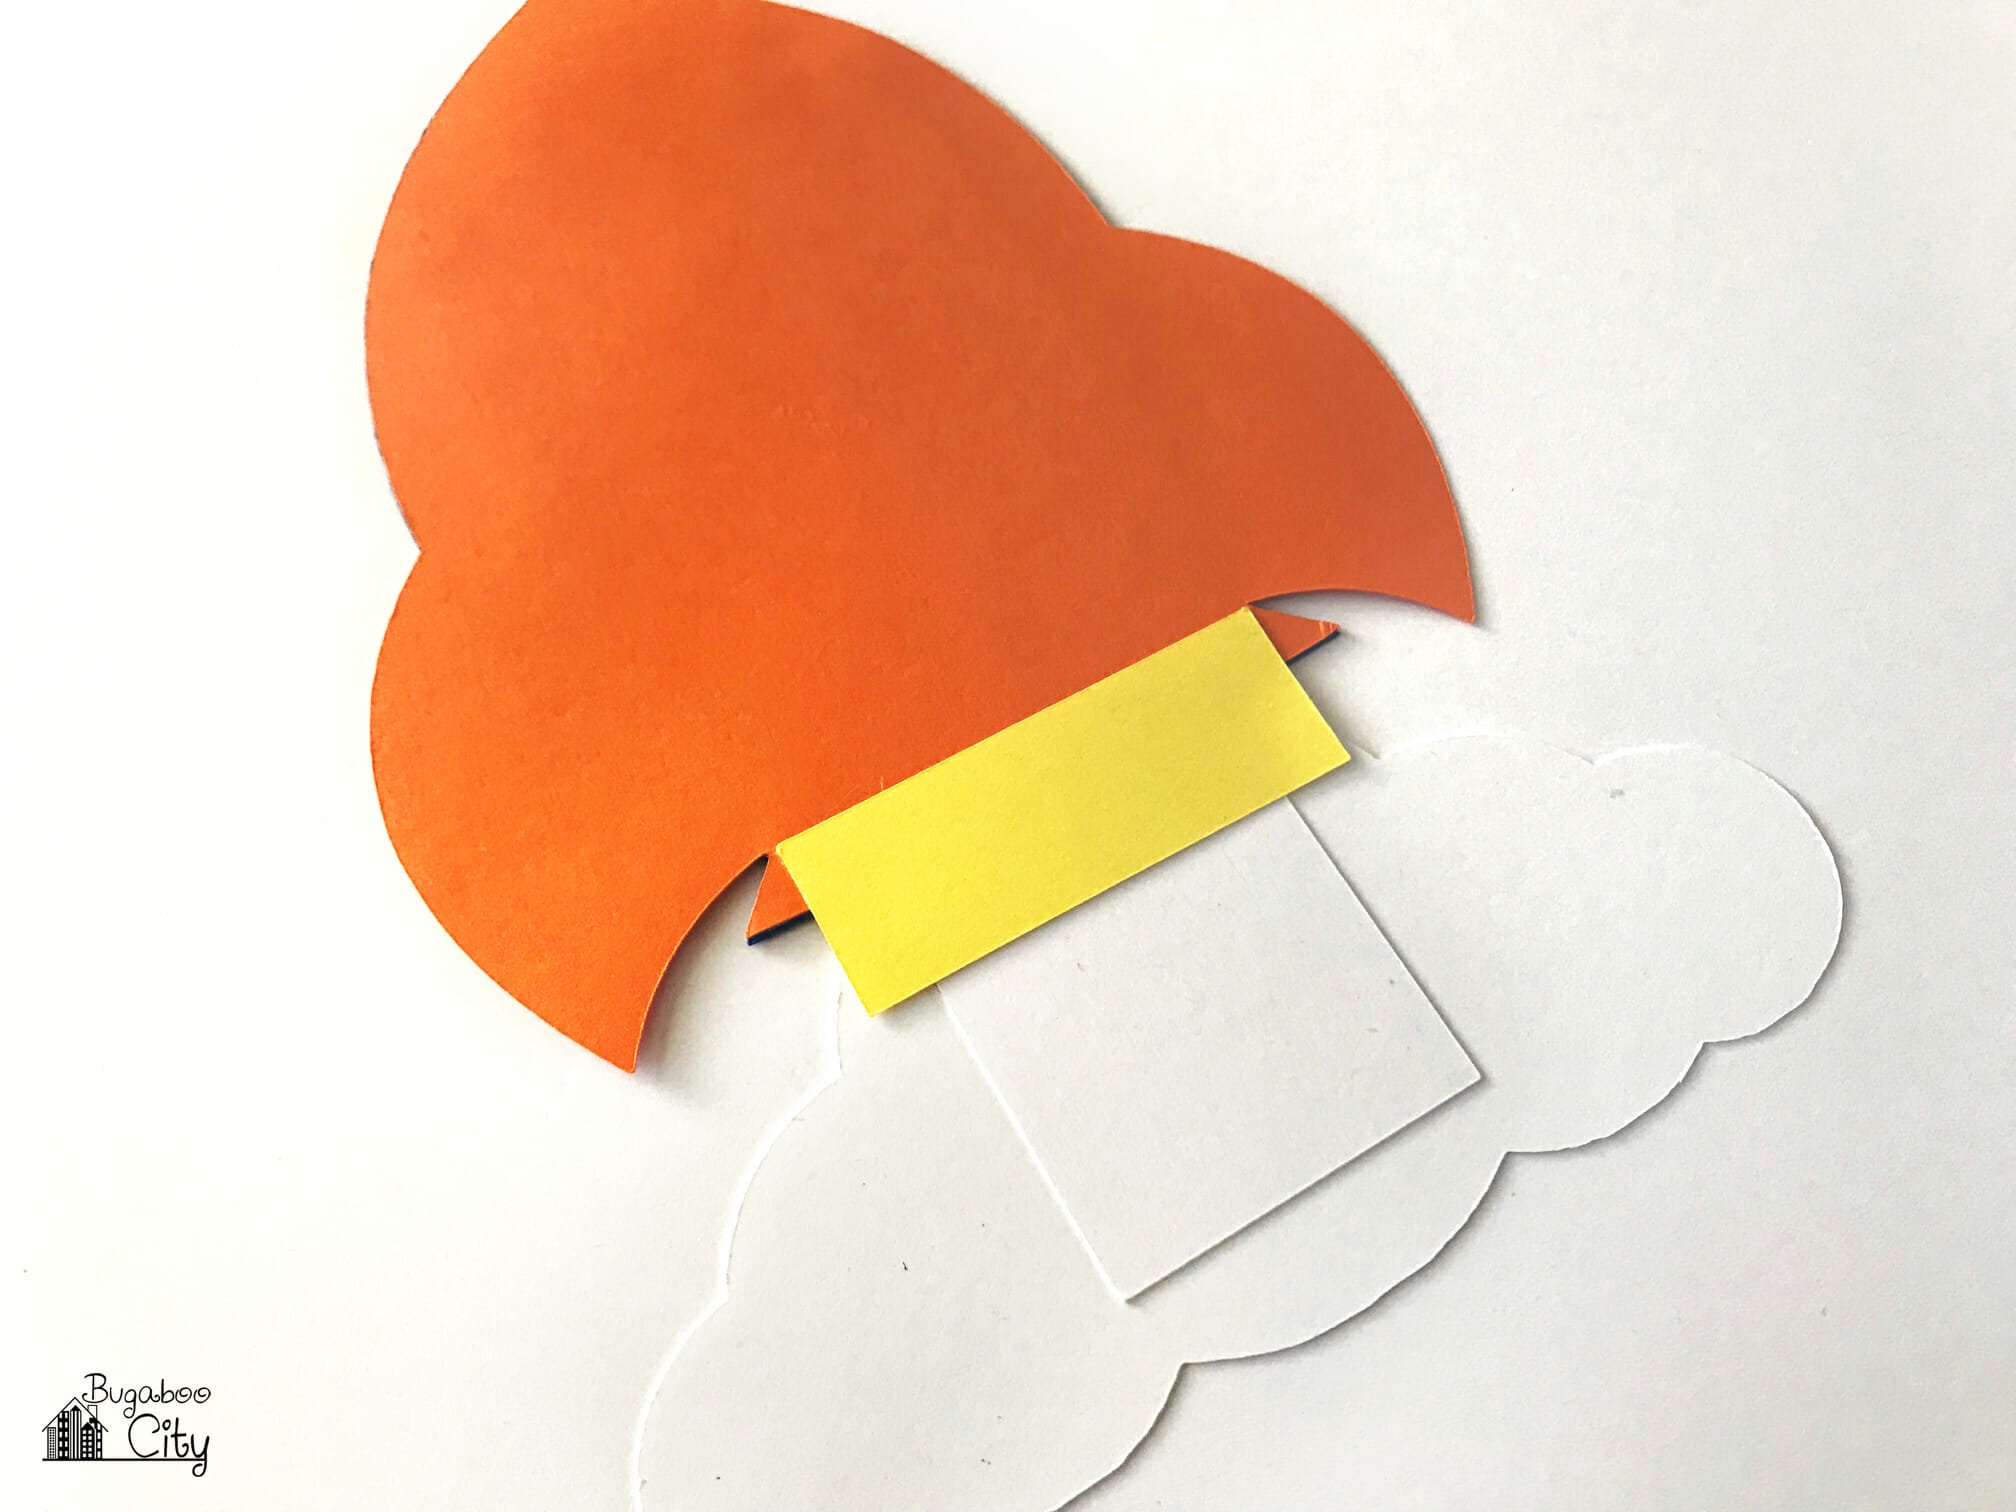
Below you can see what the back of the card will look like at this point. I added a rectangle, with a strip of double-sided tape, to the back of the card to add some stability.
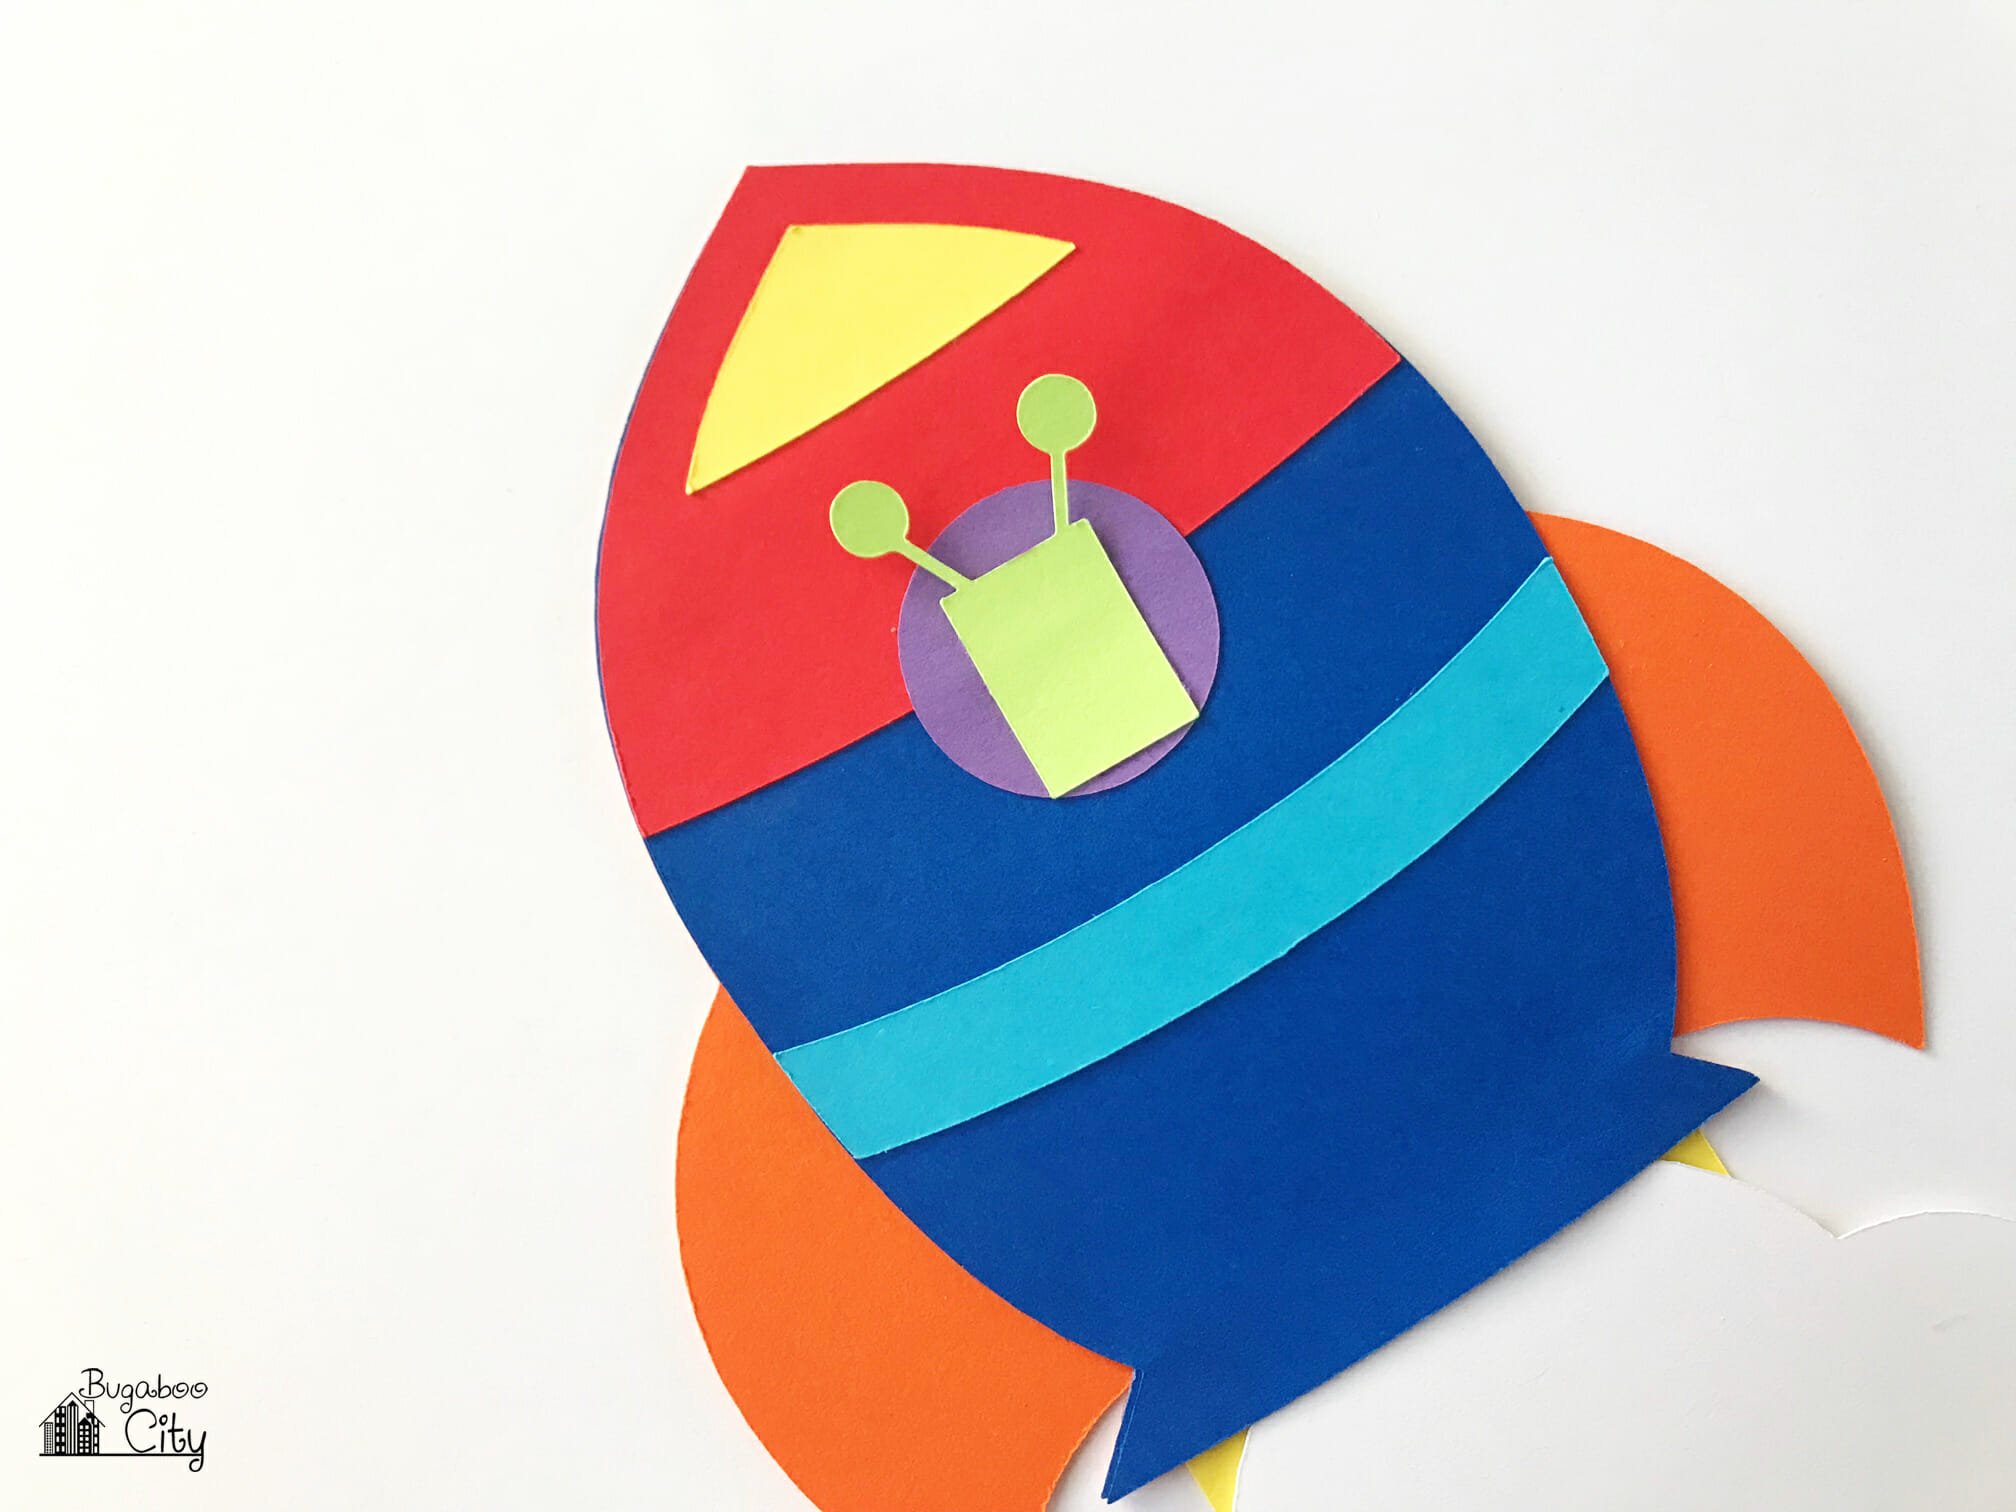
Step Four: Time to decorate the rocket ship! My favorite part! It’s time to decorate the ship any way you’d like or follow my example below. I adhered the nose of the rocket ship (red) and the window (yellow) along with a stripe (teal). I then wanted to create a little porthole window for my alien. First I glued down a circle (purple).

I then added the little alien but only glued his body down, leaving his antennae free.
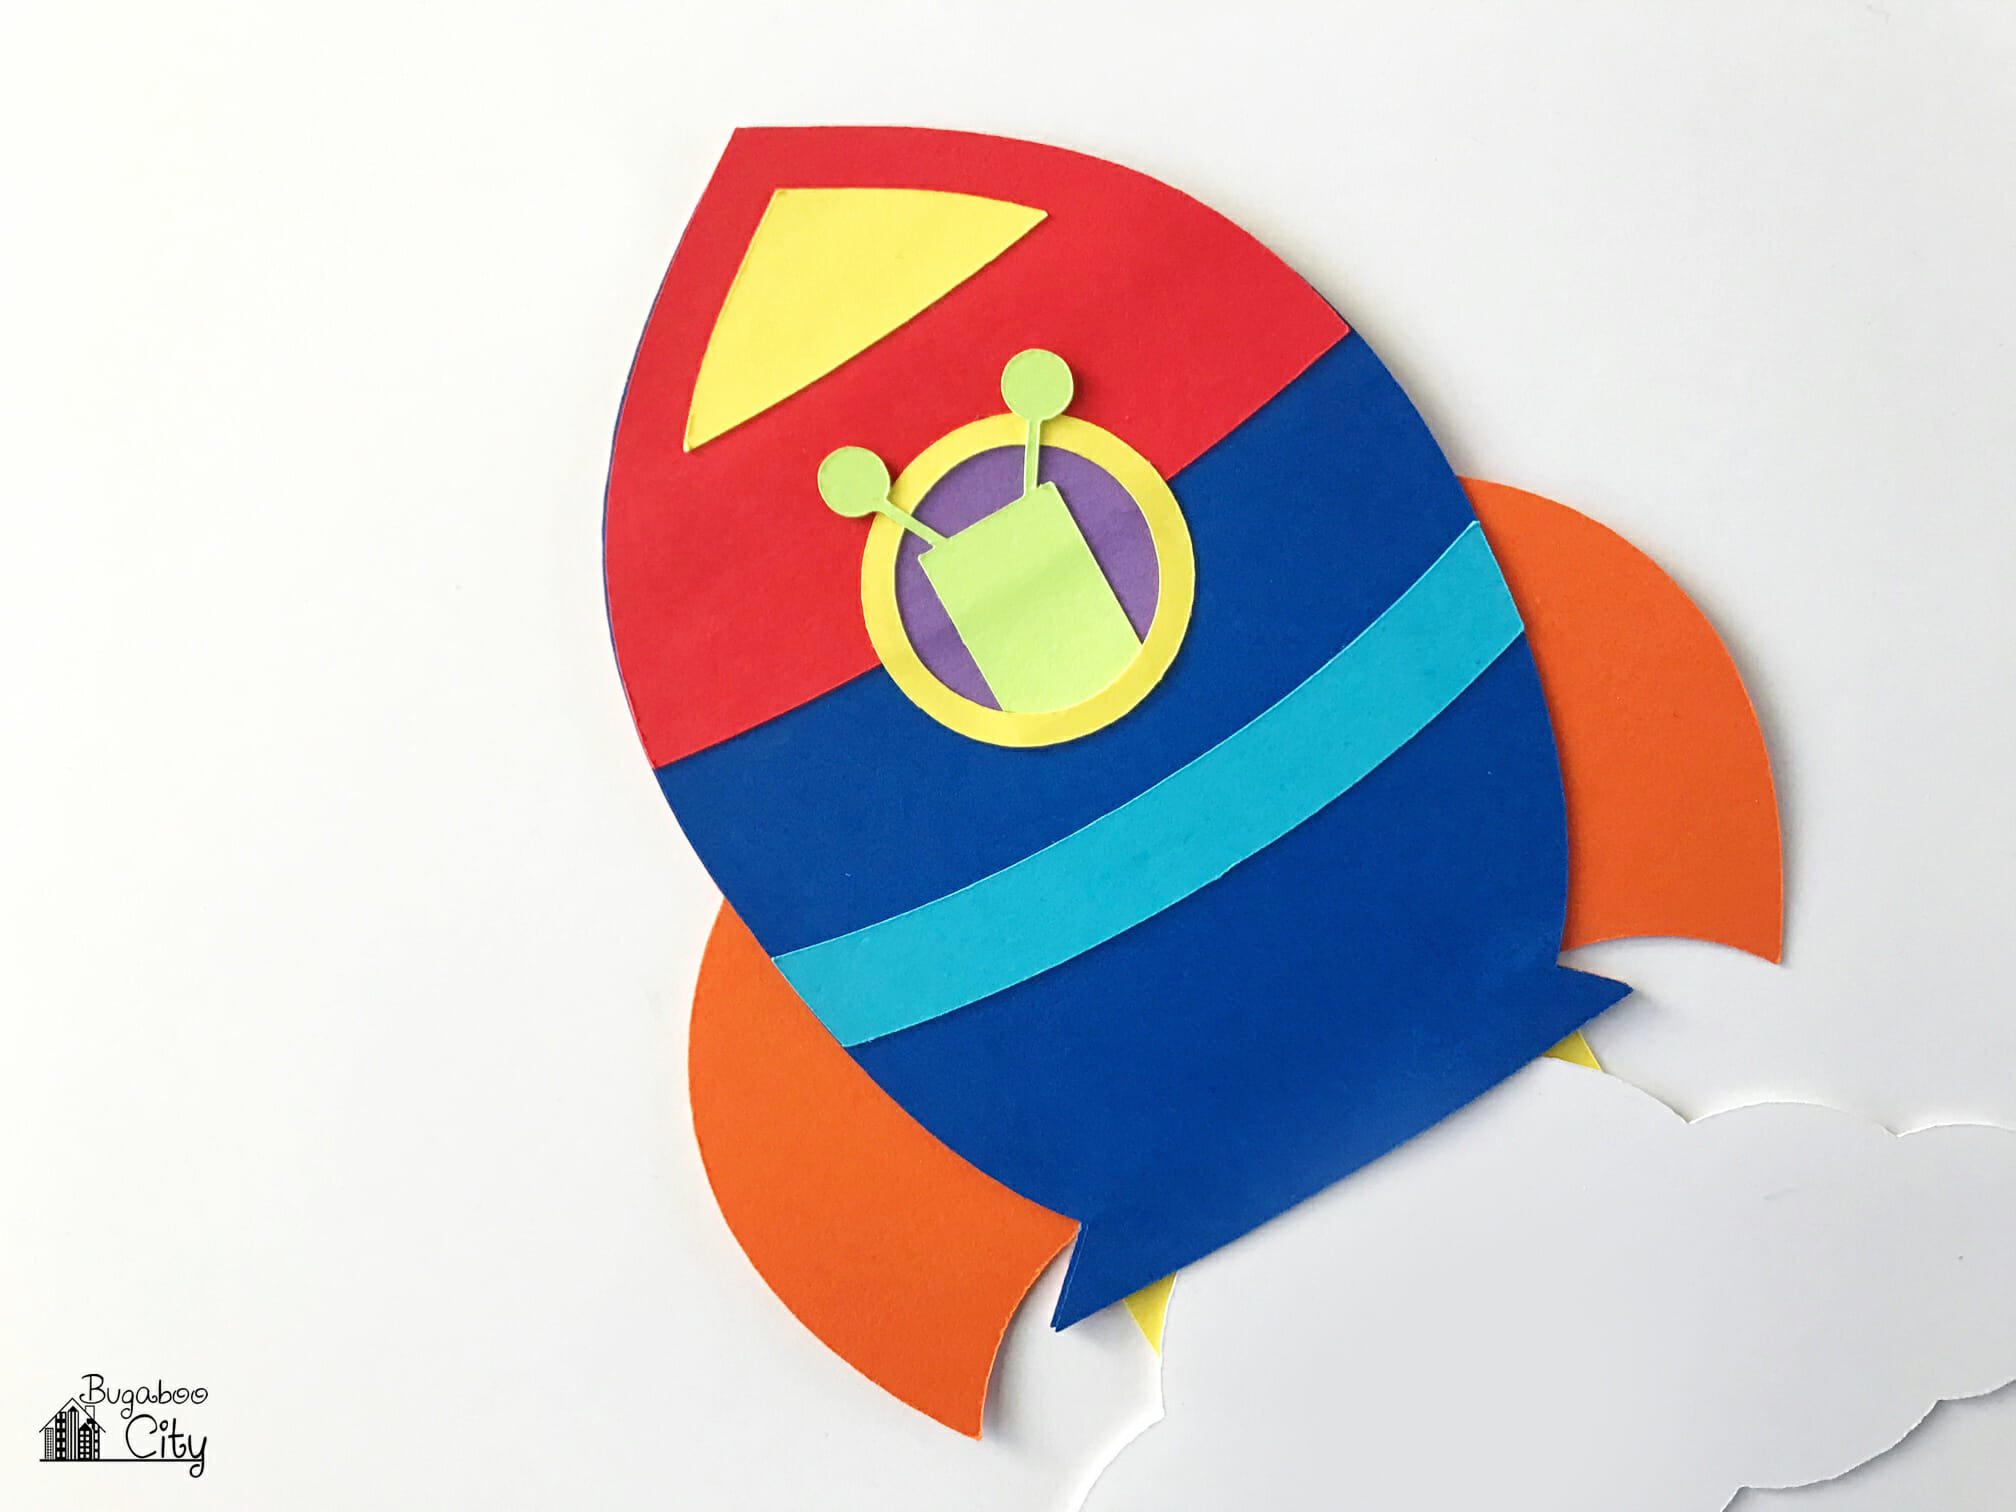
I slipped the circle border (yellow) under the alien’s antennae and glued this down. Then I glued the antennae down over it.
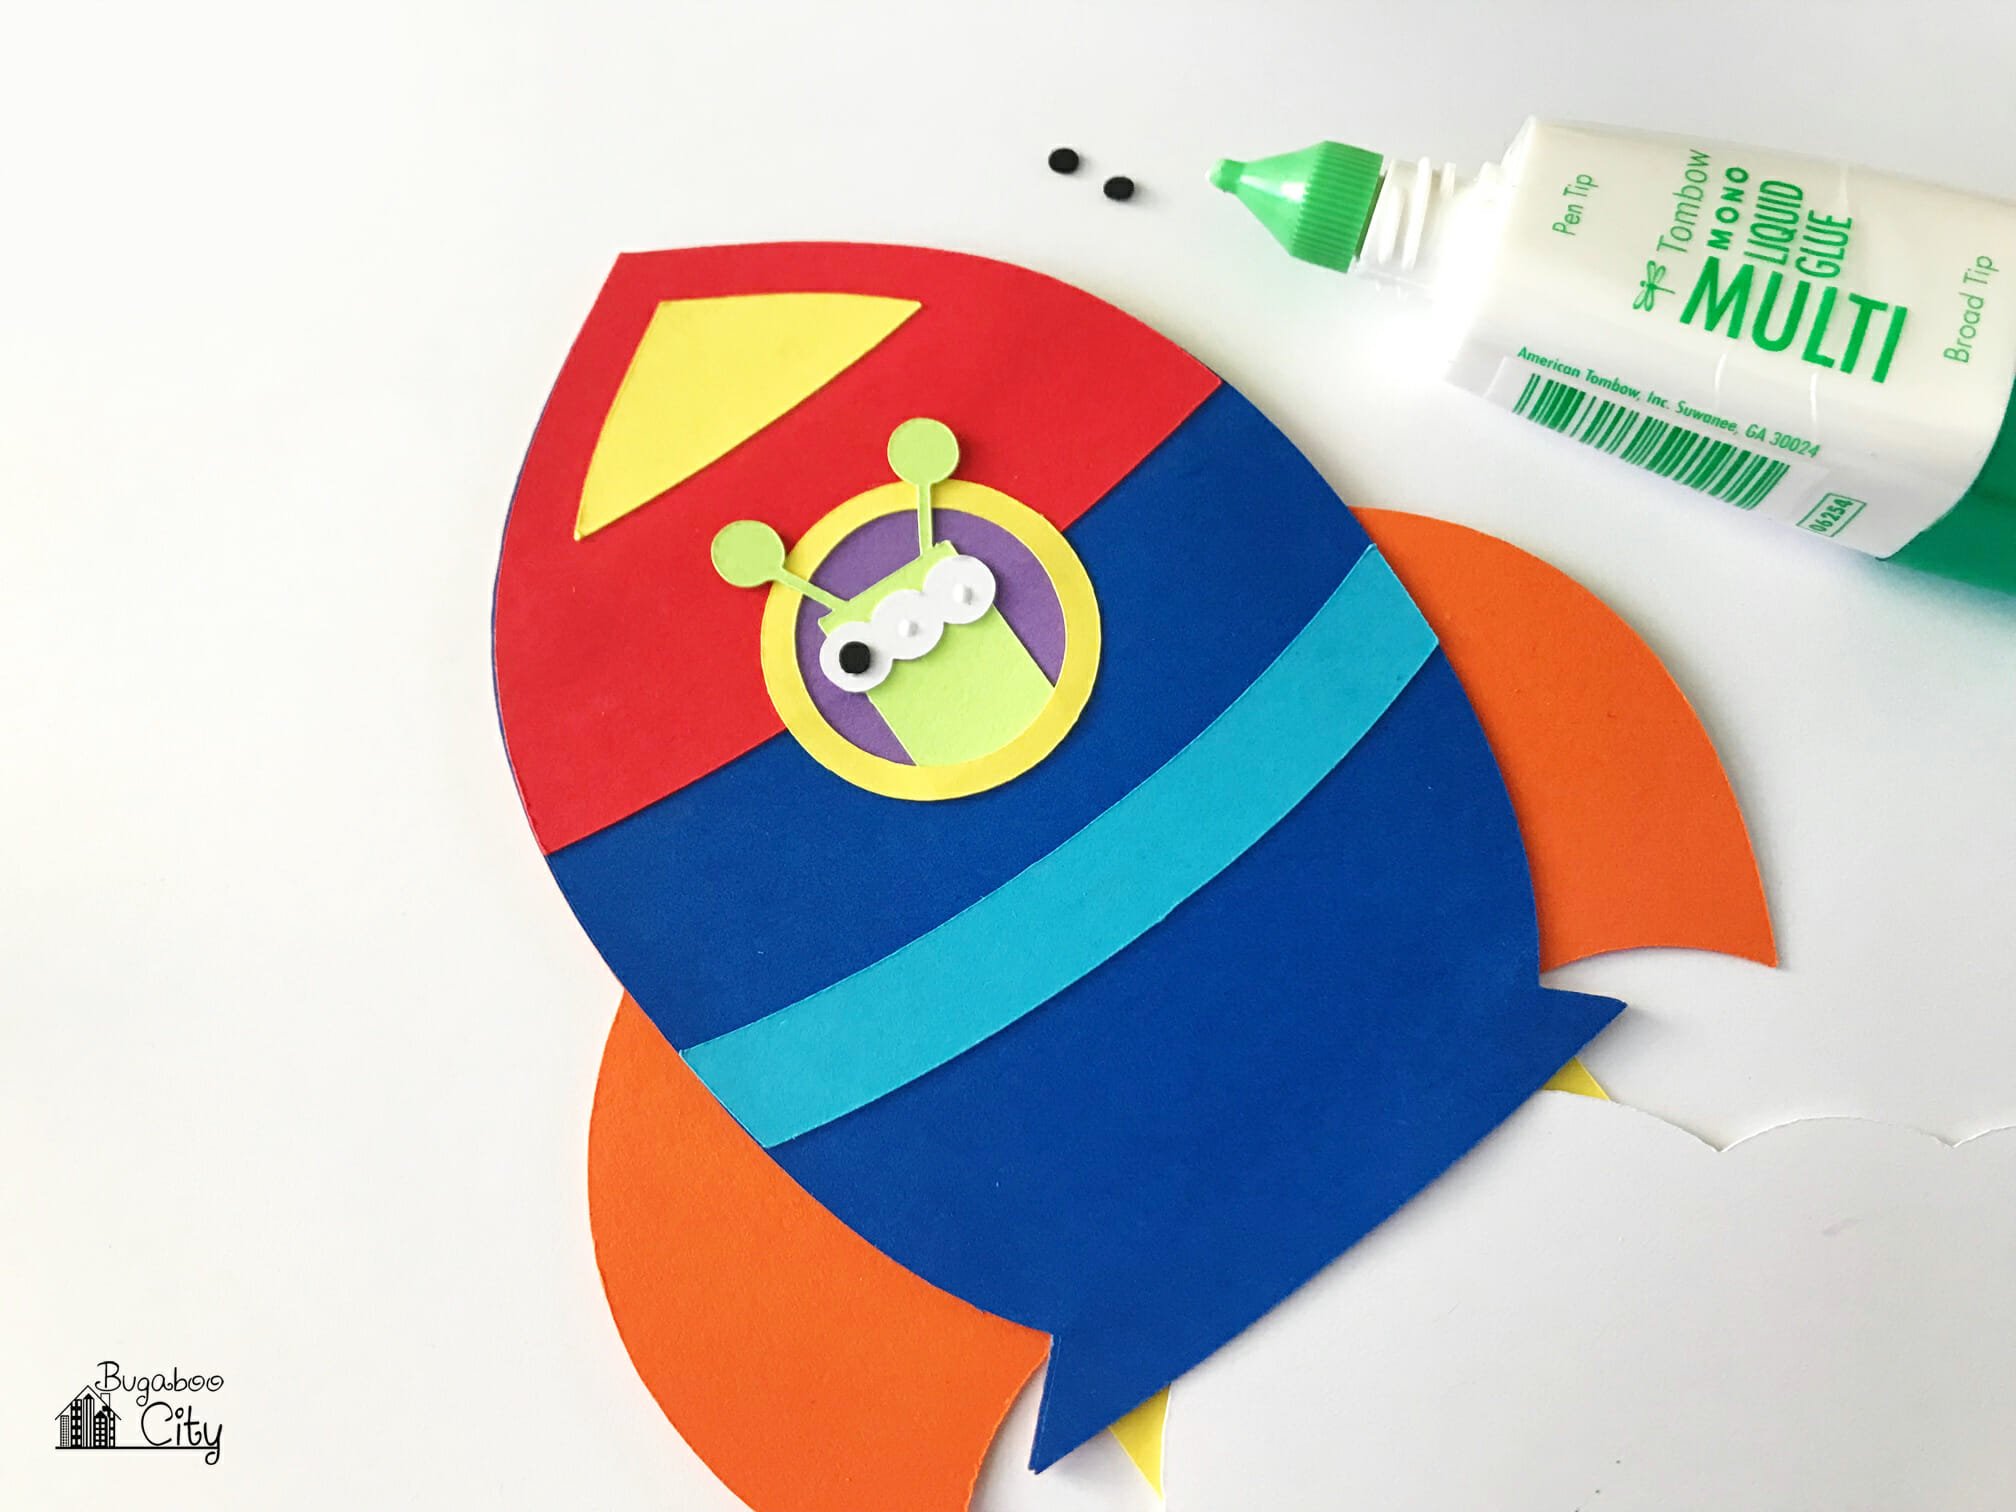
Next, I added three small eyes eyes to my alien.
The final touch was to add some dots (red) underneath the teal stripe and my rocket ship was decorated!
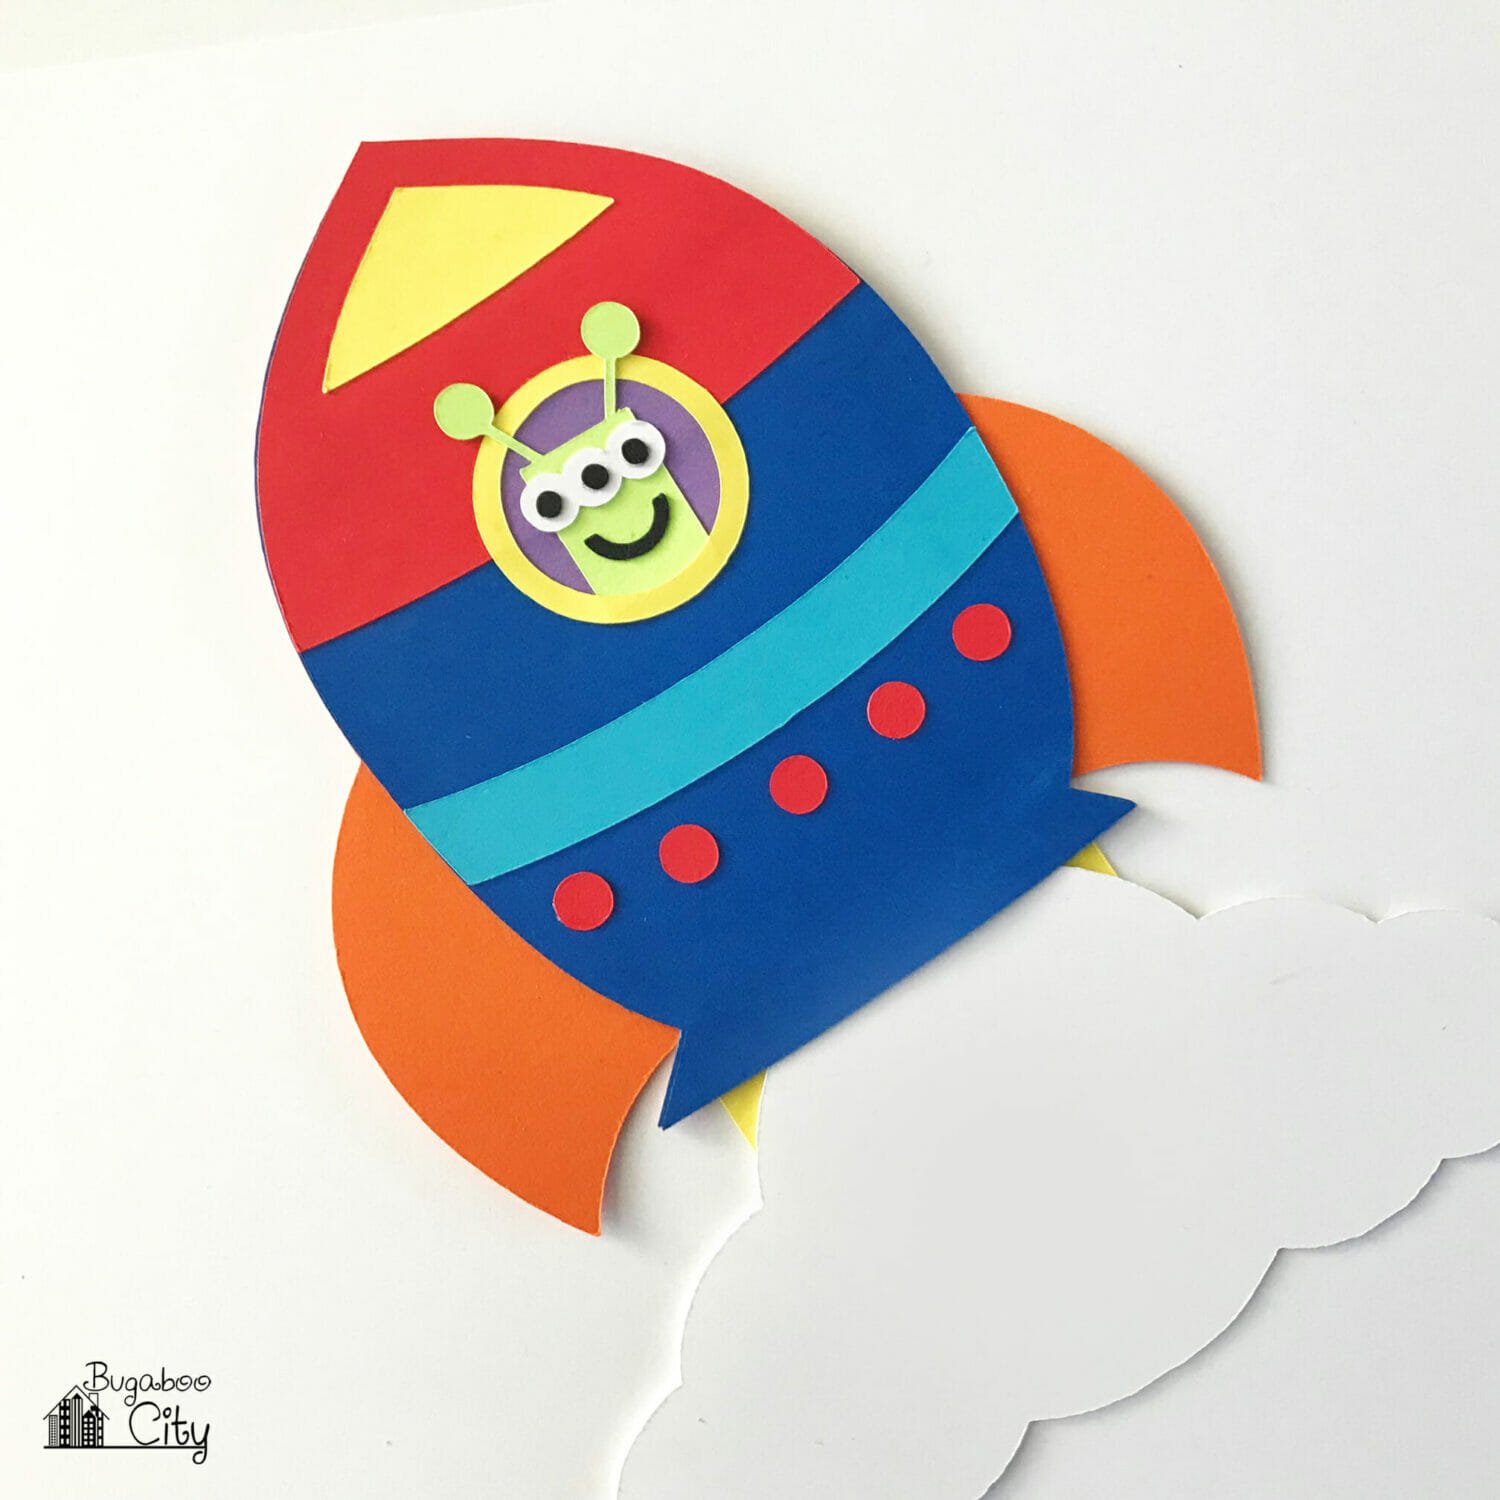
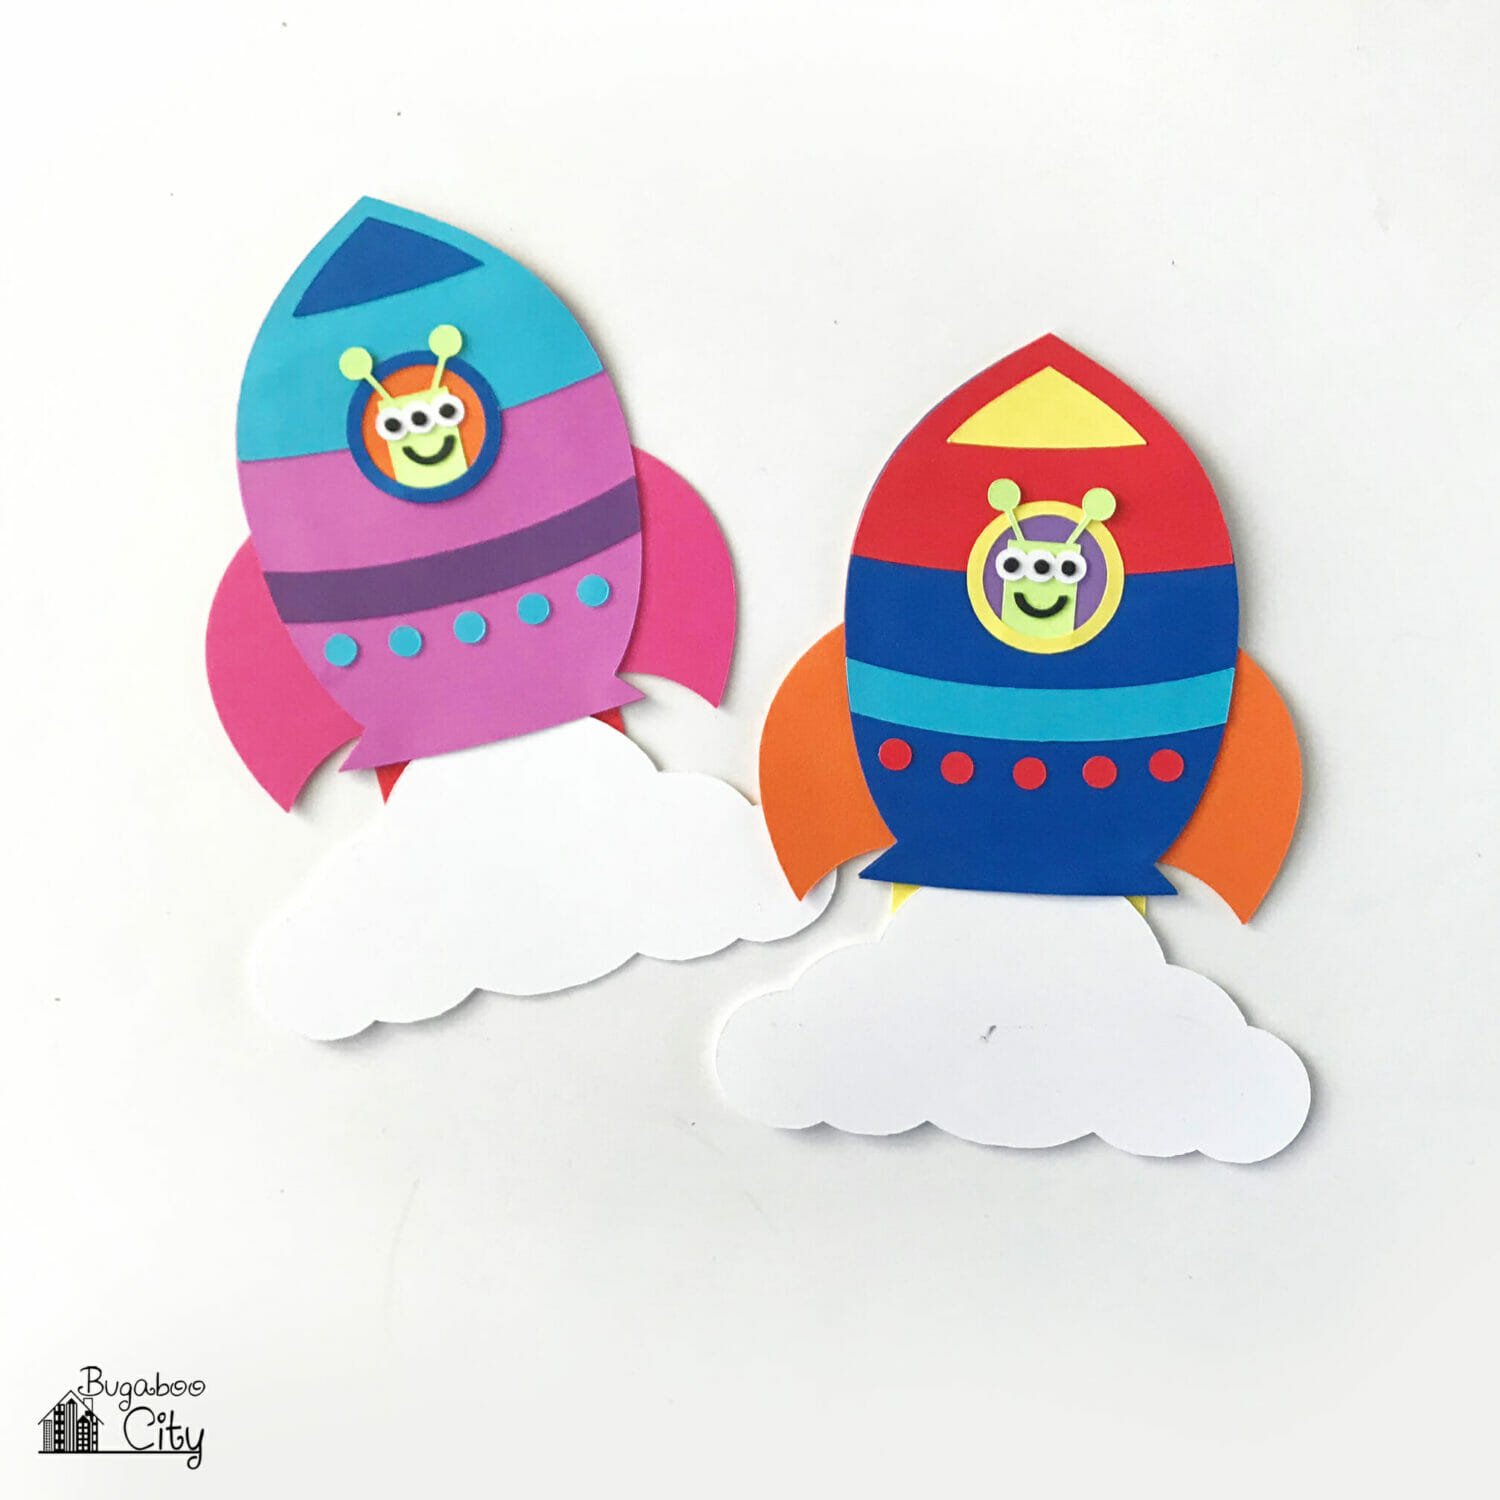
You can see the rocket ship in two different colors below! They both used the same pieces from my rocket ship pattern.
You can write a special message on the slider card. These would make fun party invitations for a space-themed birthday or sweet cards.
These slider cards turned out so fun!! I love the addition of the little aliens! As I mentioned above, you could switch this up and add a picture of your child’s face or even a little paper astronaut!


Get the Free Rocket Ship Slider Card Files!
Fill out the purple form below with your first name and email address! The free file will be sent straight to your inbox! If you have already filled out the form below, don’t worry – you won’t be added to my list twice! This freebie is for personal use only. I hope you enjoy crafting something special. Please let me know if you have any questions :)

