Autumn Acorn Banner – Free Printable Template
Learn how to create a warm and cozy acorn banner from wool and fabric scraps! This banner is perfect for using up your fabric scraps and it can stay up through Thanksgiving. Check out the tutorial and grab the free template to create your own.
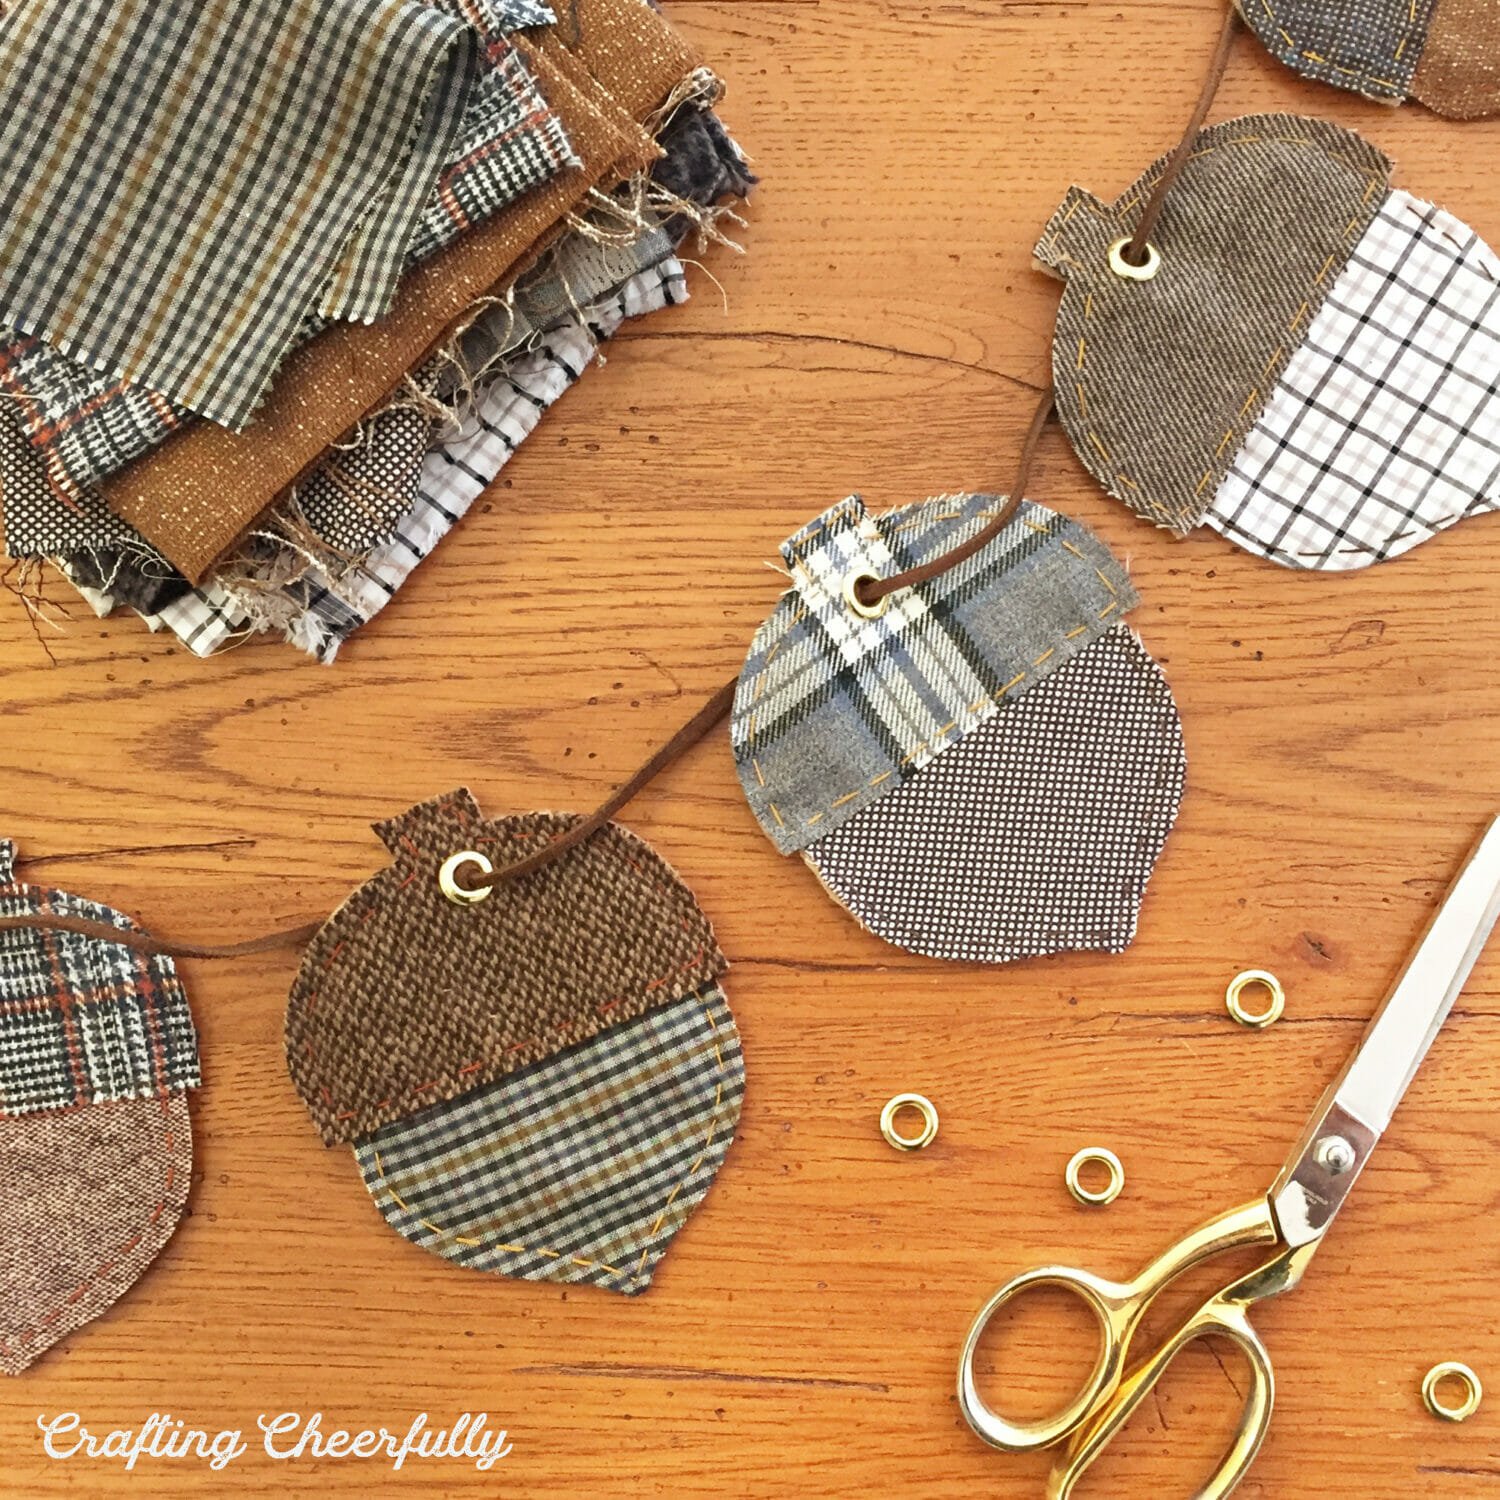
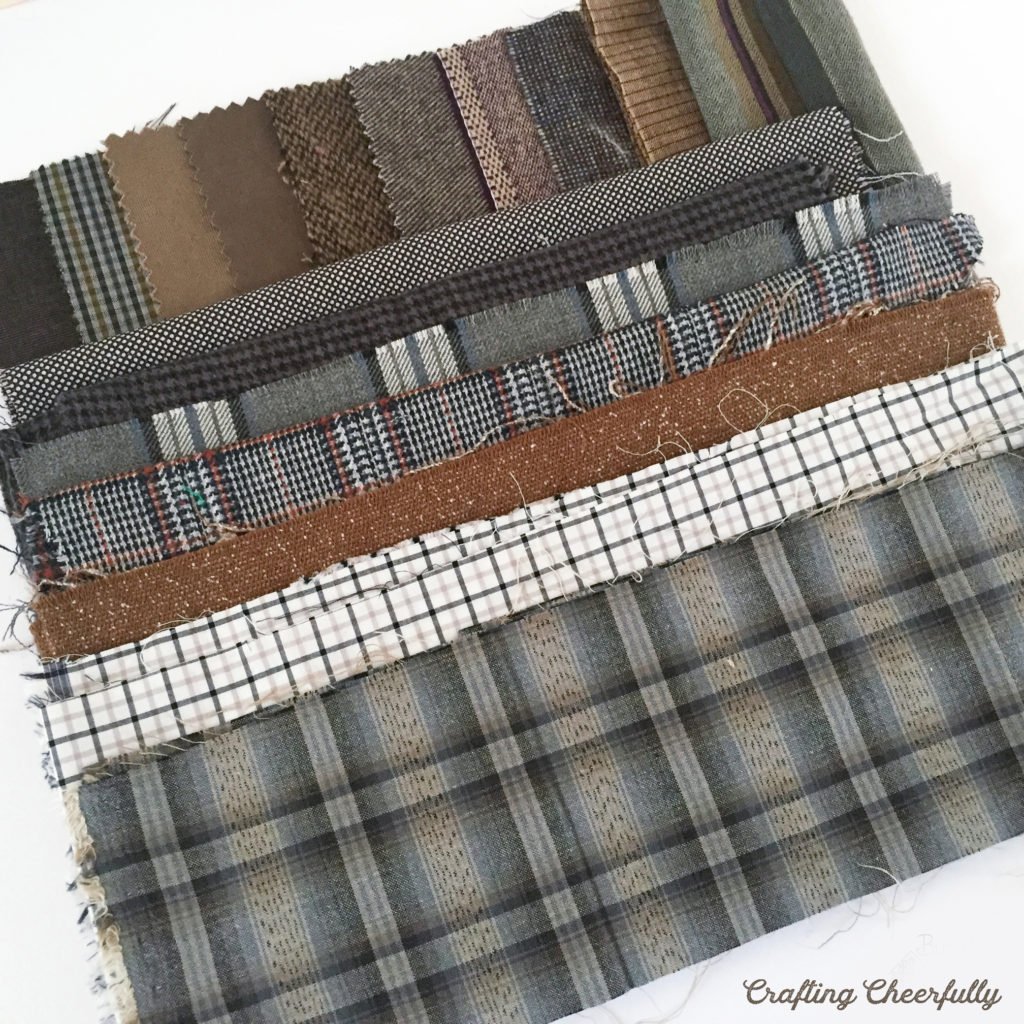
Hello Crafty Friends! Today I am excited to share with you this sweet little acorn banner. I have a collection of wool fabric scraps I have been holding onto for years. I am so happy a found a fun way to use some of them. The wool fabric reminds me so much of autumn. The colors are perfect and the texture is warm and cozy.
Each acorn pennant is backed with fleece, giving them a nice weight. You could also back them with stiffened felt as I do for many of my fabric banners. To string together these acorns I used brass eyelets (or grommets) and leather cording.
This acorn banner is simple to make and great for using up any scraps you have. I love the wool fabric I used, but this could look great in a variety of fabrics or colors. Hanging the banner on my mantle was the perfect addition to our autumn decor. I think it will also work well for Thanksgiving!

DIY Autumn Acorn Banner
Supplies Needed
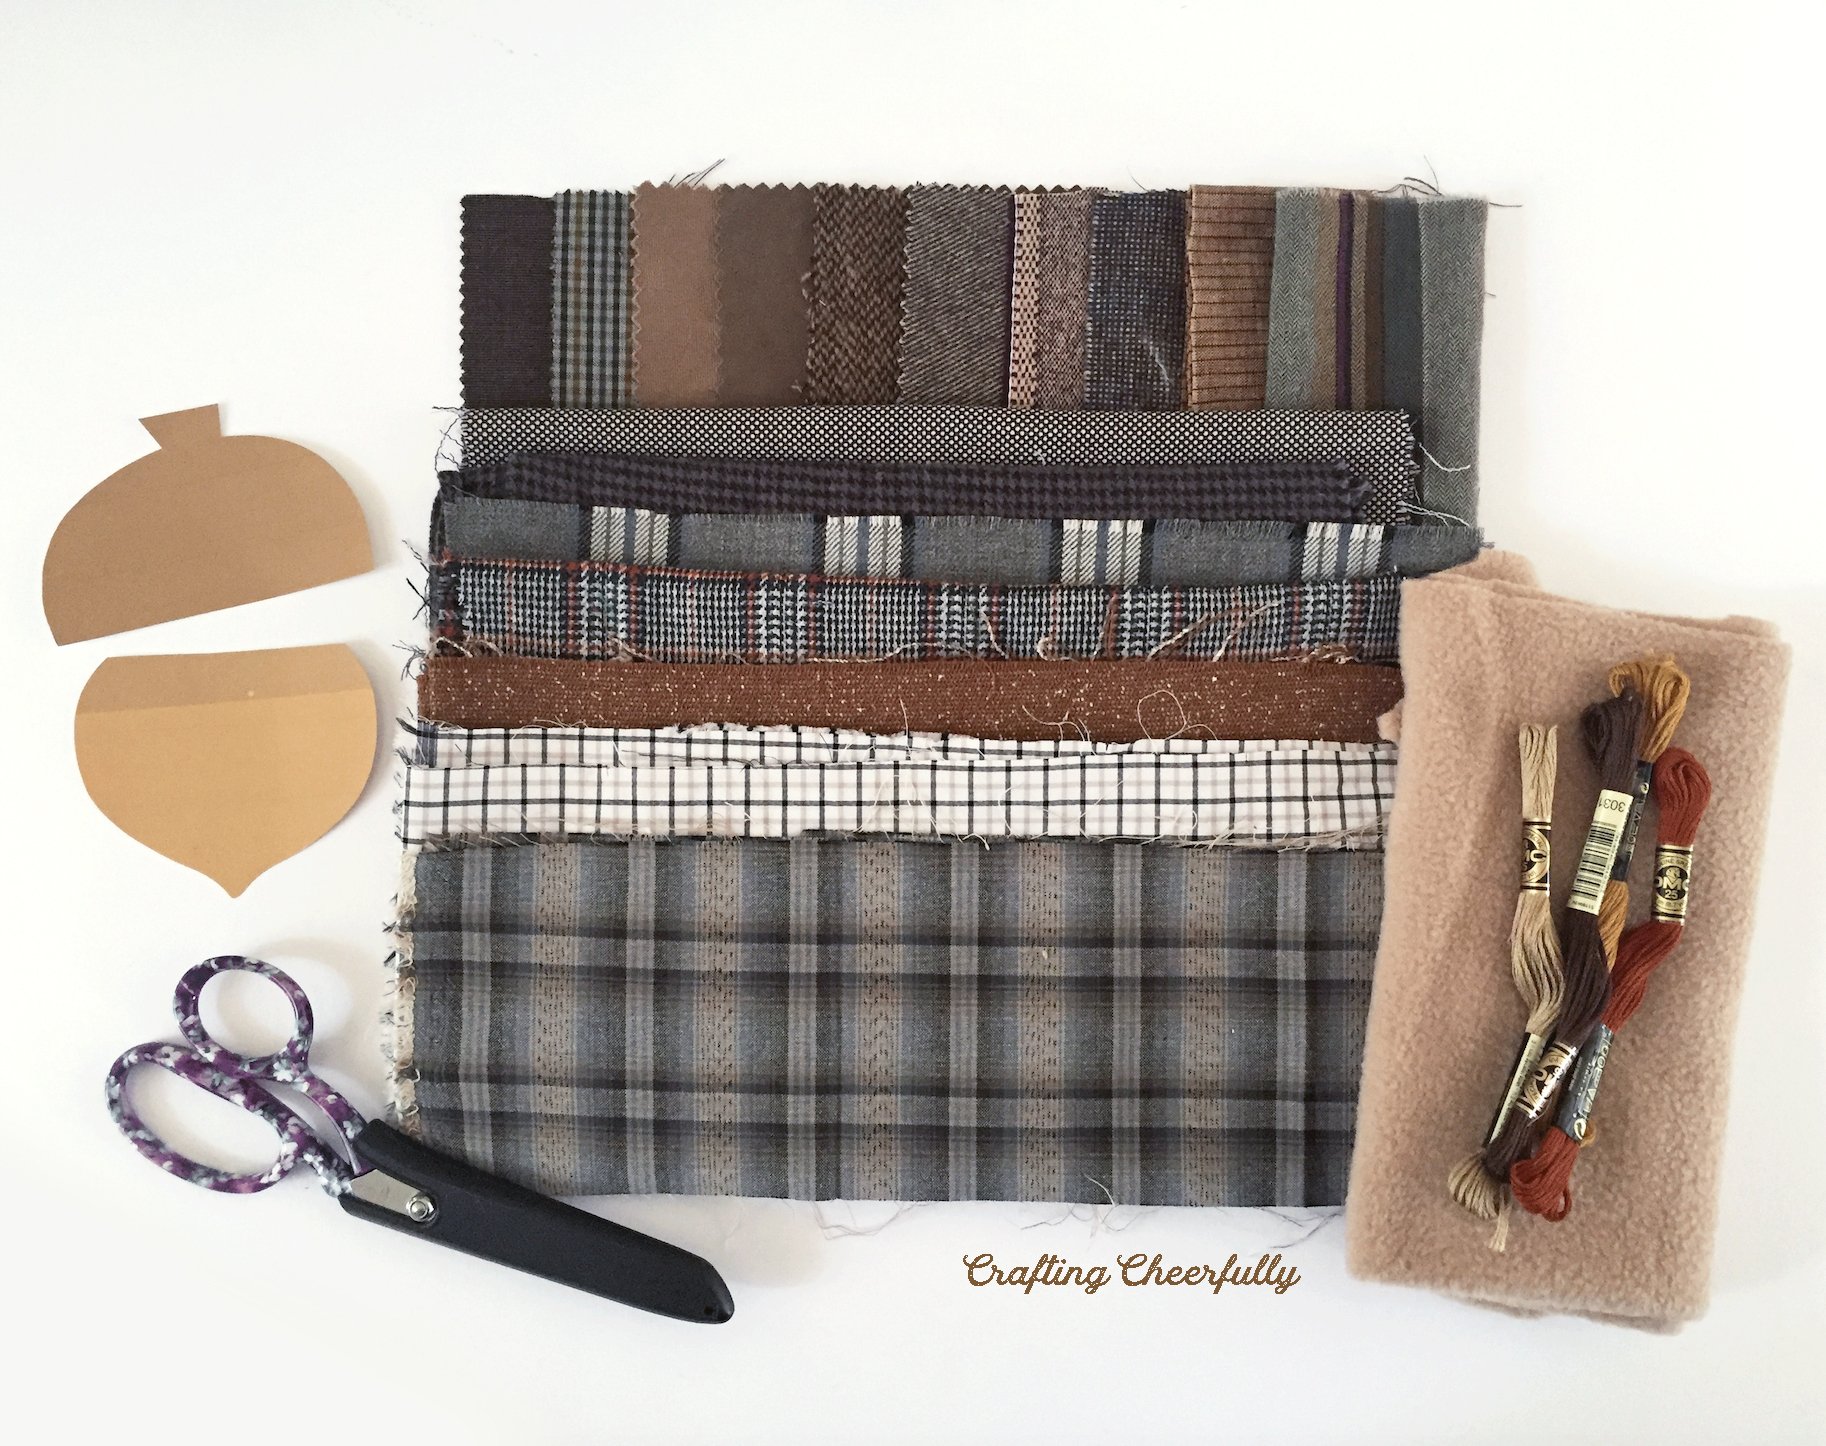
- Acorn Pattern – Grab the free pattern by filling out the purple form at the end of this post.
- Wool fabric scraps in varying colors and pattern.
- Some ideas include: tweed, plaid, glen check, houndstooth, stripe, gingham, tartan and herringbone.
- Tan backing fabric – fleece or felt
- Embroidery floss in coordinating colors – I used DMC Embroidery Floss
- 1/4″ Large Brass Eyelets/ Grommets
- Eyelets Tools for 1/4″ Eyelets to set the eyelets. Purchase the tools with the eyelets like this Dritz Brass Eyelet Kit with Tools 1/4″ or these Dritz Matte Gold Eyelet Kit with Tools 1/4″
- Hammer, hole punch or scissors to set eyelets.
- String for banner – I used a brown leather cord
- Sewing notions: scissors, ruler, Sharpie, pins, needle
Assembly Instructions
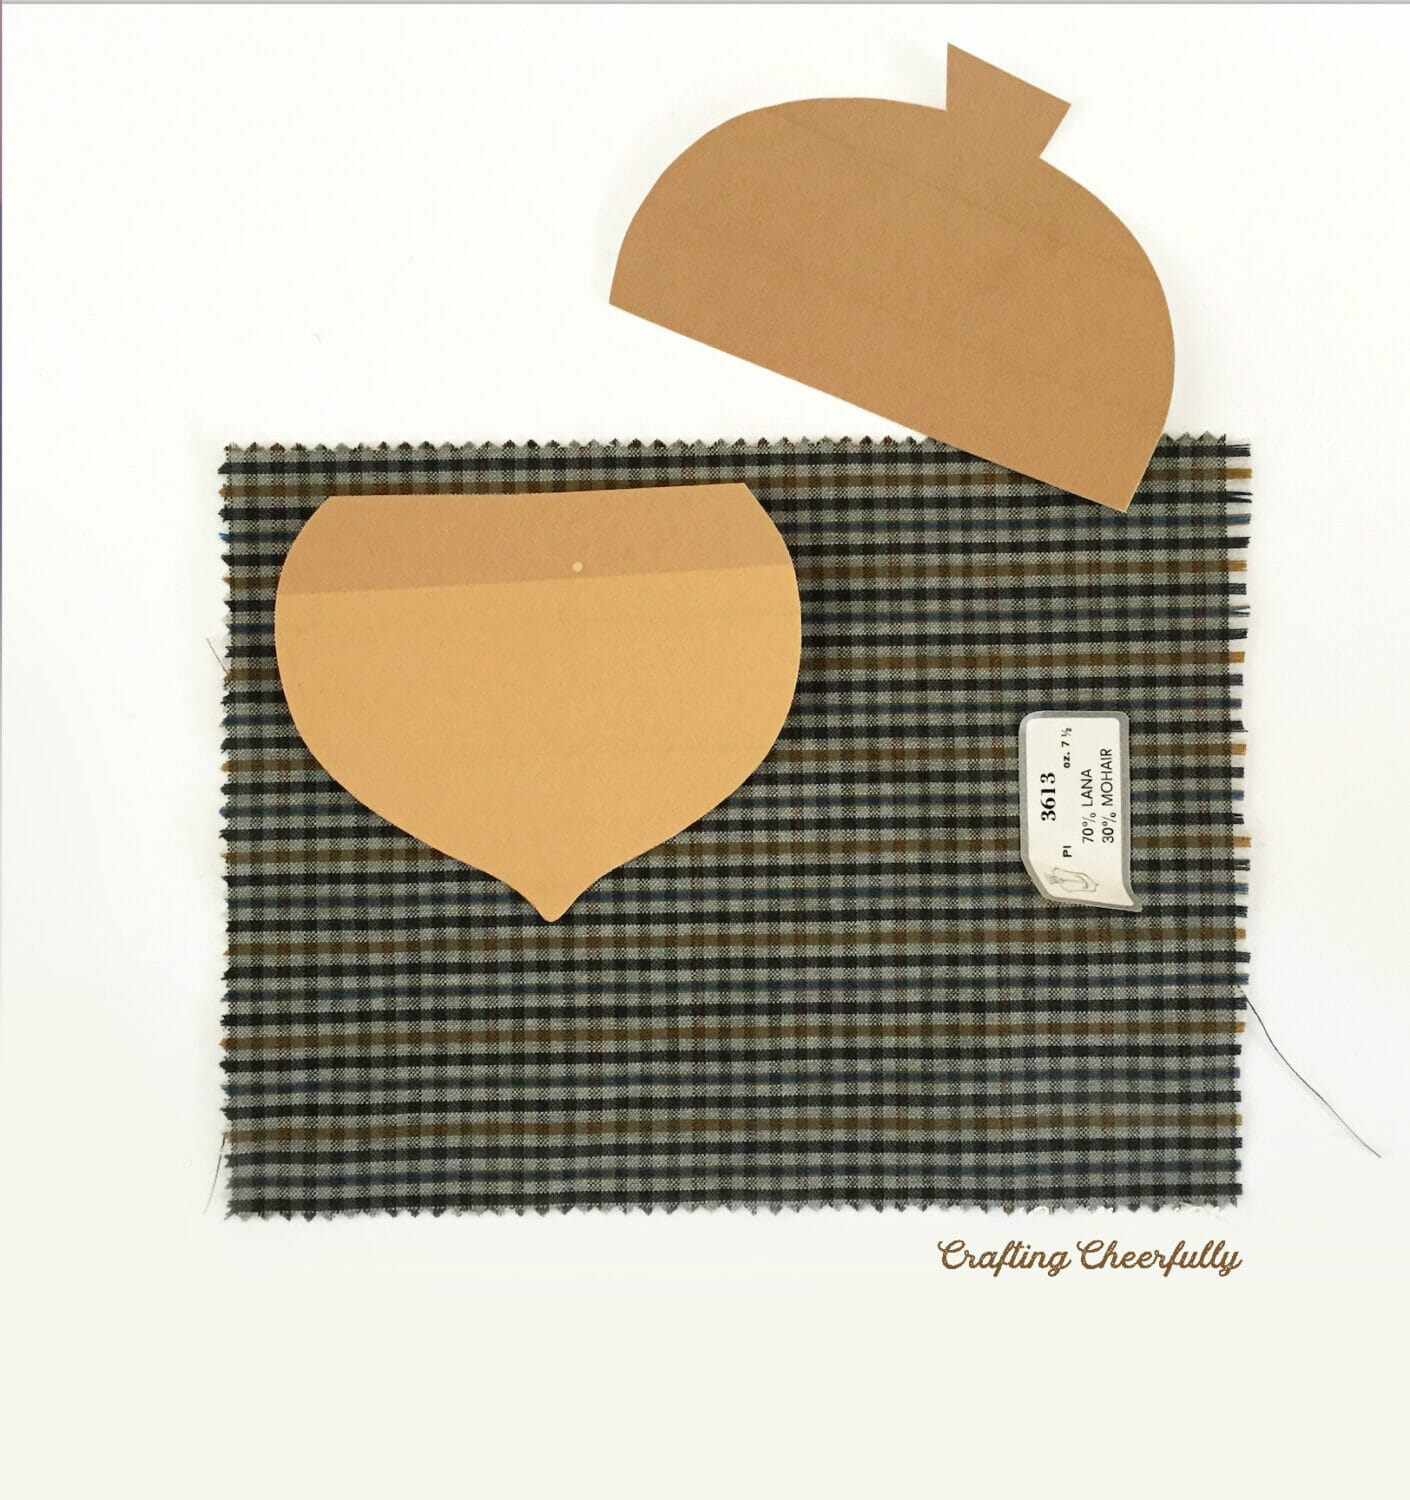
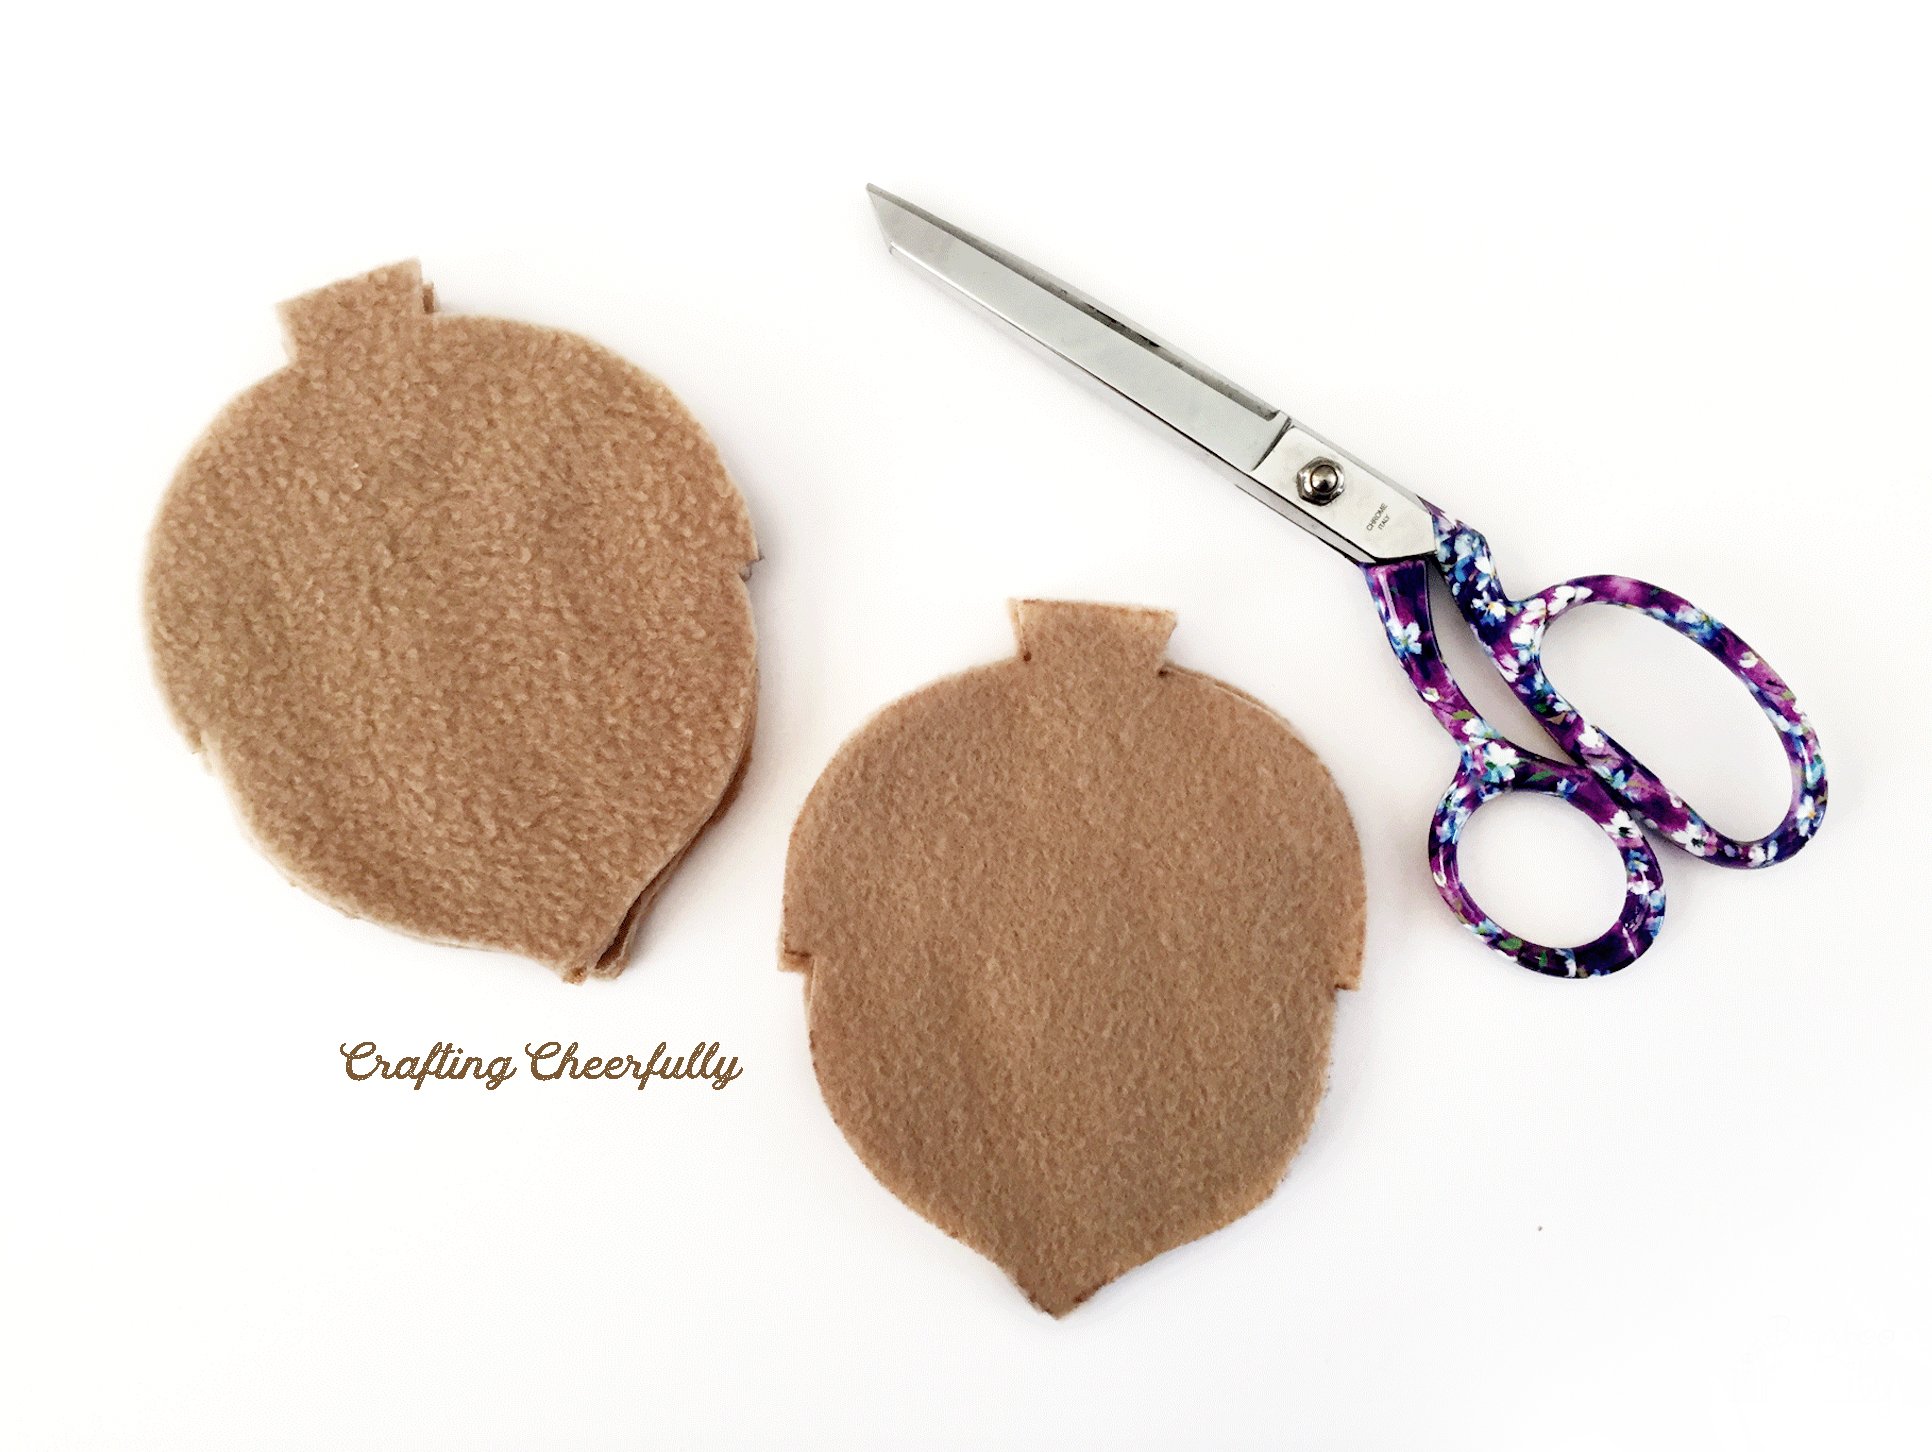
Step One: Cut out the pieces using the free template.
Use the free printable pattern to cut out the acorn pieces. Each acorn will have a top, bottom and a backing piece. I cut the top and bottom acorn pieces from my wool scraps and cut the backing piece from tan fleece – felt would also work well.
Step Two: Stitch the acorns together.
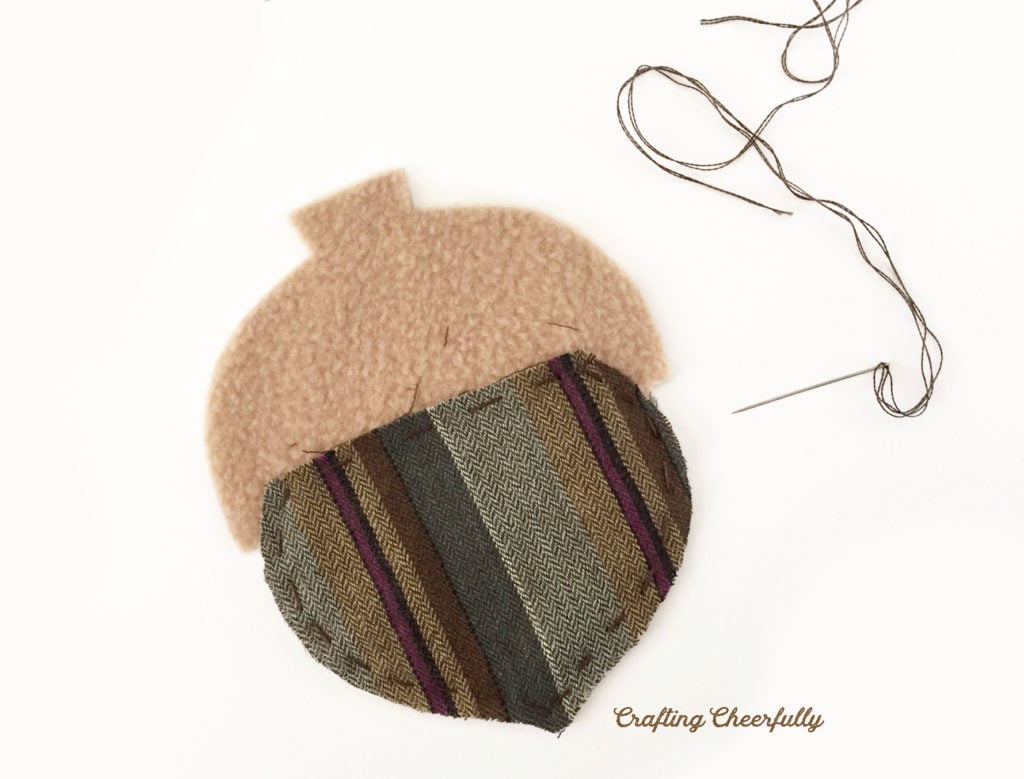
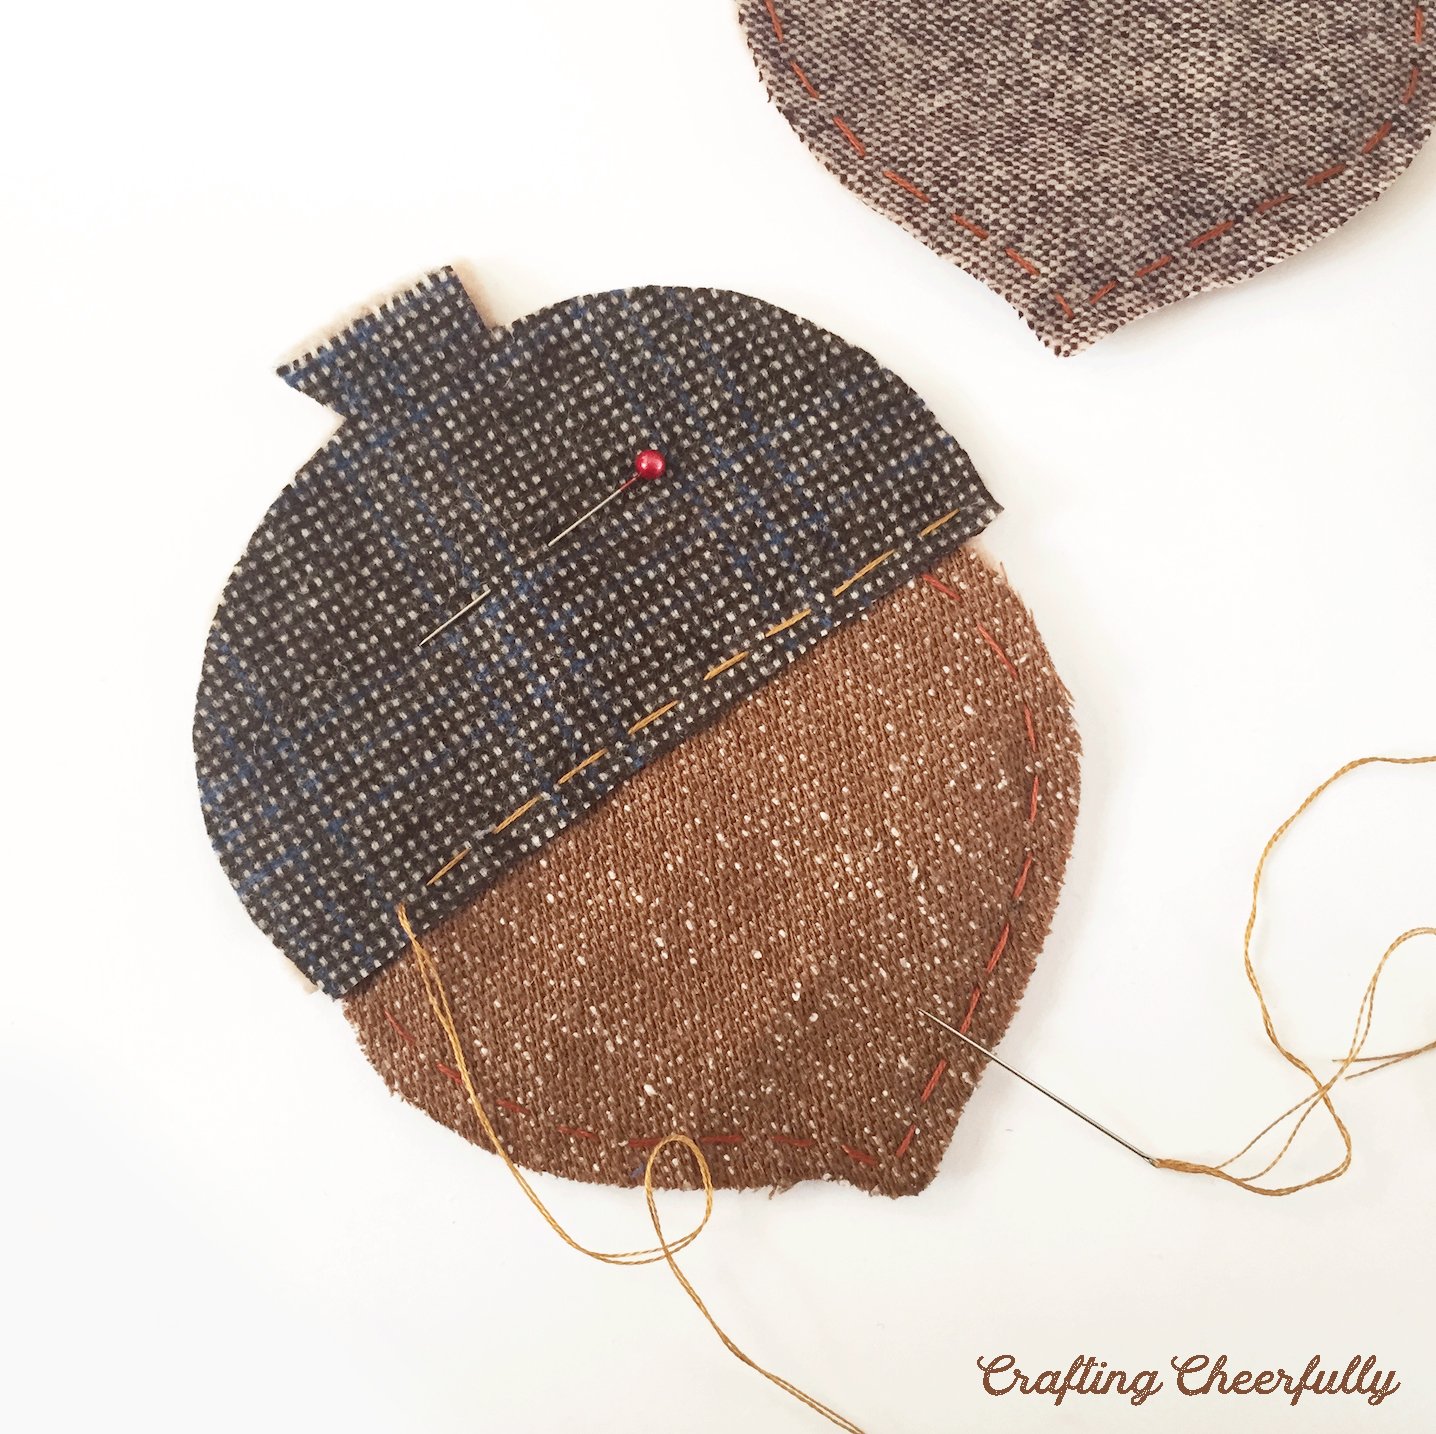
Sew the acorn pieces together. Start by arranging the top and bottom acorn pieces on top of each fleece acorn. This was fun deciding which patterns should go together!
Once you have the acorns decided, you can start hand sewing. Start with the bottom of the acorn using a small running stitch. I used two strands of embroidery floss and tried to choose floss with a contrasting color so it would be visible. Stitch on the top of the acorn in the same way, using a different color of embroidery floss.

Step Three: Add the eyelets or grommets.
The next step is adding the eyelets. I thought the brass eyelets would look fun with the wool fabric and leather cording. That being said, the first time I did this I did not have the correct tools and tried using a snap pliers! I was not happy with how they turned out and then discovered the Large Eyelet Kit by Dritz which included the proper tools to set the eyelets. This worked really well for me so it is what I now recommend you start with.
This video, How to Use Eyelets with Dritz Eyelet Kit, by Online Fabric Store, is super helpful in how to use the Large Eyelet Kit. I created my holes using a hole punch (when the fabrics were thin enough to fit into the hole punch), otherwise I used a small scissors to poke a hole large enough to fit the eyelet.
I put an eyelet in the first acorn and then used that acorn as a guide for the rest of the banner. By placing my guide acorn over the other acorns, I was able to mark through the eyelet with a Sharpie where the next eyelet should go. This way all of my acorns looked the same!


You really can string these acorns up any way you’d like! I love hanging banners using decorative clothespins like I did on my Pumpkin Banner and Fabric Baby Shower Banner.
Step Four: String the acorn banner.
The only thing left to do is string the acorns together. I used leather cording I found at Joann Fabrics and tied a knot behind each acorn to keep them nicely spaced. Since the acorns just have one hole, they will move around on the cording. This isn’t a big deal if your banner will be hanging against the wall, but since I wanted to hang this banner on my mantle, I decided to tack down the cording in a couple spots on the back of each acorn.
I hand stitched the cord to the back of each acorn and added one small tack on the front. You could of course put two grommets in each acorn, which would solve this problem. I loved the look of just one grommet so I didn’t mind hand stitching the cord in a couple places.

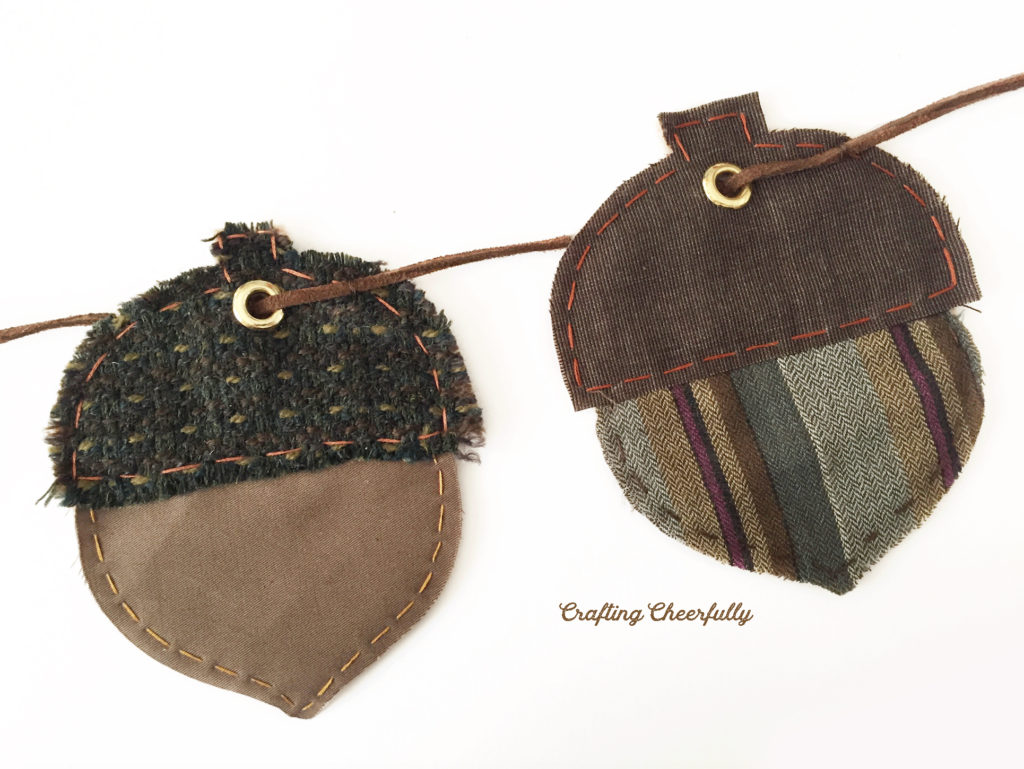

The acorn banner is finished! I love the way it turned out and it makes me feel cozy whenever I look at the warm wools I used.

Crafting for autumn and the holidays is so much fun! If you’d like more DIY craft ideas for autumn, visit my Autumn crafts page!

Get the Free Autumn Acorn Banner Pattern!
Fill out the purple form below with your first name and email address! The free file will be sent straight to your inbox! If you have already filled out the form below, don’t worry – you won’t be added to my list twice! This freebie is for personal use only. I hope you enjoy crafting something special. Please let me know if you have any questions :)




These are so cute!! What grommet tool did you use, and where did you get it? I’ve purchased two, and neither one worked.
oh bummer! I used brass grommets but actually used a snap pliers I already owned. It worked well enough and they have held up since I made the banner without any problems. I used the Dritz Snap Pliers. I have seen some grommets come with the tools you need to set them. This article has some good suggestions and a how-to with the proper tools! Hope this helps!! :) http://www.sew4home.com/tips-resources/sewing-tips-tricks/how-install-metal-grommets-sewing-projects
This is adorable! What a cute way to use up scraps of garment fabric too, I always struggle to know what to do with them!
Thank you! I do too! I never want to throw scraps away so I am glad I was able to use some of them on this project :)
SO cute!! I’ve got a Craft Gossip post scheduled for tomorrow afternoon that features your acorn banner: http://sewing.craftgossip.com/?p=89771 –Anne
Thank you for sharing my banner Anne!! That is wonderful! :)
OMG, I LOVE X’s 3 this banner!! You just blew my mind!! AND gave me a craft for my banister!!! Thanks, I am NOW signed up for your newsletter so I don’t miss ANY MORE!! PS:, I saw this pic on my instagram feed as I DO follow you there!!
Thank you so much!! I really had fun making this one, I hope you enjoy making it too!! And thank you for signing up for my newsletter and following me on Instagram – that is so awesome! :)