
DIY Butterfly Art with Your Cricut
Create colorful butterfly art with your cutting machine that can be displayed indoors or outdoors! These butterflies are made from binder dividers – a fun material to use with your cutting machine!
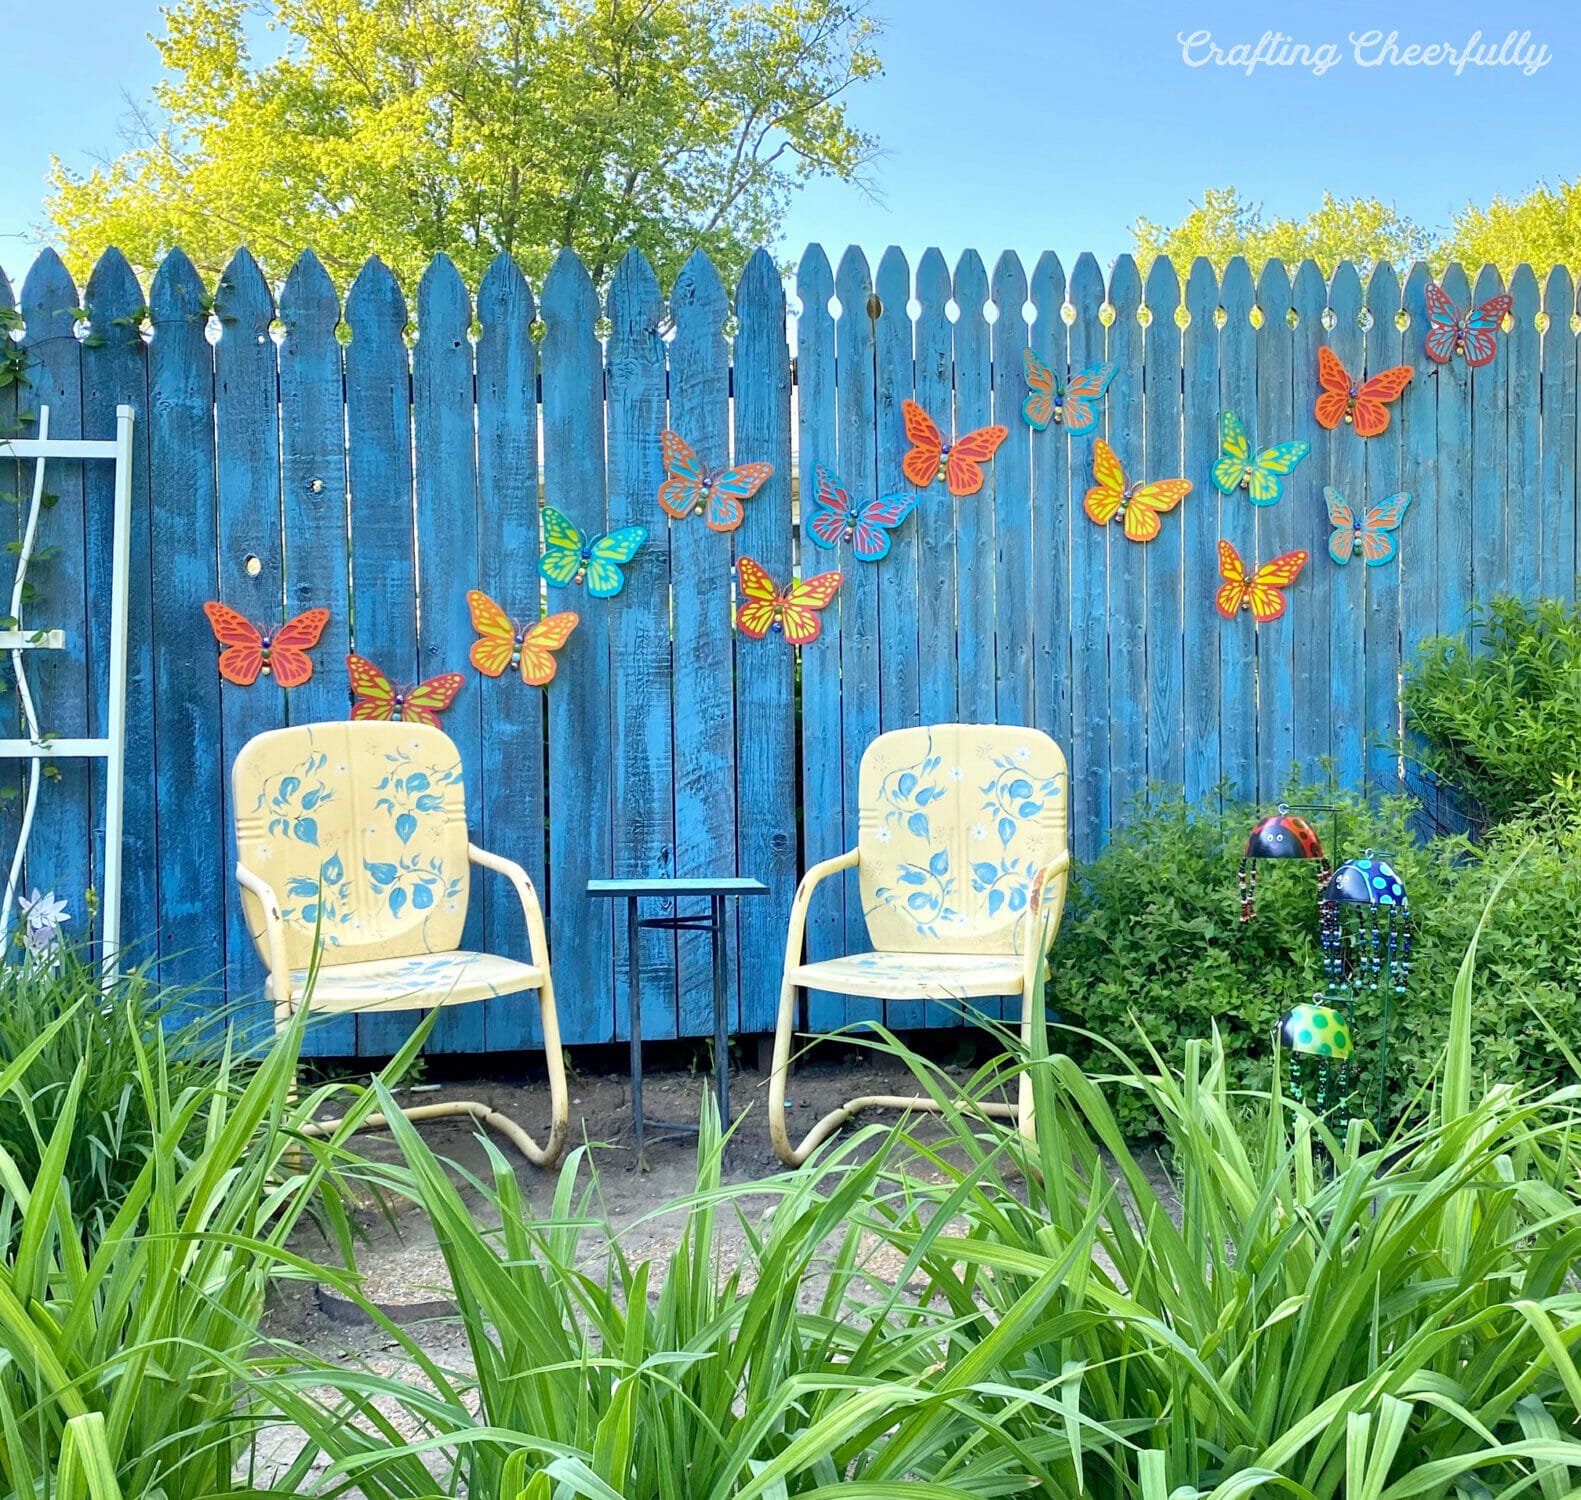
Looking to add colorful art to your yard? These DIY butterflies are a fun way to add unique art to your garden! My mission to fill our yard with handmade artwork continues with these 3D butterfly art is one of my favorite new additions.
A few years ago, I created butterflies for my fence using cardboard, tin foil and paint. Believe it or not, those butterflies lasted 4 summers! It was eventually time to retire those butterflies but I really missed them! SO, I created new butterflies for my fence – this time using my Cricut cutting machine.
These butterflies won’t last for years outdoors but they are perfect for one summer, party decor for a special event or party, or fun wall decor indoors or in a sheltered location. These butterflies lasted two midwestern summers outside in the rain, sun and wind. How long they last in the outdoor elements will depend on your location and weather.
These new butterflies are made using binder dividers. The binder dividers worked really well since they were thin enough to be cut on my cutting machine. I used a cut file I found in Cricut Design Space and cut each butterfly from two binder dividers layering them together.

These butterflies brought us so much joy and my daughter has asked that I make some for her room. I think they will last even longer indoors and I won’t have to worry about the binder dividers fading or flopping over from the sun and rain!
How to Make Butterfly Art with your Cricut
Supplies Needed:
- Cut file – I used “Small Butterfly #MA7A34AB” from Cricut Design Space
- Cutting machine
- Binder dividers! I purchased four packages of these Avery Big Tab Durable Plastic Dividers
- Glass gems – I used these wrapping paper glass gems from Michaels
- Wire
- Hot glue
- Gorilla waterproof glue
Step By Step Tutorial
Step One: Cut the butterflies out using a cutting machine.
I cut my butterflies out using my Cricut Explore. The cut file I used was available in Cricut Design Space. You may need to do a small test to figure out what setting to use. It will depend on how thick your binder dividers are. I used the poster board setting and it worked really well. The binder dividers were about 8.5″ x 11″ and I made my butterflies as large as I could.


Step Two: Adhere the two layers of butterflies together.
Once you have all of the butterflies cut, adhere the two layers together using hot glue or Gorilla glue. I tried both and ended up using hot glue because I was working on this craft inside. I try to use Gorilla glue outside when possible. In the picture below you can see I used adhesive down the center of the butterflies and at just a few points on their wings. If I do this craft again, I would have used glue around the entire perimeter to better keep the layers together.

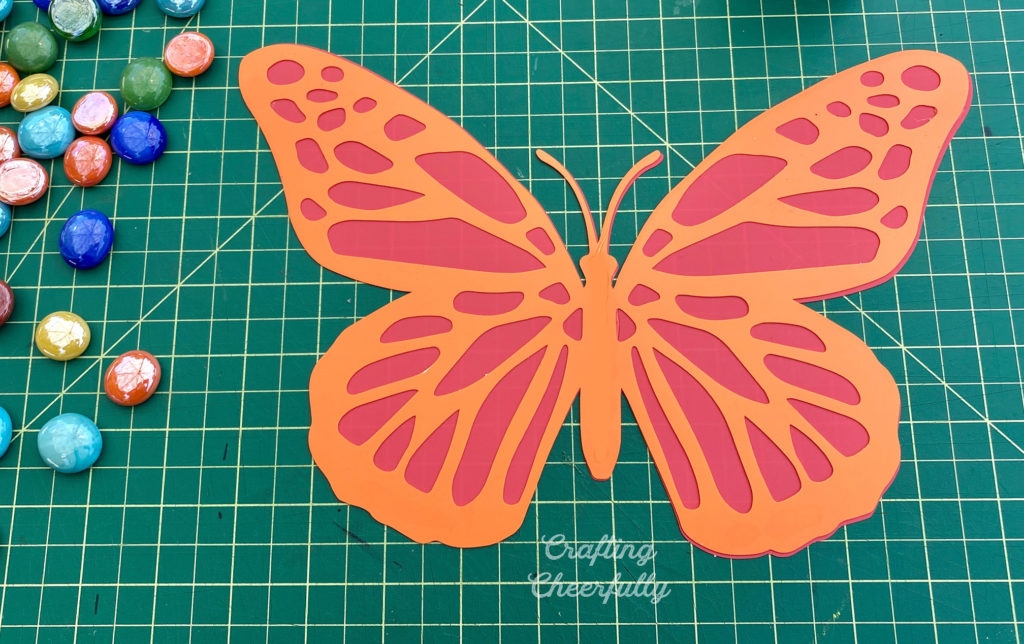
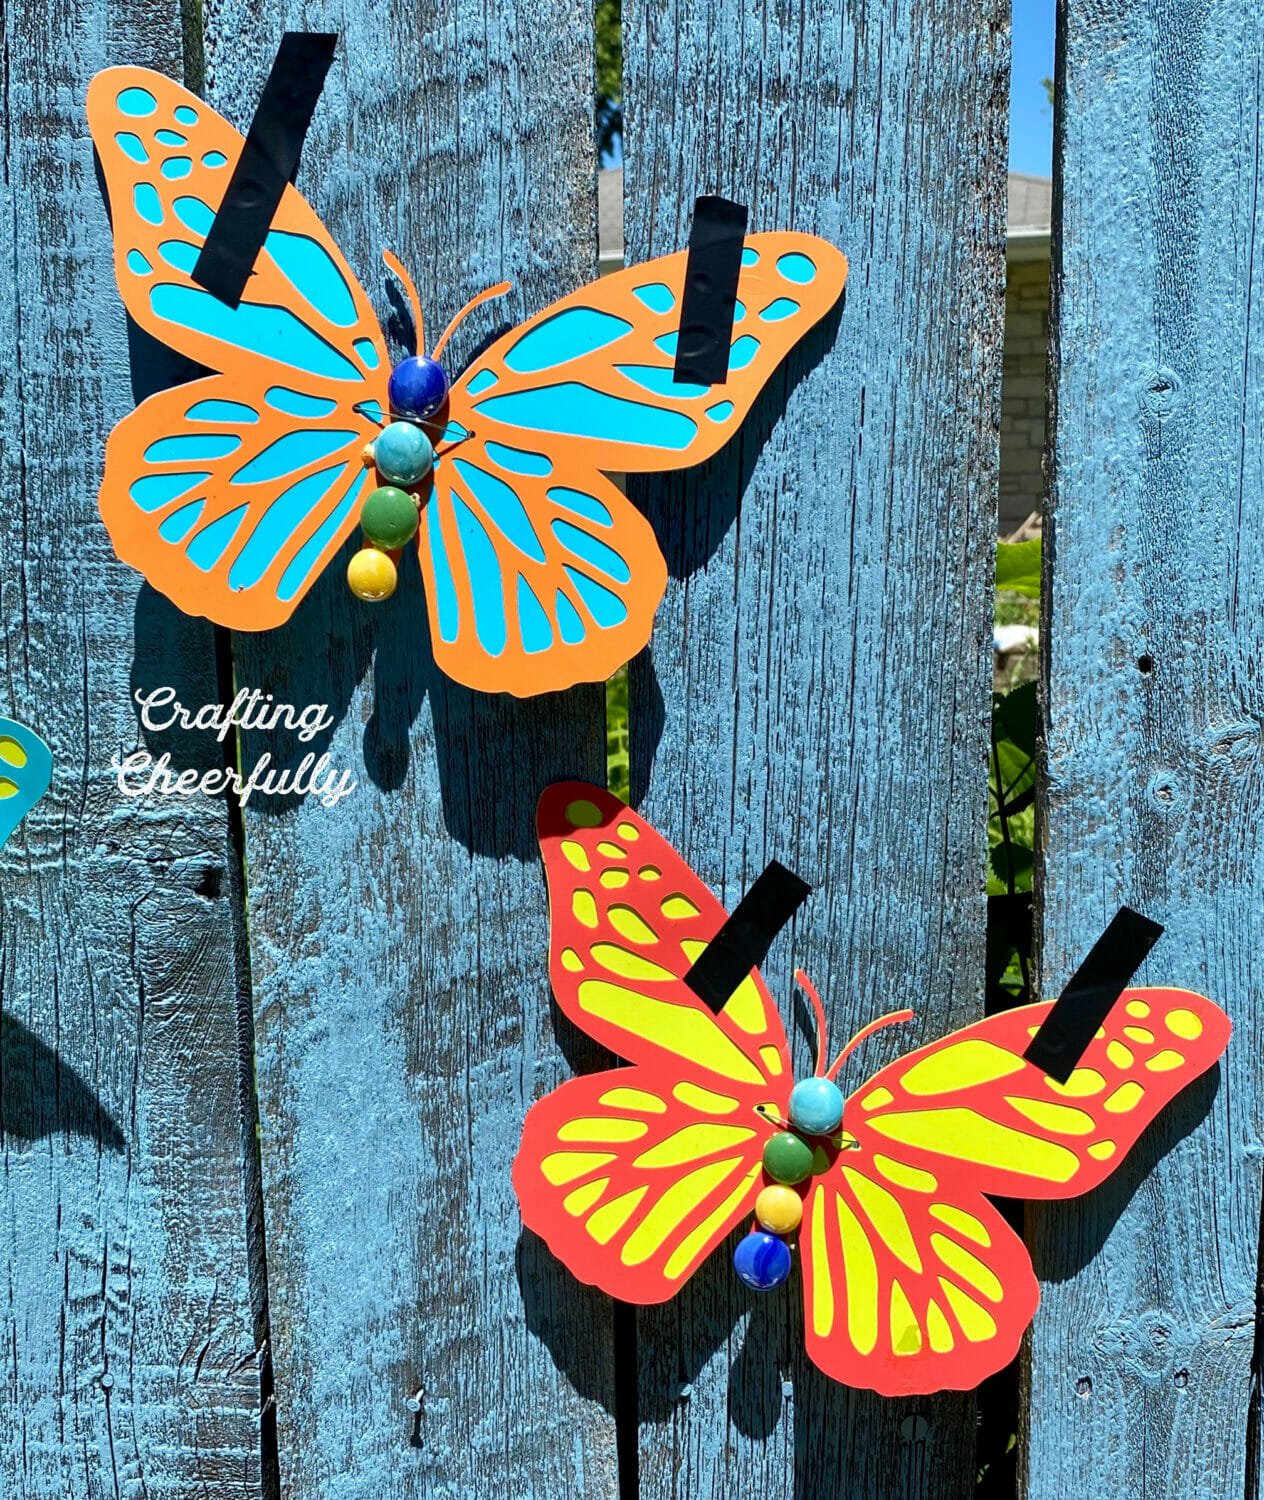
Step Three: Add glass gems to the body of the butterflies.
This step is optional but so fun! Add colored gem stones down the center of the butterflies. My butterflies had room for four stones and I used Gorilla glue to adhere them. I did have a few stones fall off while I was hanging my butterflies up. Personally, I think the butterflies look awesome with or without them so I wasn’t too concerned. I would like to try adding them back on and maybe trying a different glue. The waterproof gorilla glue expands as it dries so it pushes the gems around a big.
If you plan to hang them on a fence as I did, I recommend punching the holes before gluing the gems on. So check out Step Four! If hanging them inside do not punch holes.


Step Four: Hang the butterflies up!
If you are planning to hang the butterflies up inside, you could use wall putty or command strips. They are so light weight the poster ones would probably work!
To hang the butterflies outside on our fence, I punched two holes on either side of the butterfly body. I used wire and wrapped the wire around each fence post.
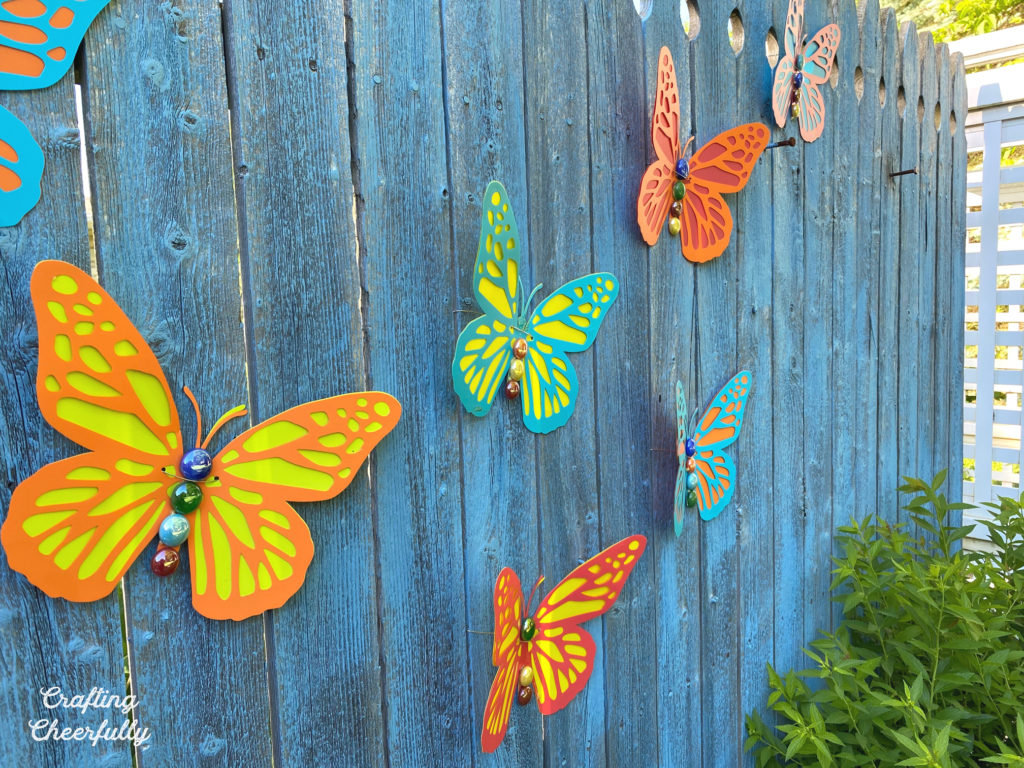
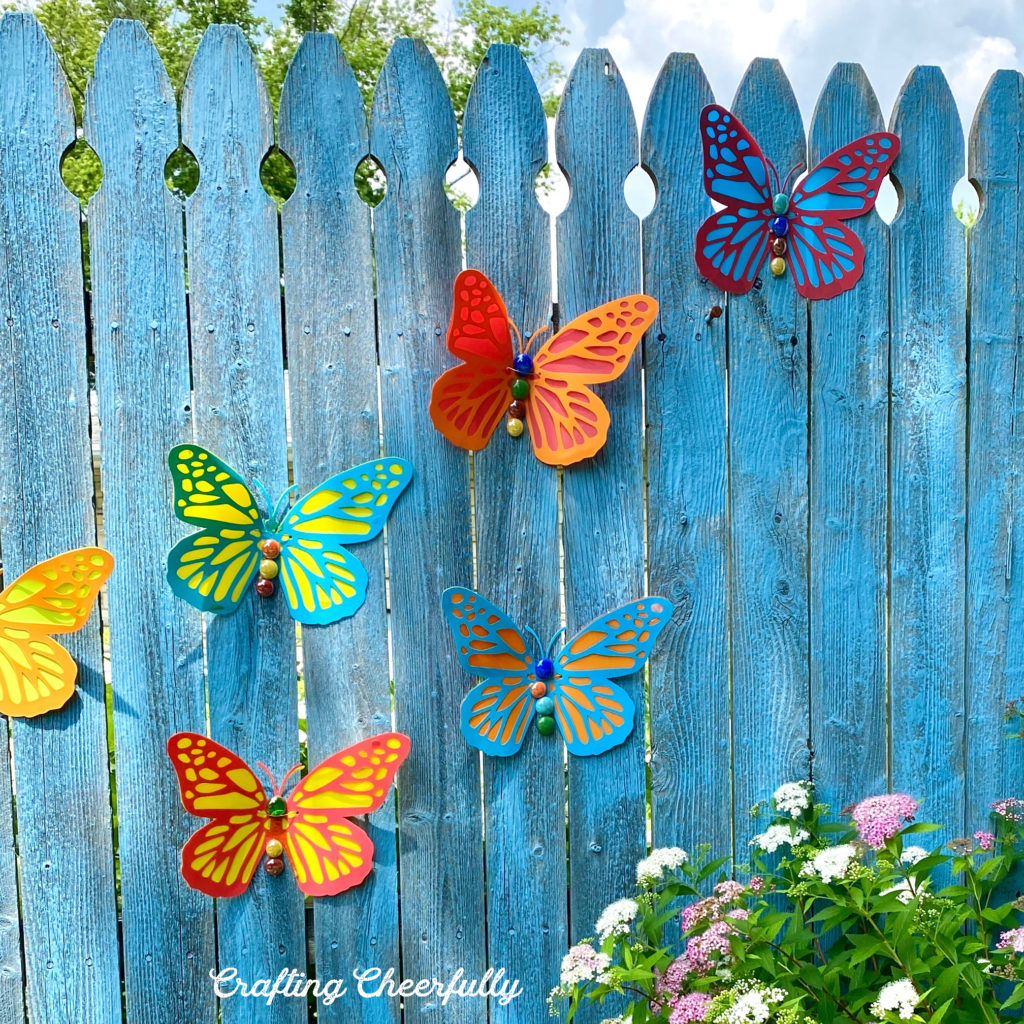
Regardless of whether you are hanging your butterflies indoors or outdoors, try to hang the butterflies by their body and keep the wings free. This will create a 3D art display.

Positioning the butterflies always takes me a bit of time. It helps to use tape to hold them in place while I run to the back side of the fence to twist the wires together.
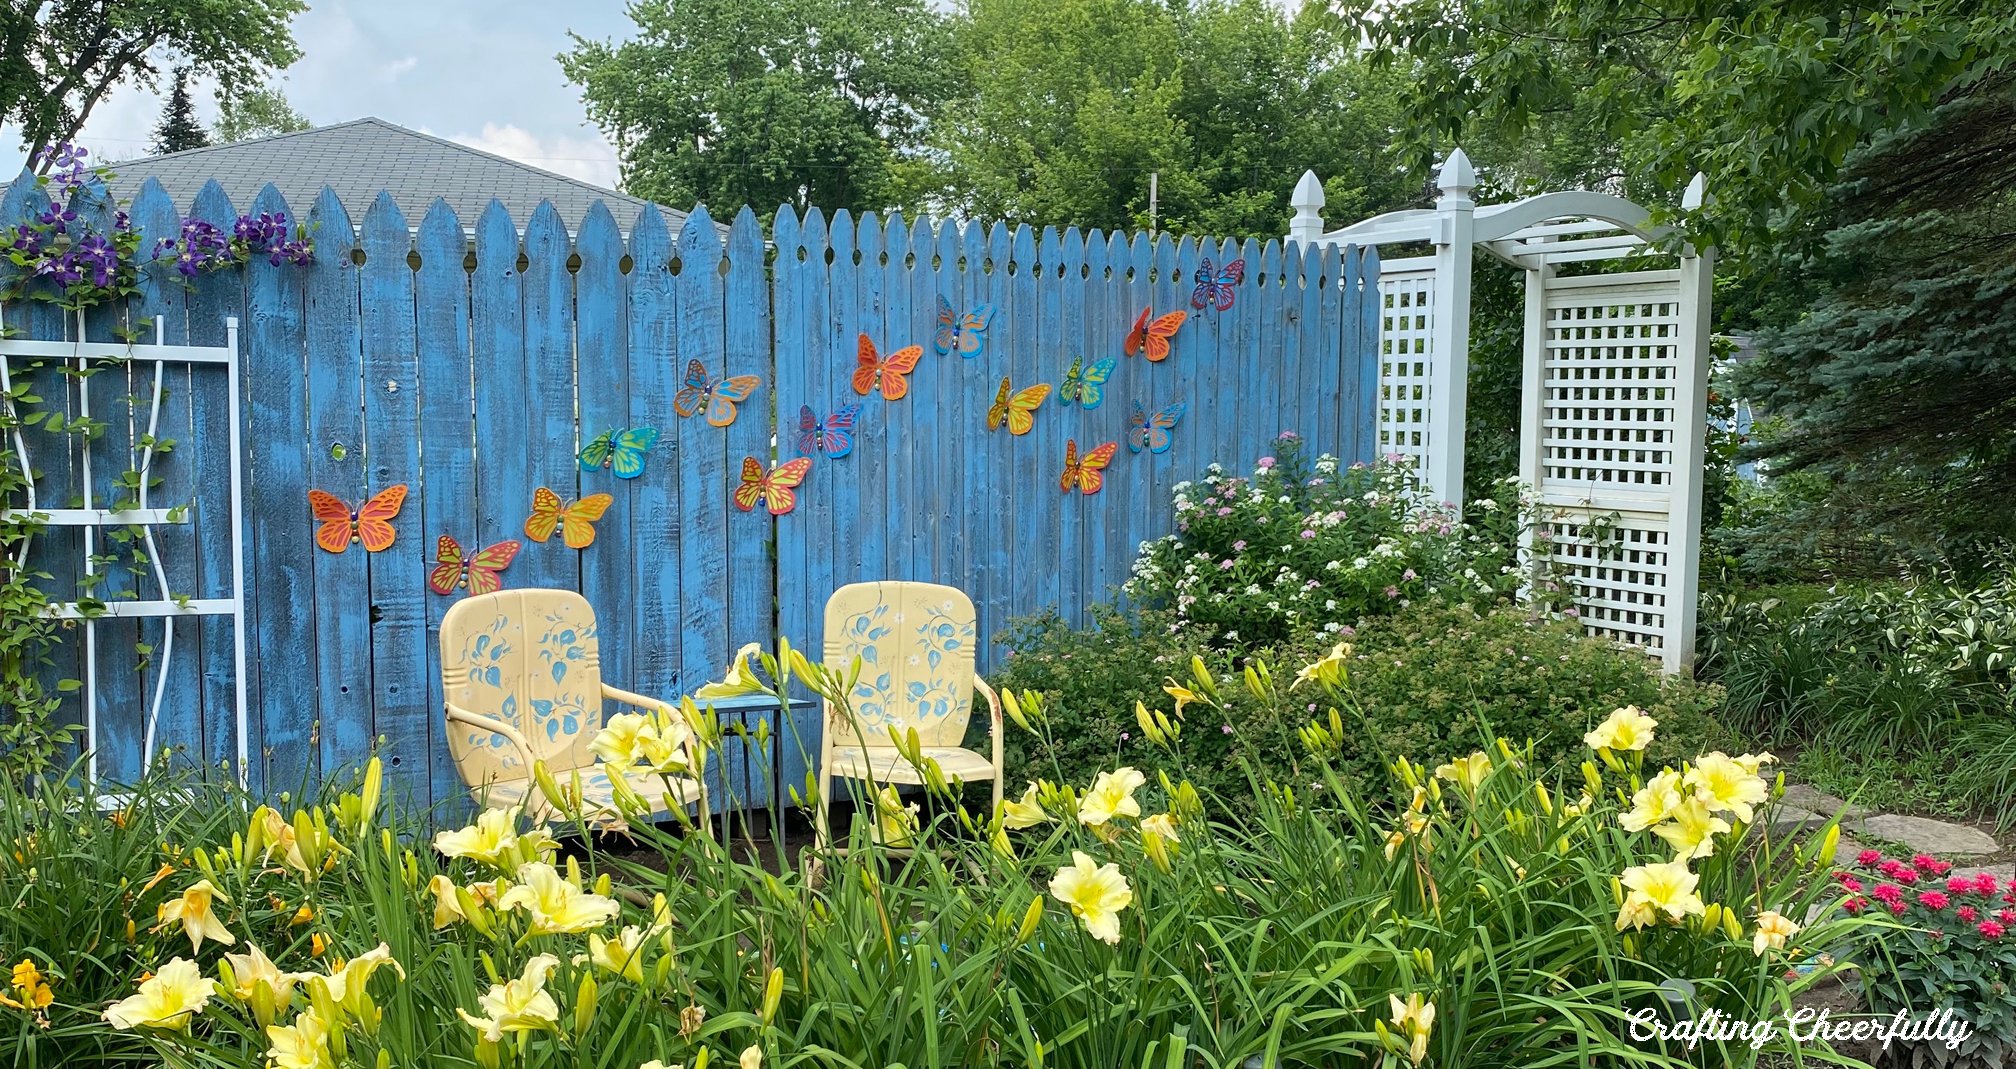
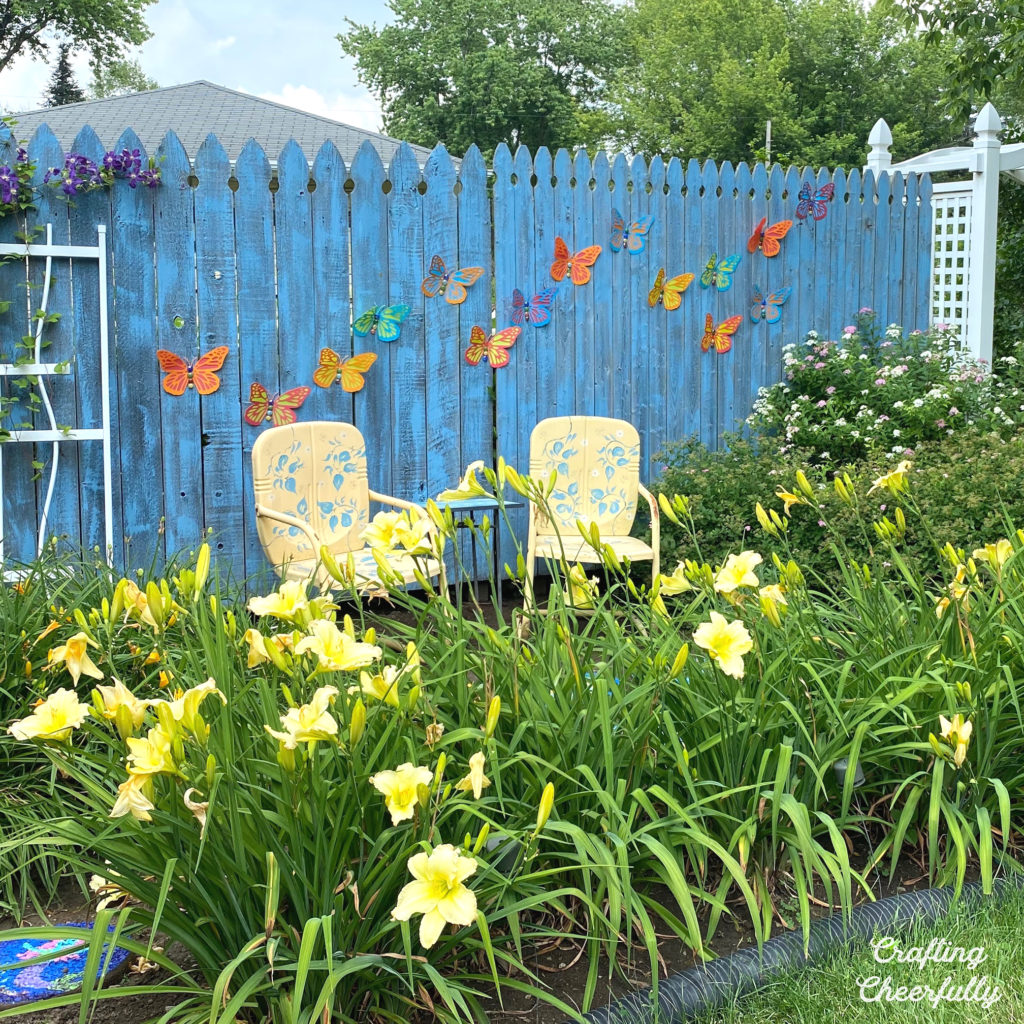
My 3d butterfly art is complete!! I’m excited to have butterflies back in our garden and I’m excited with this new look. The colors are bright and vibrant. The binder dividers are slightly translucent and look really neat when the light hits them! The blue color blends into the fence a little more than I thought it would. But that’s okay! I think they add a lot of whimsy to this fence.
How Long will these Butterflies Last
If you plan to use these butterflies outside, I would guess the will last one summer. Though the exact time will depend on your geographical location and weather conditions. My butterflies lasted outside for two mid-western summers exposed to the sun, wind and rain. They would have lasted longer if they were hung in a sheltered located. The binder plastic faded in the direct sun around month 3 of being outside.
That being said, these were beautiful on our fence and we enjoyed them for the two summers we had them. I think they would also be perfect for a special party or hung in a sheltered or indoor location. If I were to make them again, I would use more adhesive around the entire butterfly to hold the two layers together and I would probably skip the gemstones, even though I really loved how they looked!
Below are pictures mid-summer after a large rainstorm. You can see some of the wings flap down and we lost a couple gemstones. In all honestly, my cardboard/tin-foil butterflies lasted longer outside at four summers though these were quicker to make!
Yay garden art! Since we are home way more than normal this summer, I’ve really enjoyed crafting new art projects for our yard. Check out my other fun DIY craft tutorials that are perfect for decorating your yard or garden.


One Comment