DIY Autumn Acorn Gift Tags – Free Templates
Grab my free template and cut file and create mini acorn gift tags for your fall-themed gifts! A quick DIY, these gift tags are a great excuse to break out your favorite fall papers!

Hello Crafty Friends! It’s time to start sharing fall-themed crafts here on my blog and I couldn’t be more excited! A couple of years ago, I created a cozy acorn banner made from scraps of wool. It has always been one of my favorite banners. I hang it up in September and it stays up until Thanksgiving. I decided to take the same pattern I created for the banner, shrink it and create the cutest DIY acorn gift tags! They are created the same way as the large banner, but instead of wool scraps, I used some of my prettiest fall papers.
These tags are so quick and easy to create. You can add them to just about anything you plan on gifting this fall season. You could even attach them to a pumpkin spice latte if that is your thing! Just grab some twine and a hole punch and these tags are ready to decorate anything.

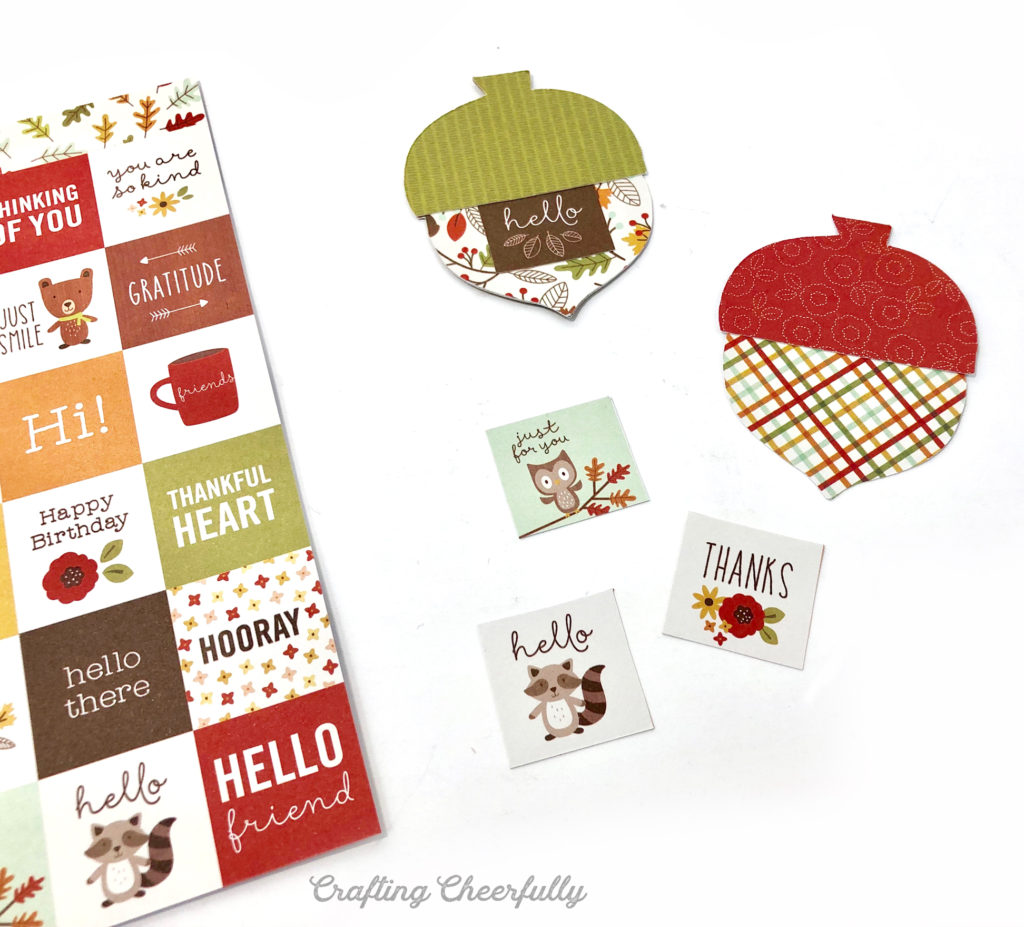
For my acorn gift tags, I used paper from a 6″ x 6″ paperstack by Pebbles called Woodland Forest. I bought this stack to make my Owl Notepads, and found it was perfect for these gift tags as well! The stack comes with a journaling sheet with tiny squares featuring sayings like “Thanks”, “Thinking of You” and “Hello”. I added them to the acorns, but you can also make the tags without them and add your own special note on the back of the tag.

Below is the tutorial – plus the best part – directions for how to grab the free PDF template and cut file! Whether you are cutting by hand or with a machine, these tags come together quickly and are a great excuse to break out your favorite fall papers!
How to Make Autumn Acorn Gift Tags
Supplies Needed for Acorn Gift Tags:
- Free PDF and SVG files – Grab the free files by filling out the purple form at the end of this post.
- Scissors or Cricut Cutting Machine
- Cricut tools and cutting mat
- Patterned paper – I used paper from the mini paperstack Woodland Forest
- Twine
- 1/8 Inch hole punch
- Glue Stick
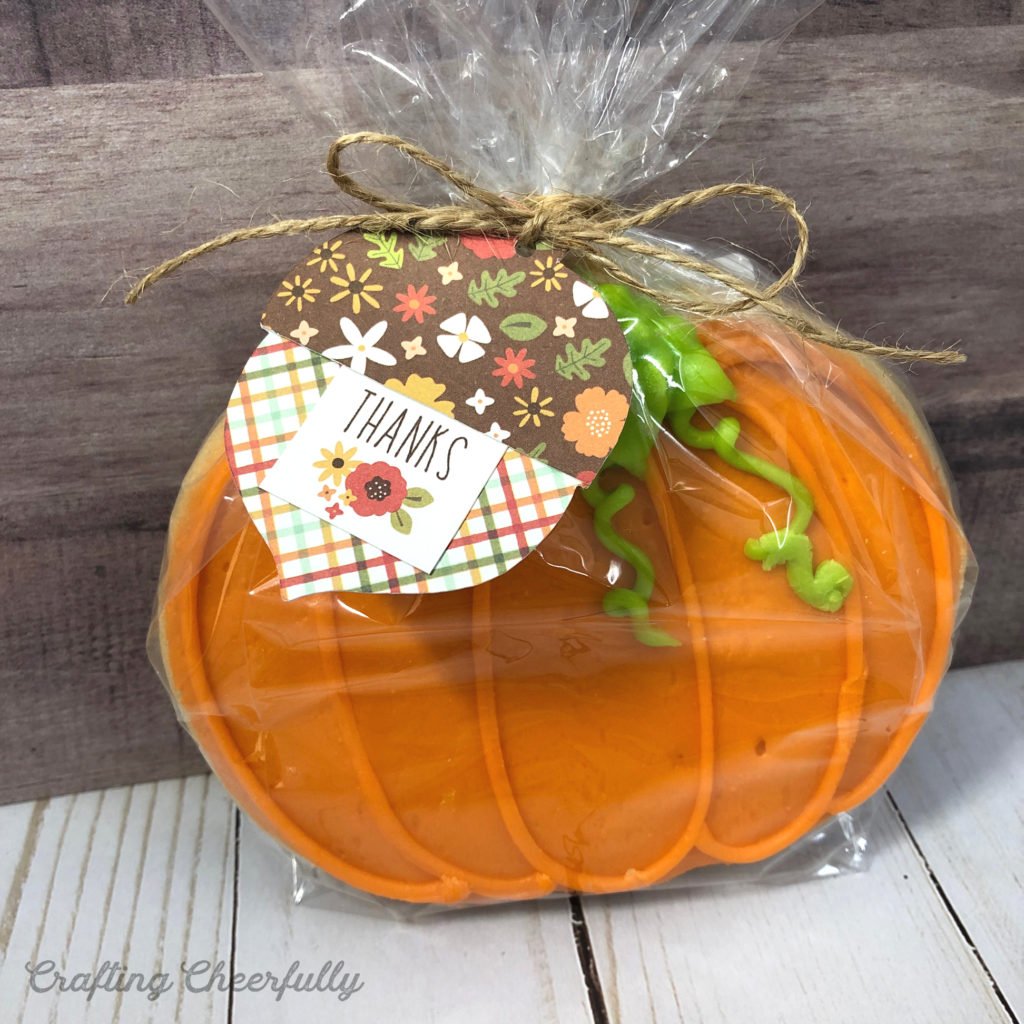
*I purchased the fun fall cookies from my local Cookies by Design store. They came already wrapped in the plastic bags so they were all ready for me to add my cute little acorn tags!

Step by Step Tutorial
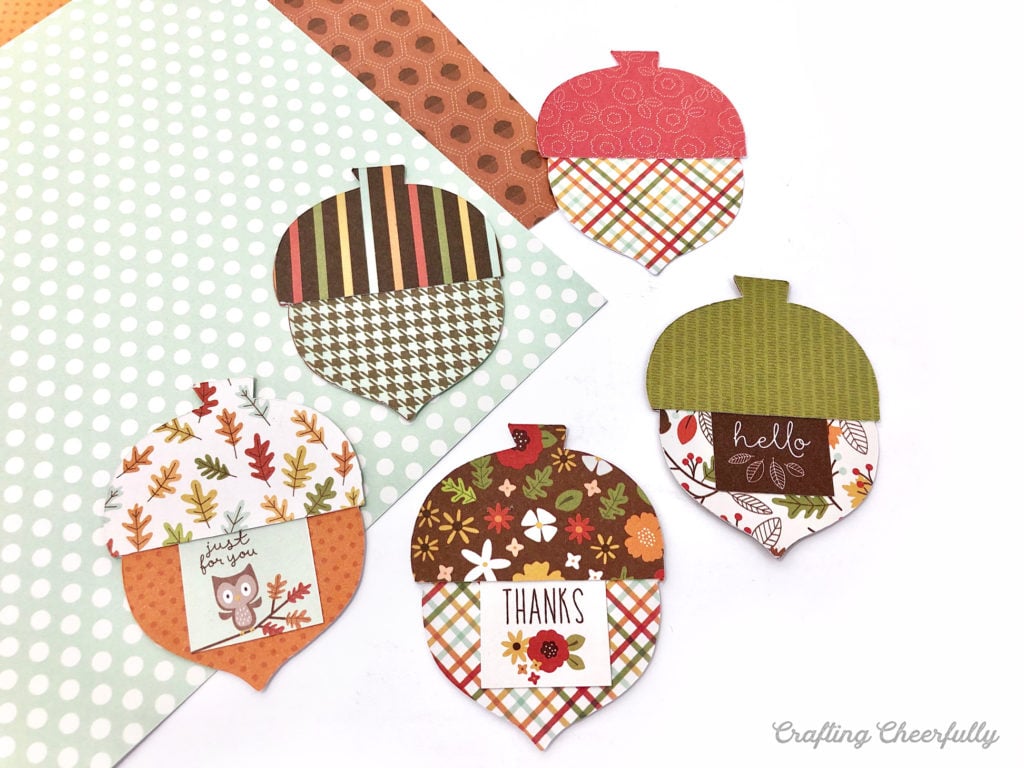
Step One: Use the template or cut file to cut out the acorn pieces from your favorite patterned papers. I found the acorns looked the most like acorns when I used a more solid color for the top piece – as opposed to a patterned piece. You can mix and match papers and pick the combo you like best!
The acorns can be cut and assembled two ways:
- Cutting the full acorn and adding the acorn topper over.
- Cutting the full acorn, plus both the acorn topper and bottom. This is helpful if your paper is patterned on both sides and you want a plain piece showing on the back to write a message.

Step Two: Use a glue stick to attach the pieces of the acorn. If you have cute messages to add to the front of the acorns, cut them out and slip the top edge under the acorn topper before gluing them down.
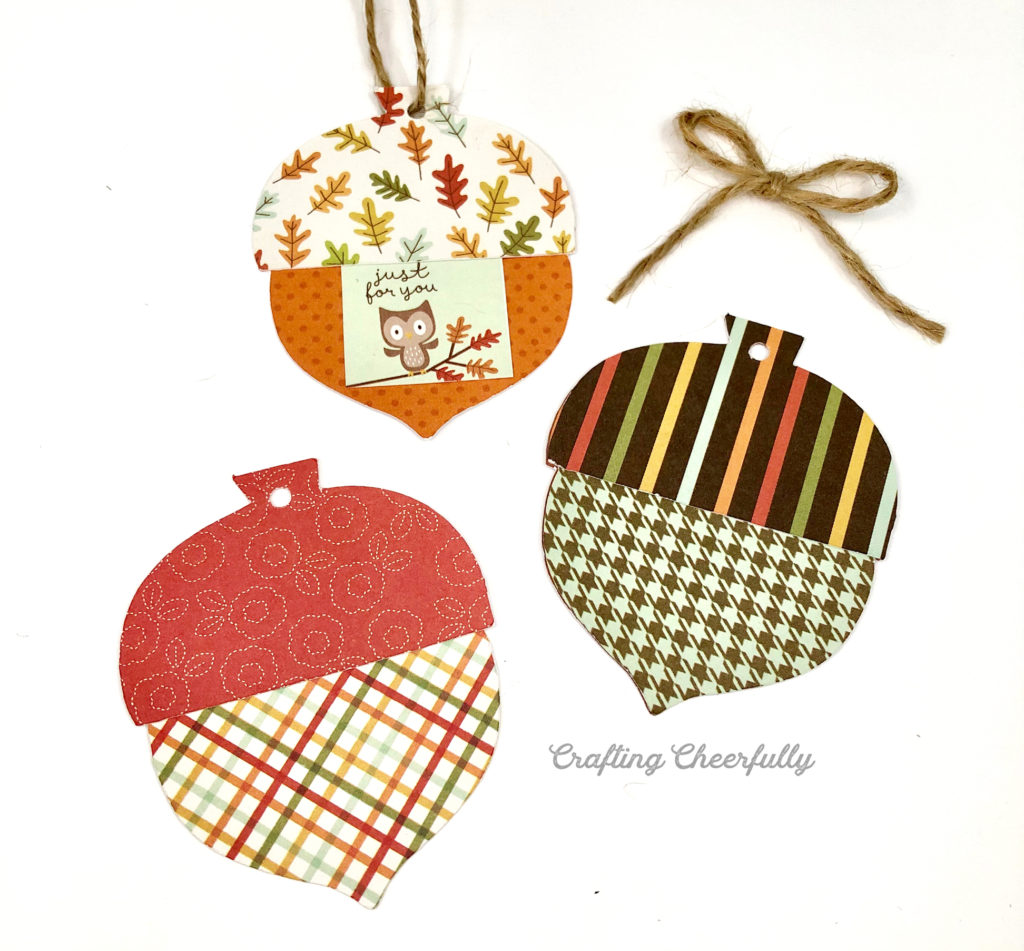
Below are some of the tags I created!
Step Three: Add a loop for attaching the gift tags. Punch a small hole in the top of the acorns and use twine or ribbon to attach the gift tags to your gift!

I used these gift tags on the sweetest fall cookies I purchased from my local Cookies by Design store. Aren’t they cute?!


I hope you enjoyed this fun fall craft! For more ideas perfect for the season, check out my other fall-themed crafts!


Get the Free Autumn Acorn Gift Tag Files!
Fill out the purple form below with your first name and email address! The free file will be sent straight to your inbox! If you have already filled out the form below, don’t worry – you won’t be added to my list twice! This freebie is for personal use only. I hope you enjoy crafting something special. Please let me know if you have any questions :)