DIY Clay Christmas Ornaments
Create these festive DIY clay Christmas ornaments for the holidays! They make sweet handmade gifts and a great keepsake!

*Thank you to Sculpey for sending me a package of Holiday Wonder Oven-Bake Clay to try out.
With Christmas around the corner, I’m quickly finishing up my holiday gifts for the year – both my shopping and my crafting! I’m exited to share these fun DIY clay Christmas ornaments. They make a sweet gift for family and friends and they come together quickly using polymer clay.
I love gifting picture ornaments of our kids, especially to grandparents. They make cute gifts and great keepsakes. I also love that this is a fun holiday craft kids can help with. The ornaments are all created with tiny balls of clay that are pressed with your finger. No fancy tools or clay experience necessary!


I’m sharing this craft as part of the Team Creative Crafts “Quick and Easy Holiday Gift Ideas” edition. The fun raffle is being sponsored by Sculpey and they were kind enough to send me a package of their Holiday Wonder Oven-Bake Clay to play around with. It has the perfect colors in it for making these ornaments. The other supplies I used, including ribbon and chipboard, were easy to find around the house.
Below is the tutorial for making these fun clay picture ornaments. I made a few different styles using including square and circle frames. Since the package of clay came with a brown, gold and black, I decided to make a cute Rudolph ornament. I created a template with circle and square shapes that makes these ornaments even easier to create. You can download it for free in my Resource Library.


DIY Clay Photo Ornaments
Supplies Needed:
- Free printable template – Grab the free file by filling out the purple form at the end of this post.
- Sculpey Oven-Bake Clay – I used a Sculpey Glitter Holiday Wonder Kit. If you can’t find that kit, this Sculpey Kit has similar colors but without glitter.
- Ribbon for hanging
- Glue stick
- Hot Glue
- Scissors
- Photos!

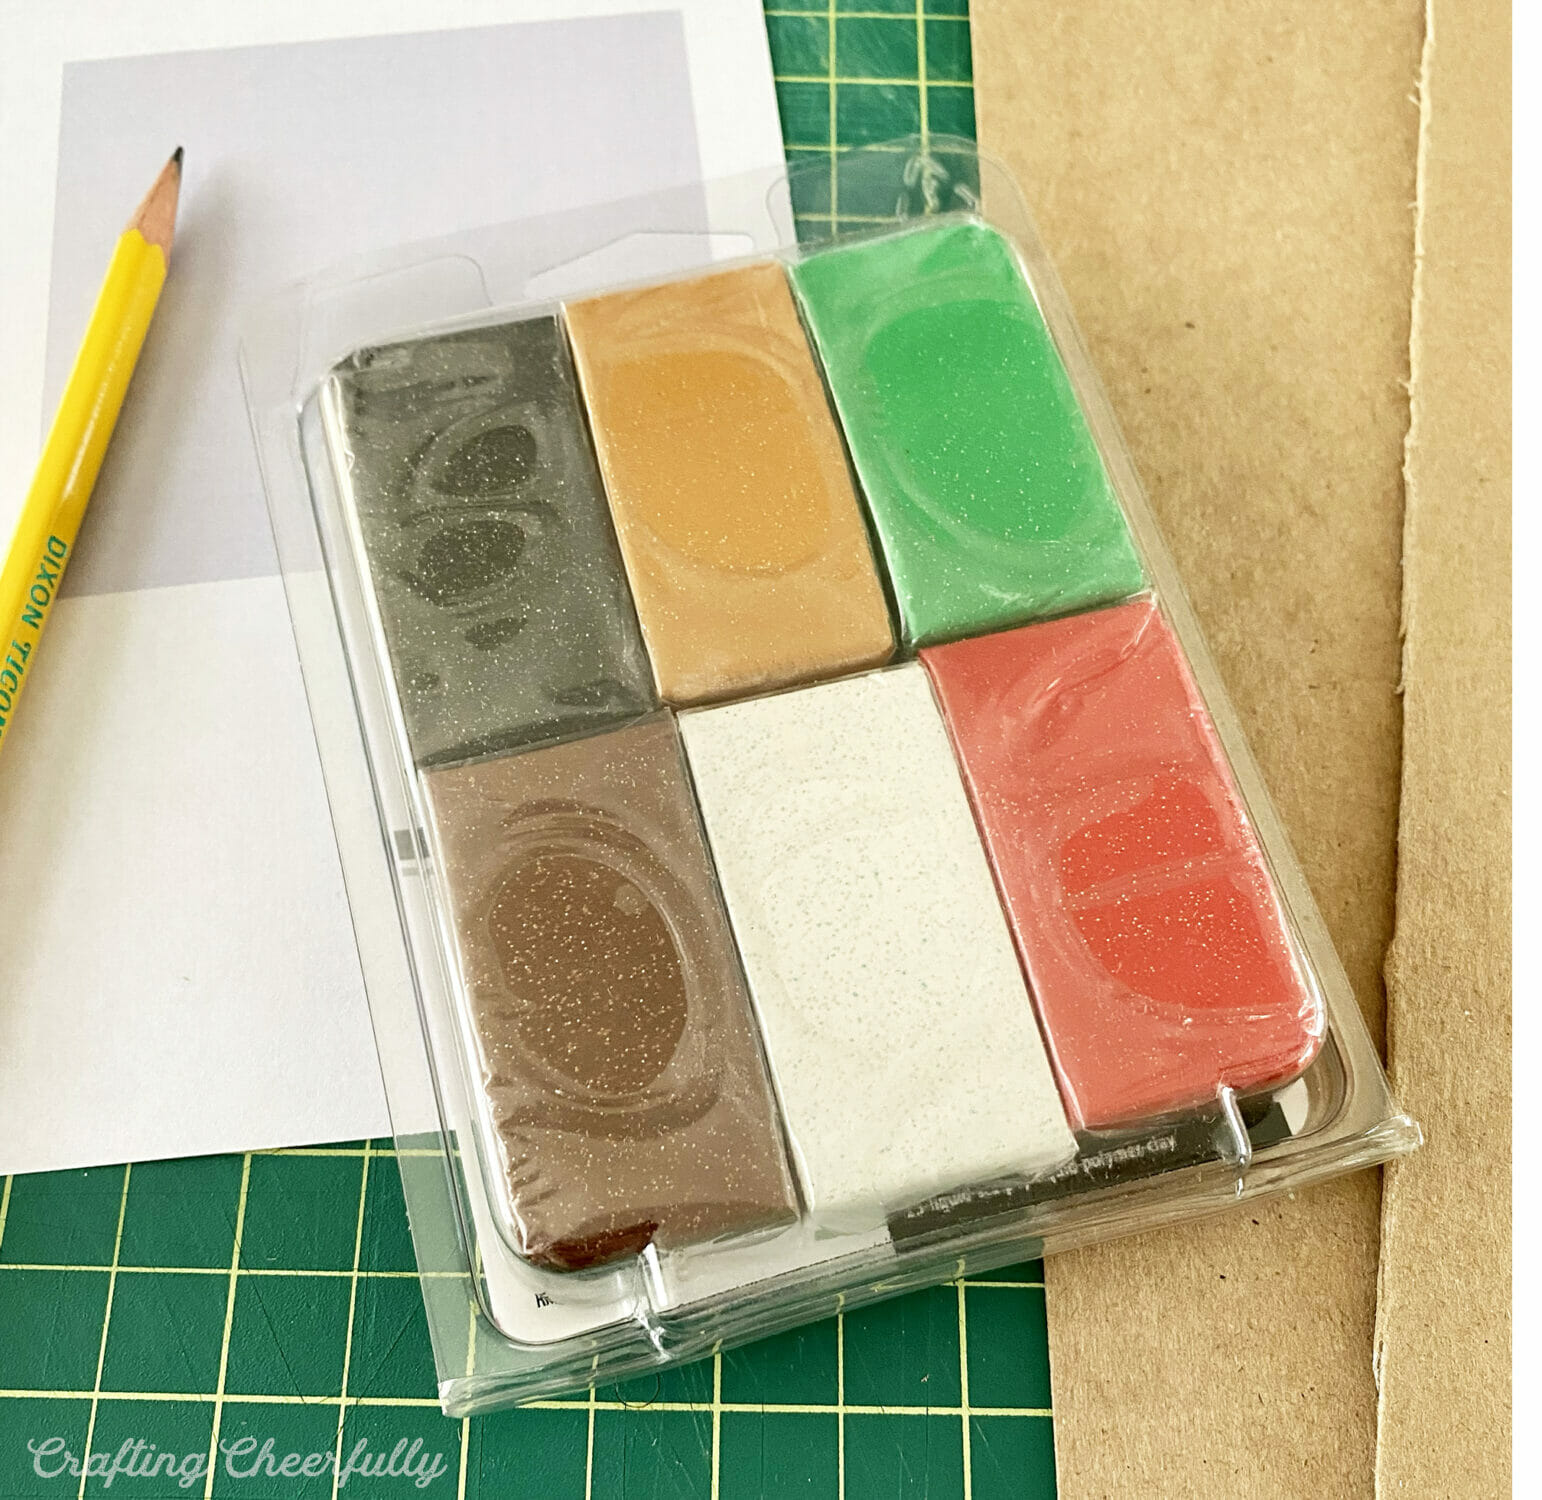
Below you can see the six glittery colors that came in the Holiday Wonder clay pack. I made ornaments to use all six colors!
Making the Clay Ornaments
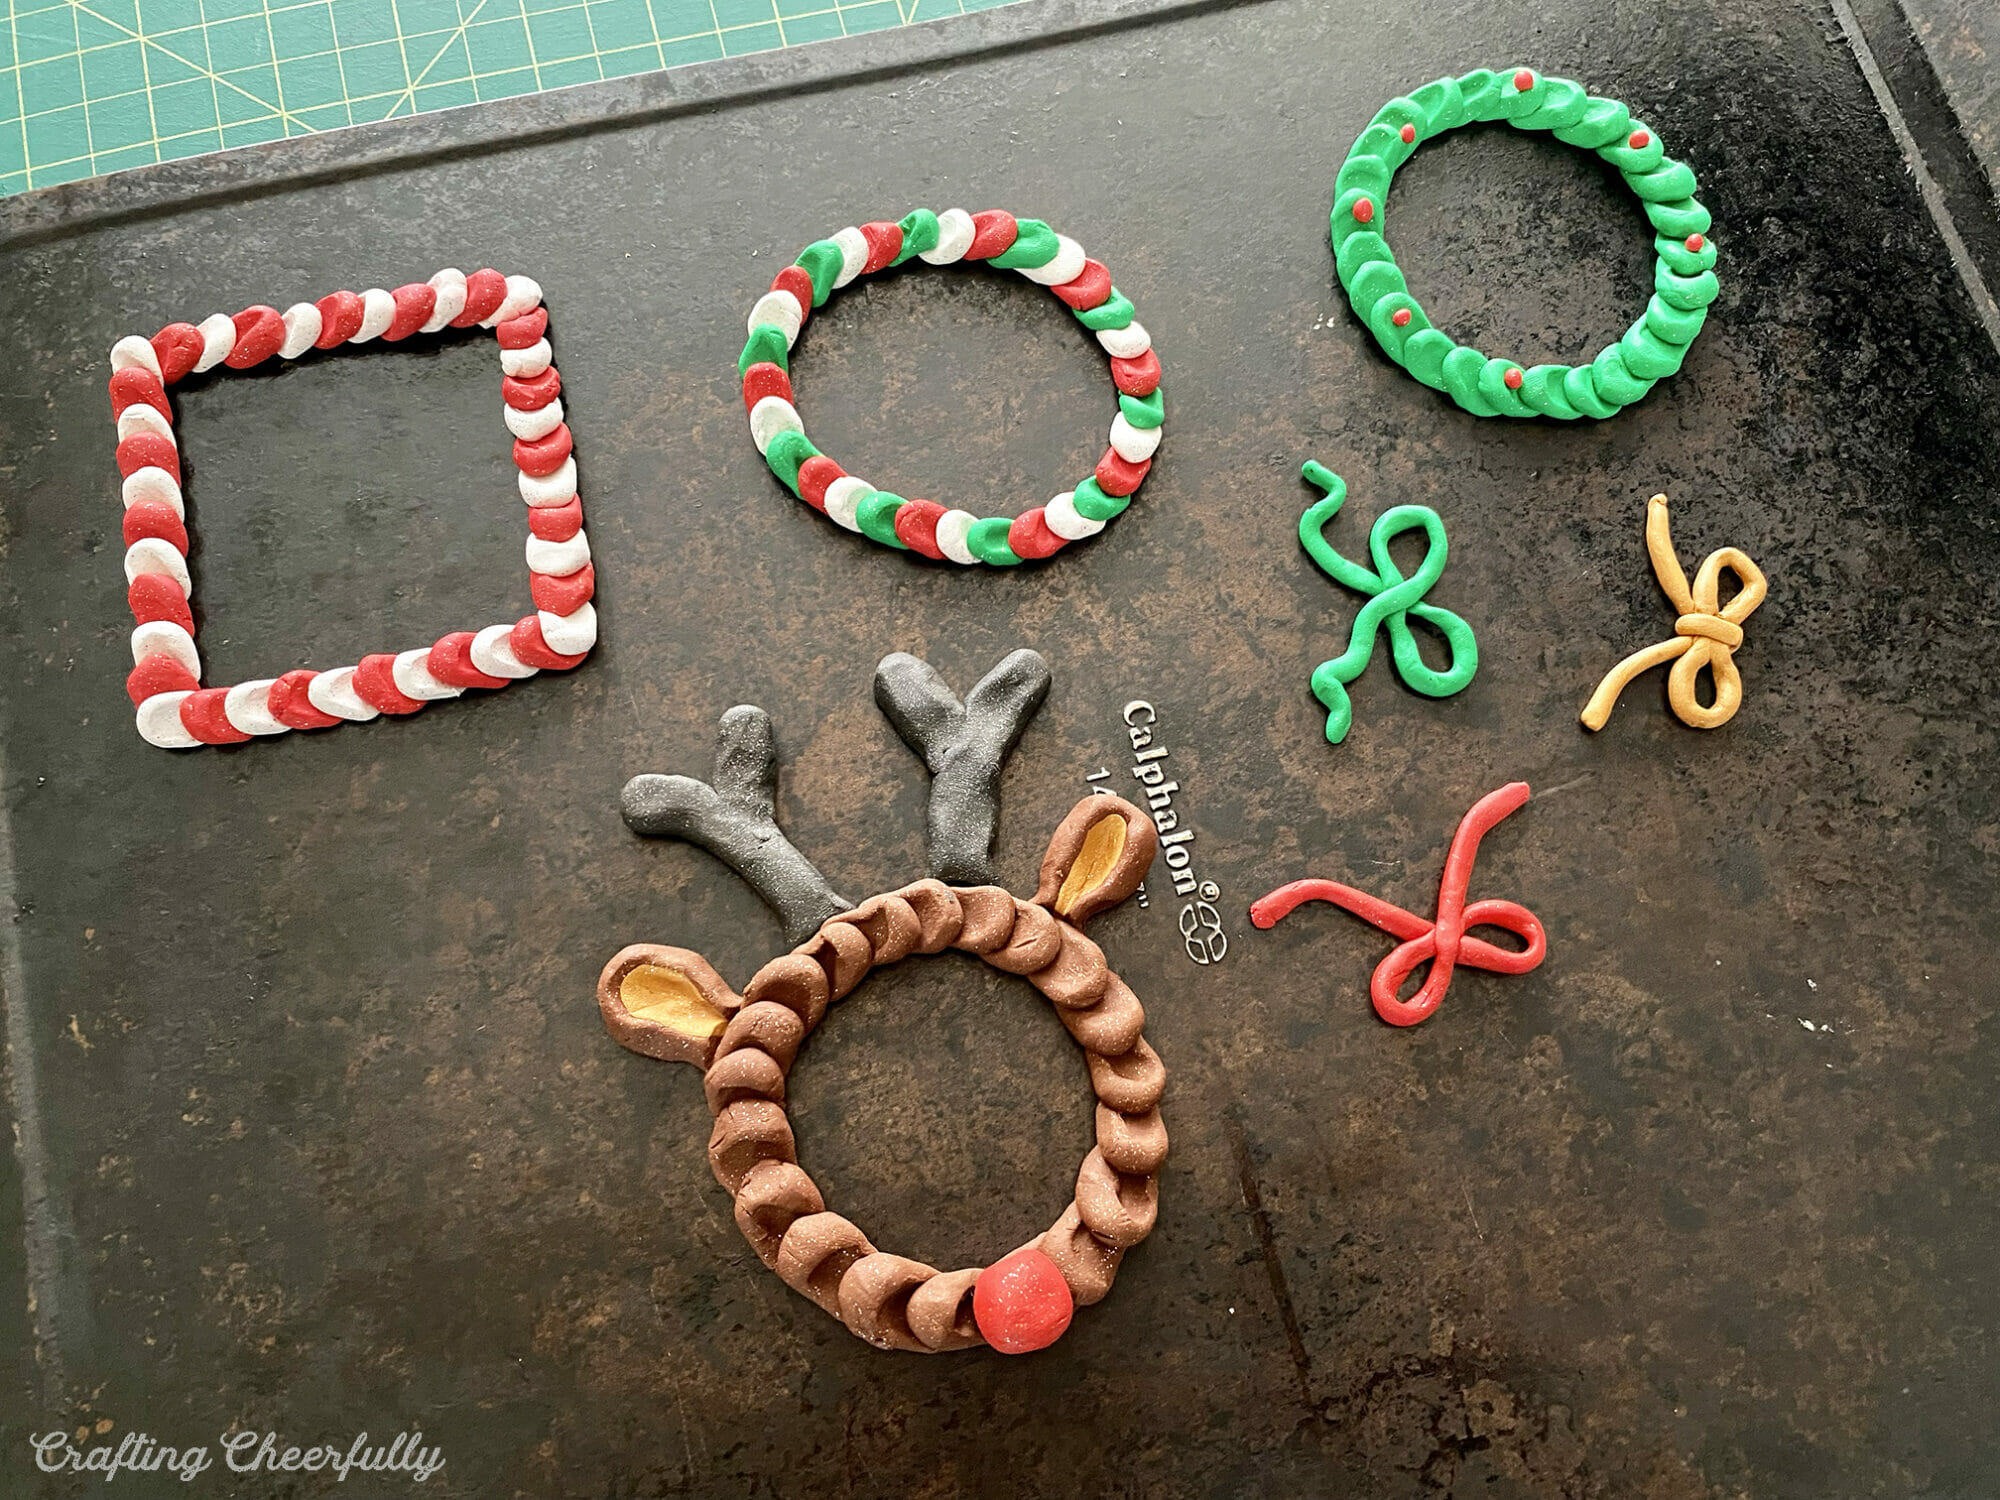
These ornaments are actually pretty simple to make. They are made with tiny balls of clay that are pressed down with your finger. Start by rolling tiny balls of clay in the colors you want to use for your ornament. For the wreath ornament, I made green balls of clay.
*Tip: Make sure your hands are clean when handling the white clay, otherwise you will accidentally tint the white clay. I washed my hands each time I started to use the white clay.

Once you have all the balls made, use a finger to squish one of the ends. Then position them around the template, overlapping them as you go. Use all one color like I did for my wreath ornament, or alternate them red and white, to create a fun candy cane pattern. 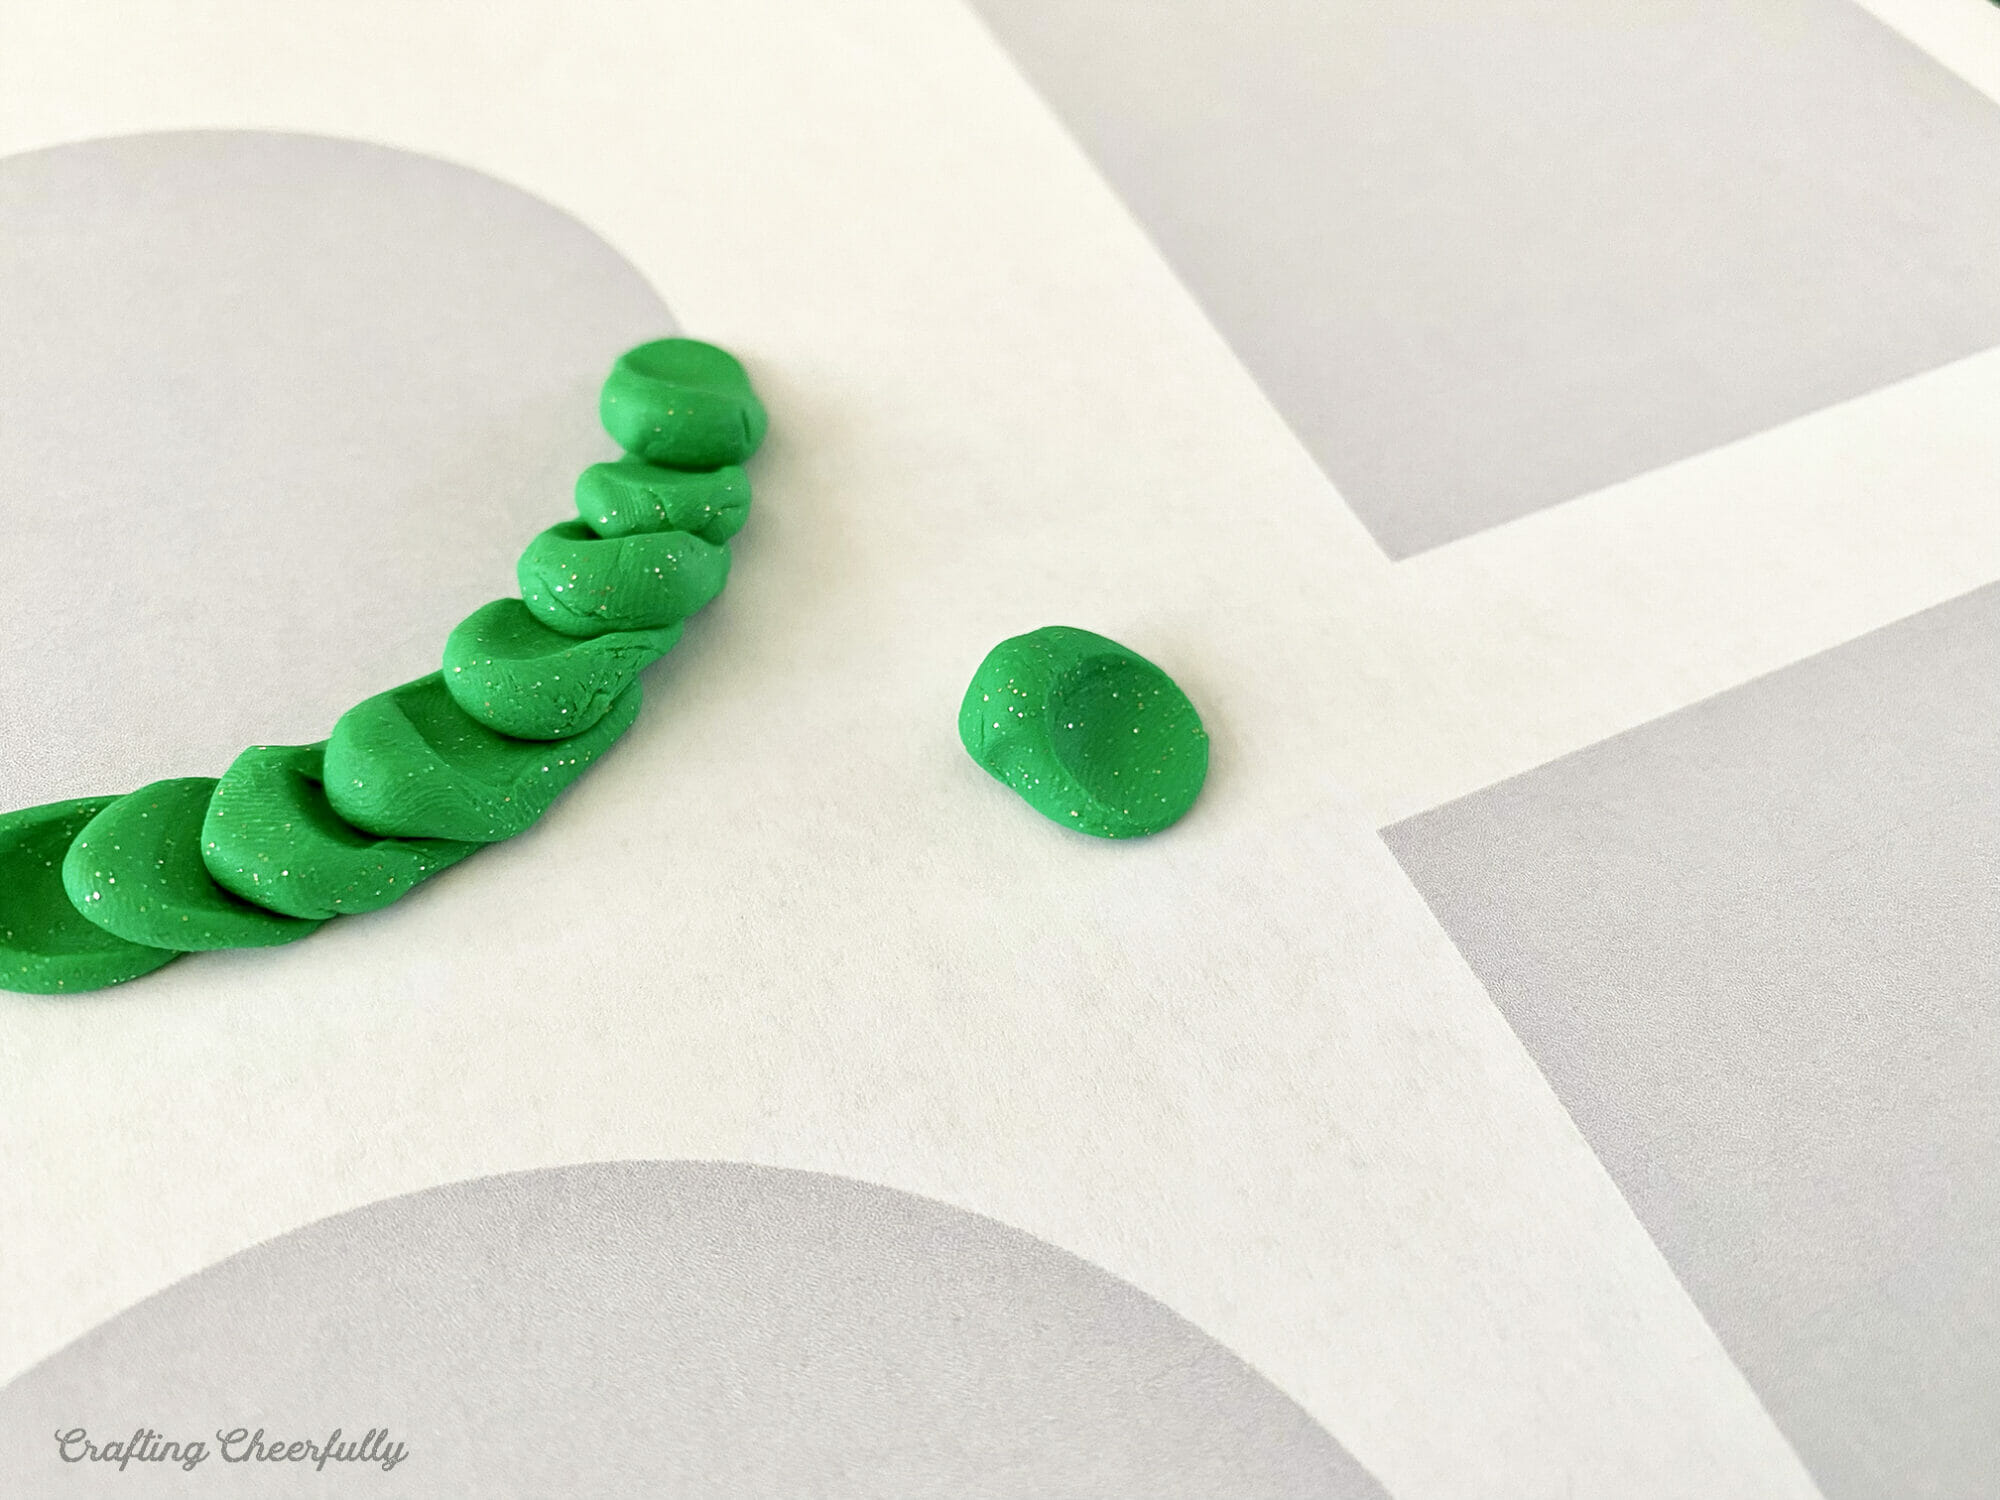

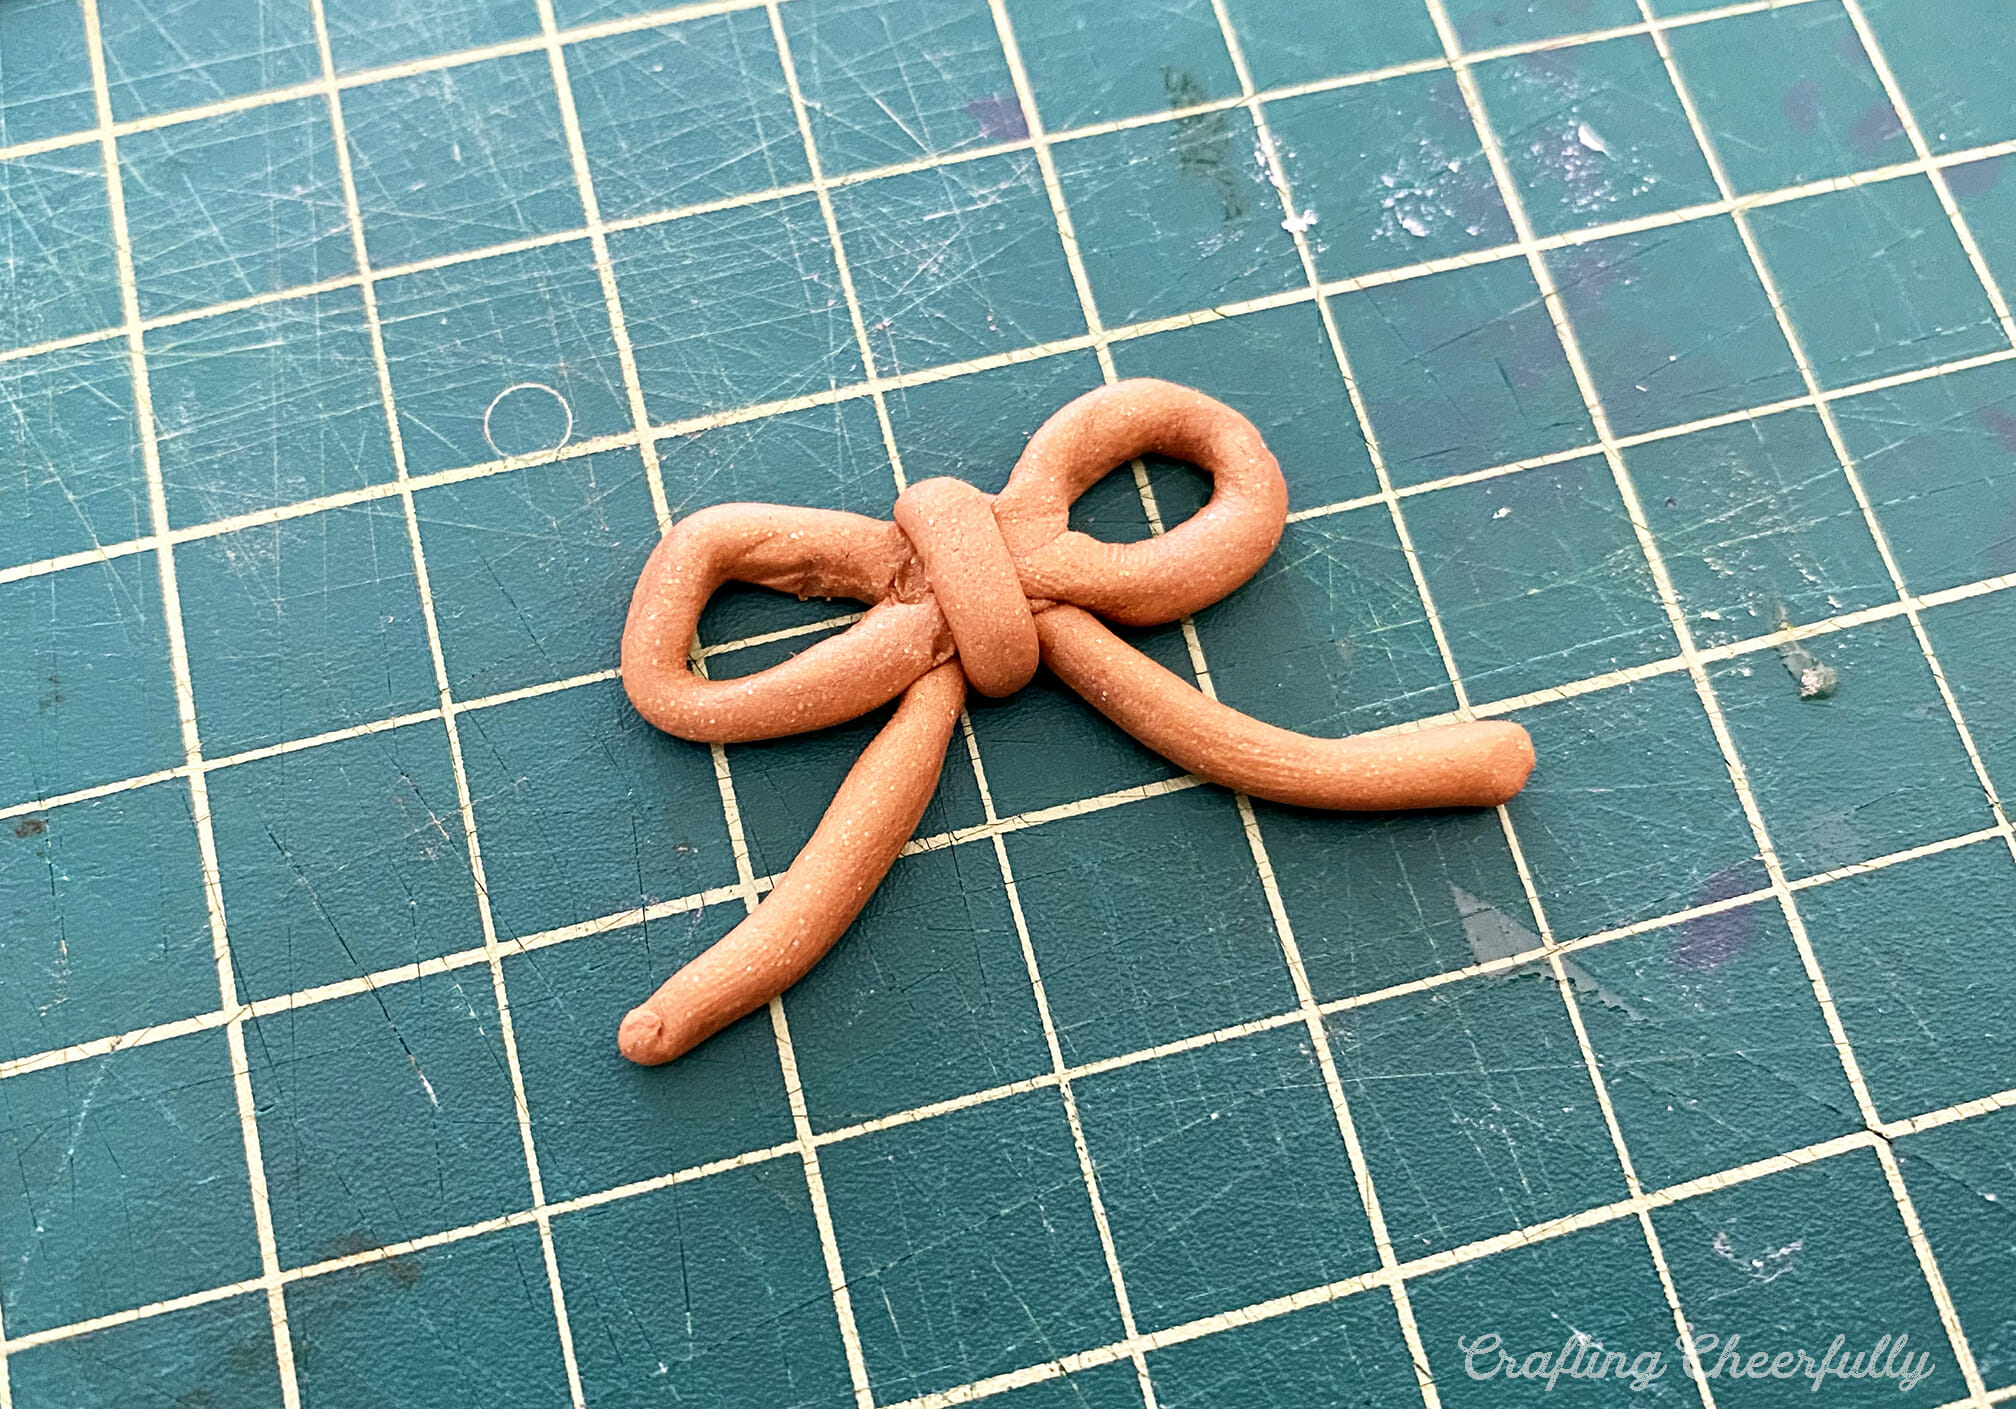
To make a bow to add to your frame ornaments, roll a really long rope out of clay. Form it into the shape of a bow. For my gold bow I added a center band, but for my red and green ones I just formed a bow shape with my long rope and left it as is.

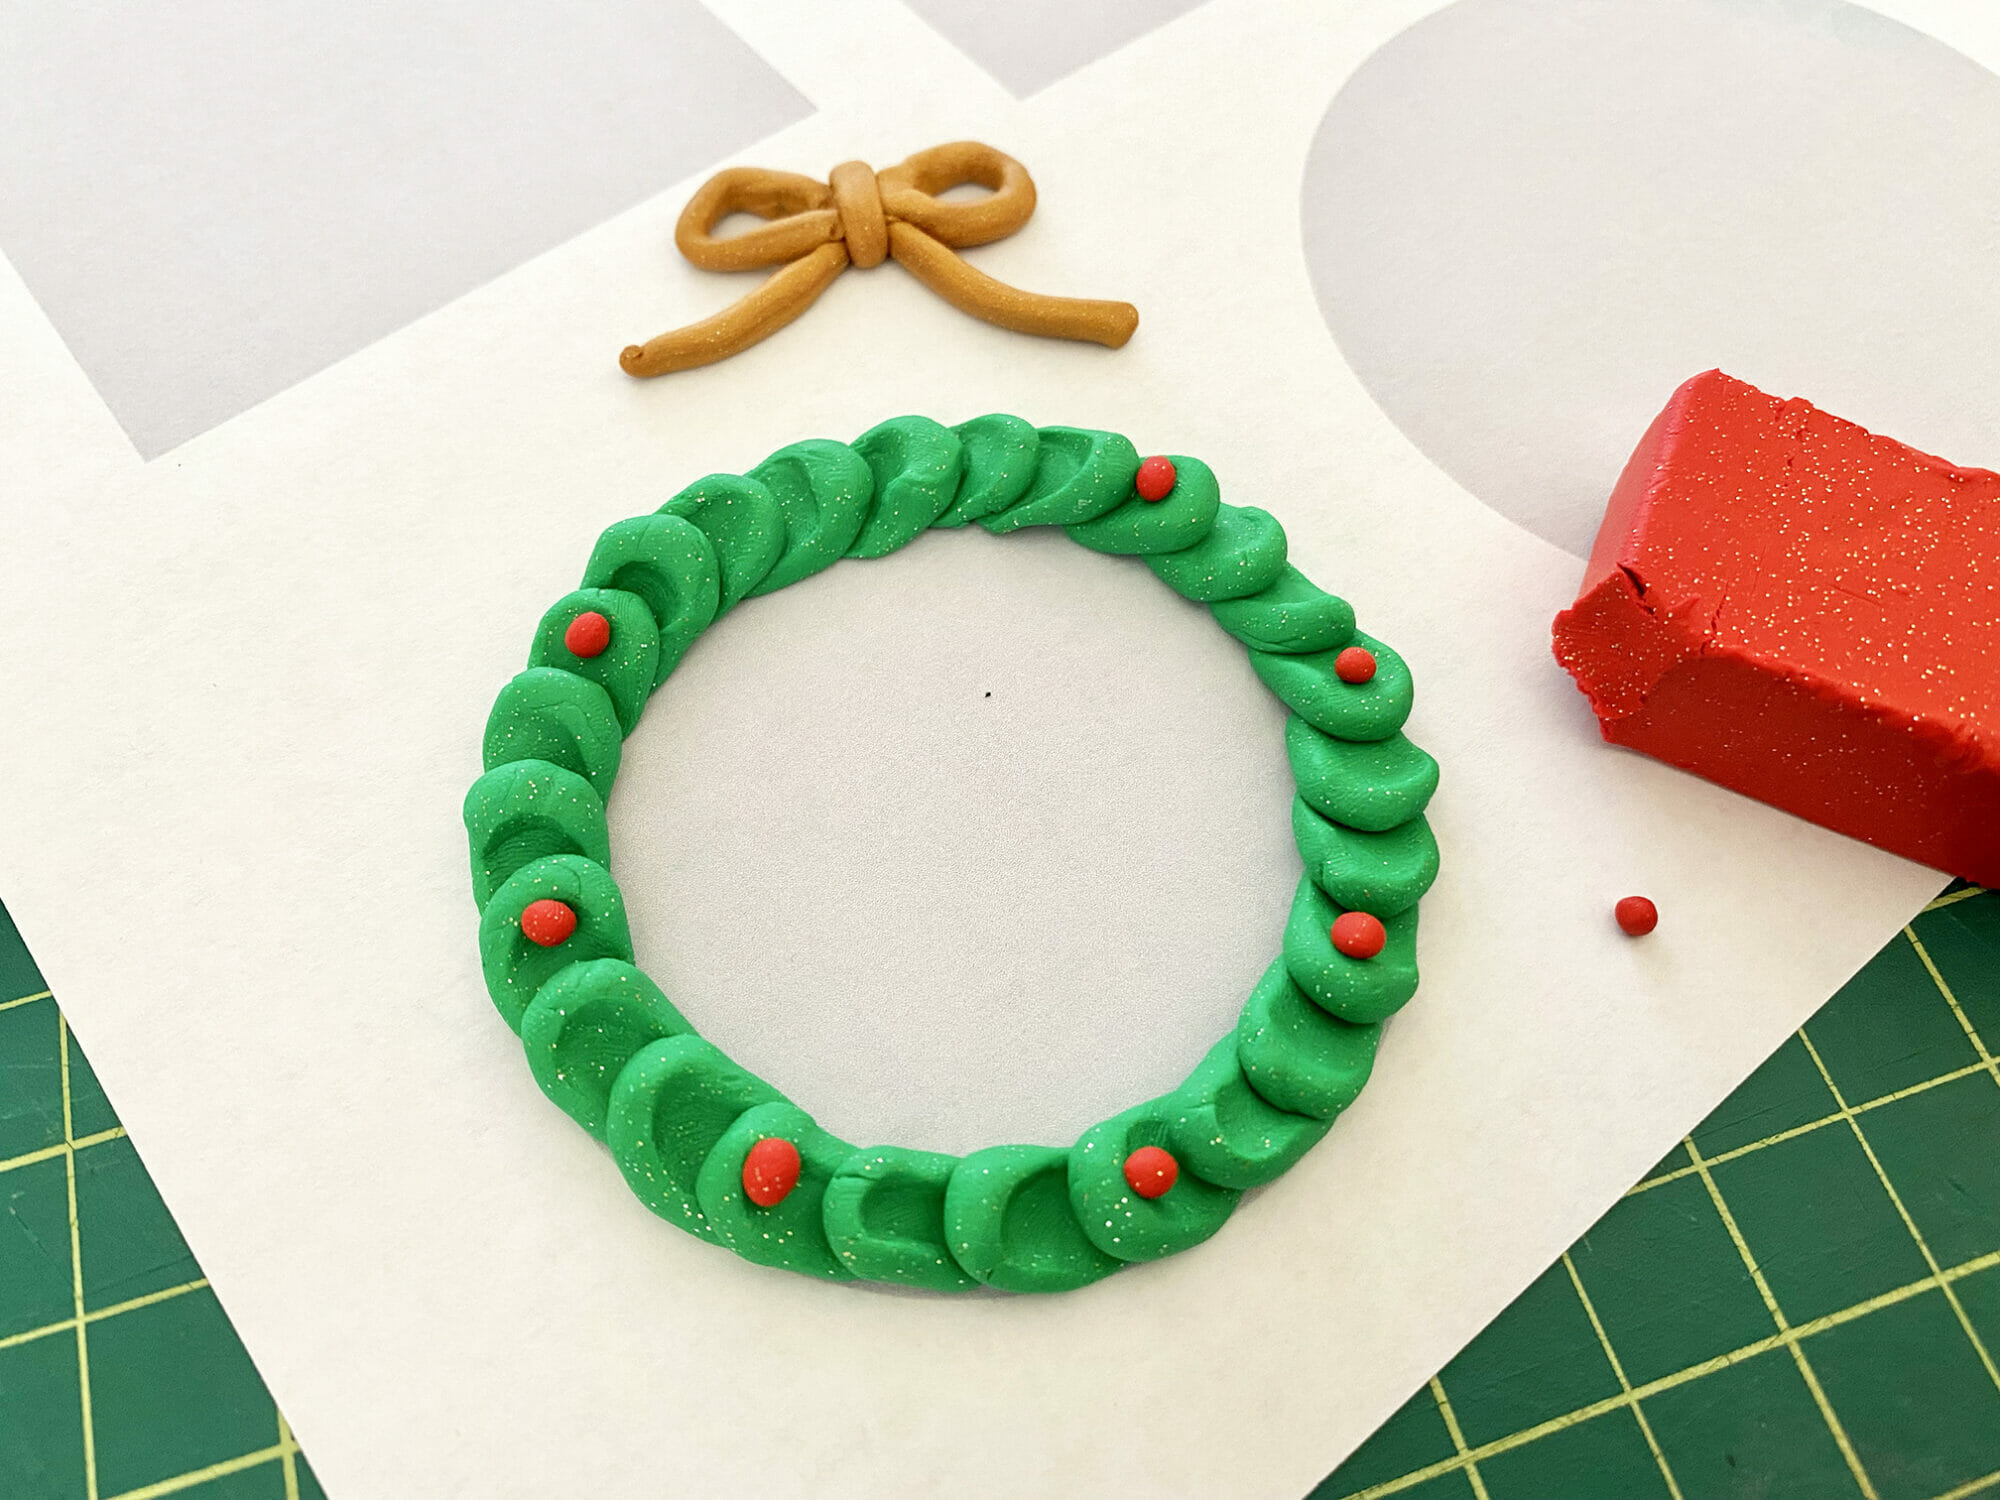
For the wreath you can add teeny tiny red balls of clay. One of mine fell off during baking, so I used a tiny amount of hot glue to re-attach it.

The Reindeer Ornament
The reindeer ornaments require a little extra work with the clay to make the ears and antlers. I formed the frame the exact same way as the other ornaments using brown clay. For the ears, I made two large balls of brown clay and smushed smaller balls of gold clay on top and formed them into the shape of ears. I flattened the ends and positioned them underneath the frame.

I added a red ball to the bottom of the frame for Rudolph’s nose and formed two antlers from the black clay. Squish the ends down and position them under the frame just like the ears. Once all the ornaments are done, slide them off the paper templates and onto a baking sheet. Bake them following the package instructions.
Adding the Photos
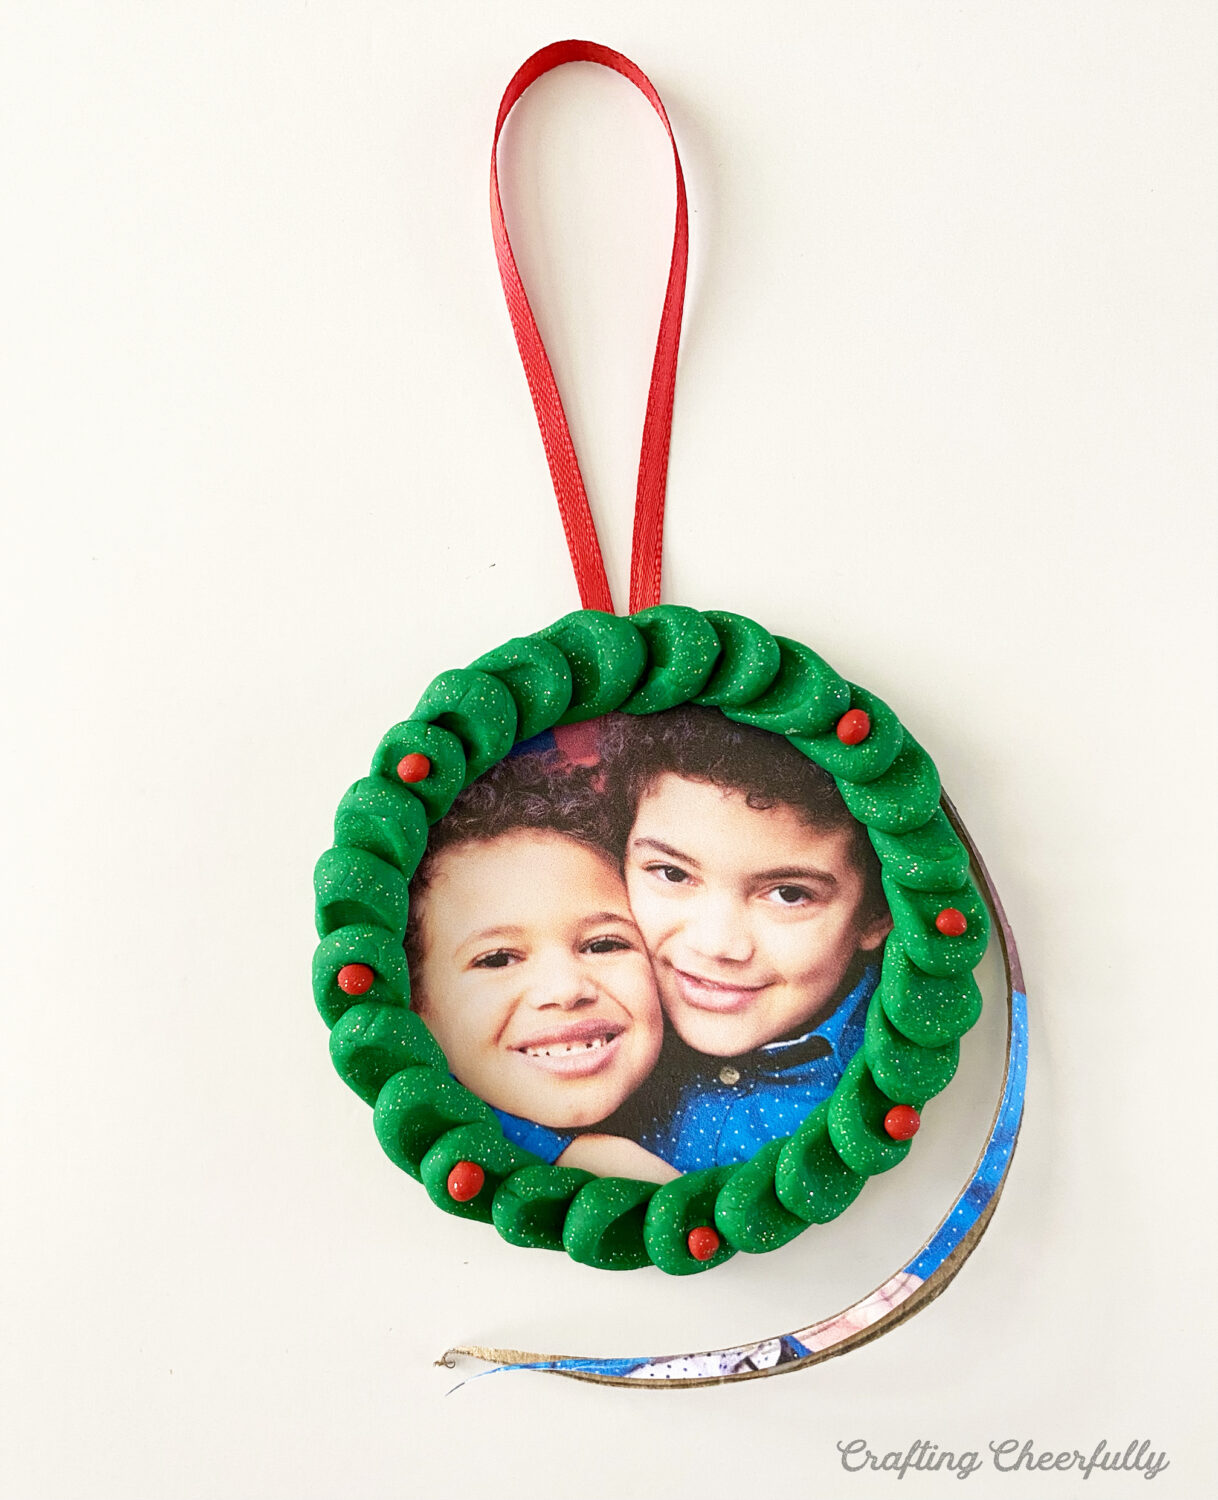
After the clay has cooled down, it’s time to assemble the ornaments. Use the template to cut out shapes from chipboard or cardboard and to cut the photos.

Glue a hanging loop to the chipboard shape. I used 1/4″ red ribbon but you could also use string, yarn or Baker’s twine. Glue the photo to the chipboard covering the hanging loop.

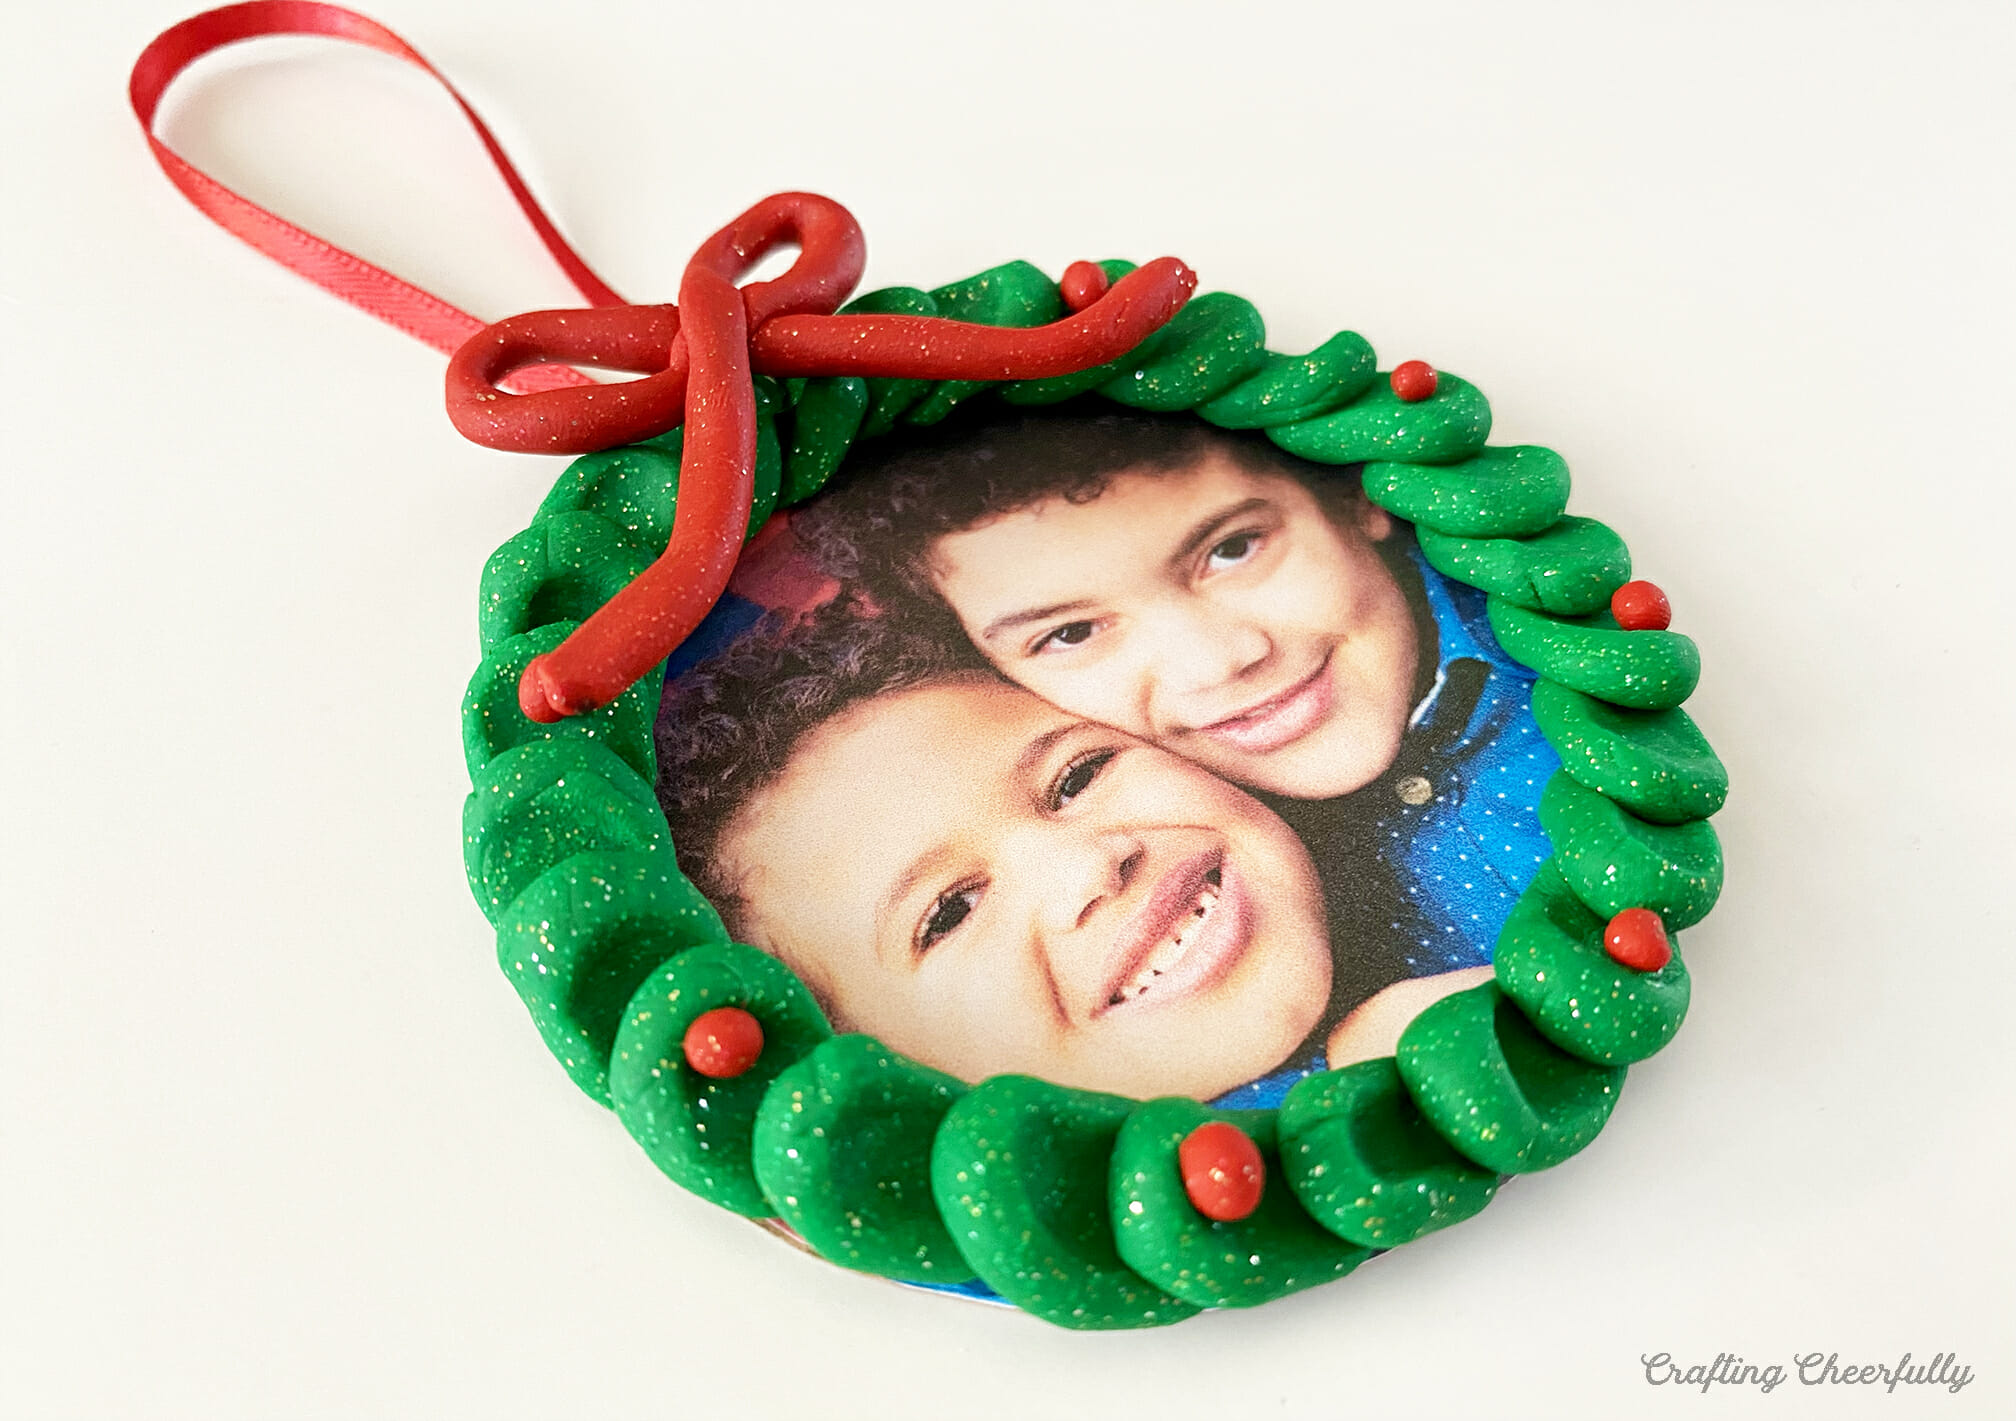
Use hot glue to attach the clay ornament to the chipboard. You may need to trim a bit of the chipboard first. If you do, trace your clay ornament on the chipboard with pencil and then trim away any that would be showing outside of the frame. This happened on two of my ornaments.
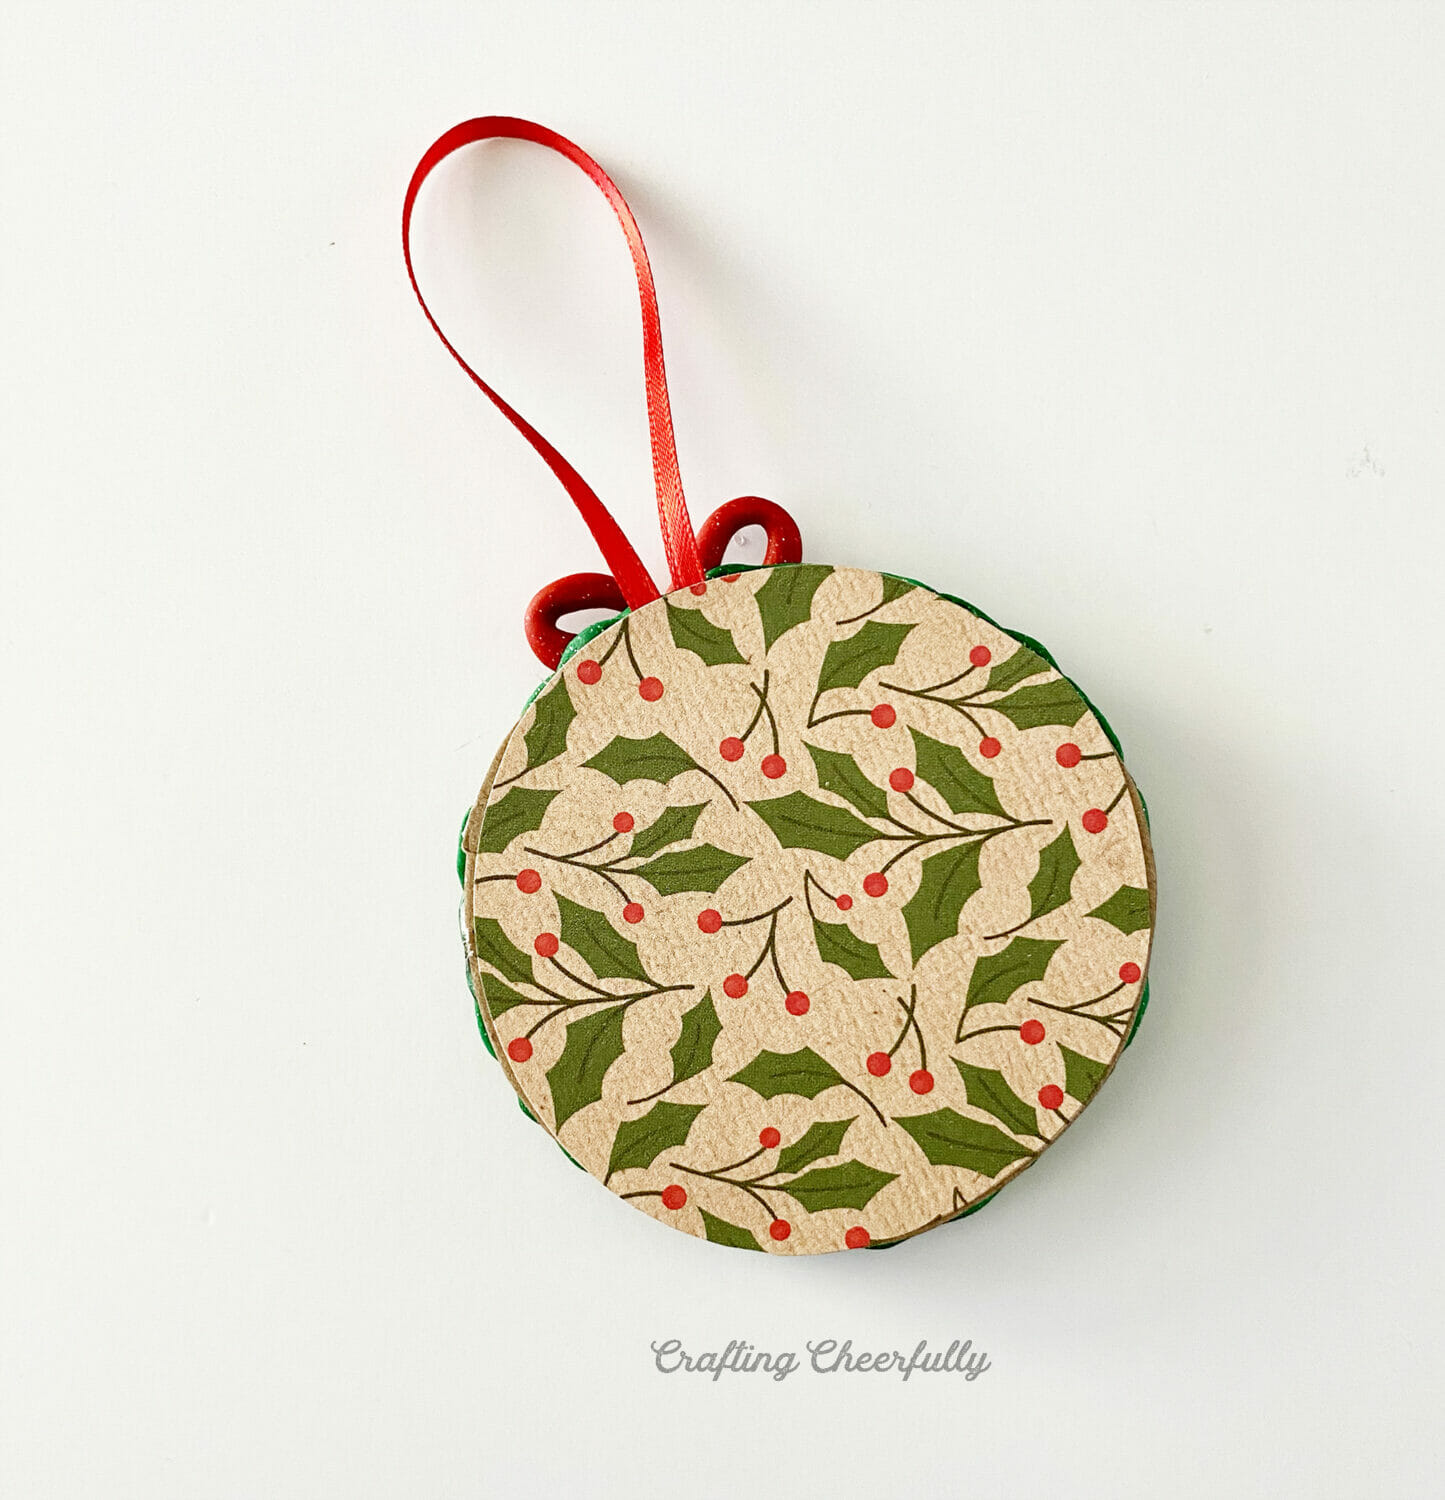
Use the template again to cut a shape from scrapbook paper and cover the back of the ornament. Don’t forget to write the year on the back if gifting this as a keepsake ornament!
The ornaments are finished! They look so sweet and are such a fun craft you can make for the holidays!

I hope you enjoyed this fun Christmas gift idea! I love making handmade Christmas ornaments this time of year and these clay ornaments were so fun to make! Be sure to check out the other awesome ideas being shared this week by Team Creative Crafts!

Tiny Wooden Rainbow Houses by Laura of Me and My Inklings
Candy Cane Wreath for the Holidays by Laura of Laura’s Crafty Life
Colorful Holiday Gift Card Holders by Smitha of Smiling Colors
DIY Clay Christmas Ornaments by Kimberly of Crafting Cheerfully
Hot Cocoa Mix in a Jar with Free Printable Tag by Shani of Sunshine & Munchkins
Folded Paper Christmas Ornaments by Erica of 5 Little Monsters
Festive Dried Orange Slice Garland by Justine of Little Dove
Alcohol Ink Christmas Ornaments by Kelsey of Poofy Cheeks
5 Minute Snow Globe Ornaments by Beth of Creatively Beth
Hot Cocoa Mug with Printable Tag by Lindsay of Artsy Fartsy Mama
Free Print and Cut Christmas Stickers by Liz of Liz on Call
Pass Along Holiday Treat Plate Gift Idea by Ginger of Ginger Snap Crafts
Quick and Easy Monogram Stocking by Elise of Polka Dotted Blue Jay
Merry Bookmas Gift Tag by Teresa of Simply Made Fun
Polymer Clay Elf Hat Ornament by Heather of Homemade Heather

Get the Free Clay Ornament Template!
Fill out the purple form below with your first name and email address! The free file will be sent straight to your inbox! If you have already filled out the form below, don’t worry – you won’t be added to my list twice! This freebie is for personal use only. I hope you enjoy crafting something special. Please let me know if you have any questions :)




What a fun way to use the Sculpey clay! And to preserve memories over the years on your Christmas tree!
Thank you! It’s so fun looking at photo ornaments while we decorate the tree each year! :)