DIY Fall Paper Gift Box – Free Files!
Create a fall paper gift box for someone special! Easily customizable, this paper gift box is a fun, handmade paper project. Grab the PDF pattern and SVG cut file to create your own festive boxes.

Create a sweet handmade gift box this autumn season! This paper box is a fun way to gift something special and it can be customized for just about anybody and any occasion including fall birthdays, events and Thanksgiving.
This paper gift box can be made with one to four different patterns of paper. Each side of the box can be made from a different color or pattern. On the top of the box all of the patterns come together in a pretty spiral design.
The finished boxes measure 3.5″ x 3.5″ and are a great size for small gifts. Use the cupcake insert and the boxes are perfect for holding sweet treats.


DIY Fall Gift Boxes
Choosing the Paper
For these fall gift boxes I chose to use paper from the paper stack, Golden Hour by Park Lane. Using paper from a paperstack, or from one single paper collection, will make it easier to mix and match prints. They will all have a similar color scheme or theme.
Choose cardstock that is 65lbs to 85lbs so the box is sturdy. If the box will be holding something heavy, add a square of chipboard to the bottom of the box. This will keep the bottom of the box from opening.
Birthday Gift and Cupcake Box
Supplies Needed
- PDF pattern and SVG Cut File – grab the file for free by filling out the purple form at the end of this post.
- Cardstock – Four pieces each 5″ x 8″ (one piece is slightly longer than 8″). I used paper from a 6″x8″ paper pad Golden Hour by Park Lane.
- Double-sided tape – I used 1/2″ Scor-Tape
- Cutting by Hand
- Cutting with a Cutting Machine
Setting up the File in Design Space
Below are directions for setting up the file in Cricut Design Space. The directions should be helpful for other cutting machines as well. For machines without a scoring tool, delete the black layers and score by hand.
Start by downloading the Fall Gift box (get the file by filling out the purple form at the end of this post) and upload it into a new project in Cricut Design Space. Select the file and “Ungroup”.

The black shapes need to be changed to scoring lines. Highlight all 6 black shapes and change their operation from basic cut to score under the drop down operation menu. The black shapes will change to dashed lines.


Next, attach the score lines to each piece. Select the pieces by color group and attach. For example, when you select the orange group this will include the orange piece and its score line. Select Attach and the group will move to the top and say “Attach” in front of it.


When you go to cut the pieces, the dashed score lines should appear on top of the pieces and both “Score” and “Basic Cut” should be listed next to each mat.

The file is ready to be cut! Feel free to change the colors of the pieces. The finished box measures 3.5″ x 3.5″. To change the size, be sure to select all of the pieces and resize them together so they still fit.
Cutting the Box
Cut out the box pieces using your cutting machine or a paper trimmer and scissors if cutting by hand. I like to use a paper trimmer for the straight sides of the boxes and then cut out the rest with a scissors. For these fall gift boxes I chose not to use the cupcake insert but did cut squares of chip board to place in the bottom of the boxes for stability.

Score the pieces using the scoring guide included with the PDF pattern, then gently fold along the score lines. If you used the scoring tool with your Cricut you will be ready to fold after cutting the pieces.

Assembling the Box
Add adhesive to the four tabs. I used 1/2″ Scor-Tape which is my favorite adhesive for treat boxes since it is so strong. If you plan to place something heavy in the box, make sure your adhesive is strong enough.

Connect the pieces of the box using the tabs. Make sure you put the pieces in the right order so the bottom of the box will close correctly. The cut file has the pieces in rainbow order and the PDF comes with a layout guide.


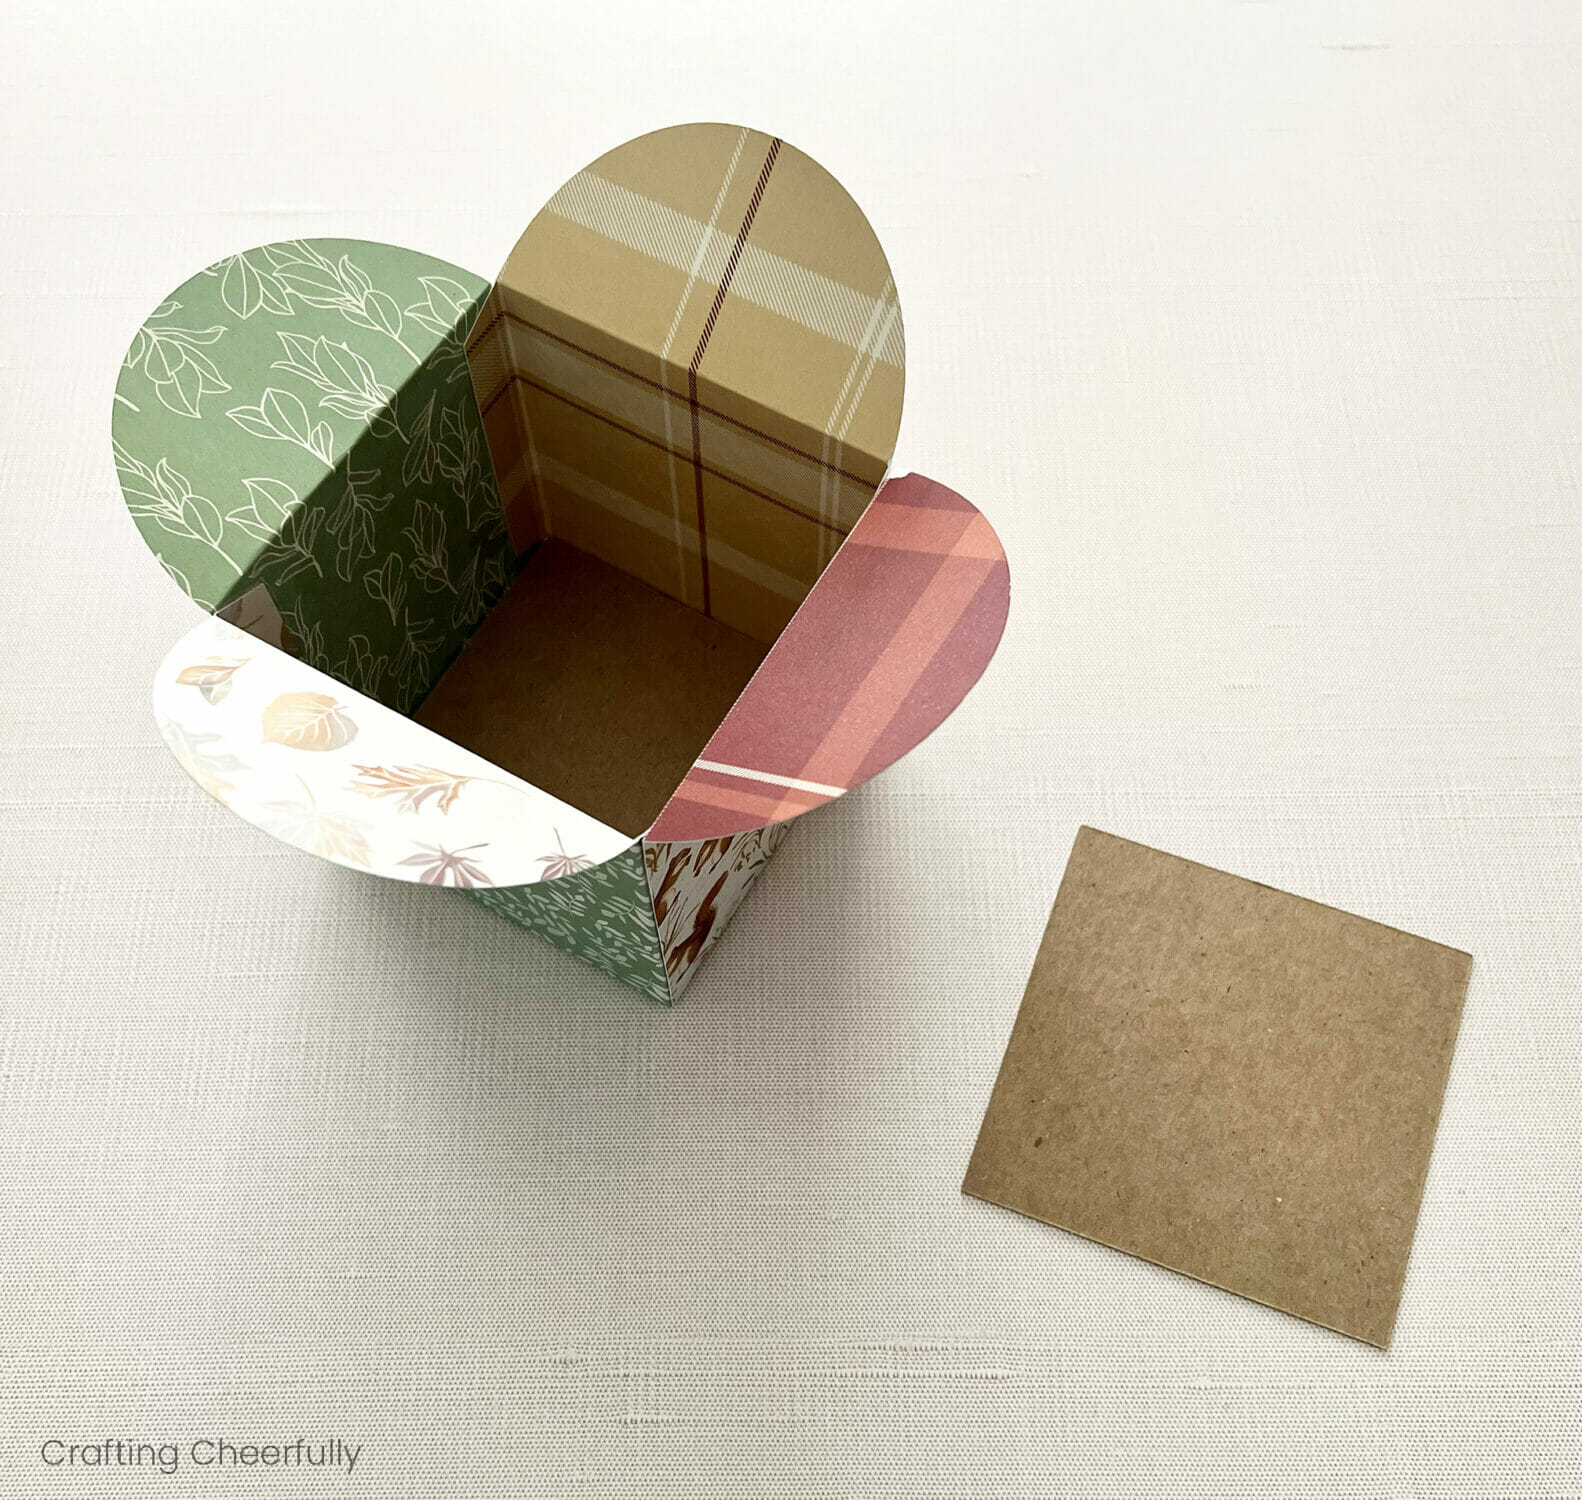
The bottom of the box will fold together. The H piece folds down first, followed by the two triangular pieces, and finally the longest piece with the tab is inserted into the open slit to form the bottom of the box.
The top of the box closes by layering the circular pieces one over the other. I love the pattern the box creates on the top, especially when using different patterns and colors of paper.

Place the chipboard insert into the bottom of the box for added stability. This makes it so whatever you have inside the box is not pressing on the box opening.
The gift boxes are finished! They would look so sweet set out at a Thanksgiving gathering or would be a sweet gift box for autumn birthdays!

I hope you enjoy making these fun gift boxes! I love creating treat boxes, especially for birthdays and special occasions.

Get the Fall Paper Gift Box
Fill out the purple form below with your first name and email address! The free file will be sent straight to your inbox! If you have already filled out the form below, don’t worry – you won’t be added to my list twice! This freebie is for personal use only. I hope you enjoy crafting something special. Please let me know if you have any questions :)