DIY Halloween Ghost Ornaments
Create spooky Halloween ghost ornaments using craft plastic! These cute ghosts are a fun DIY Halloween decoration for the holiday! Use my free ghost template to get started!

Spooky season is here and its time to make some fun Halloween decorations for your home! These cute ghost ornaments are made from craft plastic and are an easy DIY. The craft plastic is slightly see-through making these ghosts extra eerie.
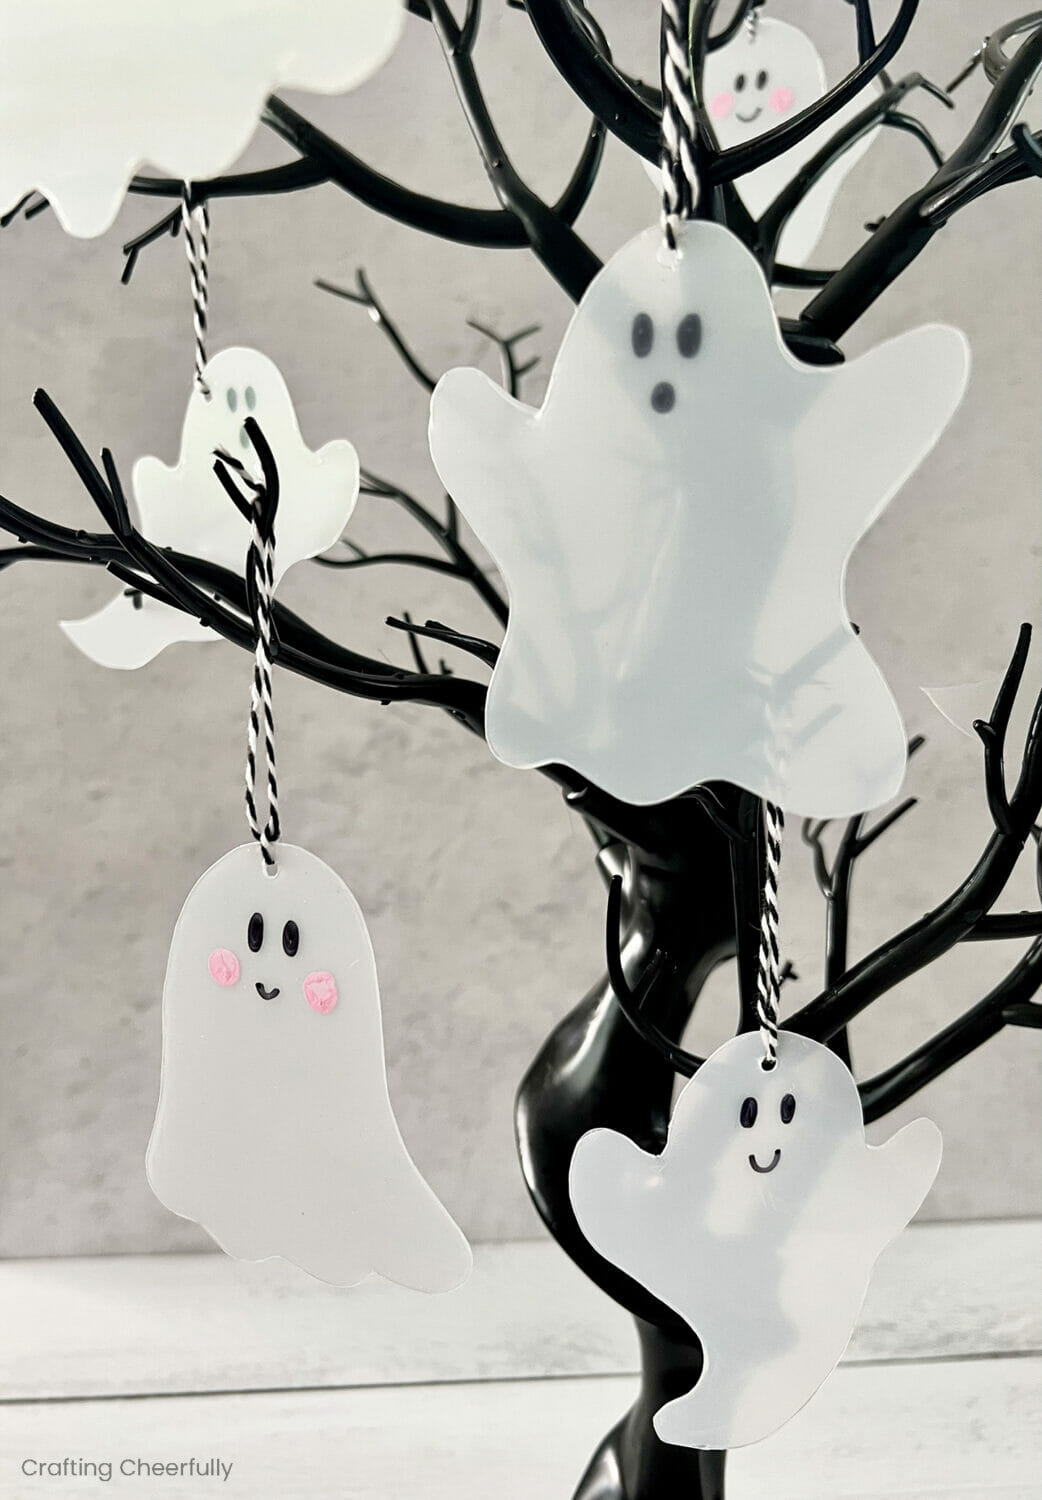
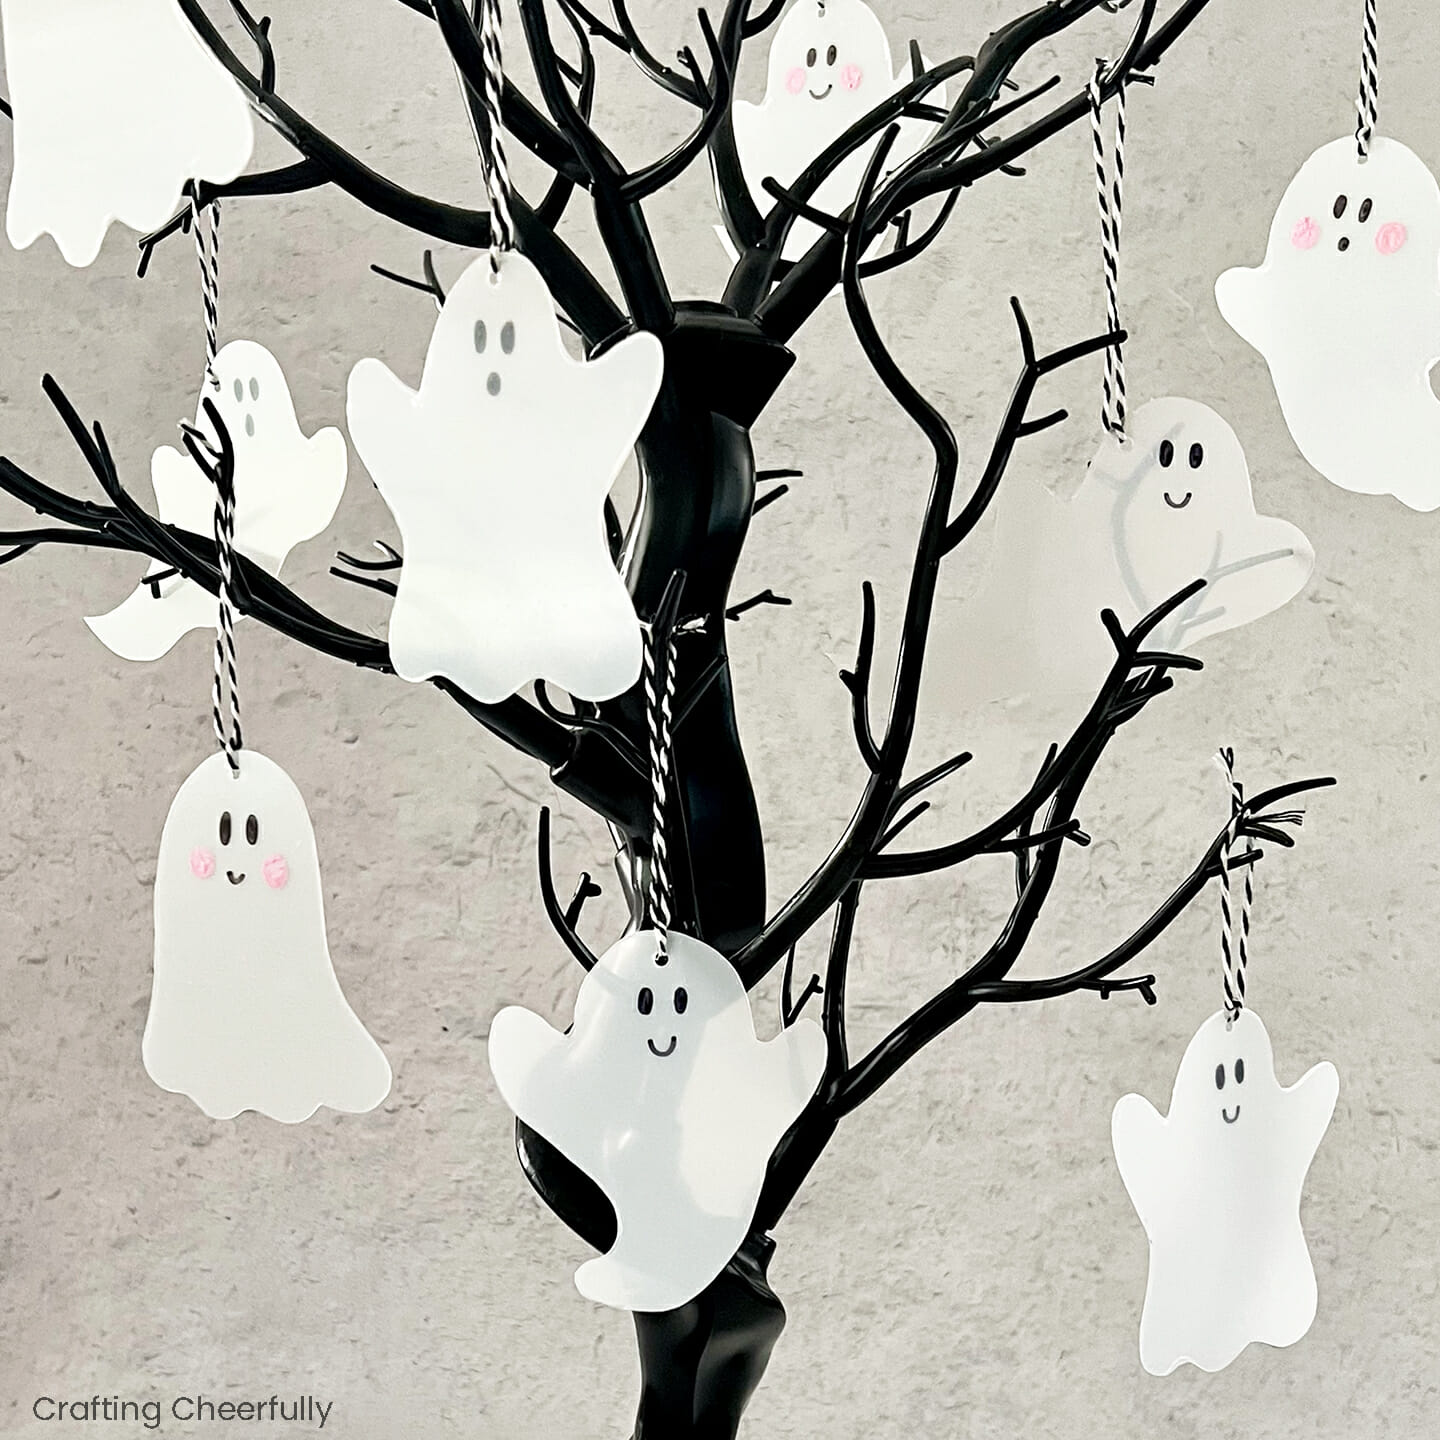
Hang the ghost ornaments from a small fake tree like this black branch tree. You can also grab a branch from your yard and place it in a vase for an easy spot to hang these ghosts.

For these ghost ornaments, I chose to make them in all different shapes and vary their facial expressions. Since I prefer “cute” Halloween decorations, some of my ghosts have smiles and pink cheeks! I used thick craft plastic by Grafix and chose to leave the protective film on to give them a white appearance that is still see-through. If you remove the protective film the ghosts will be clear.
How to Make Spooky Ghost Ornaments
Supplies Needed
- Ghost template – Grab the free file by filling out the purple form at the end of this post.
- Thick craft plastic – I used Grafix Craft Plastic 0.020 with the protective film left on both sides.
- Ballpoint pen
- Scissors
- Black Sharpie marker
- Pink Acrylic Paint, I used DecoArt Baby Pink, and a pencil with an eraser
- 1/8″ Hole punch
- Black and White Baker’s Twine
- Black Spooky Tree

Creating the Ghost Ornaments
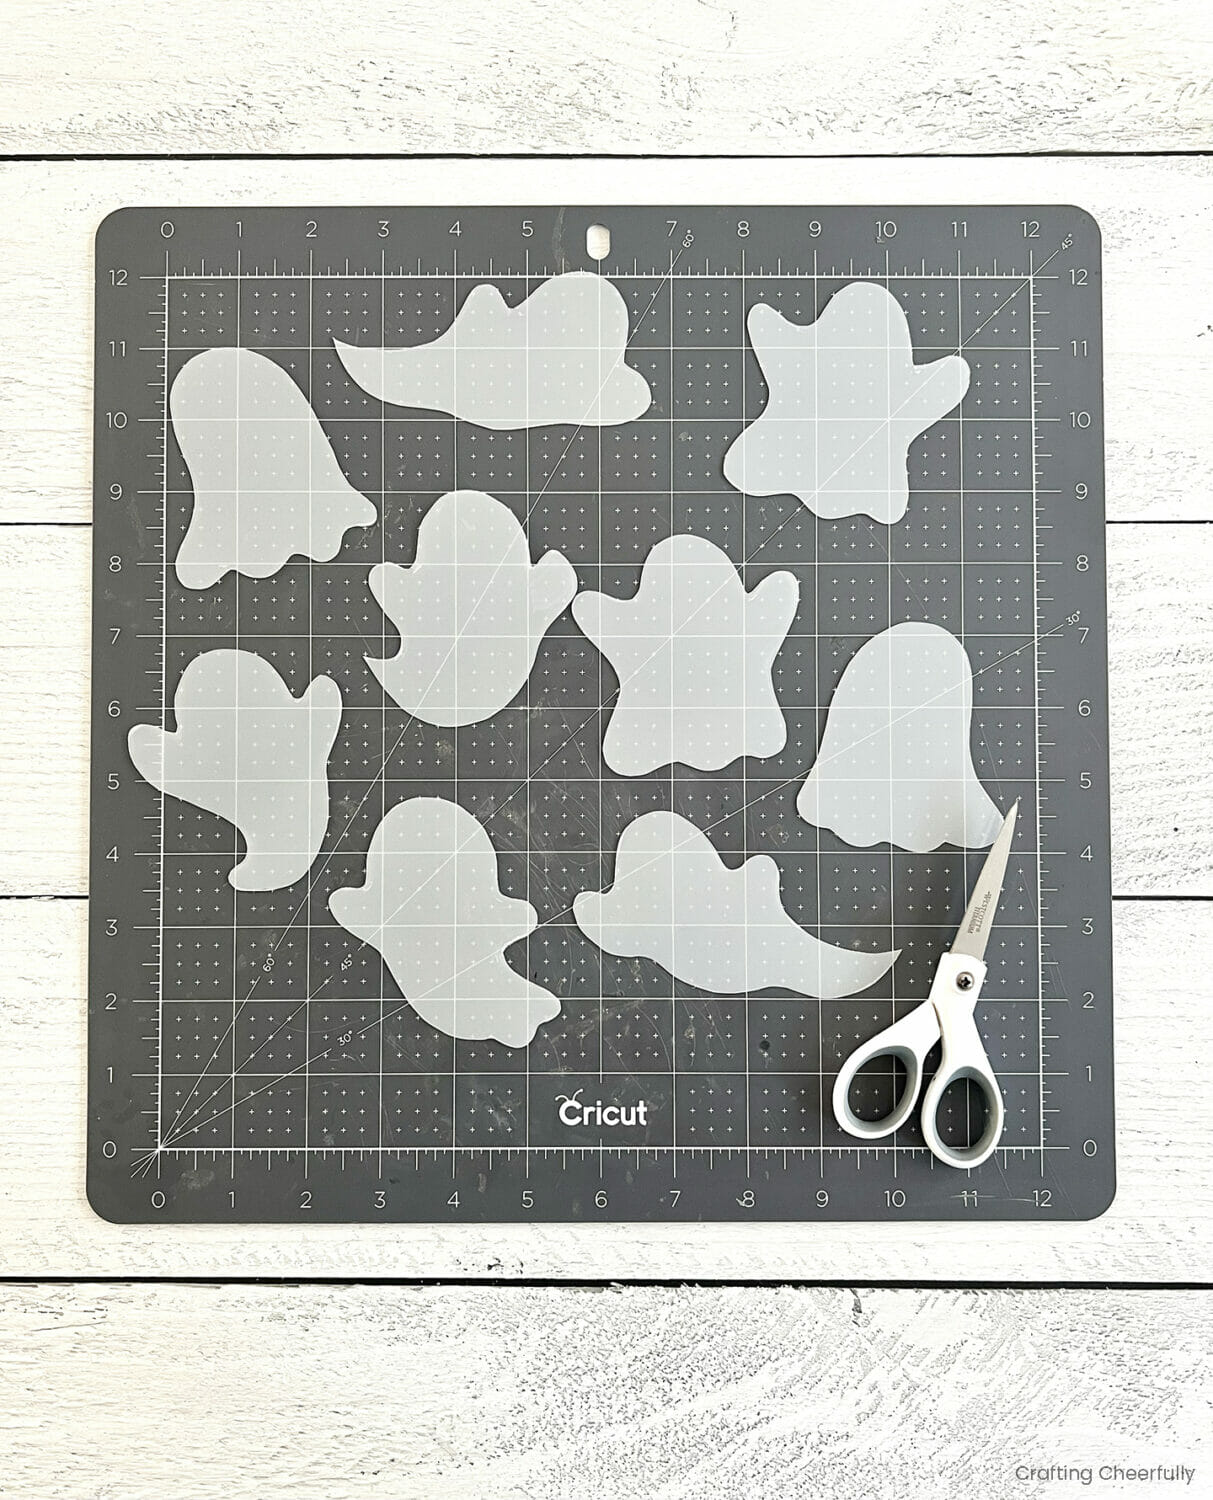
Step One: Cut out the ghost ornaments. Lay my printable ghost template underneath a sheet of craft plastic and trace them with a ballpoint pen. Carefully cut them out using a sharp scissors. Cutting them out can be difficult around the curves so be sure to take your time and use a sharp scissors.
I chose to leave the protective film on both sides my craft plastic. I did not have any issues with it peeling up after cutting out my ghosts. You could choose to remove one side of the protective film for slightly more see-through ghosts.
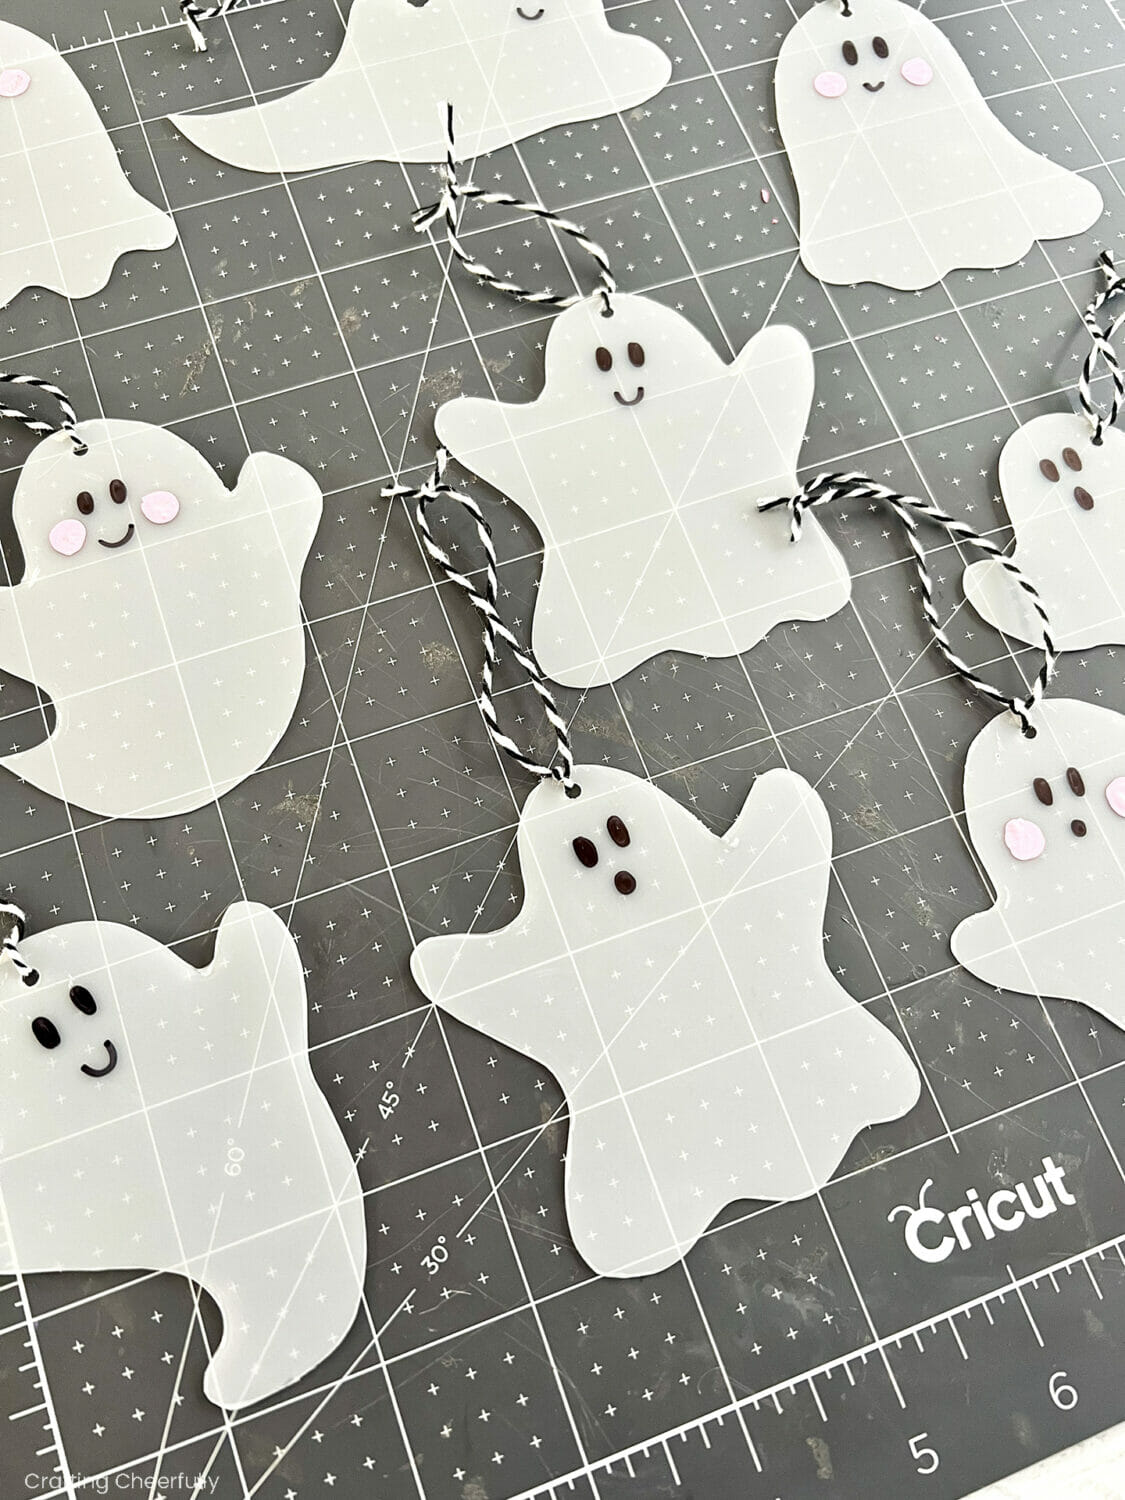
Step Two: Punch a hole in the top of each ghost shape. I used a 1/8″ hole punch.

Step Three: Add faces to the ghost ornaments. Use a Sharpie marker to draw eyes and a mouth on each ghost.

To add cute pink cheeks to the ghost, use the eraser end of pencil and pink acrylic paint to stamp two cheeks.

Step Four: Finally, add a hanging loop to each ghost ornament. Once the ghost faces are dry, add a short hanging loop using yarn, string, ribbon or Baker’s Twine as I did.

The ghost ornaments are done! Hang them on a tree or branch to add spooky decor to your home this Halloween season! These cute ghosts would also make a fun banner without the hanging loops.
I love creating Halloween crafts for the season! From Haunted House treat boxes to Glow-in-the-dark Halloween wreaths, creating spooky (yet cute) crafts are my favorite!

Get the Free Ghost Ornament Files!
Fill out the purple form below with your first name and email address! The free file will be sent straight to your inbox! If you have already filled out the form below, don’t worry – you won’t be added to my list twice! This freebie is for personal use only. I hope you enjoy crafting something special. Please let me know if you have any questions :)


