DIY Holiday Banner – with Felt and Fabric Paint!
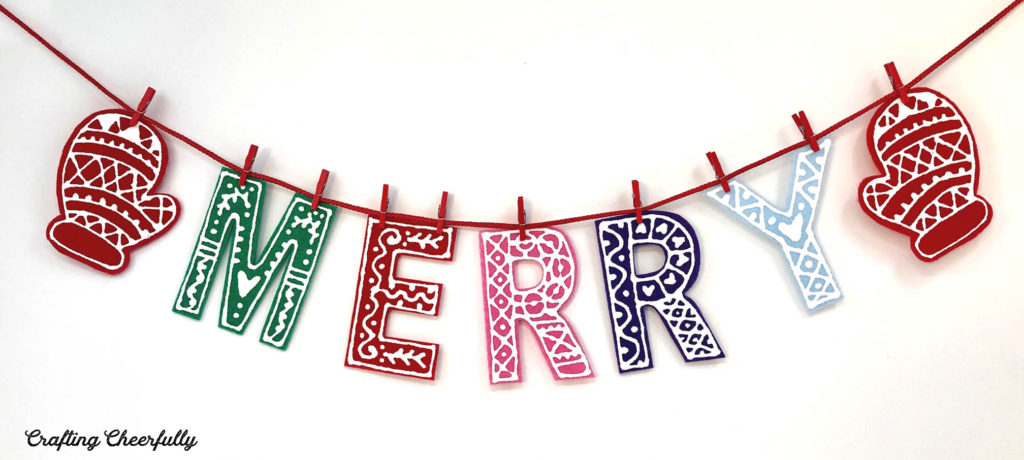
Use white fabric paint and colored felt to create a fun and festive banner for the holidays! These letters also make great gift tags for your holiday presents!

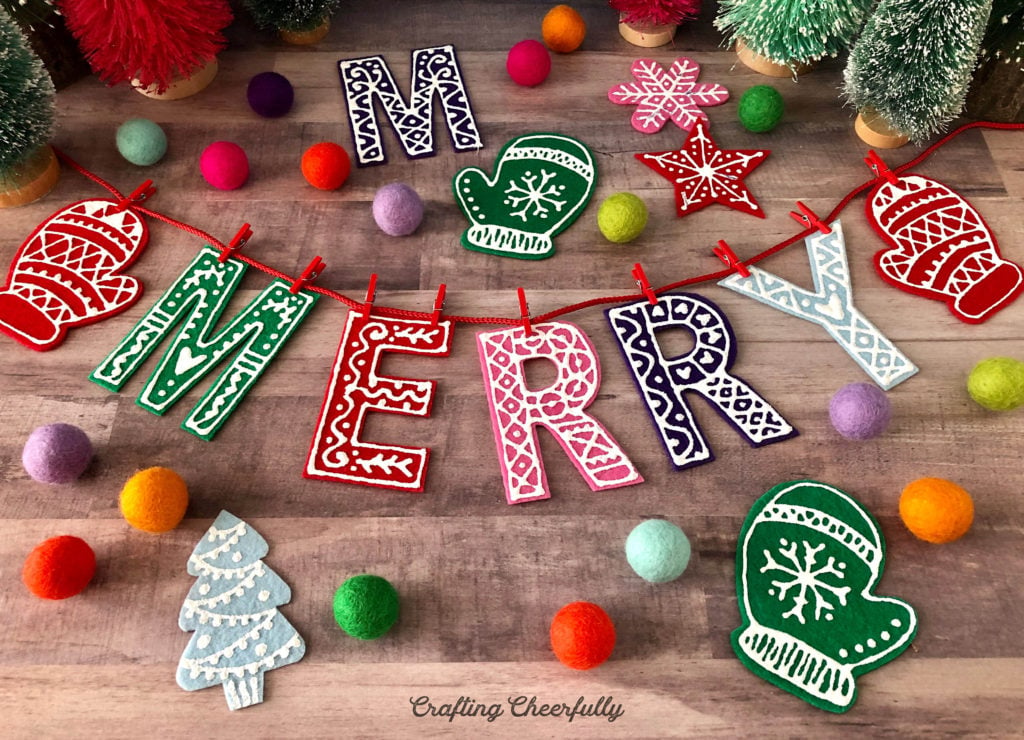
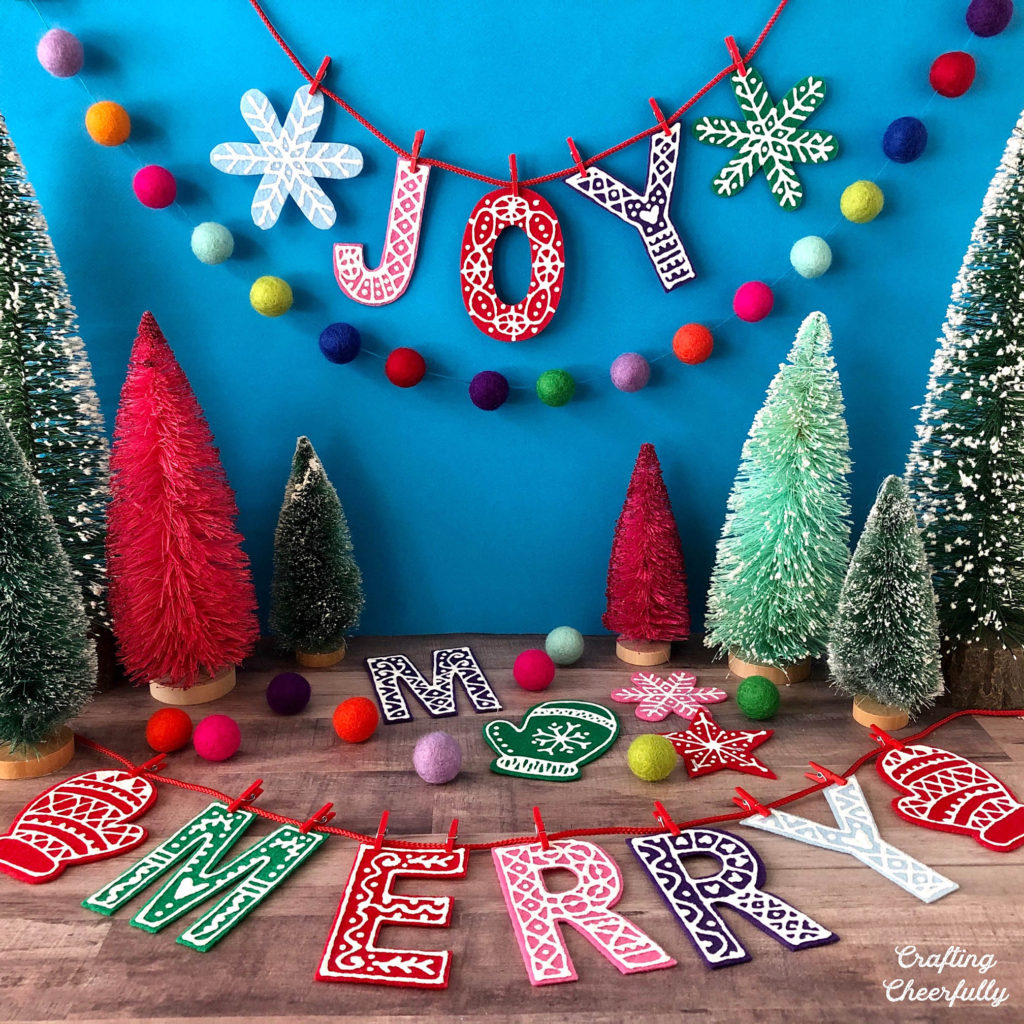
Welcome to day 2 of my 12 Days of a Holiday Crafts series! Today I’m sharing this fun idea for creating a felt banner for the holidays! This DIY holiday banner only uses a few supplies including white fabric paint and stiff colorful felt. I created two banners, “JOY” and “MERRY” and also created extra letters I plan to use as gift tags on some of my holiday gifts. These would also make cute ornaments!
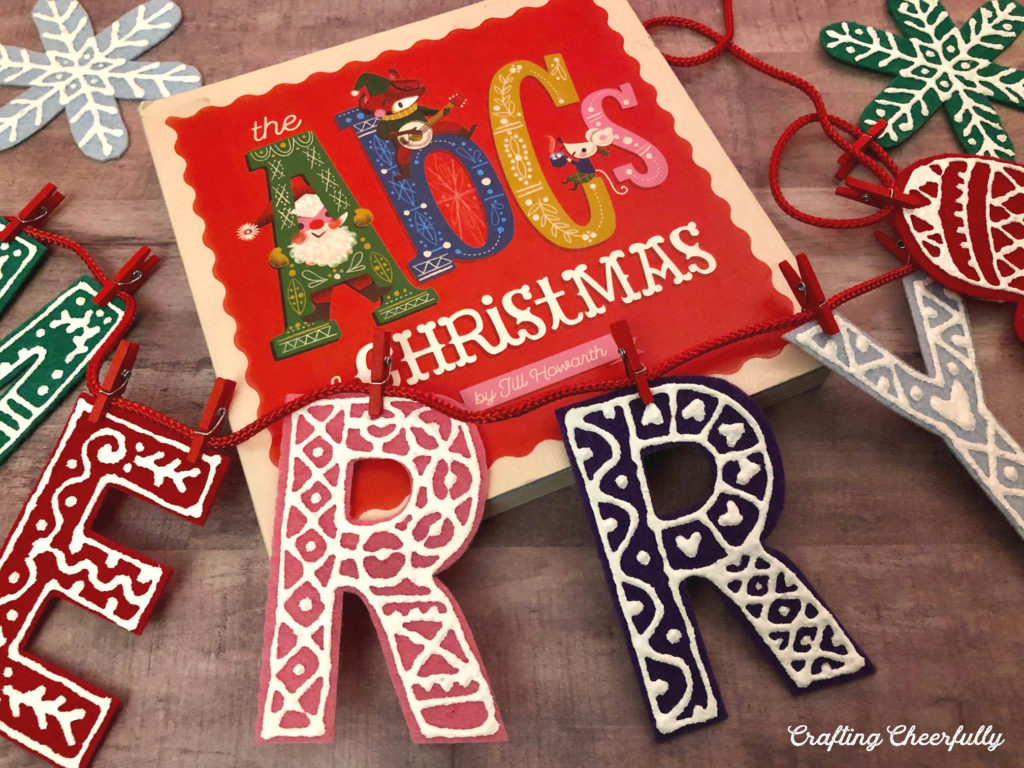
The idea for these cute letters came from the sweetest children’s book I found at our local library, The ABCs of Christmas. The cover of the book has the ABCs written in colorful block letters with little designs in white glitter all over them. My designs are nowhere near as intricate but I love the overall effect of the white fabric paint on the colored felt letters. The stiffened felt was strong enough to hold the white puffy paint without warping.
Jill Howarth has another holiday board book called The Colors of Christmas that is on my wish list. The illustrations are so beautiful and retro. This isn’t sponsored – I just really love Christmas books and these are so sweet I wanted to mention them! :)
Below is the tutorial for creating these fun felt letters. Whether you string them up in a banner or attach them to gifts, they are a fun and festive DIY!
Supplies Needed for DIY Holiday Banner:
- Stiffened felt – I found mine at Joann Fabrics
- White fabric paint – I used Tulip Dimensional Fabric Paint
- Scissors
- Pen
- Ribbon or cording for banner
- 1″ Mini clothespins like these Darice 1″ Red Tiny Clothespins
- Embroidery floss and needle to make gift tags
Step One: Cut the stiffened felt into letters or shapes like mittens, snowflakes and trees. You can draw your letters and shapes directly onto the felt with pen and cut them out.
For more consistency you can create templates for your letters and shapes. You can do this lots of different ways. I chose to cut letters out of cardstock on my Cricut Explore and use them as templates. If you have a Cricut Maker you could cut the felt directly from your machine!! Printing the letters and cutting them out is another great option.
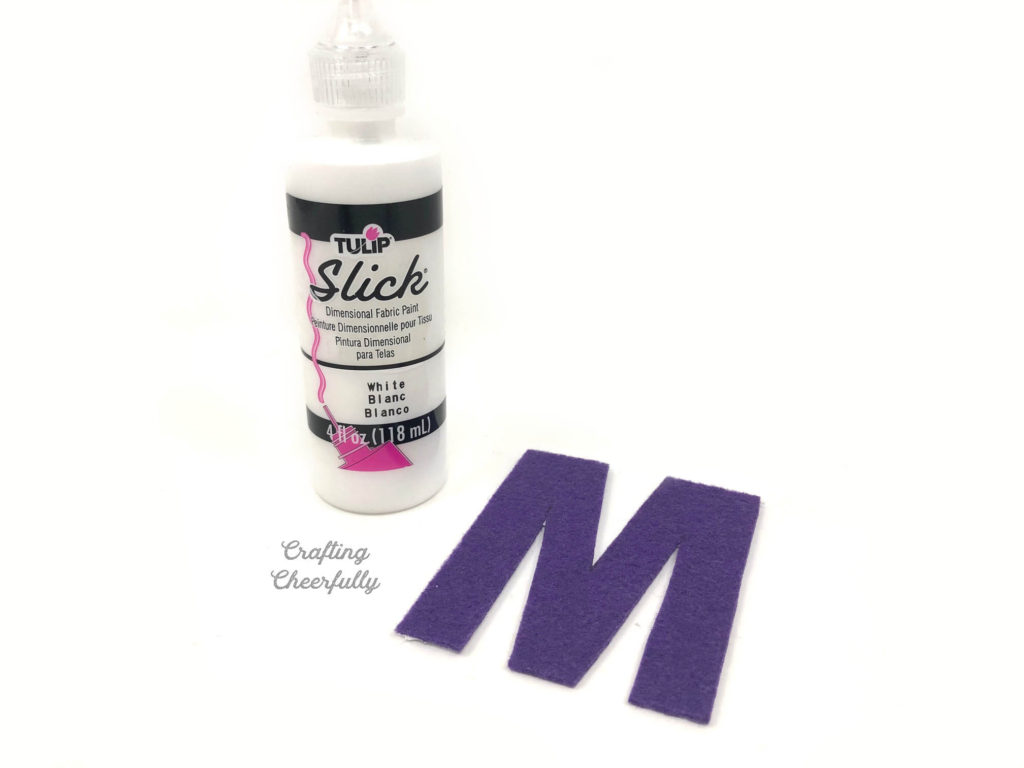
Step Two: Once your letters have been cut from felt, use the white fabric paint to draw designs on them. It felt like I was decorating cookies with icing! I found it worked best if I kept the tip of the fabric paint from directly touching the felt.
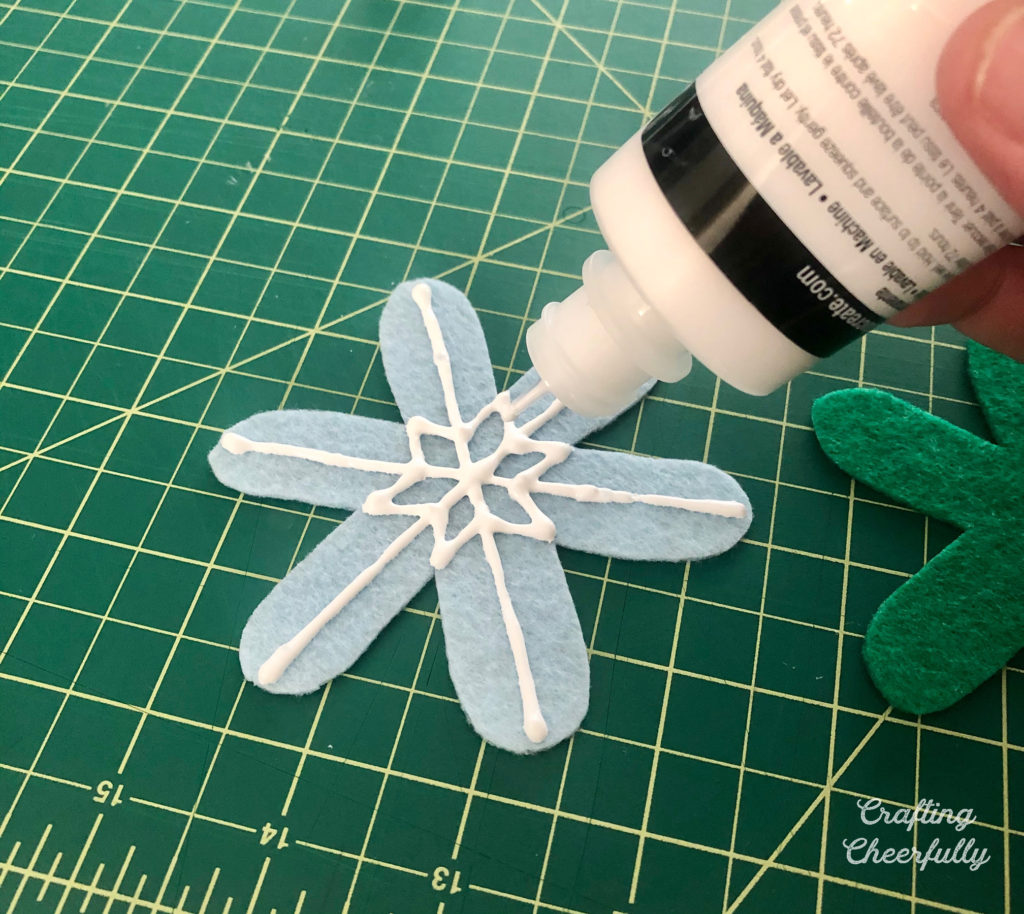
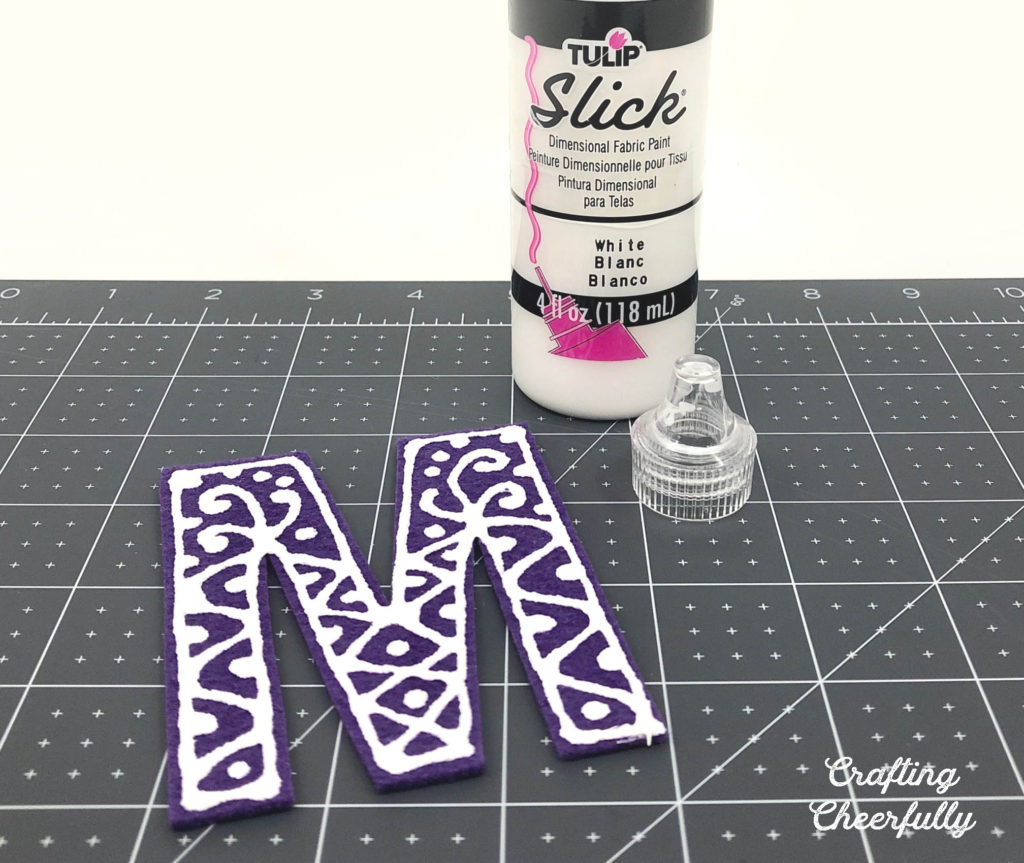
Let your letters dry overnight!
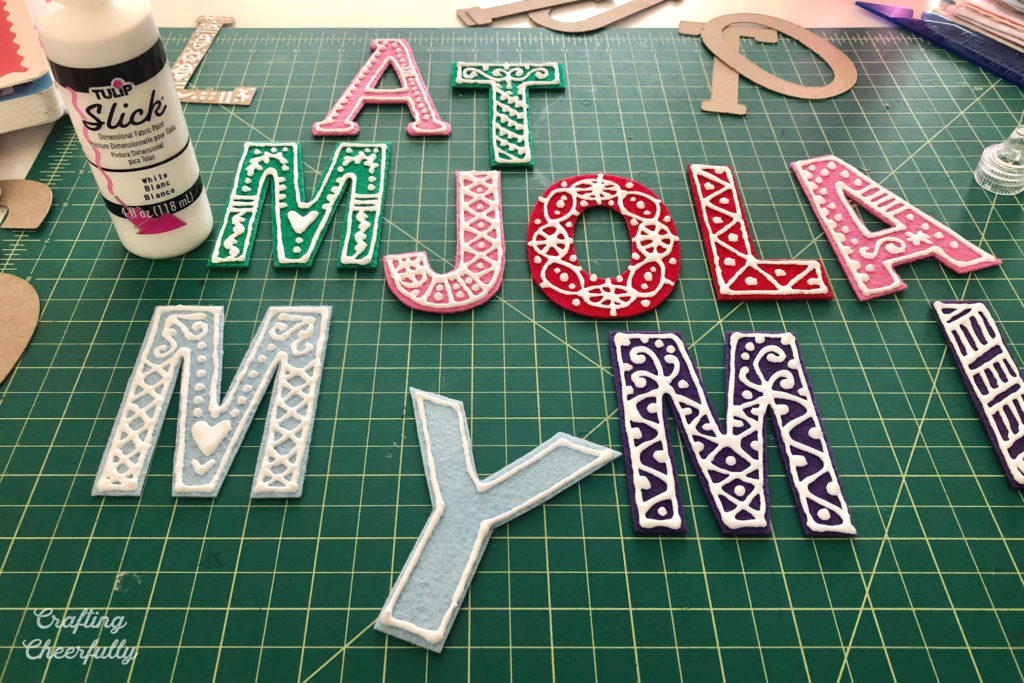
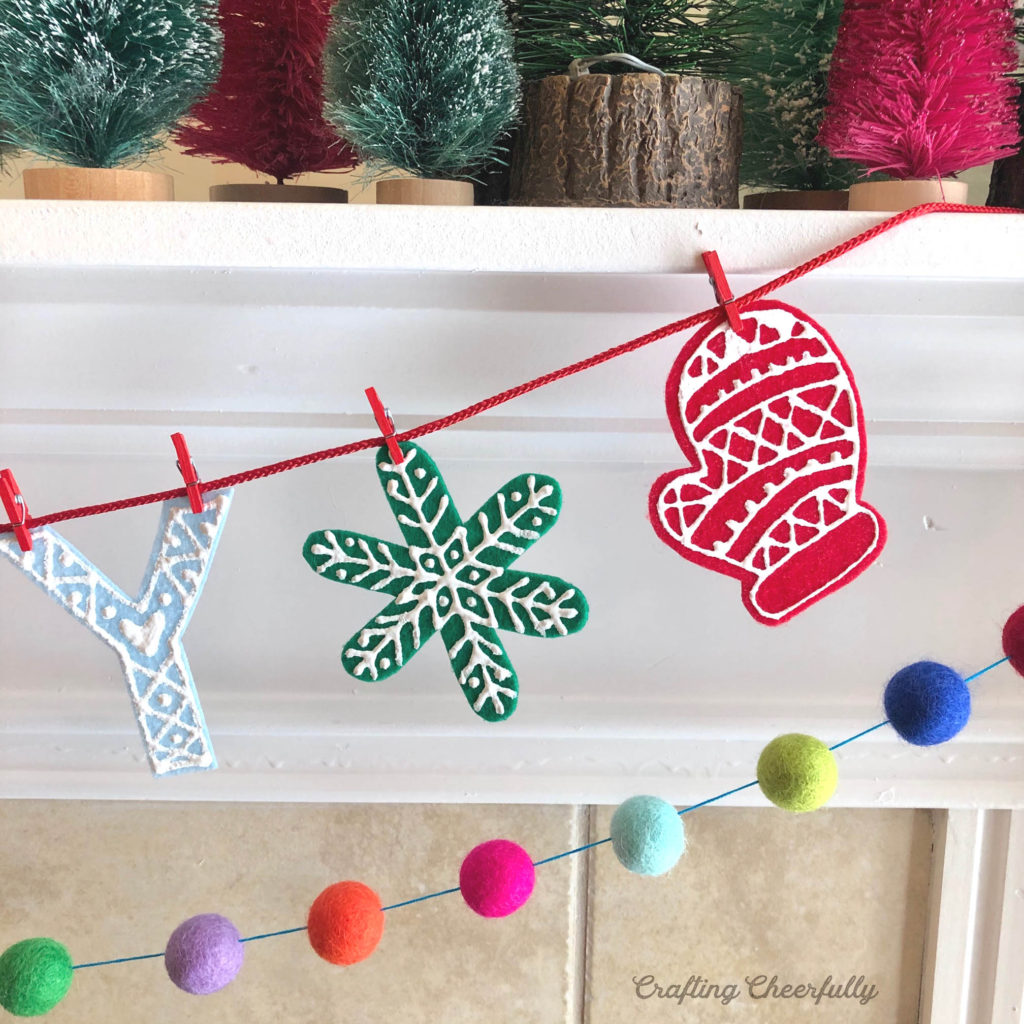
To turn the letters into a festive banner, I used mini clothespins to attach the letters to a red cord. Using the clothespins for these banners worked so well! I could easily slide the letters around so they were spaced how I wanted, but the clothespins were also strong enough to keep the letters in place once I had positioned them.

You can also use these felt letters as gift tags! Use a little bit of embroidery floss to create a loop on the corner of each letter. I hope you enjoyed this fun banner idea and day 2 of my Crafty Christmas series!
Check out my other crafts from my 12 Days of Holiday Crafts series including a few other holiday banners like my Gingerbread and Peppermint Banner and Vintage Holiday Ornament Banner!




I enjoy receiving your emails and love seeing your wonderful ideas for crafts. I’ve used a few of your patterns, and your patterns are always so perfect to use. Thank you for sharing! Diane
Hi! Thank you so much for your kind words! I’m so happy you enjoy my craft projects and patterns! I hope you have fun crafting and thank you for visiting my site! :)