DIY St. Patrick’s Day Rainbow Wreath
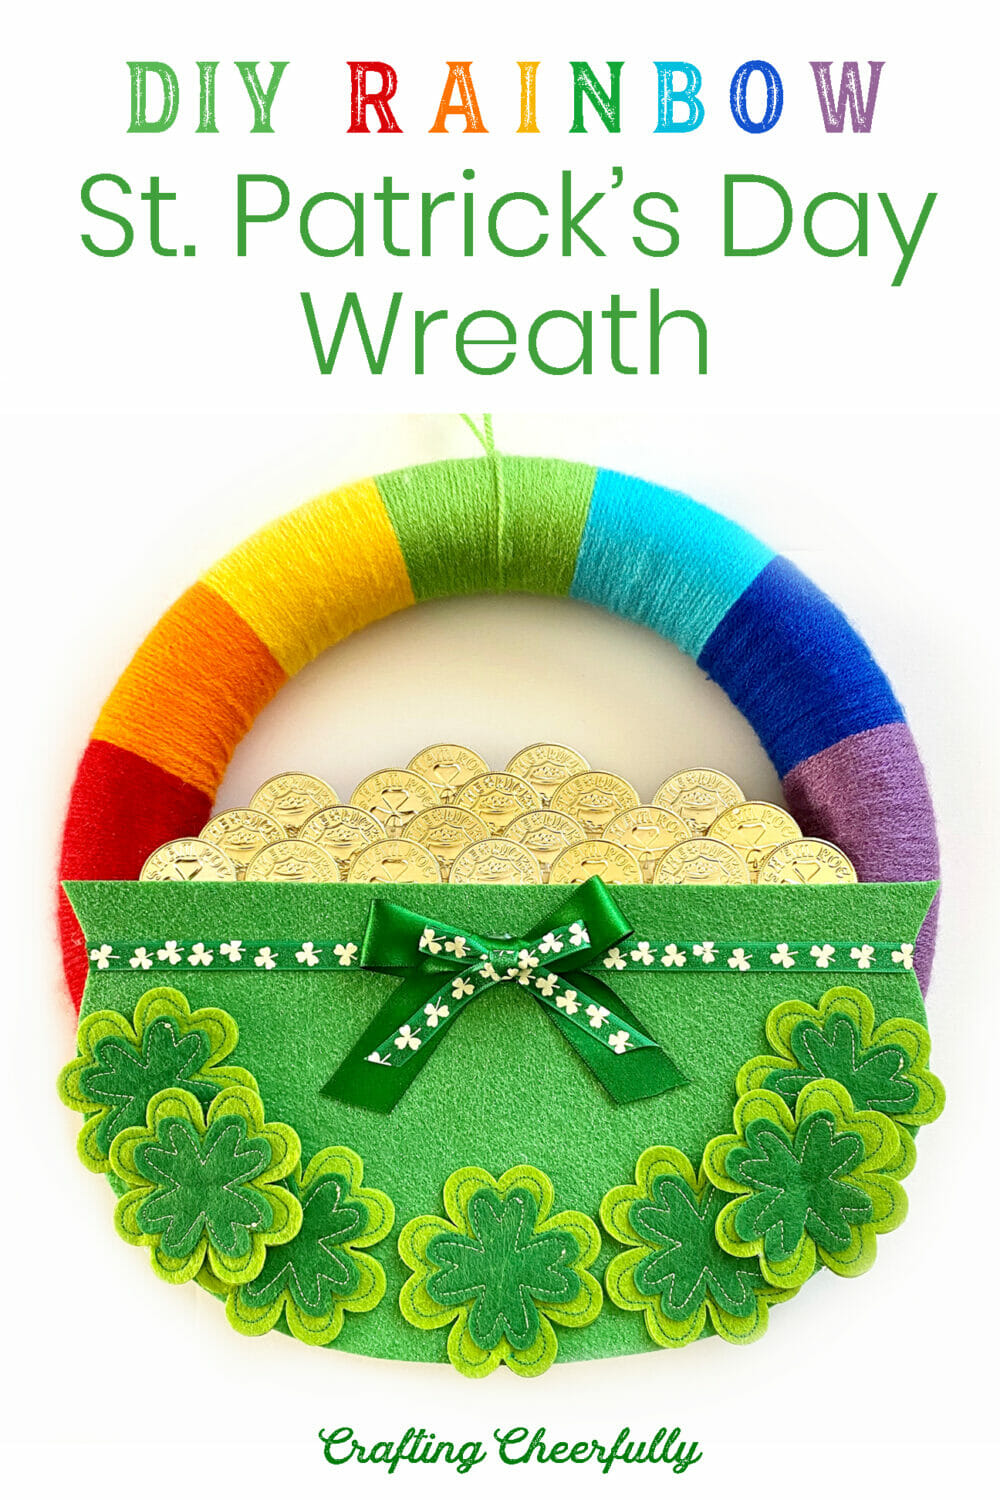
Create a bright and colorful wreath for St. Patrick’s Day! This St. Partrick’s Day Rainbow Wreath features a pot of gold and is a fun DIY that uses yarn, felt and lots of gold coins!
 This past weekend I picked up two foam wreath forms with the plan of creating new wreaths for our home. One for St. Patrick’s Day and one for Easter! Today I’m sharing this fun DIY St. Patrick’s Day Rainbow Wreath! This was so fun to make and I love how colorful the rainbow yarn colors are.
I picked up the gold coins and felt shamrocks from Joann Fabrics. The felt shamrocks originally came on a string of lights but I just pulled them off and they were ready to use. You could definitely make these yourself, but since this was somewhat of a last minute project I thought easy and quick was the way to go!
Below is the step-by-step tutorial :)DIY St. Patrick’s Day Wreath
Supplies Needed
- Foam wreath form – mine was 11.7″ by FloraCraft
- Green glitter felt – I used one sheet of 9″ x 12″ sheet in apple green
- Yarn in rainbow colors
- Plastic cold coins – I found mine at Joanns but these Shamrock Gold Coins look similar! Just make sure they lightweight.
- Green felt shamrocks
- Green ribbon – I used 3/8″ ribbon from Joanns. These options look nice too – Shamrock ribbon or Green Swiss Dot ribbon.
- Hot glue
- Tape
Step by Step Tutorial
Step One: Create the pot of gold.
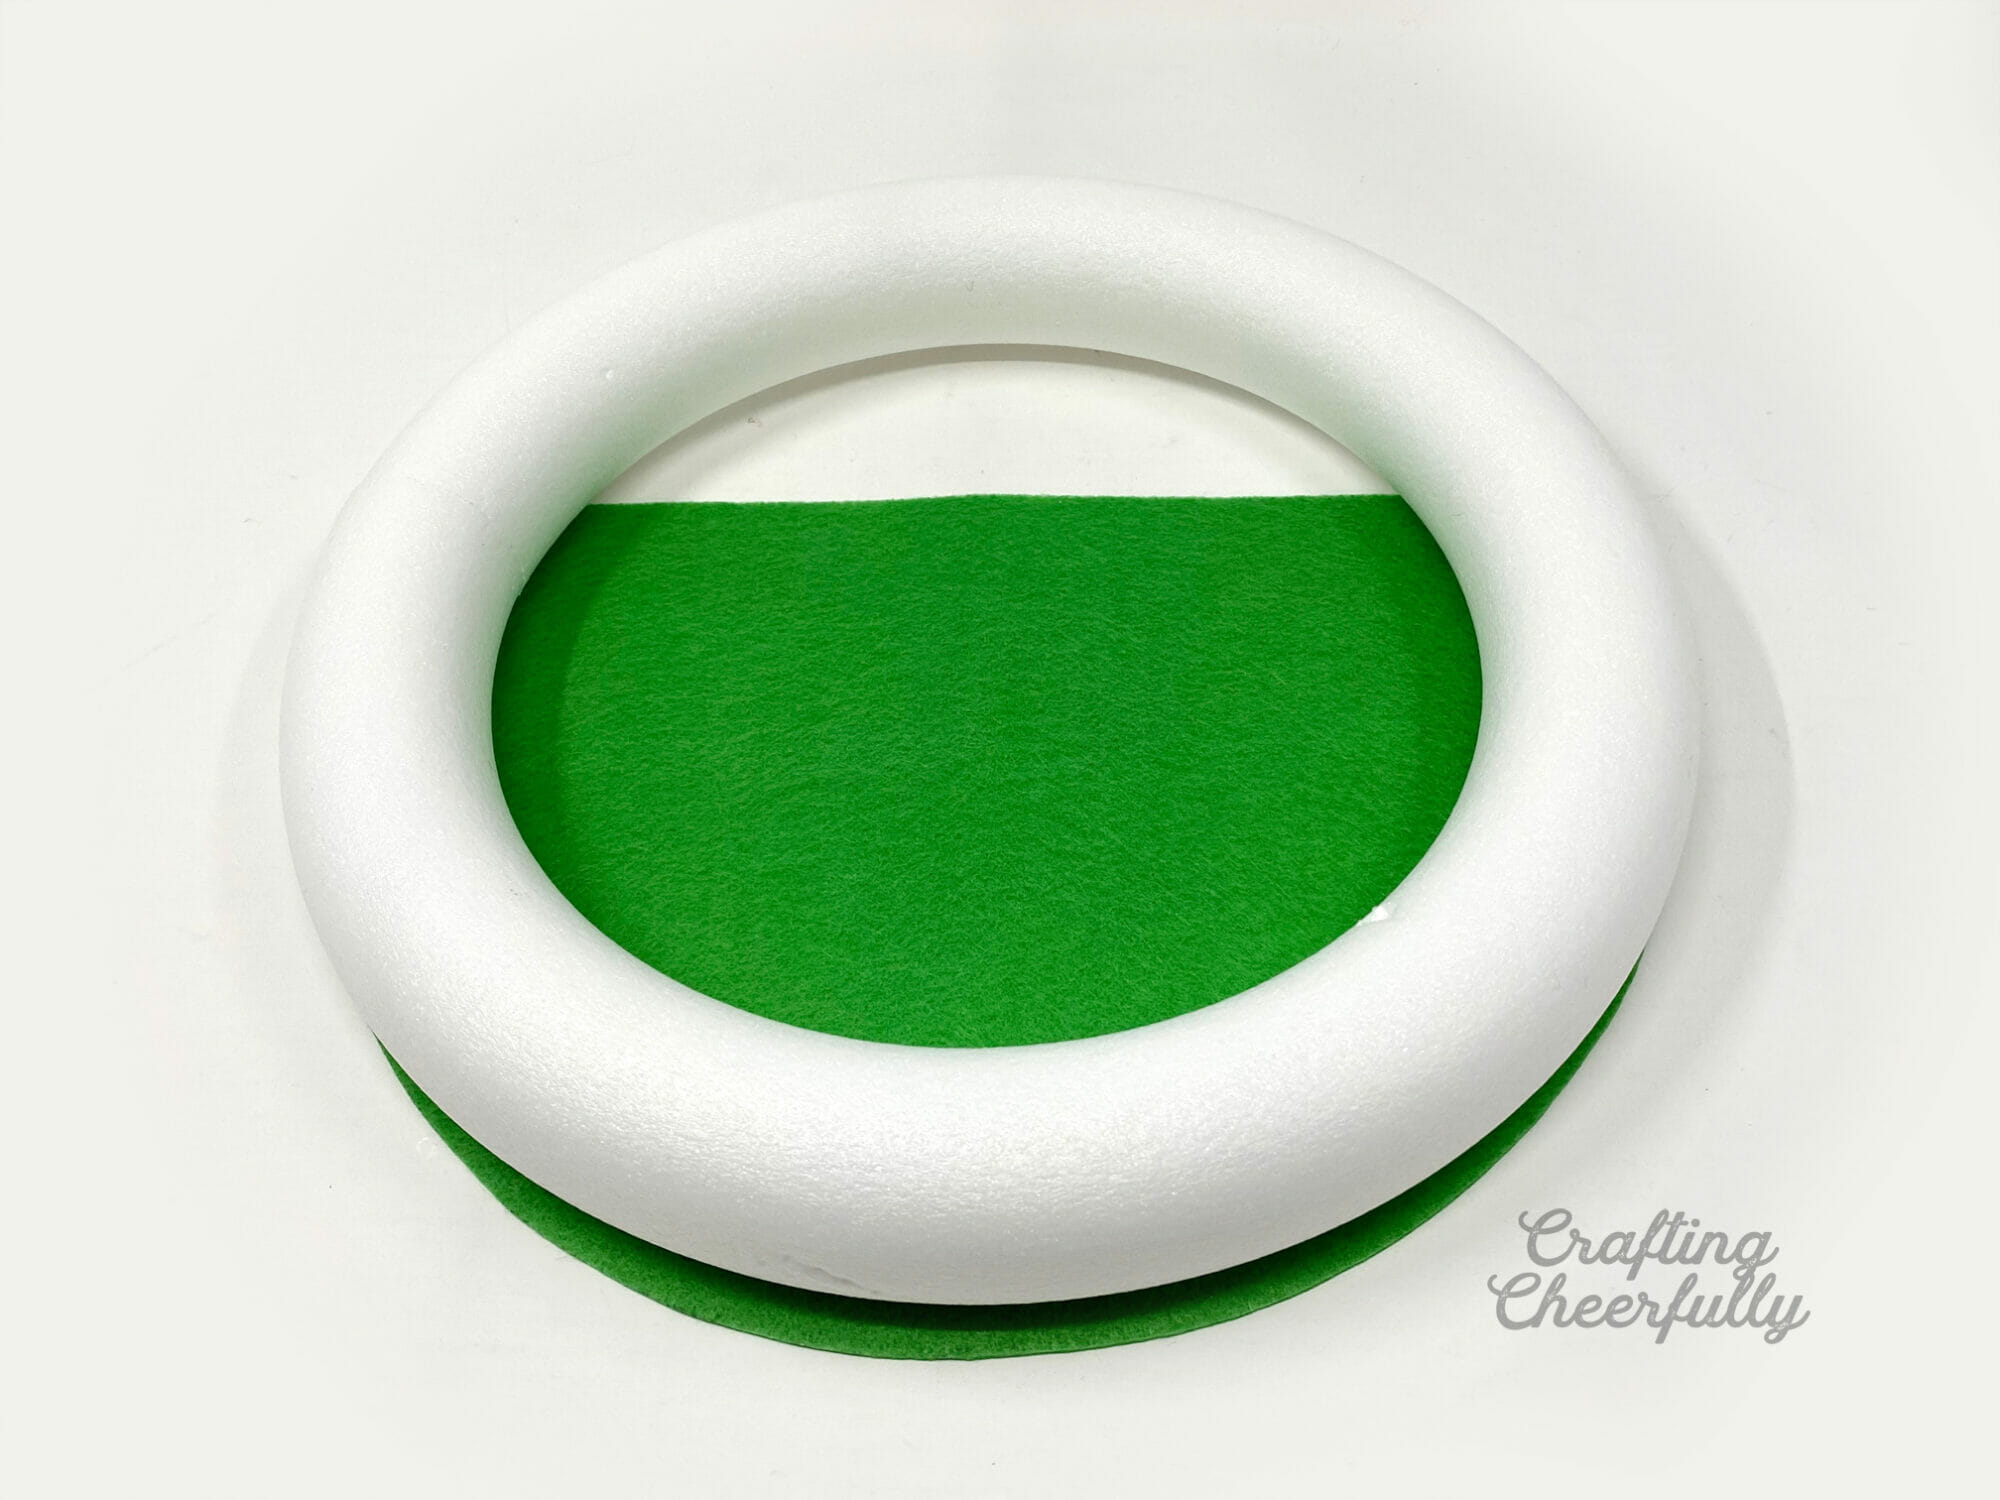
Cut the green glitter felt into a “pot of gold” shape using the foam wreath form as a guide. I traced around the bottom half of my wreath form to get started and then trimmed the pot to be about 6″ tall. I cut small divots into each side to shape the pot.


Step Two: Create the rainbow!
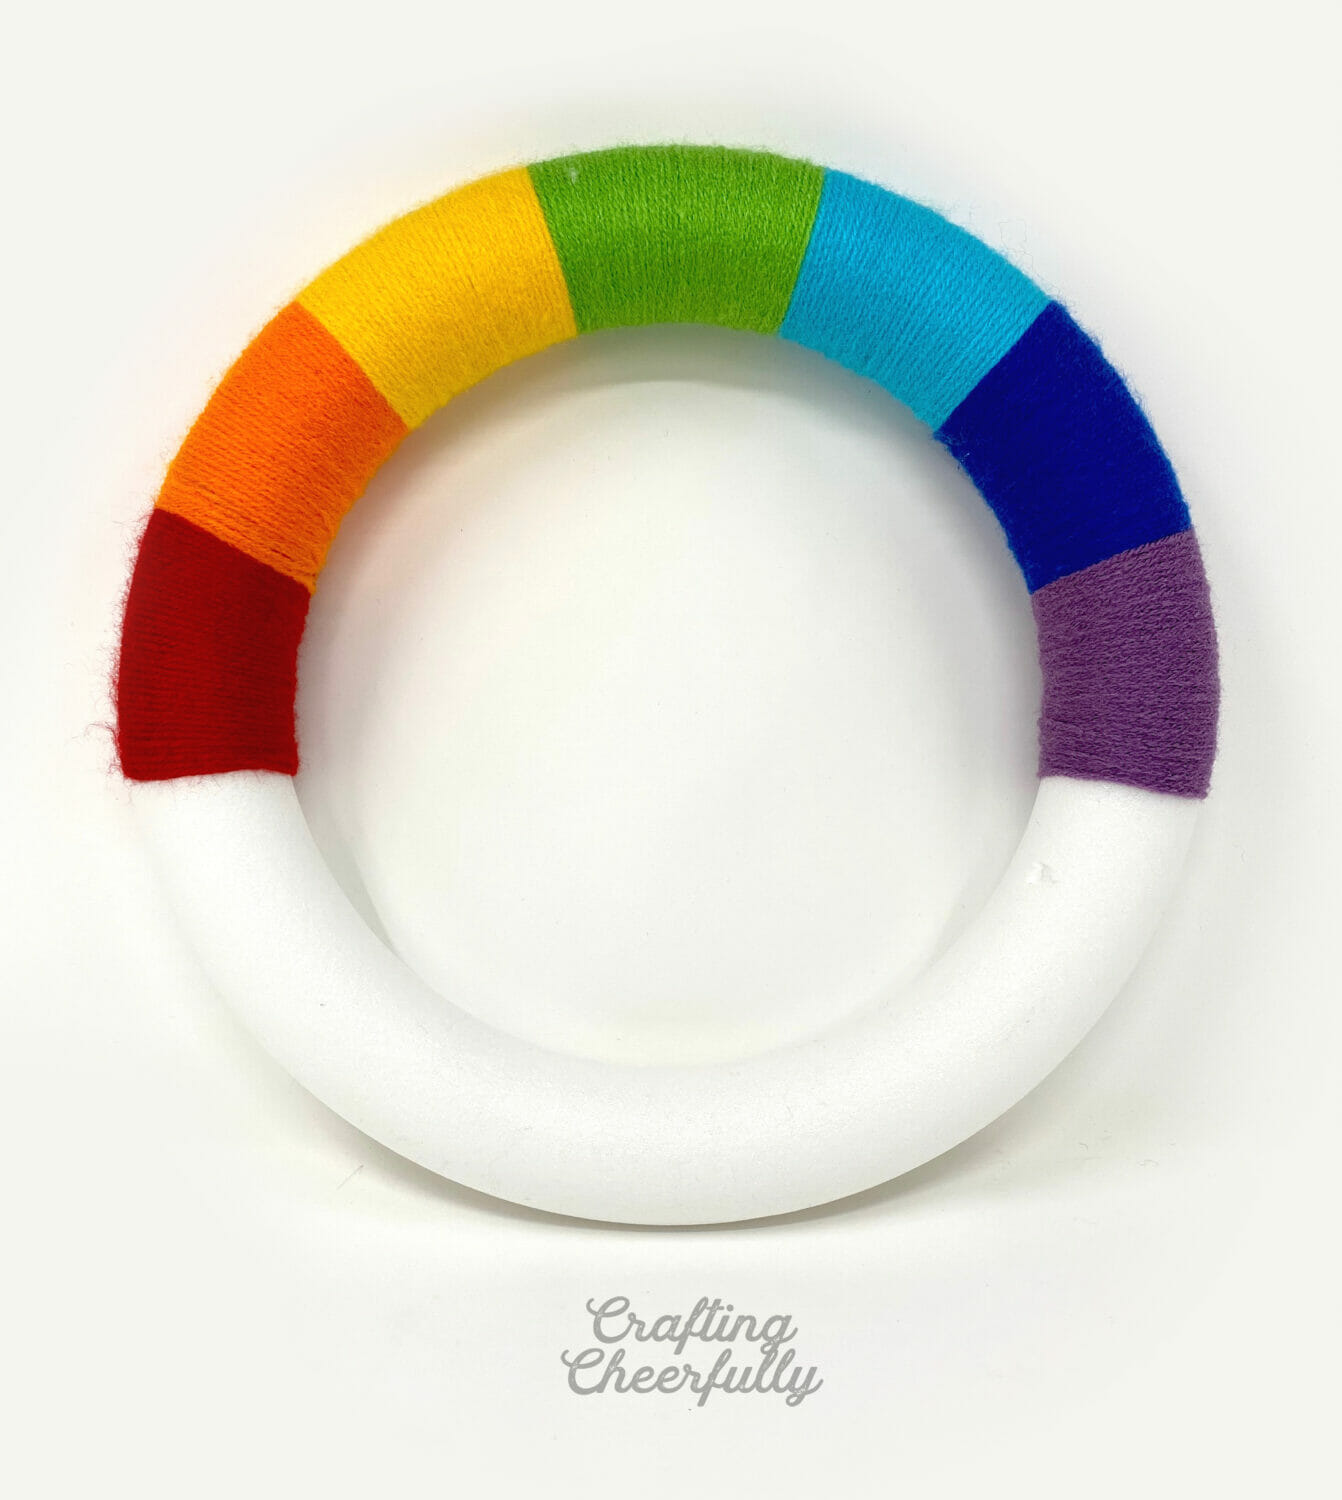
Divide the top half of the wreath form into 7 equal parts – one for each color of the rainbow. For my form, this ended up being slightly over 2″ when measured along the inside part of the form.

Start with the red yarn and wrap the yarn around the form tightly. Secure the ends with glue or tape and repeat for all seven colors.
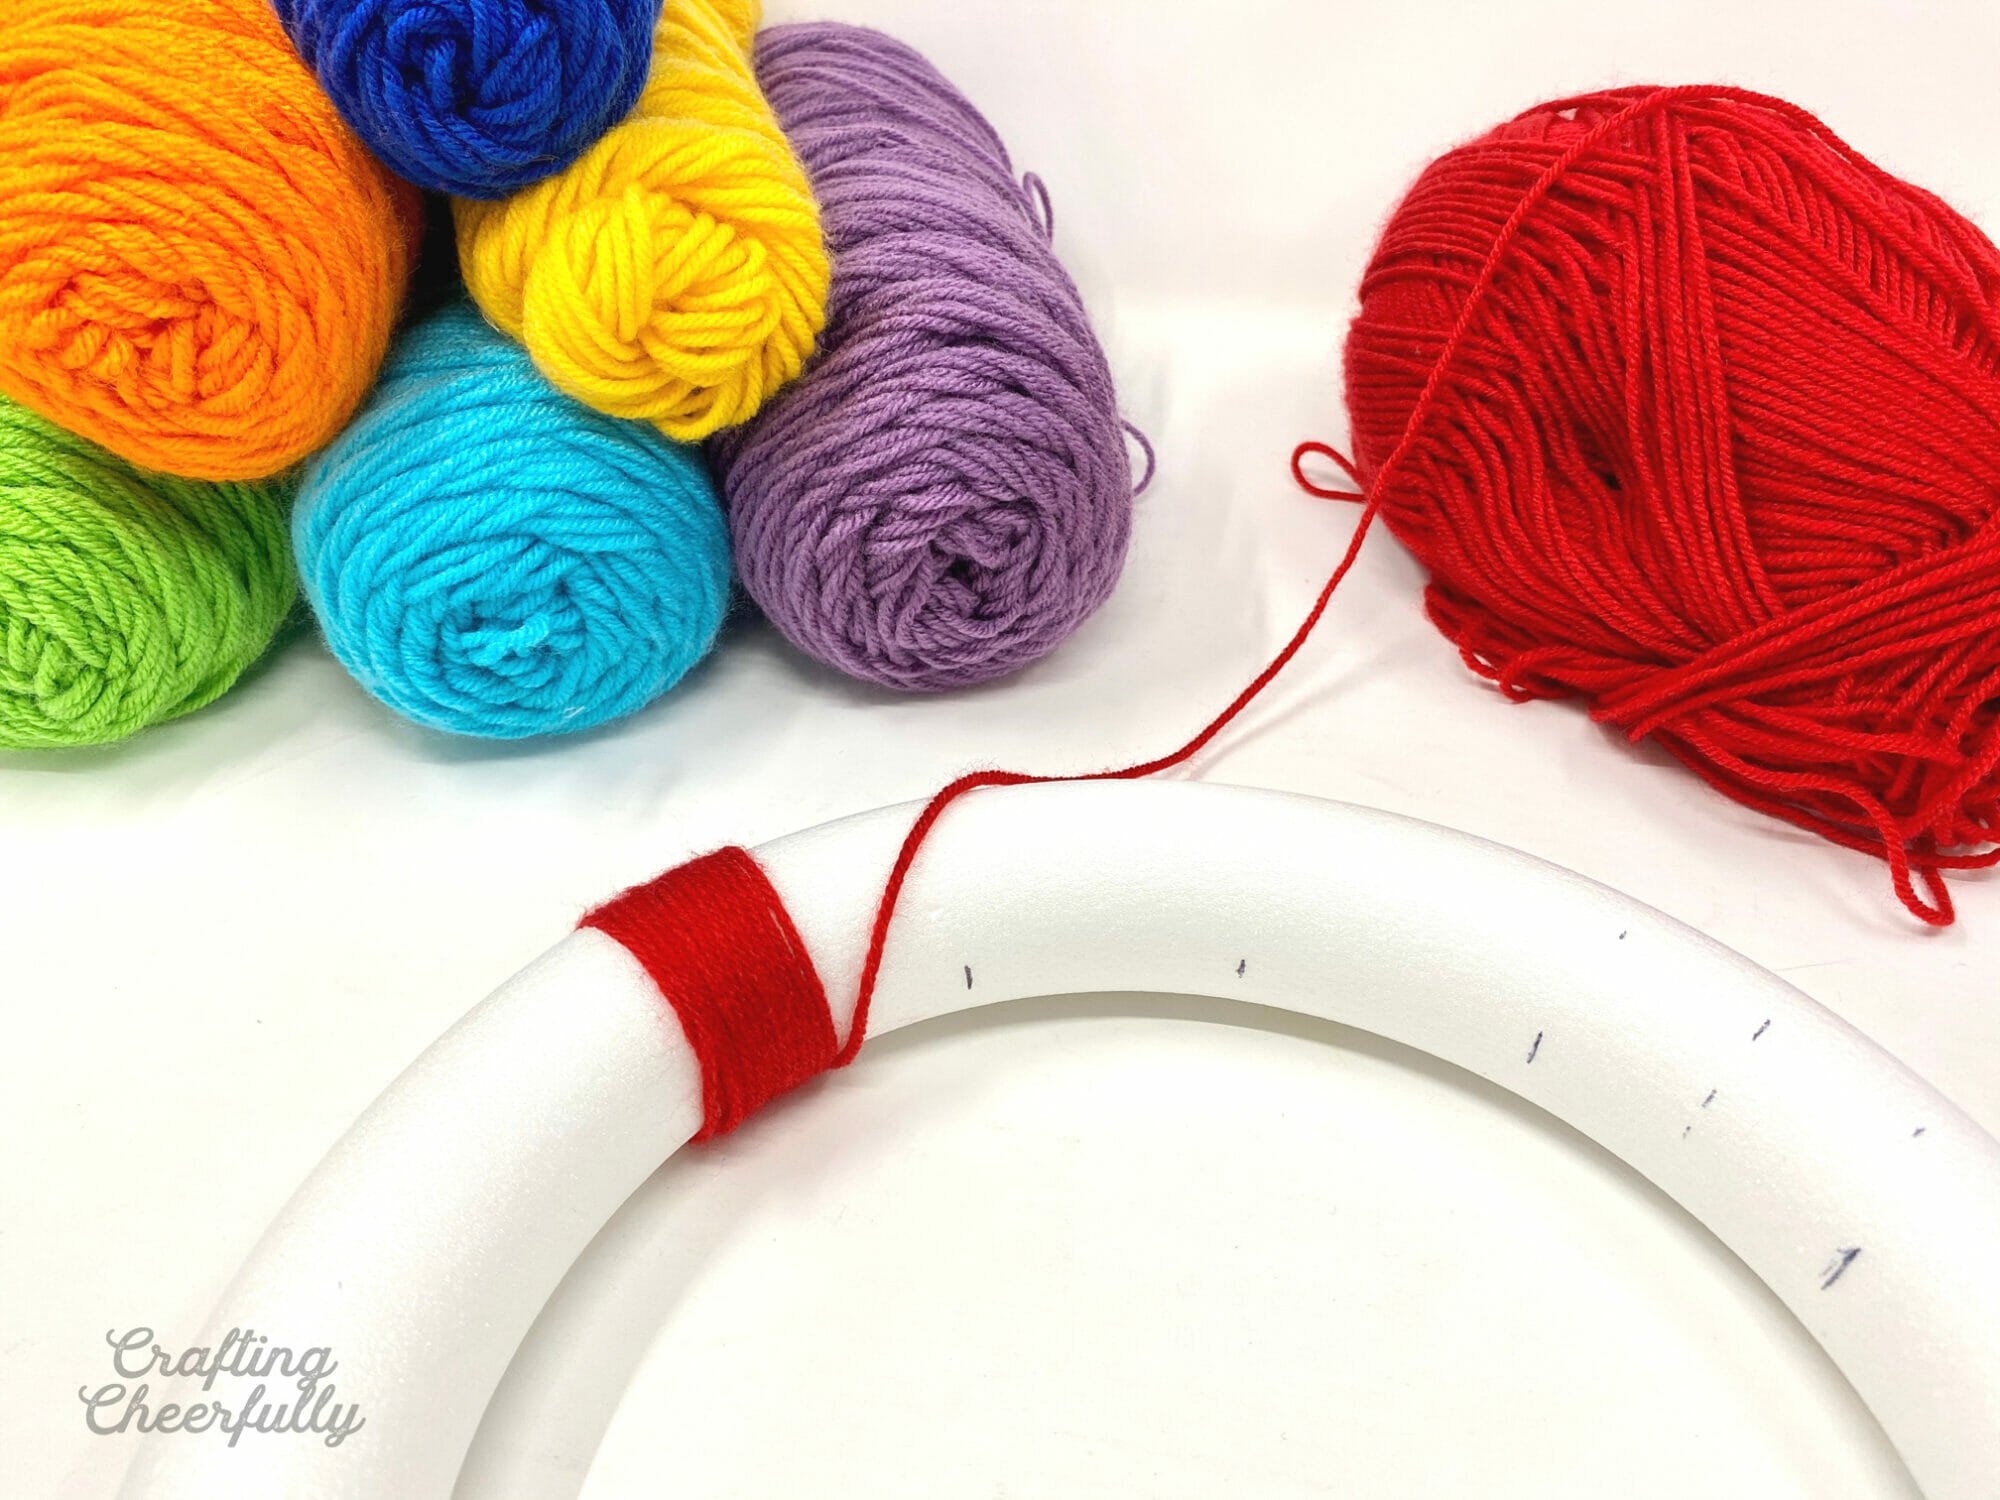
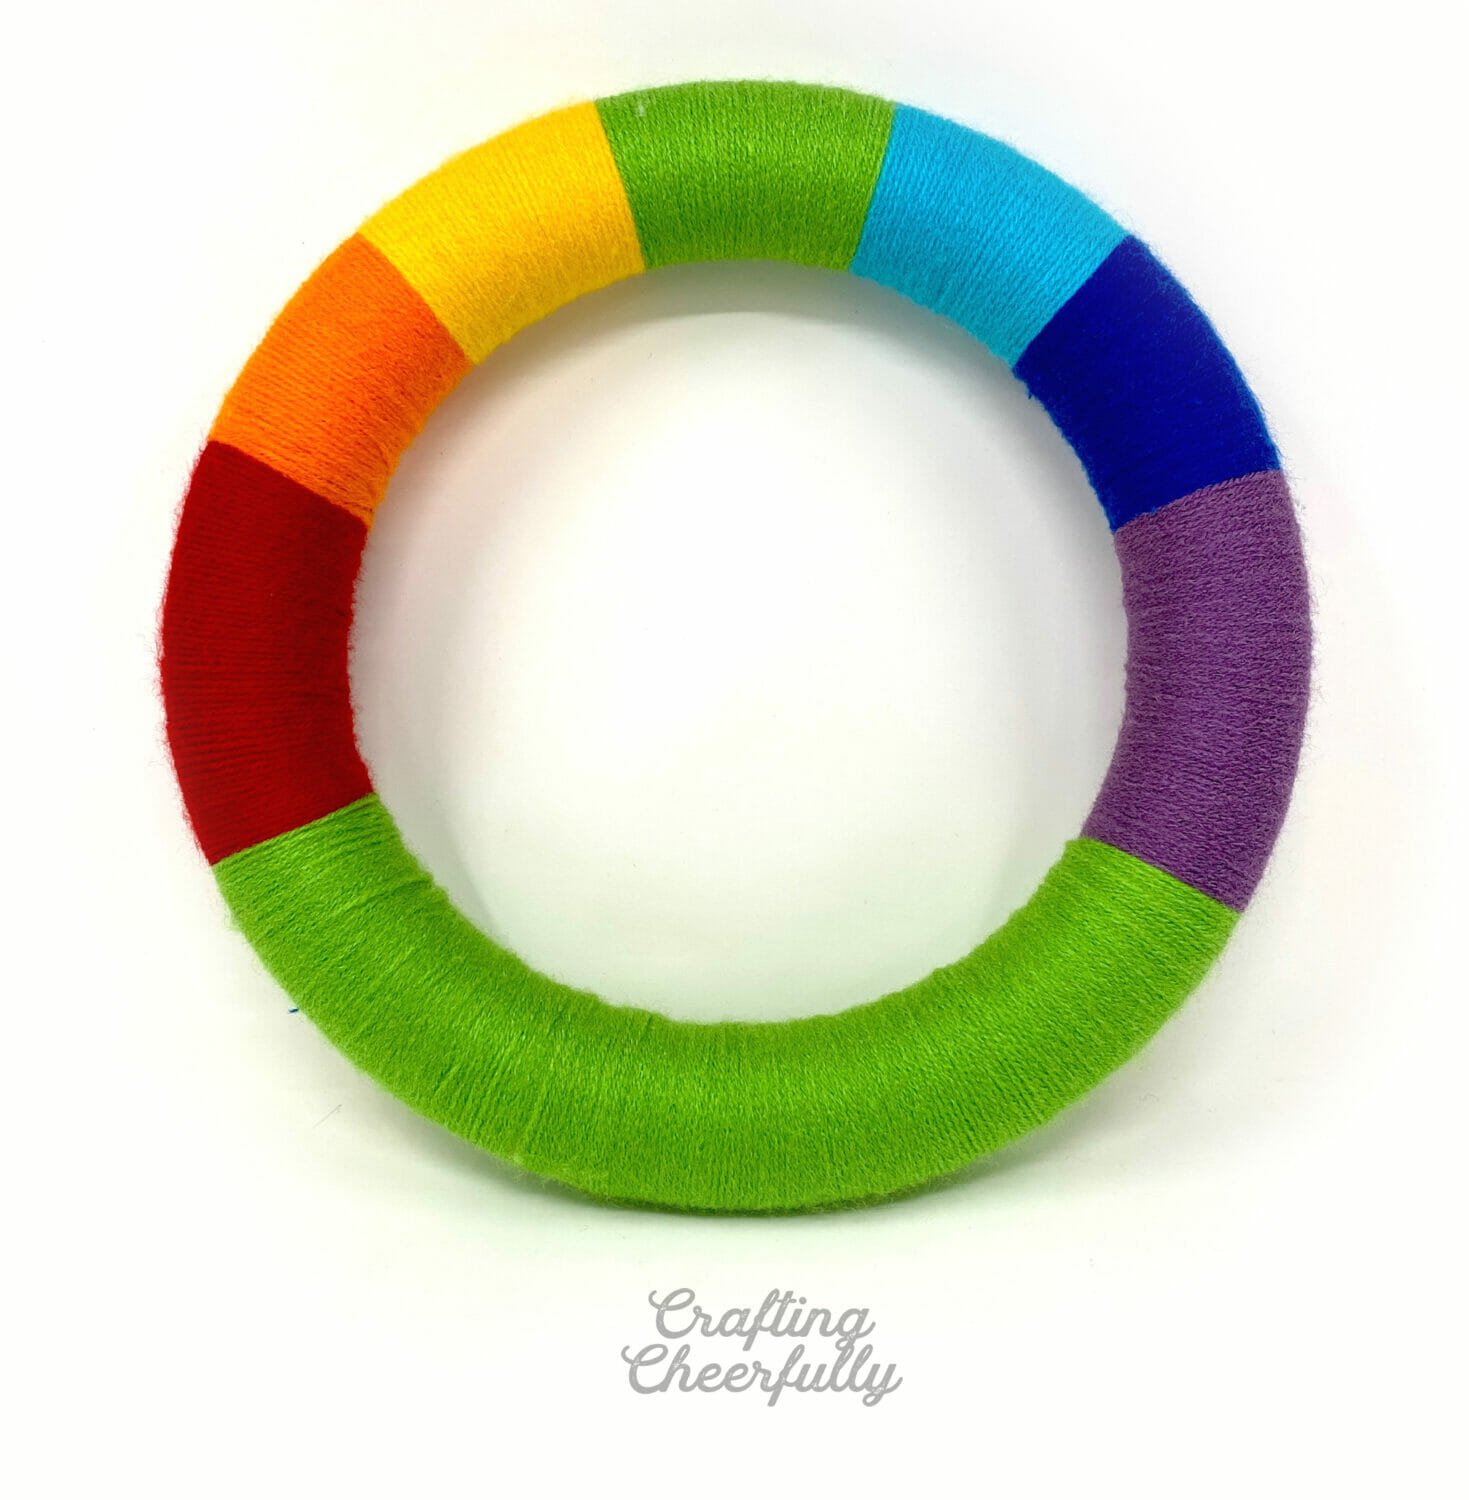
After covering the top half of my form, I decided to extend the red and purple sections down farther since the white form was peeking through the divots in my pot of gold. I covered the bottom part of the wreath form with green yarn.
Step Three: Adhere the pot of gold to the wreath.
Glue the pot of gold onto the wreath form. I used hot glue.

Attach gold coins from the back side of the pot. The gold coins I found at Joann Fabrics were a really light plastic which worked perfectly for this.

Step Four: Decorate the pot of gold.
Decorate the pot of gold with ribbon and felt shamrocks. Add a small hanging loop to the top of the wreath with green yarn.


The St. Patrick’s Day wreath is finished! Yay! I love how cute and colorful this wreath turned out. It was fairly easy to make and was a great use for some of my yarn stash. Wrapping the yarn around the wreath form was the most time consuming part of this wreath – a great activity to do while catching up on your Netflix shows :)

If you’re looking for more fun St. Patrick’s Day projects, check out my St. Patrick’s Day craft page.


** I’ve linked to the products I used but please note they are sold in multiples on Amazon. Joann Fabrics sells them individually. You only need one foam wreath form for this project and one sheet of glitter felt – unless you plan to make your own shamrocks!
Check out these other wreaths that are perfect for St. Patrick’s Day!


