DIY Summer Fabric Wreath – Charm Pack/5″ Stacker Project
Create a sweet summer fabric wreath for the season! This tutorial will show you how to make a pillow wreath using a charm pack or 5″ stacker that you can enjoy all summer long!

Hello Crafty Friends! It’s almost summer and with the warmer weather coming, I decided to make a new summer fabric wreath for the season. This new summer wreath is made using cute pillows that remind me of sunshine and summer fun.
I love creating pillow wreaths especially for the different seasons. They are quick and simple to make, perfect for both beginner and experienced sewers. Pillow wreaths are also such a fun way to feature some of your favorite fabrics.

How to Make a Summer Pillow Wreath
The Fabric
For my summer pillow wreath I used a 5″ stacker called Summer Picnic by Melissa Mortenson for Riley Blake Designs. I found it at Fat Quarter Shop and fell in love with the cute strawberries and gingham prints. The fabrics in the collection feature strawberries, cherries, flowers and soda pop caps. Sweet polka dot, lattice and gingham prints complement the collection.

This wreath was made using 30 pillows. Since each stacker square makes one pillow, I needed to choose 30 squares from the pack of 42. This was tricky but I made sure to choose fabrics that represented the full range of colors in the collection. I used the extra stacker squares to create a summer banner so it also helped to pick those out first to help narrow my choices down.

Supplies Needed:
- 5″ Stacker – I used Summer Picnic by Melissa Mortenson for Riley Blake Designs
- 12″ wire wreath form and heart-shaped wire wreath forms.
- Poly-fil Stuffing
- 3/8″ ribbon – I use 1/8″ ribbon for my mini charm pack pillows.
- Thread
- Point turner
- Pins
- Needle
- Fabric scissors (I also find small embroidery scissors are useful too!)

Creating the Pillows:
- Fold a stacker square in half and stitch around the sides leaving an opening on the side opposite the fold.
- Turn the pillow right side out using a point turner to gently poke out the corners.
- Stuff the pillow with Poly-fil stuffing. Be careful not to overstuff the pillow.
- Stitch the opening of the pillow closed with a small whip stitch.


Repeat these steps for all of the pillows. You will need about 30 pillows.

Attaching the Pillows to the Wreath
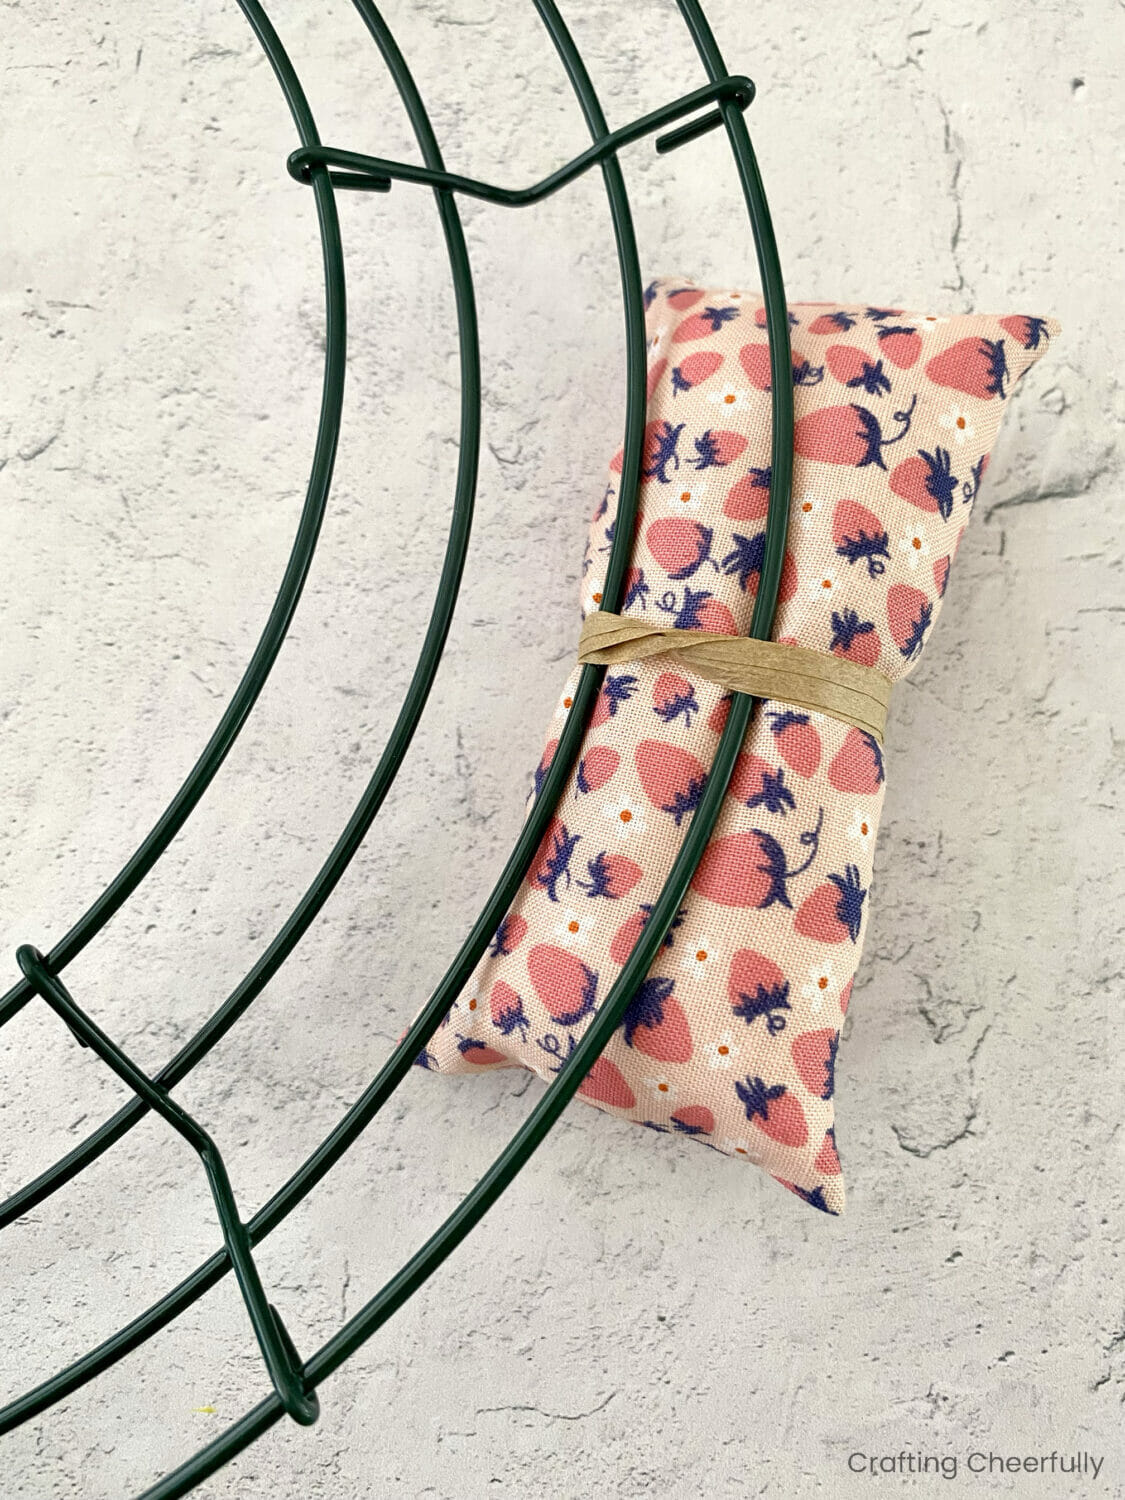
Attach the pillows to the wire wreath form using ribbon, twine, yarn or raffia as I did. Start on the outer ring and attach the pillows around two of the wire rungs. Cut the raffia to measure about 7-8″. I recommend doing a test with one pillow before cutting all of the raffia. You may want your longer pieces to make tying the knots easier.


Repeat for the middle and inner rings of pillows.

Tips for Assembling the Pillow Wreath
- Try to arrange the pillows so similar patterns and colors are spread out. Some charm packs and stackers come with two of each fabric and most charm packs come with the same prints in multiple colorways.
- Arrange the pillows then snap a picture. Use the picture for reference as you tie the pillows on. Looking at a picture is also a great way to spot clumps of similar colors groped together.
- Place the pillows so they overlap in the same direction. Keep all three rings consistent.
- If you need to rearrange a pillow after you’ve attached it, simply slip it out of the raffia and slip another in it’s spot. No need to cut the raffia or untie it.


Finish the Wreath for Hanging
The last step to creating this cute summer wreath is to add a hanging loop to the back.

Time to enjoy your new summer pillow wreath!

Check out what I did with the leftover charm squares! I created a cute summer banner!
I hope you enjoyed this new summer wreath tutorial! View my other Summer Craft Projects for more tutorials perfect for the season.


