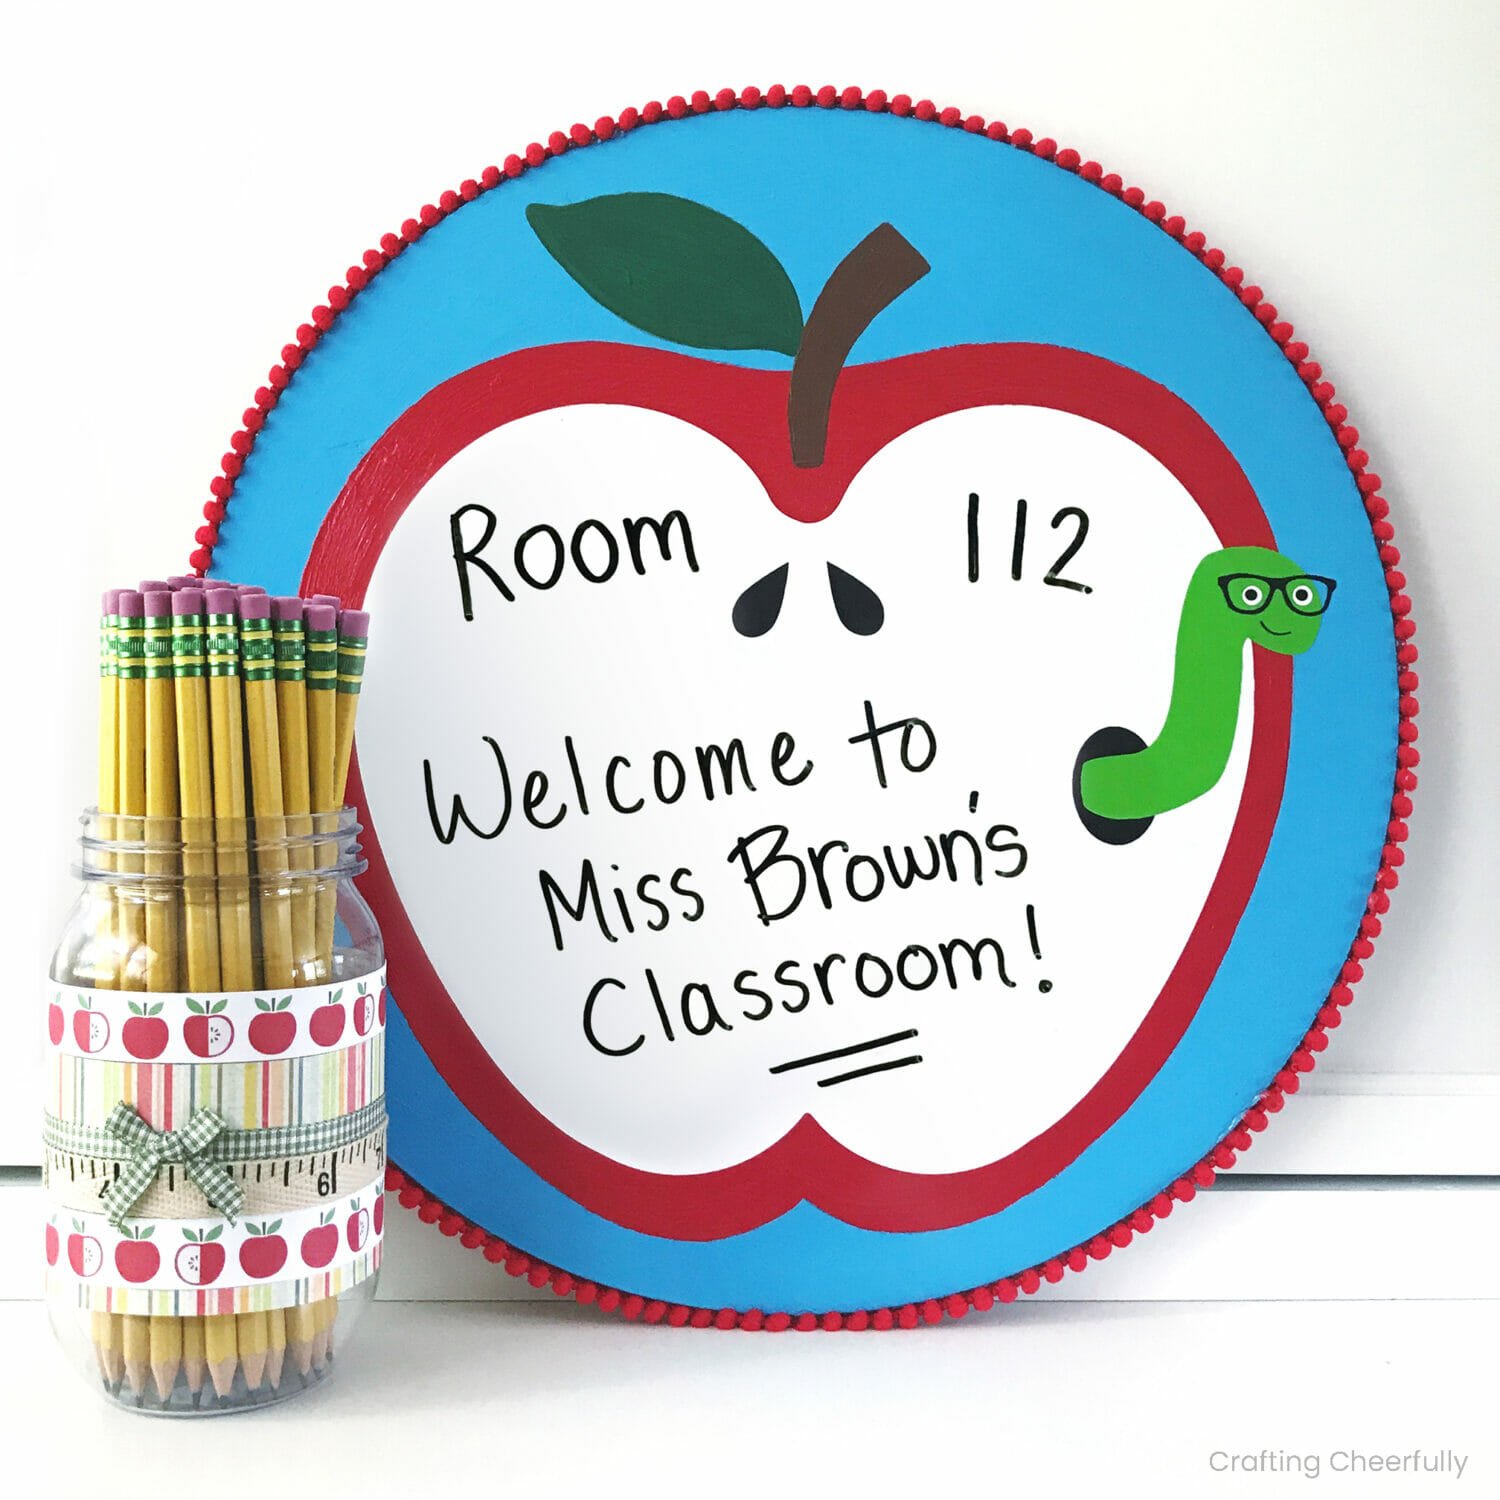
DIY Scrappy Fabric Pencil Banner
Learn how to make a sweet fabric pencil banner using felt and fabric scraps! This banner is a fun way to decorate for back-to-school and is perfect for learning spaces.
Hello Crafty Friends! With back-to-school around the corner I wanted to share this cute fabric pencil banner I created with fabric scraps! Making these scrappy banners is one of my favorite ways to decorate for different seasons, holidays and special events. They are fun to make, great for using up fabric scraps, and they use simple embroidery stitches.
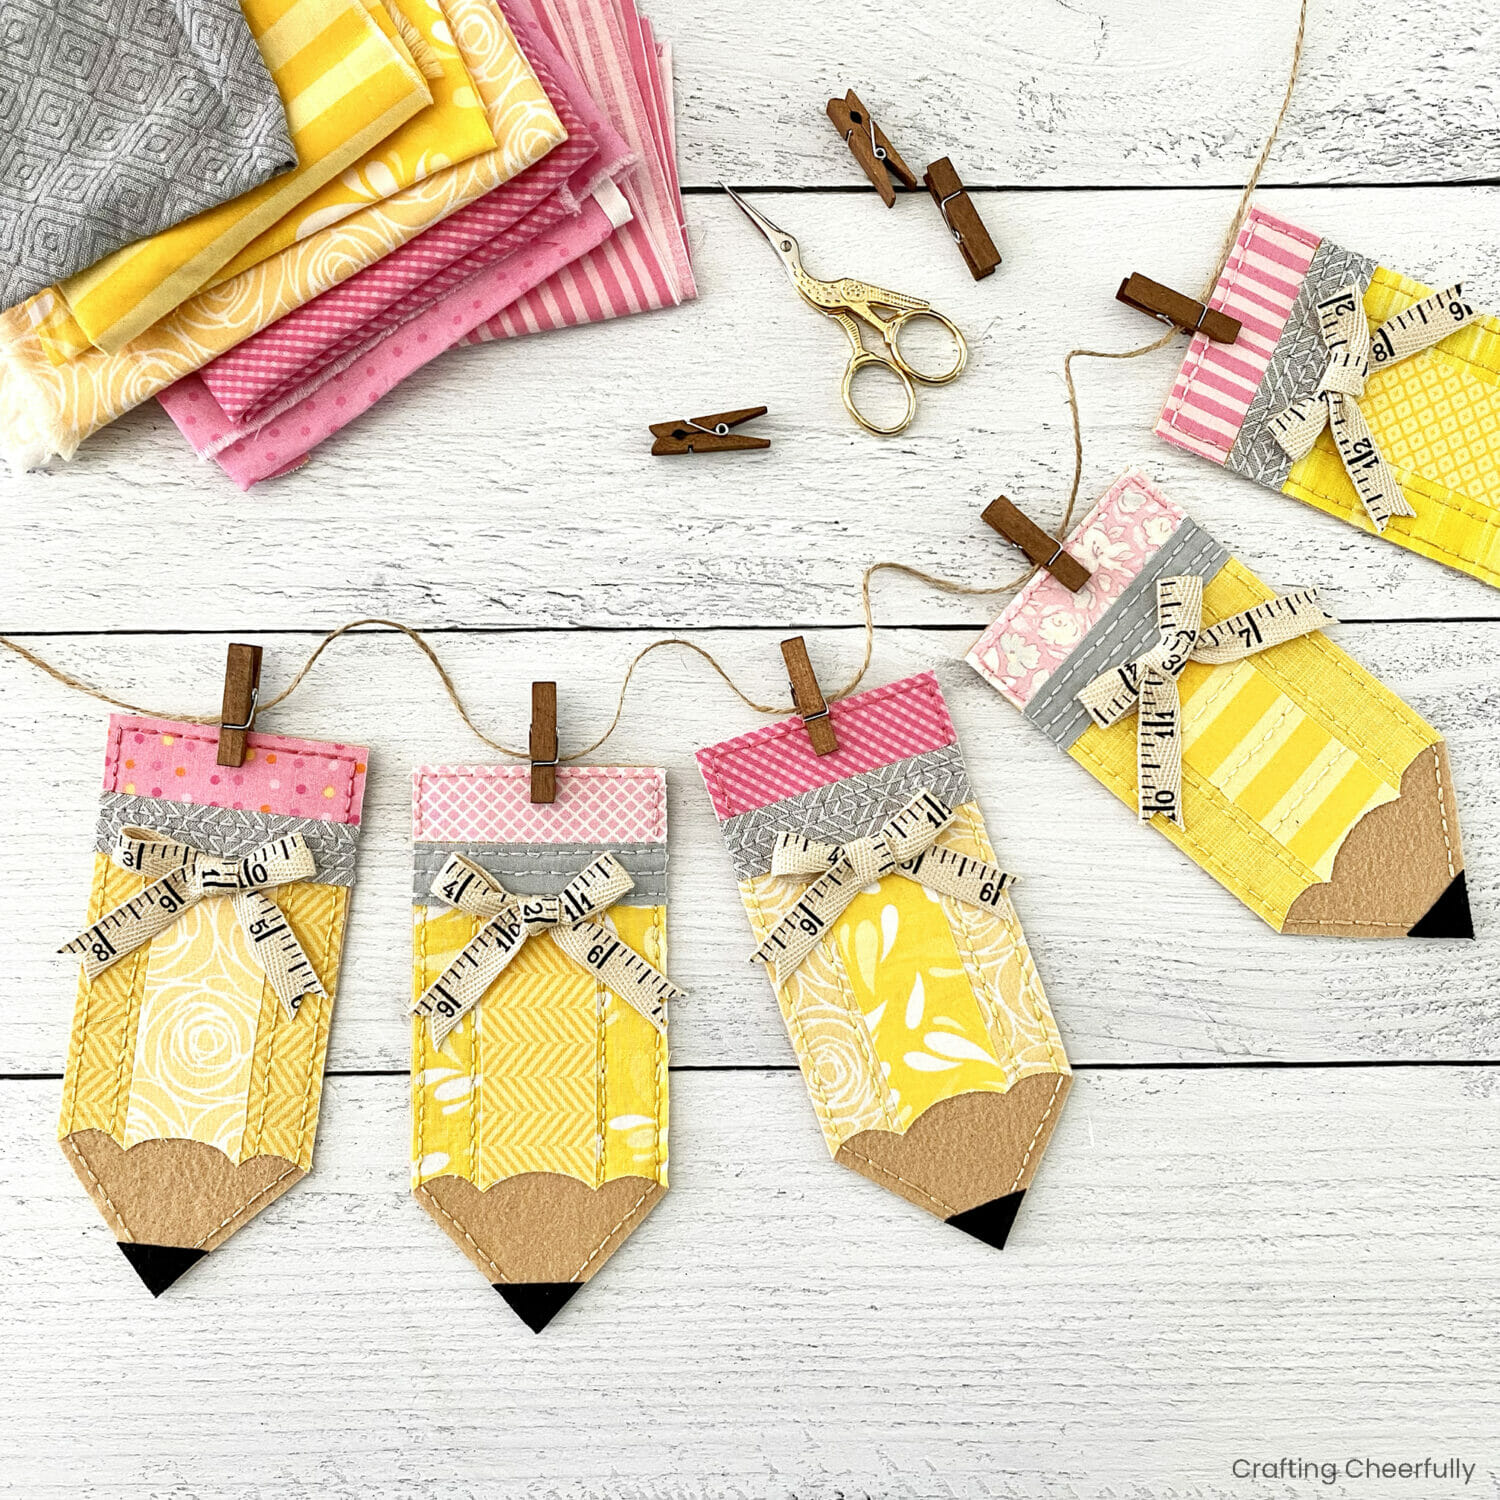
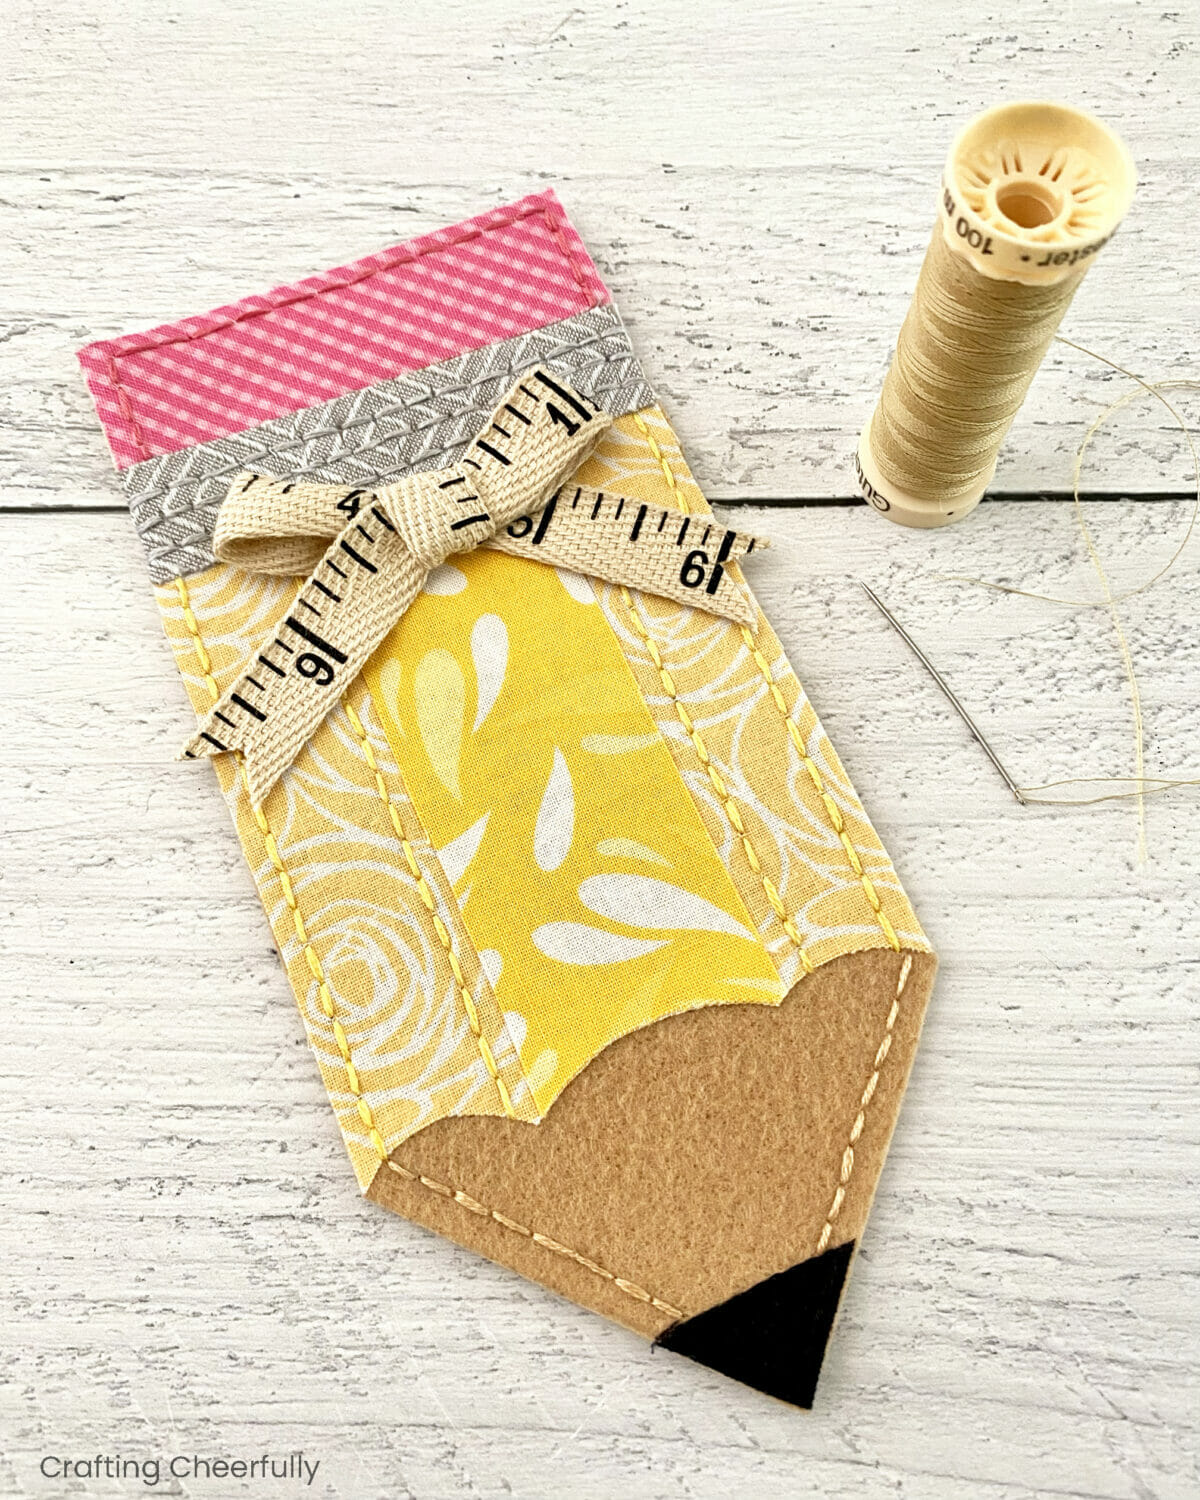
These pencil pennants are so sweet! They are made using scraps of yellow, gray, pink and black fabrics. I used a tan stiffened felt as a backer for each pennant. Finding the tan felt meant I didn’t need to use tan fabric. The stiffened felt also makes the pennants easy to embroider and gives them a nice weight.
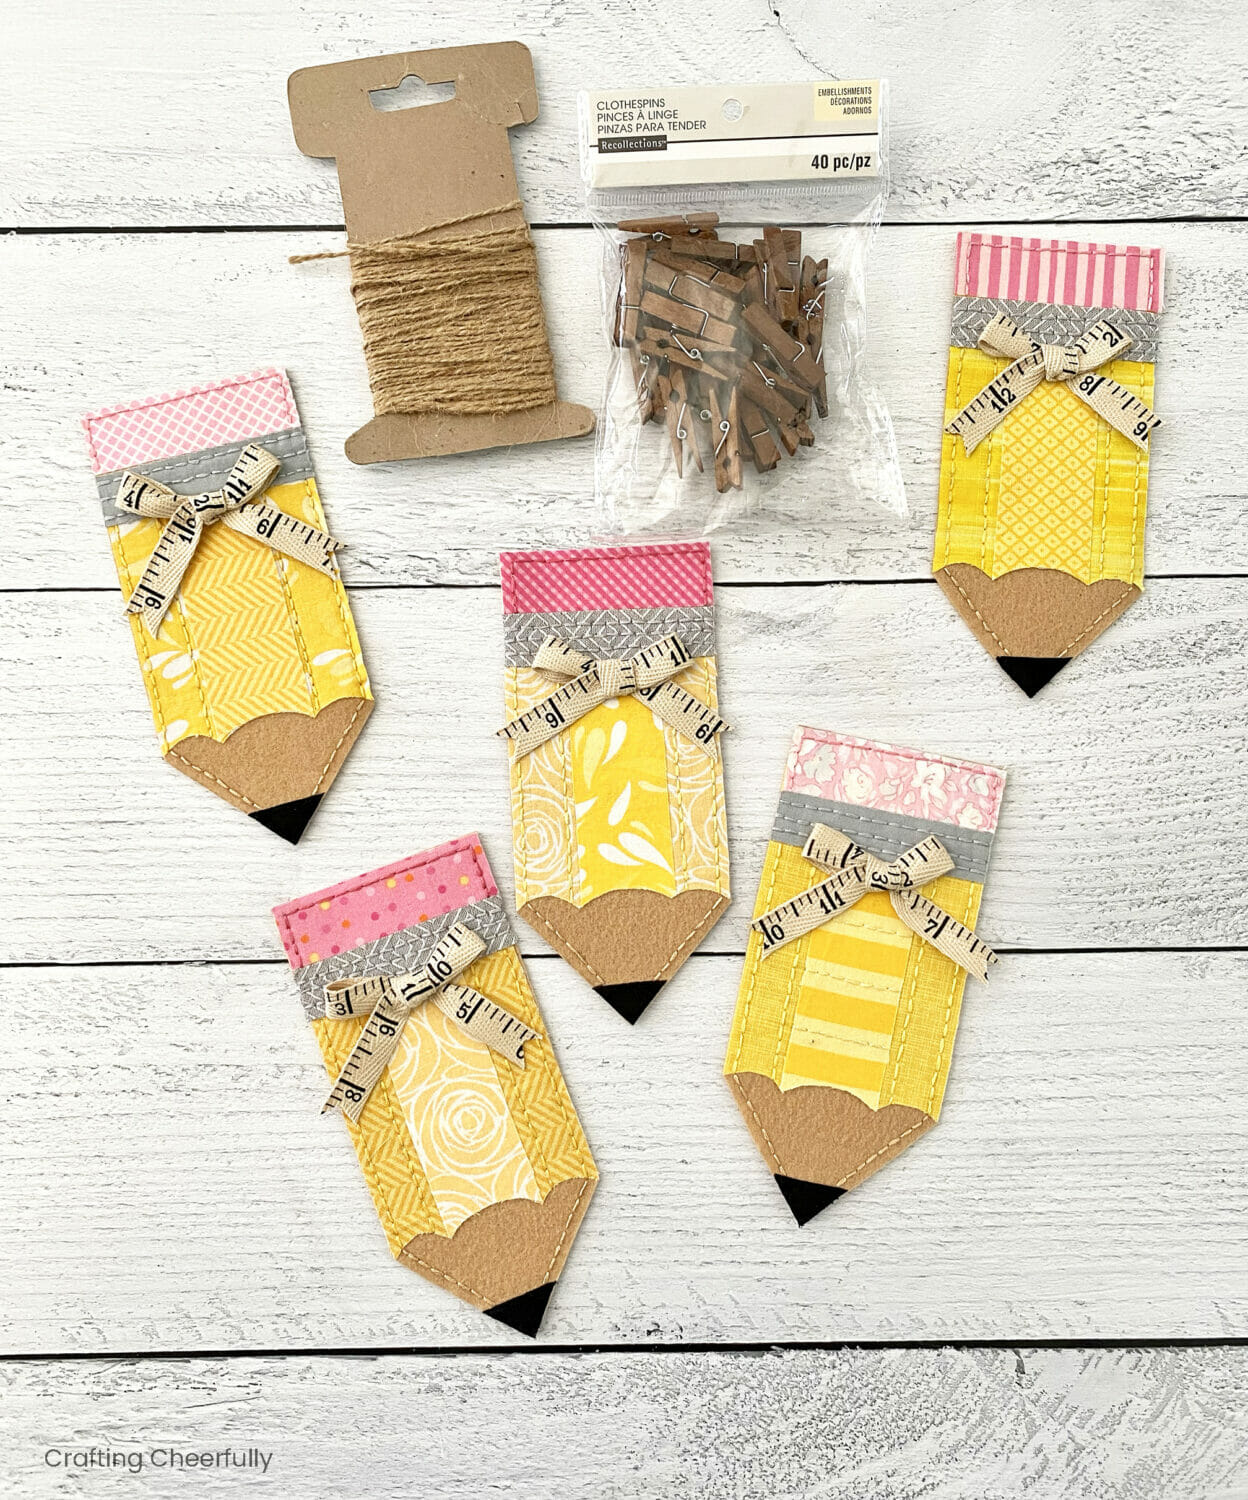
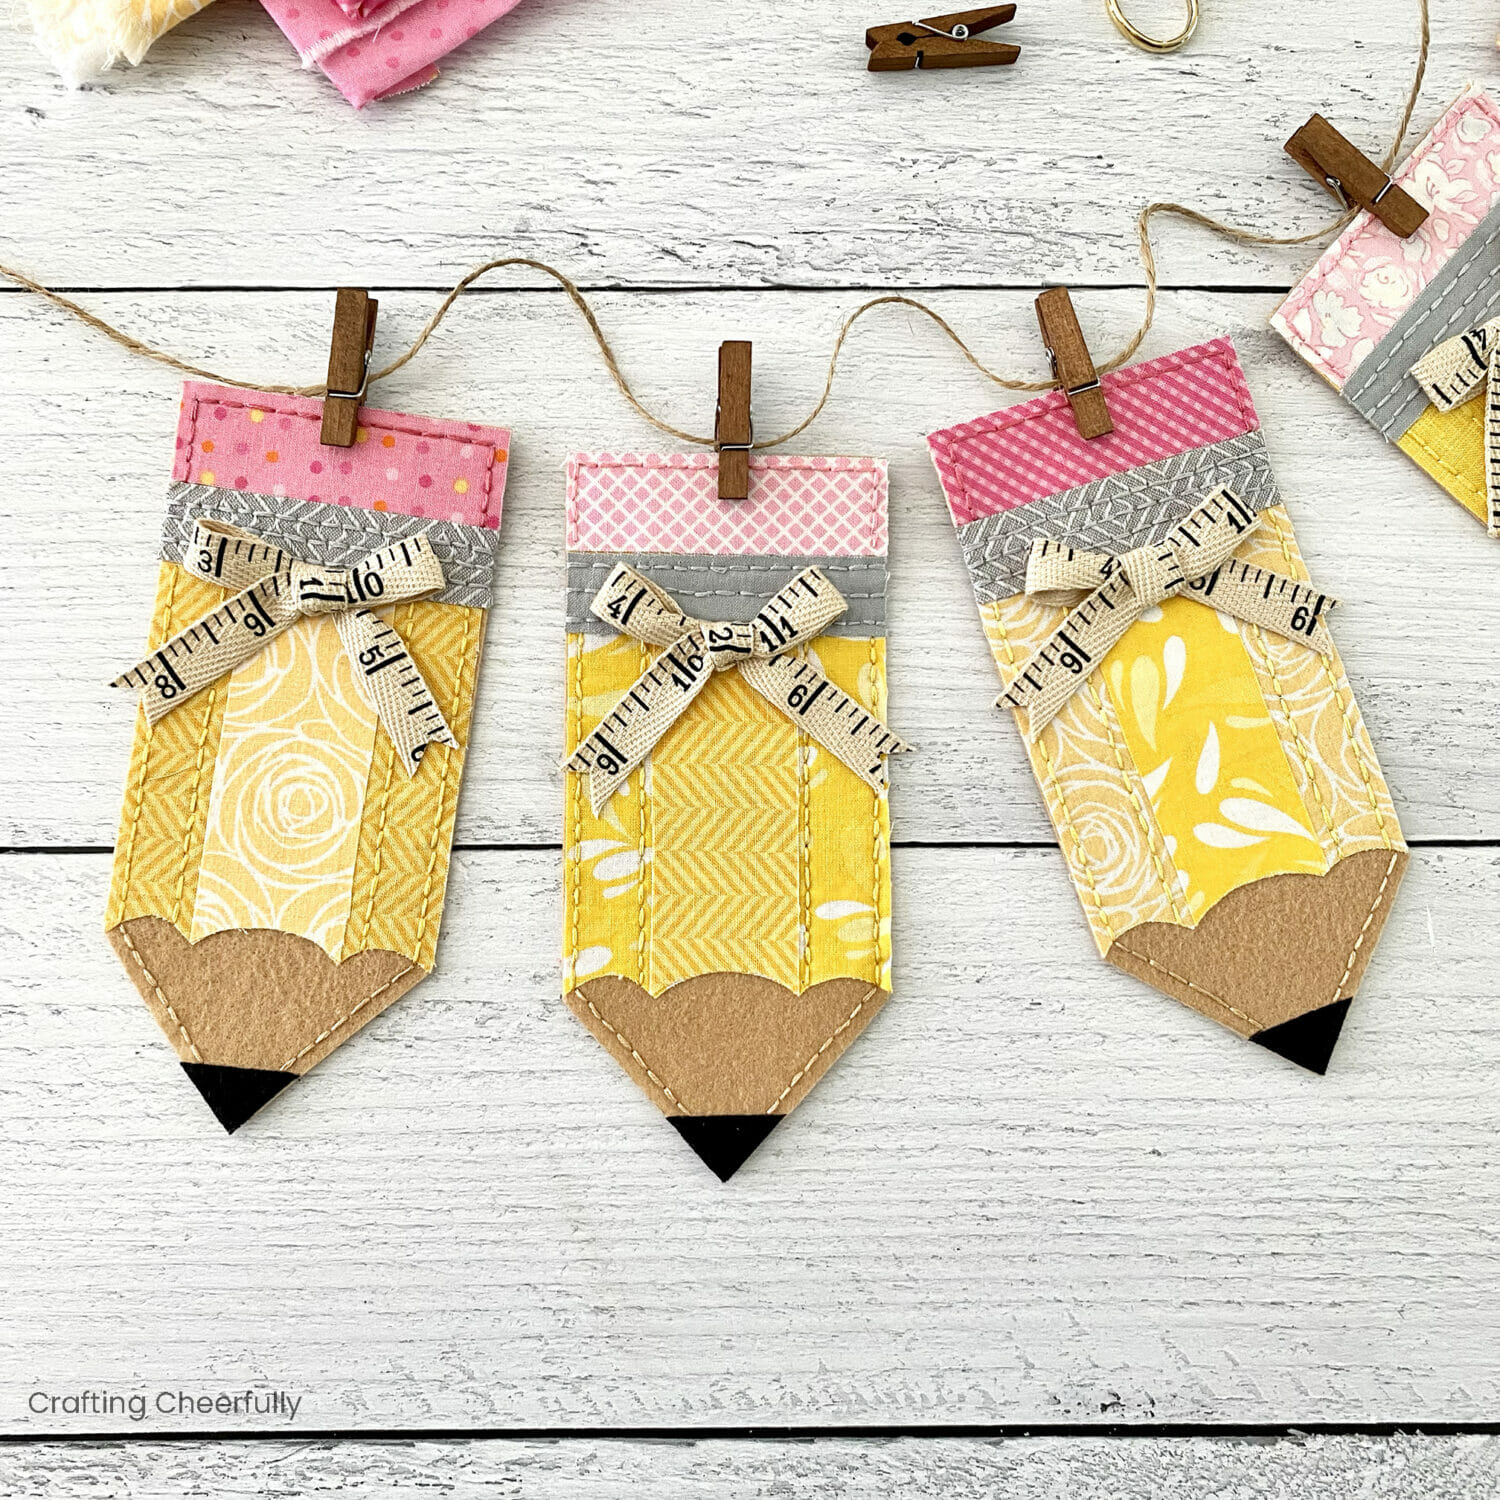
Each pencil pennant is attached to a length of twine using mini clothespins. Using clothespins to hang your banners makes it really easy to move the pennants around and hang them. Storing the banners is also really simple, just unclip them and store them until you are ready to use them again.
I embroidered each pencil pennant with a simple backstitch and finished it with a cute bow made from ruler ribbon. I absolutely love this ruler ribbon. I bought a large roll to make my Back-to-School Pillow Wreath a few years ago and I’ve been using the leftover ribbon on tiny projects ever since. It is perfect for these little pencils!
Check out my Fabric Banners for more scrappy banner ideas!
How to Make a Fabric Pencil Benner
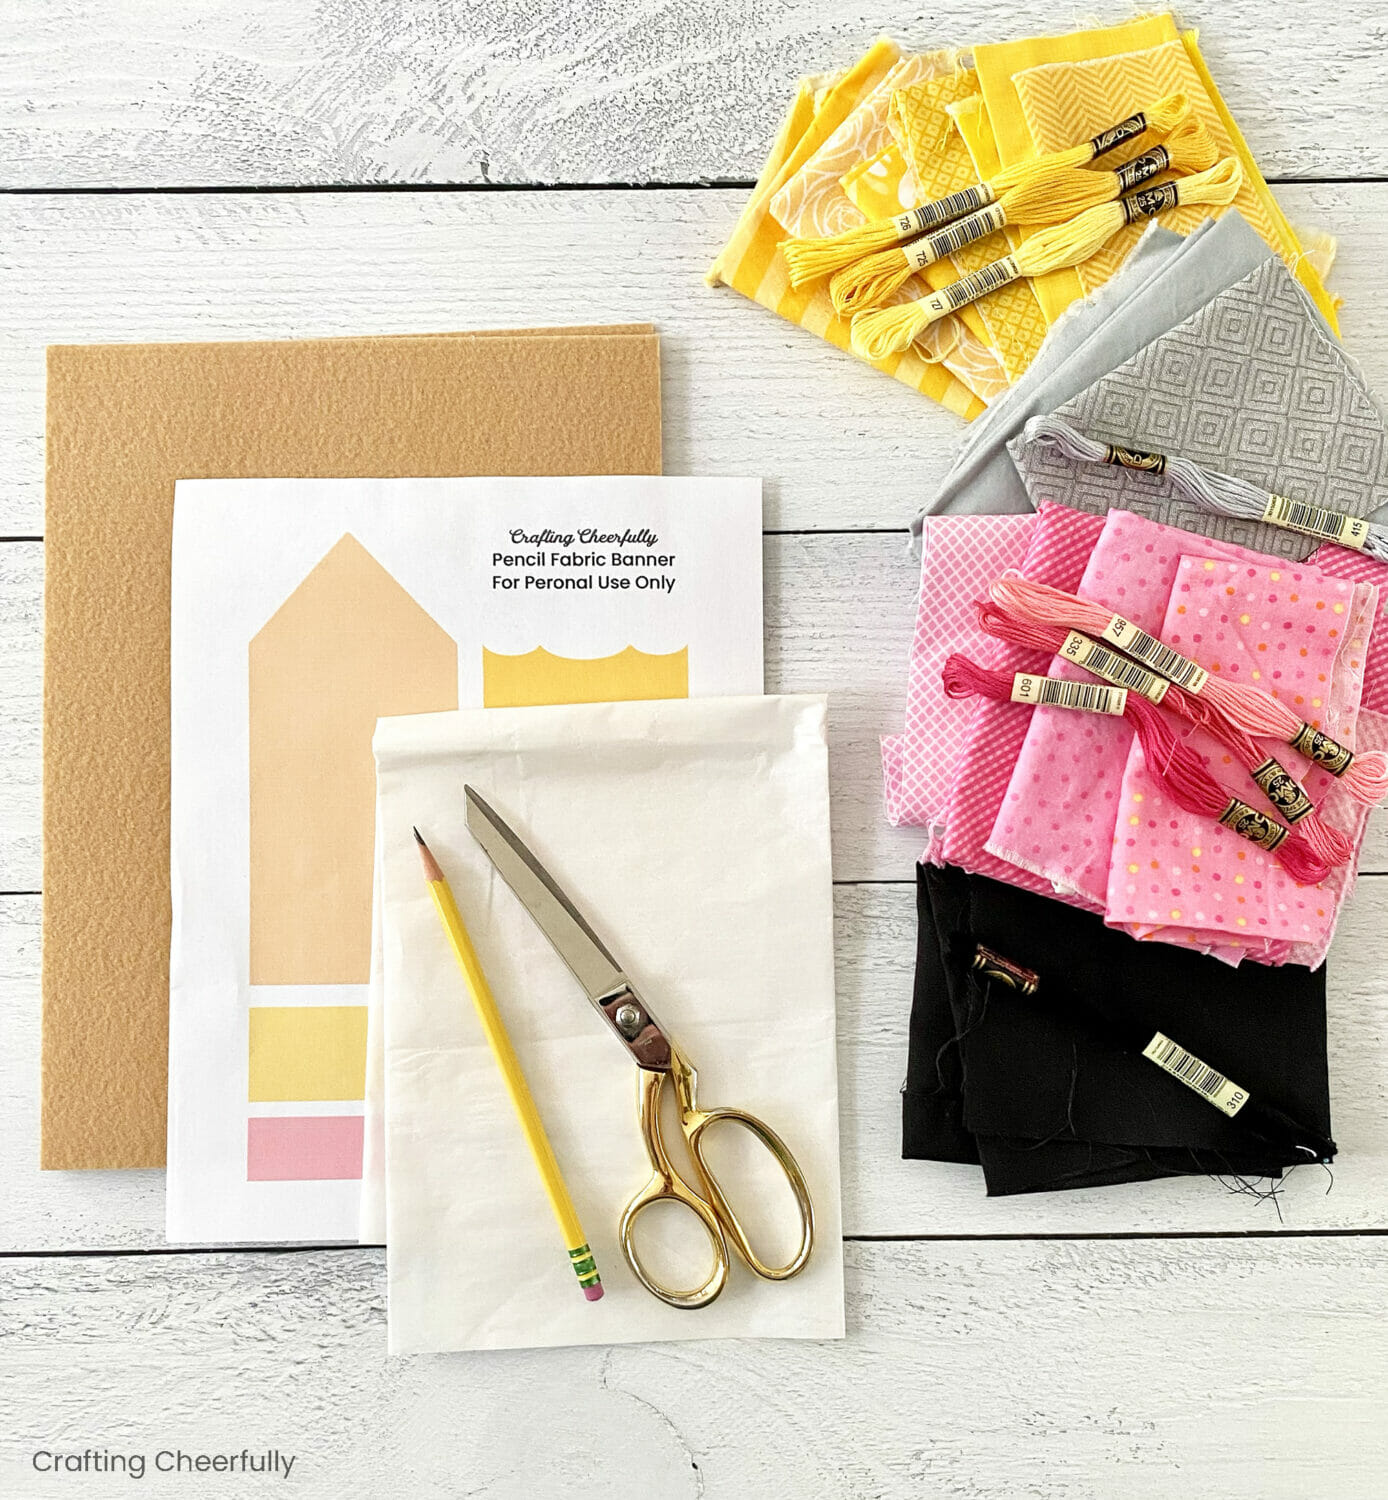
Supplies Needed:
- Pencil Template (includes an ad-free PDF tutorial)
- Fabric scraps in yellow, gray, pink and black
- Coordinating embroidery floss
- Stiffened felt – I used Kunin Brand in Cashmere Tan found at Joann Fabrics – one sheet will fit four pencils
- Fusible web interfacing – Wonder Under
- Ruler twill ribbon
- Twine
- Mini clothespins – I used 1.4″ long clothespins by Recollections from Michaels Craft Store
- Ruler and pencil (optional but helpful for creating stitching lines)
- Sewing notions: scissors, needle, thread
Step by Step Tutorial
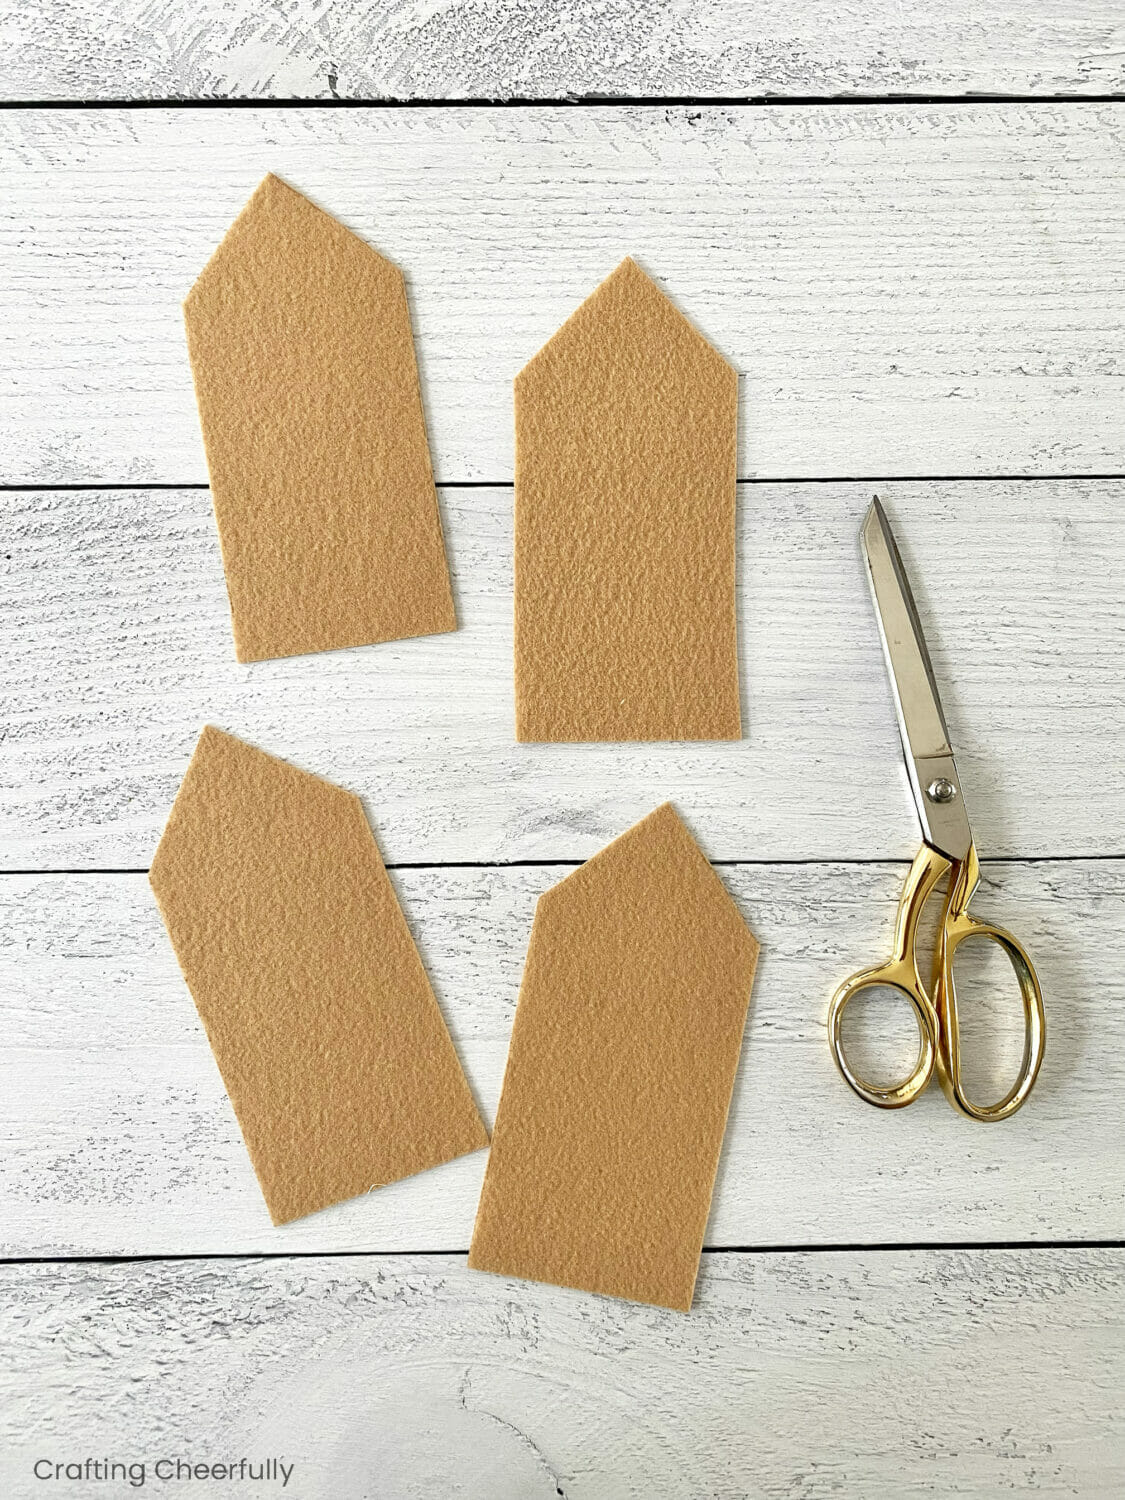
Step One: Cut the pieces for the banner.
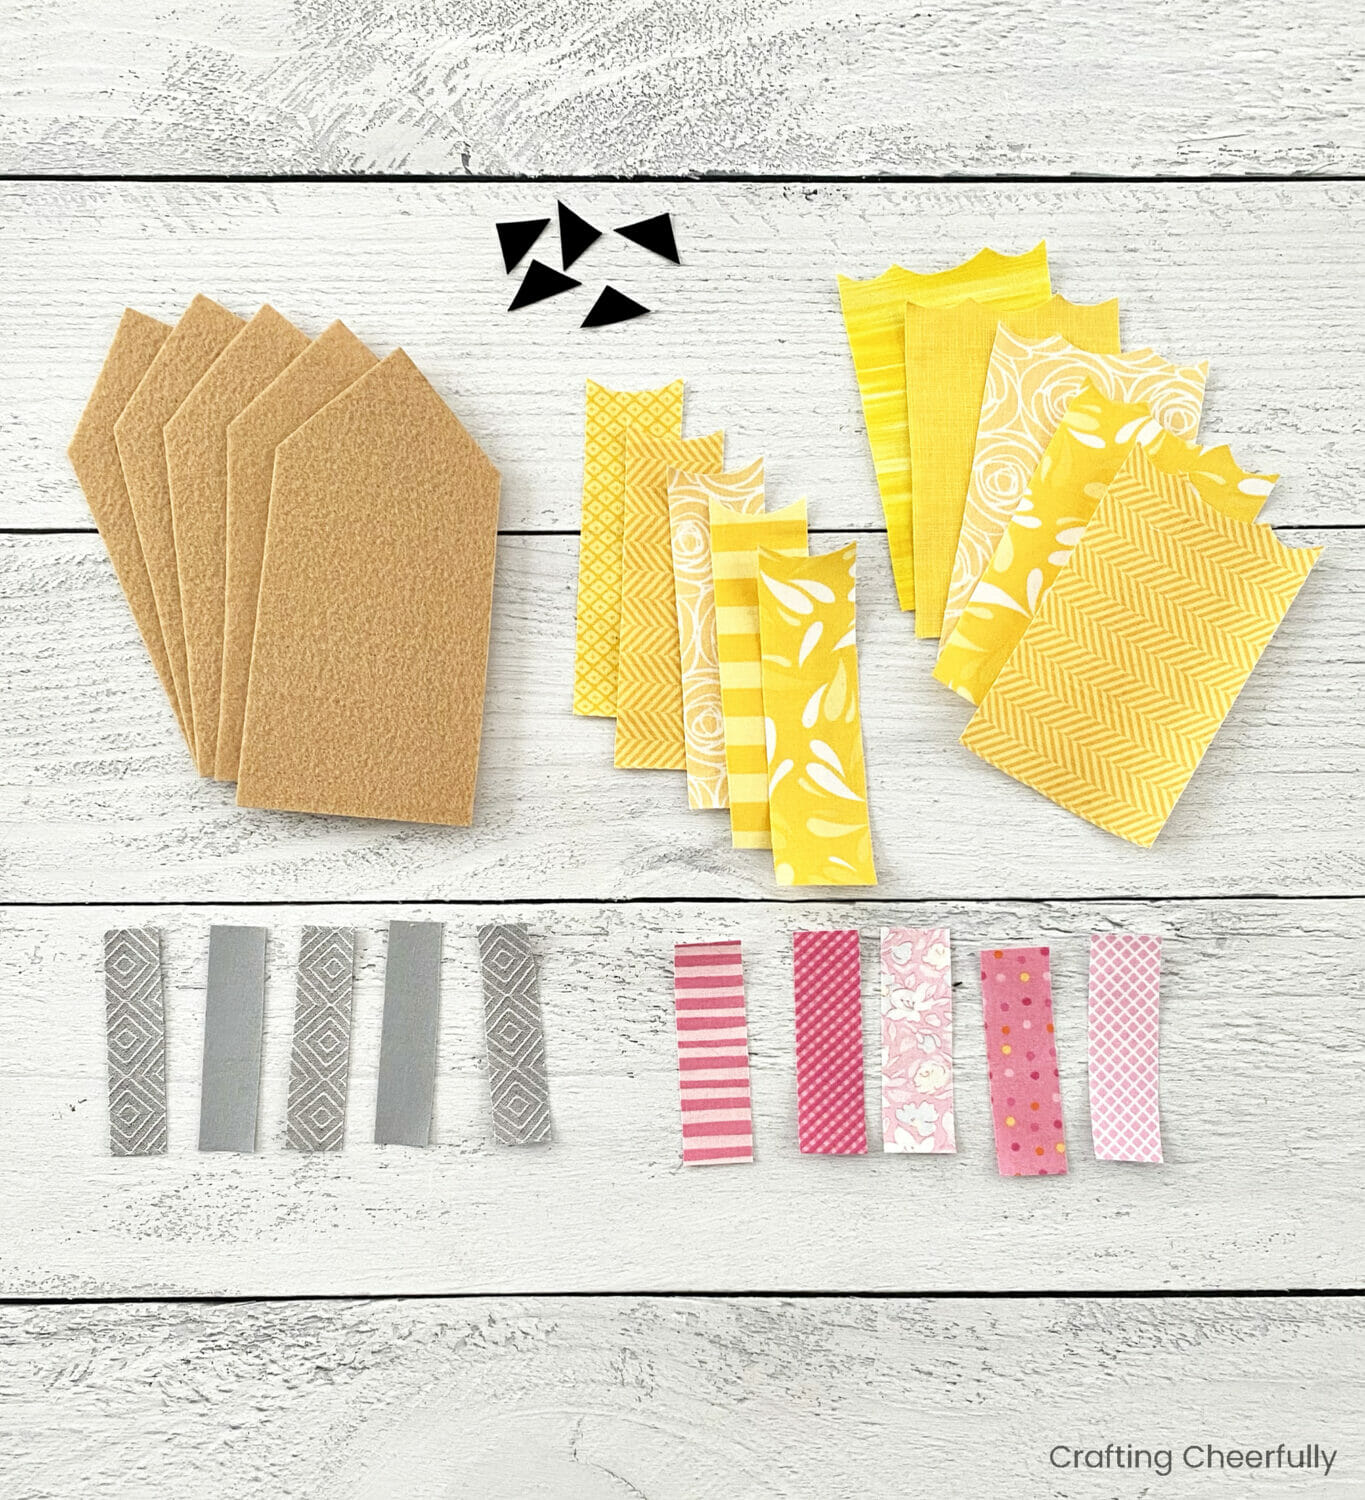
Download the template from my shop. Cut the tan pencil from the template and use it to trace five pencils on the stiffened tan felt. You can fit four pencils on each piece of tan felt.

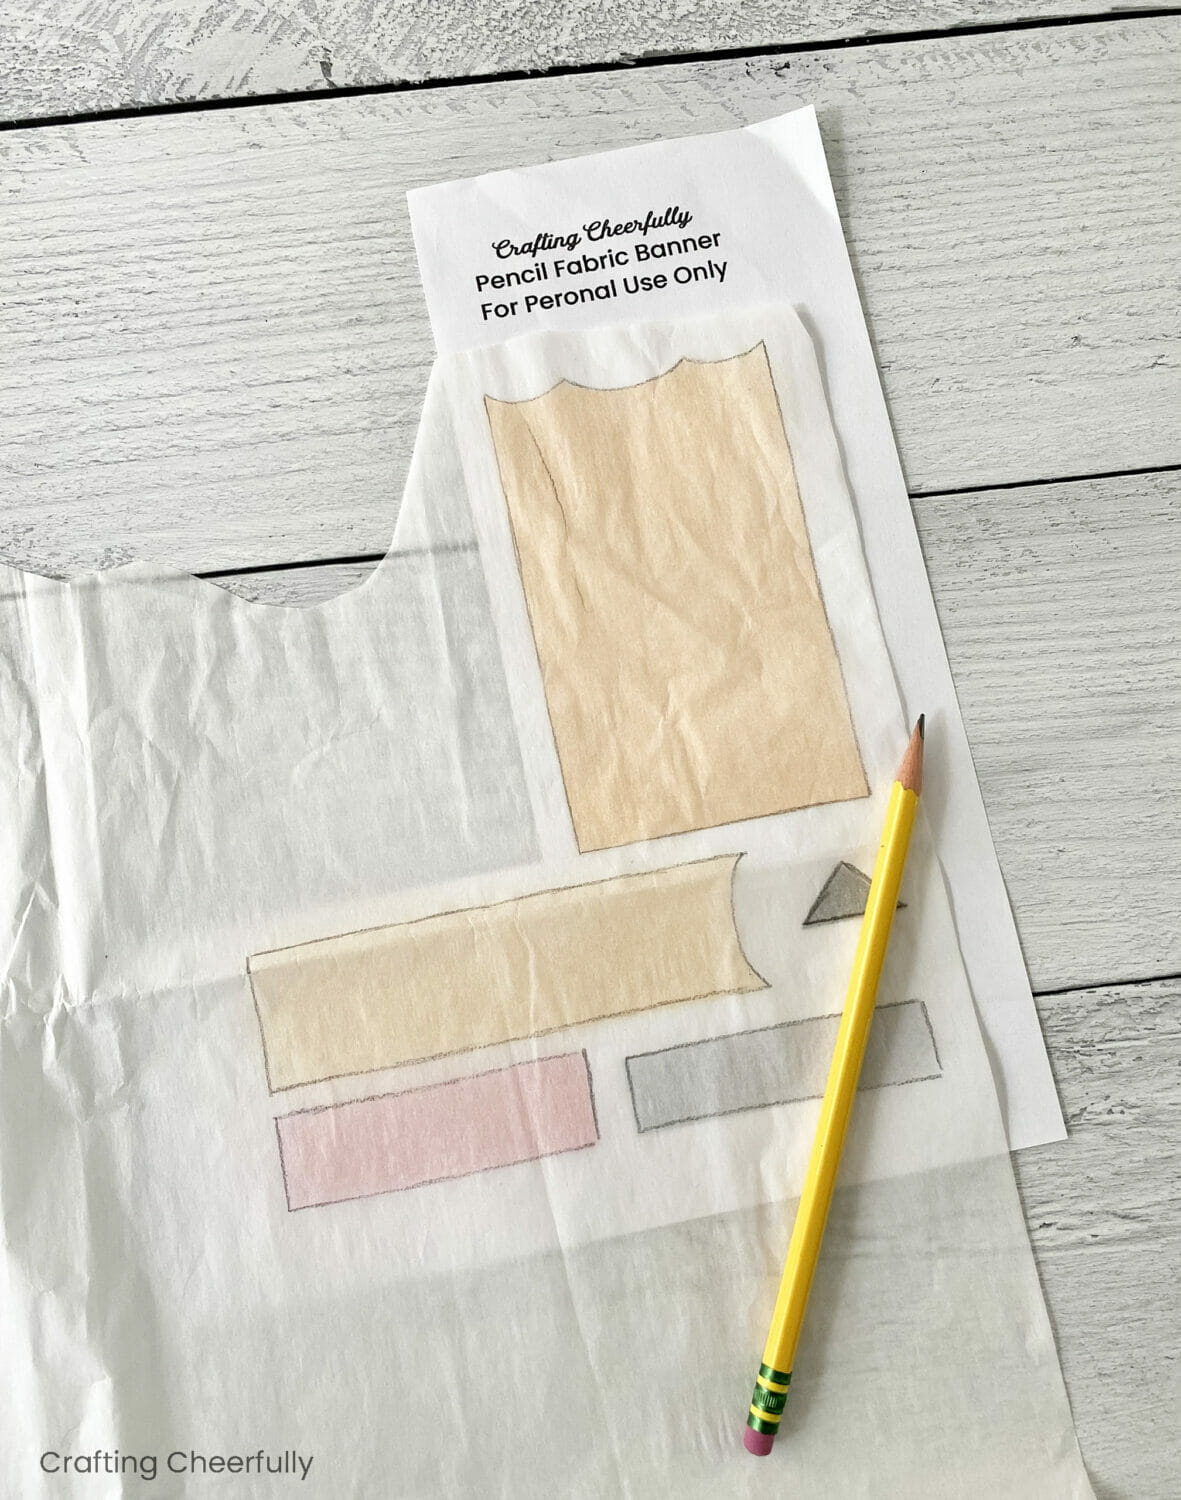
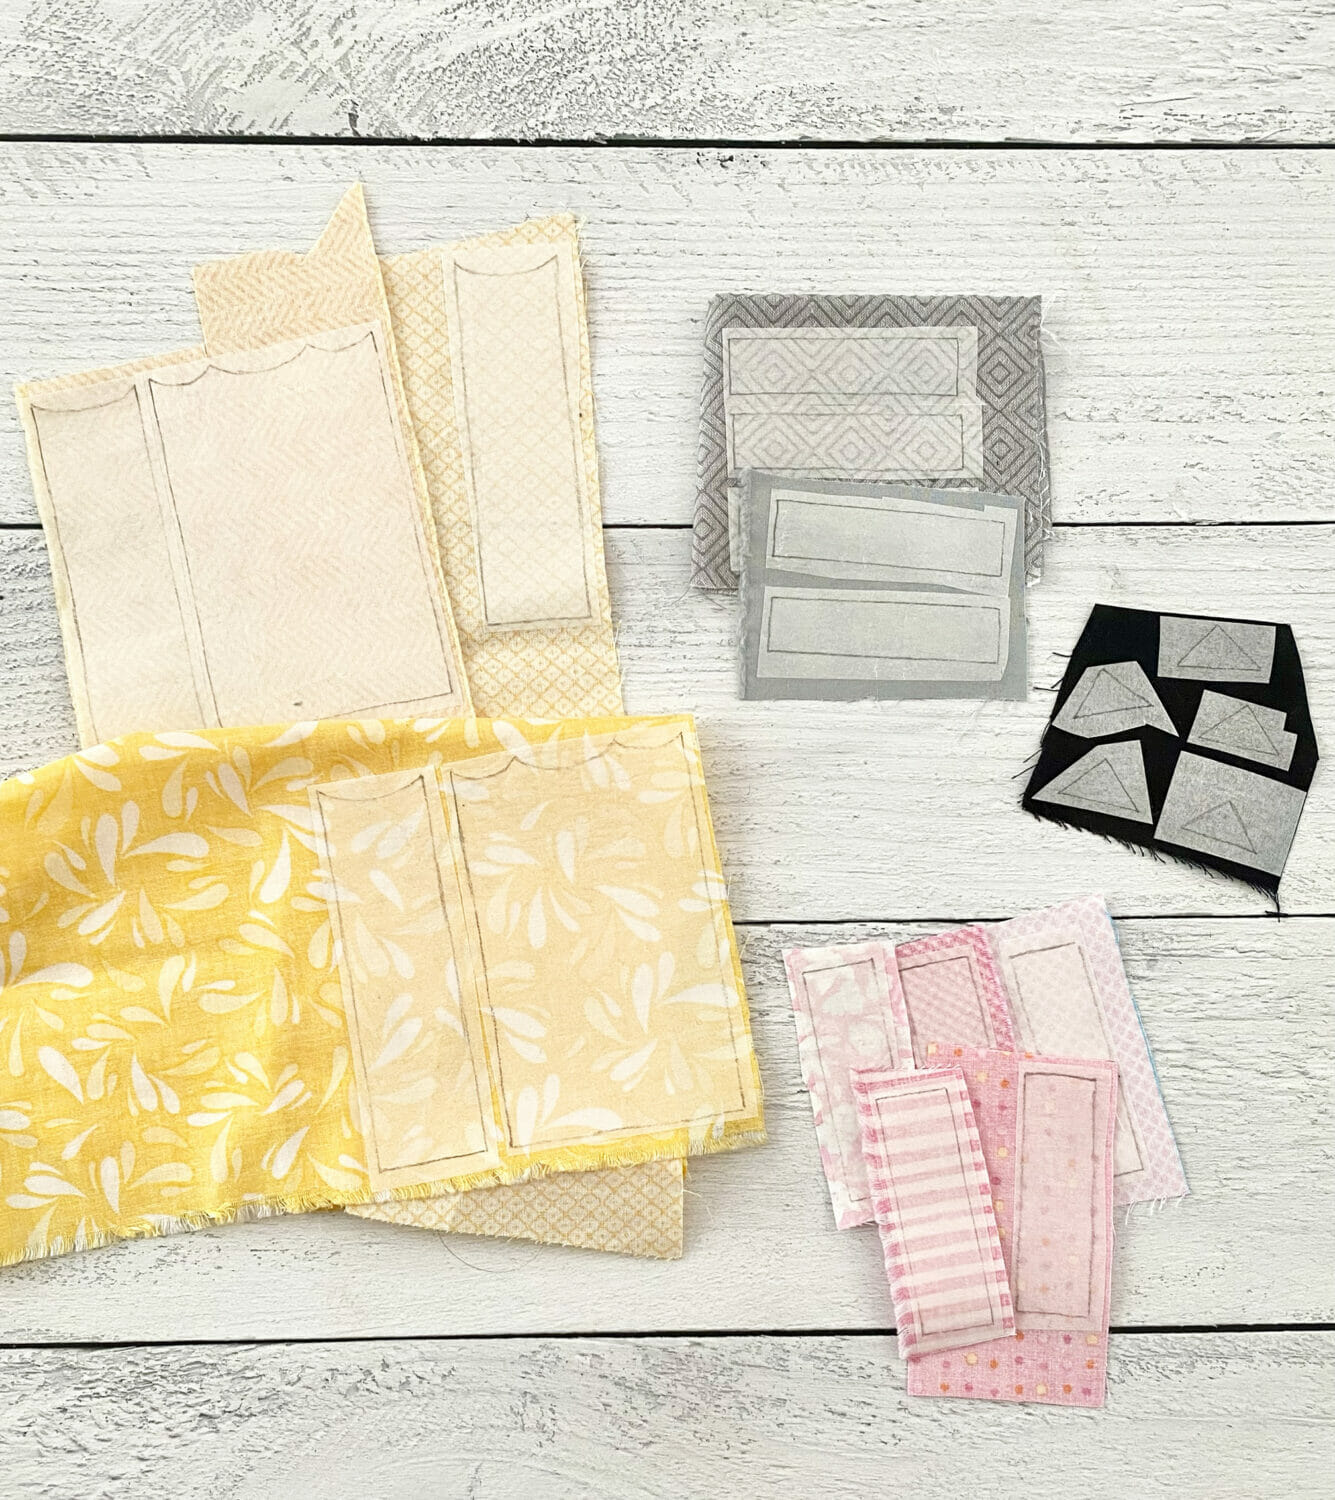
Use the rest of the template to cut the appliqué pieces. Lay a sheet of fusible interfacing, paper side up, over the template and trace the remaining pieces. Repeat for each pennant you plan to include in your banner. I included five pencils in mine.

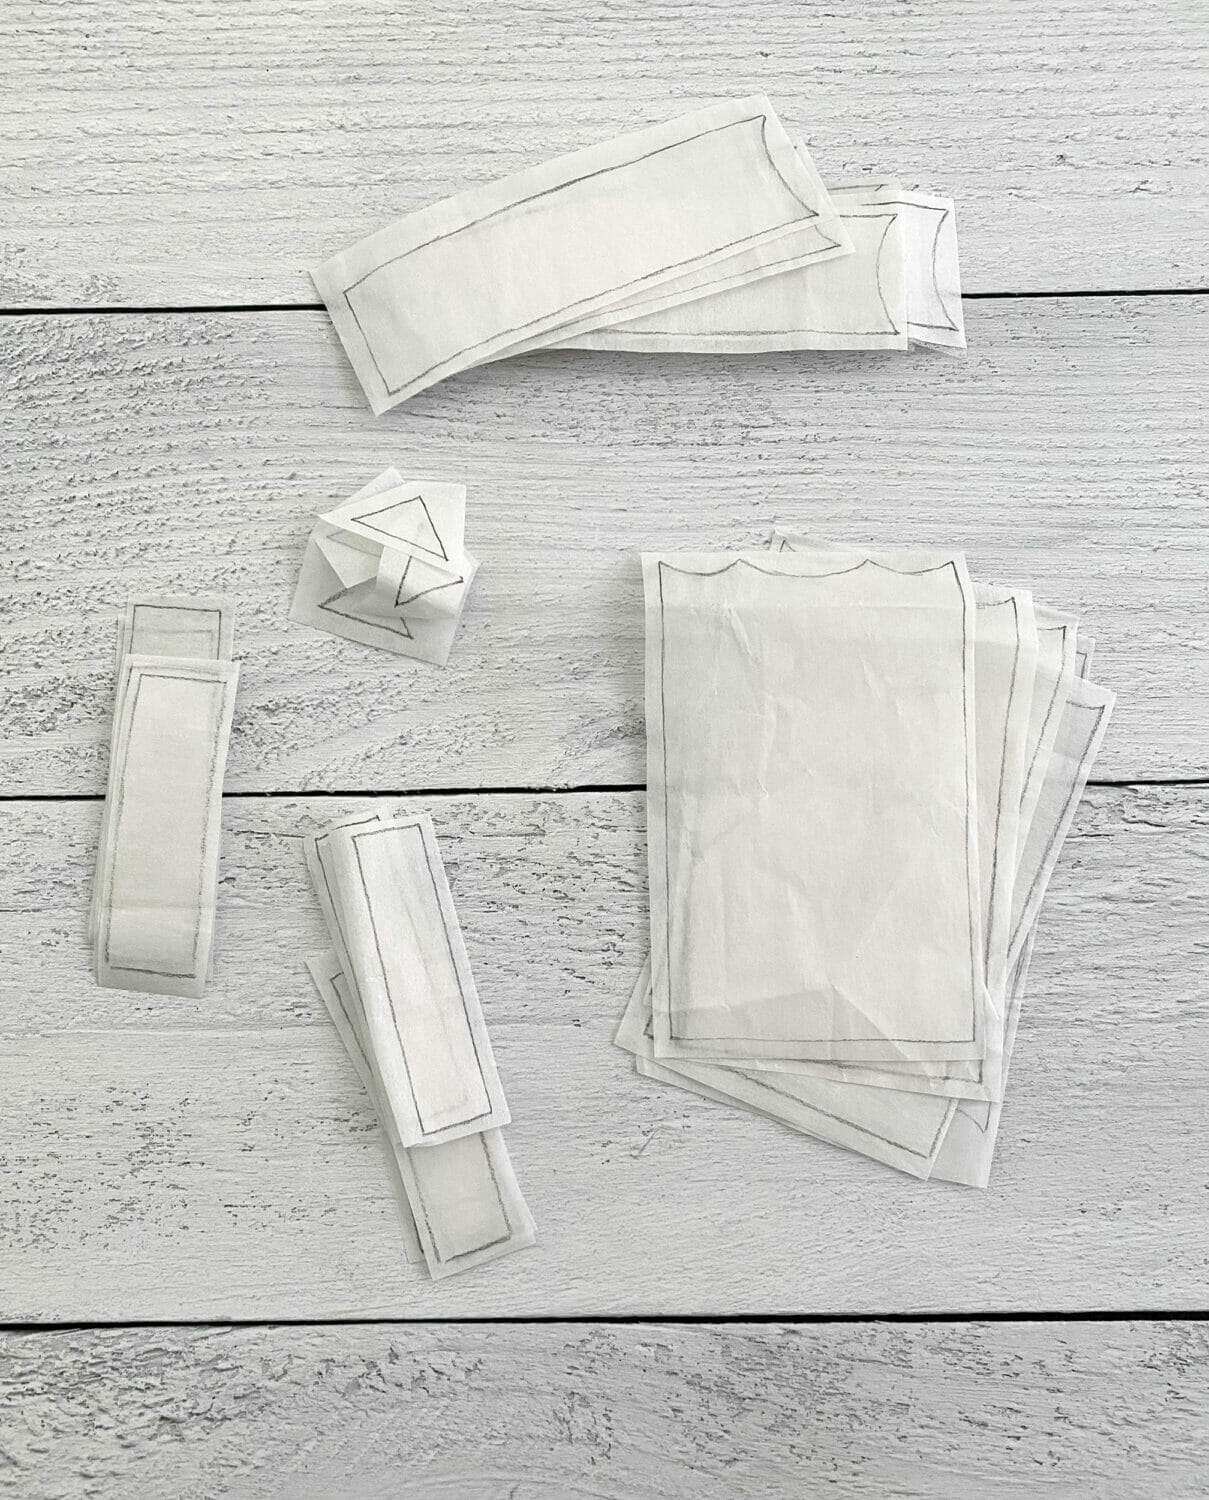
Iron the interfacing pieces to the wrong side of the fabric scraps. Then cut around the pattern pieces along the pattern lines.
Step Two: Appliqué the fabric onto the felt pencils to create the pennants.
Peel back the paper backing on the the fusible web interfacing and iron the fabric pieces onto a felt pencil. I took some time before ironing to mix and match the fabrics and plan out my pencils. * Tip: Iron the yellow pieces of fabric together first.
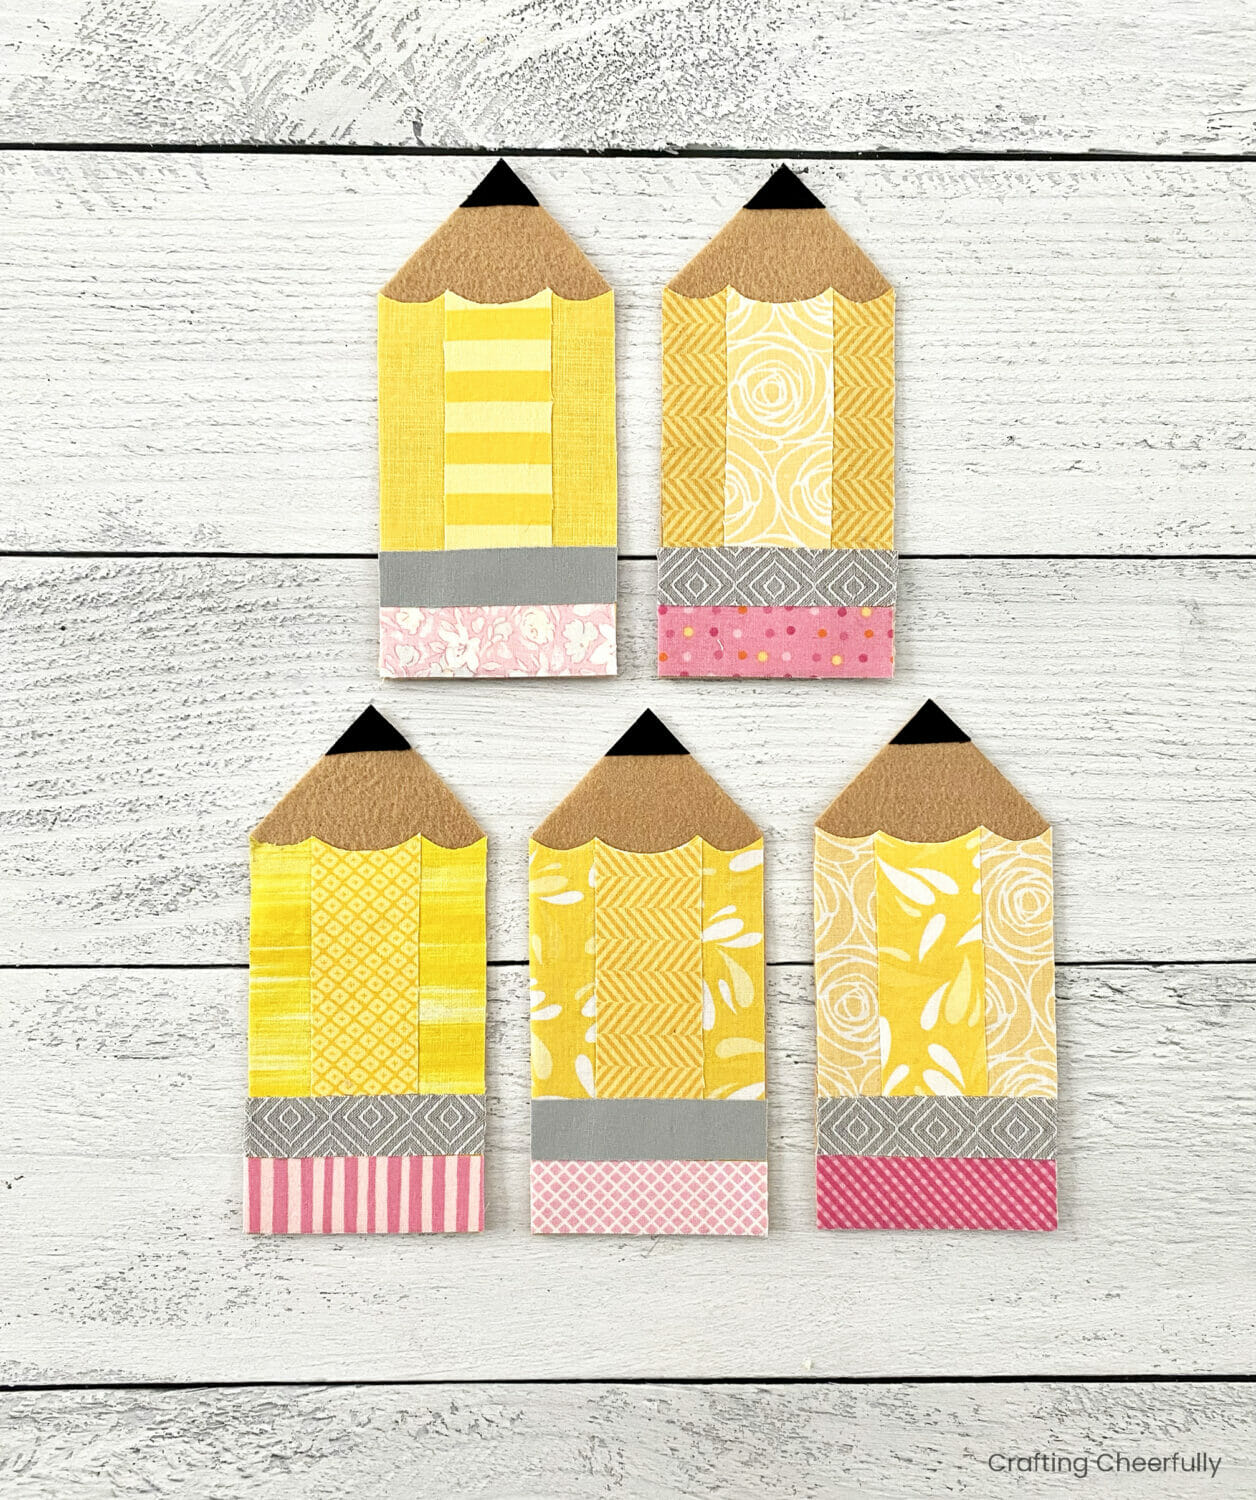
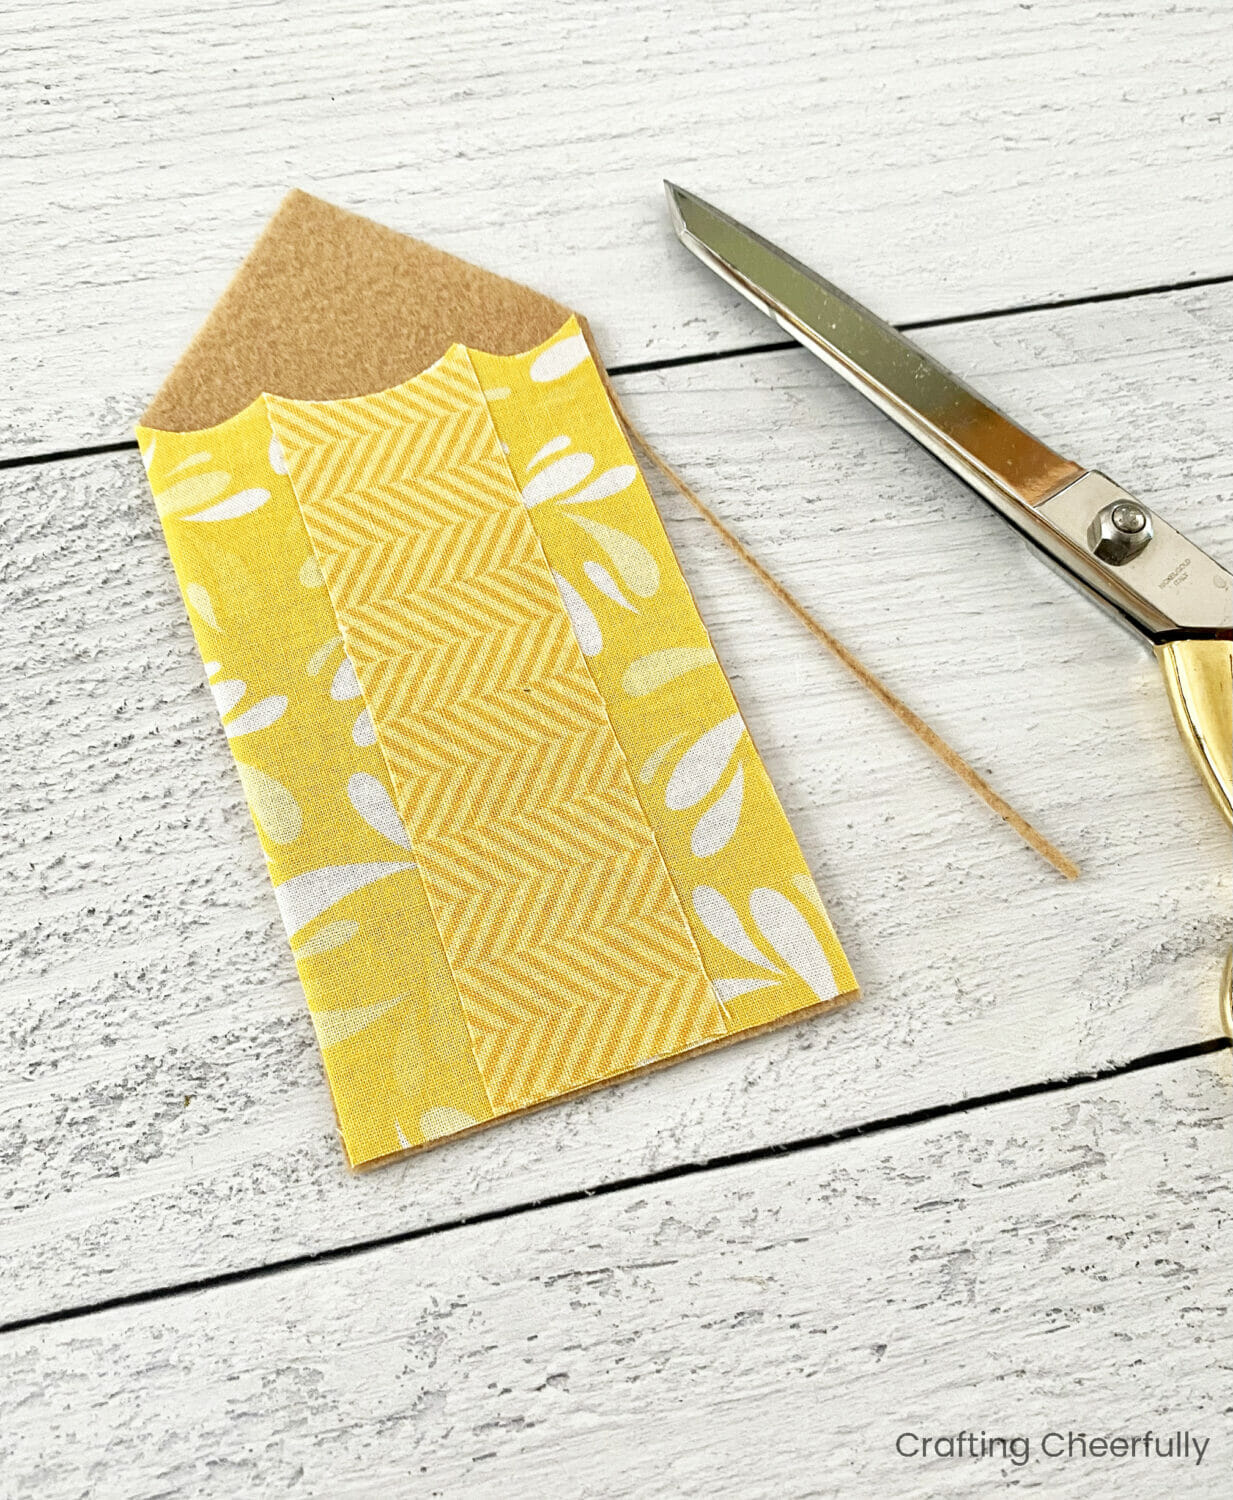
If the fabric and felt do not line up exactly, trim away any excess so they are even.
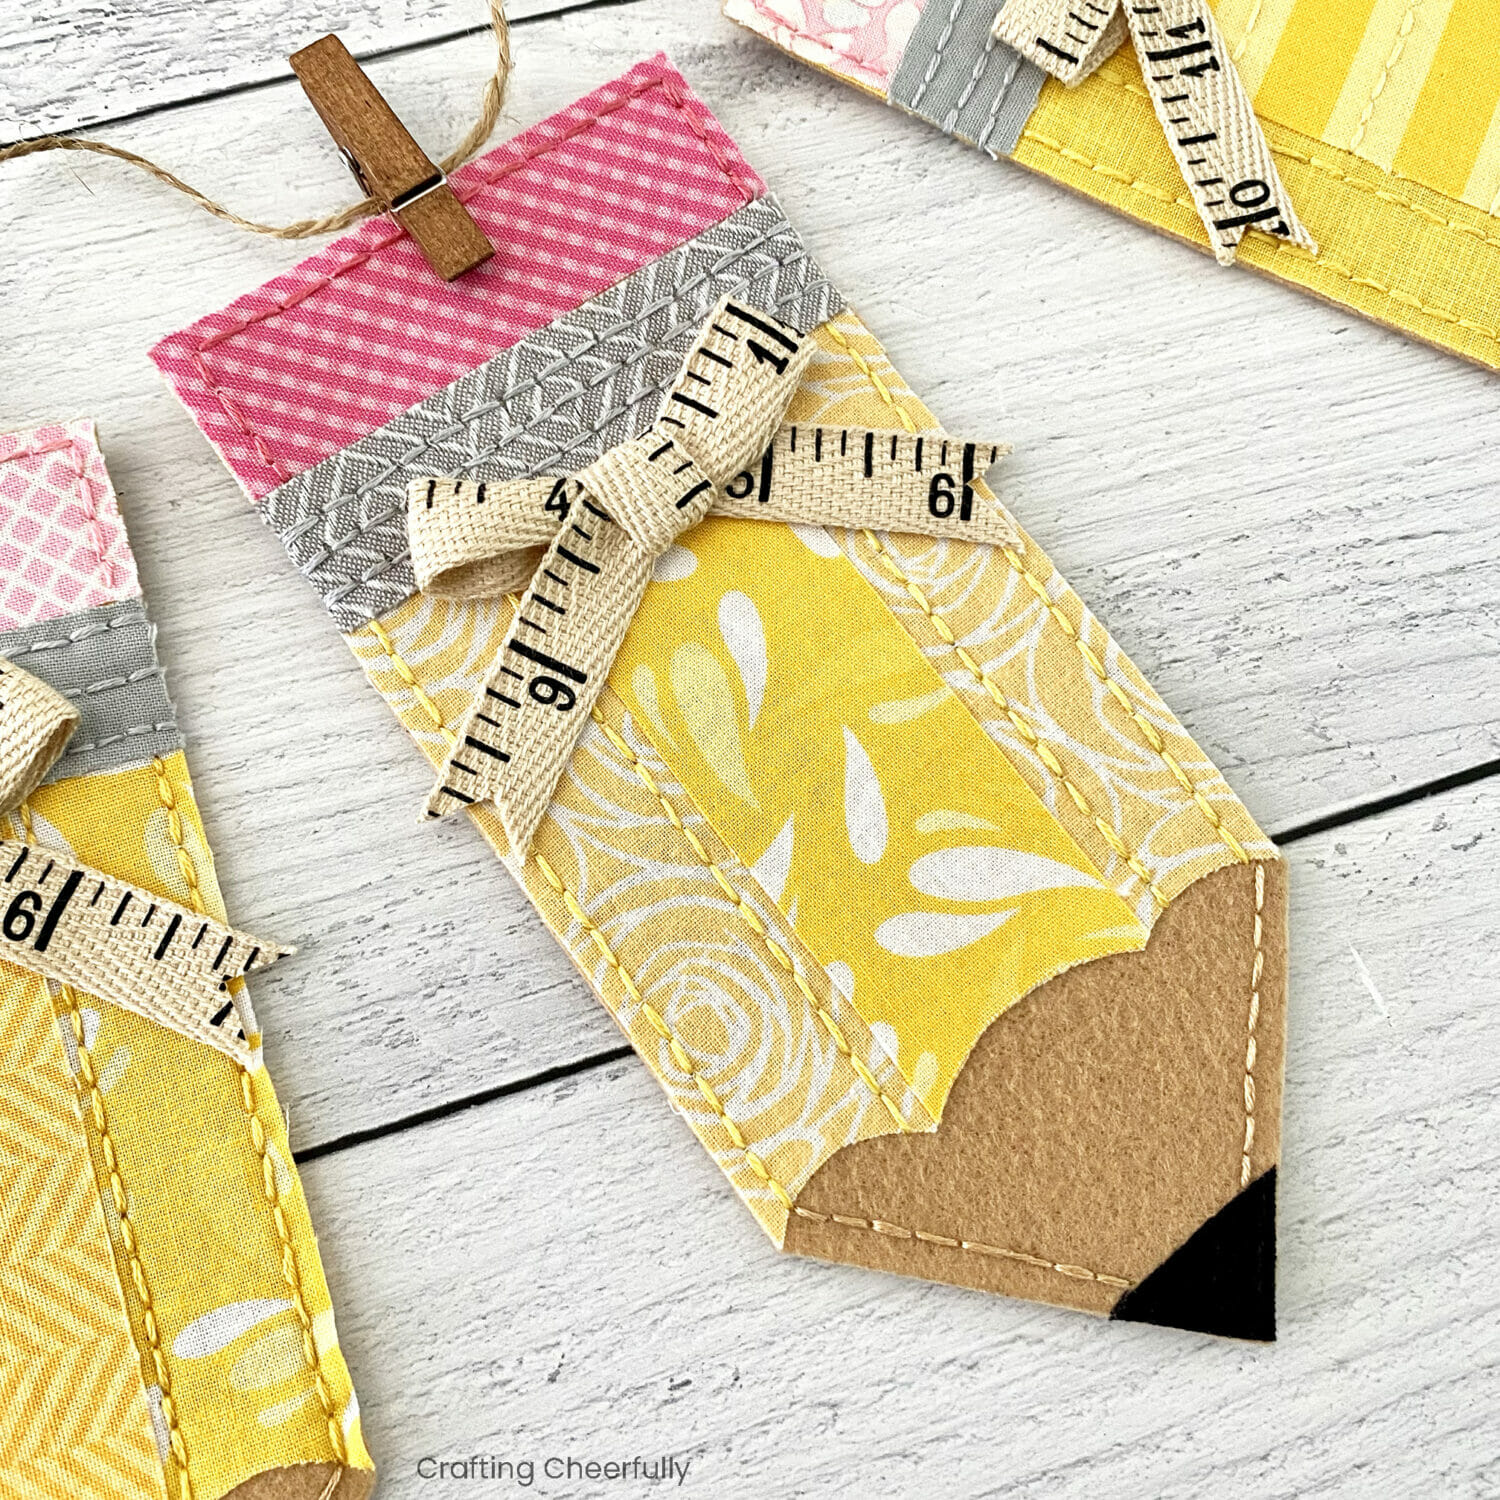
Step Three: Embroider the pencil pennants with embroidery floss.
Use simple embroidery stitches like the running stitch or backstitch to embroider the pencils. I used a ruler and pencil to lightly draw a stitch lines I could follow. My lines were 1/8″ from the edges of the pencil. This really helped to keep me on track. You can get creative and add whatever embroidery lines you’d like. I like to be consistent, so whatever lines I decide to do on my first pennant, I repeat on all of them.

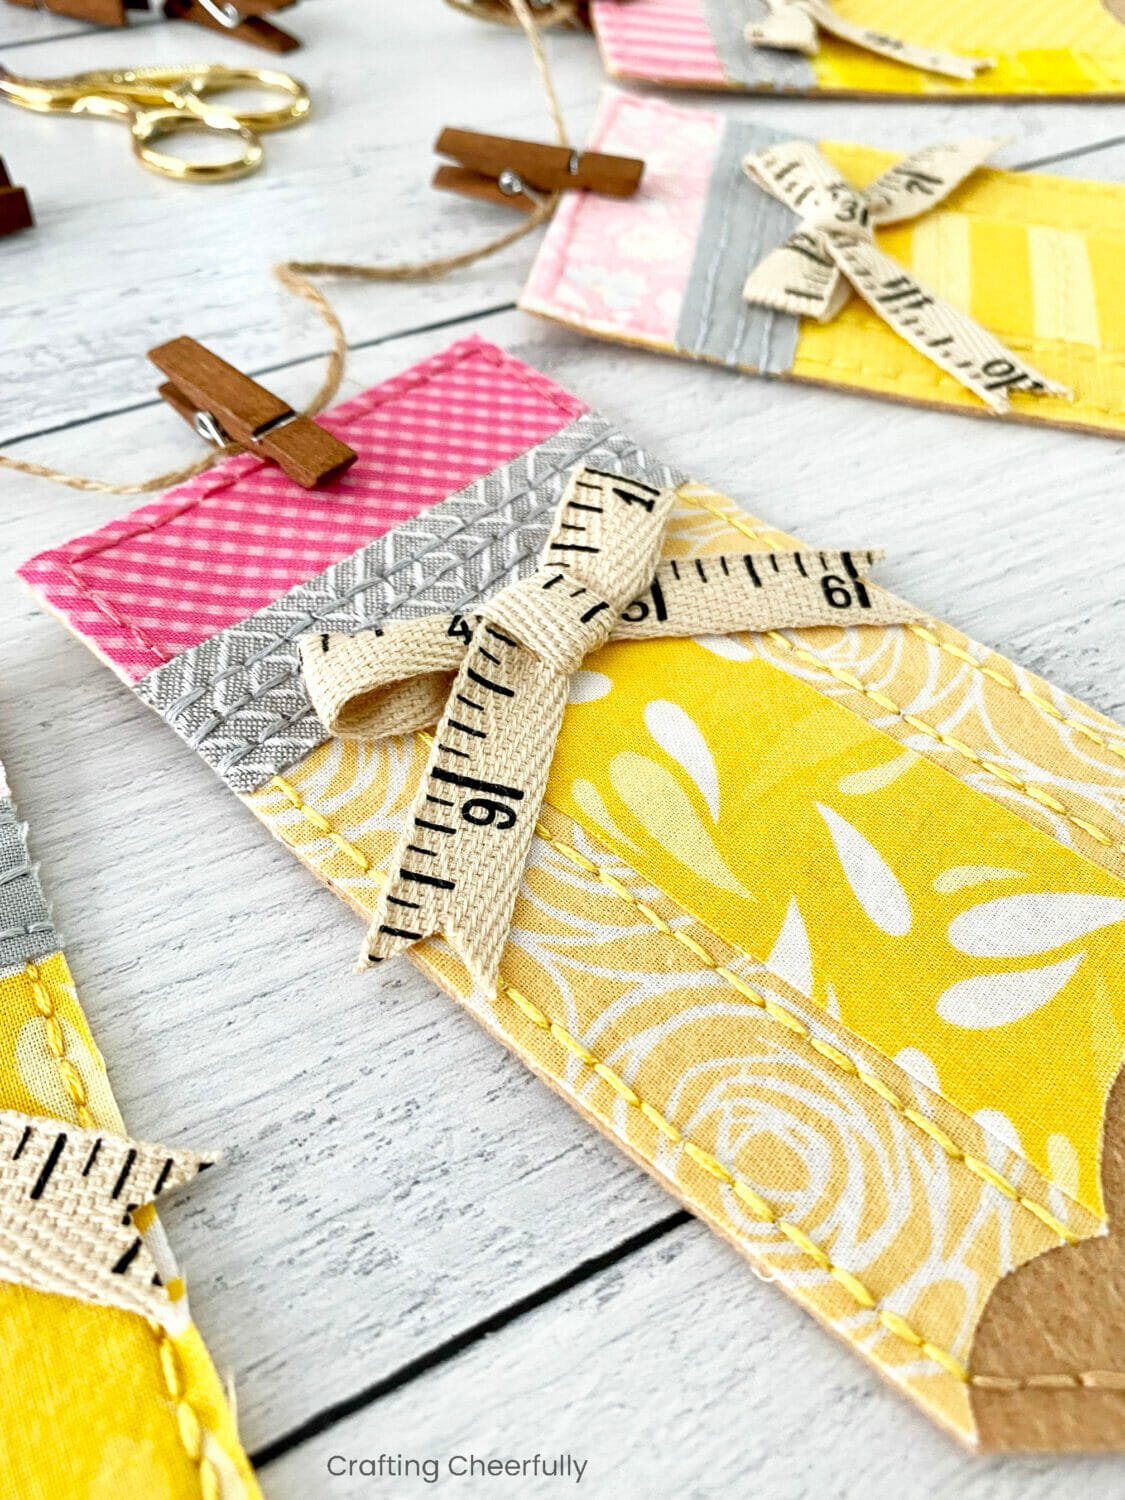
Step Four: Add a cute bow to the front of the pencil pennants.
I added a bow using ruler ribbon and stitched it on with thread.
The pencil pennants are complete! The tutorial that comes with the pencil template will show you how to back your pencils in case the backs will be visible.

Step Five: String the pennants together using twine and mini clothespins!
I hope you enjoyed this cute banner tutorial for back-to-school! If you are interested in other school-themed crafts, be sure to check out my School Craft Page for more ideas.
How to Download the Pencil Template
The pencil template is now available in my shop along with a detailed picture tutorial (ad-free!). This pattern was originally offered as a limited-time freebie before moving into my shop. Thank you for supporting my small business!