DIY Fabric Fairy Crown
Create a whimsical flower fairy crown using fabric, buttons and ribbon. This sweet crown can be made in any color scheme and is perfect for precut fabric stacks, charm packs or scraps of fabric!
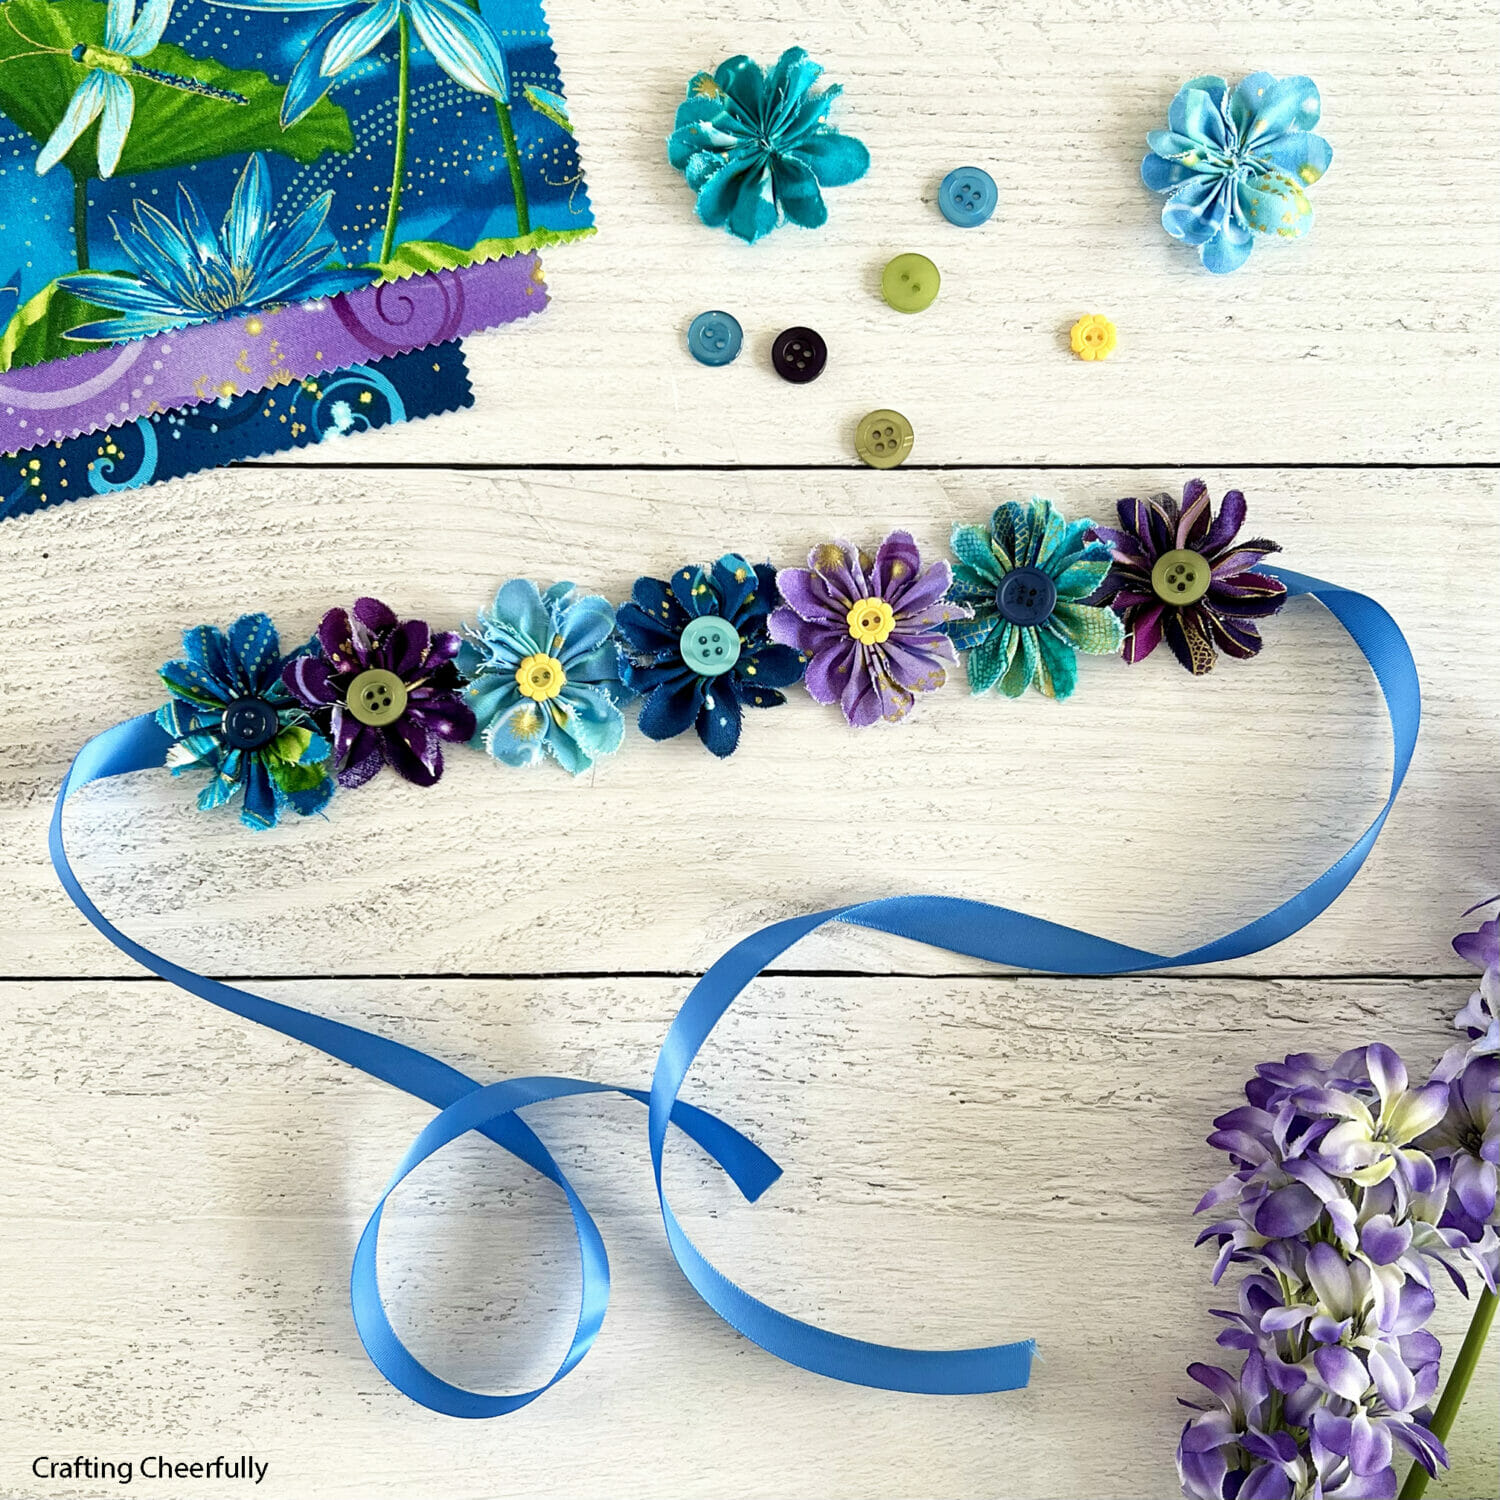
Calling all fairy friends! Today I’m sharing a sweet craft you can make – your very own fairy flower crown. This fairy crown is made from fabric, buttons and ribbon. It is easily customizable and can be made in any color palette of your choice.
My daughter loves fairies and I wanted to make her a flower crown for dress up. The flowers are simple to make with just a little bit of simple hand sewing. The flowers are attached to a length of ribbon to form a sweet crown.
The fairy crown can be tied across the forehead or worn on top of the head. Add as many flowers as you’d like each with a cute button center. I had so much fun making this fairy crown I had to make a matching fairy wand, shown in the picture below.

The fairy crown is perfect for fairy-themed parties, Halloween costumes and more! It makes a cute gift when paired with fairy wings and the matching wand. Below is the tutorial, I hope you have fun making your own fairy flower crown!
How to Make a Fairy Crown
Supplies Needed:
- Fabric – I used fabric from a 10″ Quilt Layer Cake of Benartex Dragonfly Dance by Kanvas Studio. (This JellyRoll has fabric from the same collection but in a different colorway.
- This project is also Charm Pack and fabric scrap friendly!
- 5/8″ Ribbon
- Buttons
- Needle and thread
- Scissors
- Hot Glue
- Ruler and Pencil
Please Note: The long length of ribbon and buttons may be a safety hazard to young children. Please use your own judgement on what is safe for your child. You could create a very similar fairy crown using a headband instead of ribbon. Skip the buttons or sew them on with strong thread.
Cutting the Fabric
Step One: Cut a strip of fabric for each flower that measures 10″ long and 1″ wide. My crown included seven flowers, so I cut fabric for seven flowers, each from a different piece of fabric. If using a charm pack, cut two 5″ strips of fabric for each flower that are 1″ wide.
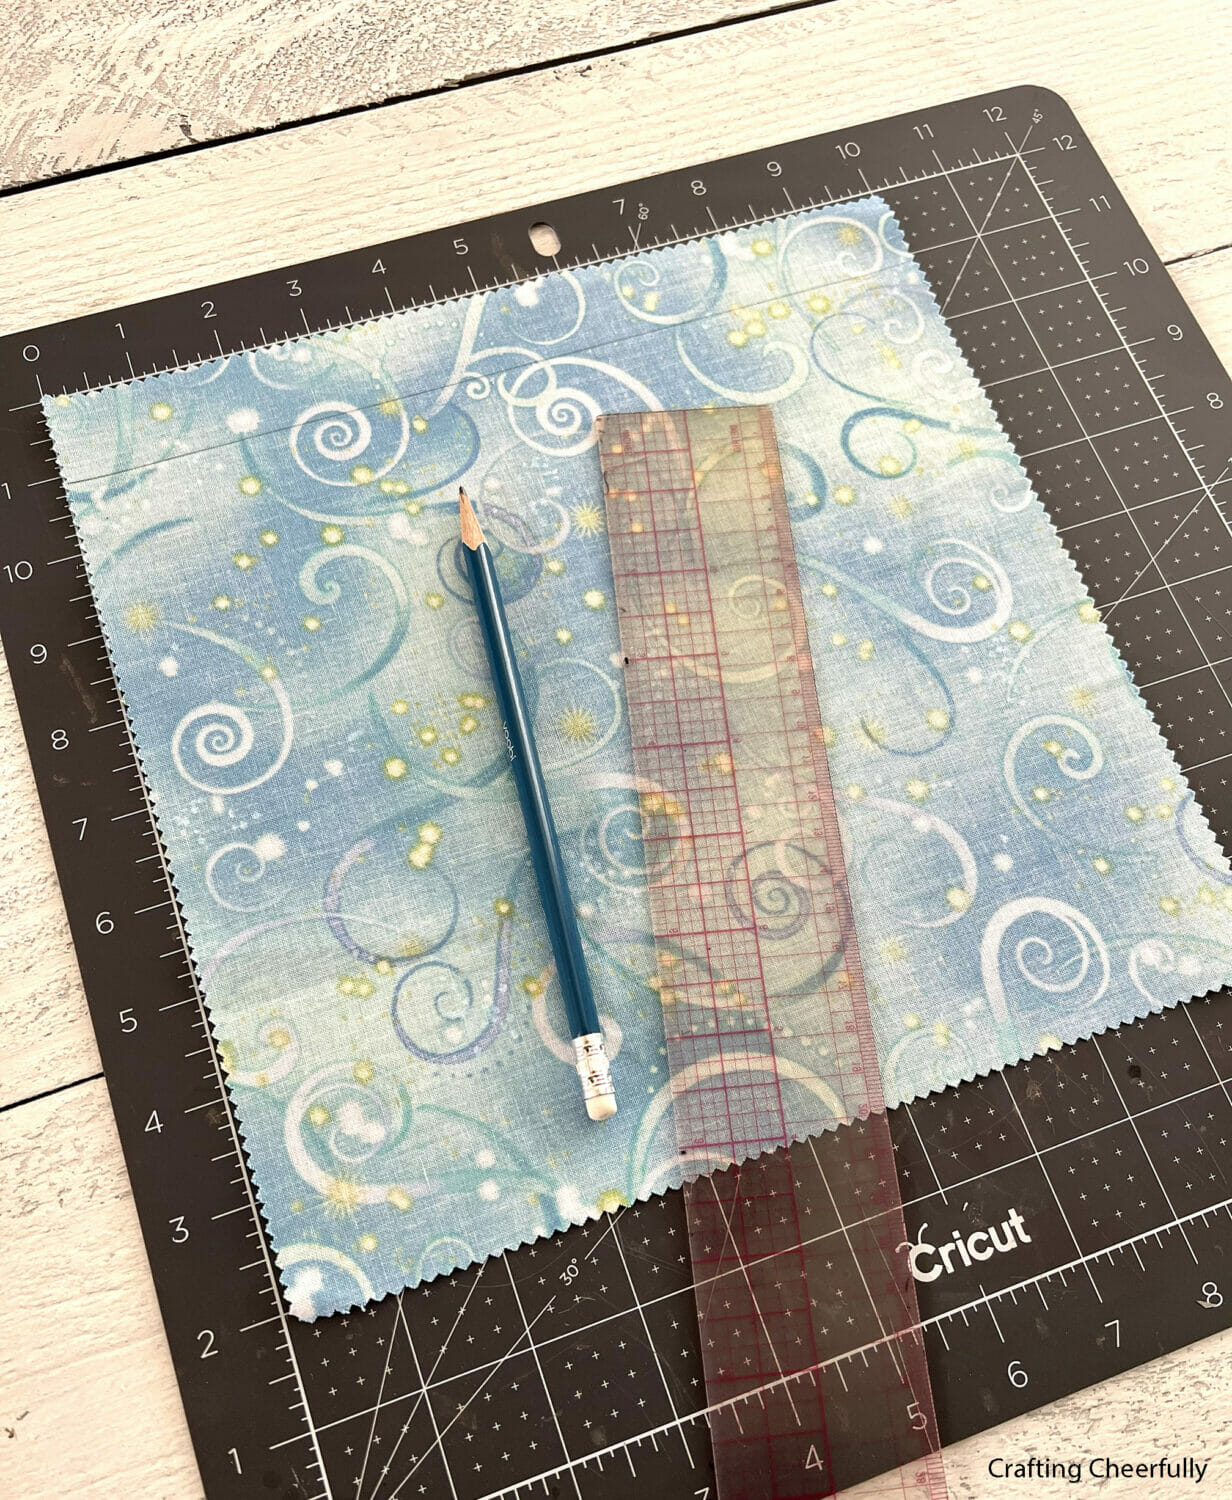


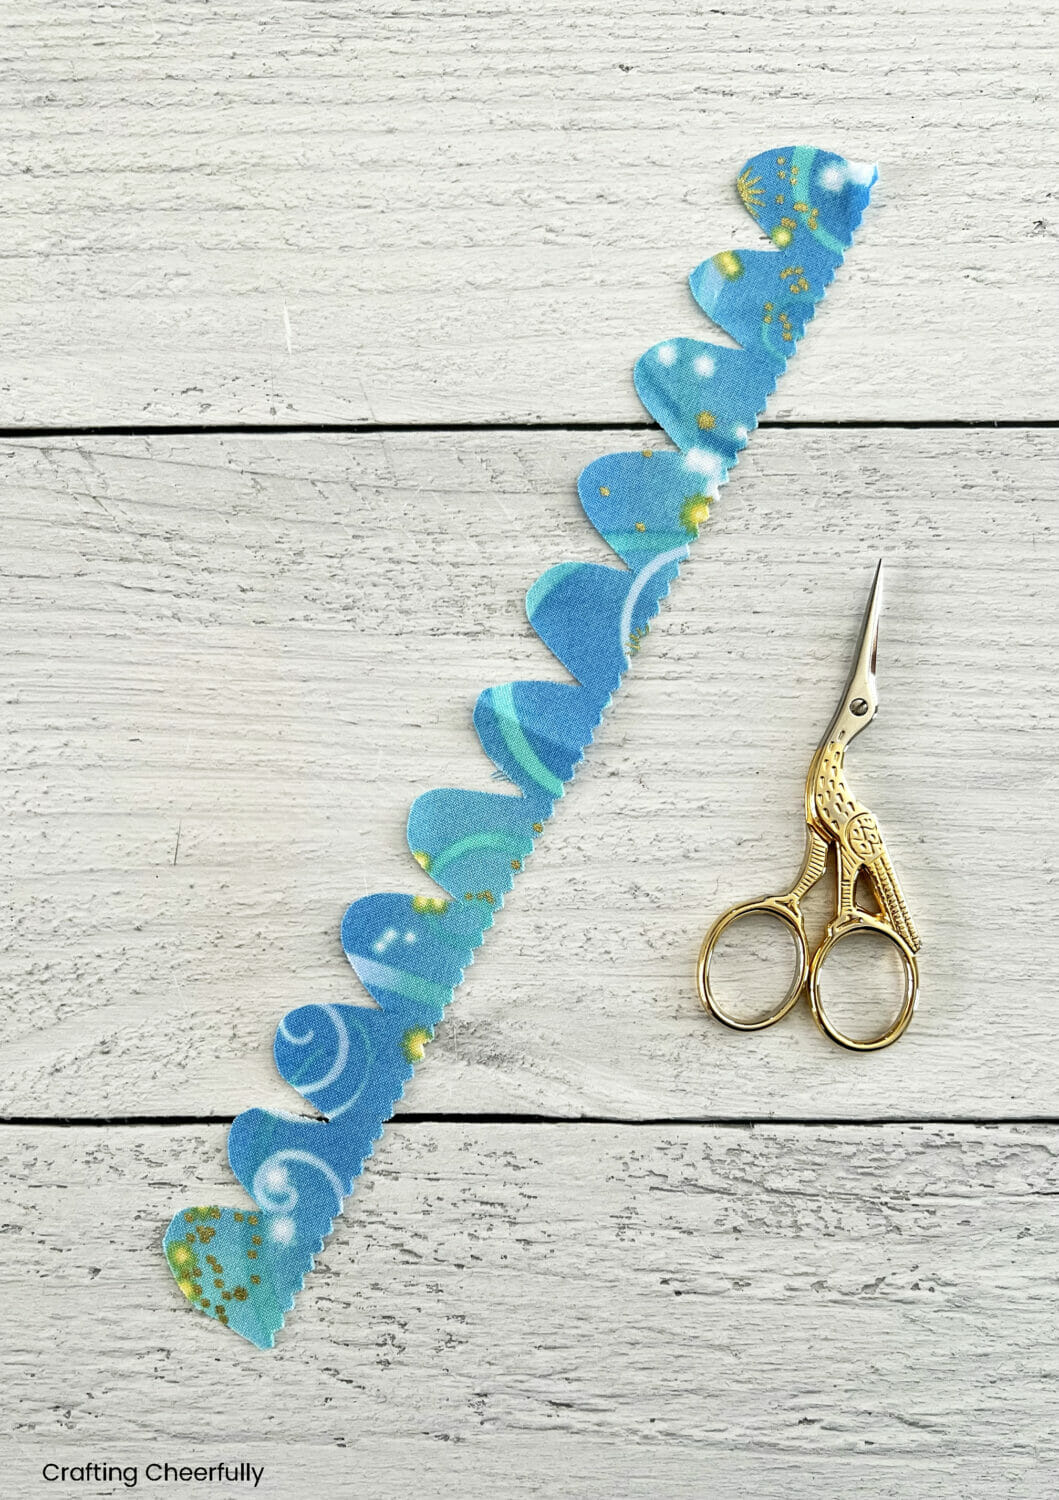
Step Two: Fold the strip of fabric in half and scallop the edges. I was able to fit six scallops on my folded ribbon. It’s okay if the scallops aren’t all perfectly even, just try to keep them around the same size. If it helps you can lightly draw the scalloped edge with pencil but don’t worry too much. Flowers in nature aren’t perfect!

Sewing the Fabric Flower
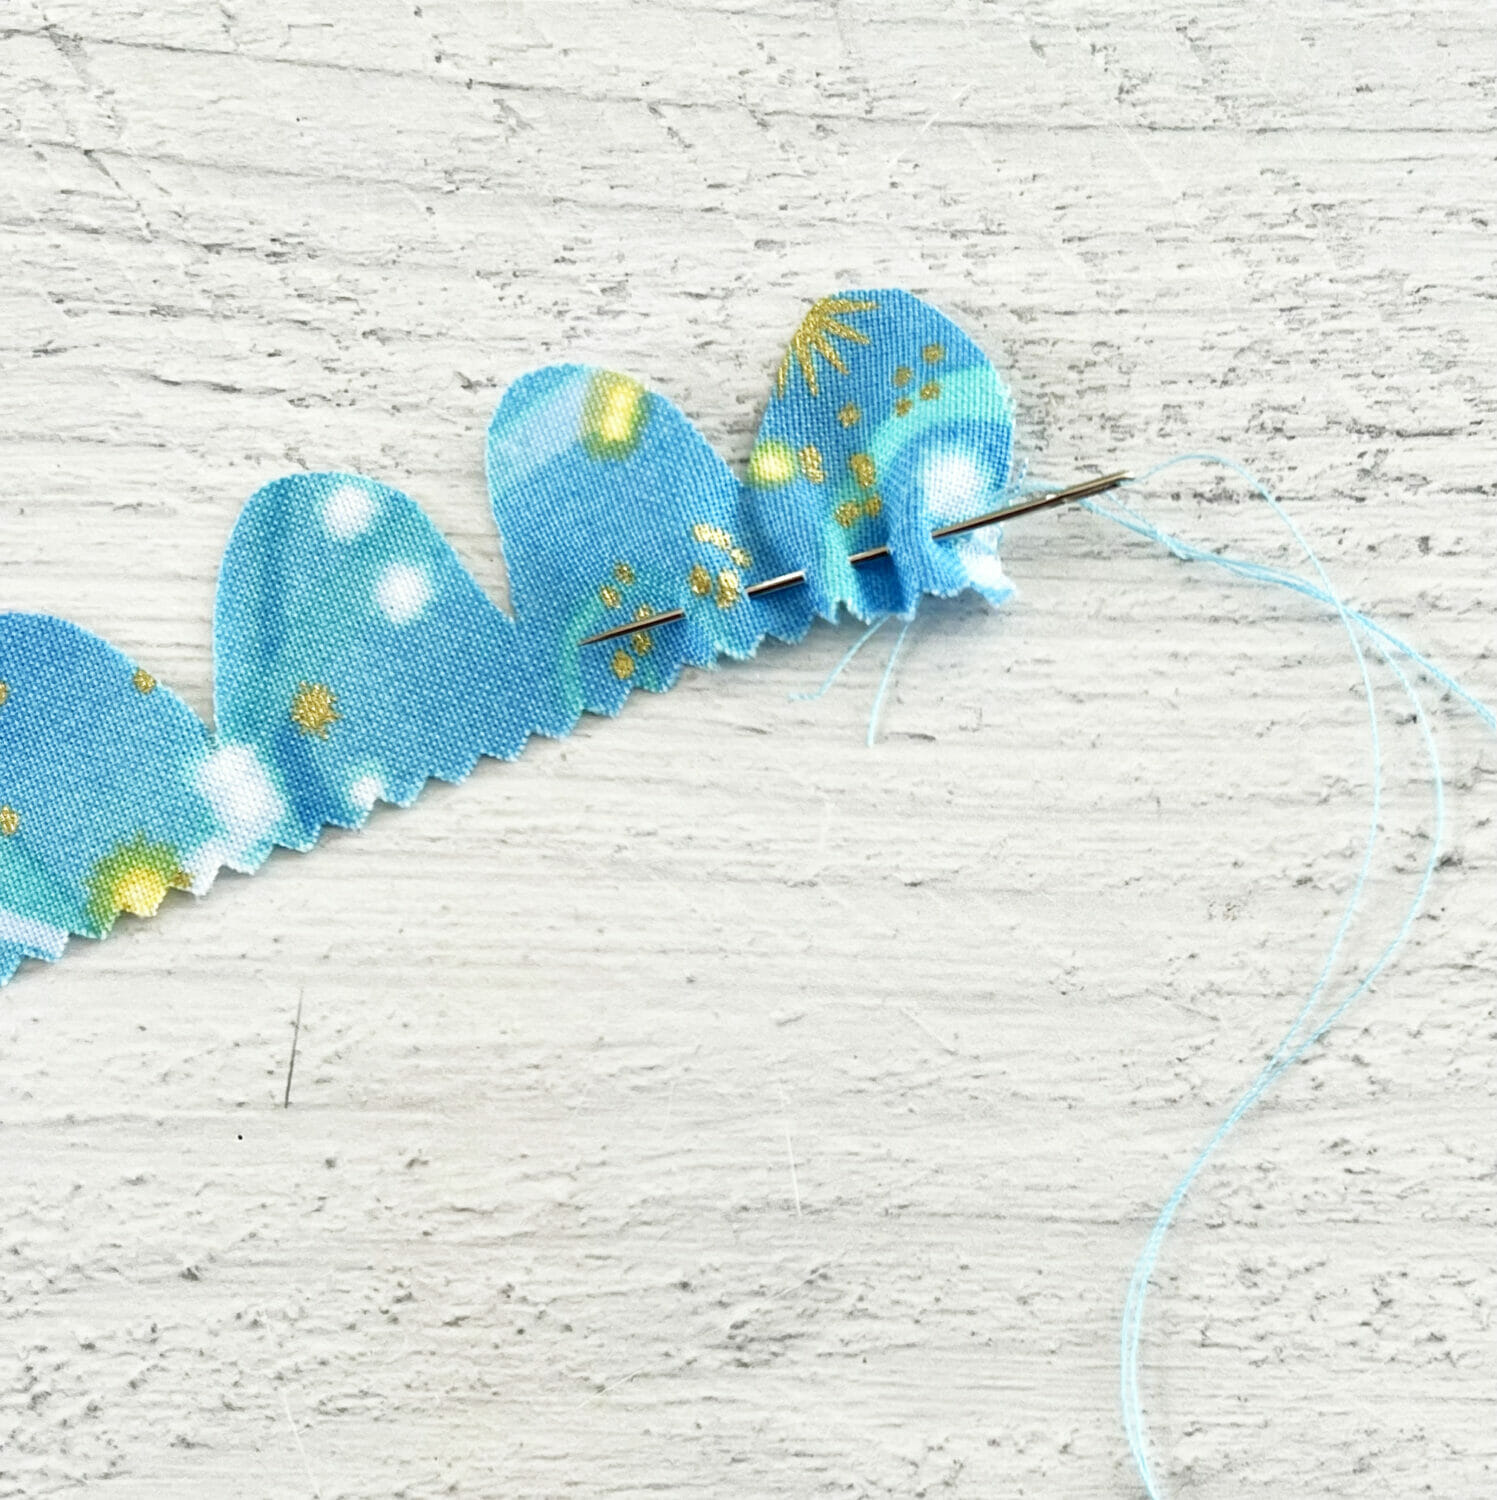
Step Three: Use a needle and thread to gather the straight edge of the fabric to form the flower. Secure your thread on one end of the fabric with a knot, then run the needle along the bottom edge using a simple running stitch. Pull the fabric as you go letting it gather and start to form a flower.

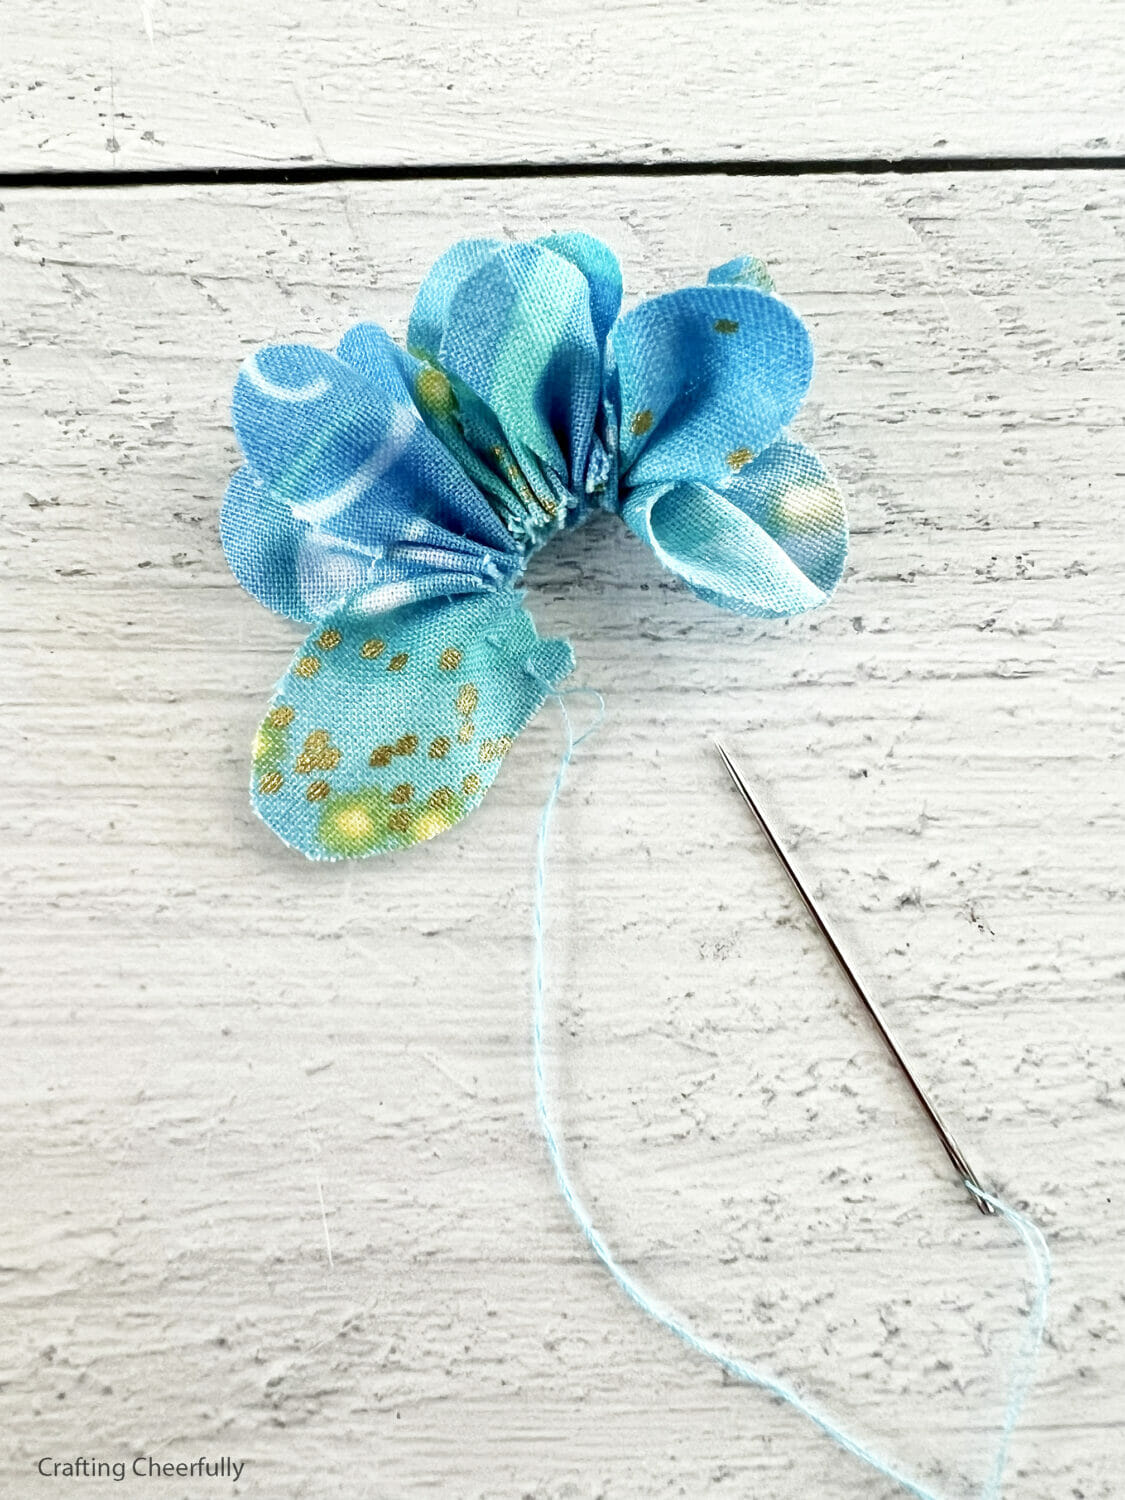
Secure the other end of the thread at the center of the flower then use your hands to flatten the flower out.
If using a charm pack, when you come to the end of the first piece of fabric, continue your stitching to the second piece of fabric. No need to knot it or sew the strips together before gathering them.
You can leave the edges of the petals as is, just lightly frayed, or rub the flower on your shirt sleeve or pants leg to rough up the edges even more. Below you can see the difference.
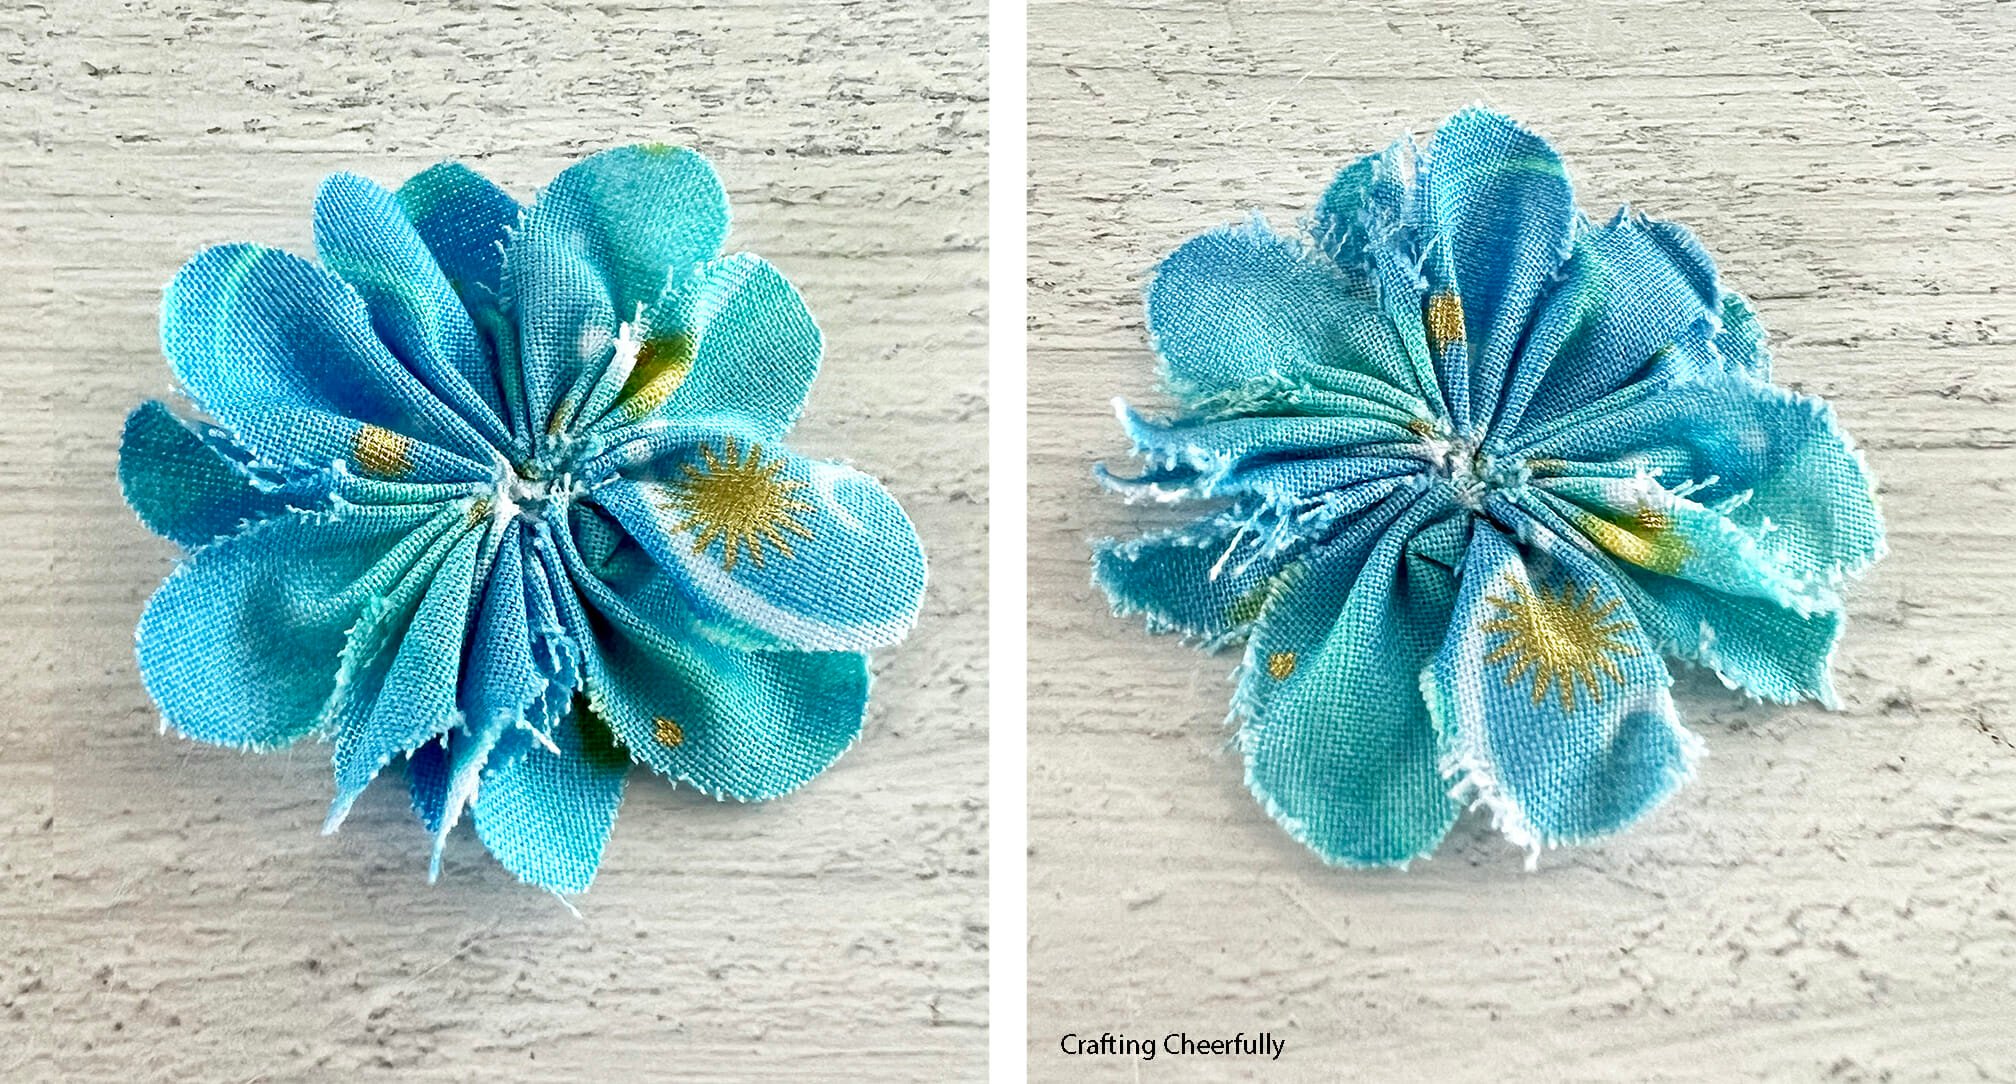
Repeat the process until you have enough flowers for your crown. I originally made 8 flowers but decided to just use 7 on the finished crown.

Assembling the Fairy Crown
Step Four: Attach the flowers to a piece of ribbon. You should now have your fabric flowers, buttons and length of ribbon. Cut the ribbon so it will go around the head with enough leftover to tie into a pretty bow.
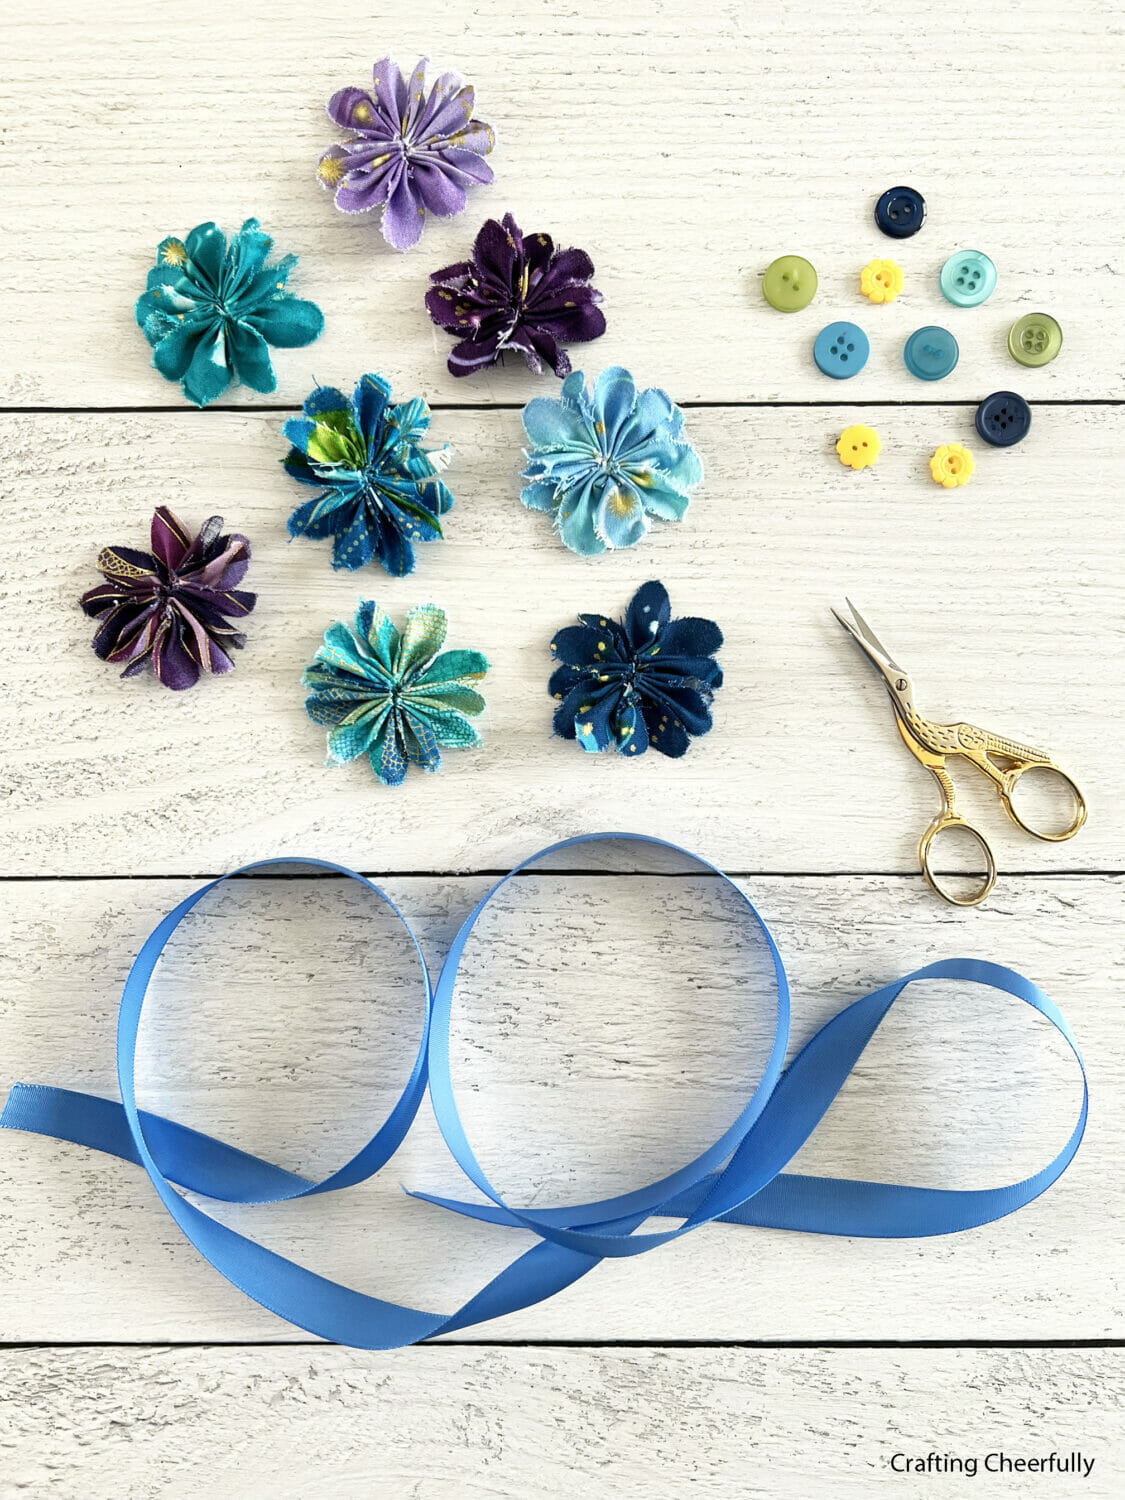
Glue or hand-sew the flowers to the ribbon. Start by finding the center of your ribbon, attach the first flower to this center point. From there add the rest of the flowers placing them so the edges of their petals slightly overlap.

Step Five: Add a cute button to the center of each flower. I tried picking buttons in the same color palette but also wanted them to be visible on each flower so it took a little playing around. Glue or hand-sew the buttons to the center of the flowers.


The fairy flower crown is finished and it turned out SO sweet! It looks so beautiful worn and is nice and soft. The crown would also look lovely in rainbow colors or in more earthly, woodland colors.

Do you love fairies as much as we do!? Check out a few of my other fairy crafts on my Fairy Craft Page! The fairy decoder wheel is a family favorite and we love our little fairy house planter.


