Gingerbread House Pull Card
Create an interactive gingerbread house pull card for the holidays! Pull the roof of the gingerbread house up, to reveal a fun surprise!
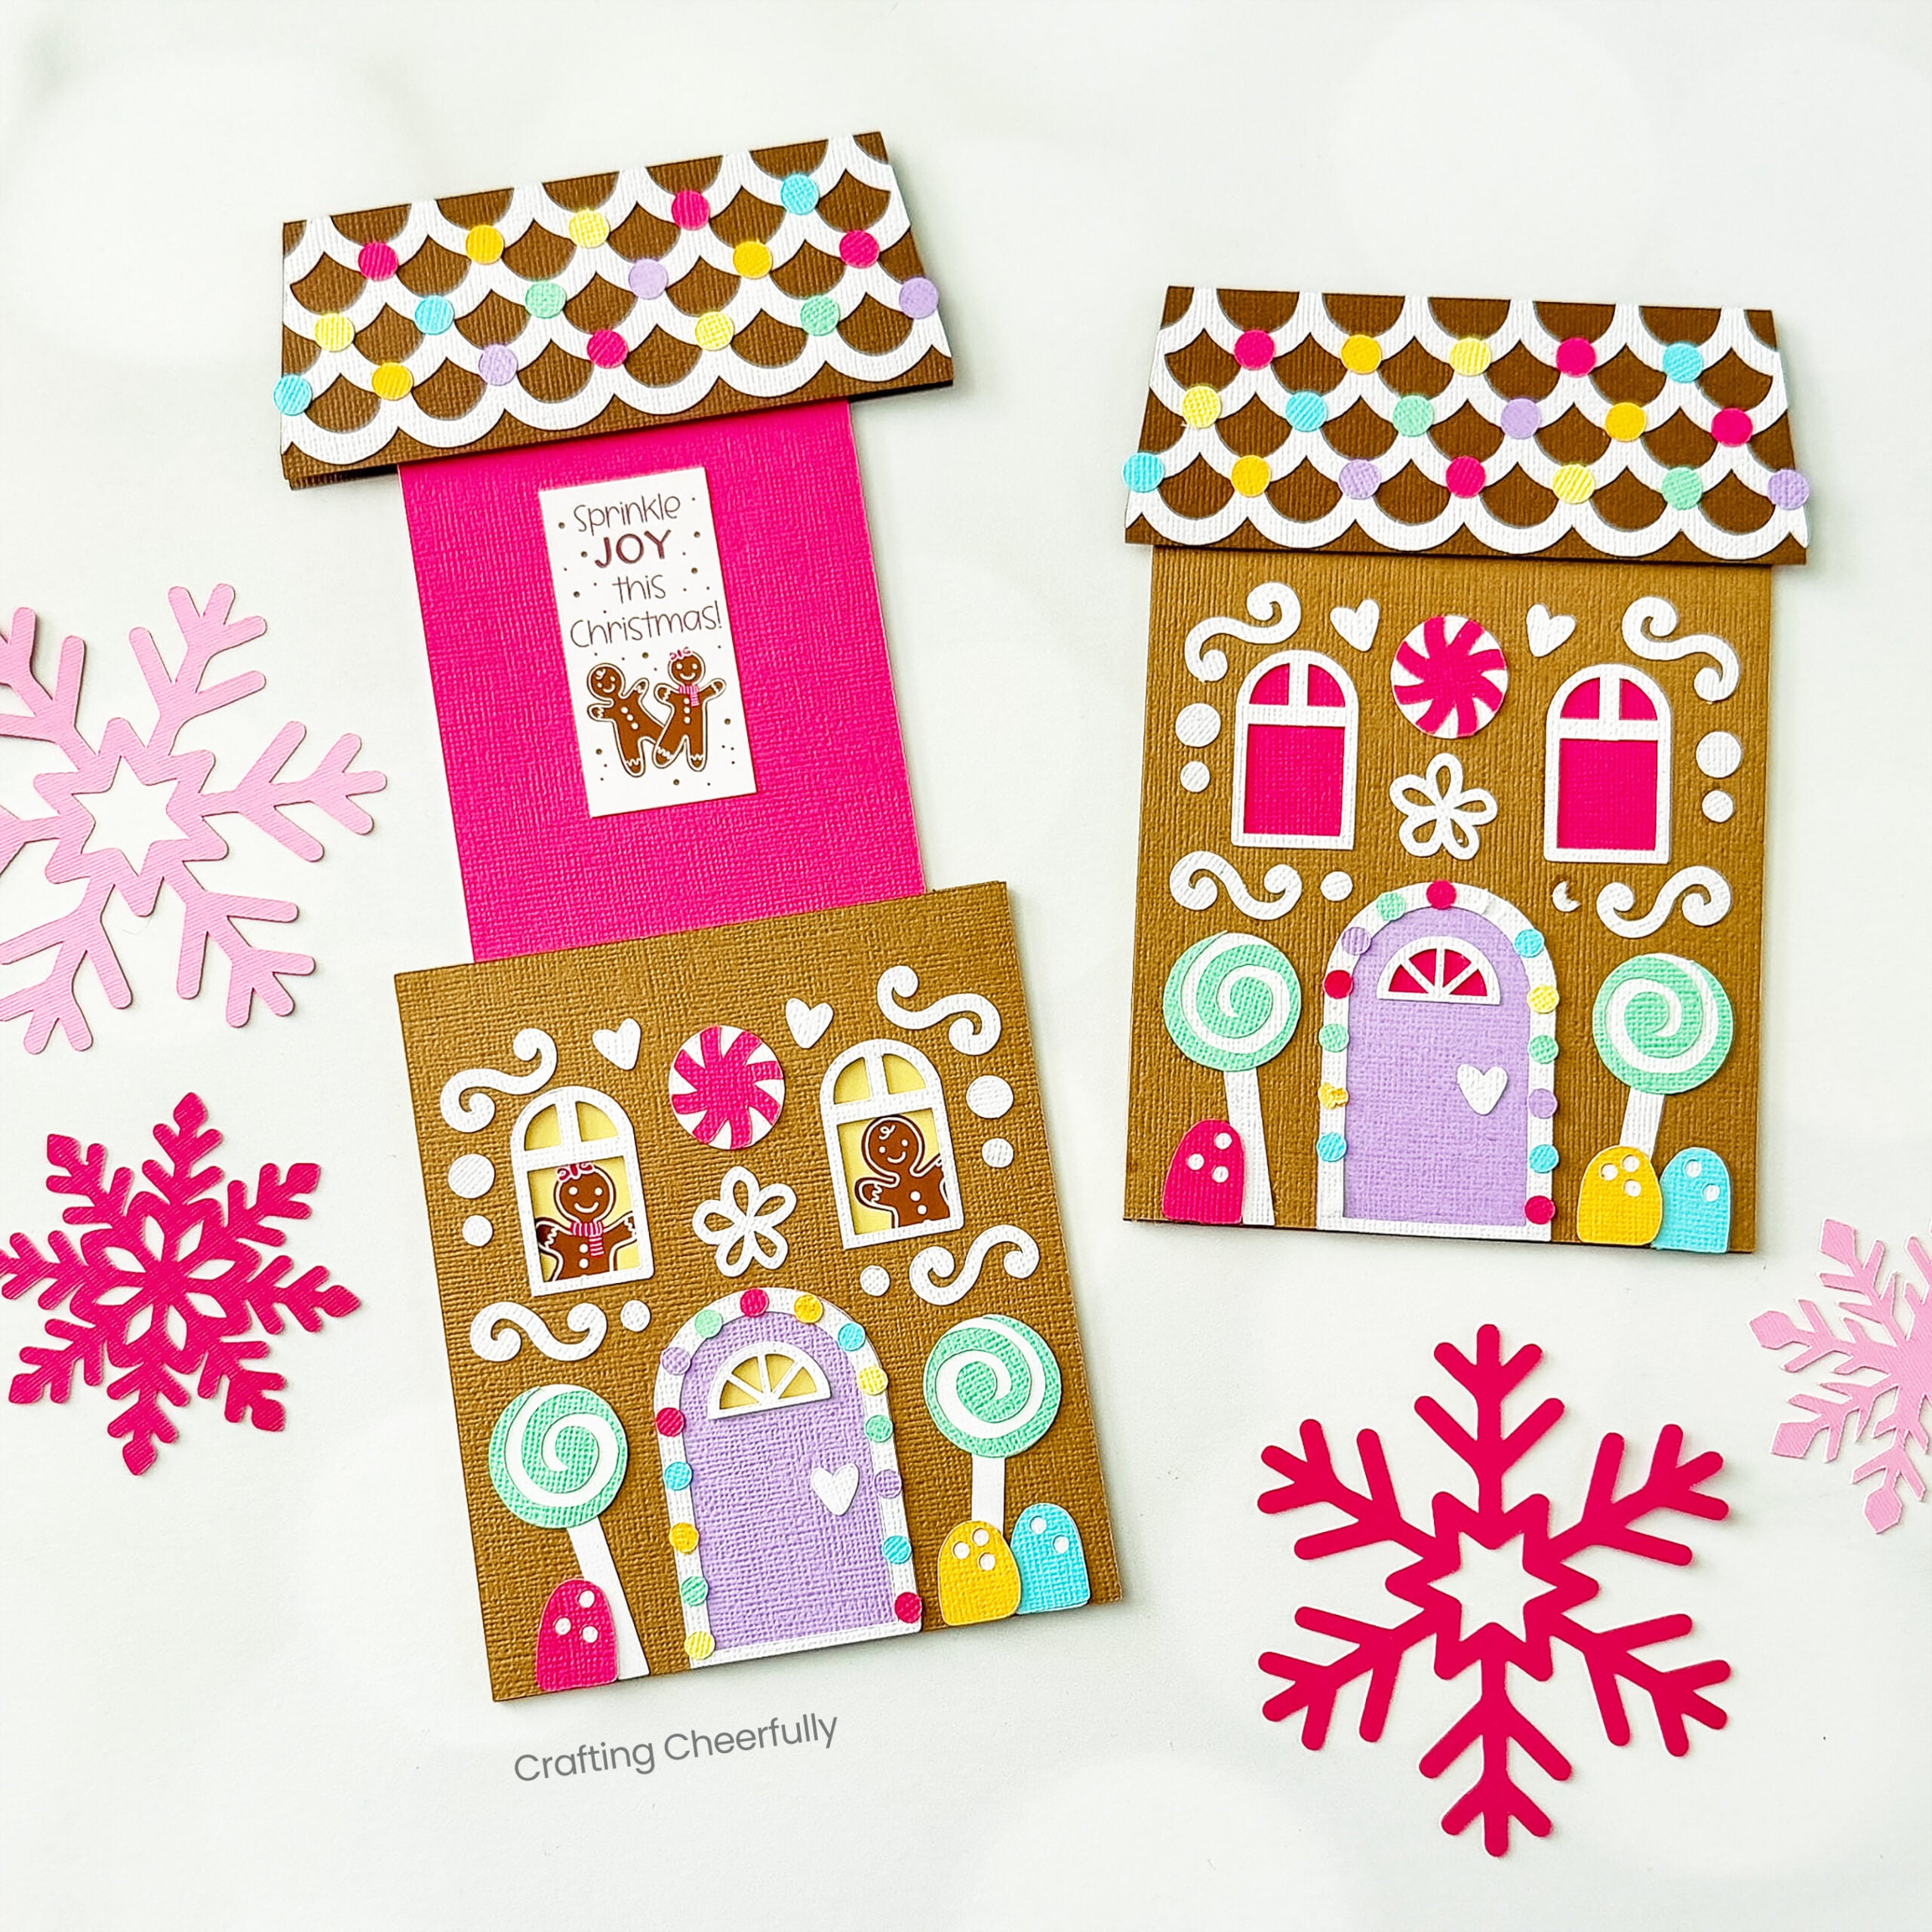
Hello Crafty Friends and welcome to Day Twelve of my annual series 12 Days of Holiday Crafts! For today’s final craft I’m sharing this colorful and festive gingerbread house pull card! I have wanted to make this for a few years now and love how it turned out.
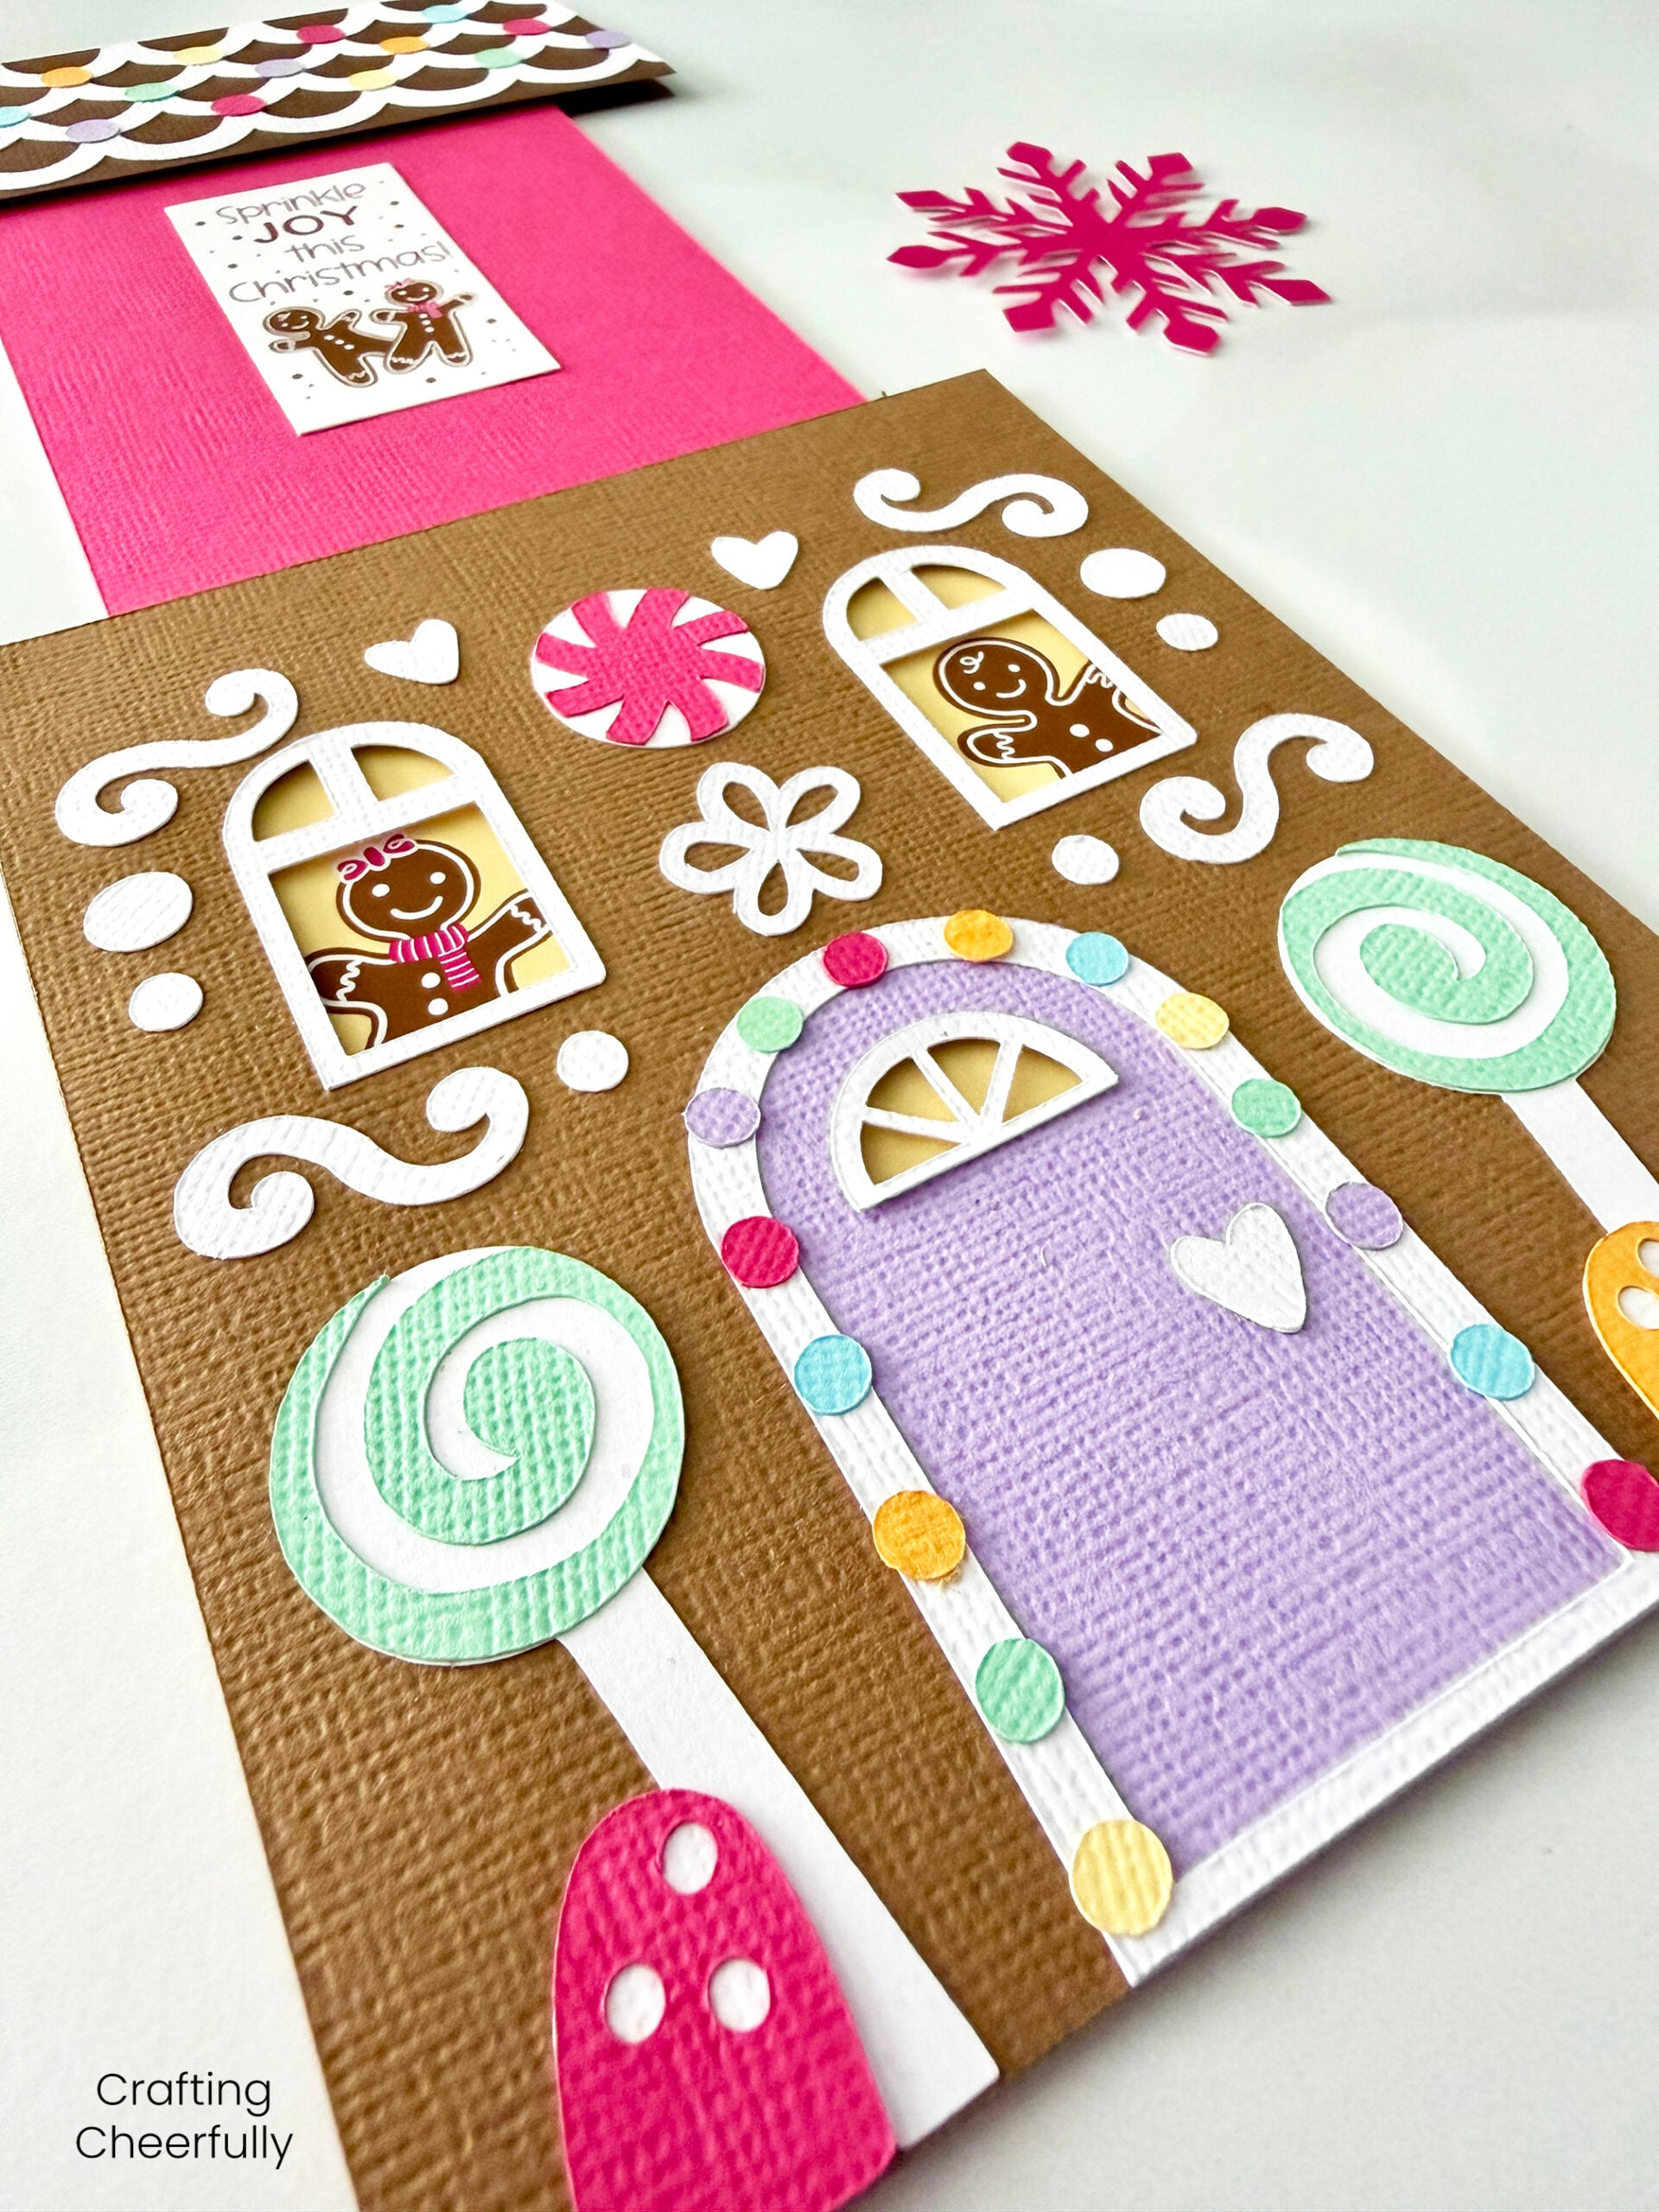
When the roof of the gingerbread card is pulled up, two cute gingerbread characters are revealed smiling and waving in the windows. There is also a festive greeting revealed on the insert. This card only takes a few supplies to make, like cardstock, double-sided tape and foam tape.
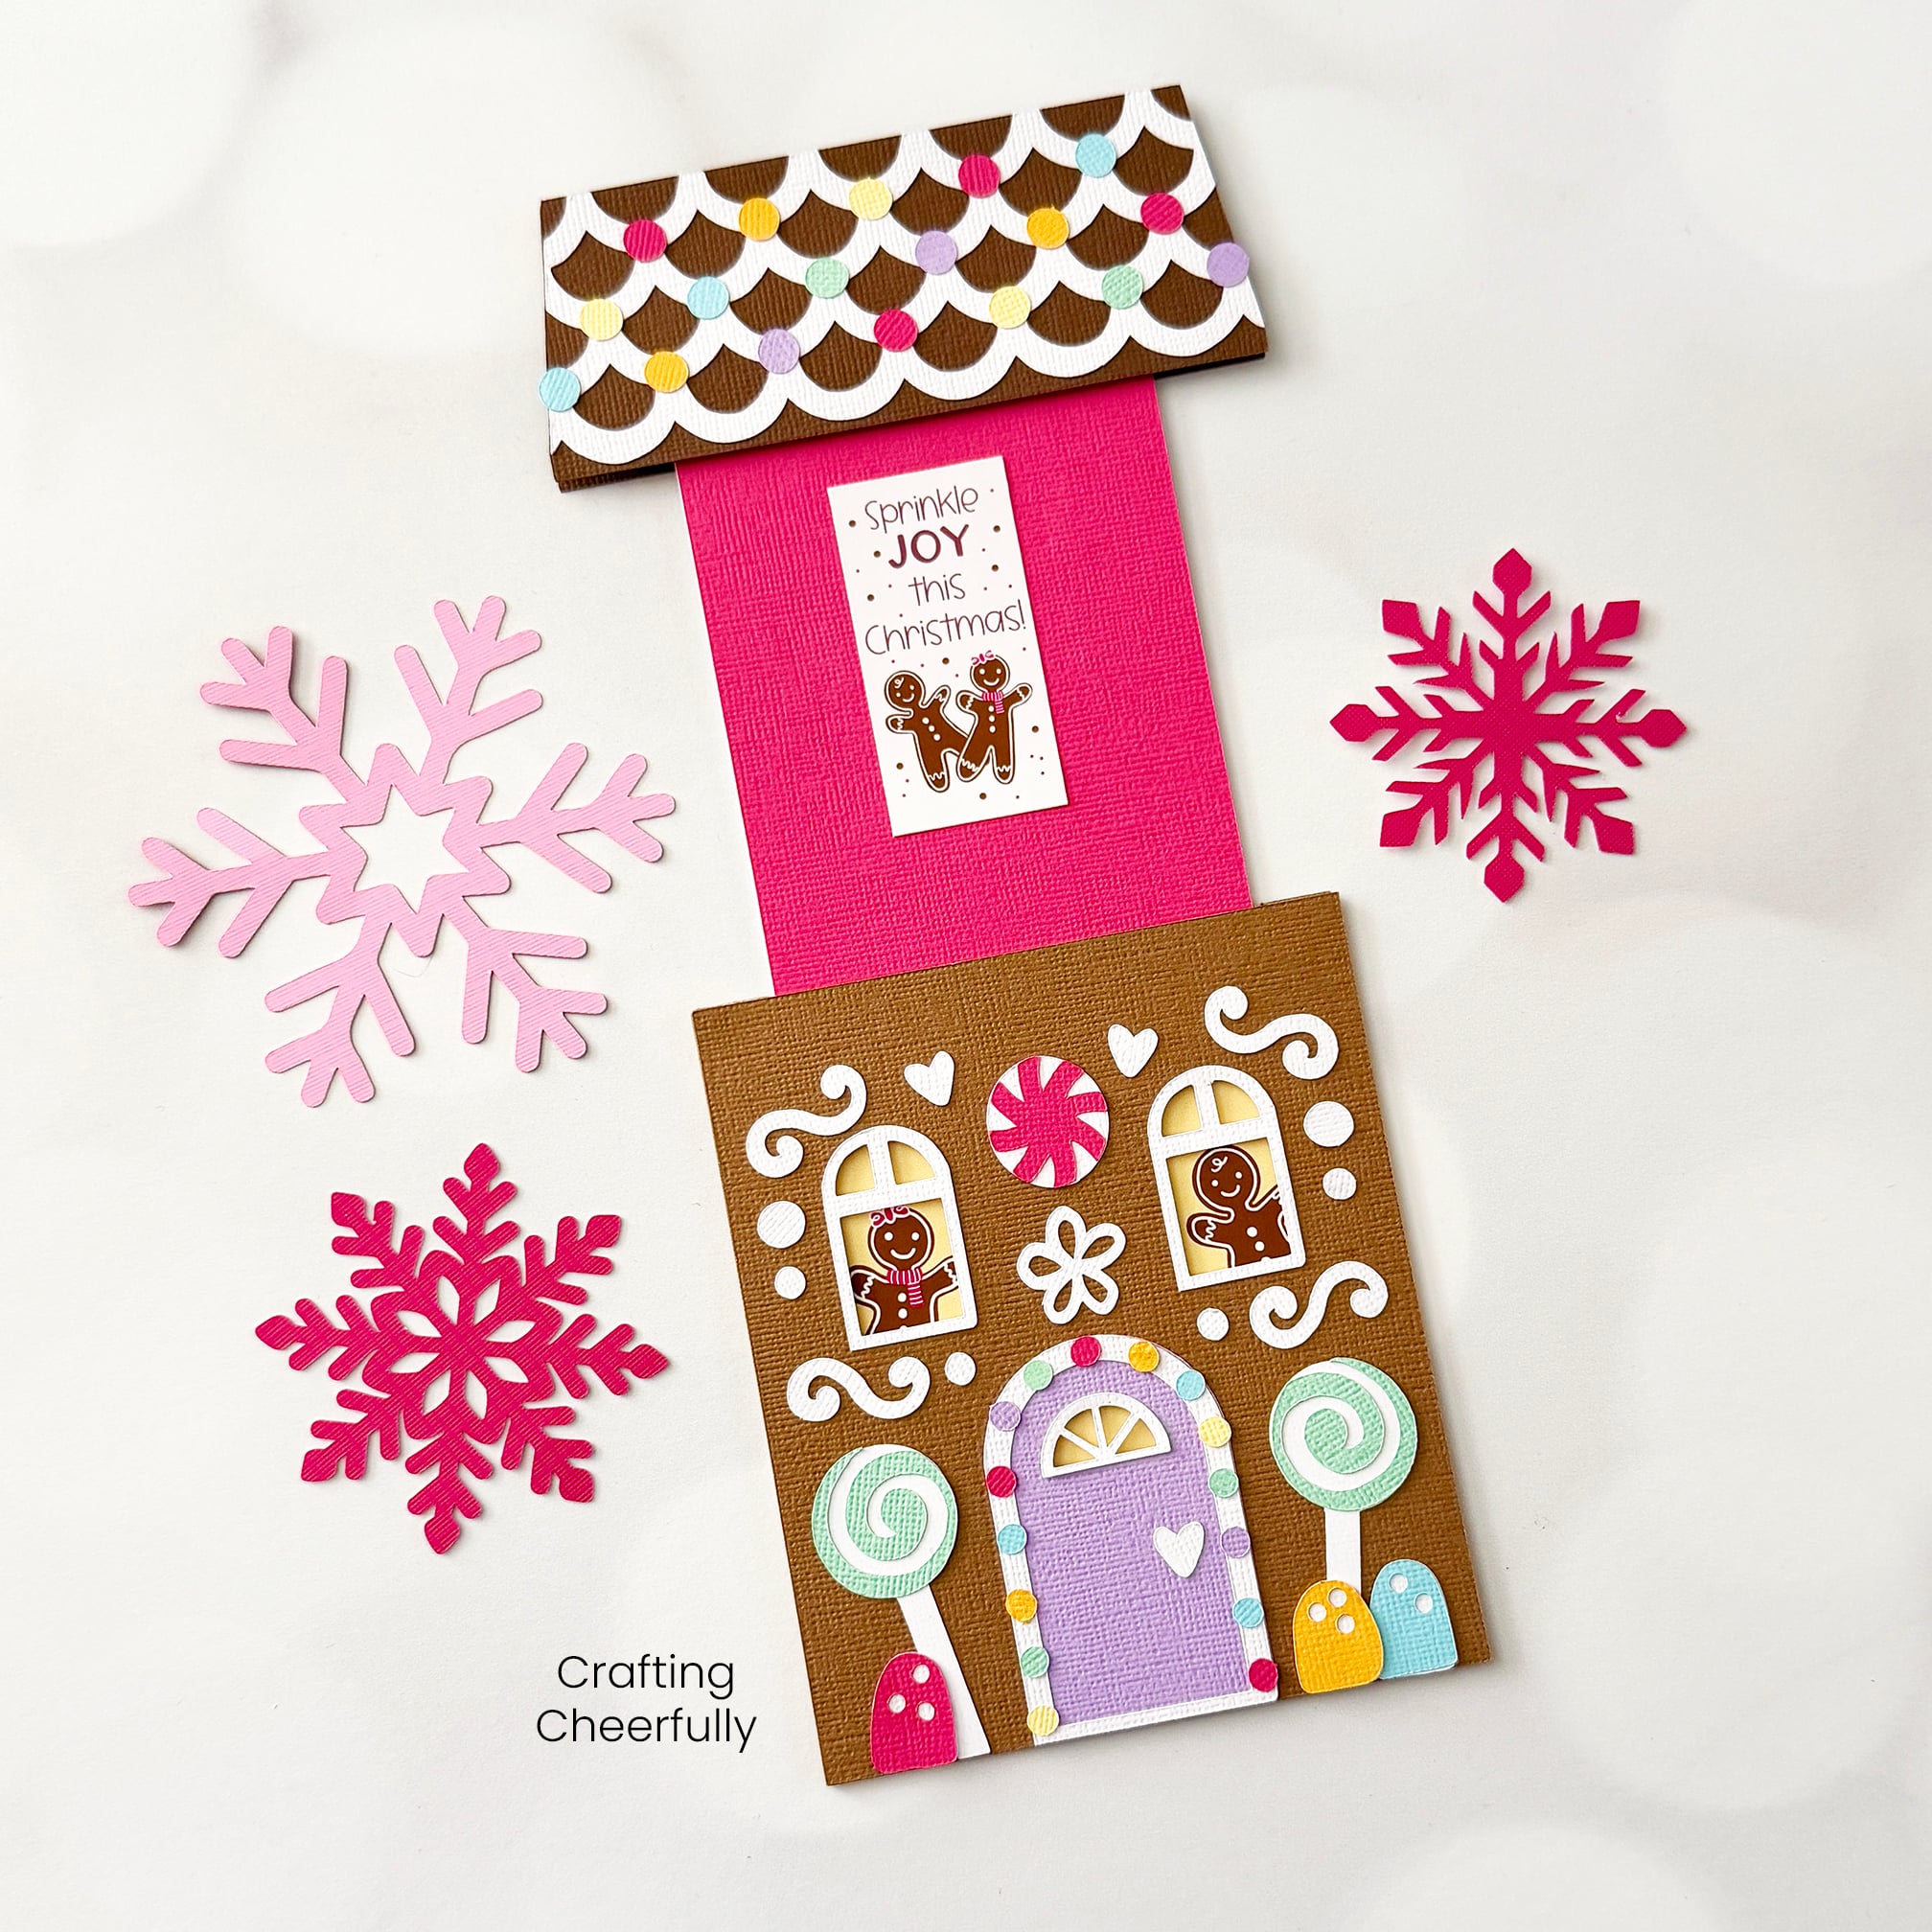
The back of the pull card gives you space to add a personlized greeting or event details if you are using this for an invitation!
Choosing Your Paper
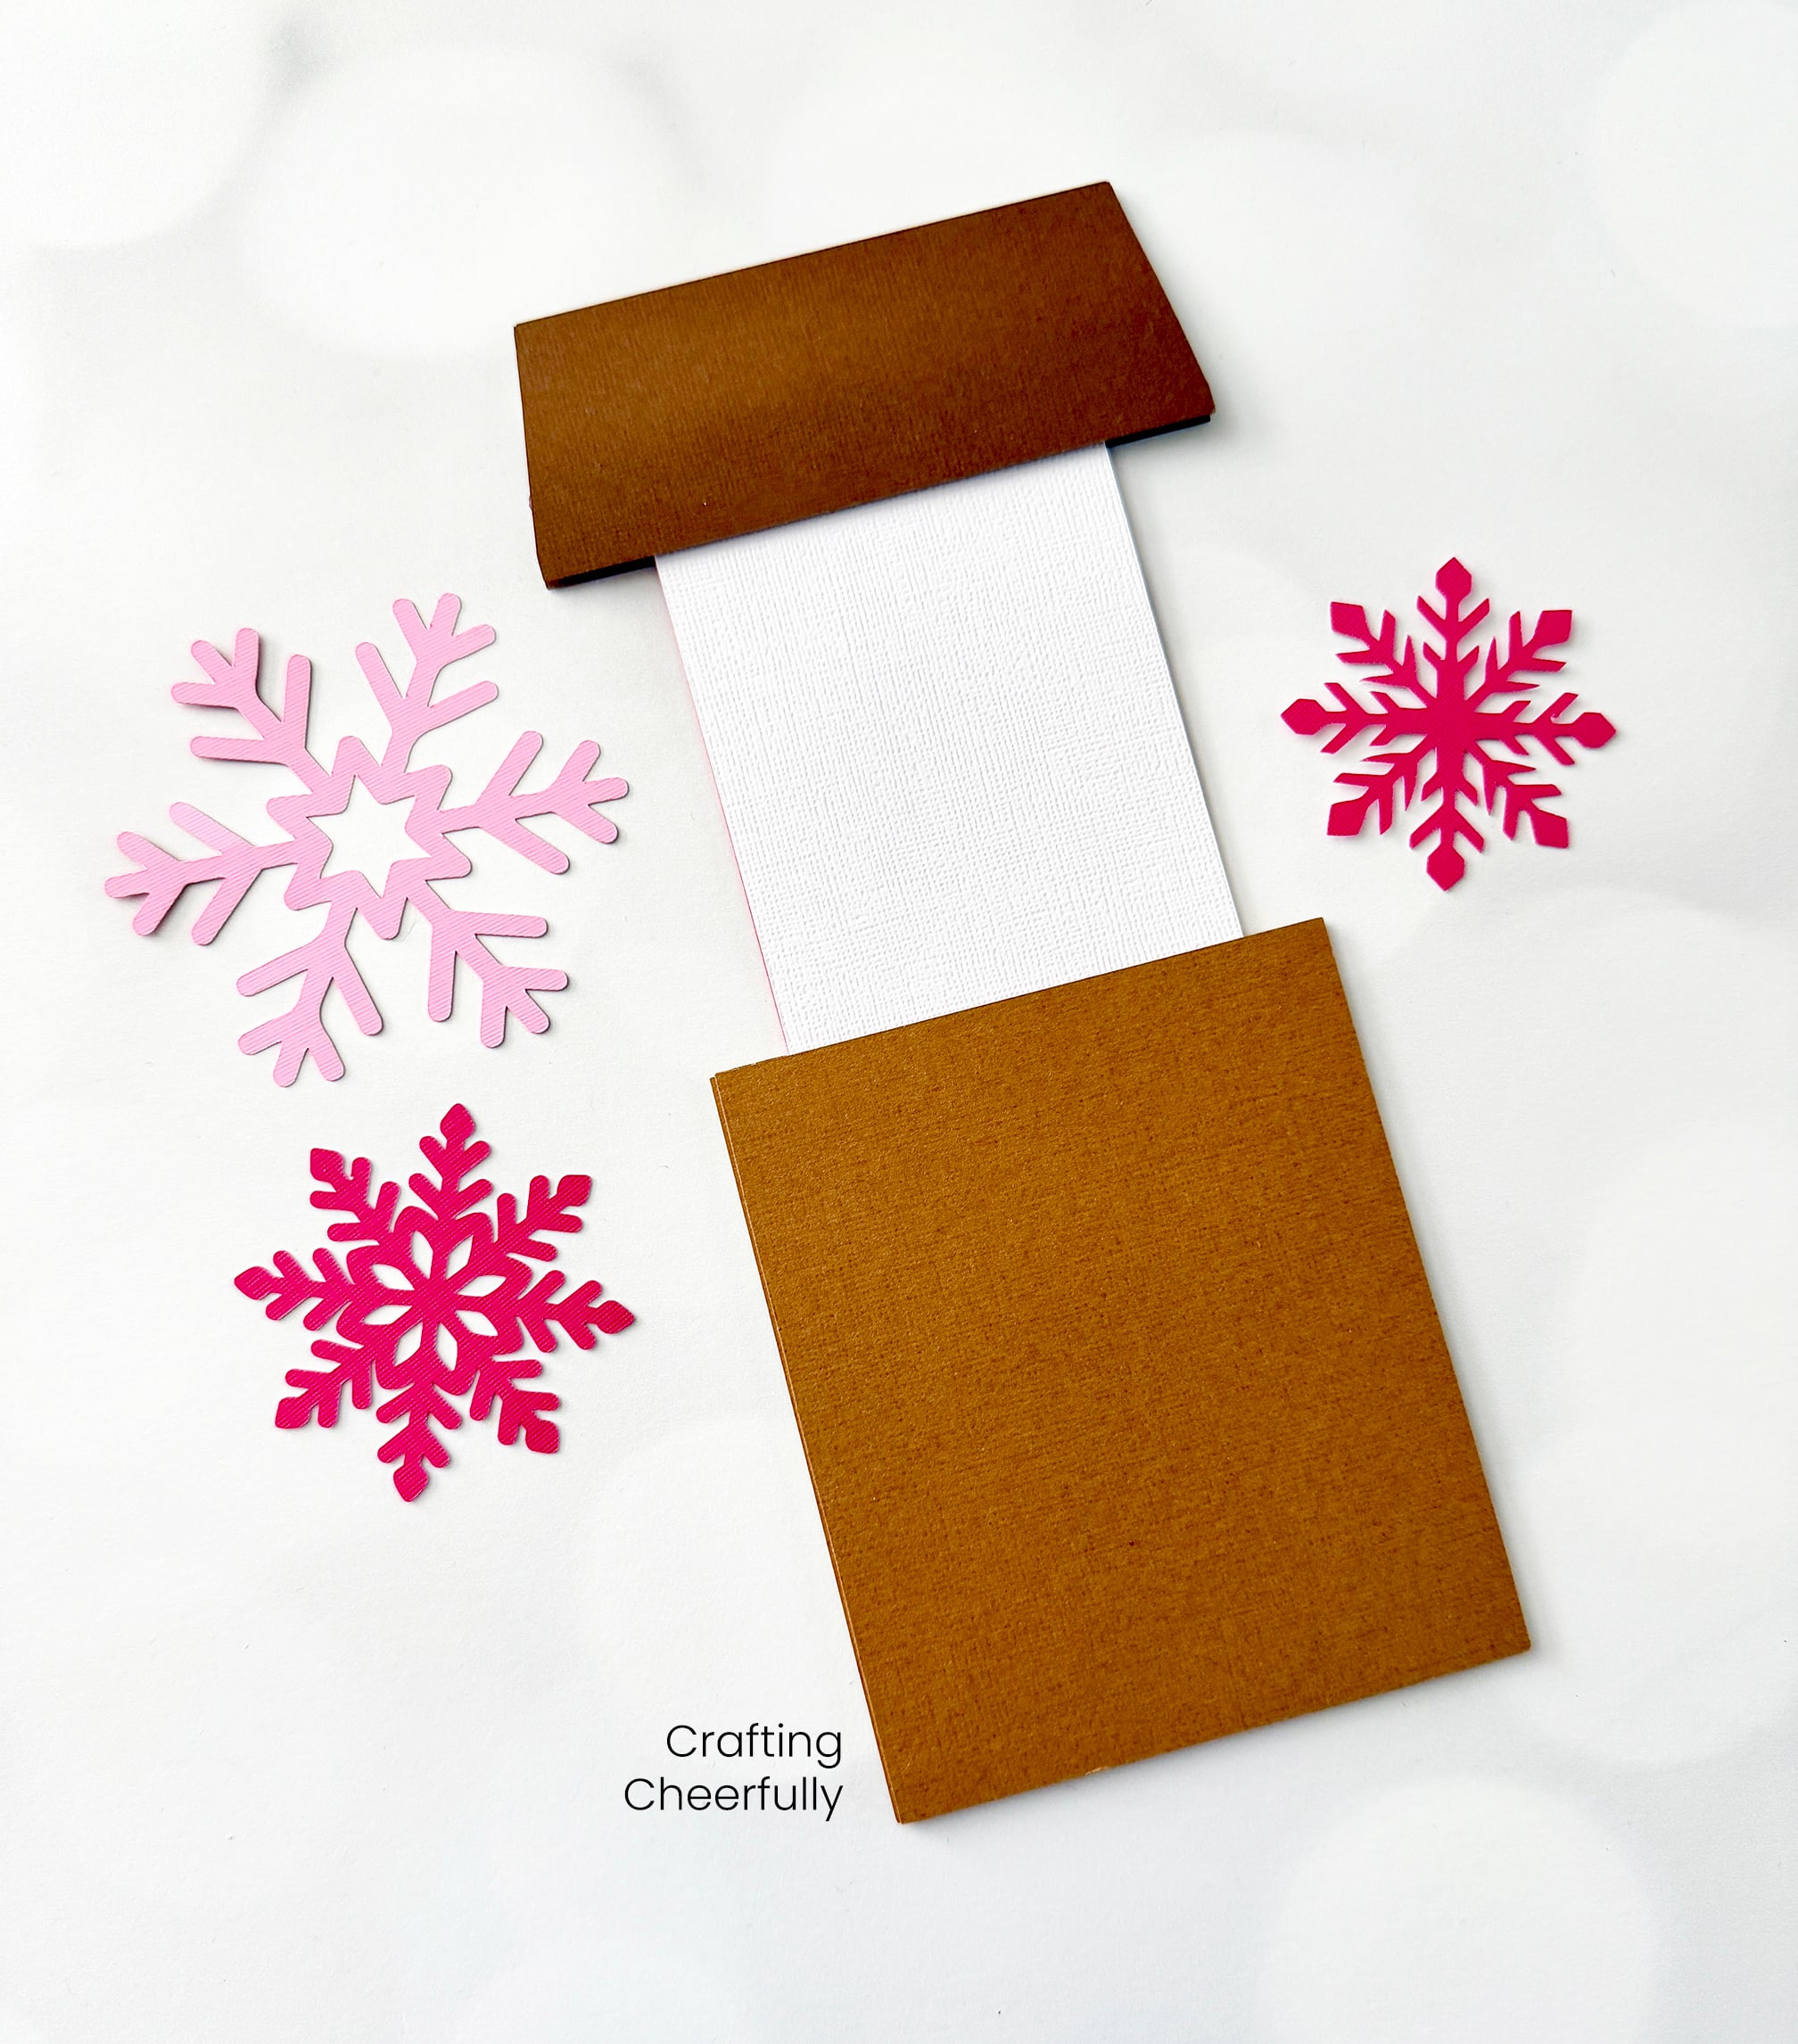
This card will work best with solid core, medium weight cardstock, 65lb – 80lb. Solid core means the paper is the same color on the outside as it is on the inside. White core, or printed cardstock, is paper that is colored on just the front and back and the inside is white. I recommend using solid core as it will give a more polished look with no white visible in the cuts that may distract from the design.
I used cardstock from my American Crafts Precision Cardstock paper stacks. I ordered about 6-8 of their different stacks and this has been a great alternative to shopping the paper aisle at Joann Fabrics. When I’m ready to do a paper project, I go to these stacks and find colors that will work.
These are the colors of paper I used and what paper stack they came from:
- Truffle (gingerbread House), Chestnut (roof) and white (frosting/insert) from the American Crafts Neutral Stack.
- Taffy (dark pink for insert/candy) from the American Crafts Jewel Stack
- Dandelion, Spearmint, Lagoon and Lavender (candy) from the American Crafts Pastel Stack
How to Get the SVG File
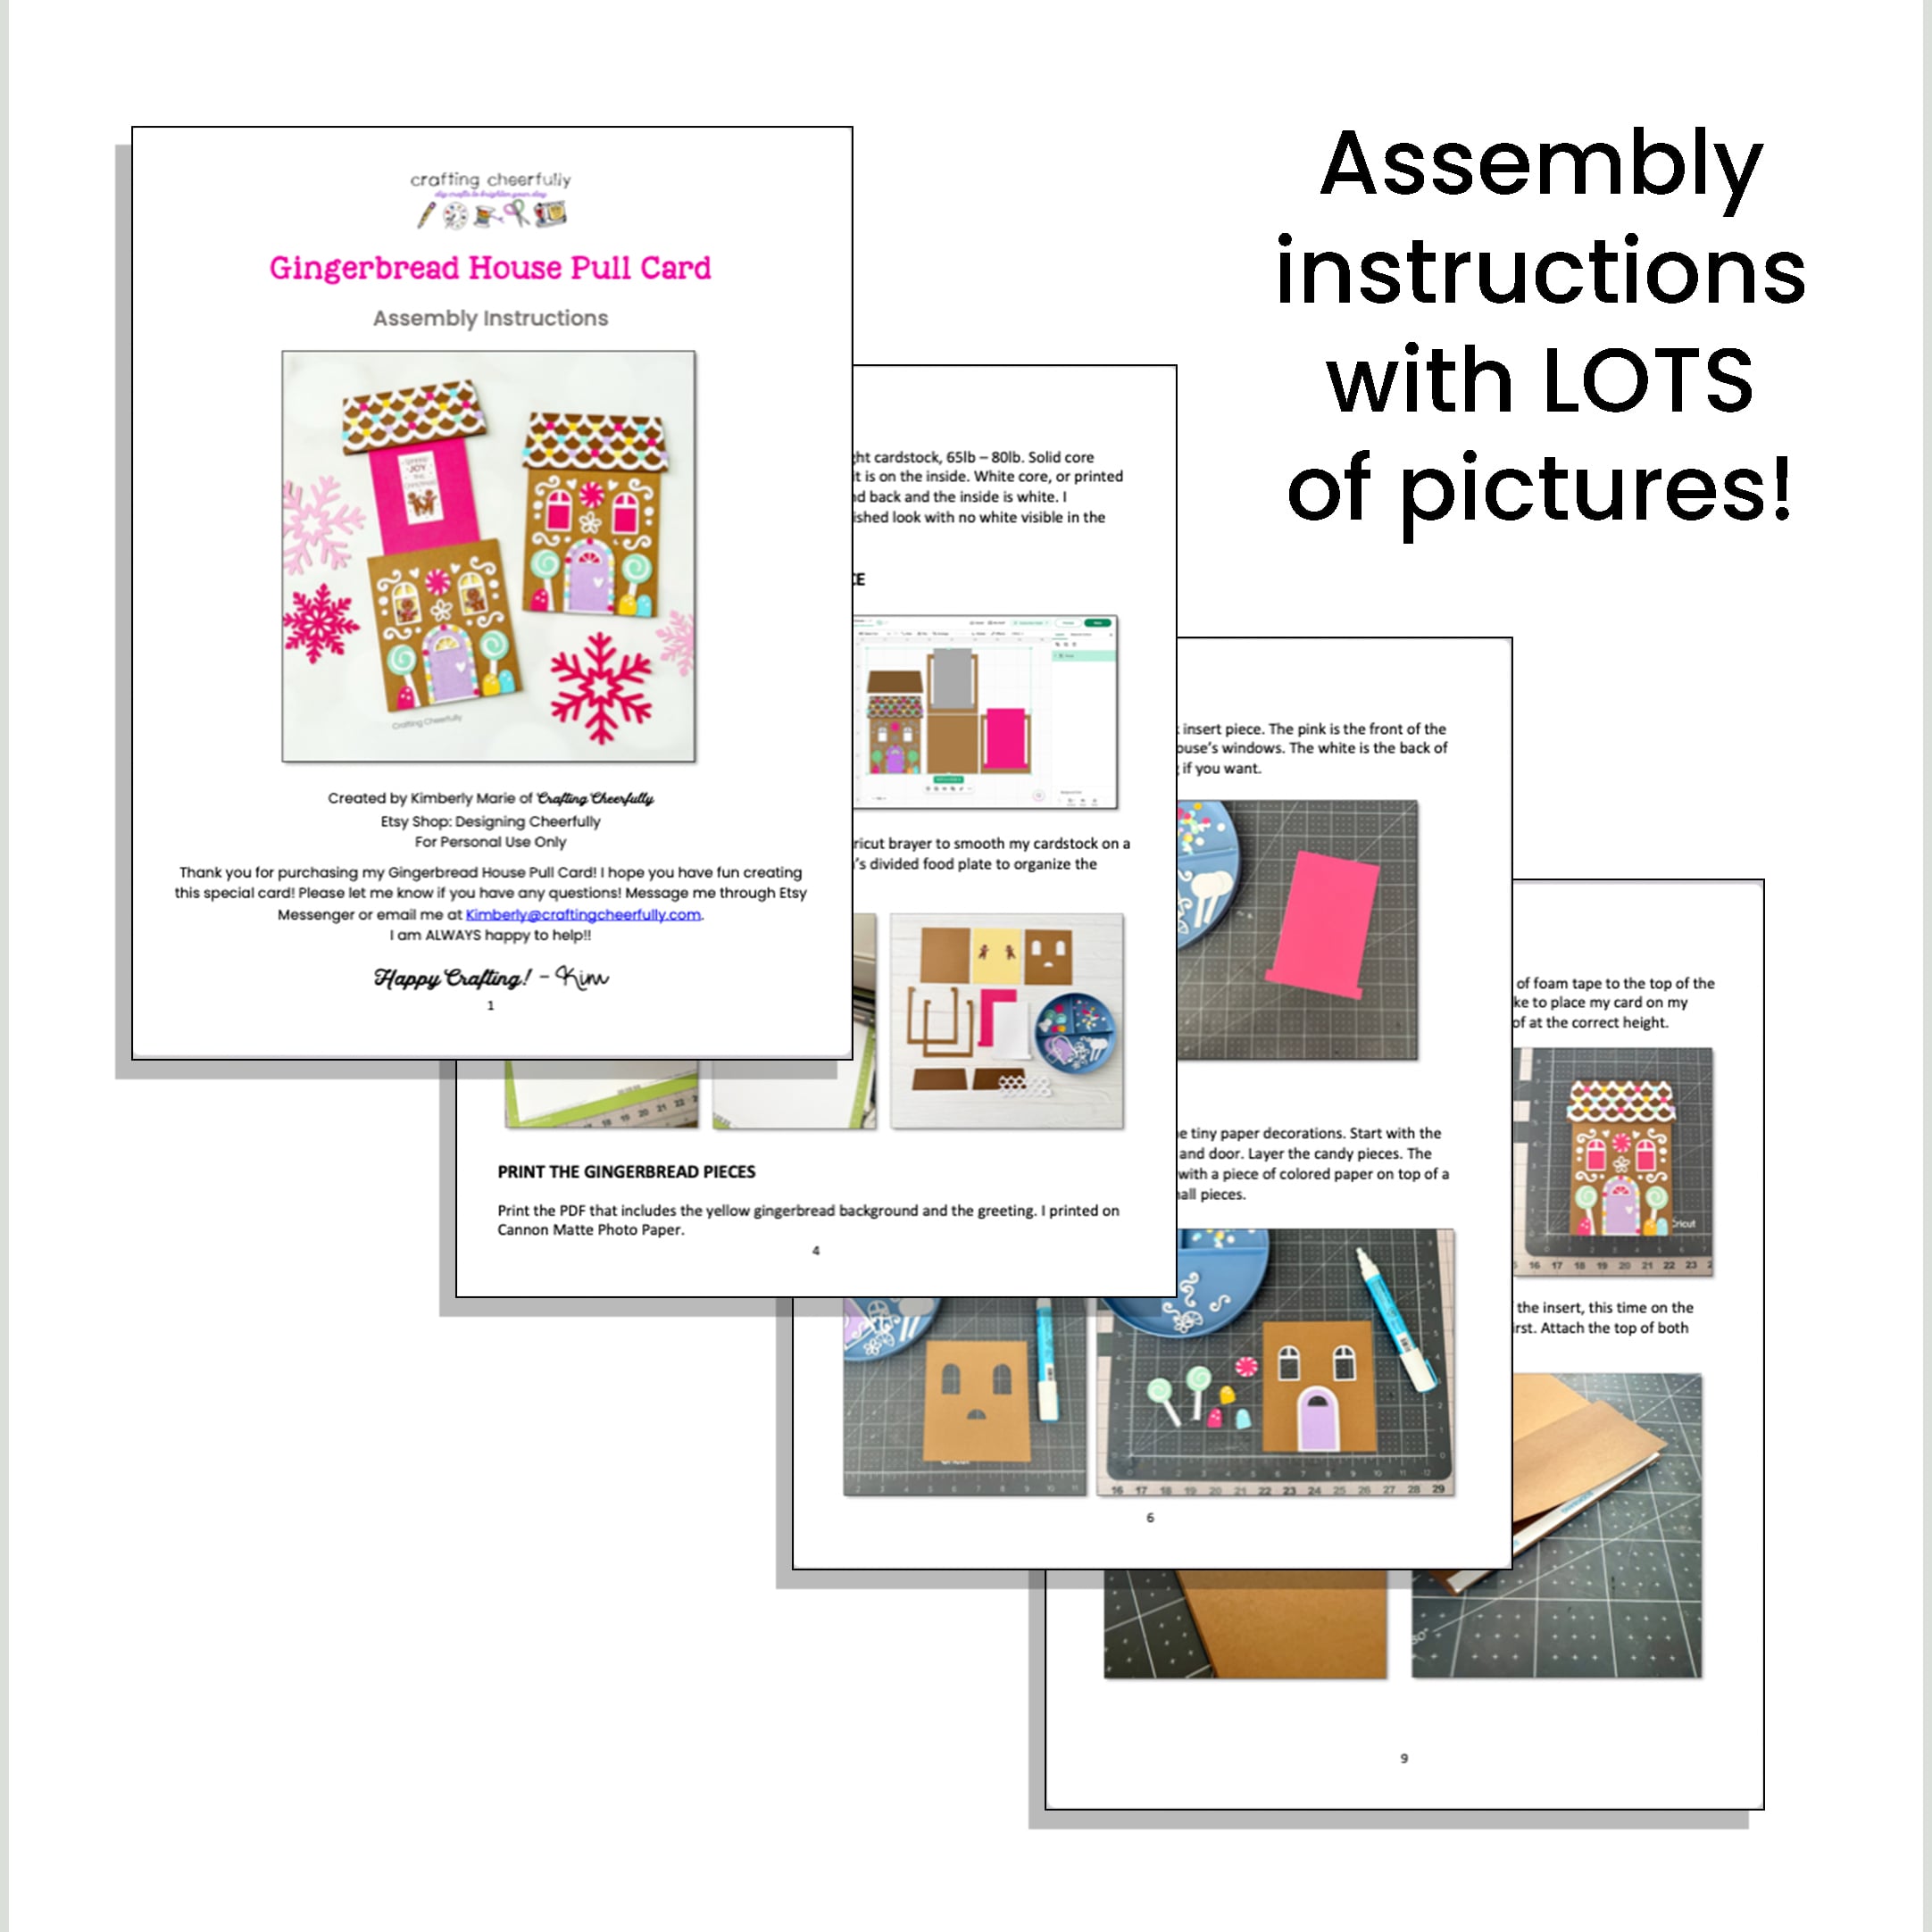
This card is available as an SVG cut file in my Etsy shop! For those following along with my series, you can use the coupon code “12DAYS” to get 30% off through November 20th. The listing includes a step-by-step picture tutorial and a PDF pattern. I recommend using the SVG cut file, but for those that don’t have a cutting machine you can use the PDF. Instead of fussy cutting all of the little frosting details, you could use a white paint pen to draw them on!

Supplies Used
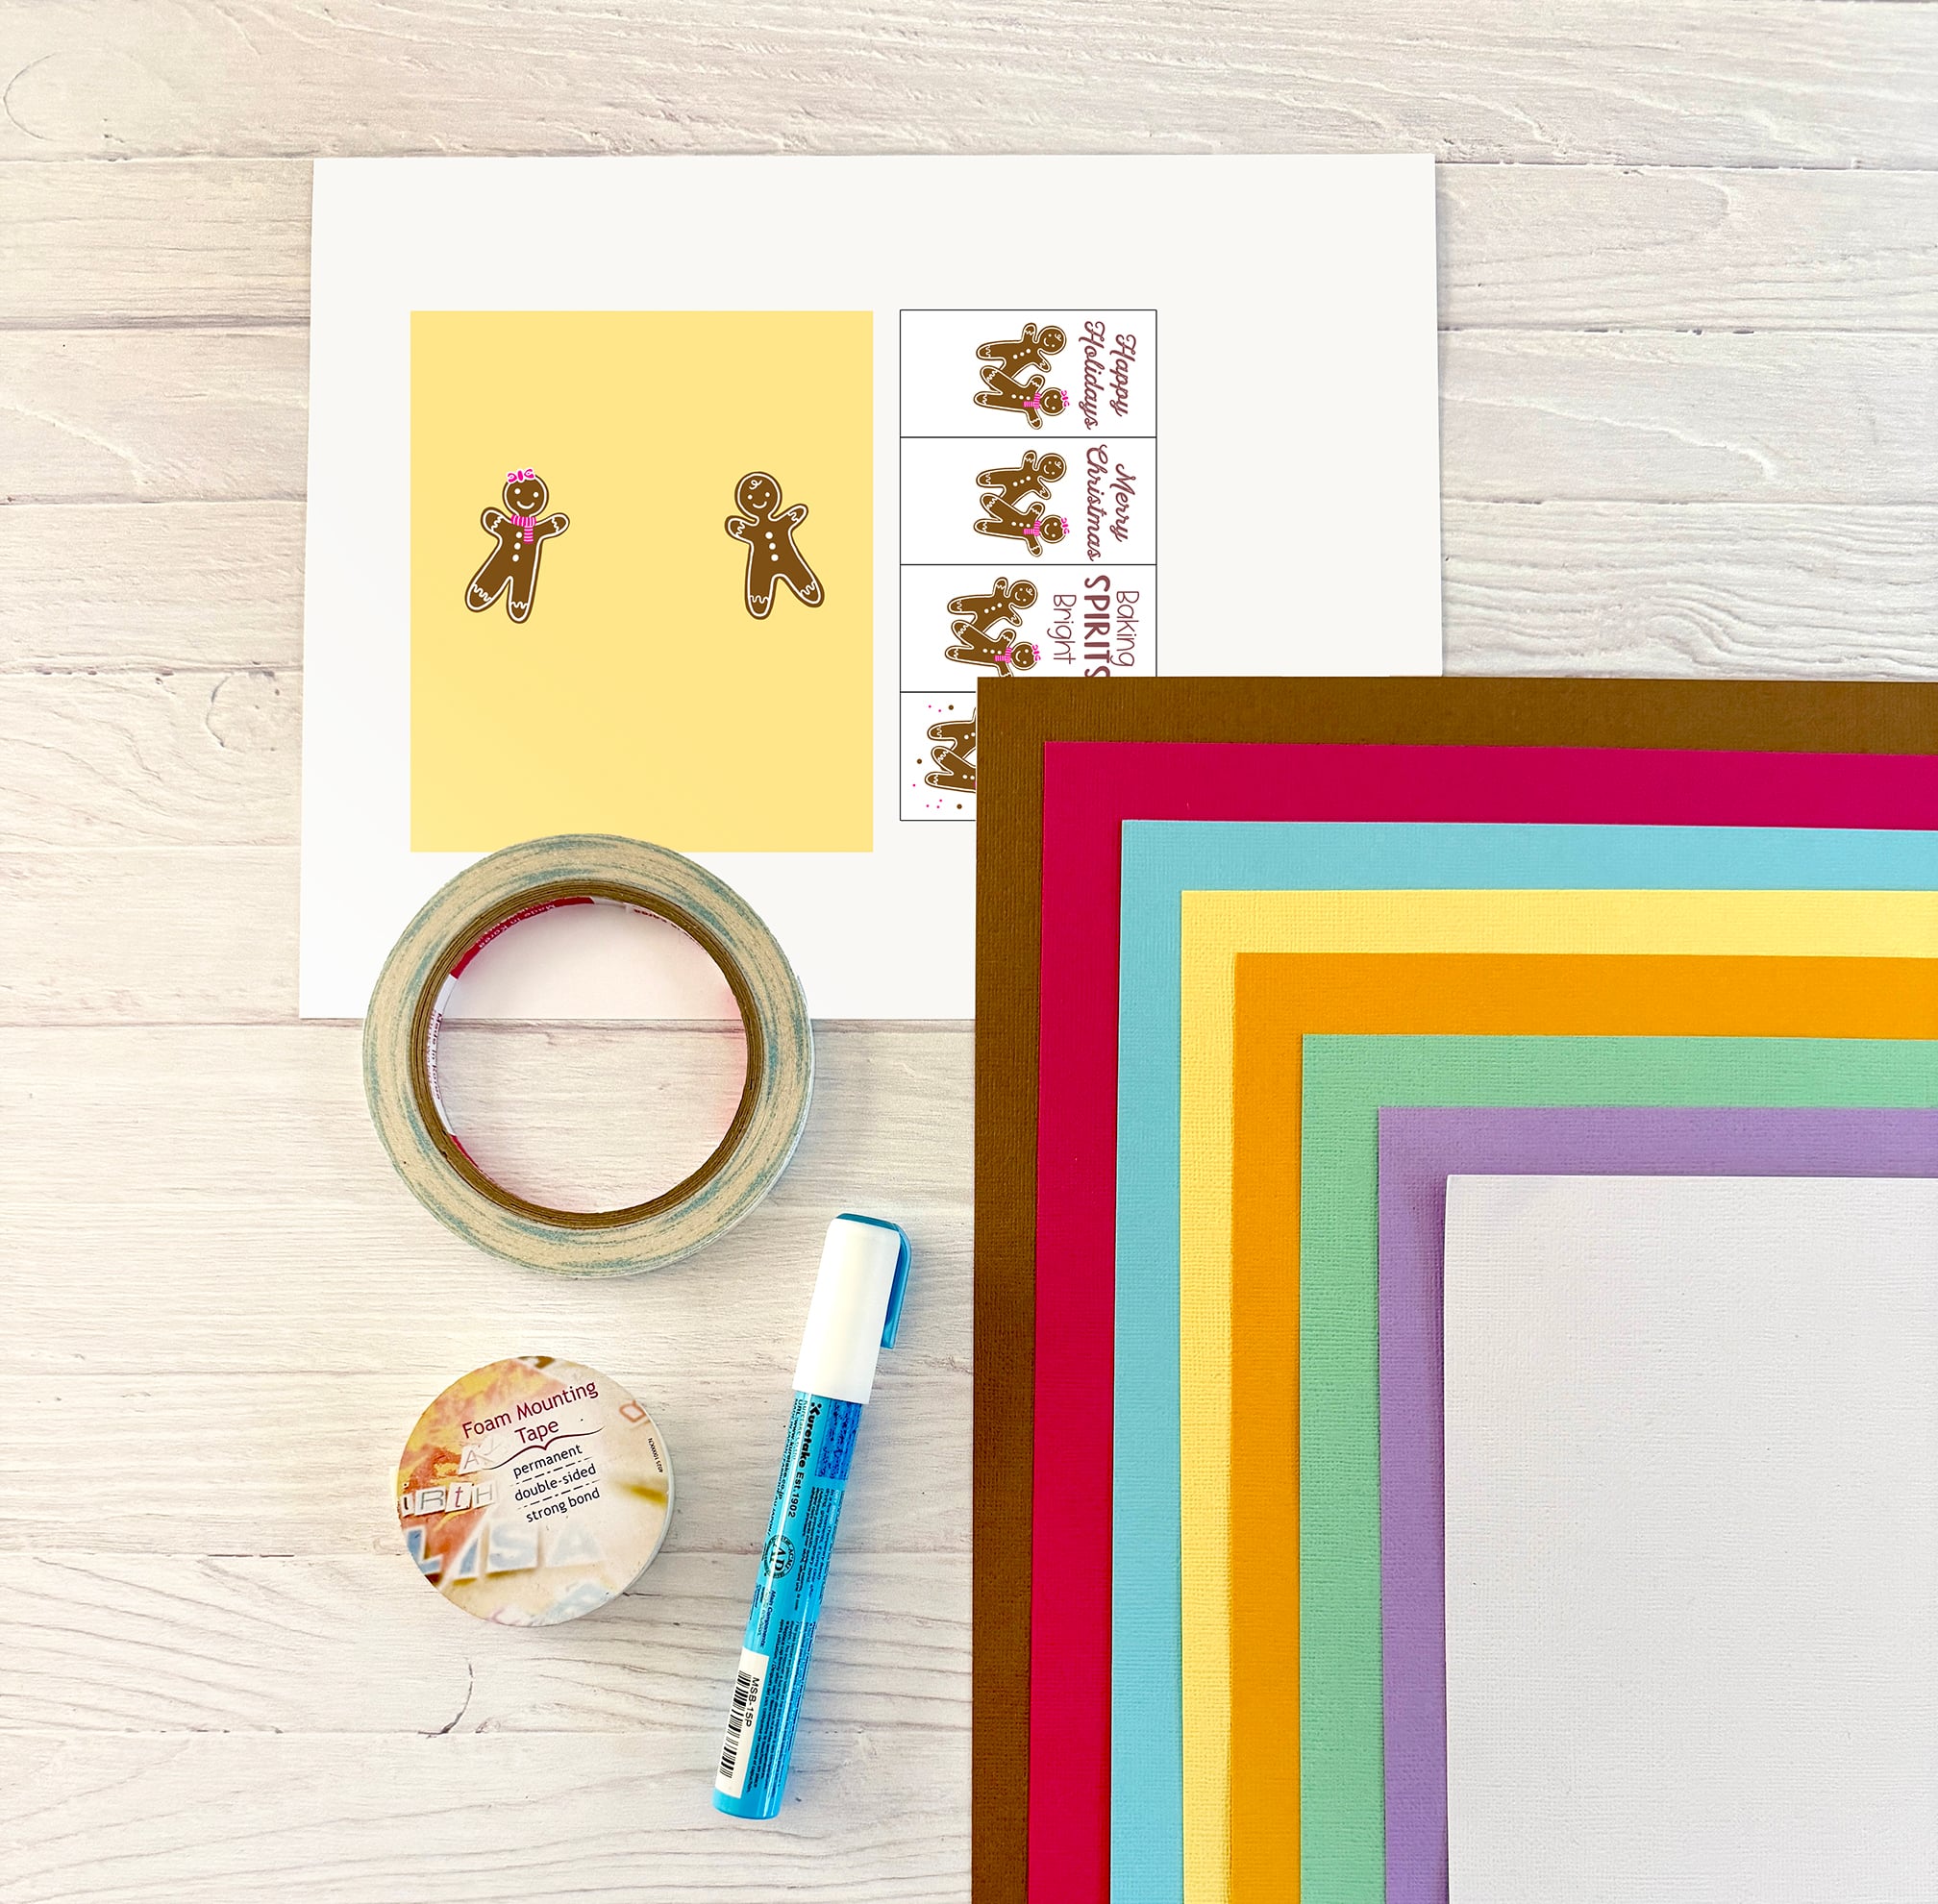
Below is a complete supply list along with links to the products I used.
- Cardstock – I used American Crafts Precision Cardstock (see the above section on choosing paper for a list of colors used)
- Medium brown for the house
- Dark brown for the roof
- White for the frosting details and insert
- Bright pink for candy details and the insert
- Orange, yellow, green, blue, and purple for the candy details
- White cardstock to print the yellow background with the gingerbread characters and for the greeting. I printed on Cannon Photo Paper Matter.
- Adhesive
- Double-sided tape (I used 1/4” Scor-Tape)
- Glue or glue pen – (I used a Zig Glue Pen. Bearly Glue is another great option)
- Foam Tape – (I used 10mm/0.39” foam tape)
- Cutting Machine: This card can be made with cutting machines that work with SVG cut files. If making the card by hand you will need a precision scissors and paper trimmer.
- Cutting Mat – I used a Cricut Standard Mat
- Brayer – The Cricut Brayer is nice to help smooth the paper on the mat prior to cutting.
Thank you!
Thank you for following along for the last 12 days! I have loved sharing a new Christmas-themed craft with you! I hope you have enjoyed them and are inspired to get crafty! I’ll continue to share crafts holiday crafts – I have a few more up my sleeve, but I love this series since it really pushes me to get them out early – so you have time to make them!!
You can purchase the SVG cut file from my shop and check out all 12 days of this series on my “12 Days of Holiday Crafts Page“. Also be sure to check out my other DIY Cards if you love making cards! Thank you for following along!