DIY Rick Rack Photo Ornaments
Create a sweet candy cane photo ornament made with red and white rick rack trim! This cute ornament is simple to make a fun DIY for the holiday season!
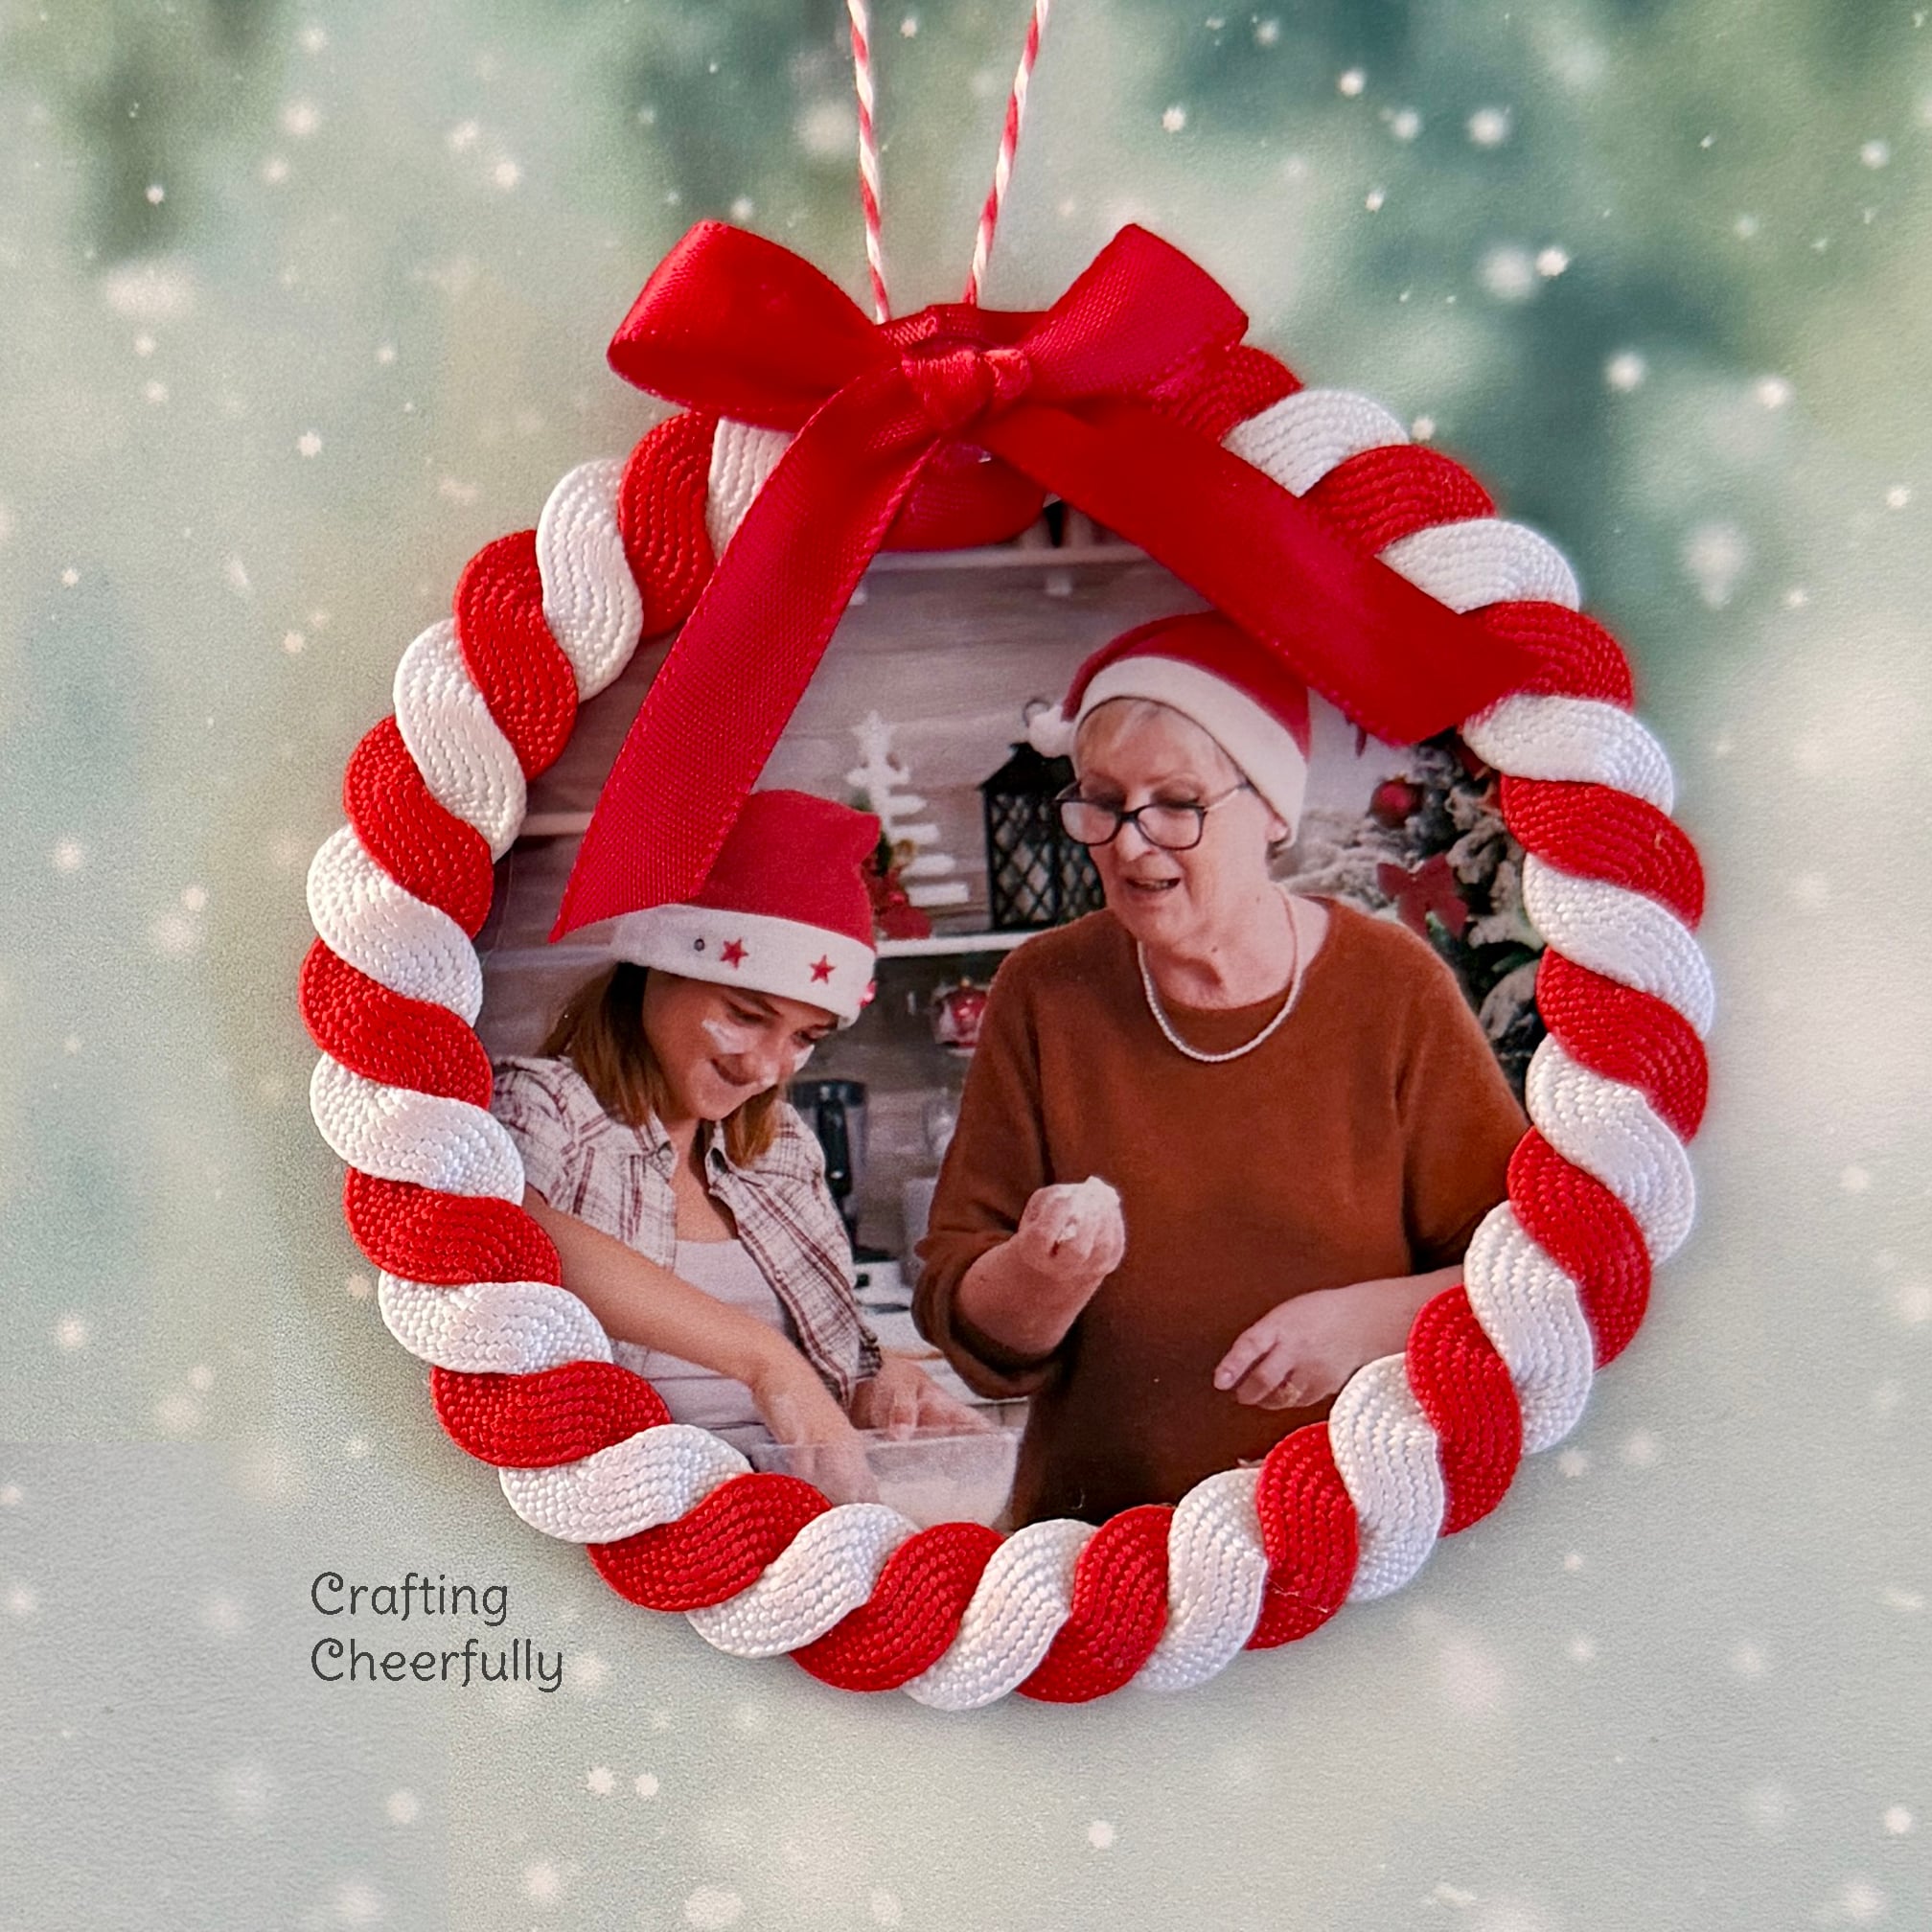
Hello Crafty Friends and welcome to Day Eleven of my annual series 12 Days of Holiday Crafts! Today I’m sharing a cute handmade ornament craft that uses twisted rick rack! These ornaments are simple to make and a lot of fun!
These ornaments can be created by twisting red and white rick rack together to create a cool candy cane pattern! The rick rack can be formed into a circle using your iron. These would also look cool using different shades of green rick rack to create a cute evergreen wreath photo ornament.
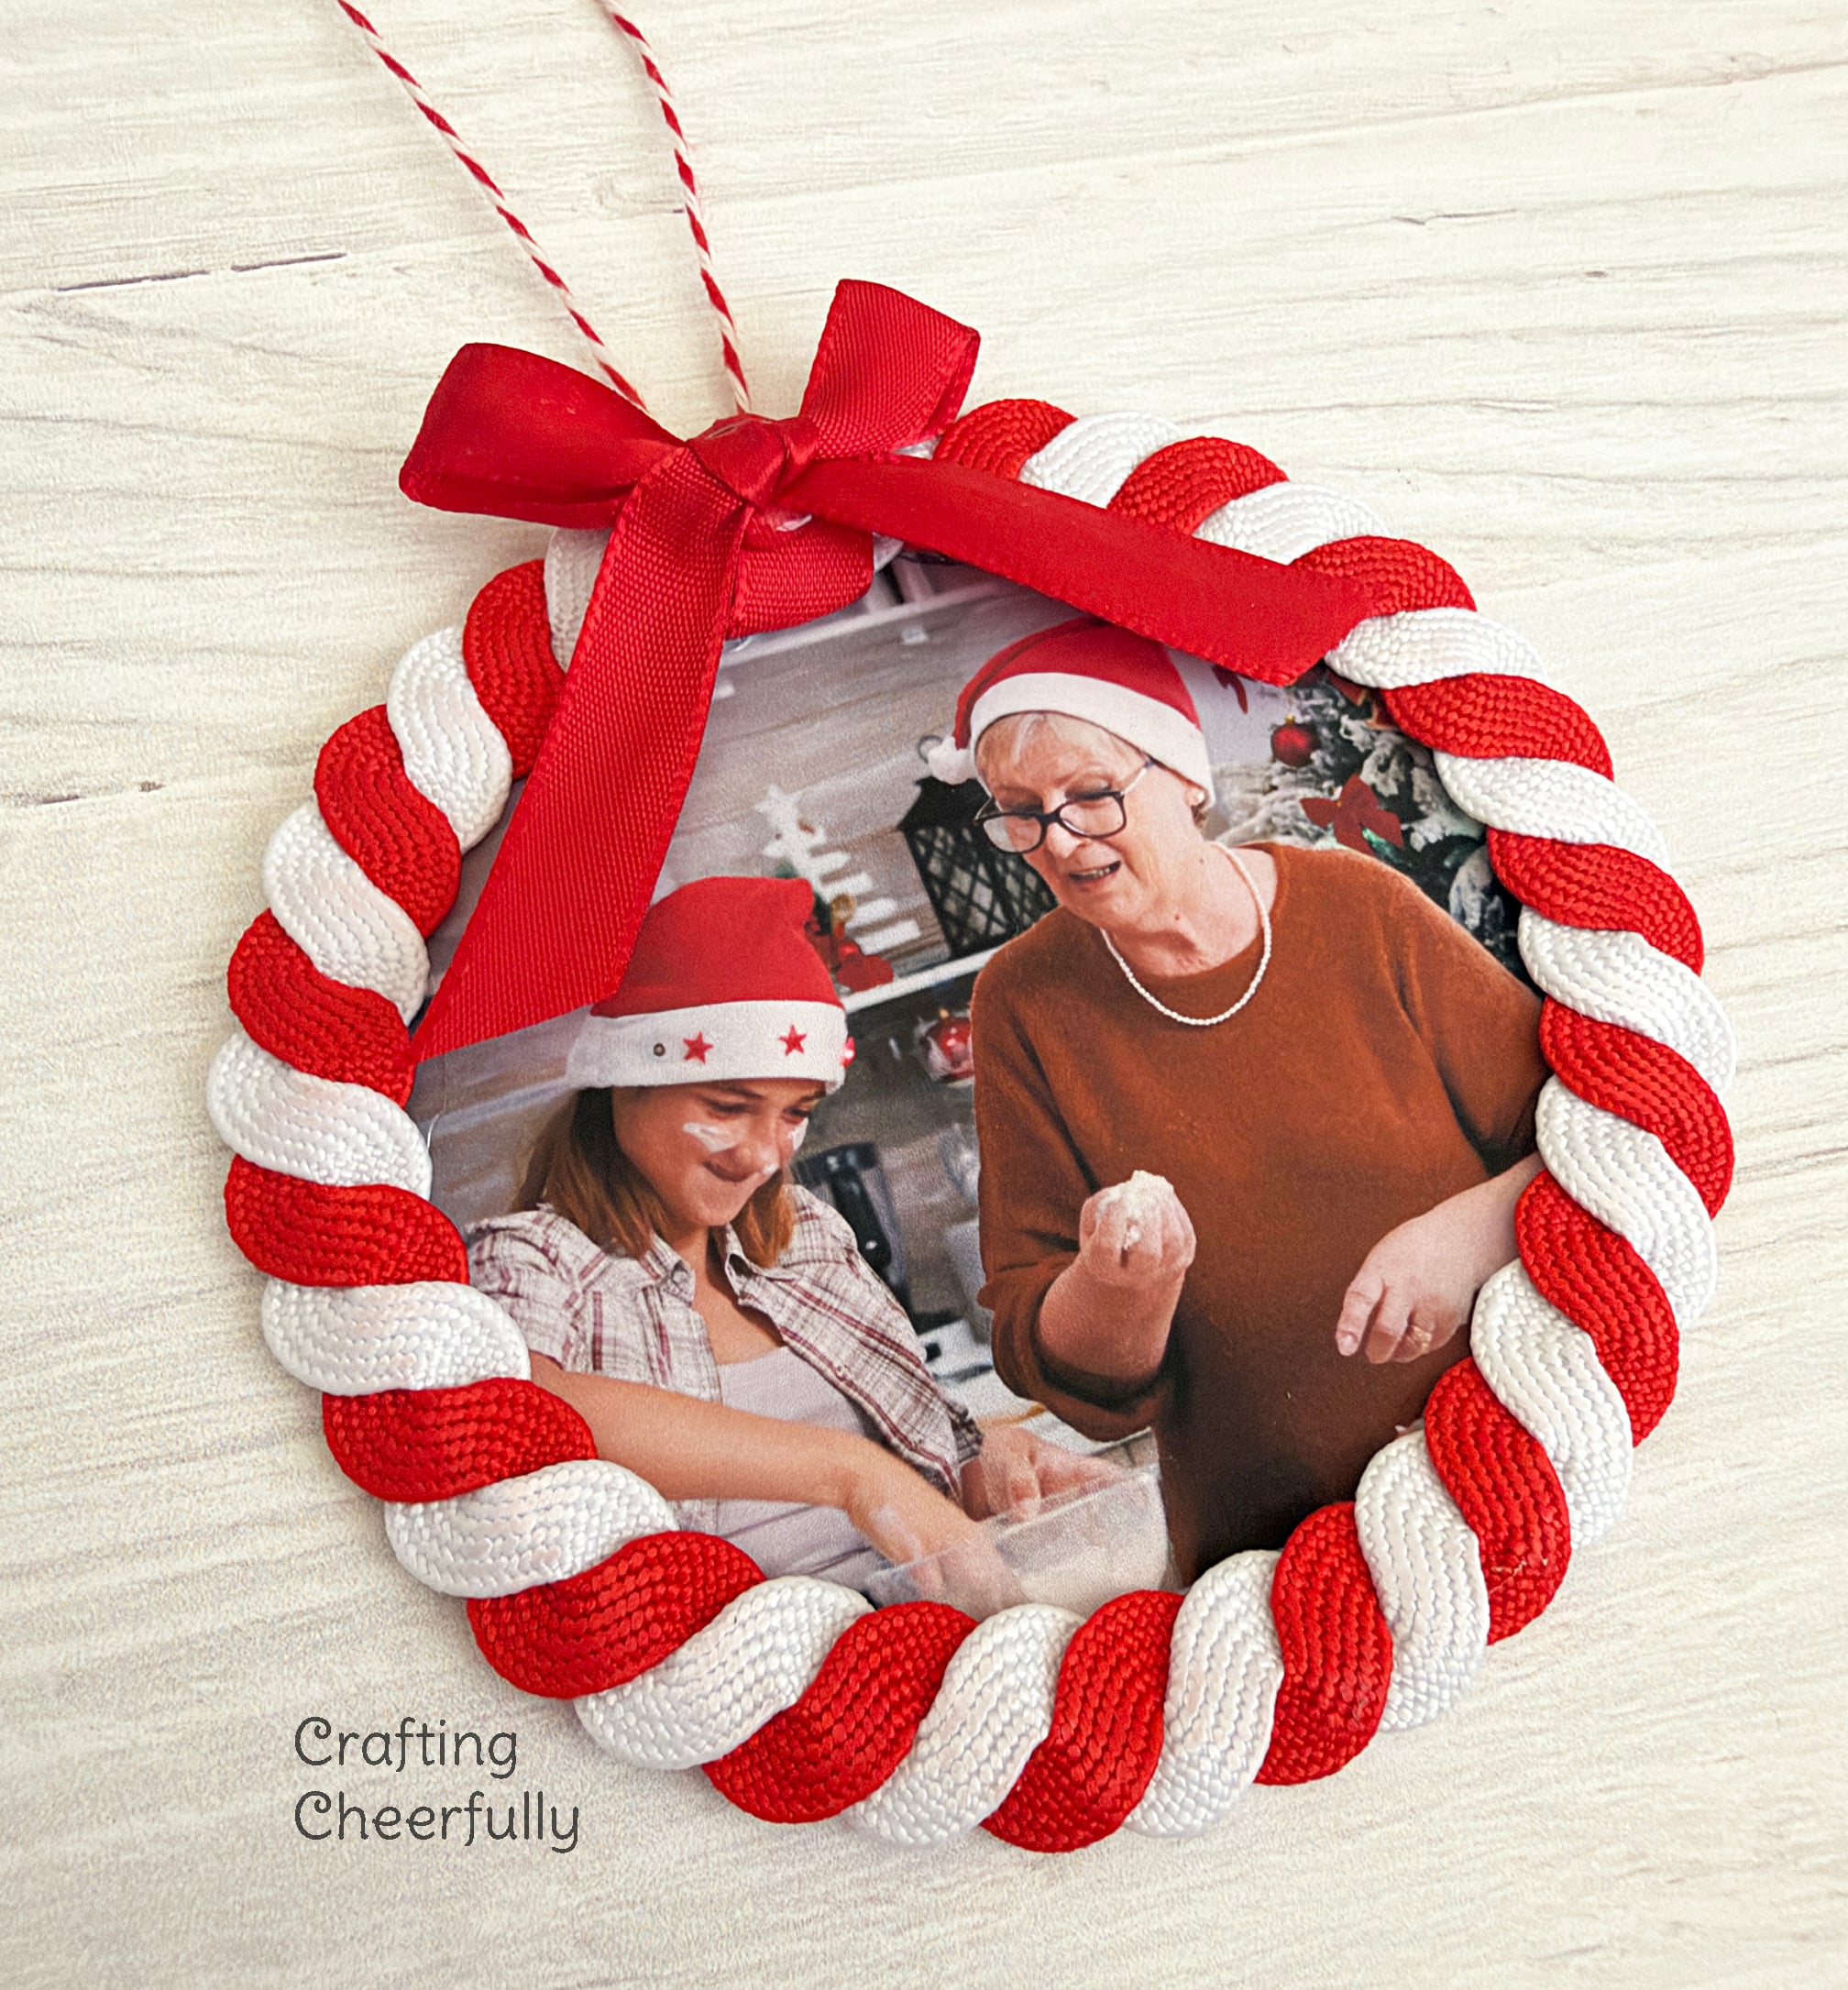
How to Make Rick Rack Photo Ornaments
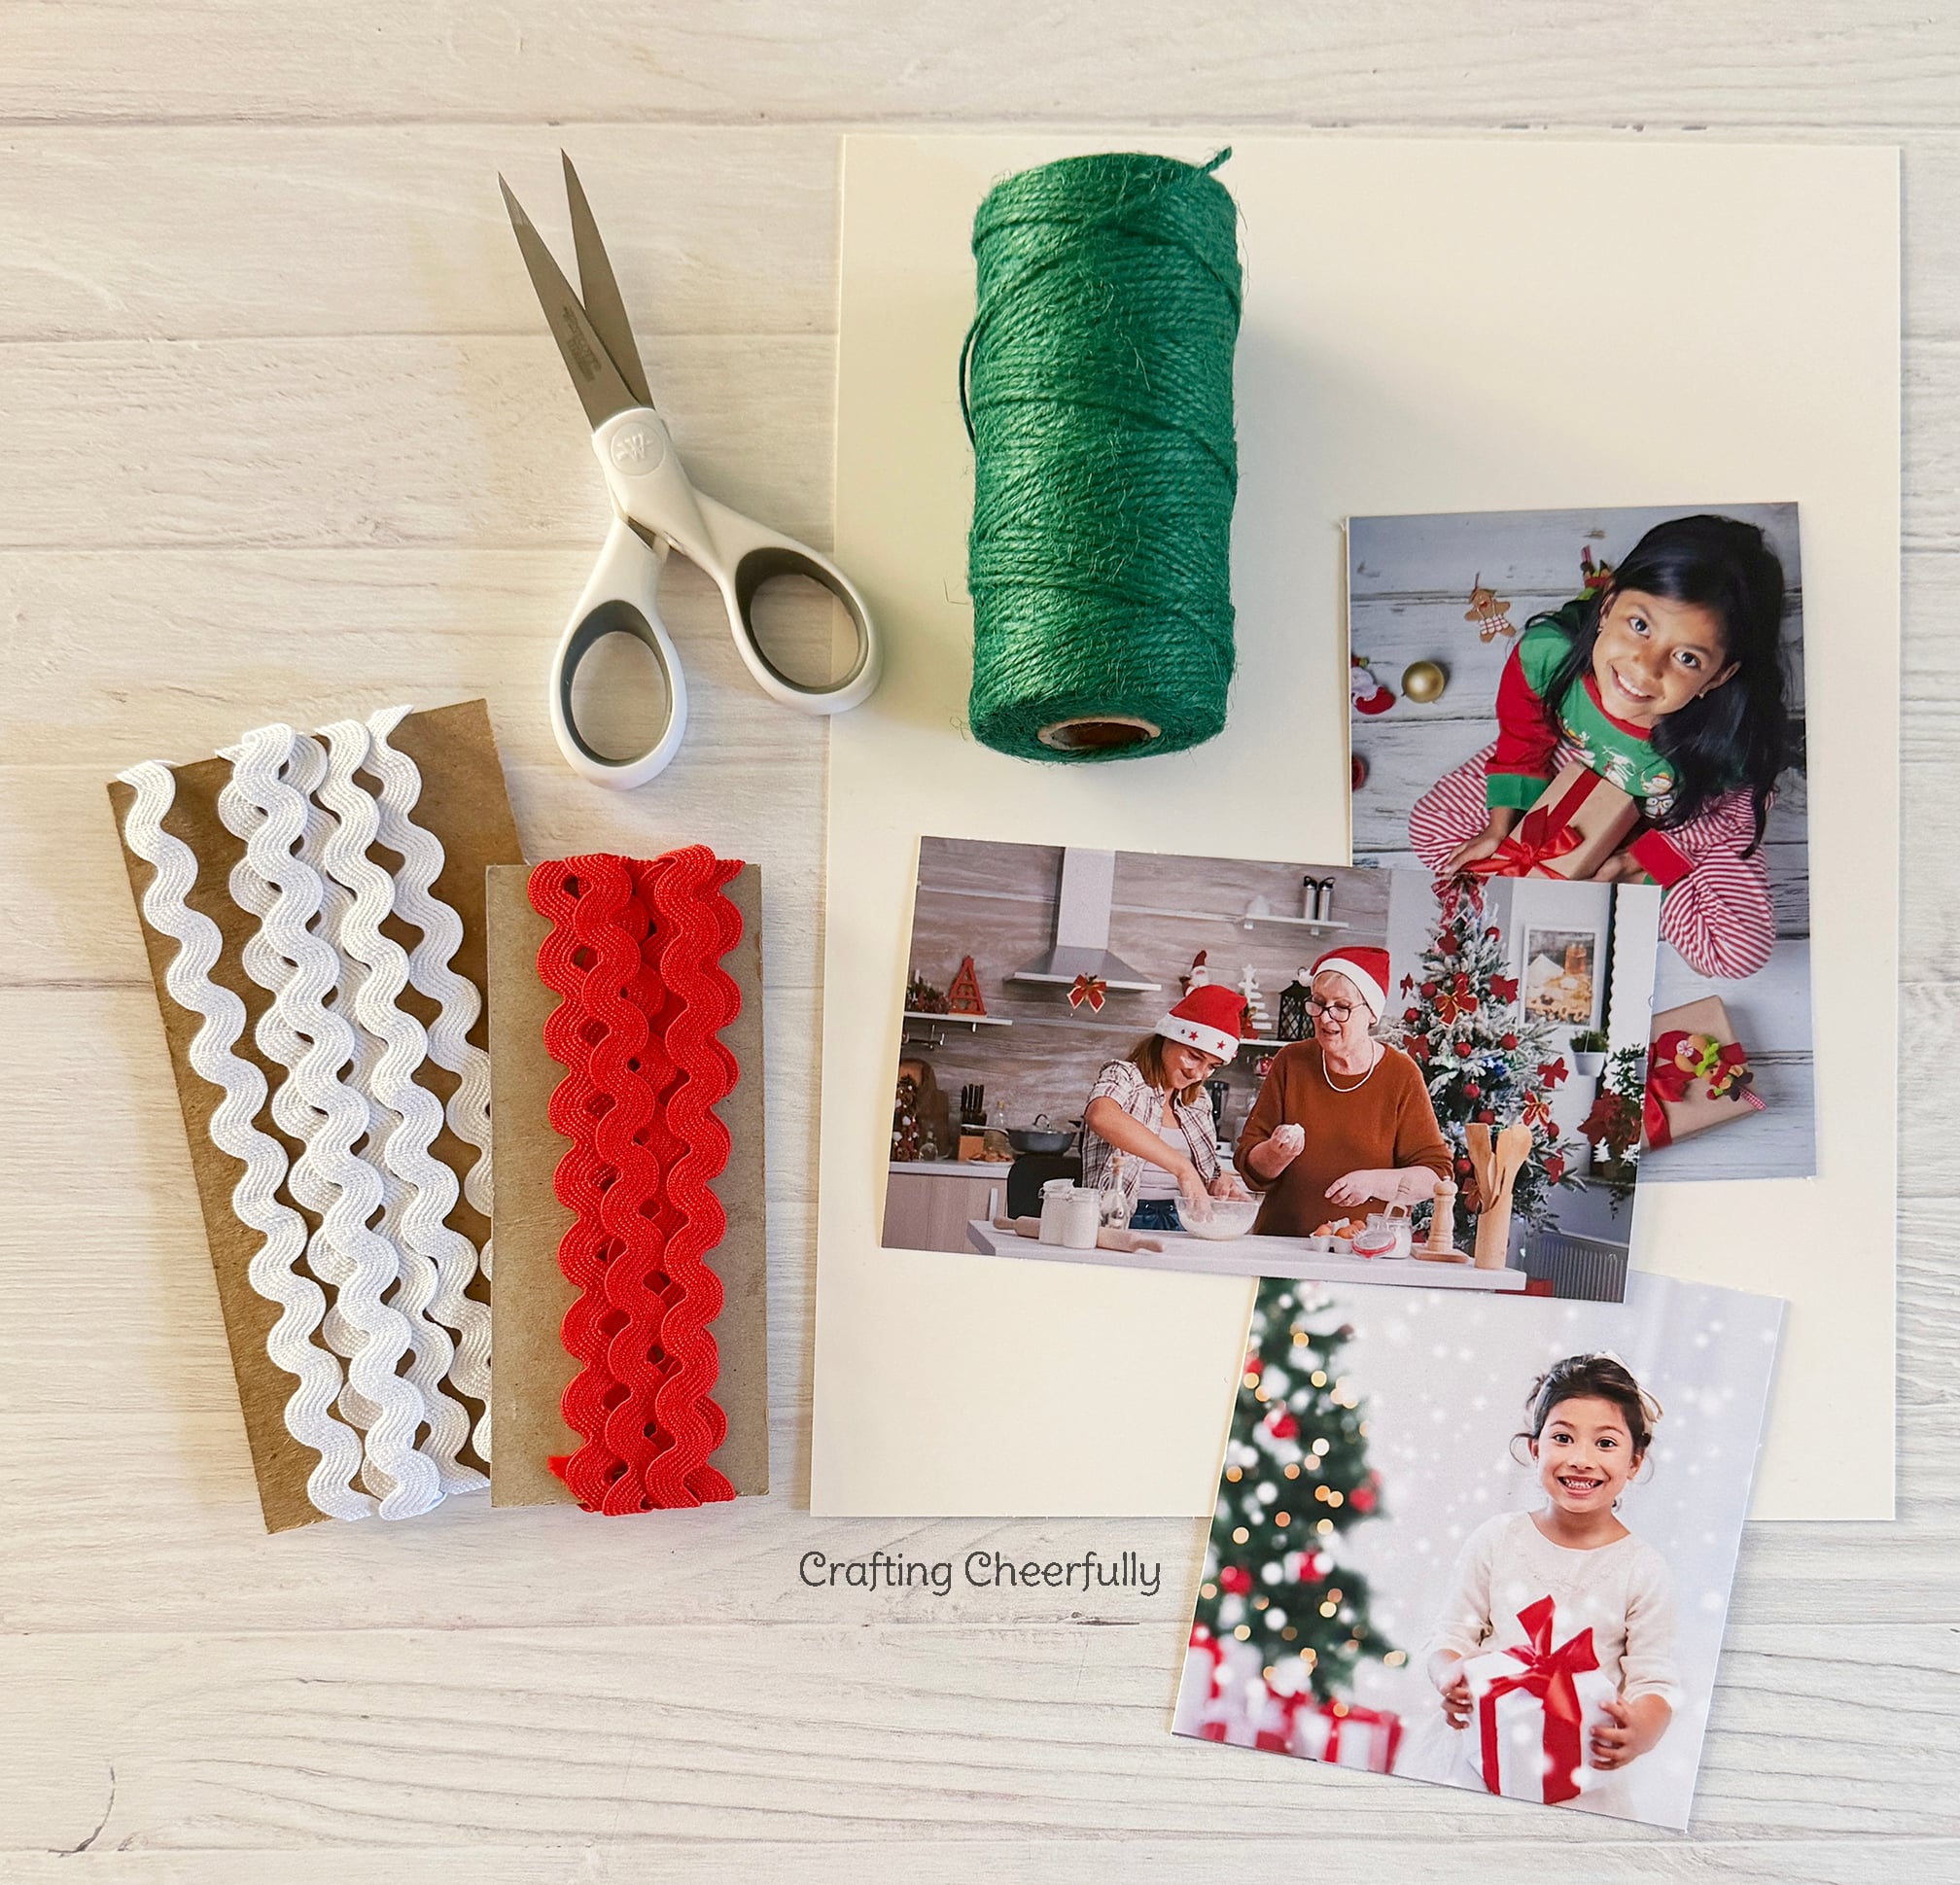
Supplies Needed
- Photo
- Red and white rick rack trim
- White chip board
- Red cardstock
- Red ribbon
- Red and white Baker’s Twine
- Glue stick
- Hot Glue
- Clear tape
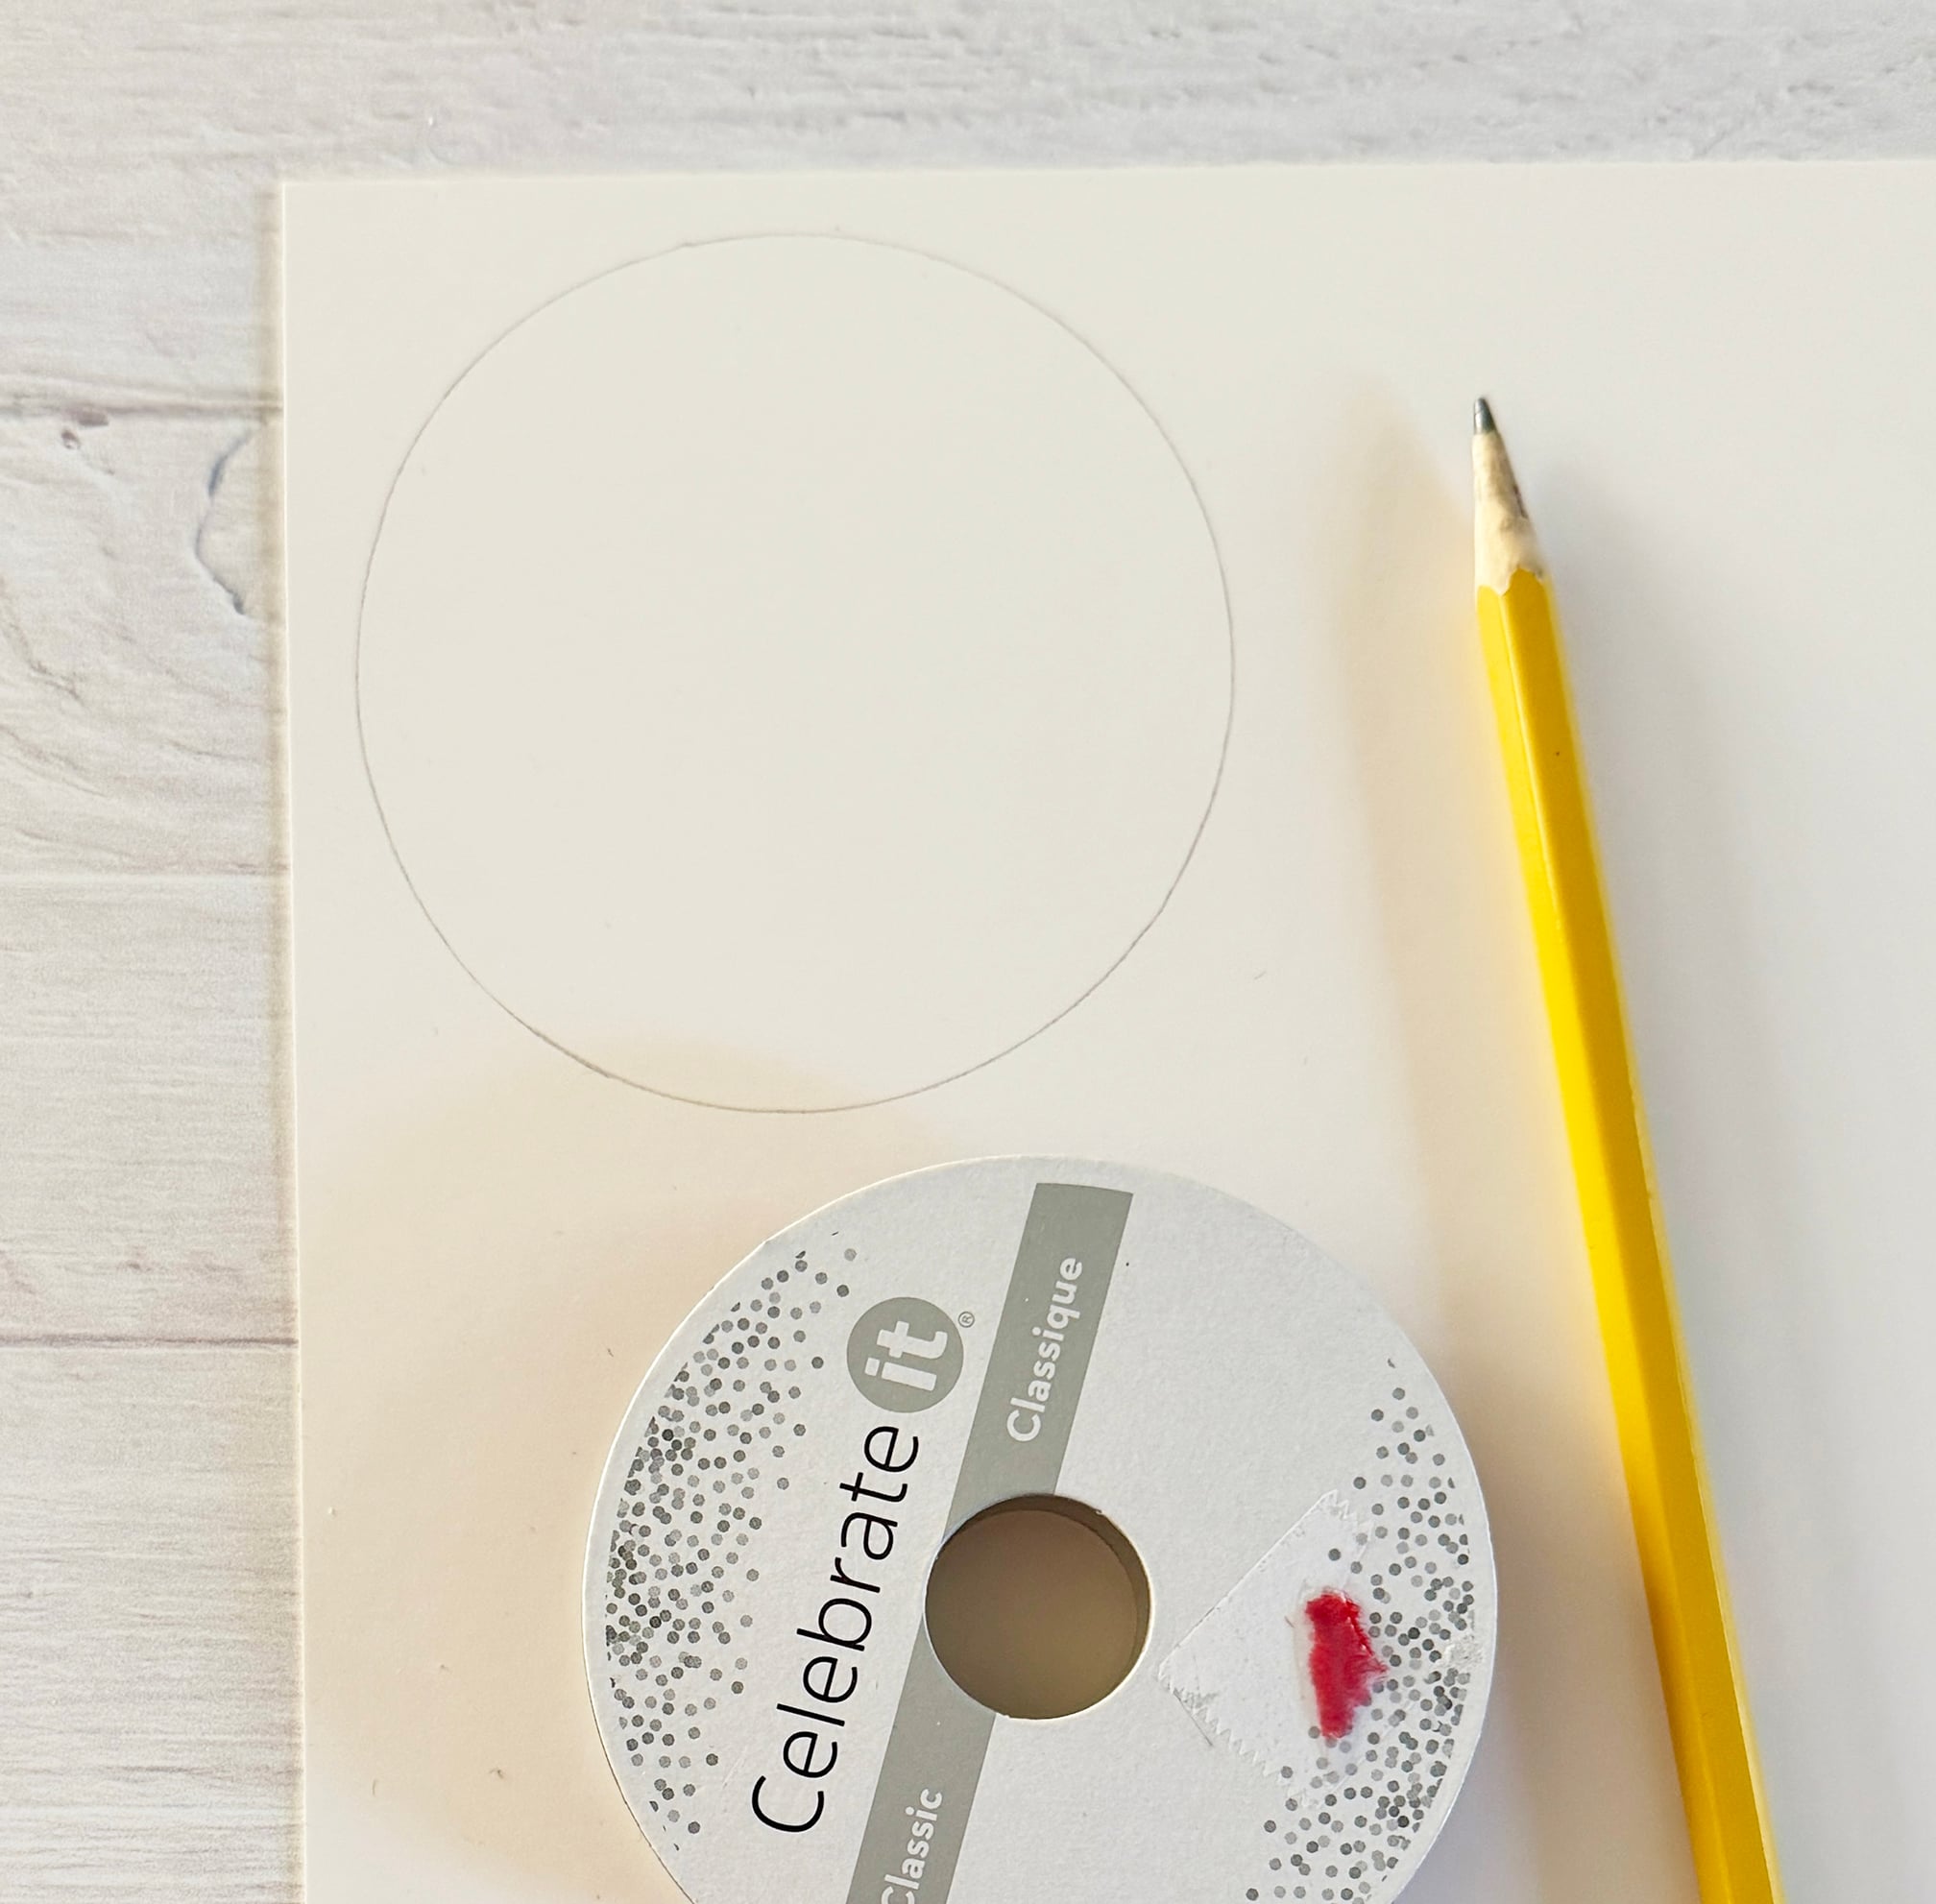
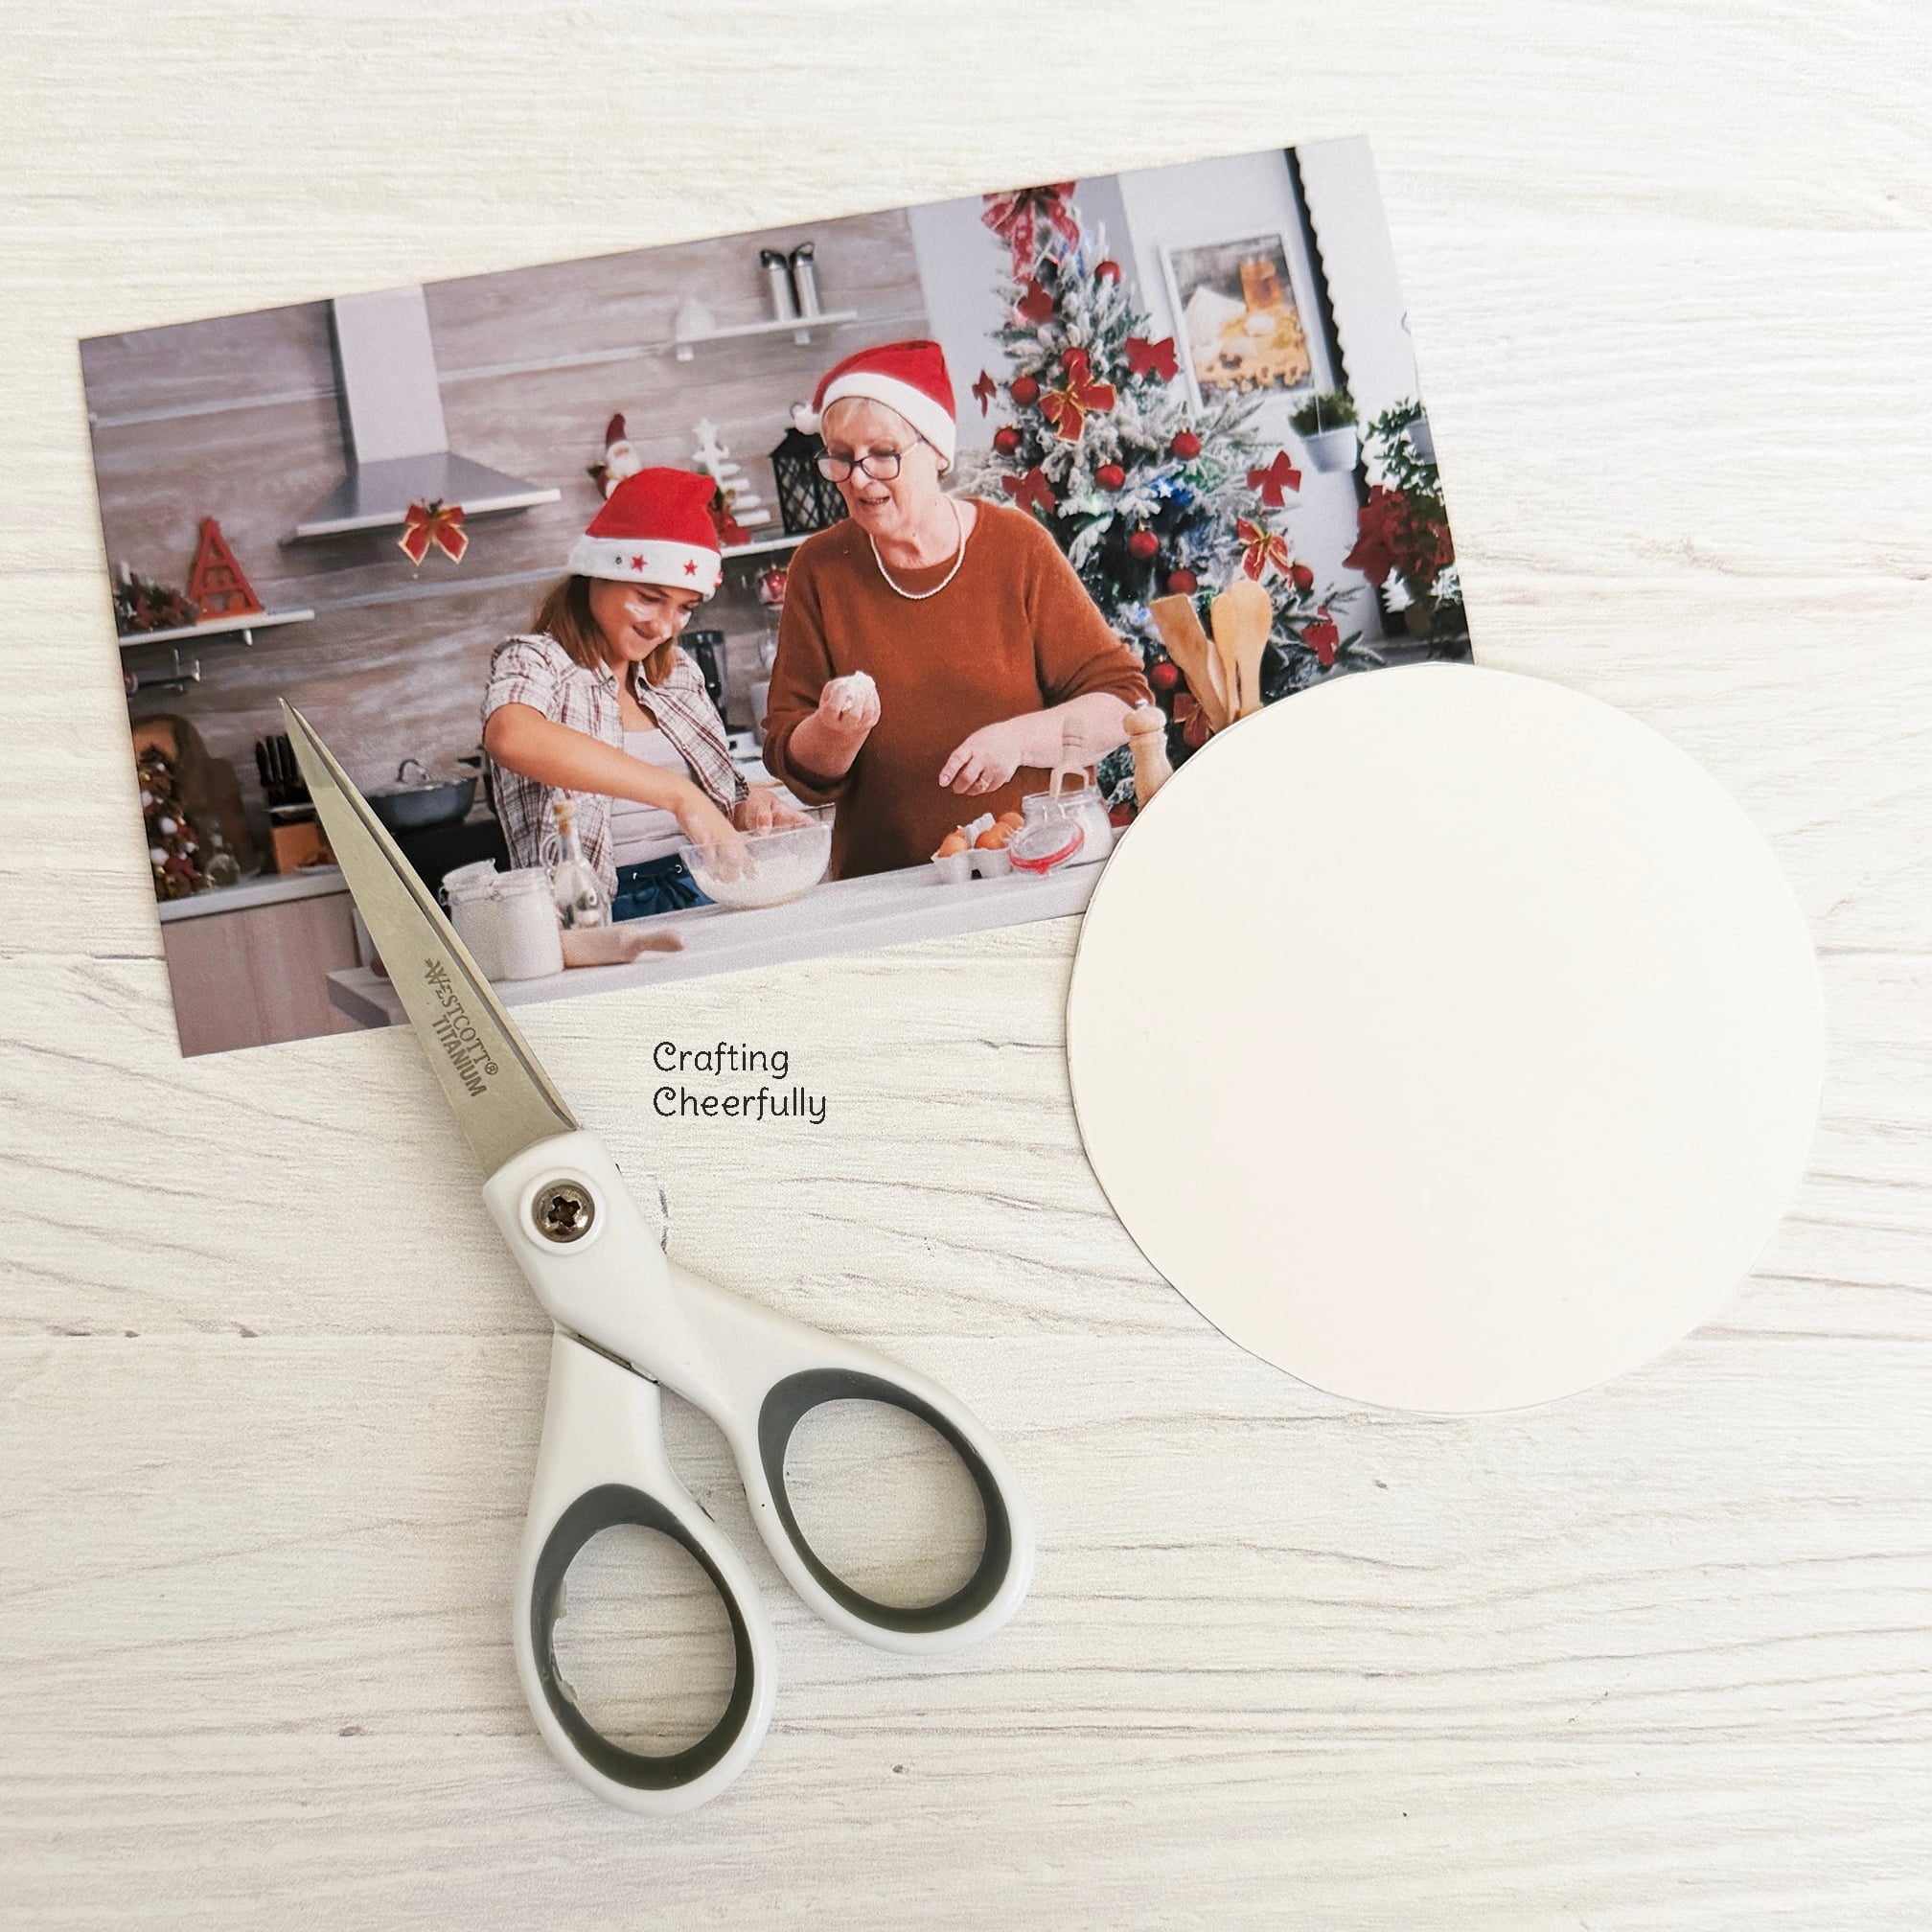
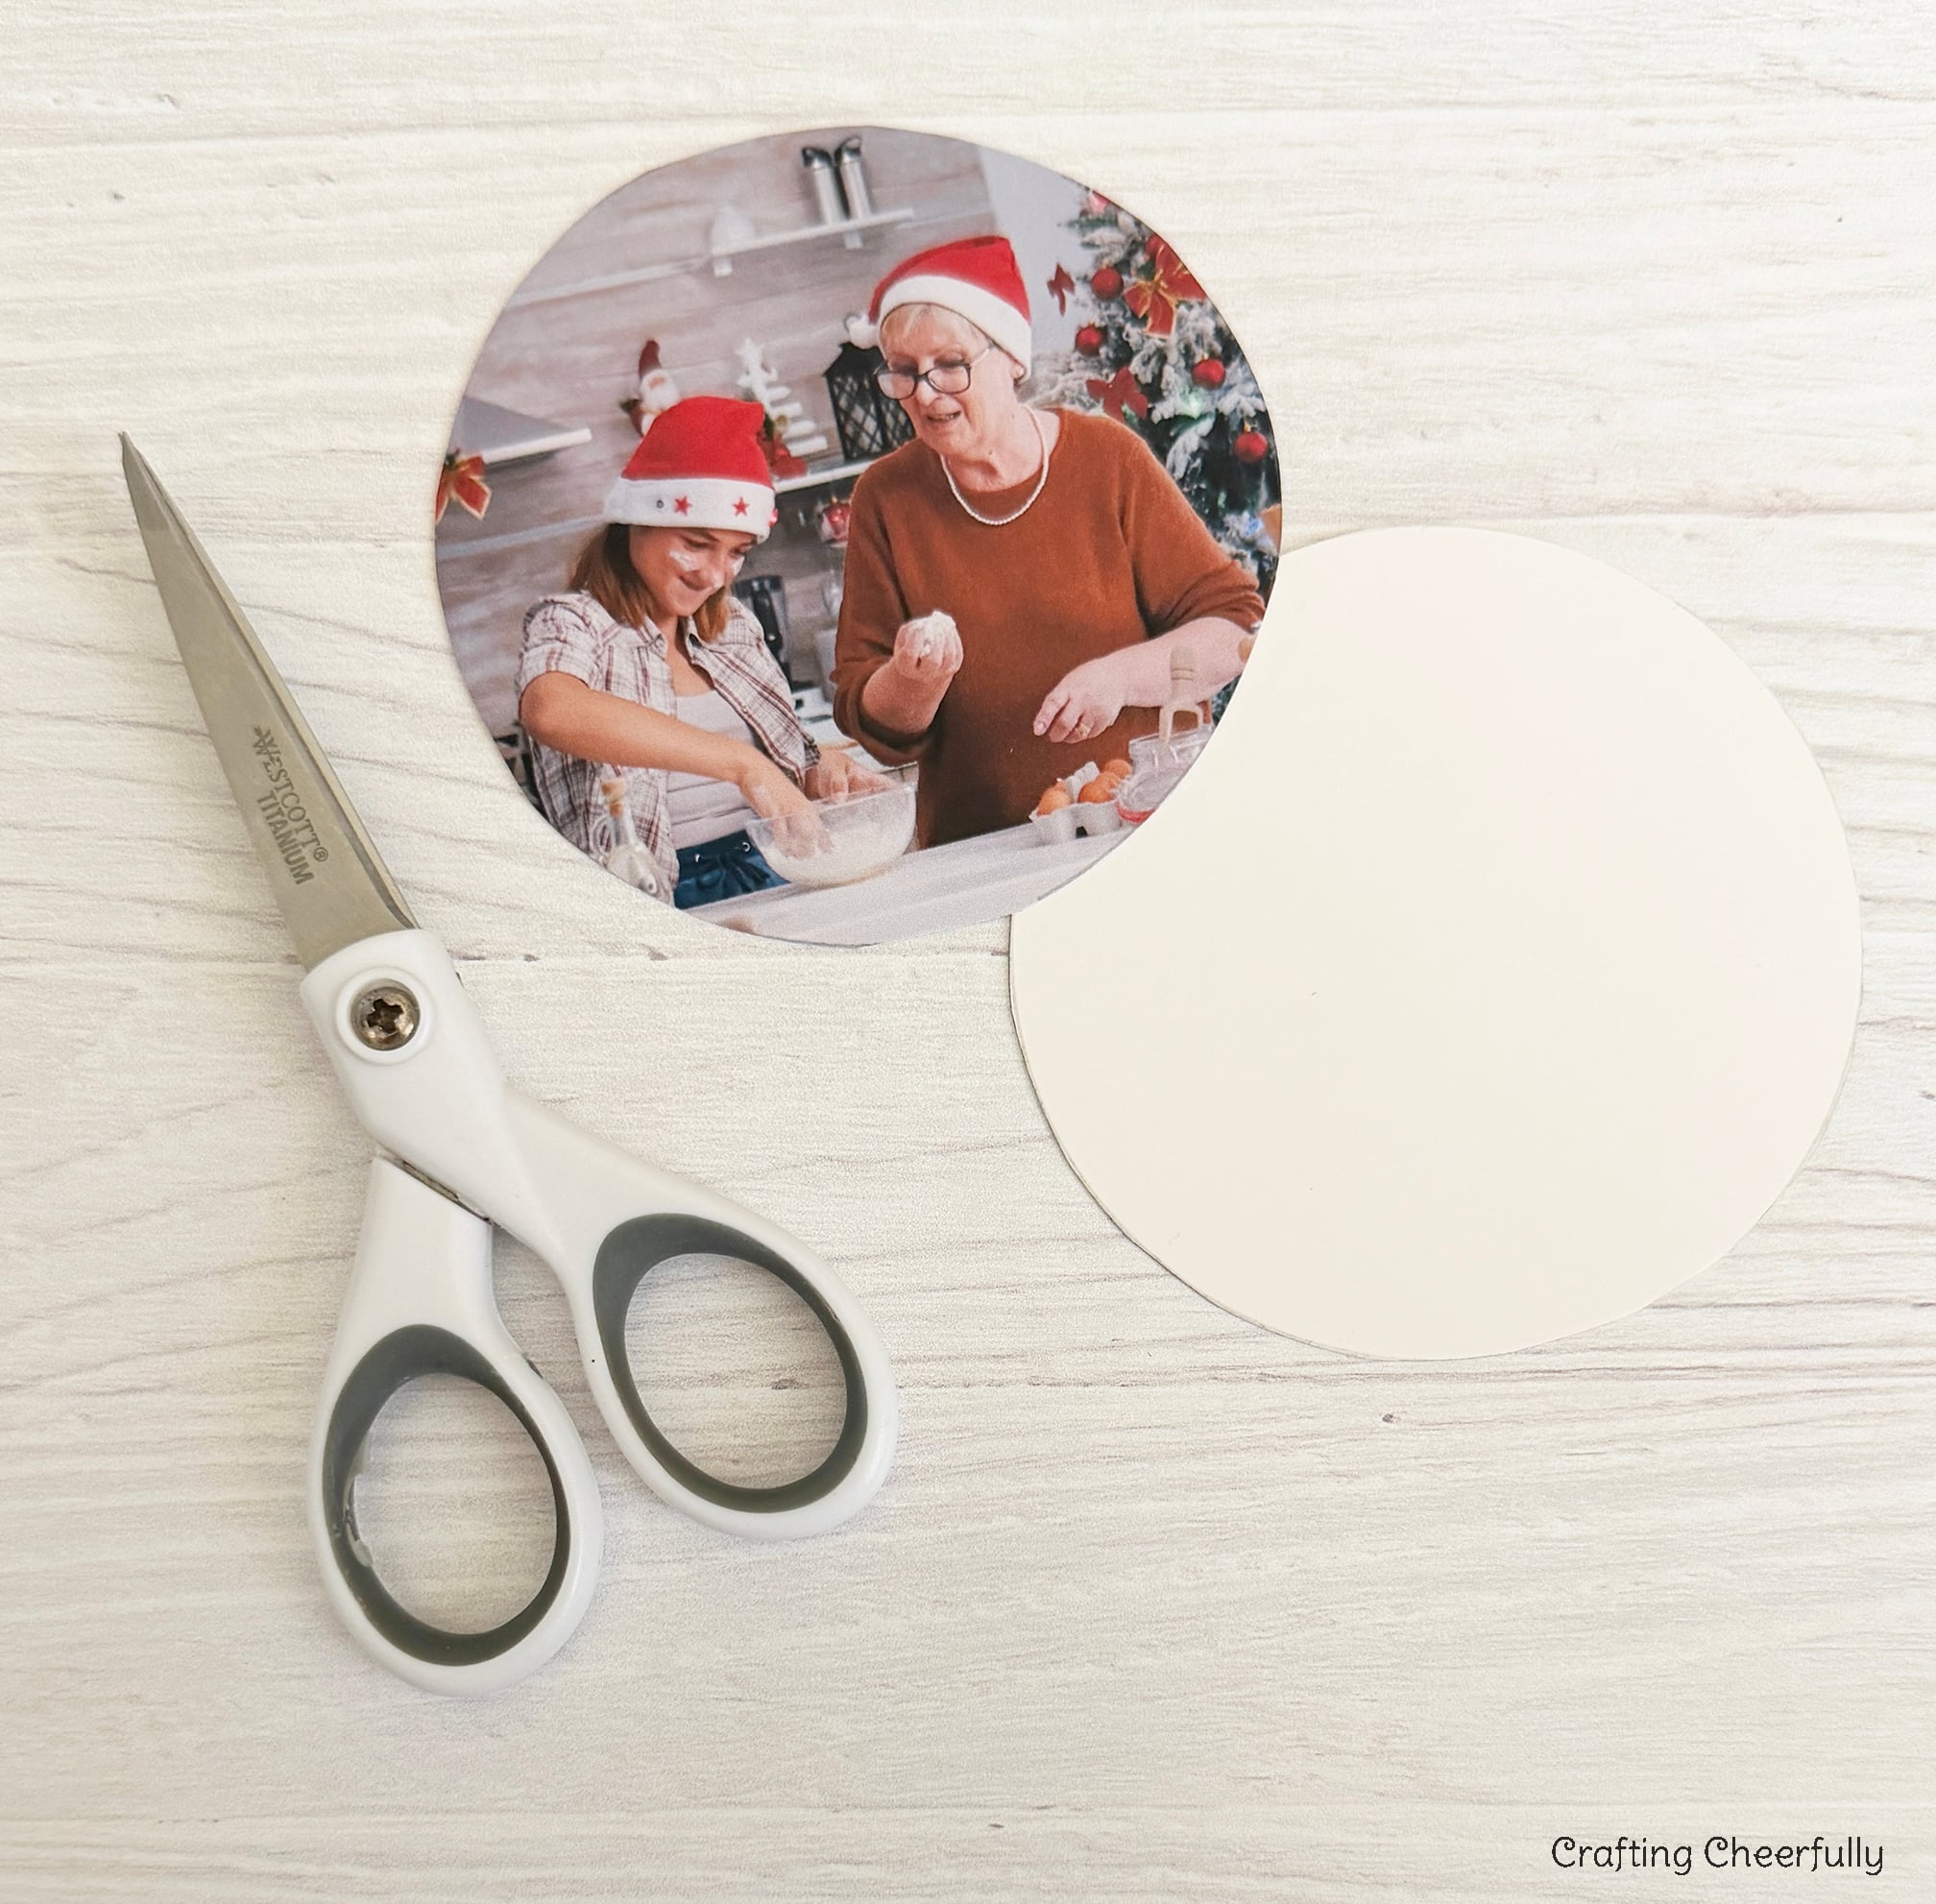
Step One: This ornament needs three circles all cut to the same size. Start by cutting the first one out of chipboard and then using it to trace and cut out circles from a photo and piece of red cardstock. I traced a ribbon spool onto my white chipboard, which created a 3.25″ circle.

Creating the Rick Rack Trim
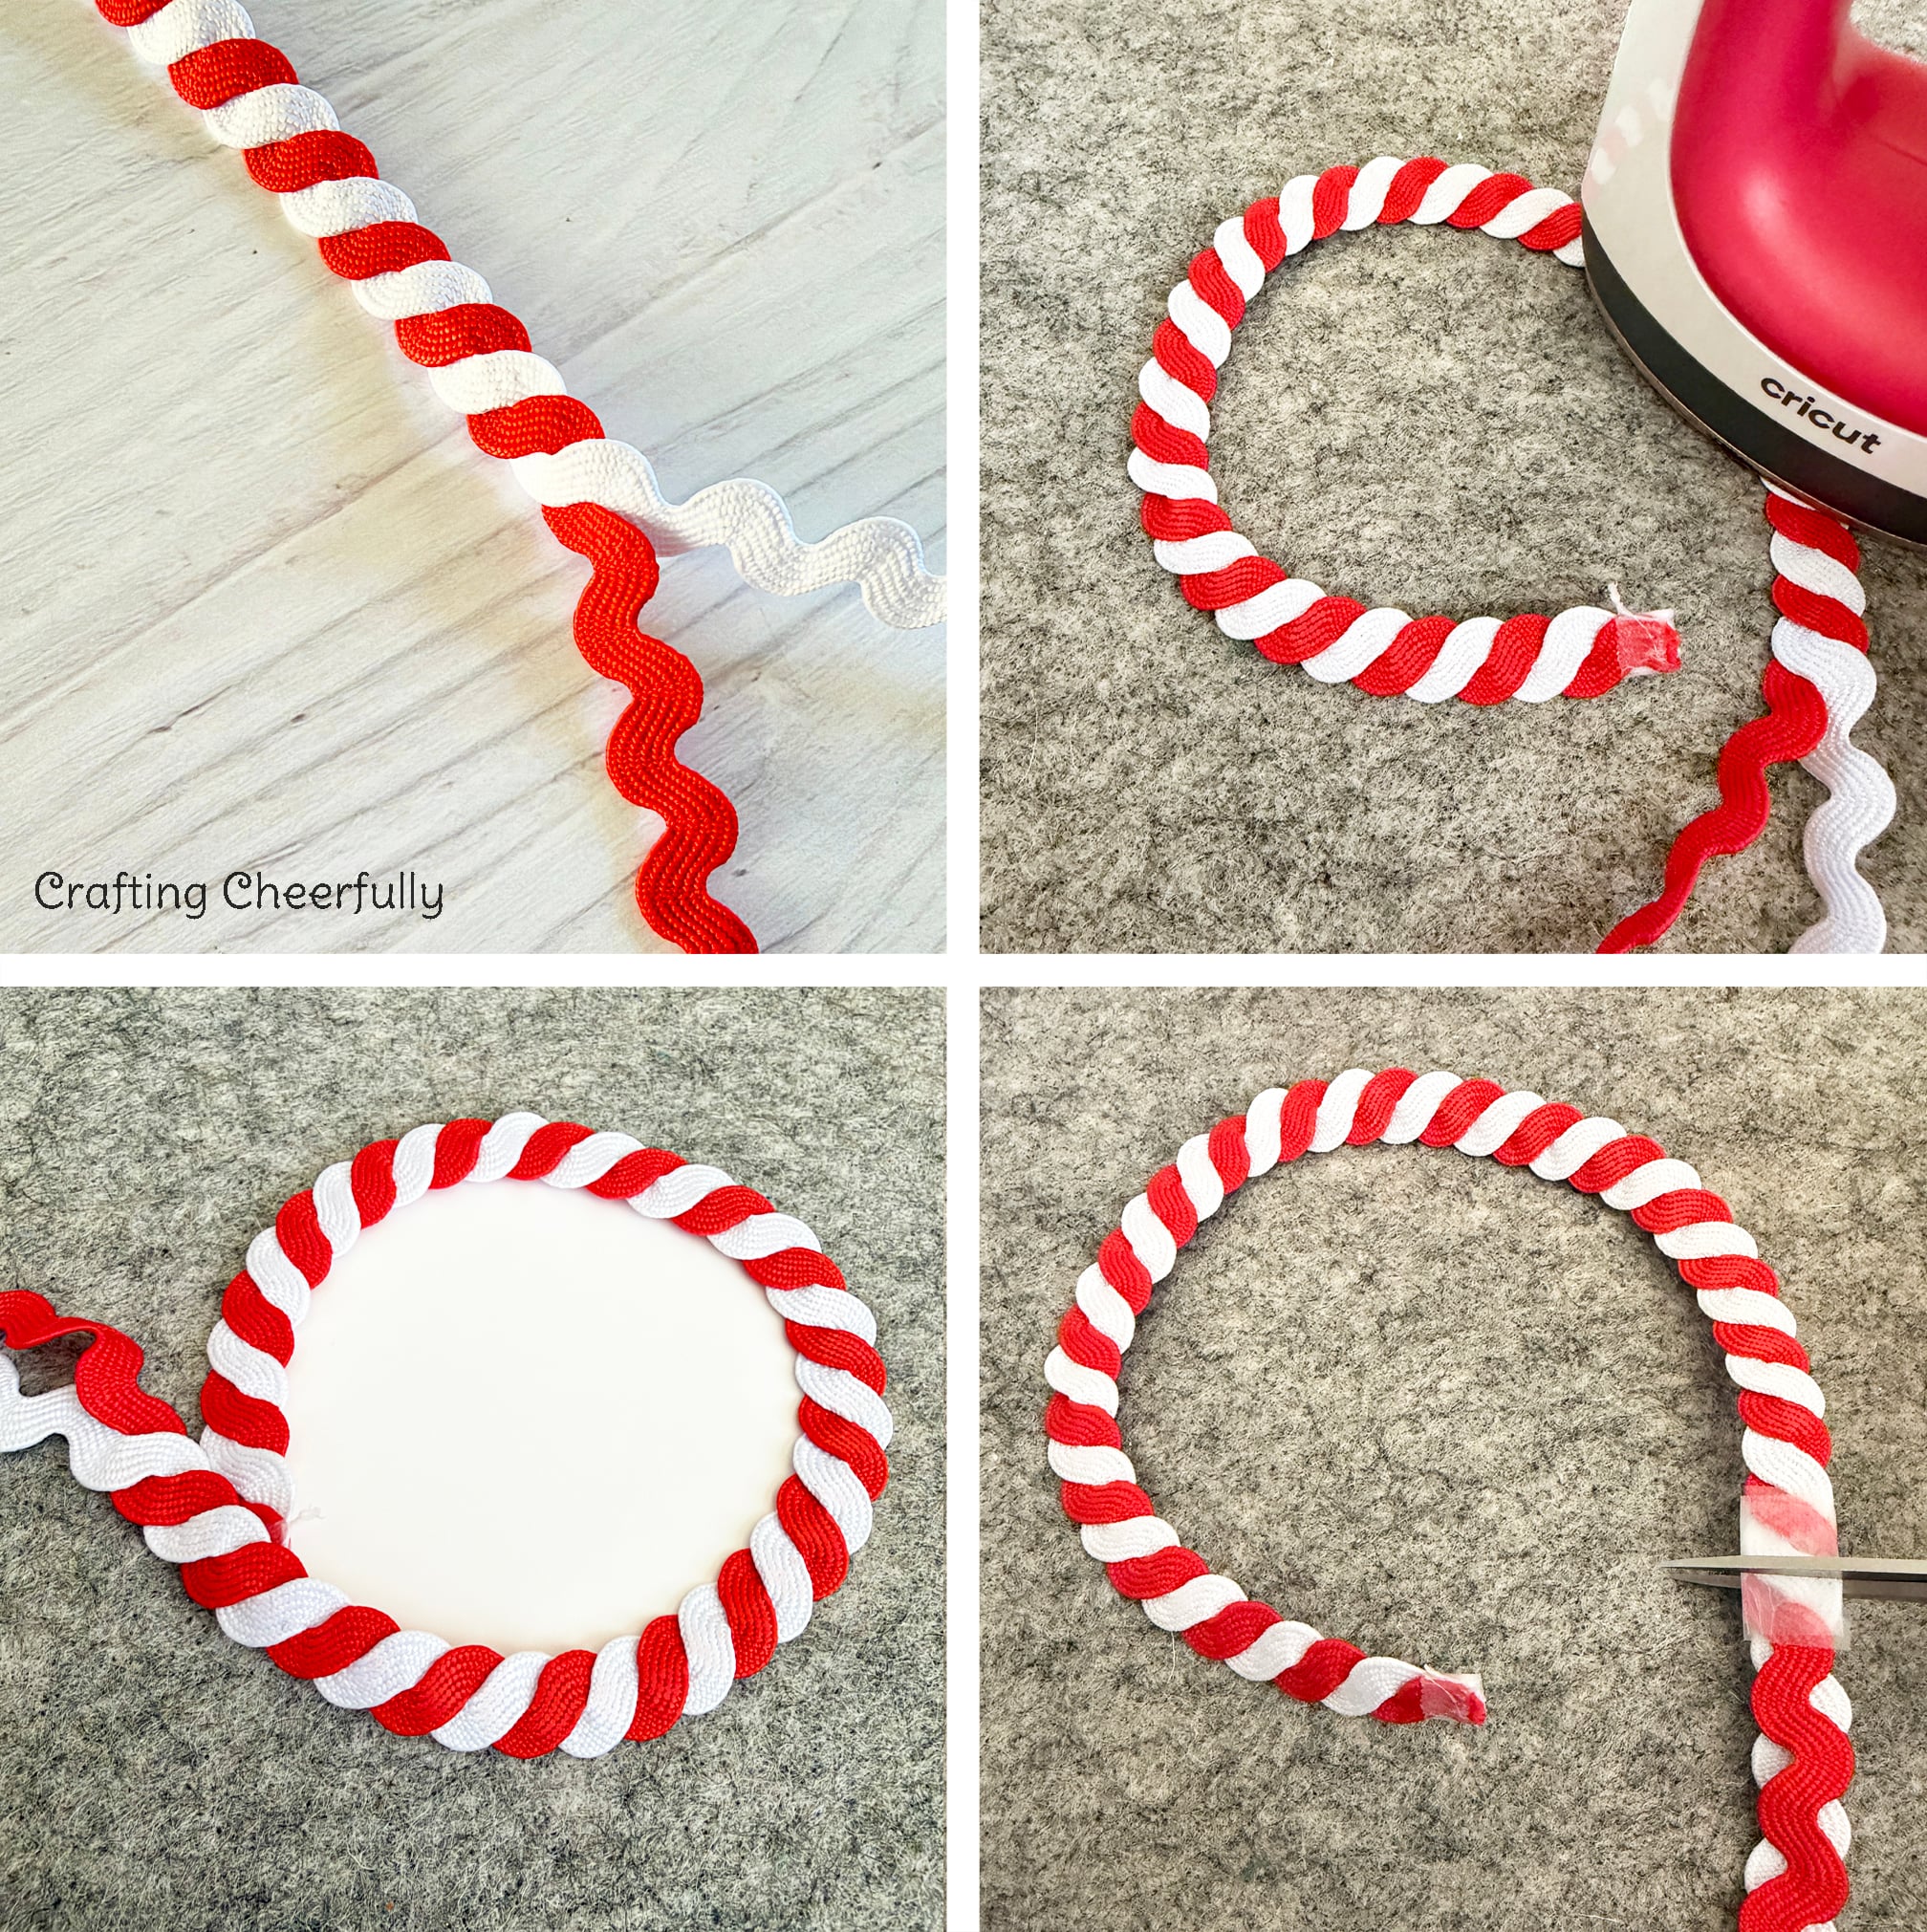
Step Two: Twist the white and red rick rack trim to create a long strip of rick rack that looks like a candy cane. Use an iron to press the rick rack into a circle. Wrap the ends in clear tape and cut to fit the circumference of the round chipboard piece.
Creating the Candy Cane Wreath
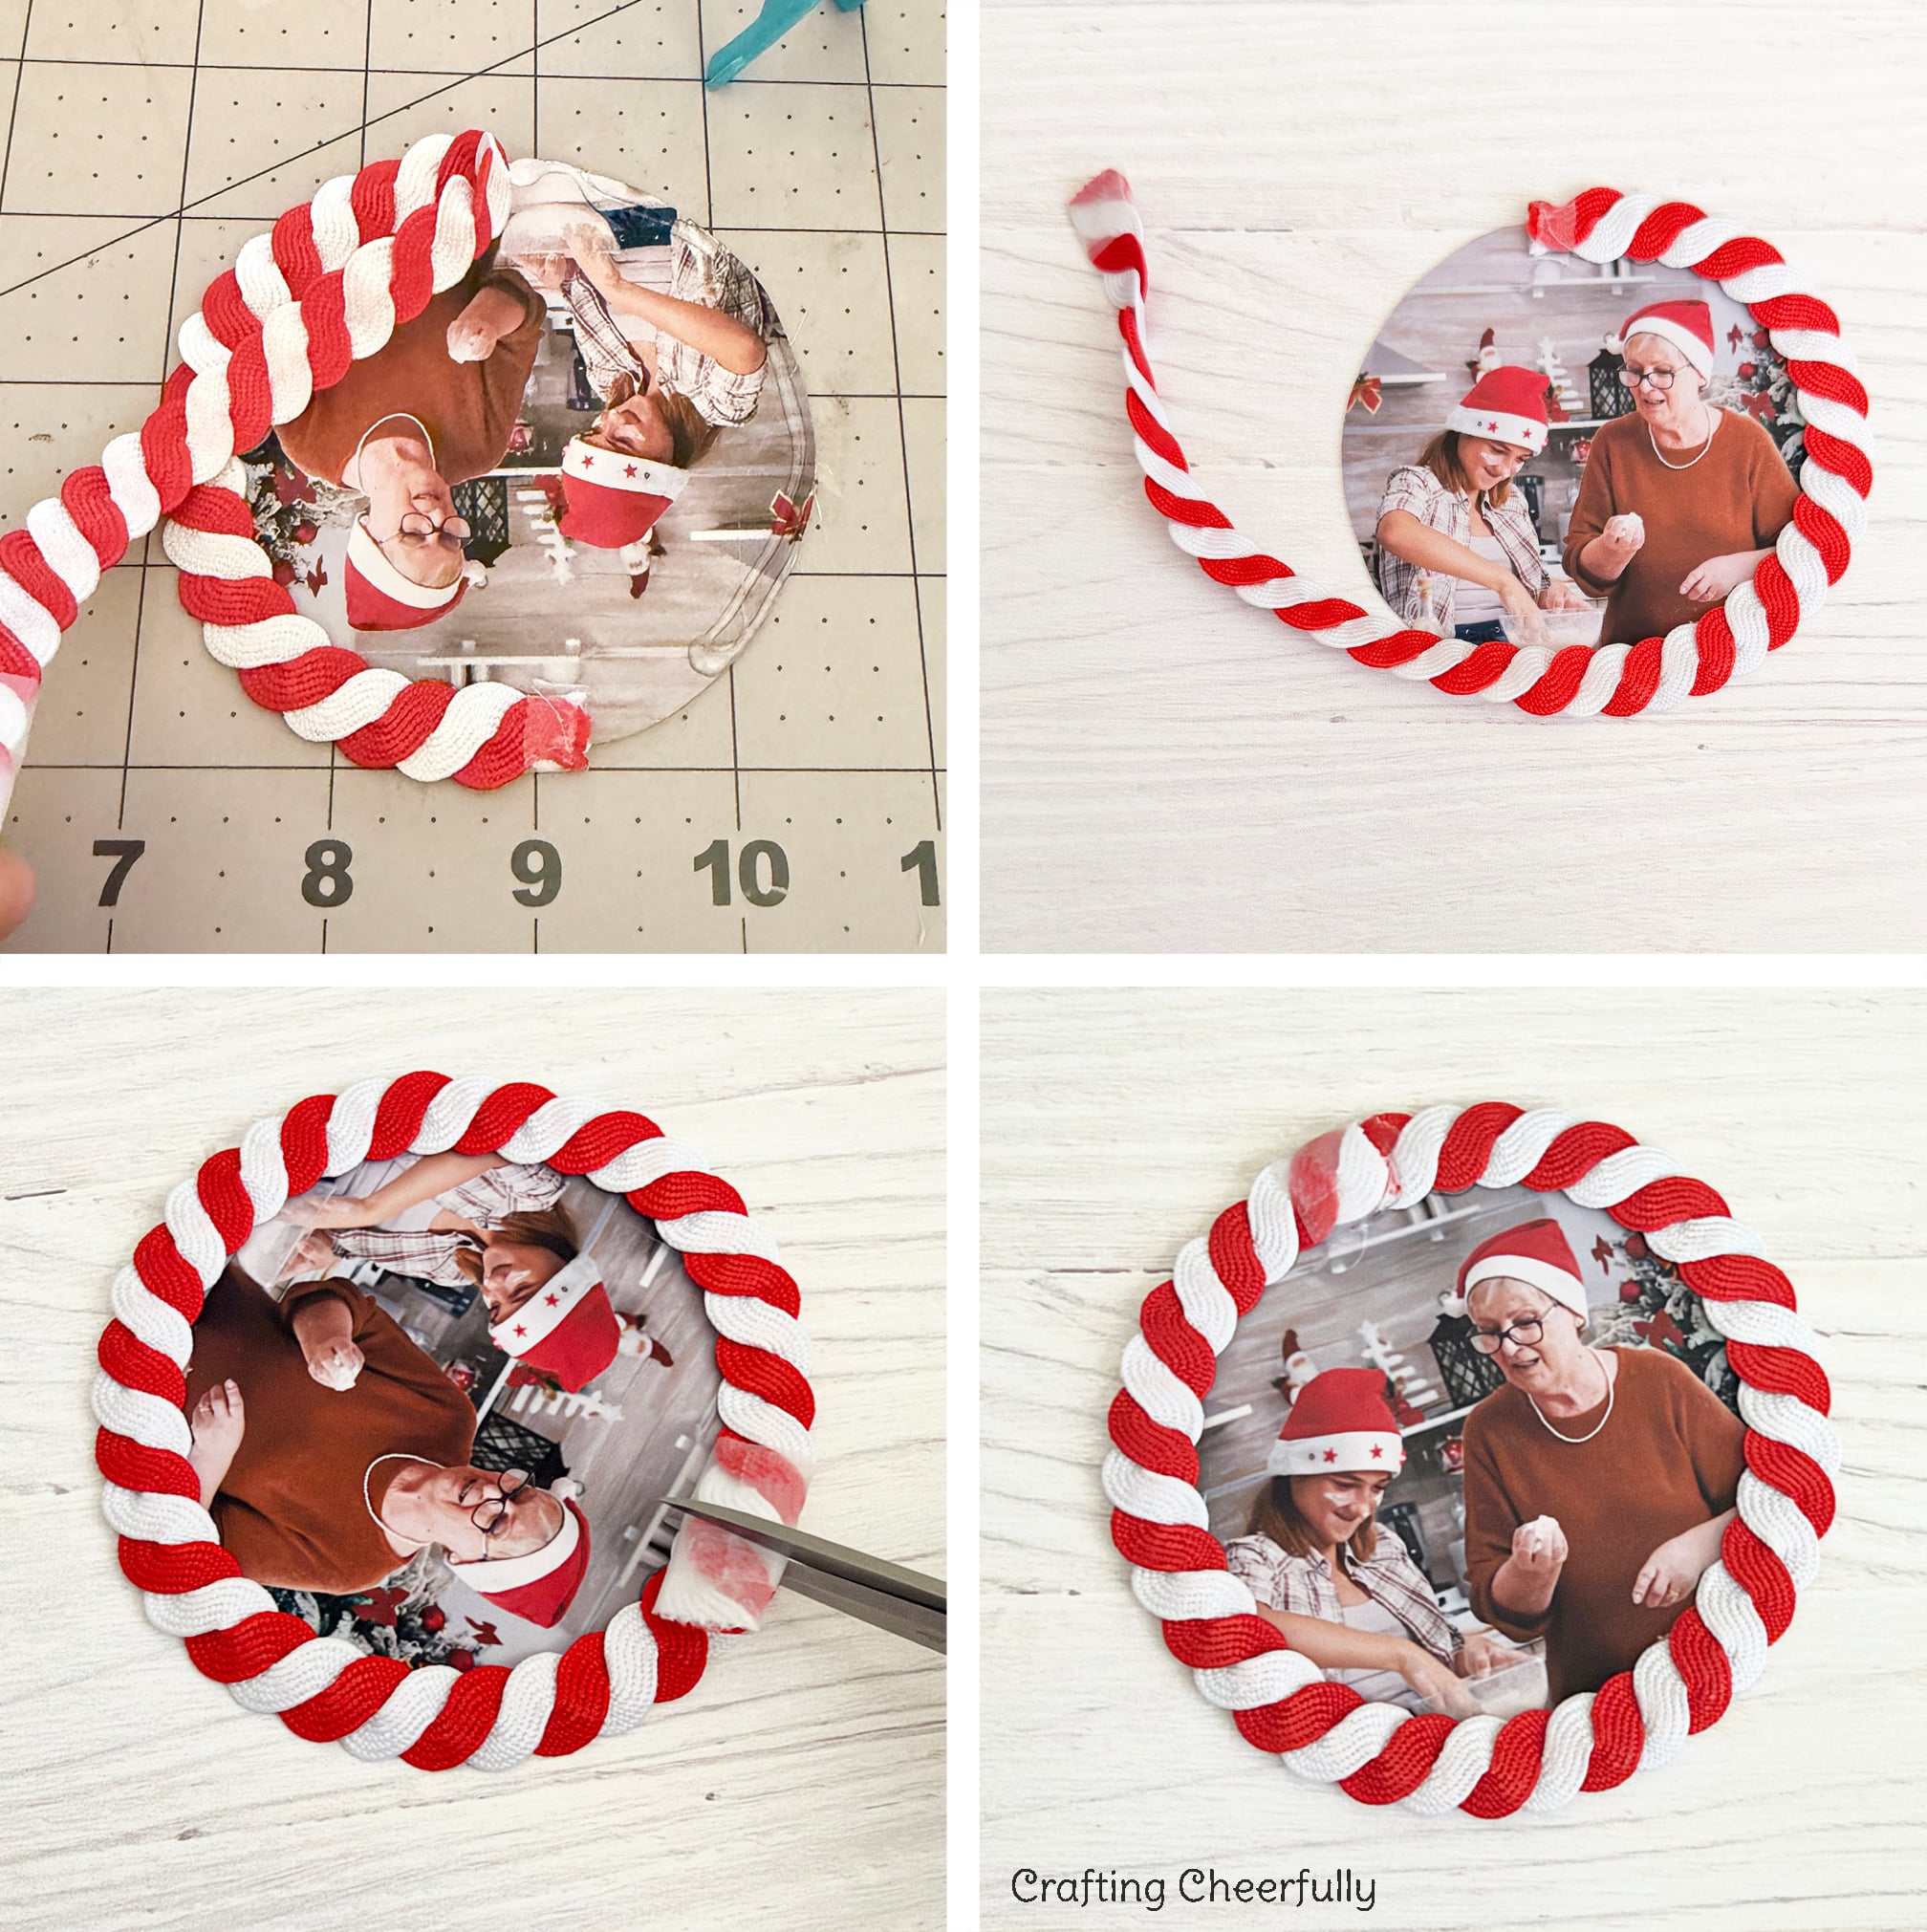
Step Three: Adhere the photo to the chipboard piece. Glue one end of the rick rack to the top center of the photo and wrap it around the edge of the photo gluing as you go. Trim the rick rack so the two ends meet.
Step Four: Cover the point where the two ends of the rick rack meet with a small piece of red ribbon. Glue a red bow to cover the ribbon.
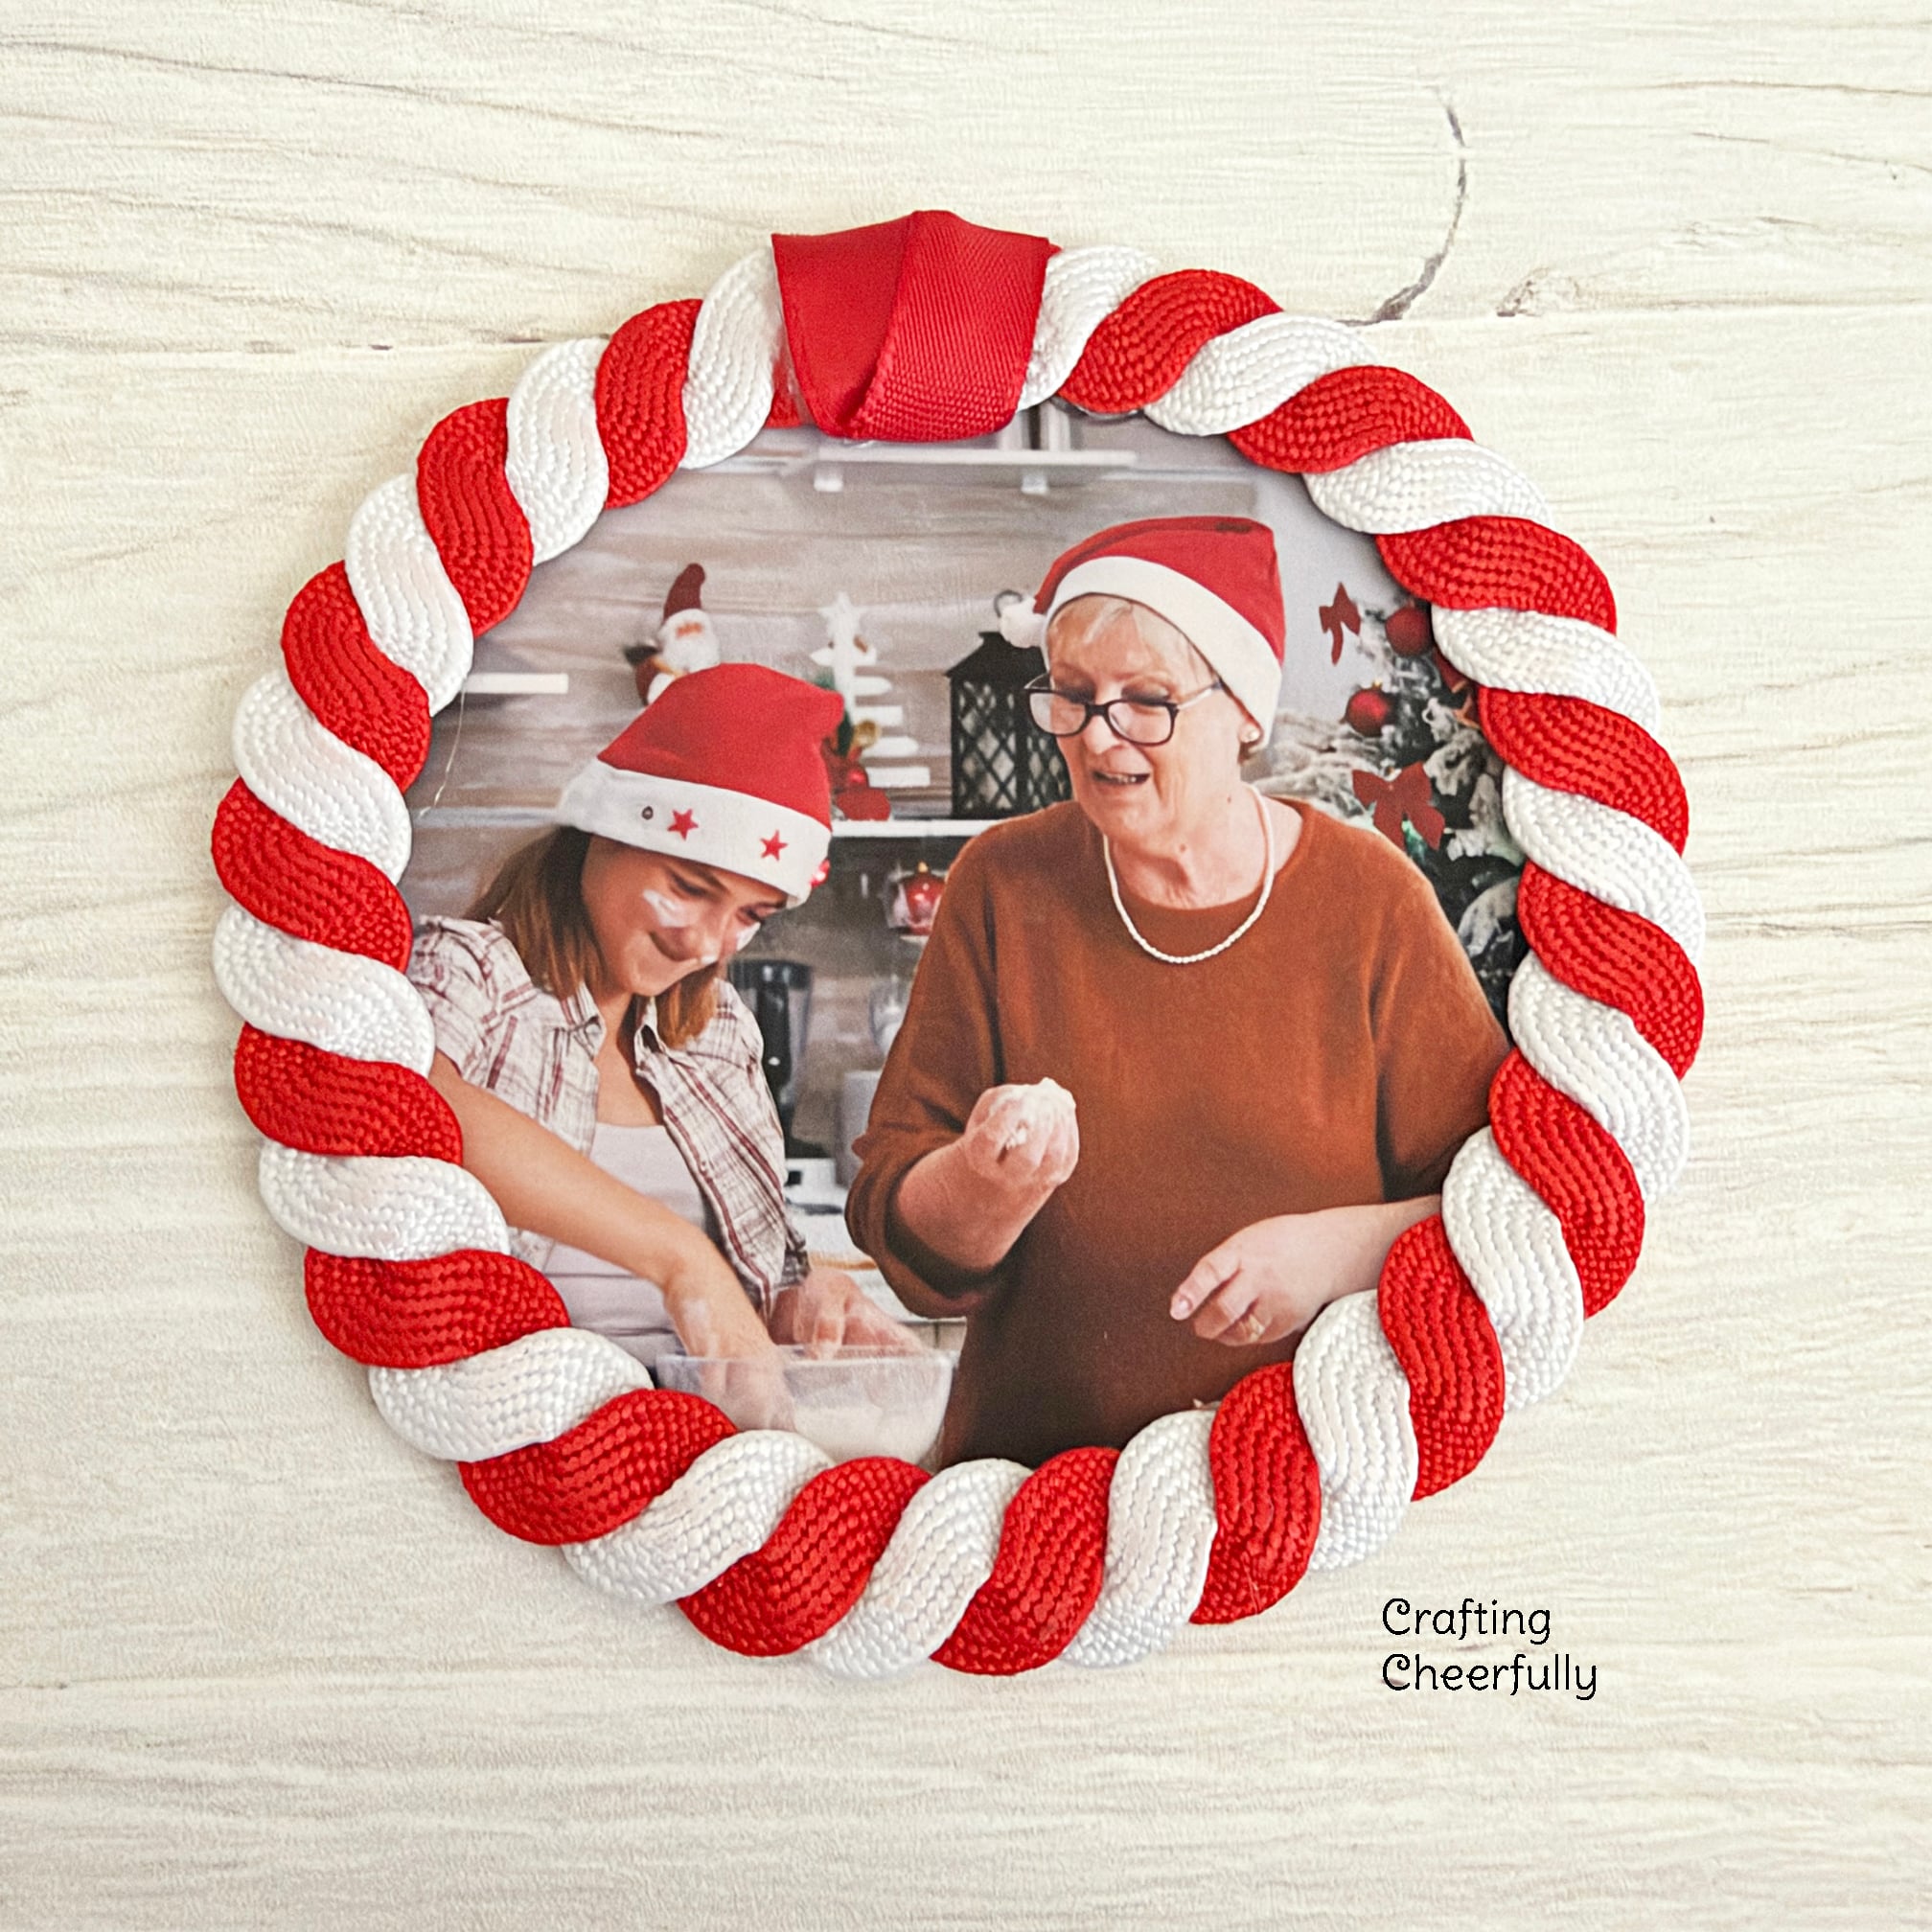

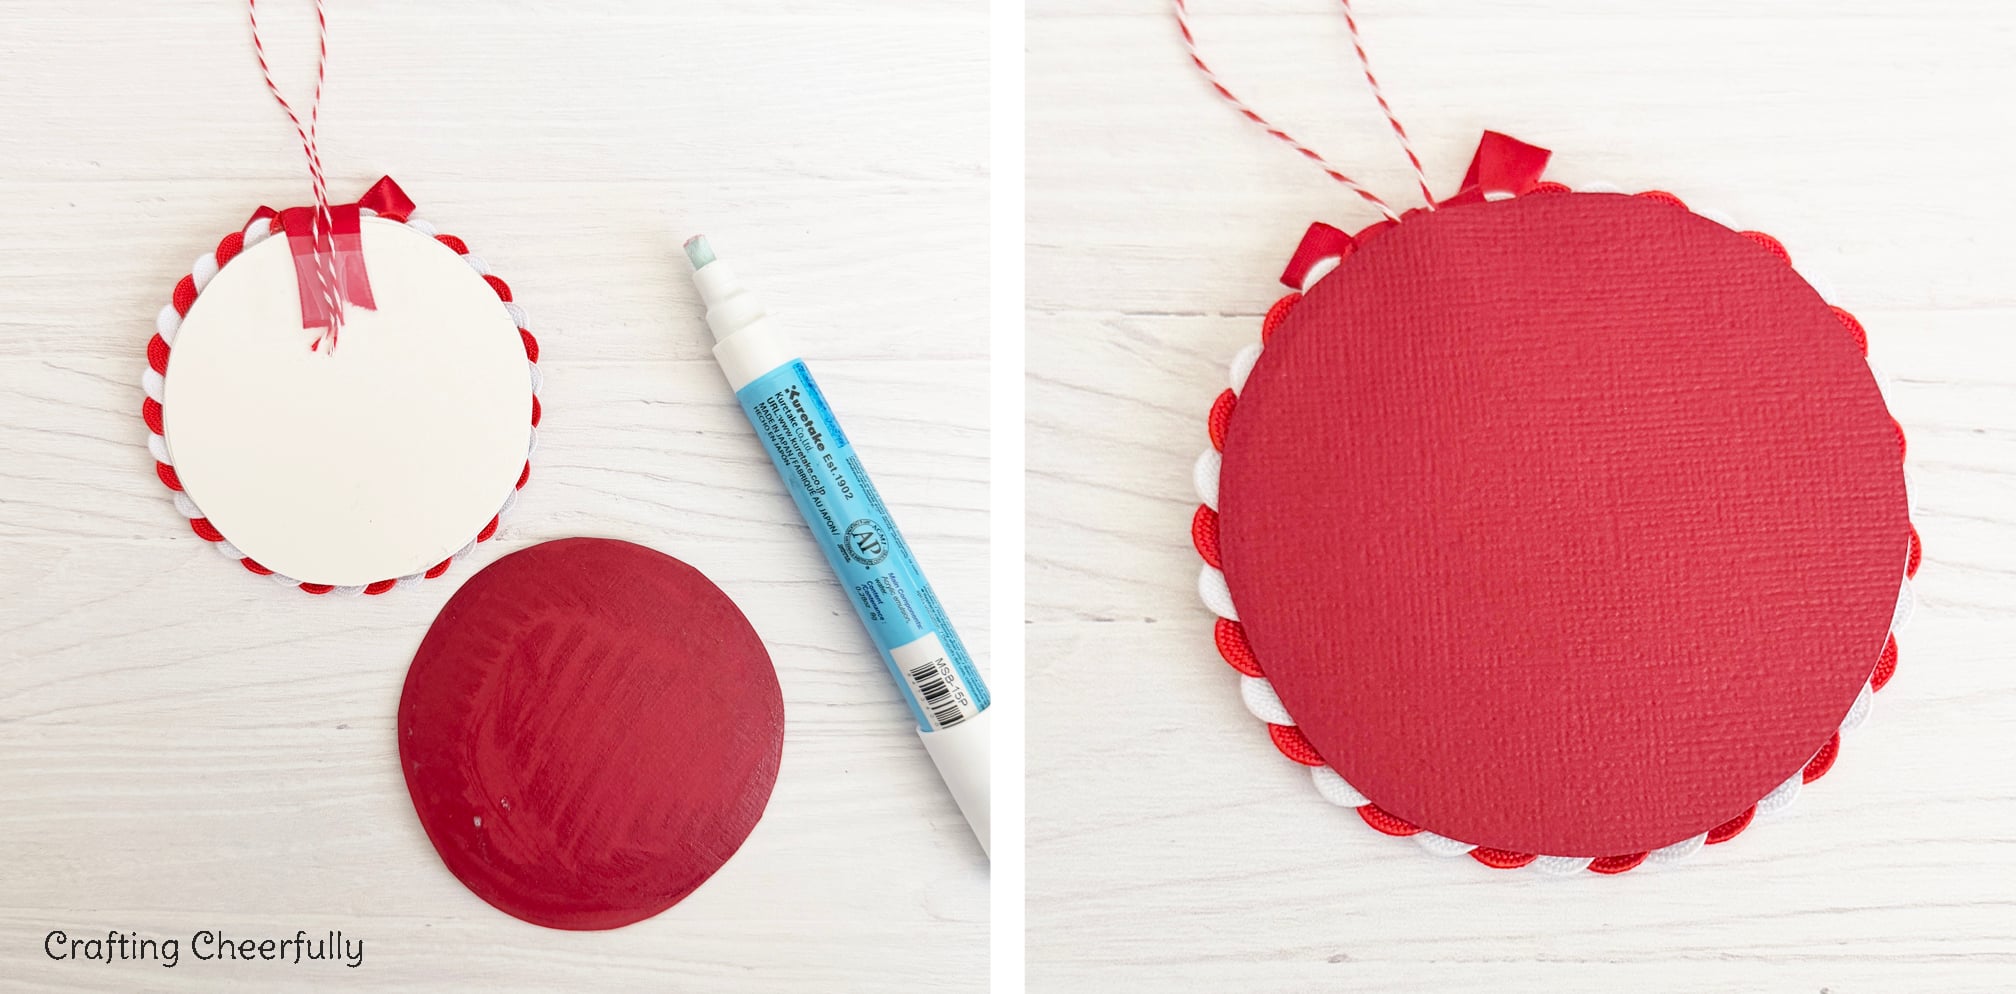
Step Five: Add the hanging loop to the back of the ornament with tape and then cover the back of the ornament with the red cardstock.
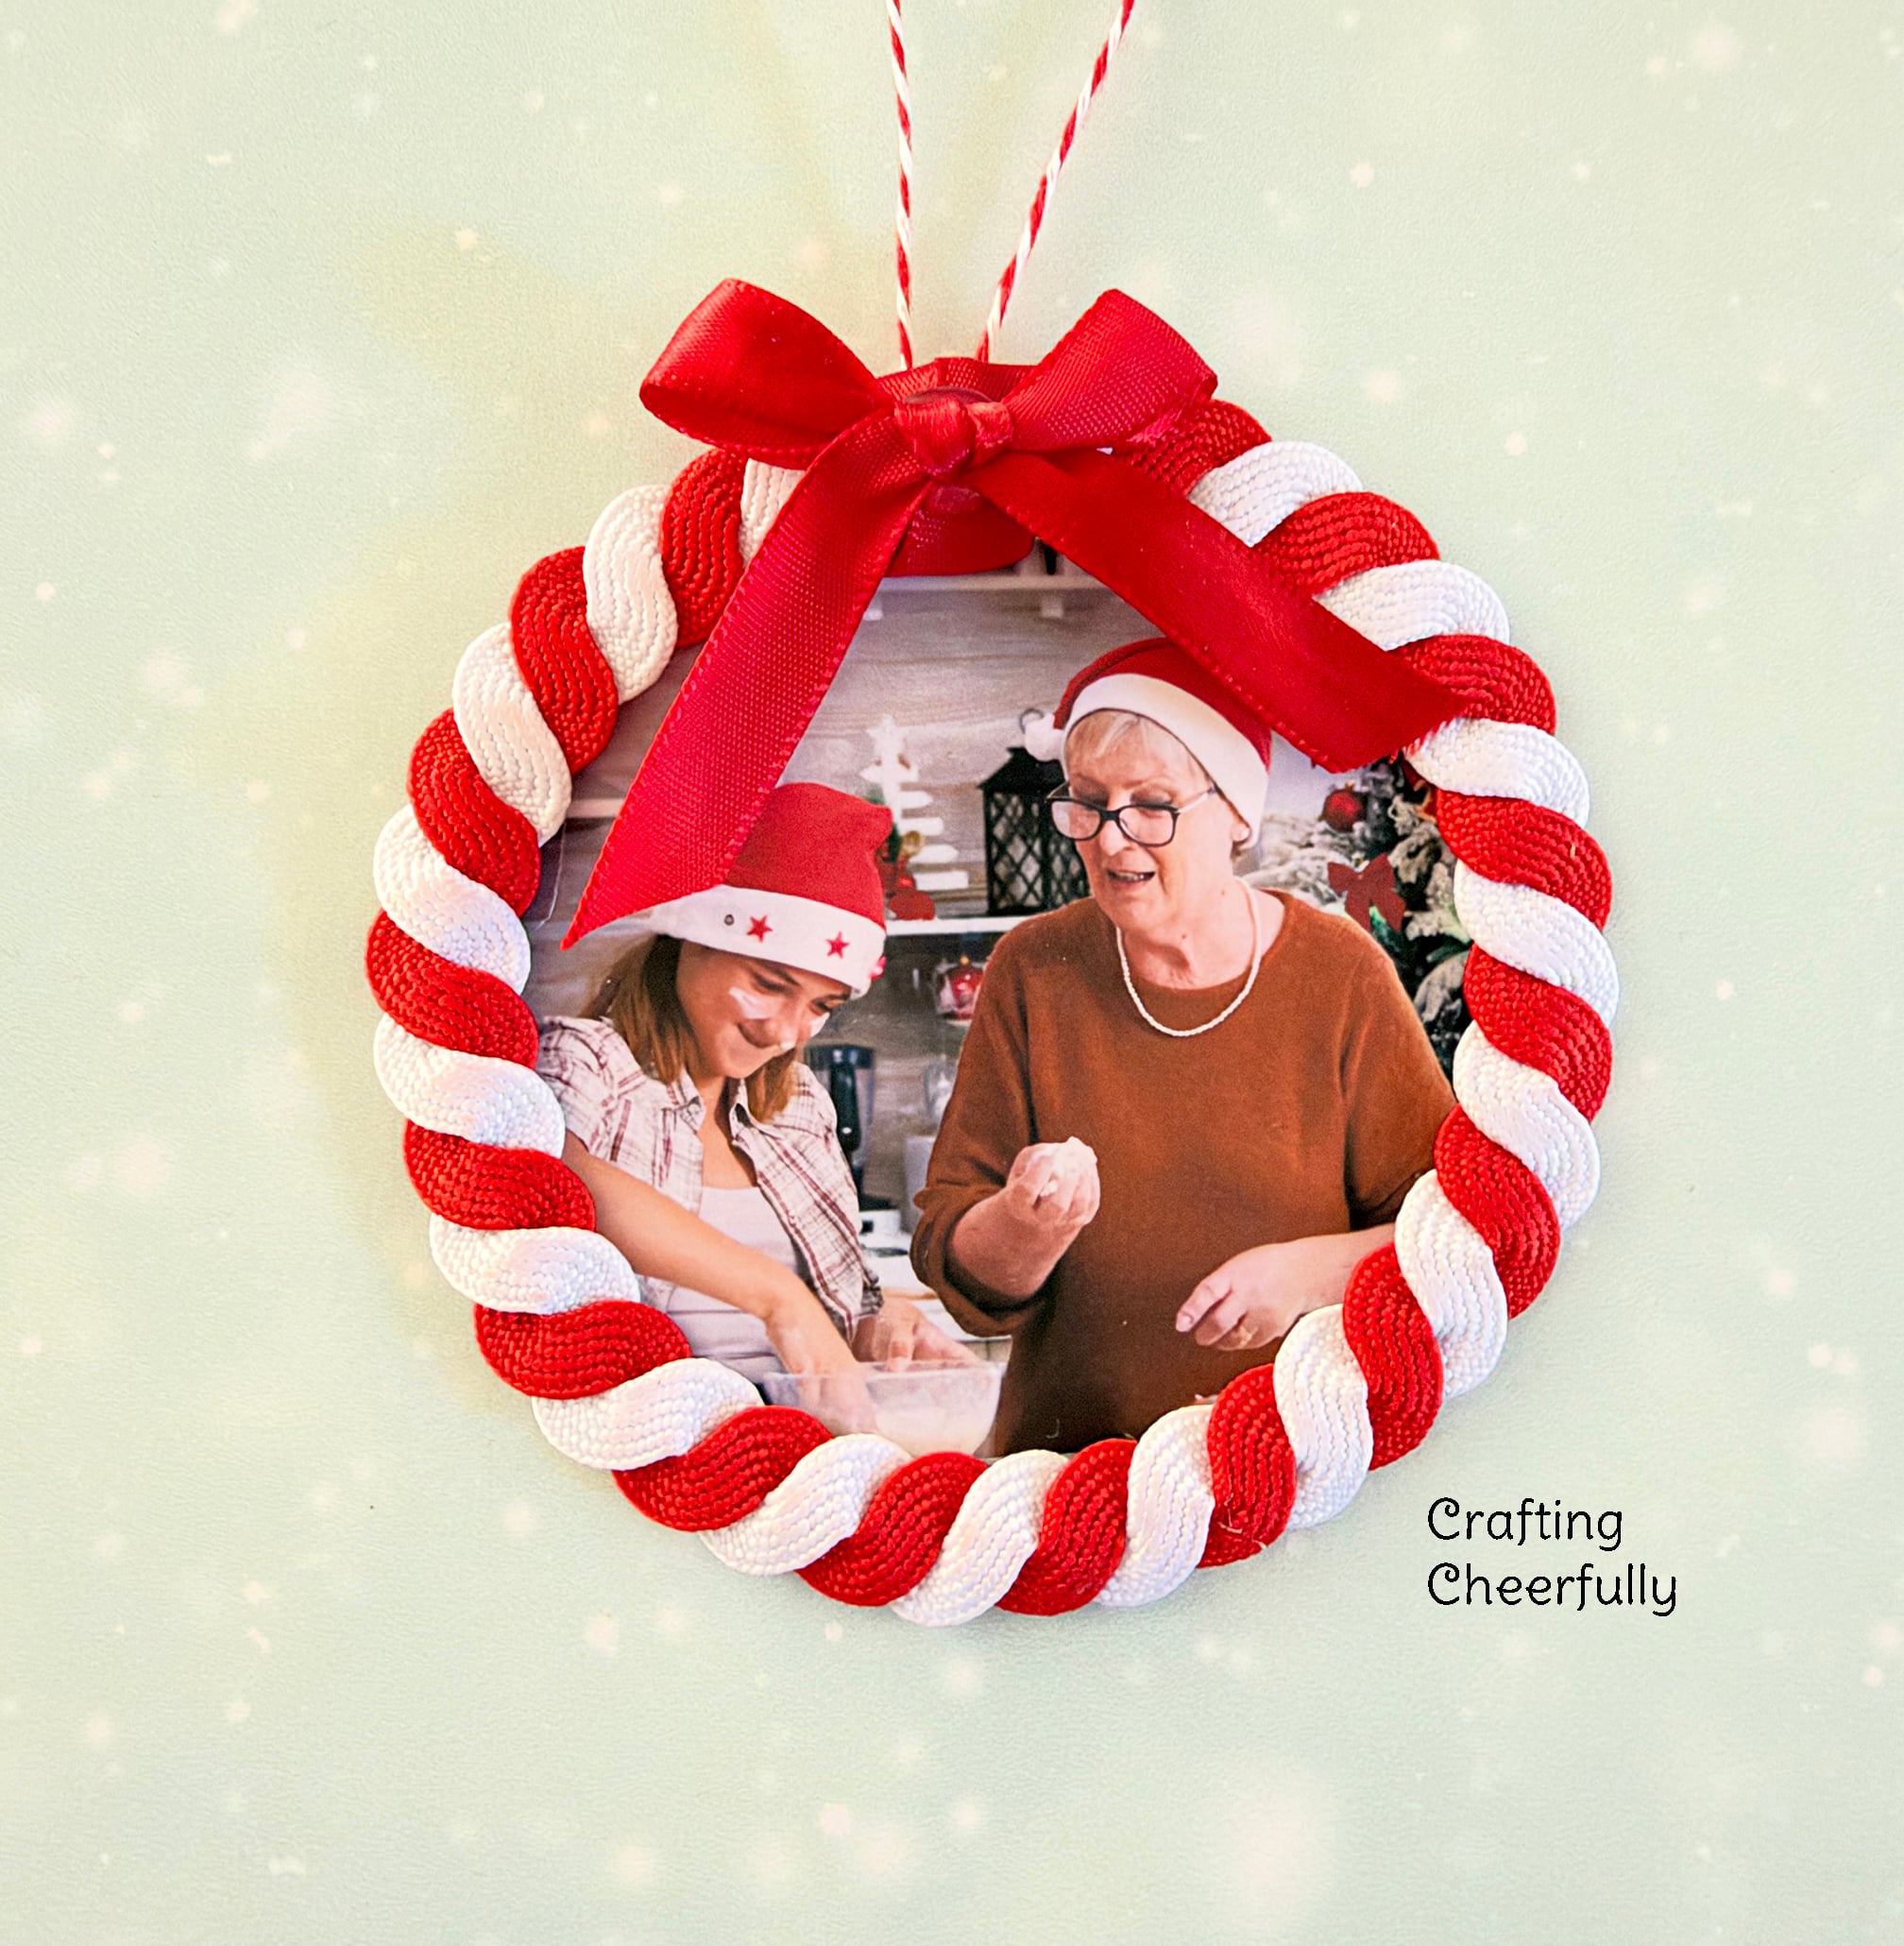
The candy cane rick rack ornament is complete! I love how cute this ornament turned out! I’ll be back tomorrow with the final, twelfth day of my series, 12 Days of Holiday Crafts. If you are interested in handmade ornaments, be sure to check out my Handmade Ornament craft page.