Snowflake Fabric Banner
Decorate this holiday season with a snowflake fabric banner featuring cute snowmen! After the holidays, you can leave it up to enjoy the sparkle all winter long!
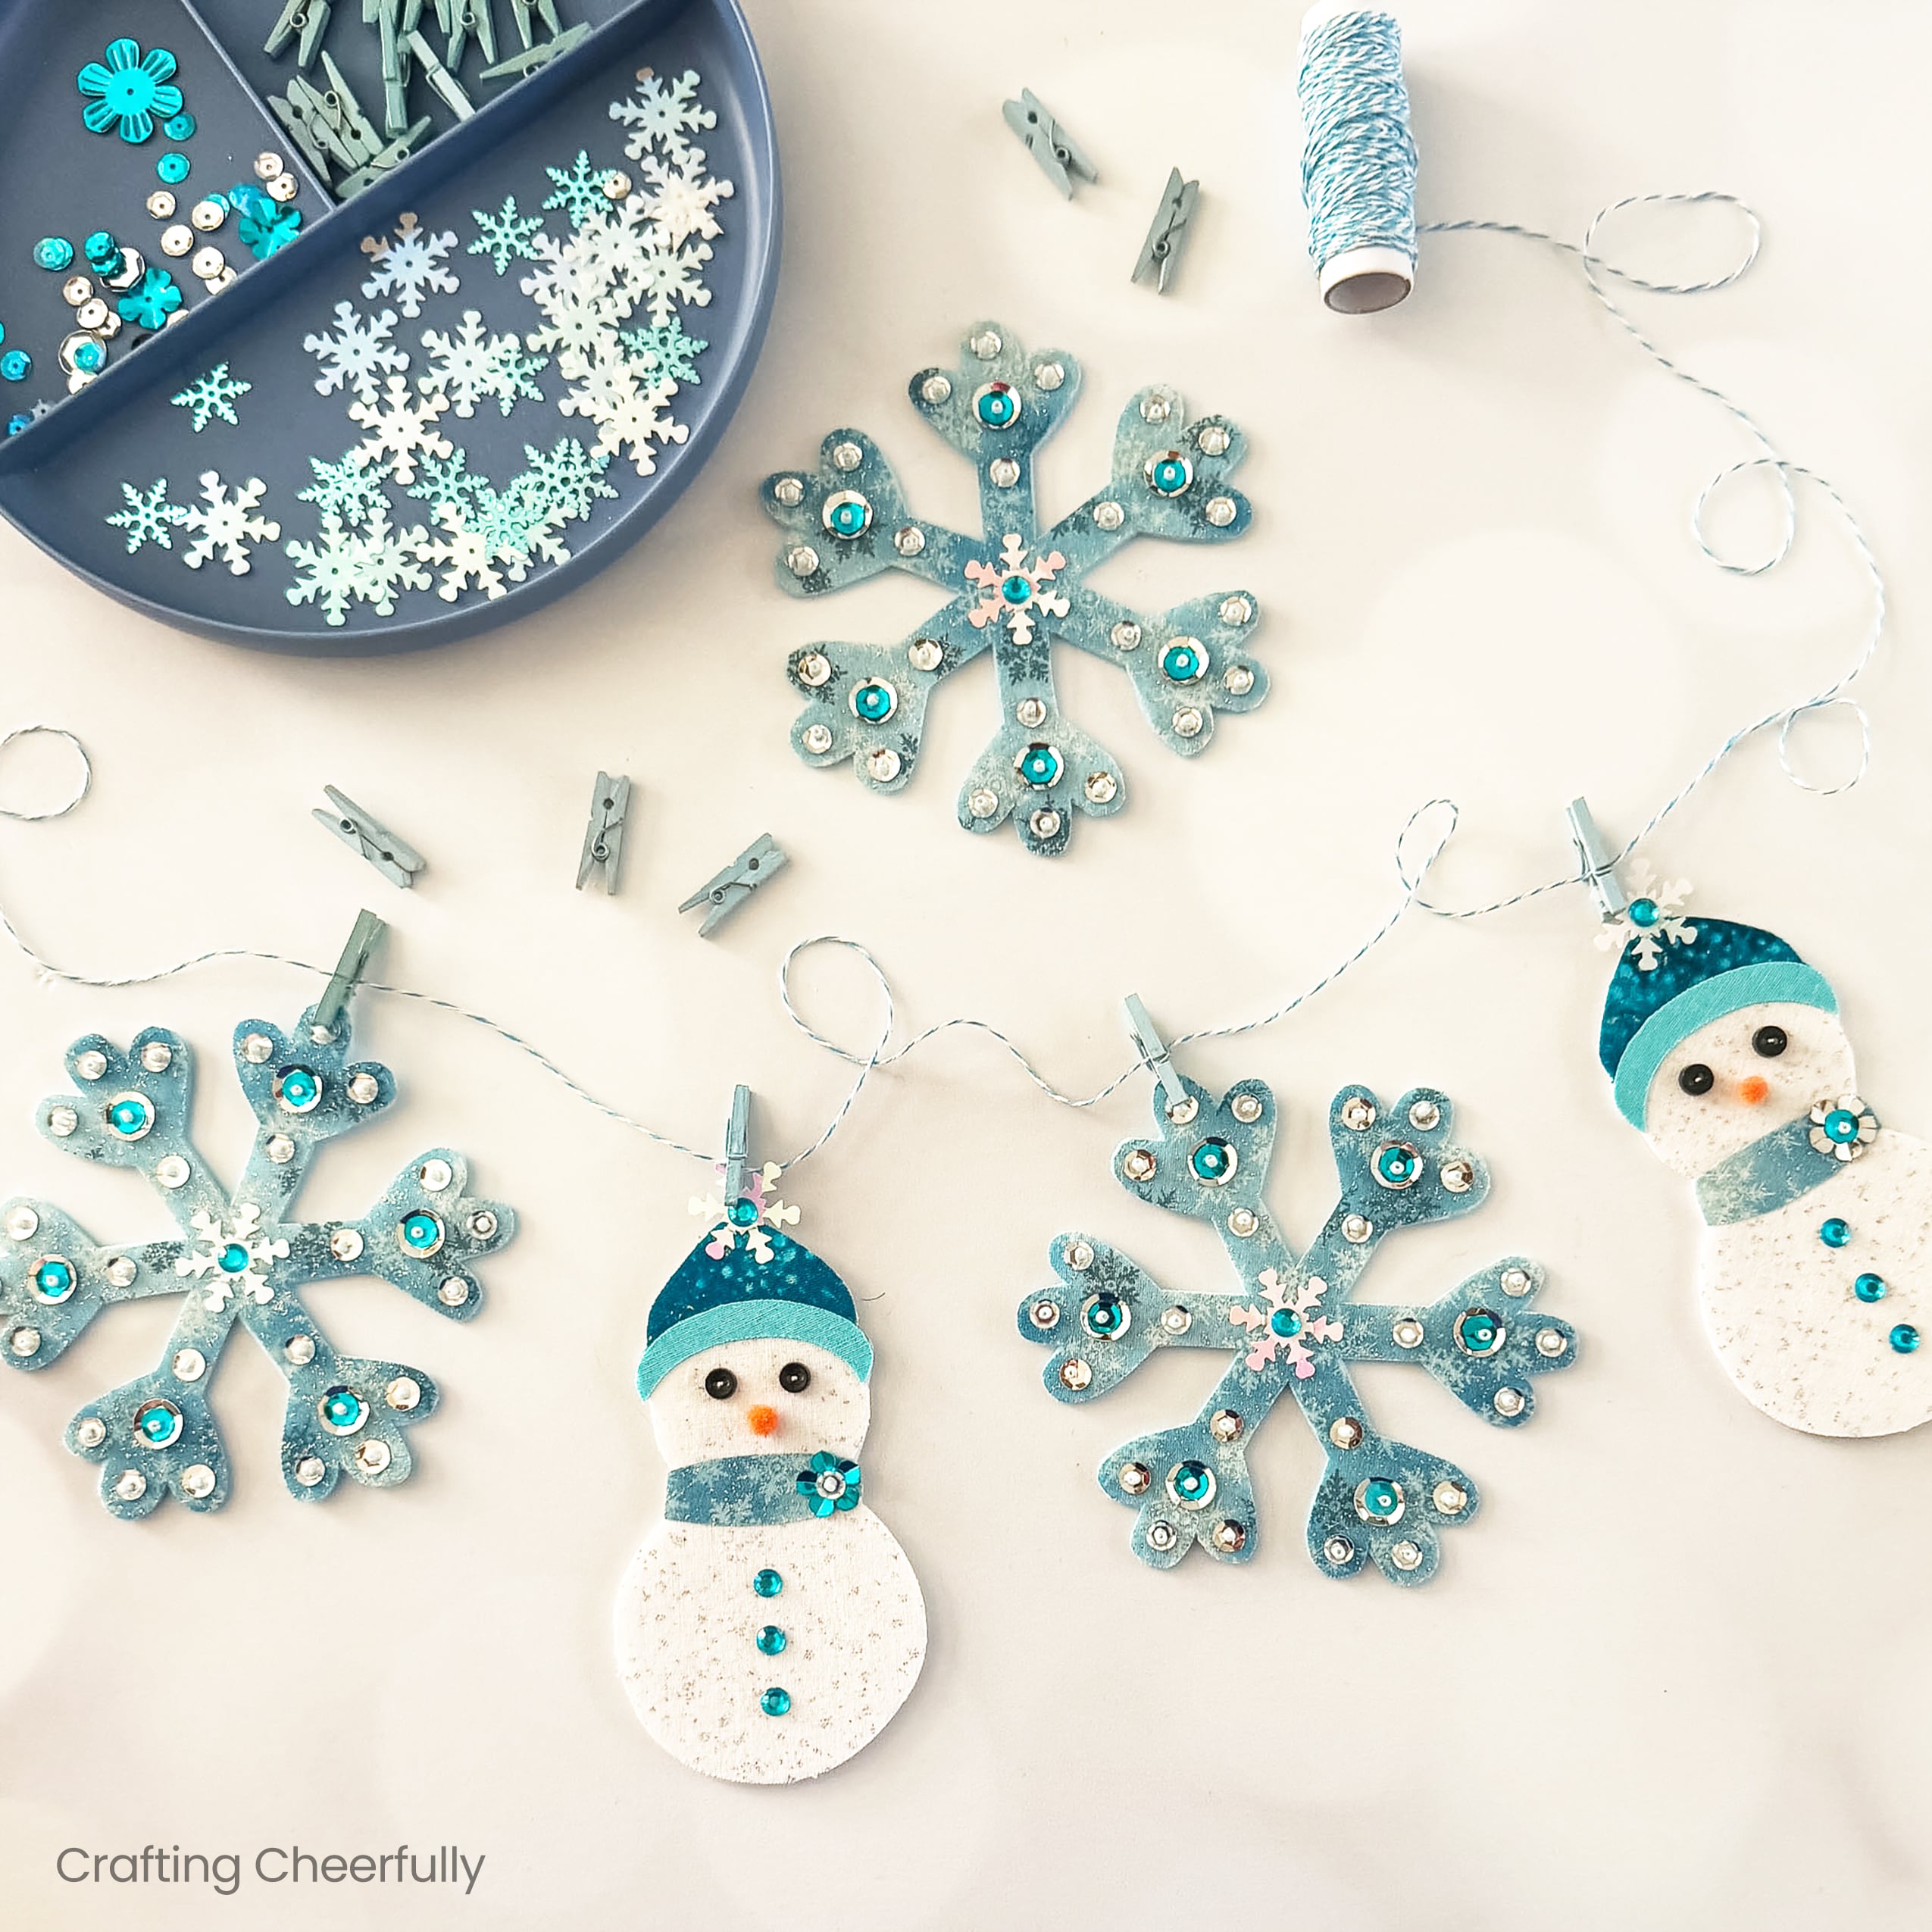
Hello Crafty Friends and welcome to Day Ten of my annual series 12 Days of Holiday Crafts! Today I’m excited to share this sweet snowflake banner with you! I love creating fabric banners – they are one of my favorite hand-sewing crafts to make and I love this newest snowflake banner! It is perfect for Christmas and the entire winter season.
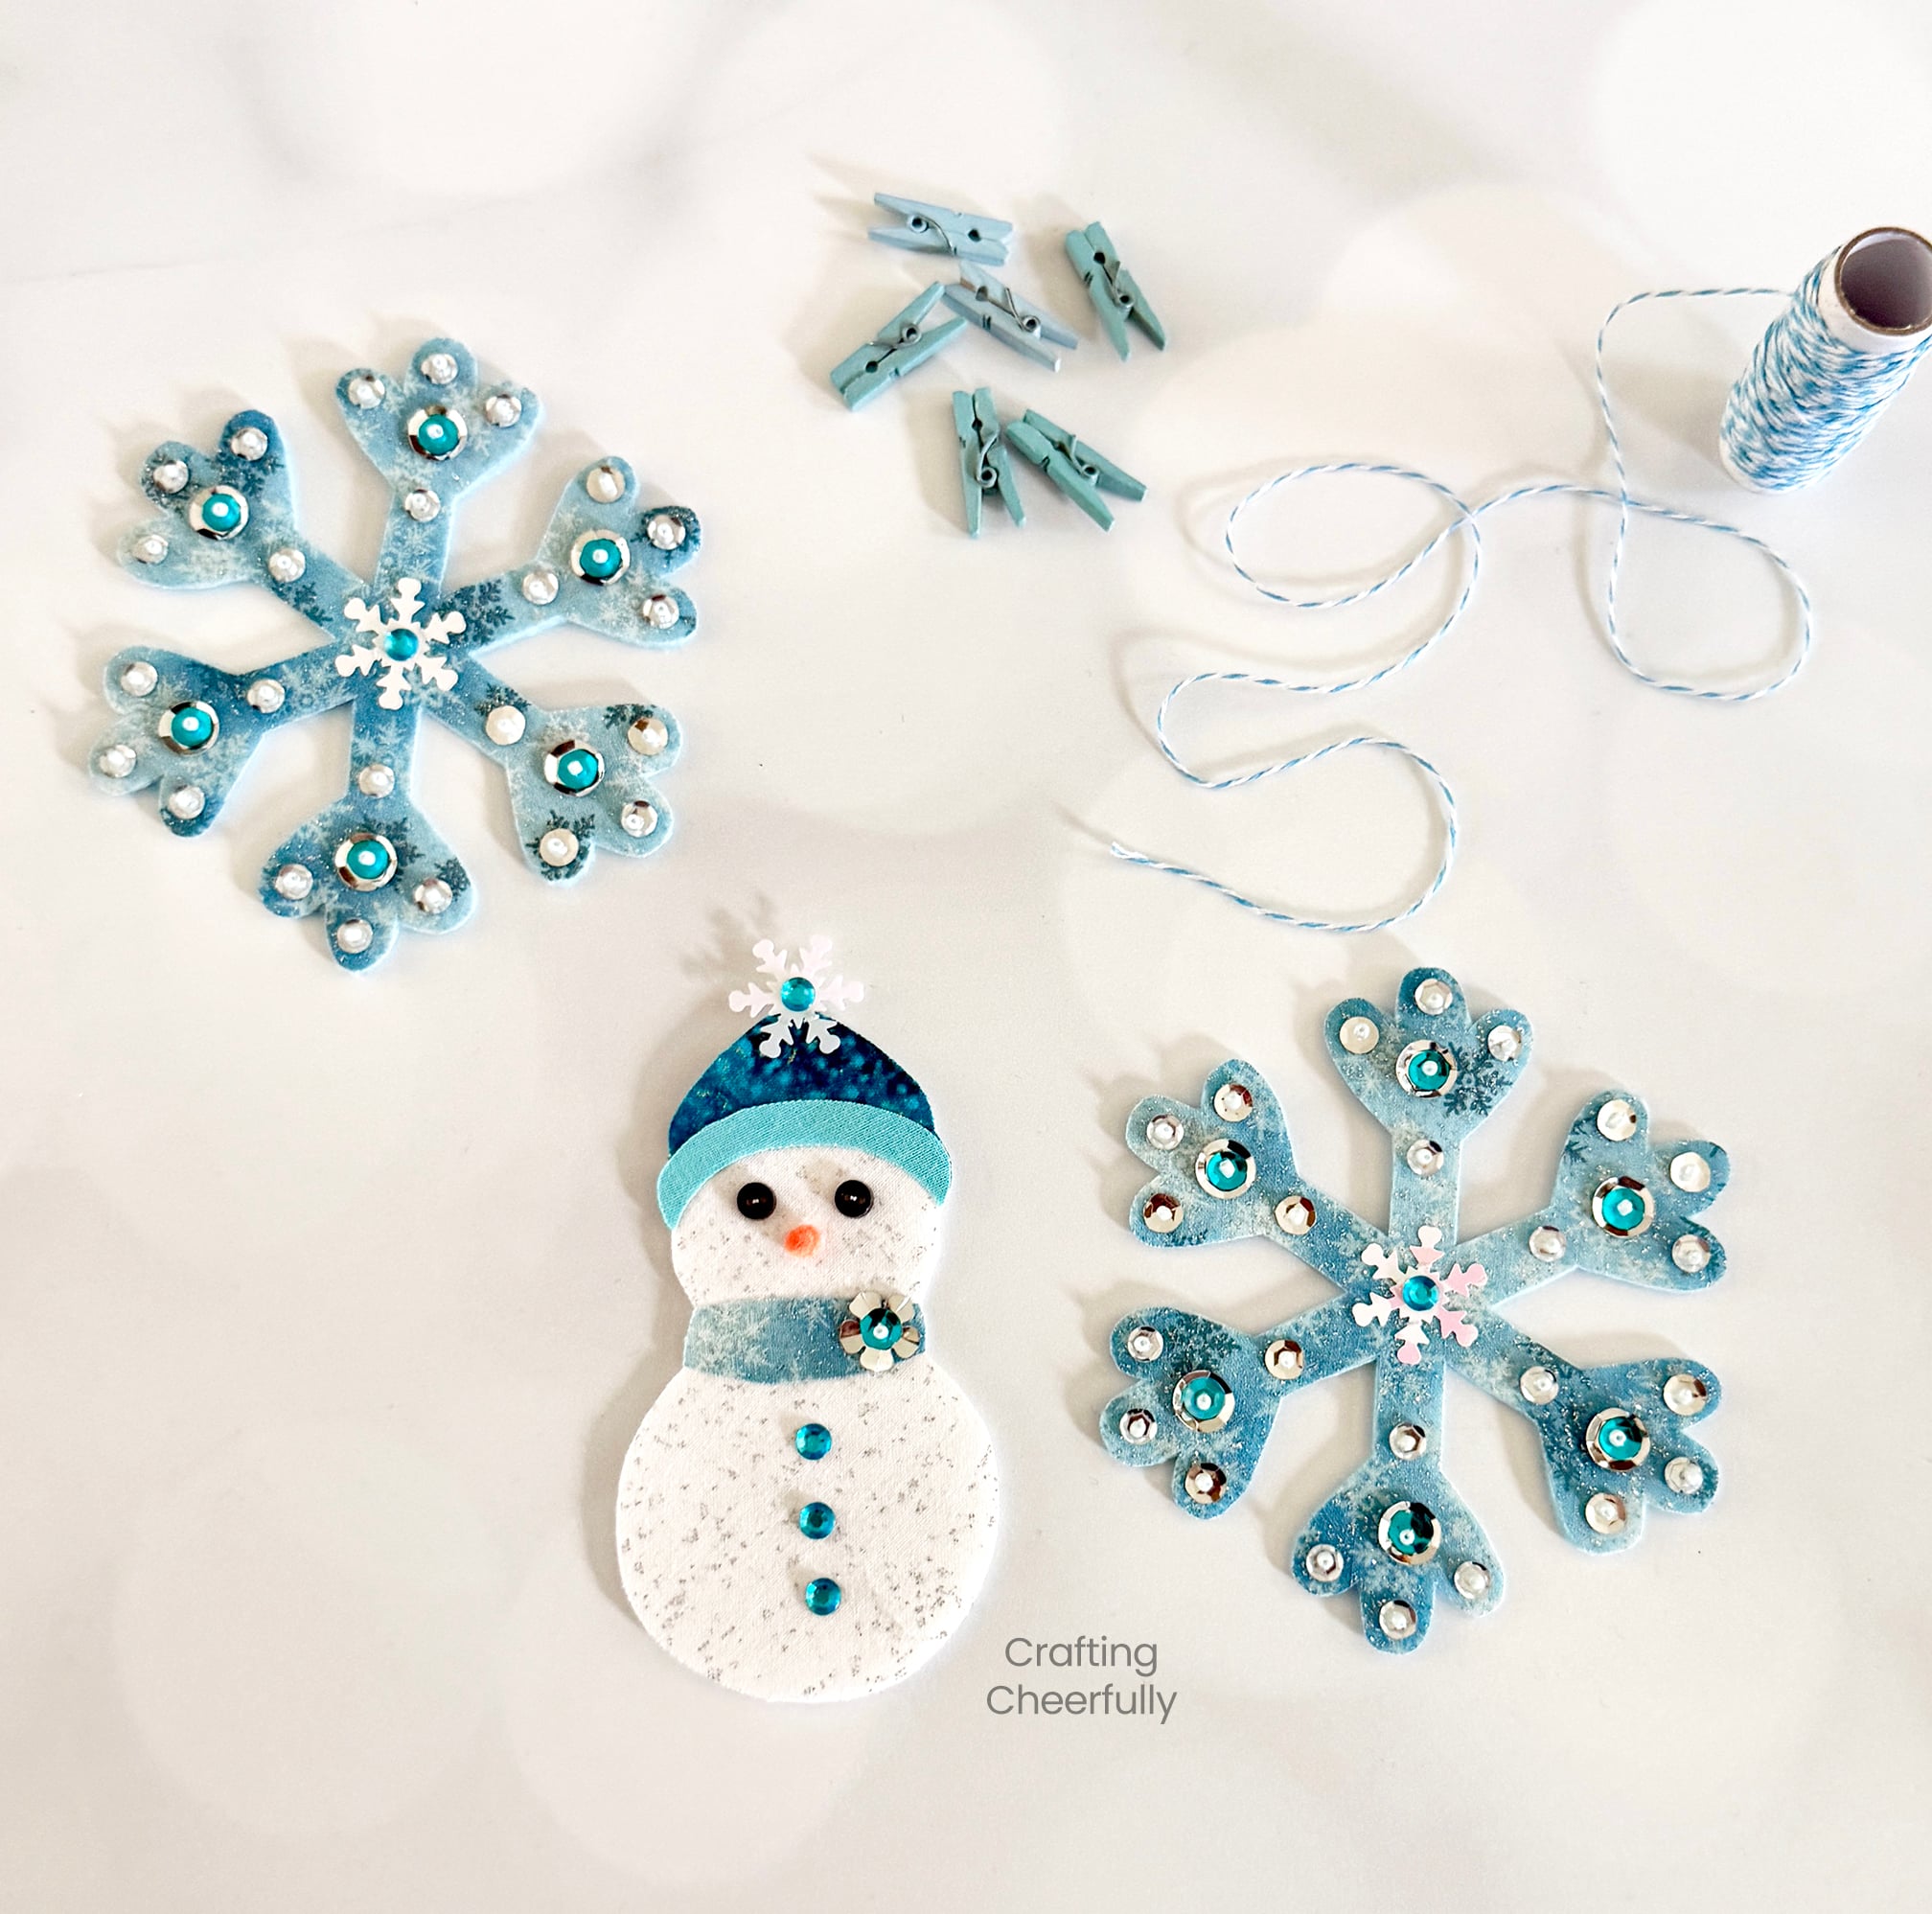
This was my first time decorating a banner with sequins and beads and I love how sparkly the banner turned out. I layered light blue seed beads on top of silver and blue sequins. I used my favorite snowflake confetti at the center of each snowflake and added a blue rhinestone sticker on top. You can decorate these snowflakes any way you want, mixing and matching beads, sequins and rhinestones as I did to create unique snowflakes.
For the snowmen, you can choose to stitch around the edges like I did for my Snow Family Sign, or you can keep them simple like I did for this banner and just sew on the eyes and sequins.
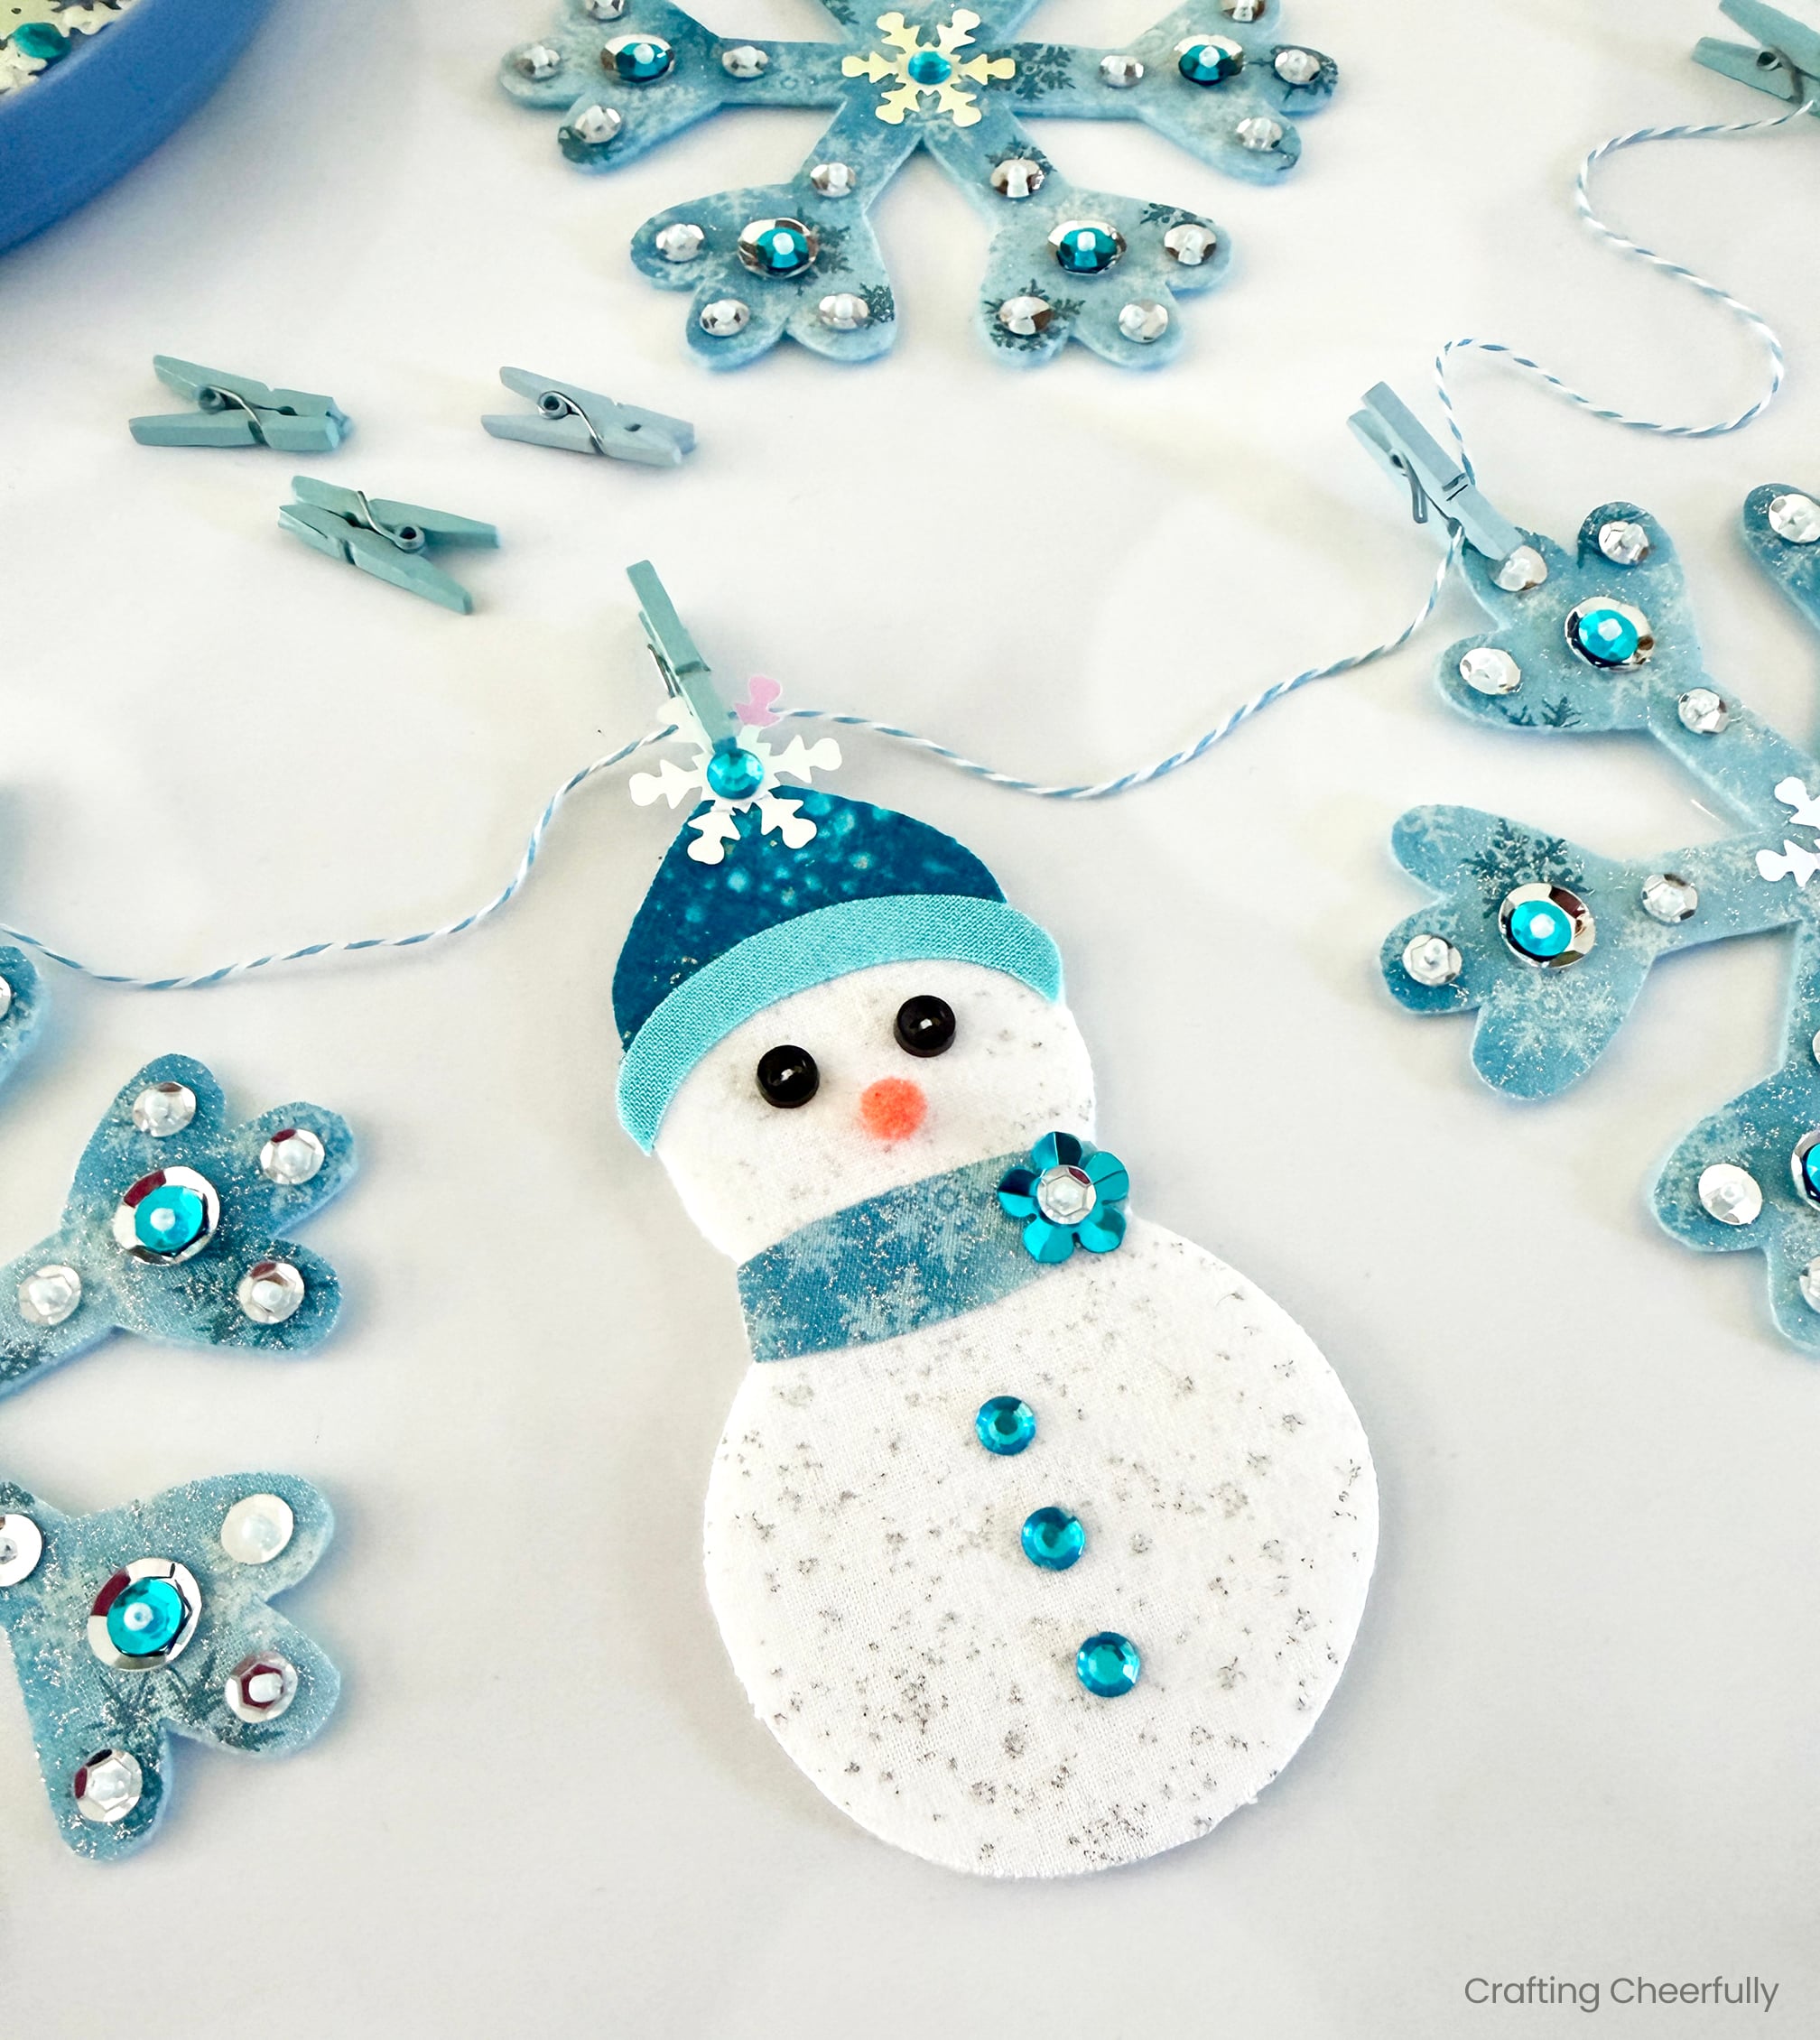
How to Make the Snowy Appliqué Banner
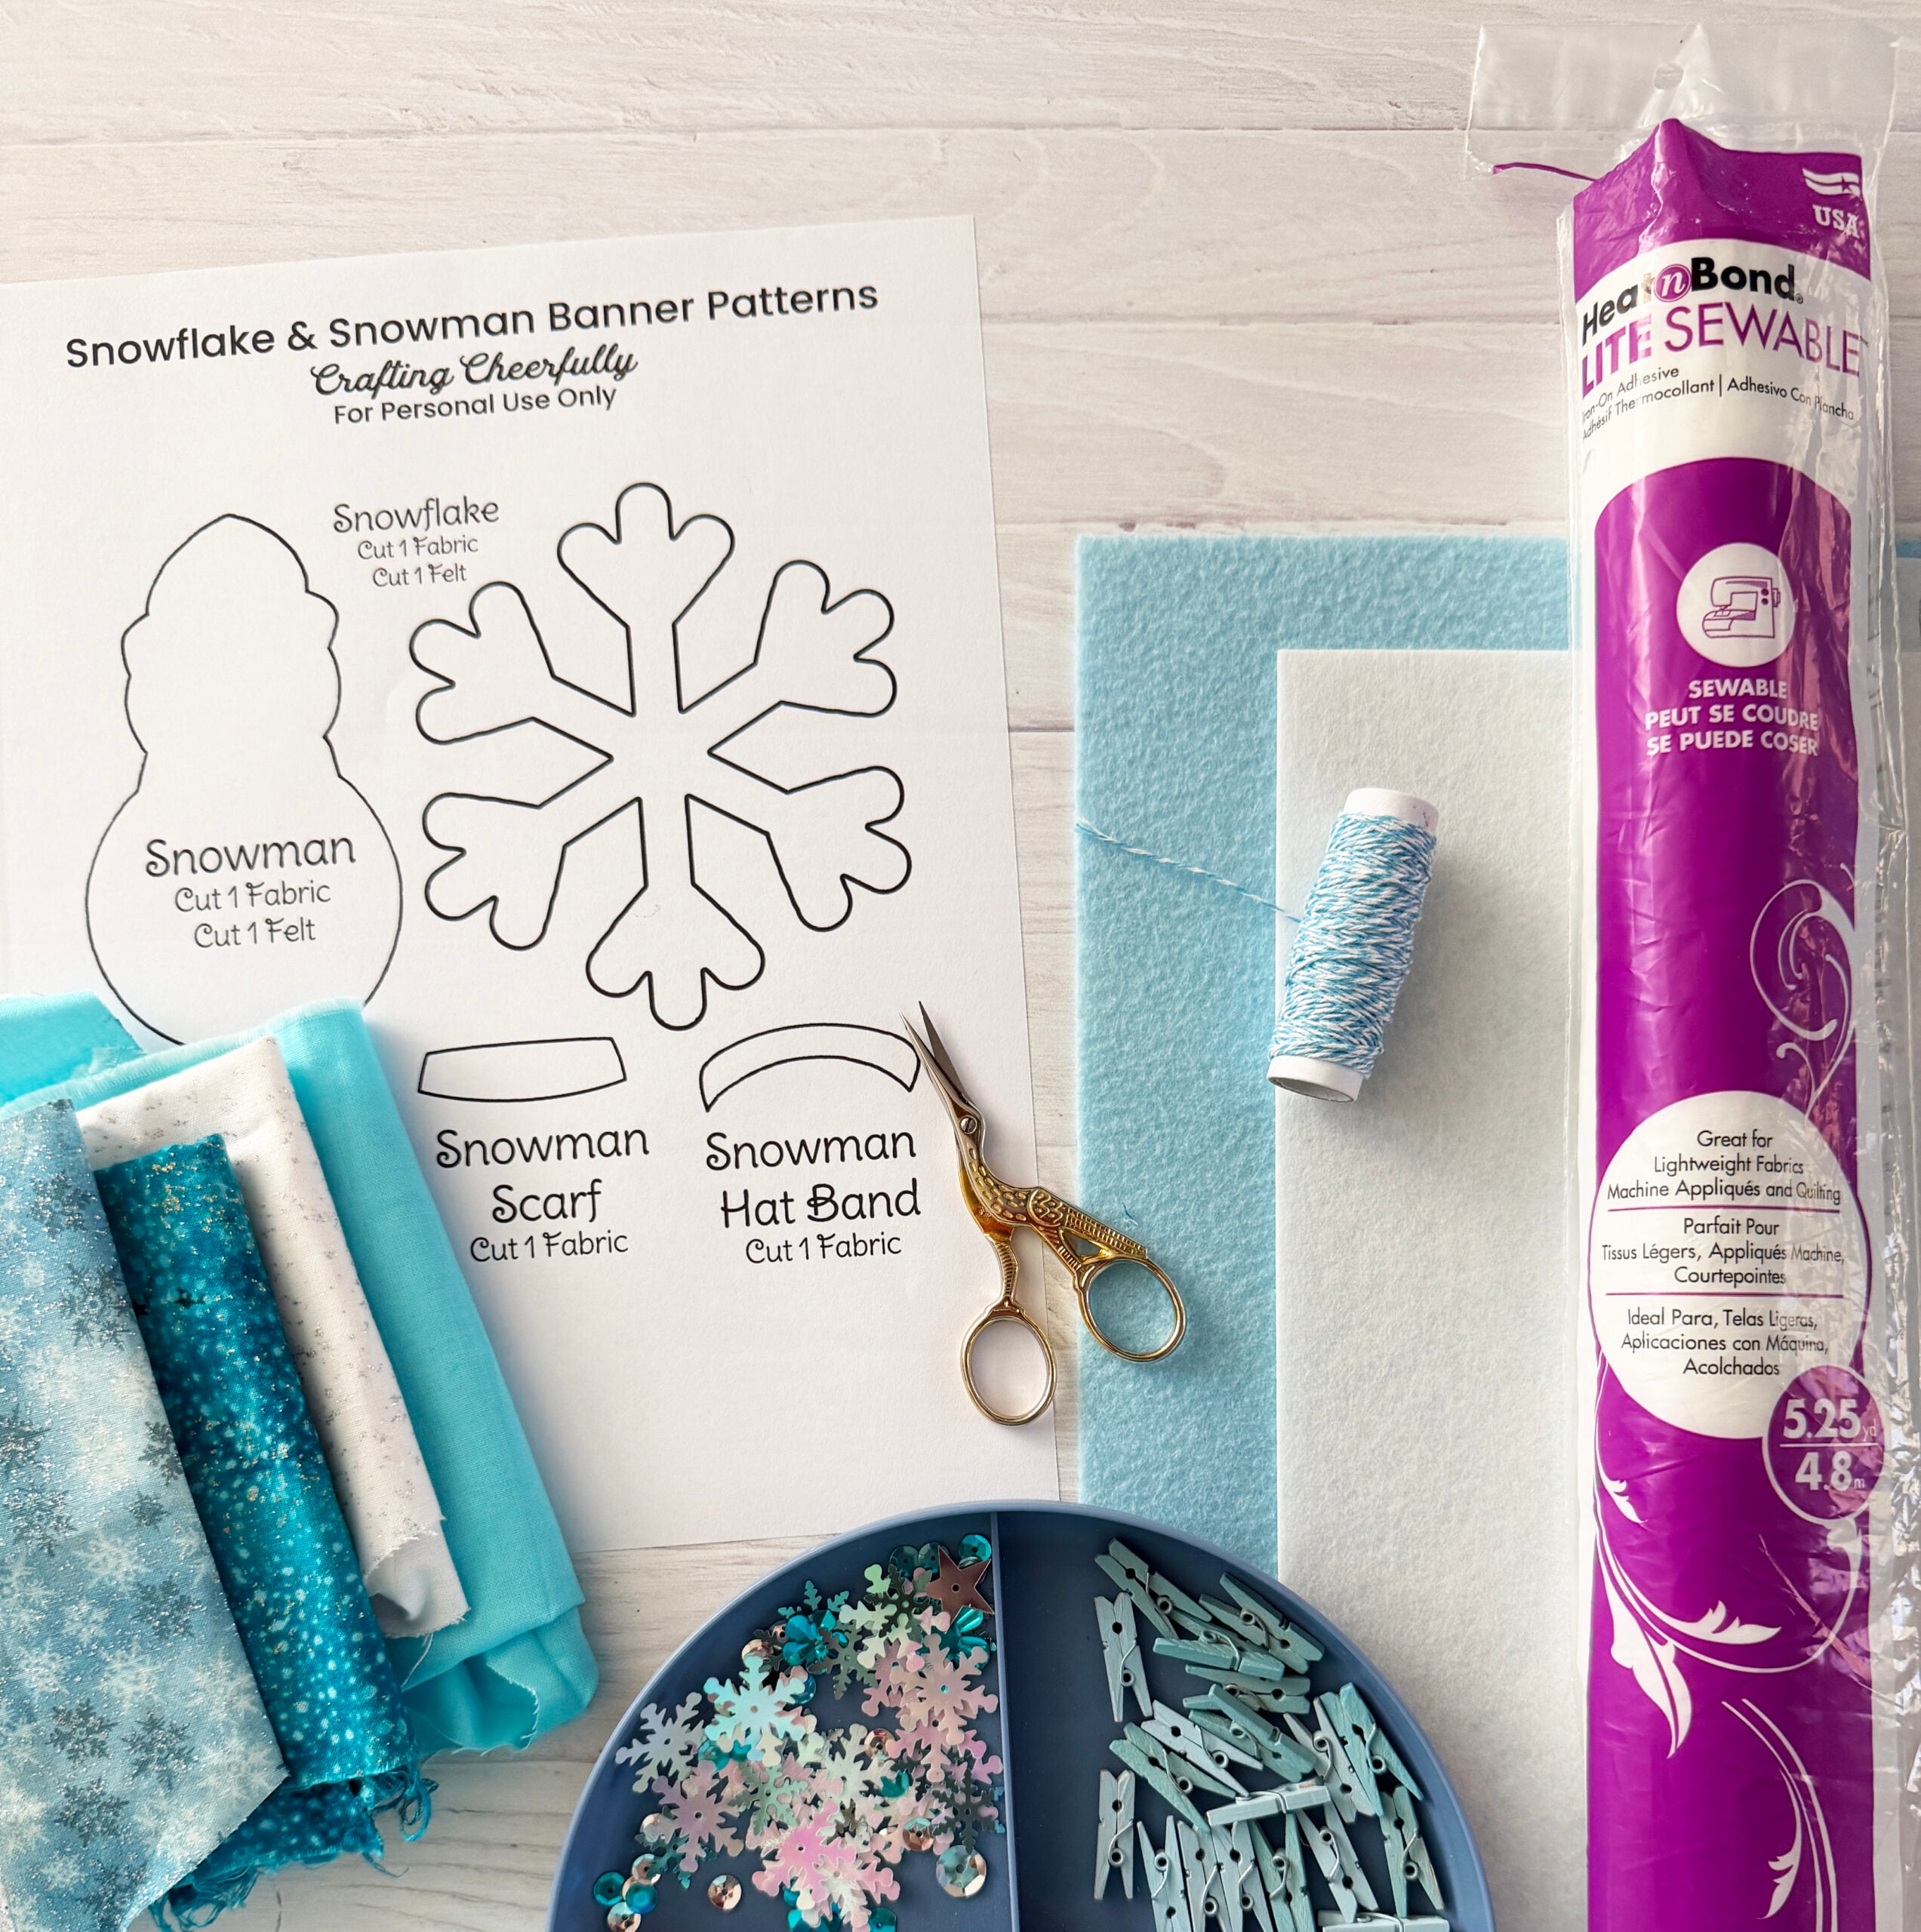
Supplies Needed
- Pattern – Flash Freebie! Grab the free pattern through November 18th by filling out the purple form at the end of the post. After that it will be available in my shop!
- Fabric
- White fabric for snowman
- Color 1 fabric: Snowman scarf and snowflake
- Color 2 fabric: Snowman hat
- Color 3 fabric: Snowman hat band
- Blue stiffened felt
- White stiffened felt
- Fusible Web Interfacing – Pellon Brand Wonder Under or Thermoweb HeatnBond Lite Sewable work well. Use Thermoweb HeatnBond Ultra Hold to cover the back of the pennants with fabric if you want.
- Tiny Black buttons for Snowman eyes
- Tiny orange pompoms for the snowman’s nose (or orange felt if you can’t find tiny pompoms)
- Silver and blue sequins
- Snowflakes sequins (the ones pictured are from Joann Fabrics before they closed. These snowflakes from Amazon are similar.
- Baker’s twine and mini clothespins
- Sewing tools – Fabric scissors, embroidery scissors, embroidery needle
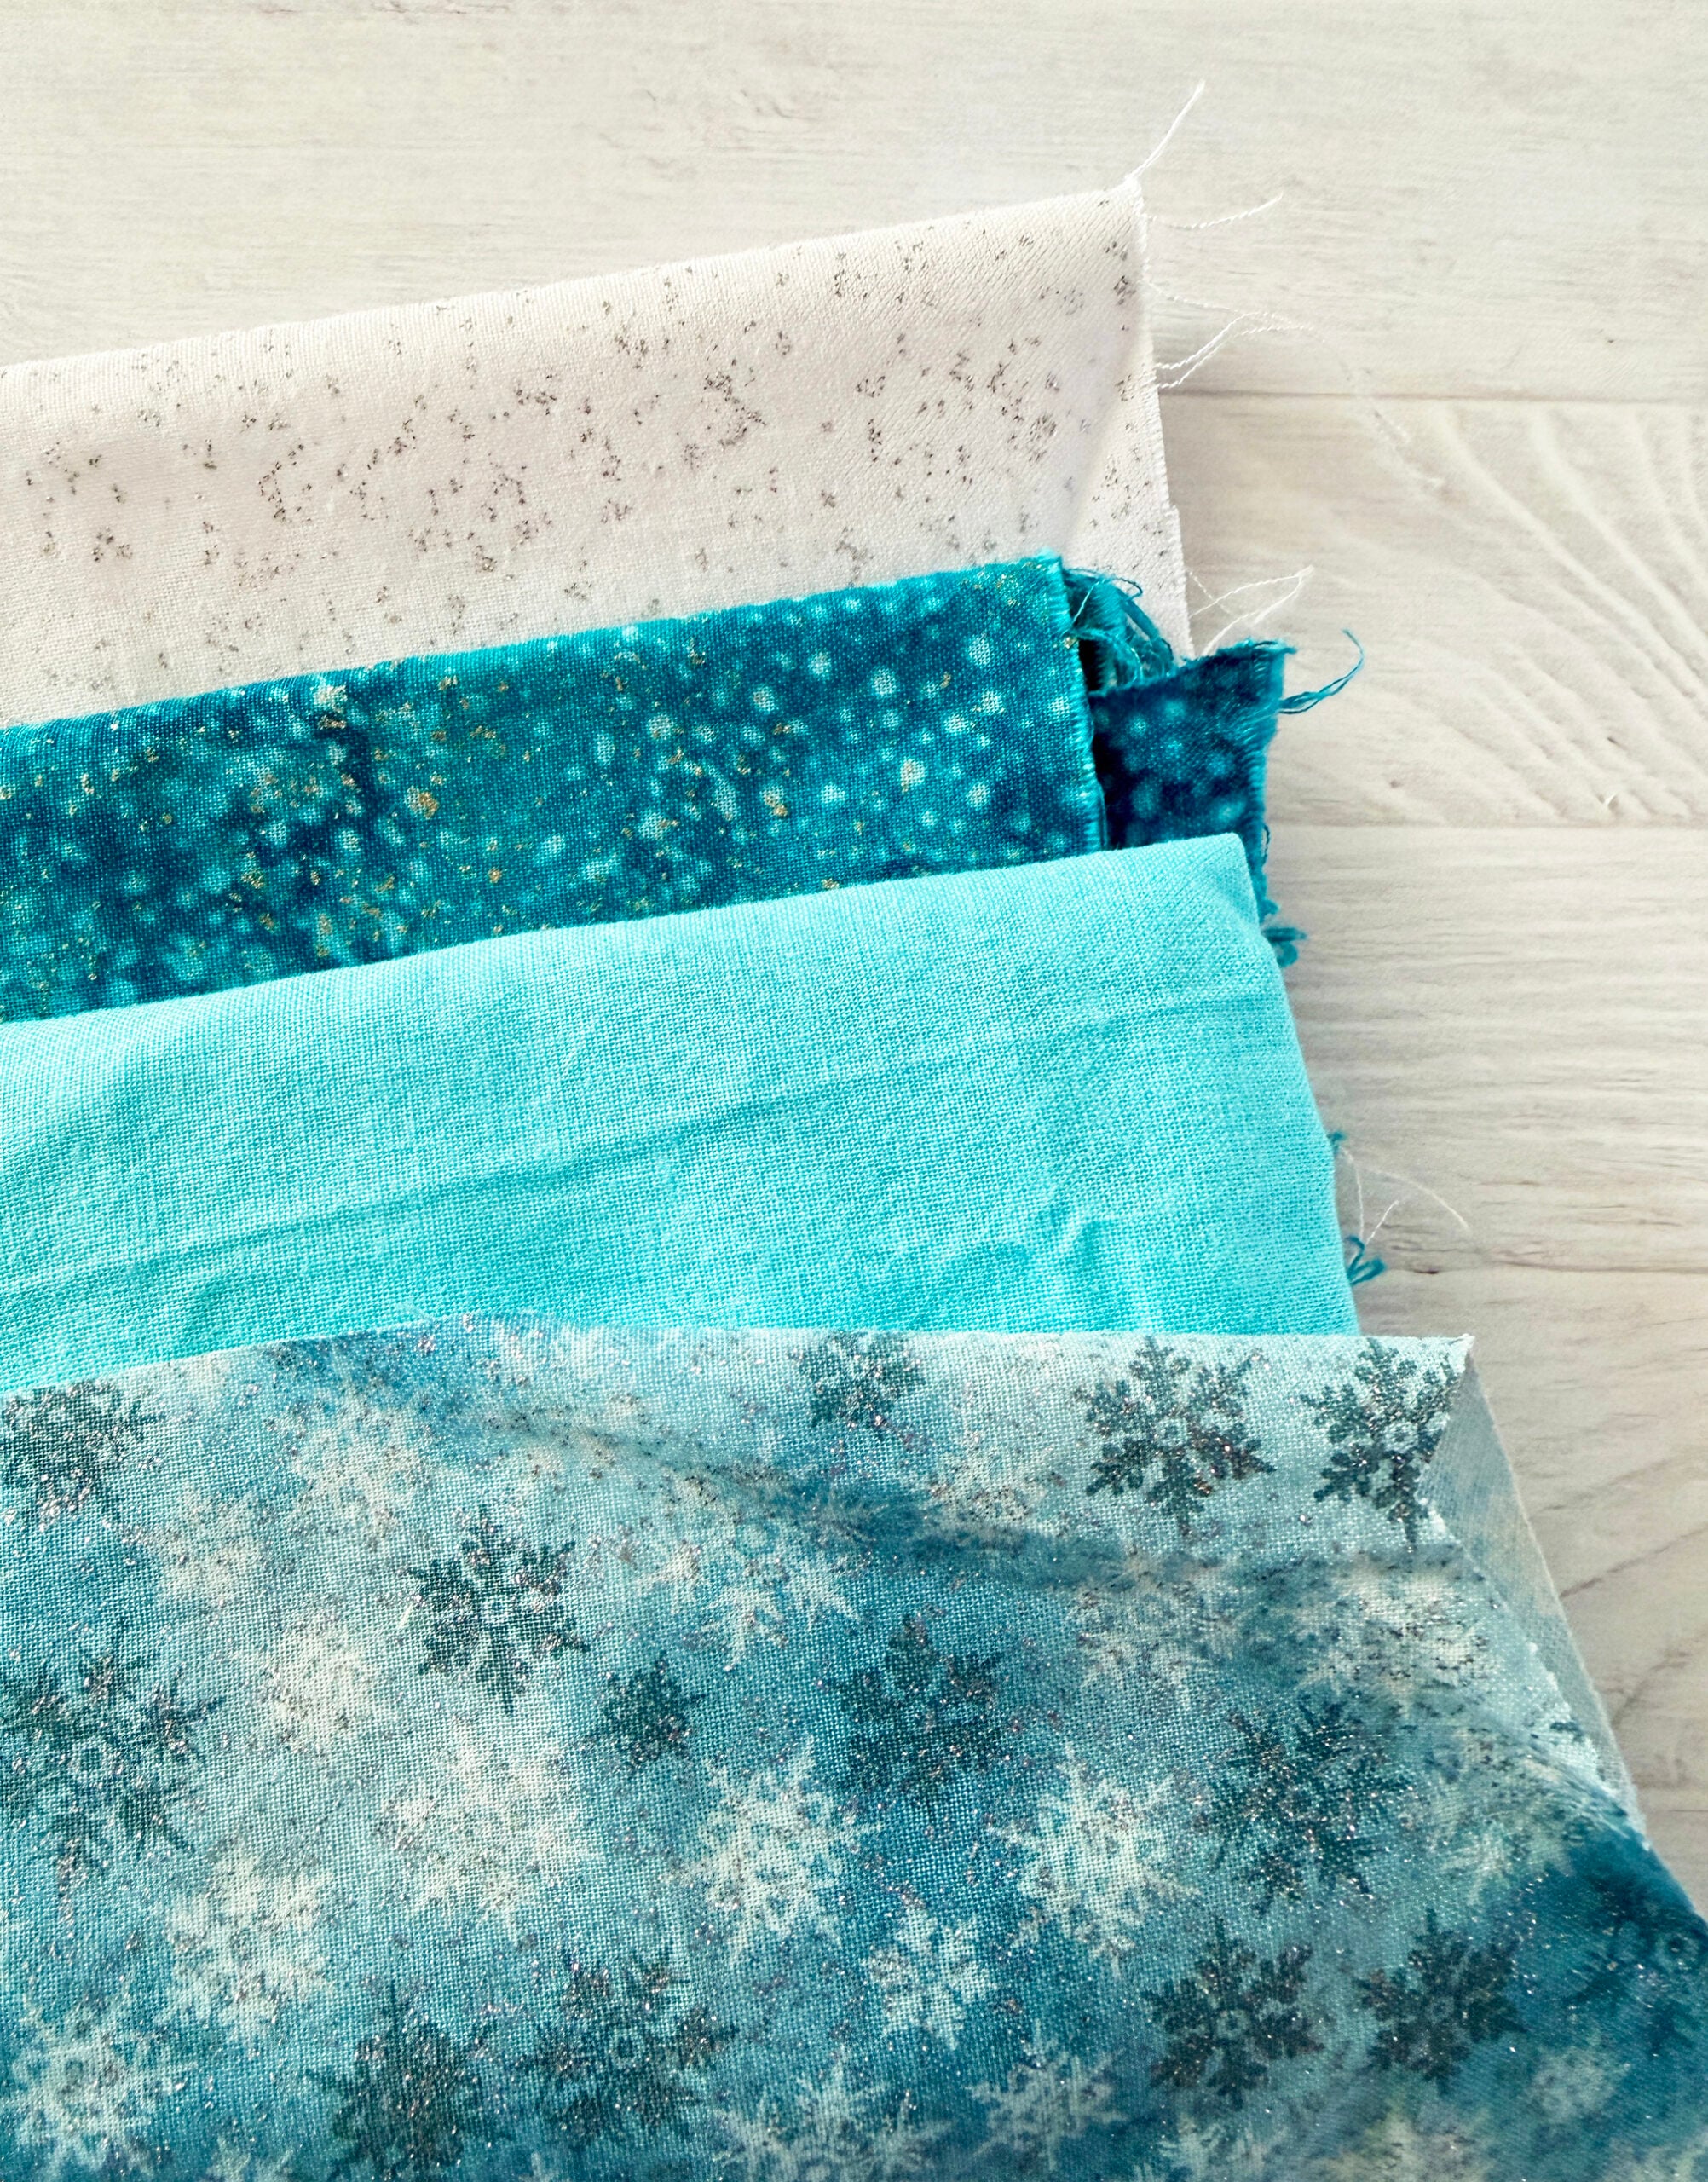
The Fabric
For this project I searched my stash and chose four cotton fabrics. A white fabric with silver specks and three different blue fabrics, one of which had glittery snowflakes which was perfect for the snowflakes! I’m going to be a little sad when these fabrics run out as I’ve used them for so many different crafts! See if you can spot them in these other craft tutorials – Snowman Wall Hanging, Penguin Embroidery Hoop, Ombre Tree Pillow, and my Solar System Space Pillow!
Cutting the Appliqué Pieces
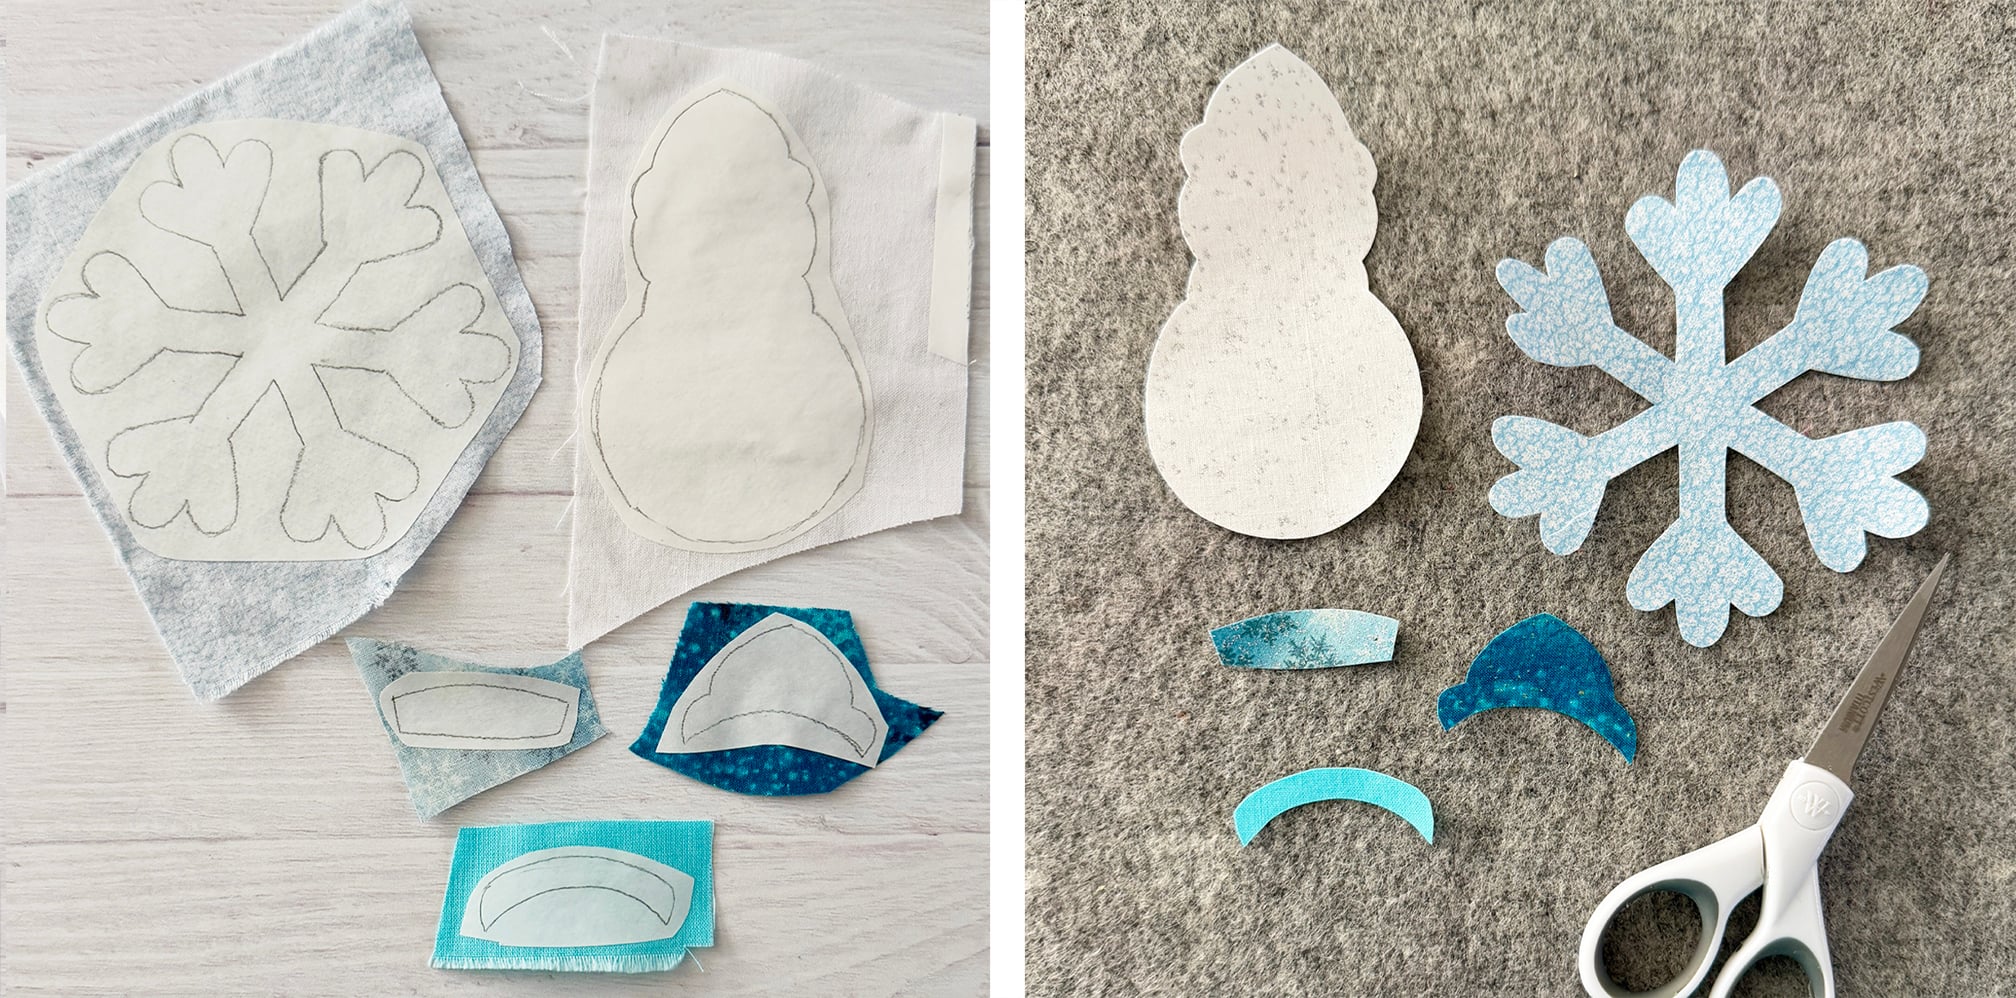
Step One: Trace the pattern pieces onto fusible interfacing. Start by printing the pattern. Lay a sheet of fusible web interfacing over the template (paper side up) and trace the shapes onto the interfacing. Bubble cut around the shapes, leaving about ¼” around each.
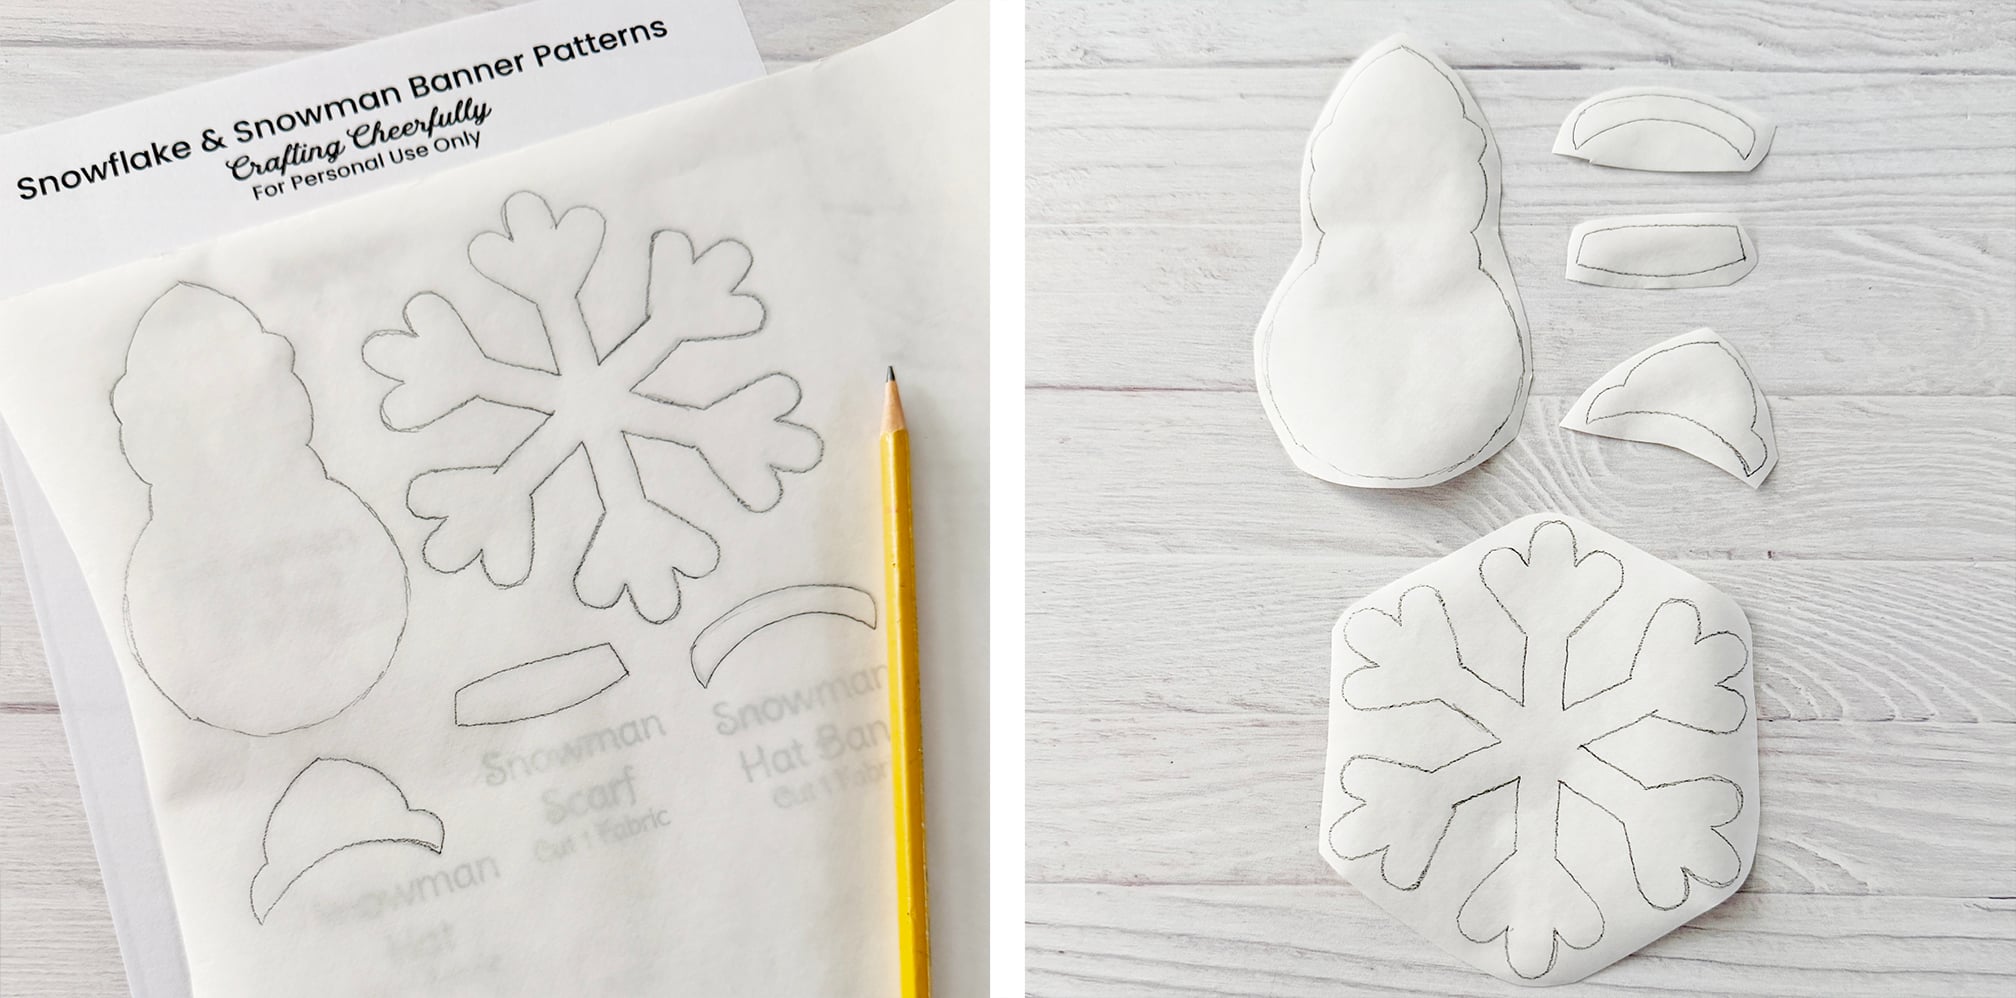
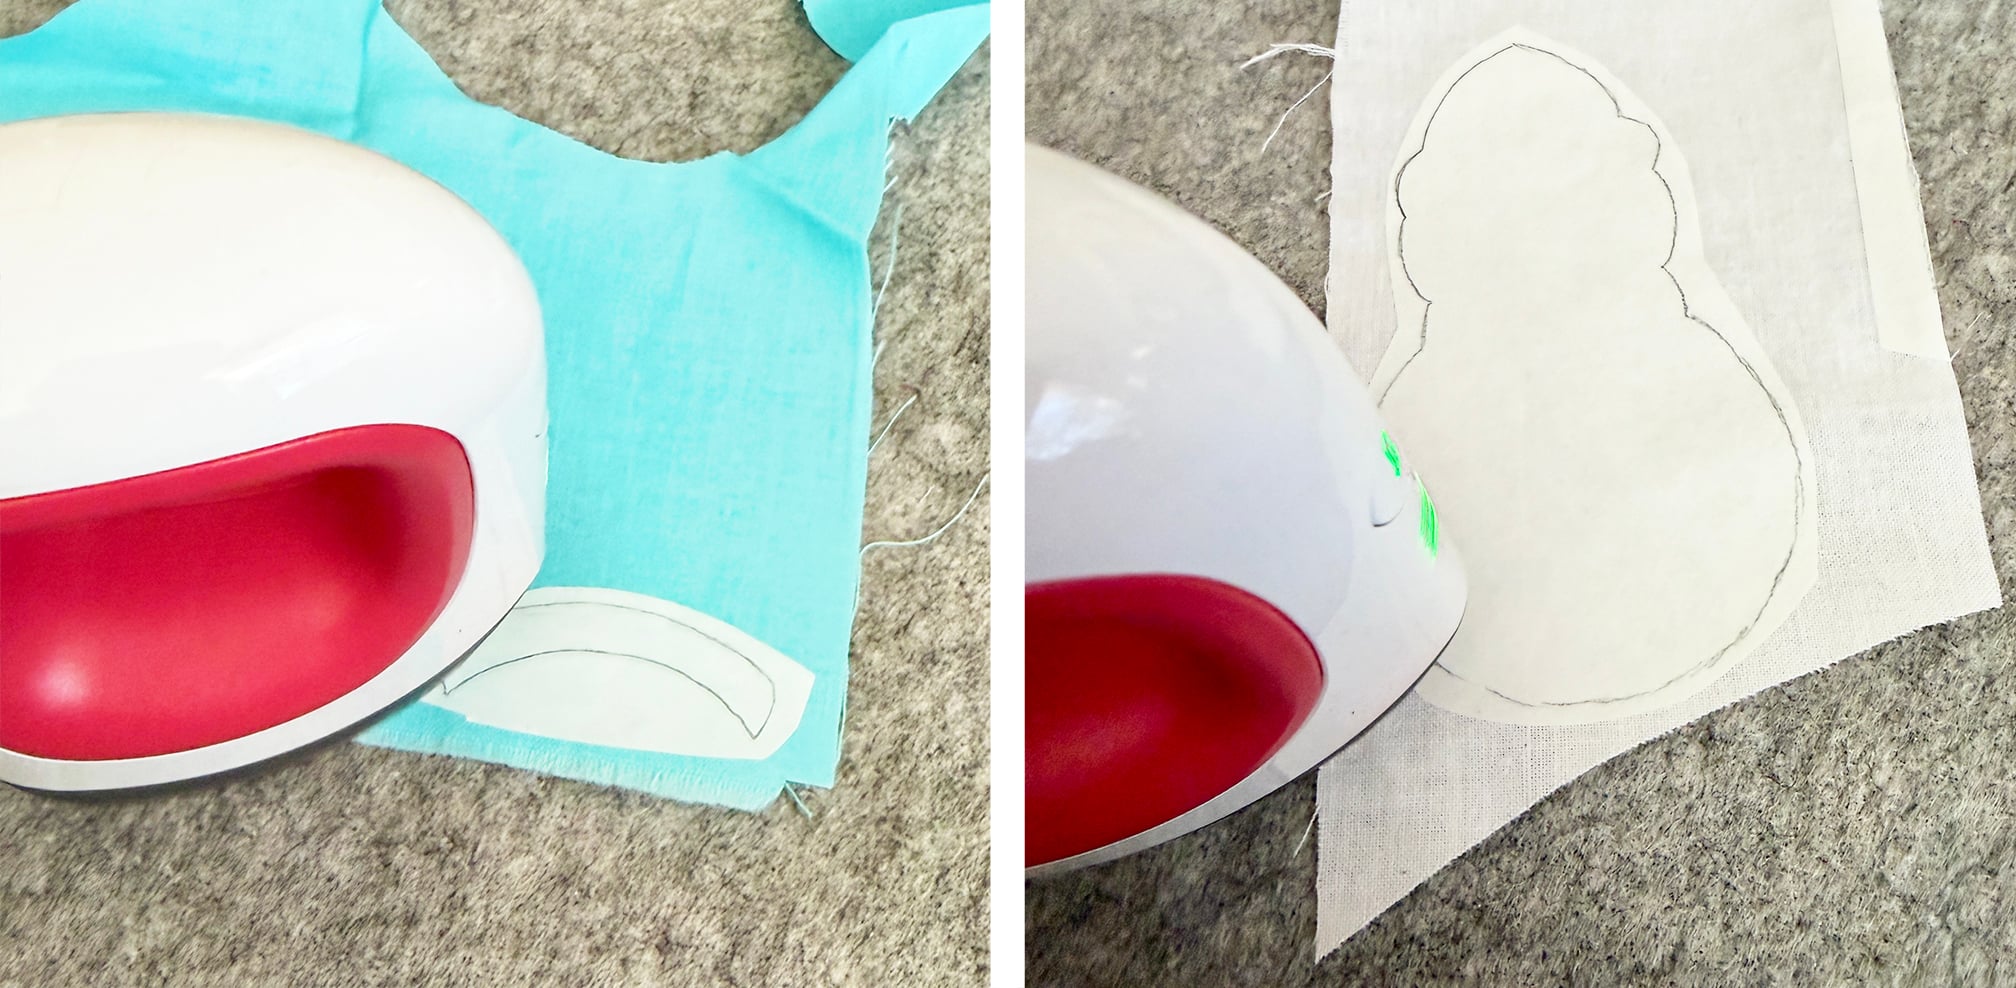
Step Two: Next, iron each interfacing shape on to the wrong side of a piece of fabric. Once cooled, cut out the fabric directly along the pencil line.
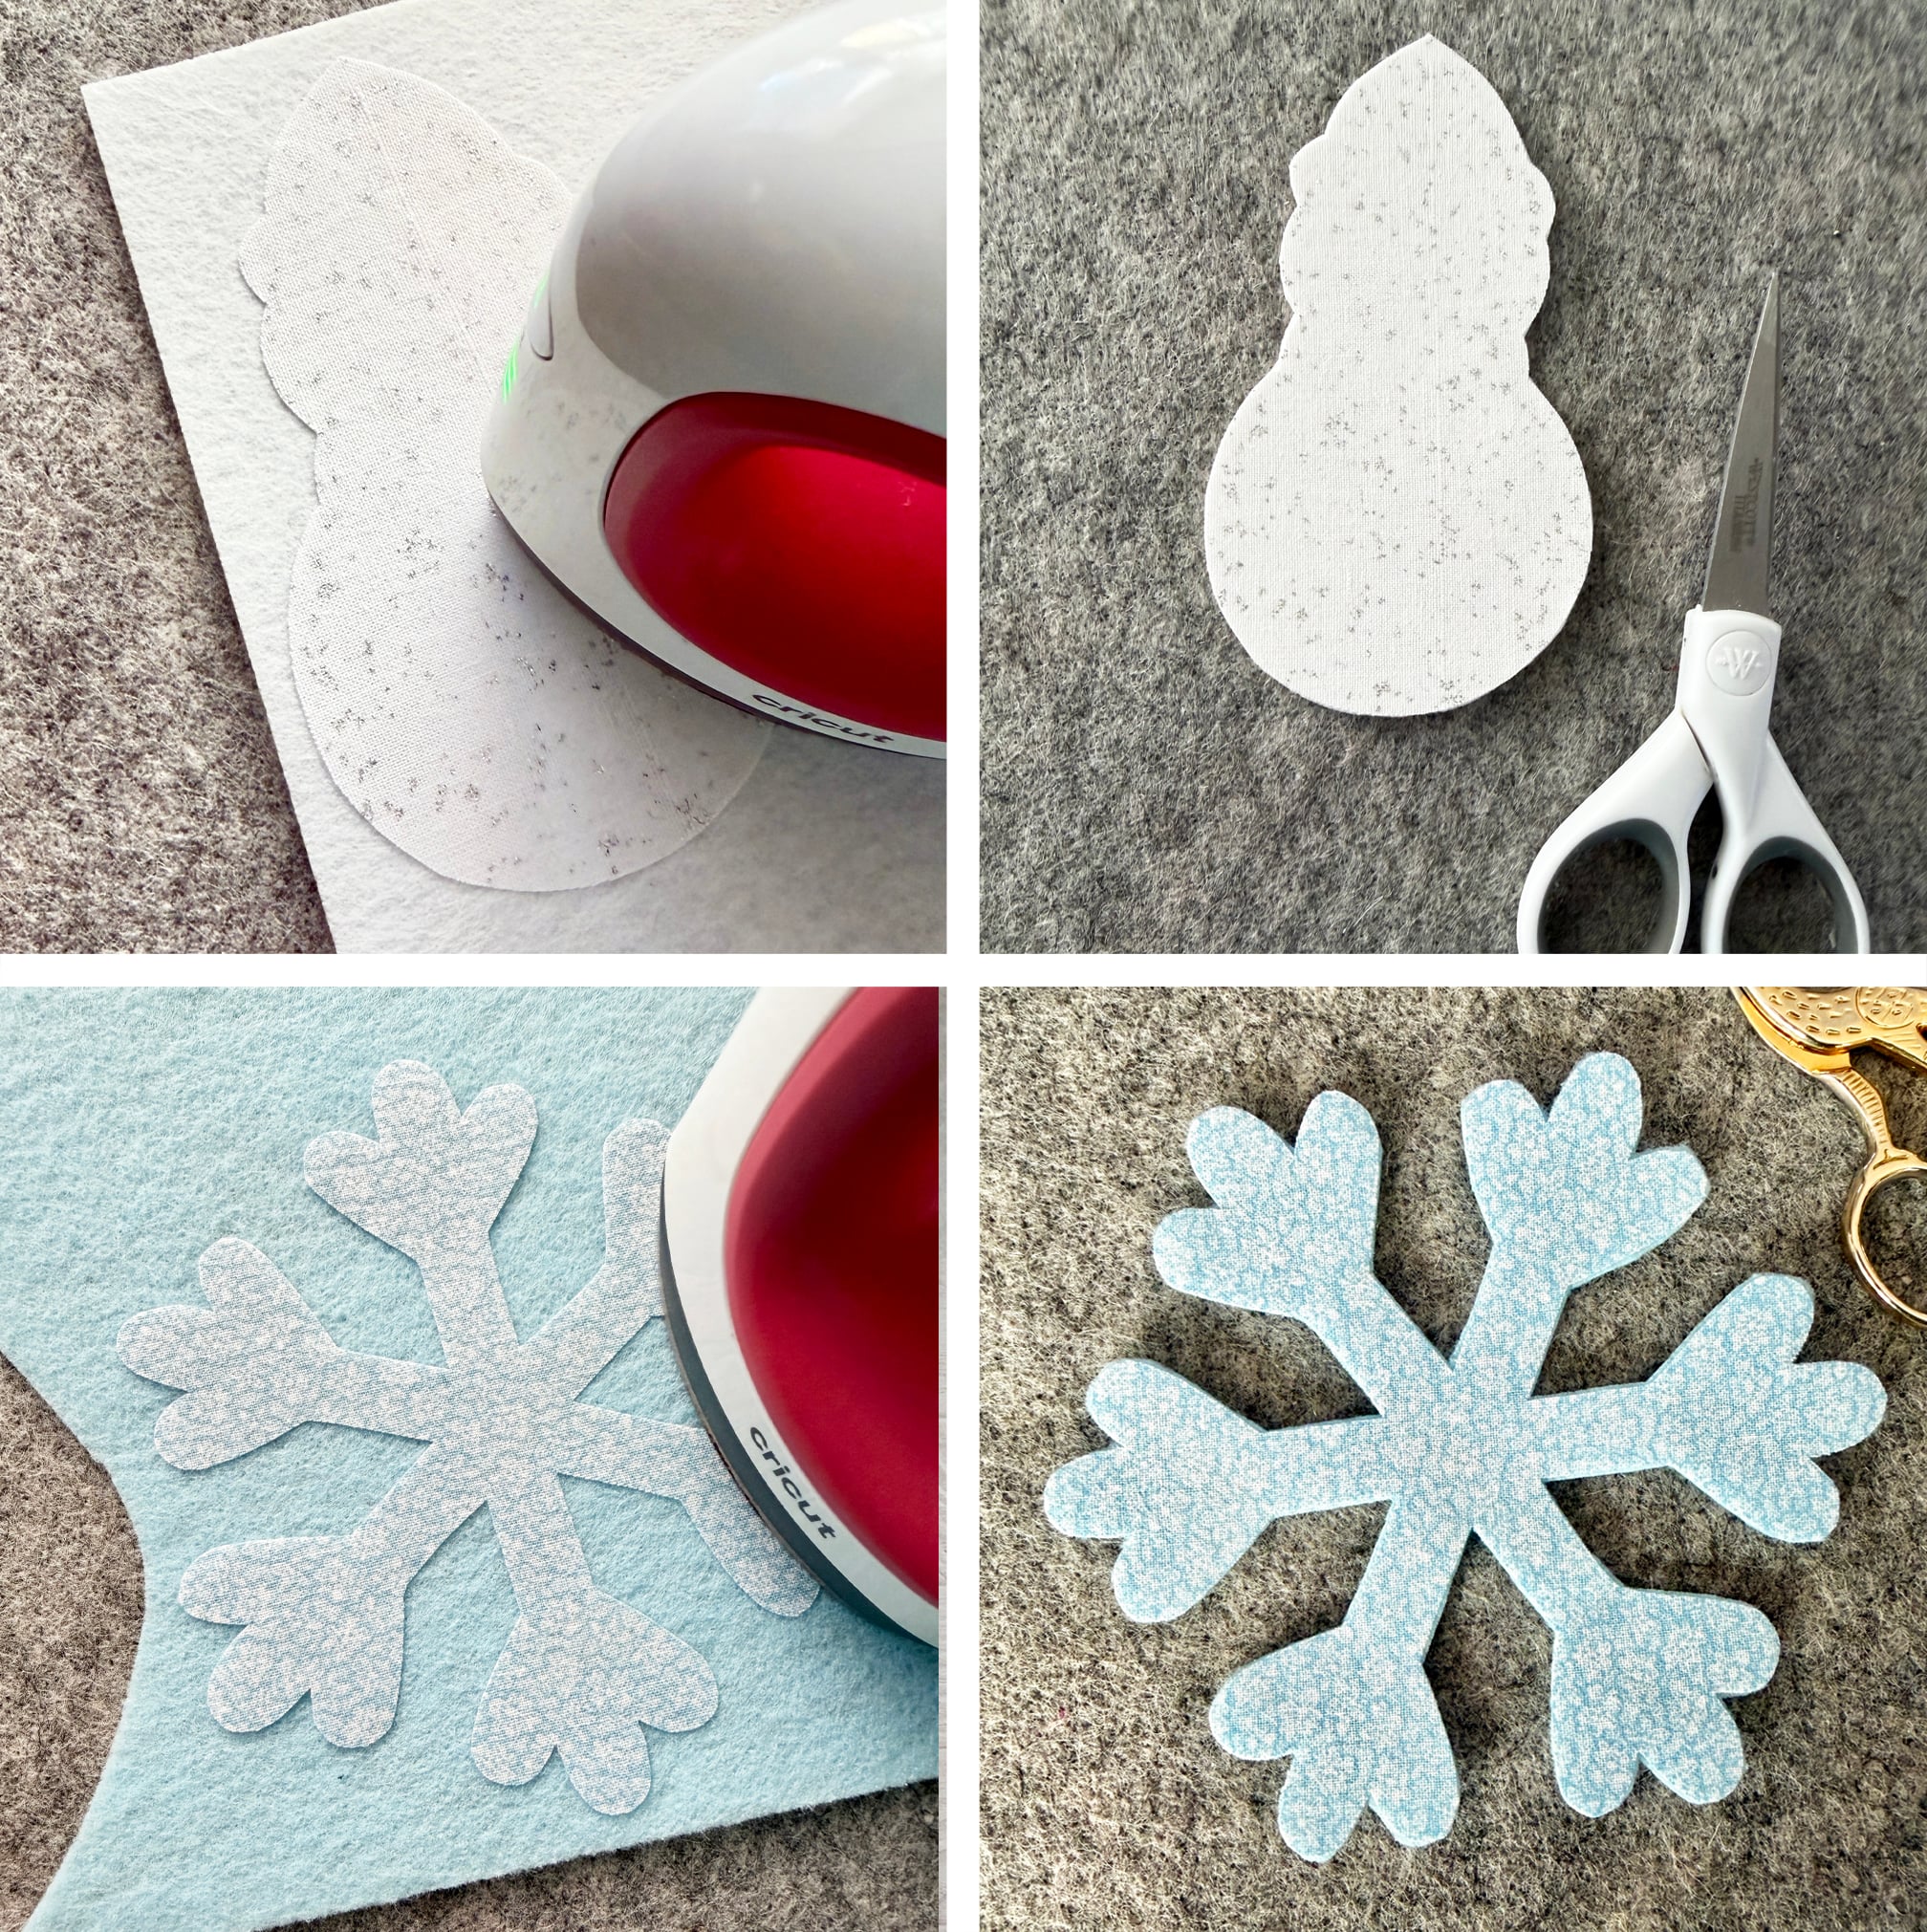
Step Three: Iron the snowman and snowflake fabric shapes to stiffened felt! Peel the interfacing paper off the shapes and iron them to a piece of stiffened felt. Leave the hat and scarf pieces as is, they do not need to be backed with felt.
Decorating the Banner Shapes
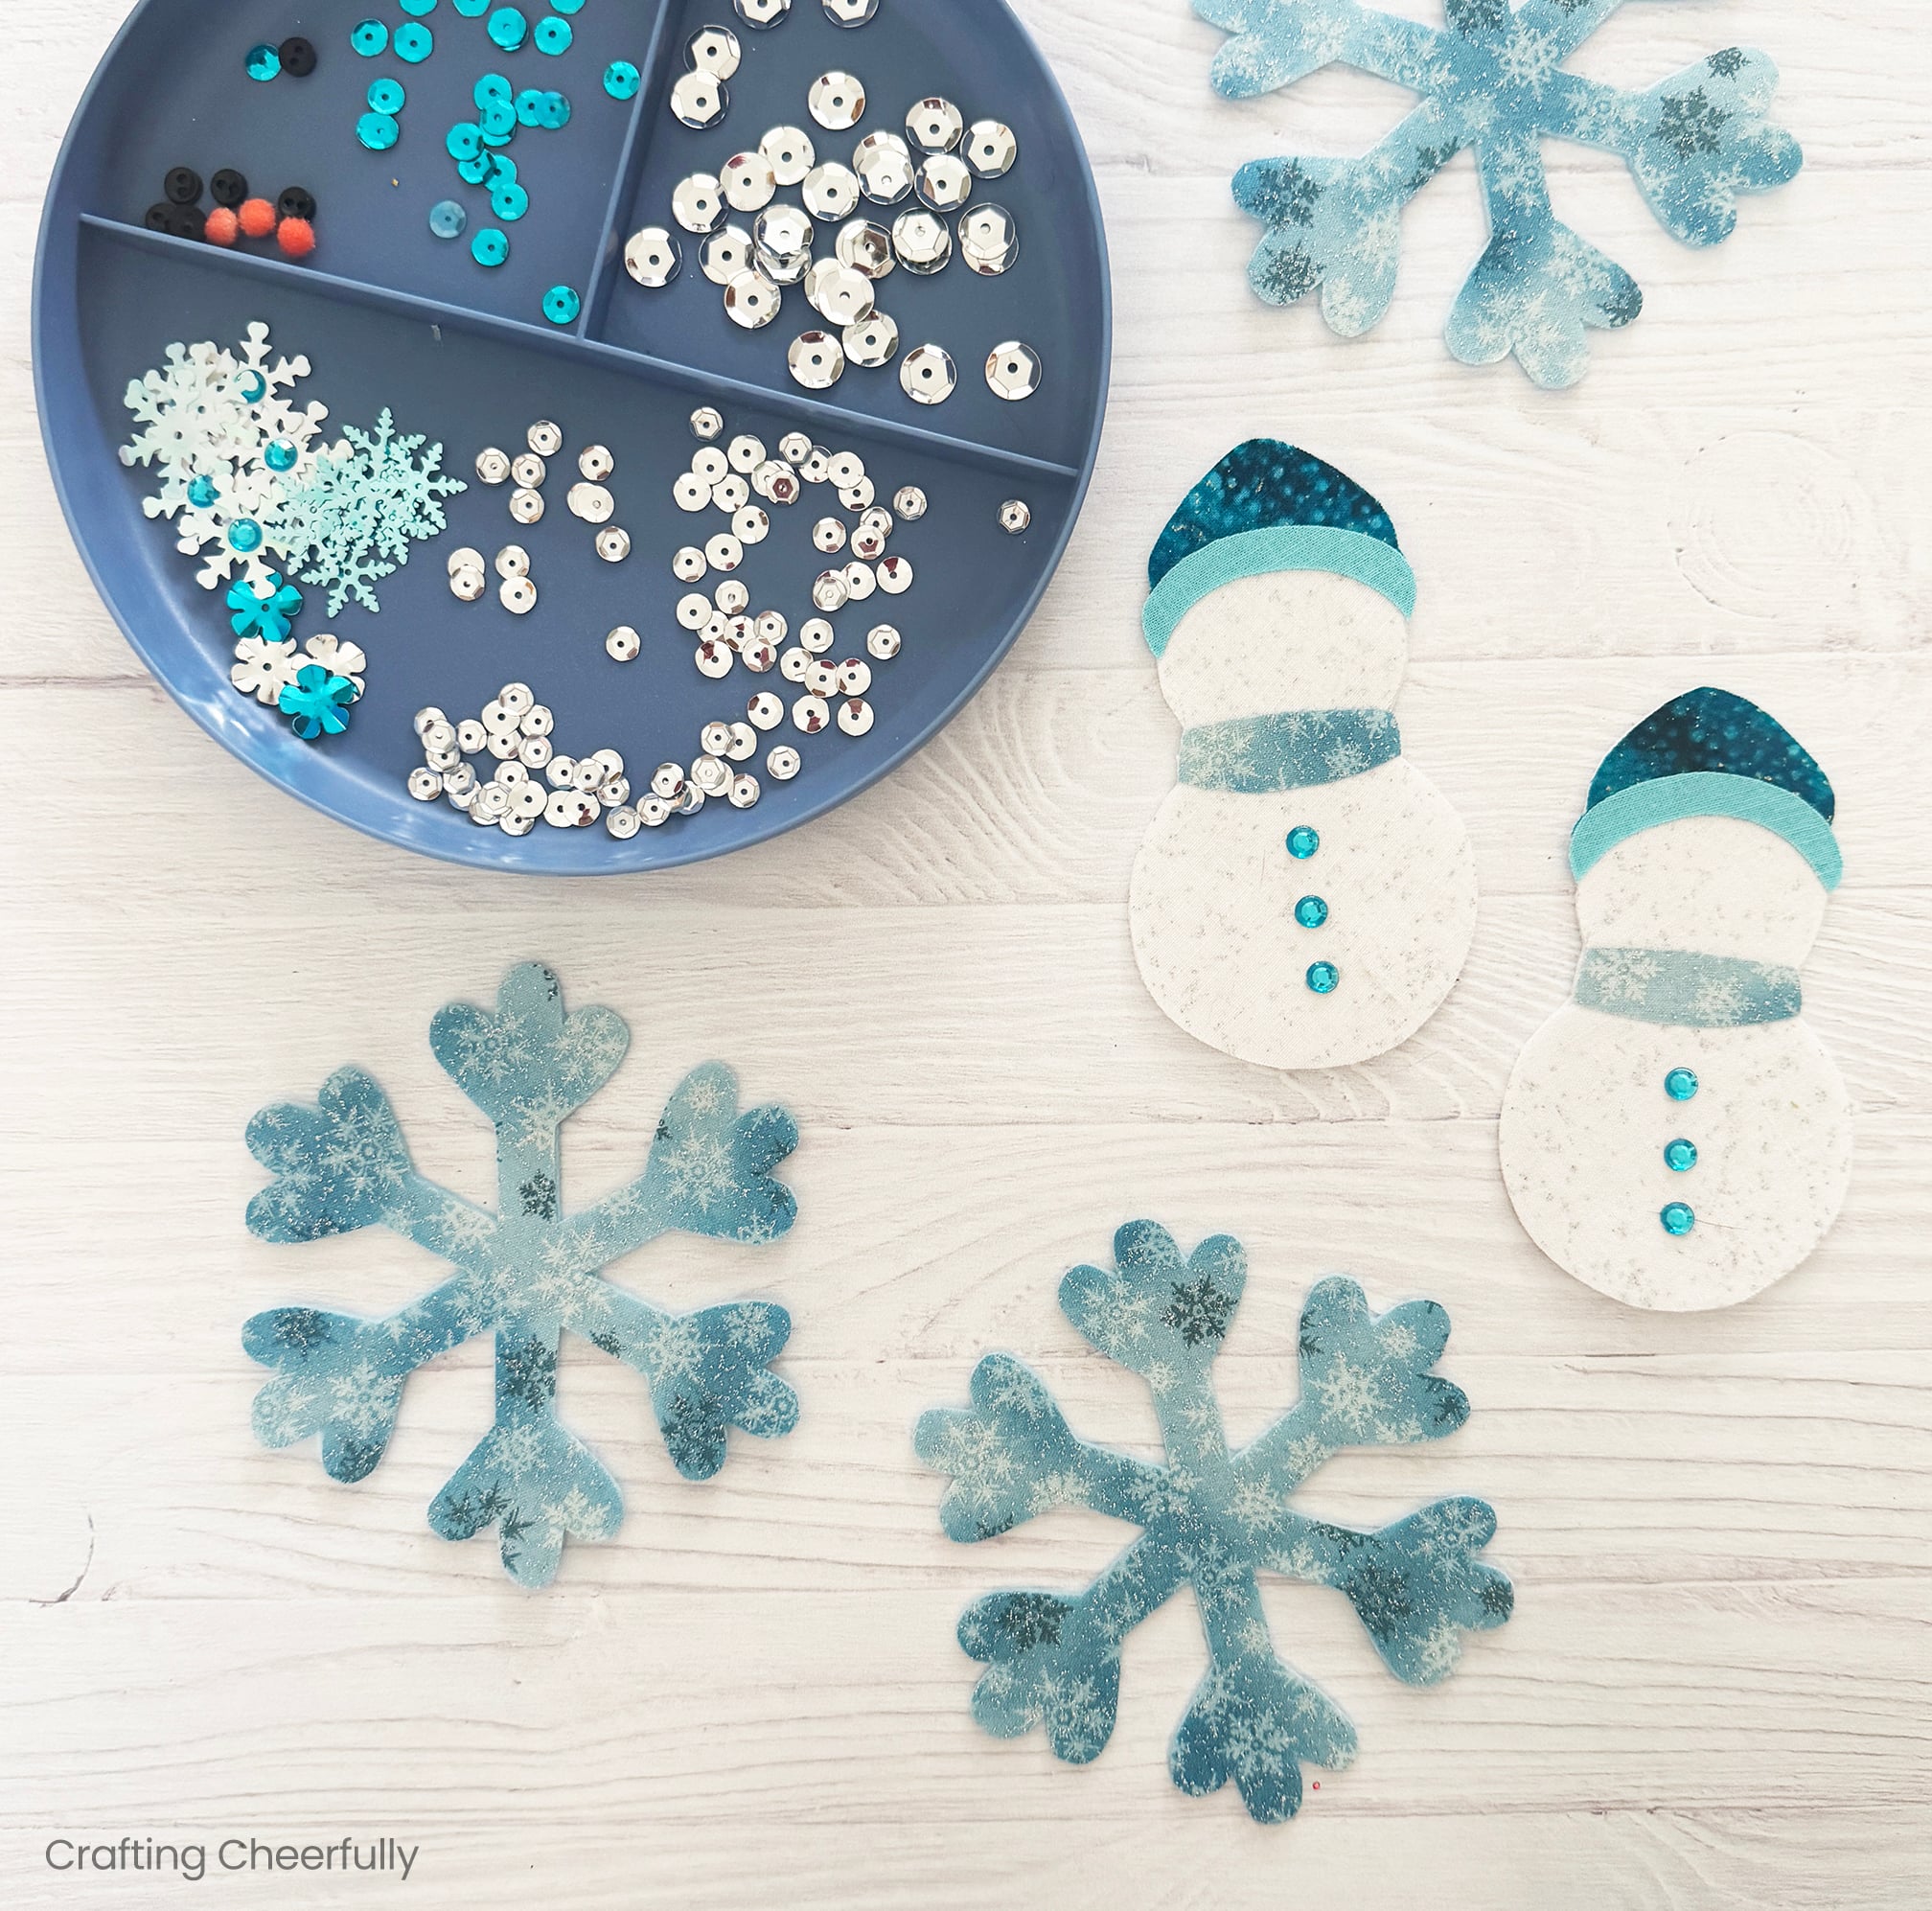
Step Four: Decorate the snowman and snowflake with sequins, gems, beads, buttons and more! Follow what I did or create your own fun designs!
Decorating the Snowmen
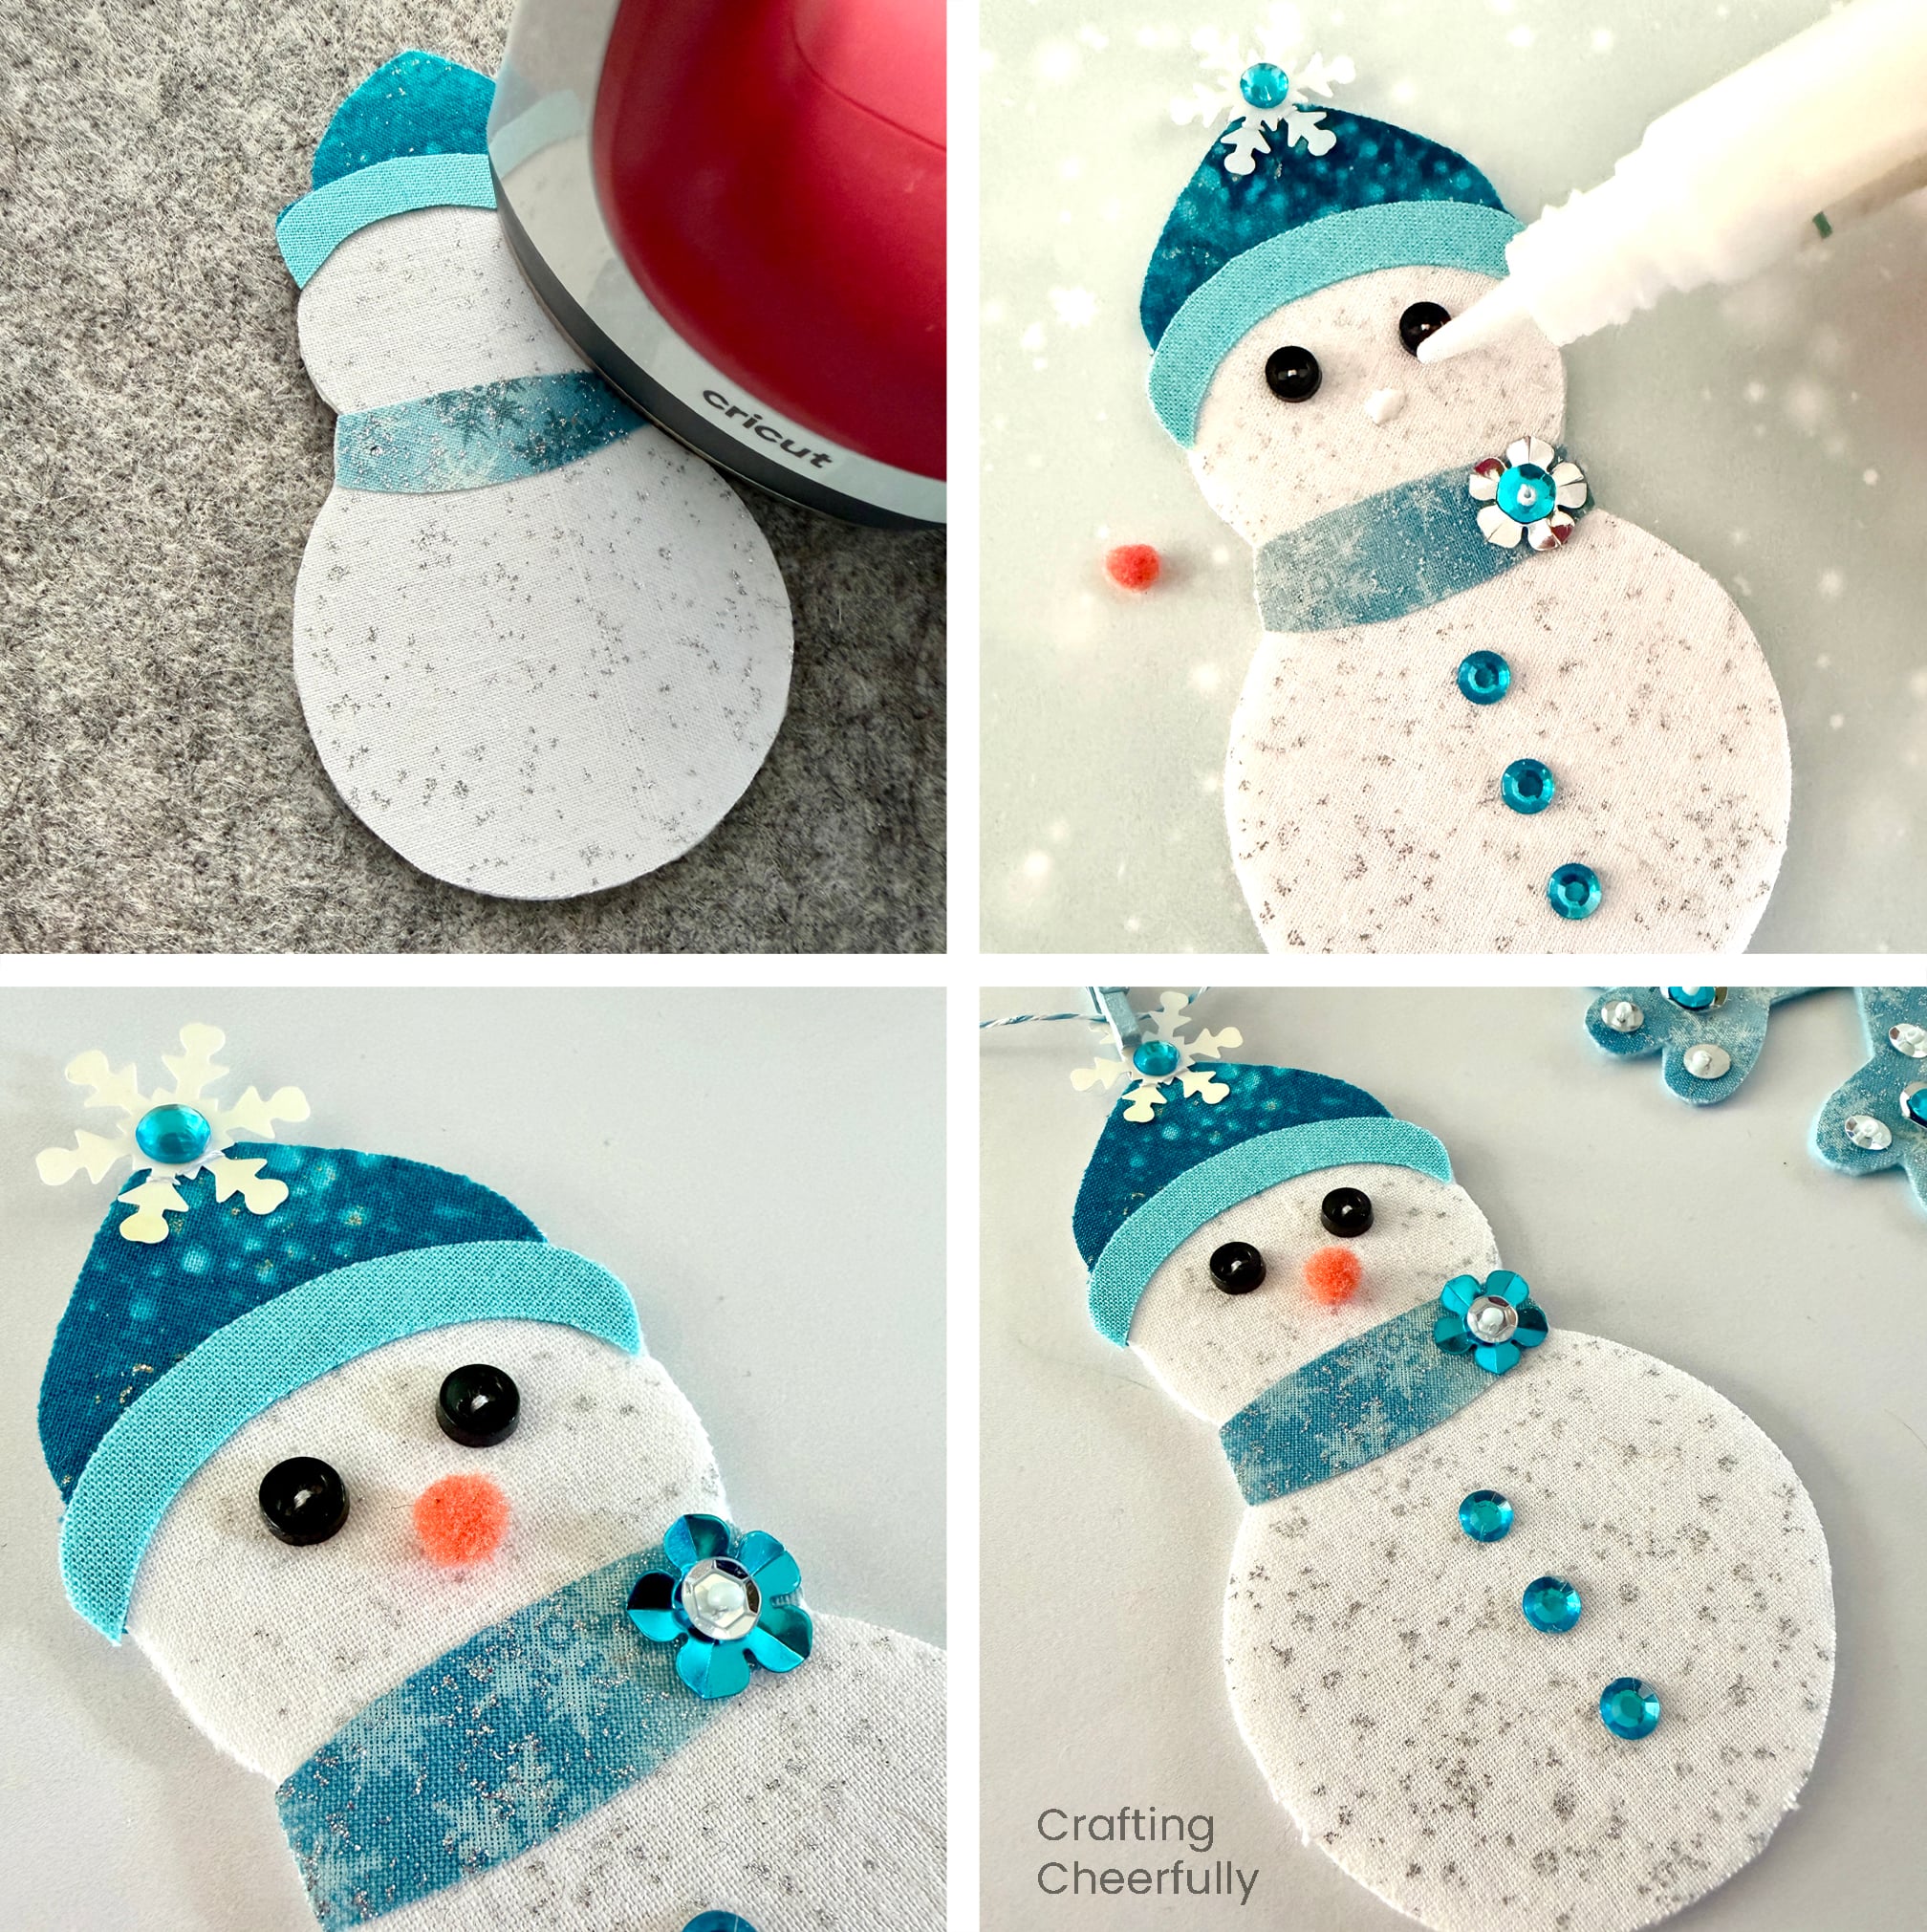
For each snowman, iron the hat, hat band and scarf to the top of the snowman shape. Sew the two black button eyes and the scarf sequins. Use glue to add the orange pompom nose and add gems to the hat and body of the snowman.
Decorating the Snowflakes
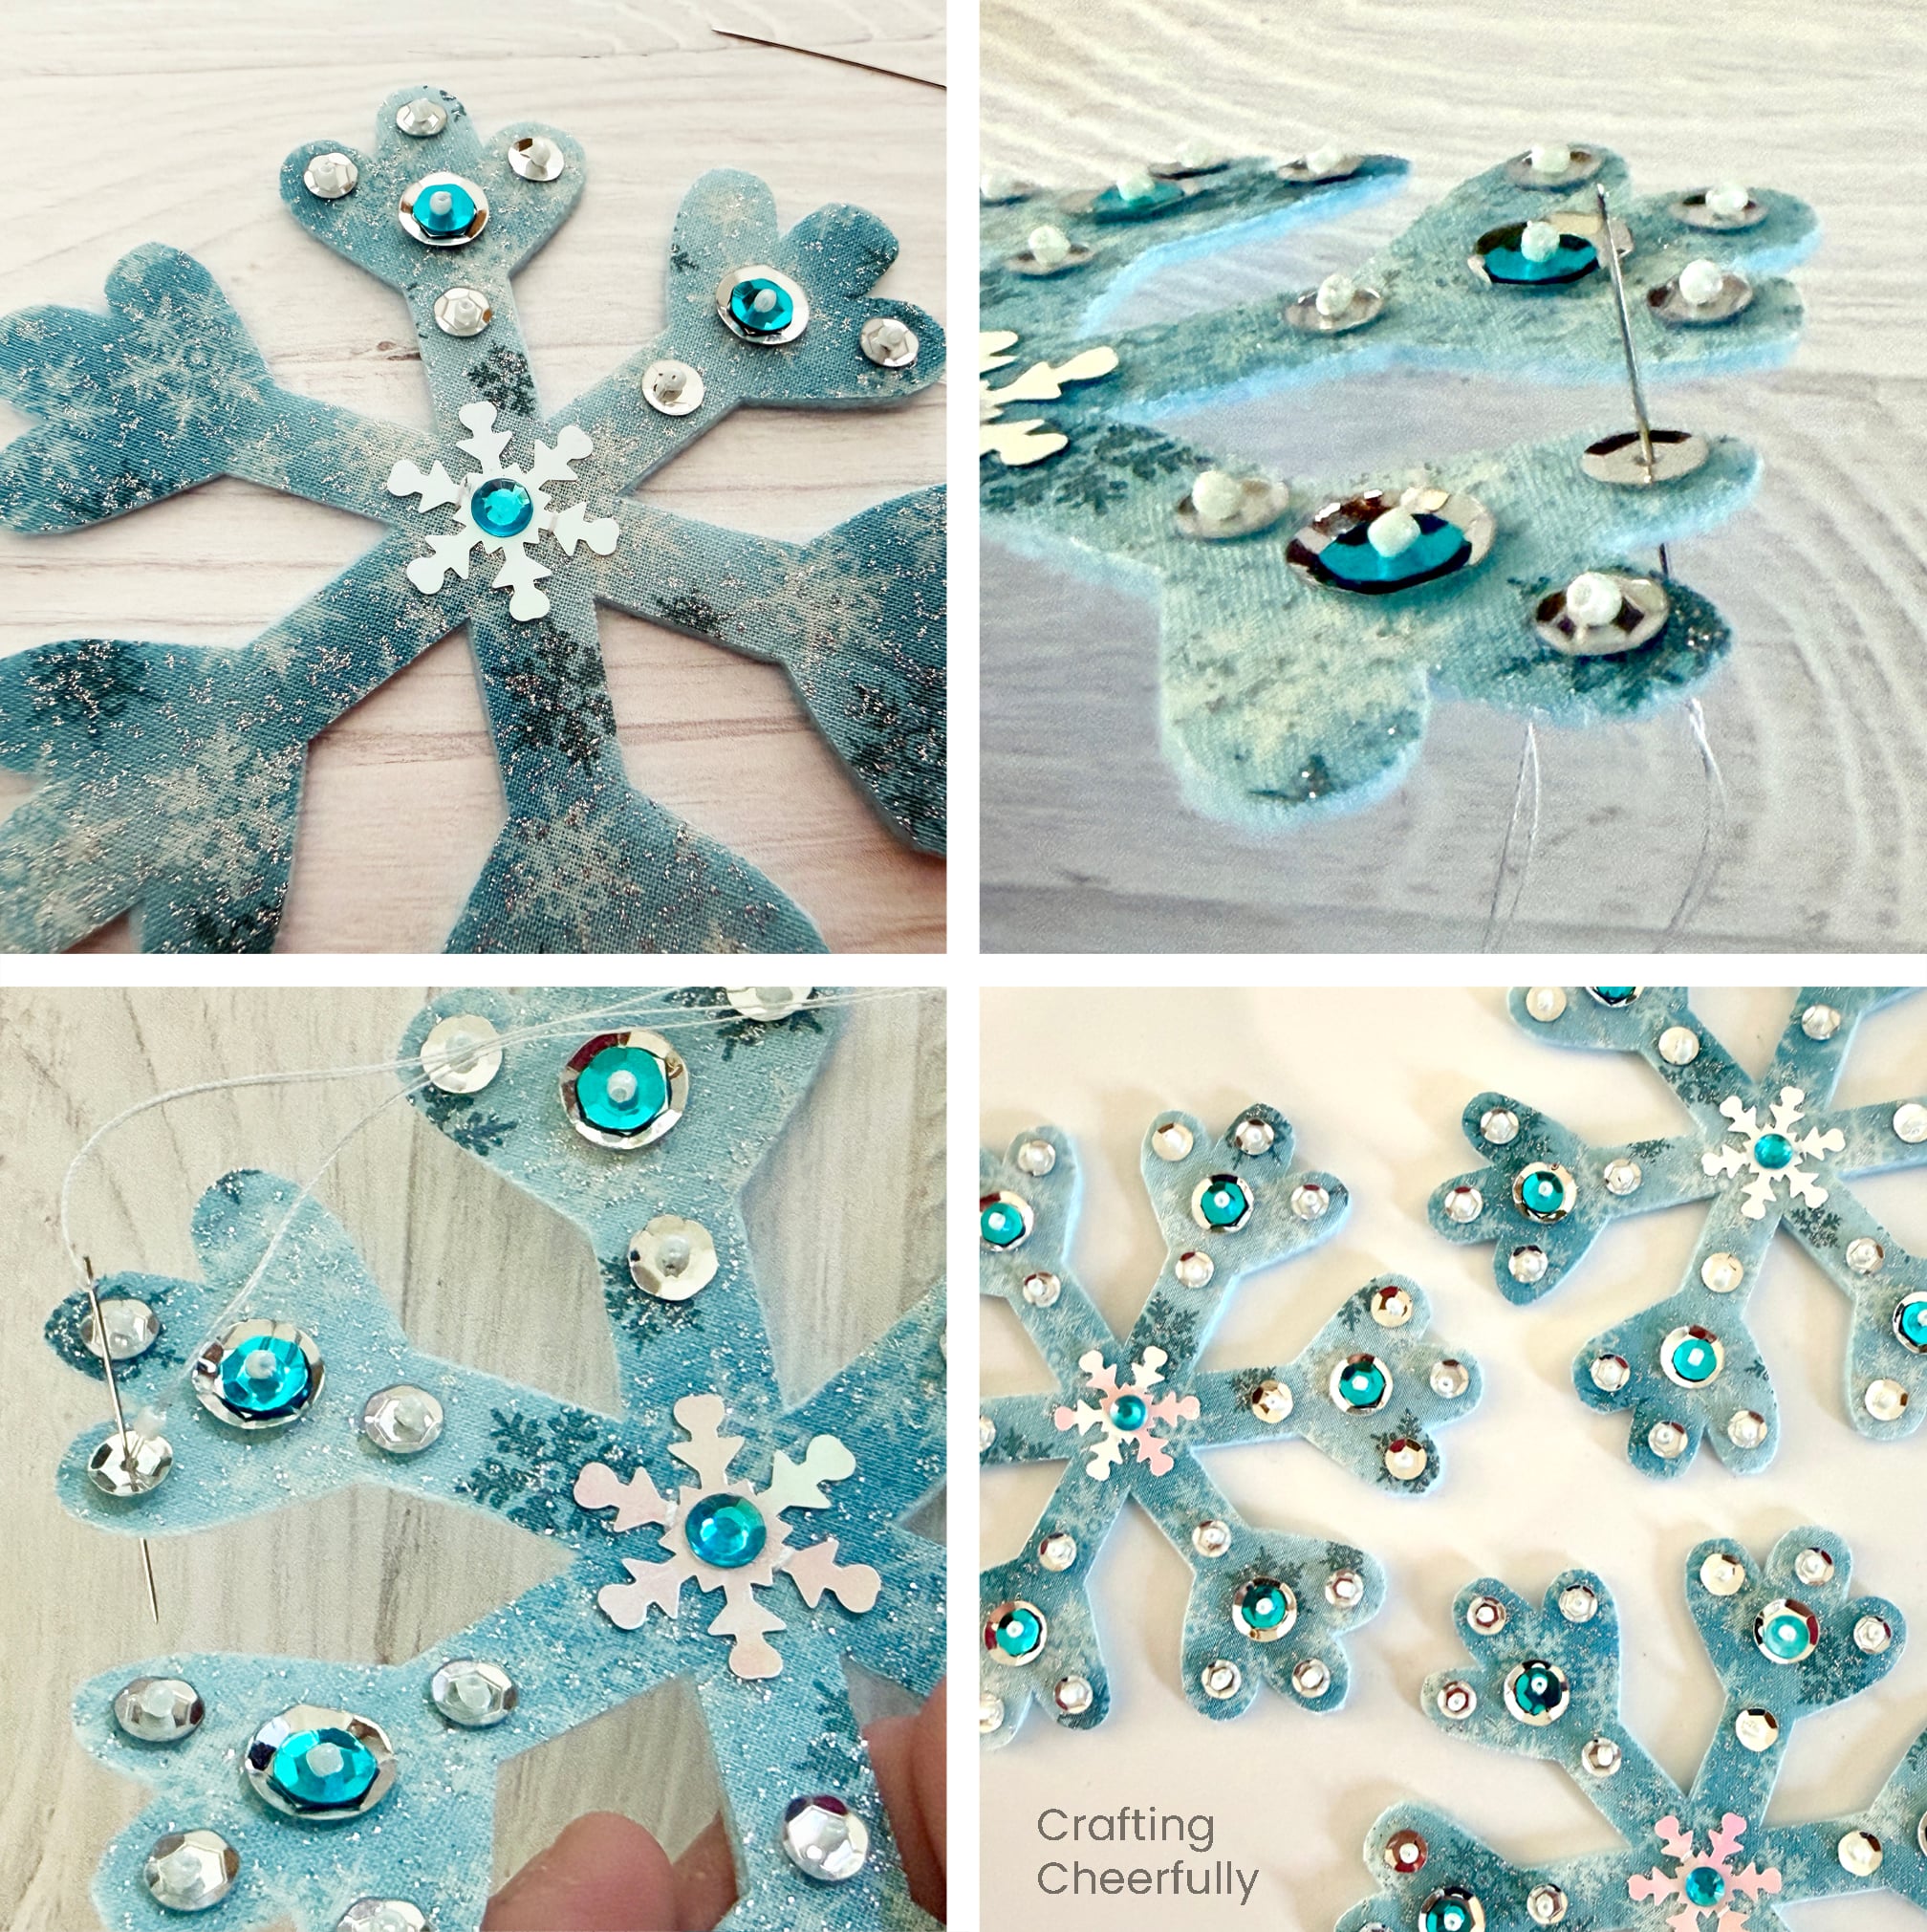
For the snowflakes, sew sequins to each arm of the snowflake using white or light blue thread. To sew each set of sequins to the ends of the snowflake arms, I brought my needle up through the felt snowflake through a silver sequin and then a light blue seed bead. I pulled my thread through all three and then pushed it back through the sequin hole to the wrong side of the snowflake. Don’t go back through the seed beed, jus the sequin. This will secure the seed bead on top and hold the bead and sequin in place.
Repeat this process wherever you want to add a bit of sparkle! You can stack as many sequins and use different shapes and colors. The seed beads are a great way to hold everything in place. At the center of the snowflakes, I stitched on a piece of snowflake confetti and stuck a blue sticker gem to the center!
Assembling the Banner
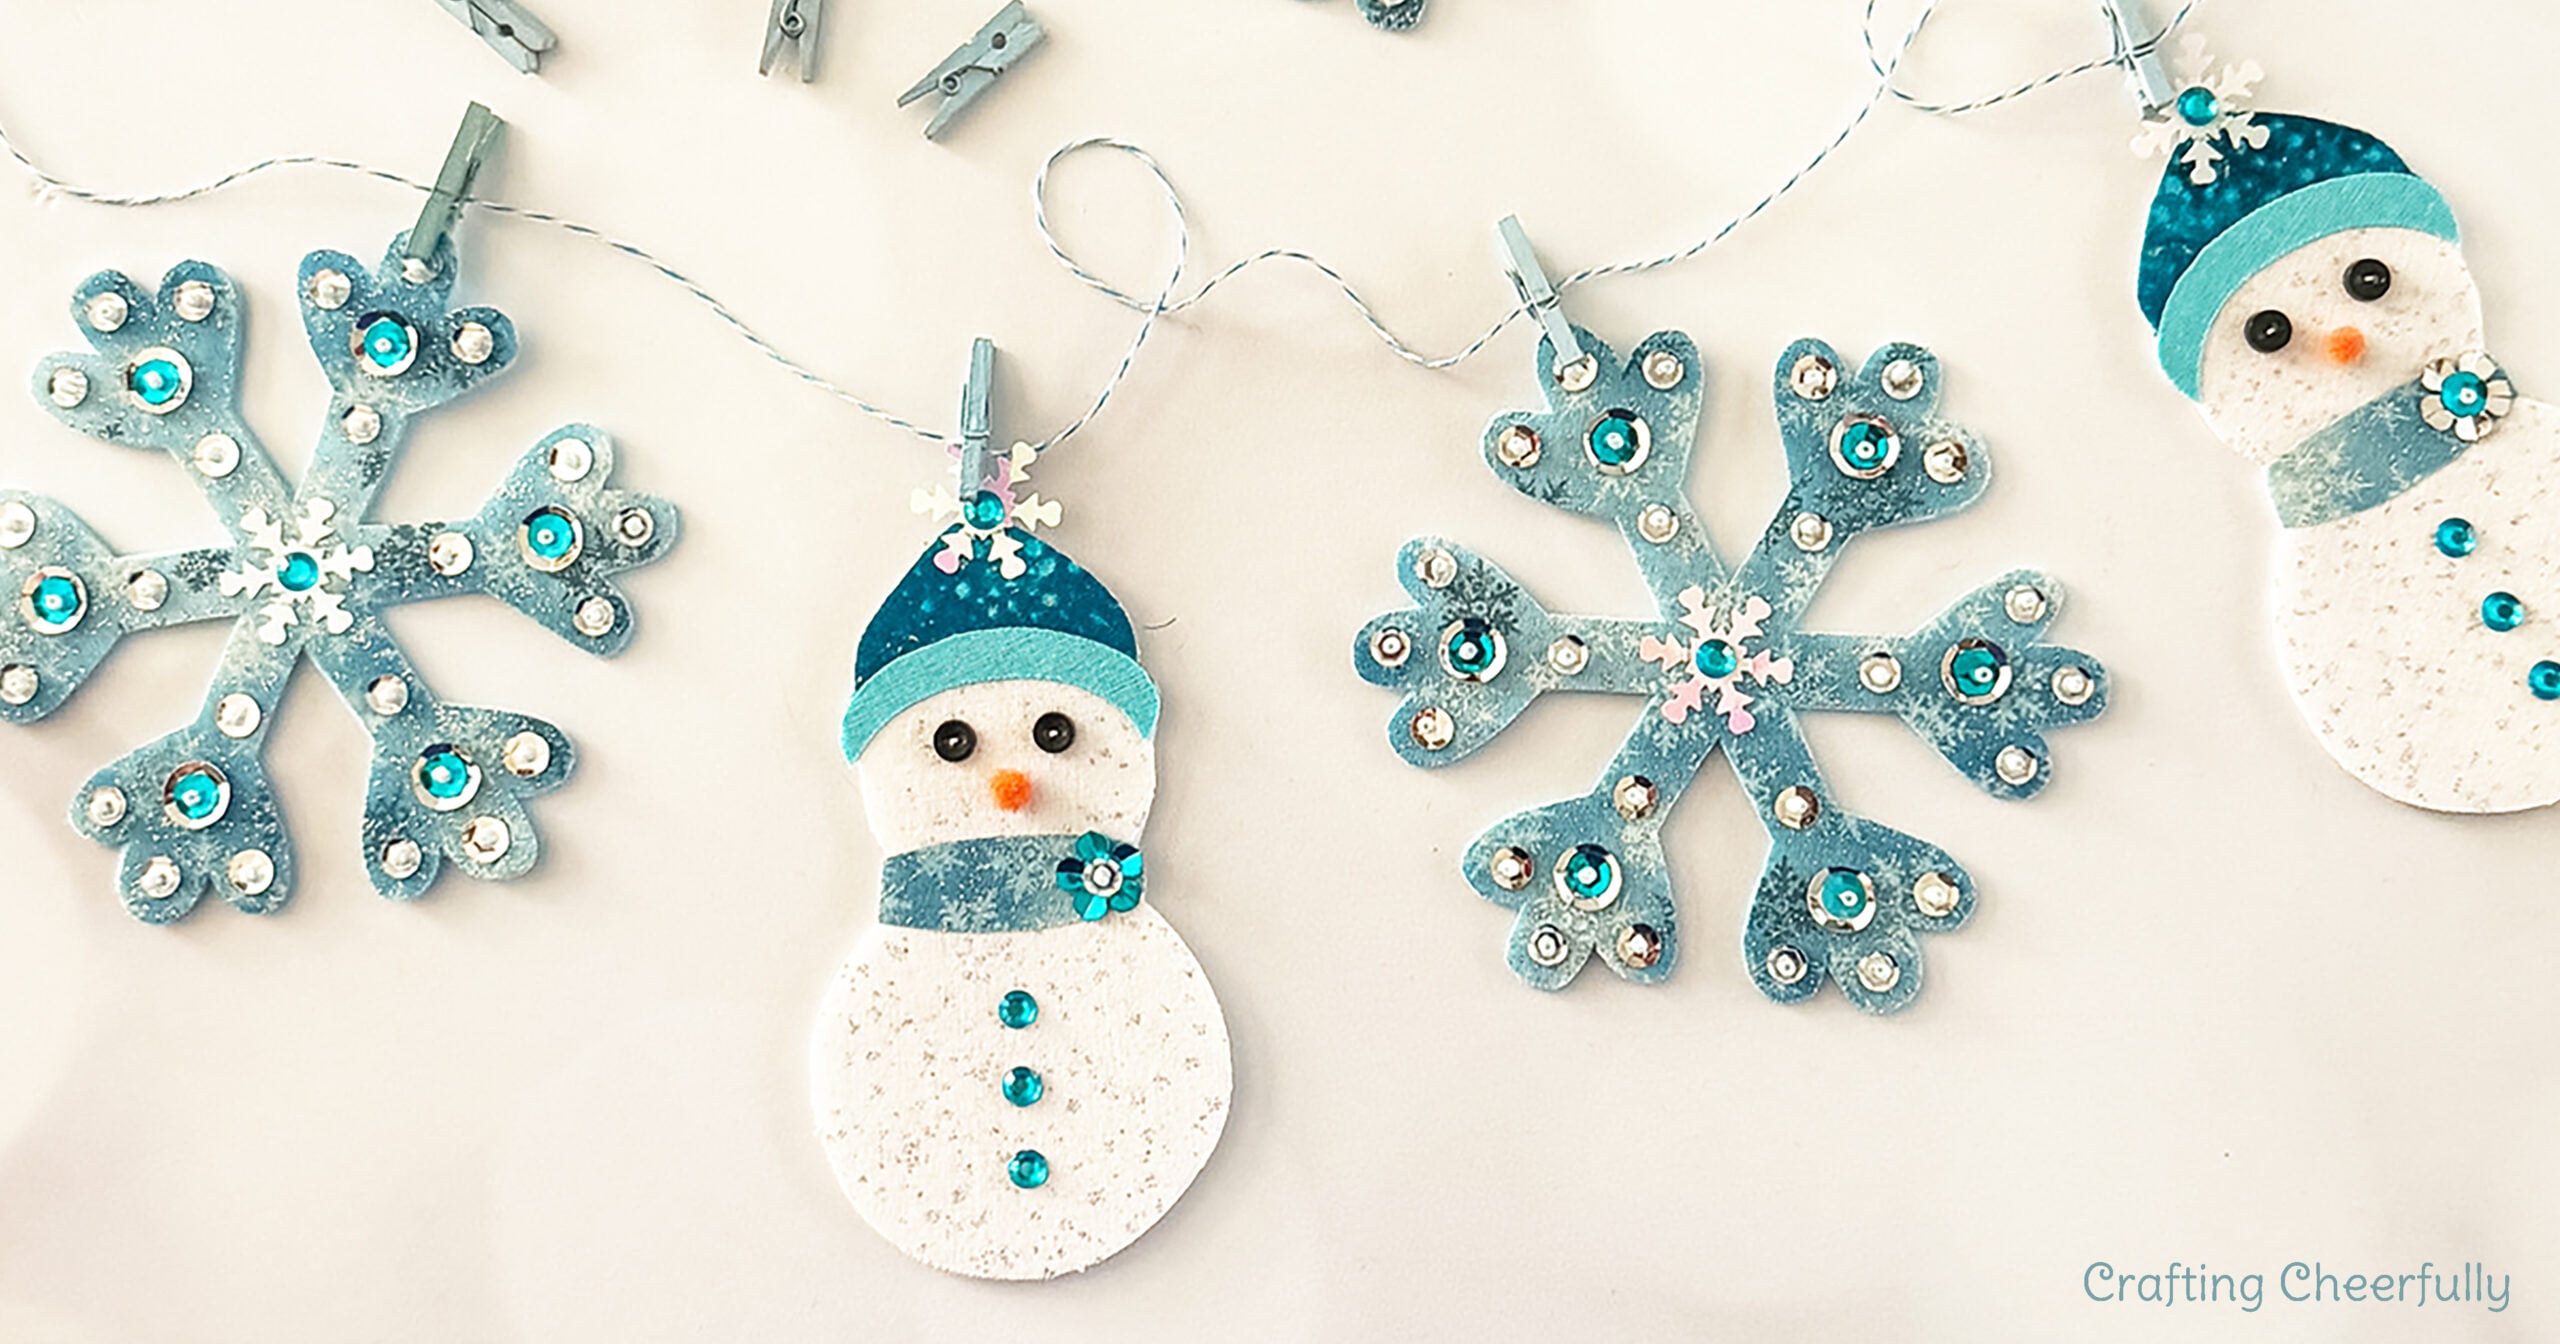
Step Five: Once all of the snowflakes and snowmen are decorated, you can string them together to create a banner. Use Baker’s twine and mini clothespins to hang the pennants. I love using mini clothespins because you can easily slide the pennants along the string and take them off to rearrange them. When it is time to store the banner, remove the pennants and store them in a baggy. You can make as many snowflakes and snowmen as you want. I made five snowflakes and three snowmen and that was enough to hang across our mantle!
I hope you enjoyed this sweet winter banner! I’ll be back tomorrow for day 11 of my series, 12 Days of Holiday Crafts. In the meantime, be sure to check out my other fabric banners! I have over a dozen fabric banners including my Winter Appliqué Banner, Peppermint Gingerbread Girl Banner and Christmas Tree banner – all perfect for the holidays!

FLASH FREEBIE
Now through November 18th you can fill out the purple form below with your first name and email address to receive the free files! The free file will be sent straight to your inbox! If you have already filled out the form below, don’t worry – you won’t be added to my list twice! This freebie is for personal use only. I hope you enjoy crafting something special. Please let me know if you have any questions :)