Snowman Appliqué Wall Hanging
Create a beautiful snowman appliqué wall hanging using fabric, felt and simple embroidery! A fun and festive decoration for the holiday season!

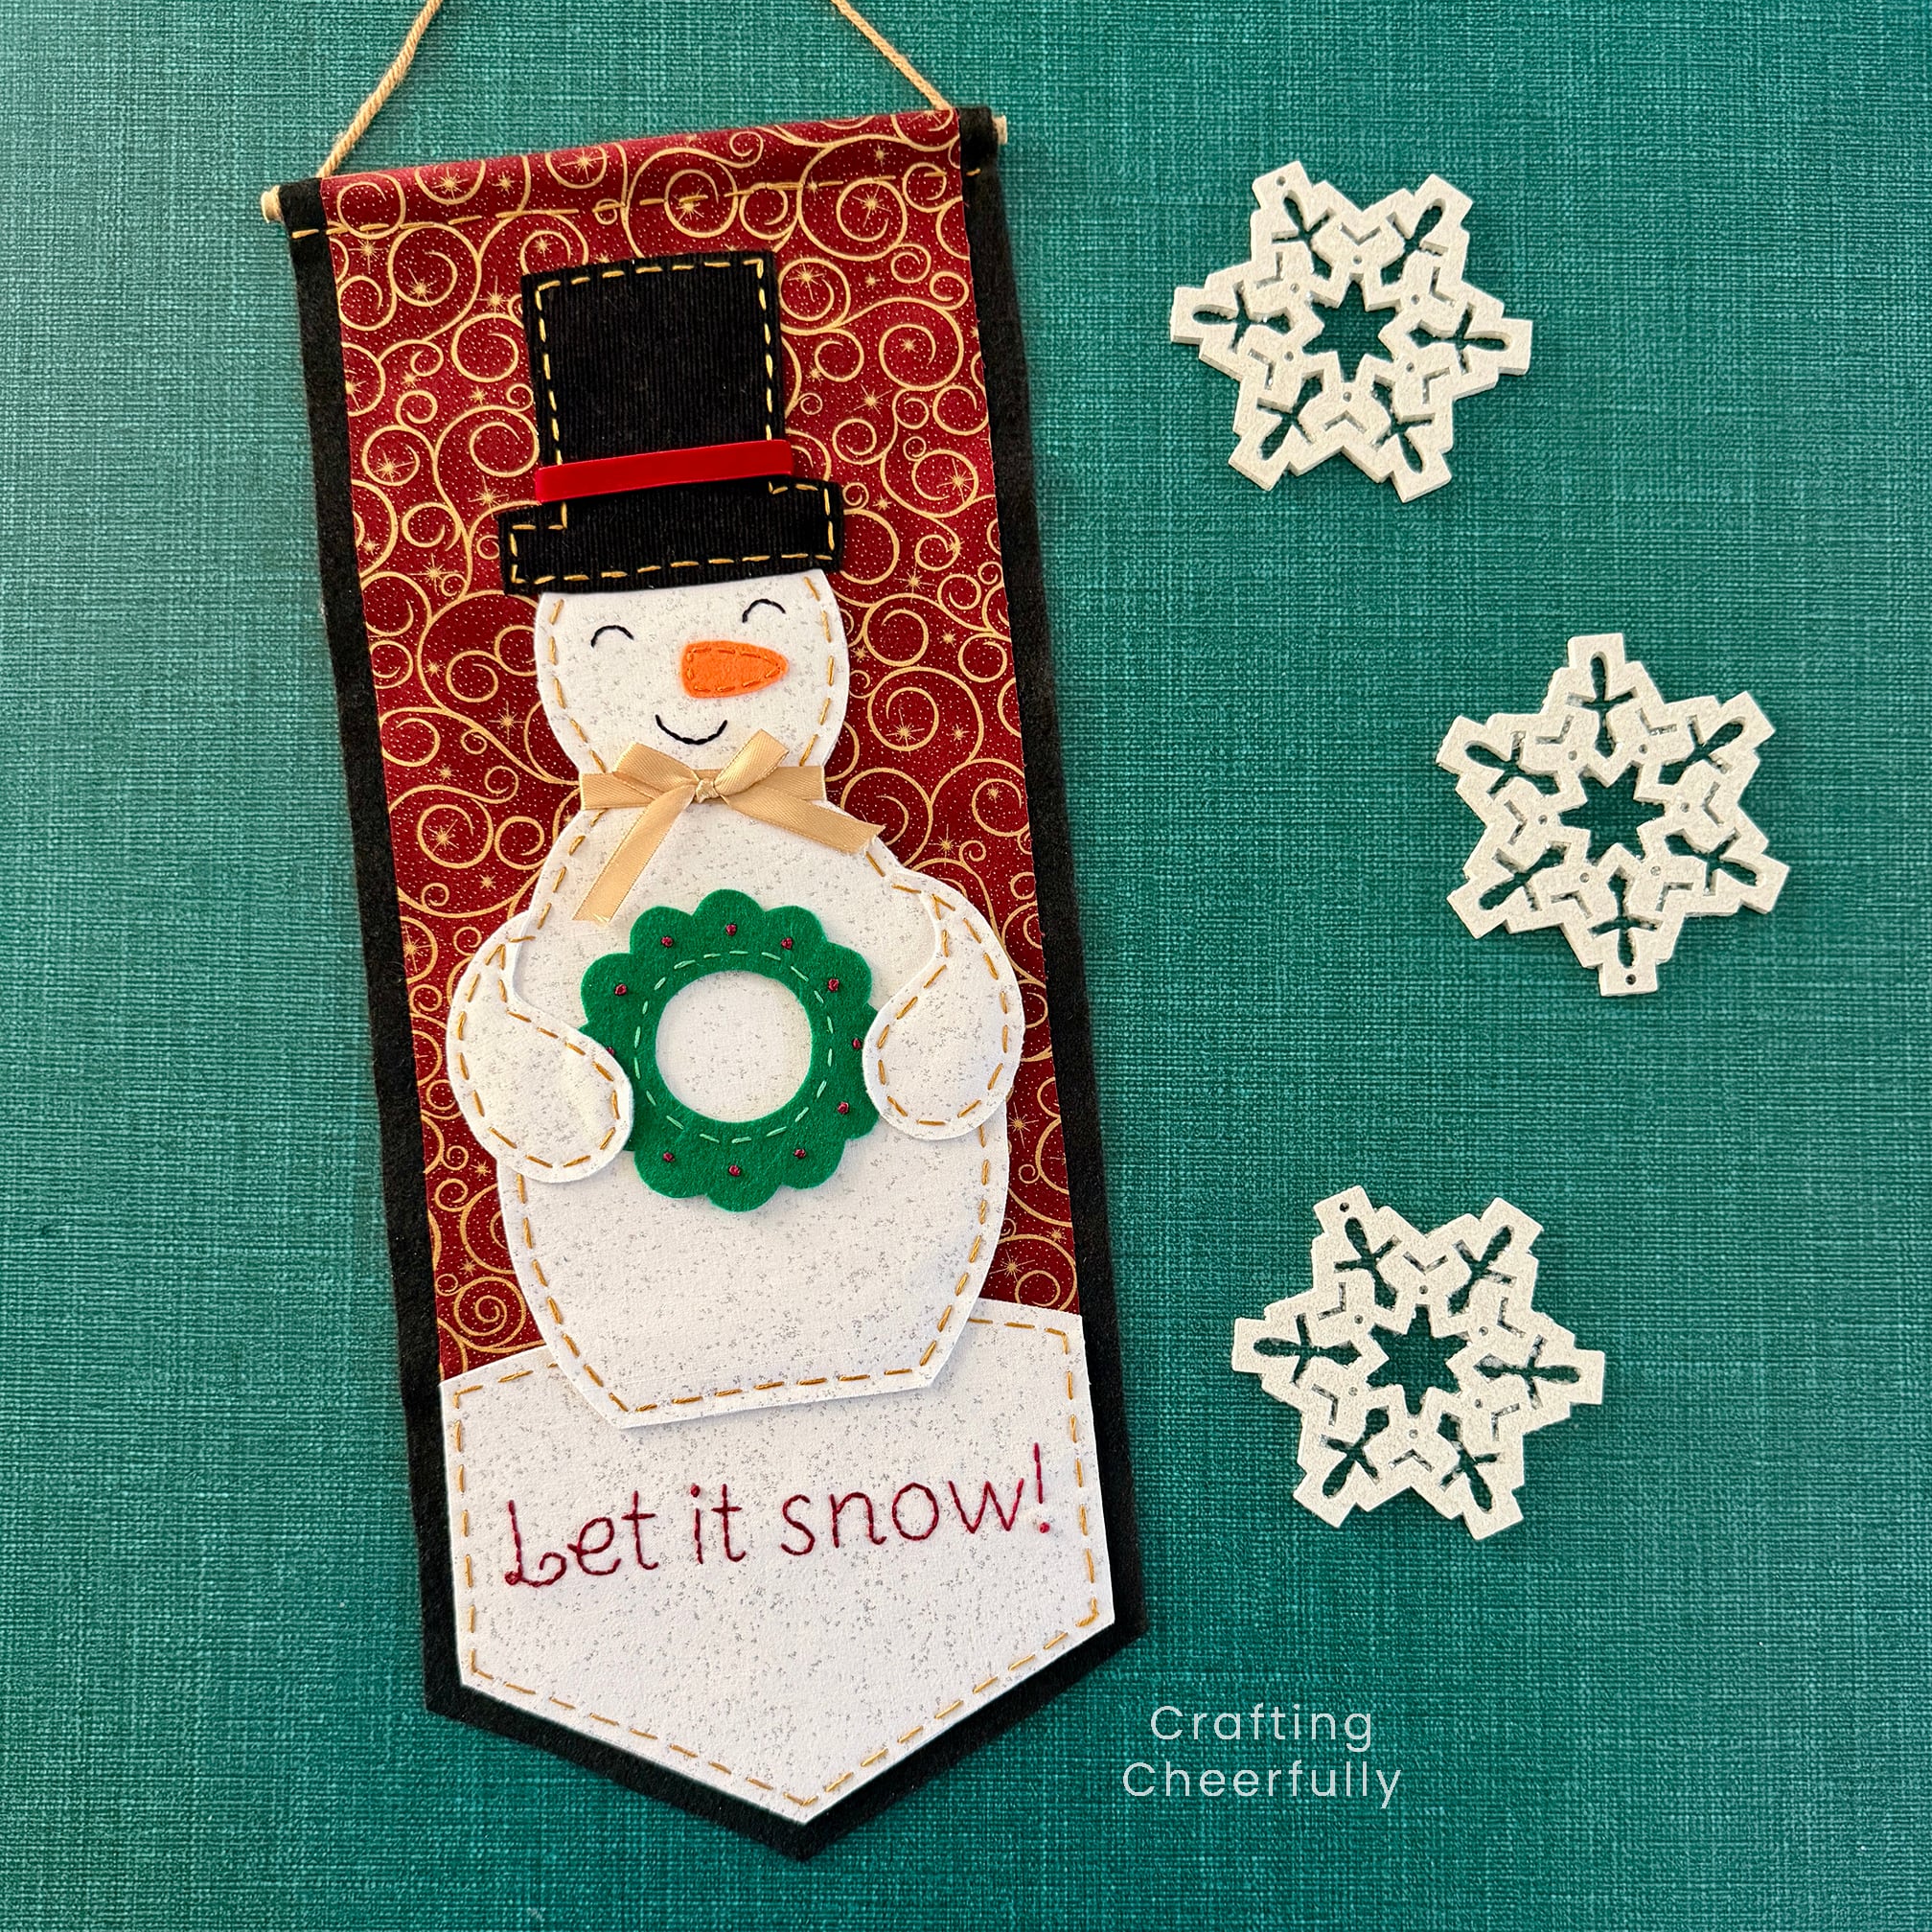
Hello Crafty Friends and welcome to Day 5 of my annual series 12 Days of Holiday Crafts! Today I’m sharing this festive Snowman Appliqué Wall Hanging! This was so much fun to make and I love how it turned out. I recently made a Halloween pumpkin wall hanging and wanted something to replace it with when spooky season ended.
This wall hanging is made with felt and scraps of fabric and uses simple hand sewing stitches like a running stitch and backstitch. Depending on the fabrics you use, this could be a Christmas decoration or a winter decoration. Check out my Penguin Embroidery Hoop as an example of this. I stitched it with different fabrics and it gave the project very different vibes.
This is a longer than normal tutorial, but I wanted to include lots of pictures! You can download the pattern for this Snowman Wall Hanging for free now through November 13th! After that the pattern will move to my Etsy shop.
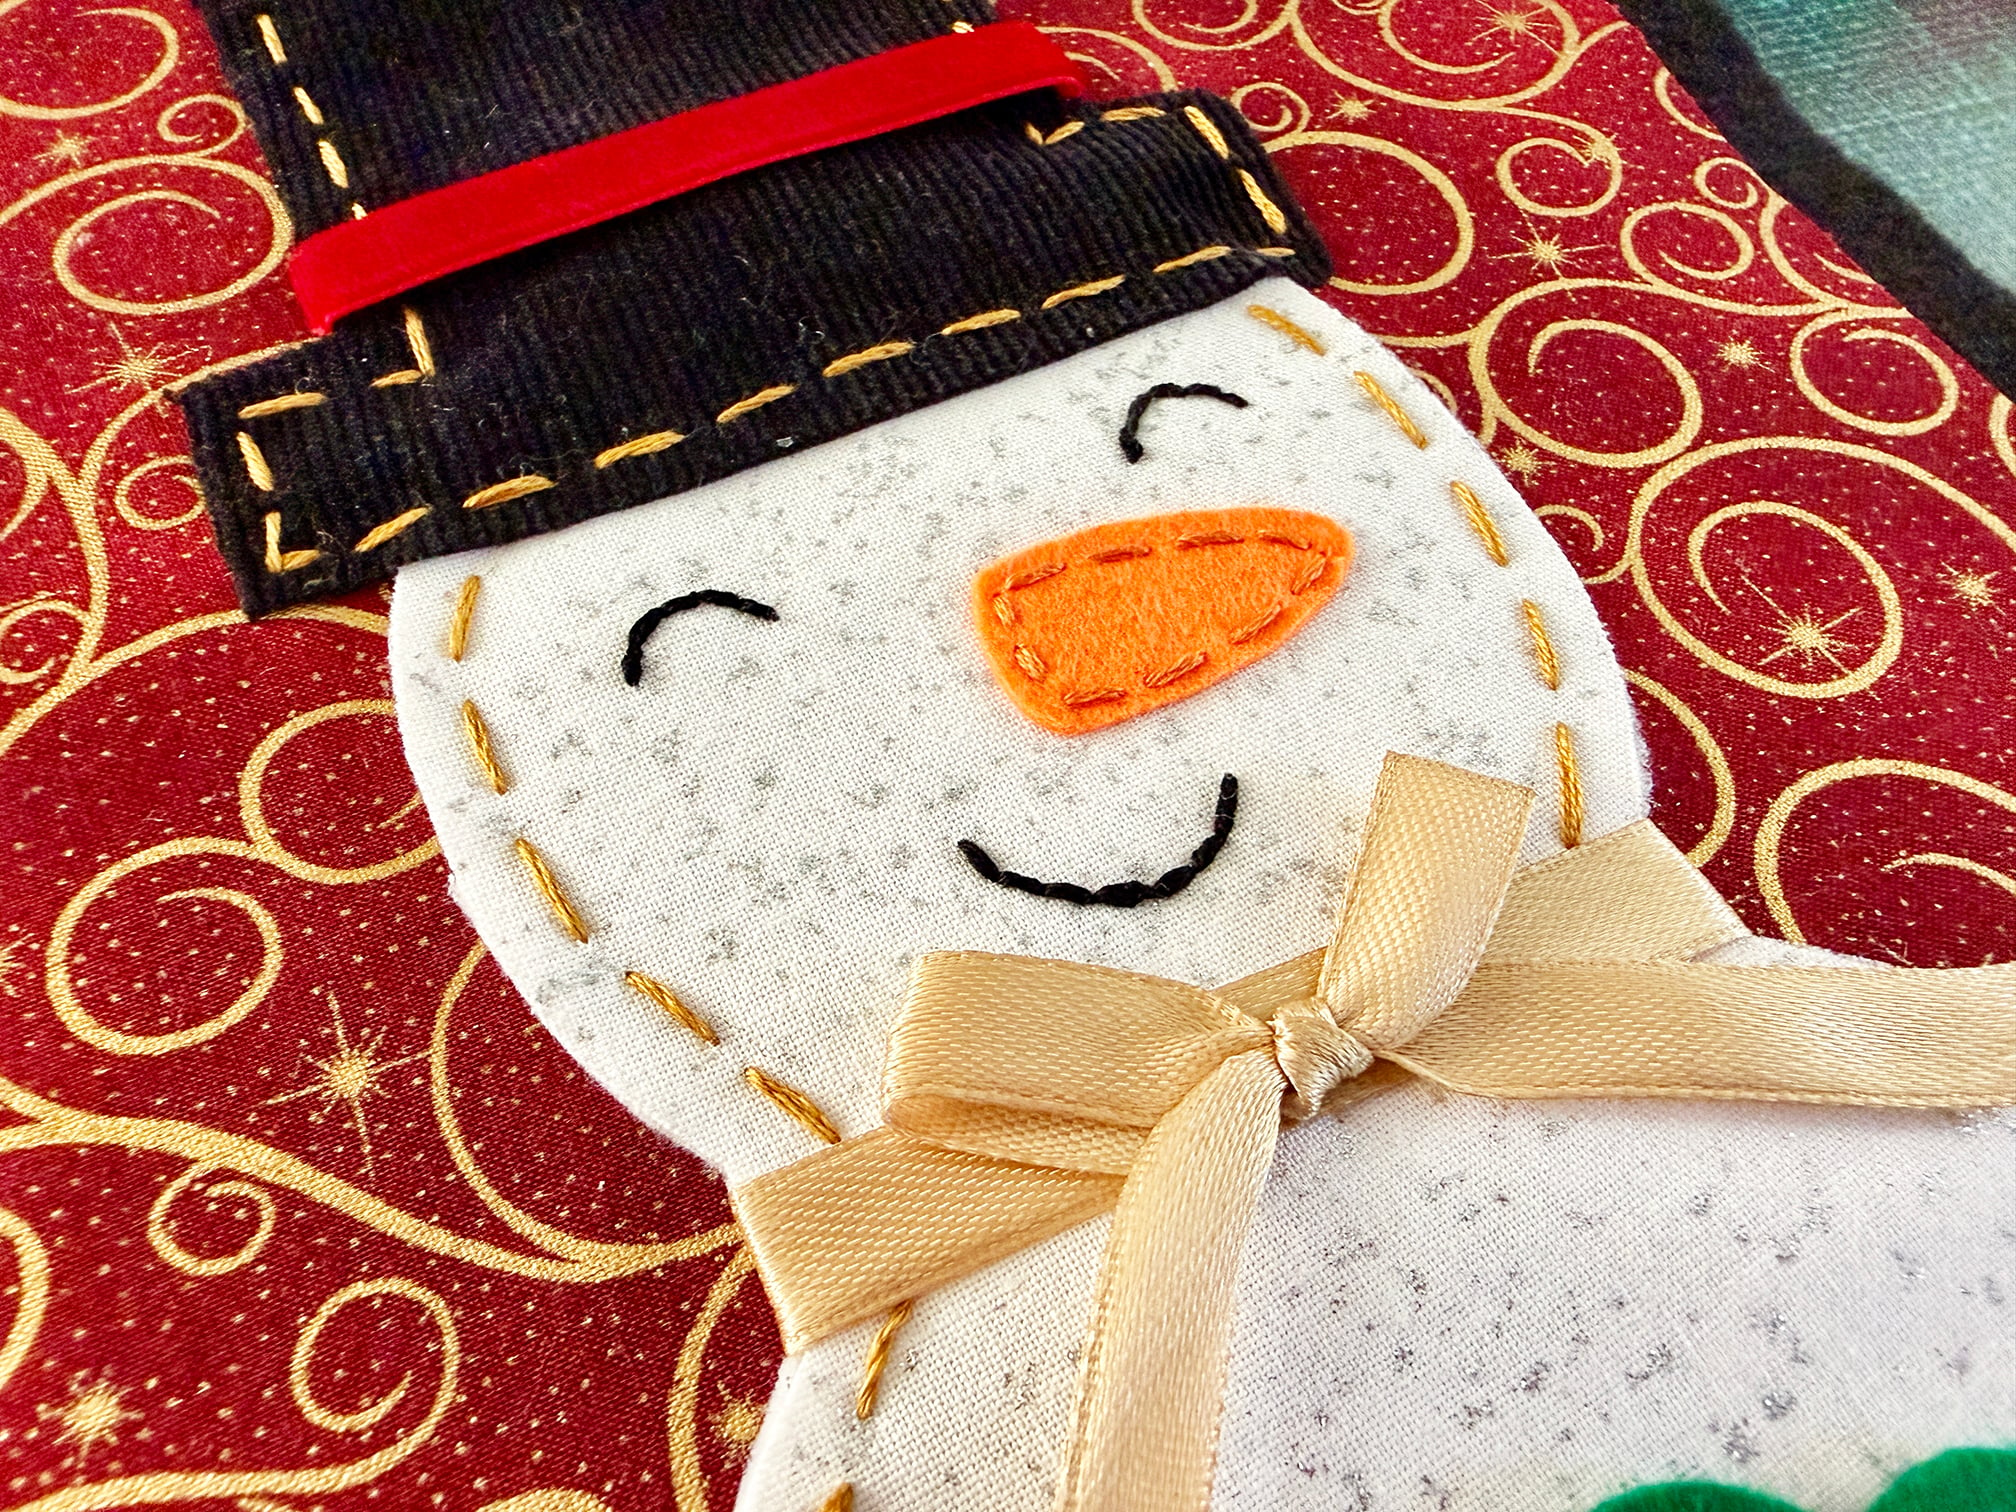
How to Make a Fabric Snowman Wall Hanging
Supplies Needed
- Pattern – Flash Freebie! Download the free pattern now through November 13th by filling out the purple form at the end of this post.
- Black Felt – for the base of the design.
- Background Fabric – I chose a red and gold swirl print
- Fabric
- White fabric for the snow and snowman
- Black fabric for the hat
- Felt
- Orange felt for the nose
- Green felt for the wreath
- White felt for the snowman and snow – to place behind the white fabric
- Fusible Web Interfacing –Thermoweb HeatnBond Lite Sewable or Pellon Brand Wonder Under. Make sure to use sewable interfacing so you can stitch through it.
- Embroidery Floss – gold, red, orange, black, and green
- Display Options – 8” Magnetic wooden poster hanger or an 8.5” dowel and yarn
- Sewing tools – fabric scissors, embroidery scissors, pencil, embroidery needle
- Iron – I like to use my little Cricut Mini Heat Press and wool pressing mat.
Cutting the Fabric and Felt
Step One: Download and print the pattern pieces then tape them together to create the full pattern.
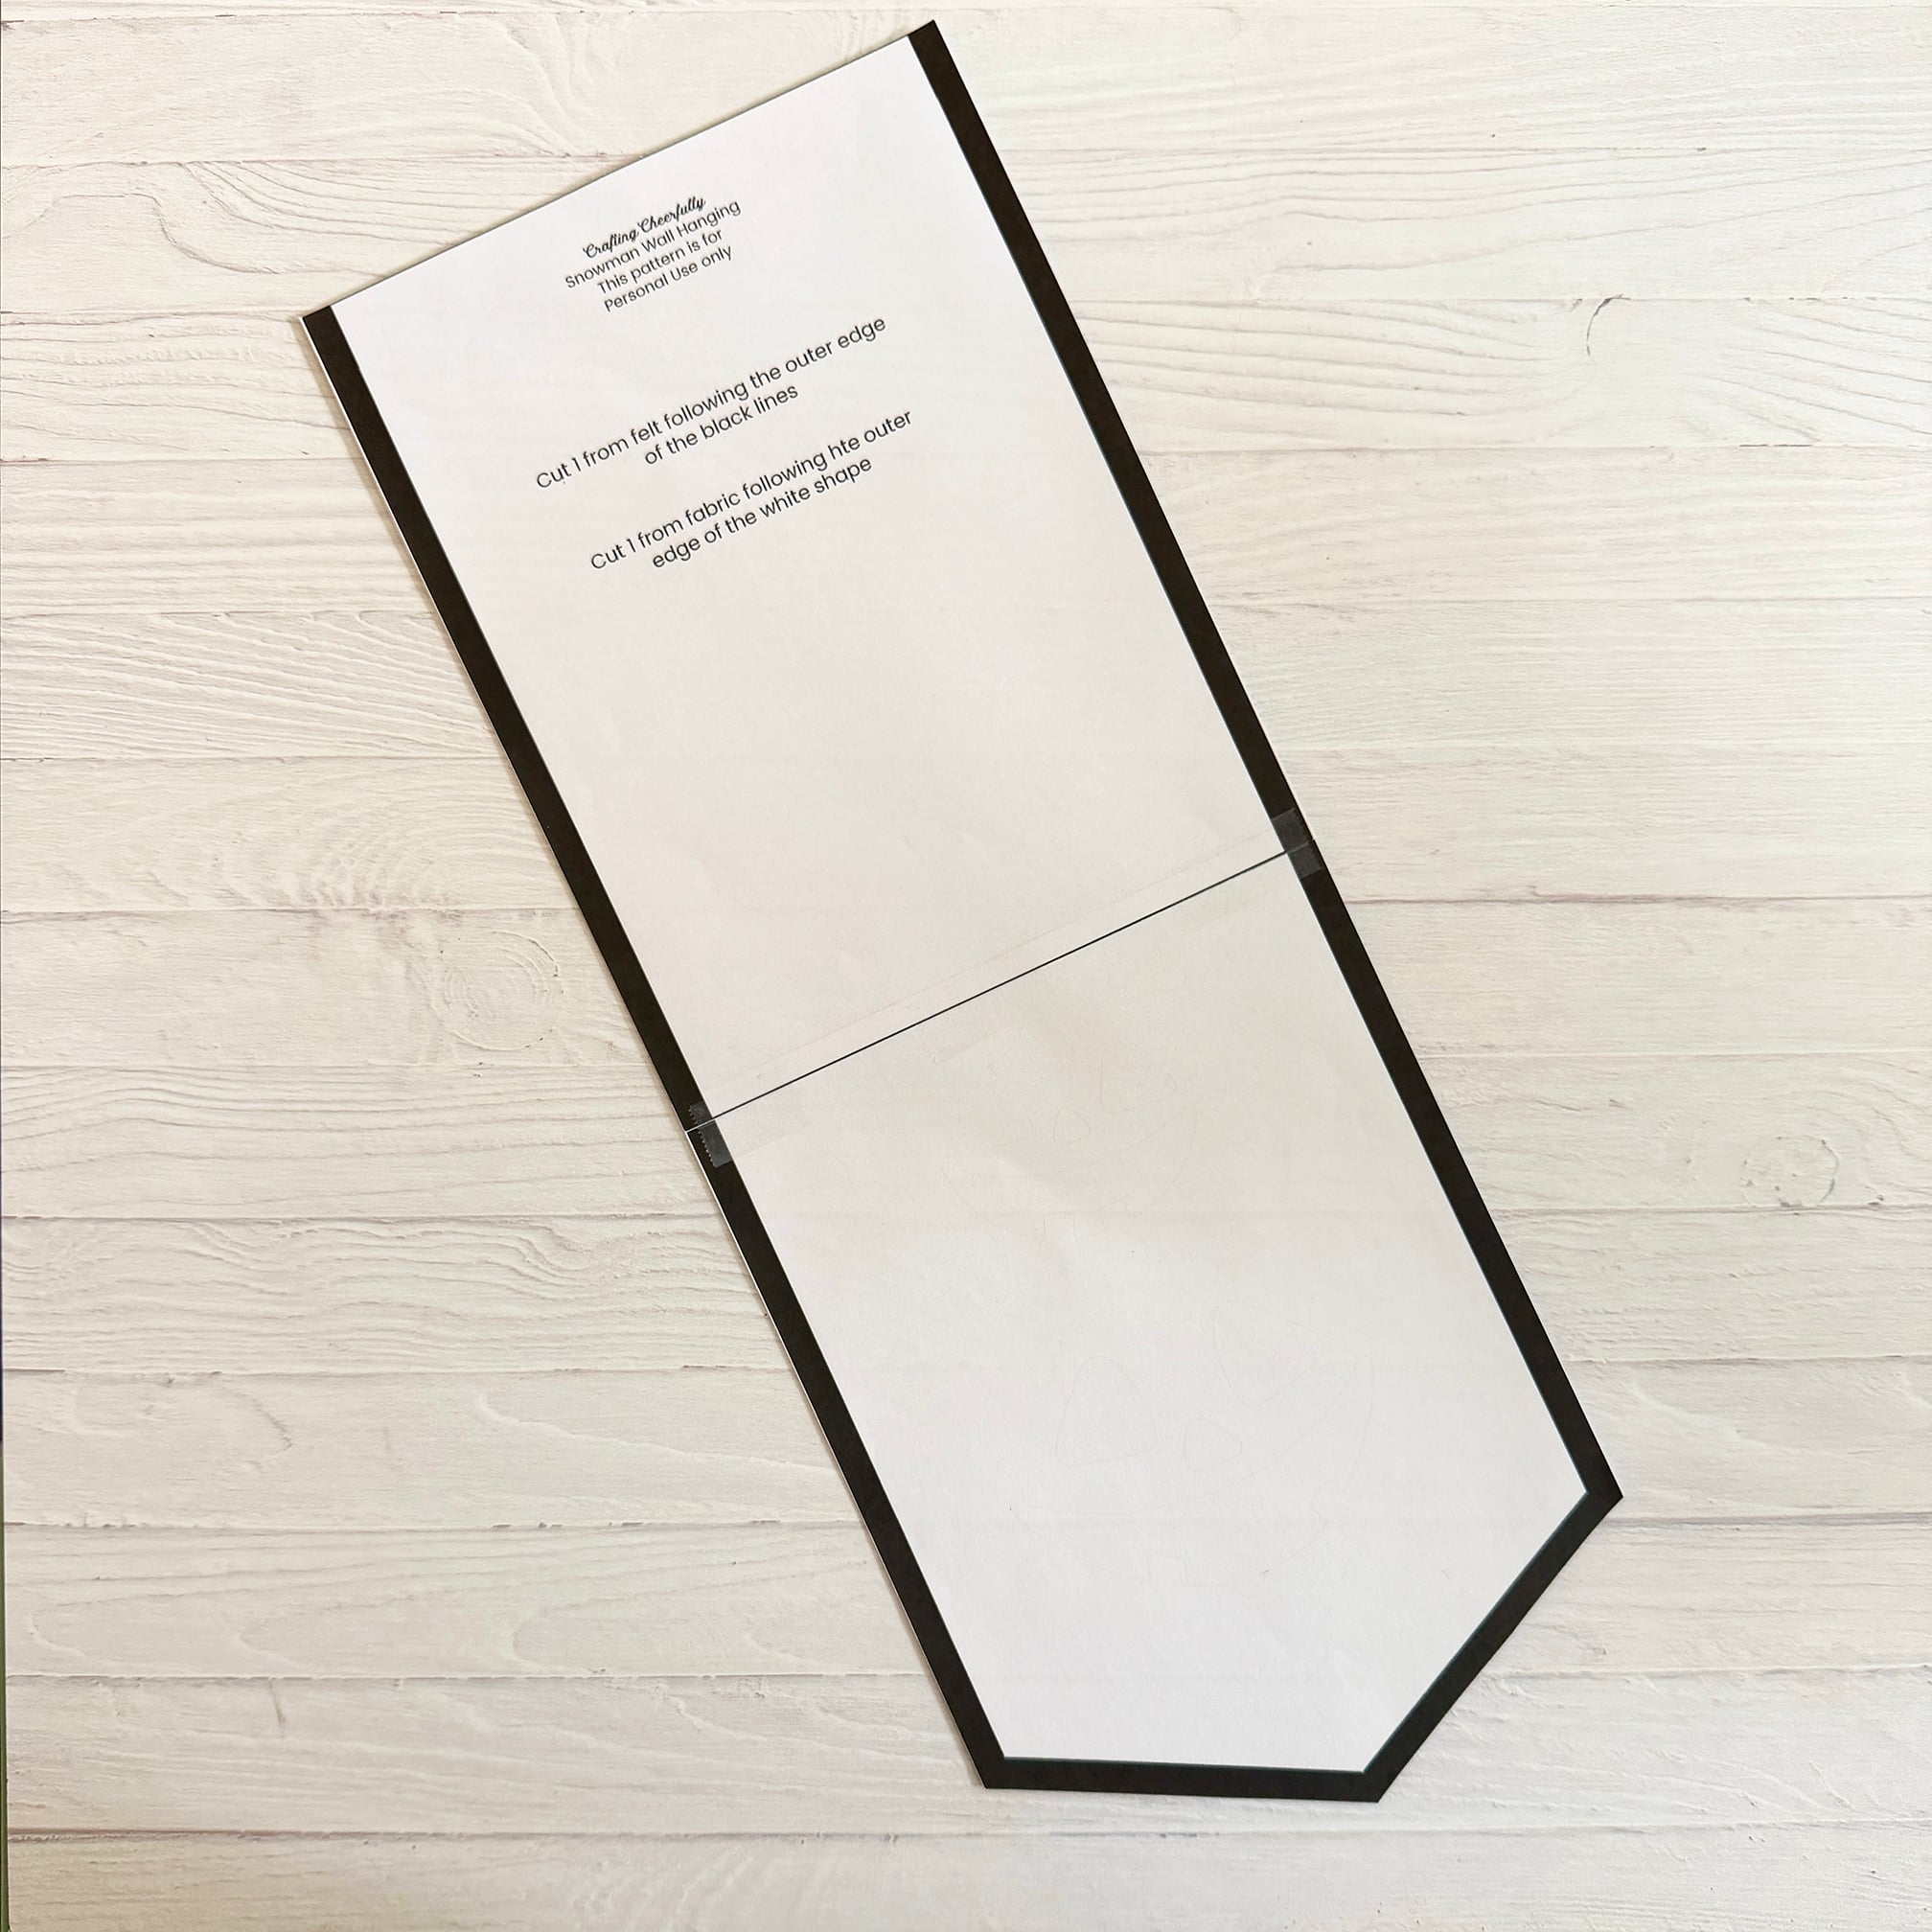
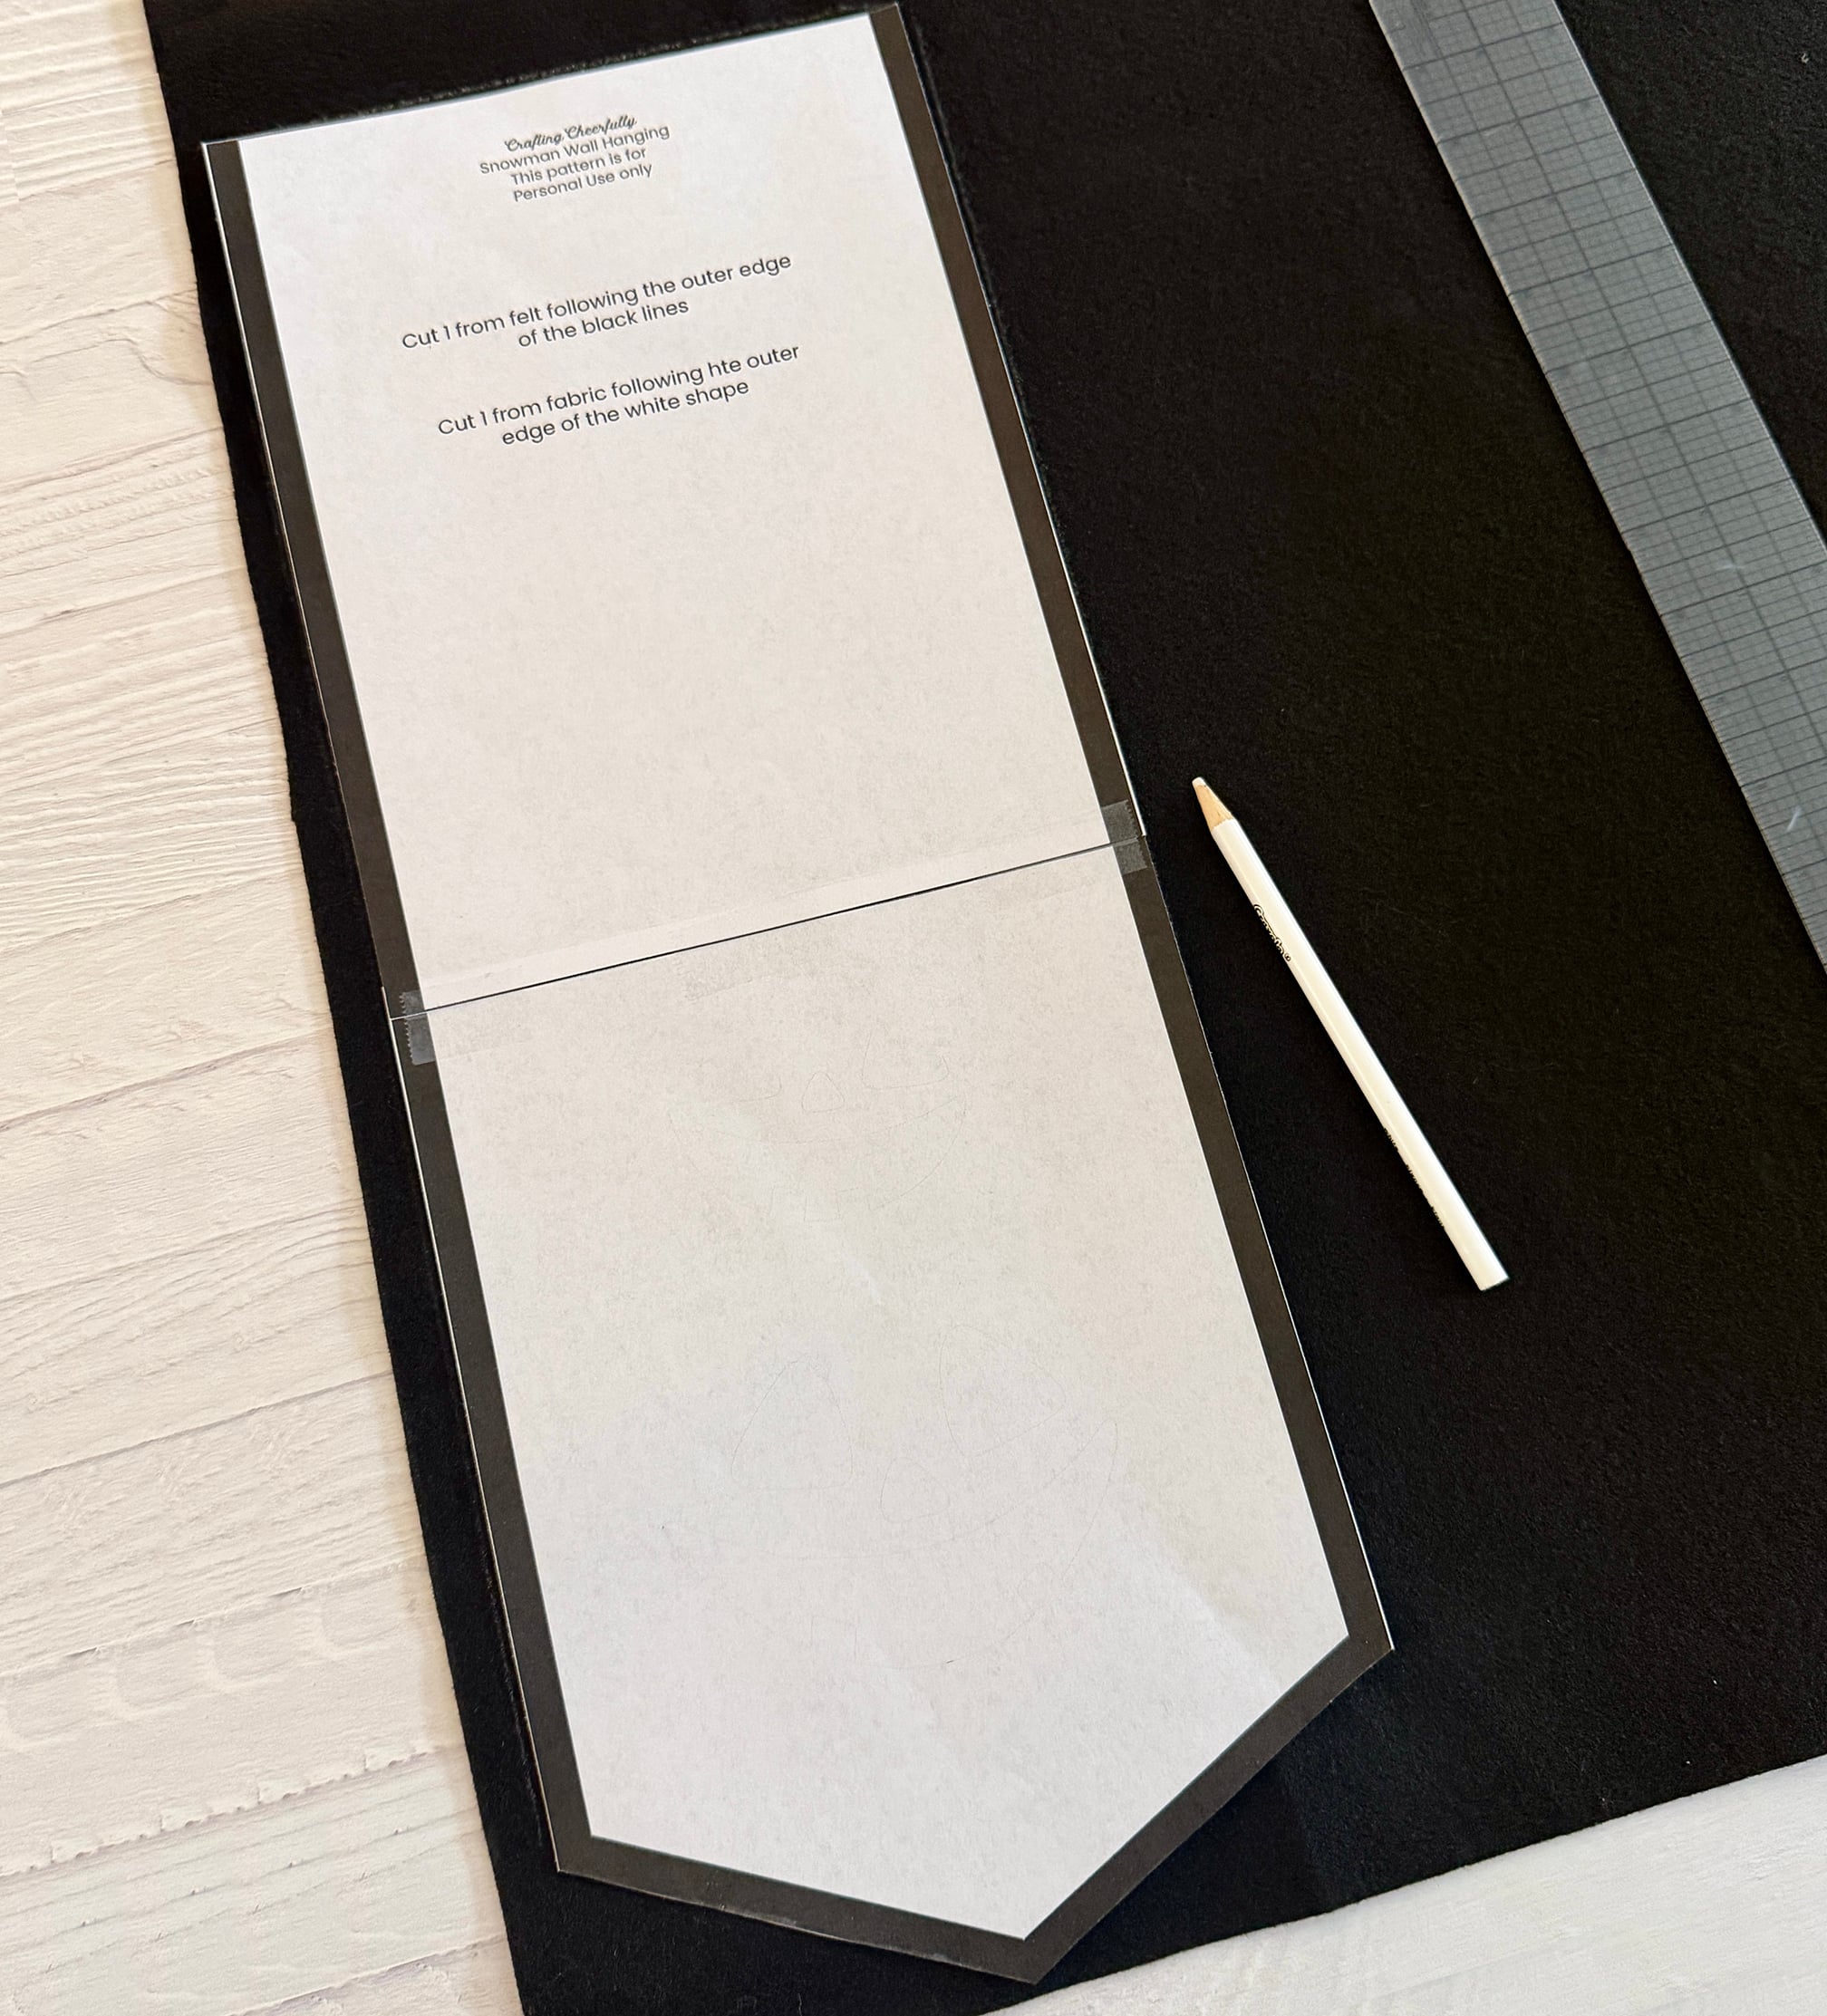
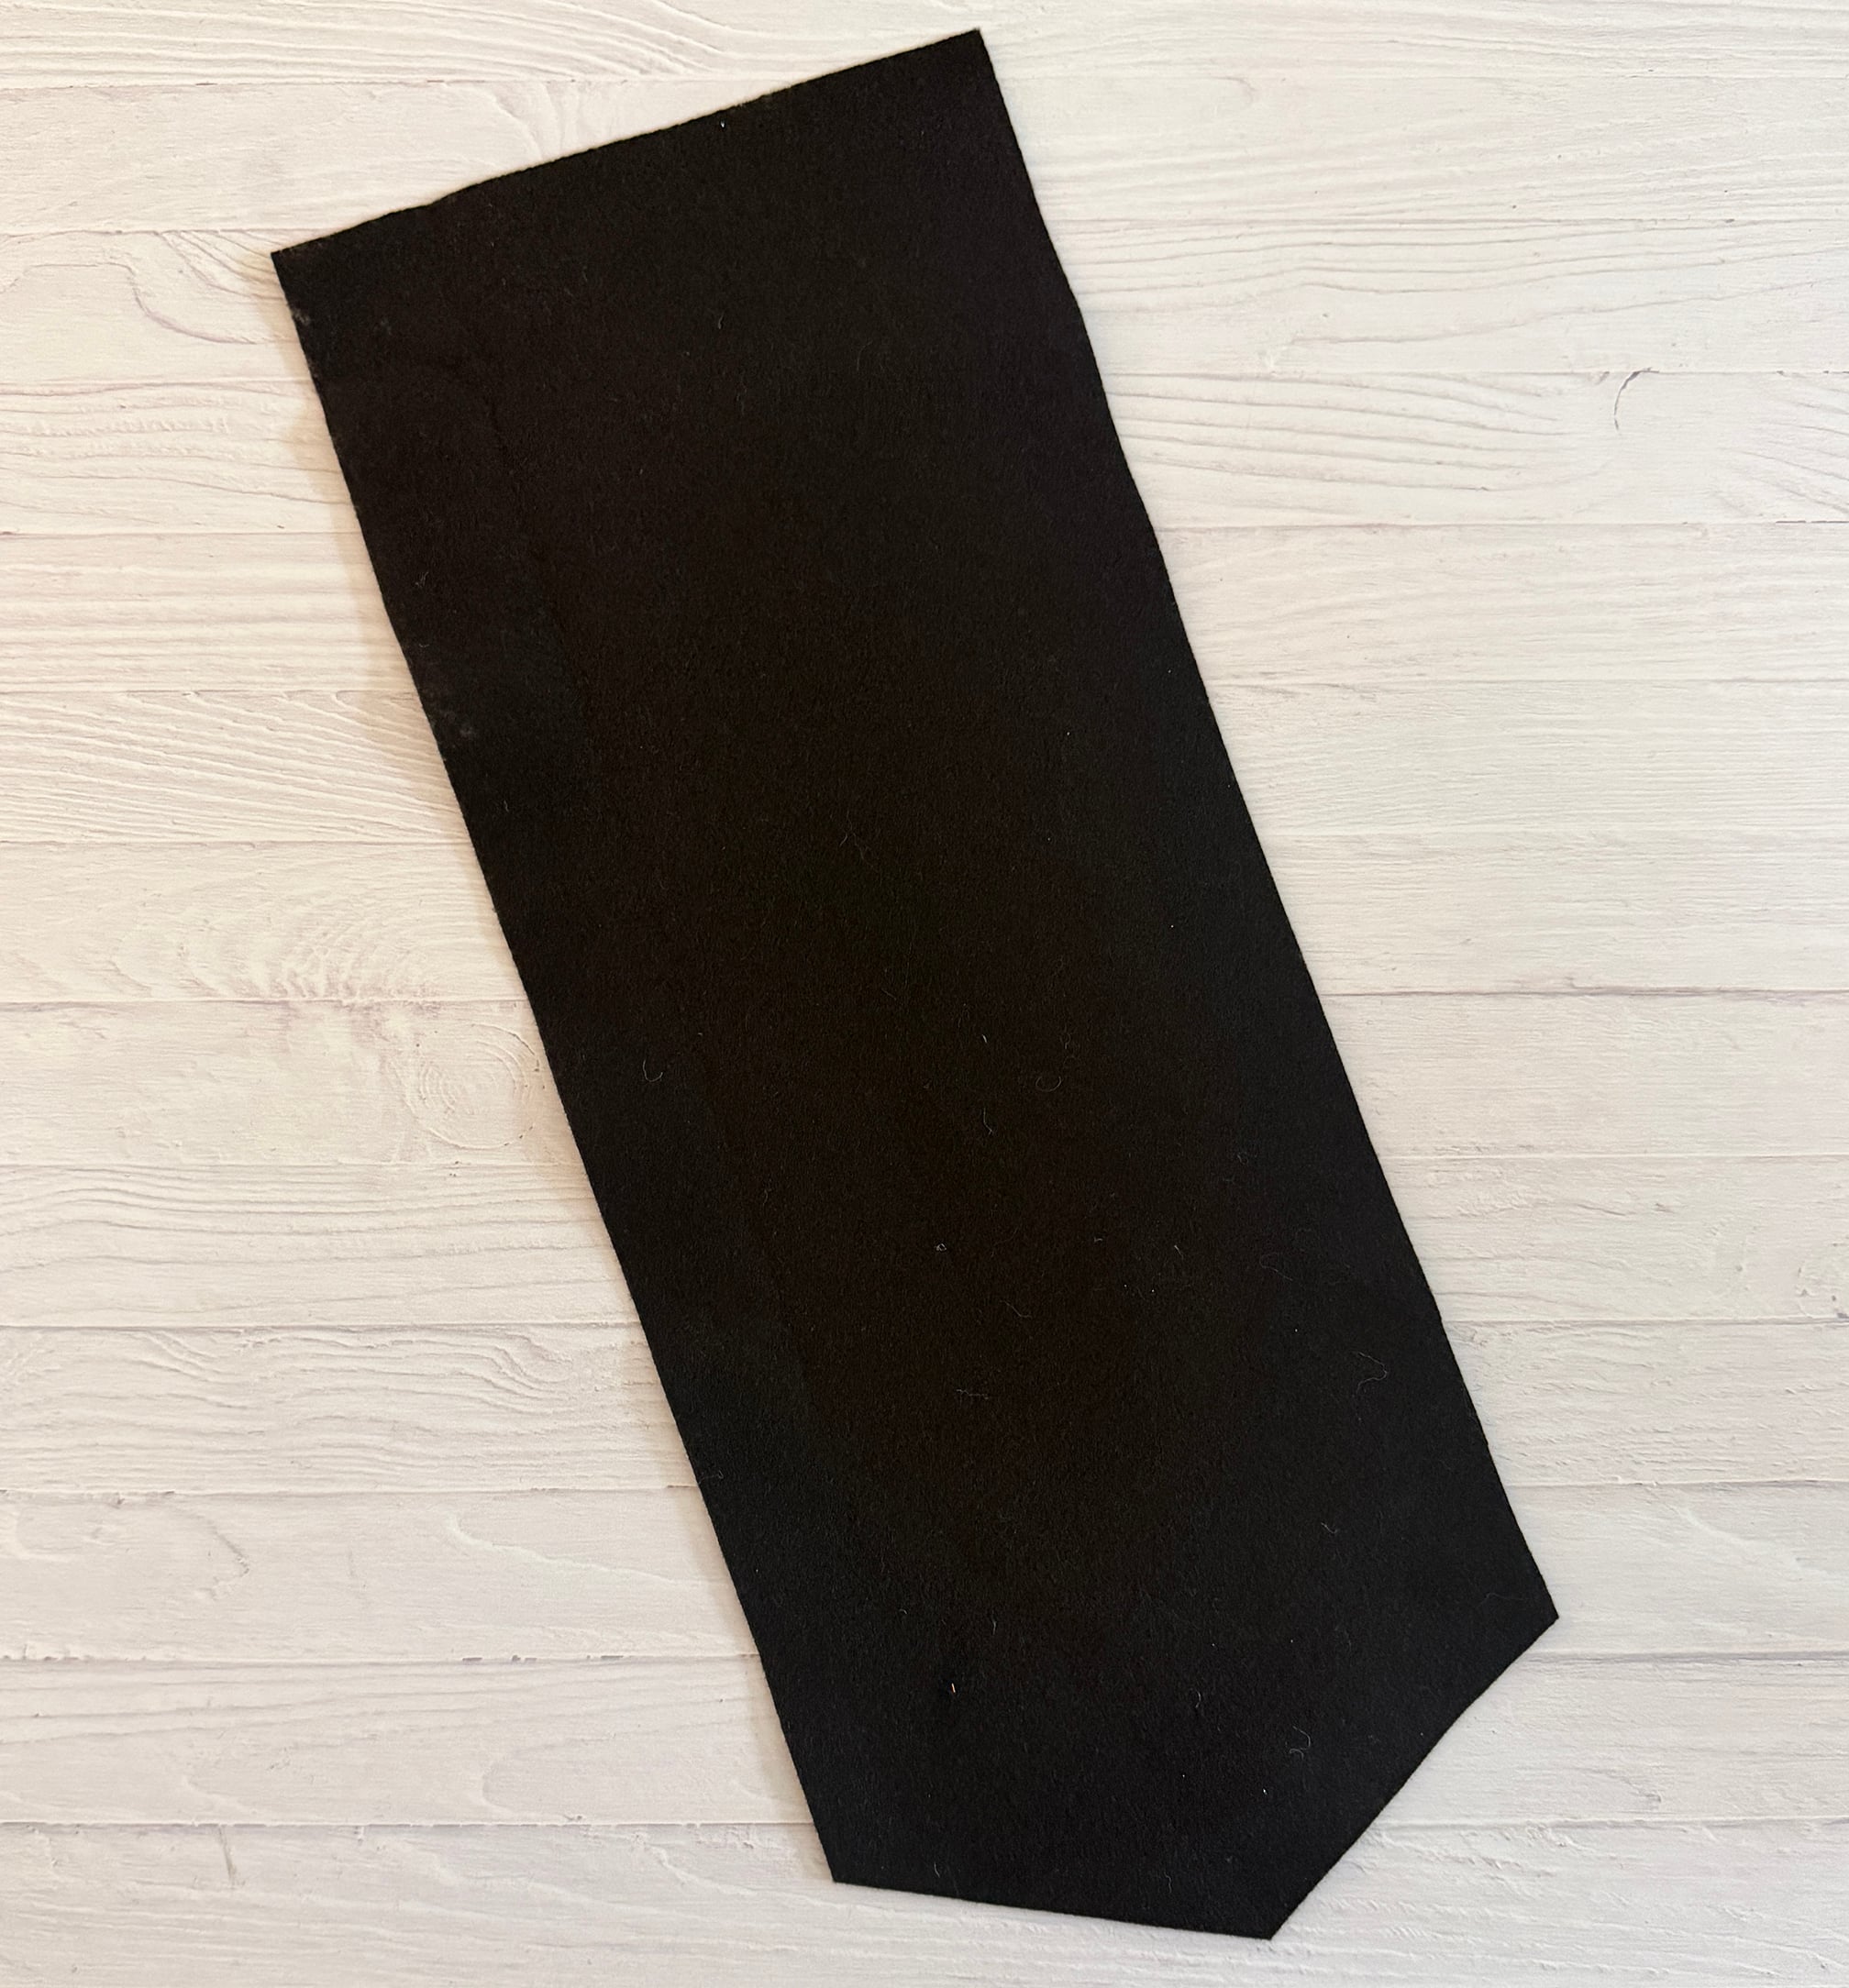
Use the pattern to cut out the black felt for the base of the wall hanging. I used a white pencil to trace around the pattern, then I cut it out on the traced line.
Step Two: Cut the background for the wall hanging from fabric using fusible interfacing. I used red and gold swirling fabric. First, lay a piece of fusible interfacing over the printed pattern, paper side up, and trace around the banner and the inner white area of the pattern. The interfacing is see-through so you will be able to see the lines of the pattern. I recommend using a ruler to help keep your lines straight. Cut the interfacing following your outer pencil lines.
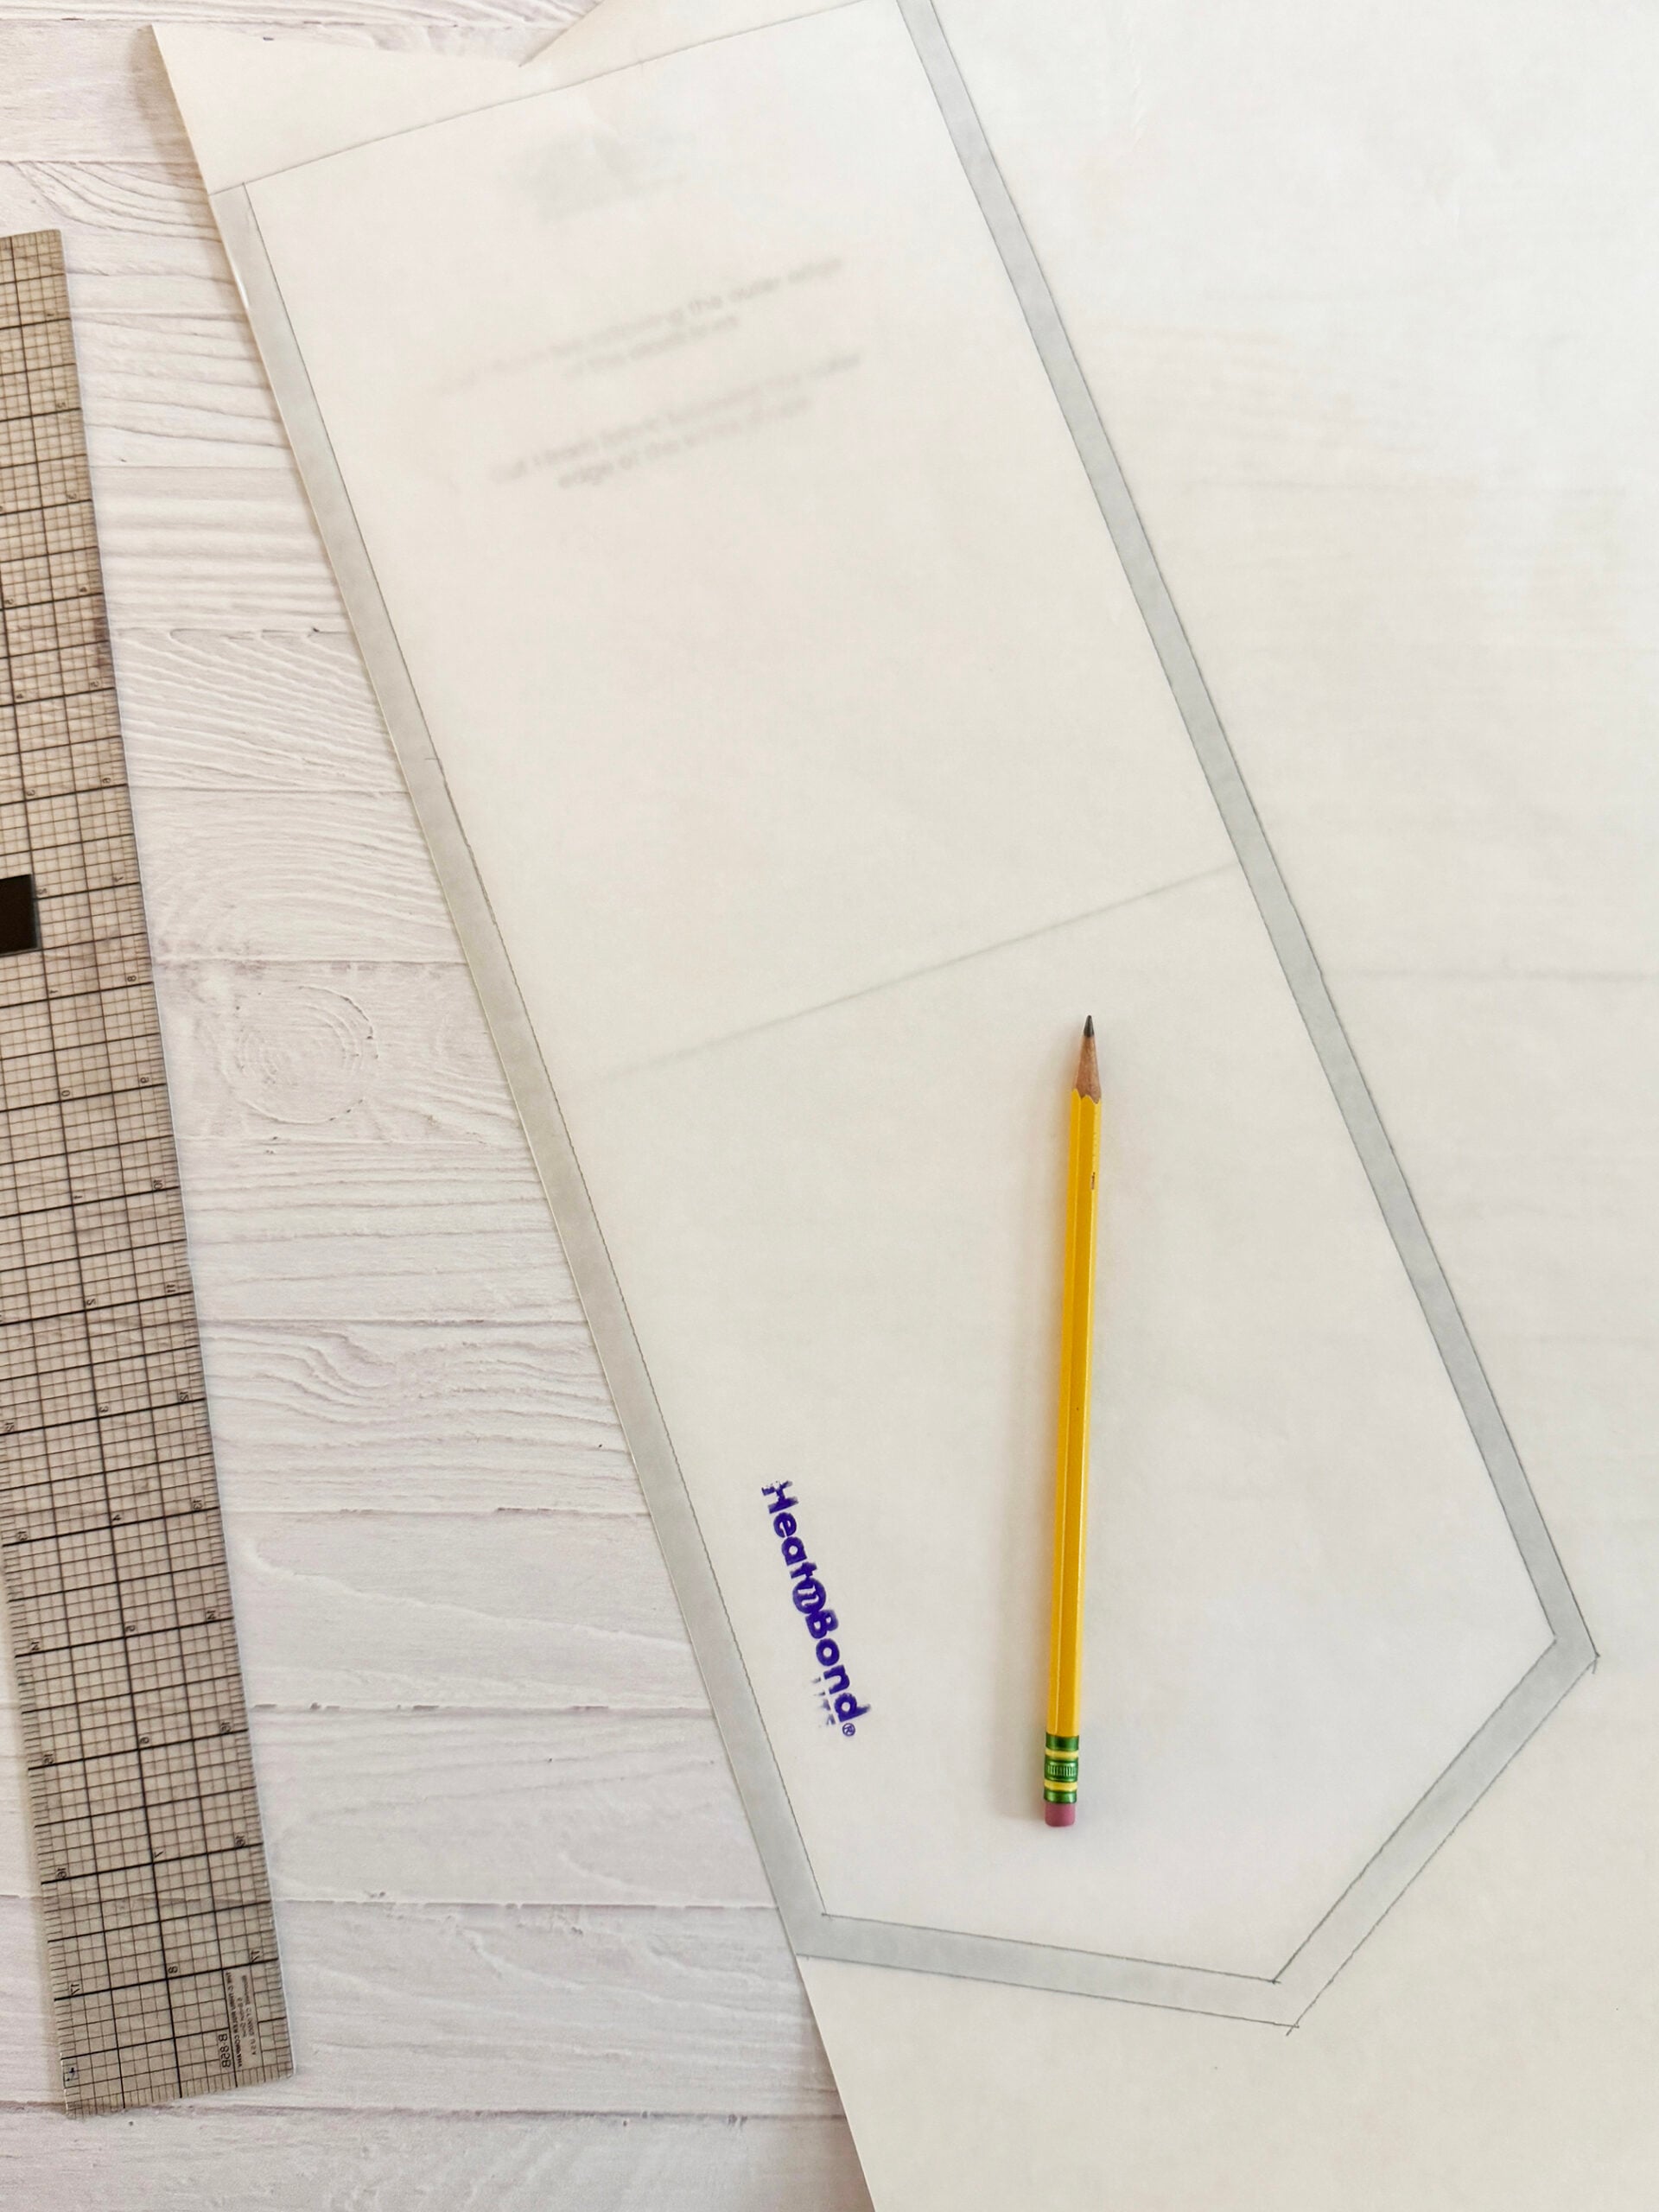
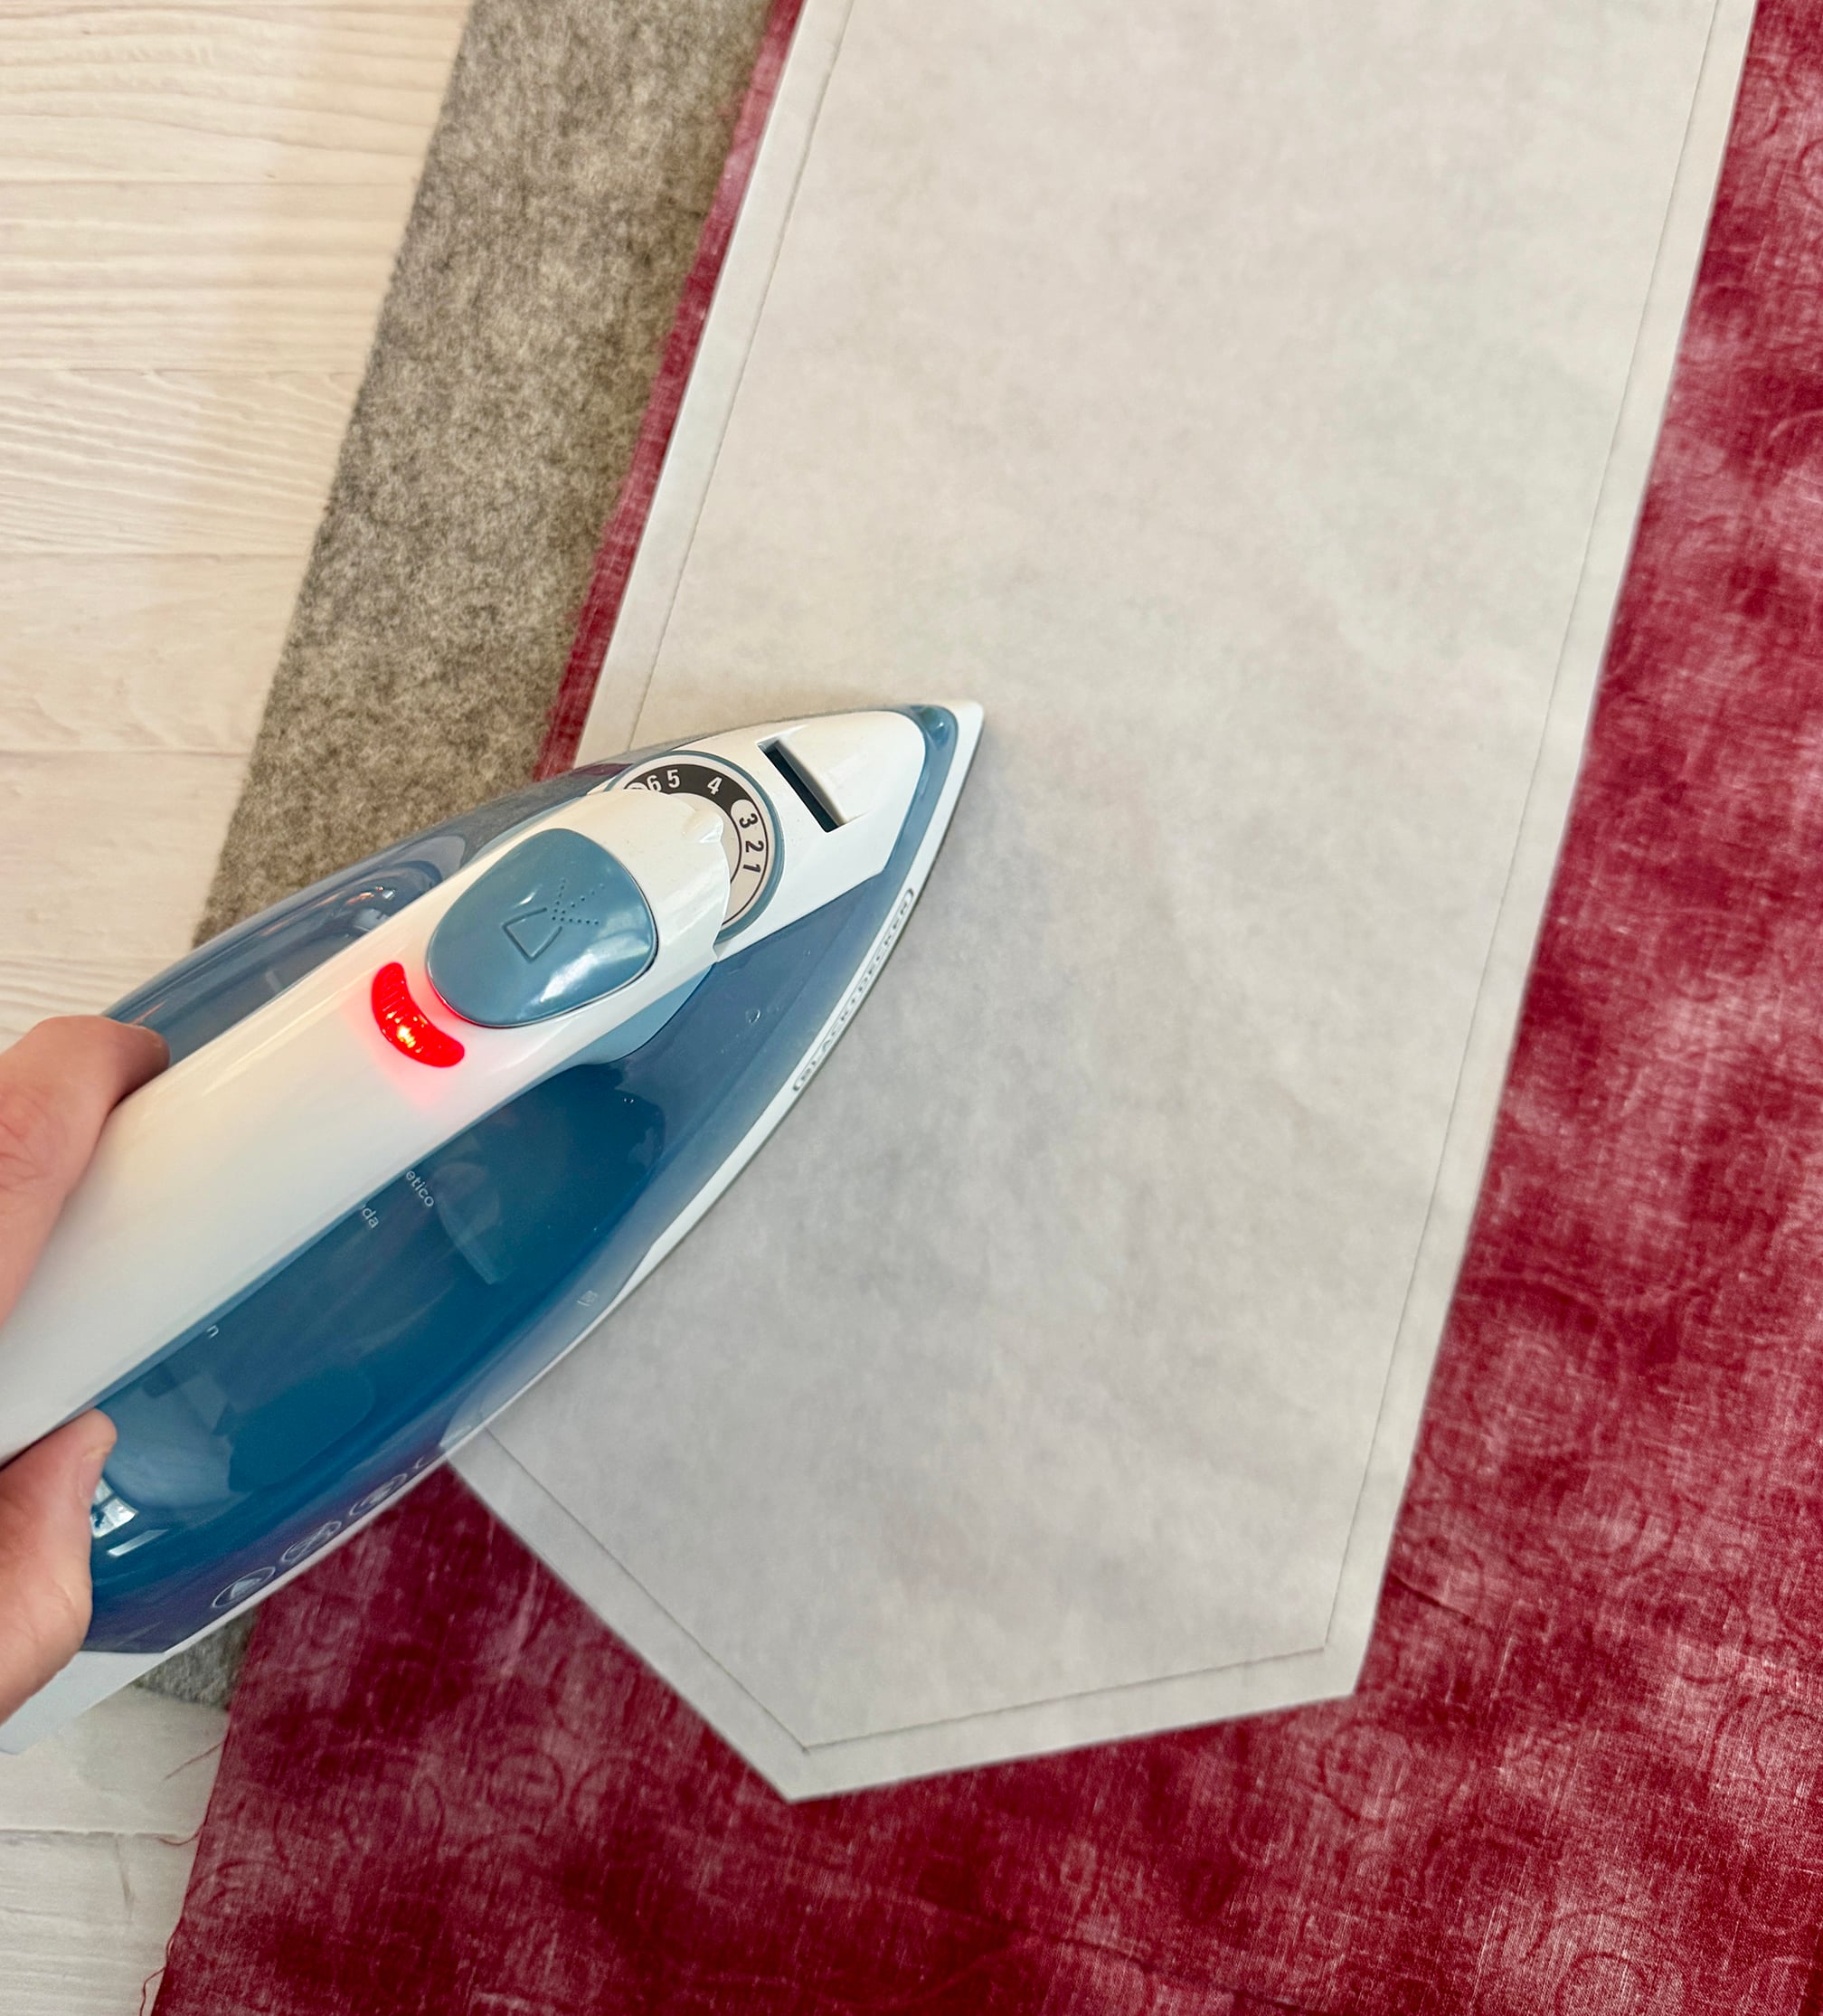
Next, iron the interfacing to the wrong side of your background fabric. Then cut out the fabric following your inner traced pencil lines.
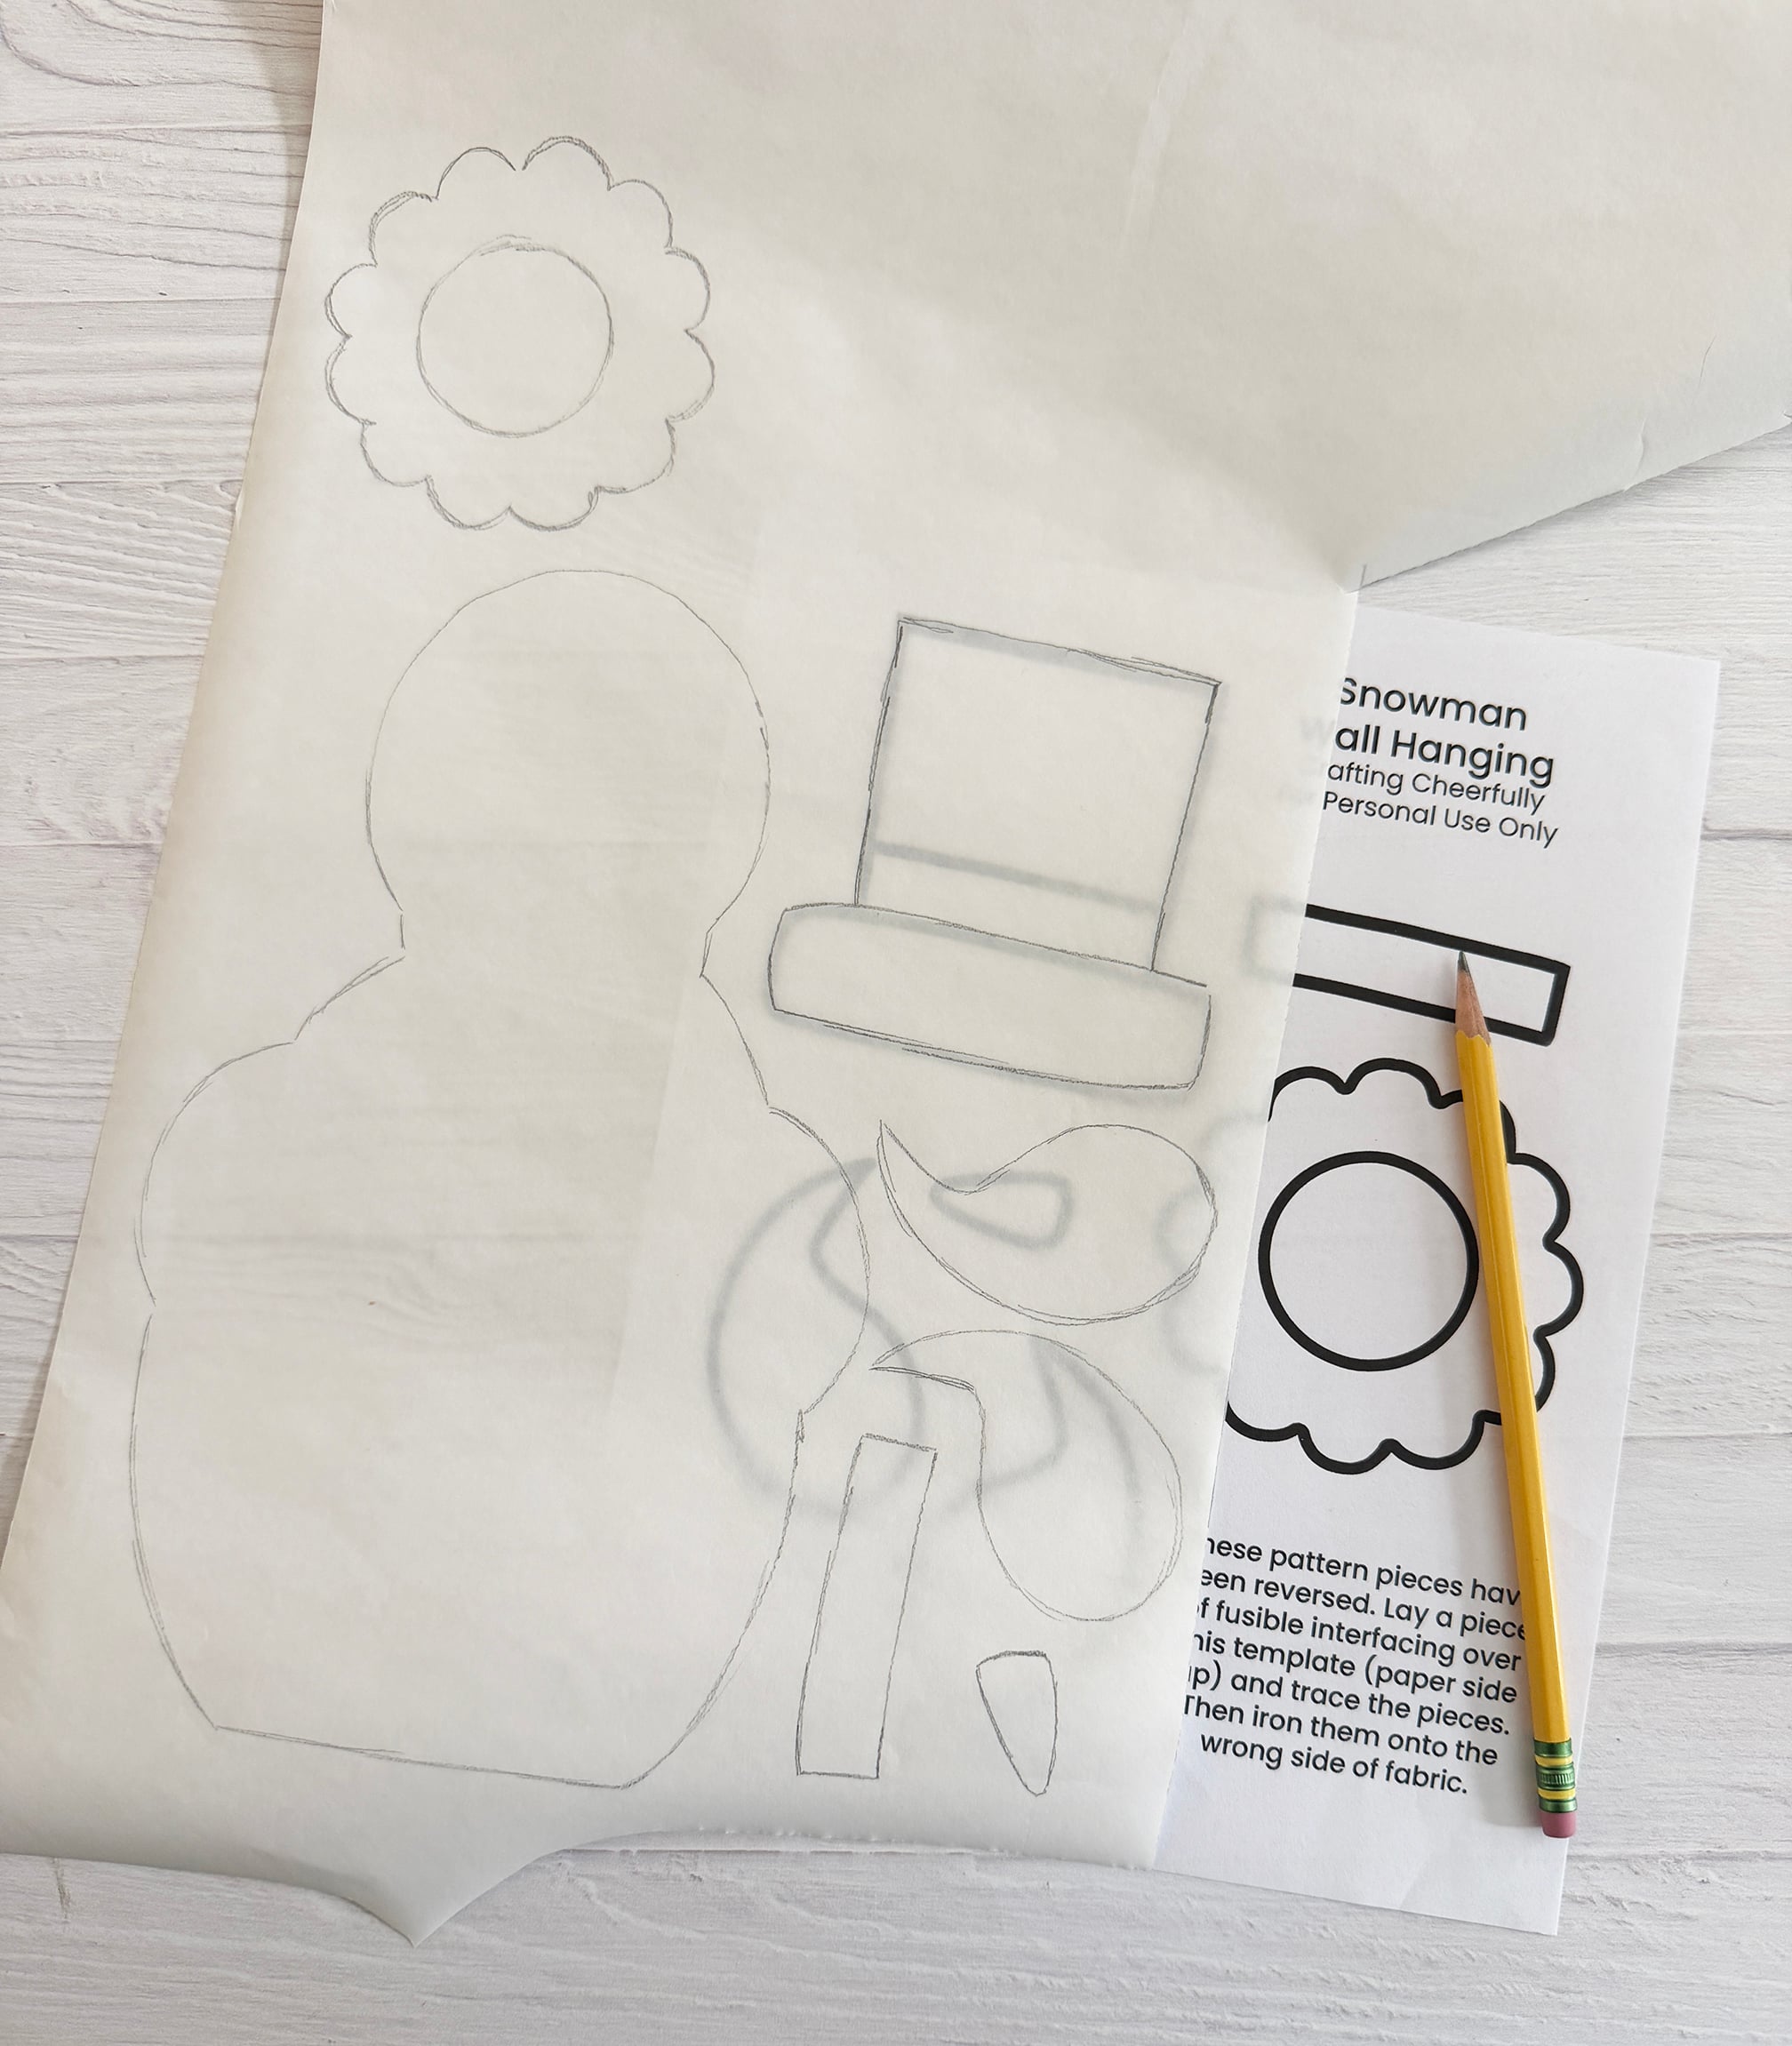
Step Three: Cut out the other pattern pieces using fusible interfacing. Lay the fusible interfacing over the pattern, paper side up, and trace the the pieces including the snowman’s body, arms, nose, wreath and hat. There is also a hat band, but you can choose to skip this piece and use ribbon instead.
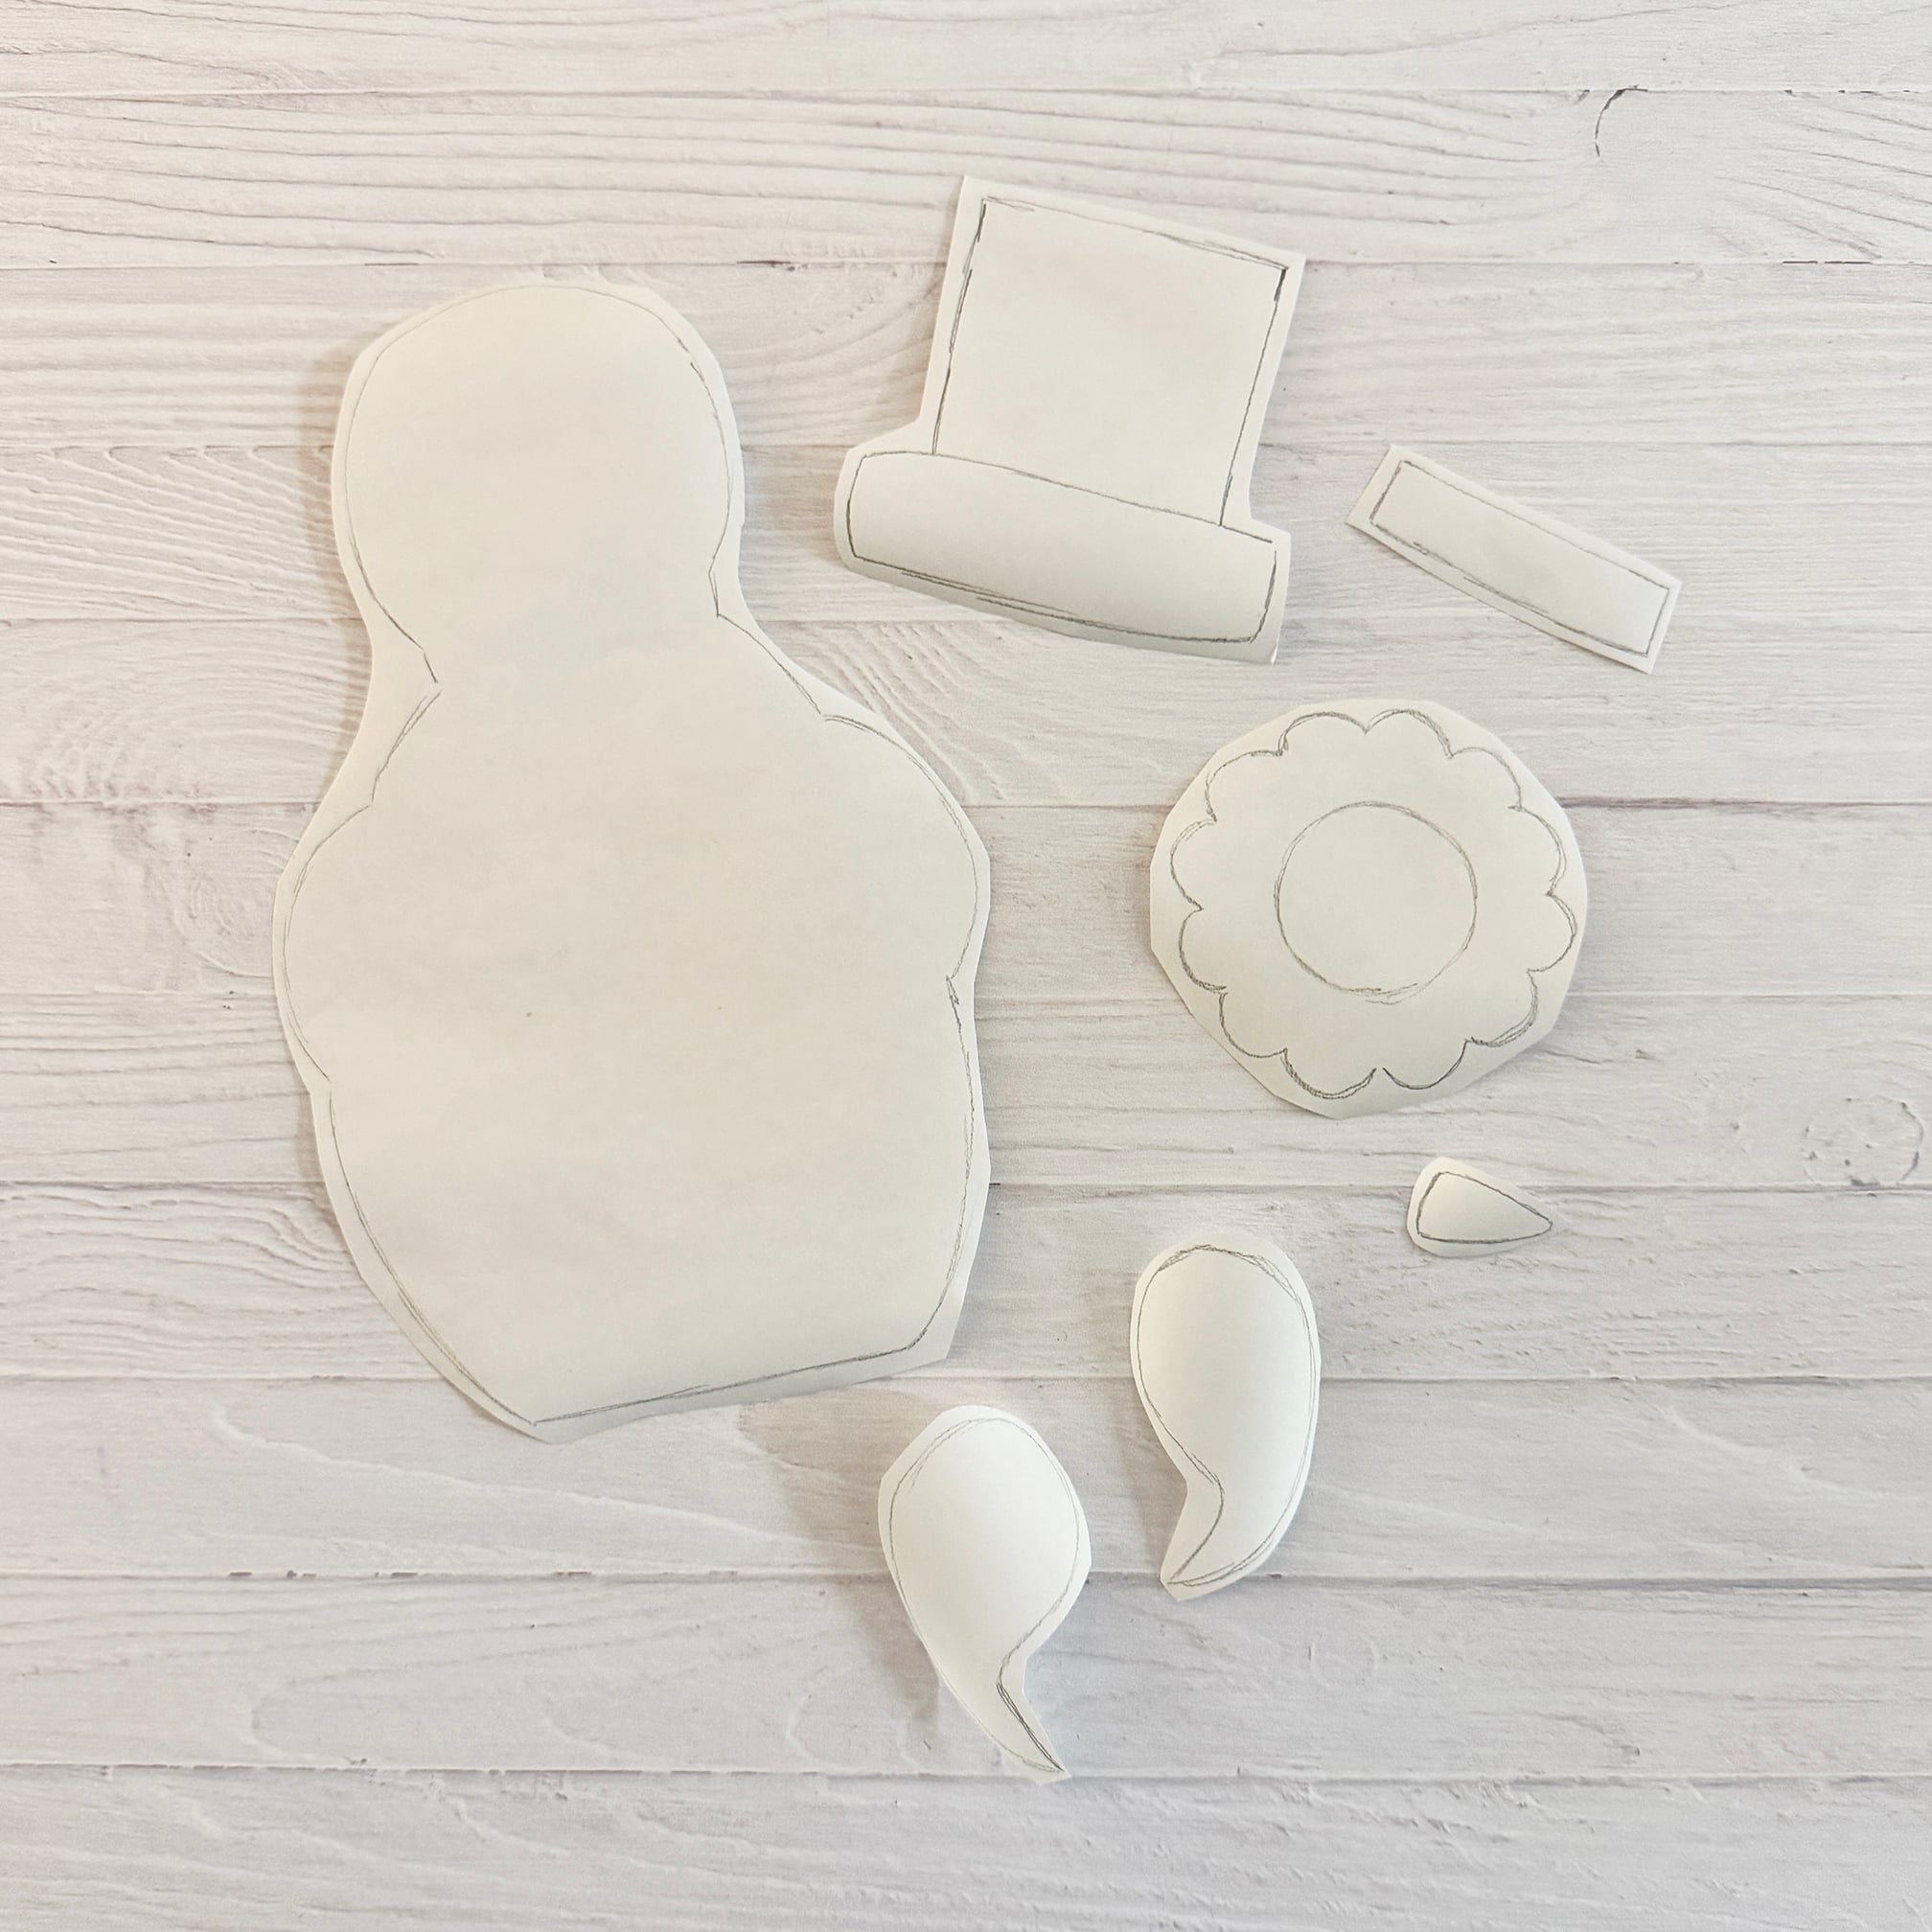
Bubble cut around each traced piece, leaving about ¼” around each one.
Step Four: Iron each shape to the wrong side of the fabric or felt you are using. I ironed my snowman body and arms to white fabric, the snowman nose to orange felt, the hat to black corduroy and the wreath to green wool felt.
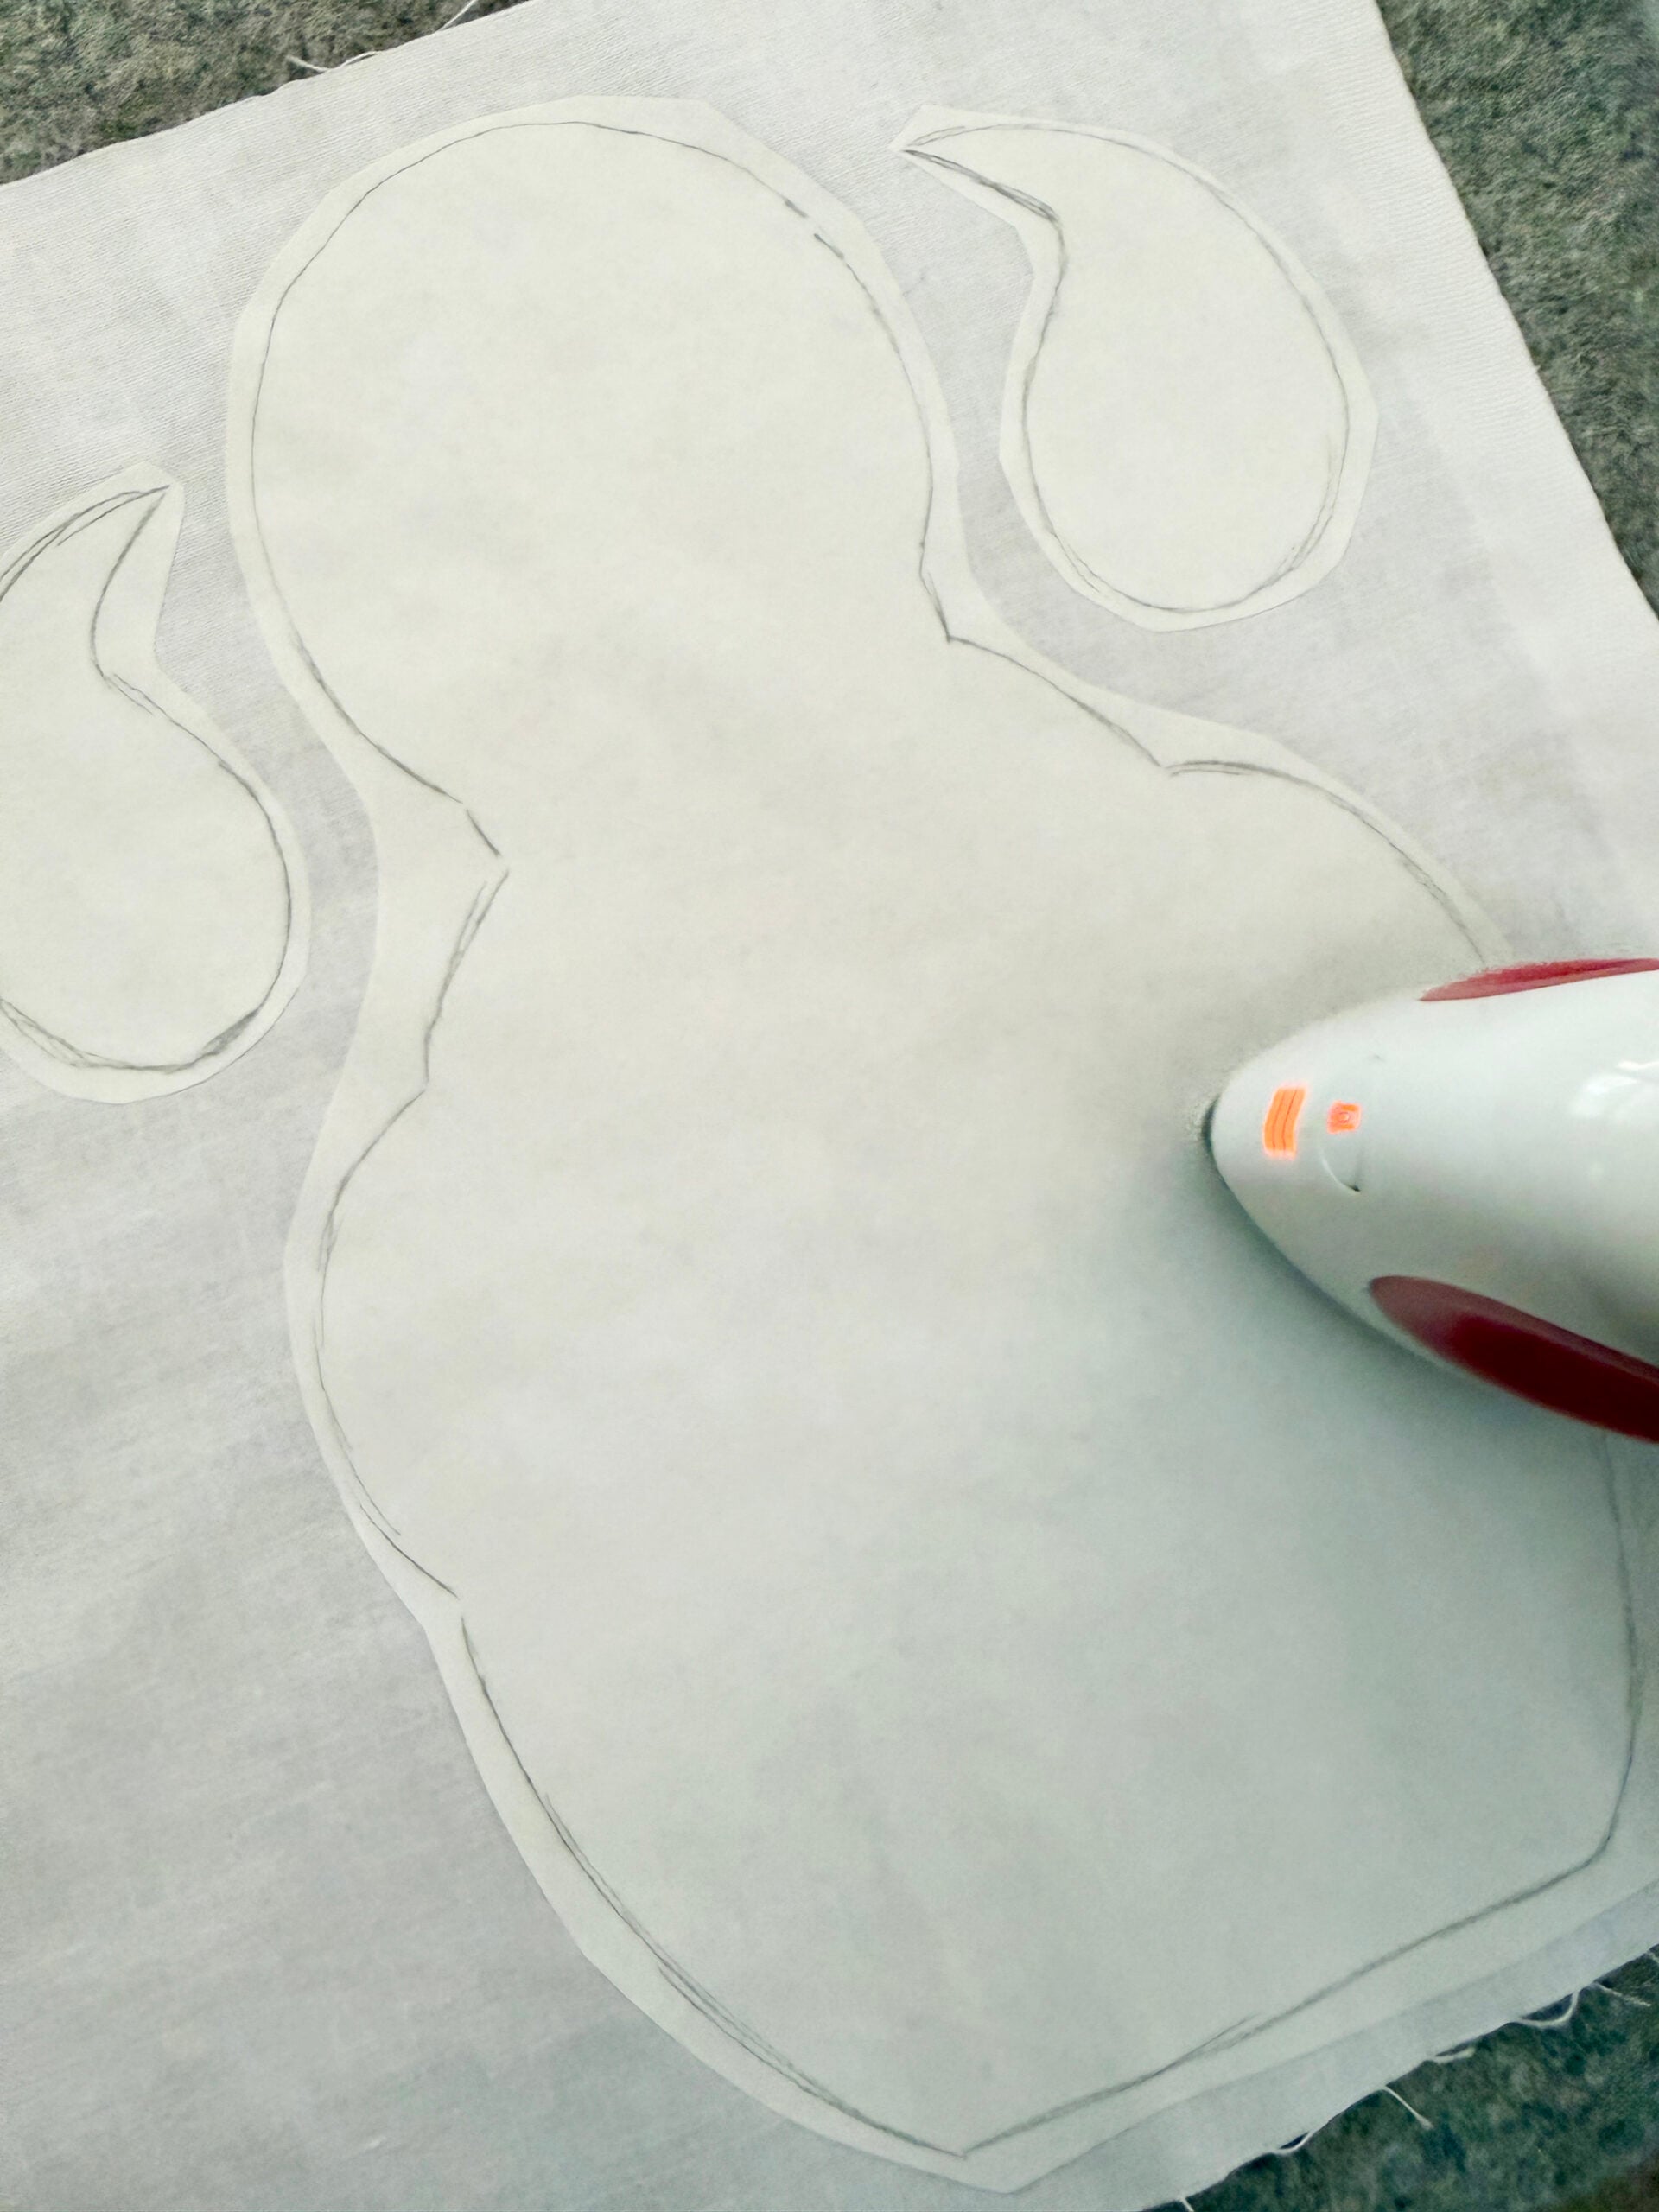
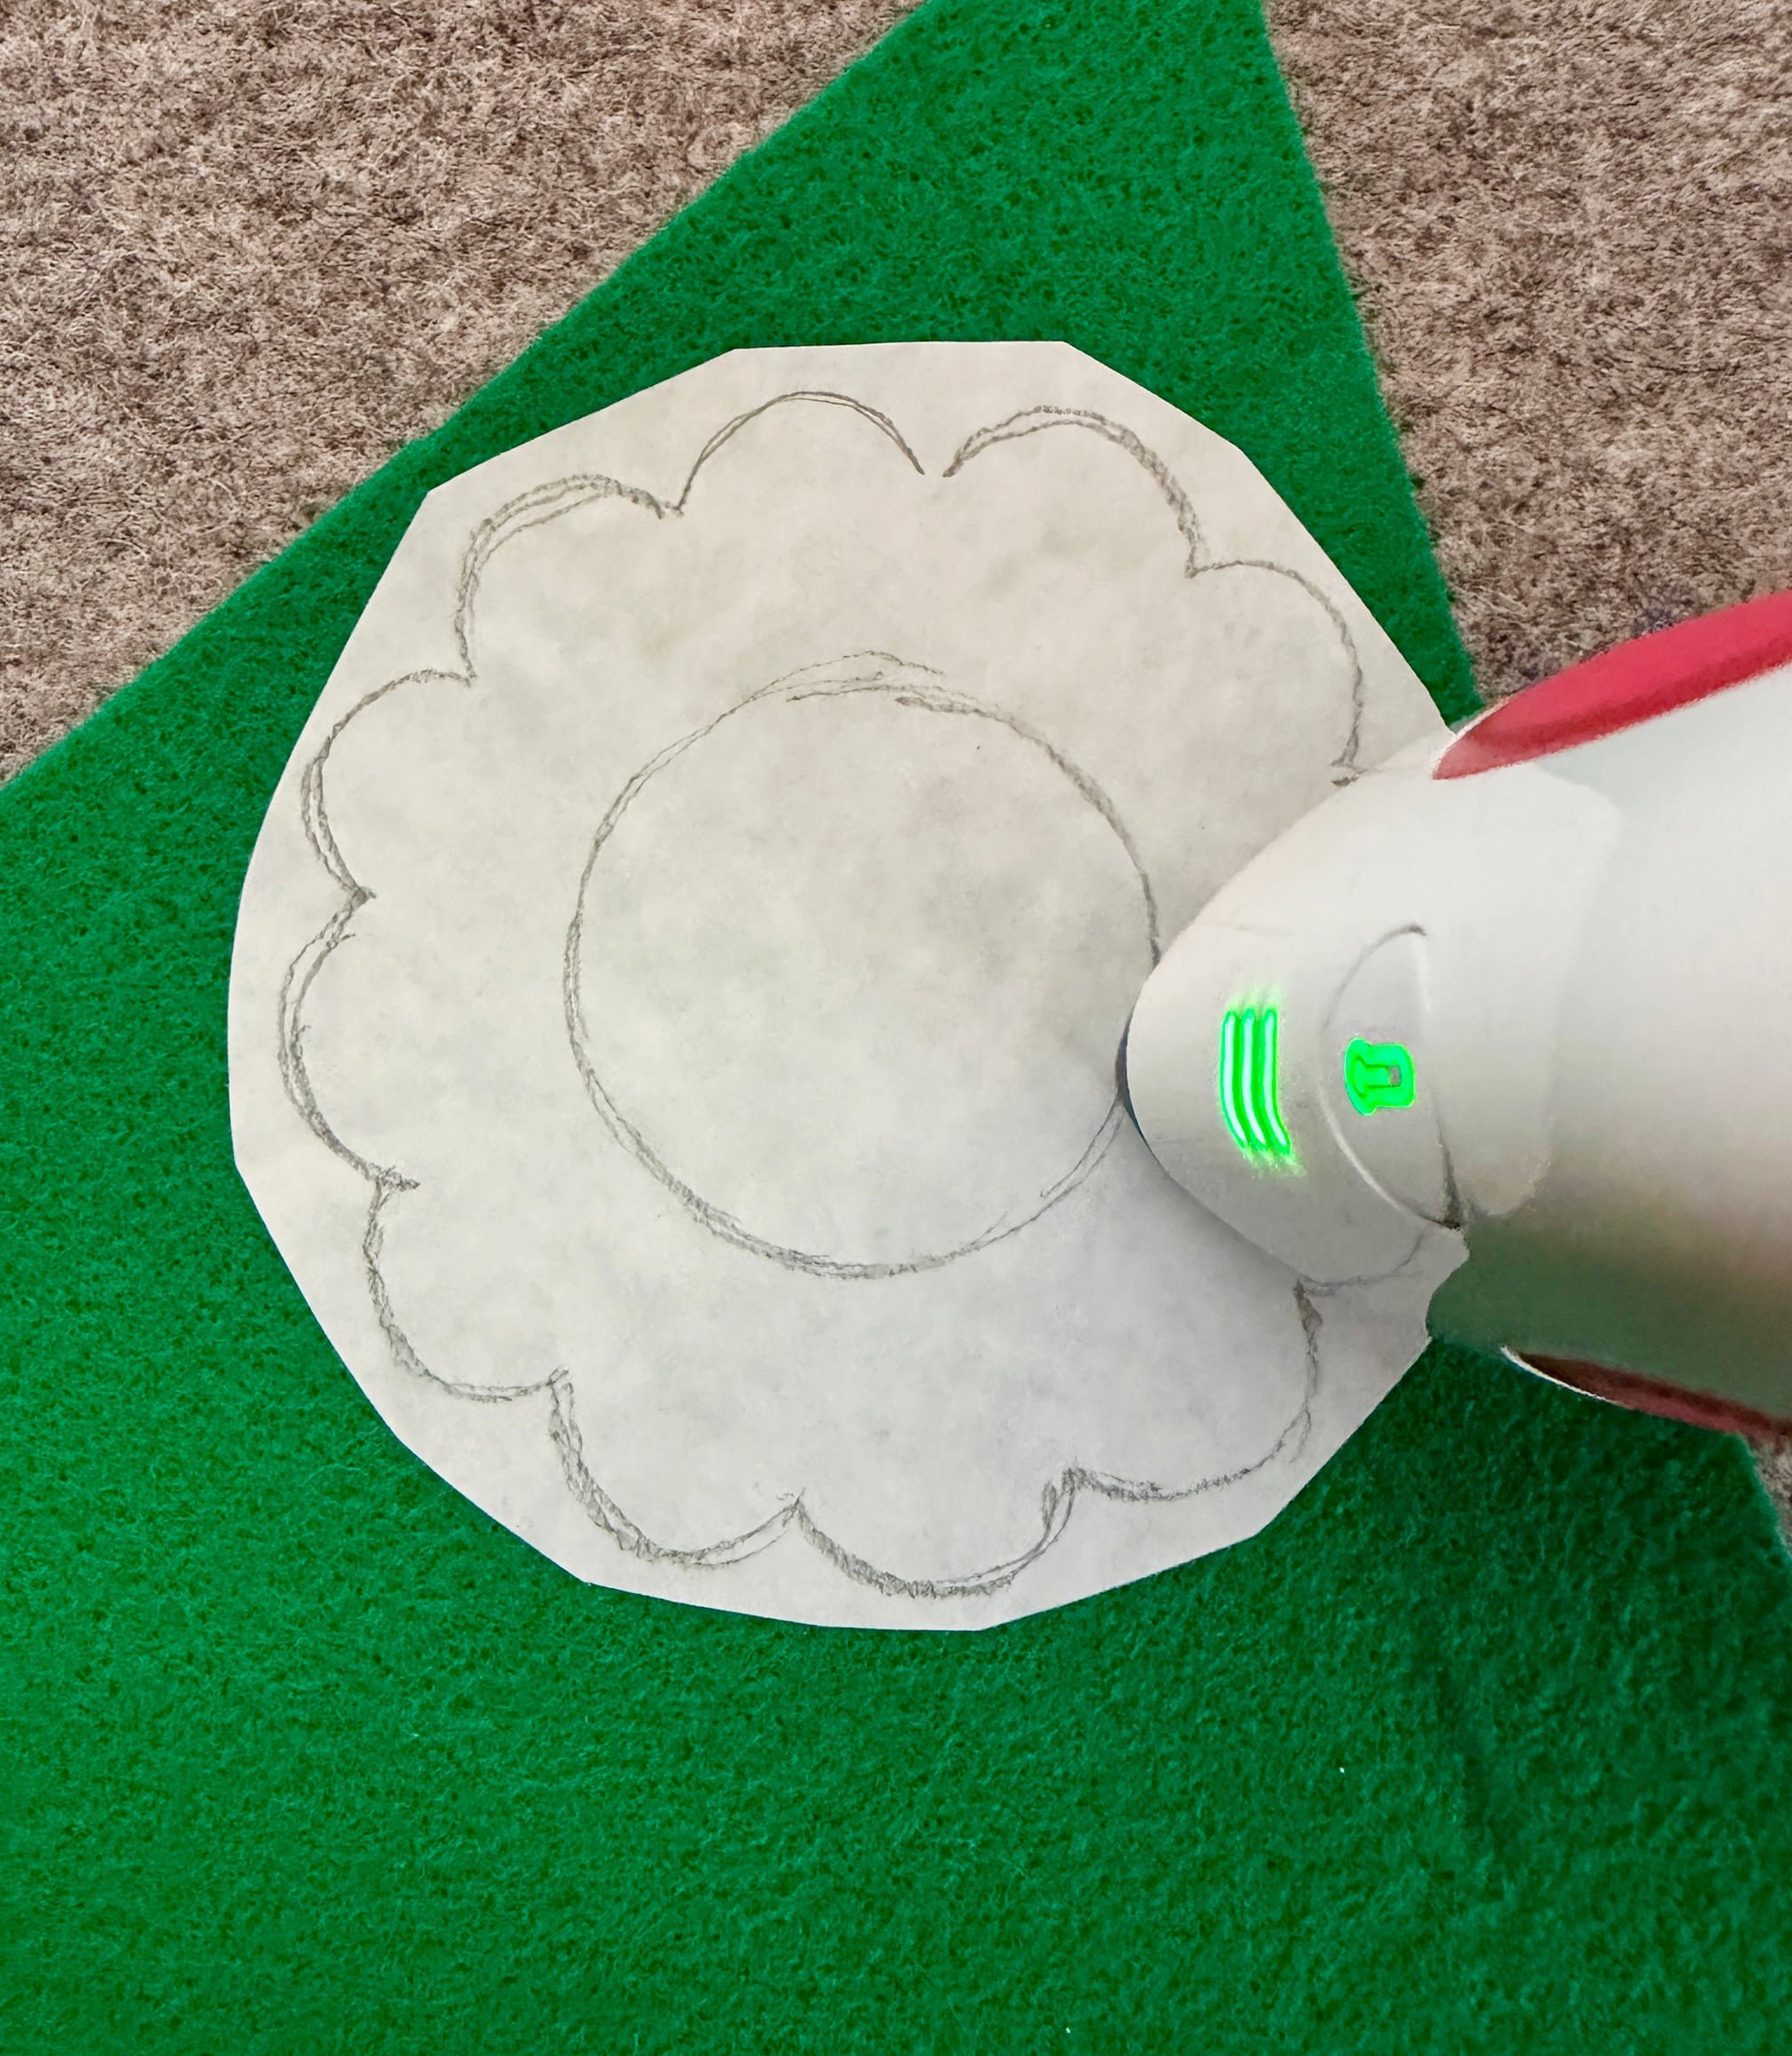
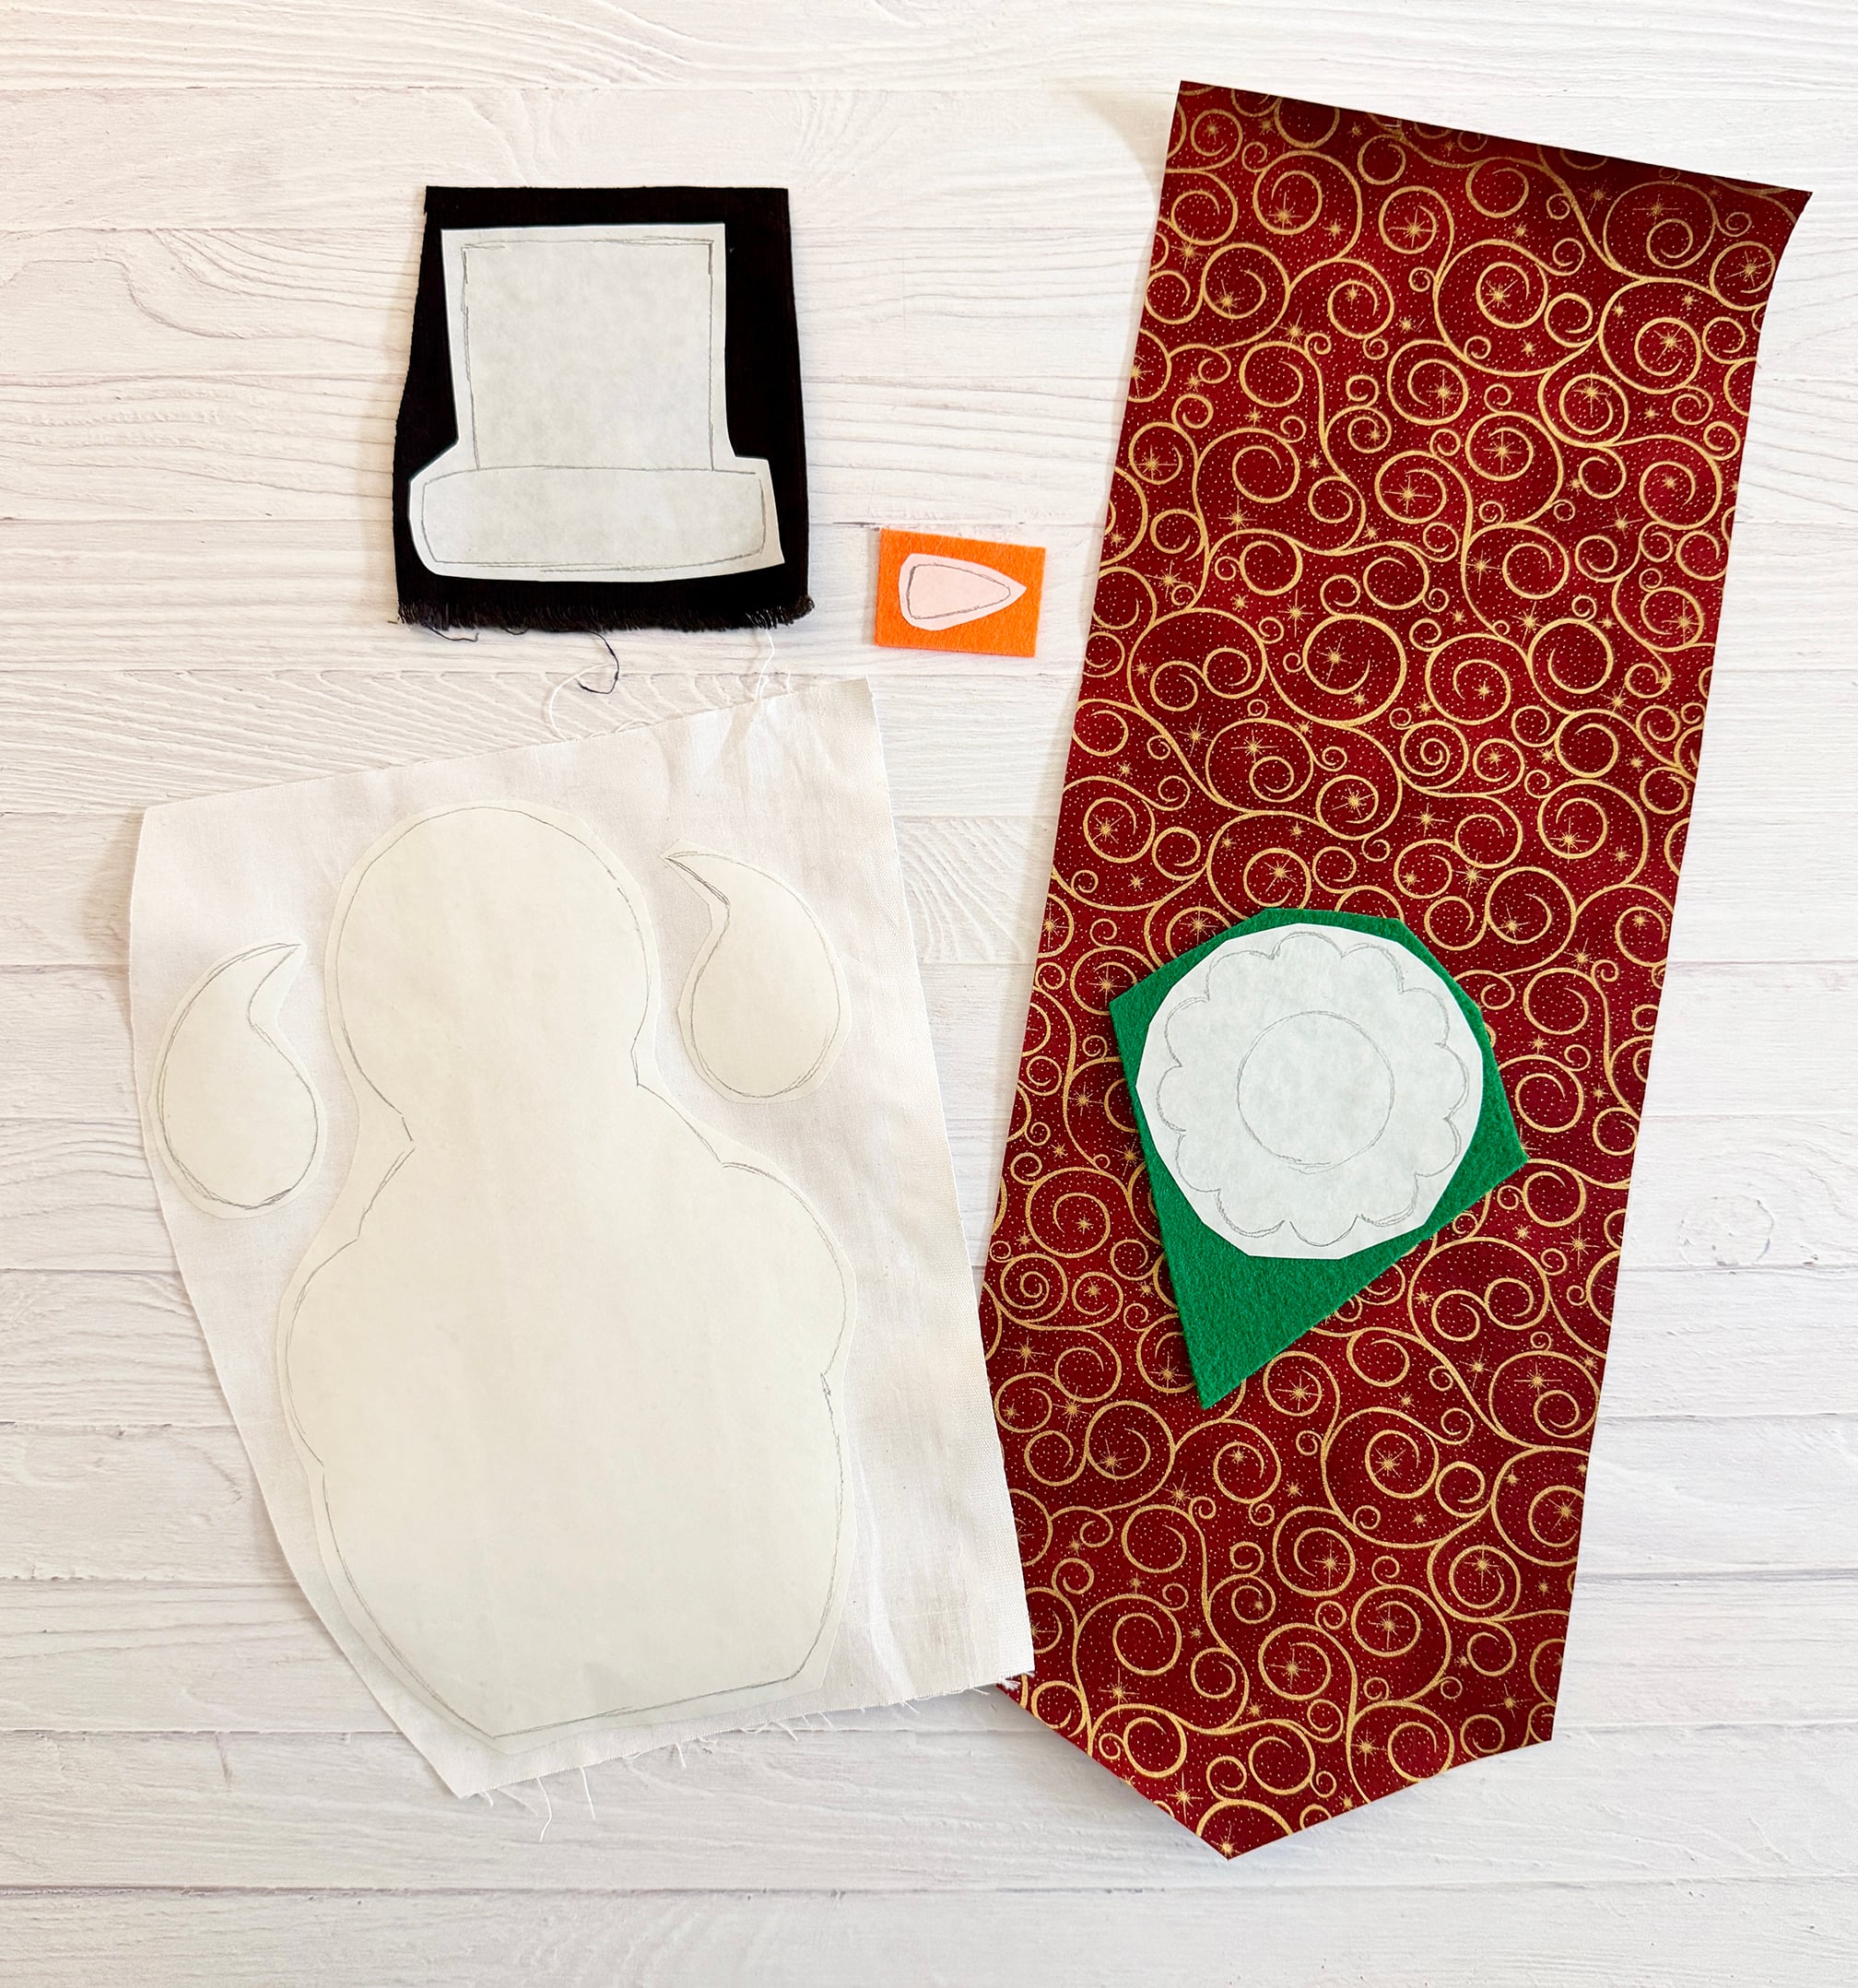
Next, cut each shape out along the traced lines.
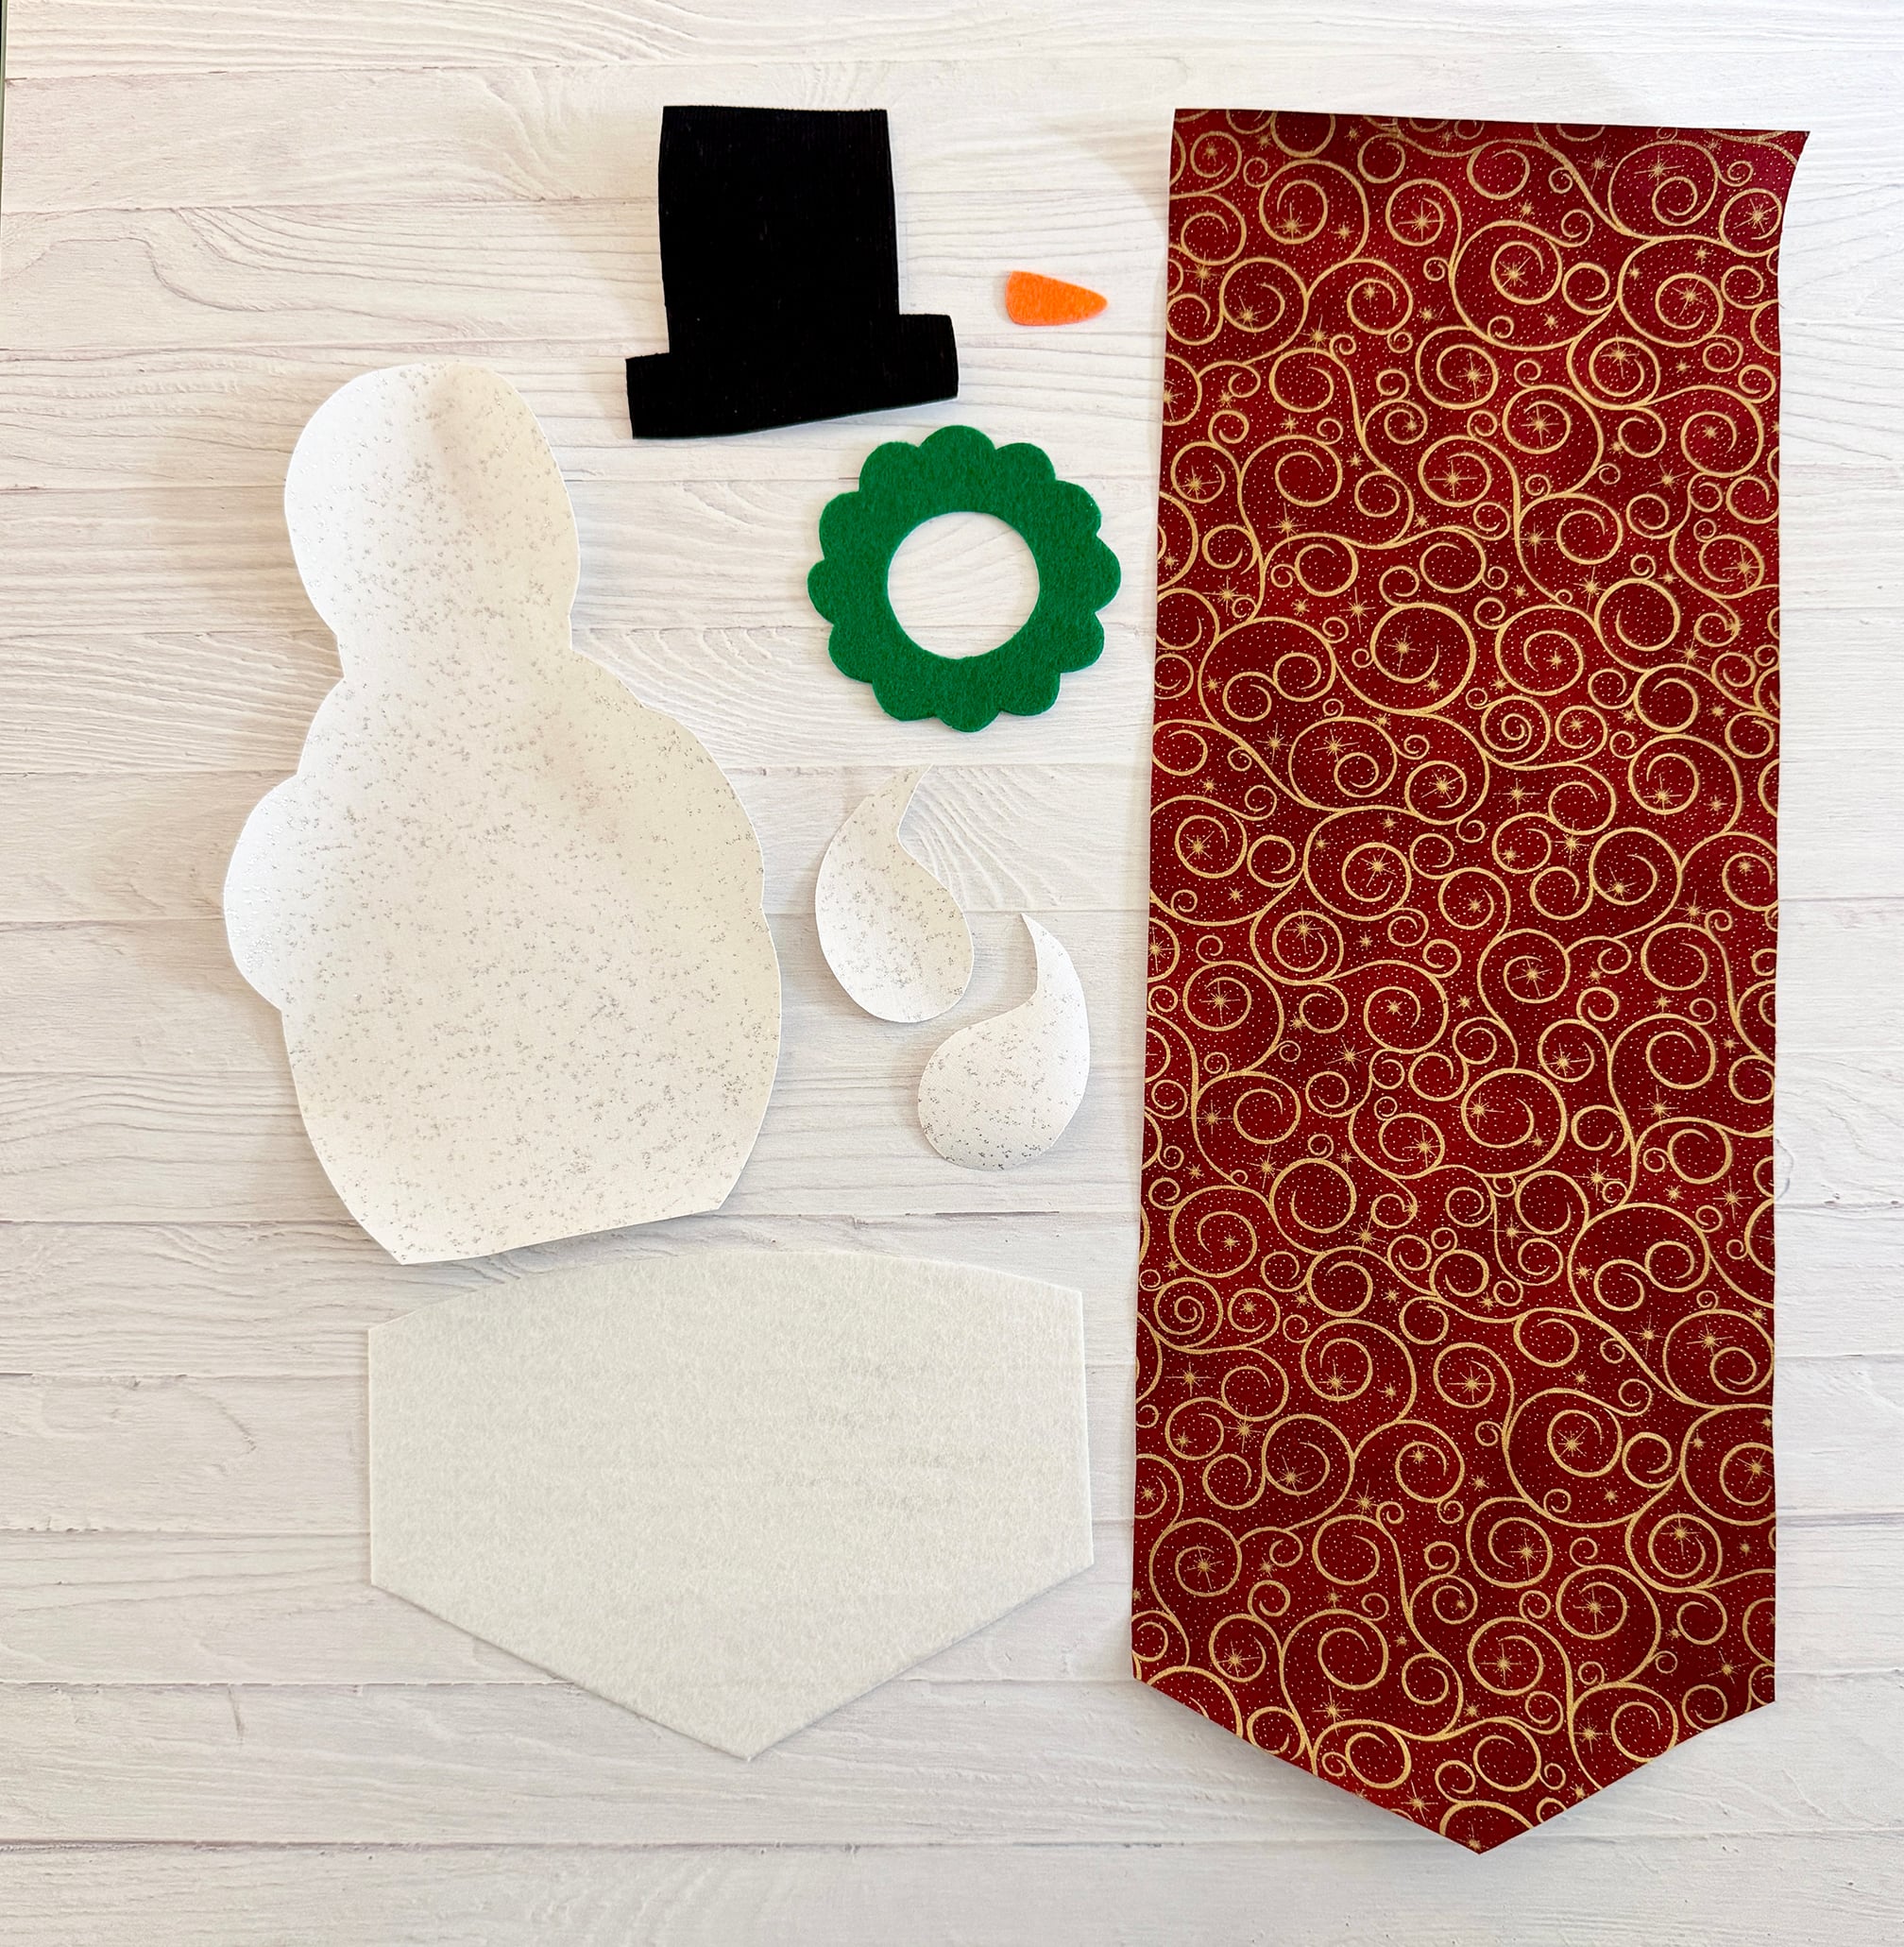
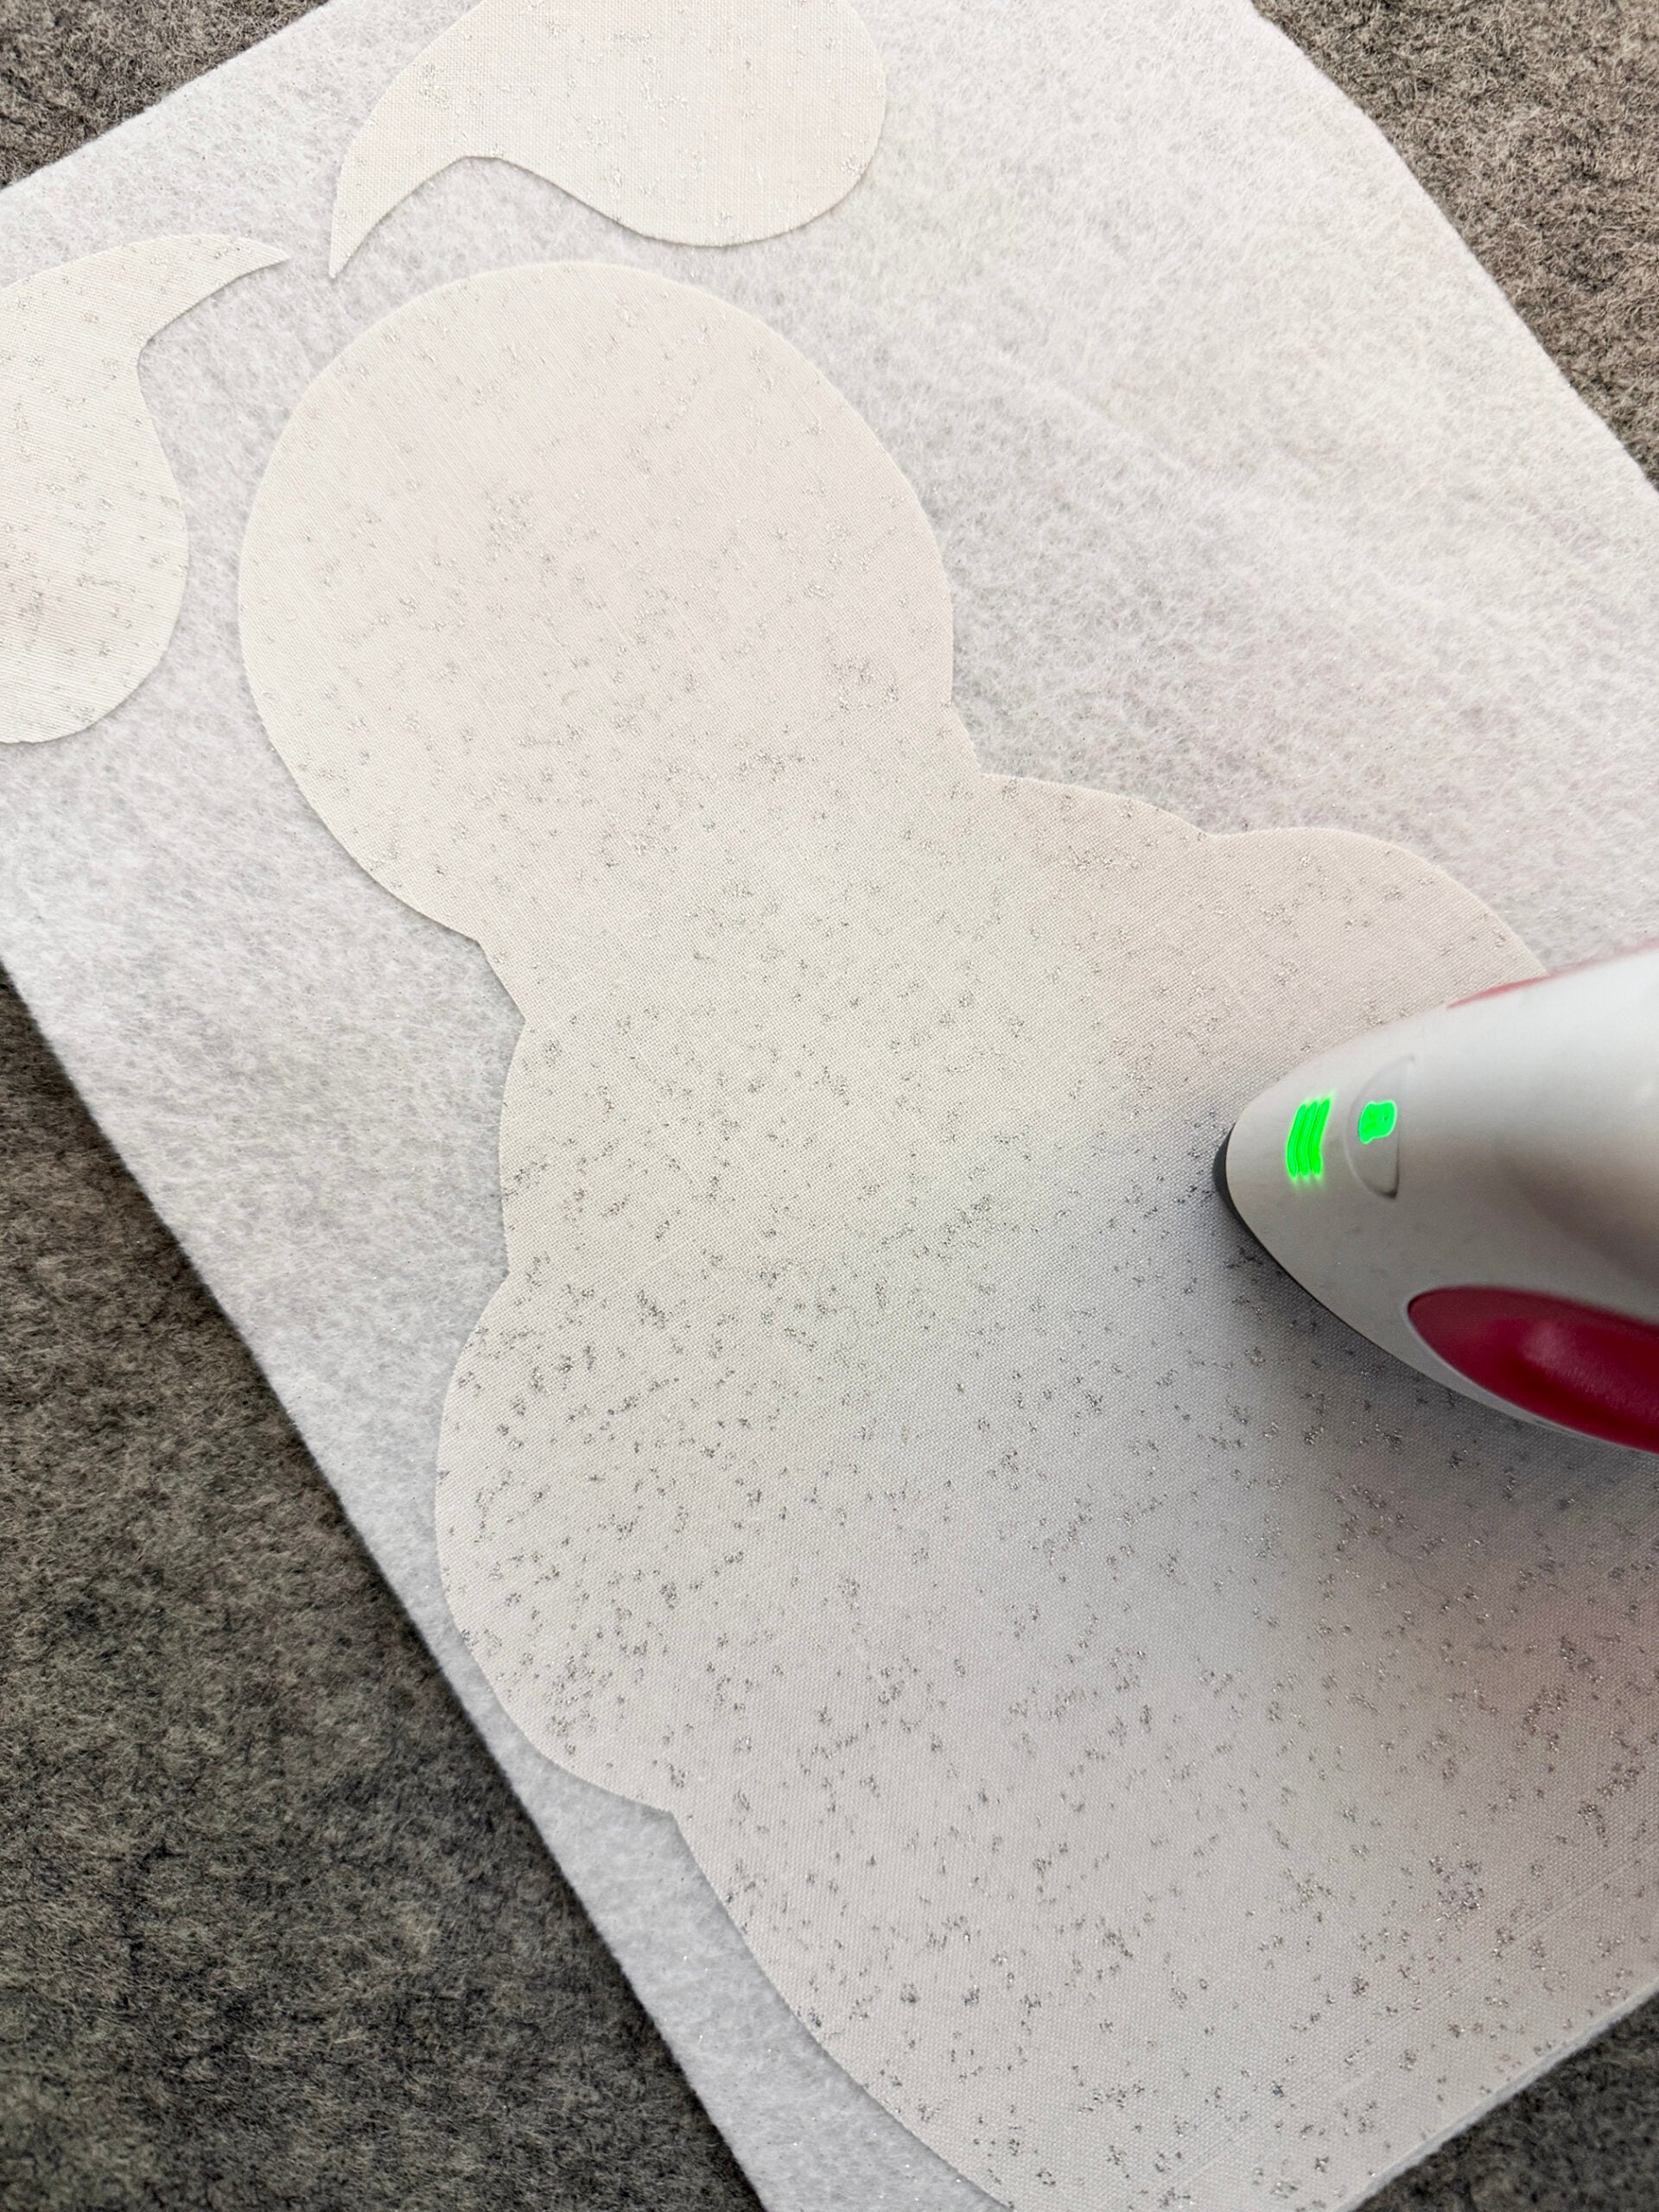
Step Five: Add white felt to the back of the snowman and snow. I chose to do this since my white fabric was a bit see through and the red and gold print that would be under them was pretty bold. If you are using thicker white fabric, or your background fabric is lighter, you may be able to skip this step!
I ironed each of my snow pieces to white felt and then cut them out.
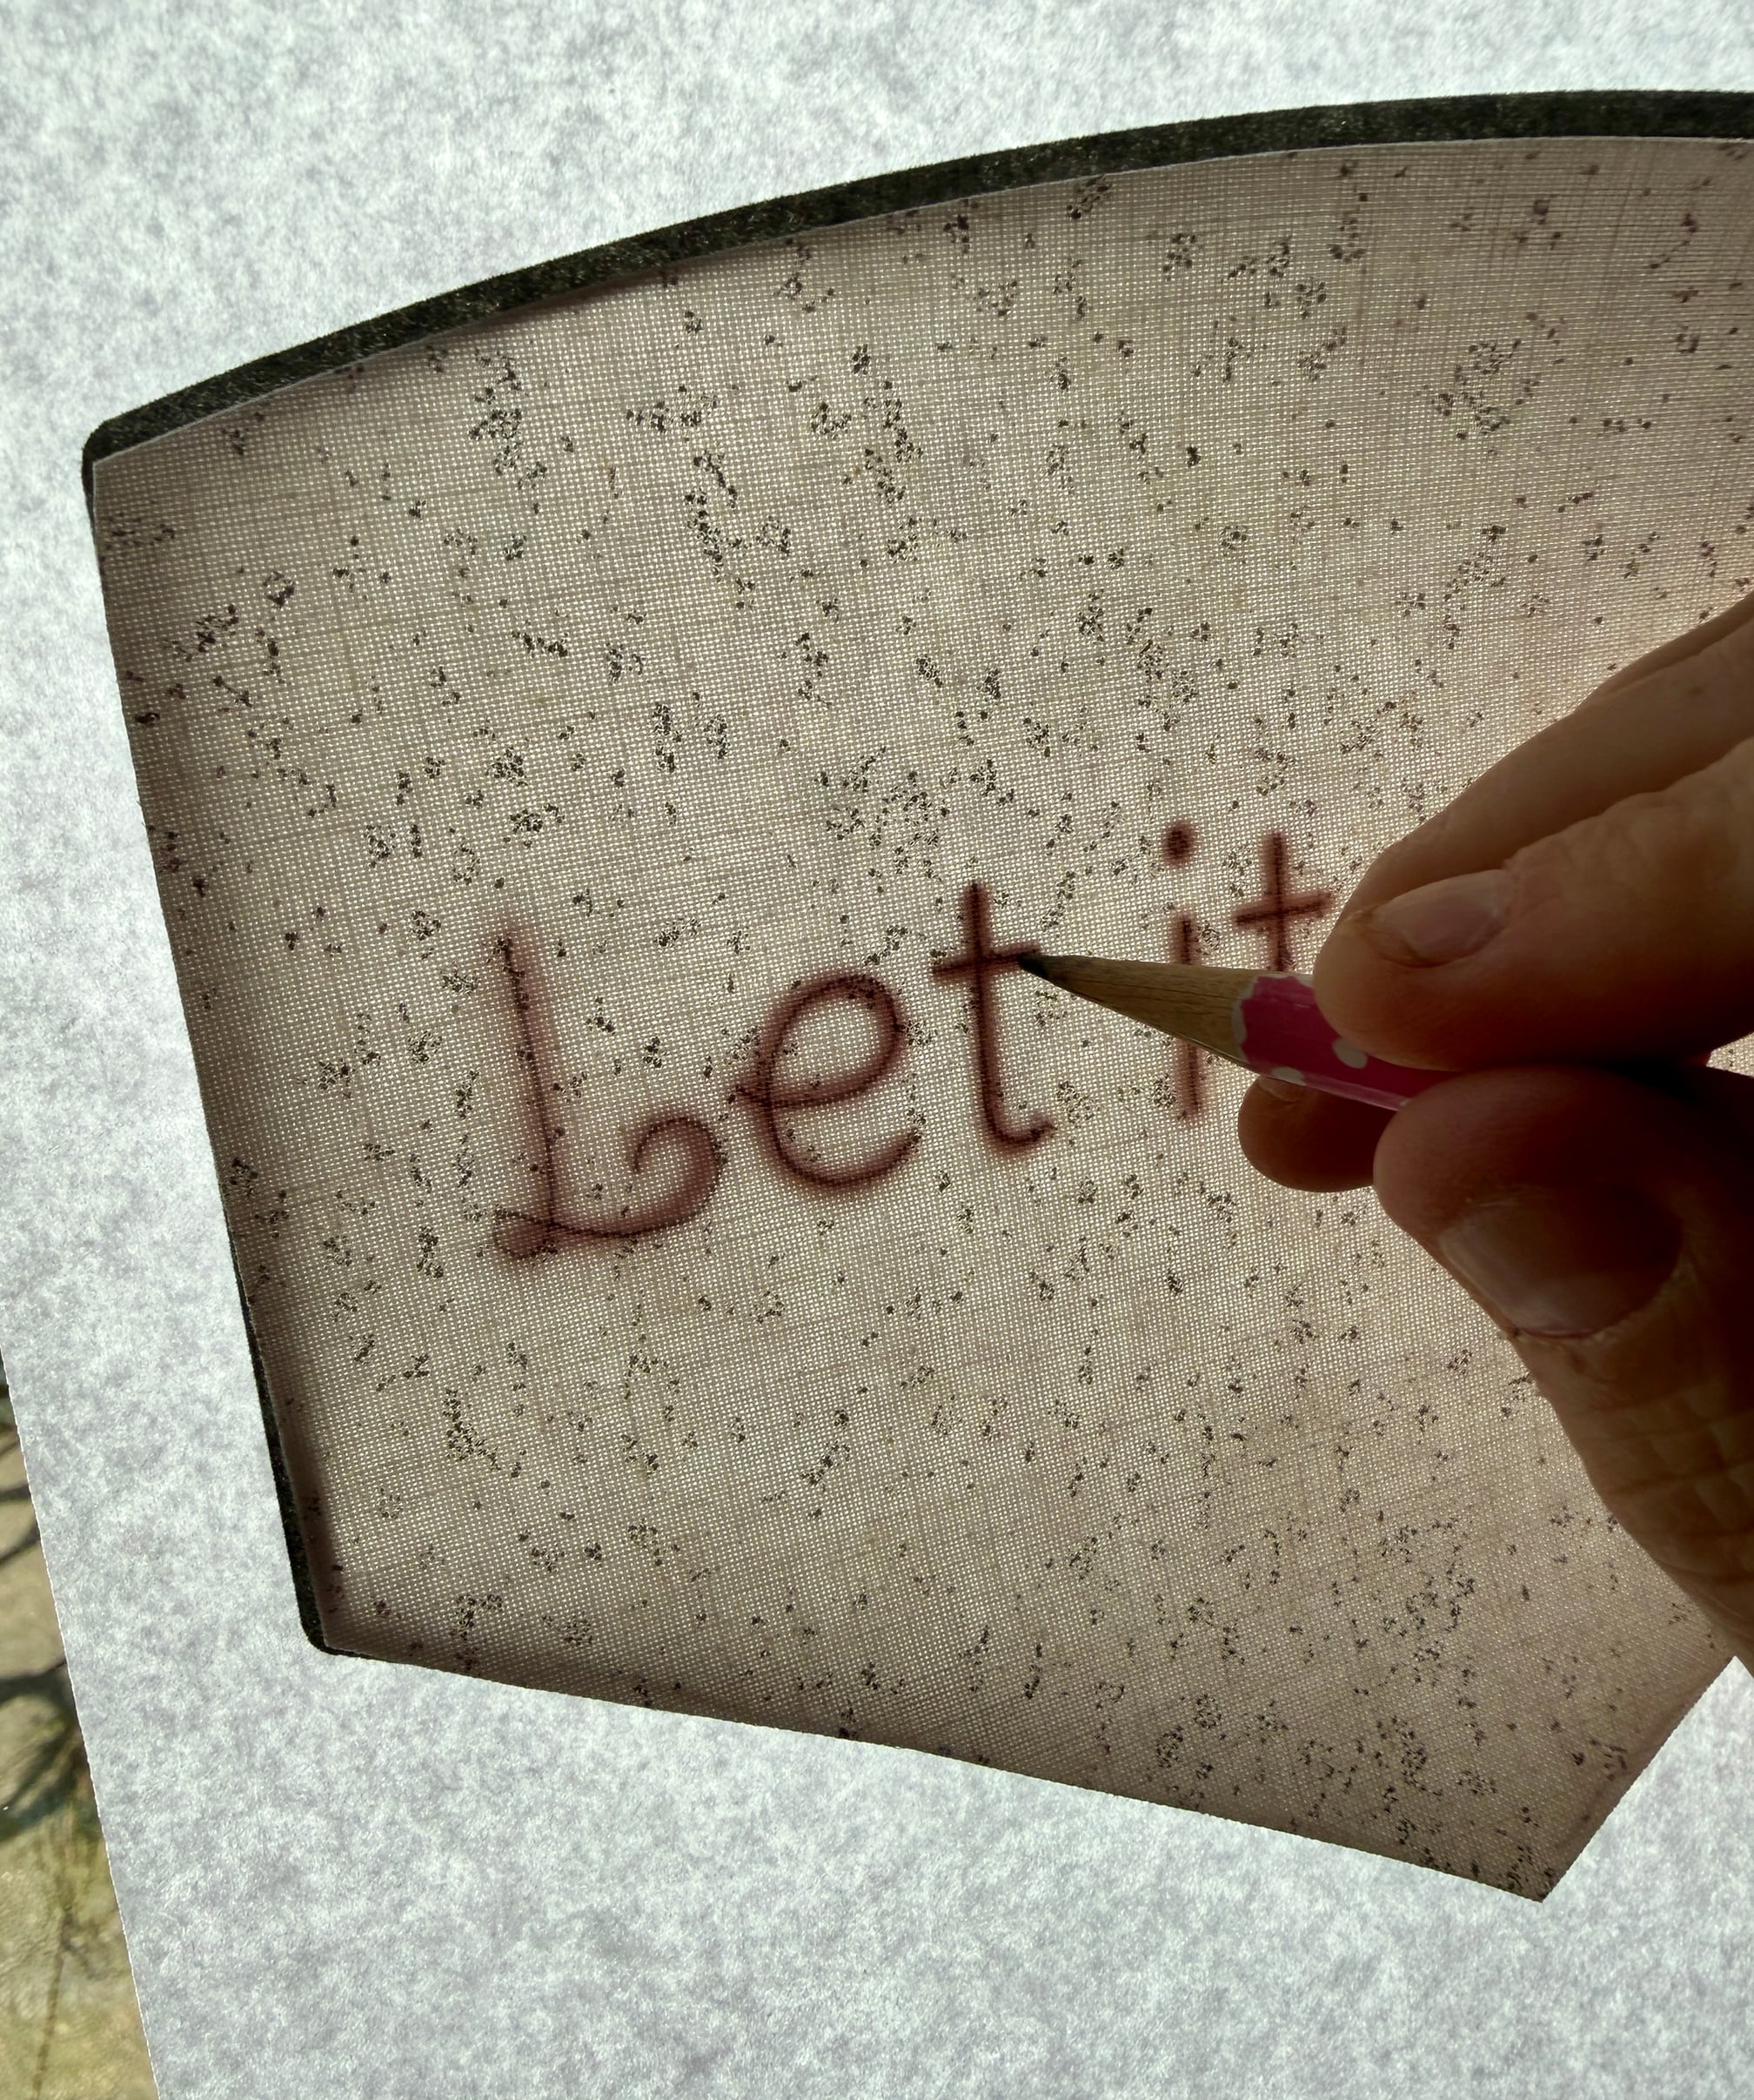
Before ironing the snow piece to white felt, you can trace the “Let it Snow” sentiment on it t using pencil and either a light box or by placing it in front of a window.
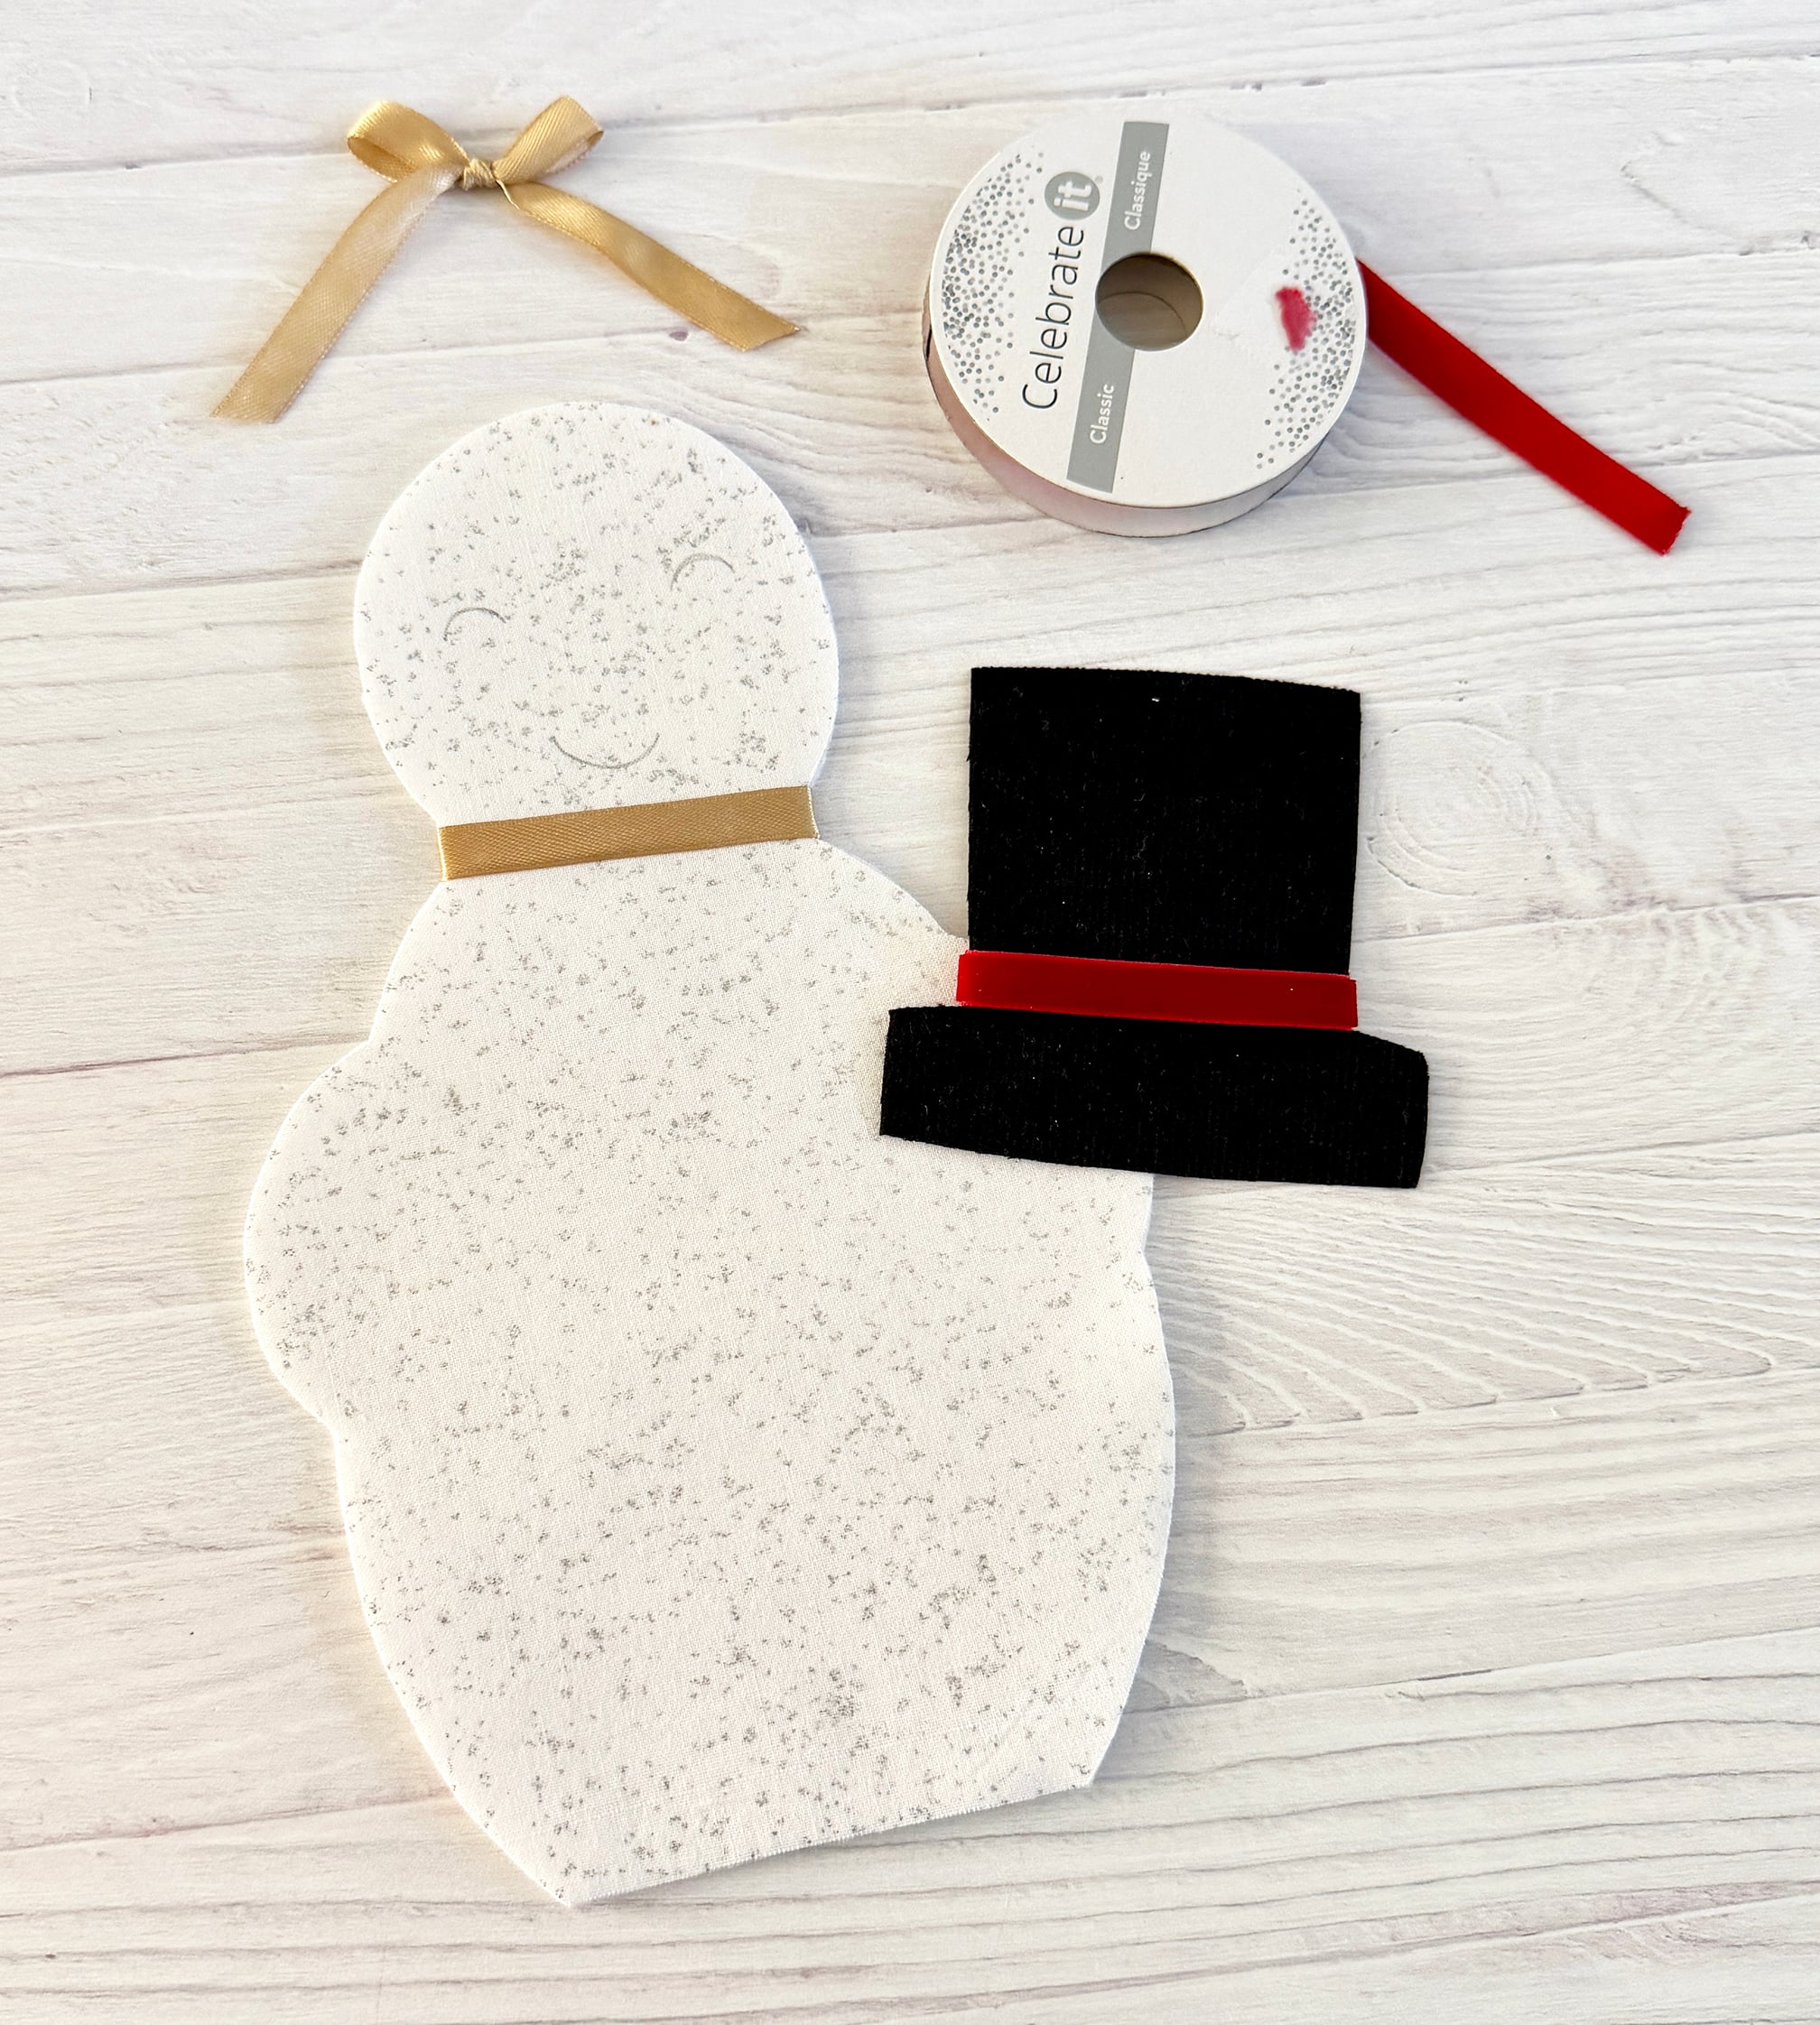
Adding Ribbon
Step Six: Add ribbon to the snowman’s neck and hat using a bit of glue or tape on the back to hold them in place. I also created a gold bow to match the ribbon I used on my snowman’s neck so I could attach it at the end when everything is done.
Embroidery
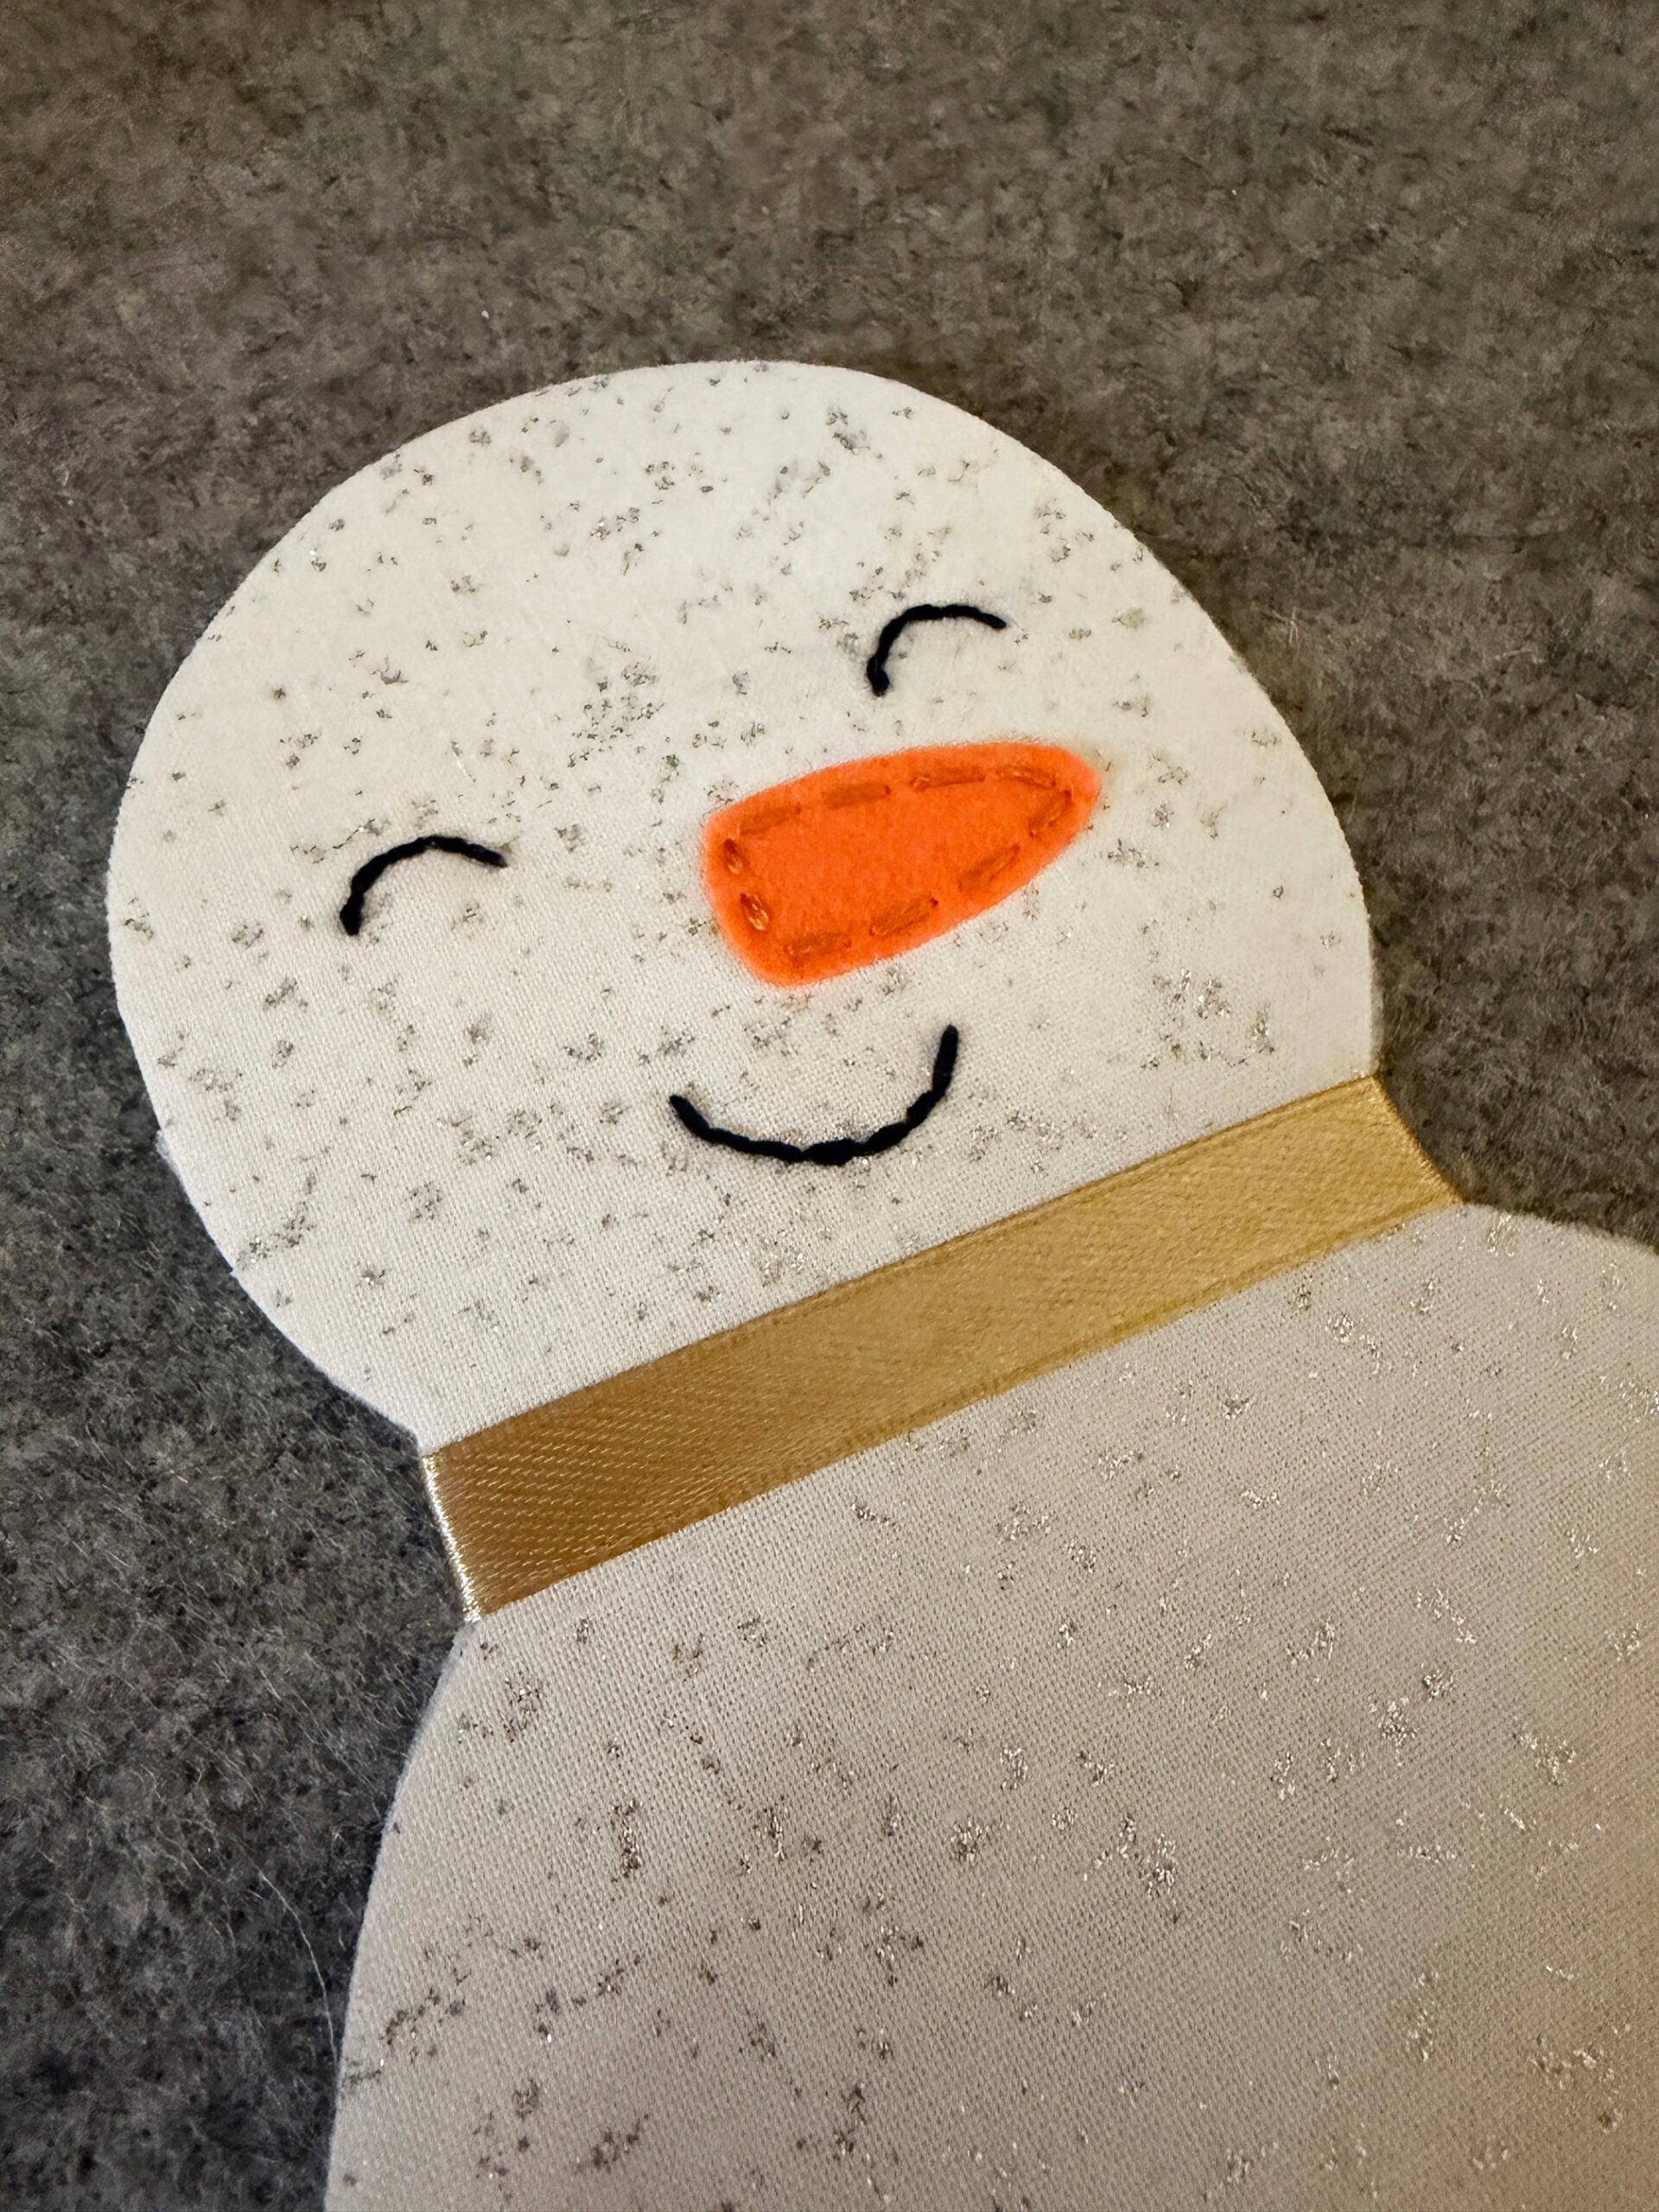
Step Seven: Embroider the snowman’s face, wreath and the sentiment “Let it Snow” using embroidery floss and simple hand sewing stitches.
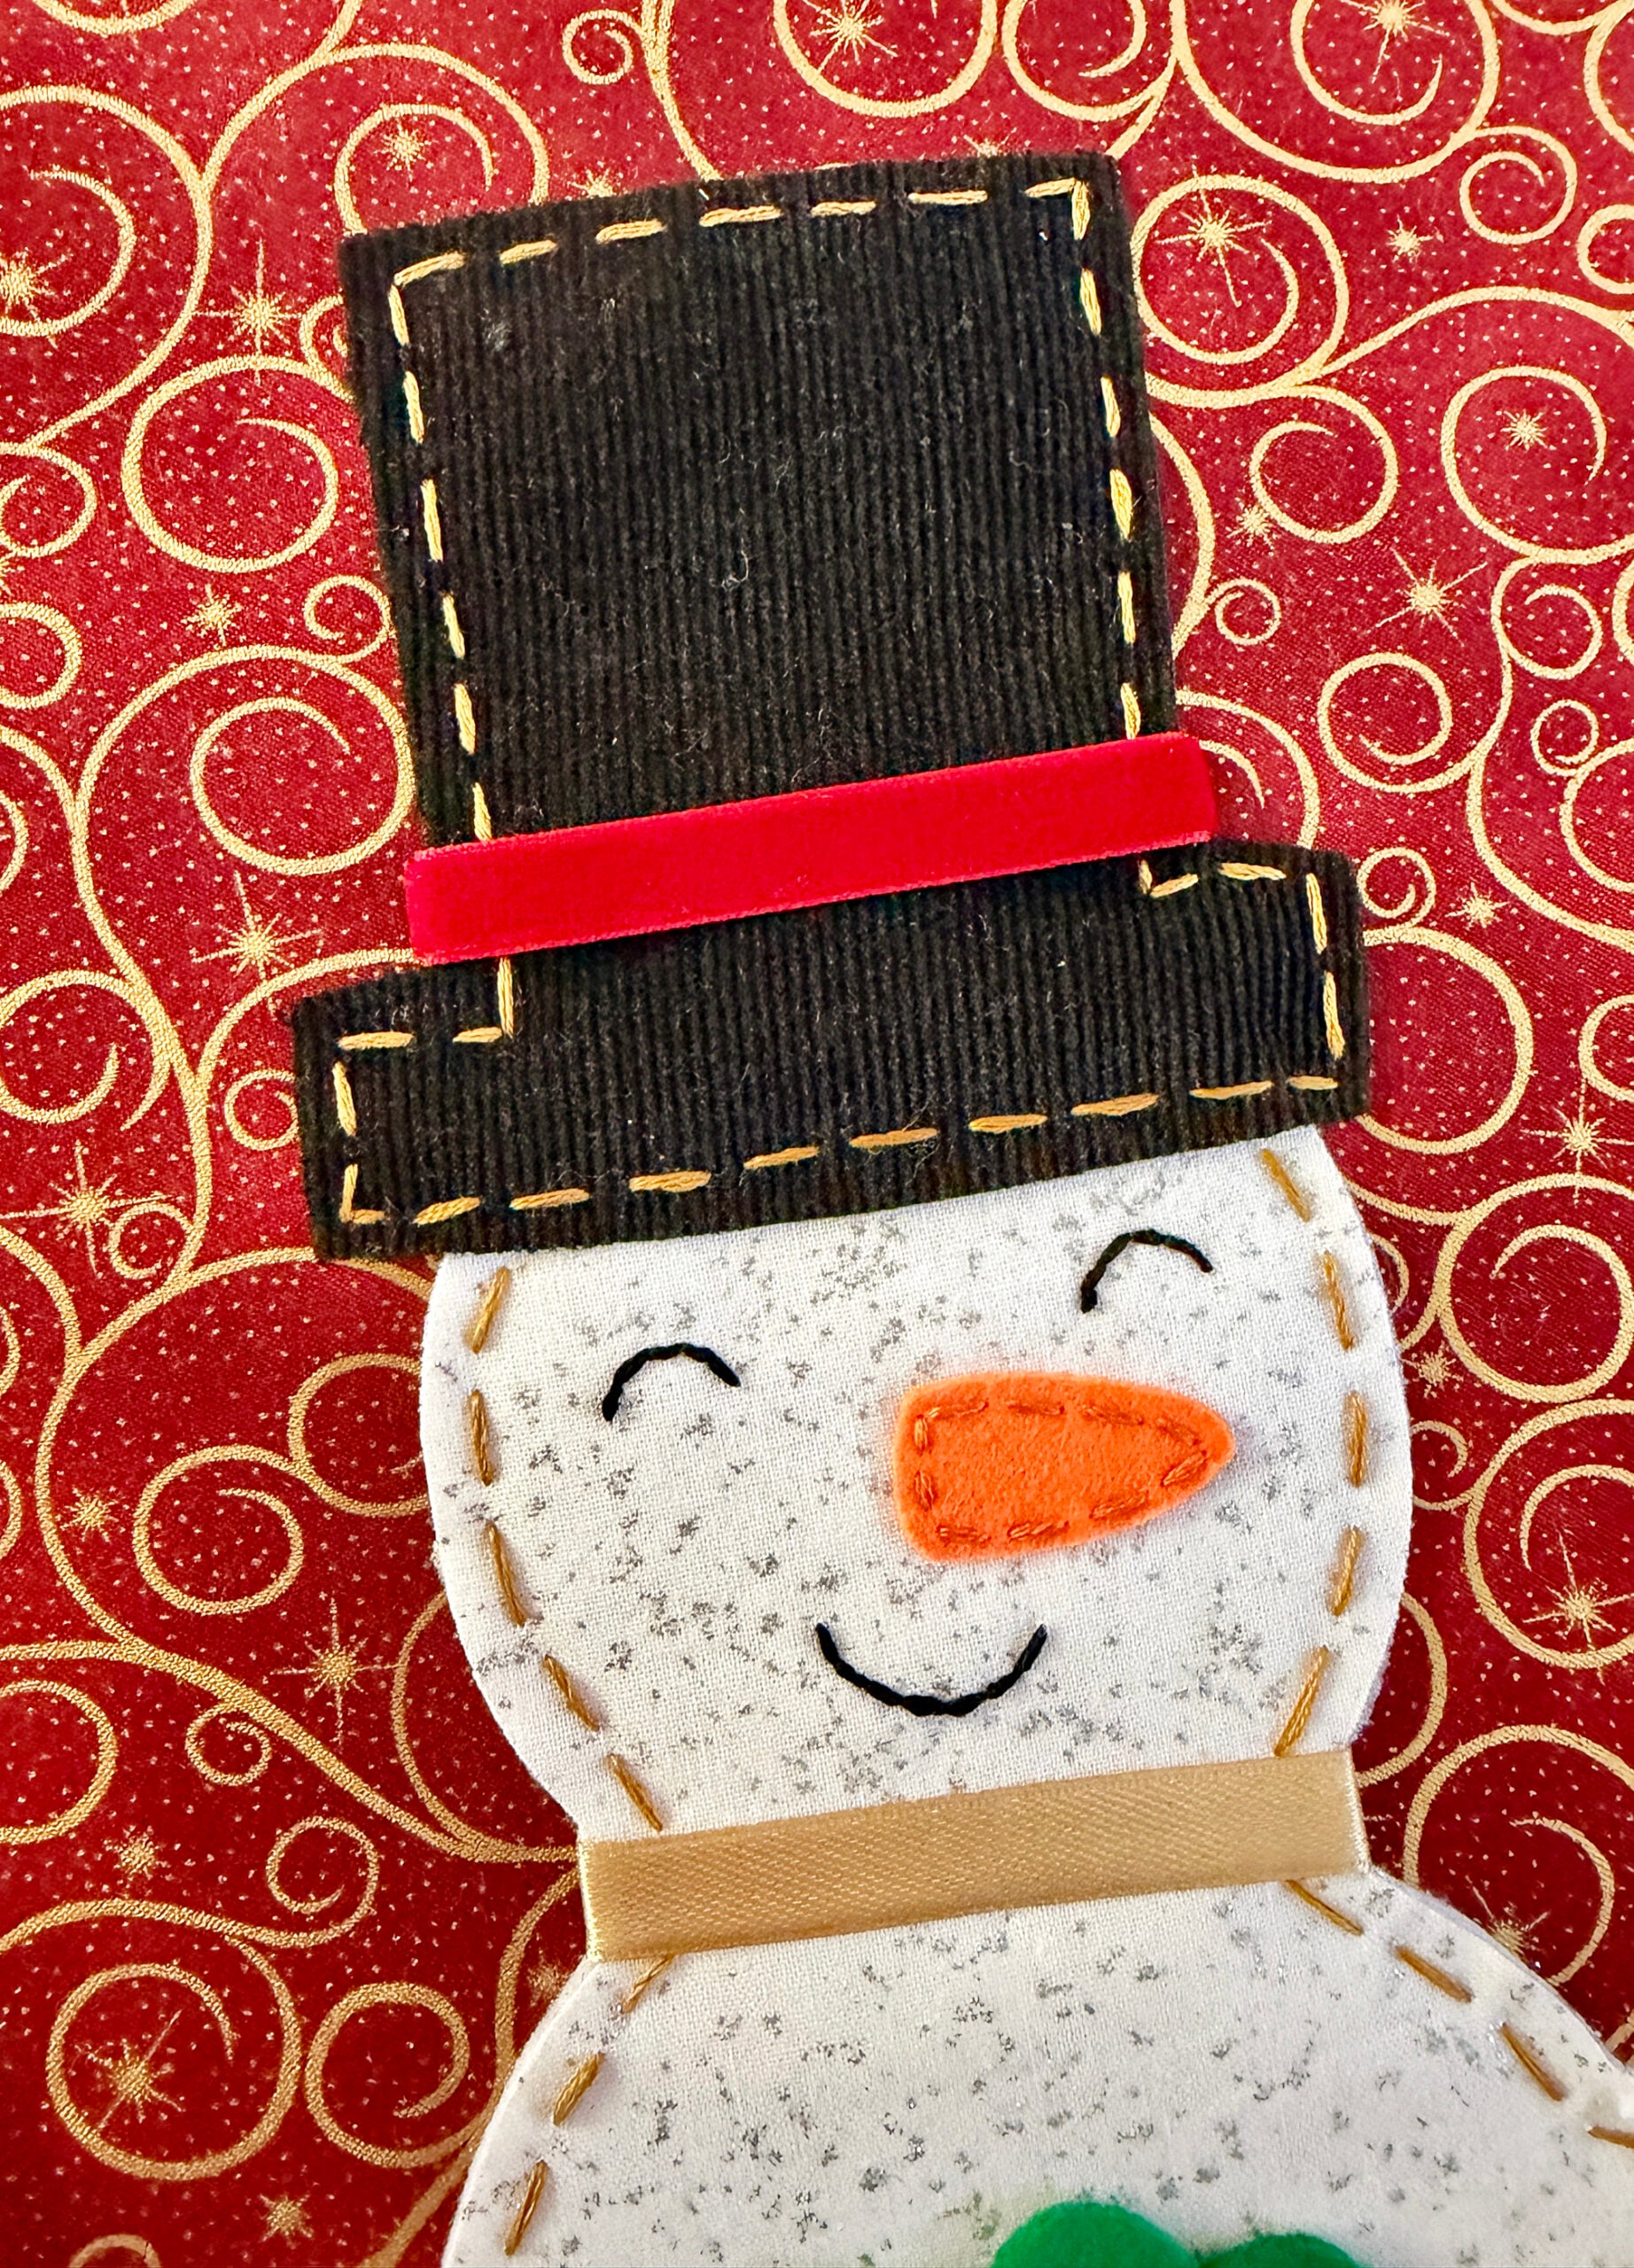
I used black embroidery floss and a small backstitch for the snowman’s eyes and mouth. I ironed the orange felt nose in place then added a small running stitch with orange embroidery floss.
For the “Let it Snow” sentiment at the bottom of the wall hanging, I used red embroidery floss and a small backstitch.
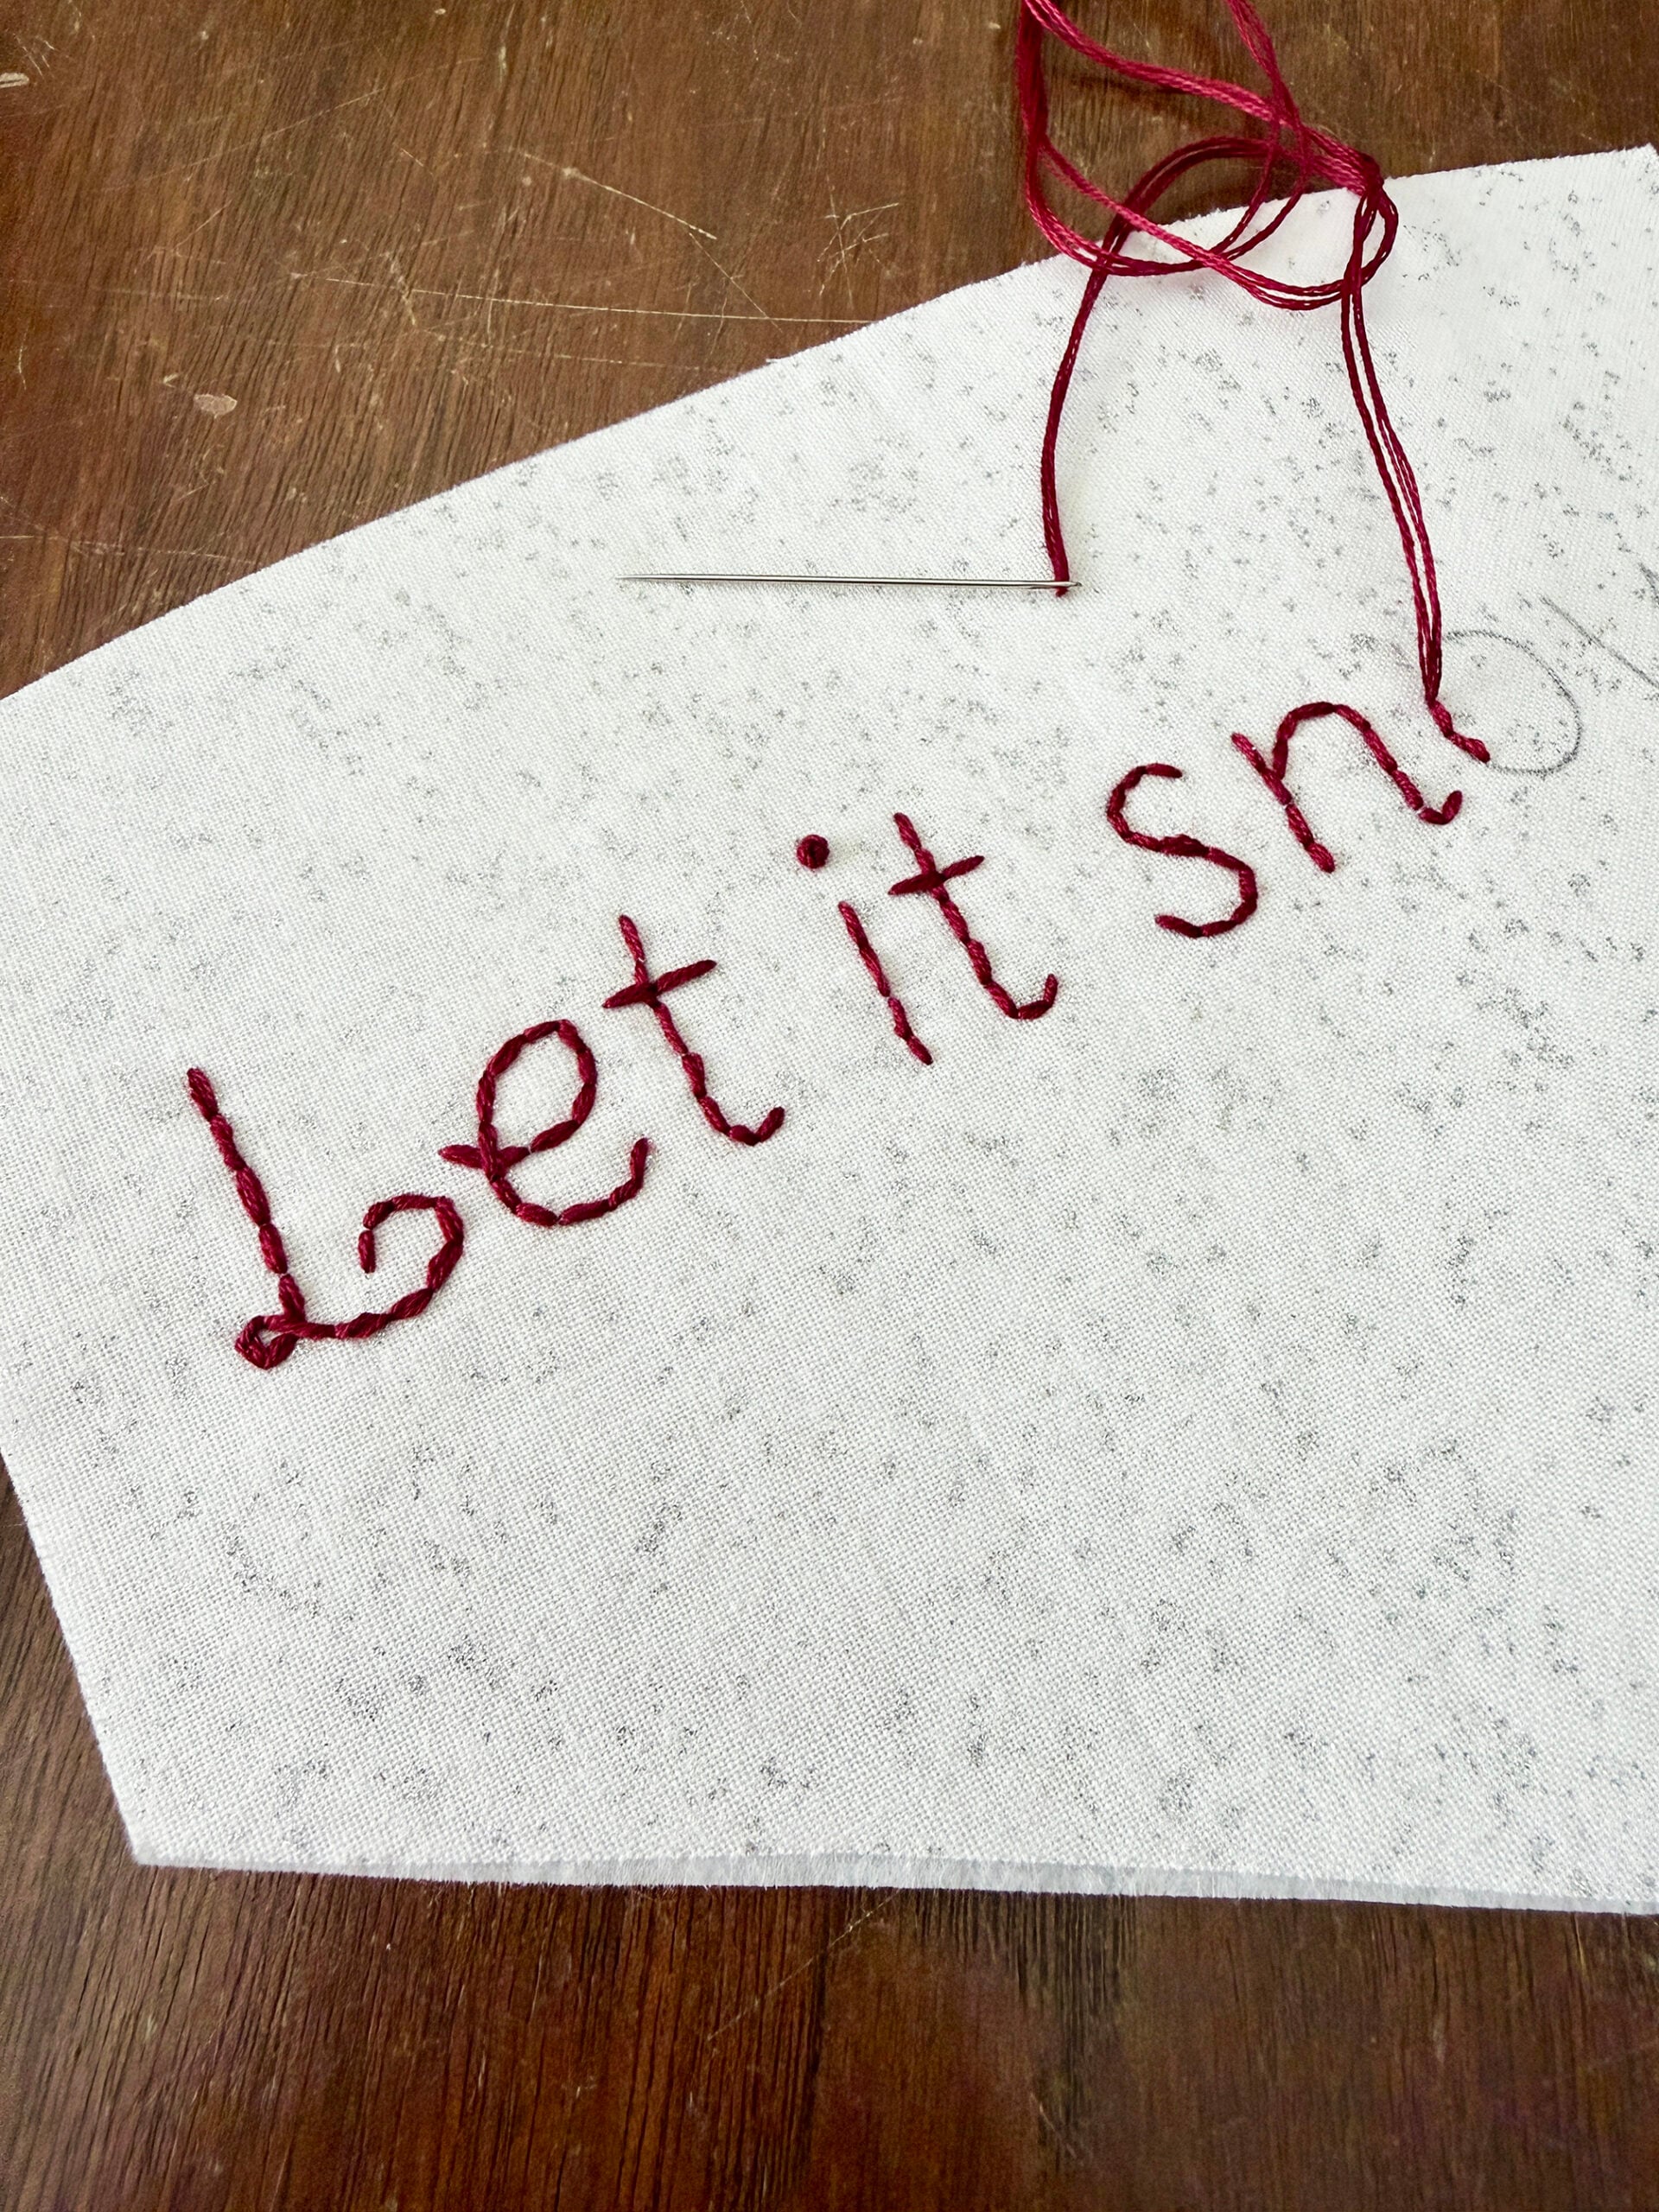
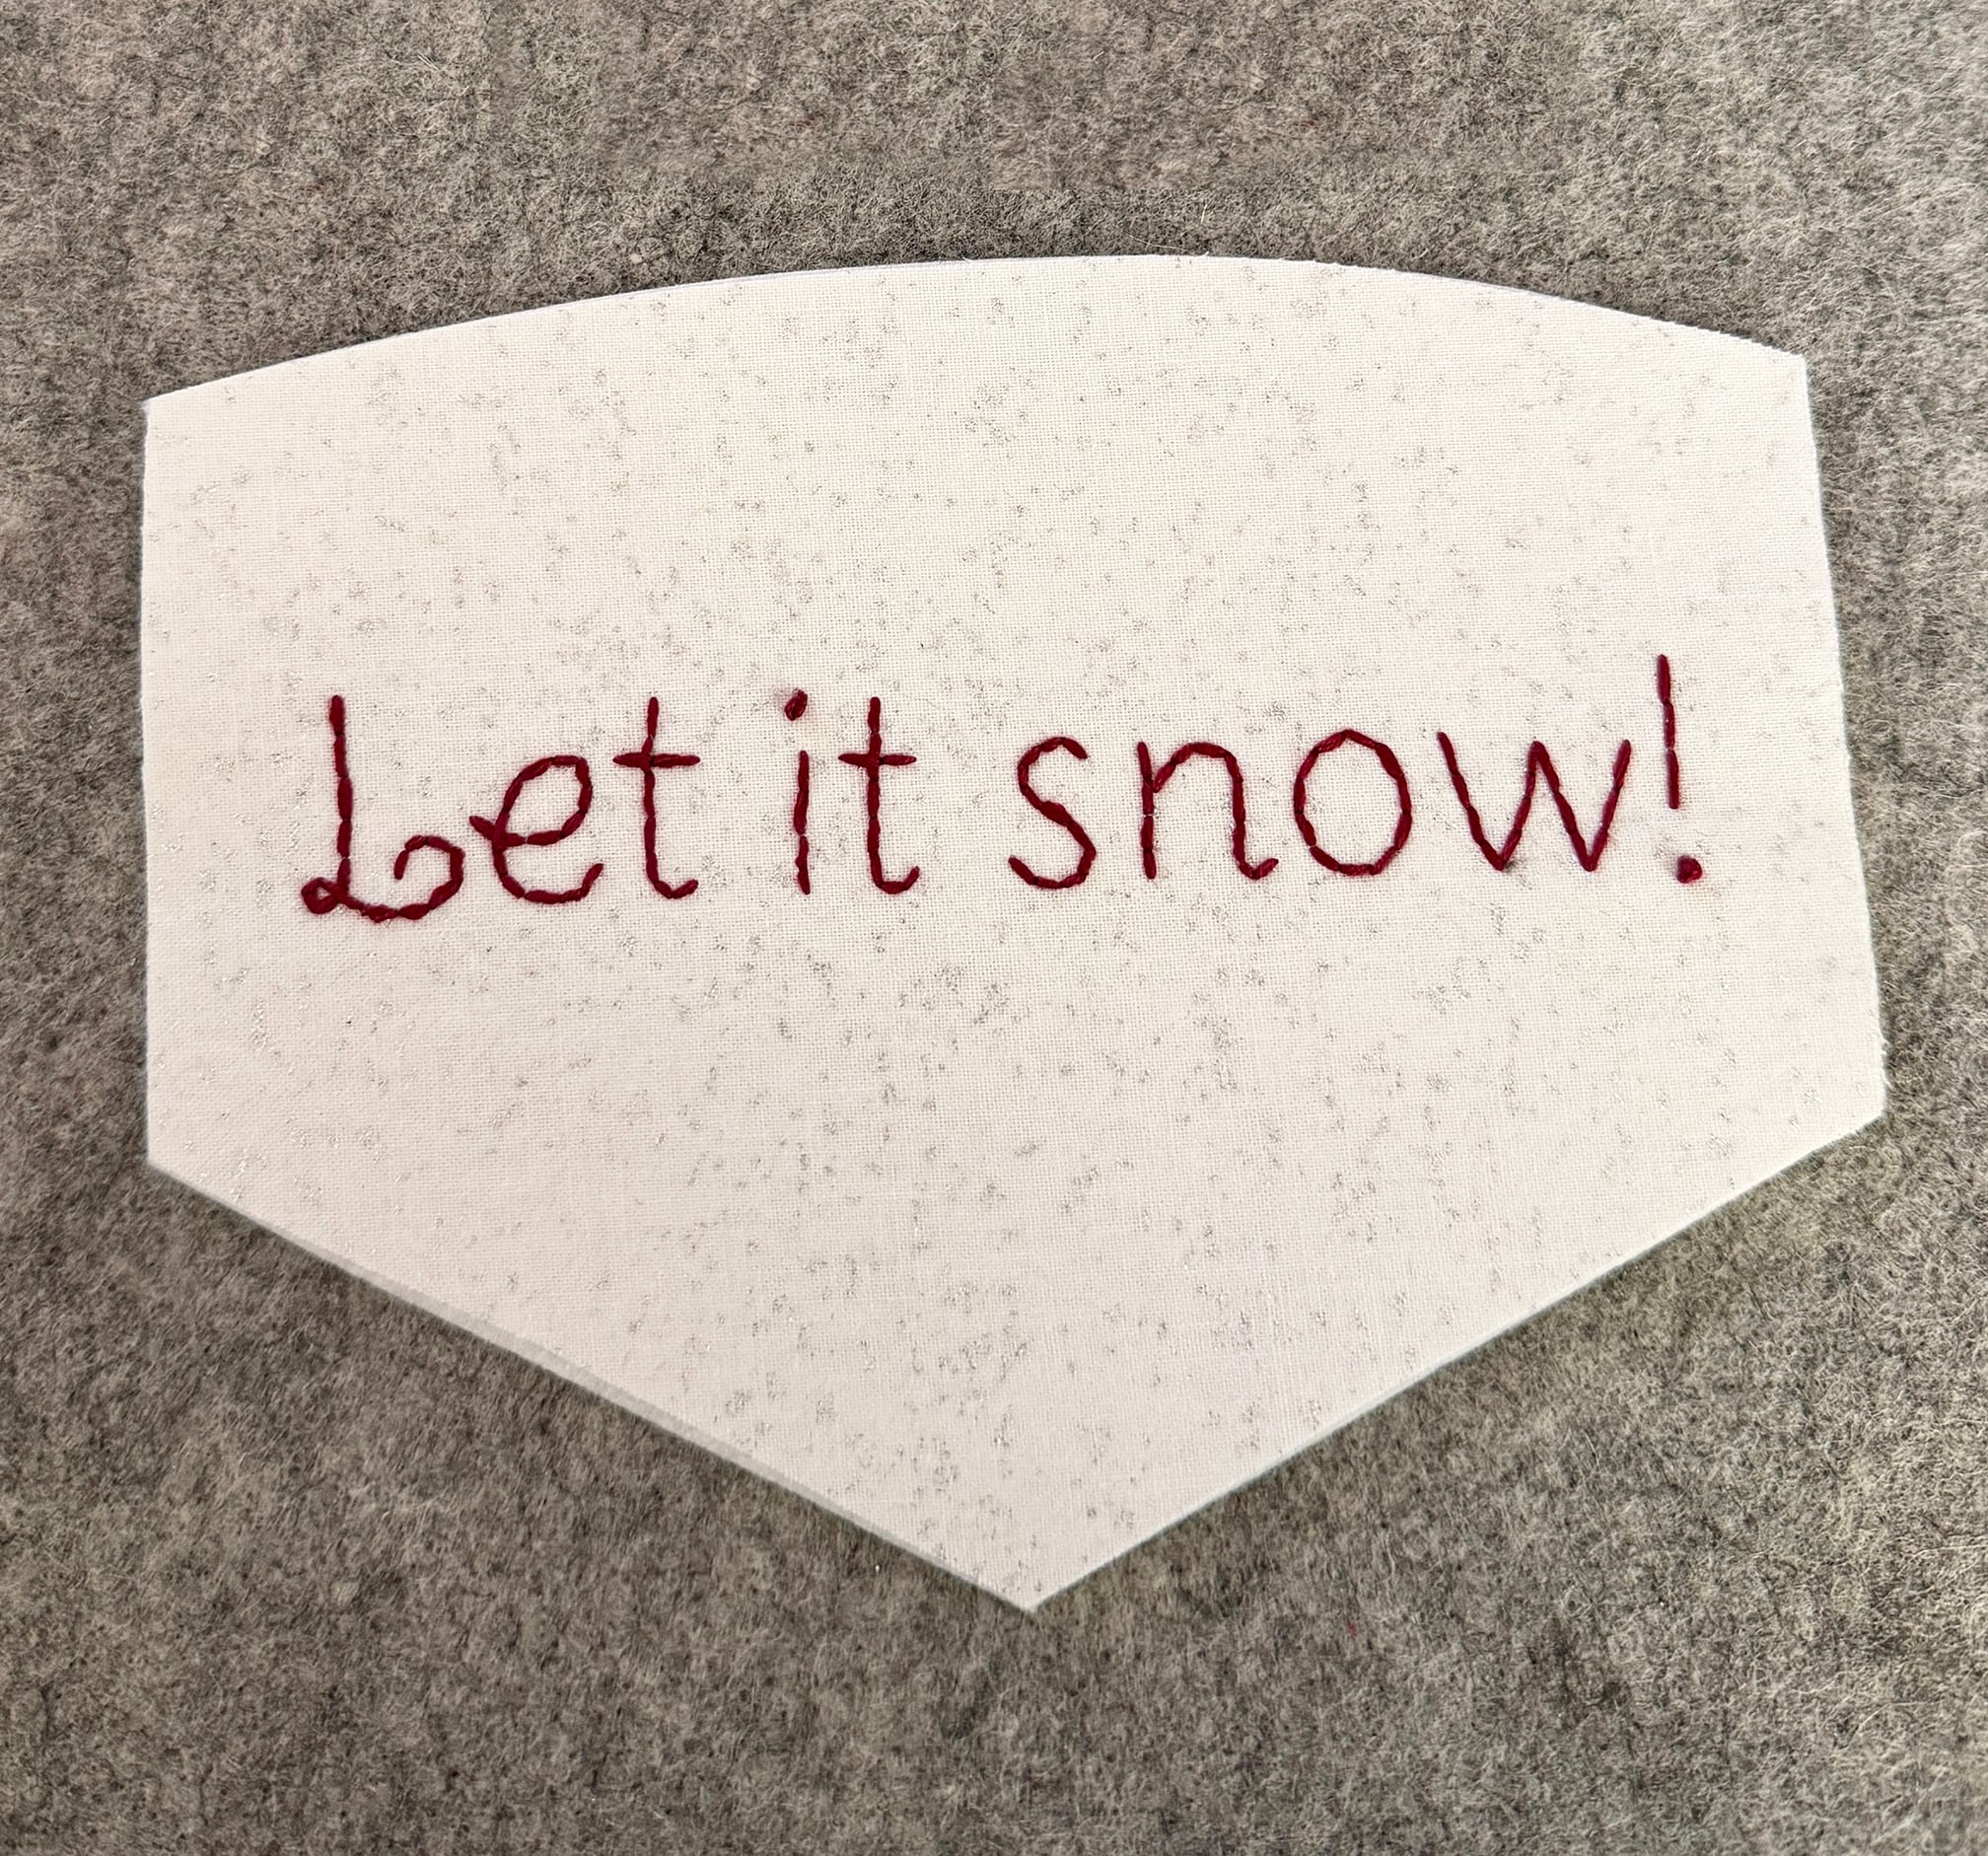
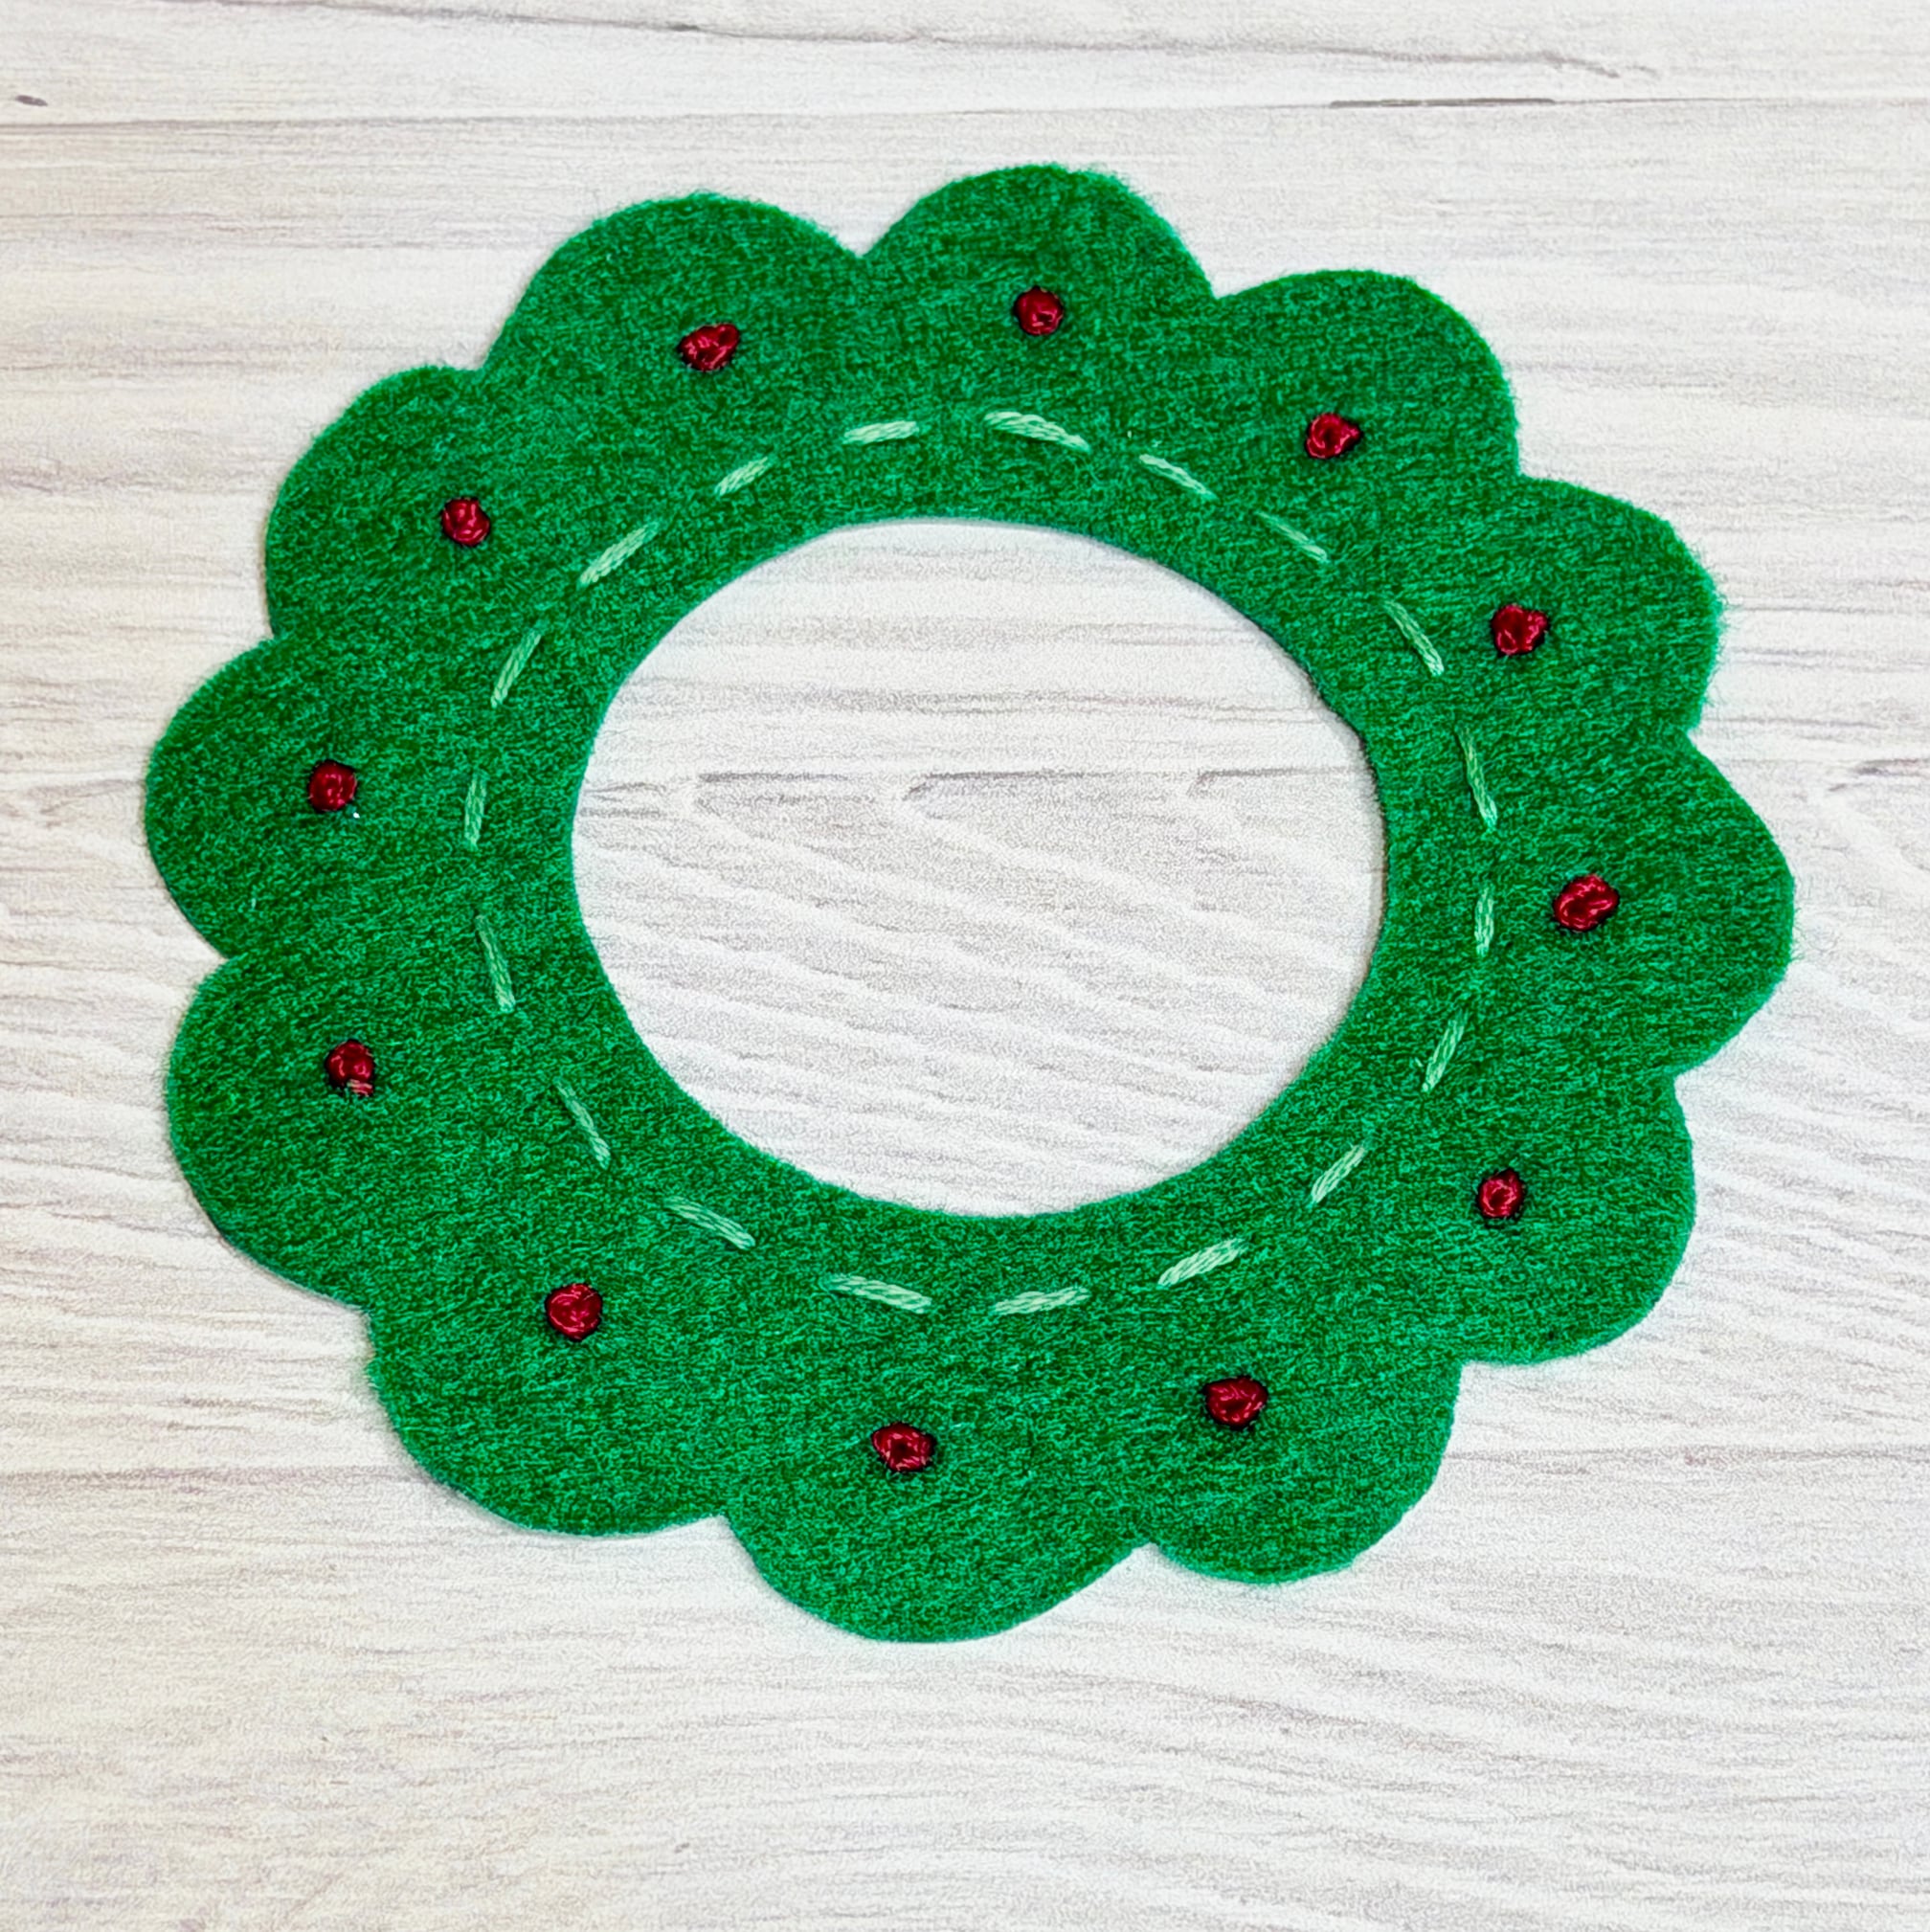
Finally, for the wreath I used green embroidery floss to add a circle around the inner hole of the wreath with a small running stitch. I added berries to the wreath using red embroidery floss and made a french knot in each curved area of the wreath.
Assemble the Banner Pieces
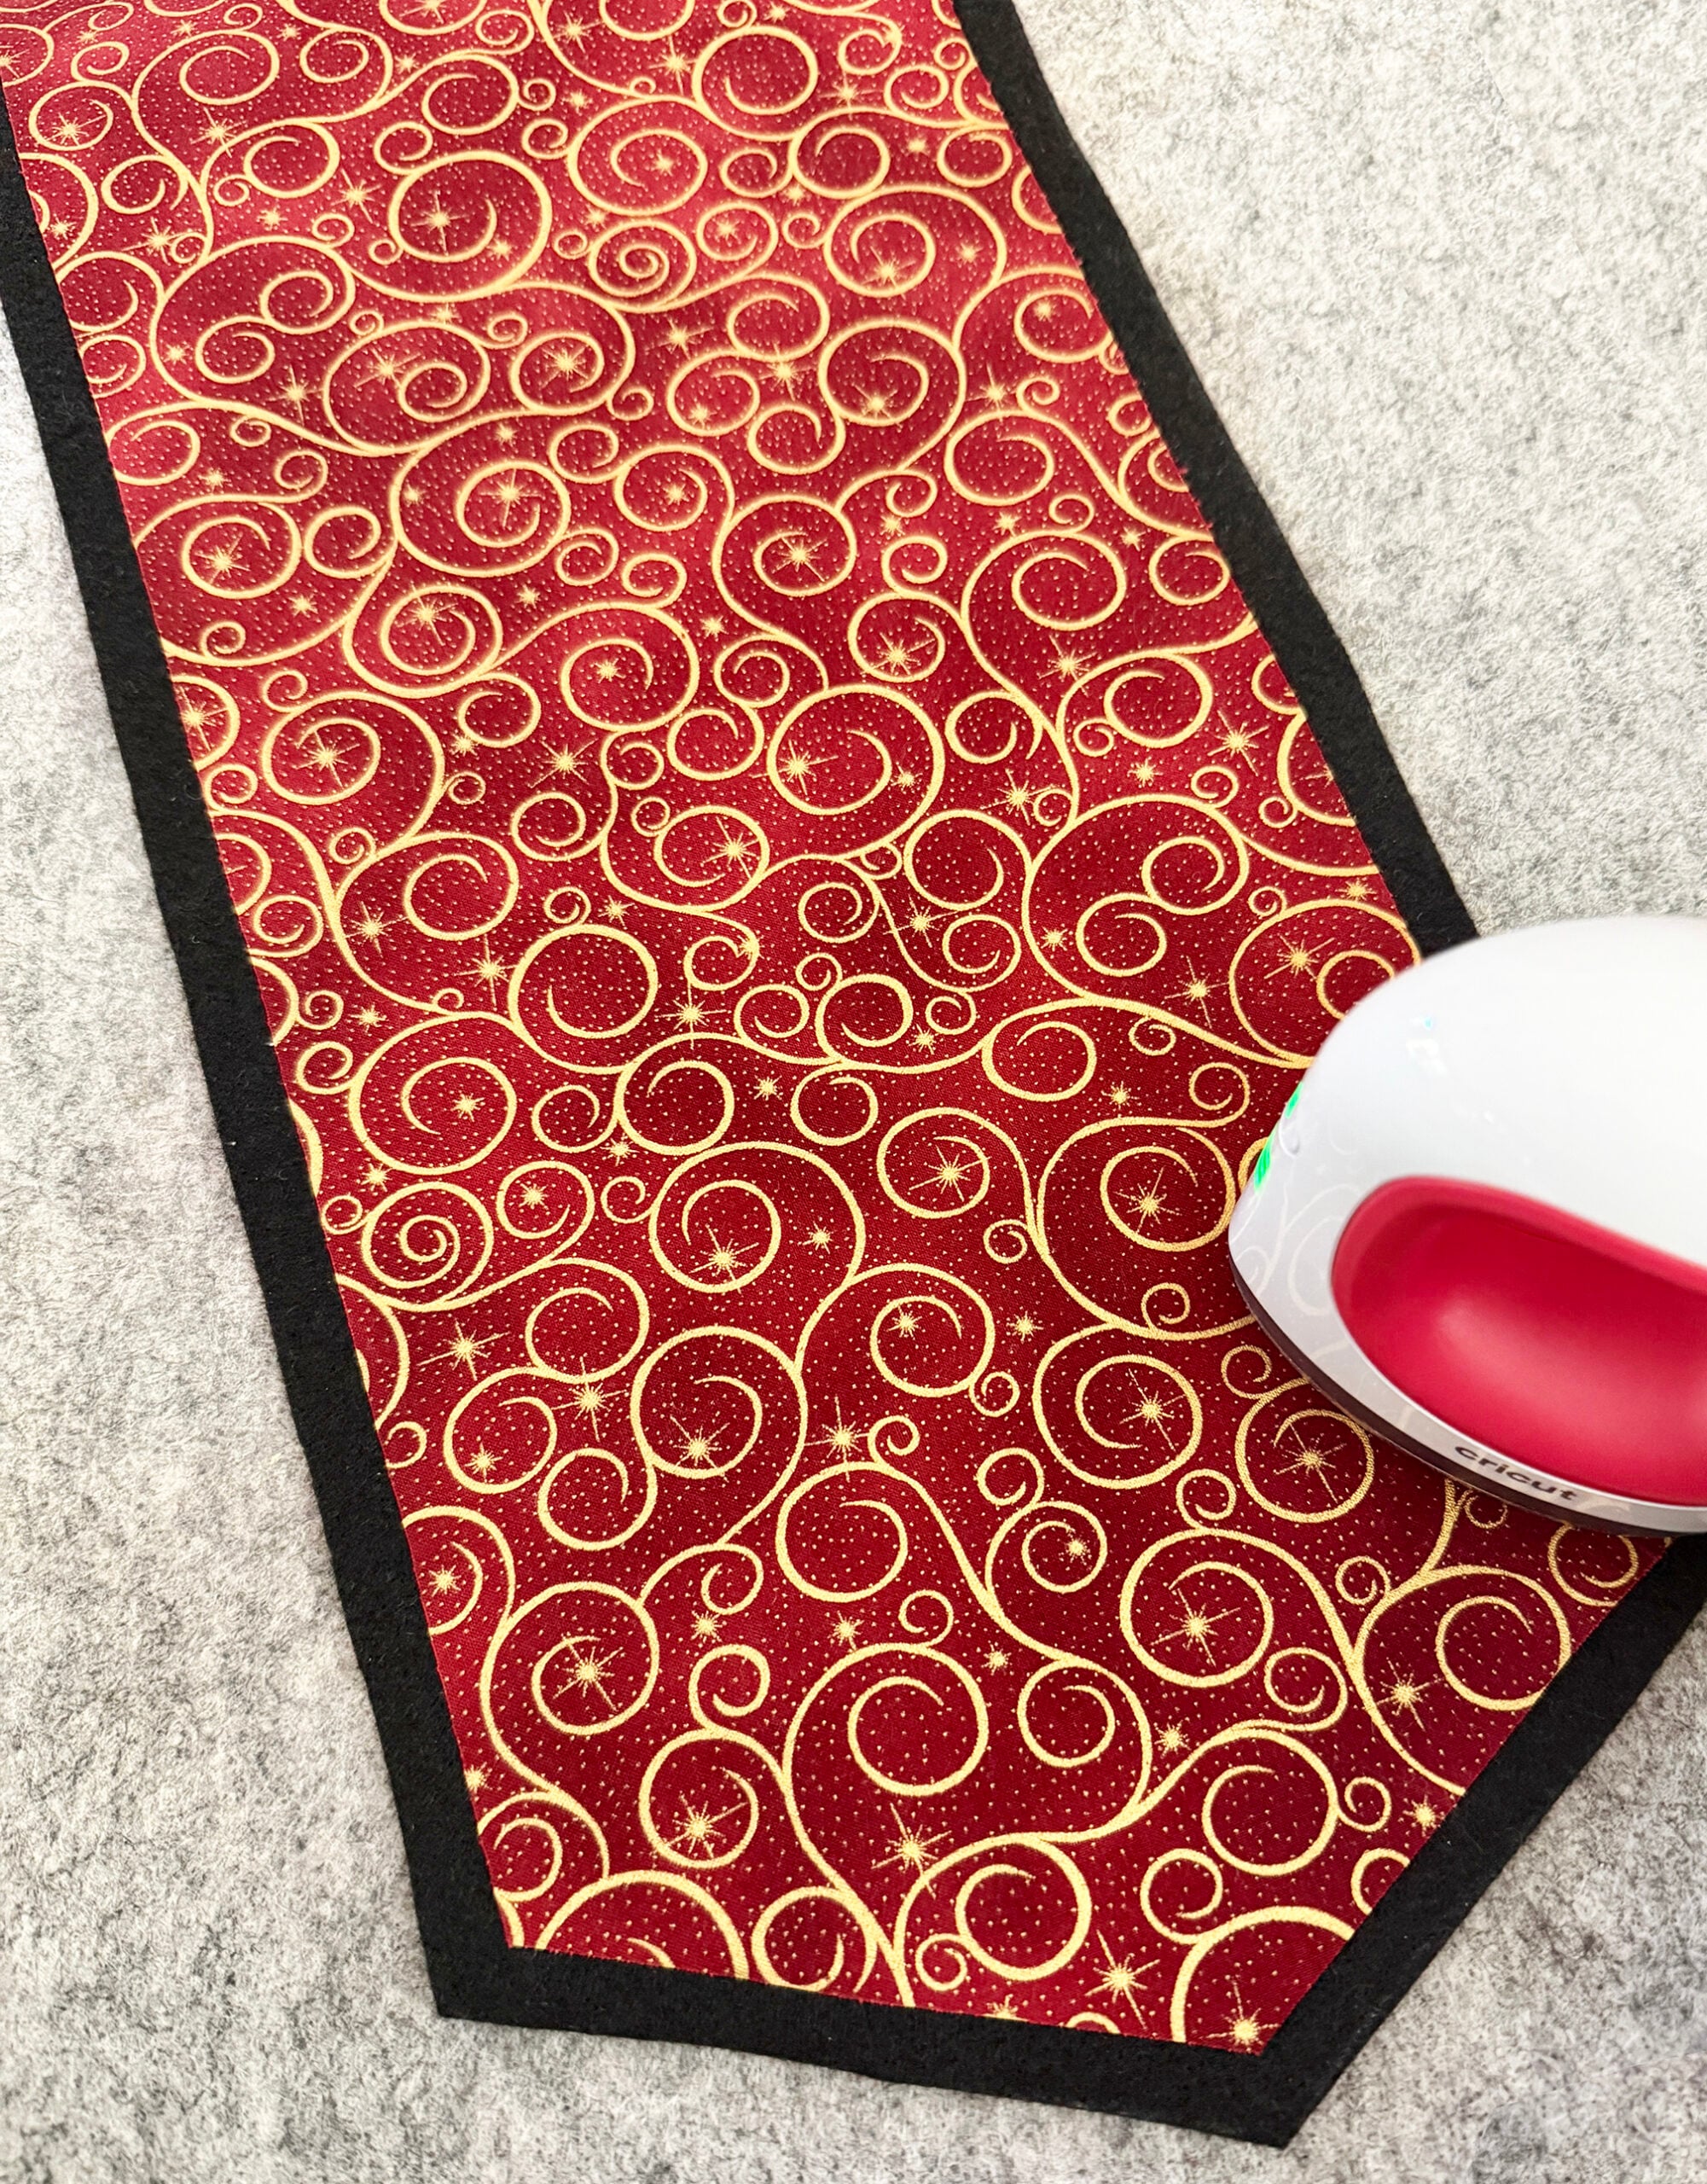
Step Eight: It’s time to iron everything together! You should have 9 pieces total; 1 black felt base, 1 red and gold fabric background, 1 snow embroidery with the words Let it Snow, 1 snowman body, 2 snowman arms, 1 carrot nose, 1 hat and 1 wreath. Start by ironing the background fabric to the black felt base.
Next, line up with the snow with the bottom of the background fabric. Use embroidery floss to stitch around all four edges. I did choose to skip the area where I knew the snowman would be covering it up.
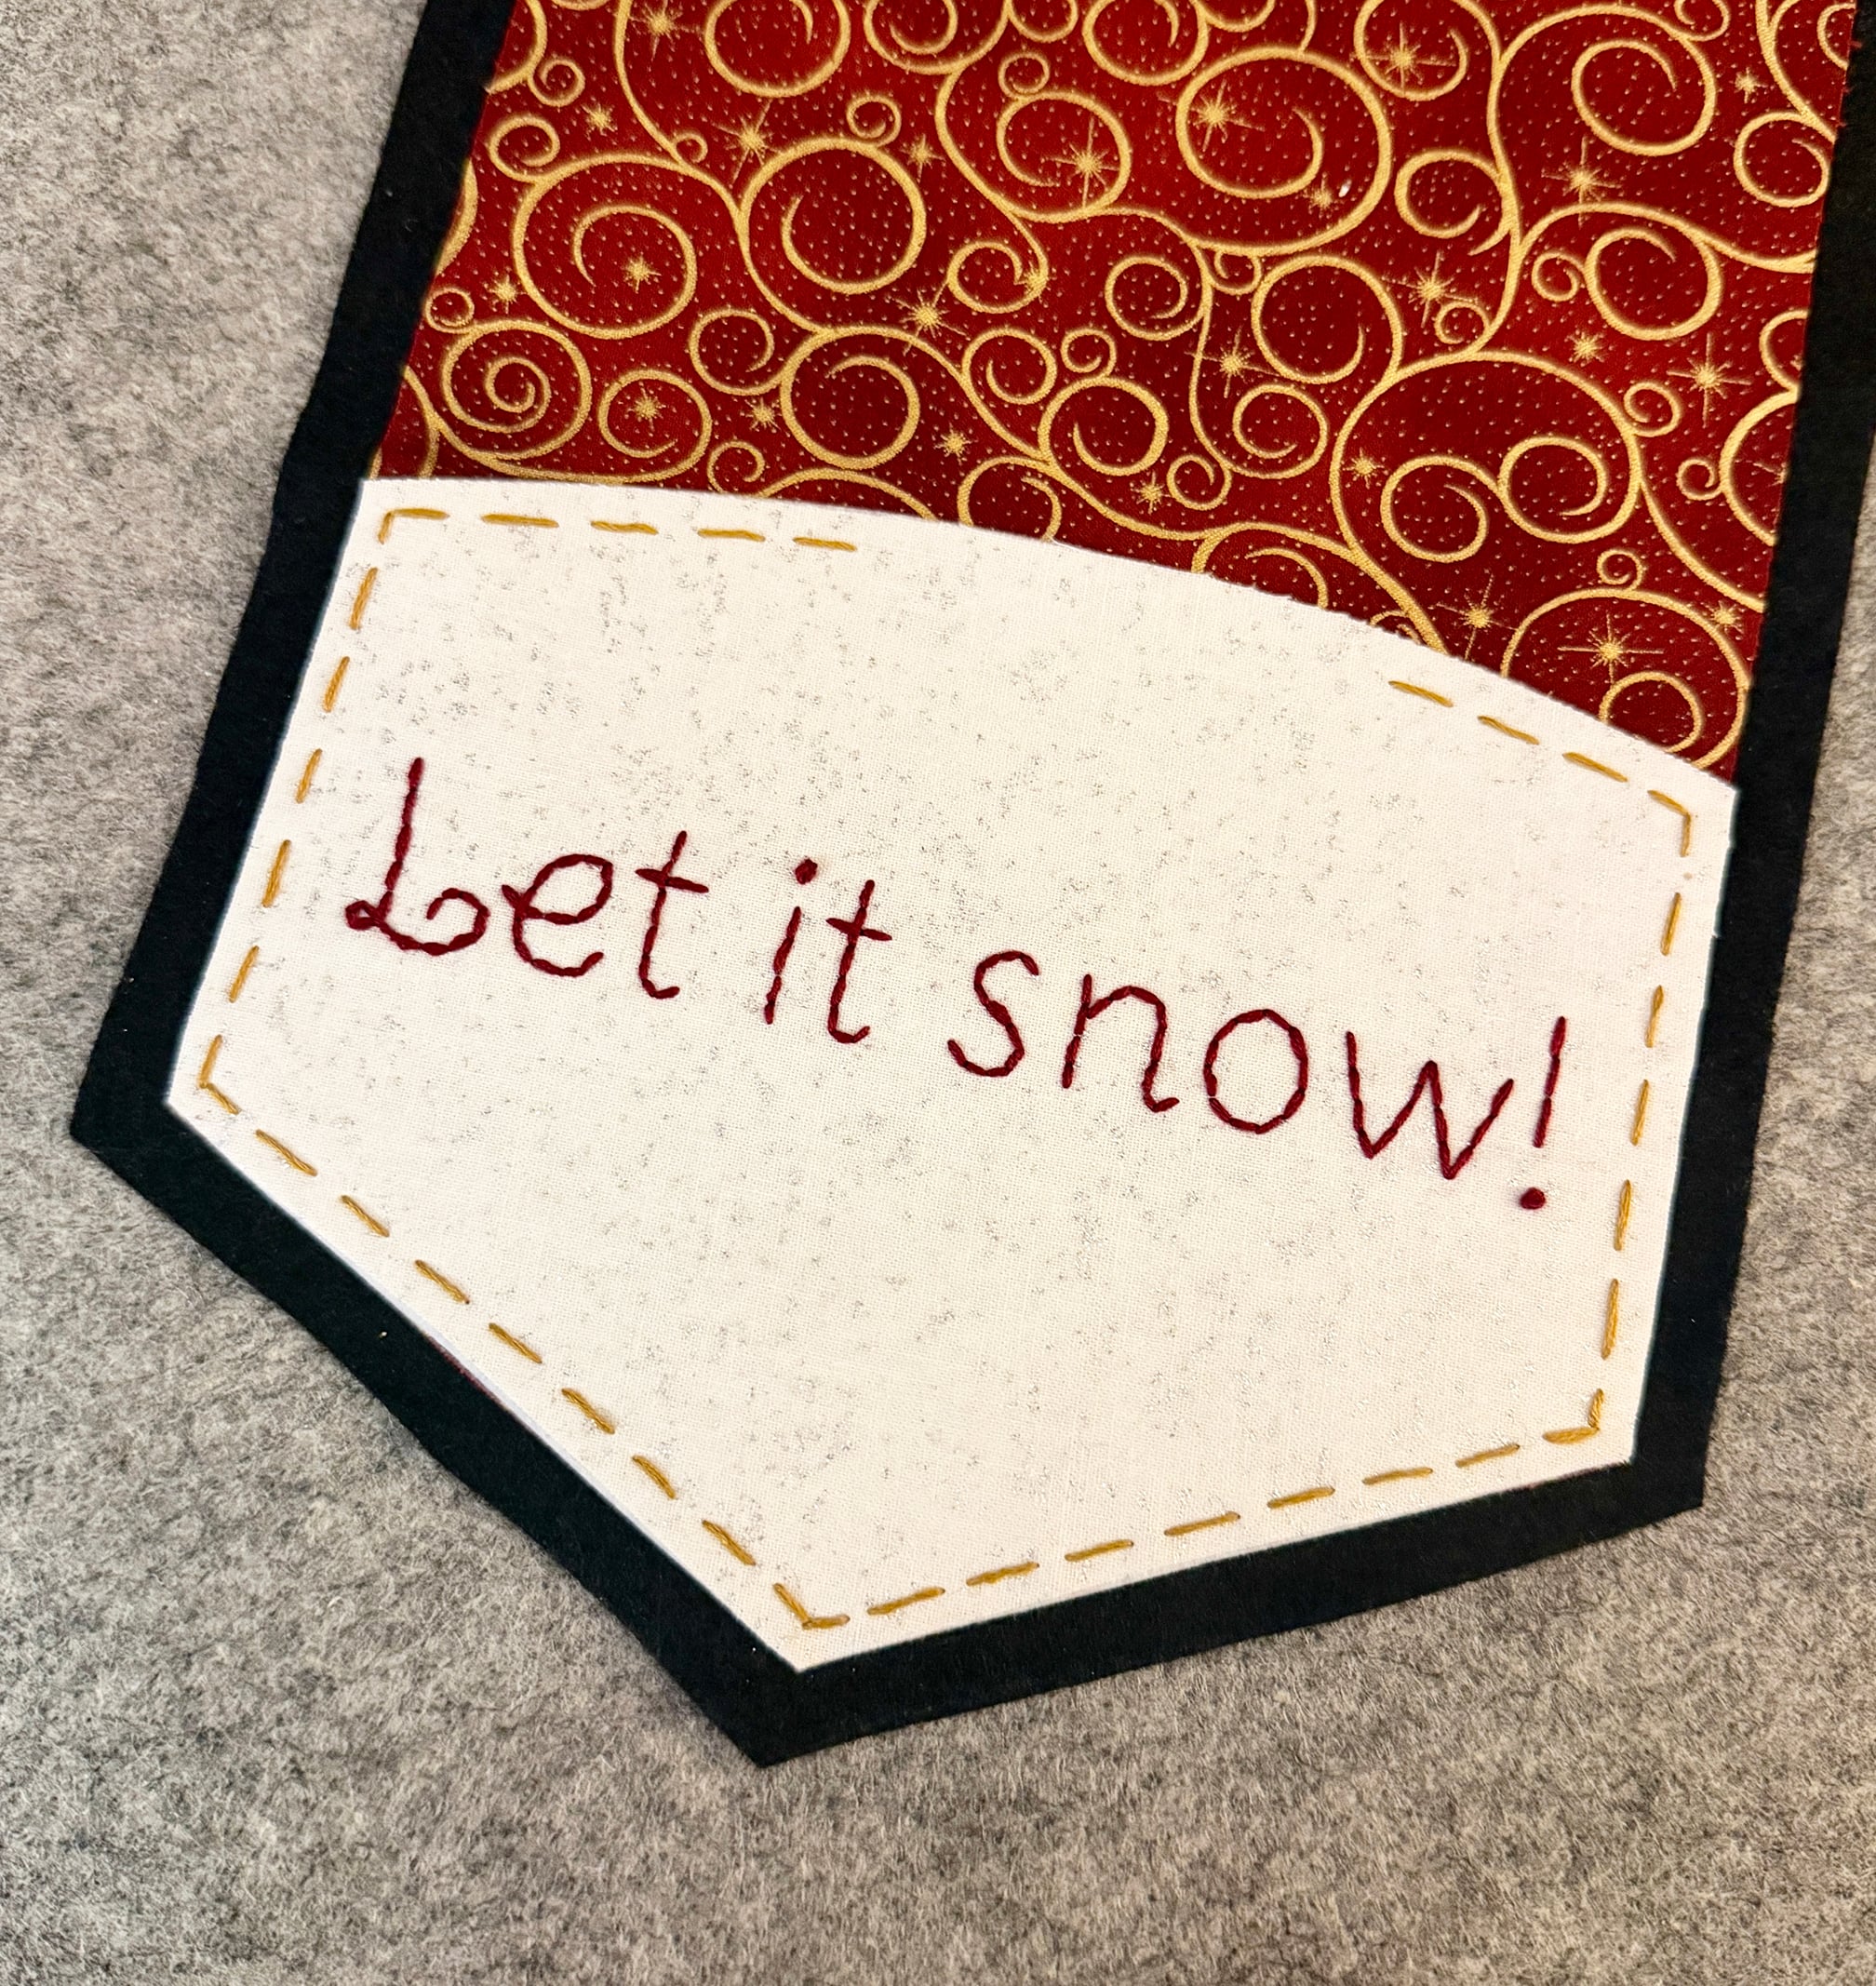
Next, pin the snowman in place and stitch around it using the embroidery floss and a small running stitch.
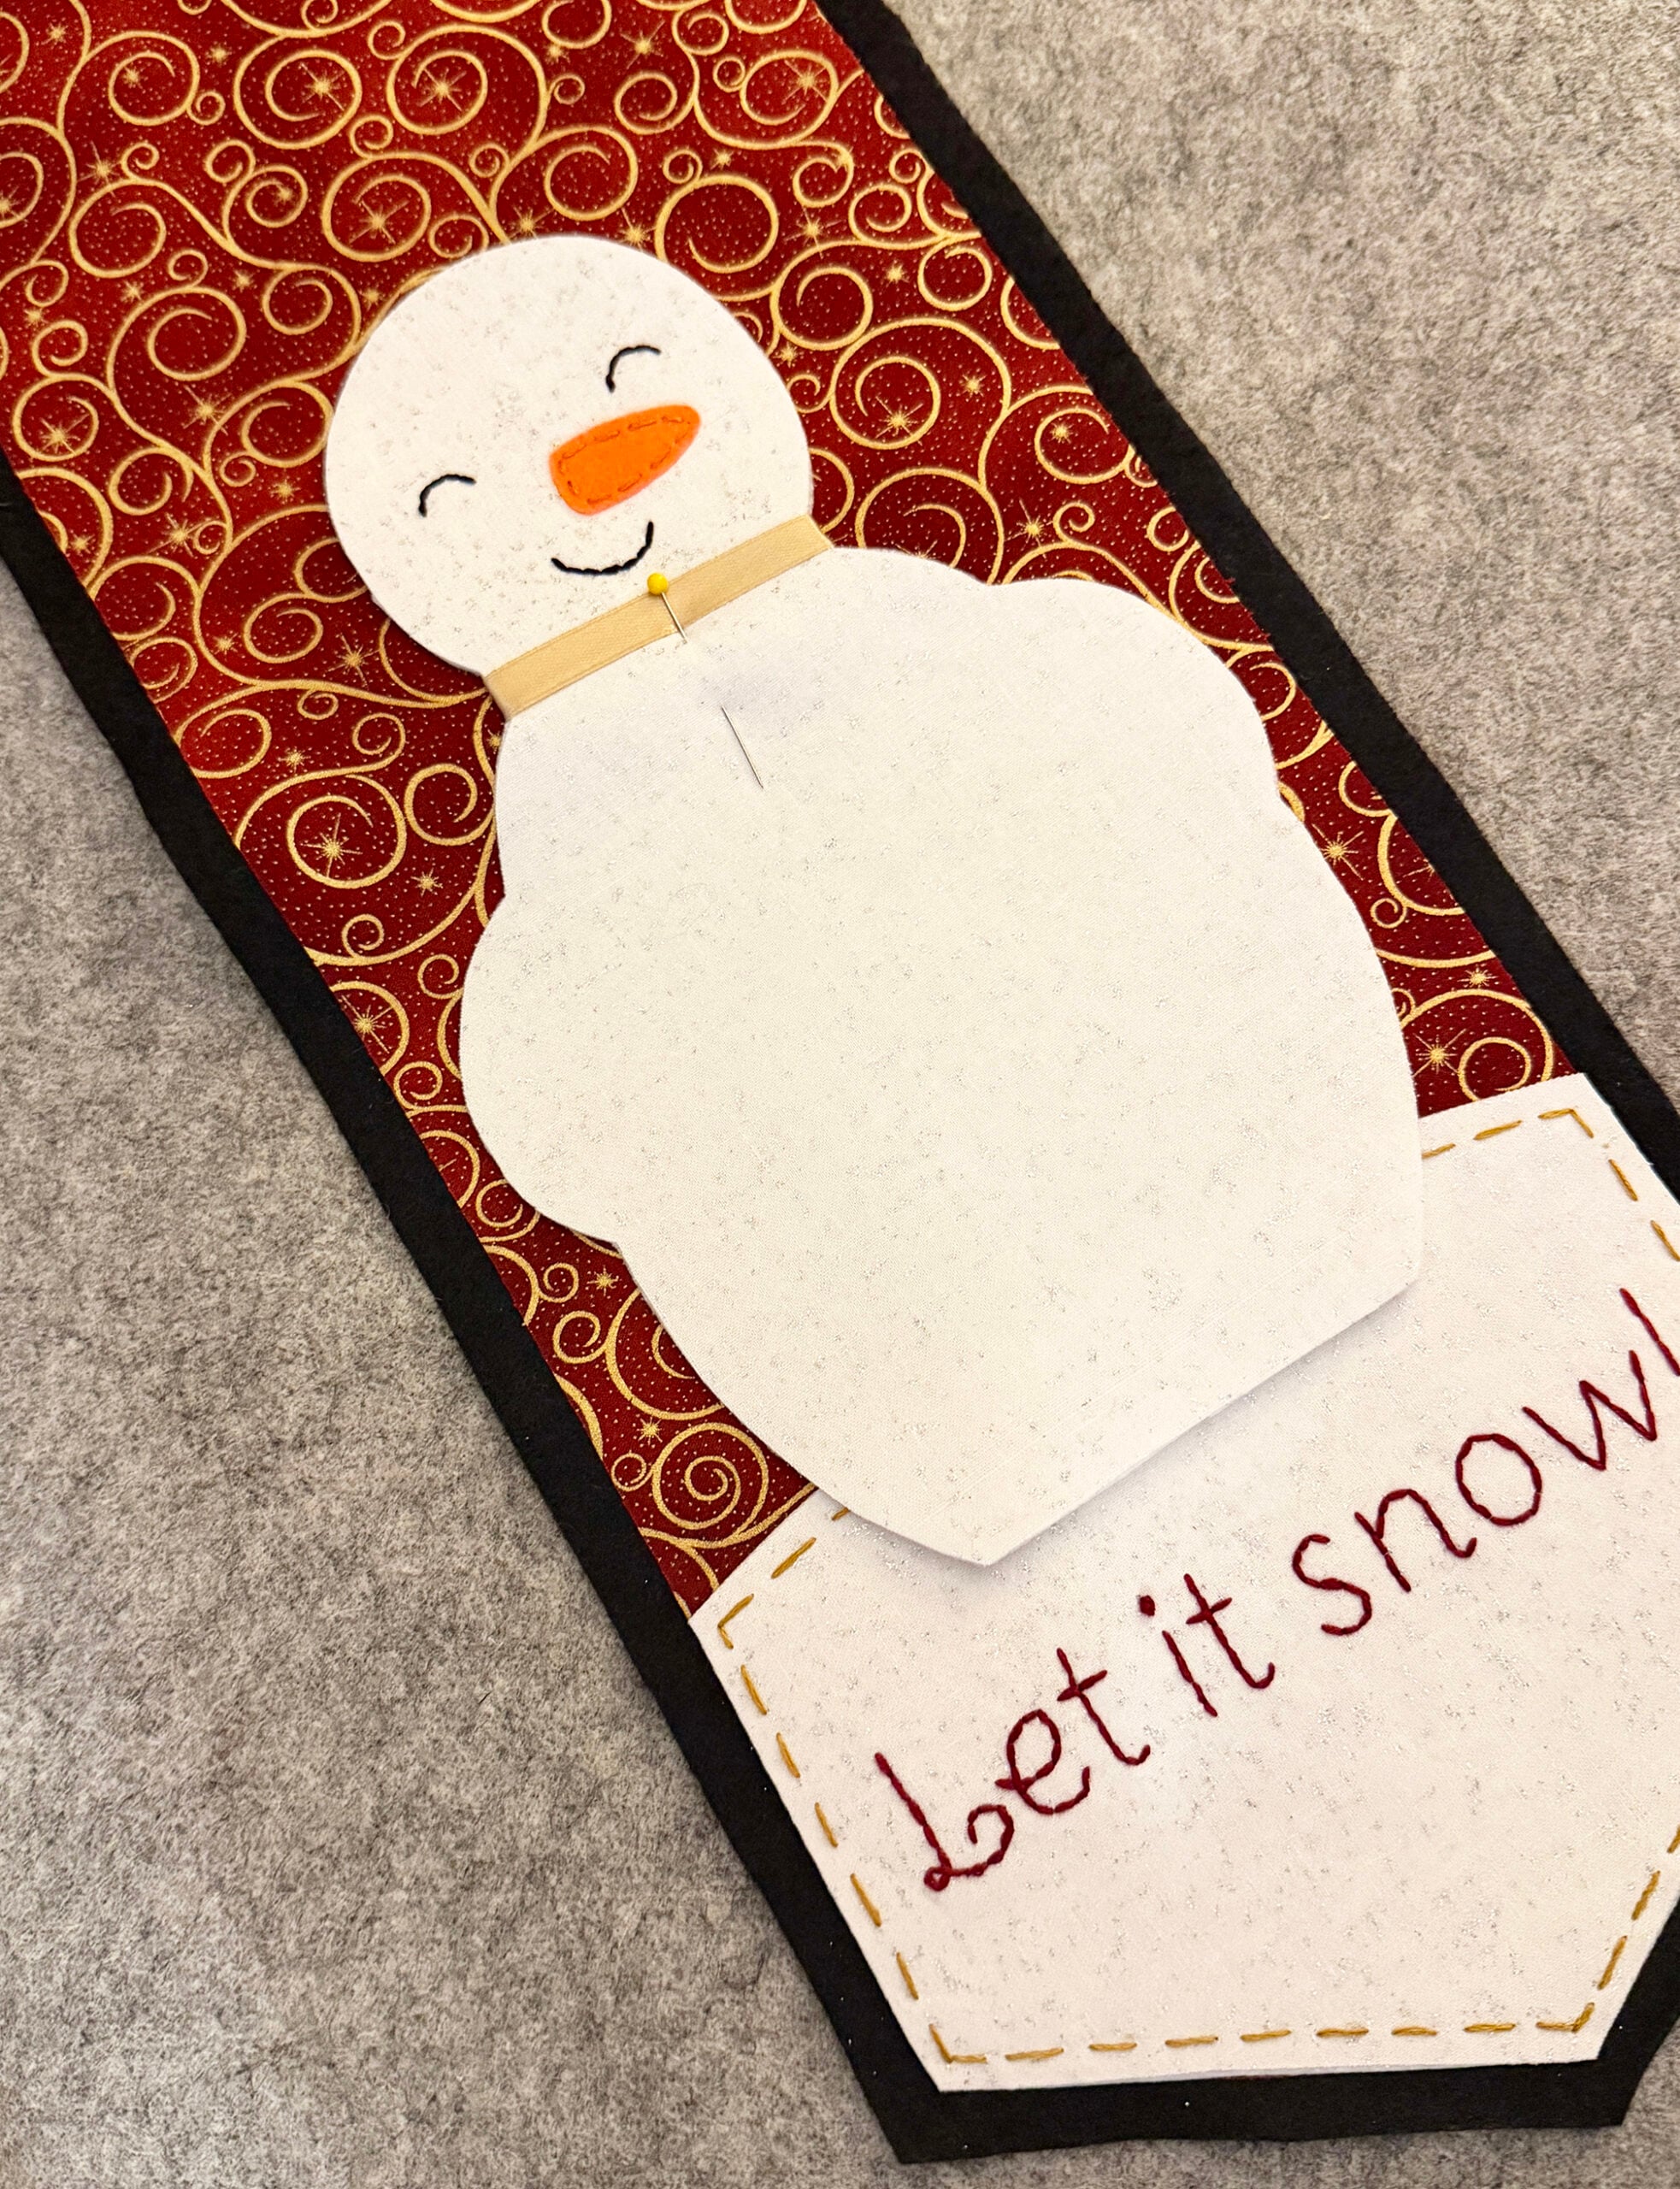
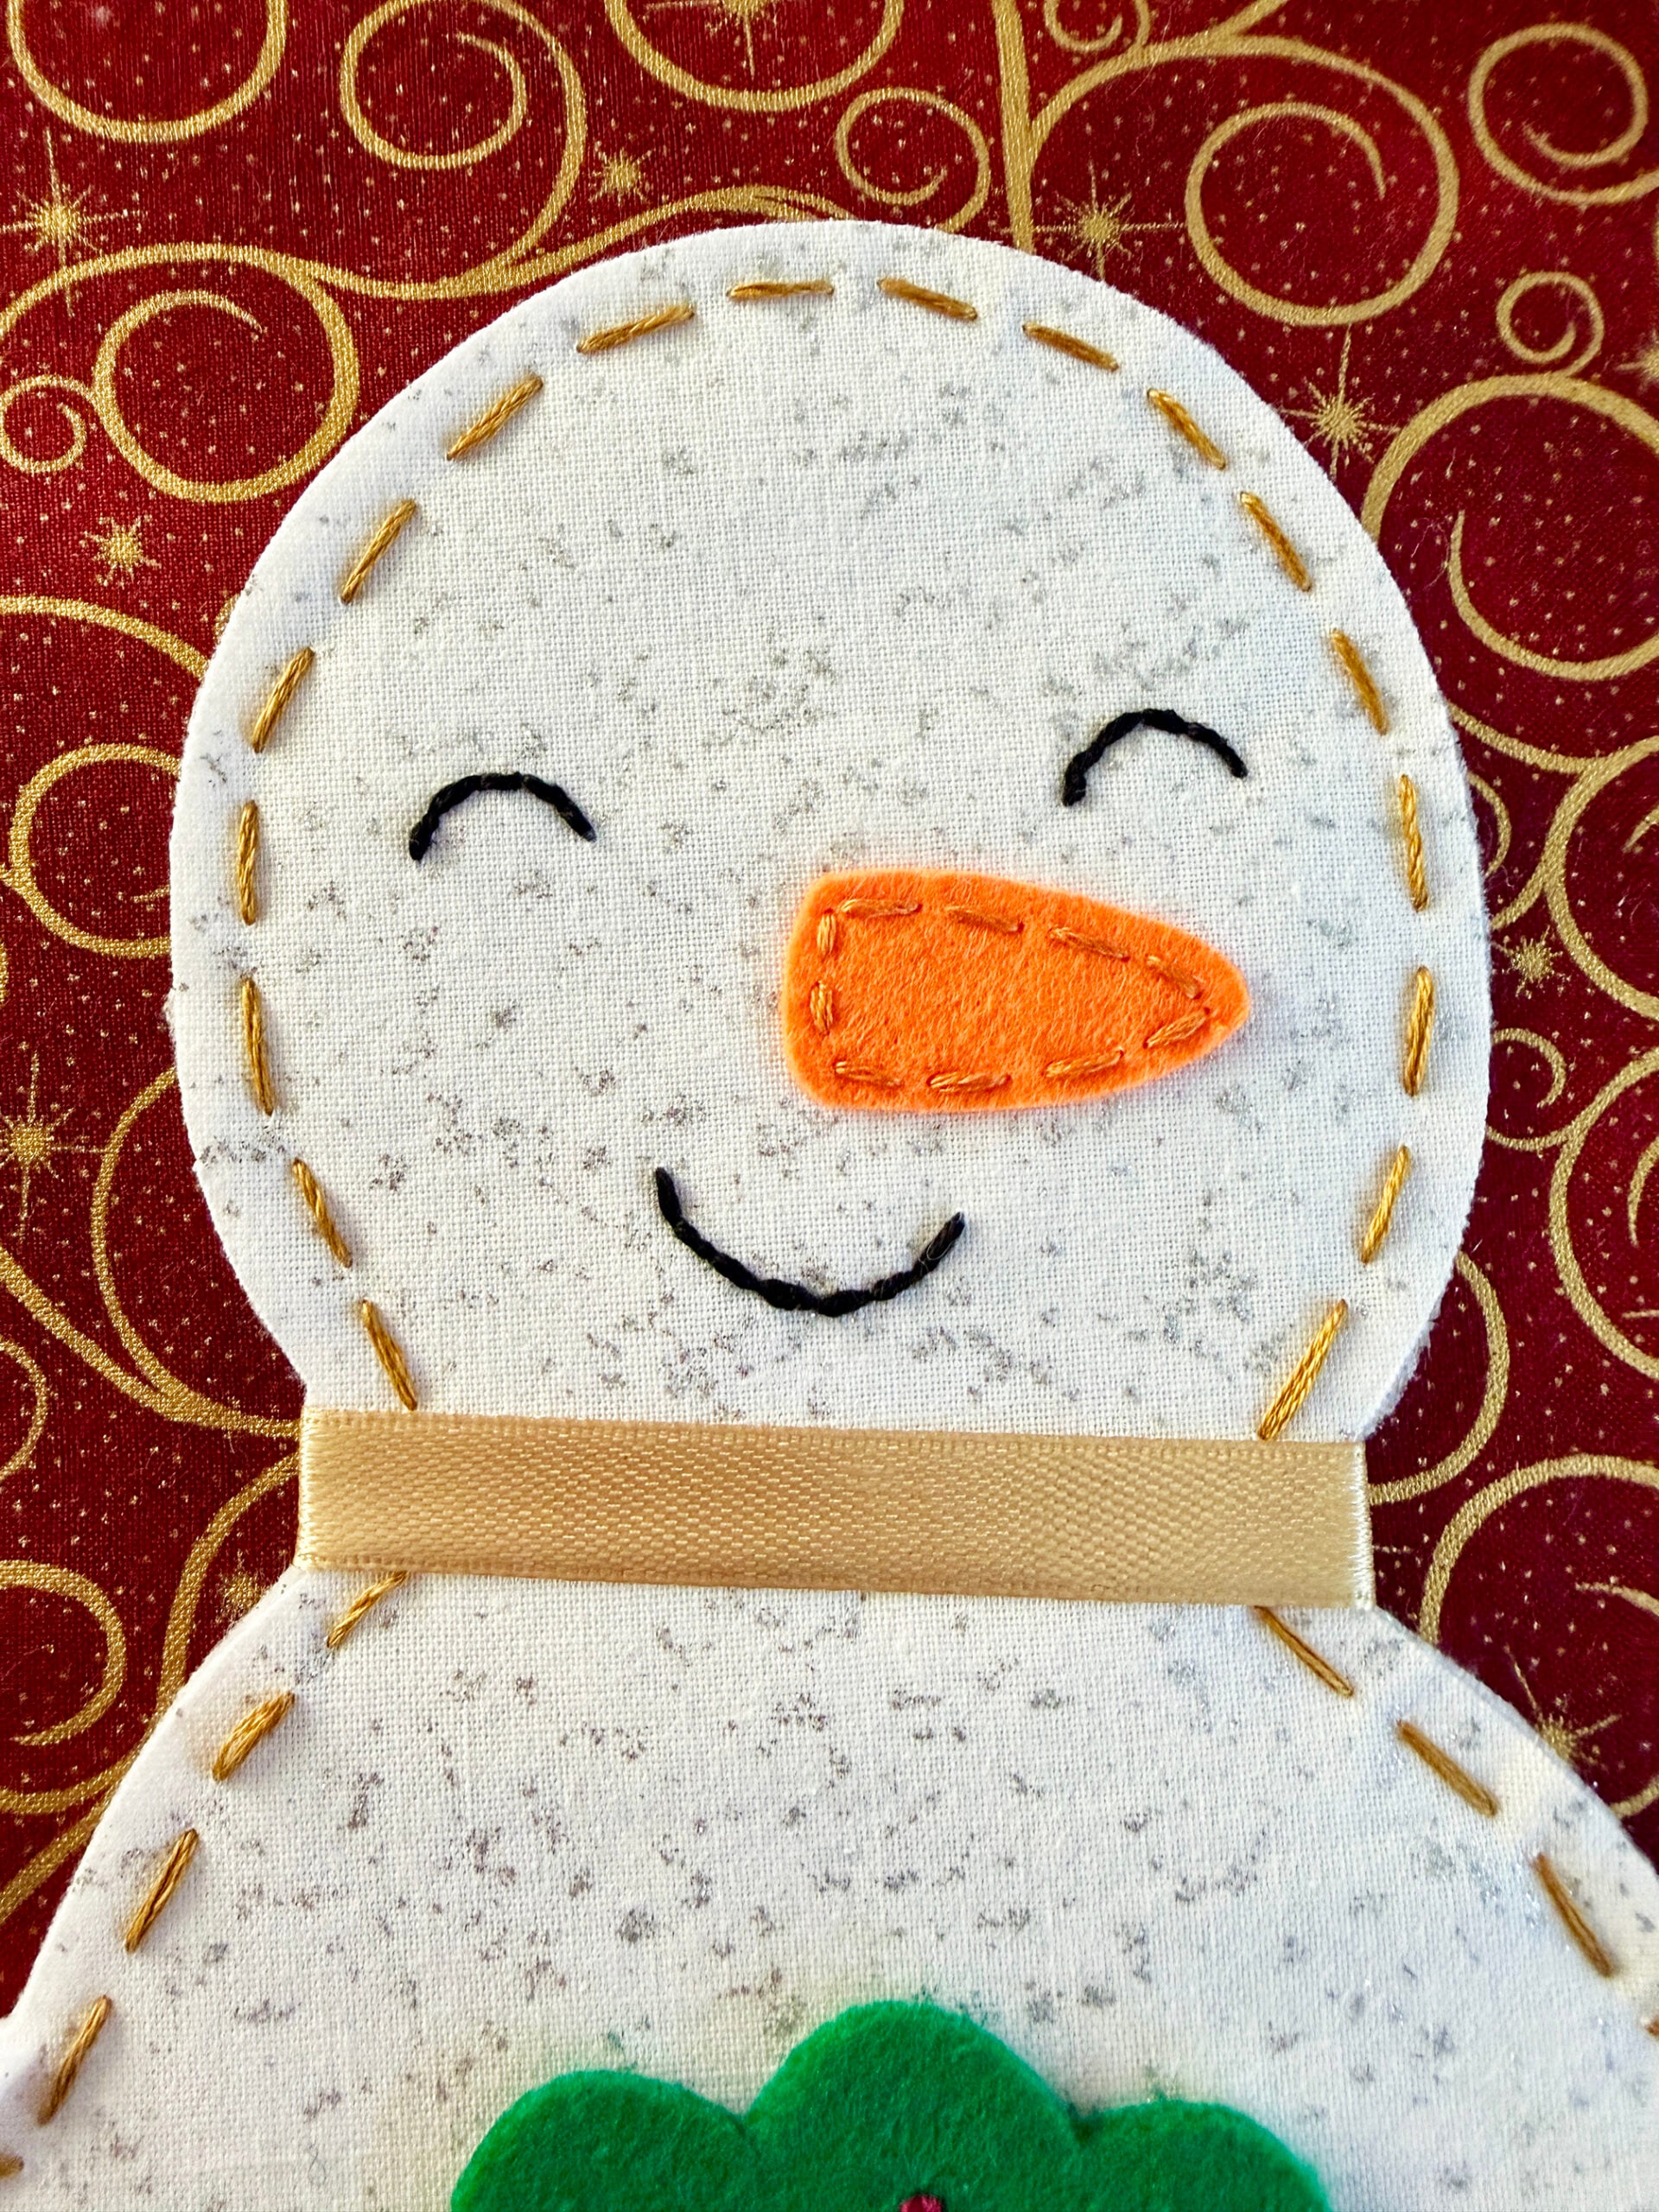
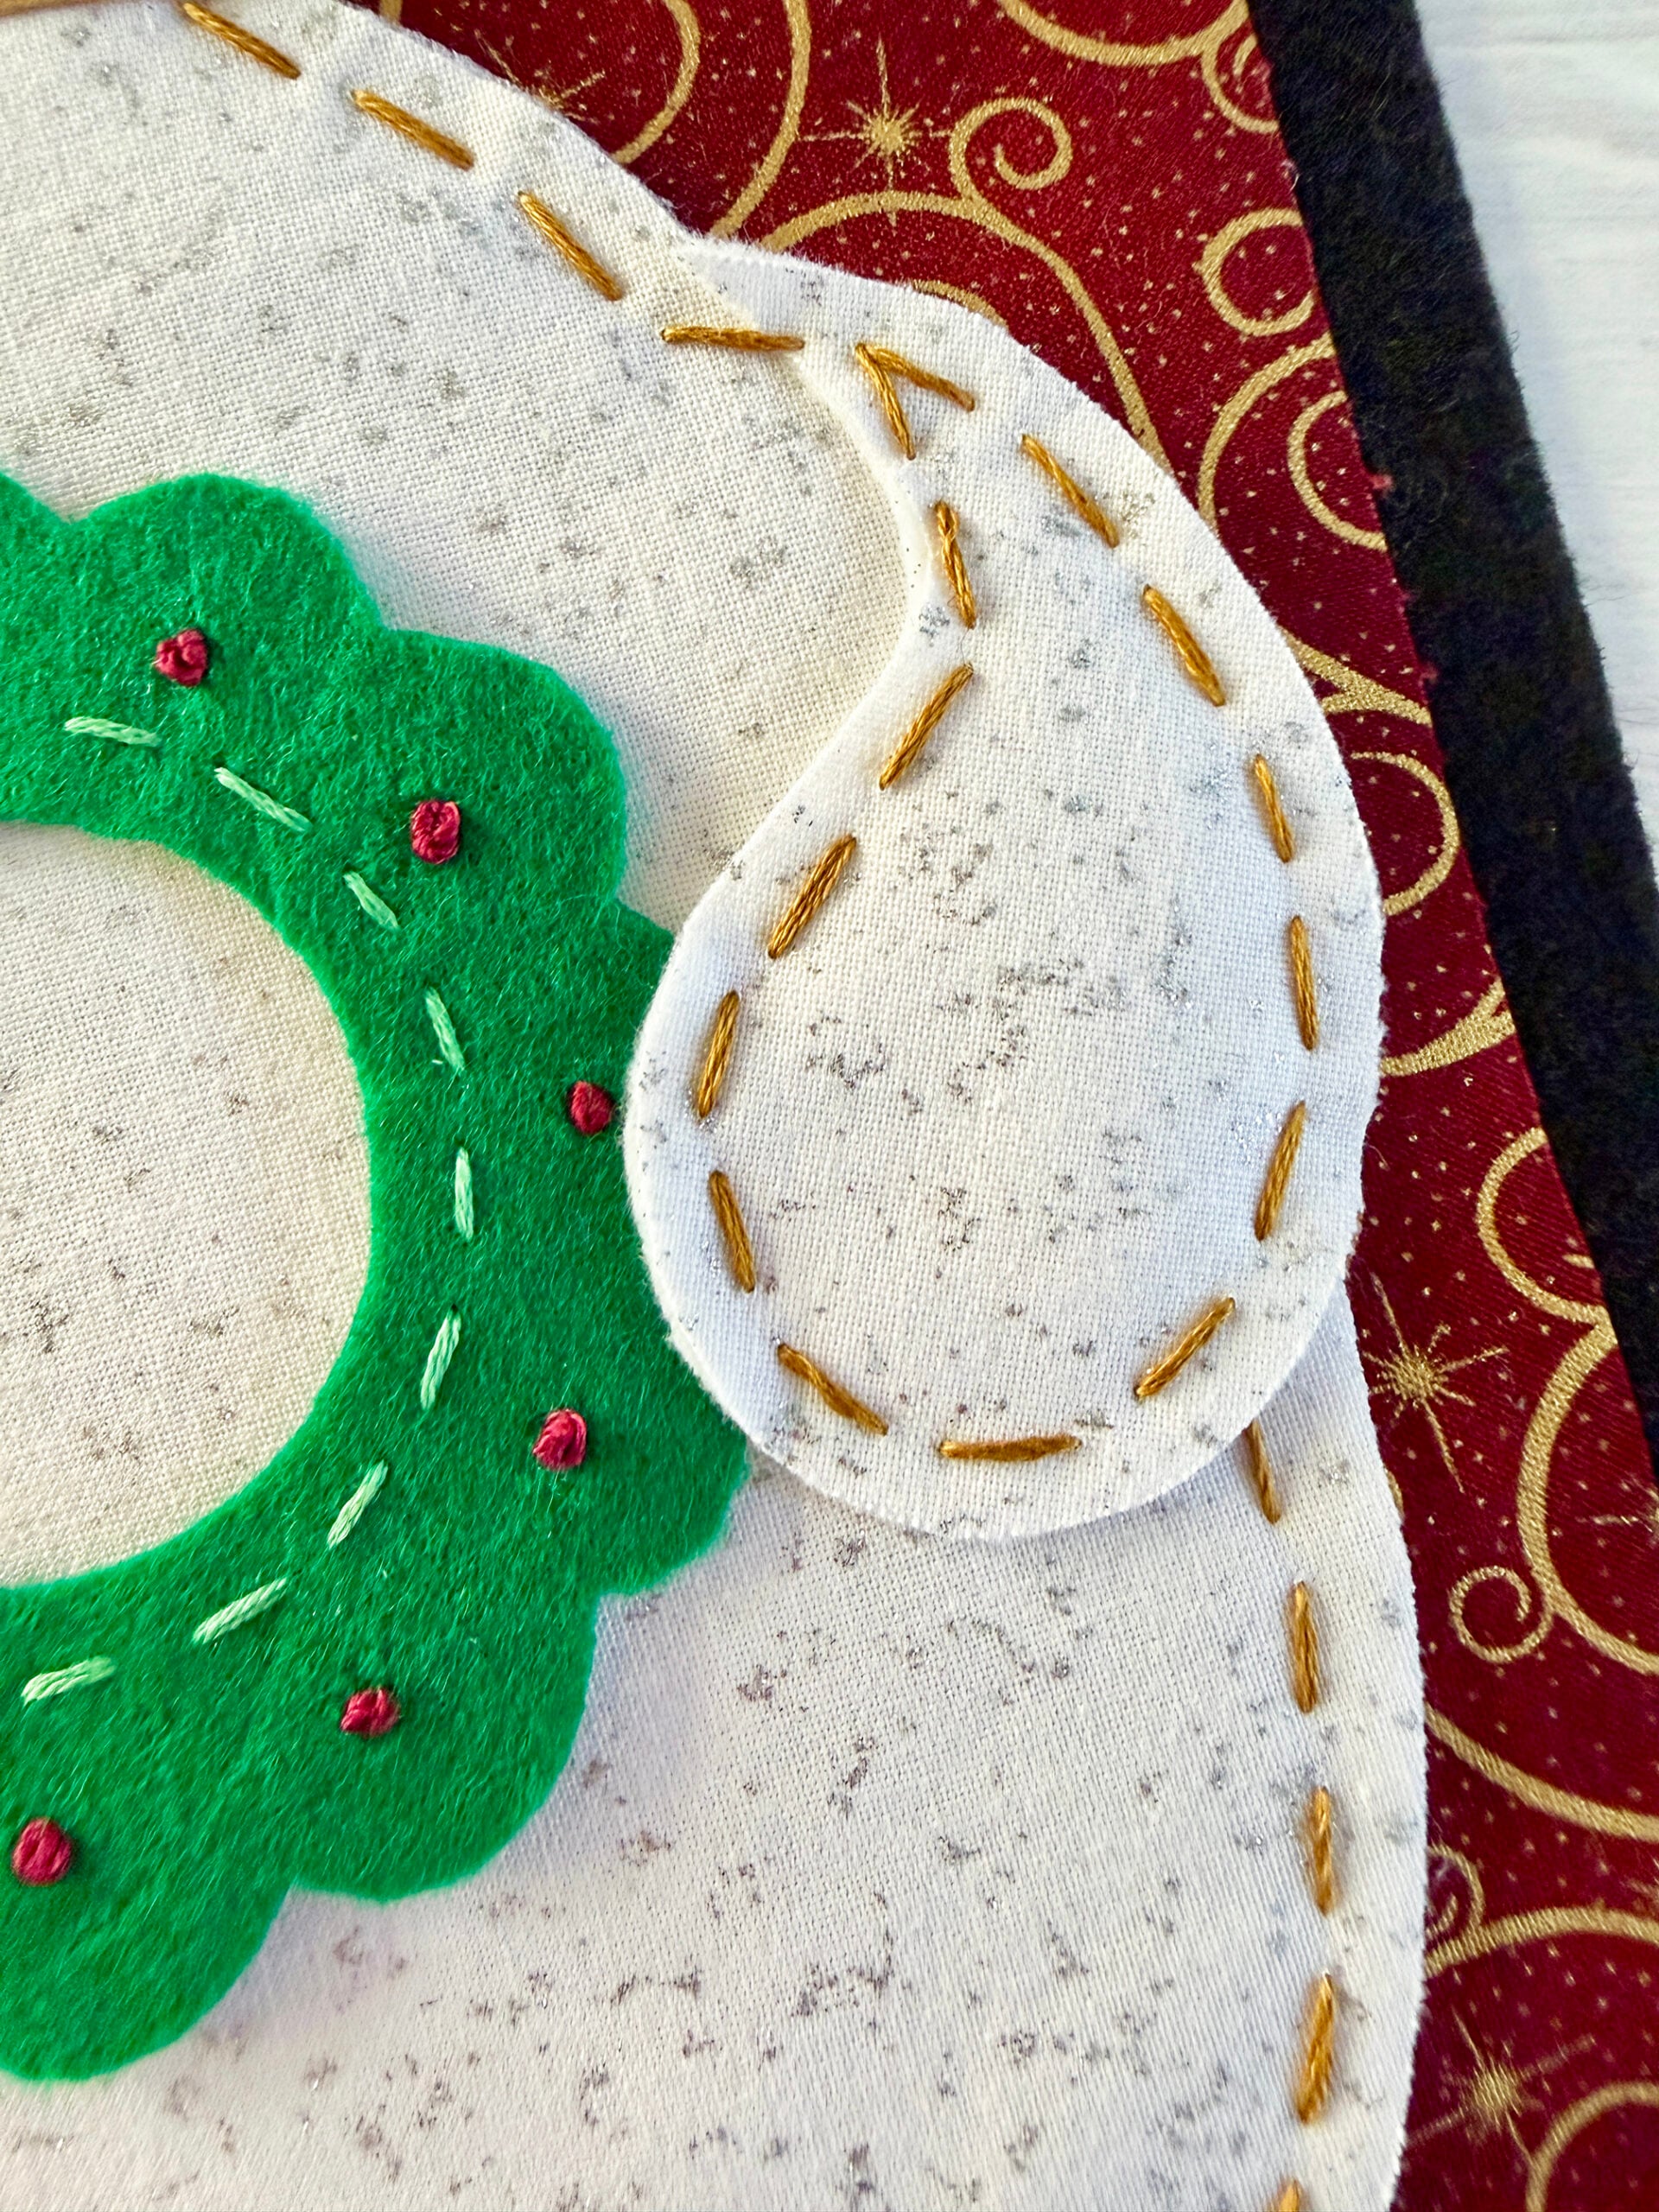
When you get to the arms, iron the wreath to the front of the snowman and place the arms so they overlap the wreath. Stitch around the arms, catching the side edges of the wreath.
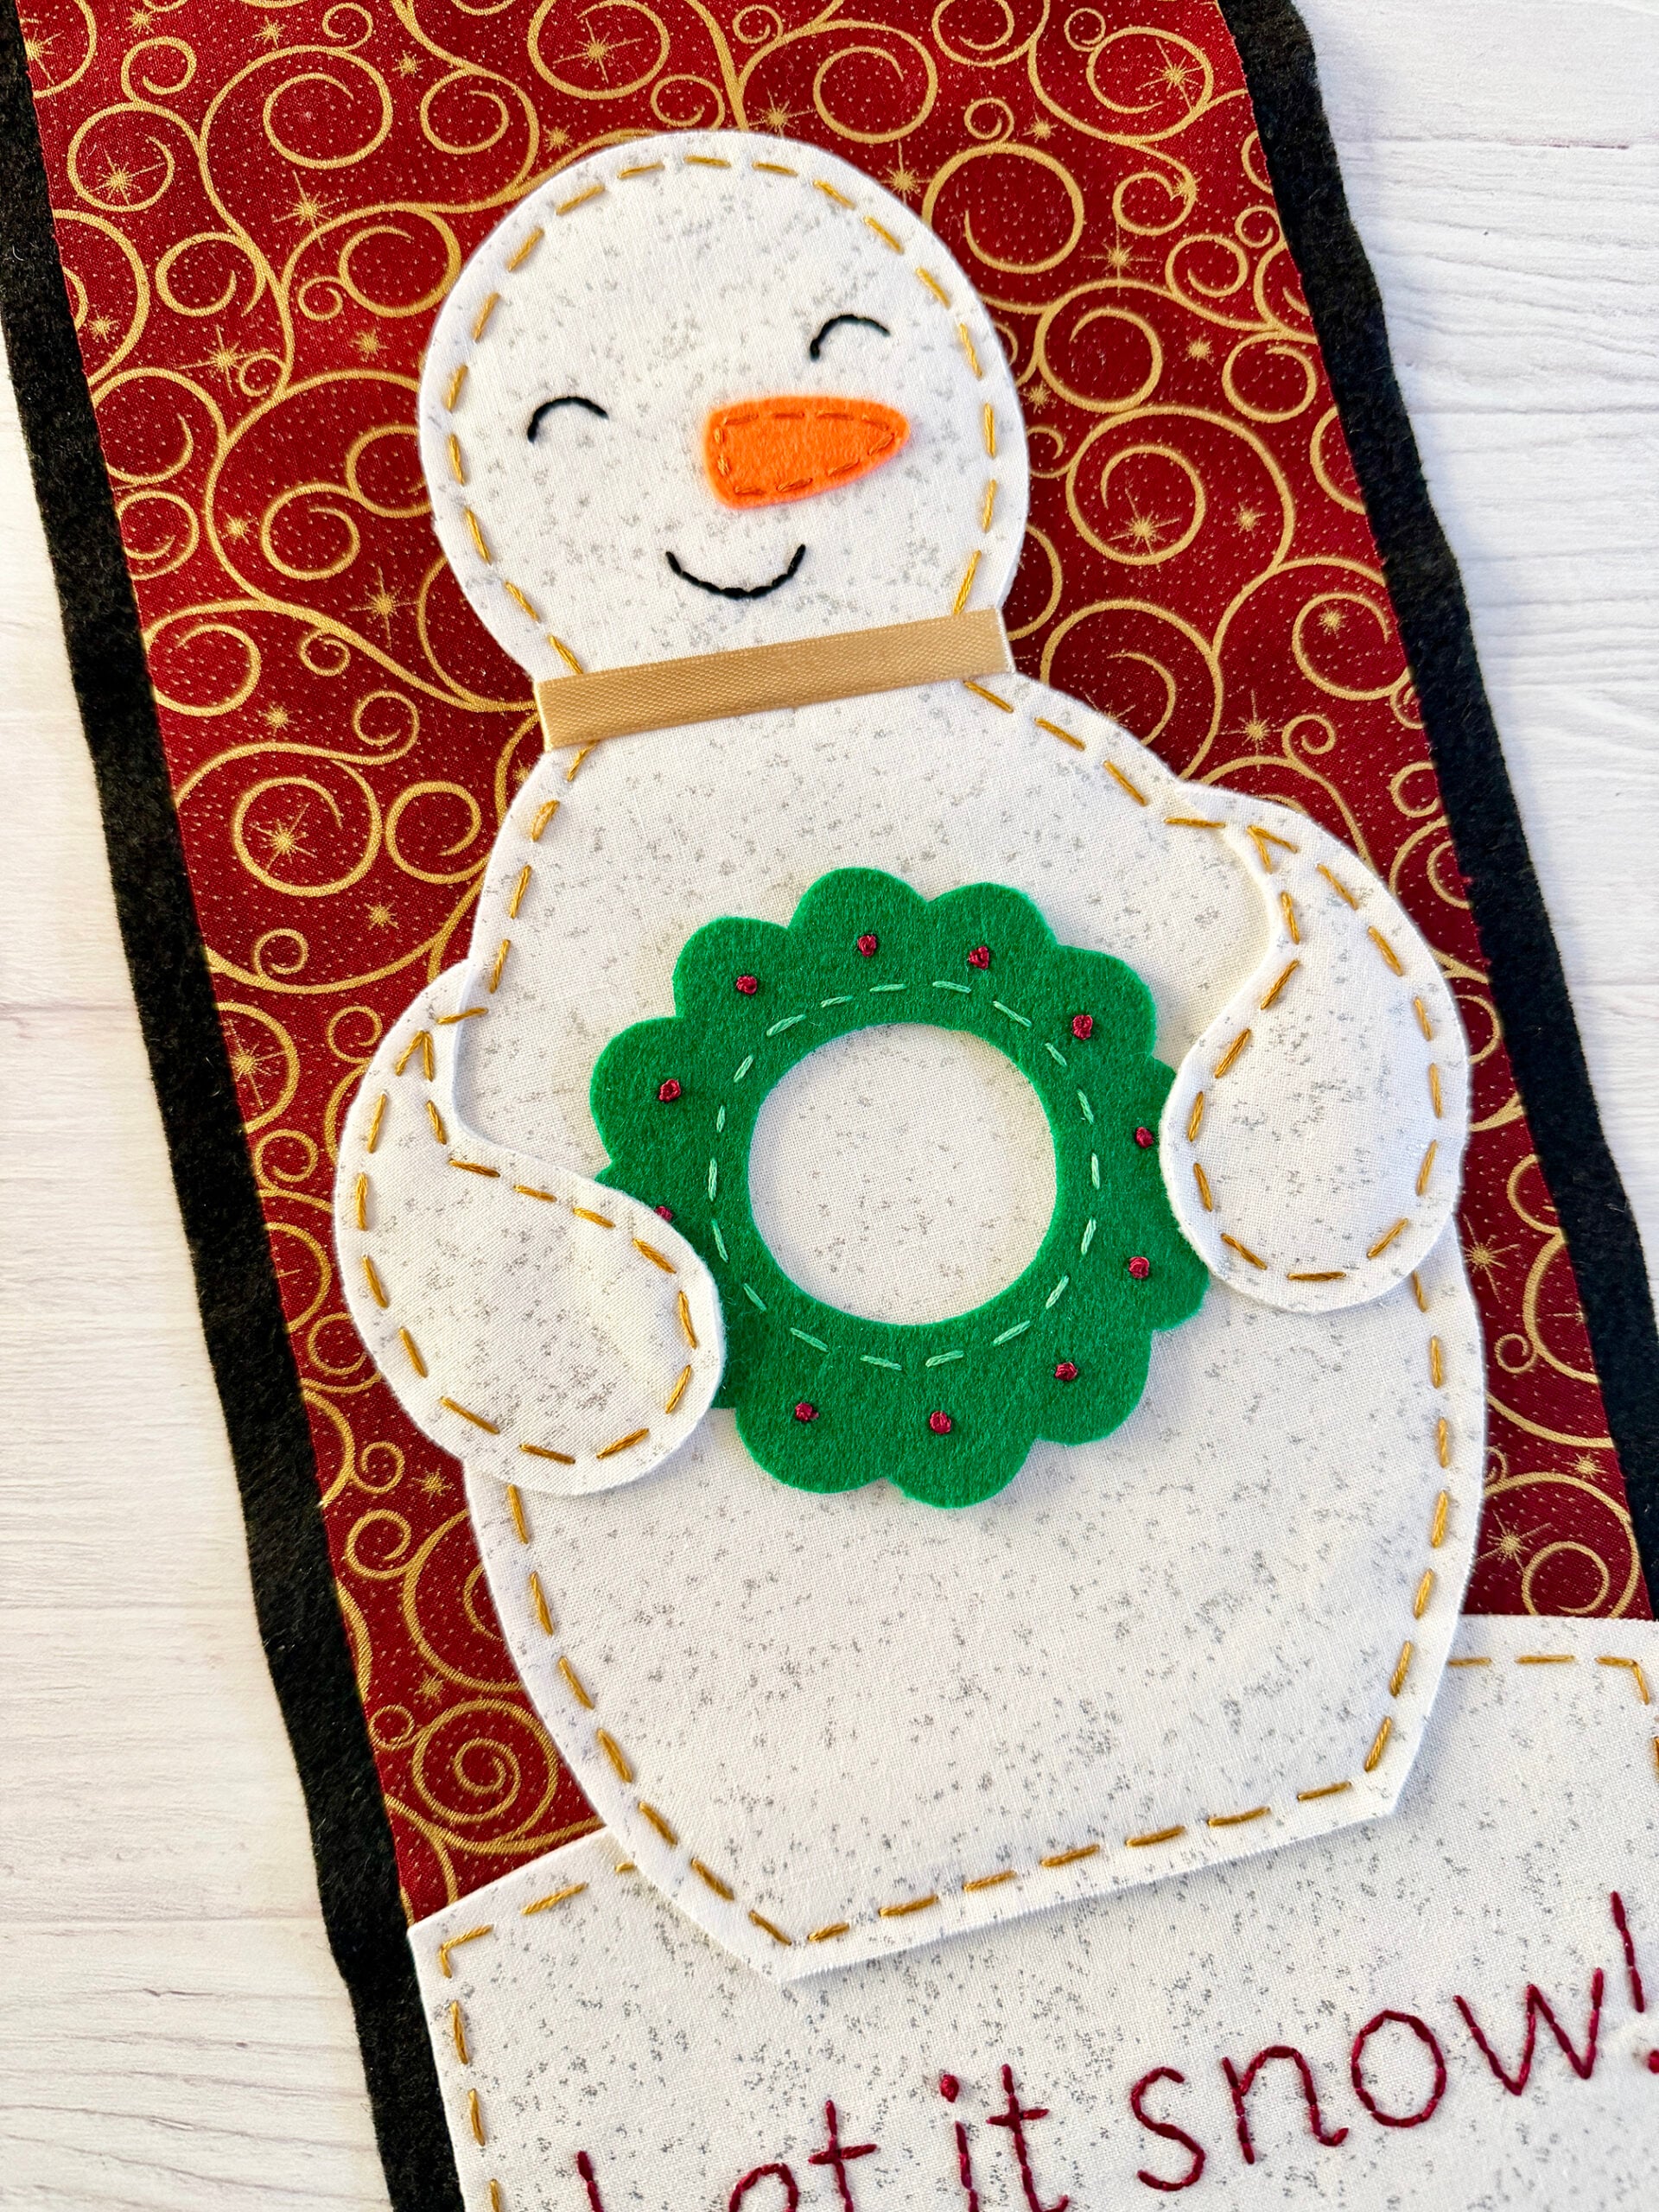
Below you can see the tricky part where the corner of the arms attach.
Finally, iron the snowman hat to the wall hanging and again stitch around the edges to finish it.
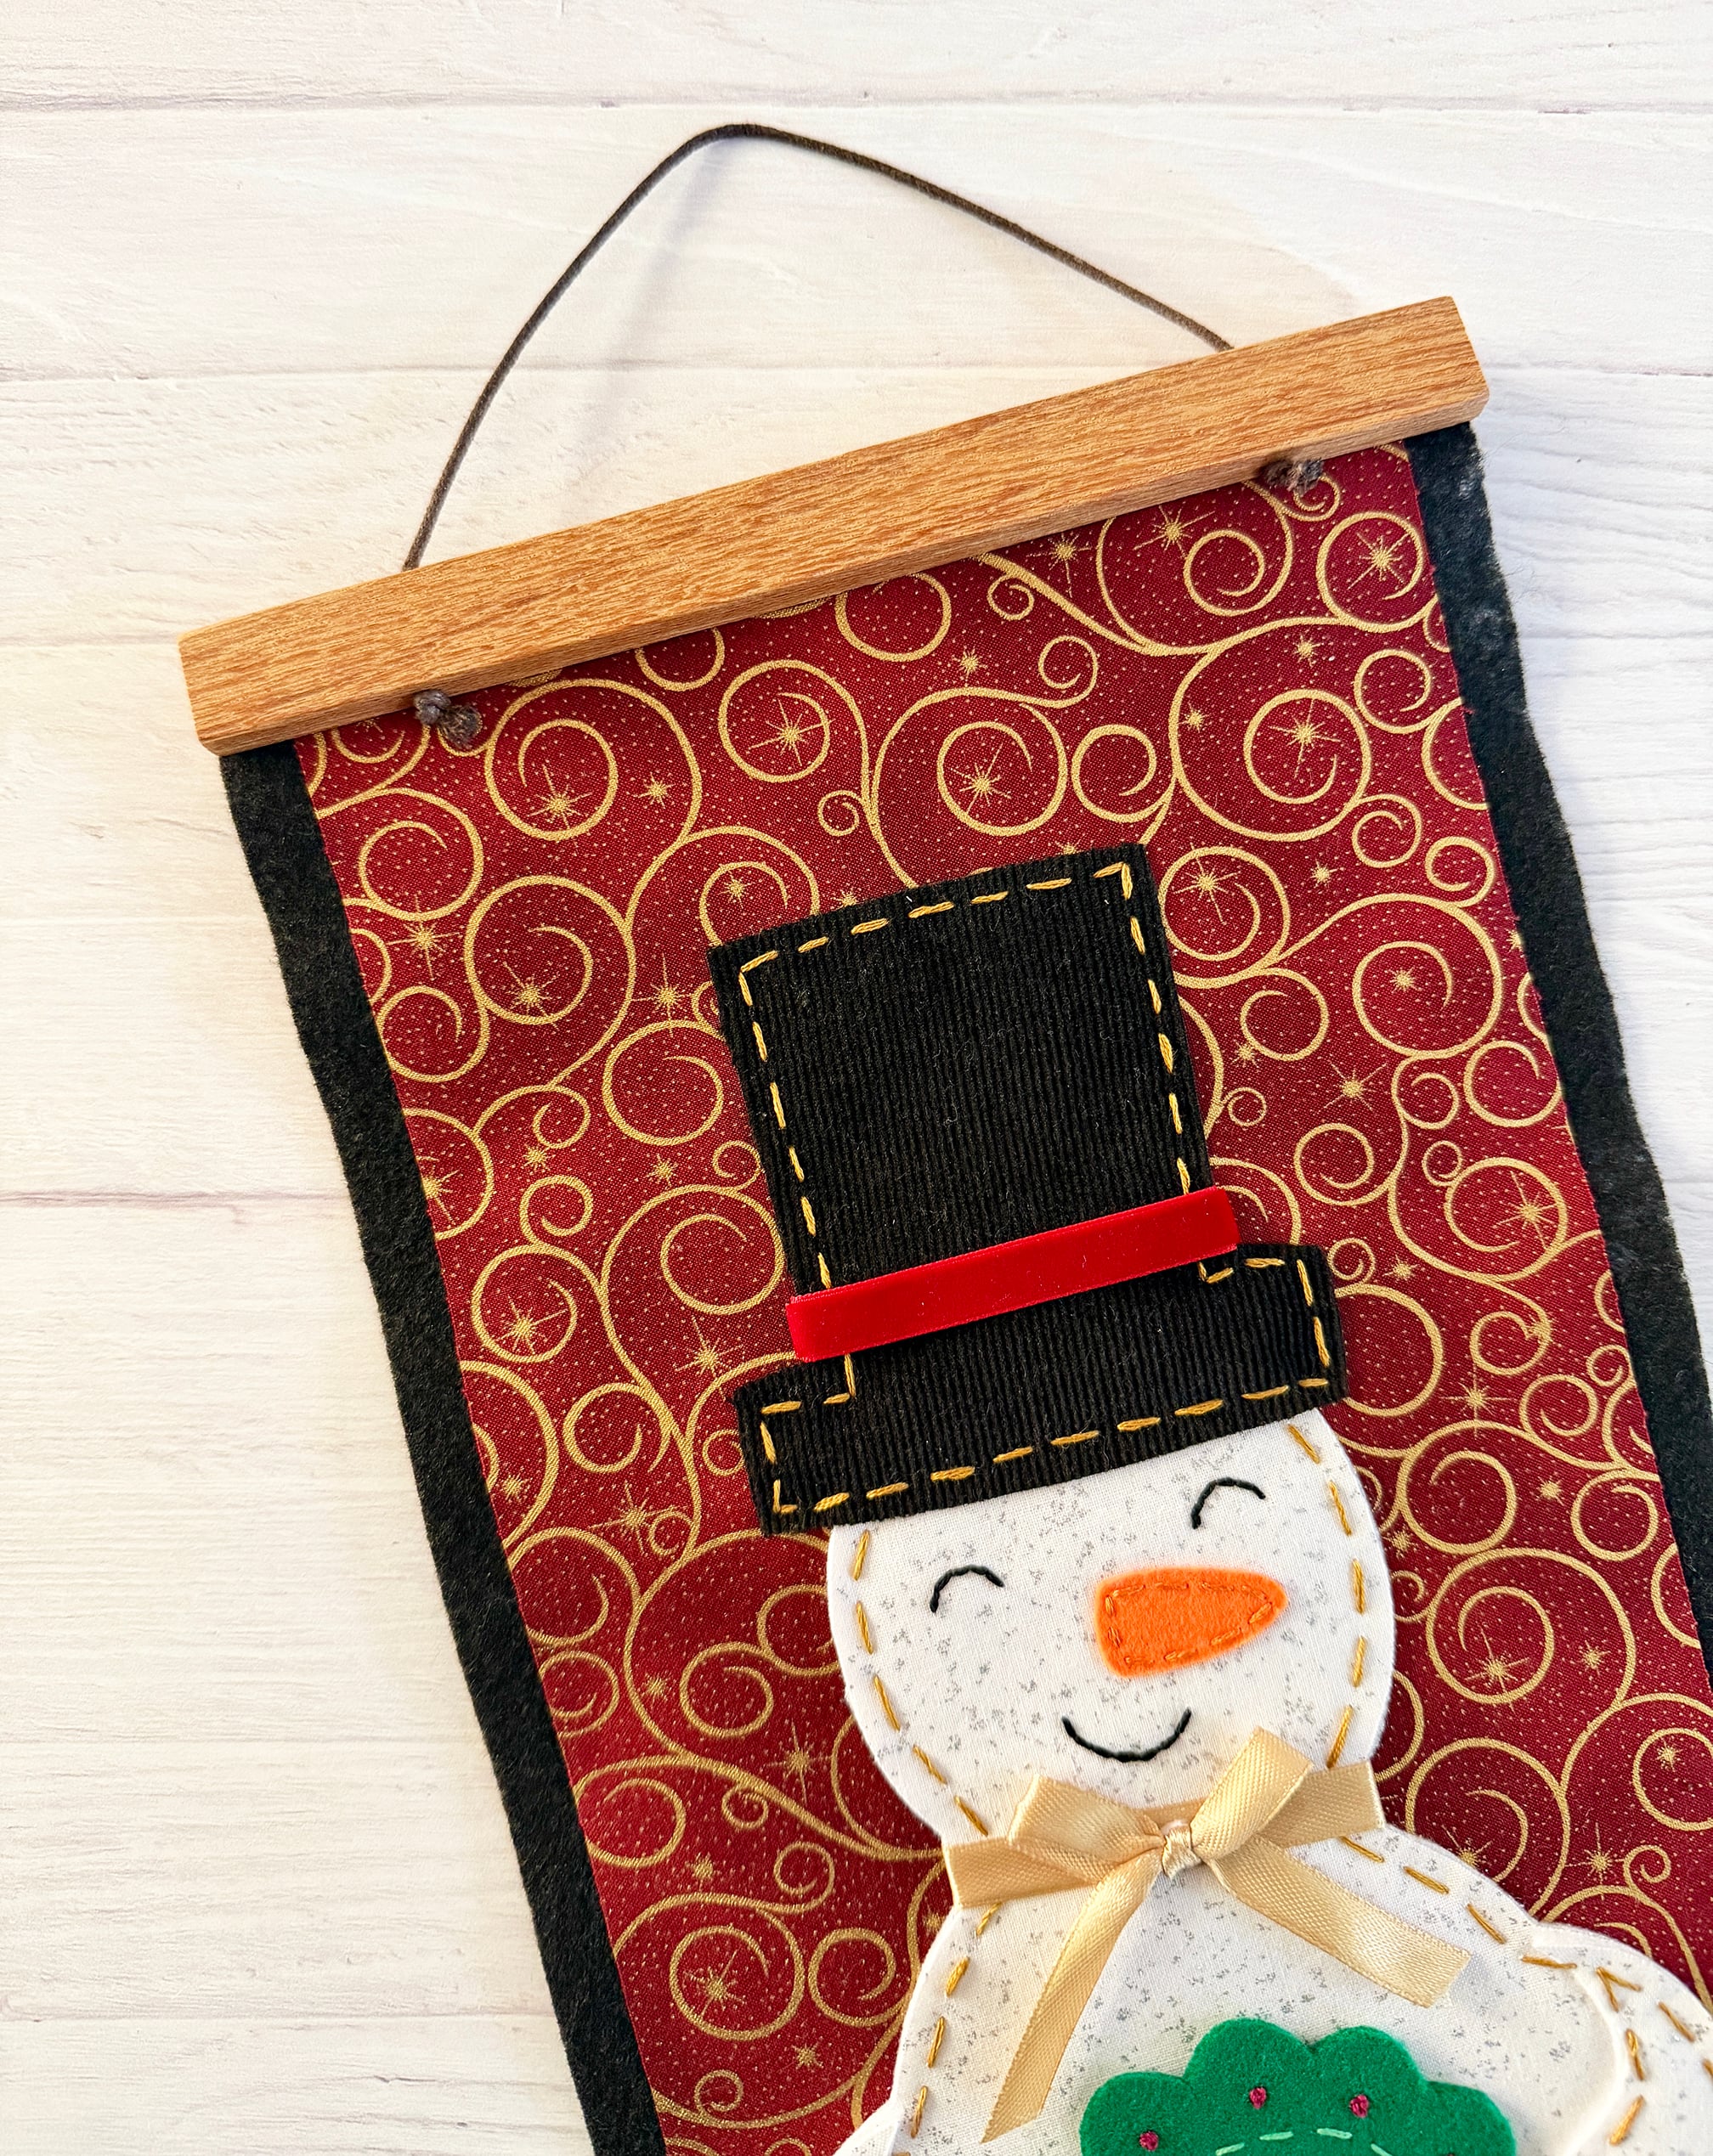
You can also stitch around the edges of the background fabric. I did this on my Halloween Wall Hanging, but opted to not do it on my snowman wall hanging. I think it would look nice either way! Use glue to add the bow to the front of the snowman!
Displaying the Wall Hanging
Step Nine: The final step is to add a way to hang the pennant once finished. You can do this a couple different ways including the easiest option – leaving it unfinished and using magnetic hangers that just click into place! The pennant is light enough that these work great and look really nice.
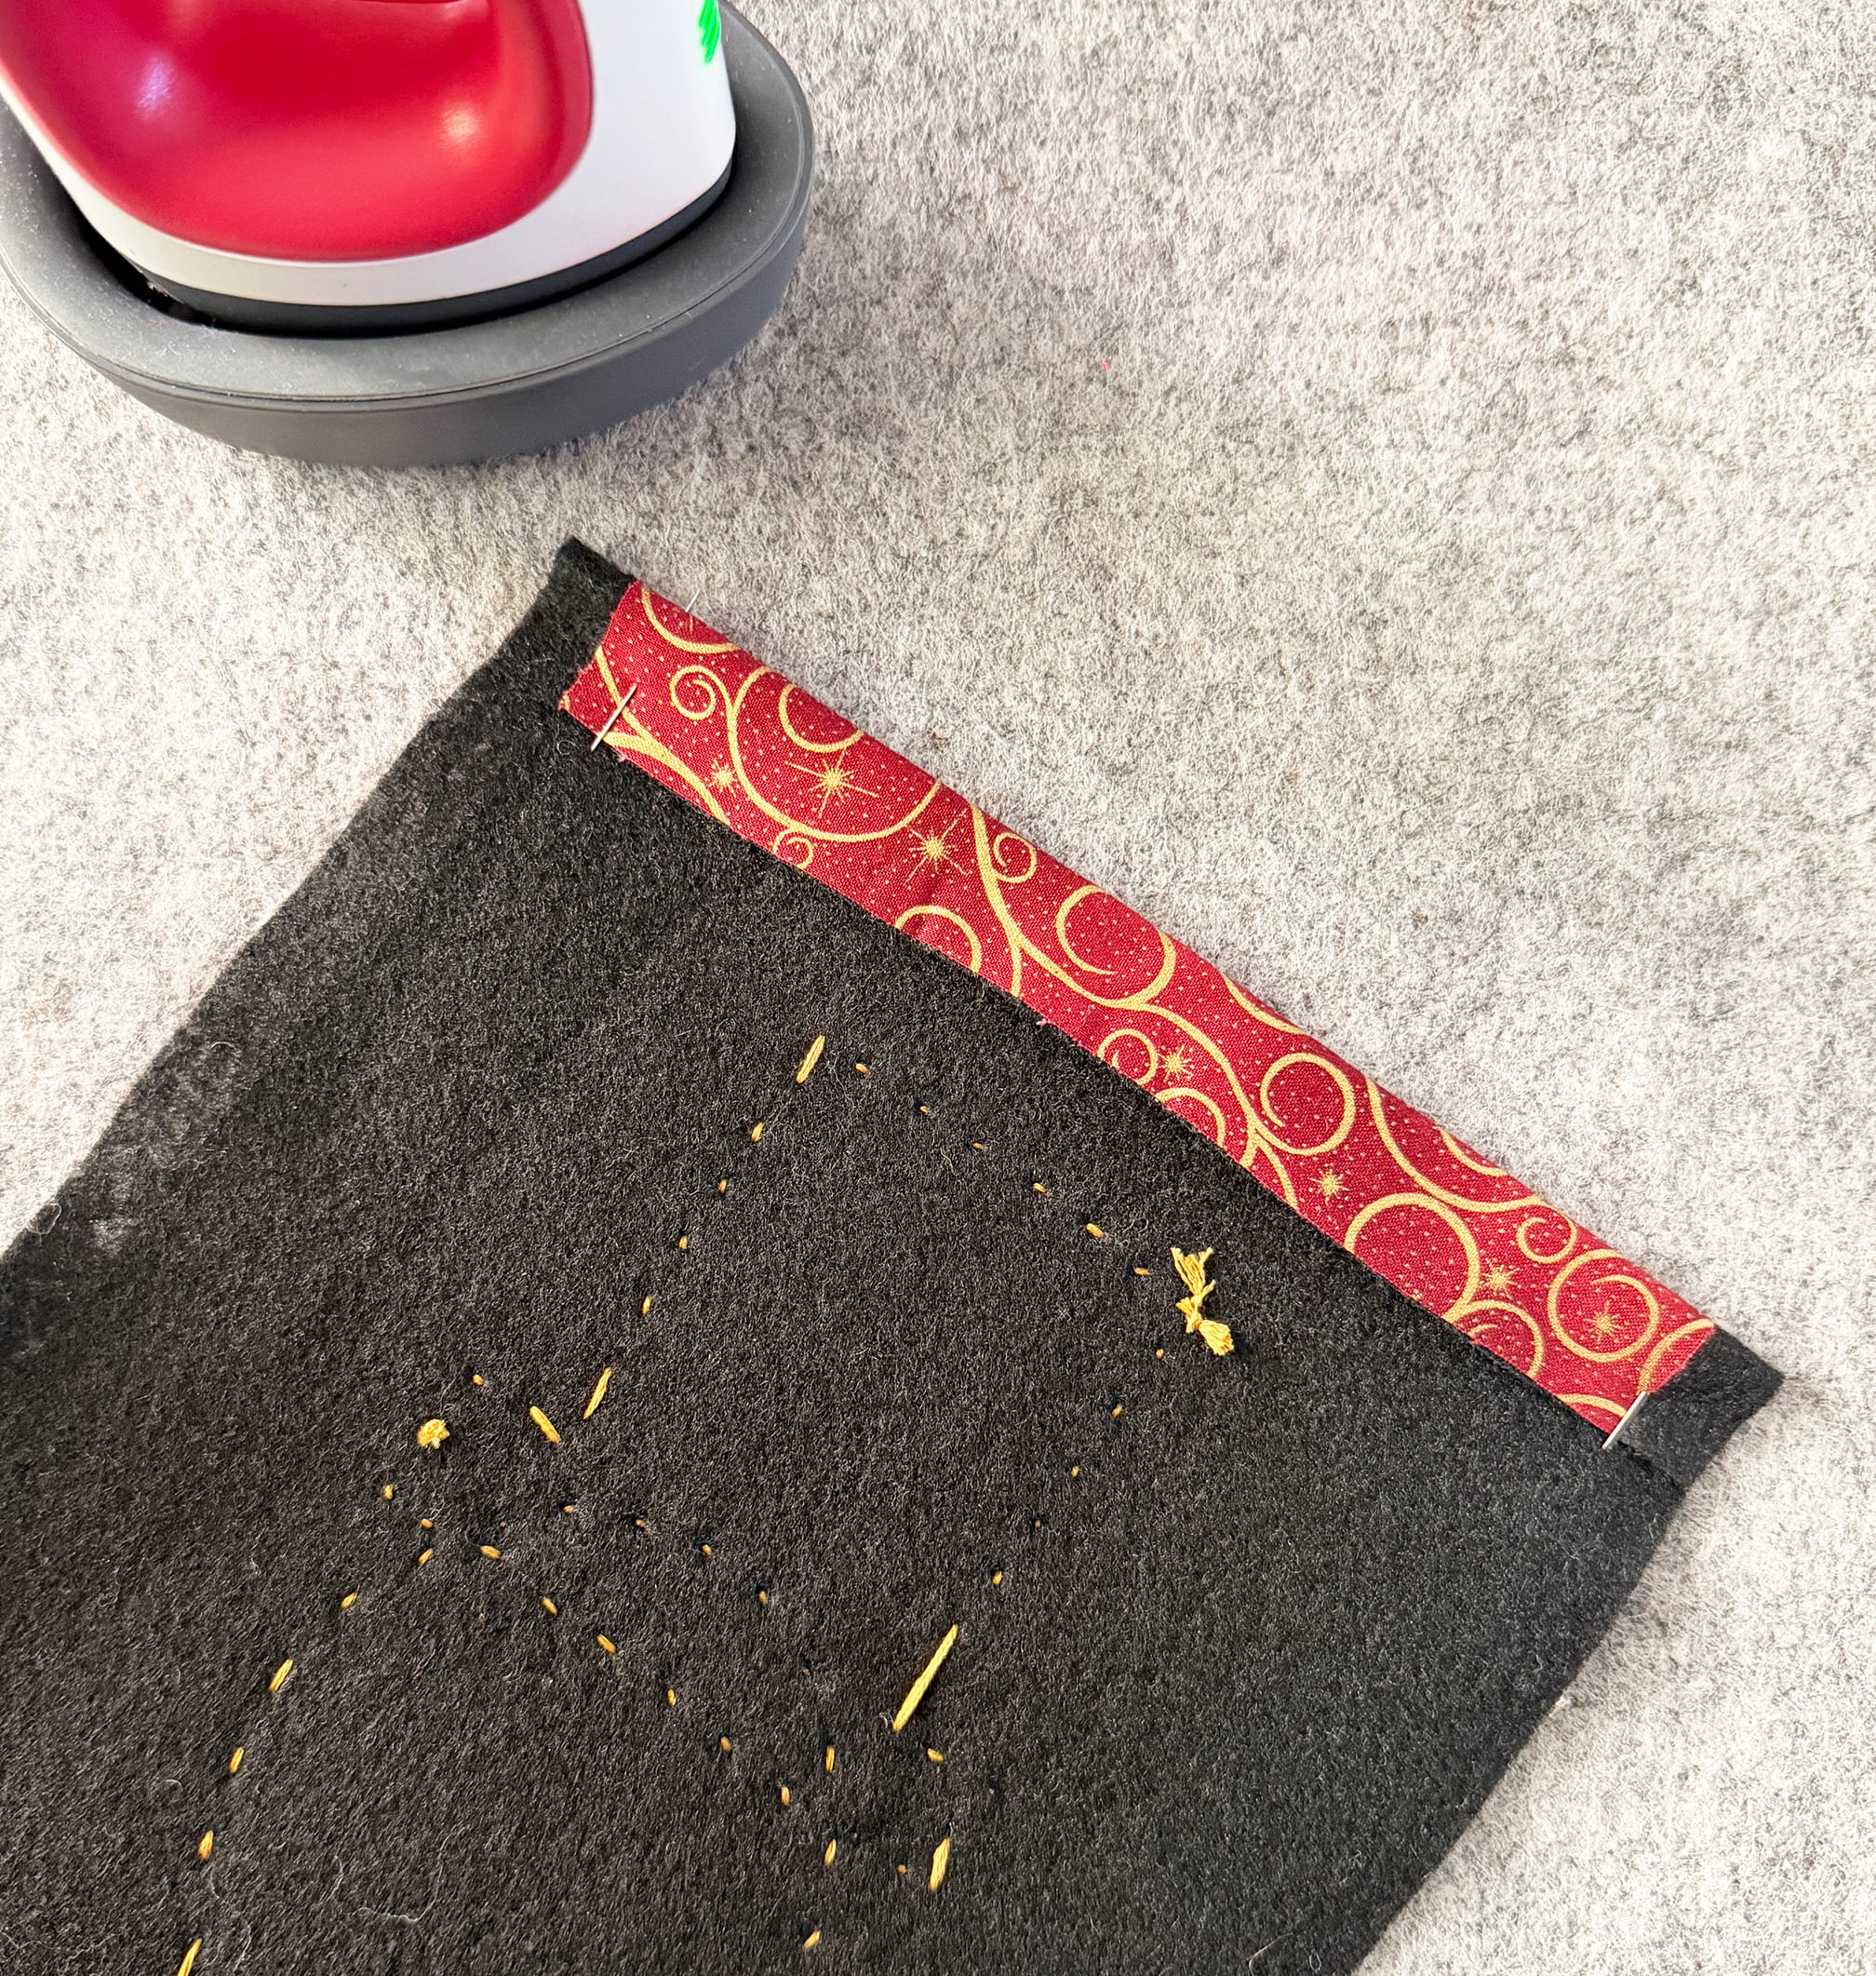
Another option is to fold over the top 3/4″ of the pennant and either machine sew or hand sew this to make a casing for a wooden dowel. Once the casing is sewn, you can slide a wooden dowel into the top and add a yarn hanging loop!
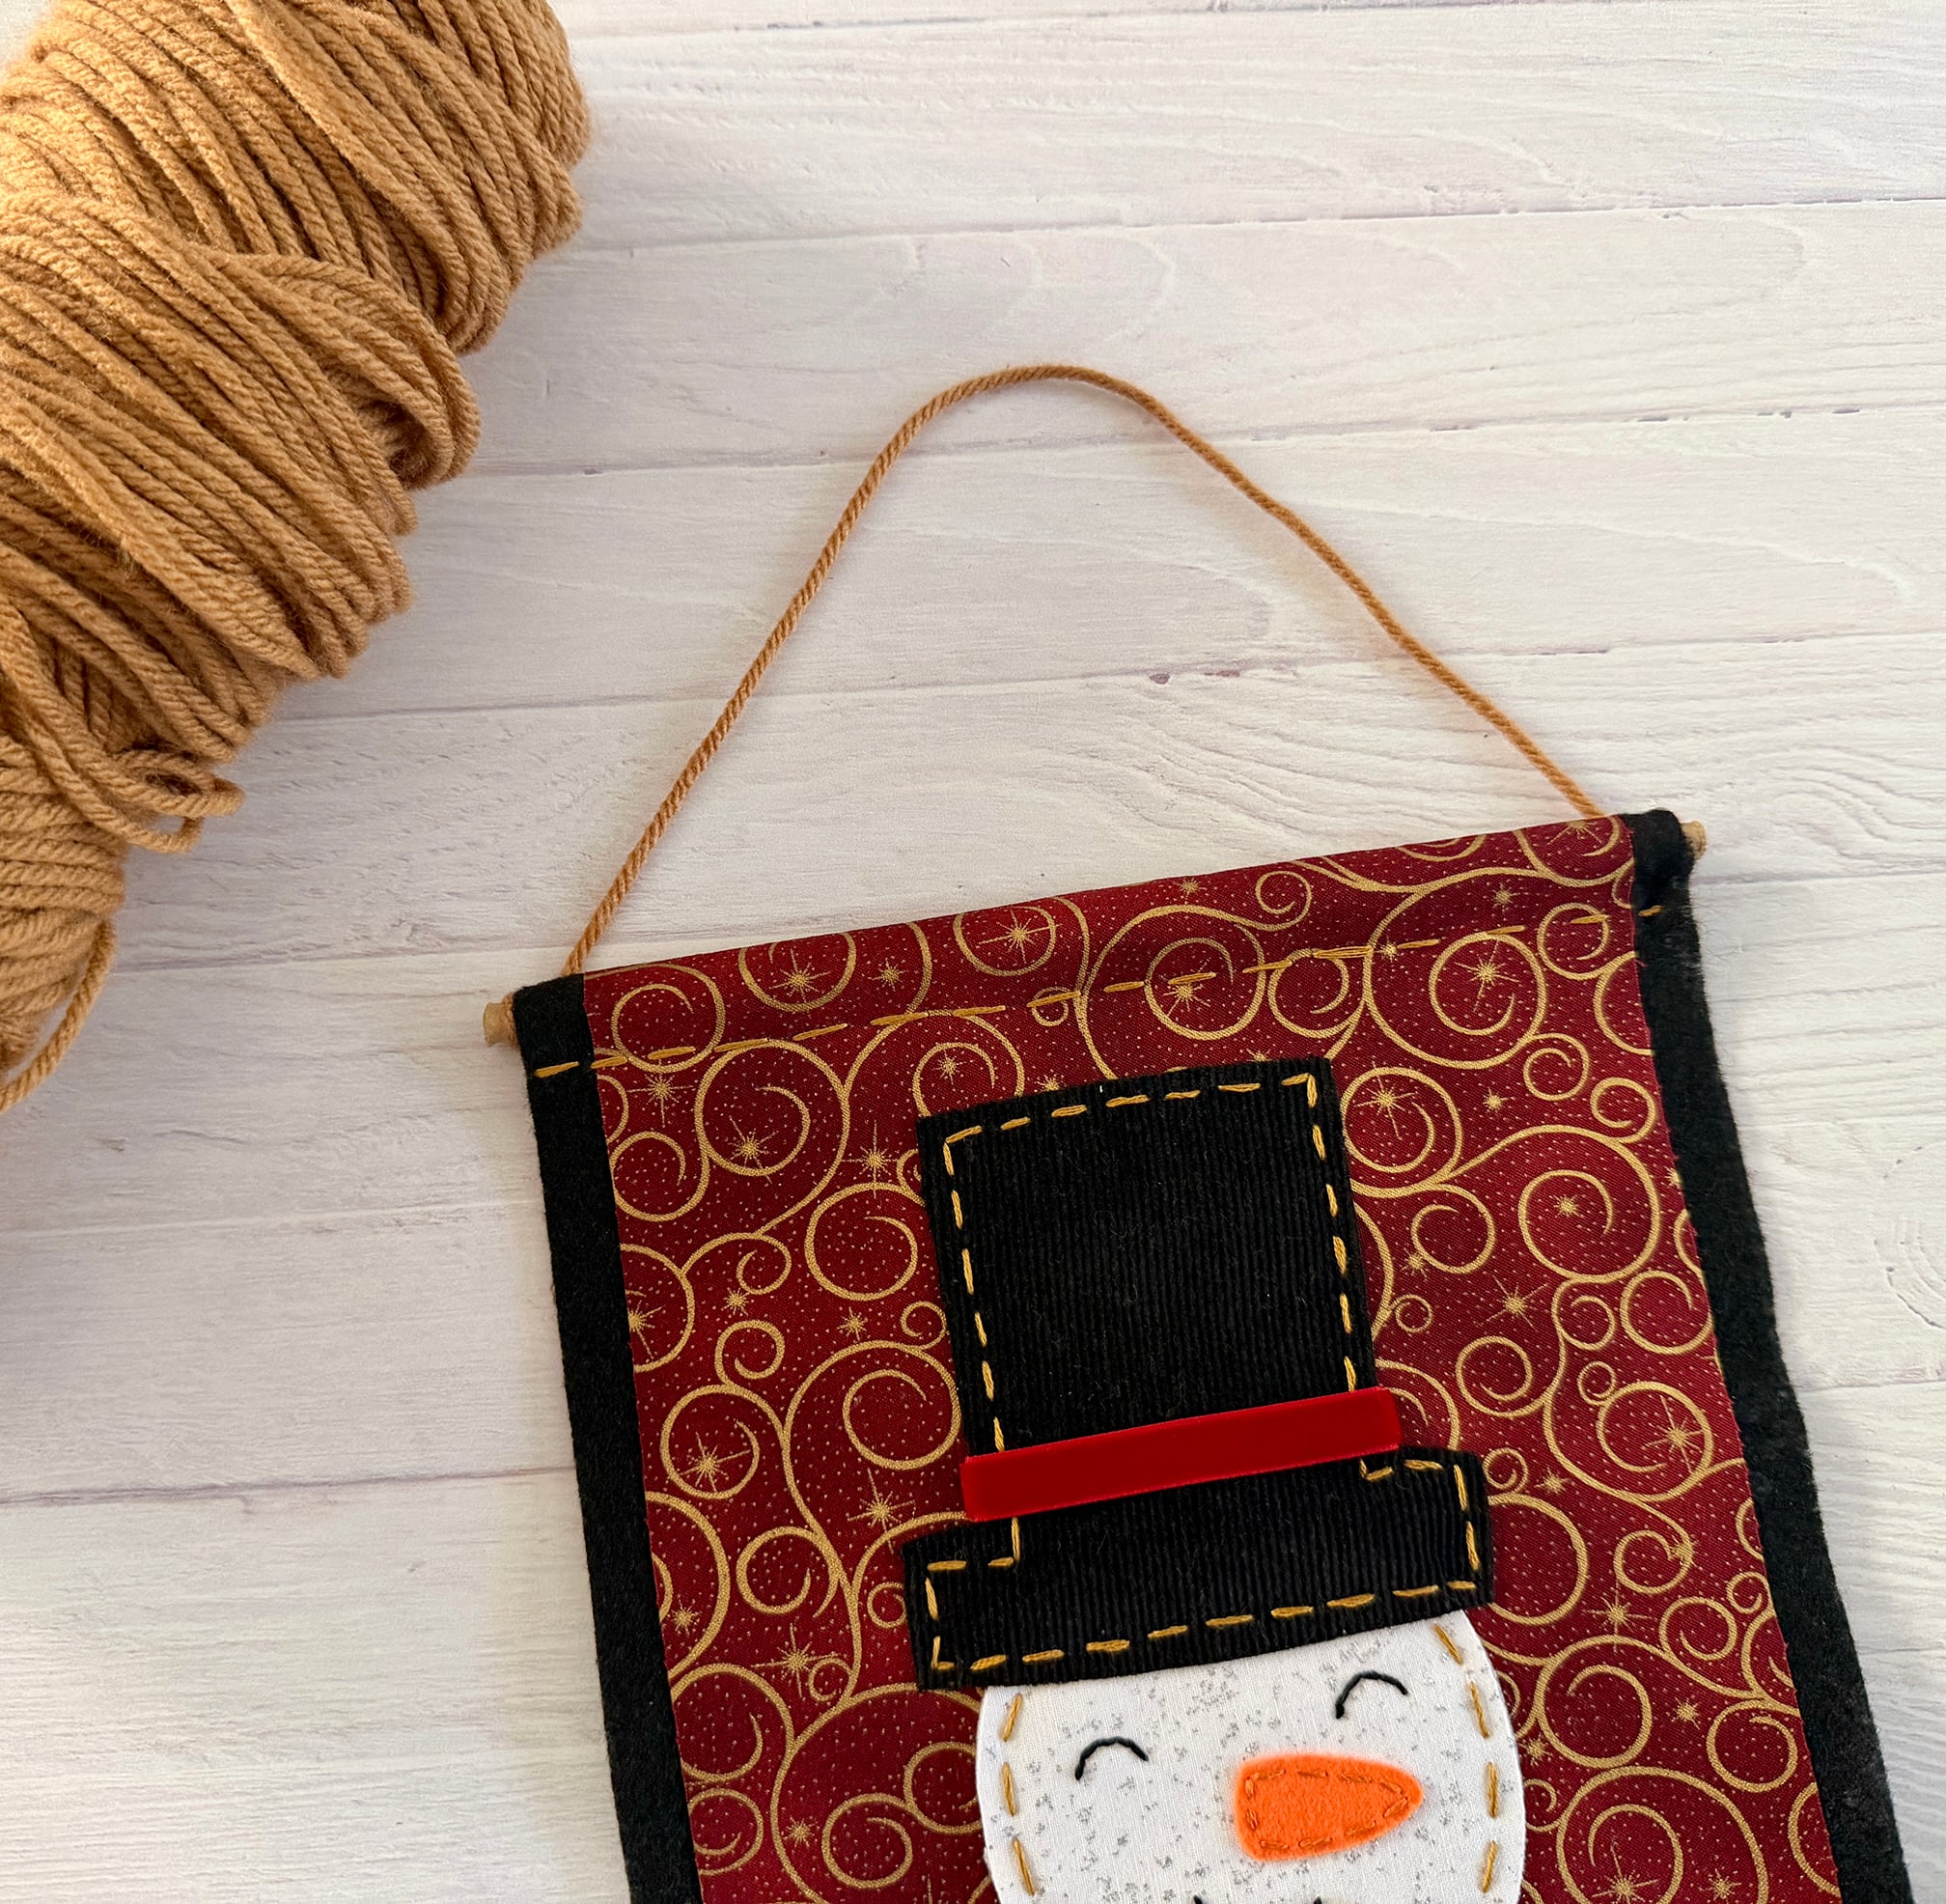
The wall hanging is finished and ready to be displayed for the holiday season!
This was a longer tutorial but I wanted to show you as many pictures as possible so you have success if you make your own Snowman Applique wall hanging! I’ll be back tomorrow for day six of my series, 12 Days of Holiday Crafts. In the meantime, be sure to check out my other holiday sewing projects for crafty ideas!

FLASH FREEBIE
Now through November 13th you can fill out the purple form below with your first name and email address to receive the free files! They will be sent straight to your inbox! If you have already filled out the form below, don’t worry – you won’t be added to my list twice! This freebie is for personal use only. I hope you enjoy crafting something special. Please let me know if you have any questions :)