DIY Patriotic Popsicle Banner
Mix and match red, white, and blue fabrics to create a festive patriotic banner for the 4th of July! This project is charm pack and scrap fabric friendly. Grab my free pattern to get started!

Hello Crafty Friends! Today I’m sharing a new fabric appliqué banner with you, this time a Patriotic Popsicle Banner perfect for the upcoming 4th of July holiday. I love creating fabric banners. They are simple to make and a great way to use up the fabric scraps and yardage in my stash.
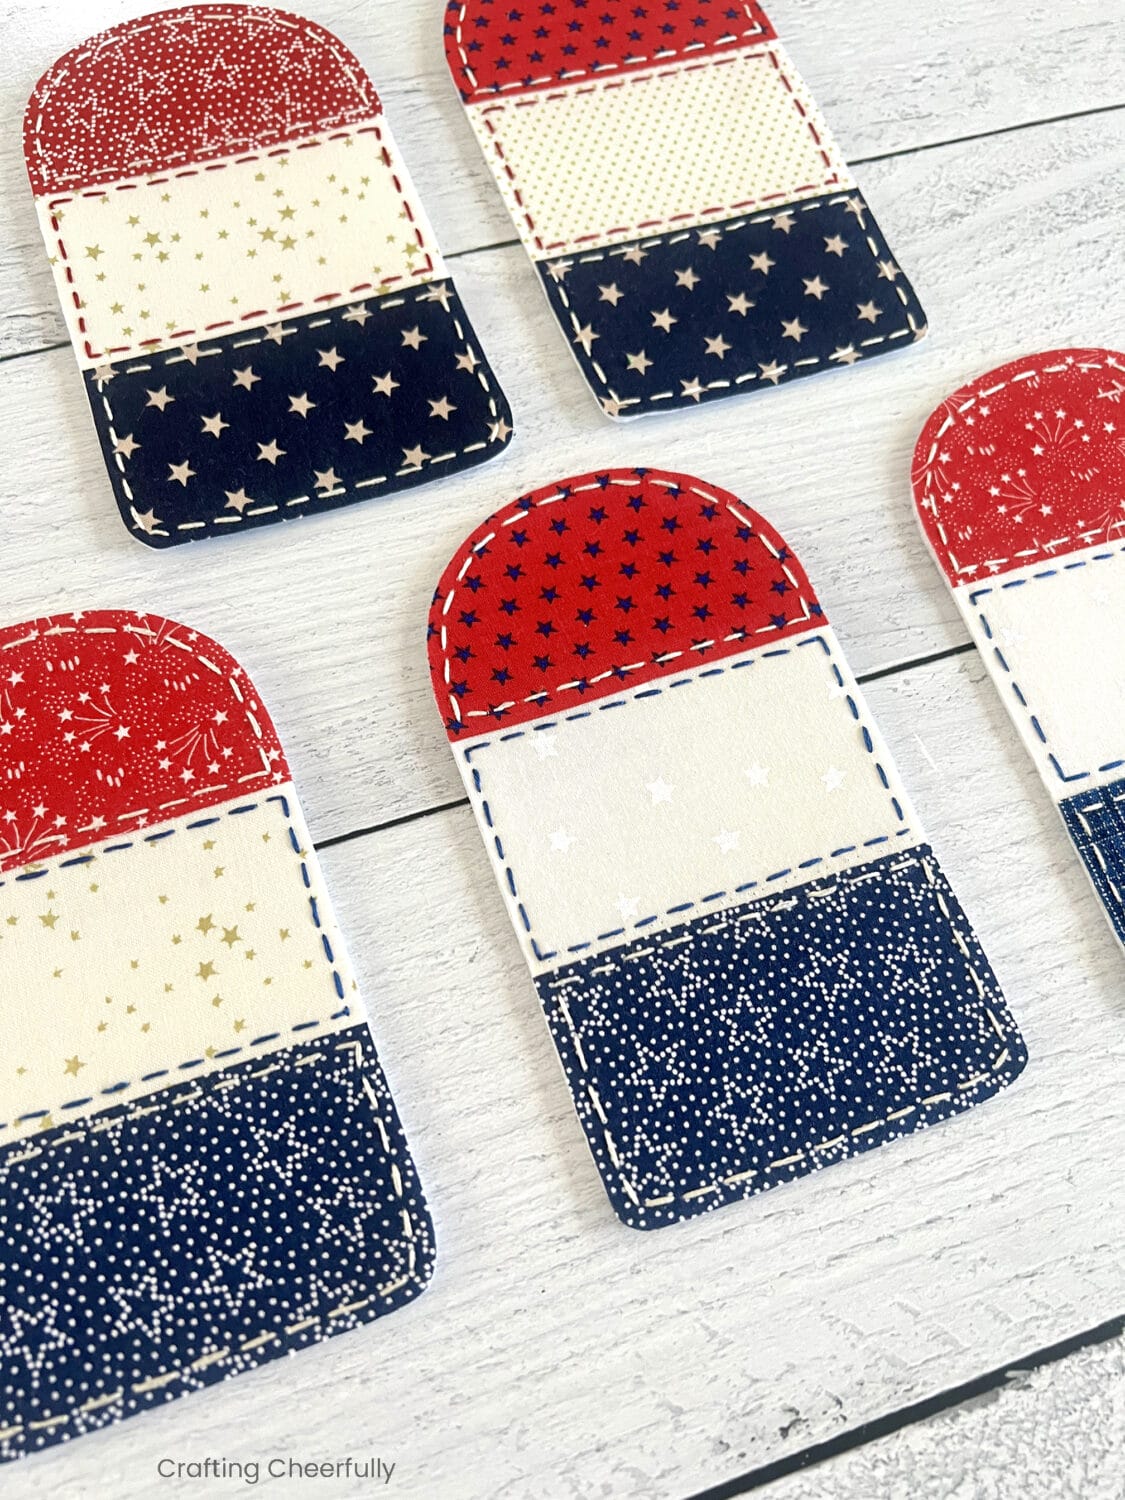
For this banner, I created five cute popsicle pennants made from felt and fabric and embroidered with a simple running stitch. To finish off each pennant, I added a raffia bow and a large wooden popsicle stick.

Below are the directions for creating your own popsicle banner. While this is a fun banner for patriotic holidays, like the 4th of July, you could make it in other colors for a banner that could be displayed all summer long. I think it would look really fun in pastel ombré fabrics!
DIY Patriotic Popsicle Banner
Supplies Needed:
- Free Popsicle Pattern – Grab the free file by filling out the purple form at the end of this post.
- Fabric – I used scraps of red, white, and blue fabric I found in my stash
- Fusible Interfacing
- Embroidery floss in coordinating colors
- Raffia
- Jumbo craft sticks
- Glue
- Sewing notions

How to Make a Patriotic Popsicle Banner
Choosing the Fabric
Each popsicle is made with three different fabric pieces in red, white and blue. I like to mix and match my fabrics to create a cute, scrappy look. So while you could make this with one red, one white and one blue fabric, it is a lot of fun to use a few different fabric prints in those colors.
I was able to find three of each color in my stash that coordinated well. Once the pieces were cut, I arranged them into fun combinations.

Step 1: Cut the felt backing for each popsicle.
Create the base for each pennant by cutting out the large popsicle shape from felt. Regular felt works well but I prefer to use stiffened felt. It is easy to stitch through like regular felt but gives the pennants a bit more structure.
Trace the pattern shape onto felt and cut out. I chose to cut five felt shapes for my five popsicle pennants.
You can actually make these pennants a couple different ways. Instead of cutting out the popsicle shapes from felt like I have, you can actually wait and iron the appliqué shapes from Step 2 onto the felt and then cut out the pennant. Both ways work well!
Step 2: Cut out the popsicle shapes using fusible interfacing.
Use the printable pattern to trace the 3 popsicle shapes onto the paper side of fusible web interfacing. I like to lay the fusible web over my template and trace the shapes. I traced enough shapes to make five popsicle pennants.
Bubble cut around each shape leaving space around your pencil lines, then iron the shapes to the wrong side of the fabric. Let cool, then cut the shapes out directly on the pencil lines.

Step Two: Iron the fabric shapes onto the white felt.
Start by peeling the paper backing from the fabric shapes. Iron the large white fabric shape on top of the white felt shape. Then iron the red shape at the top and blue shape at the bottom. Don’t worry if things don’t line up exactly. Since everything is hand-cut there will be imperfections. Use a small, sharp scissors and trim away any pieces of felt that are visible from the front.

Step Three: Embroider the popsicles.
This part is really fun, especially if you have love hand embroidery. Use a running stitch to stitch around each shape. I chose contrasting floss but you could also choose a coordinating color. I used white floss on the red and blue parts of the popsicle and then alternated between either blue or red floss for the white middle section.


Step Five: Decorate the fabric popsicles.
Once the popsicles are stitched it’s time to finish them up with a bow and popsicle sticks. Use a bit of fabric glue to adhere a piece of raffia, ribbon or twine around the center section of the popsicle and add a bow. Add wide, wooden popsicle sticks to the back of each pennant also using glue. I used my red clips to hold the raffia in place while it dried and pattern weights to help the the popsicle sticks adhere.

Step Five: String the pennants together to form a banner.
Once the pennants are complete, it’s time to string them together to create a banner. I used twine and mini clothespins to string mine together. I use clothespins all the time to hang my fabric banners. It is so easy to shift them around on the twine while hanging them up. When I am done displaying the banner, I unclip the pennants and store them in a plastic baggy until next year!

I hope you enjoyed this sweet summer banner that is perfect for the 4th of July! Download the free popsicle pattern below to create your own banner.
I love creating fabric banners! Be sure to check out my other fabric banners for ideas. My Ice Cream Cone Fabric Banner and DIY Strawberry Banner are also perfect for summertime. :)


Get the Free Patriotic Popsicle Banner Pattern!
Fill out the purple form below with your first name and email address! The free file will be sent straight to your inbox! If you have already filled out the form below, don’t worry – you won’t be added to my list twice! This freebie is for personal use only. I hope you enjoy crafting something special. Please let me know if you have any questions :)


