Pink Plaid Holiday Door Sign with Cricut Printable Vinyl
Create a pink plaid holiday door sign using Cricut printable vinyl! This sign features snowflakes, a bow and is a fun way to decorate for the holiday season!

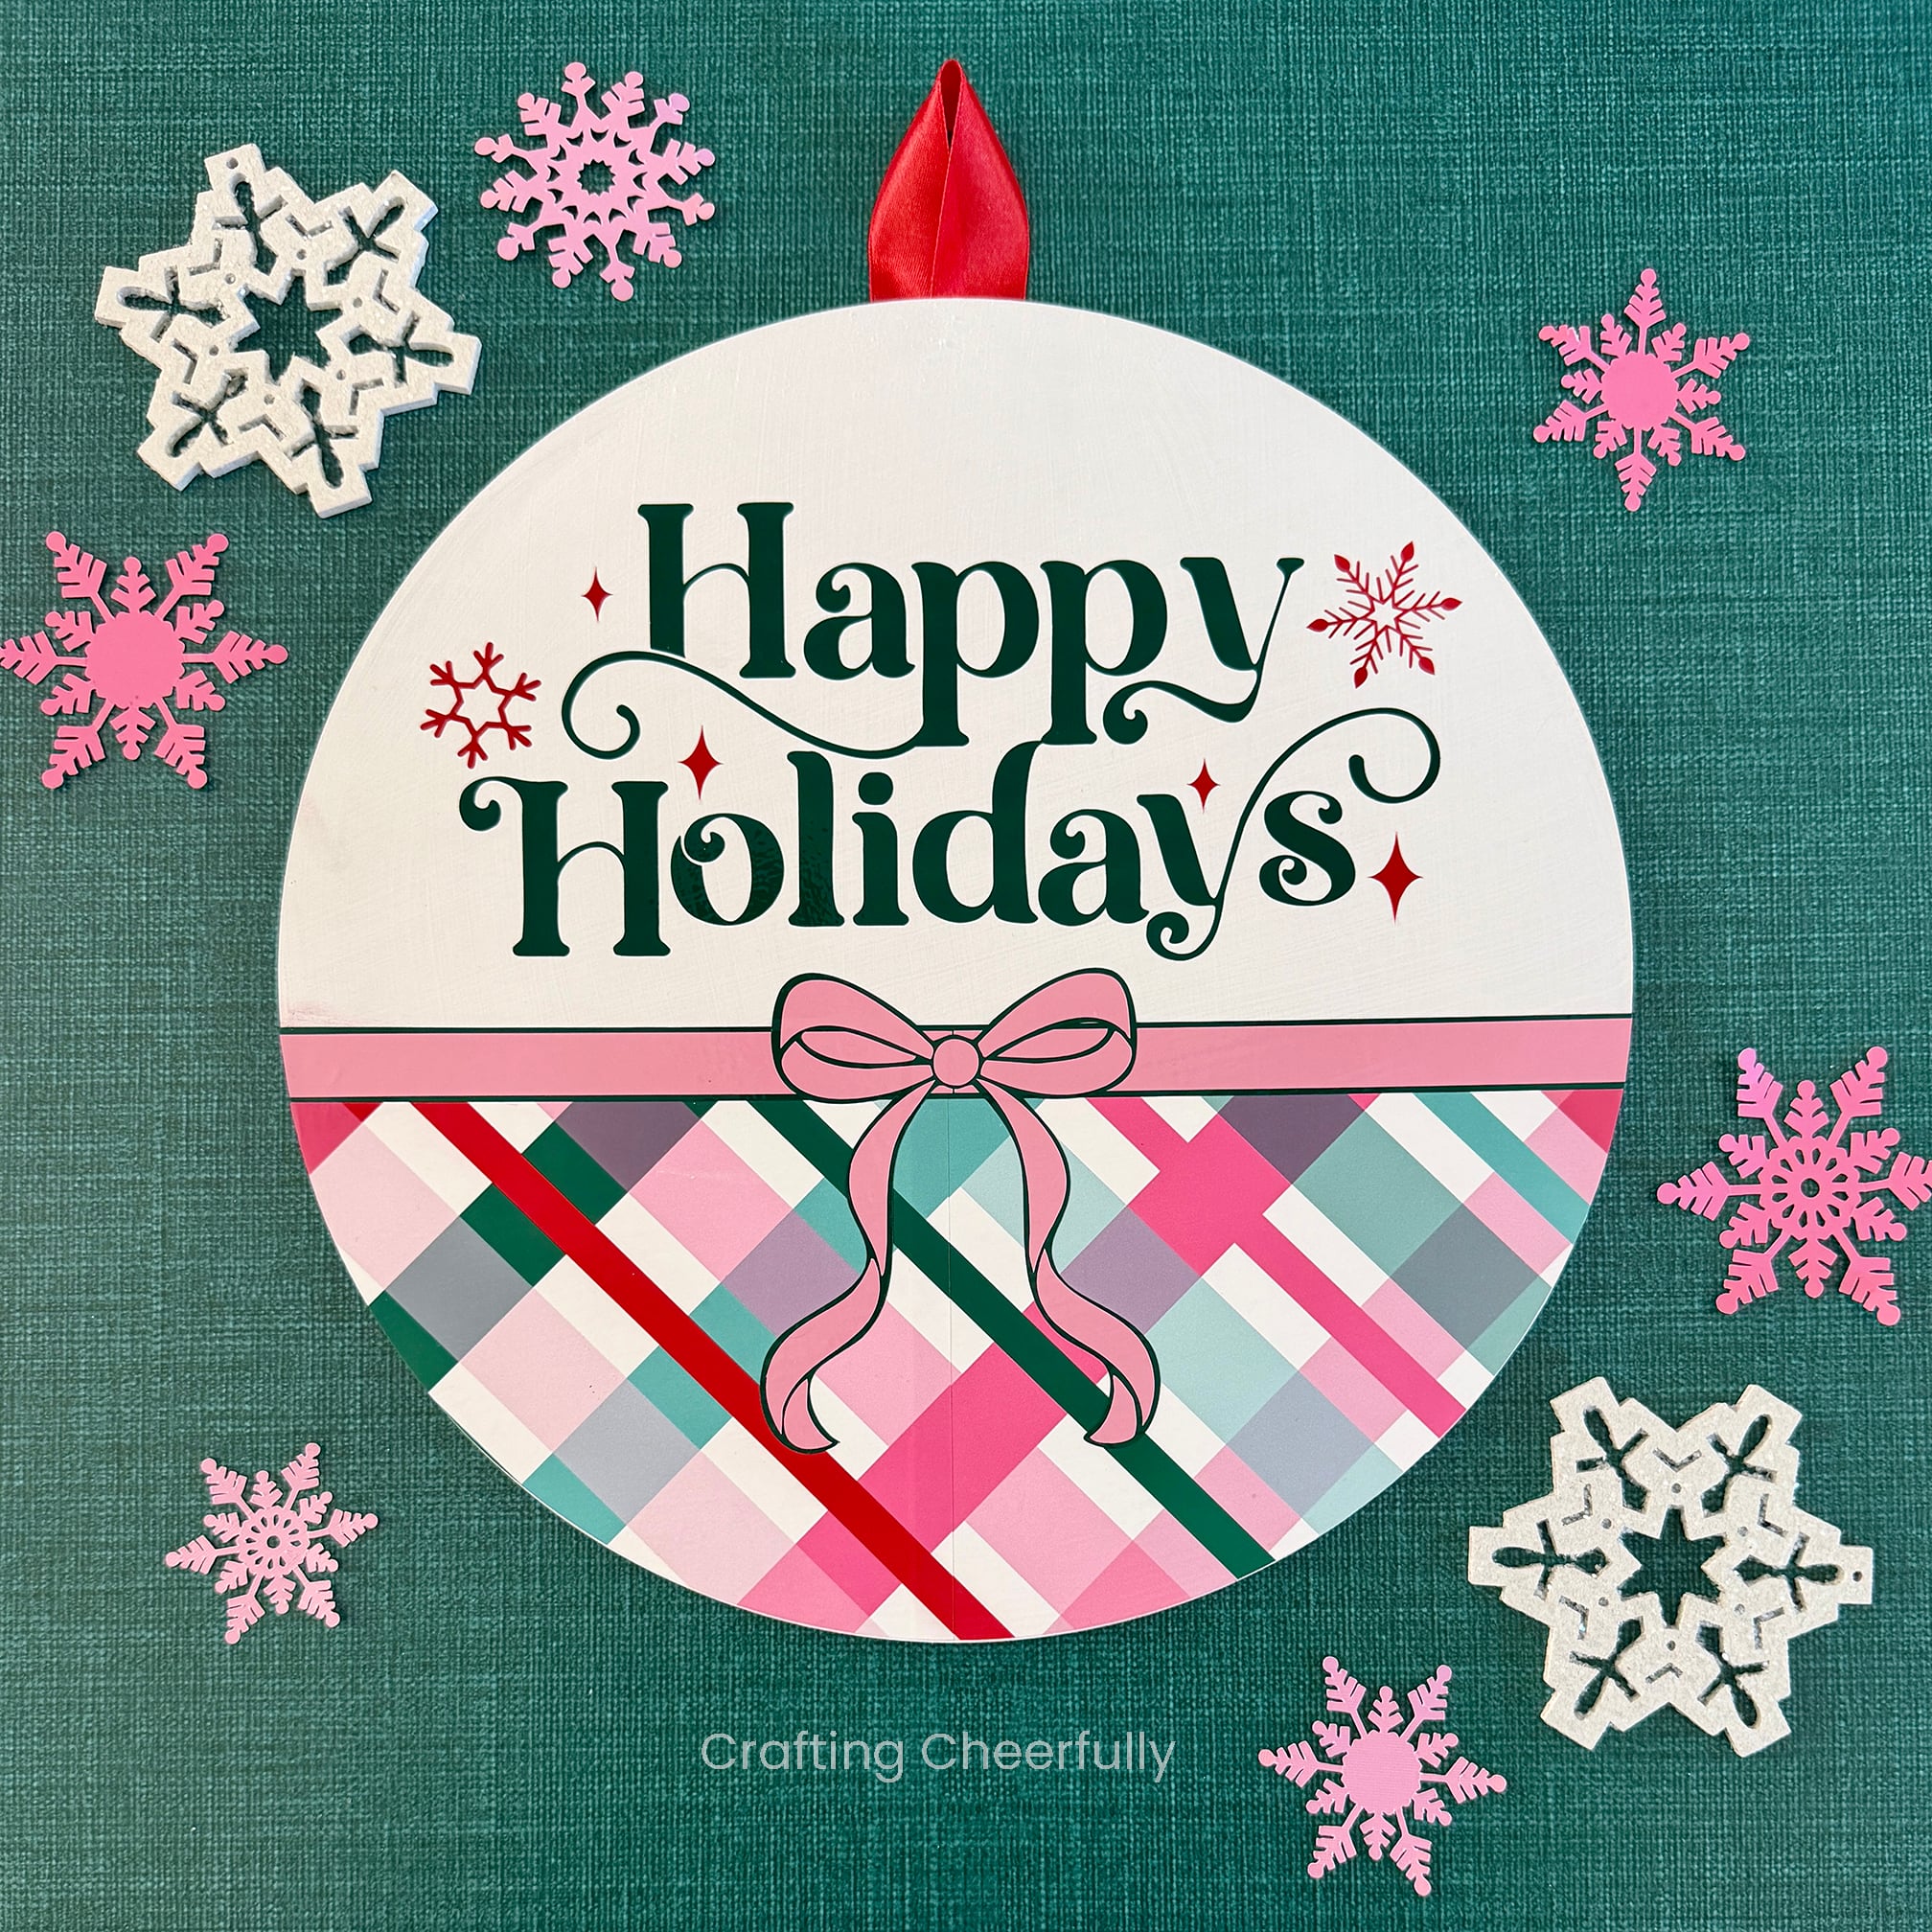
Hello Crafty Friends and welcome to Day Seven of my annual series 12 Days of Holiday Crafts! Today I’m sharing a fun craft to make with your Cricut using my Cricut Design Space File. This pink plaid holiday sign is so sweet! I love the colors, the plaid pattern and of course the bow!
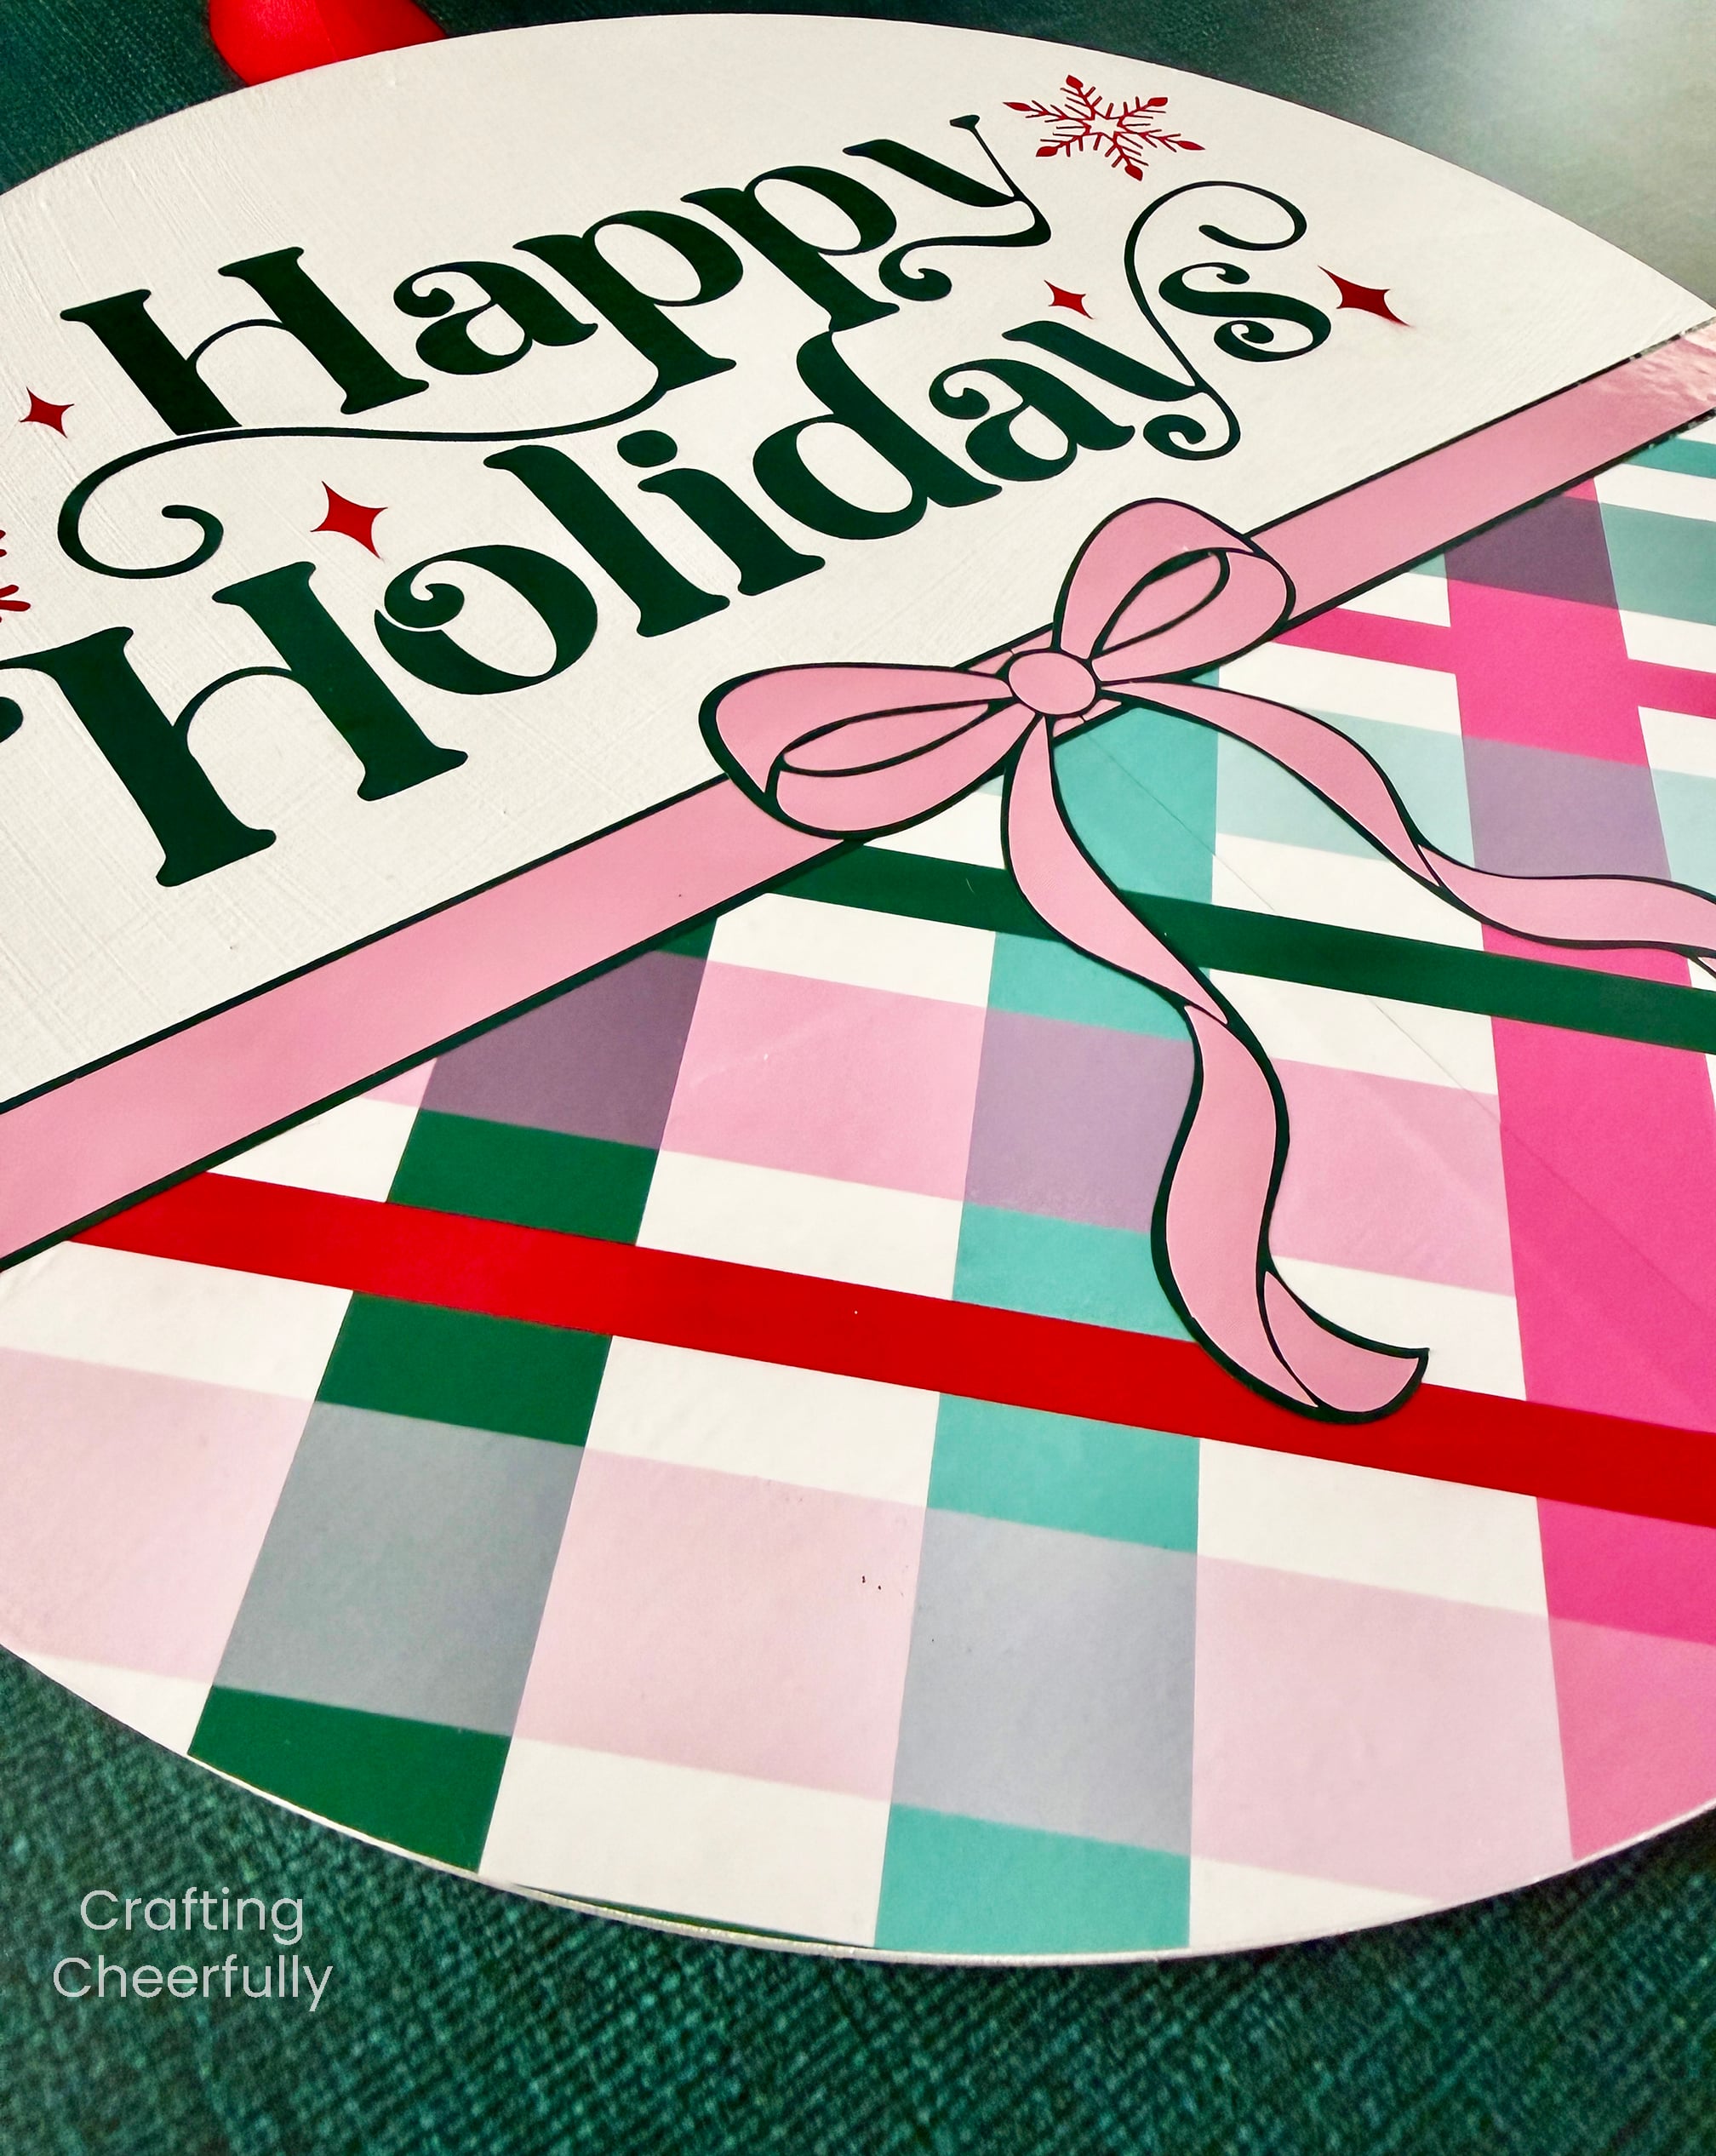
This project was my first time using such large pieces of printable vinyl. I’ve wanted to test this idea out for awhile and I do really like how the plaid turned out. However, I did find the printable vinyl tricky to use. The plaid was finicky to line up since it was applied in two large pieces. The hardest part was applying the vinyl ribbon and bow without using Transfer Tape.
Alternatives to using the printable vinyl would be to paint the plaid by hand, use plaid fabric or to print the design on photo paper. For the fabric and photo paper you could use Mod Podge to seal them. While the printable vinyl was tricky to work with, I love how this sign turned out and feel it was worth the extra effort!
Below is the tutorial. I’m interested to know if you’ve used printable vinyl before? What did you think? Would you give this project a go?
DIY Happy Holidays Wood Sign
Supplies Needed
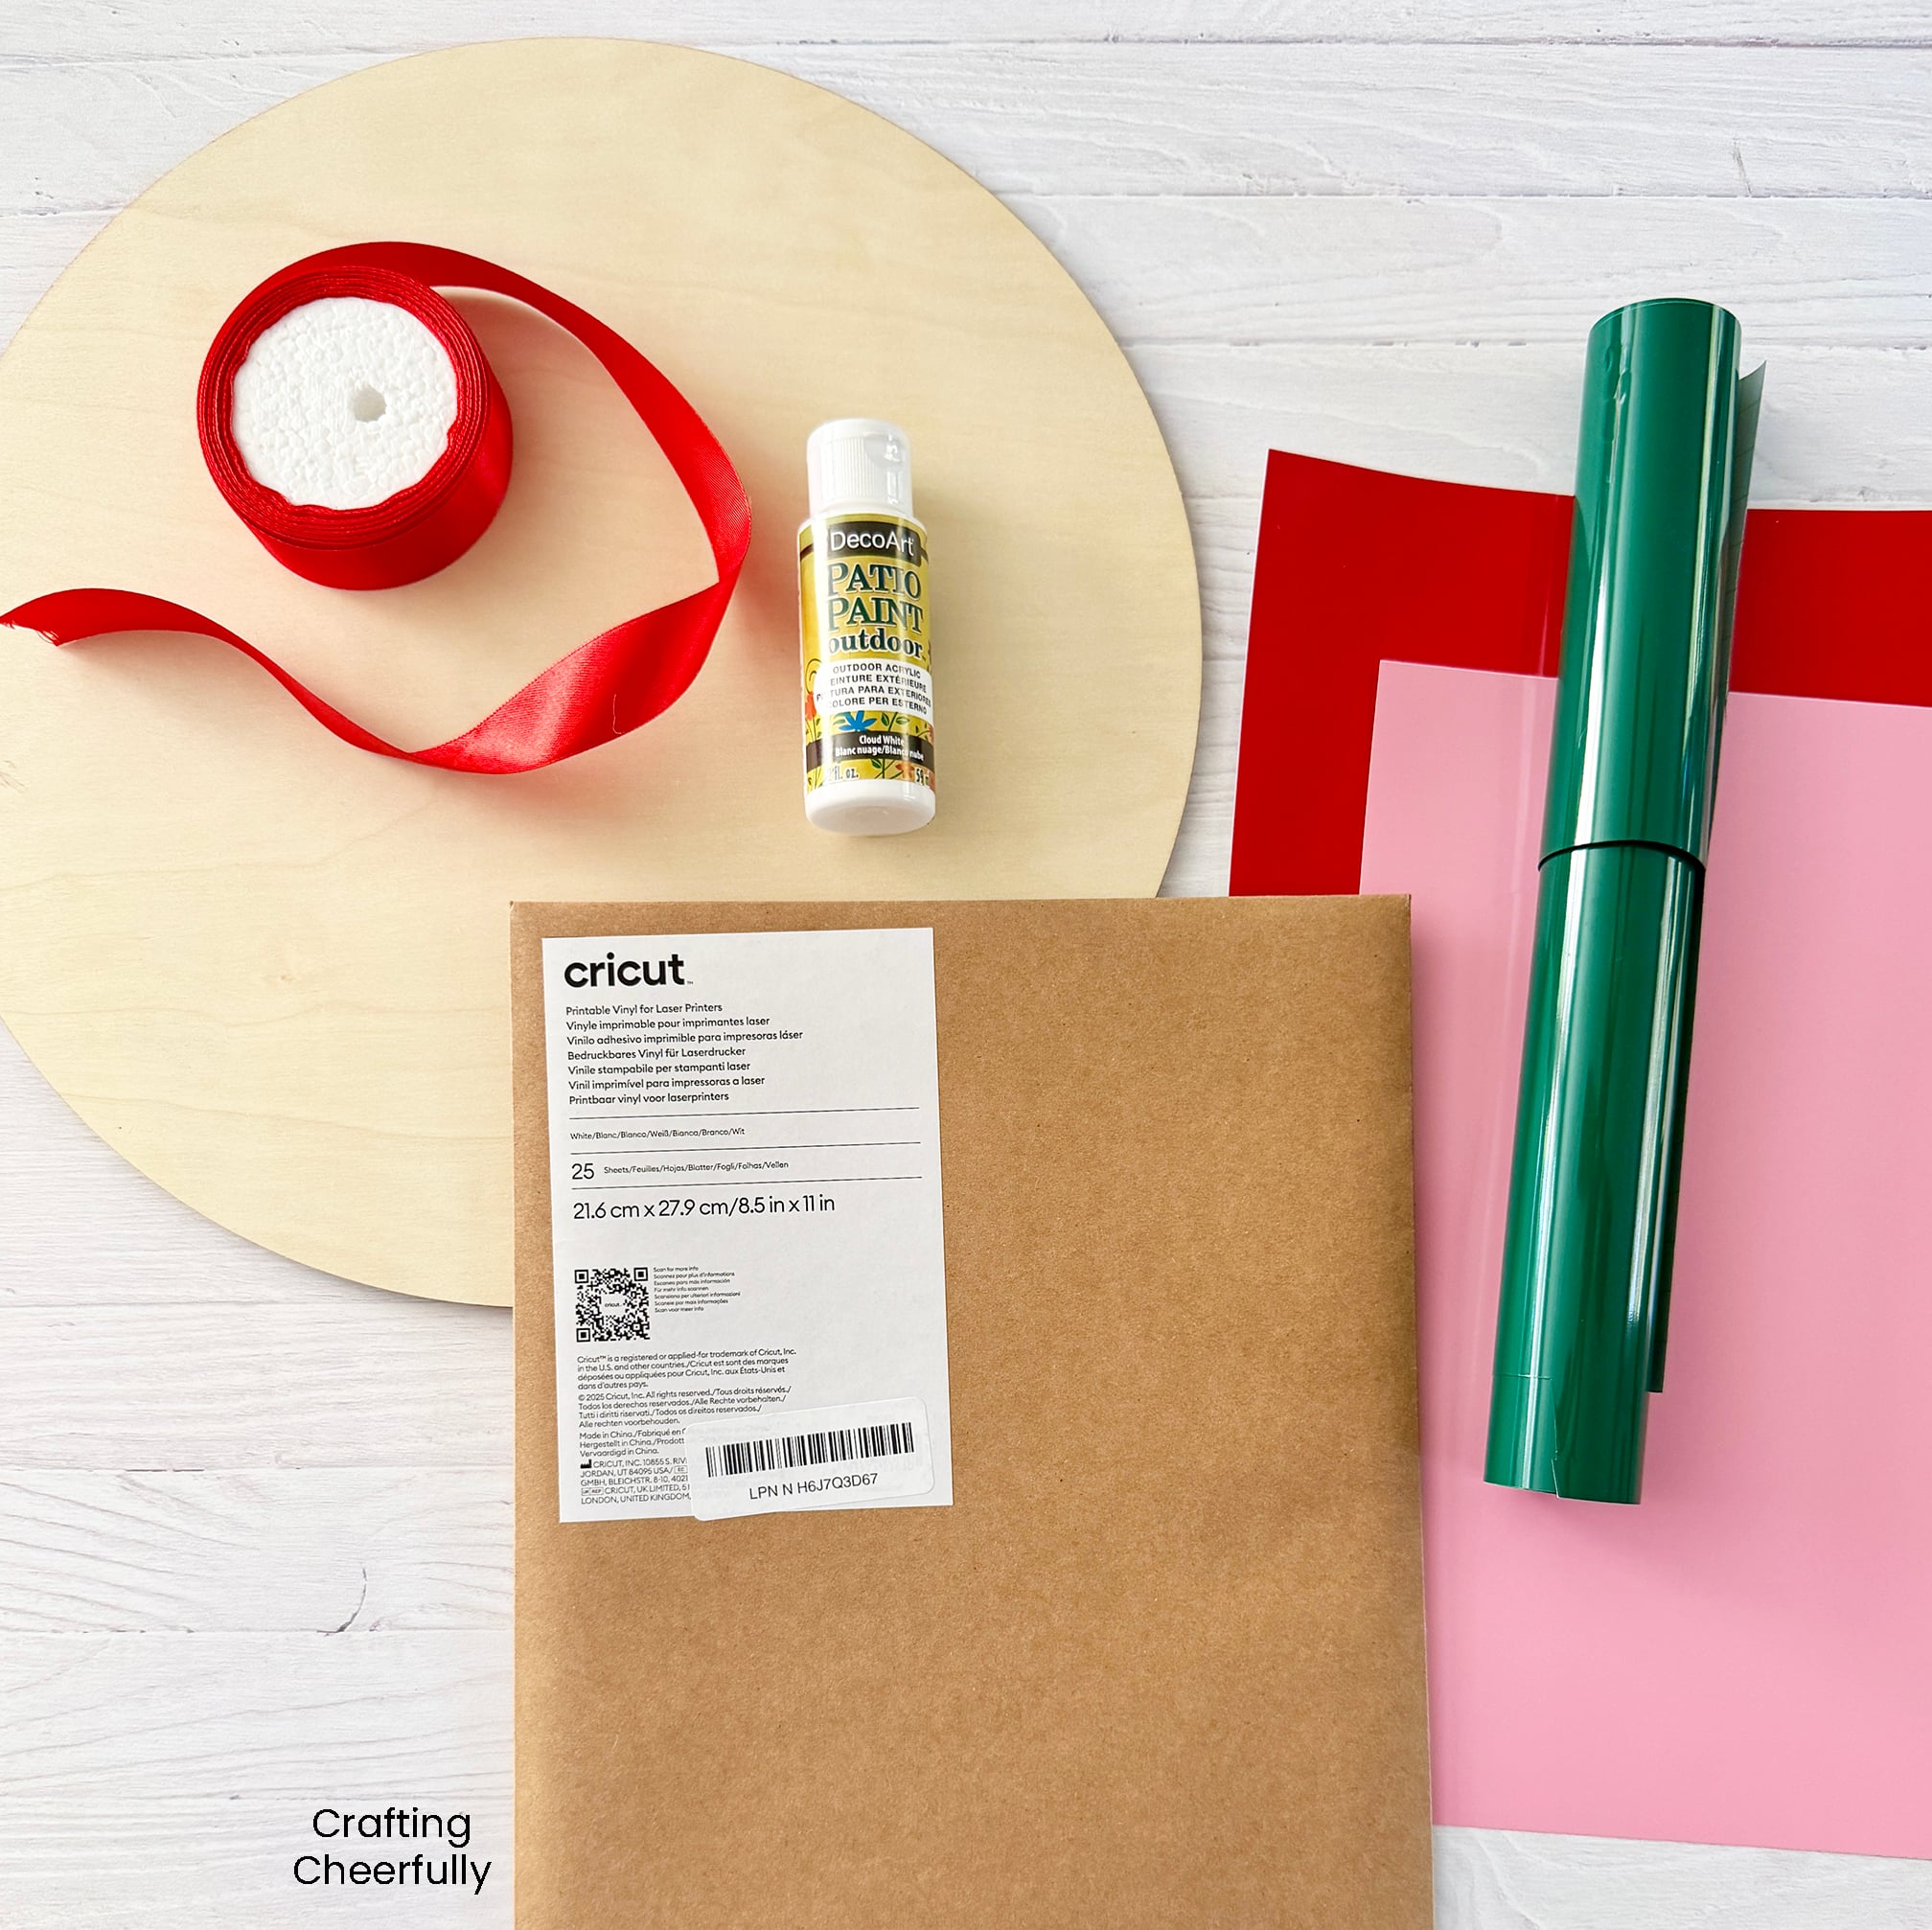
- Cricut Design Space File
- Round wood sign
- White acrylic paint – My favorite acrylic paint for wood is DecoArt Patio Paint, but I usually buy it in a set on Amazon or from Michaels craft store. Individually on Amazon is usually significantly more expensive!
- Cricut Vinyl in green, red and light pink. I used vinyl I already had. The pink and red came from a Cricut Sampler and the green was a roll since it needed to be longer.
- Cricut Printable Vinyl Sticker Paper for Laser Printers OR print on photo paper and seal with Mod Podge.
- XL 12″ x 24″ Cricut Mat
- Cricut Transfer Tape
- Cricut Tools
- Cricut Brayer – optional but nice to smooth out vinyl!
- Red Ribbon
Preparing the Wooden Sign
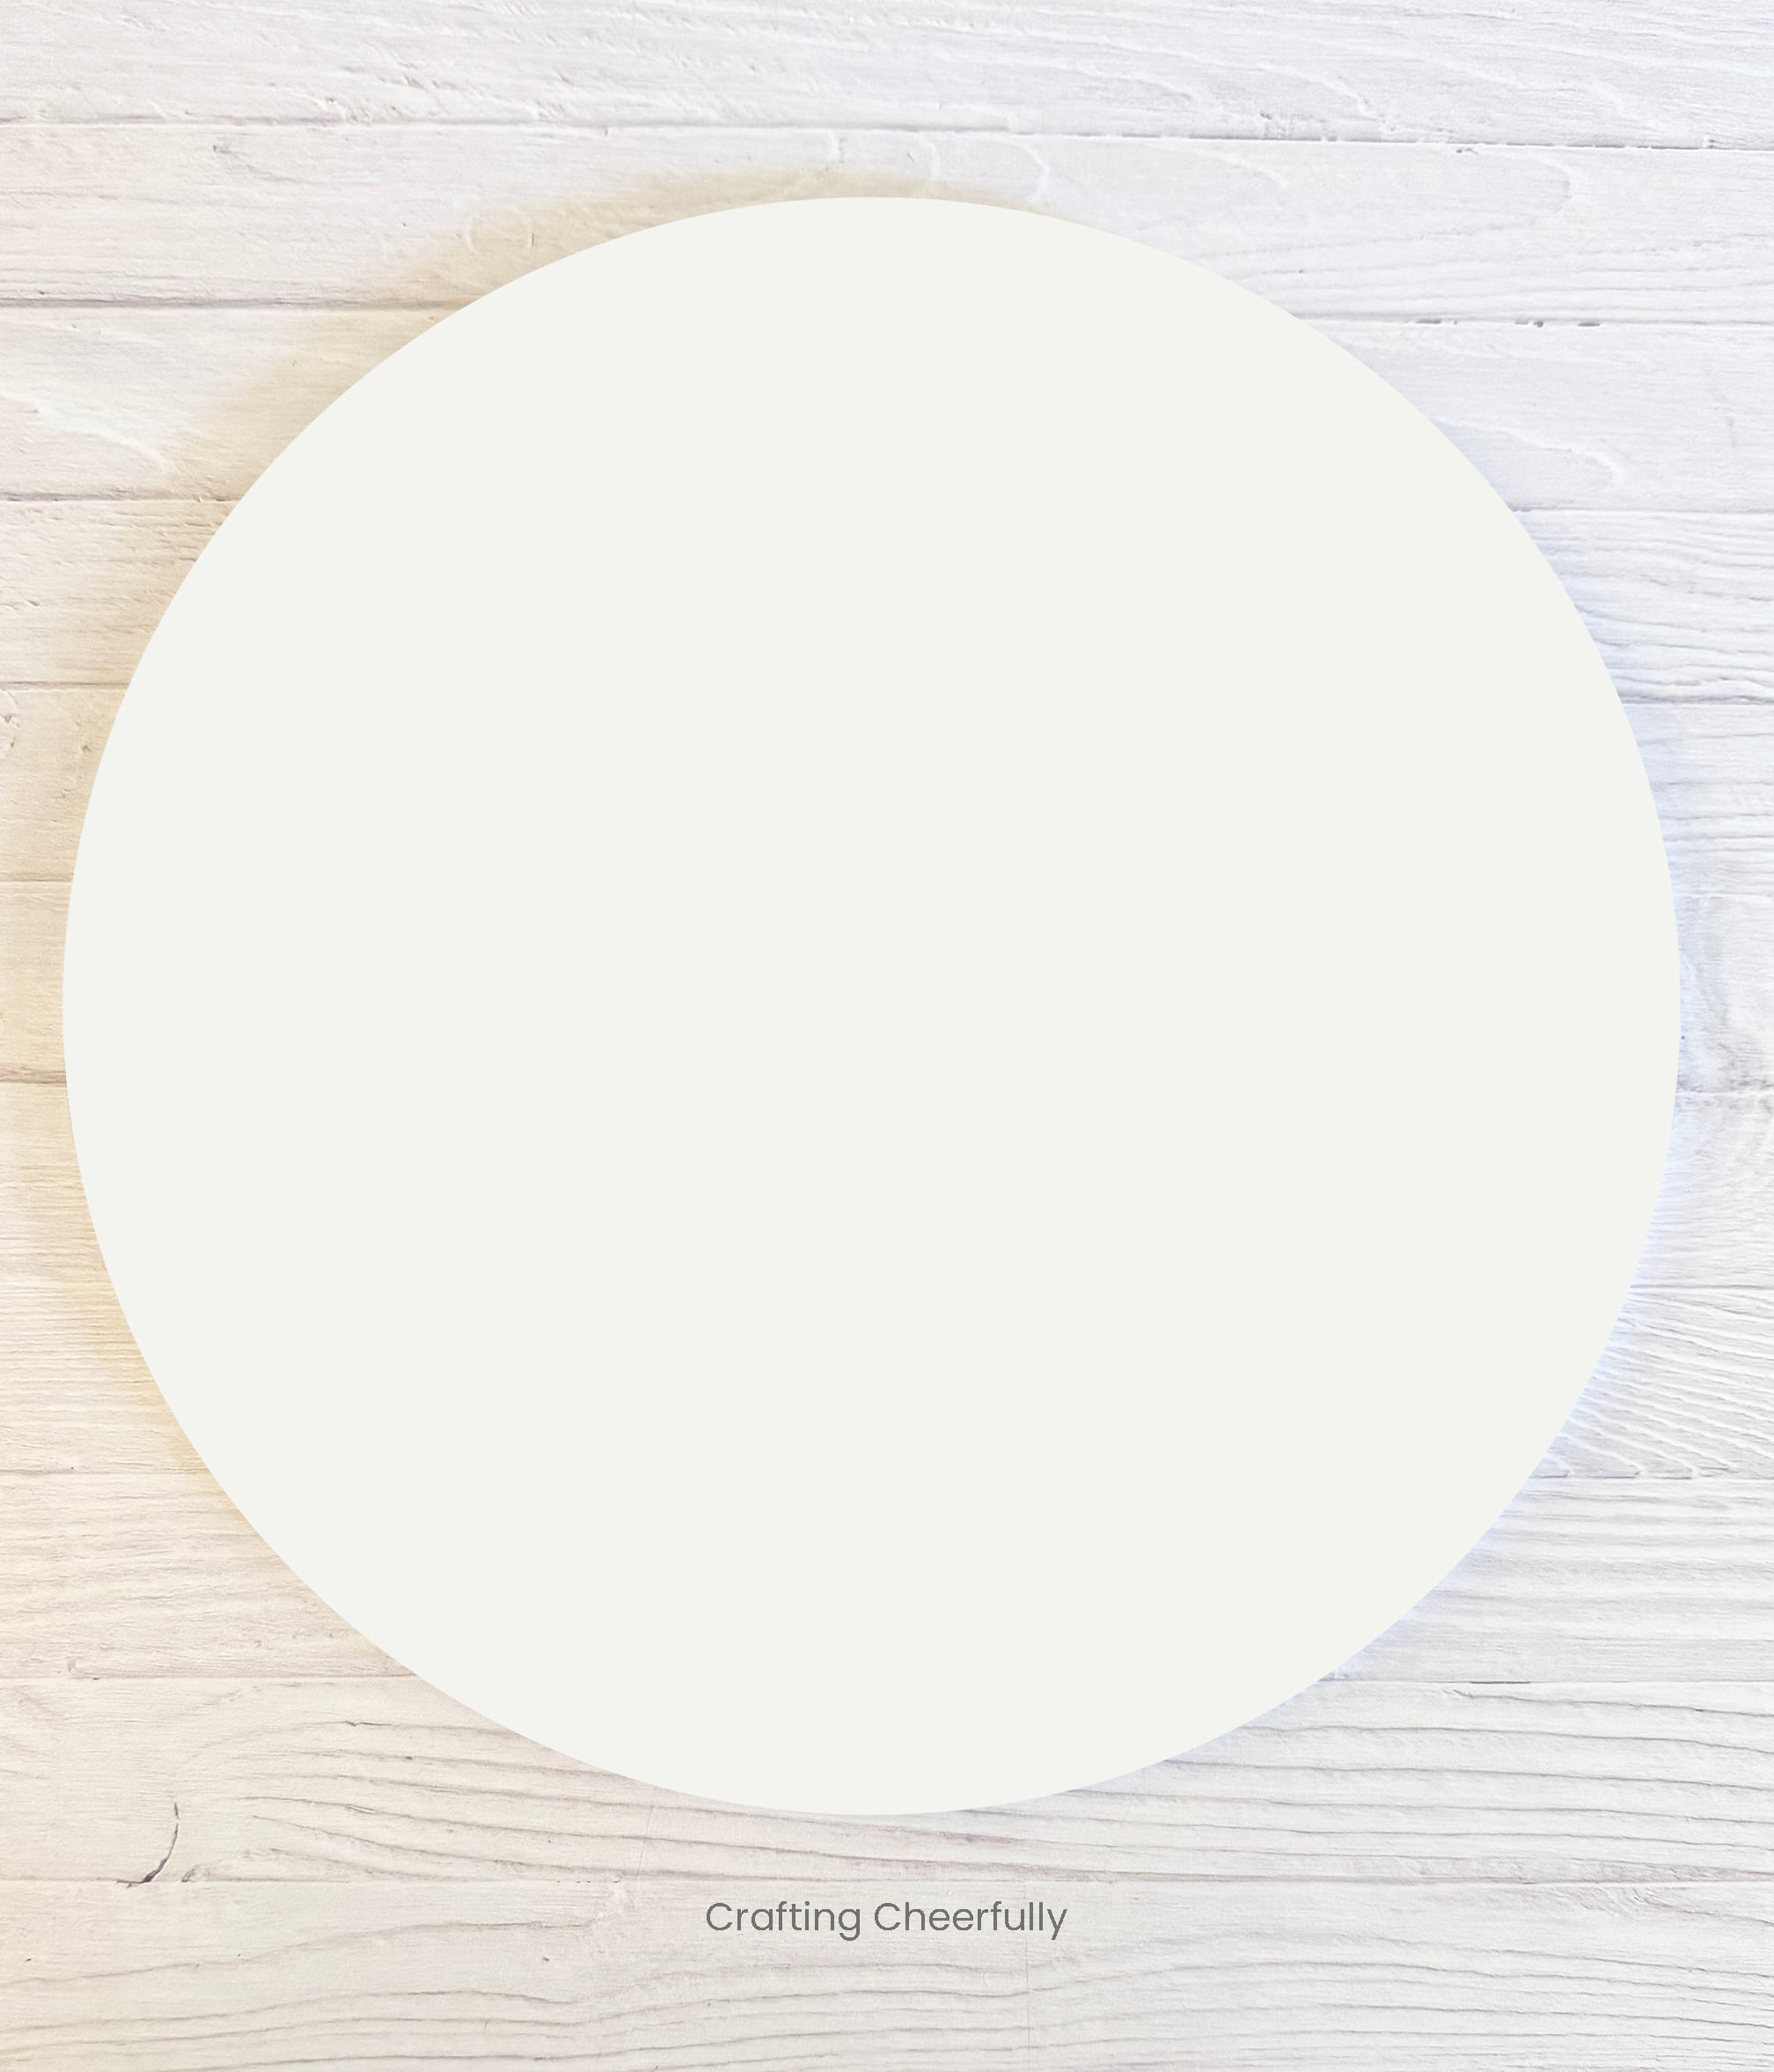
Step One: Paint the round wooden sign white using acrylic paint.
Setting up the Cricut Design Space File
Step Two: Open the Cricut Design Space file and size it to fit the round sign you are using. Make sure you “select all” before resizing so the design proportions stay intact. My wood round measured 13.75″ wide.
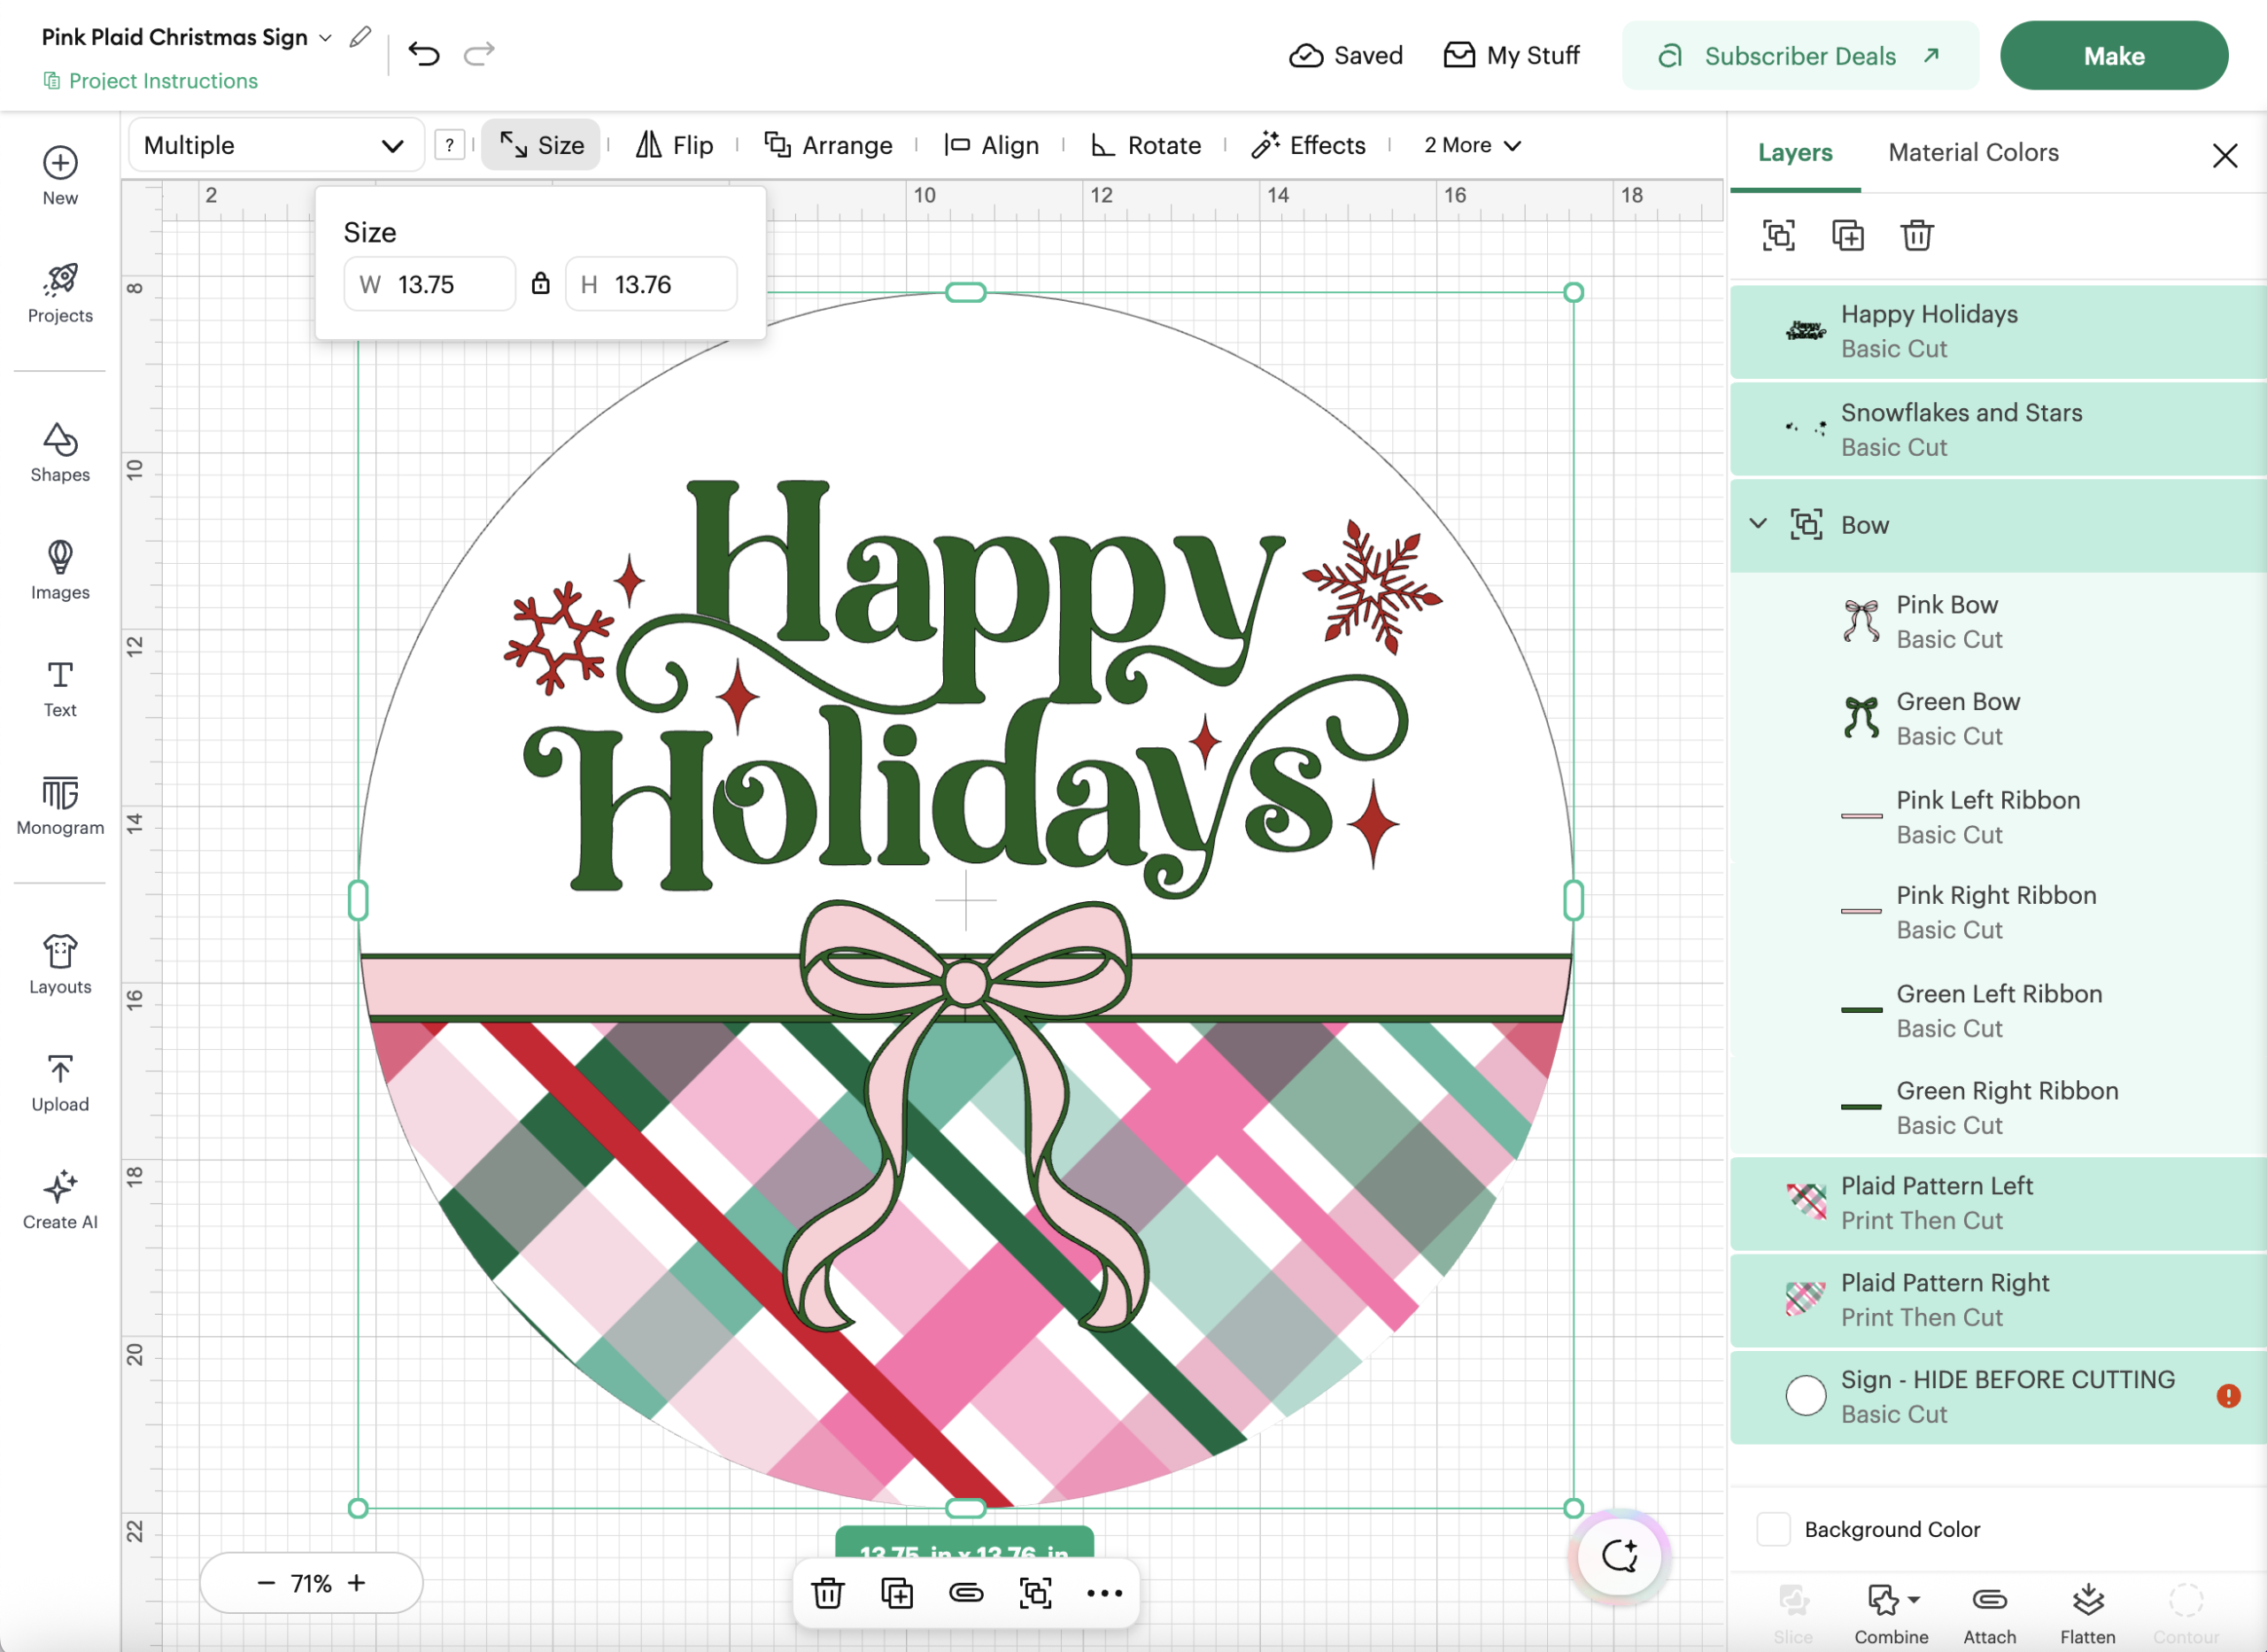
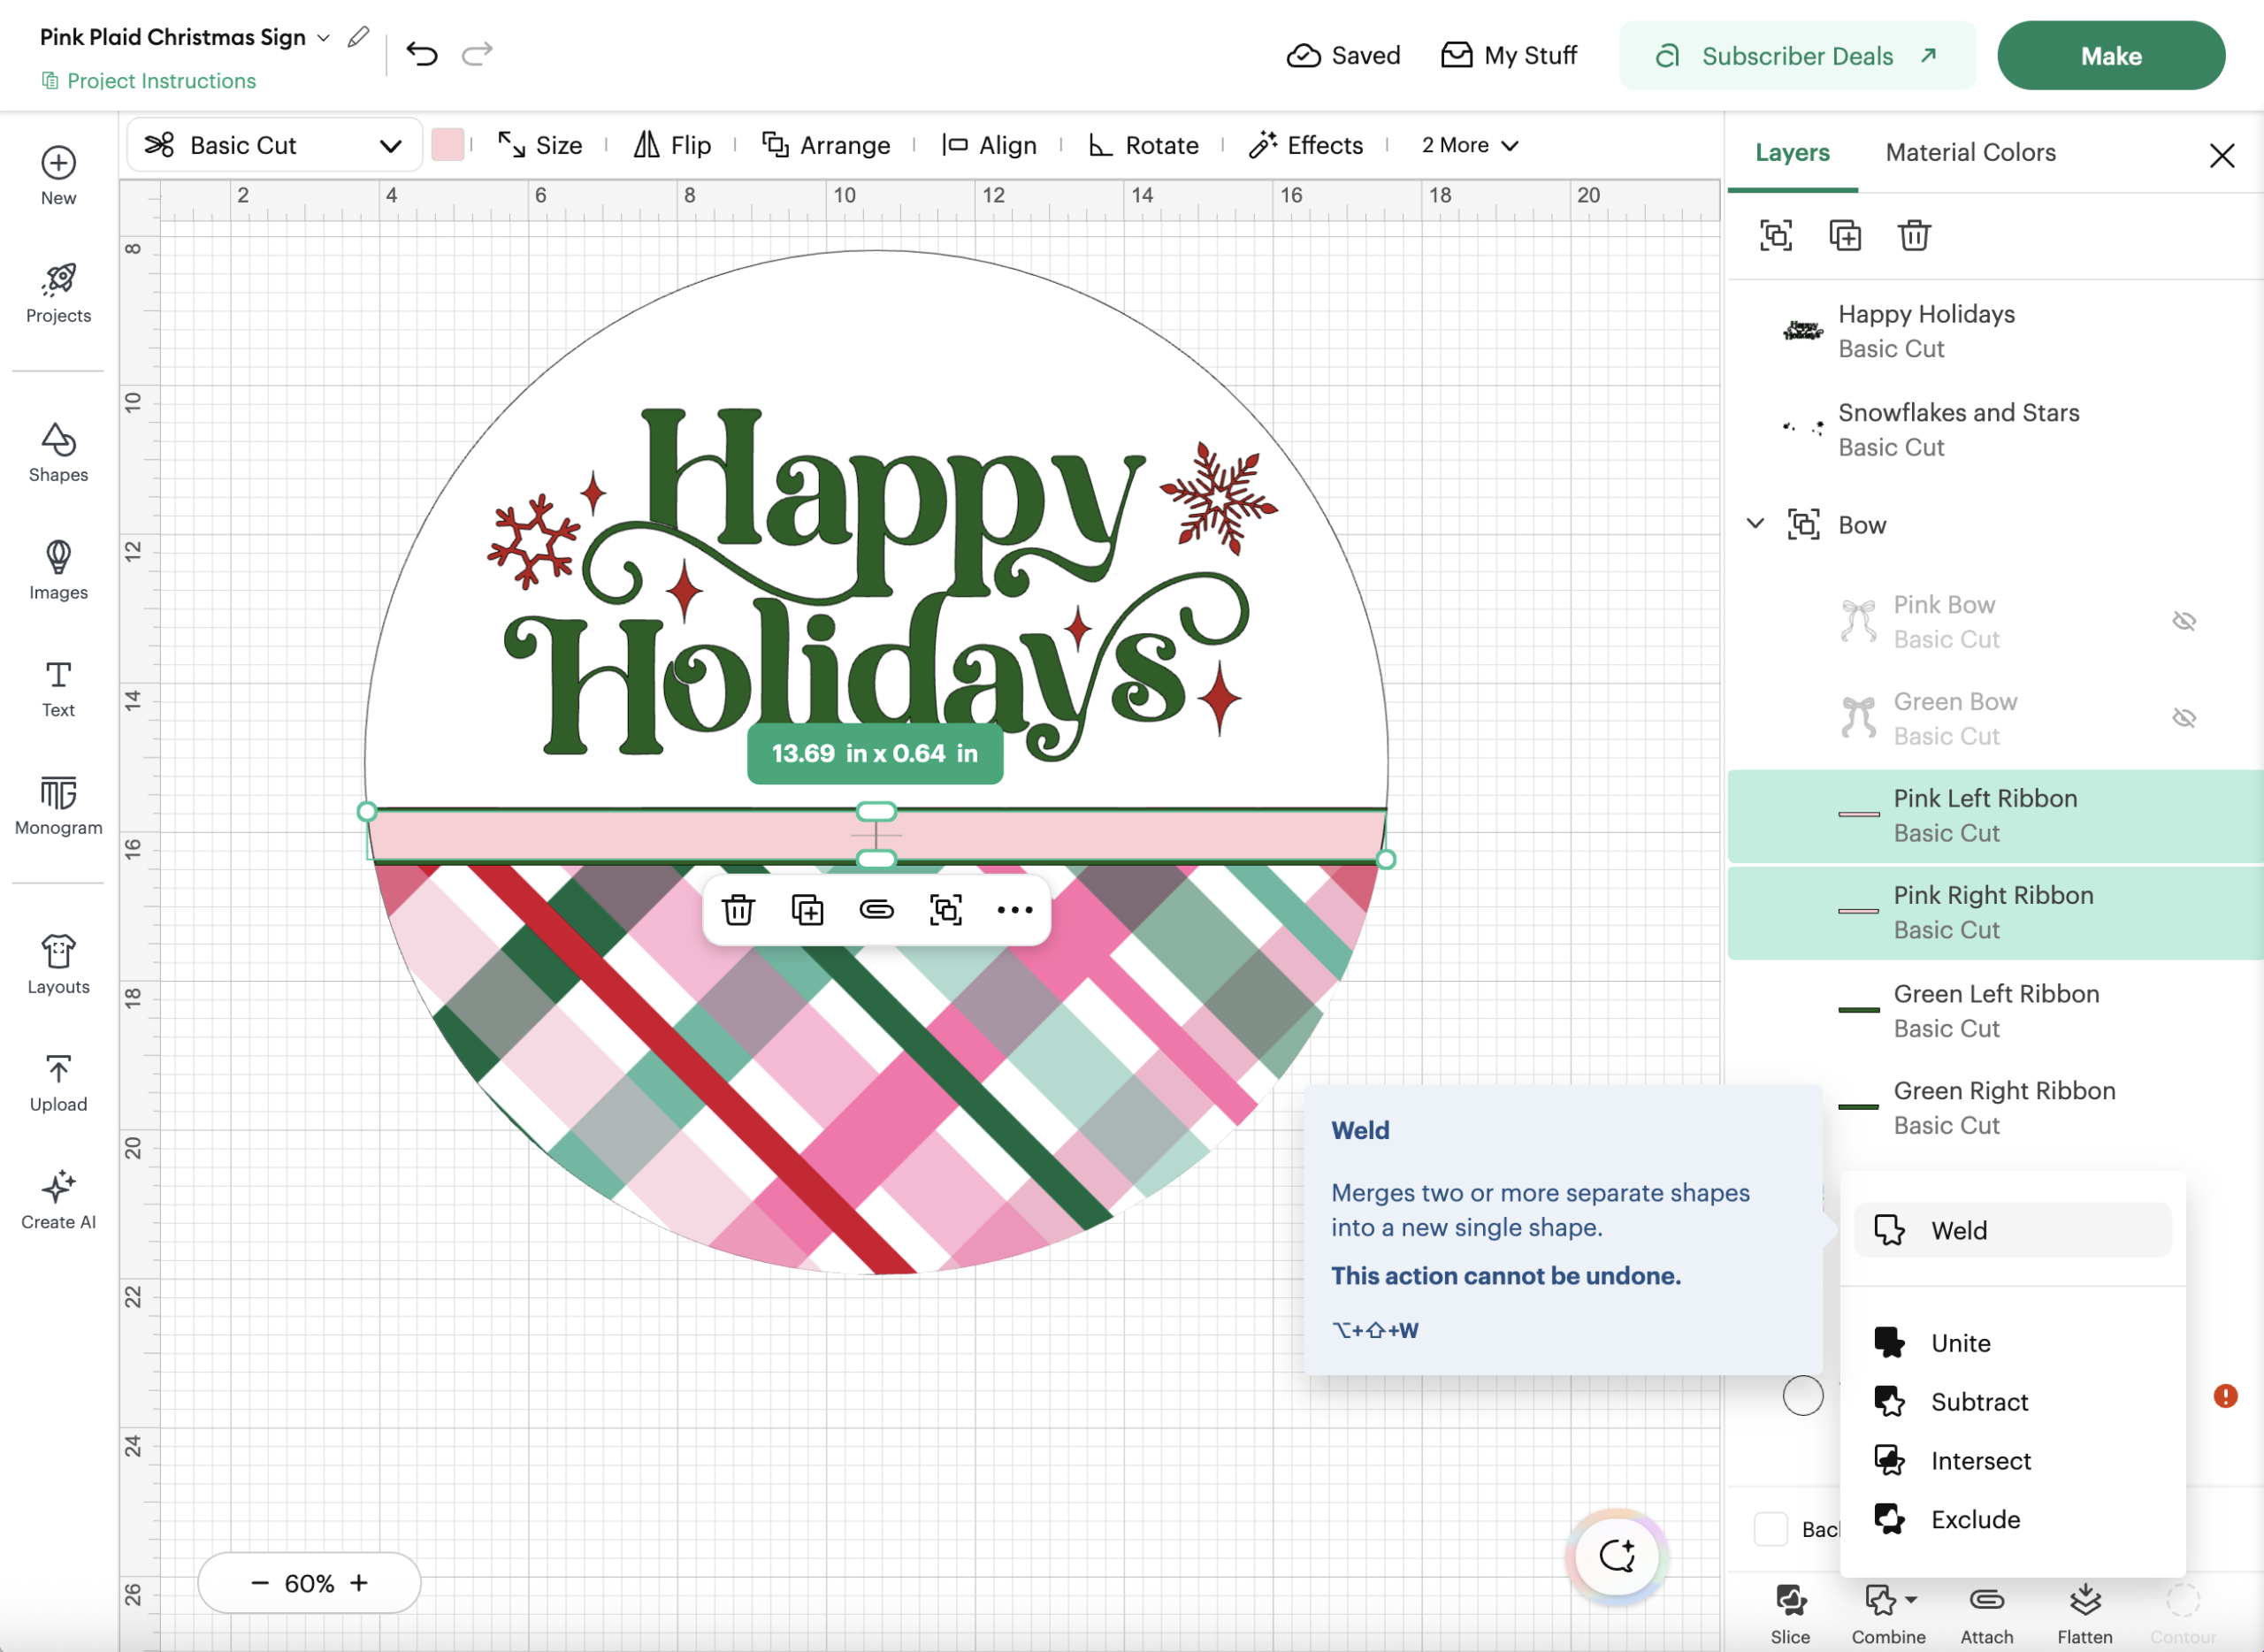
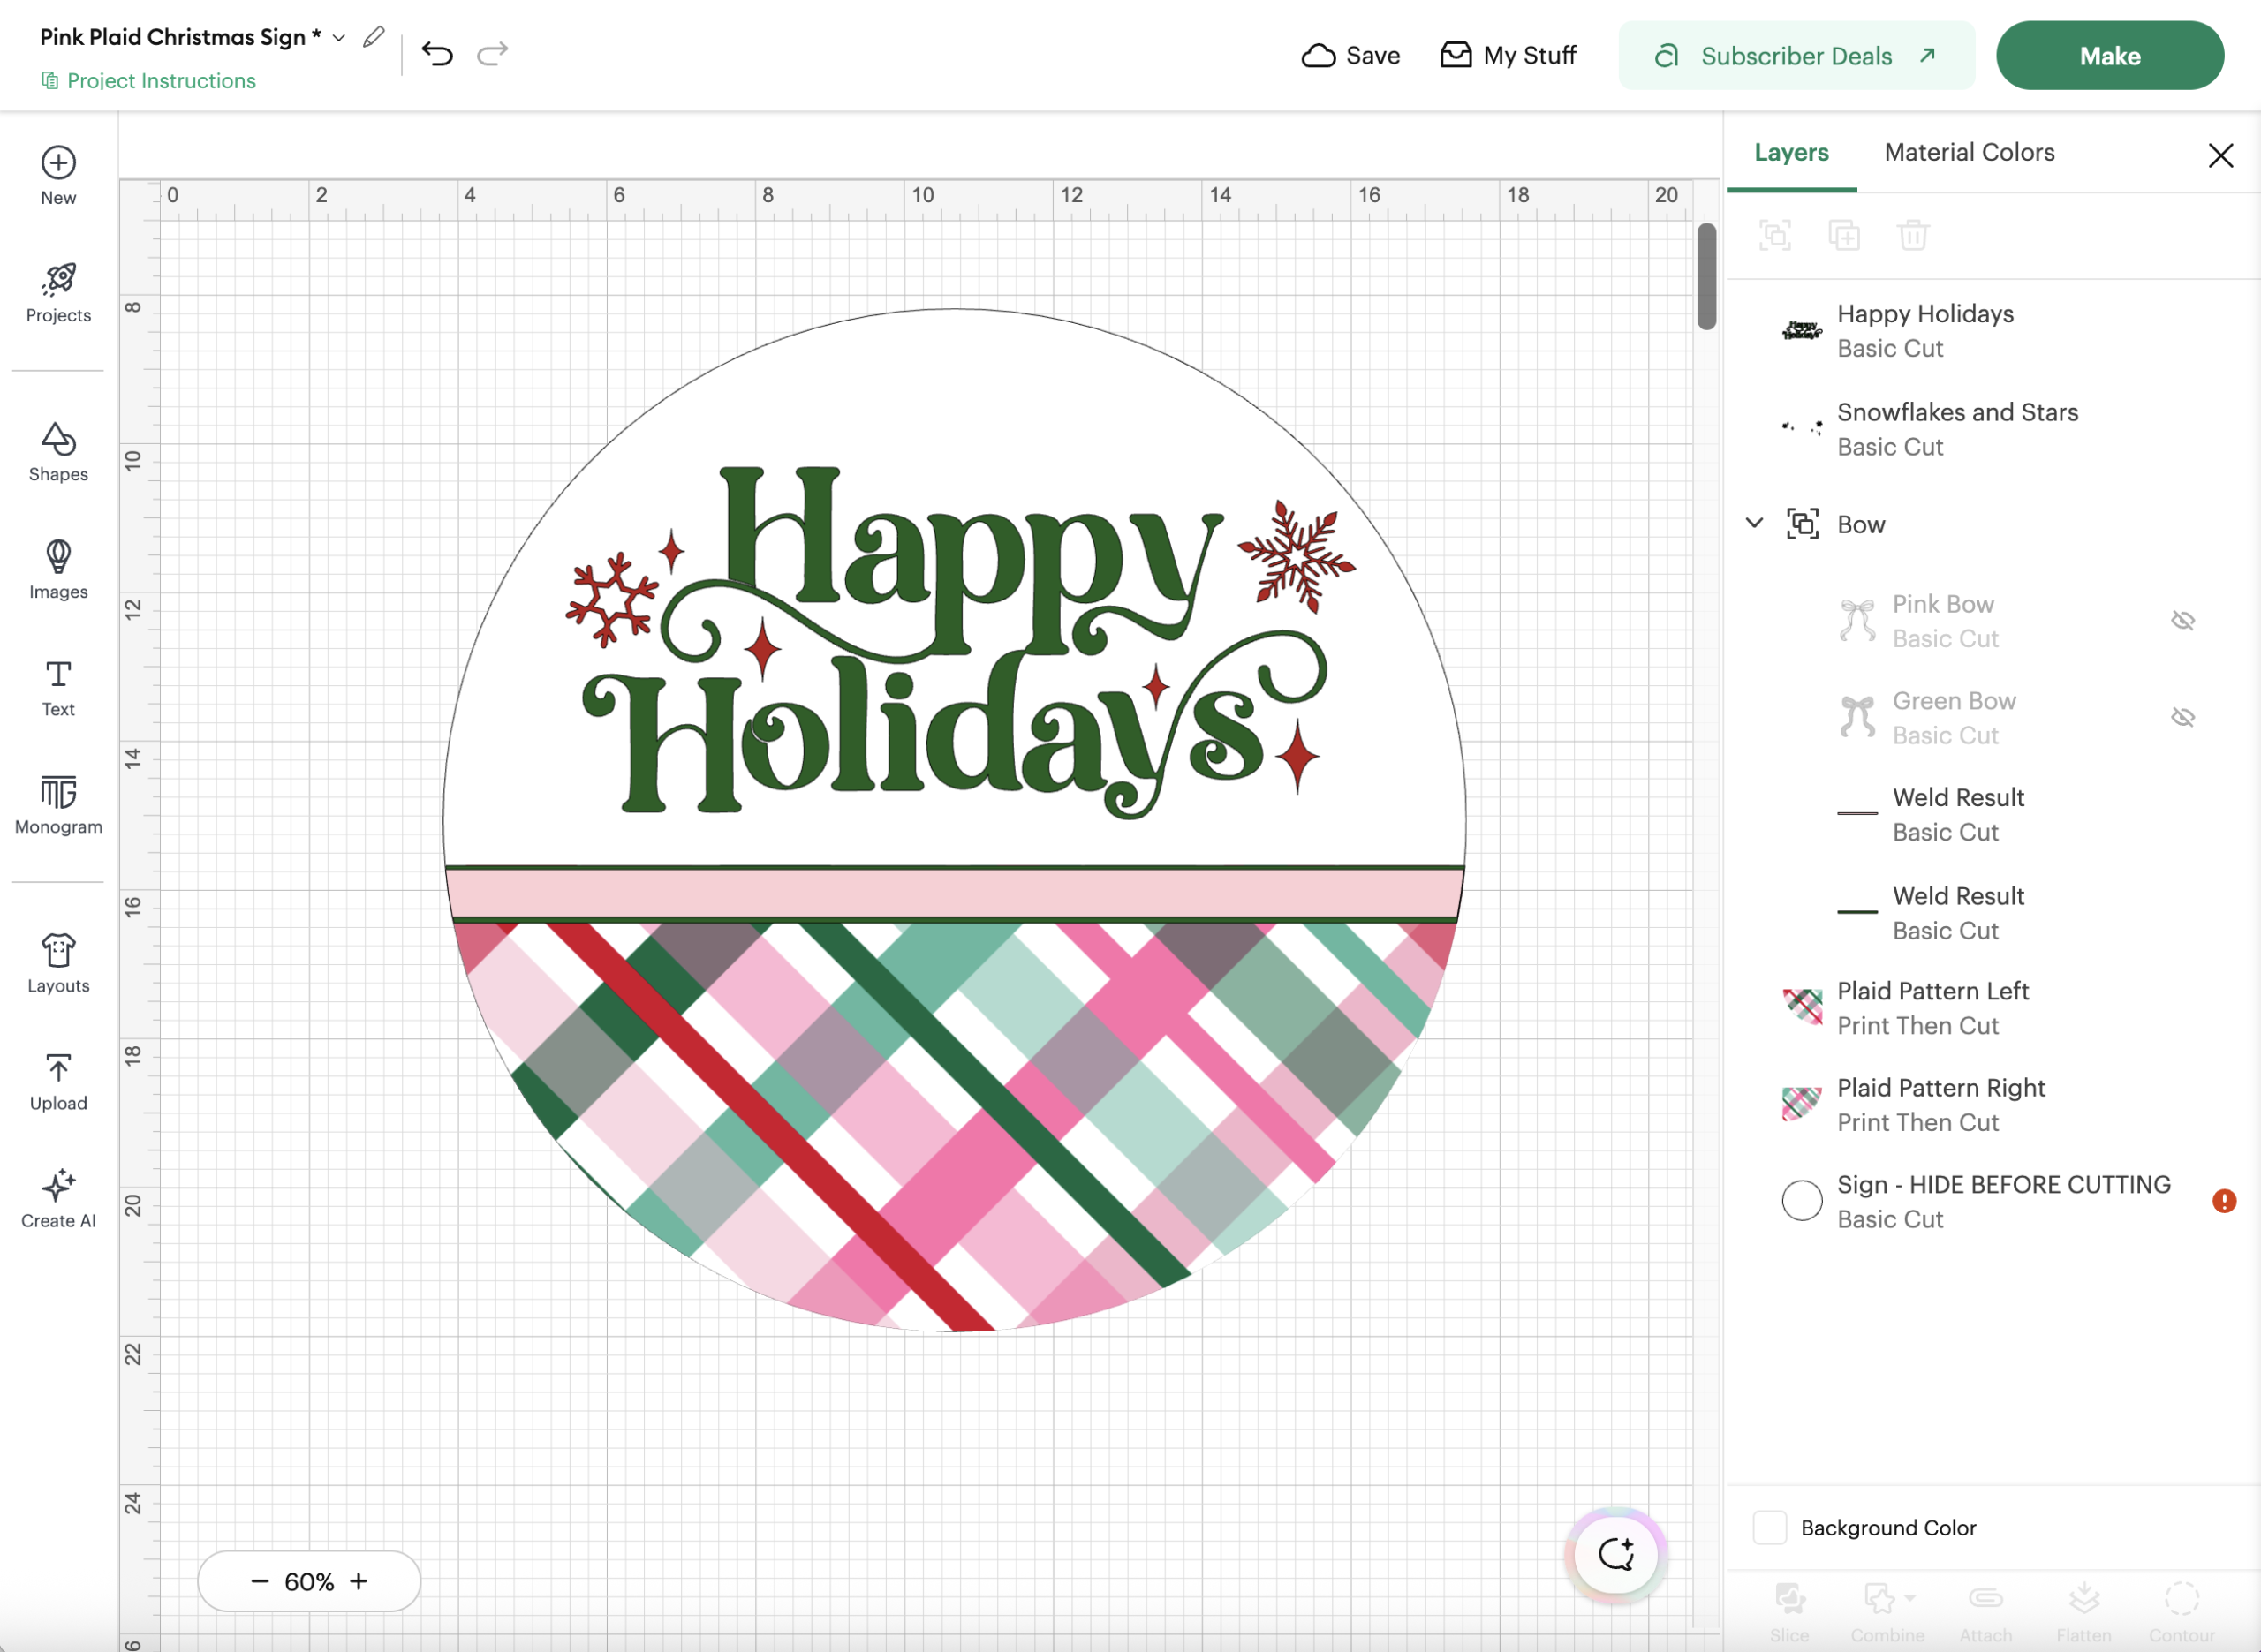
The pink and green ribbon bands are cut in half to make it easier to cut if you have smaller pieces of vinyl. If you can cut them at full length, select both pieces and weld them together before cutting.
Printing and Cutting the Vinyl
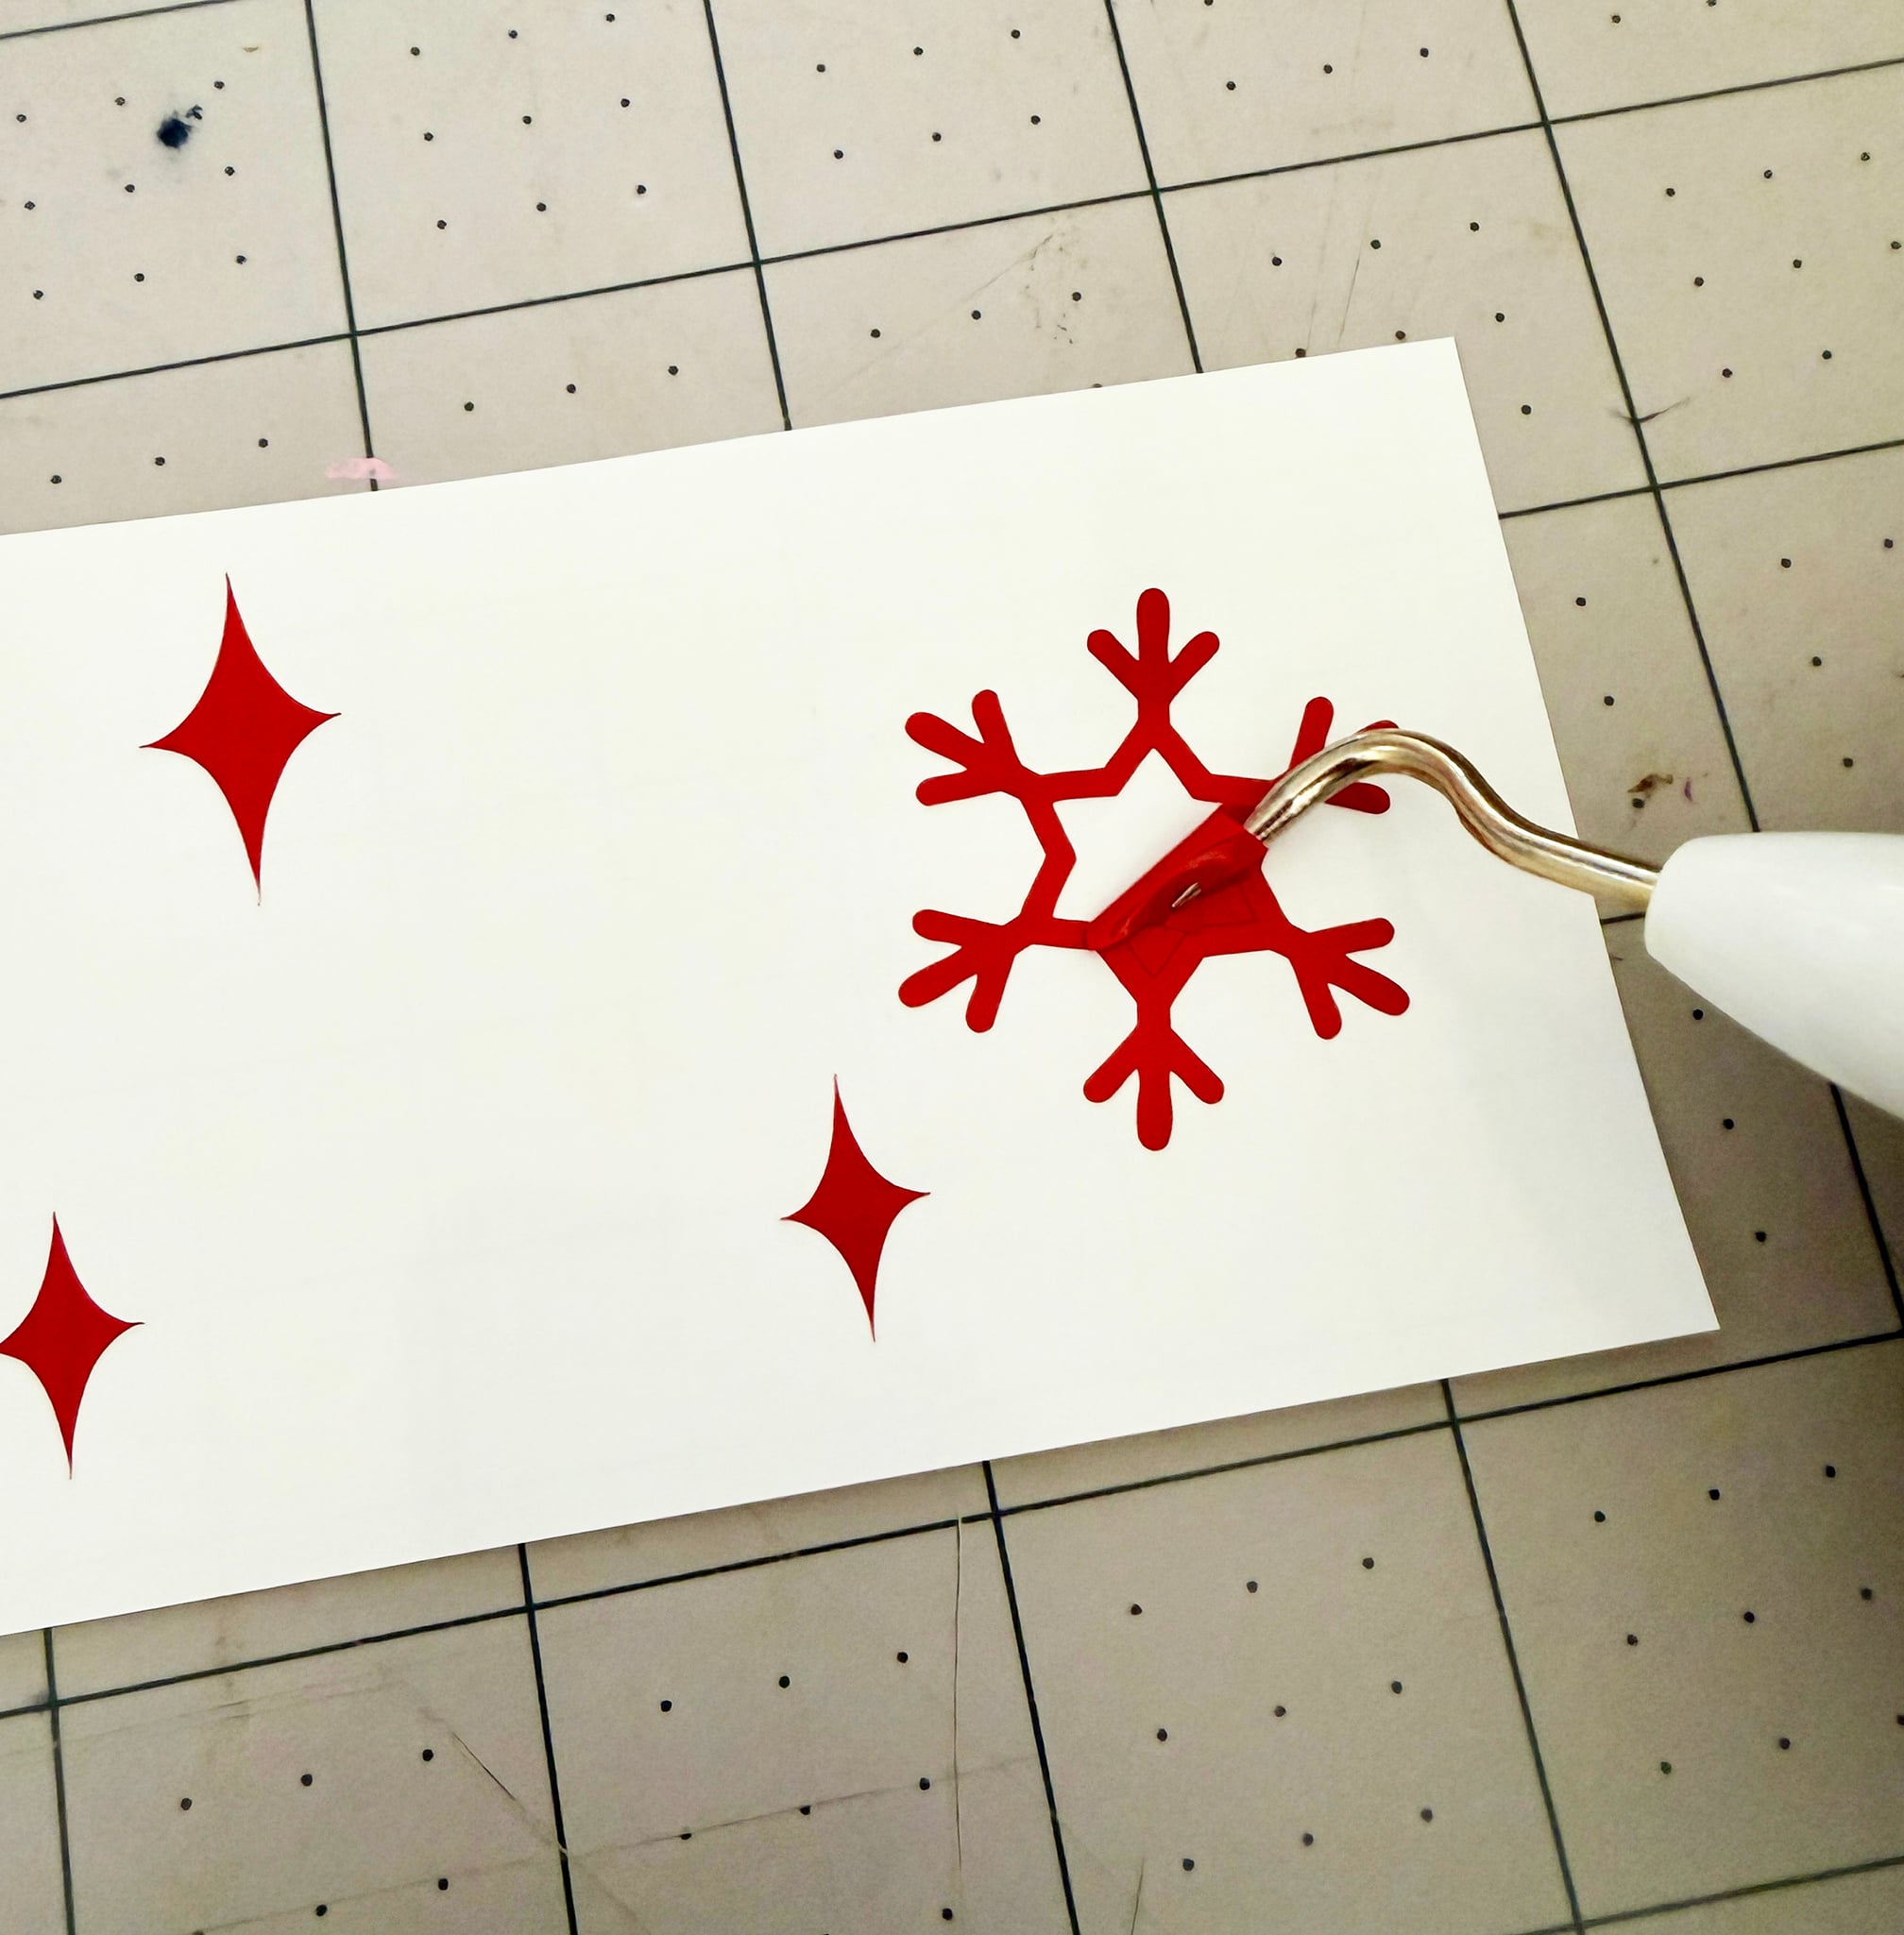
Step Three: Cut the pieces needed from vinyl including the words “Happy Holidays”, the pink and green ribbon and bow, and red snowflakes. Next, cut the plaid in two sections from printable vinyl.
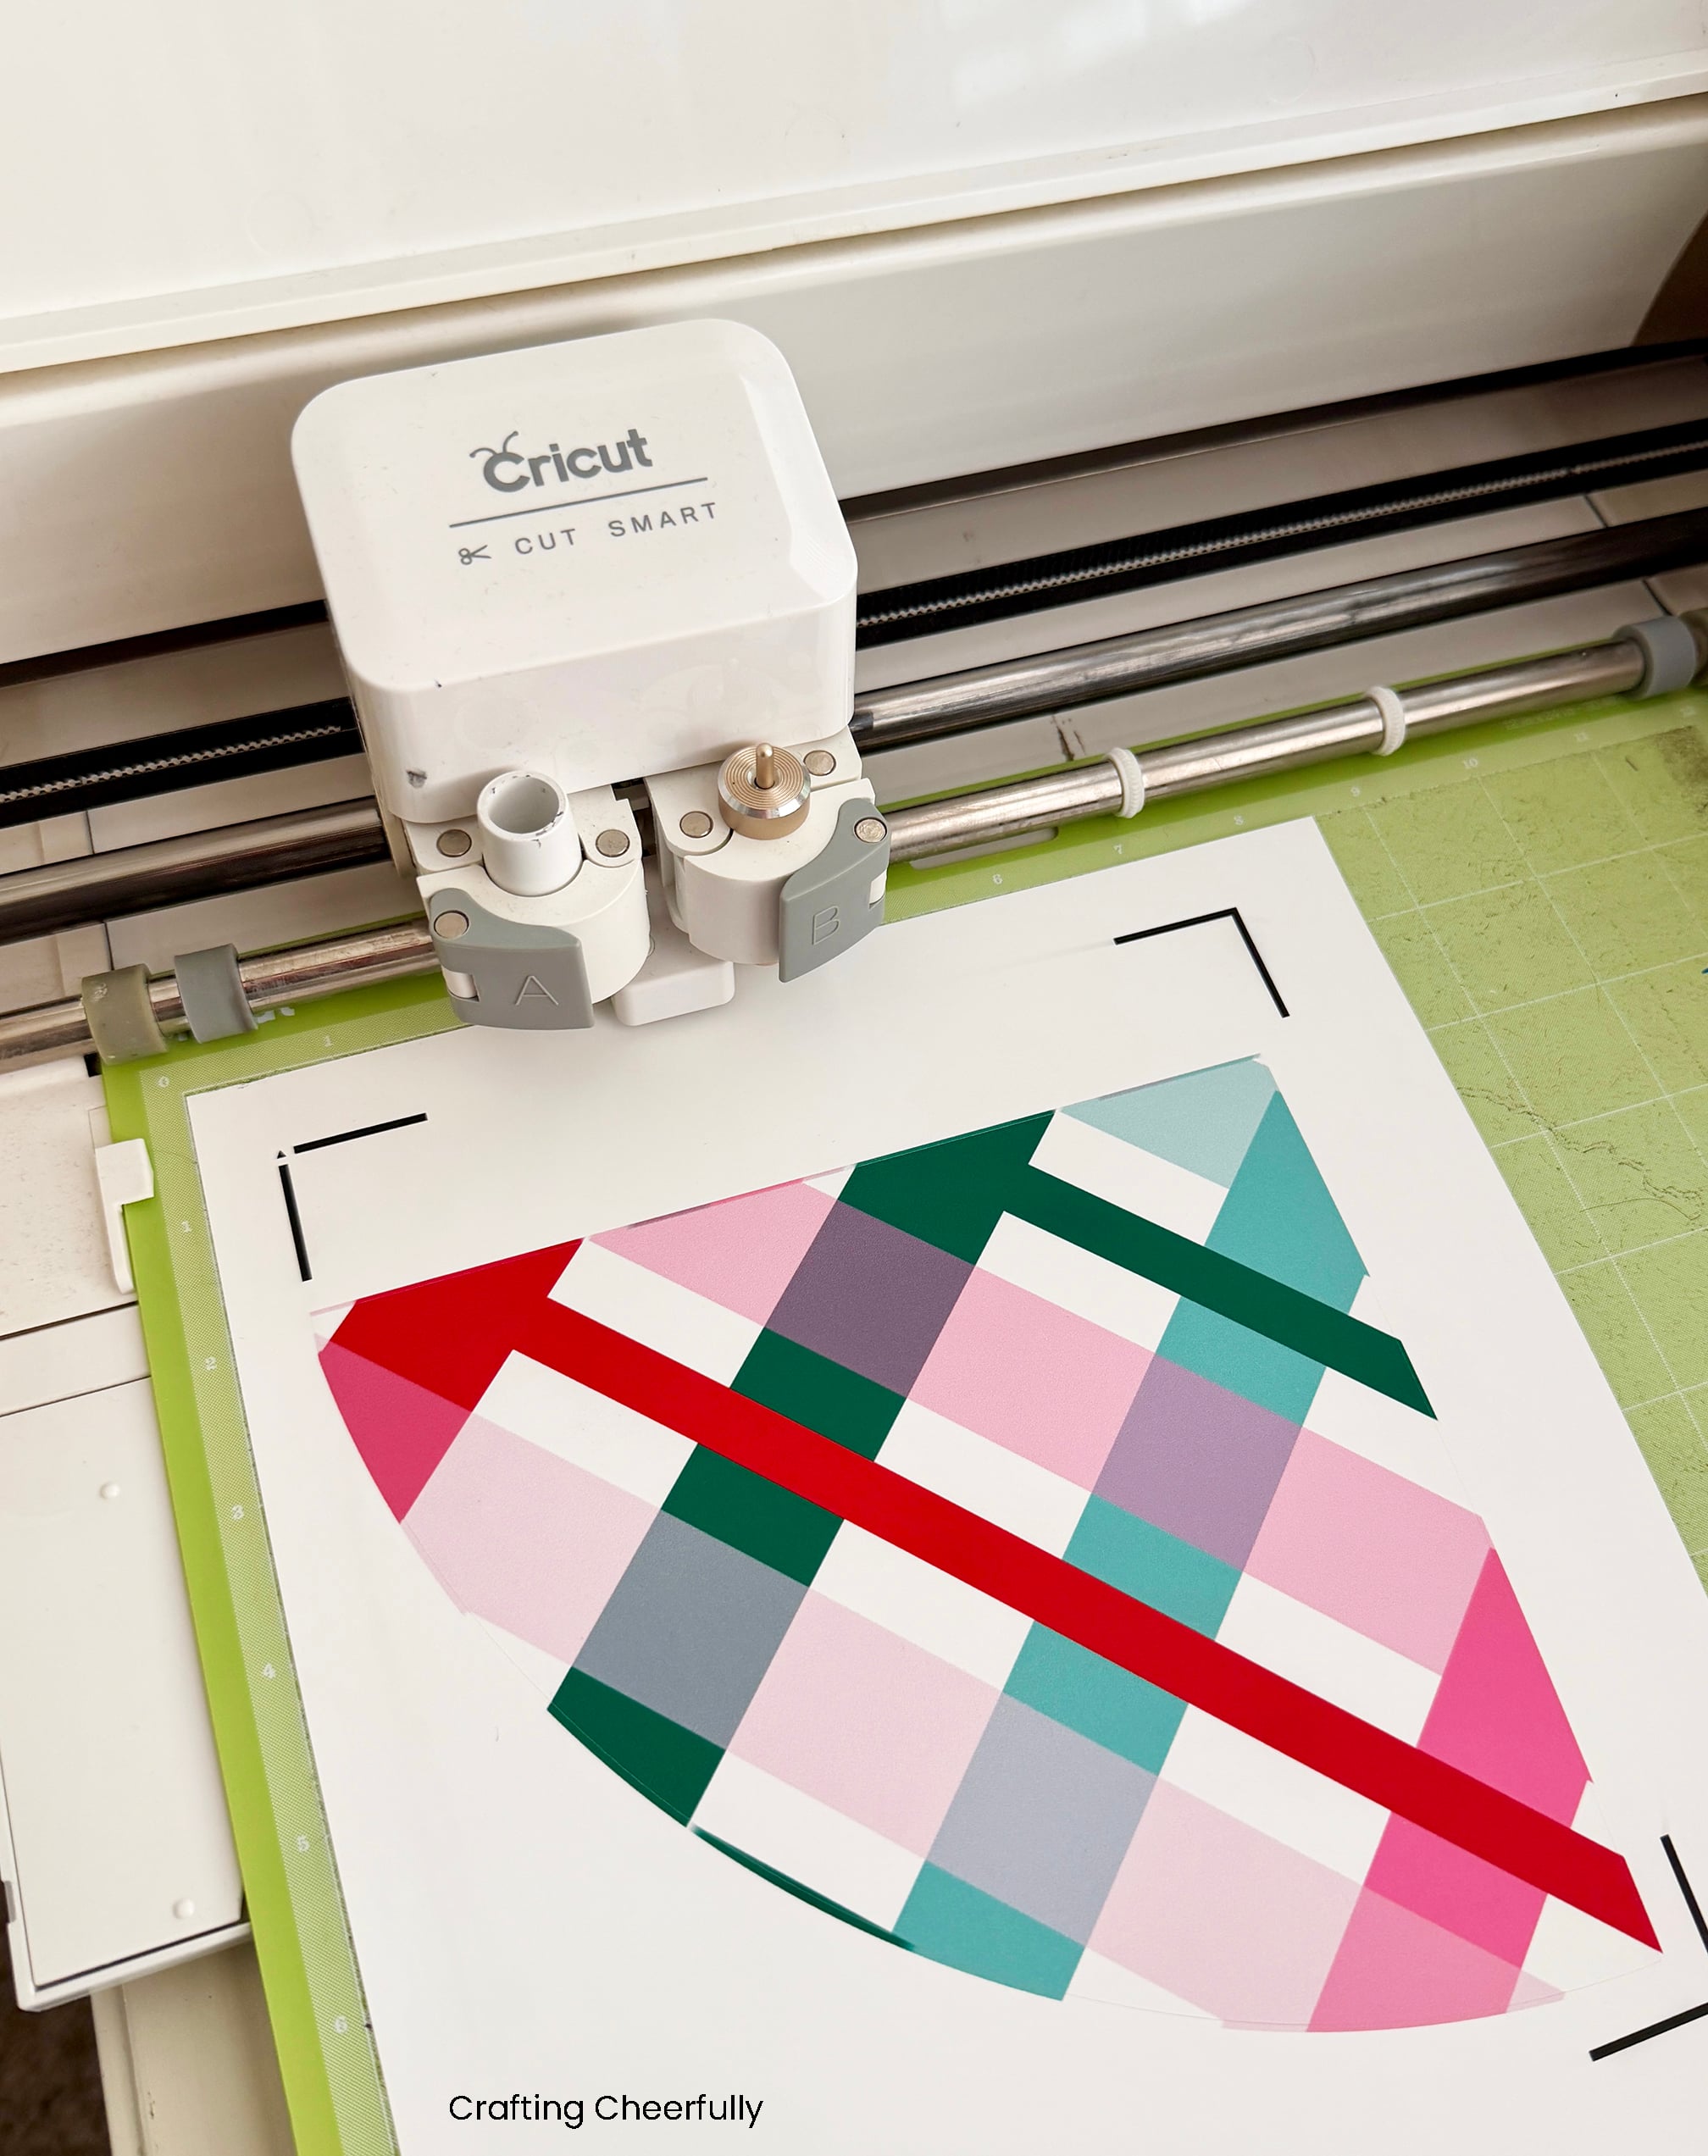
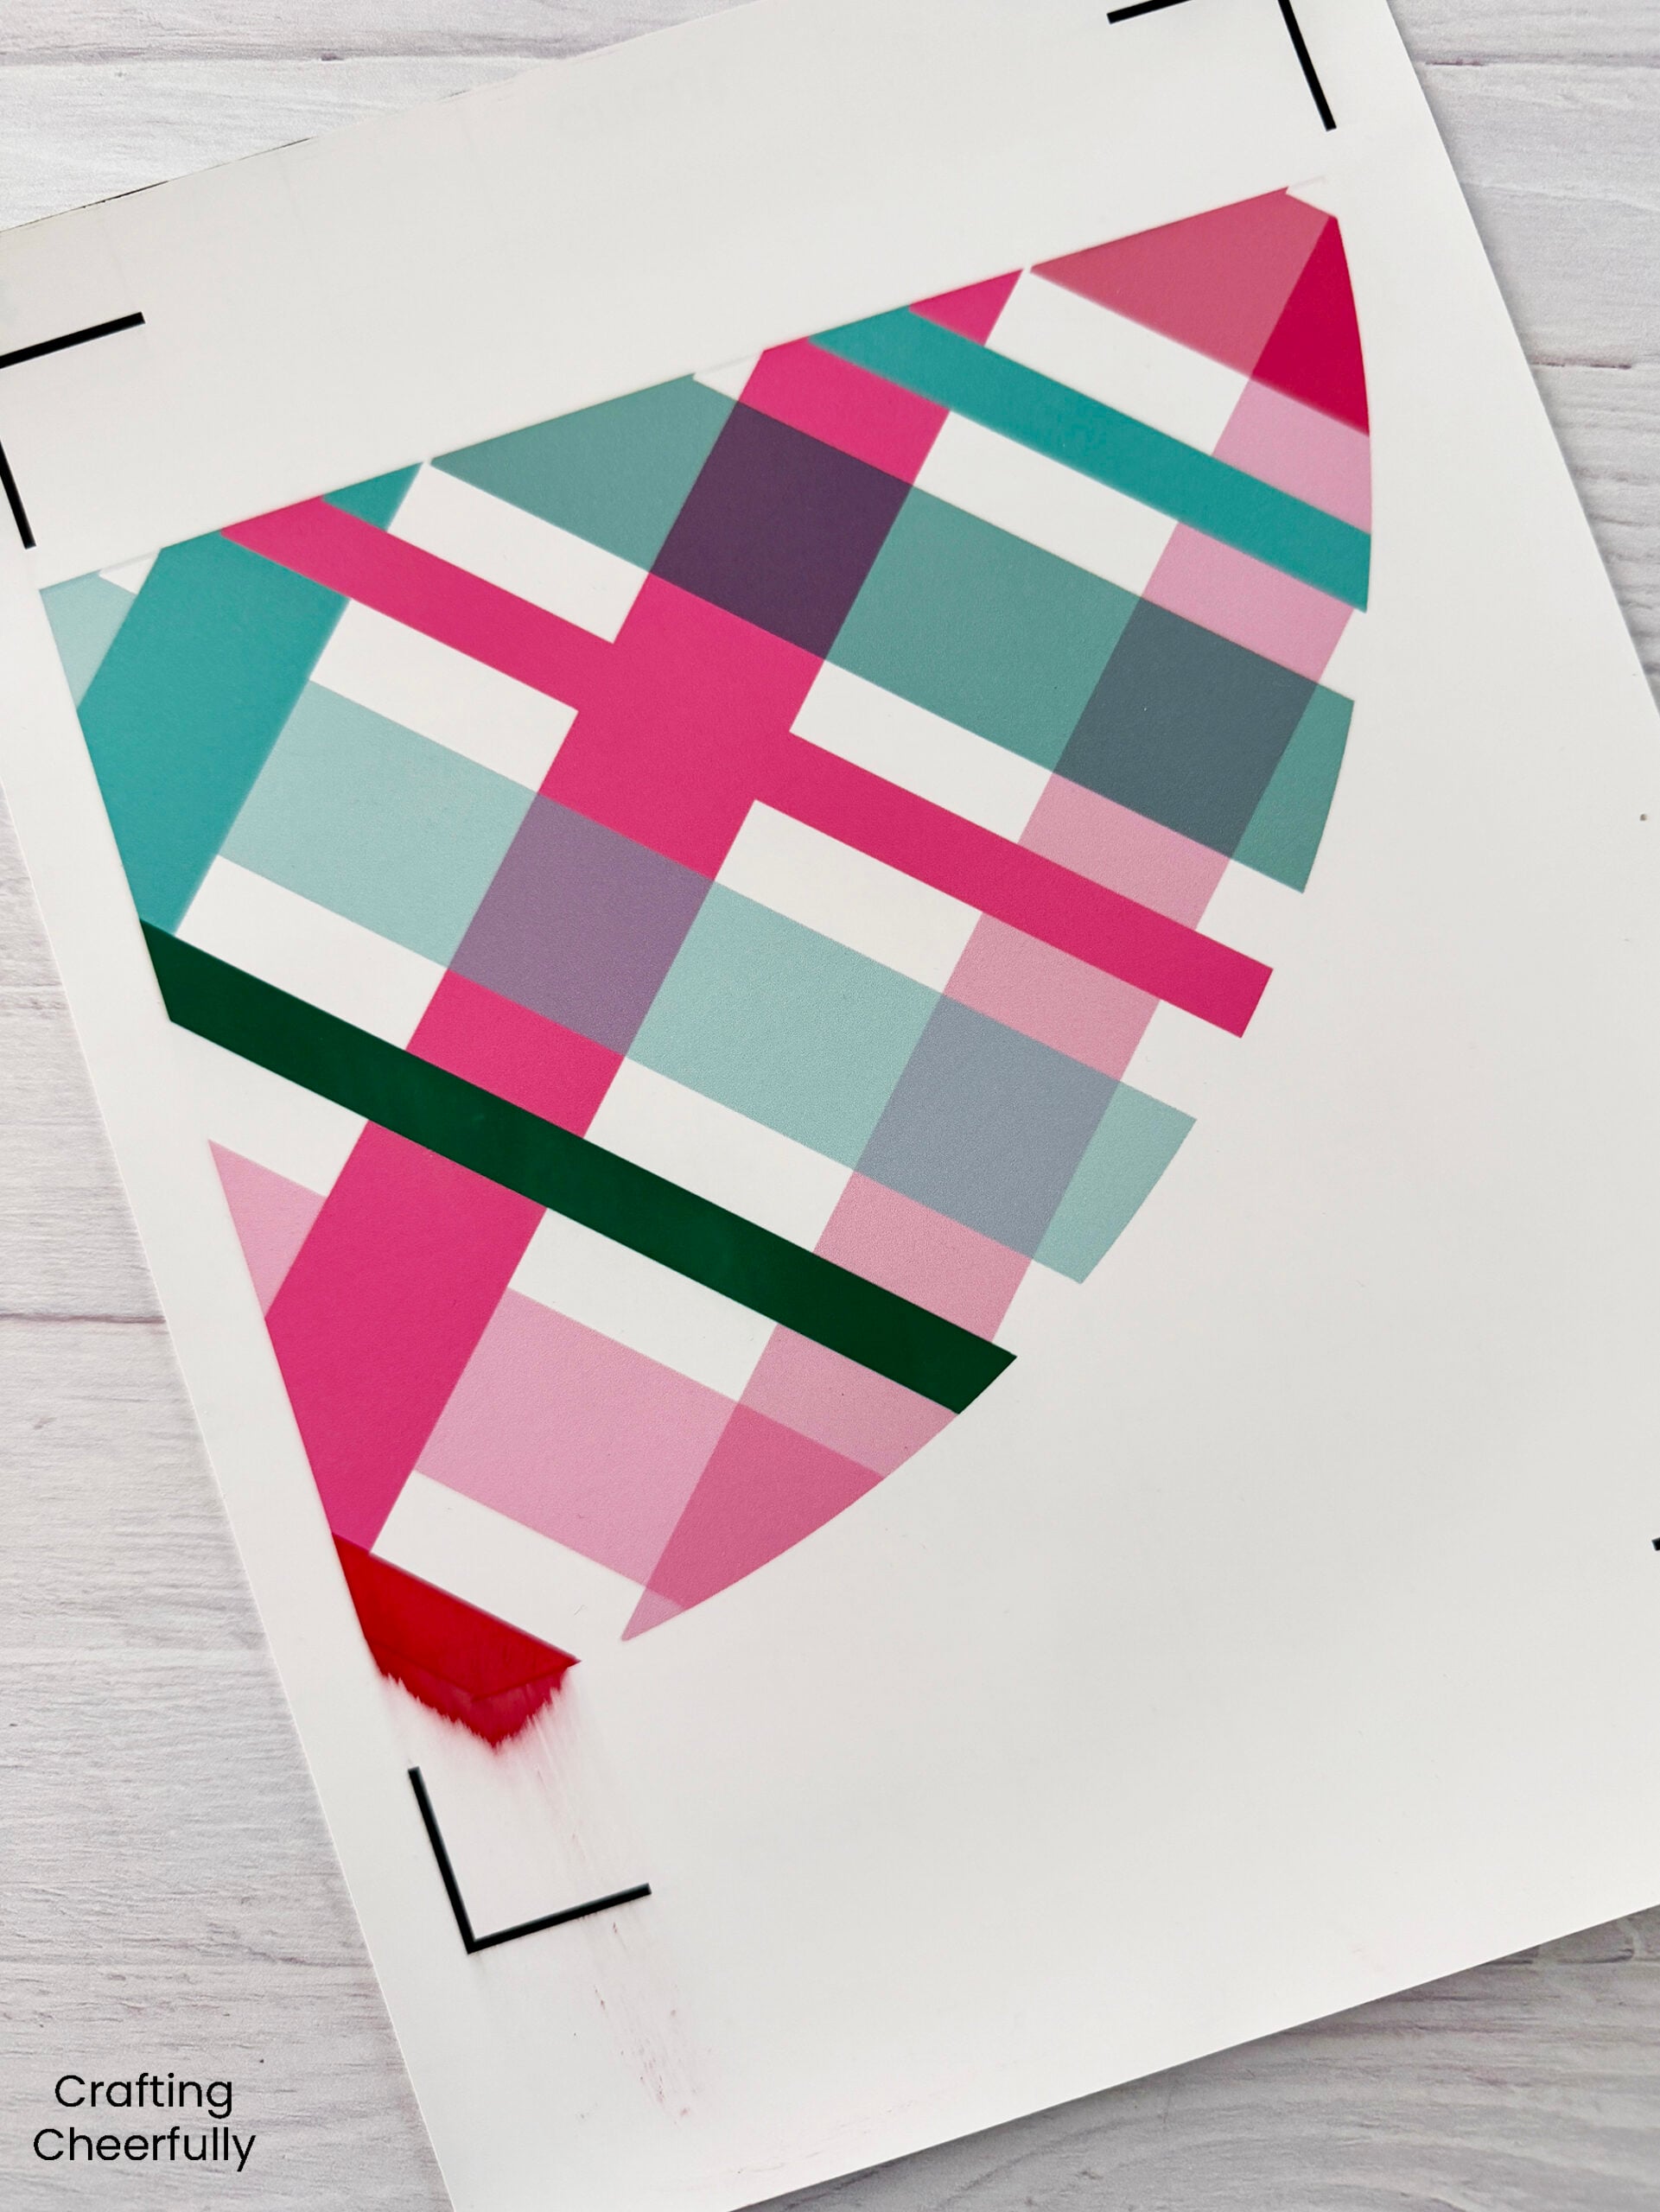
I learned on my first attempt, that after printing the plaid on the sheets of printable vinyl you should let them sit for a bit before adhering them to your cutting mat to cut them out. I smeared the ink by not waiting as you can see below!
Weed the vinyl pieces using a weeding tool.
Applying the Printable Vinyl
Step Four: Cover the bottom half of the wooden sign with the plaid printable vinyl. This was my first time using such large pieces of printable vinyl and I found it was doable, but I really needed to slow down and be very careful. I started applying the first piece on the right. I did this by lifting the entire piece off the sheet and lined it up with the edges of the board.
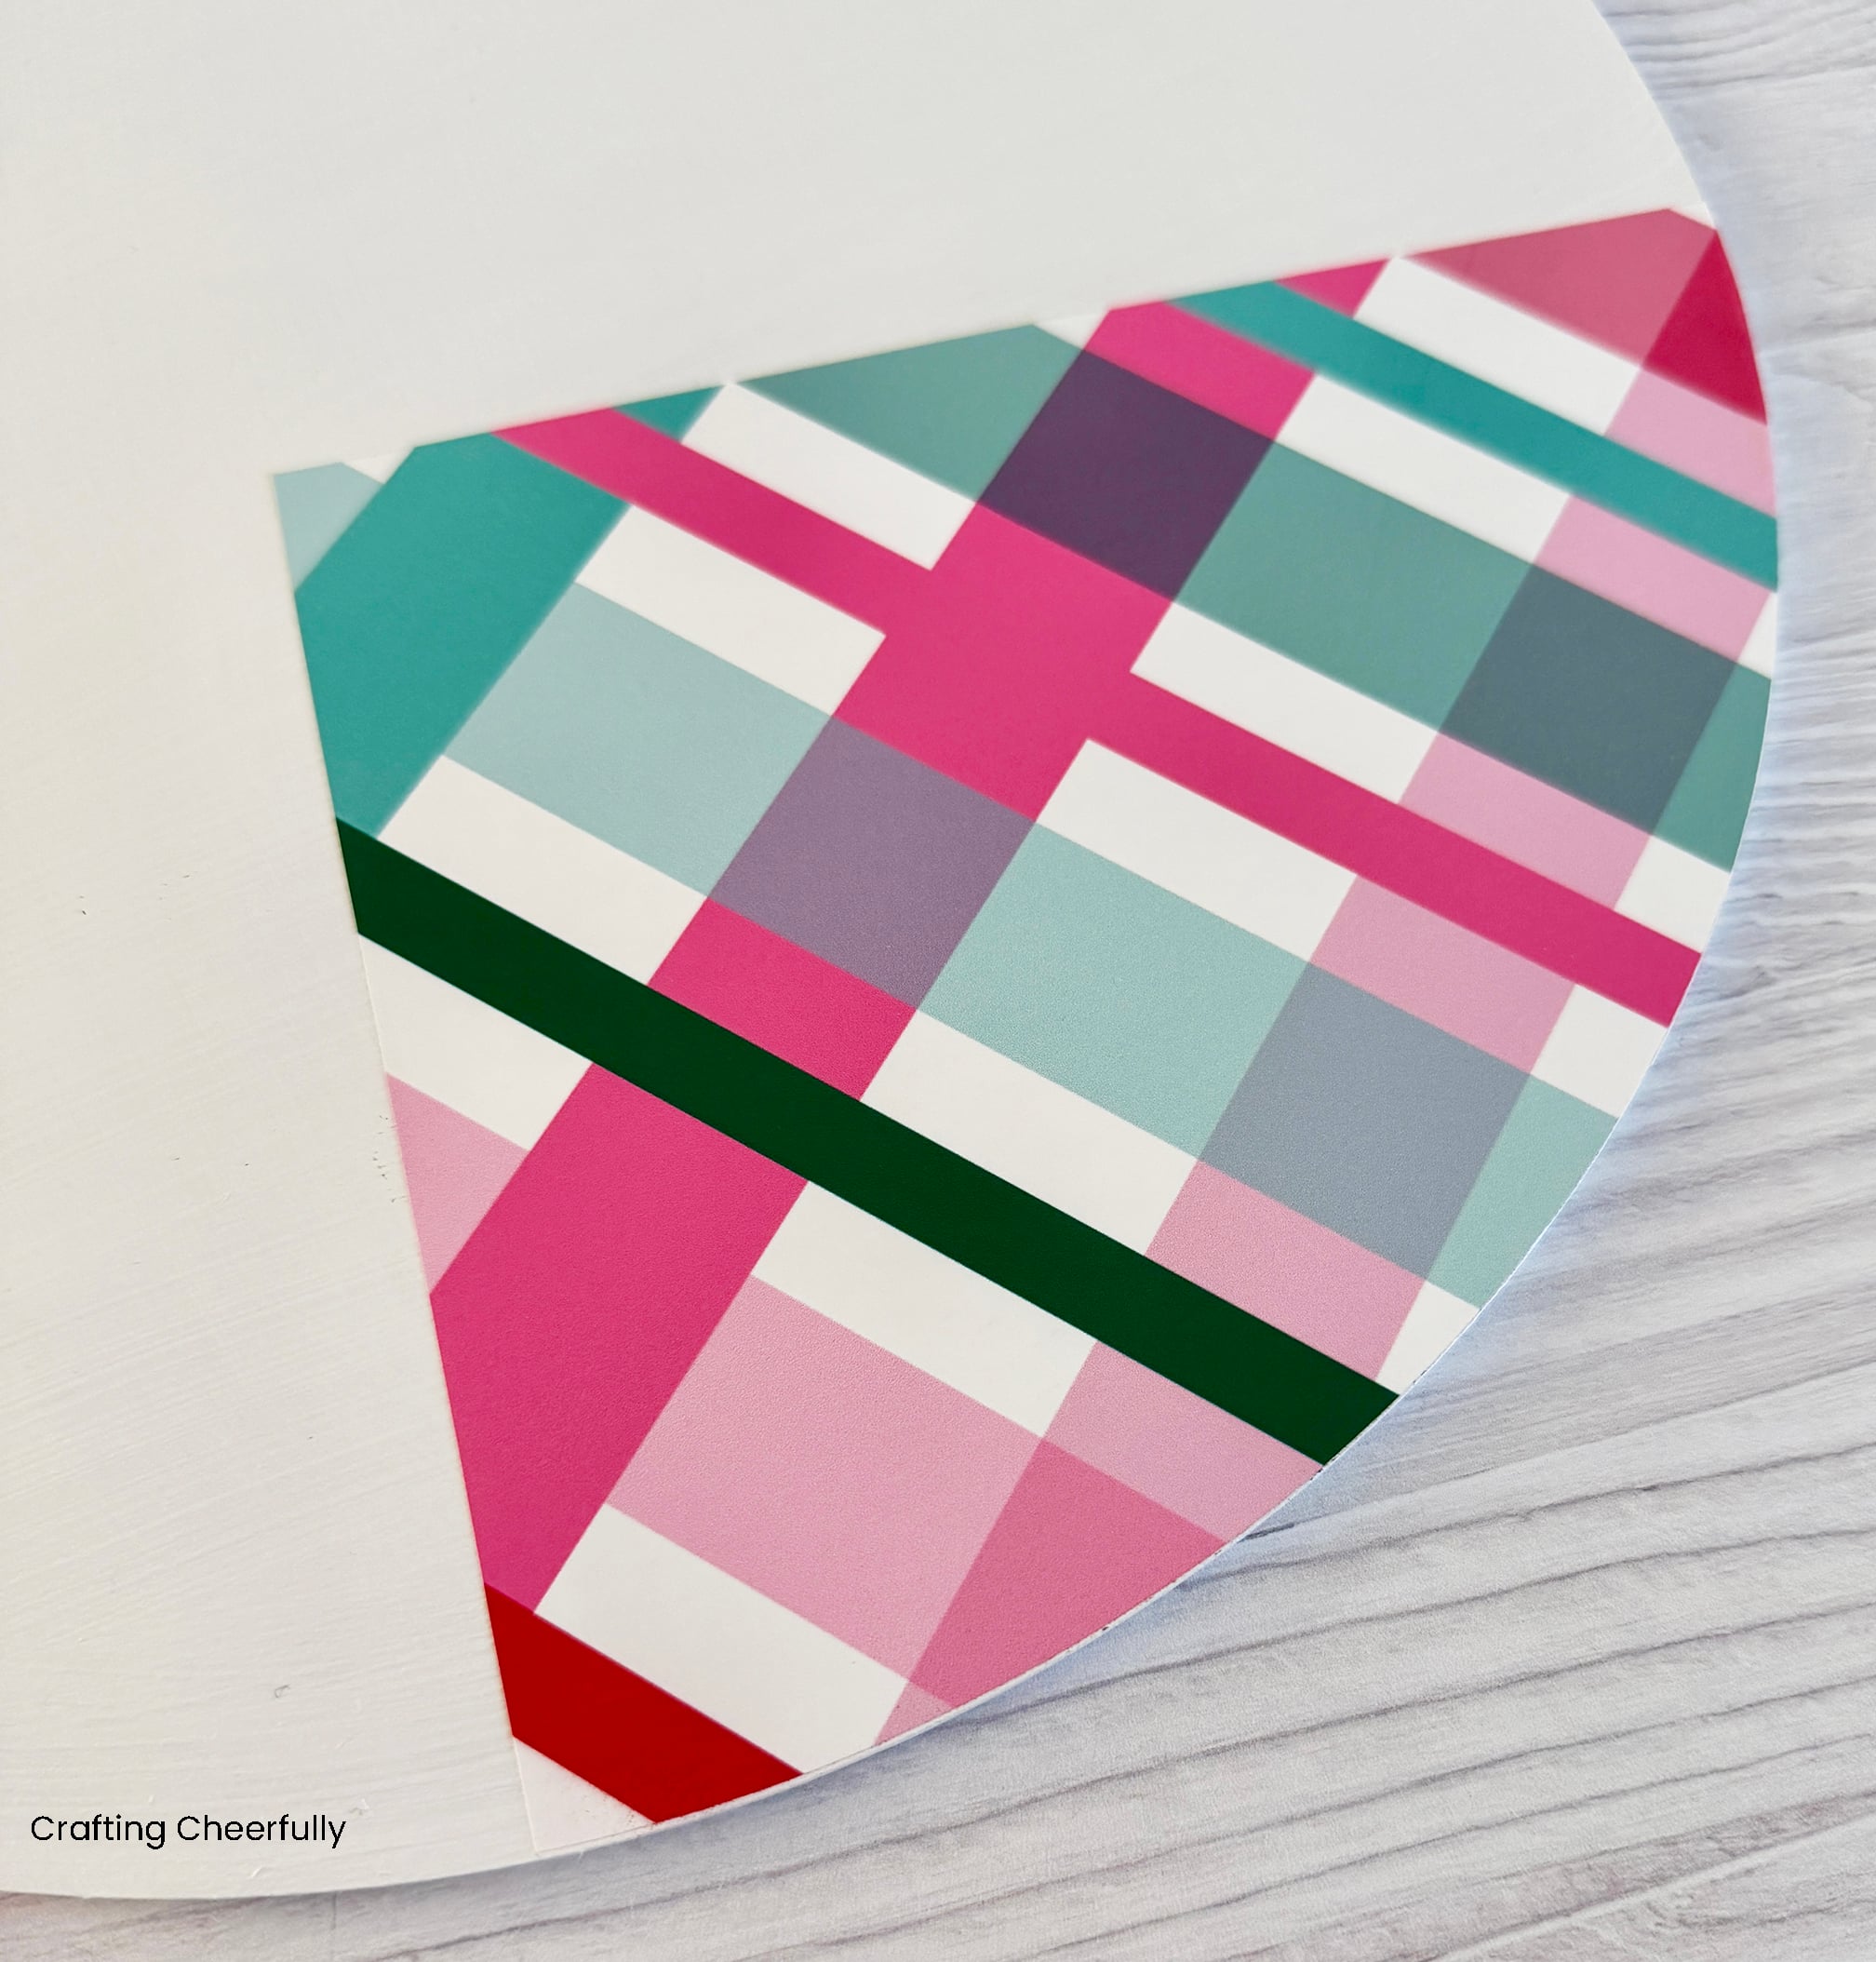
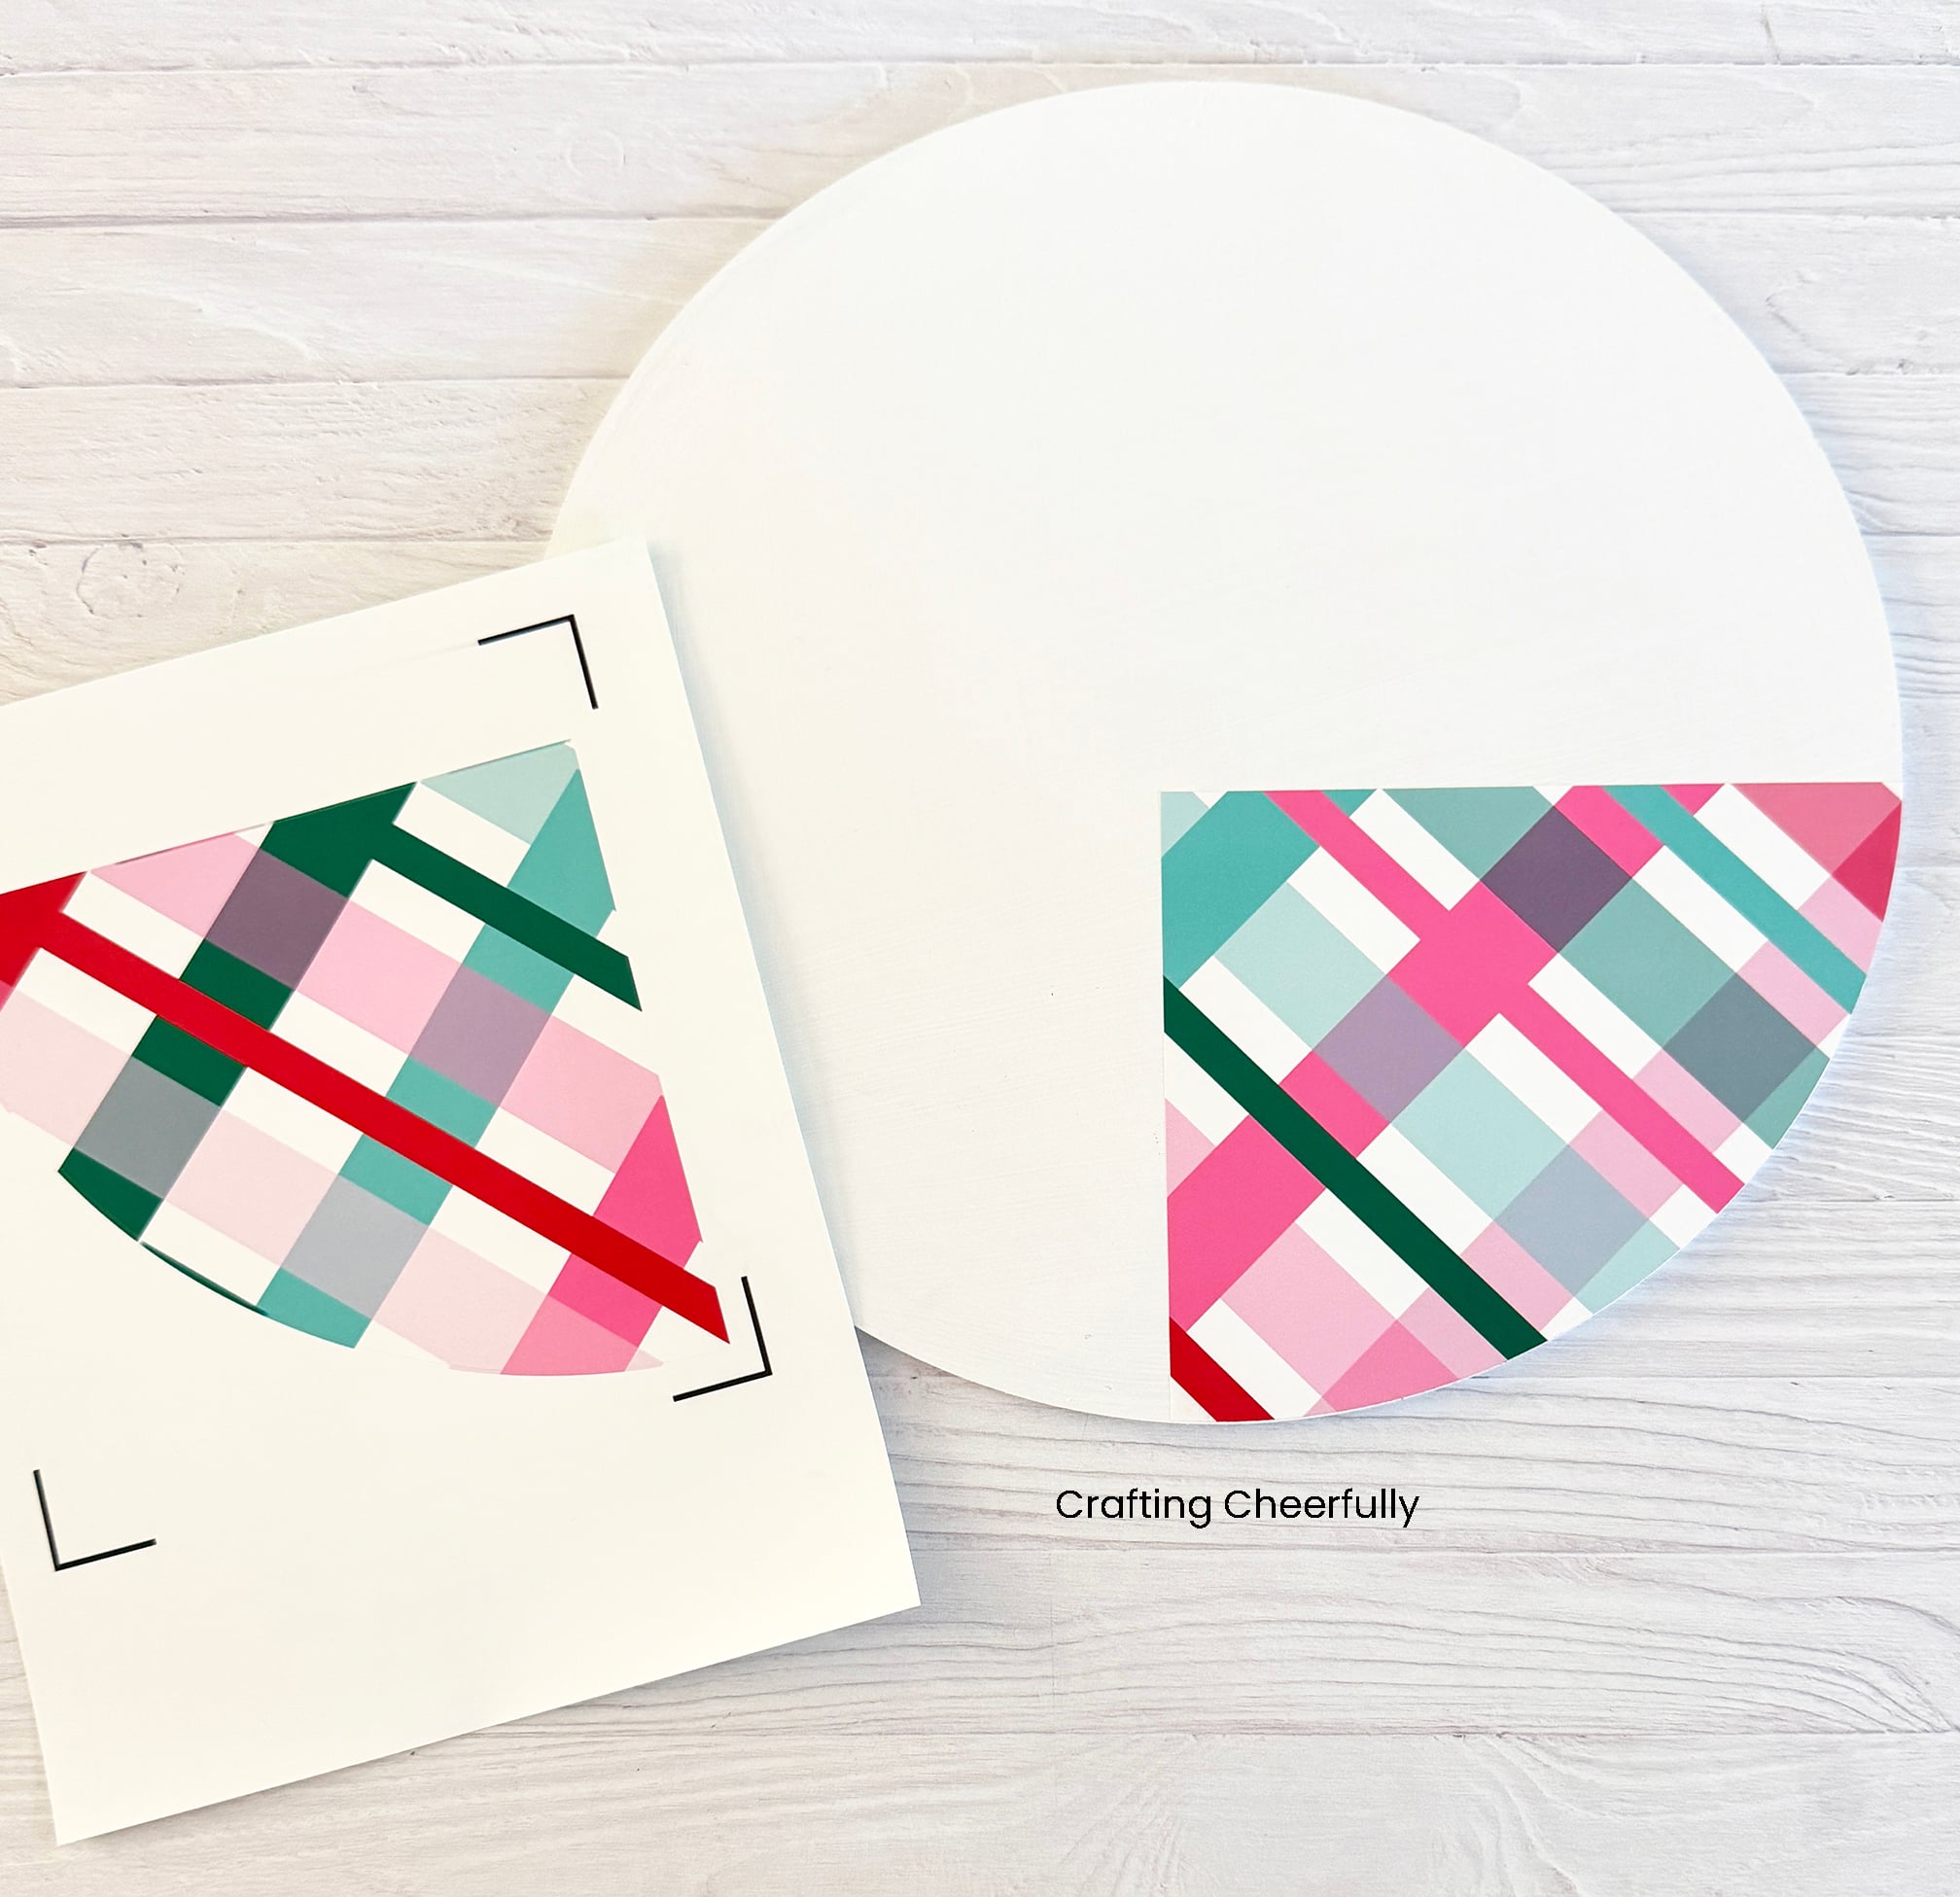
For the second sheet, I kept the vinyl on the sheet of paper and just lifted the top right corner and lined it up with the pattern, then slowly peeled it off.
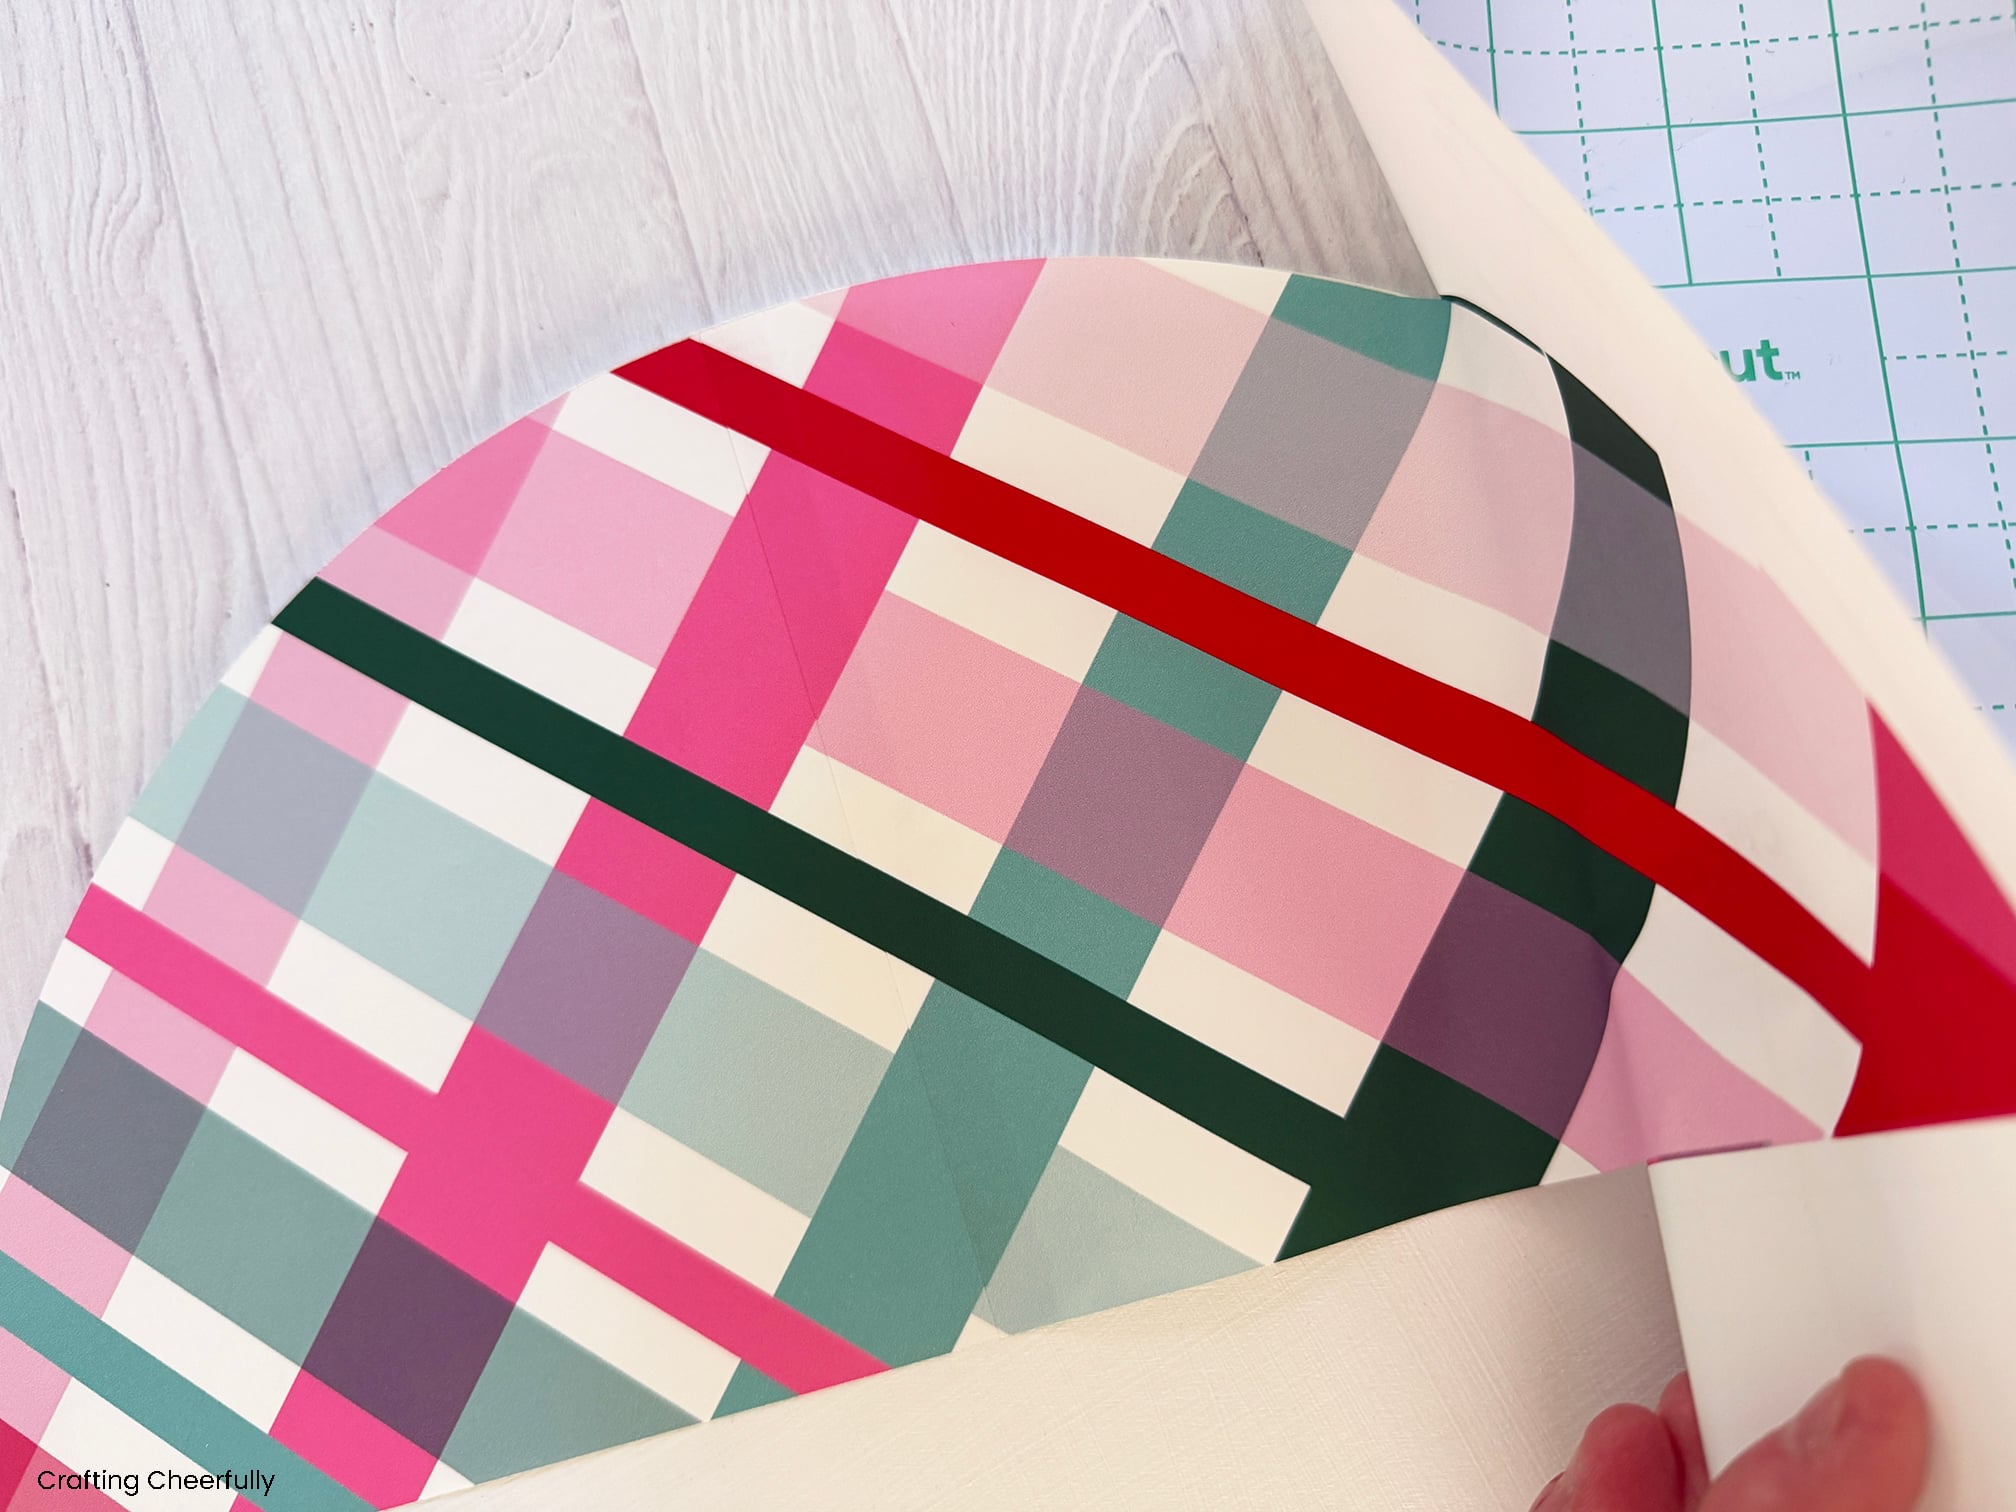
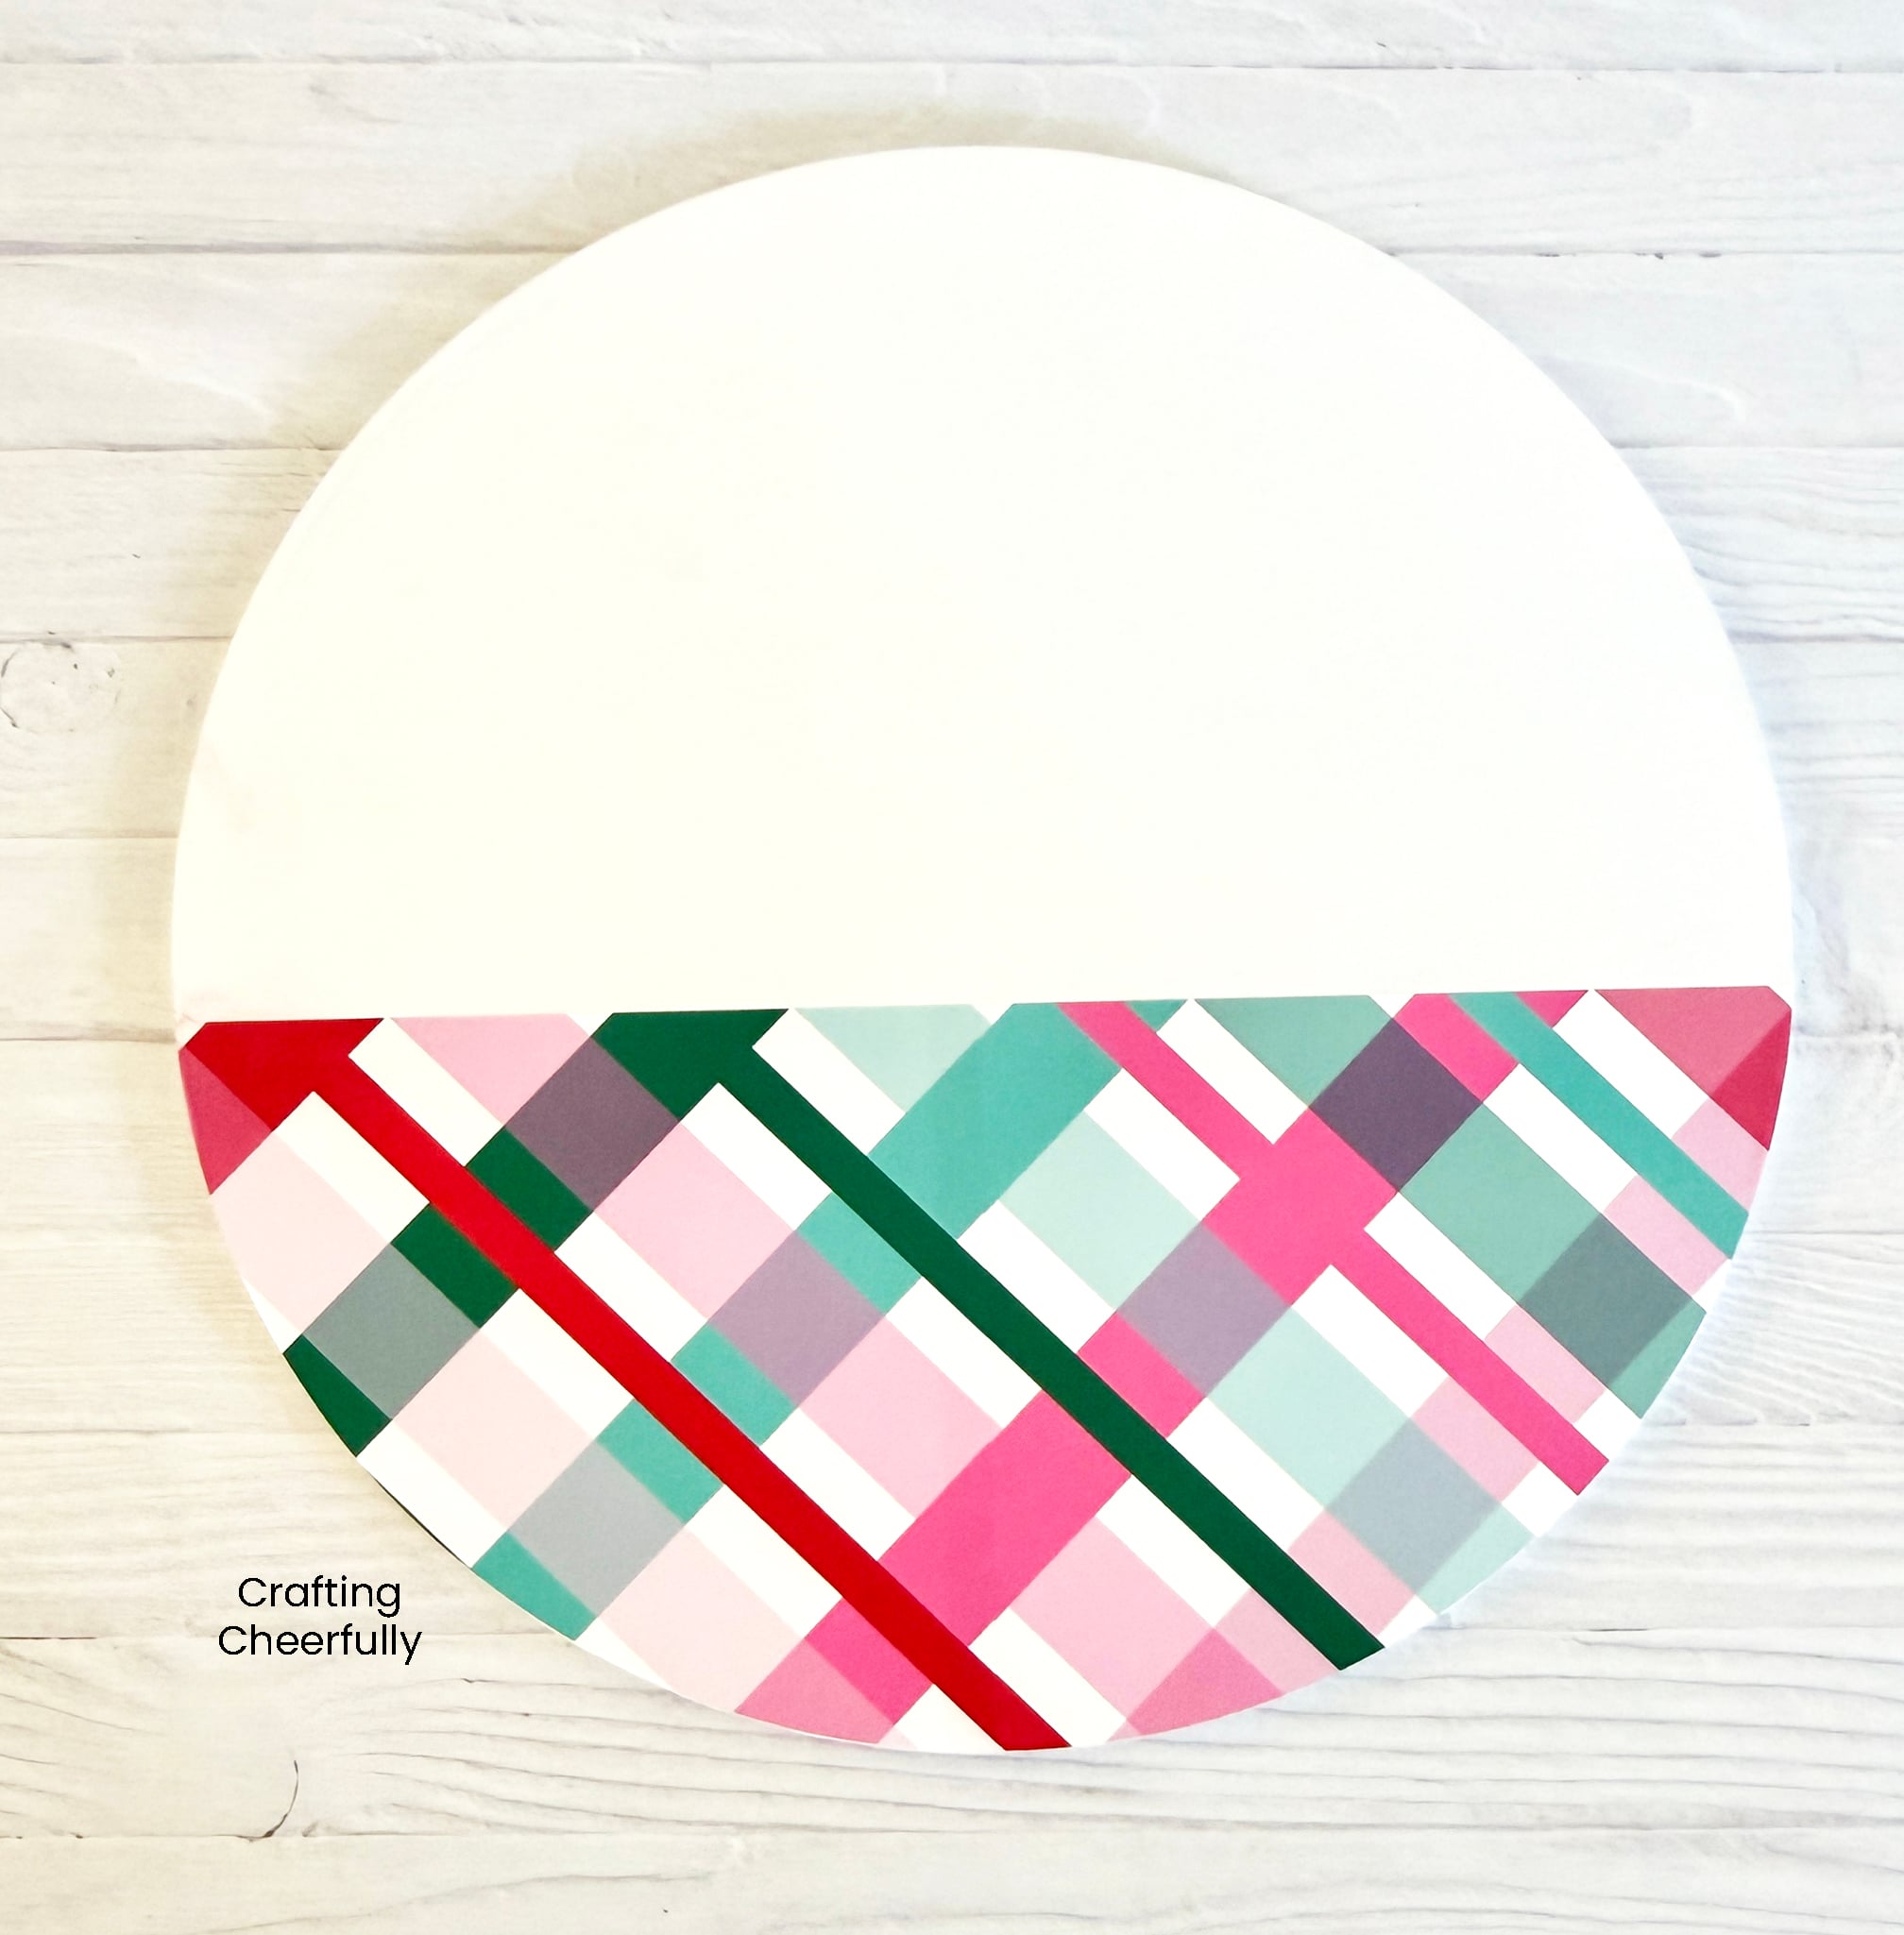
It was tricky to line up the plaid perfectly. Thankfully you don’t notice that is slightly off unless you are really closely looking.
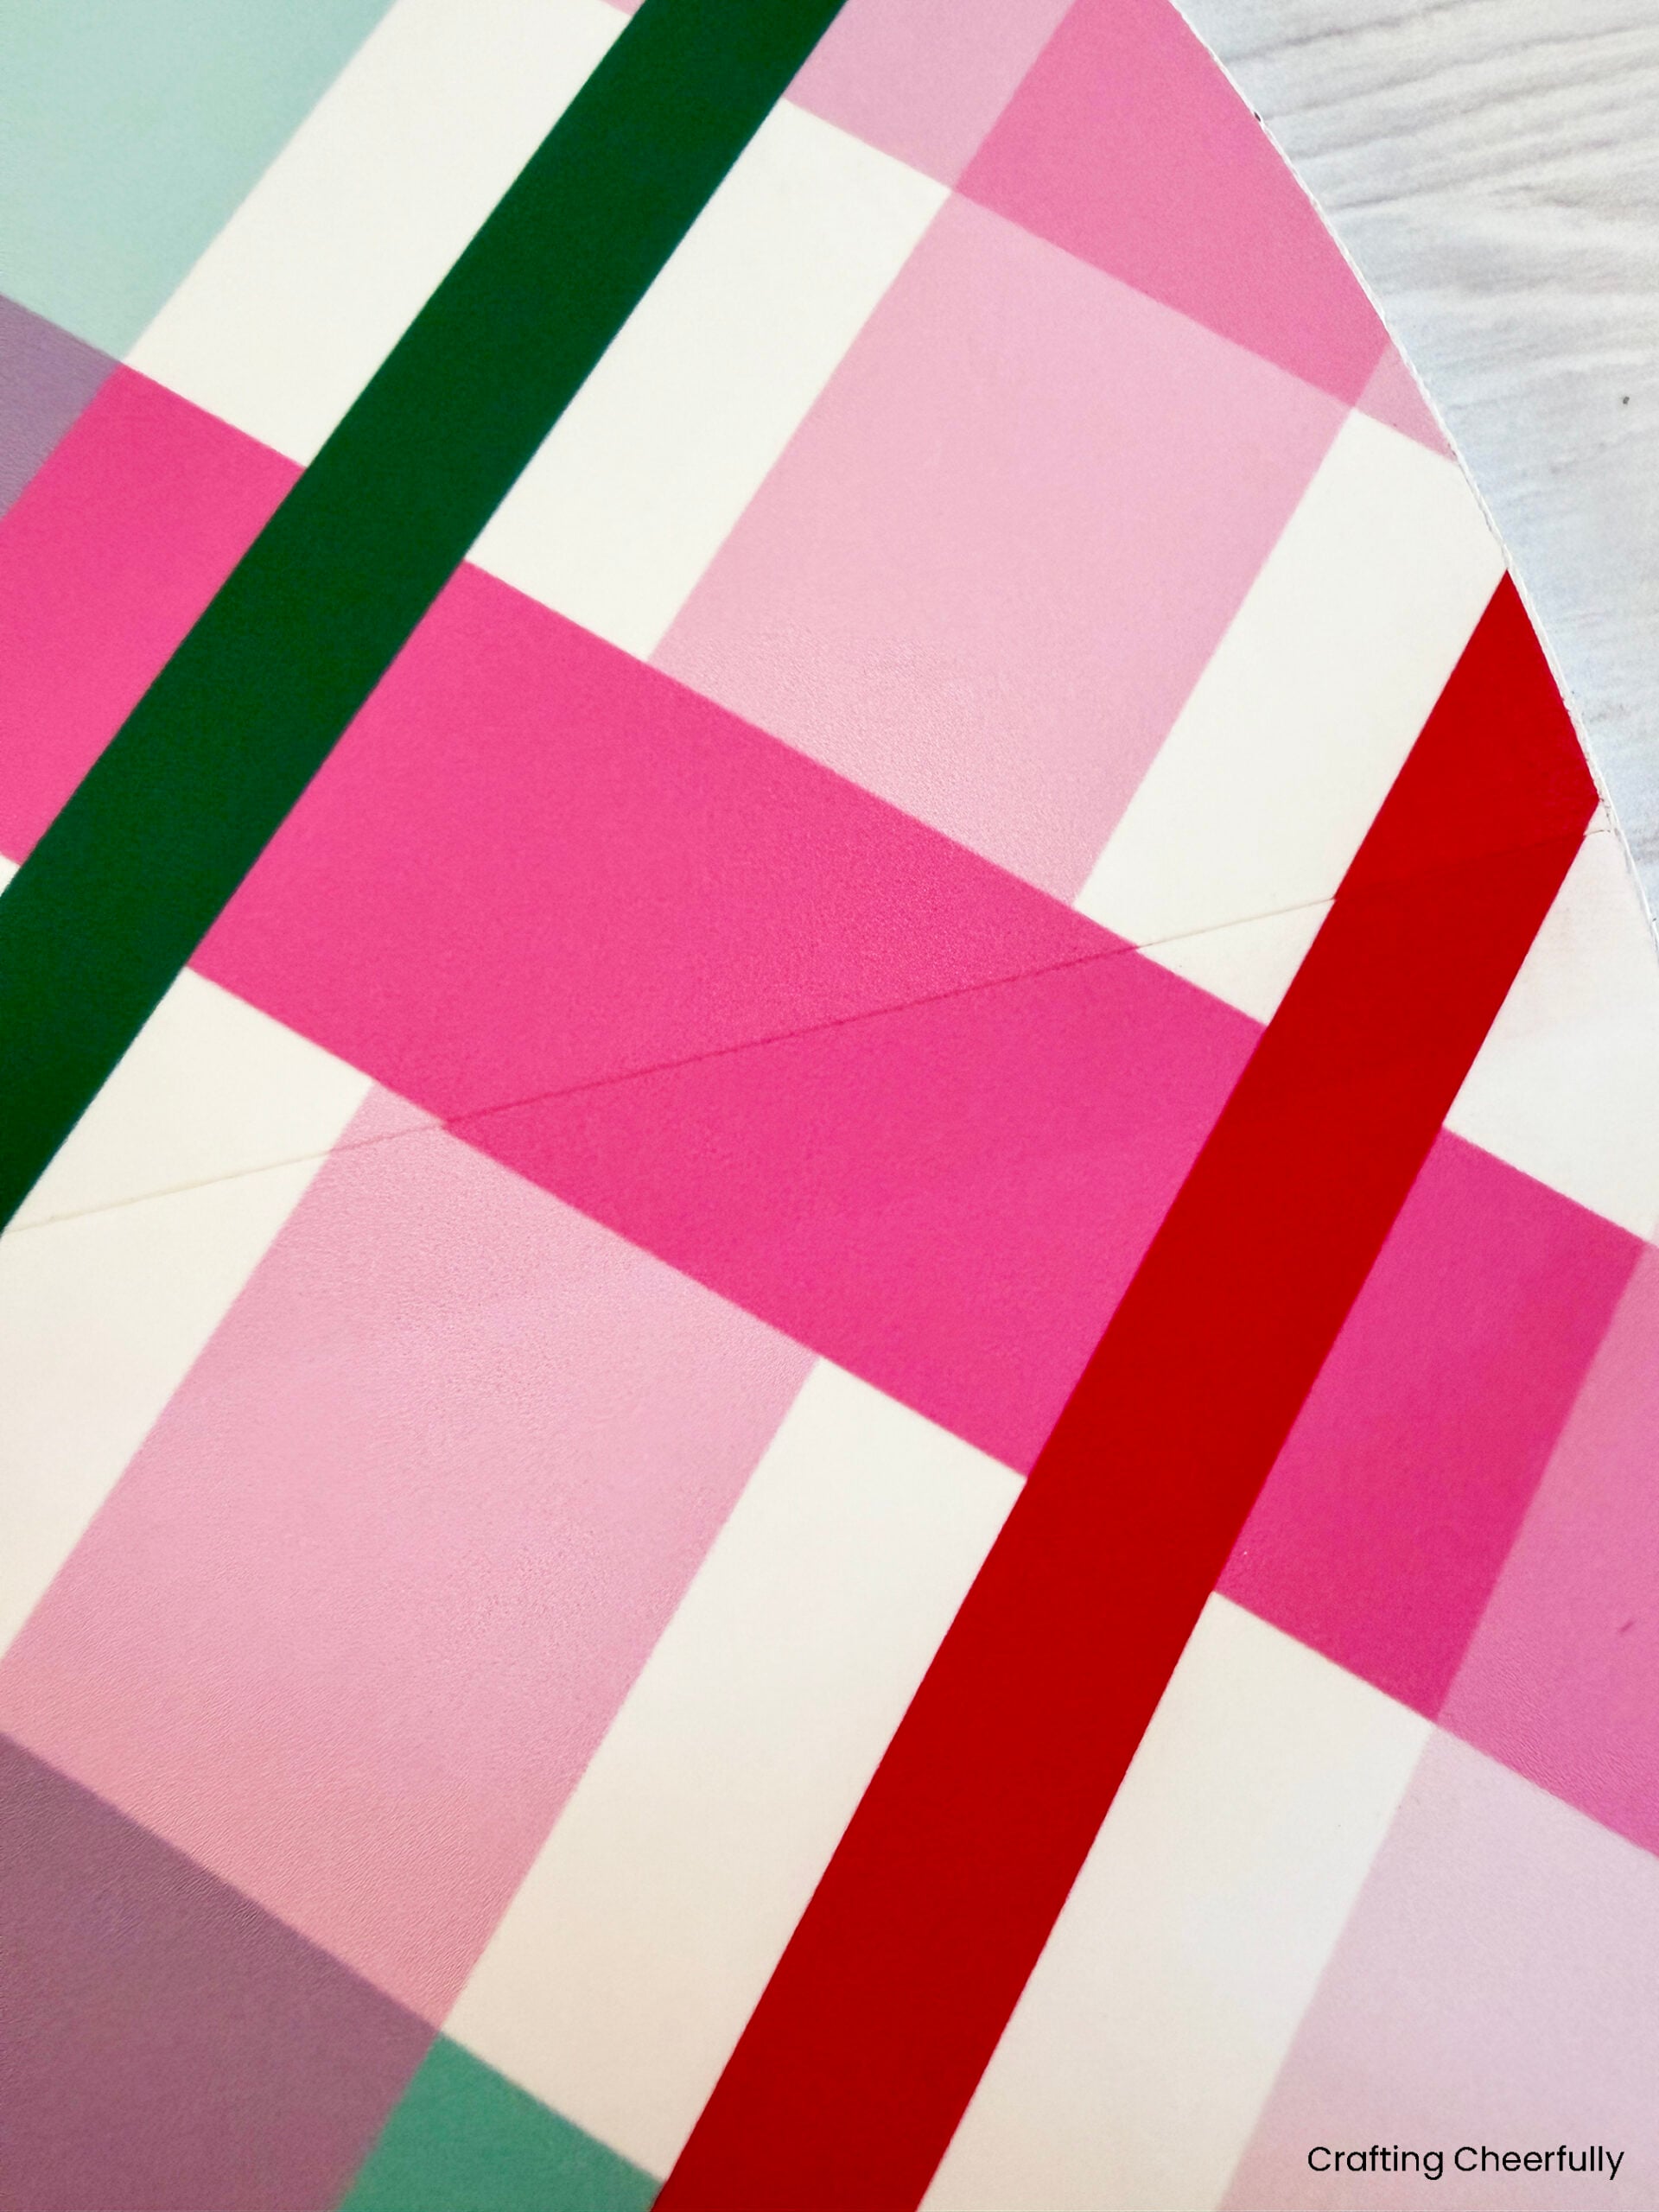
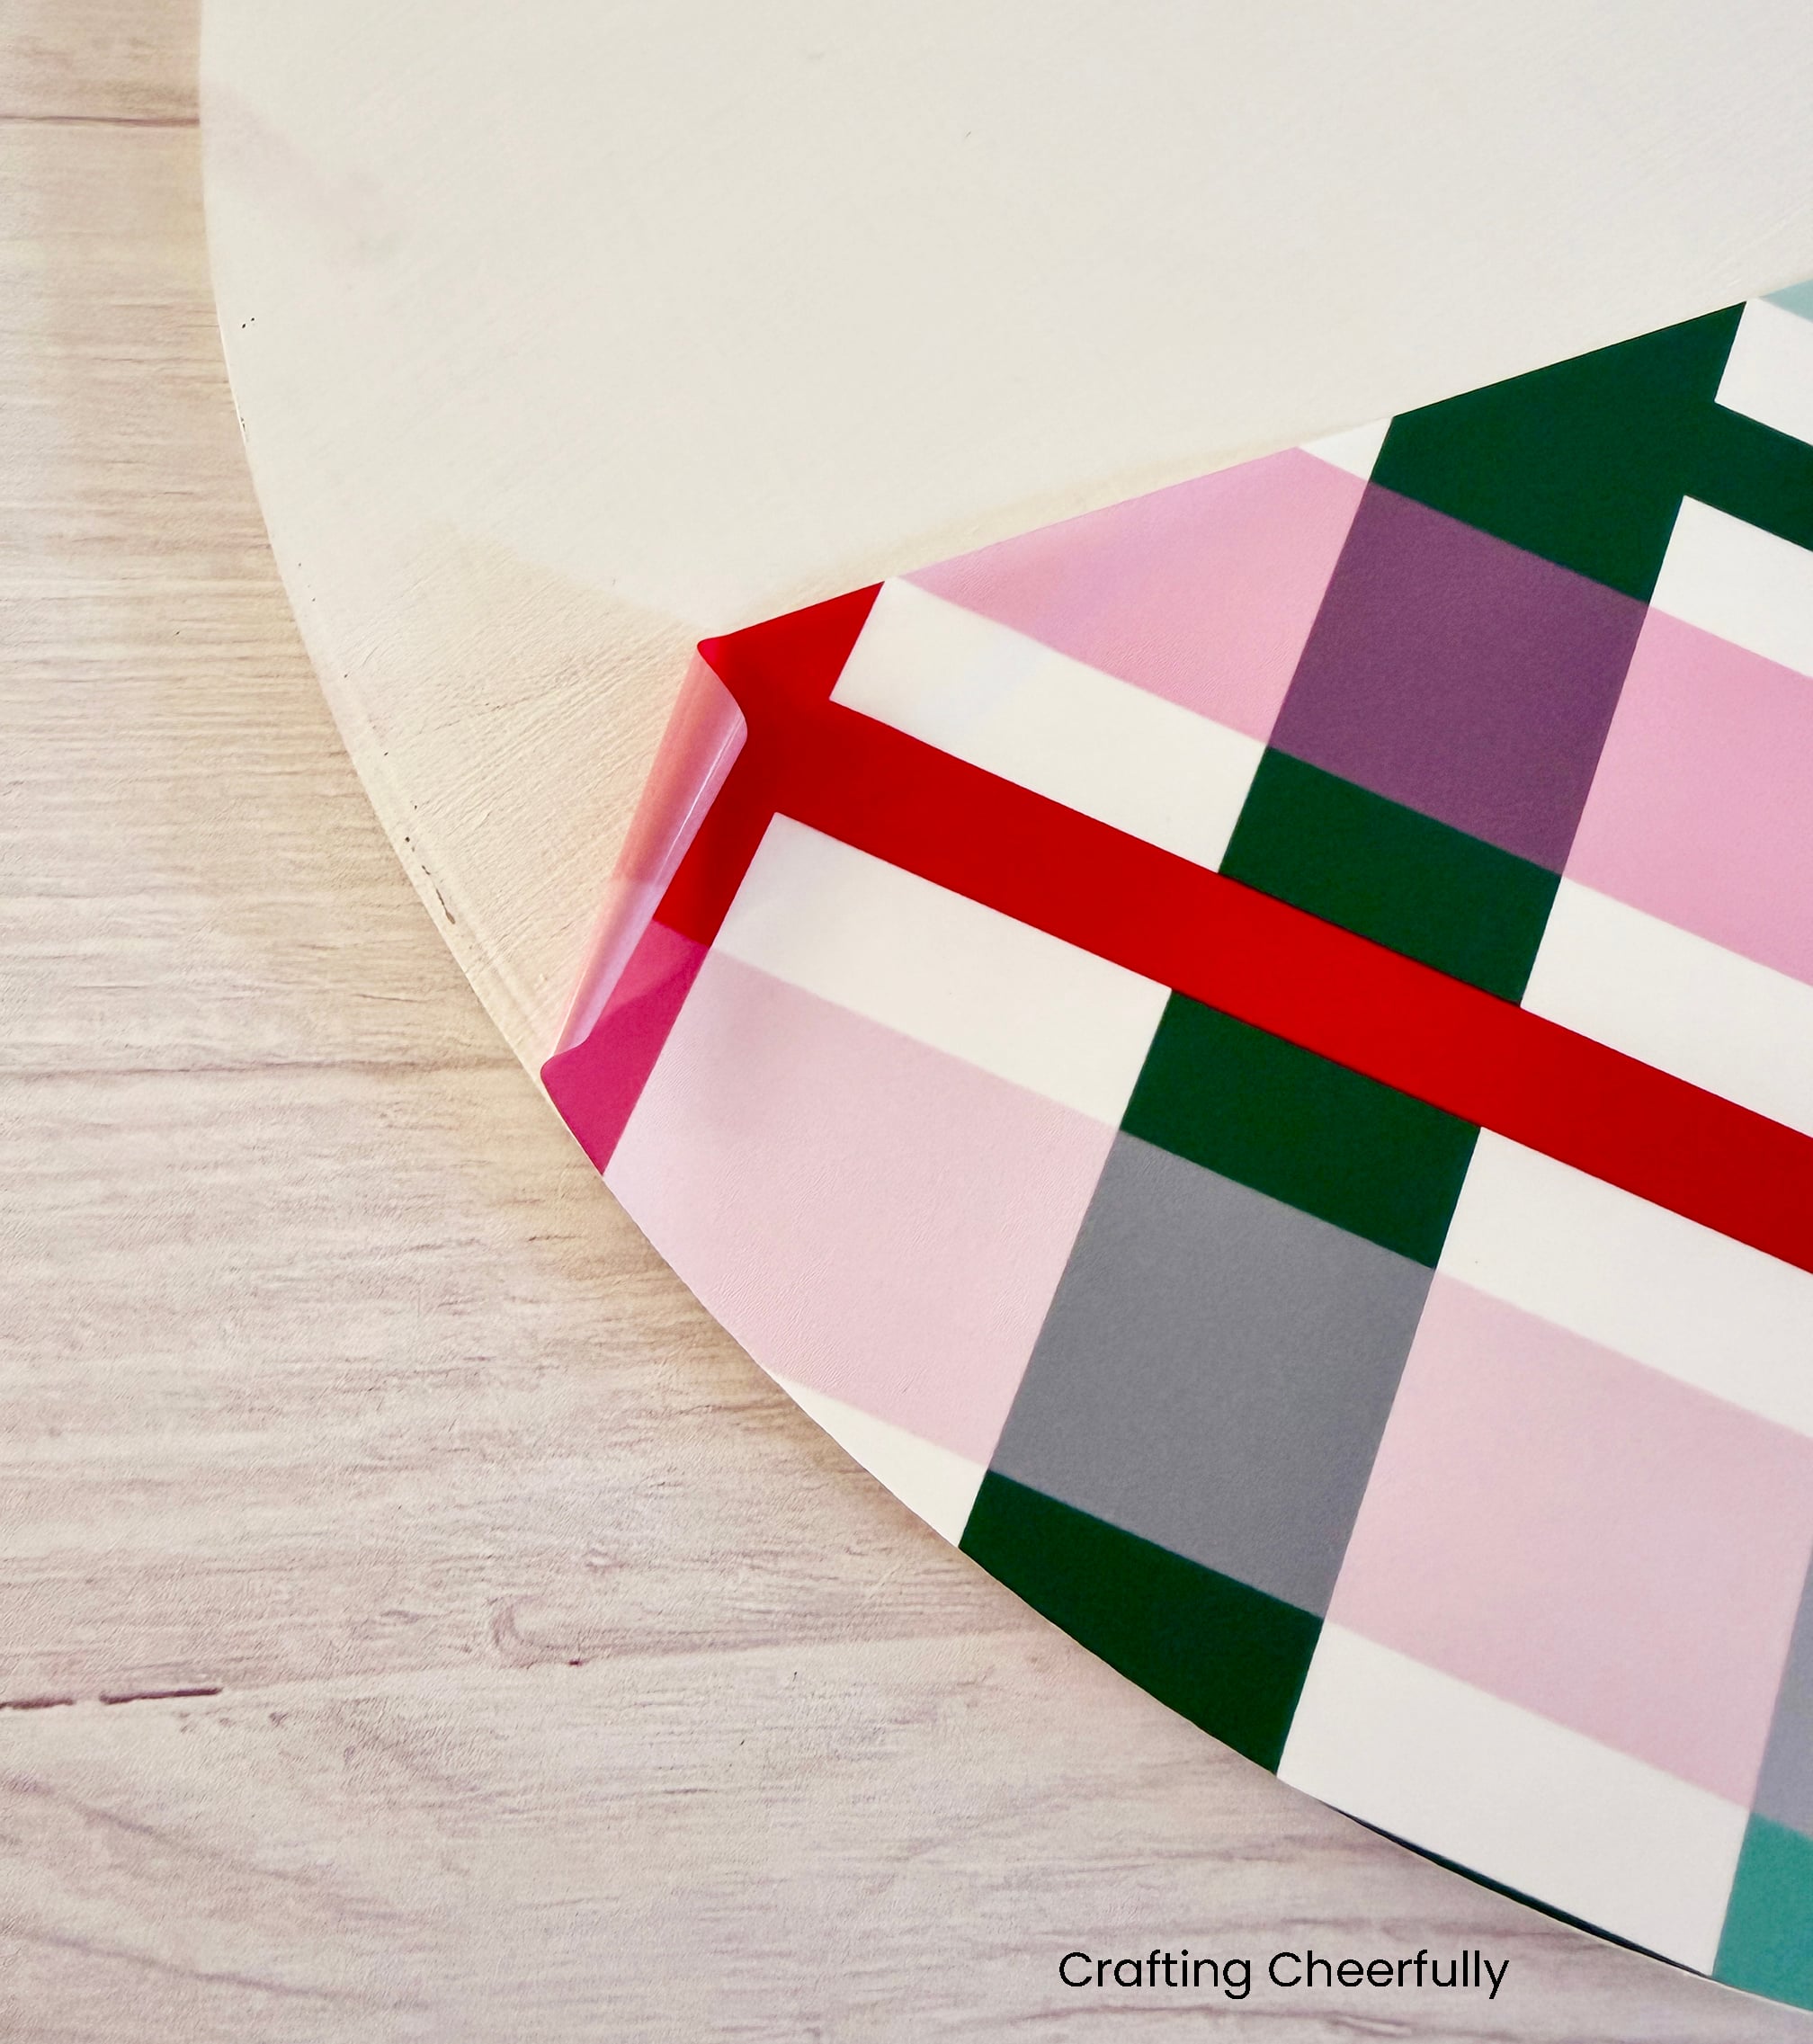
I did have an issue with one of the corners of the printable vinyl peeling up. I used a bit of glue to reattach it.
Adding the Vinyl Ribbon
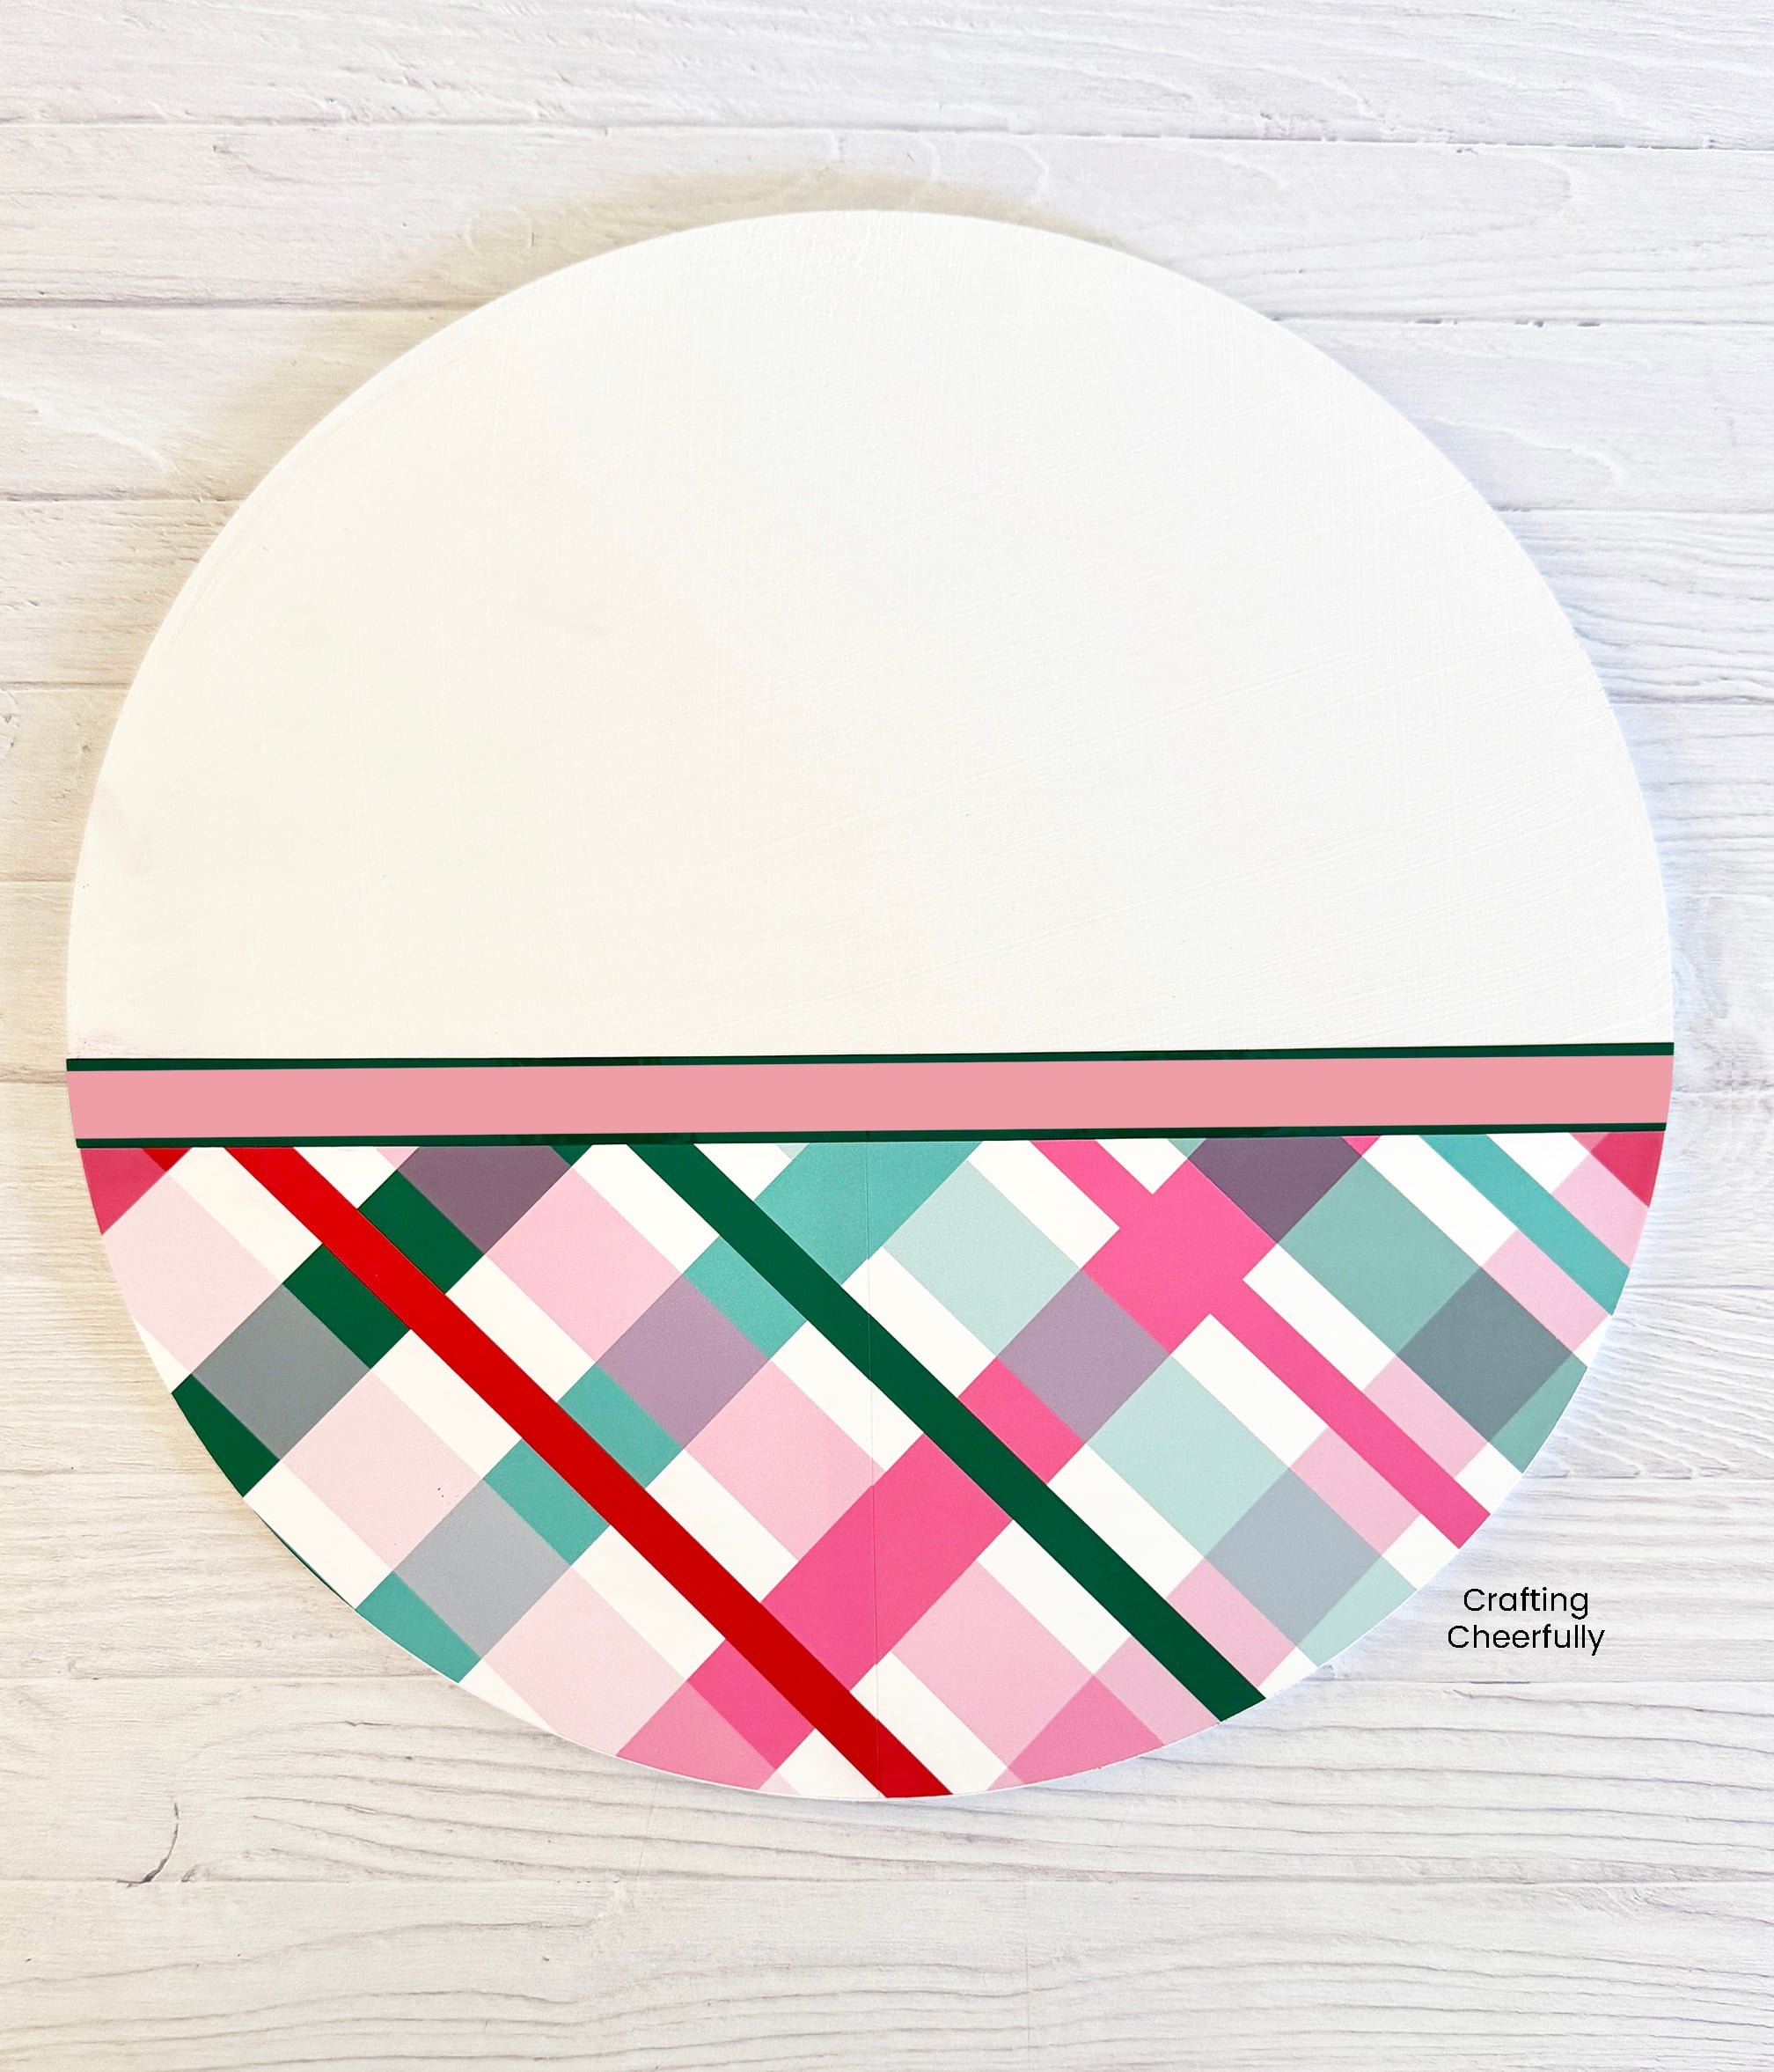
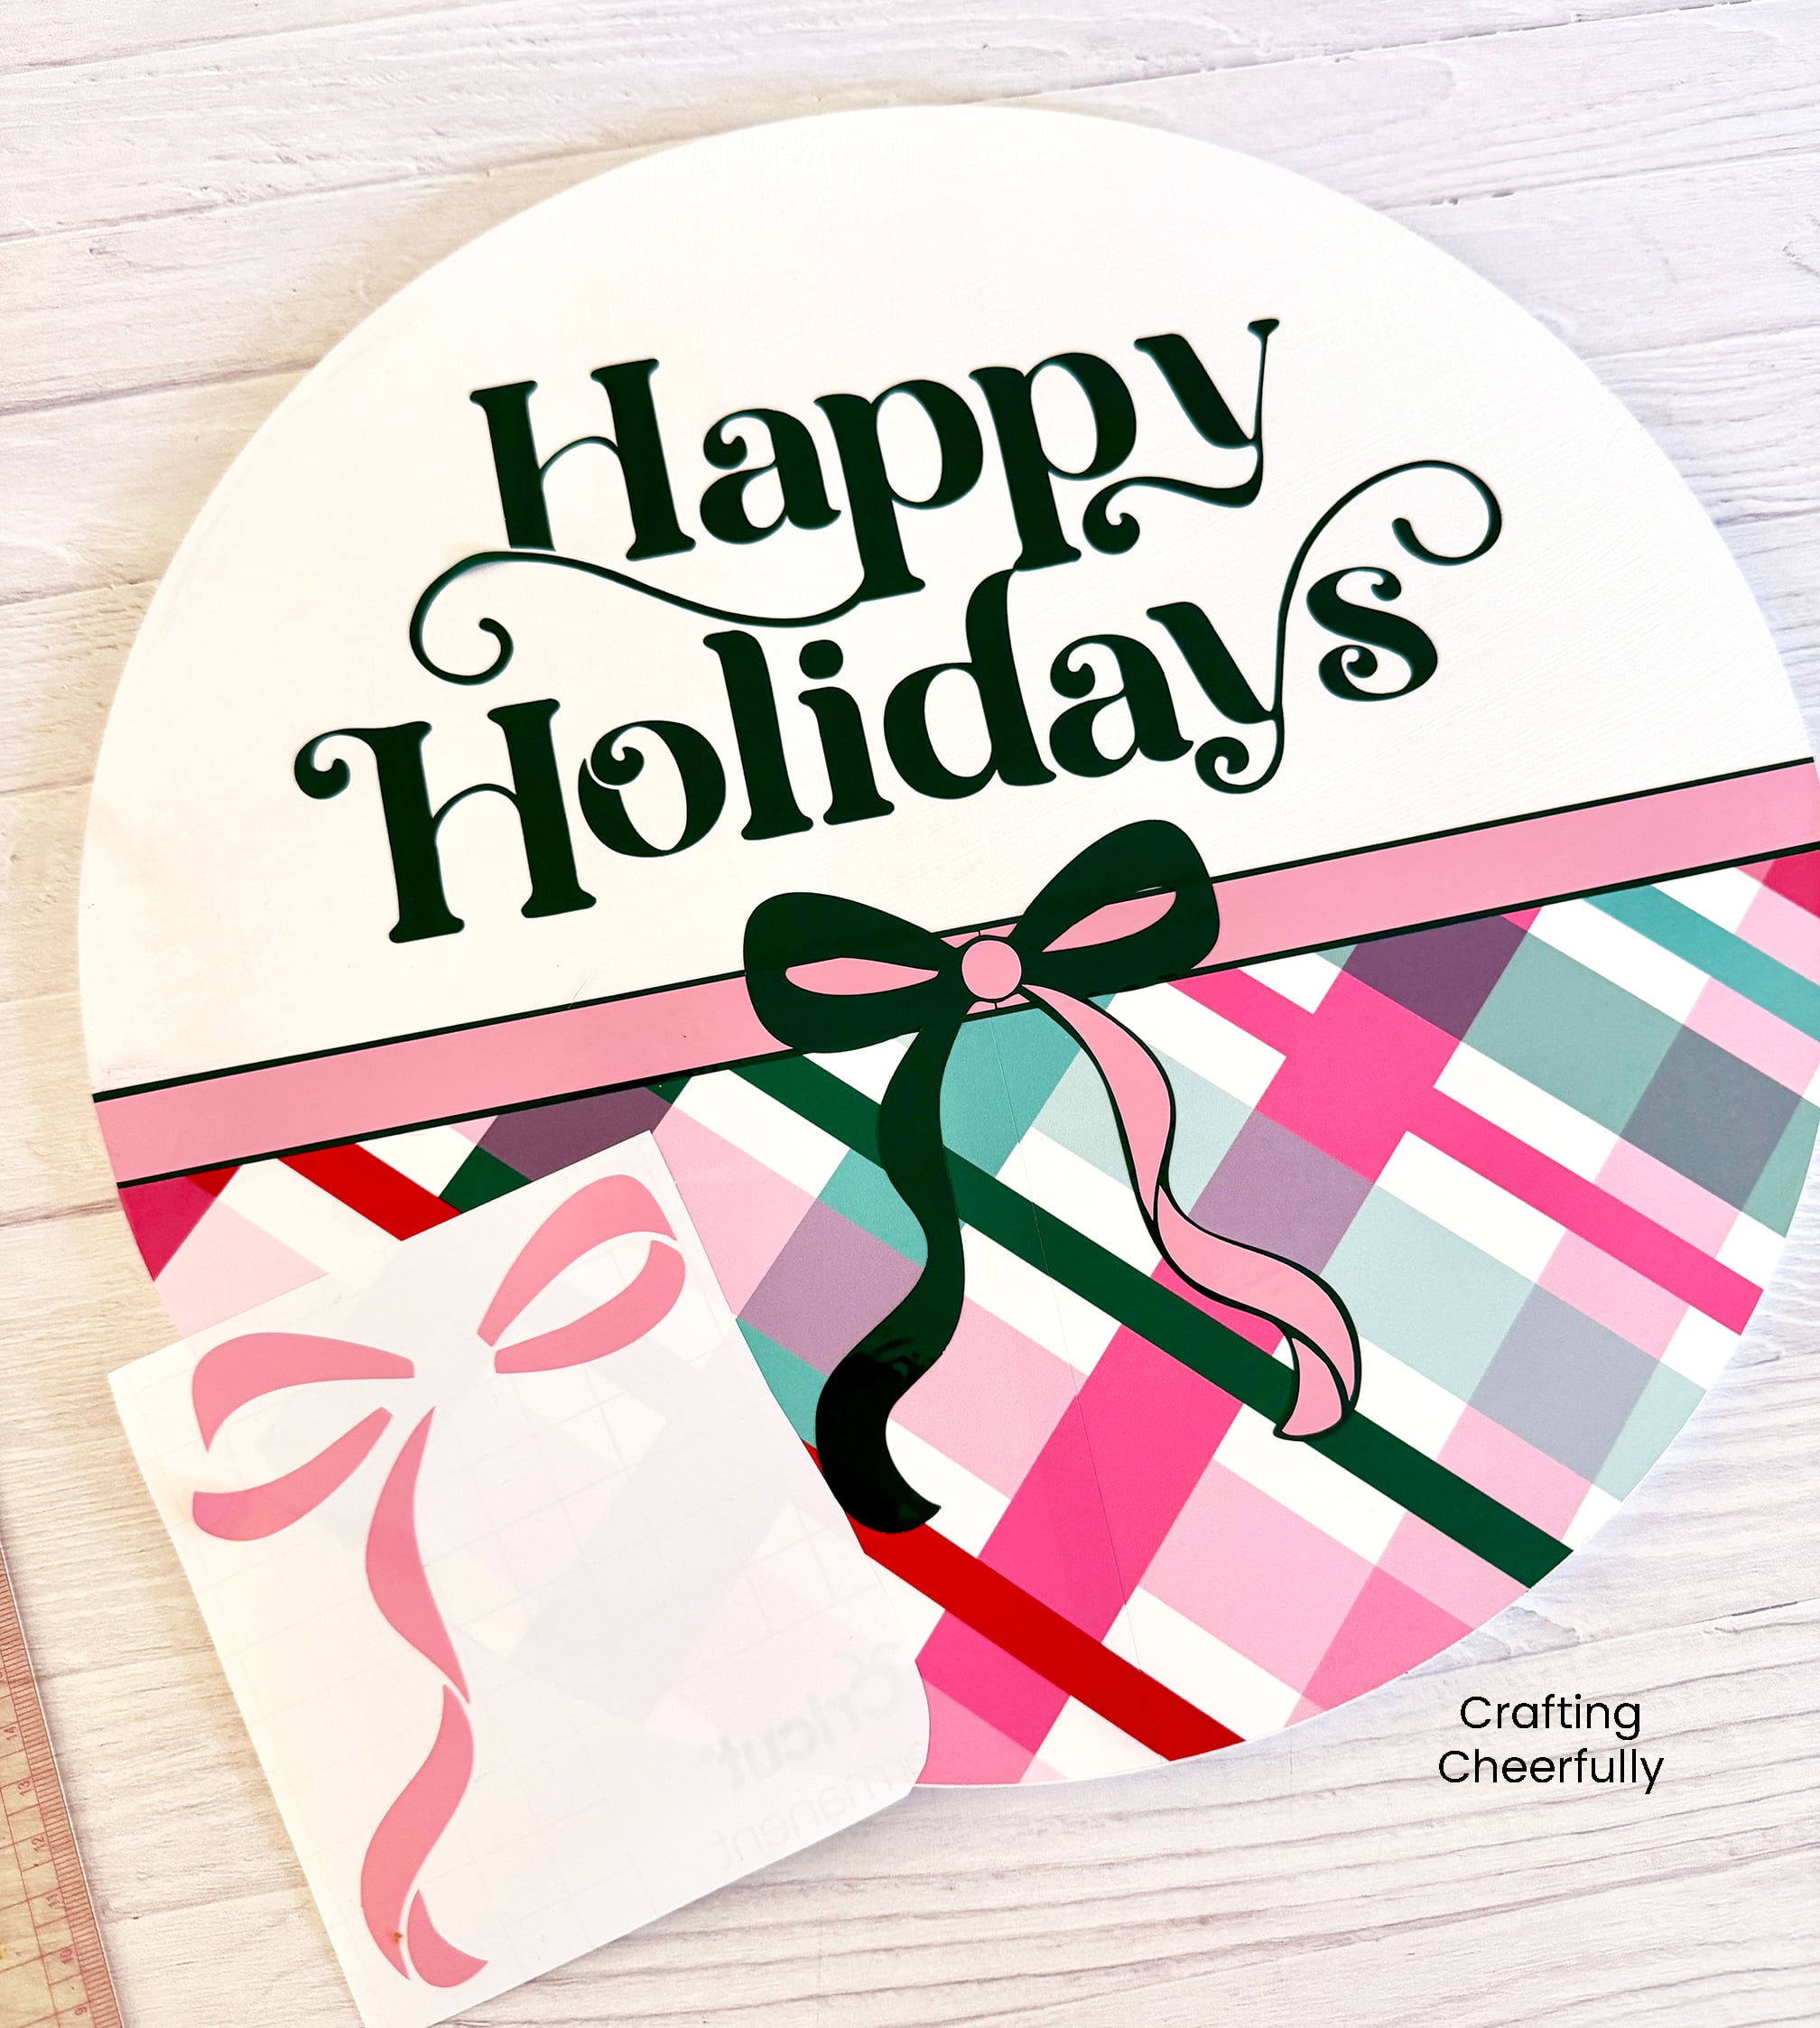
Step Five: Add the strips of green and pink ribbon along the top of the plaid vinyl. I applied these by hand instead of using Transfer Tape since the Transfer Tape would peel up the printable vinyl.
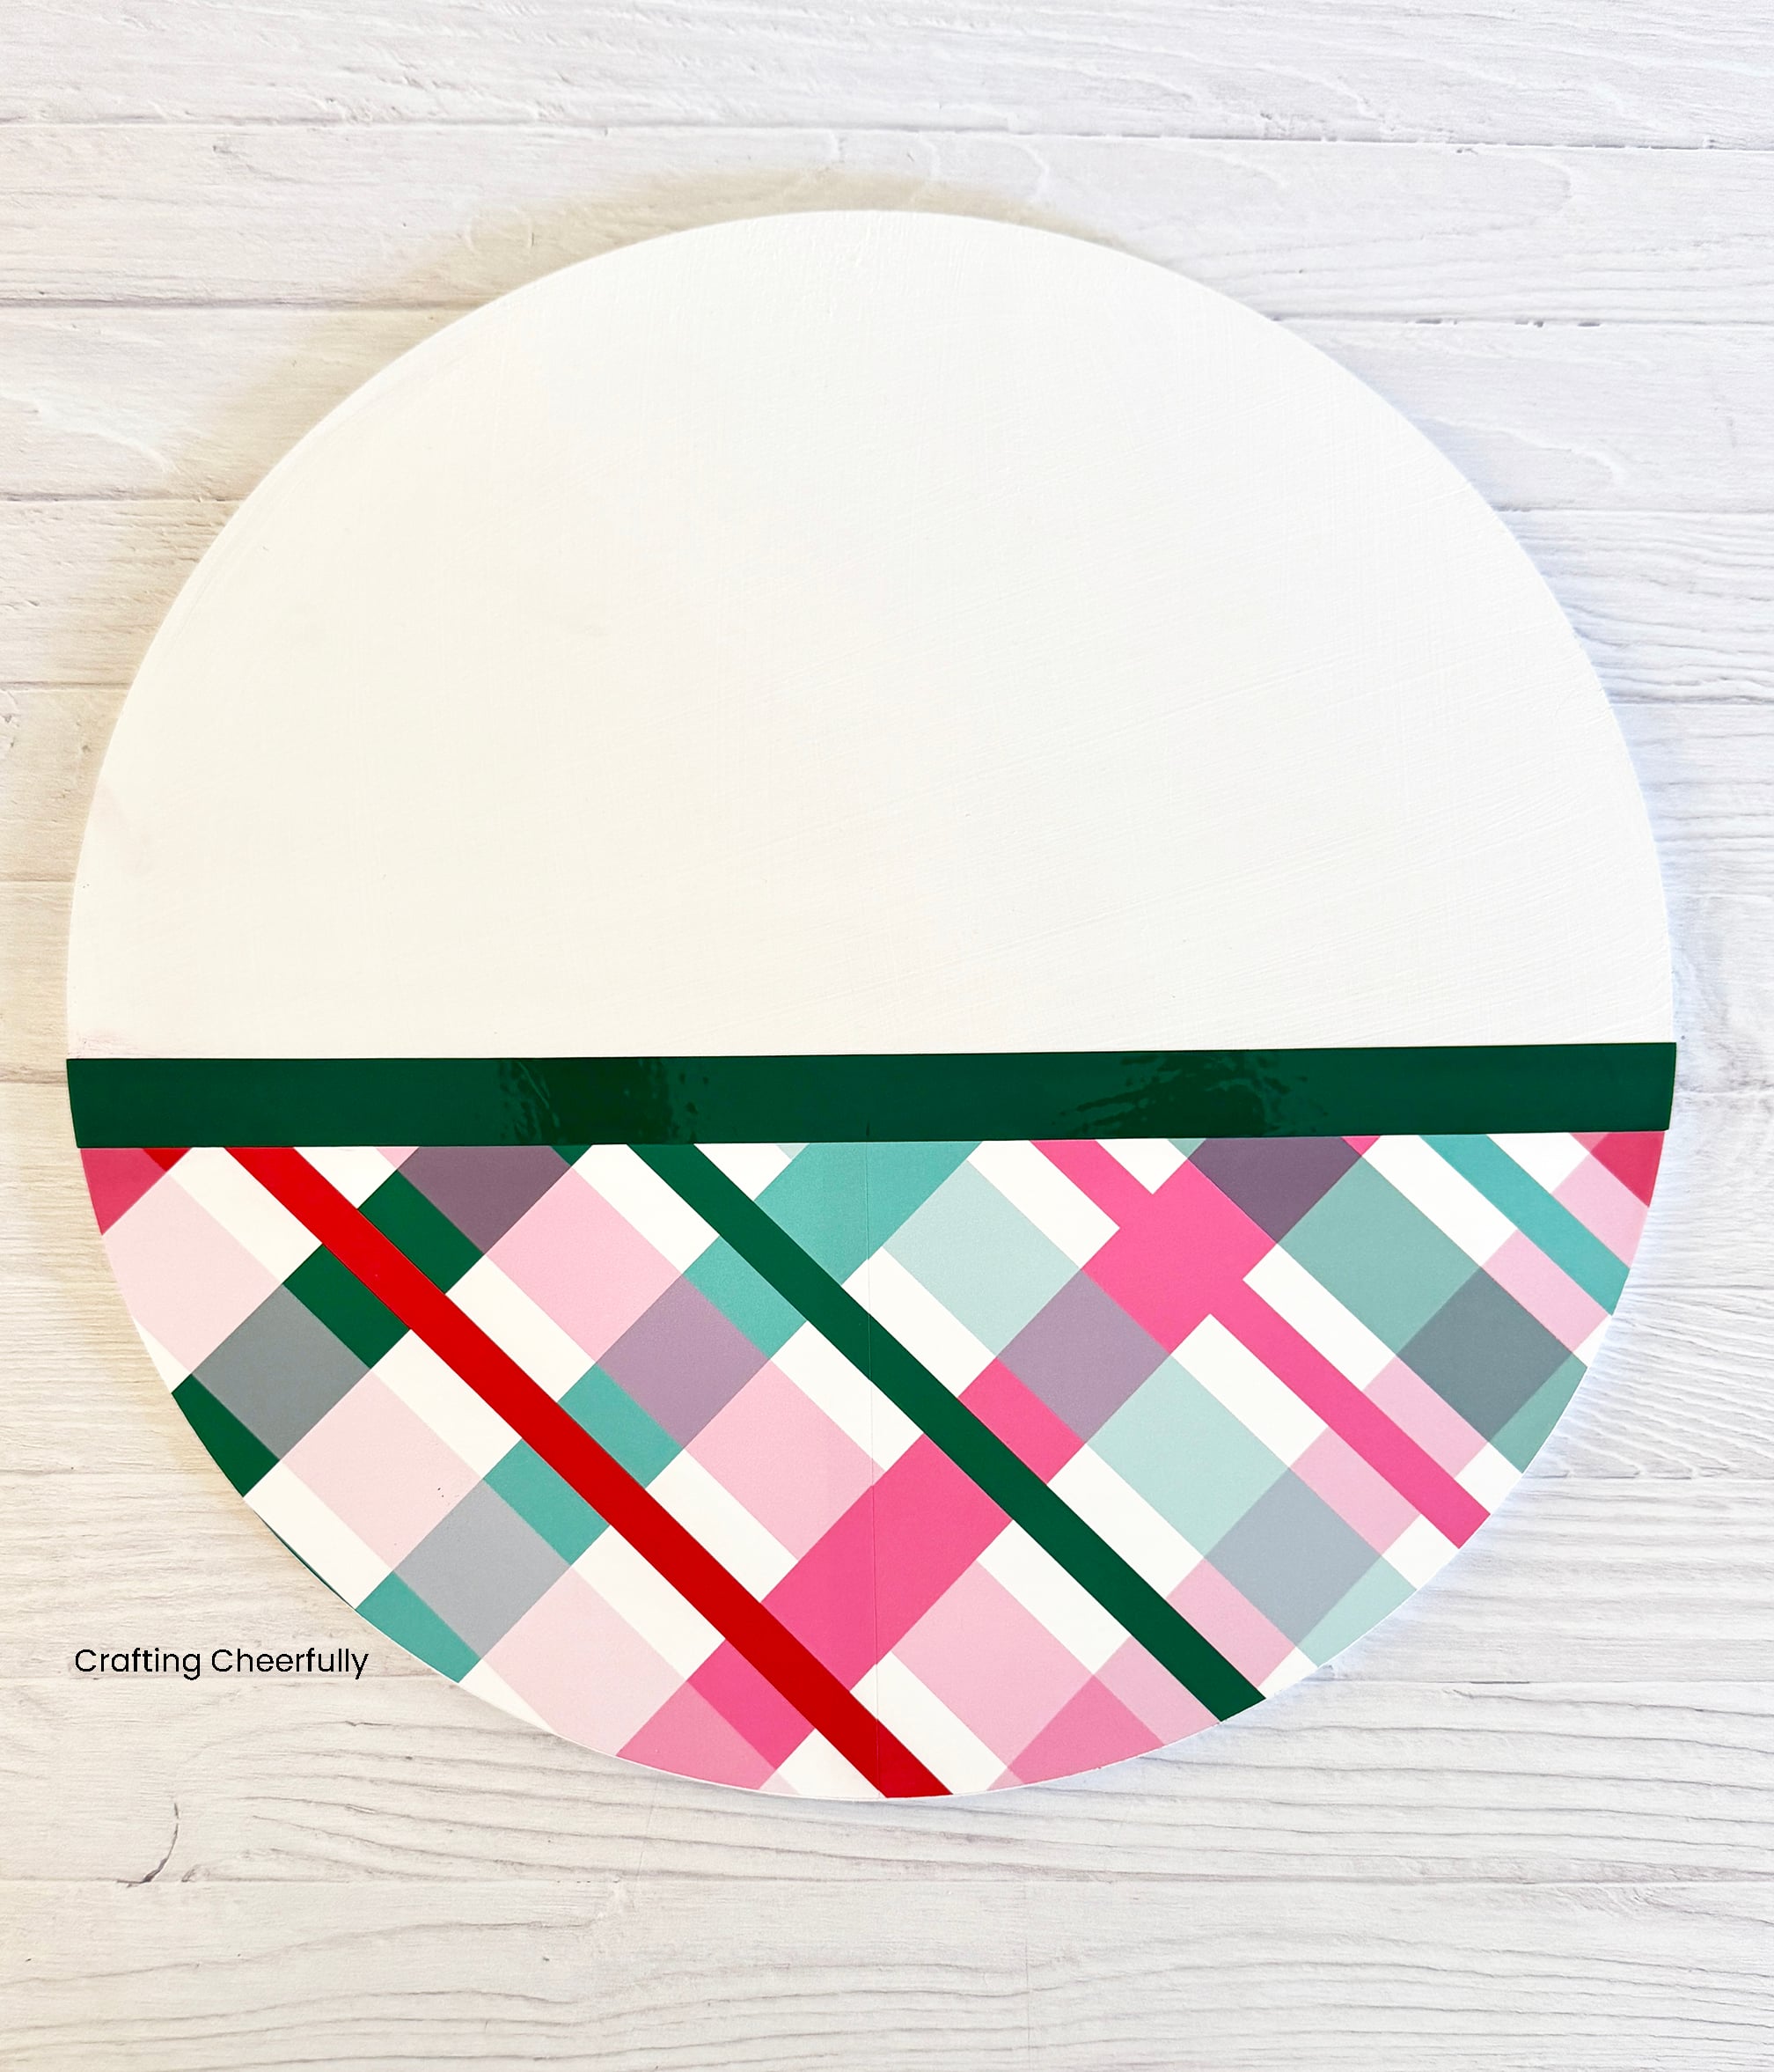
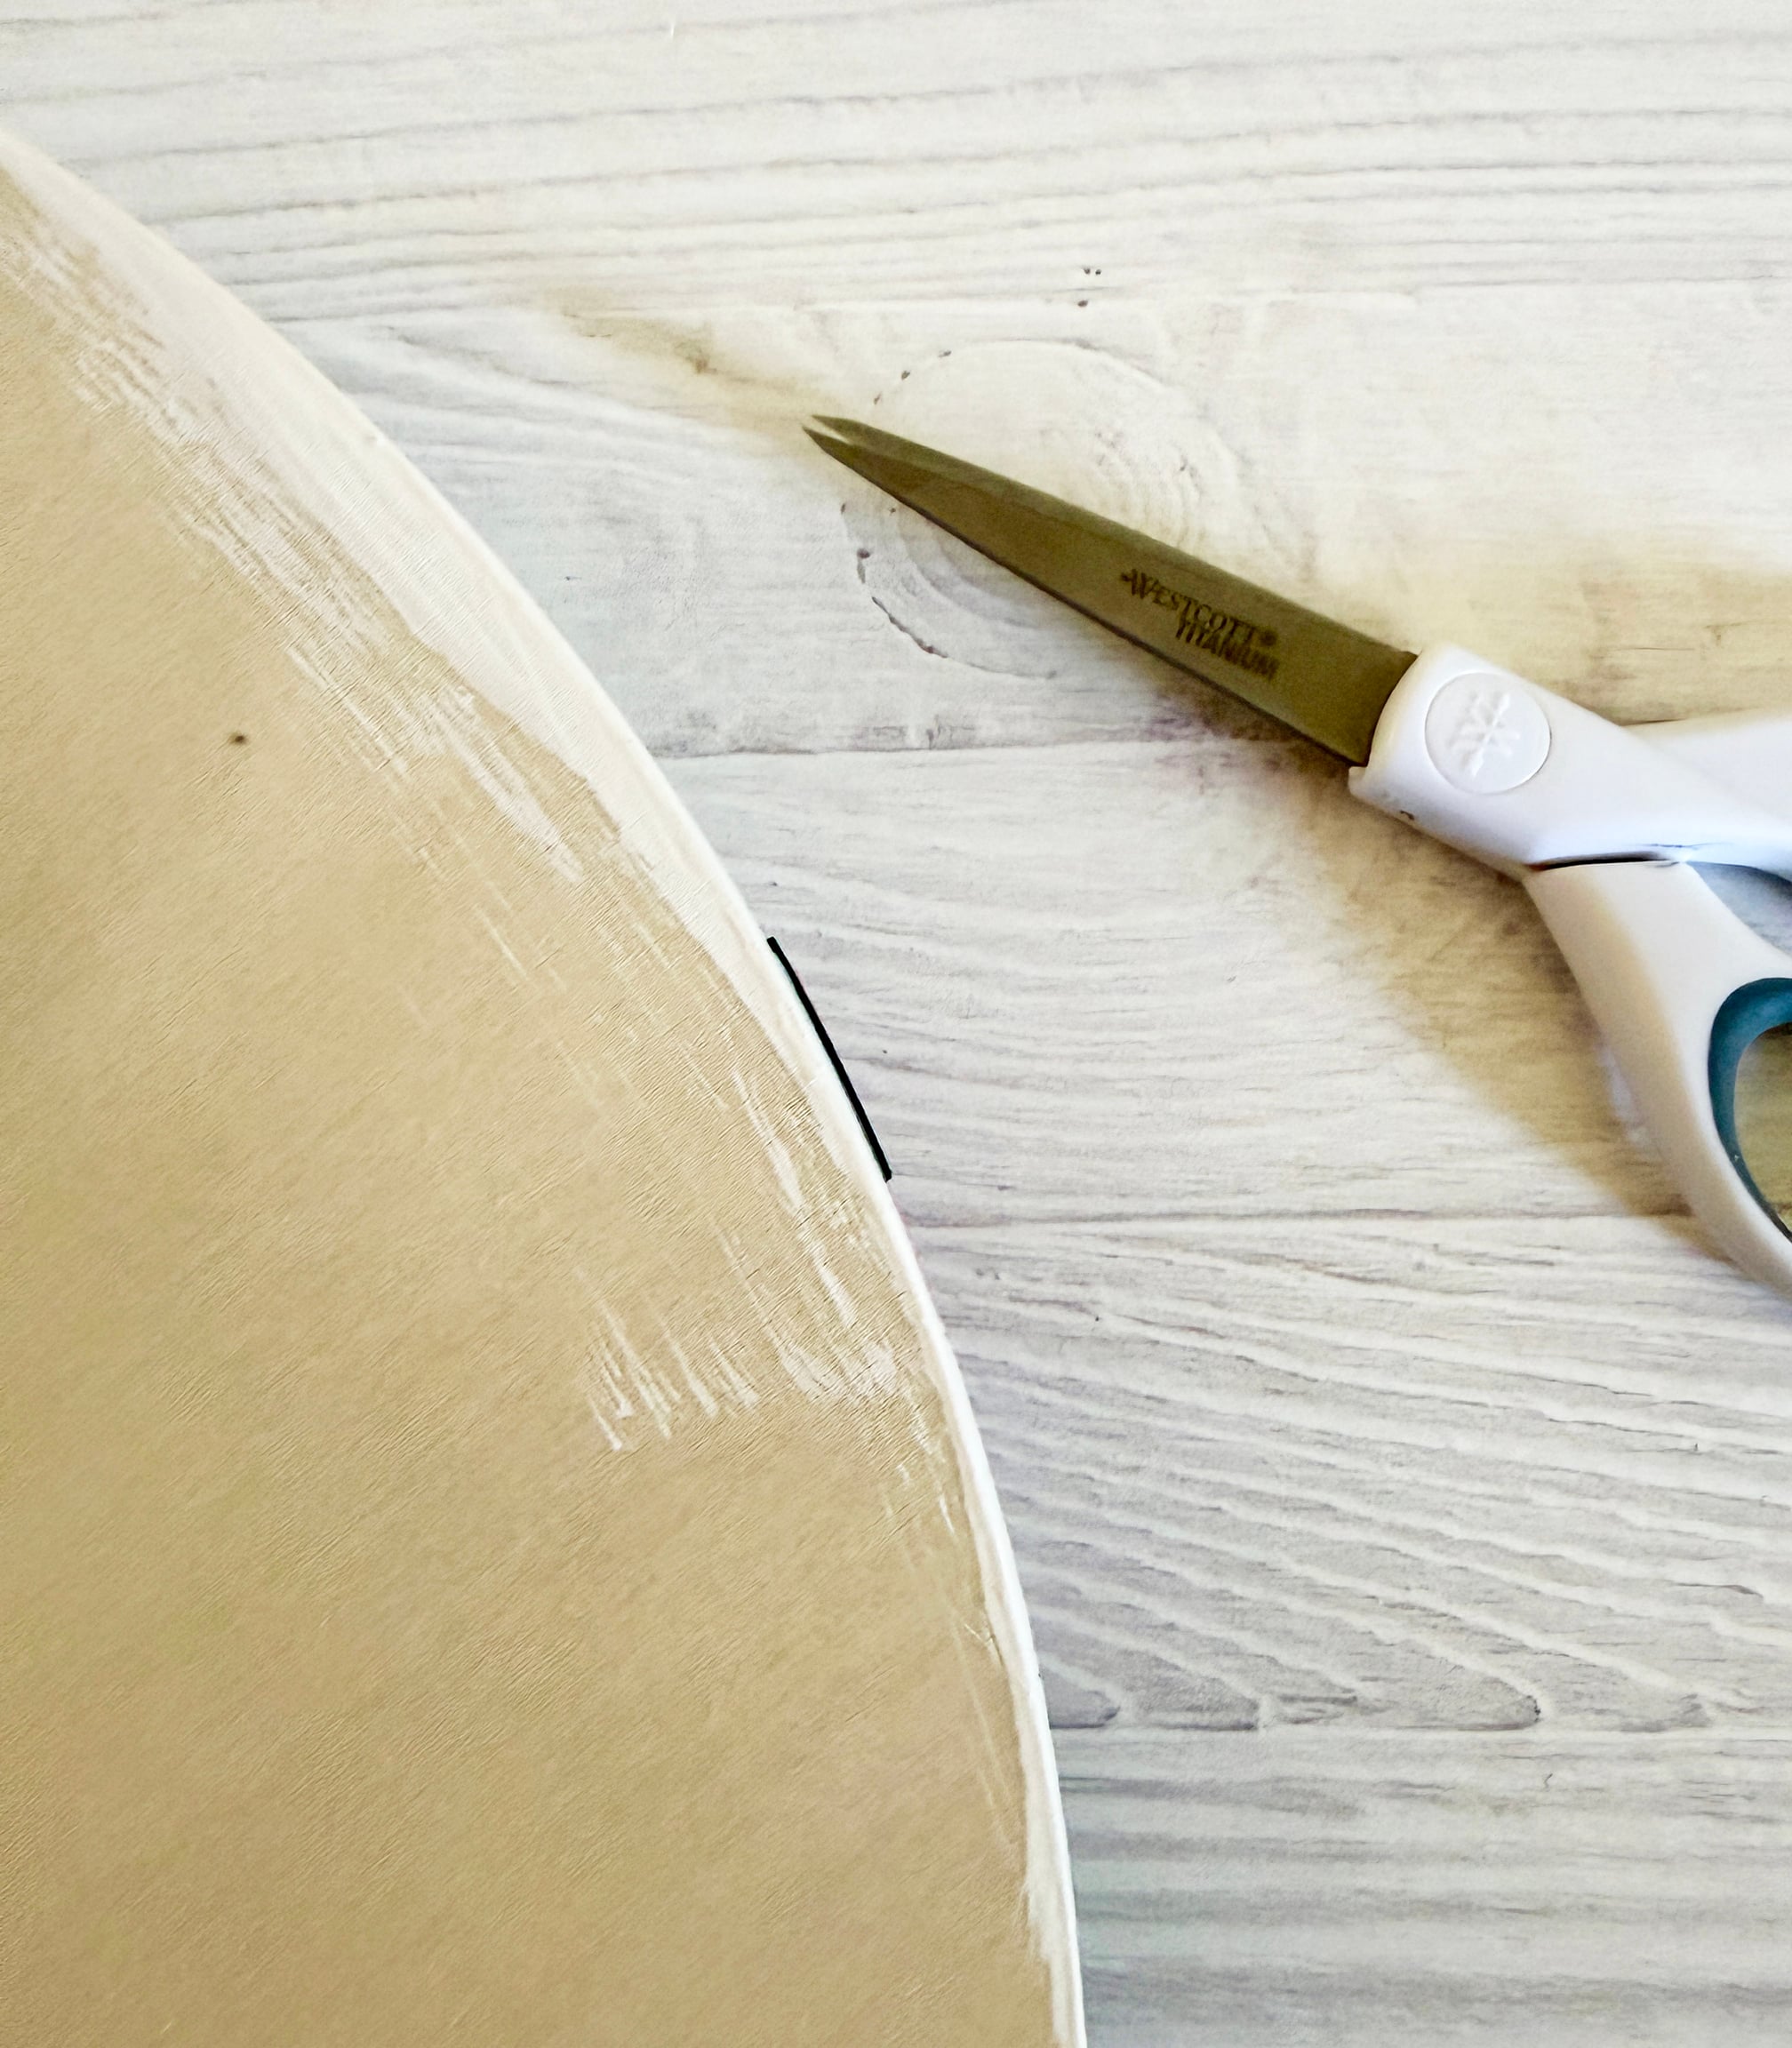
Because I applied it by hand, I think the vinyl stretched out a bit. If any of the vinyl ribbon hangs over the edge, use a scissors to trim it away.
Adding the Vinyl Phrase
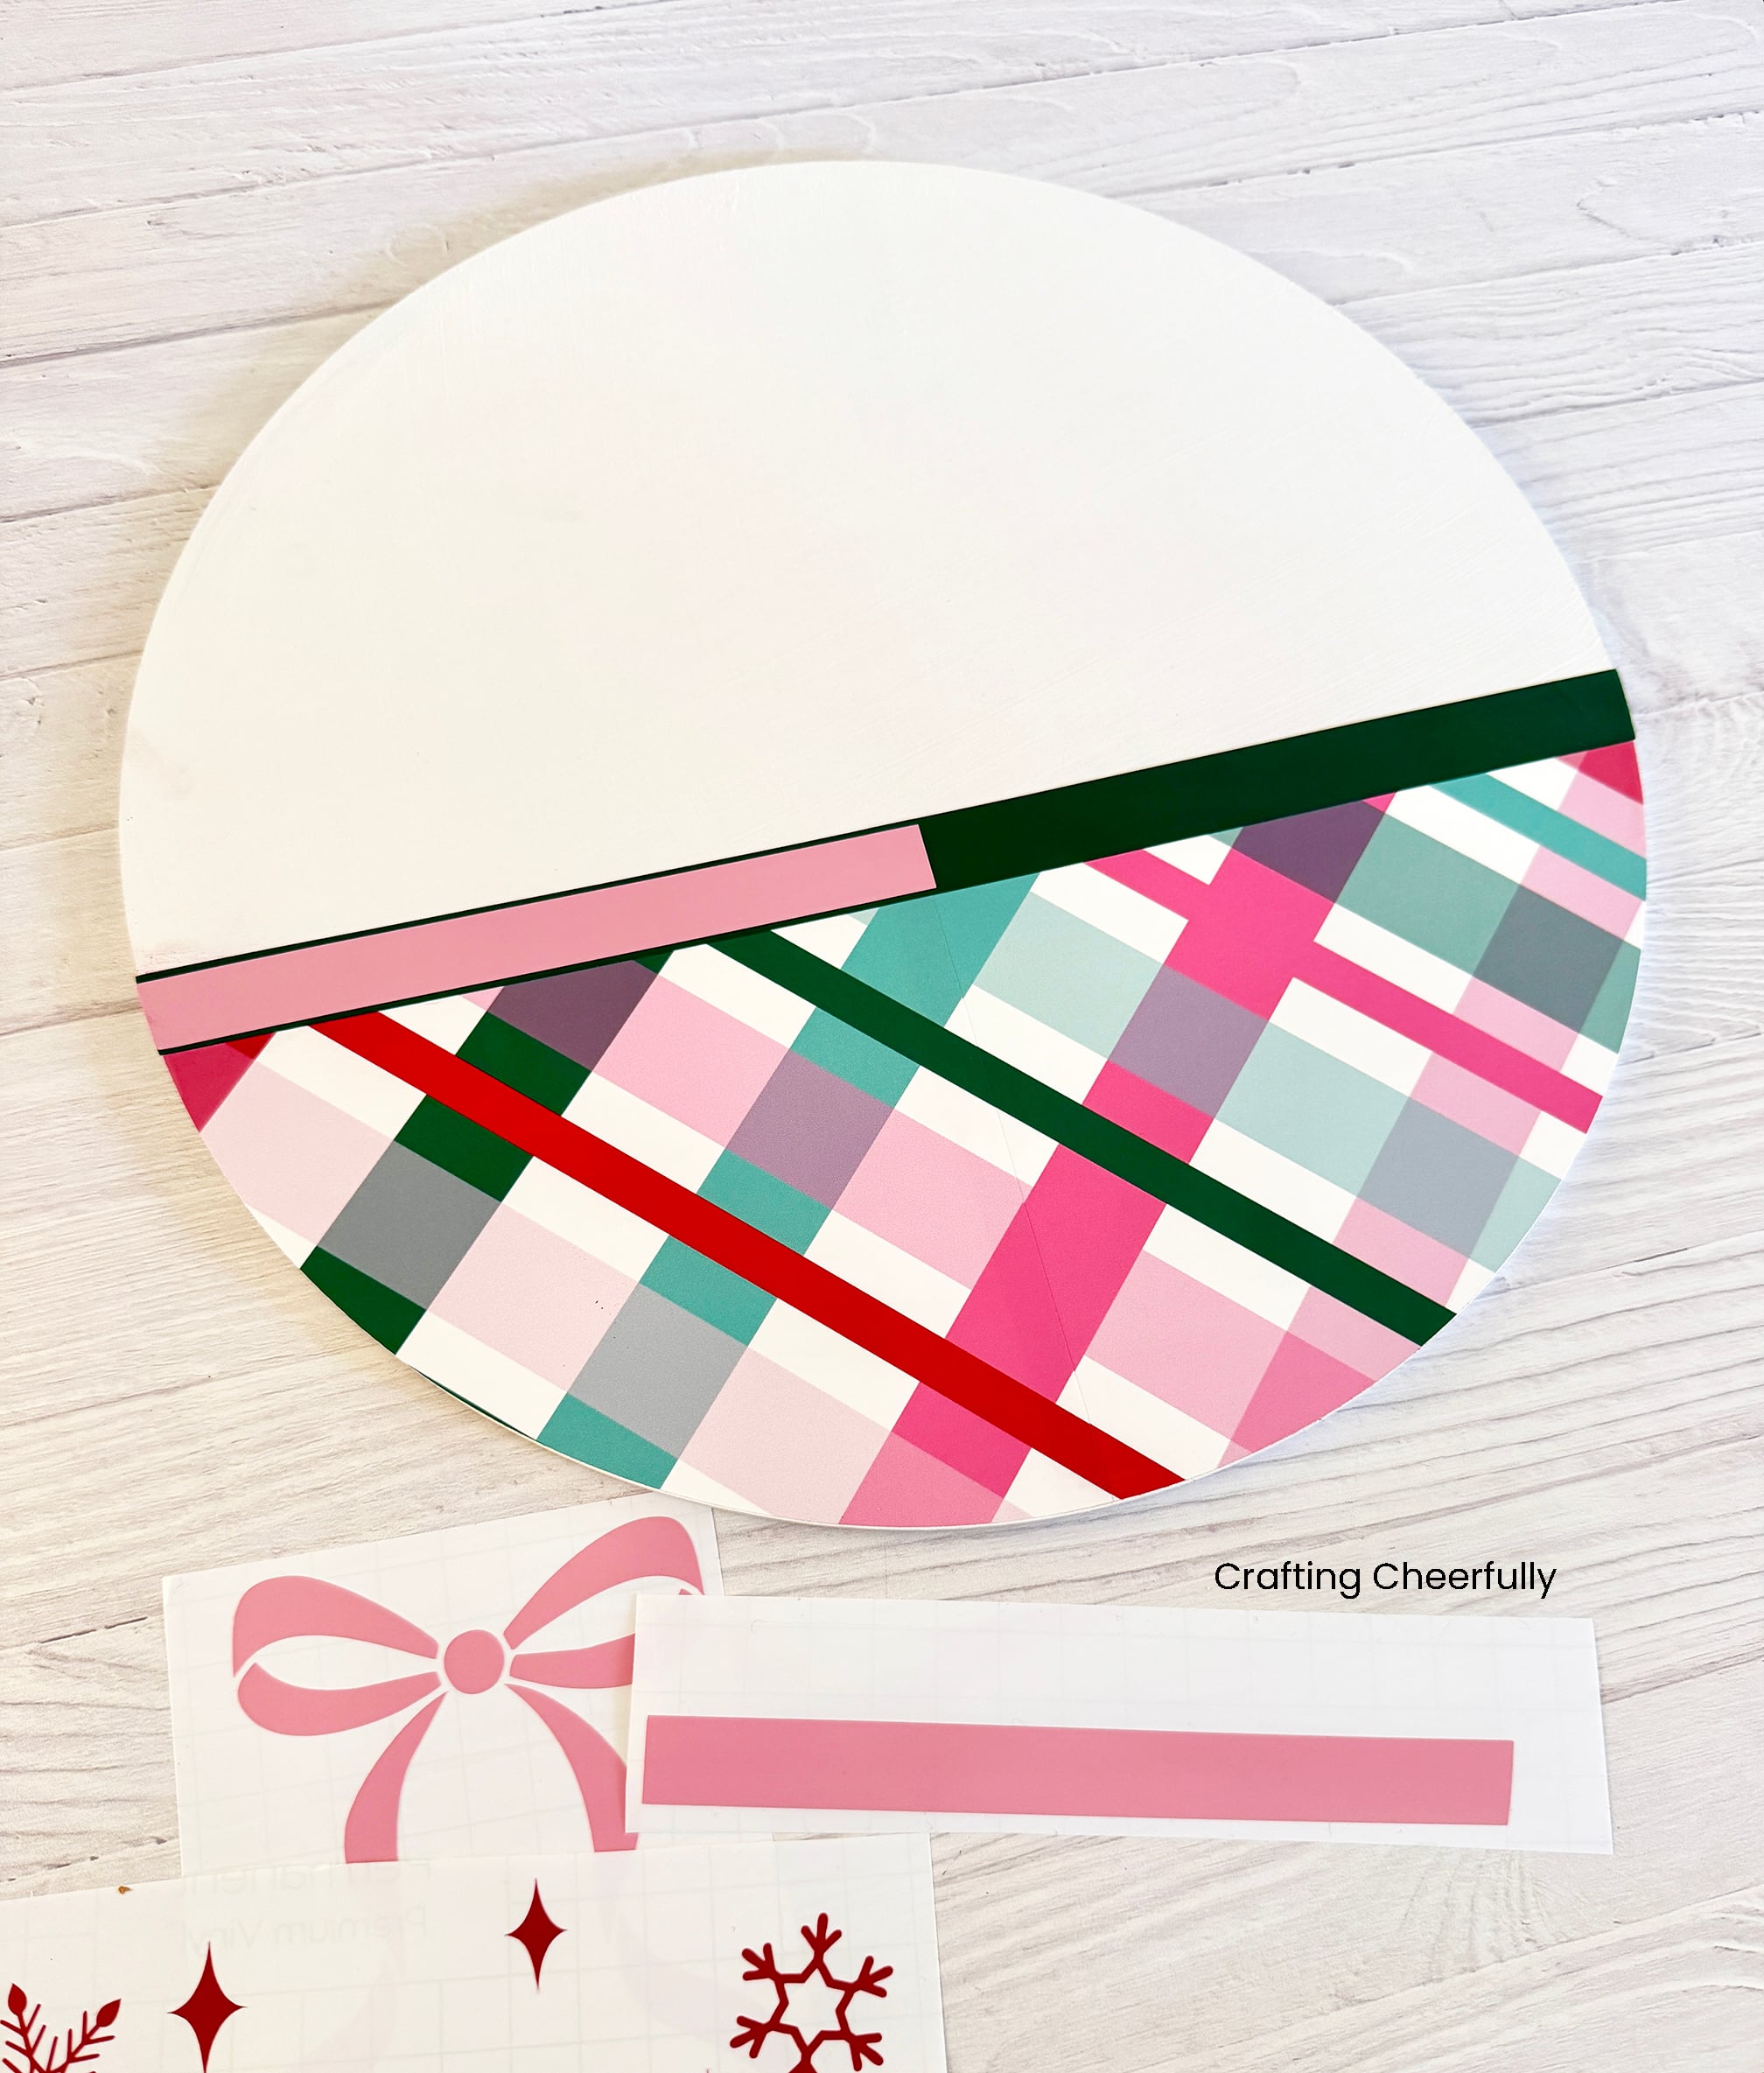
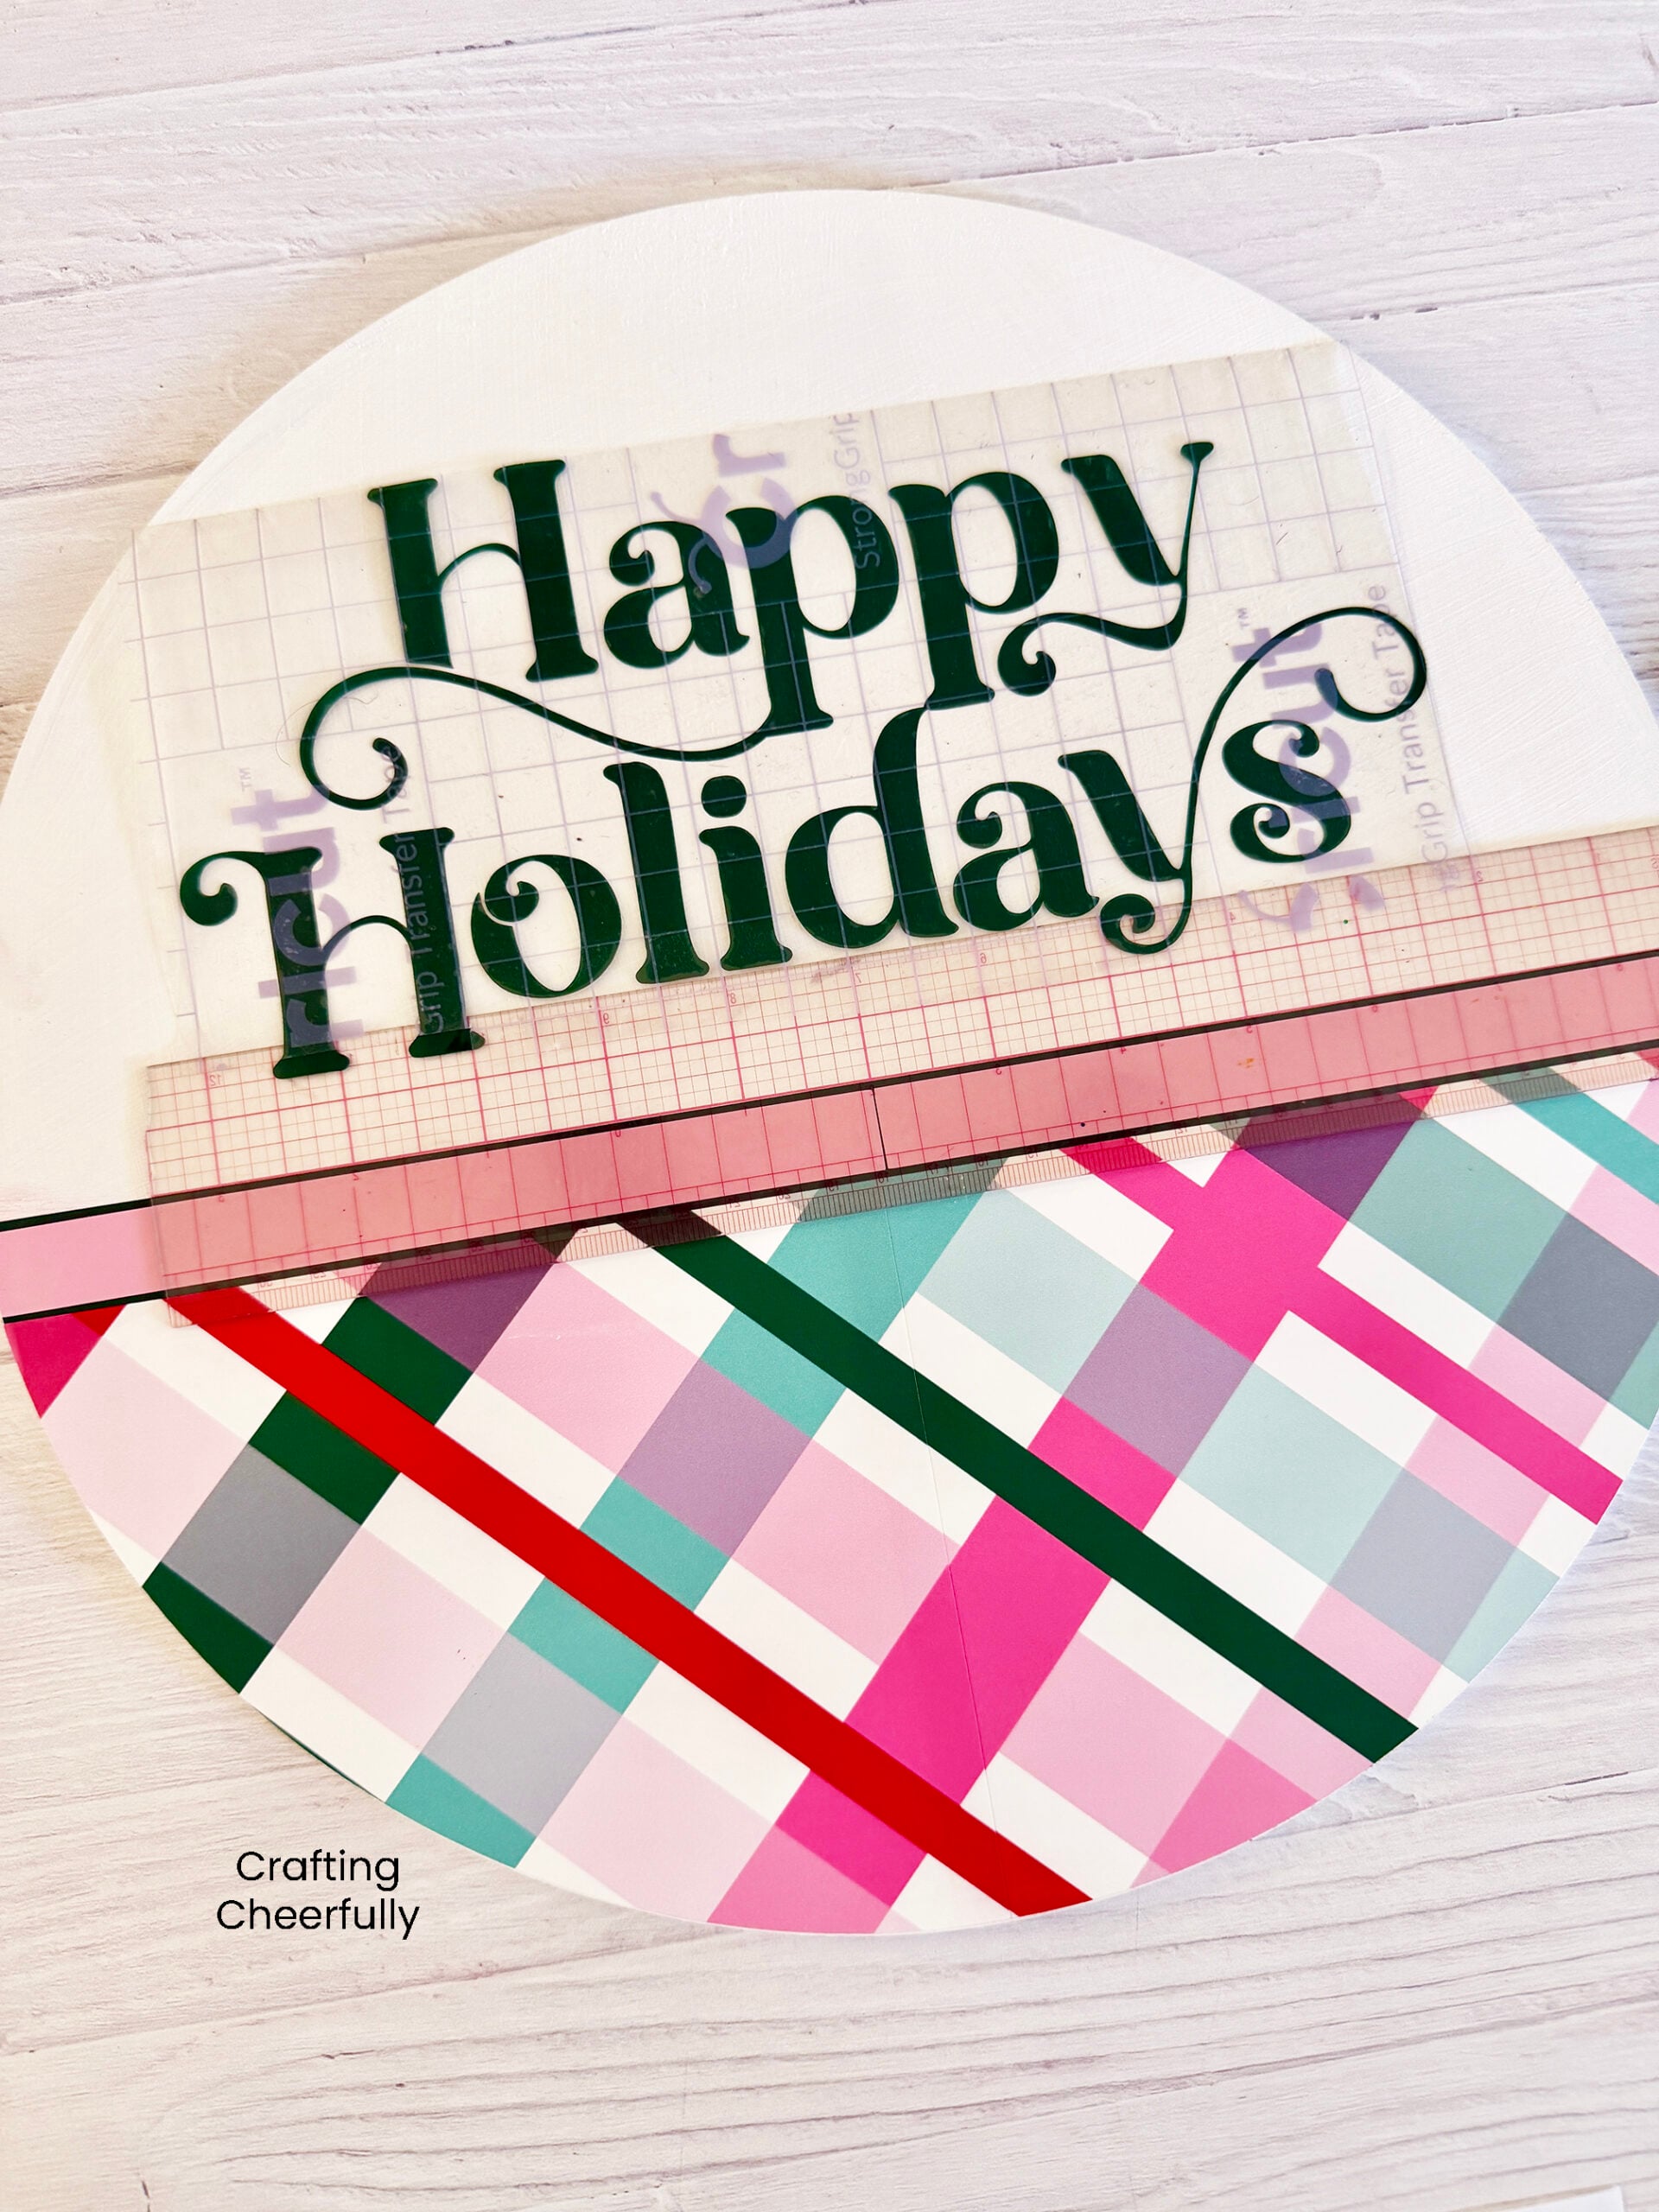
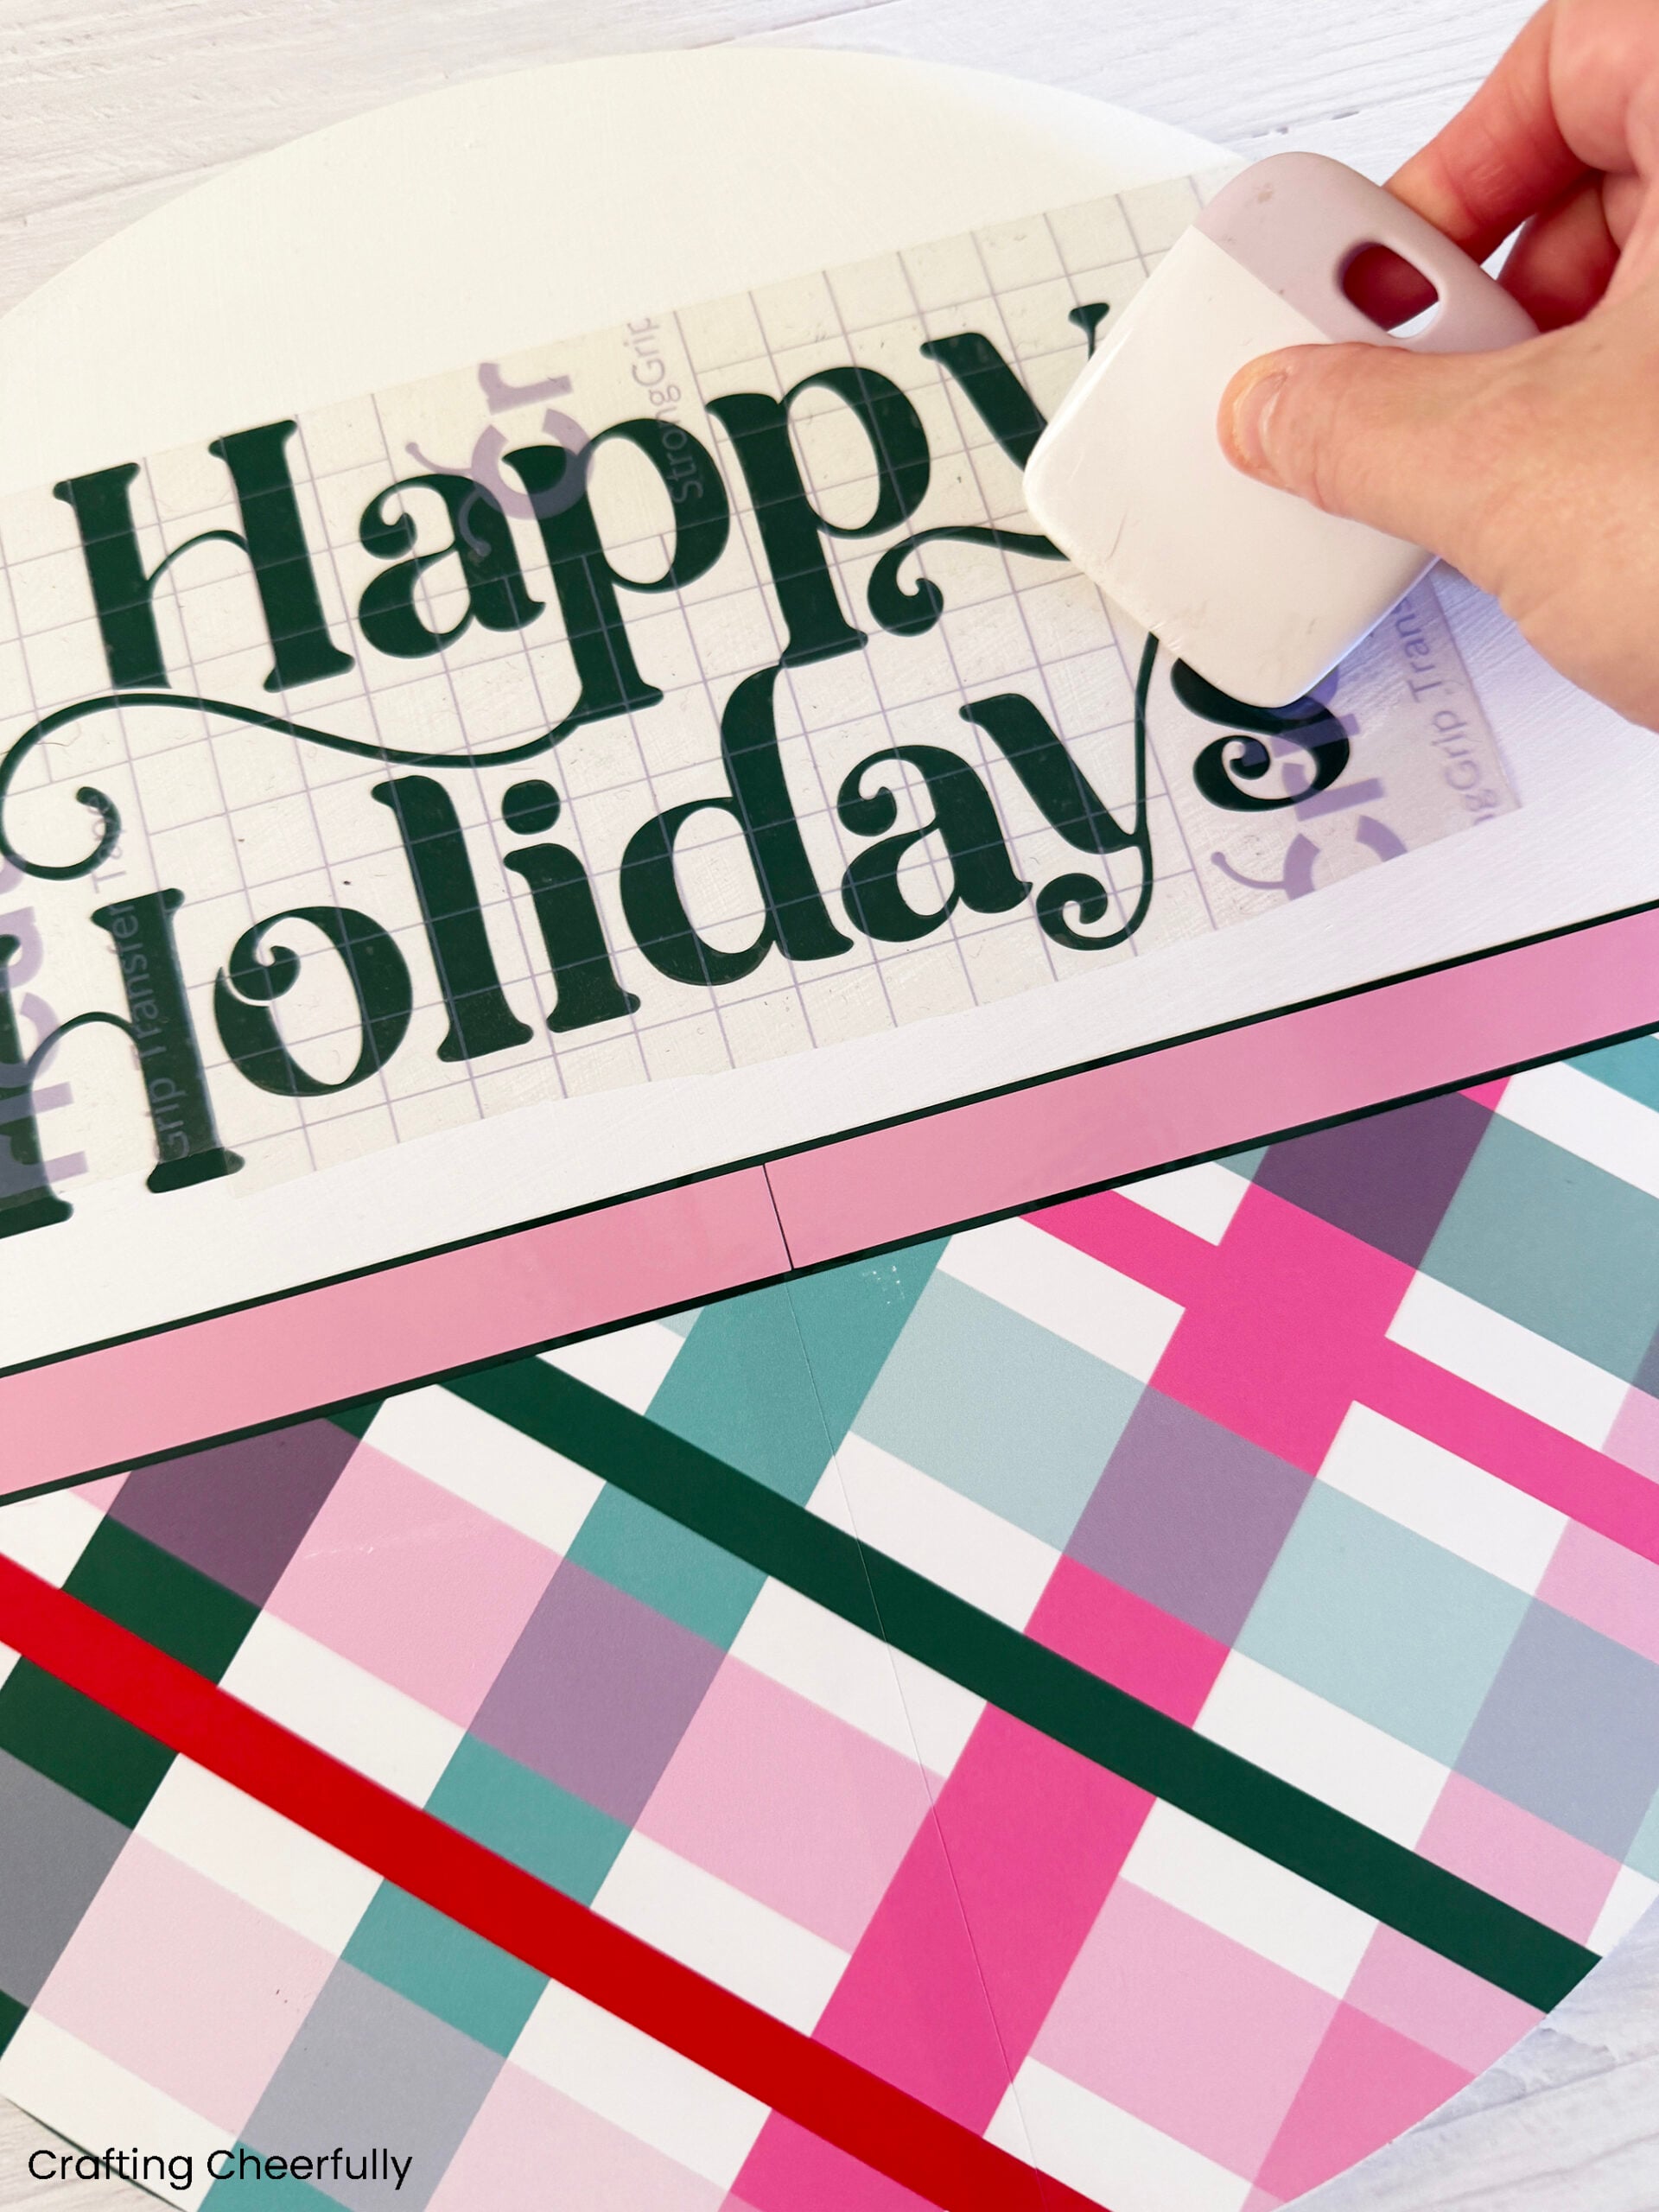
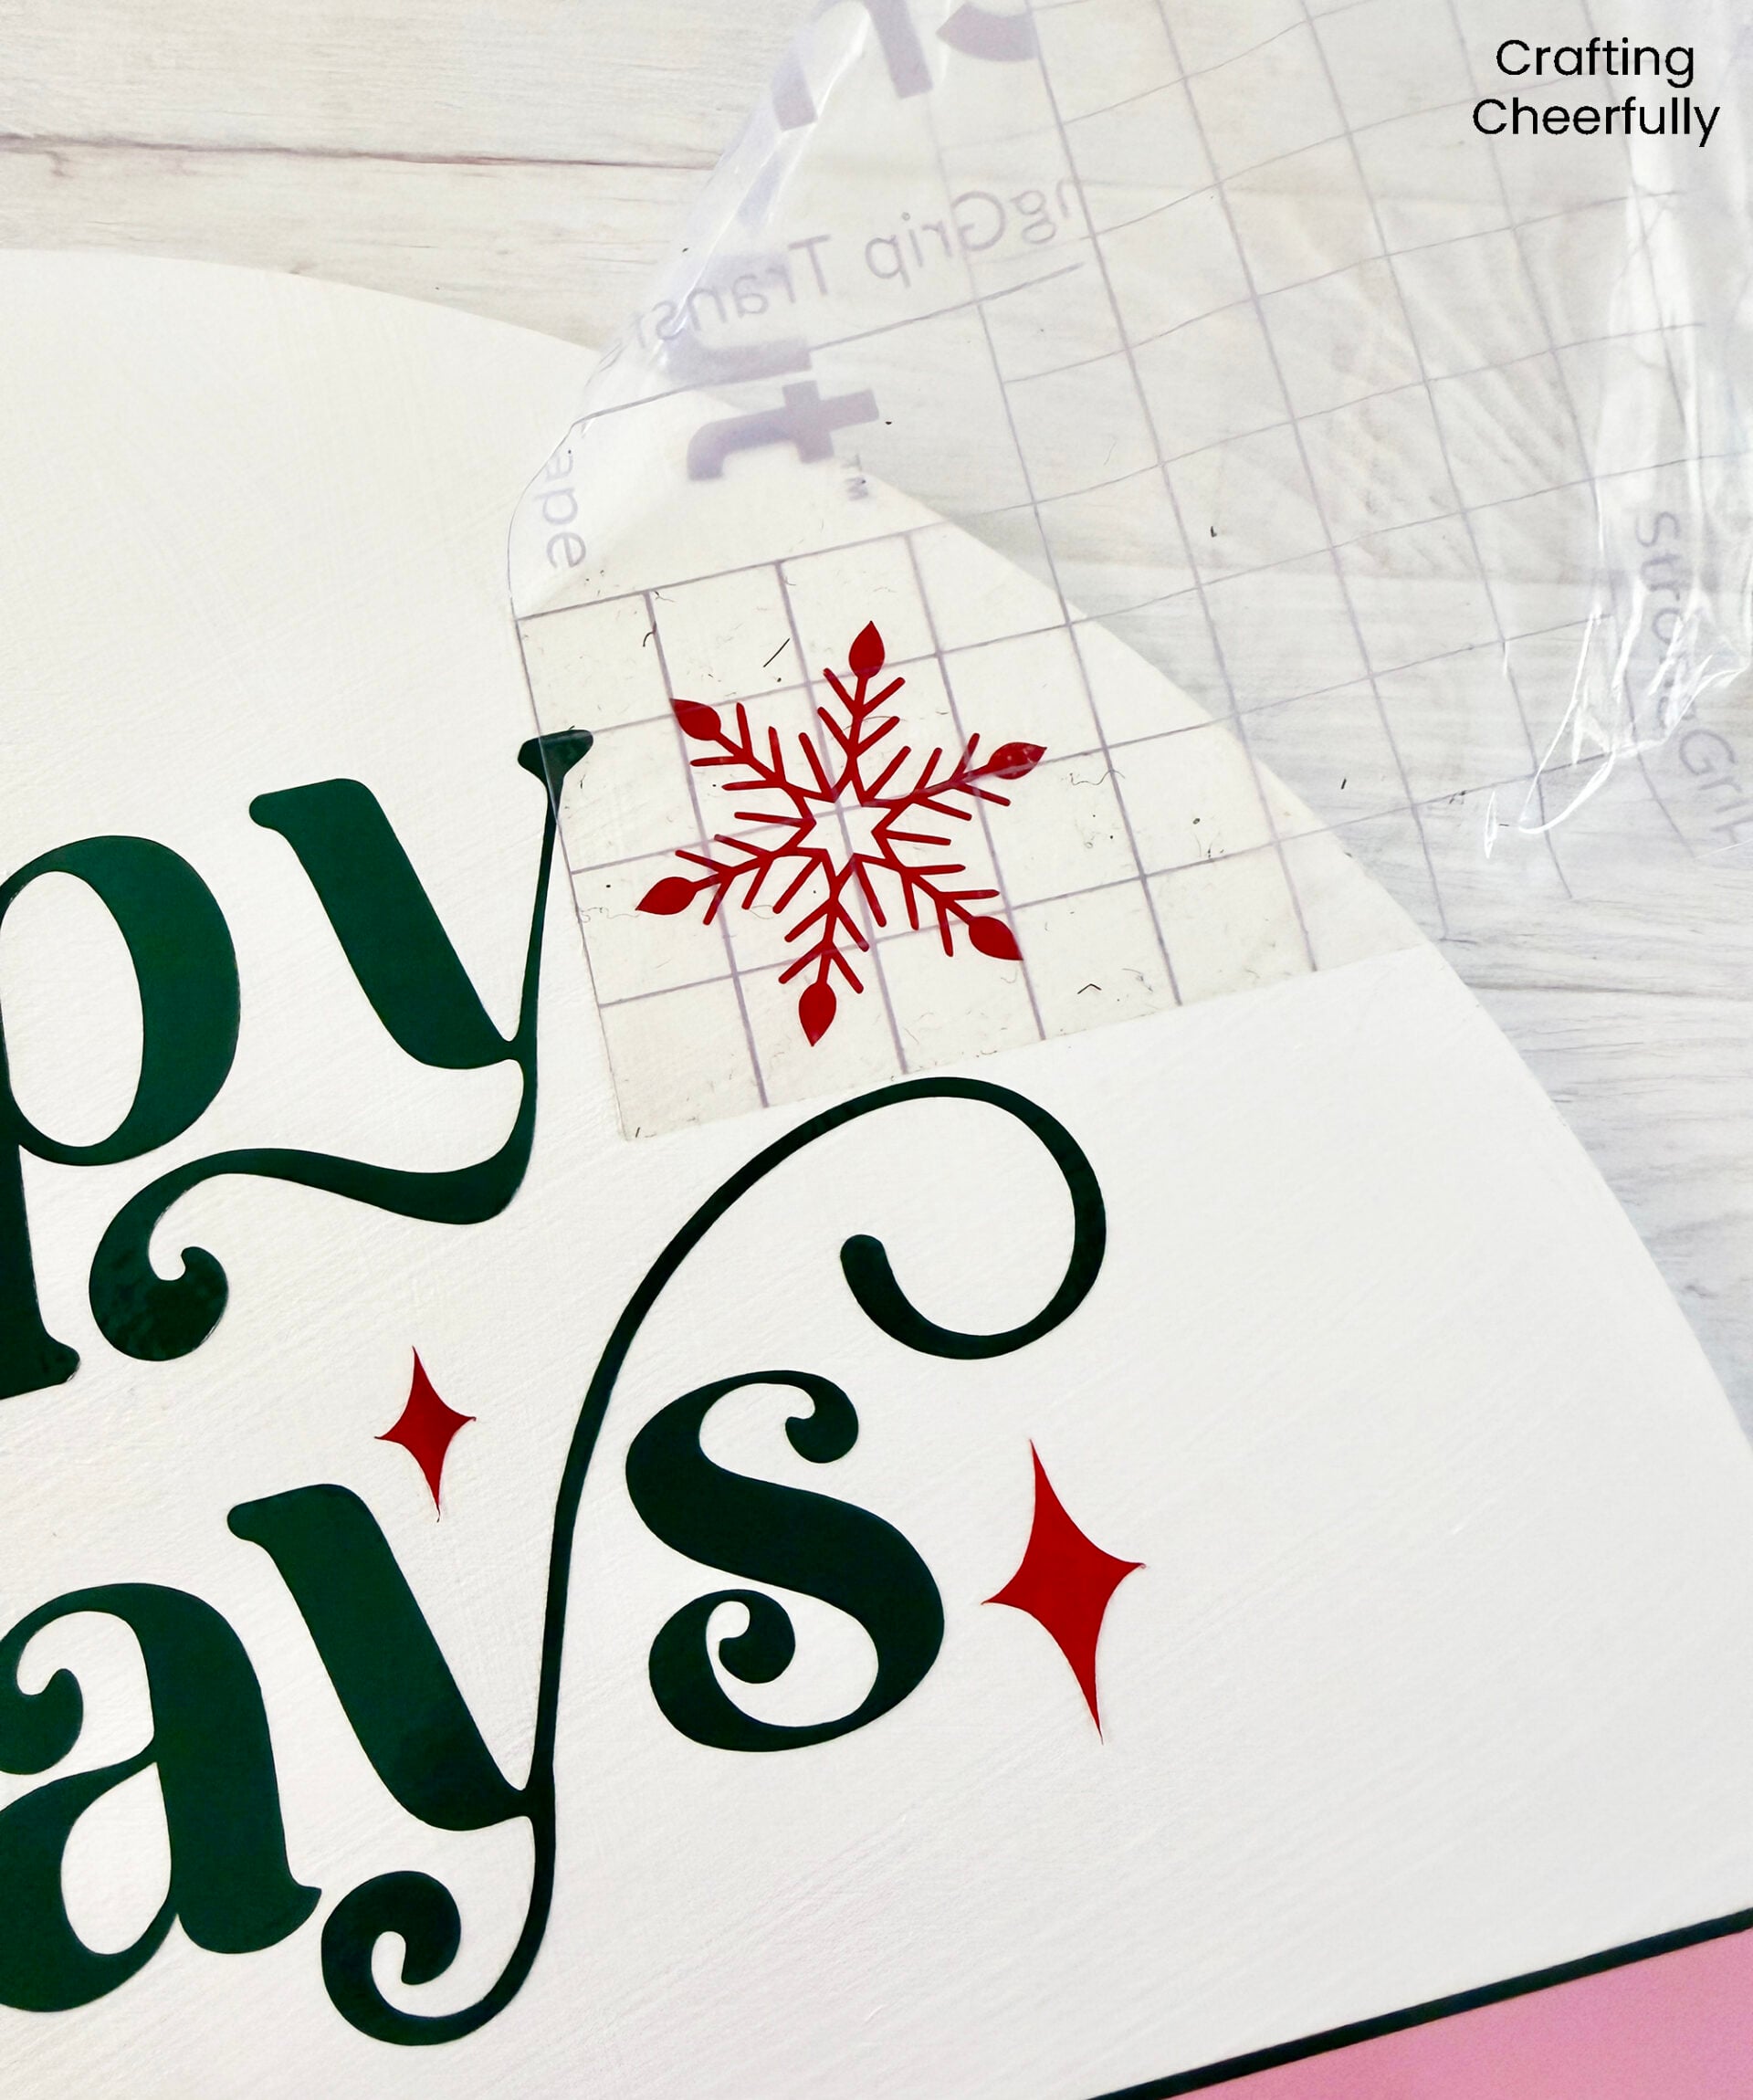
Step Six: Add the sentiment “Happy Holidays” and the red snowflakes to the top of the board. I was able to use Transfer Tape for the sentiment and snowflakes because I didn’t have to worry about the plaid vinyl getting torn up from the Transfer Tape. I positioned the bottom of the word “Holidays” exactly 1″ above the ribbon.
Adding the Vinyl Bow
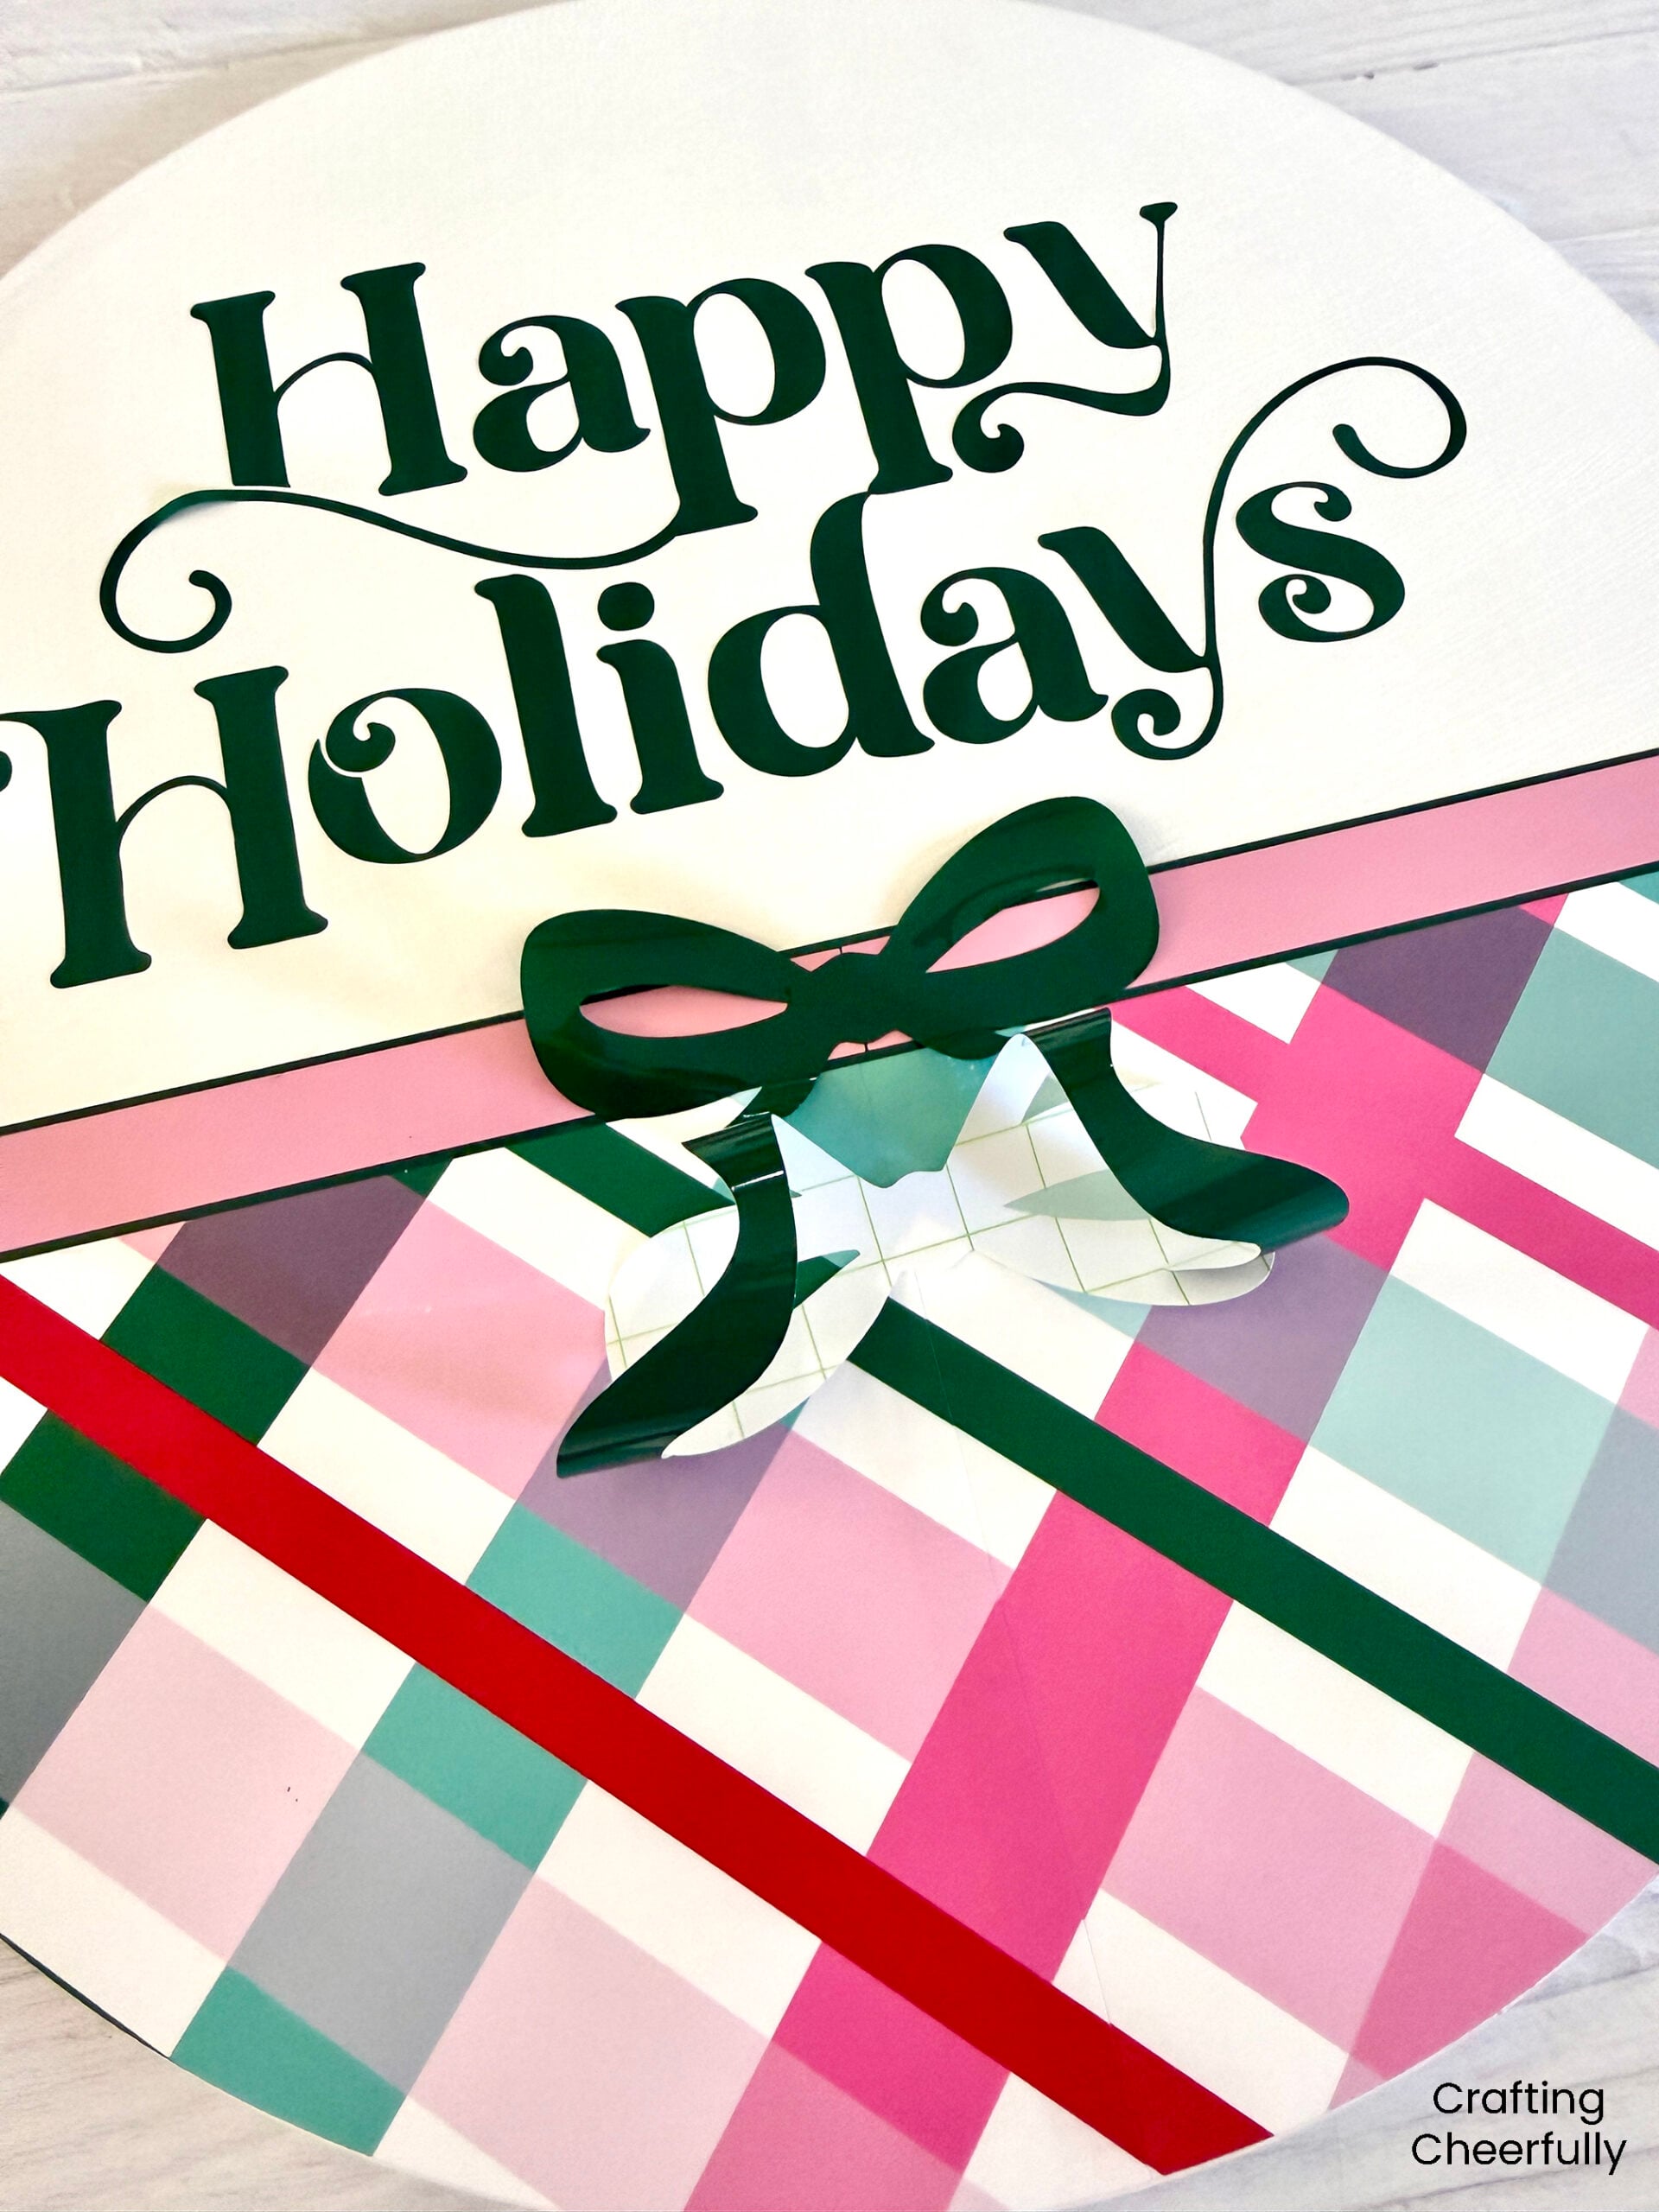
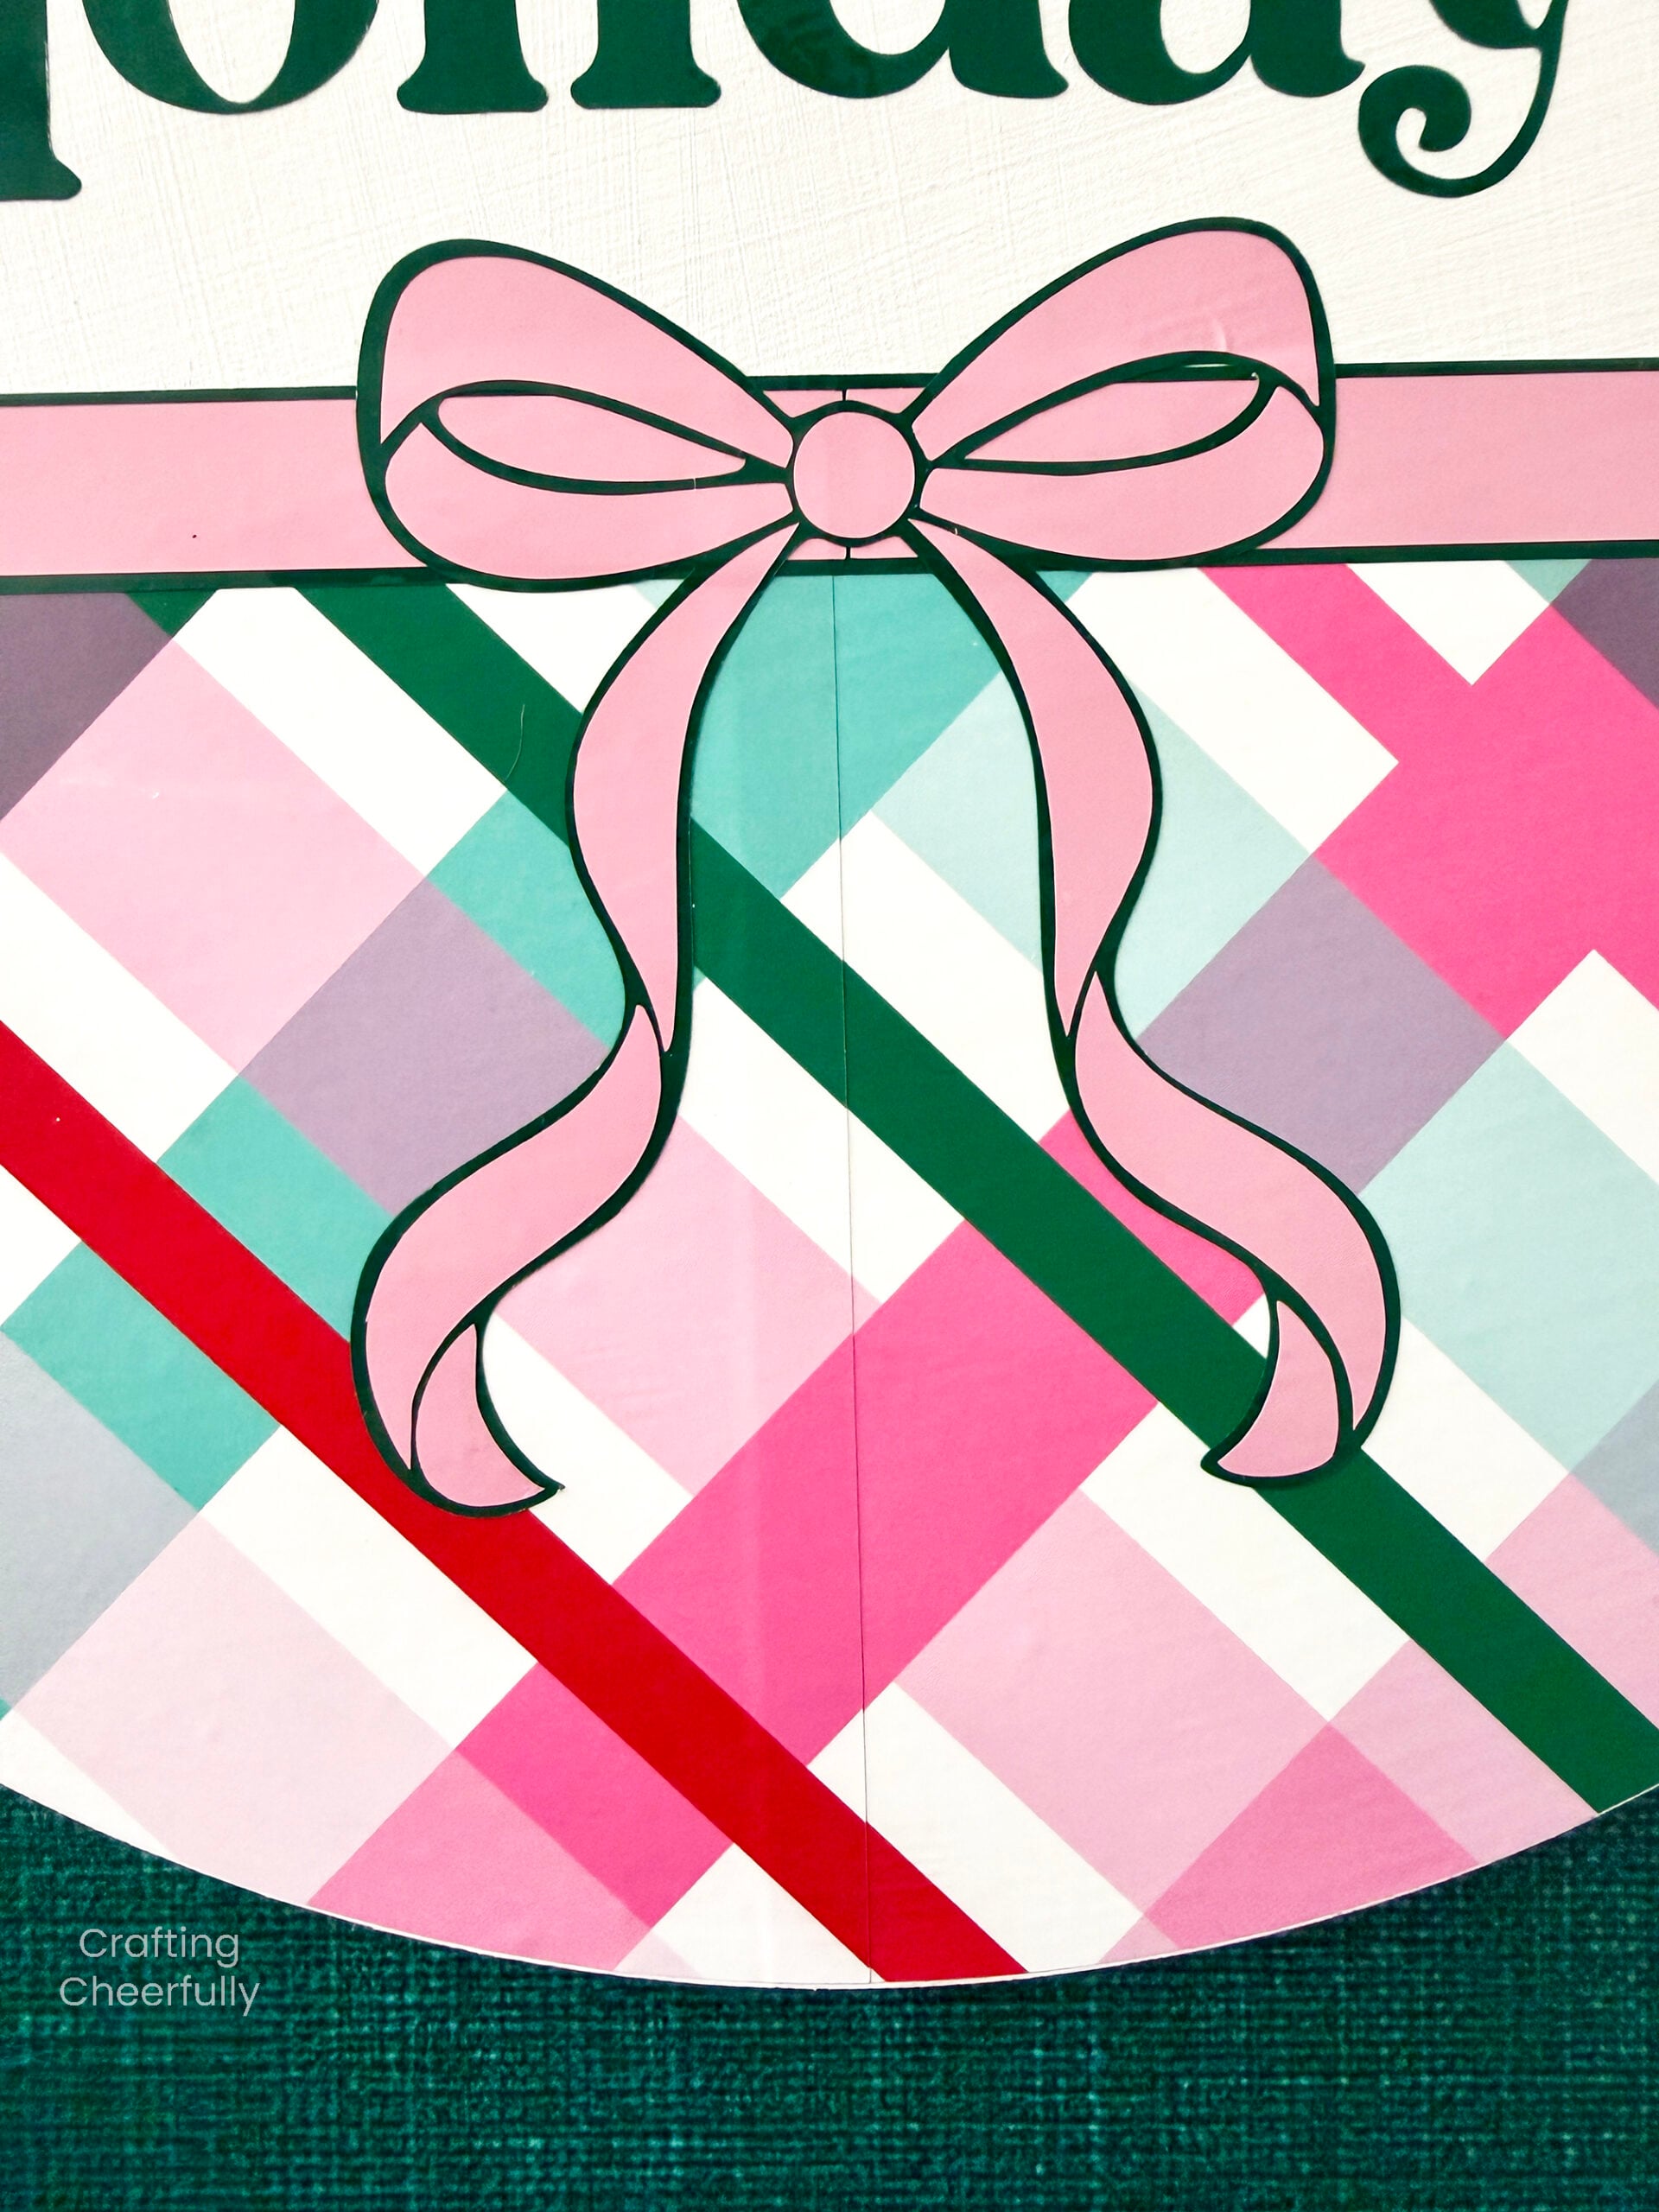
Step Seven: Add the vinyl bow to the front of the sign along the vinyl ribbon. I again had to apply the bow using my hands instead of Transfer Tape since the bow was over the printable vinyl. Once the green piece was placed, I just went slow and carefully placed each pink piece to fit in the bow.
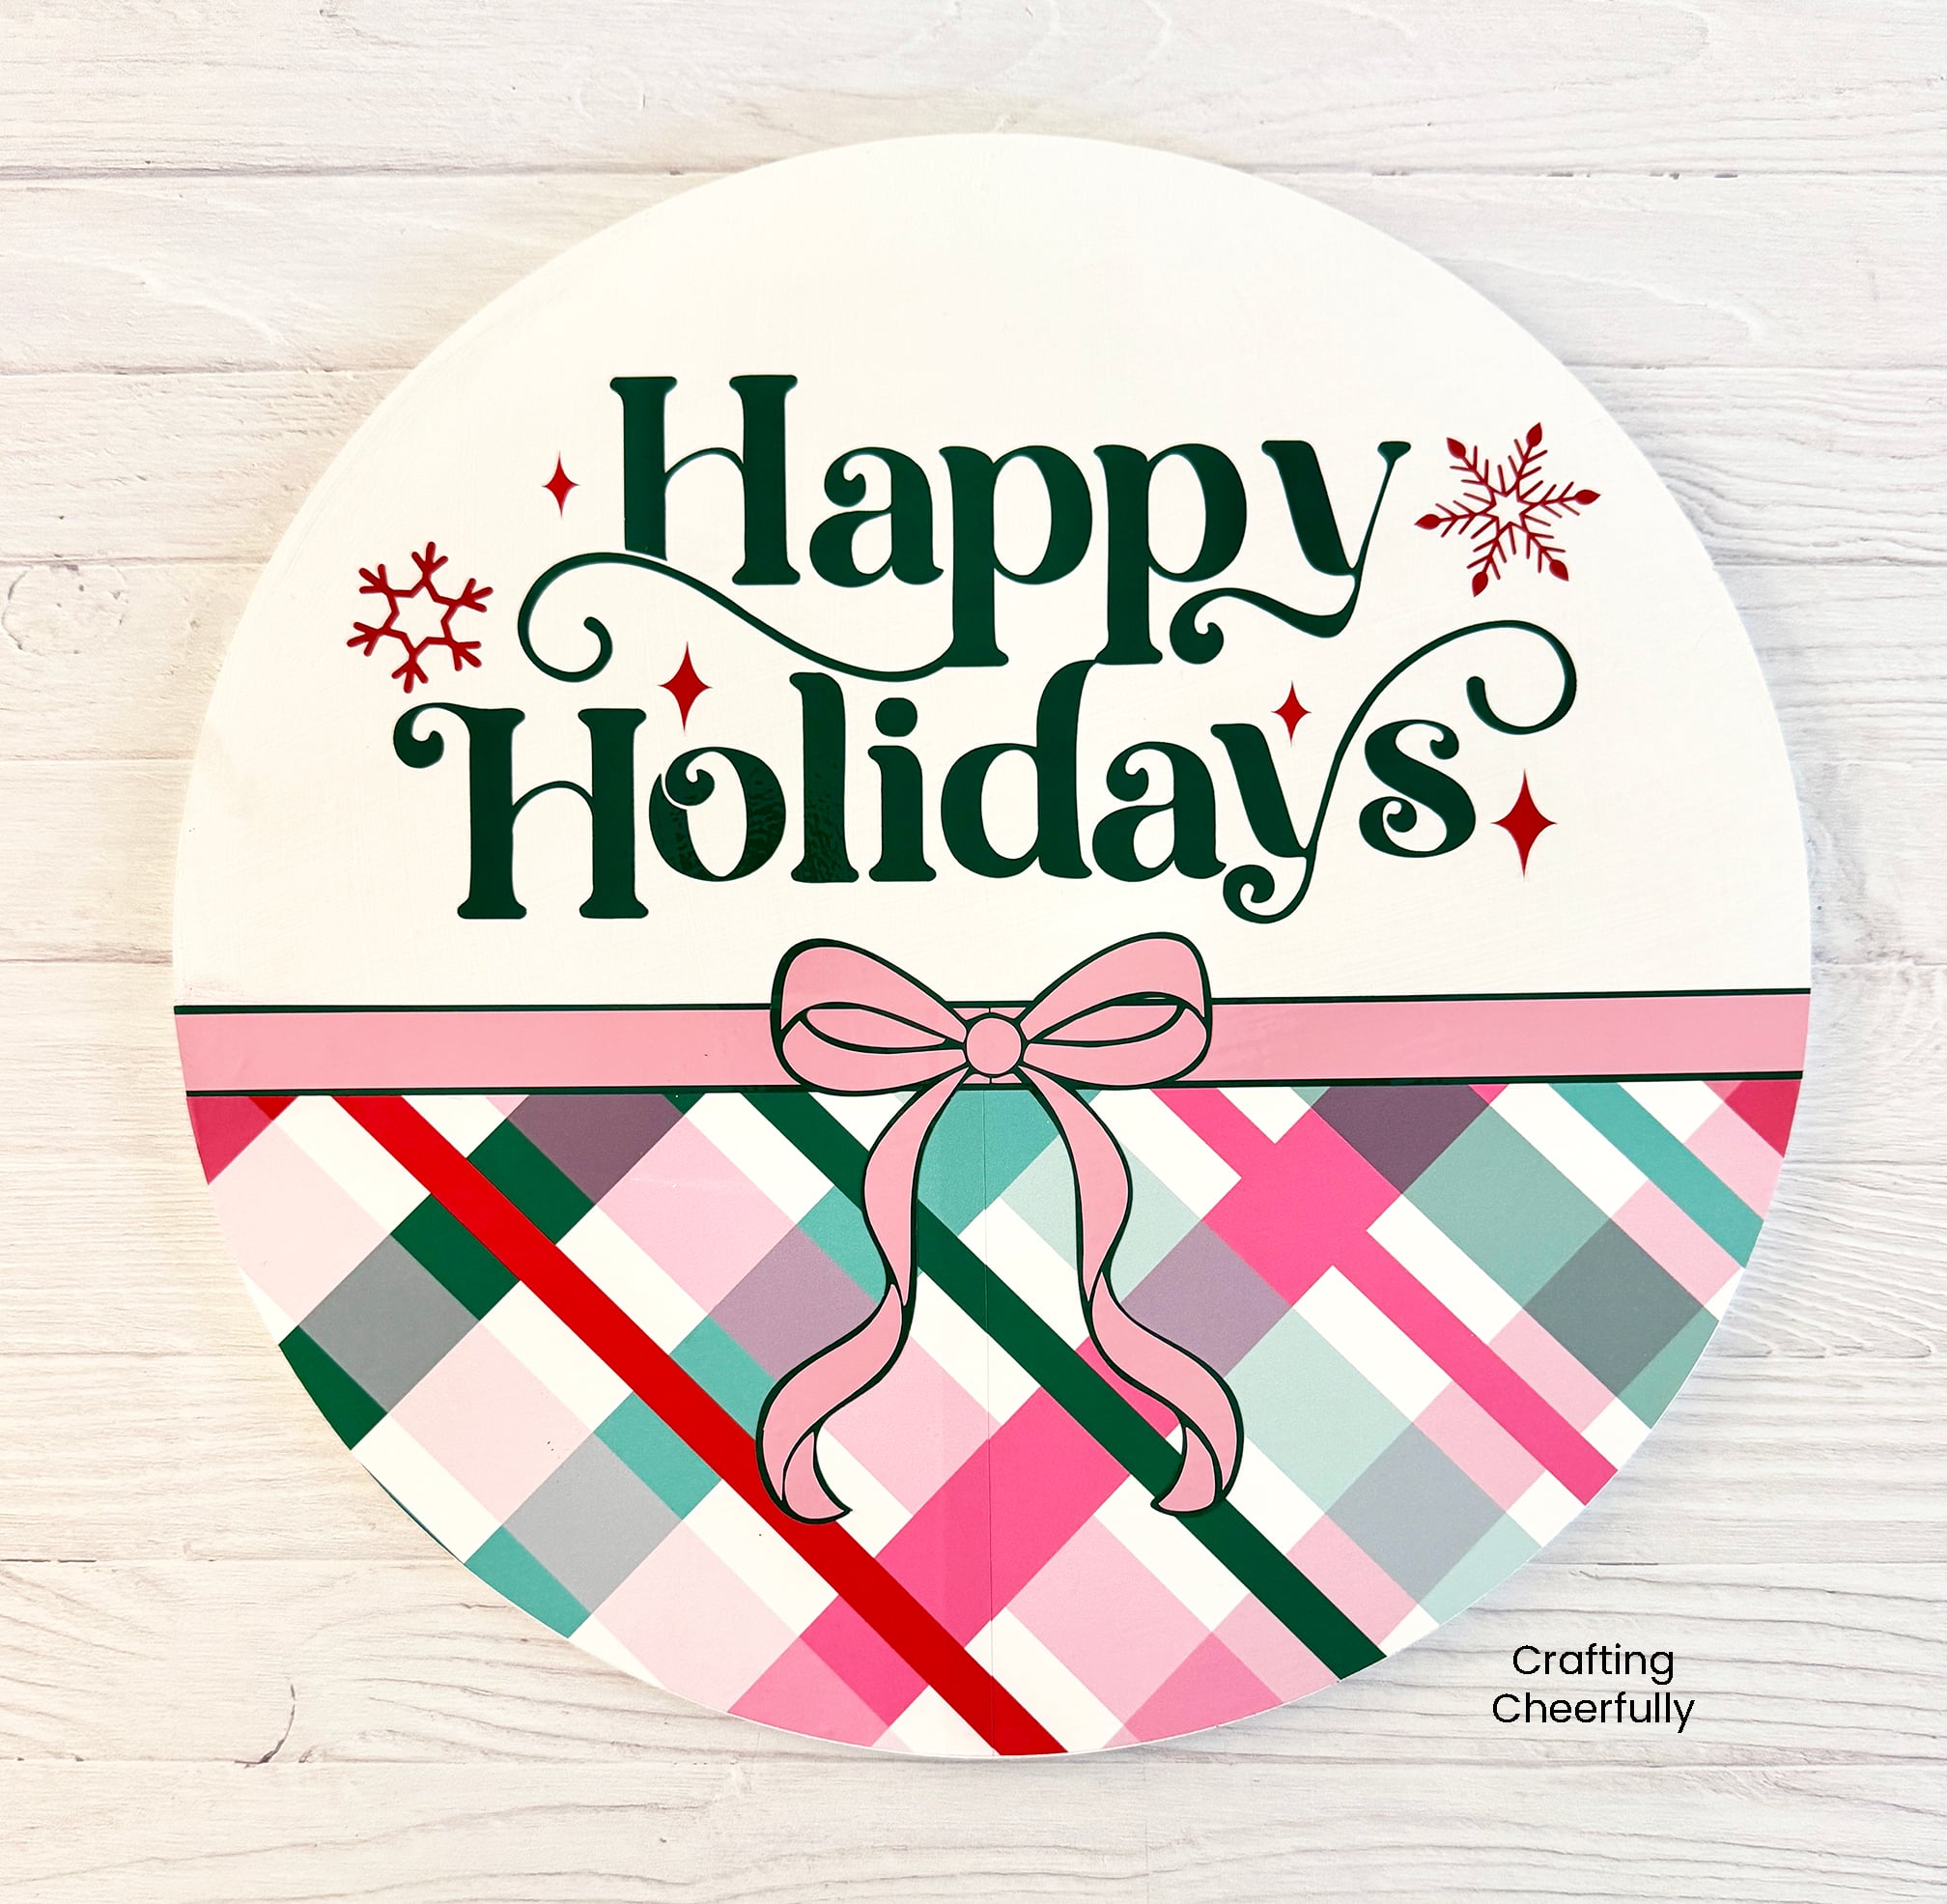
Step Eight: The last step is using ribbon to add a hanging loop on the back of the sign. Use hot glue to secure it. Then the sign is ready to be hung up and enjoyed!
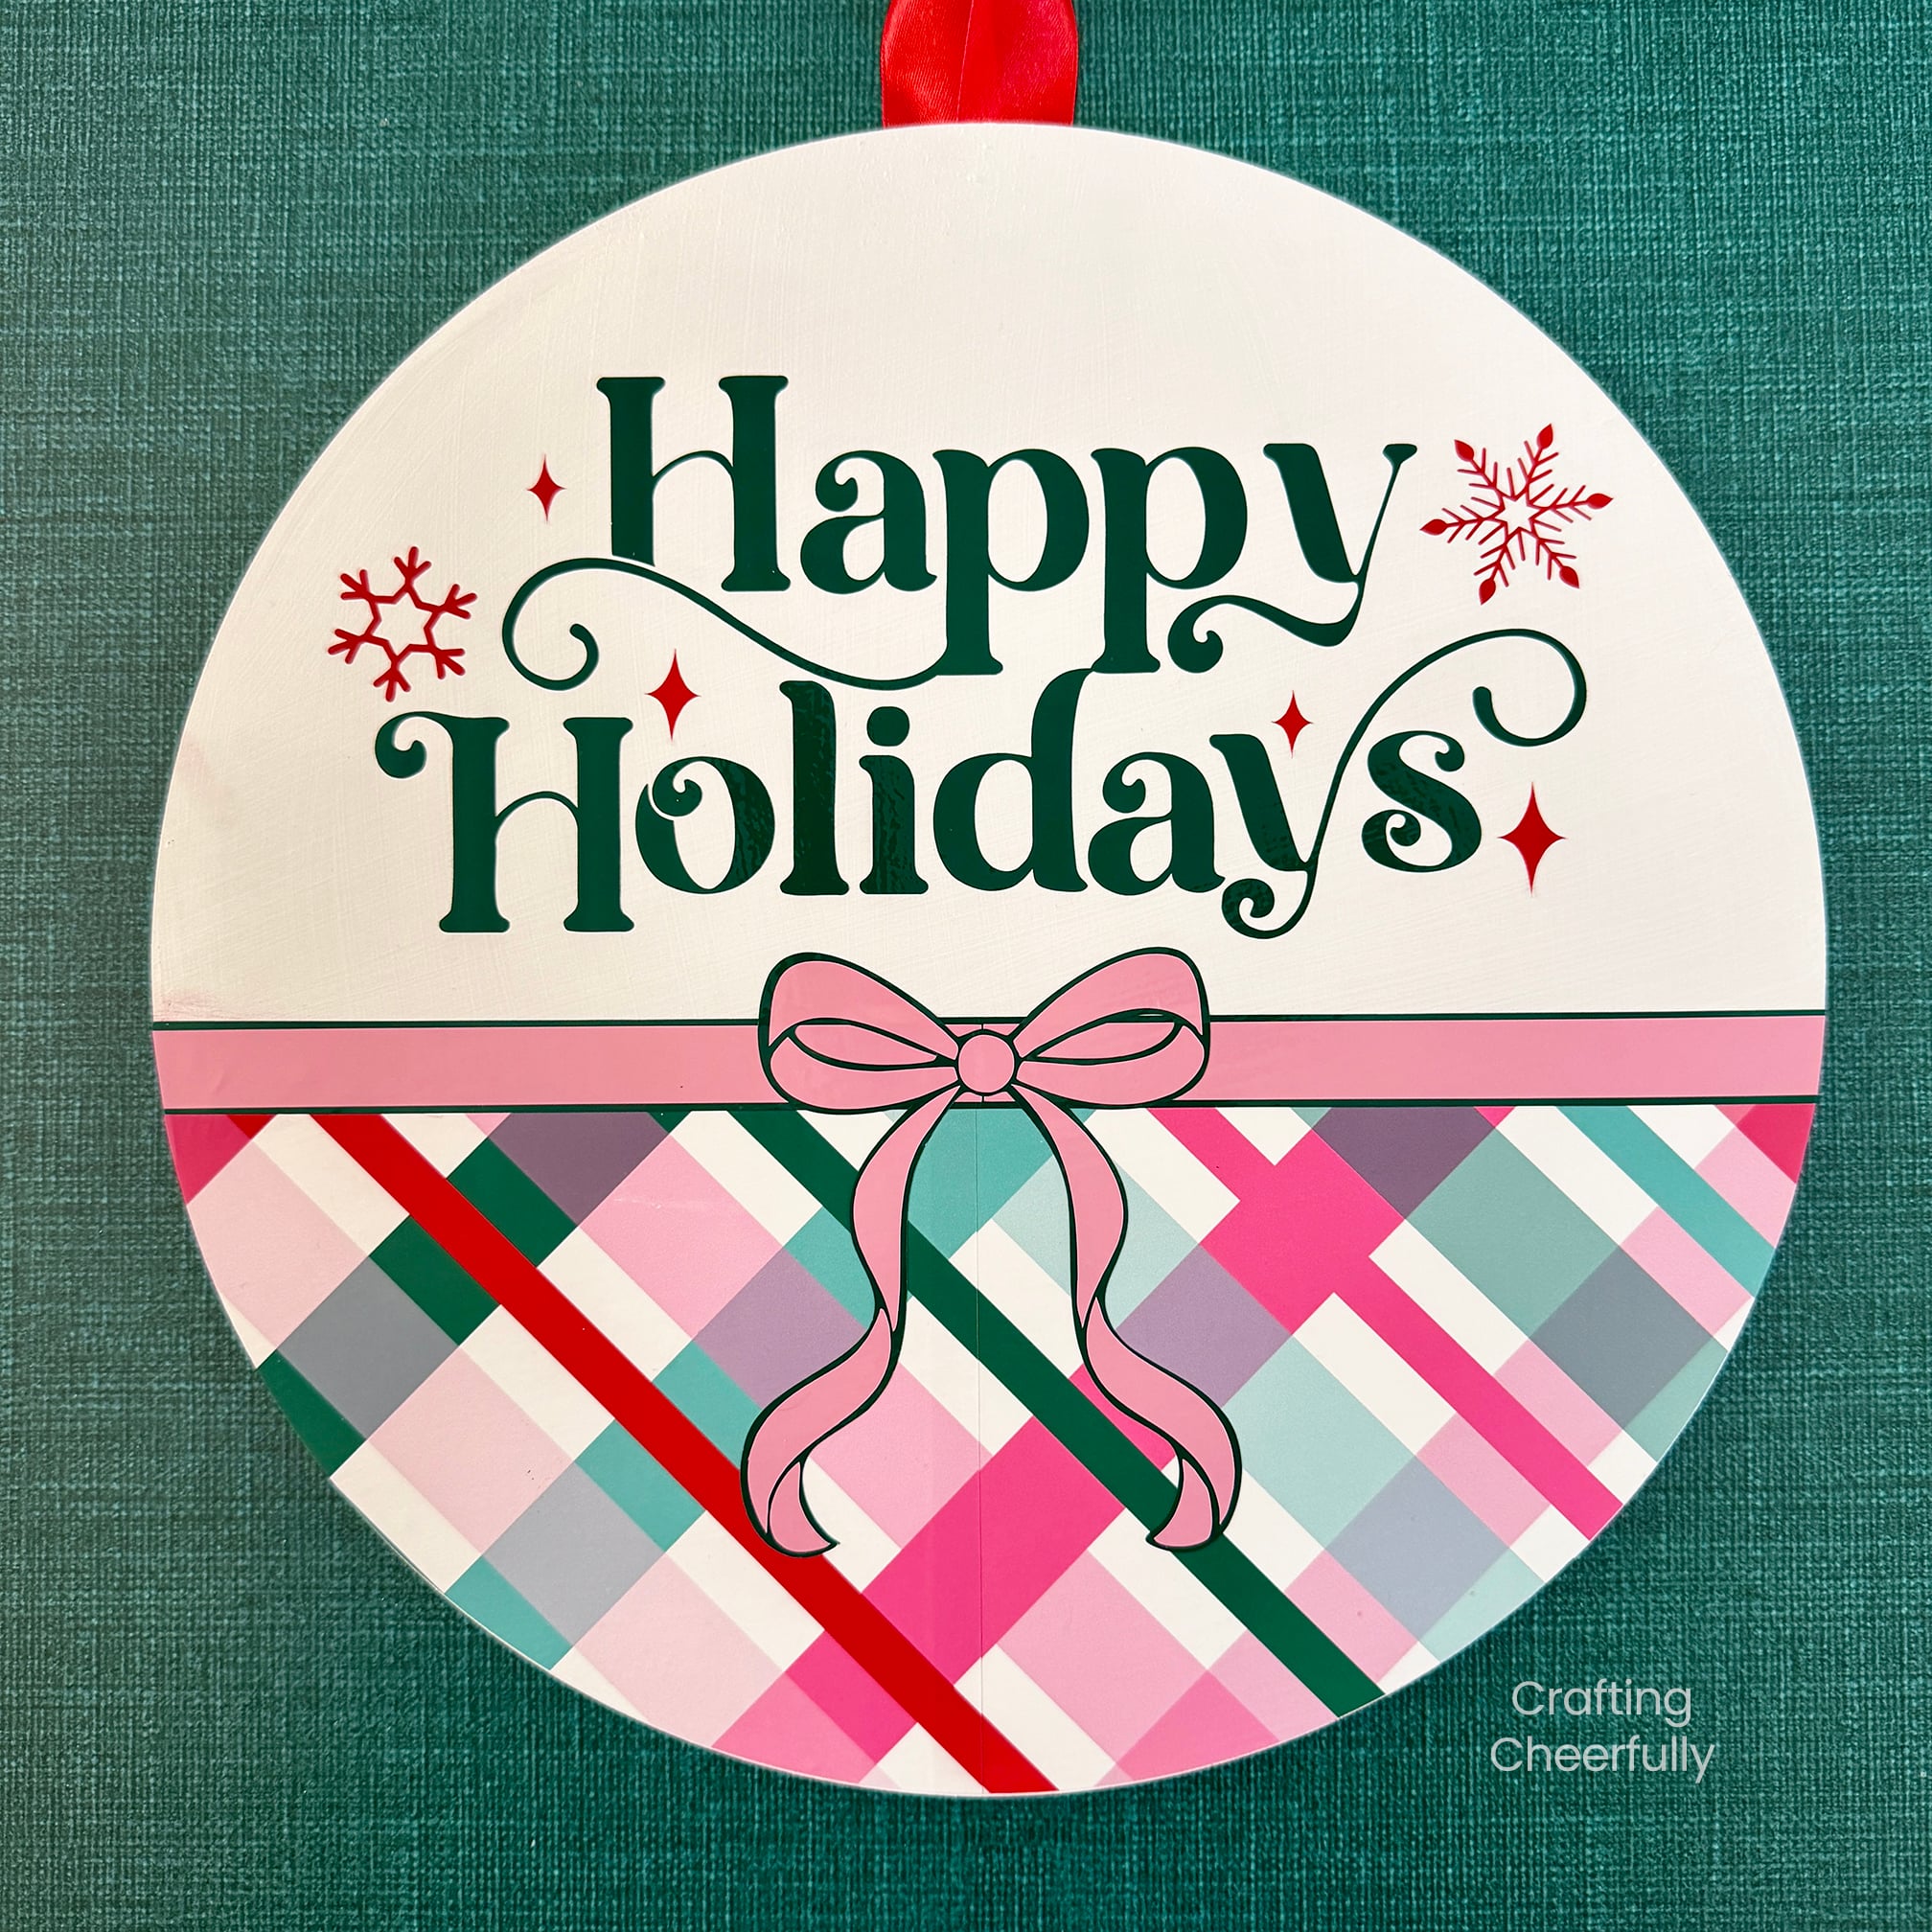
I love how this sign turned out! I learned a lot using the Cricut printable vinyl and even though I thought it was a bit tricky to use, the end result made it worth it! I’ll be back tomorrow for the 8th day of my series, 12 Days of Holiday Crafts! Check out my Holiday Cricut Craft page for more fun ideas. You can also check out my other Cricut Design Space File Project or my Free SVG Cut File Projects!