DIY Christmas Fairy Wands
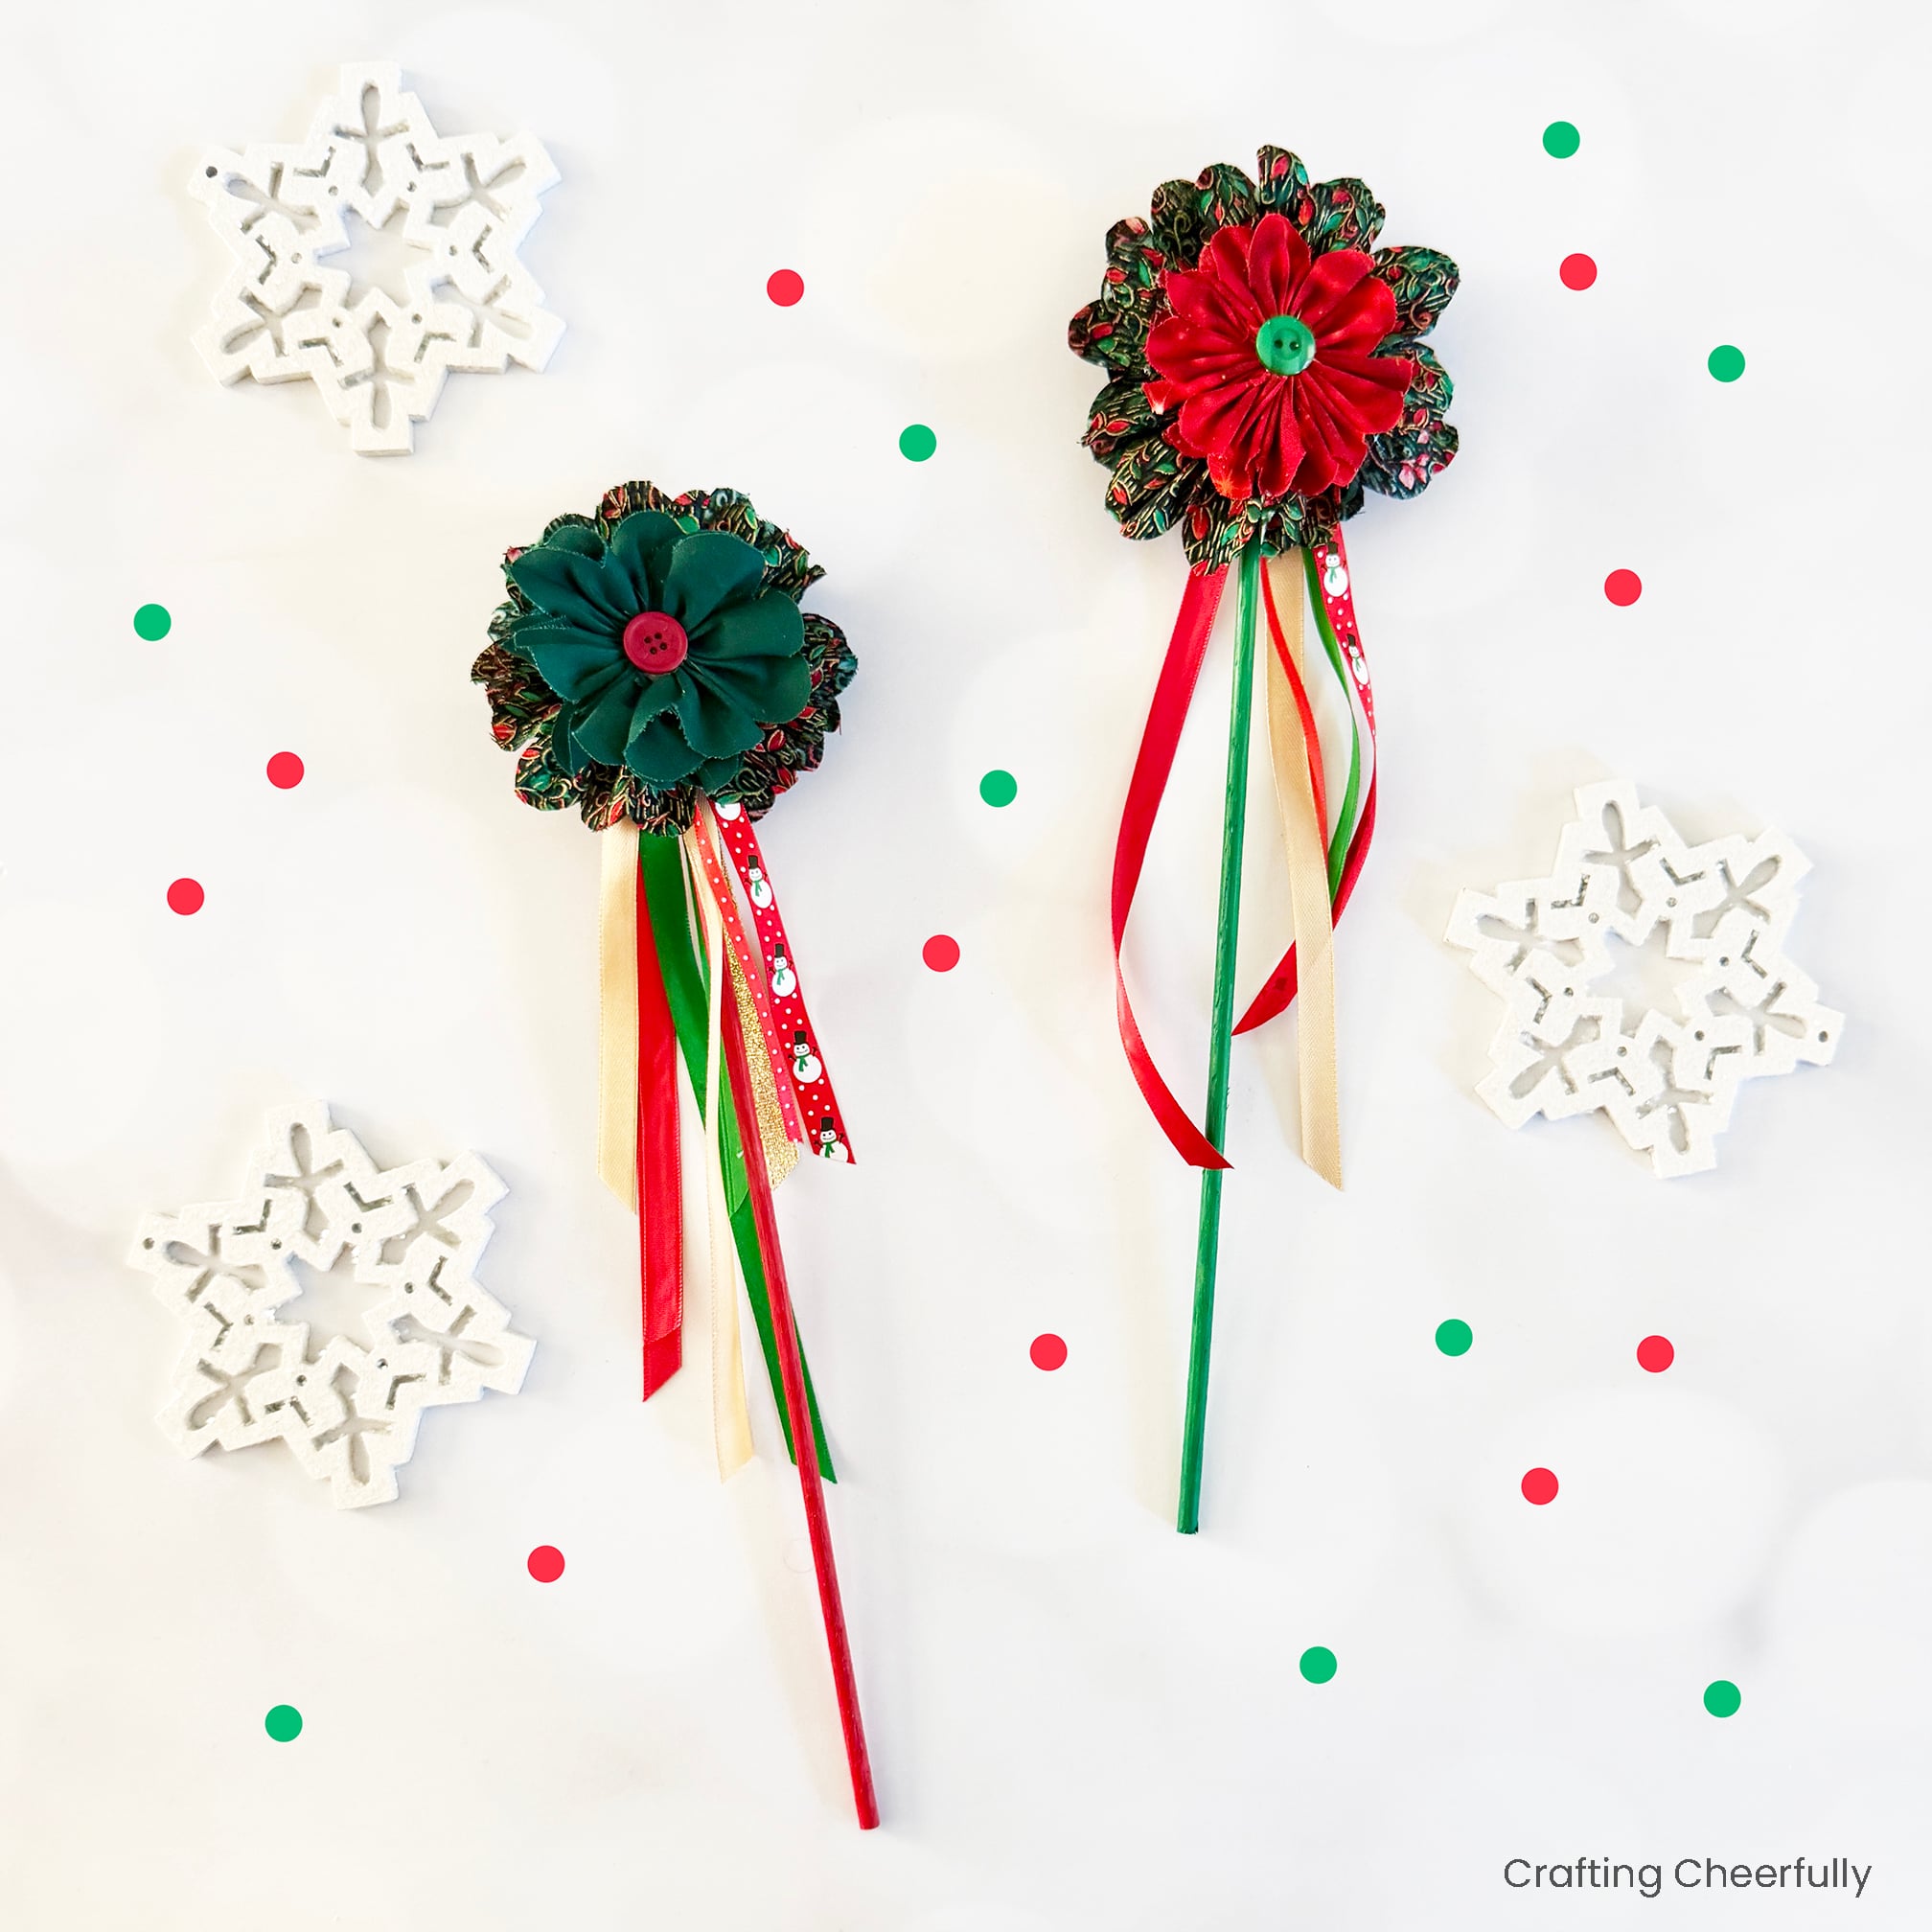
Create sweet Christmas fairy wands for little ones to enjoy this holiday season! These magical wands are made with simple fabric rosettes and ribbon. Grab the free pattern to get started!

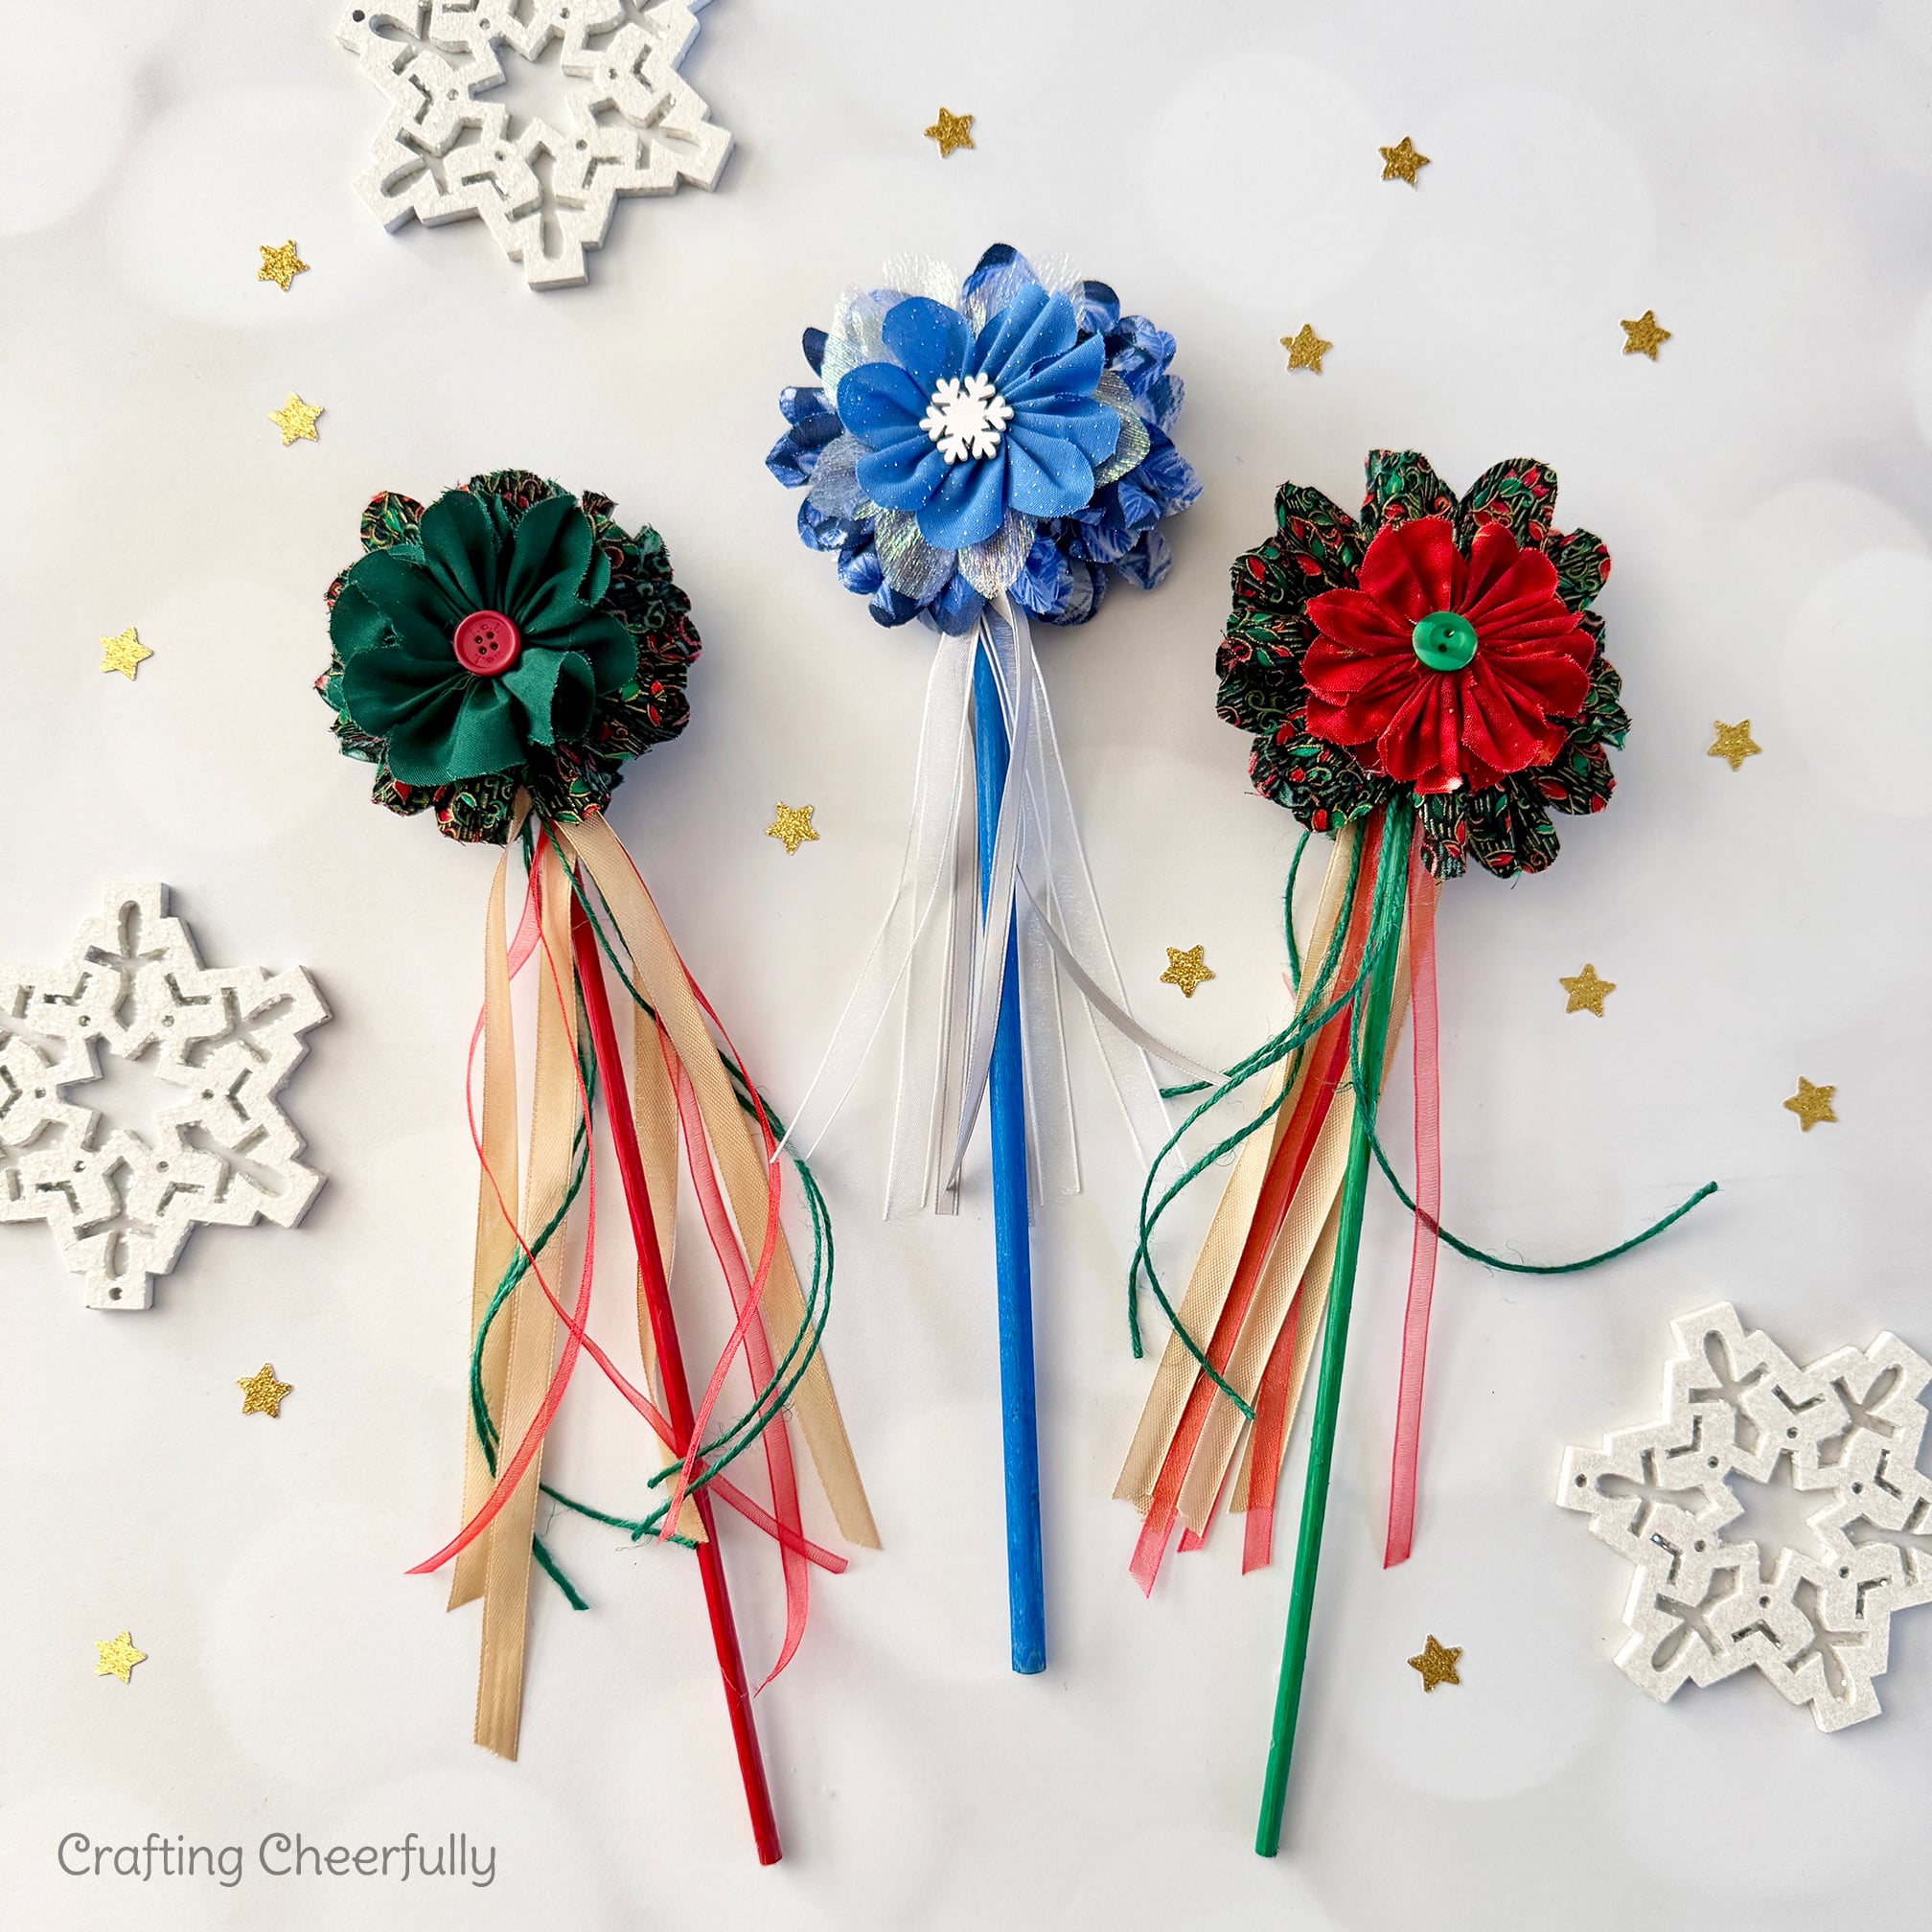
Hello Crafty Friends and welcome to Day 6 of my annual series 12 Days of Holiday Crafts! Today I’m sharing a tutorial for making these cute Christmas fairy wands! They are made from fabric rosettes and ribbon and they make a sweet, magical gift for little ones.
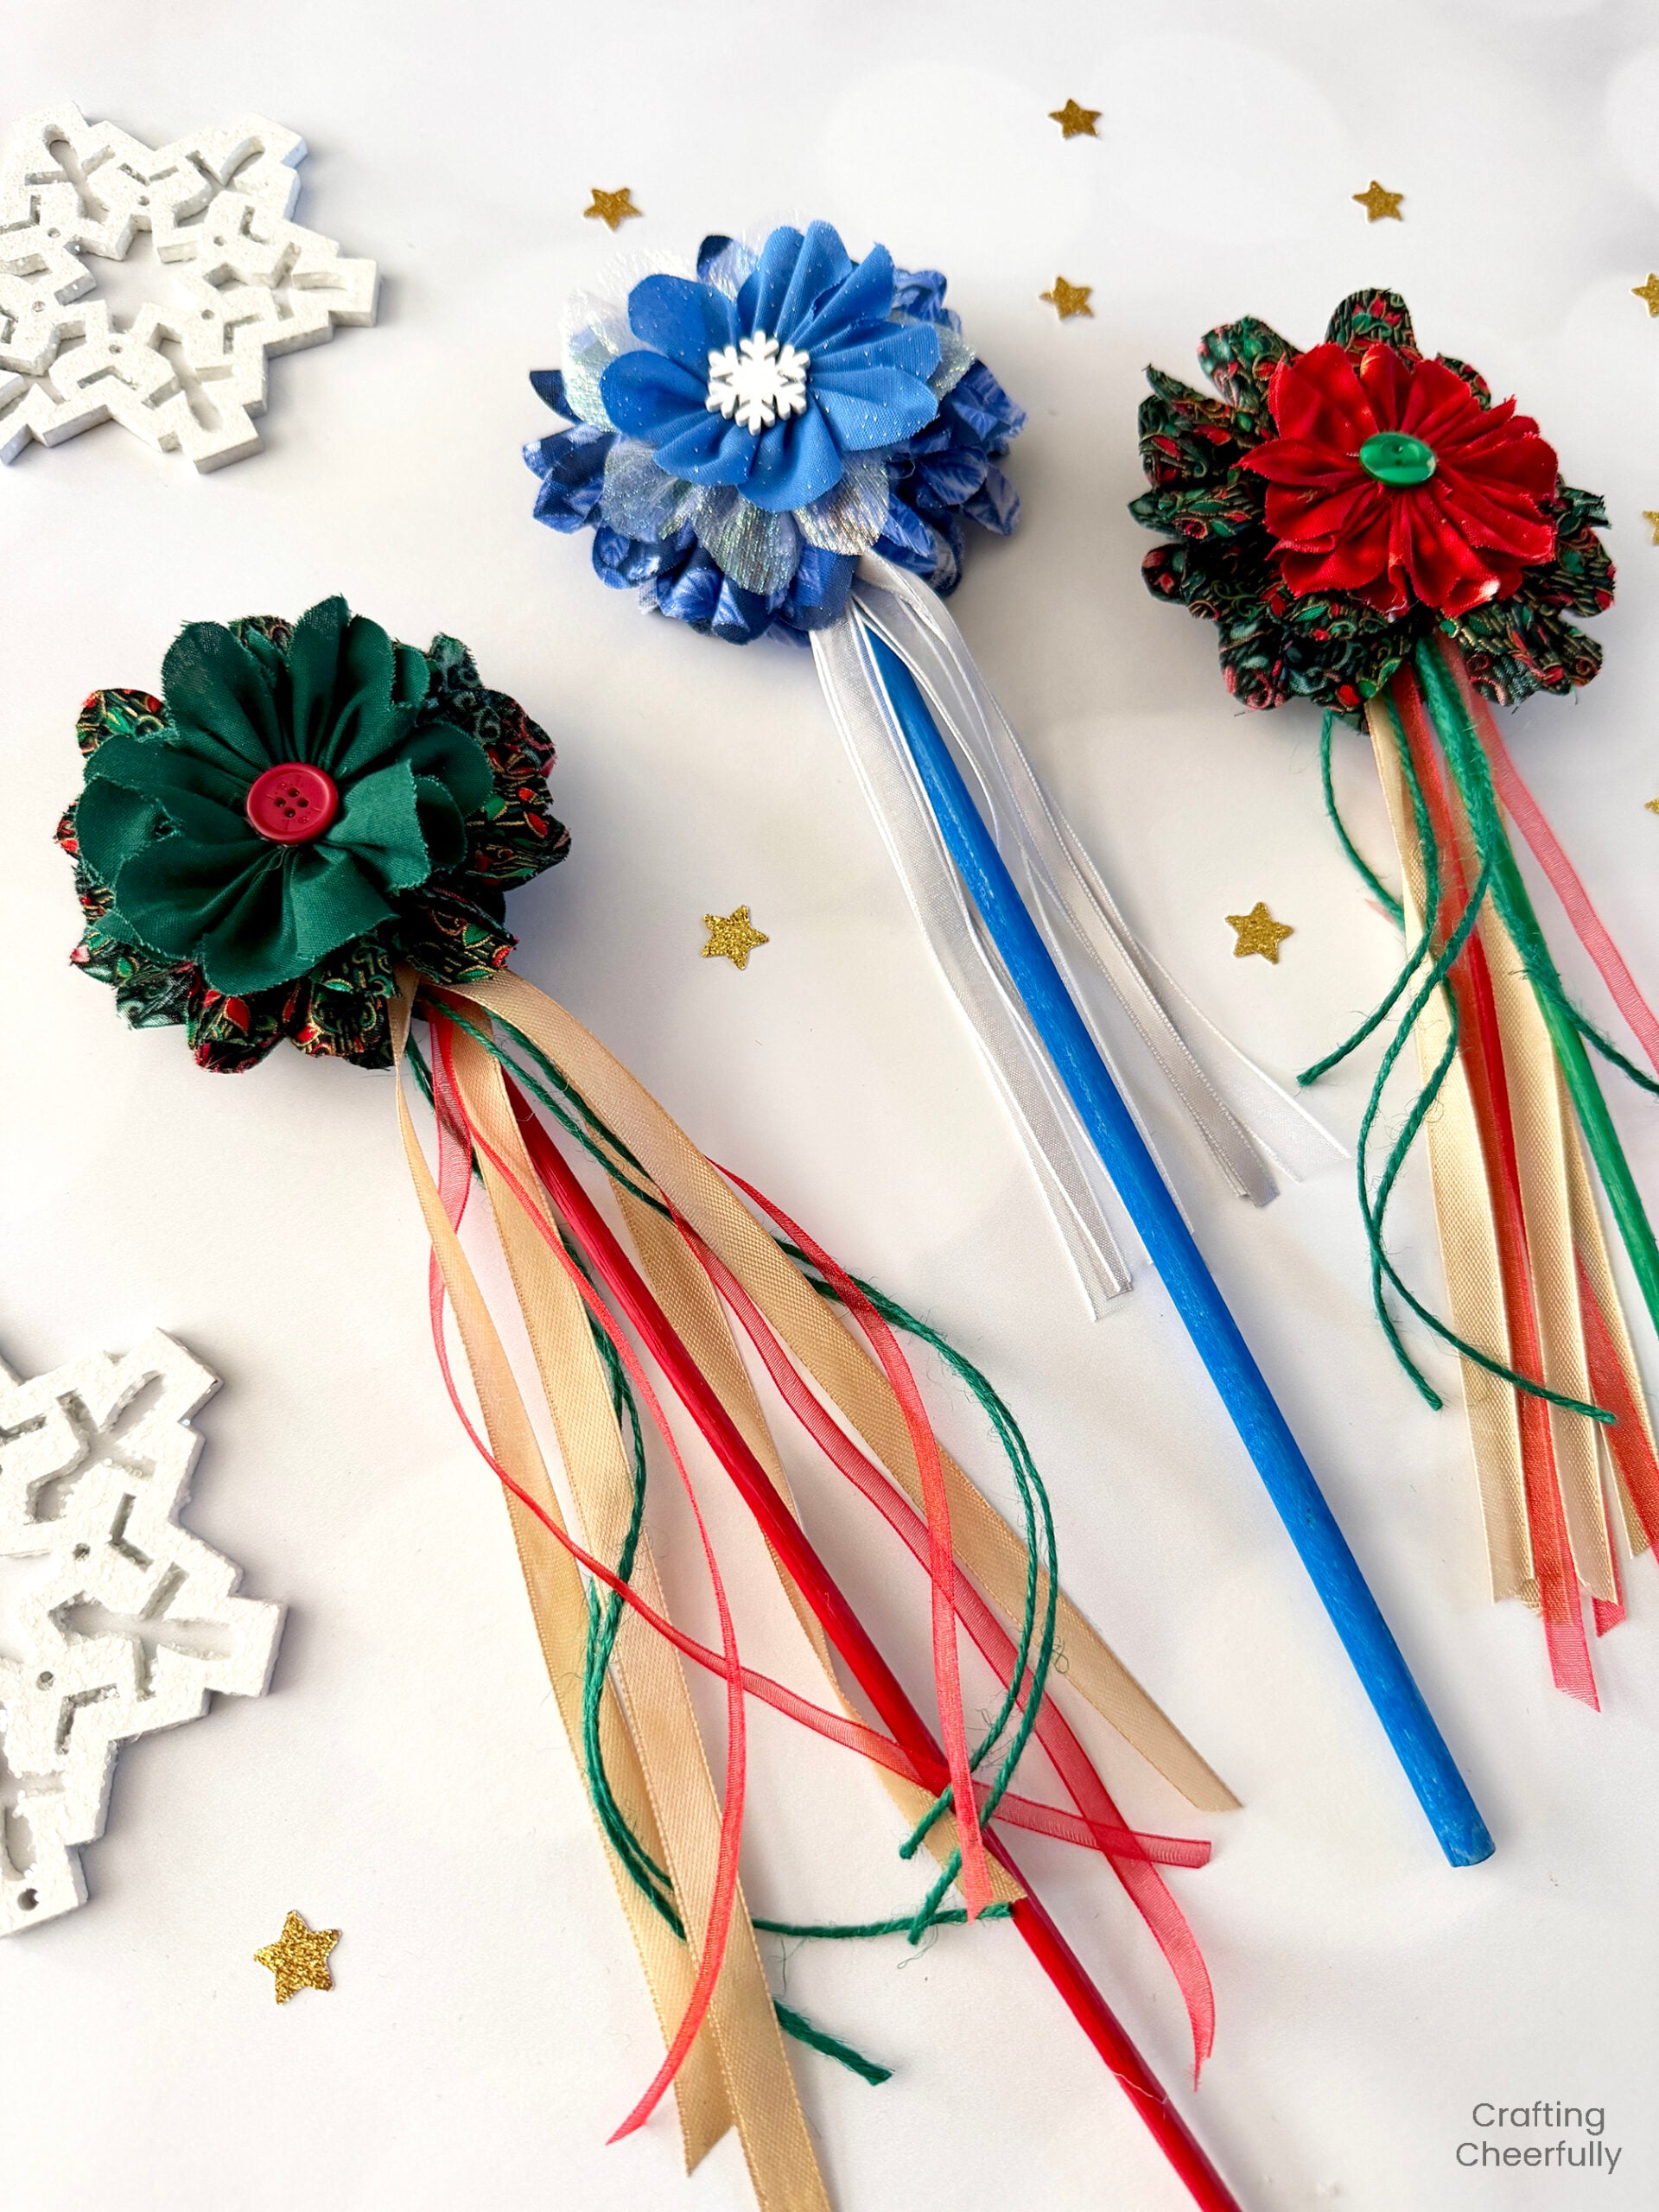
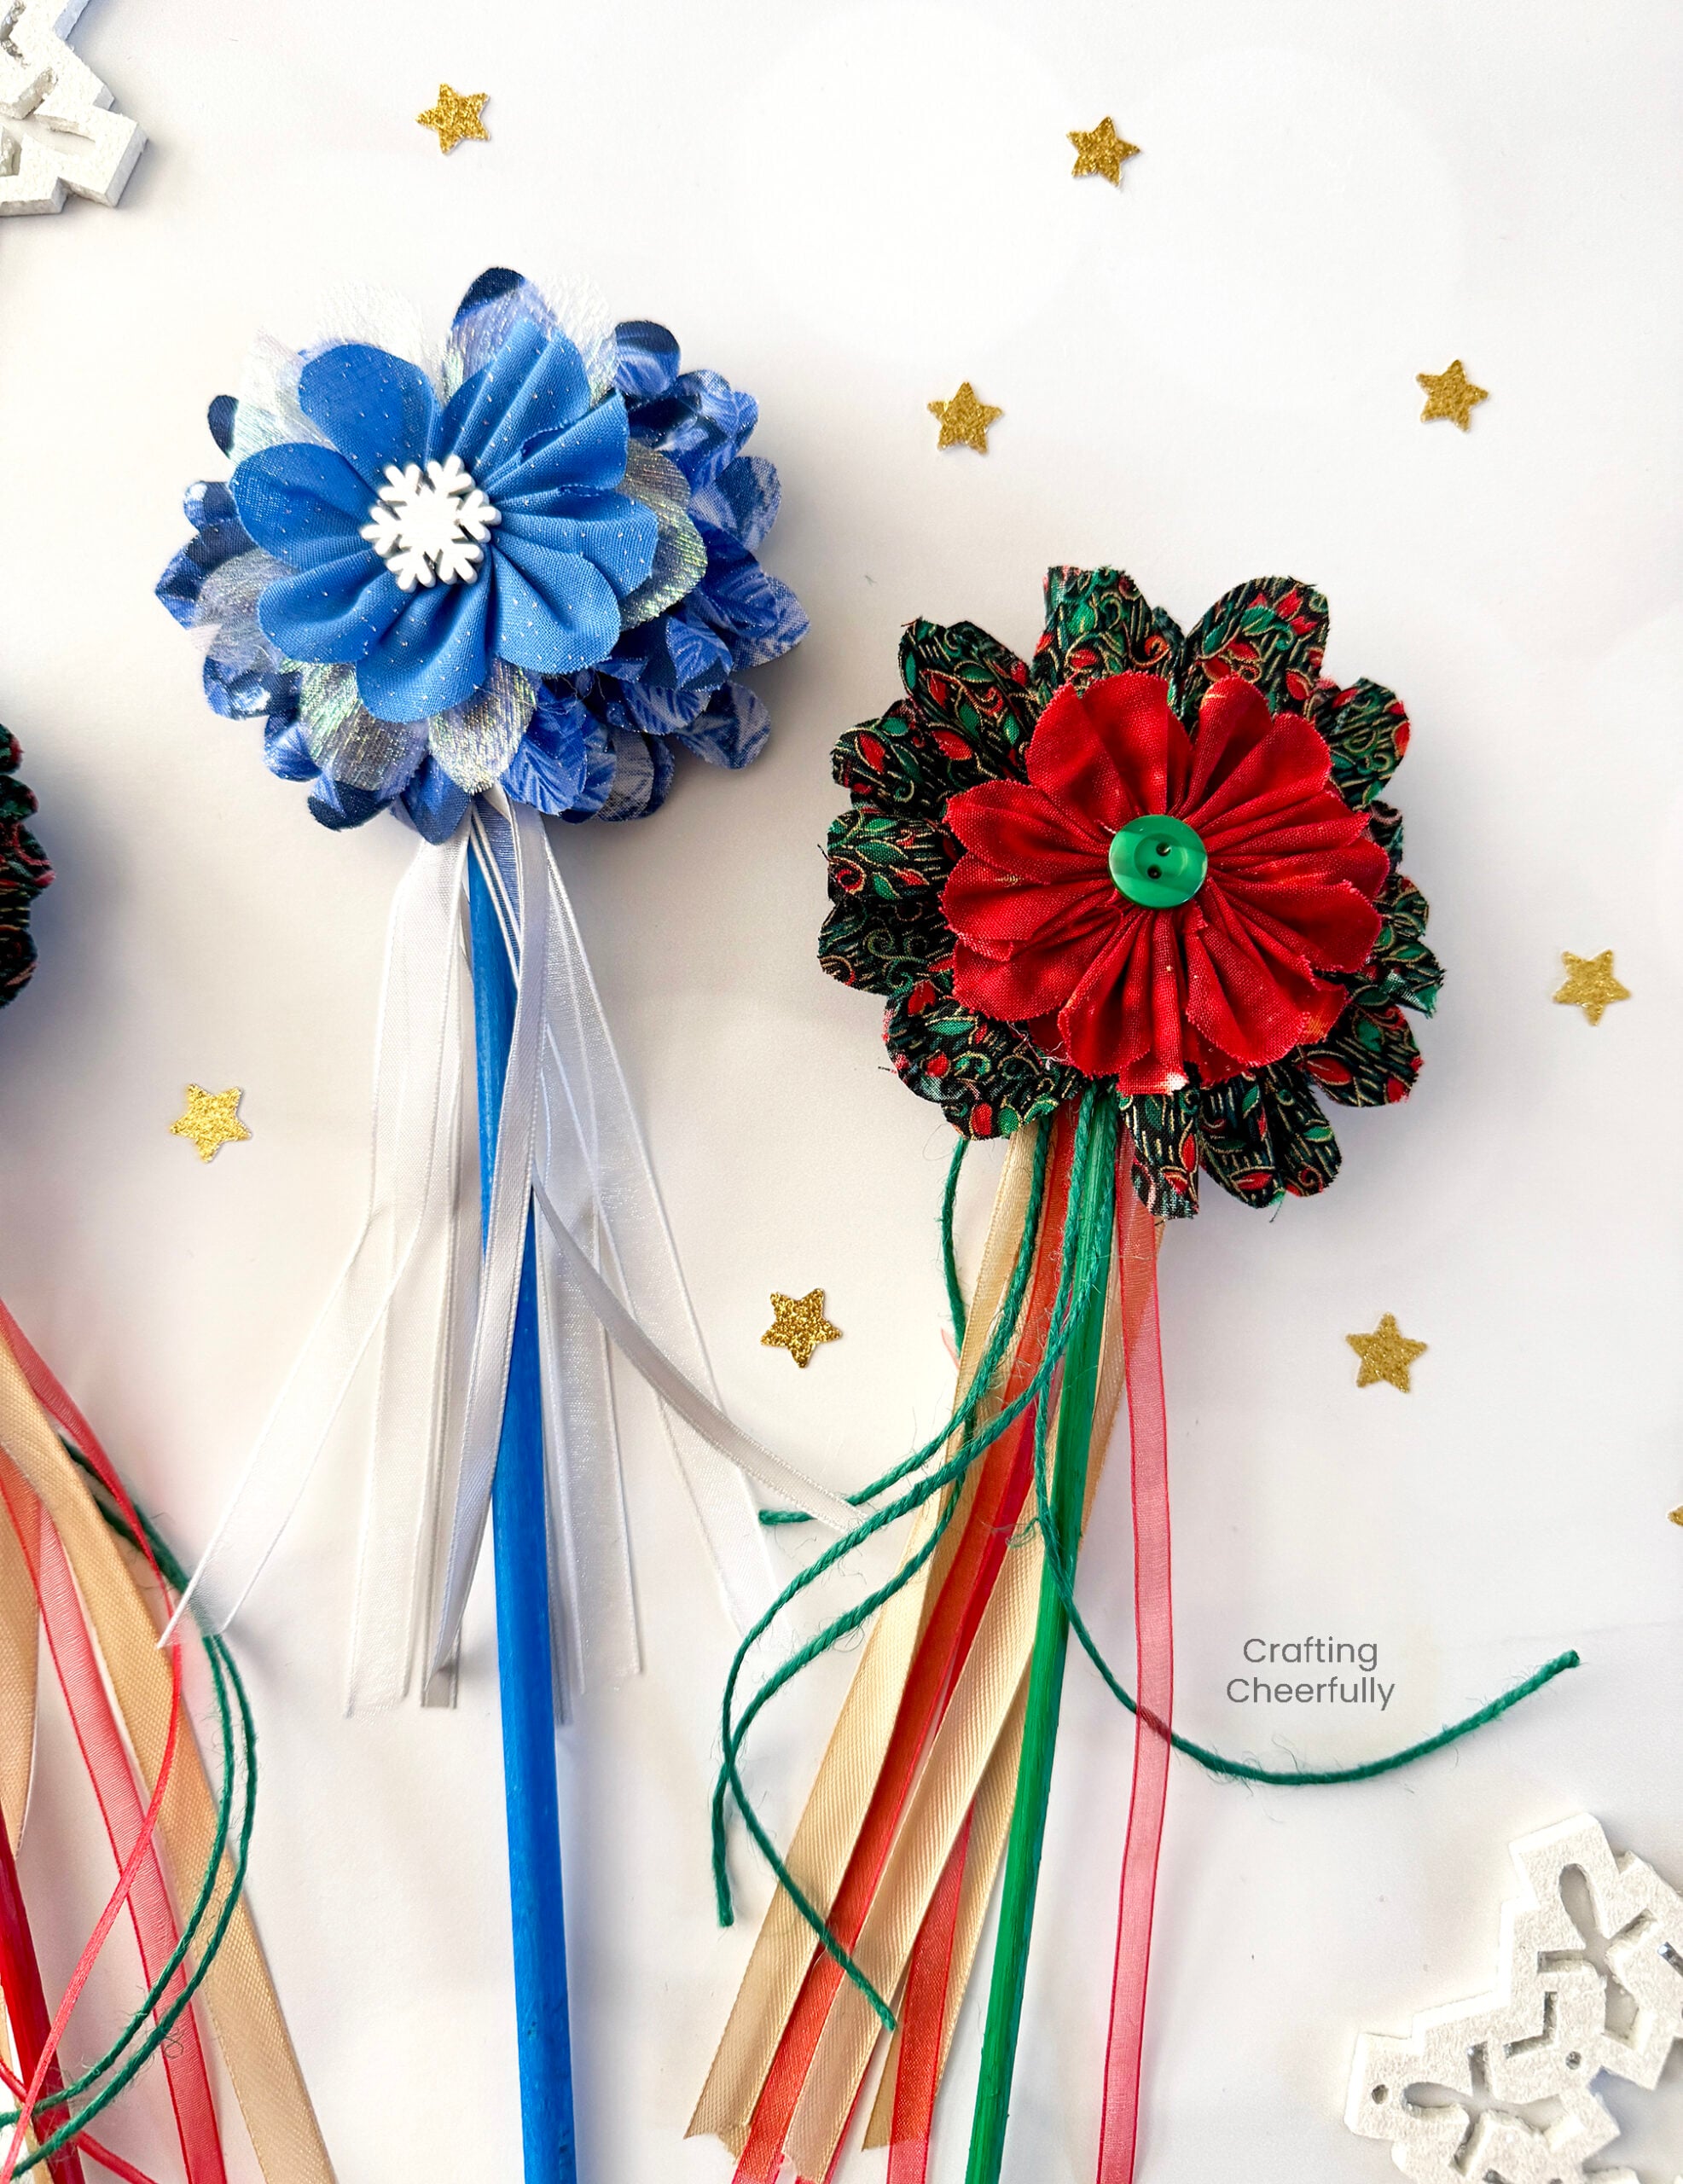
Customize the wands by choosing different fabrics. I made two in Christmas colors and one in sparkly winter fabrics. They are so fun to wave around and a simple gift to spark the imagination this holiday season! I’ve made similar wands for springtime and knew they would look just as cute for Christmas!
How to Make Christmas Fairy Wands
Supplies Needed
- Fabric – I used scraps of holiday fabric from my stash.
- Assorted ribbons (best if they are between 1/8″ and 3/8″
- Buttons or pompoms
- Needle and thread
- Scissors
- Hot Glue
- Ruler and Pencil
- Wooden Dowel – 3/16″ x 12″
- Acrylic Paint
Please Note: Buttons may be a safety hazard to young children. Please use your own judgement on what is safe for your child. If buttons are a concern, use pompoms or skip them or be sure to sew them on with strong thread rather than using hot glue.
Painting the Dowels
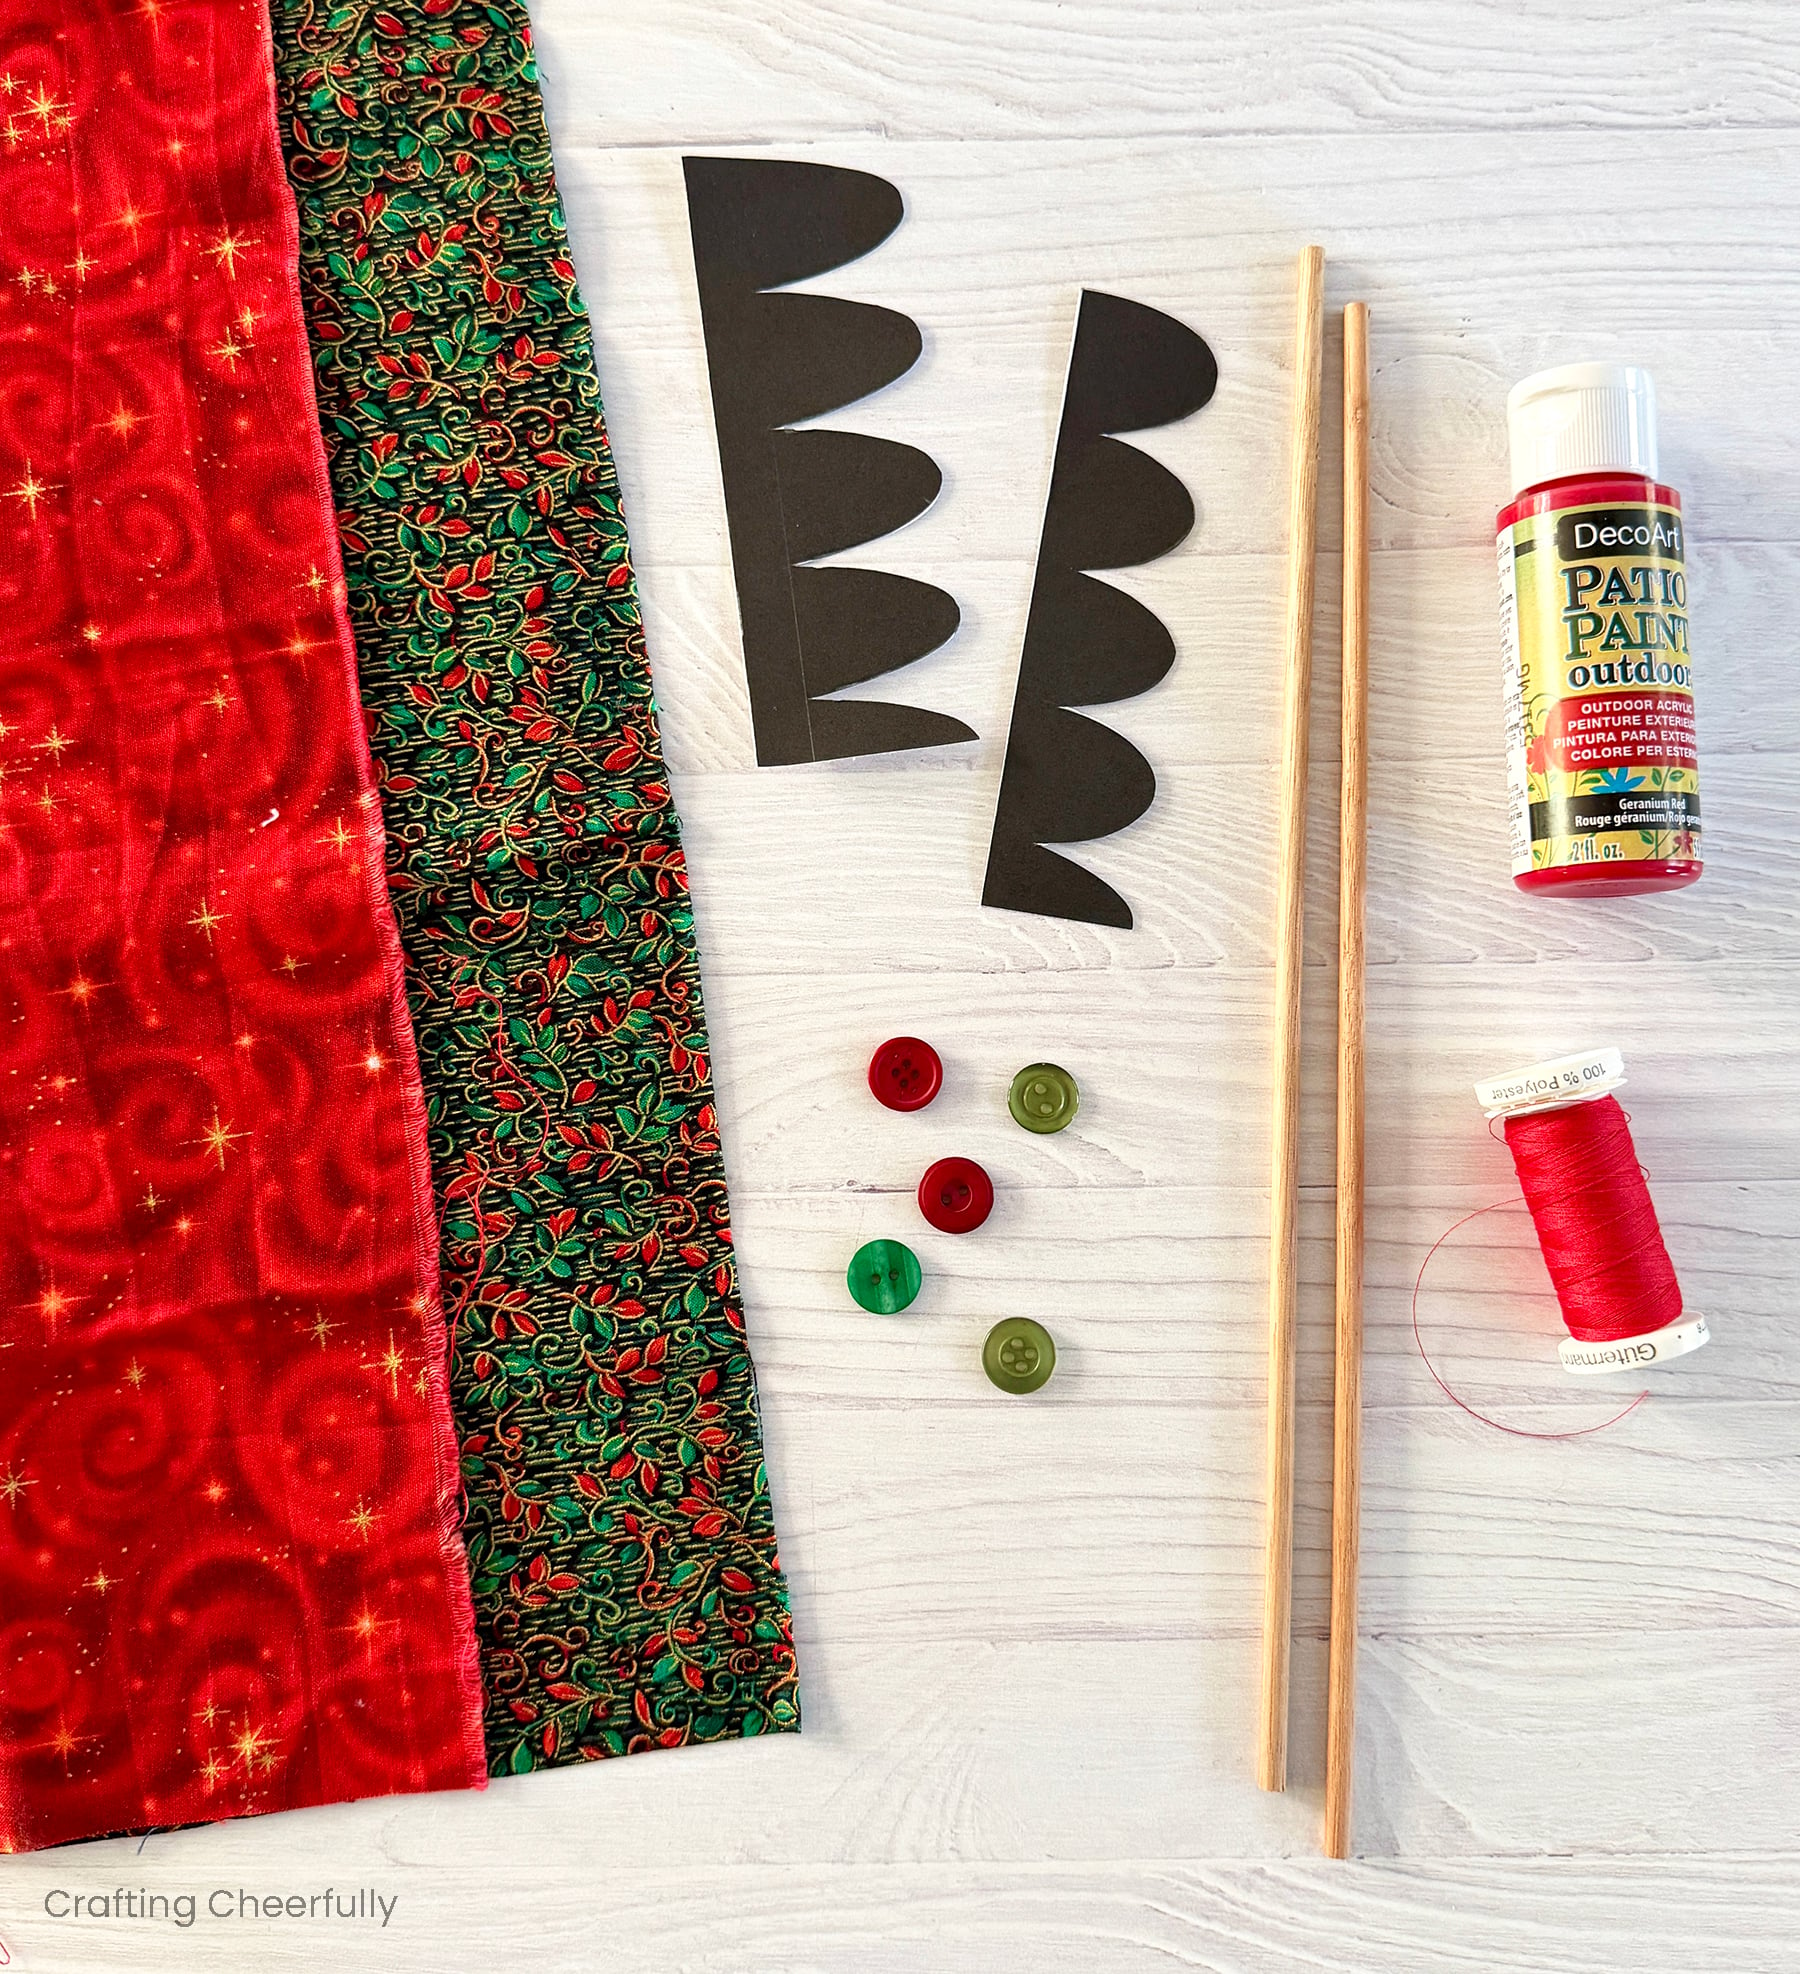
Step One: Paint the dowels using acrylic paint. After painting my dowels, I stuck them into a block of packing styrofoam to let them dry.
Cutting the Fabric Petals
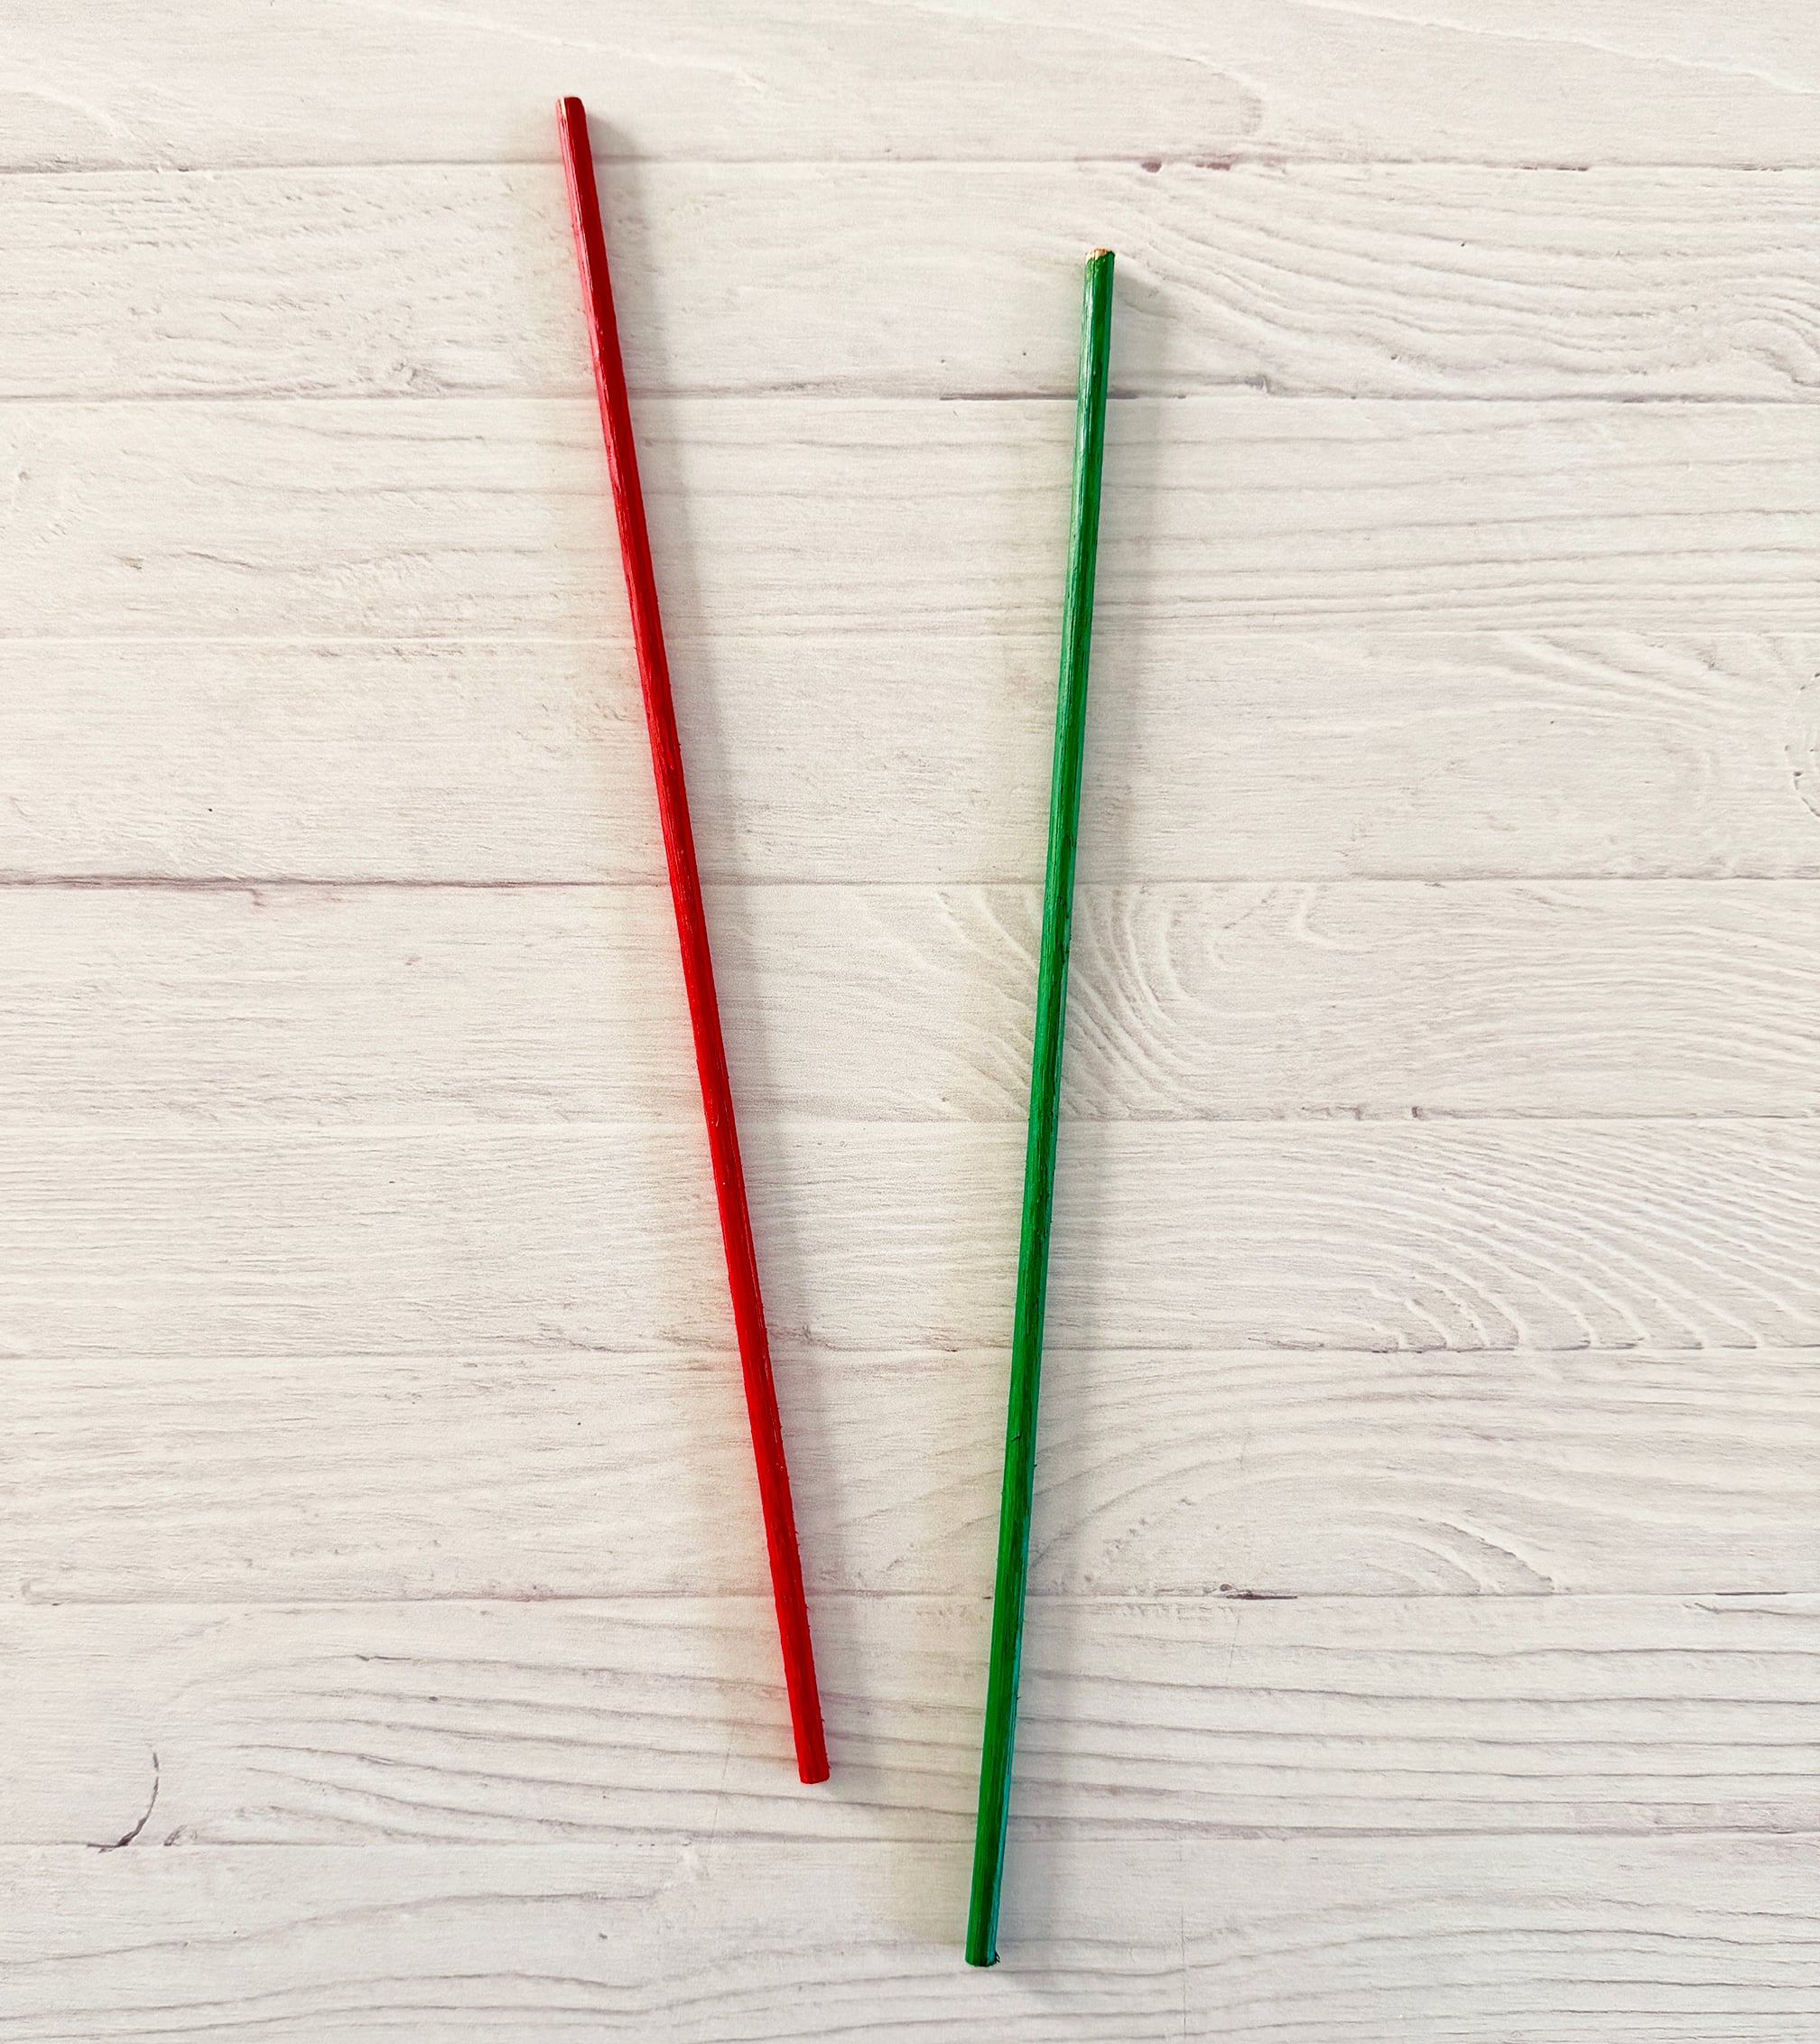
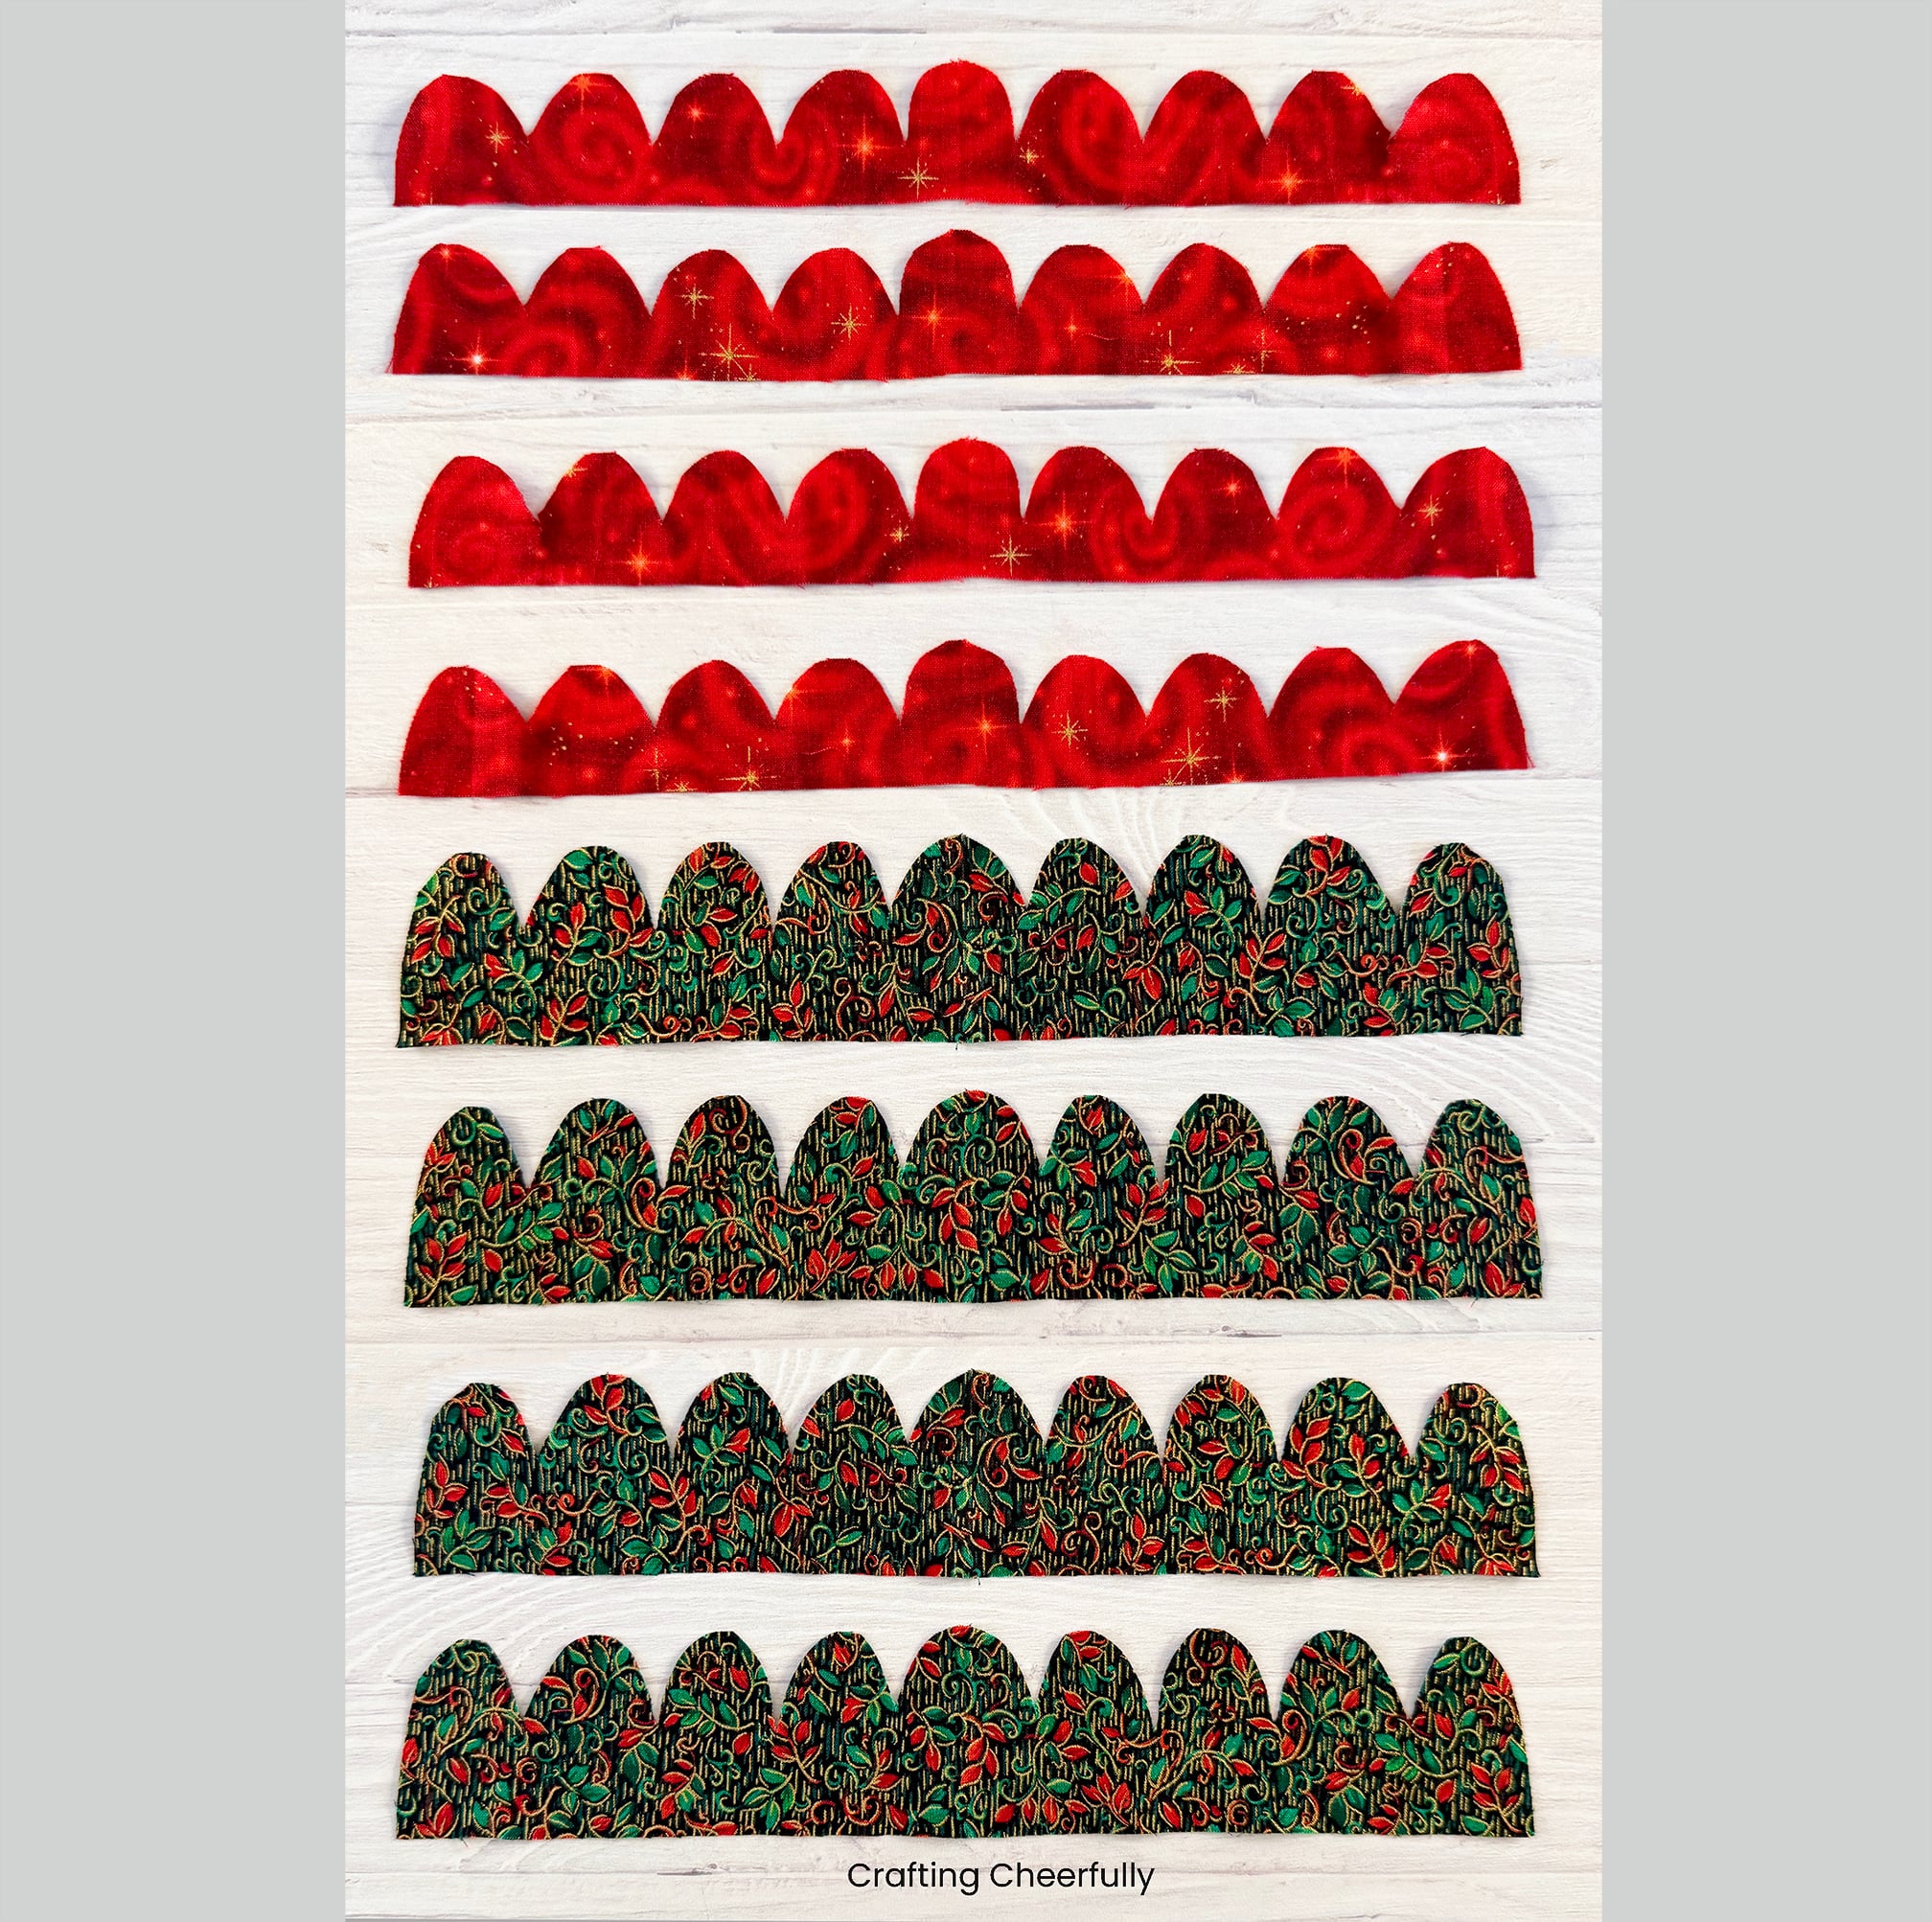
Step Two: Cut the fabric for the rosettes using the petal patterns. Each wand is made using four rosettes, two small and two big. This way the wand looks cute from both the front and the back. Each rosette needs two petal pieces that will be sewn together. Place the petal pattern pieces on a fold and cut out 4 pieces using the large petal pattern and 4 pieces using the small petal pattern.
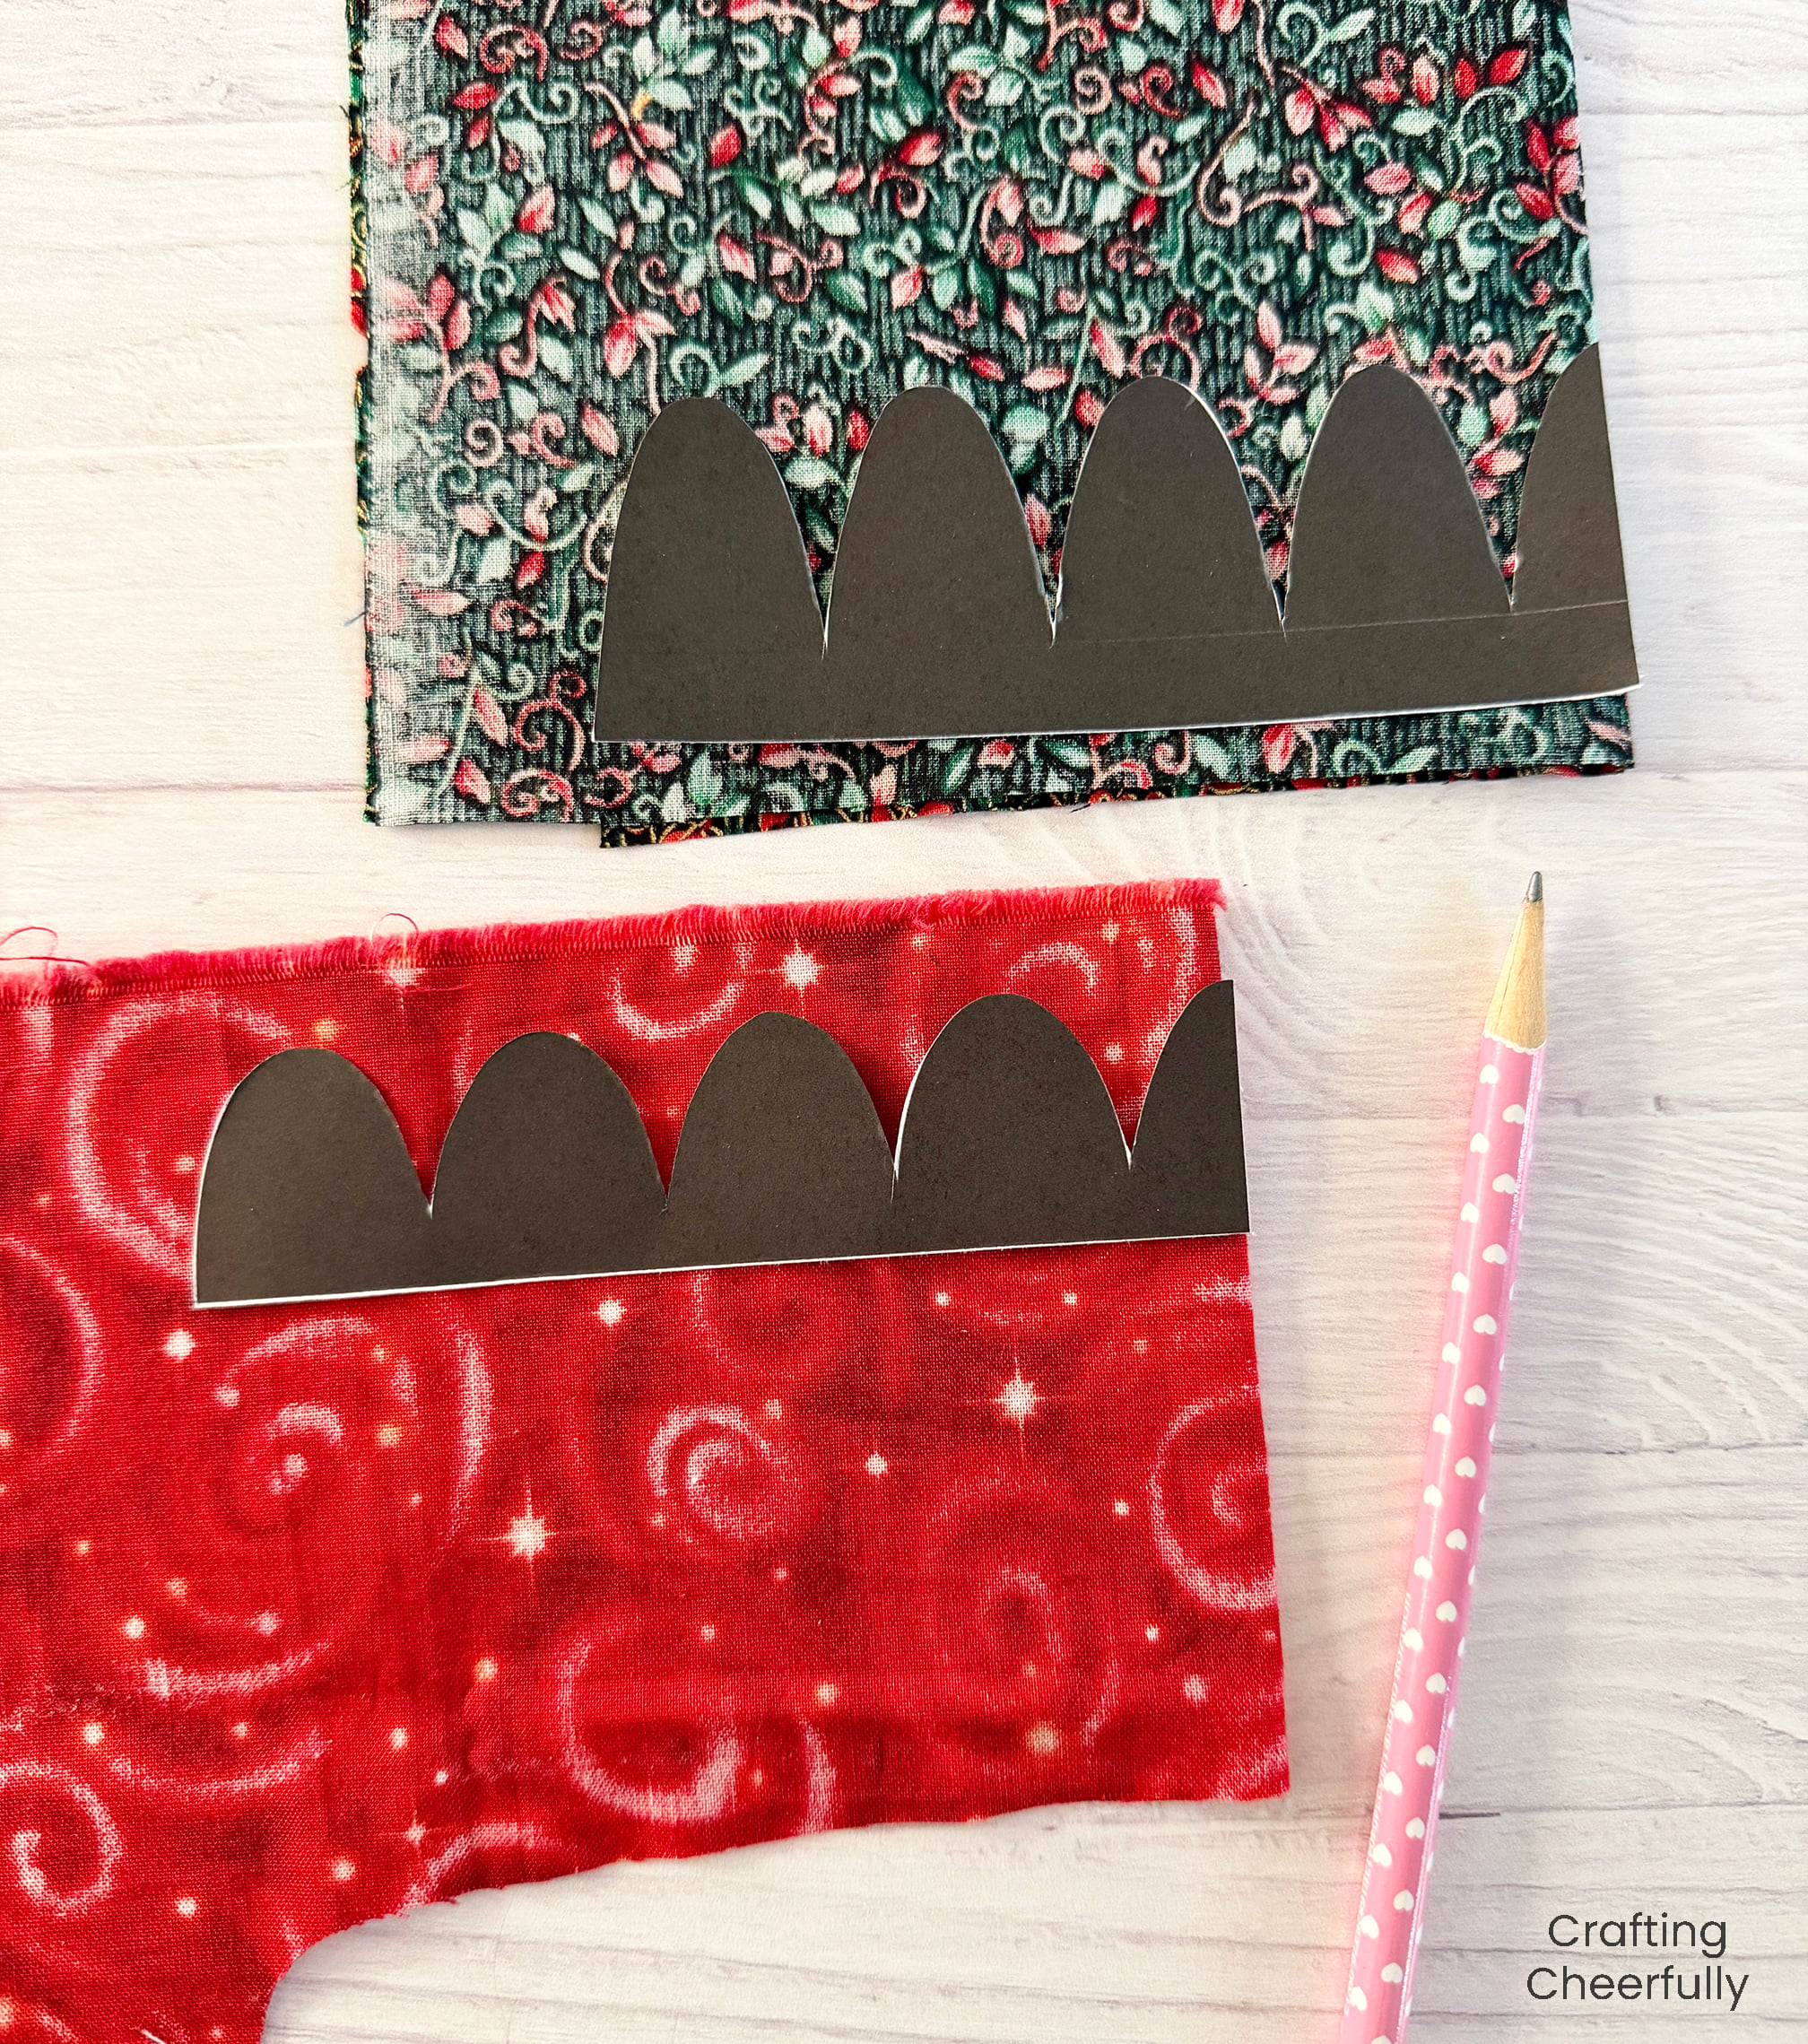
Below you can see the pieces needed to make four rosettes (2 large and 2 small) which will make one fairy wand.
Creating the Fabric Rosettes
Step Three: Start by making a large rosette. Secure your thread to one end the first fabric petal with a knot, then run the needle along the bottom edge using a simple running stitch. Pull the fabric as you go, letting it gather. The strip of fabric will naturally start to curl into a circle as you pull the gathering thread and continue stitching.
When you get to the end of the first petal, add the next fabric petal and continue the running stitch. When your running stitch reaches the end of the fabric pull the thread (not super tight) to form a nice flat flower. Then secure the thread with a knot. You can run the needle and thread through the center of the flower to help connect everything before tying the knot.
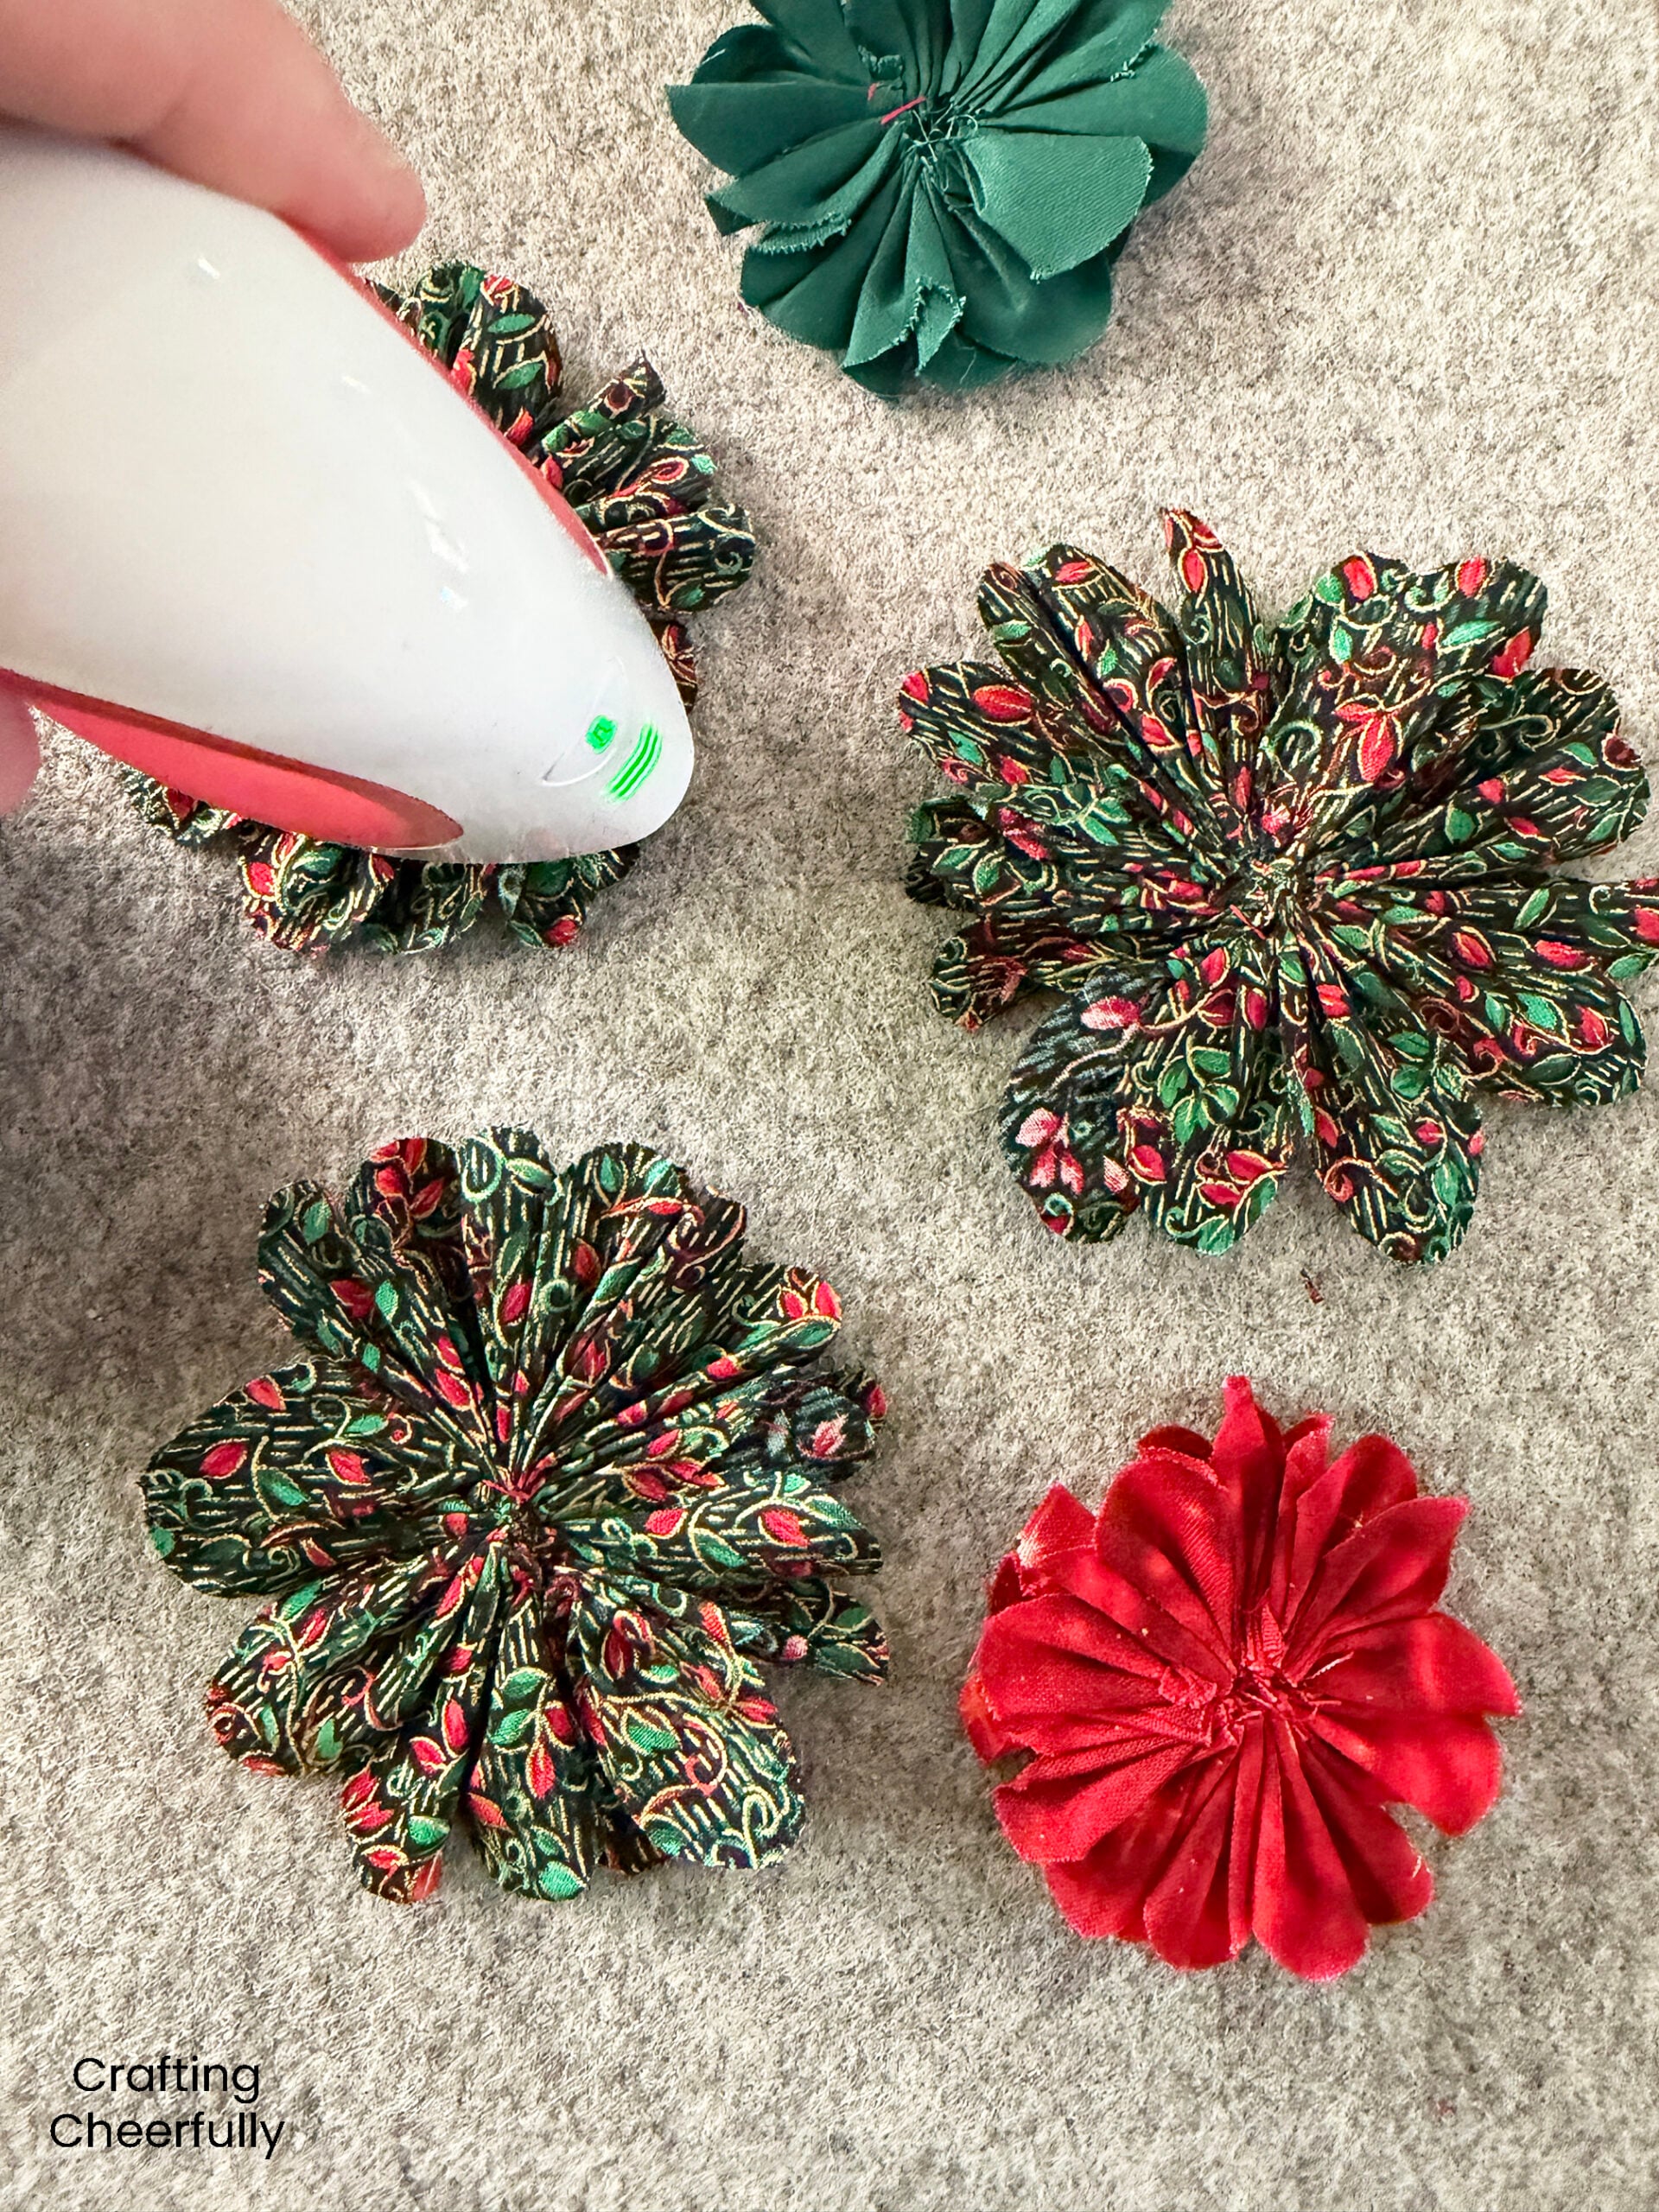
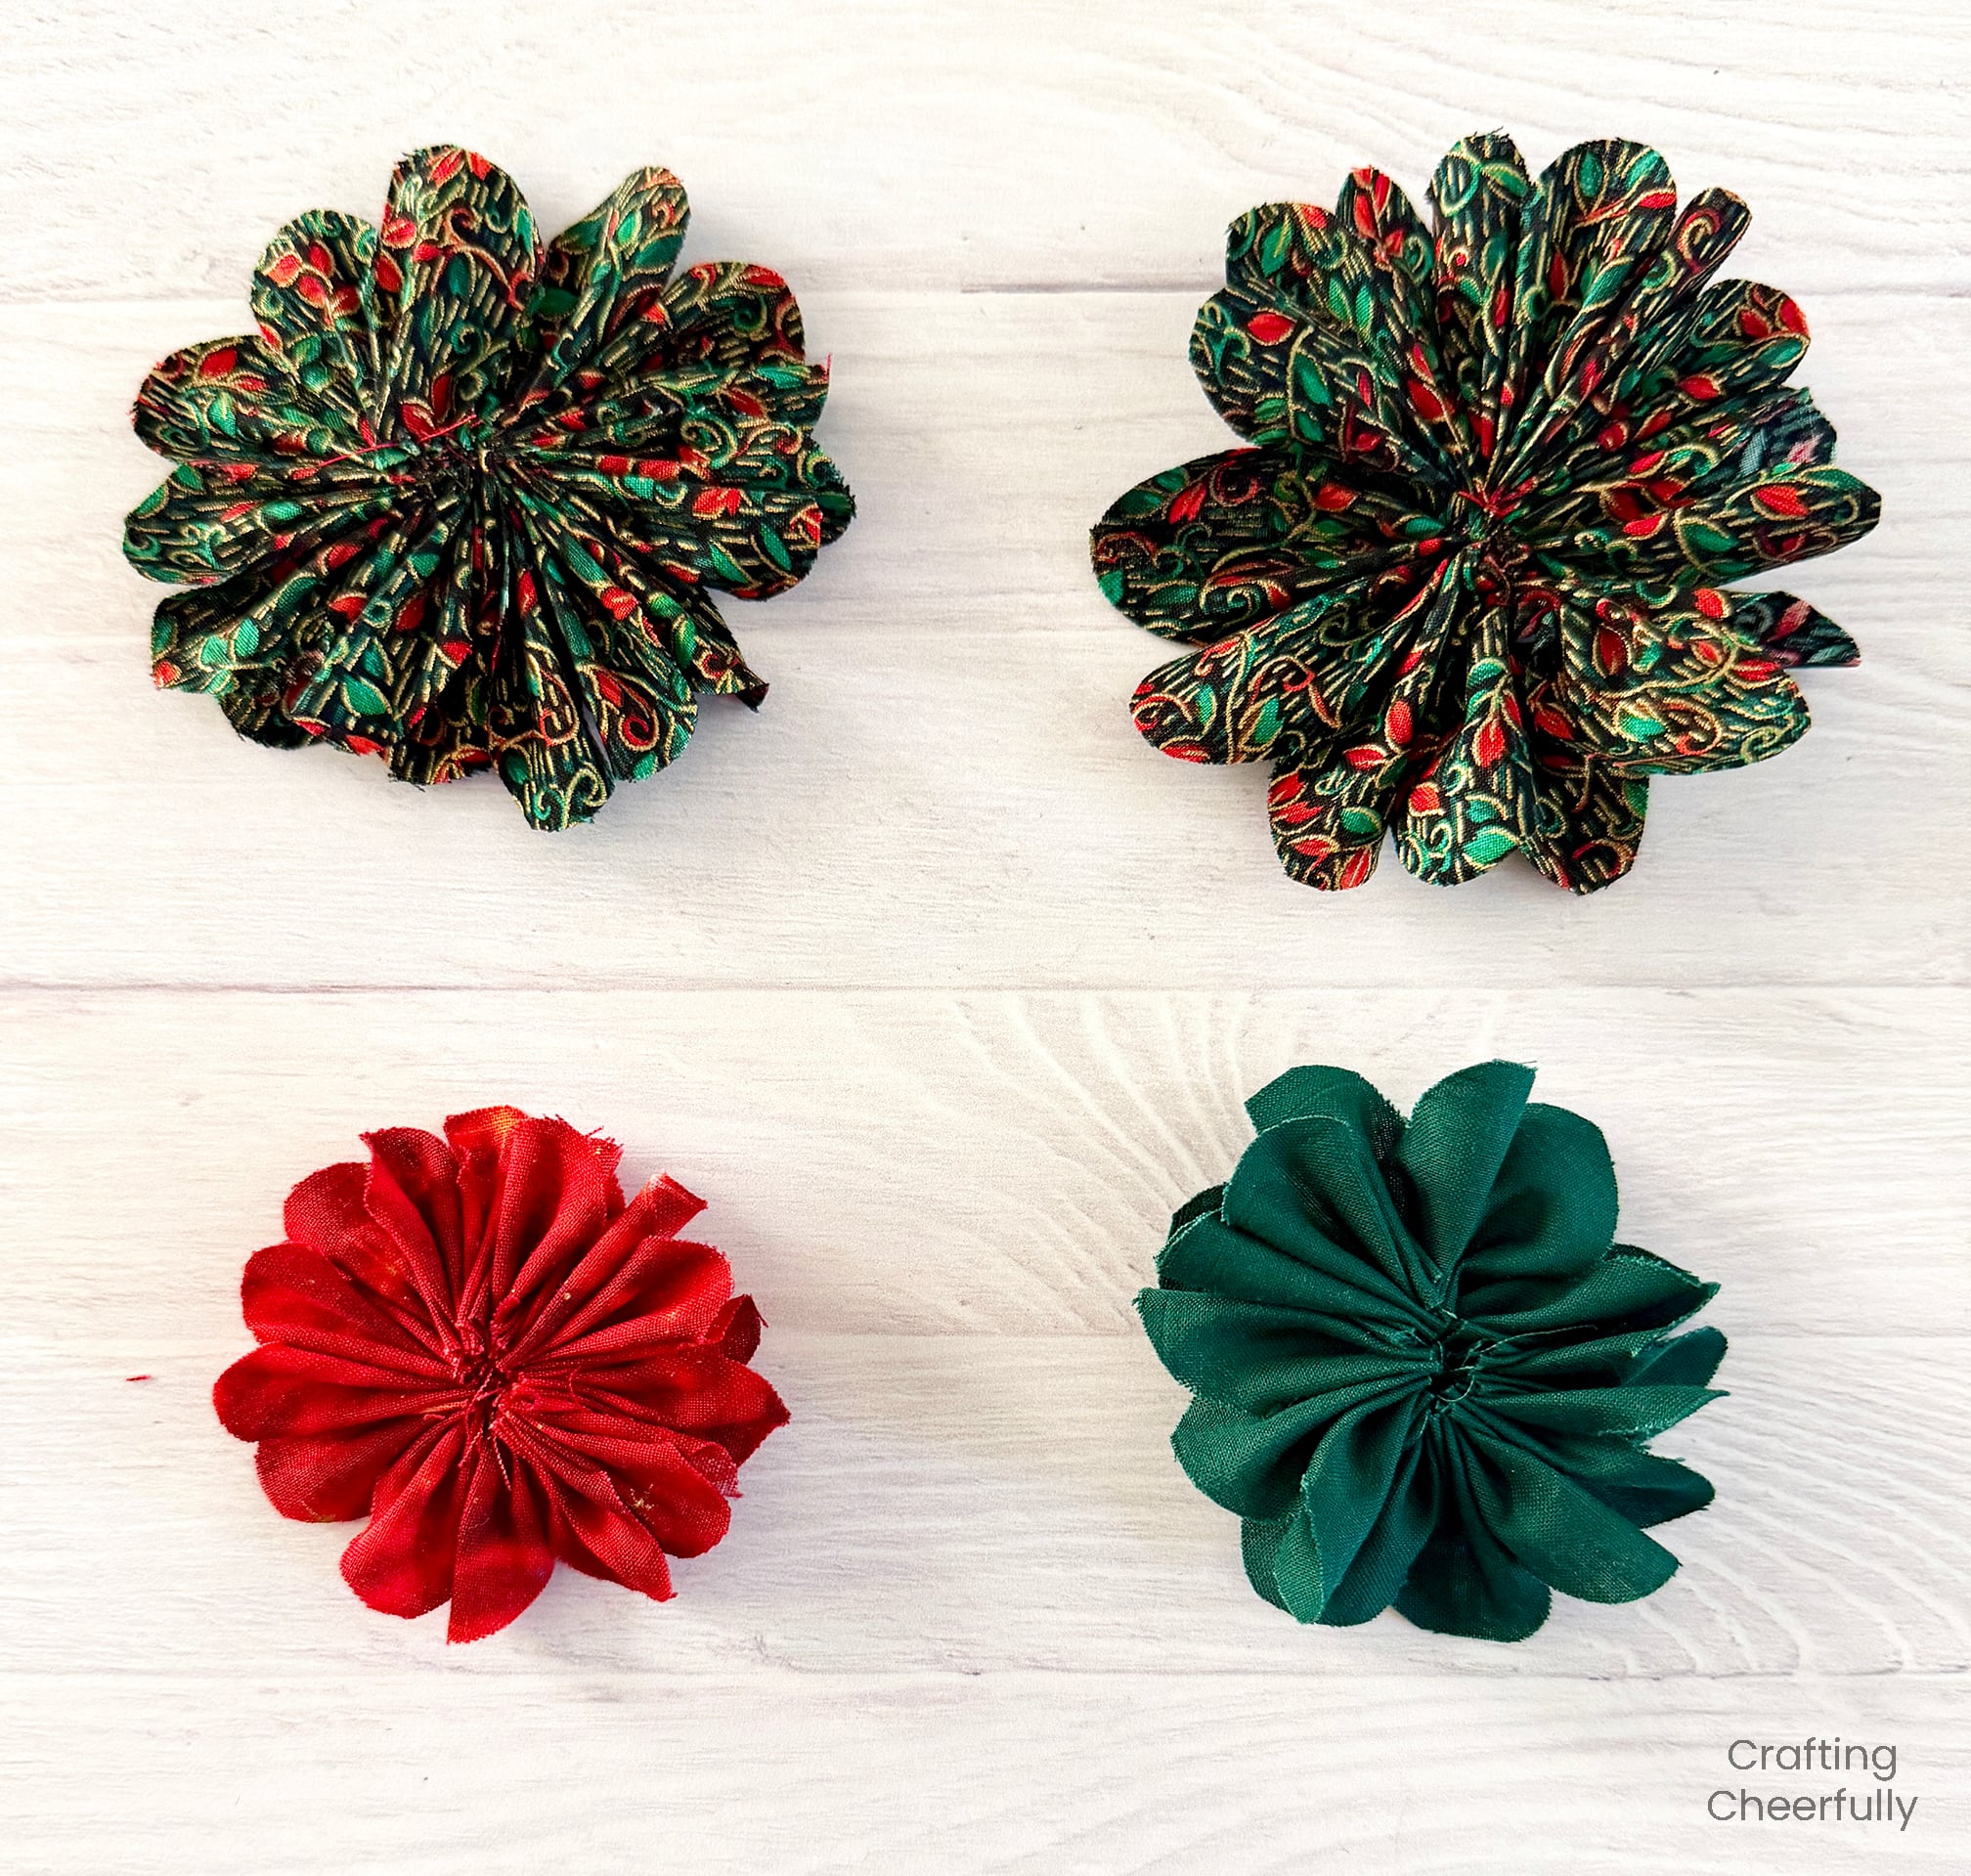
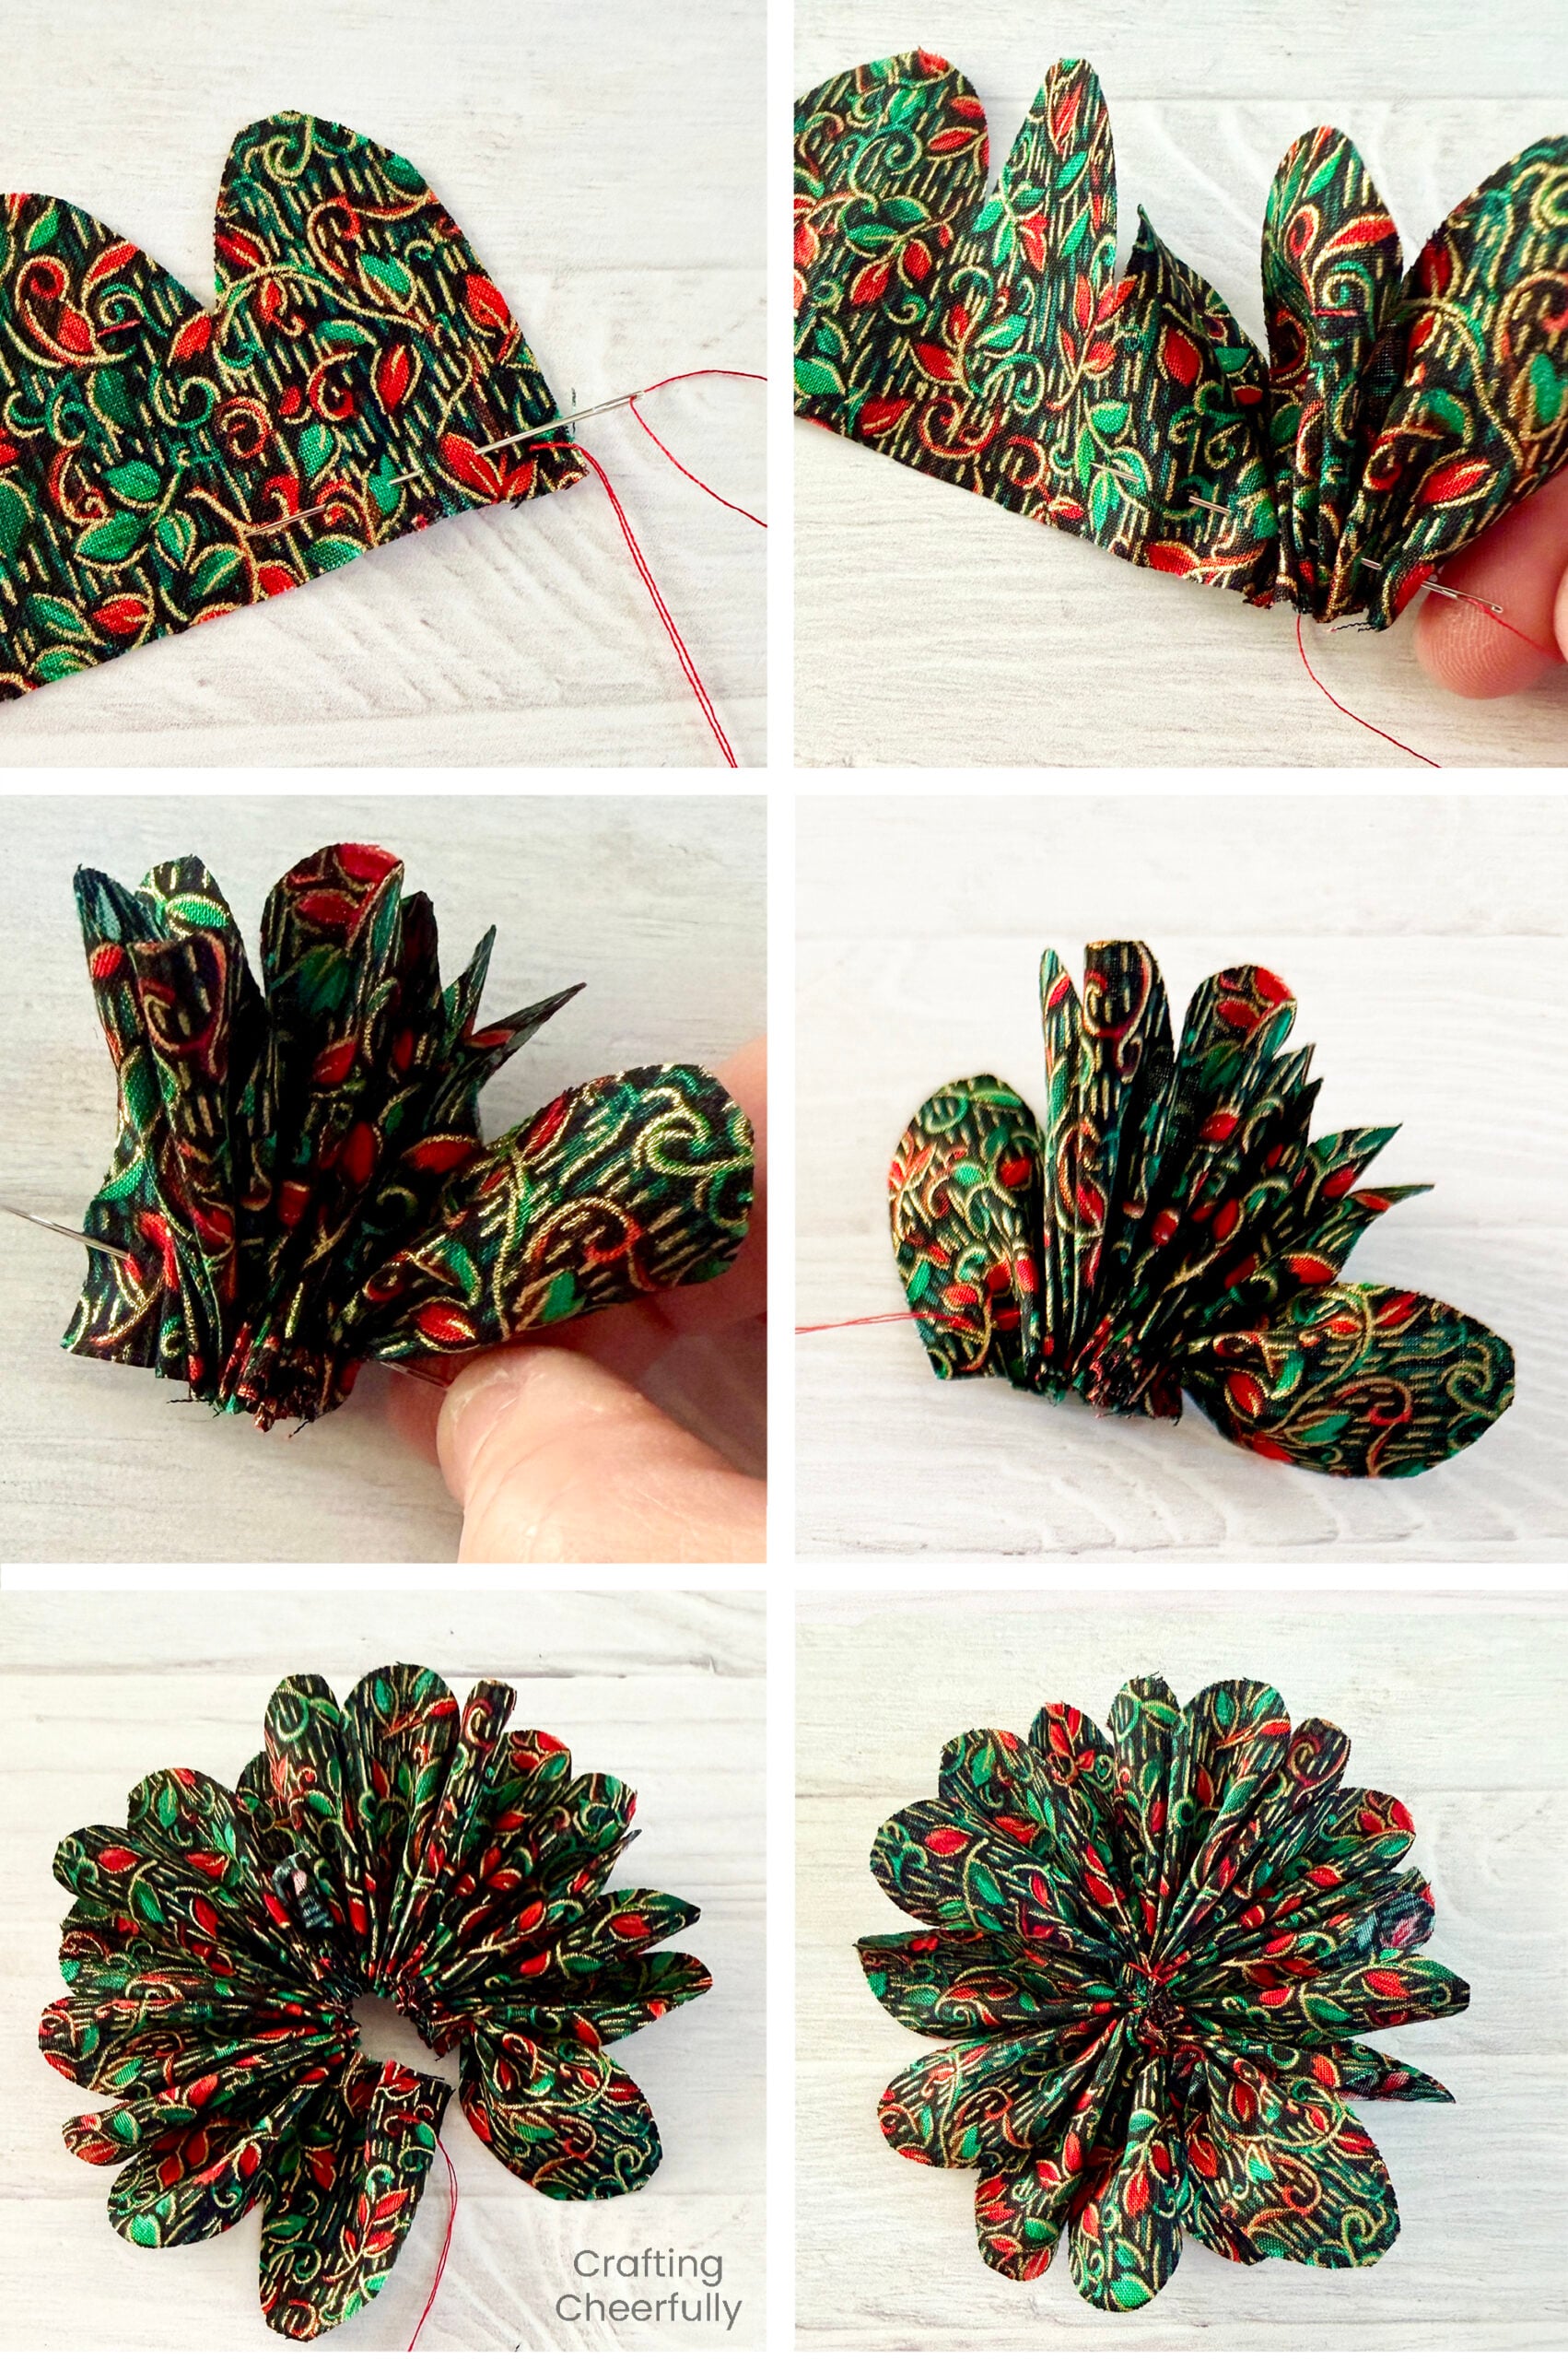 Repeat this process for all four rosettes. Remember you will need two large rosettes and two small, and each rosette takes two petal pieces. Press the flowers slightly so they will lay flatter.
Assembling the Wands
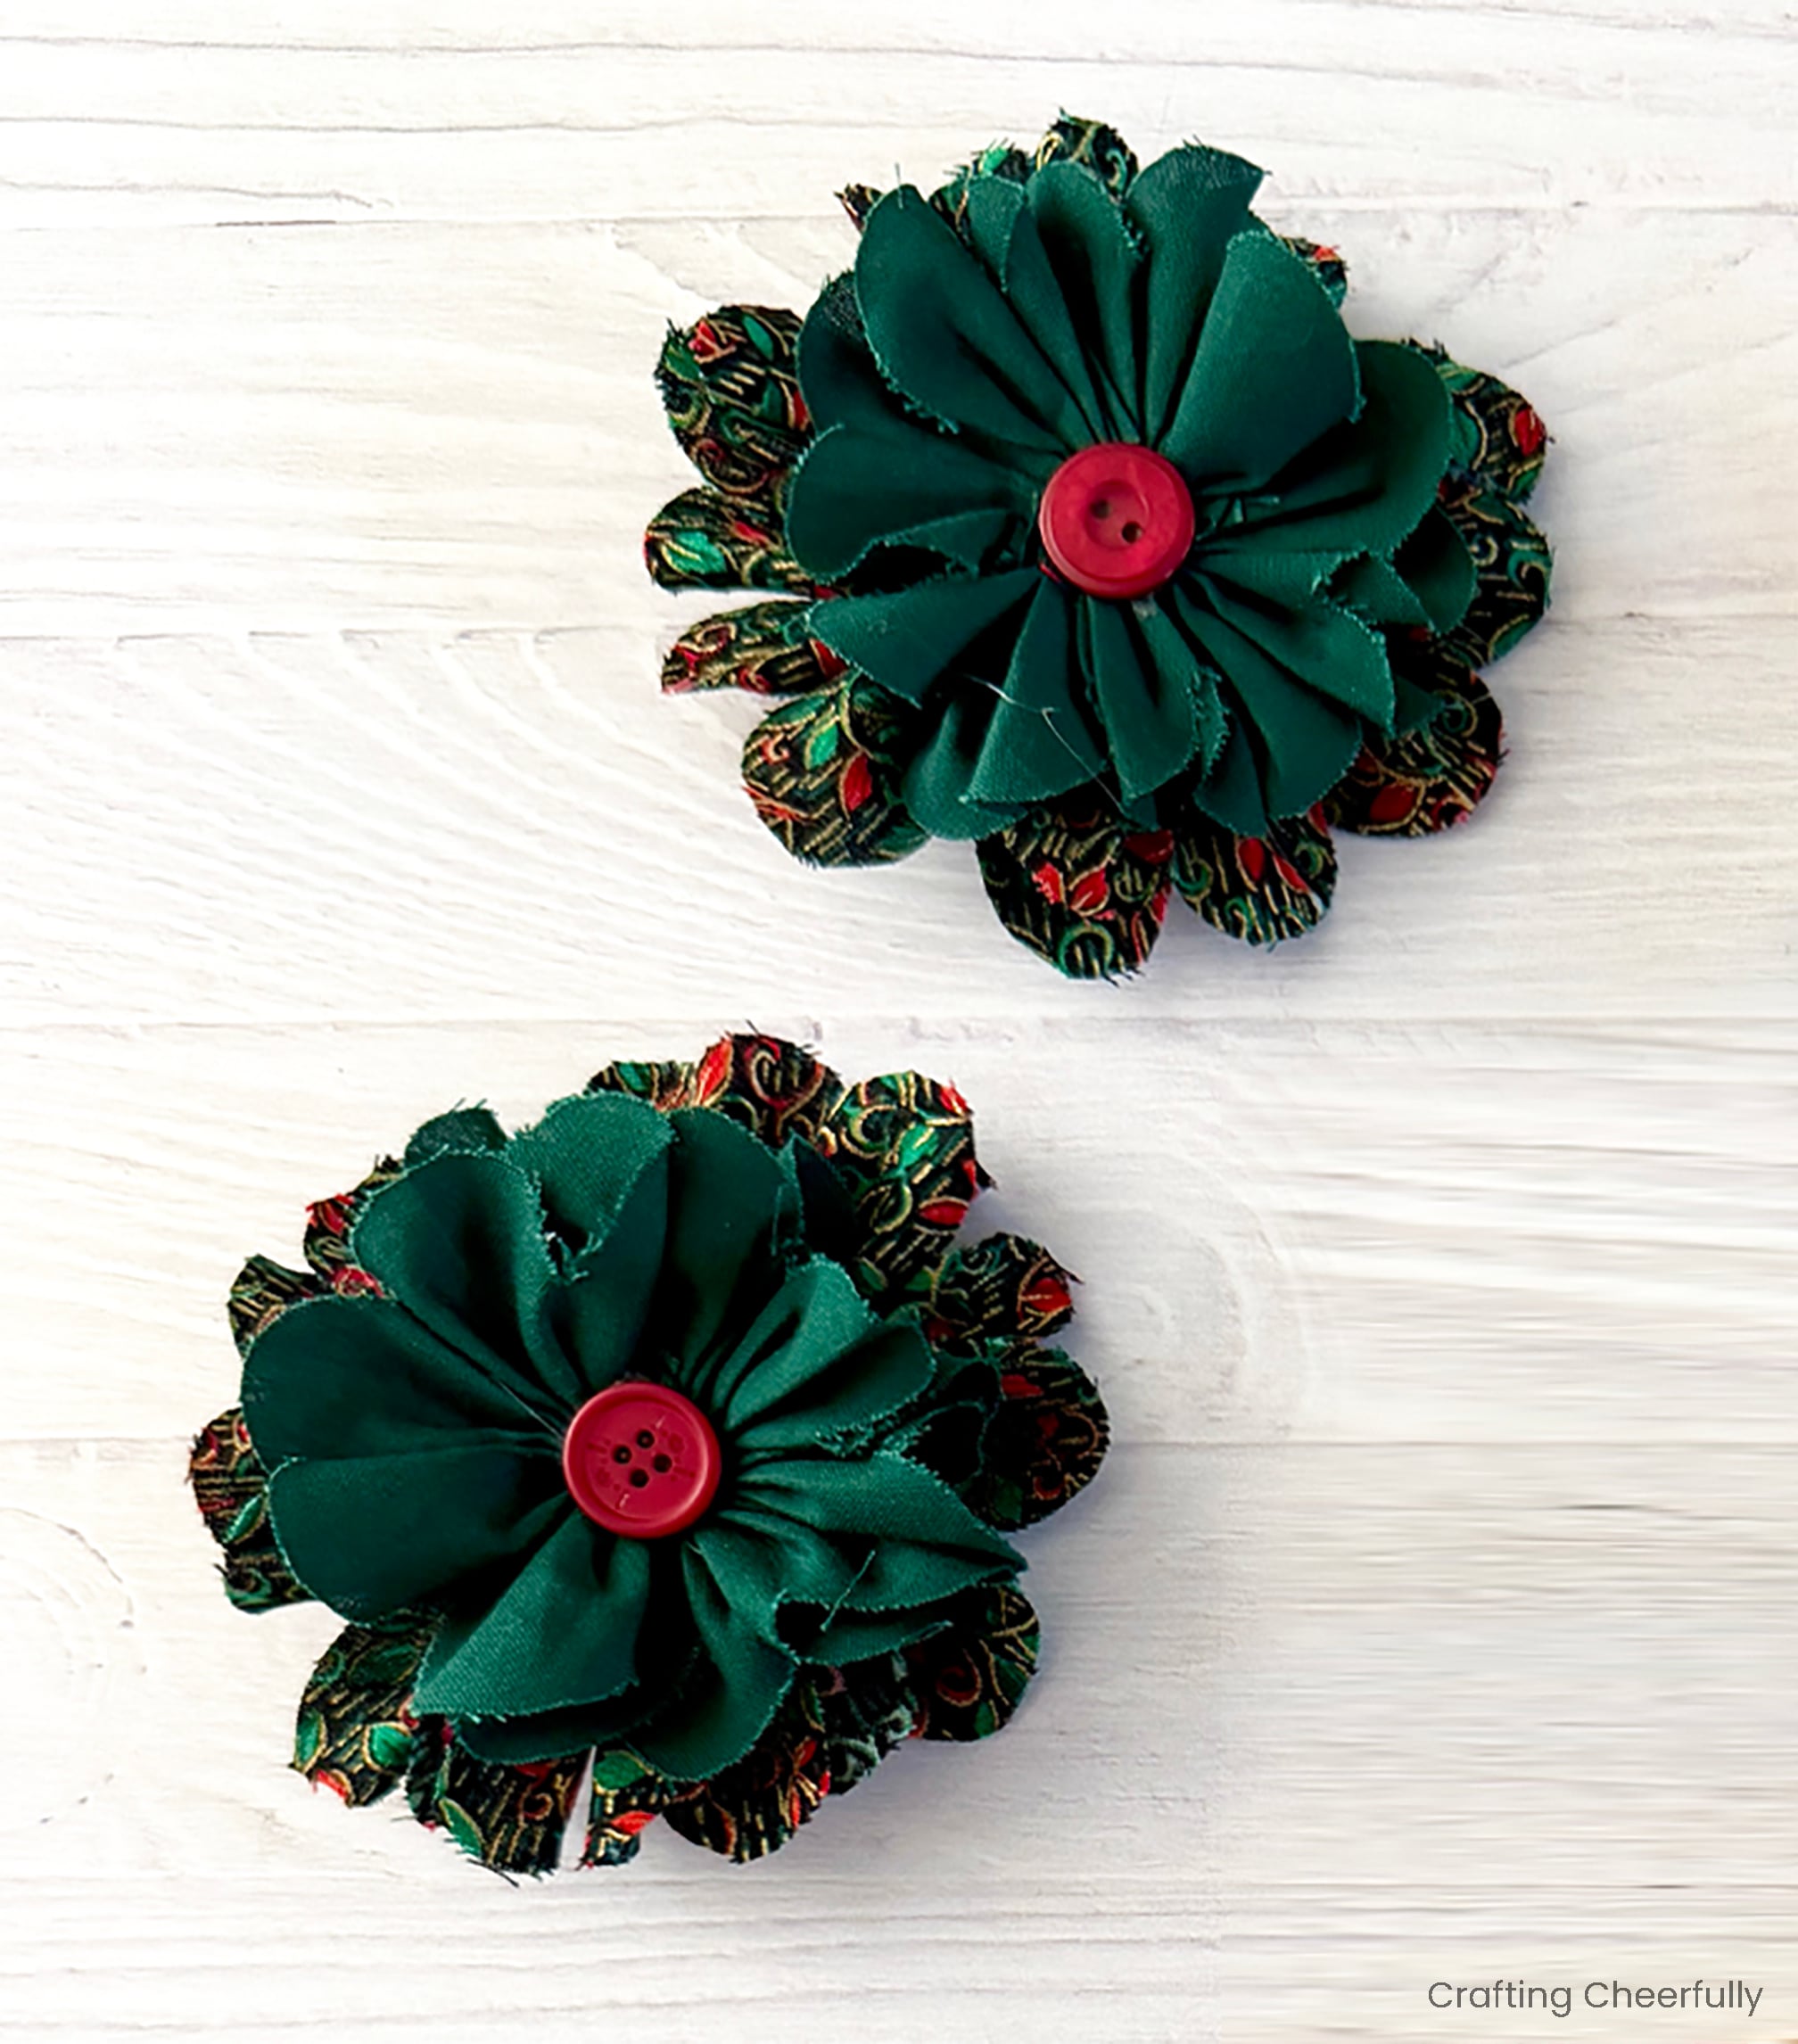
Step Four: Layer the rosettes together. Hot glue a small rosette on top of each large rosette and finish with a button or pompom. Be mindful buttons can be choking hazards so think about who this is being gifted to and choose a safe option for that age.
Step Five: Attach ribbons to the top of the dowel. Cut around 6 strands of ribbon and twine and tie them into a knot towards the top of the dowel. Use hot glue to secure the knot. I used ribbons I had on hand and tried to pick colors that coordinated with my holiday fabric. I cut my ribbons around 14″ long, but you can cut them any length you’d like, they are there to add movement and whimsy when the wand is waved around.
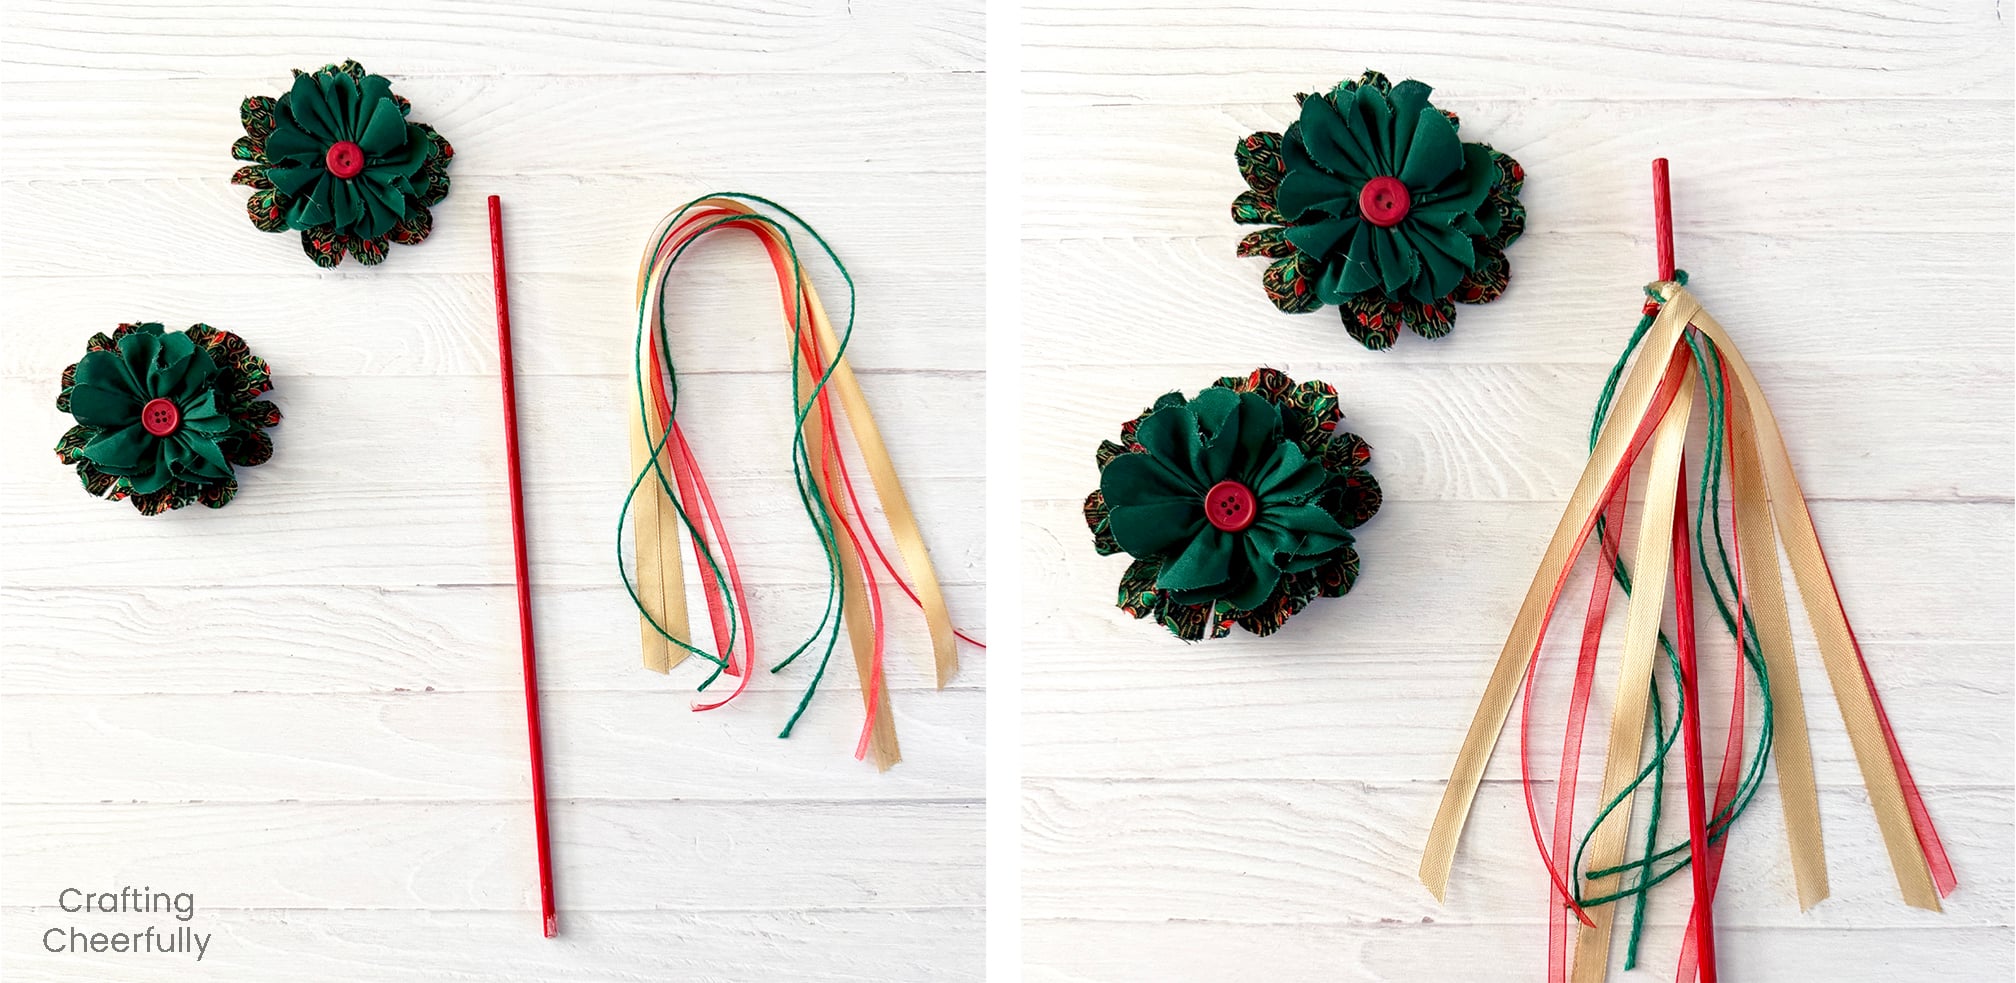
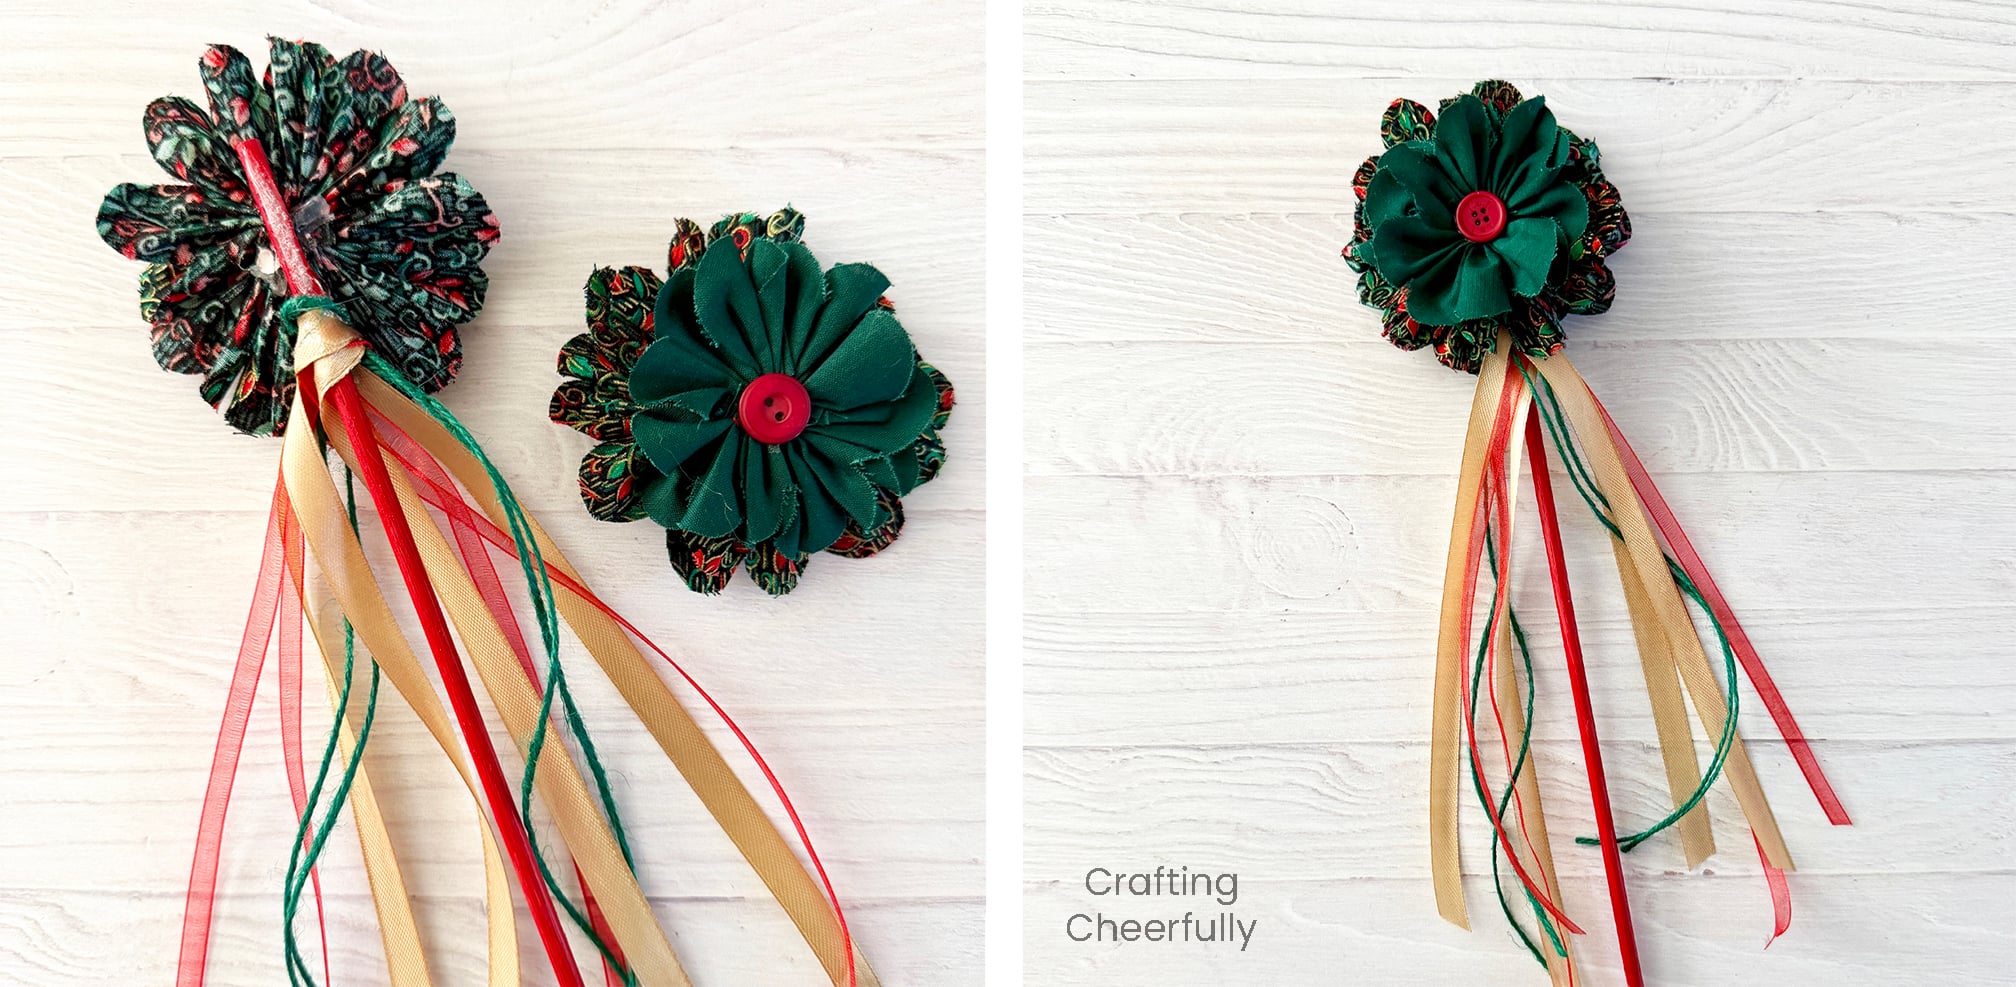
Step Six: Use hot glue to attach the dowel to the rosettes. Add a little bit of hot glue to the tips of the large rosettes to make sure they are connected. This will help hide the dowel and ribbon knot so they are not visible.
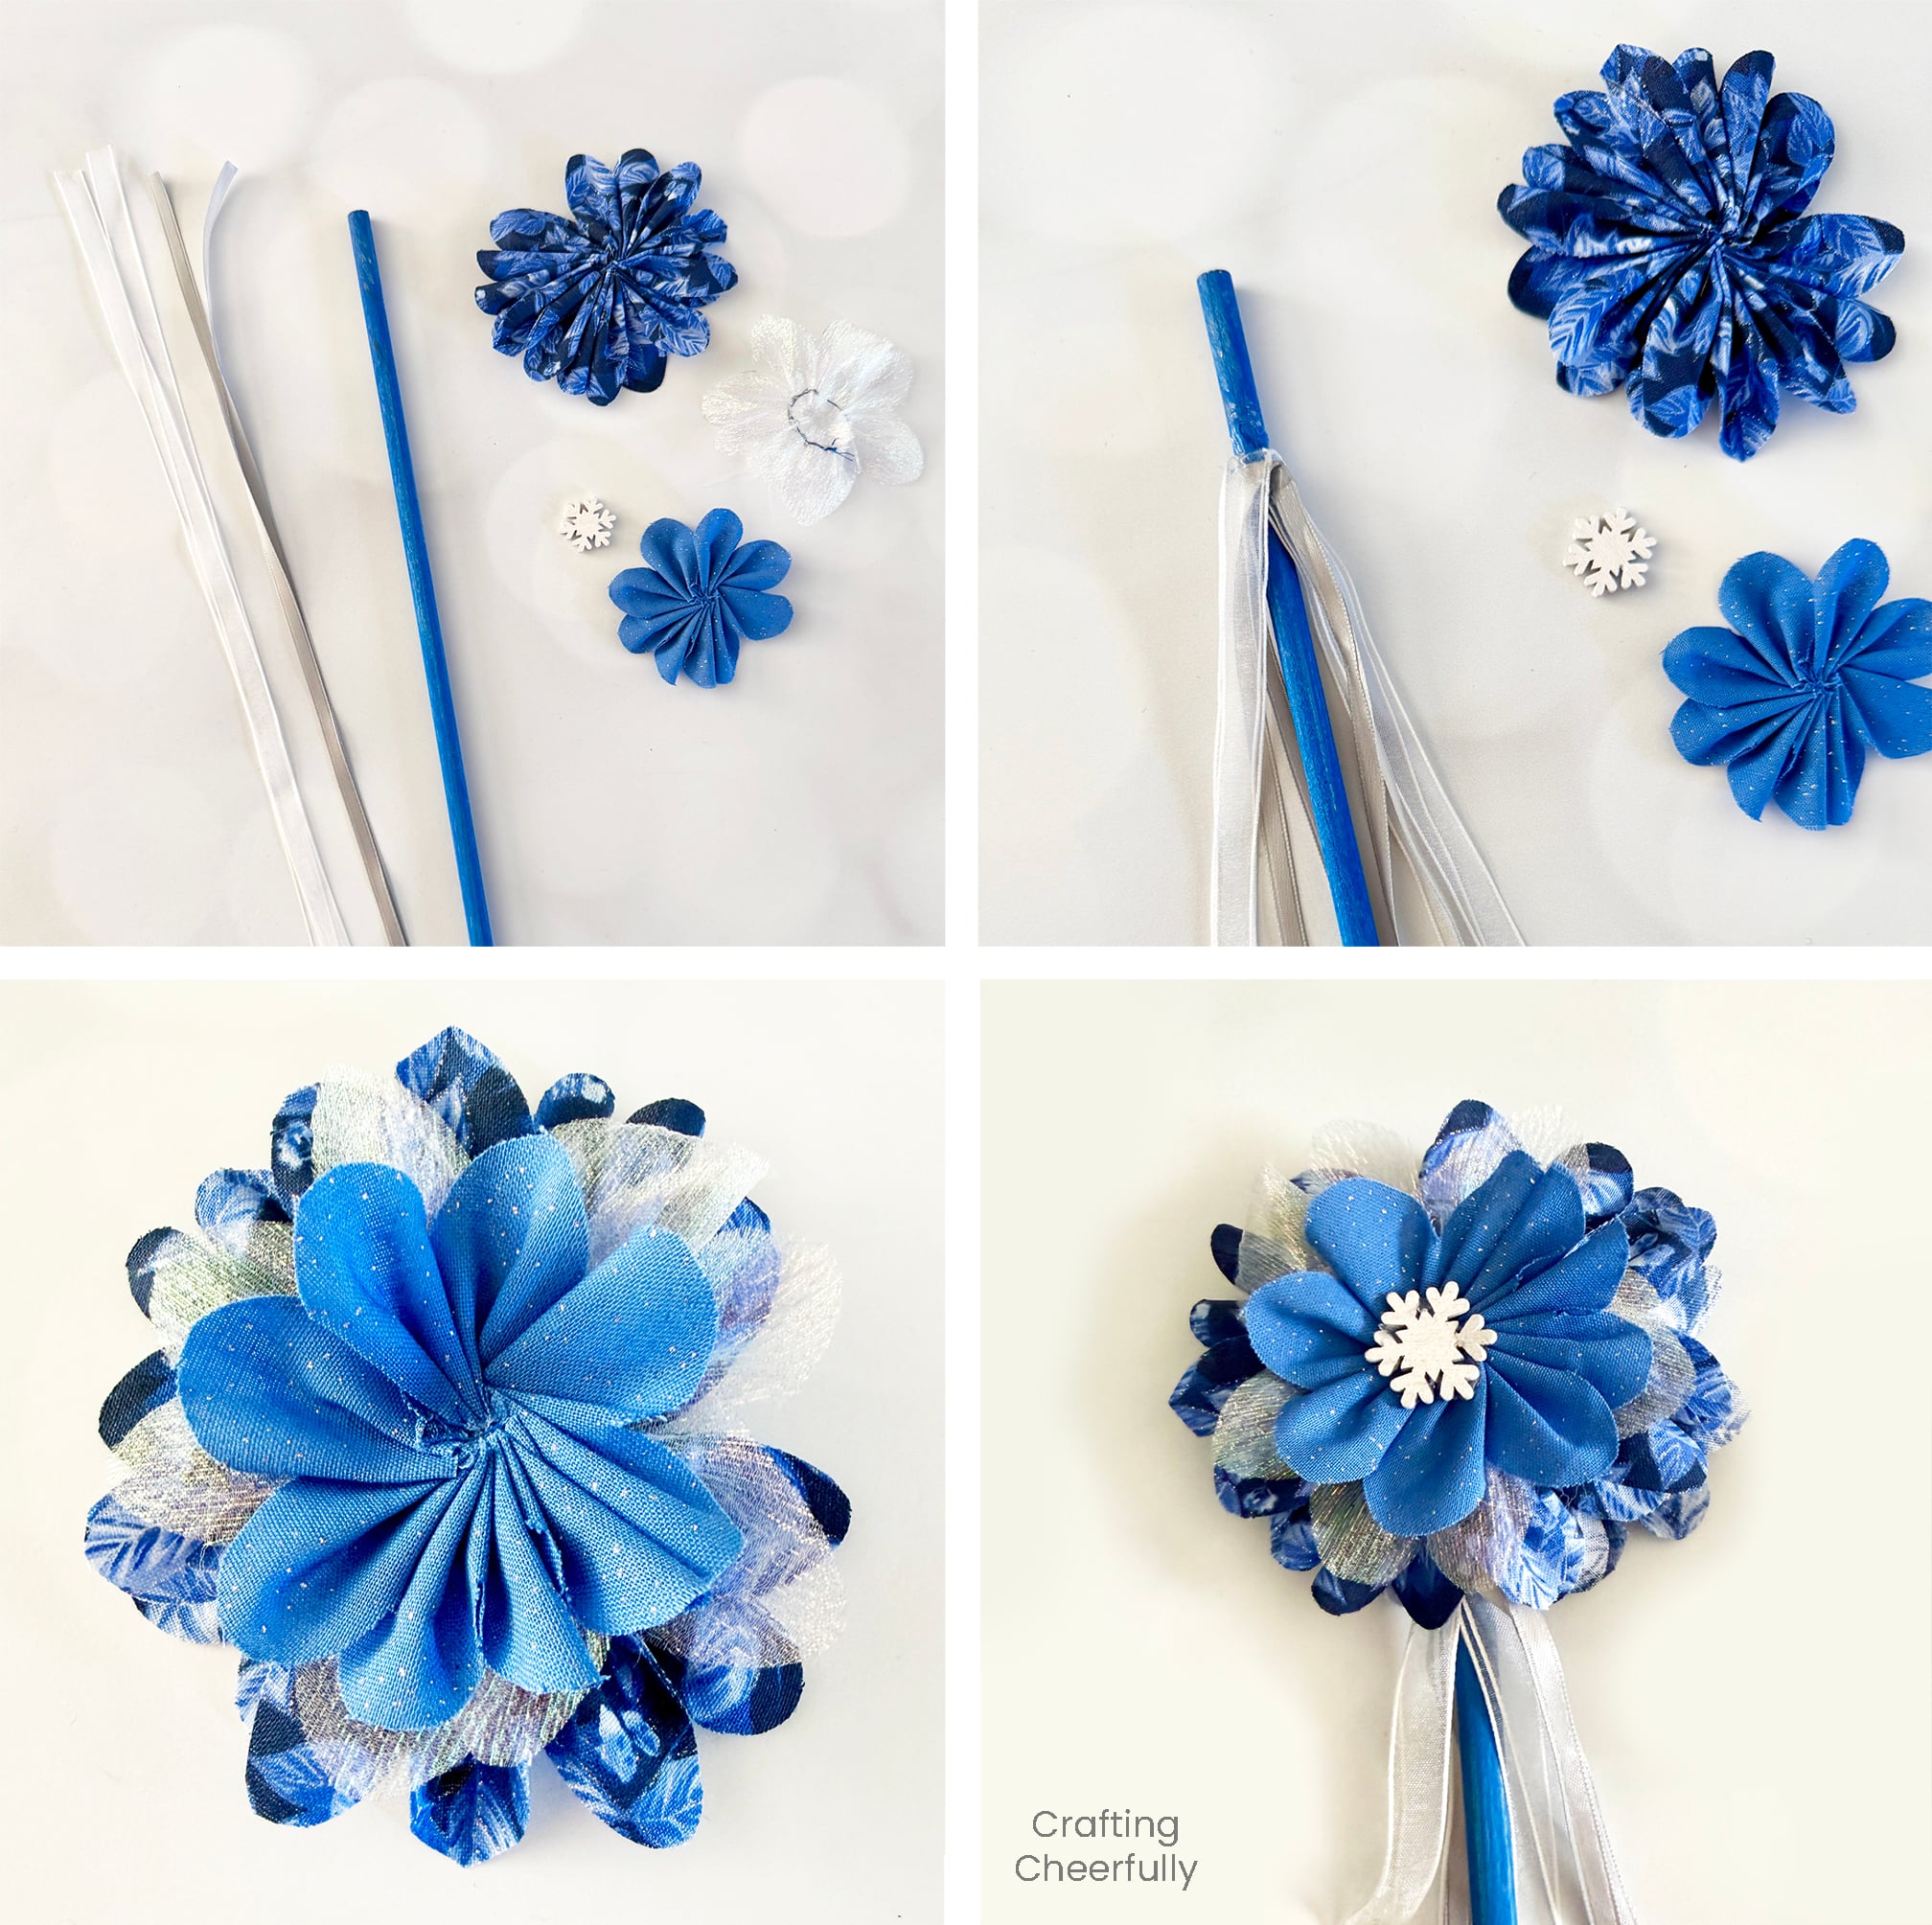
These wands are easily customizable depending on the fabric you use. Below you can see one of my fairy wands made with wintery fabric and white and silver ribbon. I added a third rosette to each side cut from thin, shimmery fabric and instead of a button I used a wooden snowflake.
These fairy wands turned out so cute and they really are perfect for little ones to use for imaginative play this holiday season. They would also look cute sticking out of a stocking or decorating the top of a wrapped gift.
I hope you enjoyed this fun craft! I’ll be back tomorrow for the 7th day of my series, 12 Days of Holiday Crafts! Until then, be sure to check out my other kid crafts for Christmas!

Get the Free PDF Pattern
Fill out the purple form below with your first name and email address! The free file will be sent straight to your inbox! If you have already filled out the form below, don’t worry – you won’t be added to my list twice! This freebie is for personal use only. I hope you enjoy crafting something special. Please let me know if you have any questions :)