DIY Zebra Stenciled Canvas Art – Pop Art Inspired
Create your own stenciled canvas art to display in your home! Learn how to use stencils on canvas to create beautiful art.
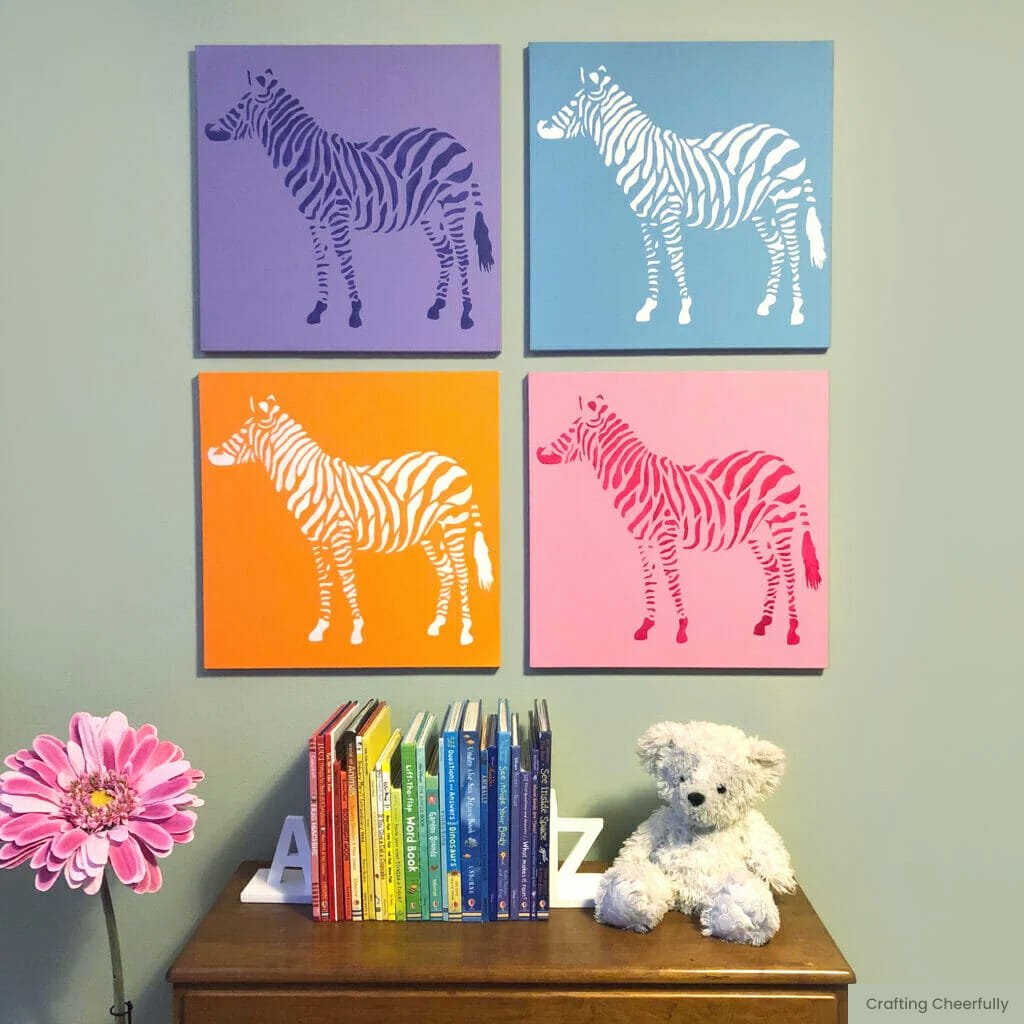
Thank you to Stencil Revolution for providing me with the Zebra stencil to create this post.
Hello Crafty Friends! Today I am sharing this fun stenciled canvas art project I recently created for my daughter’s room. There was a large empty wall I wanted to fill and these colorful zebras did the trick while adding a lot of fun to the room. This was my first time using a stencil on canvas and I am so happy with how my zebras turned out!
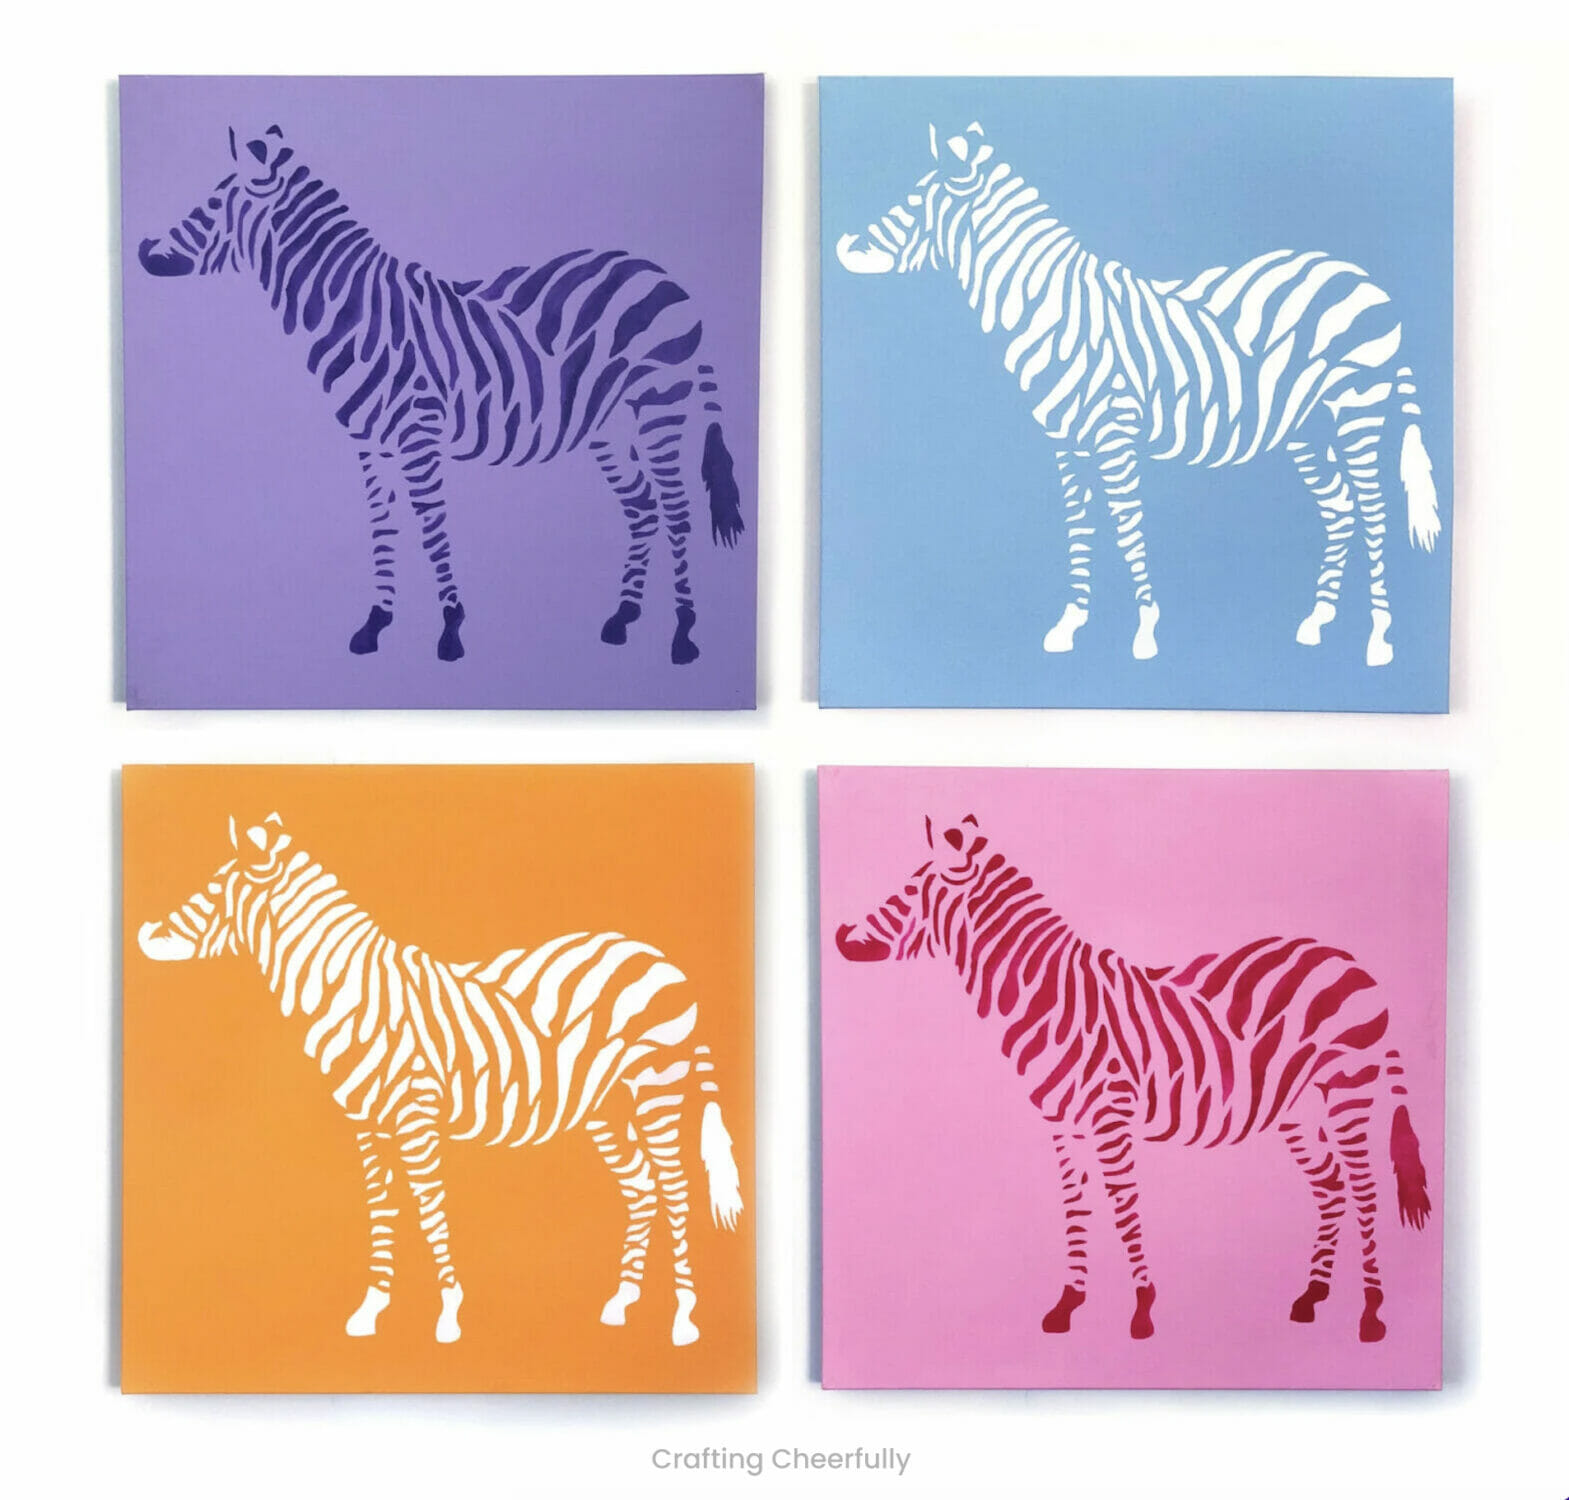
I was inspired by Pop Art paintings where the image is repeated multiple time in different color schemes. I chose to use four different colors, one for each canvas, and then I switched up the colors of each zebra. Since I wanted to create the exact same art on each canvas, I knew a stencil would be a great way to achieve this.
The zebras look great displayed together in a Pop Art-inspired composition but they also look great on their own. I snapped the picture below before hanging all four canvases.

The Benefits of Using a Stencil
One of the huge advantages of using a stencil is being able to easily reuse it on all four canvases. I have wanted to create these zebra canvases for my daughter’s room for awhile but was stuck on figuring out the best way to achieve the look. I knew I wanted to use large canvases since we had such a huge wall space to fill.
Each of my canvases measured 20″ x 20″ so I needed a large stencil. I debated using my Cricut Explore, but I would have had to piece together the stencil. This project was at a standstill until Stencil Revolution contacted me to try out one of their stencils. I immediately searched for a zebra stencil and they had one! It was time to finally get started on this project!

I loved working with this stencil. It is made from 10 mil milar and can be used over and over again! It came rolled up, but as soon as I opened the package, it laid perfectly flat. I was able to do all four of these canvases and the stencil is still in great shape.
Supplies Needed
- Stencil – I used a zebra stencil from Stencil Revolution
- Acrylic Paint
- Purple Zebra: DecoArt Americana Purple Cow for canvas and FolkArt 2929 Perfect Purple for zebra
- Pink Zebra: DecoArt Americana Baby Pink for canvas and FolkArt 2898 Magenta for zebra
- Blue Zebra: DecoArt Americana Baby Blue for canvas, white for zebra
- Orange Zebra: DecoArt Americana Tangerine for canvas, white for zebra
- Paint roller – the FolkArt Paint Roller pictured below on the left worked the best for me
- “>Pouncers
- Canvas
- Painter’s tape
- Small paint brush for touch-ups

Step by Step Tutorial
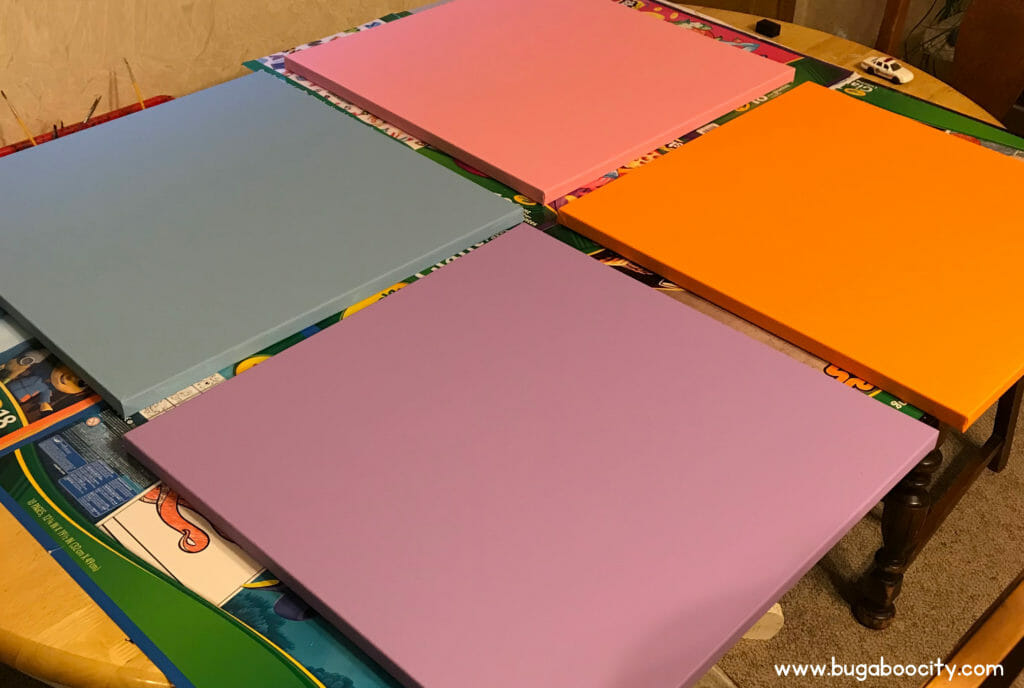
Step One: Paint your canvases a solid color using acrylic paint.
I chose four colors to paint the background of my canvases – pink, purple, orange and blue. The FolkArt Roller worked really well for this step. I did two coats of paint for each canvas, making sure to also paint the sides.

Step Two: Stencil a zebra onto each canvas using a stencil.
First figure out how you will line up the stencil on the first canvas and take note of it so you can repeat this process for each canvas. Use painters tape to hold the stencil in place, or a light spray adhesive if you prefer. Since I purchased a stencil that was the same size as my canvas, I was able to easily line my stencil up with the canvas.

Use a pouncer to apply the paint. It is important to apply the paint in several light layers rather than using a ton of paint all at once that may ooze under the stencil. Use an up-and-down motion when applying the paint, making sure your pouncer is not at an angle.
I recently saw a great tip for using stencils that I wish I had known when I painted these. For the first layer of paint applied with your stencil, use the same color paint as the background canvas. If any paint oozes under the stencil, it will match the background of the canvas. Without moving the stencil after that first layer, use the contrasting color for the second and third layers of paint. I can’t wait to try this out!

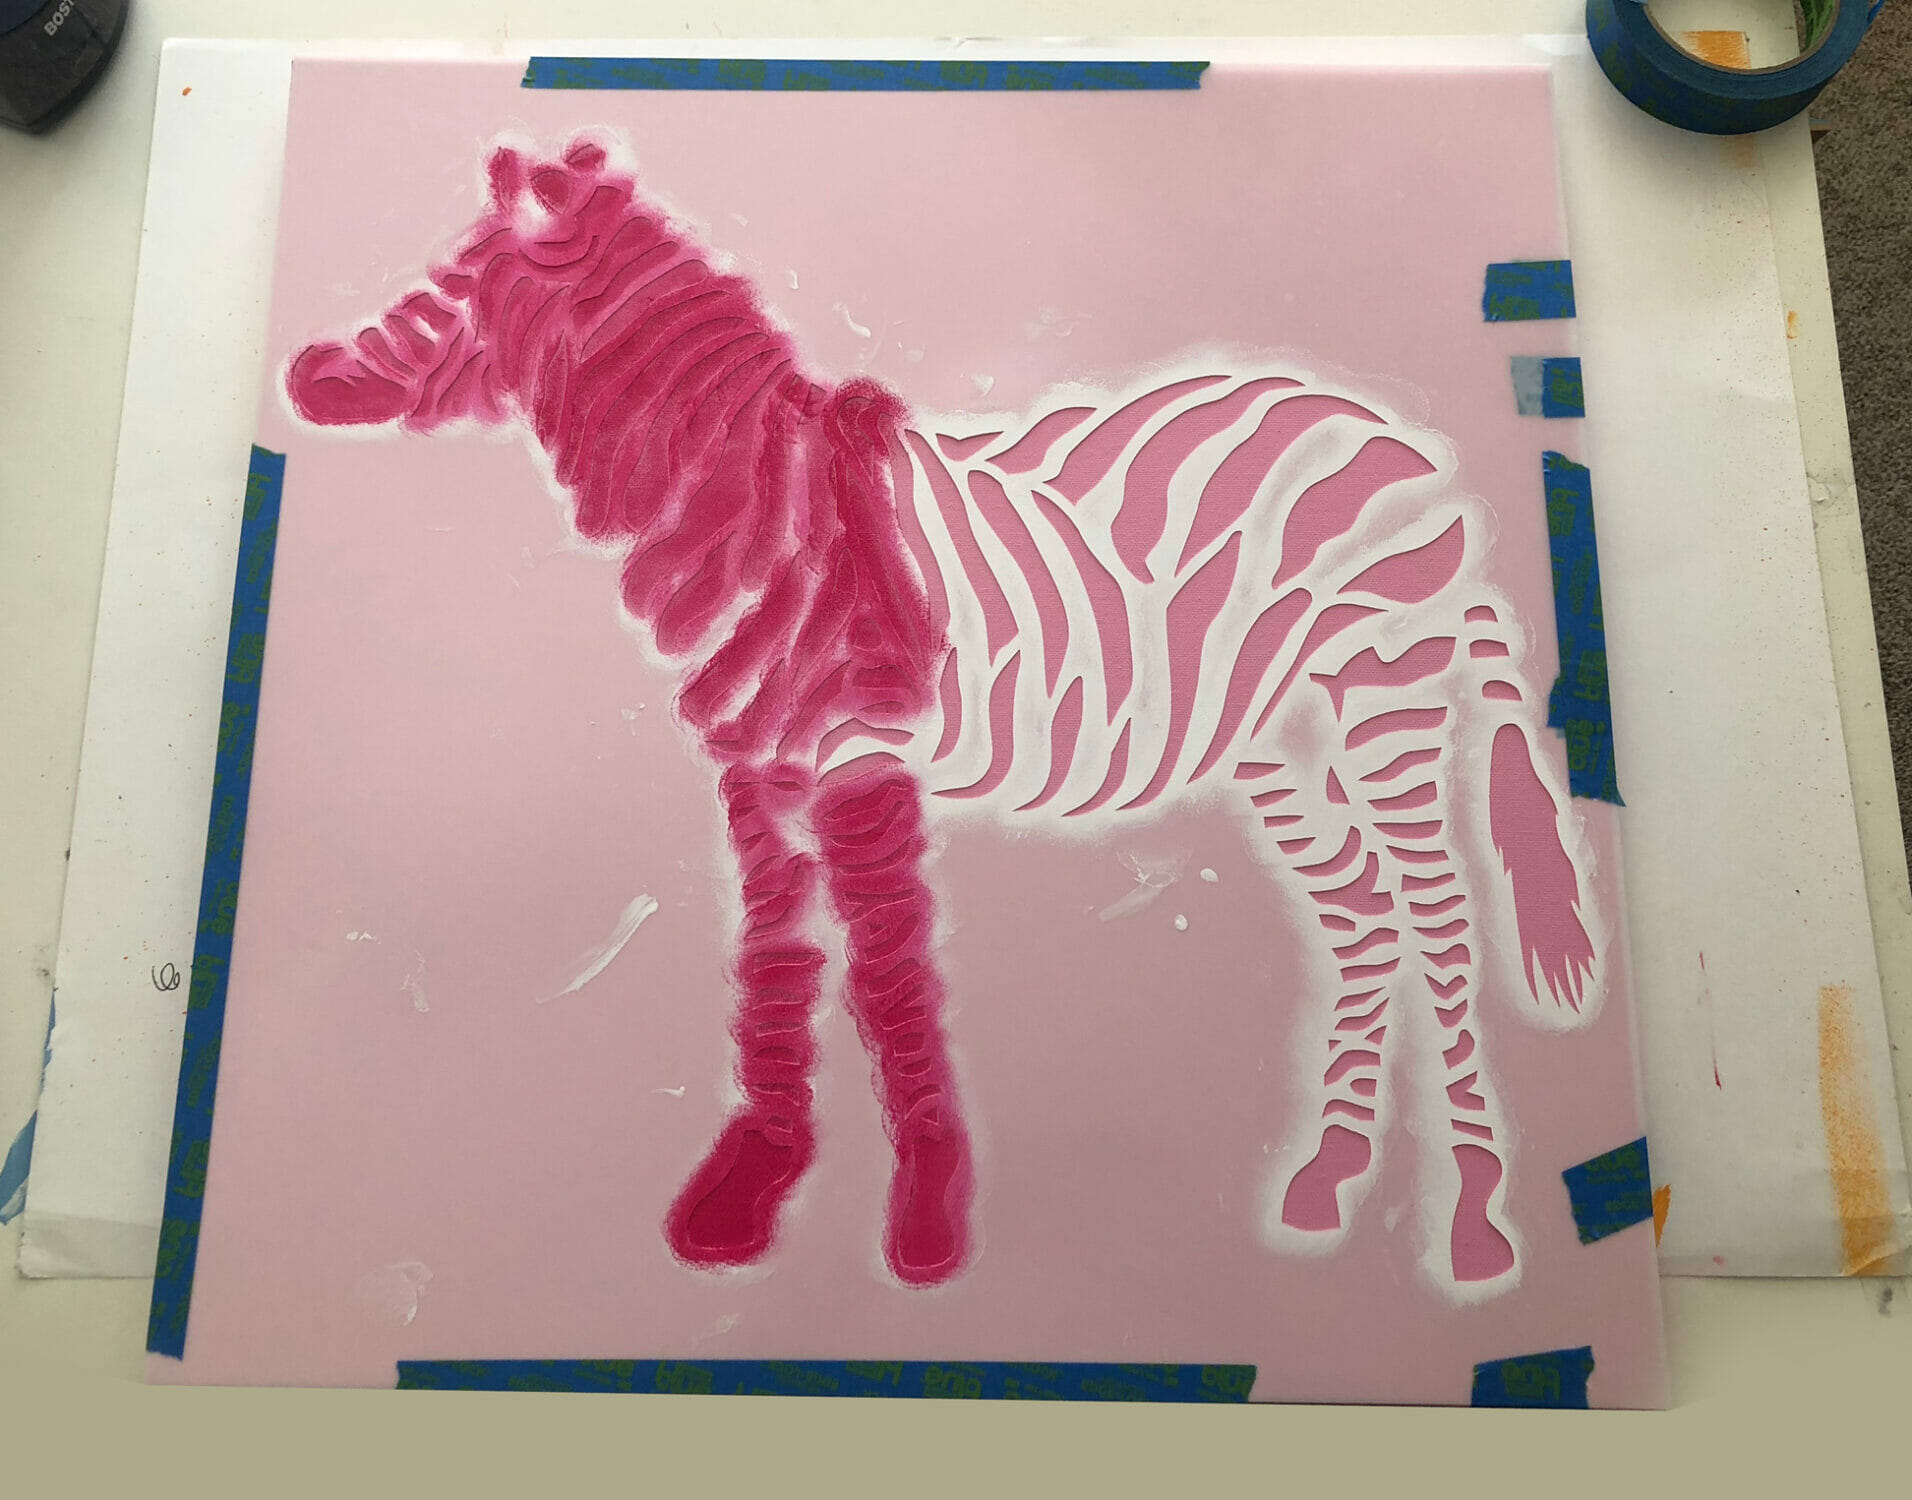
Below is my third layer of paint, and you can see all of my light layers have built on each other to fill in the stencil.
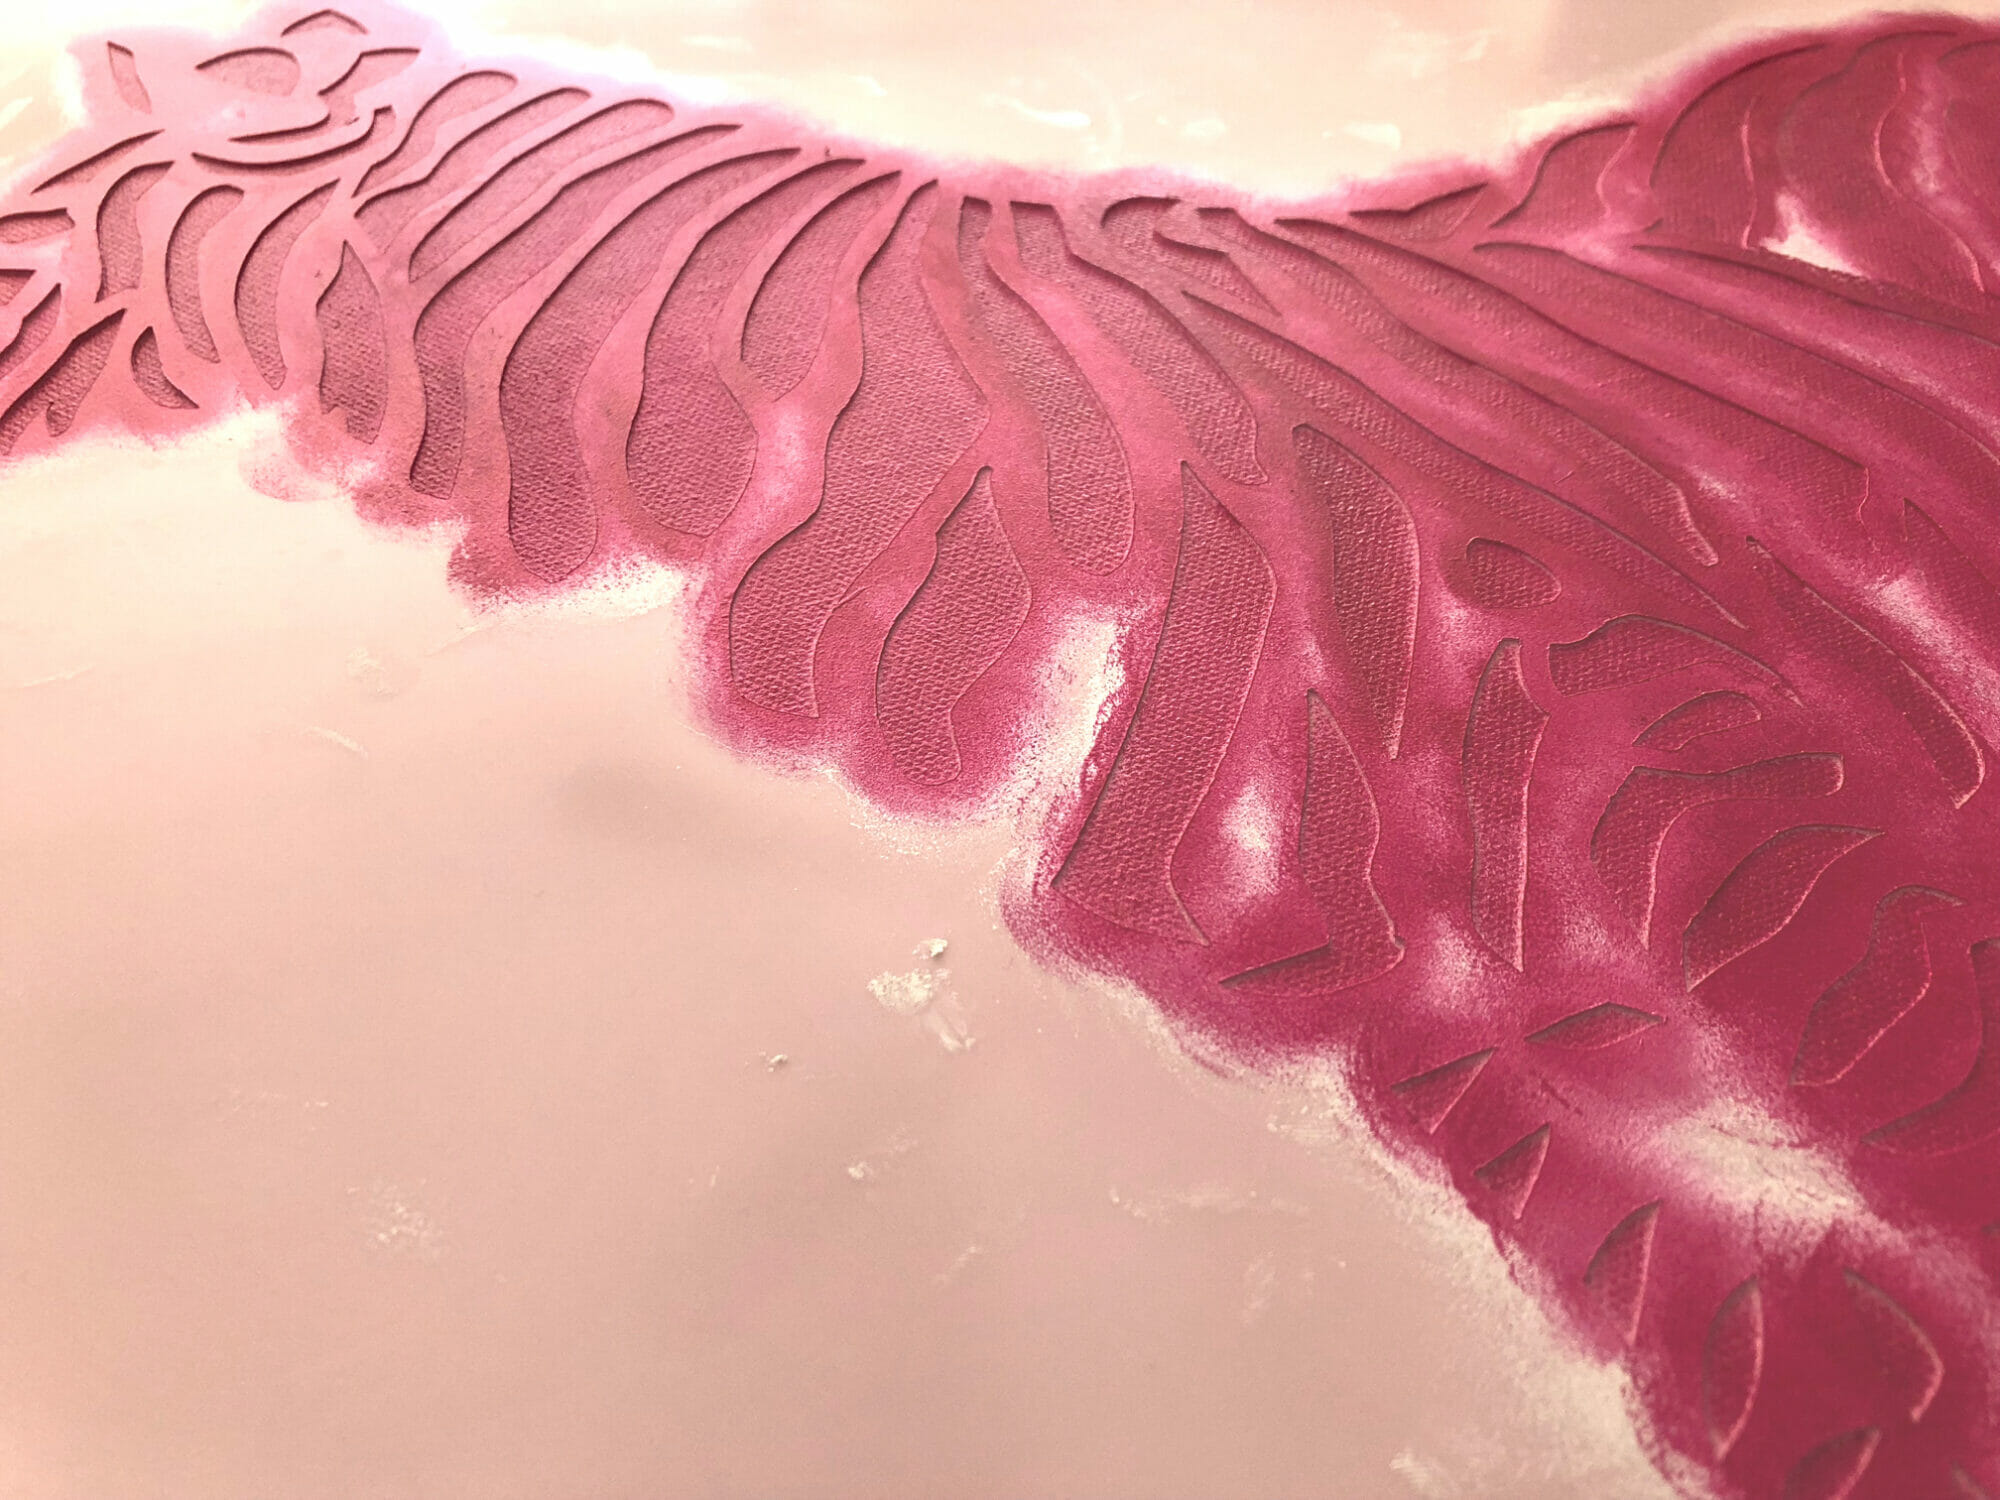
Once the pink zebra was finished, I moved on to the other colors and repeated the process. I chose to use a darker color paint to fill in the pink and purple canvases. For the blue and orange canvases, I used white paint.


My dark pink and dark purple paint worked much better than my white paint, which bled a little bit. After the canvases were dry, I went in with a small paintbrush and touched up some of the places the white paint had bled. I think if I had painted the first layer of the stencil with the light blue or orange paint that matched the canvas, I would have had less bleeding.
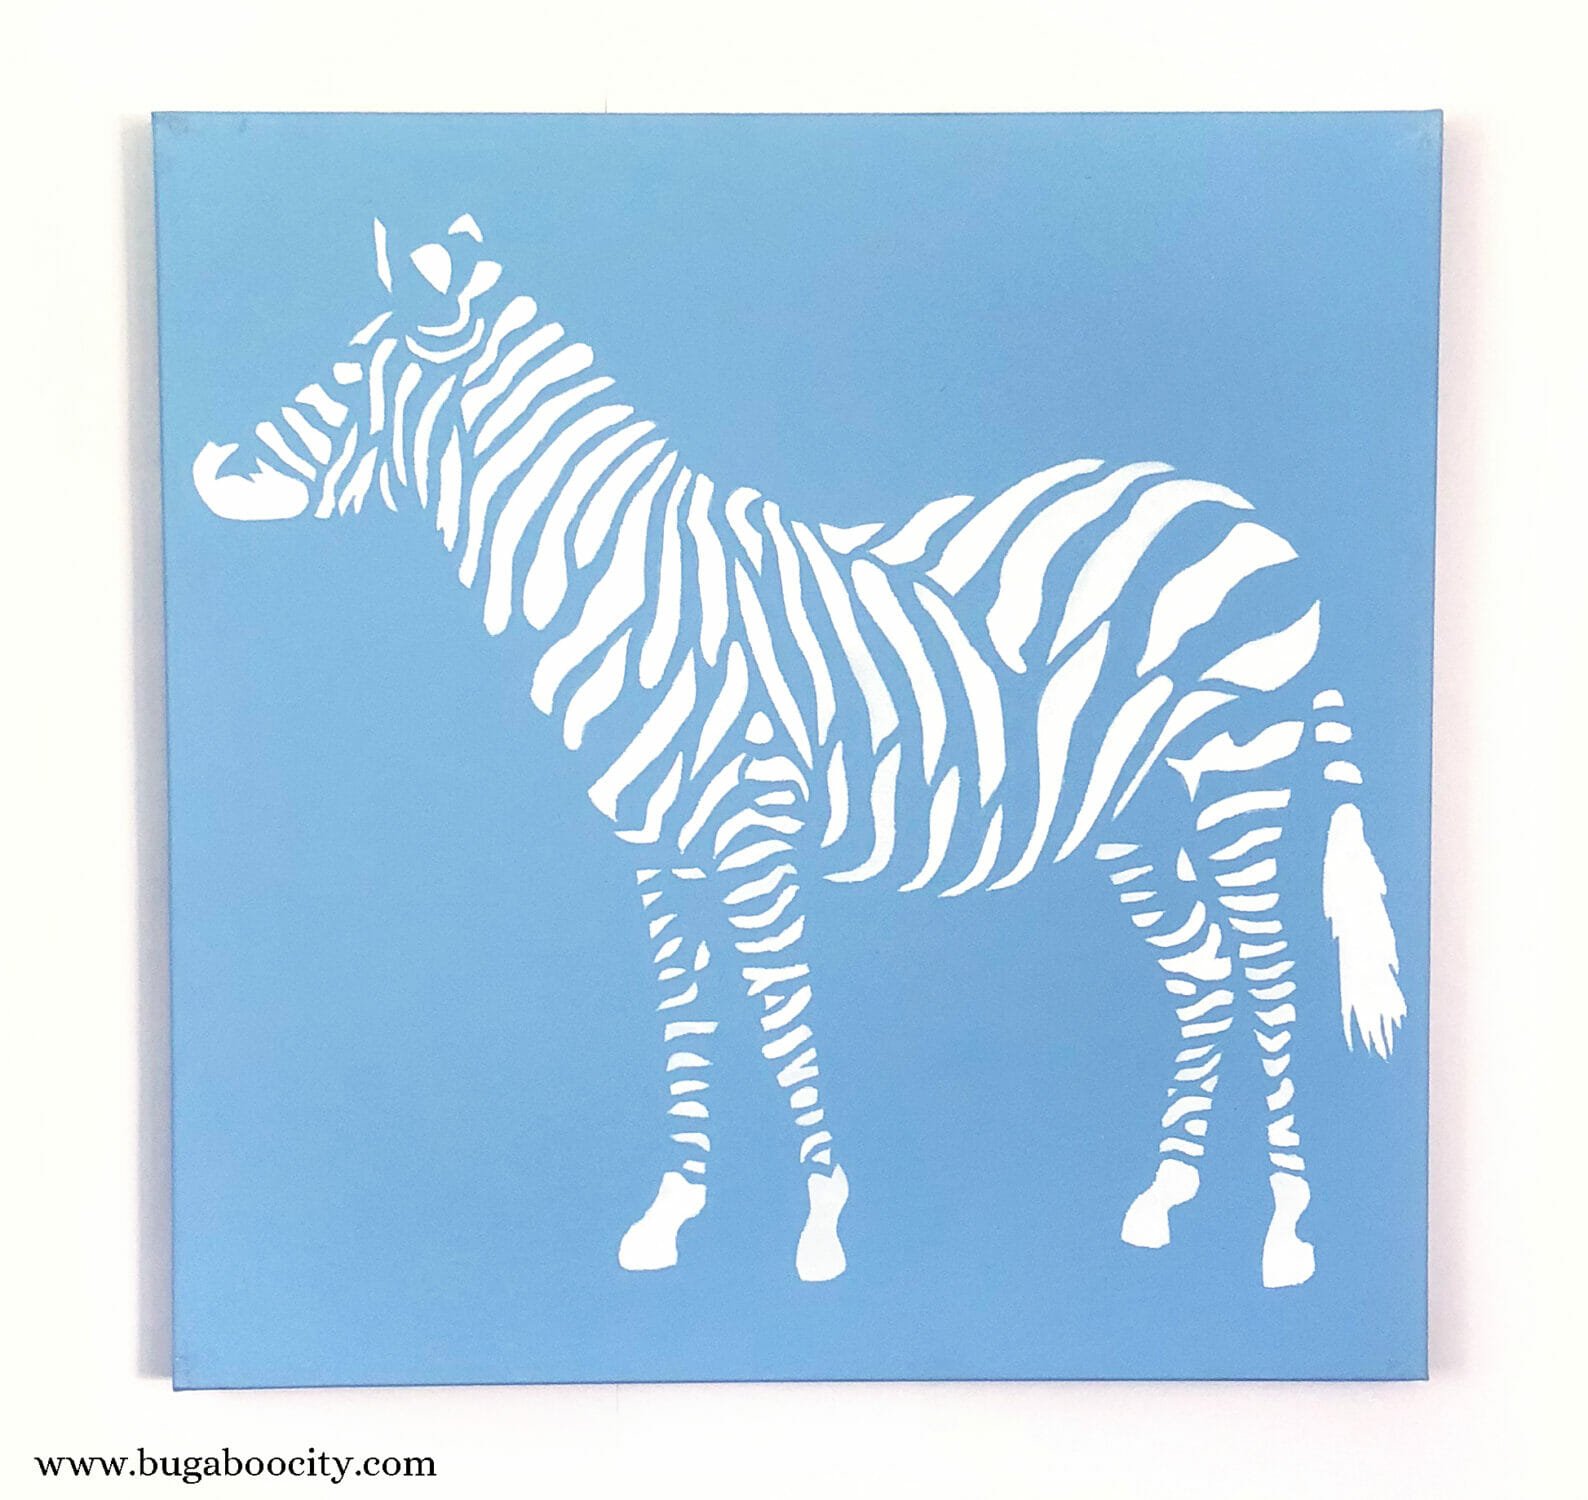
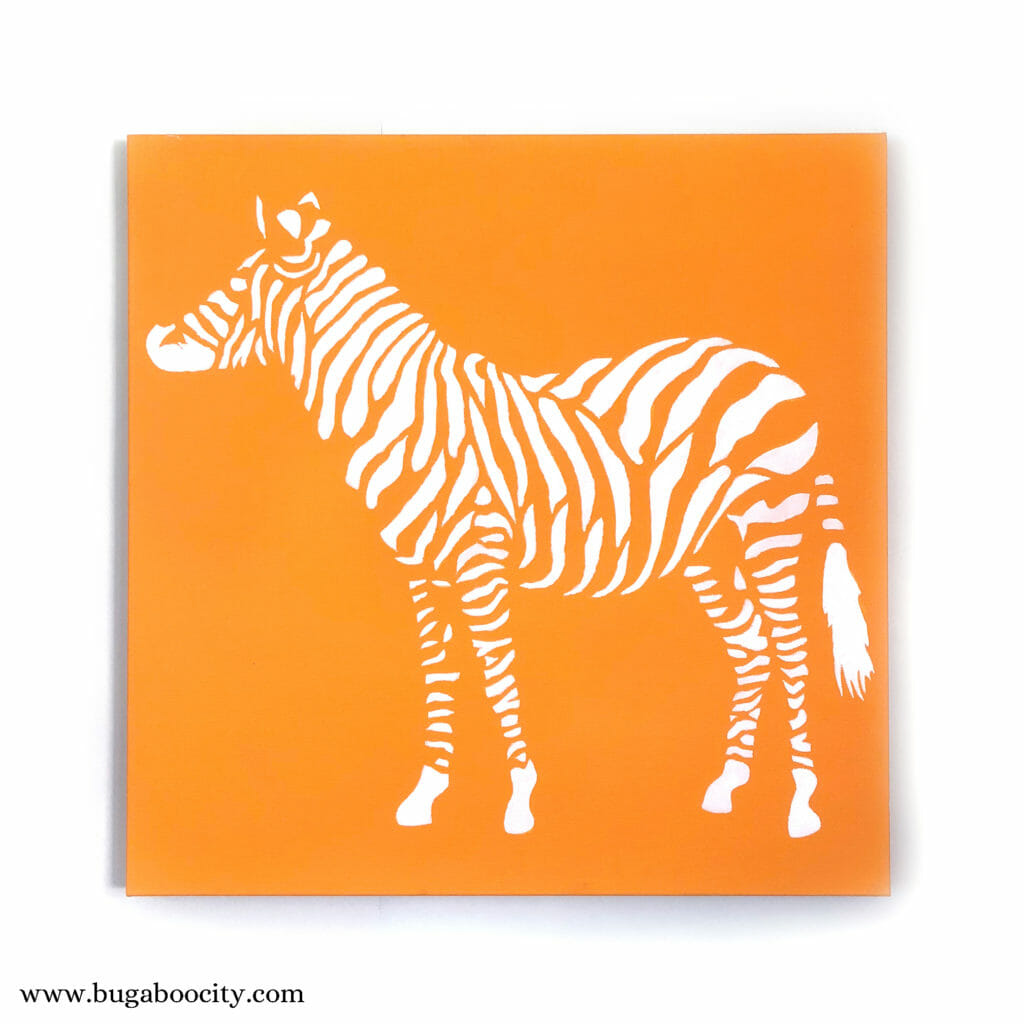
I’m so happy with how they turned out! It was a little tedious doing the light layers of paint with the pouncer, but I think it was worth it! You can recreate this same Pop Art composition using another stencil from Stencil Revolution – they have so many different stencils, including lots of different animals, and even people stencils, including Marilyn Monroe and John Lennon.
I’m excited to try using stencils in more of my craft projects – especially when I am making duplicates like this one! I have another project started using a Christmas stencil from Stencil Revolution that I can’t wait to finish up!


