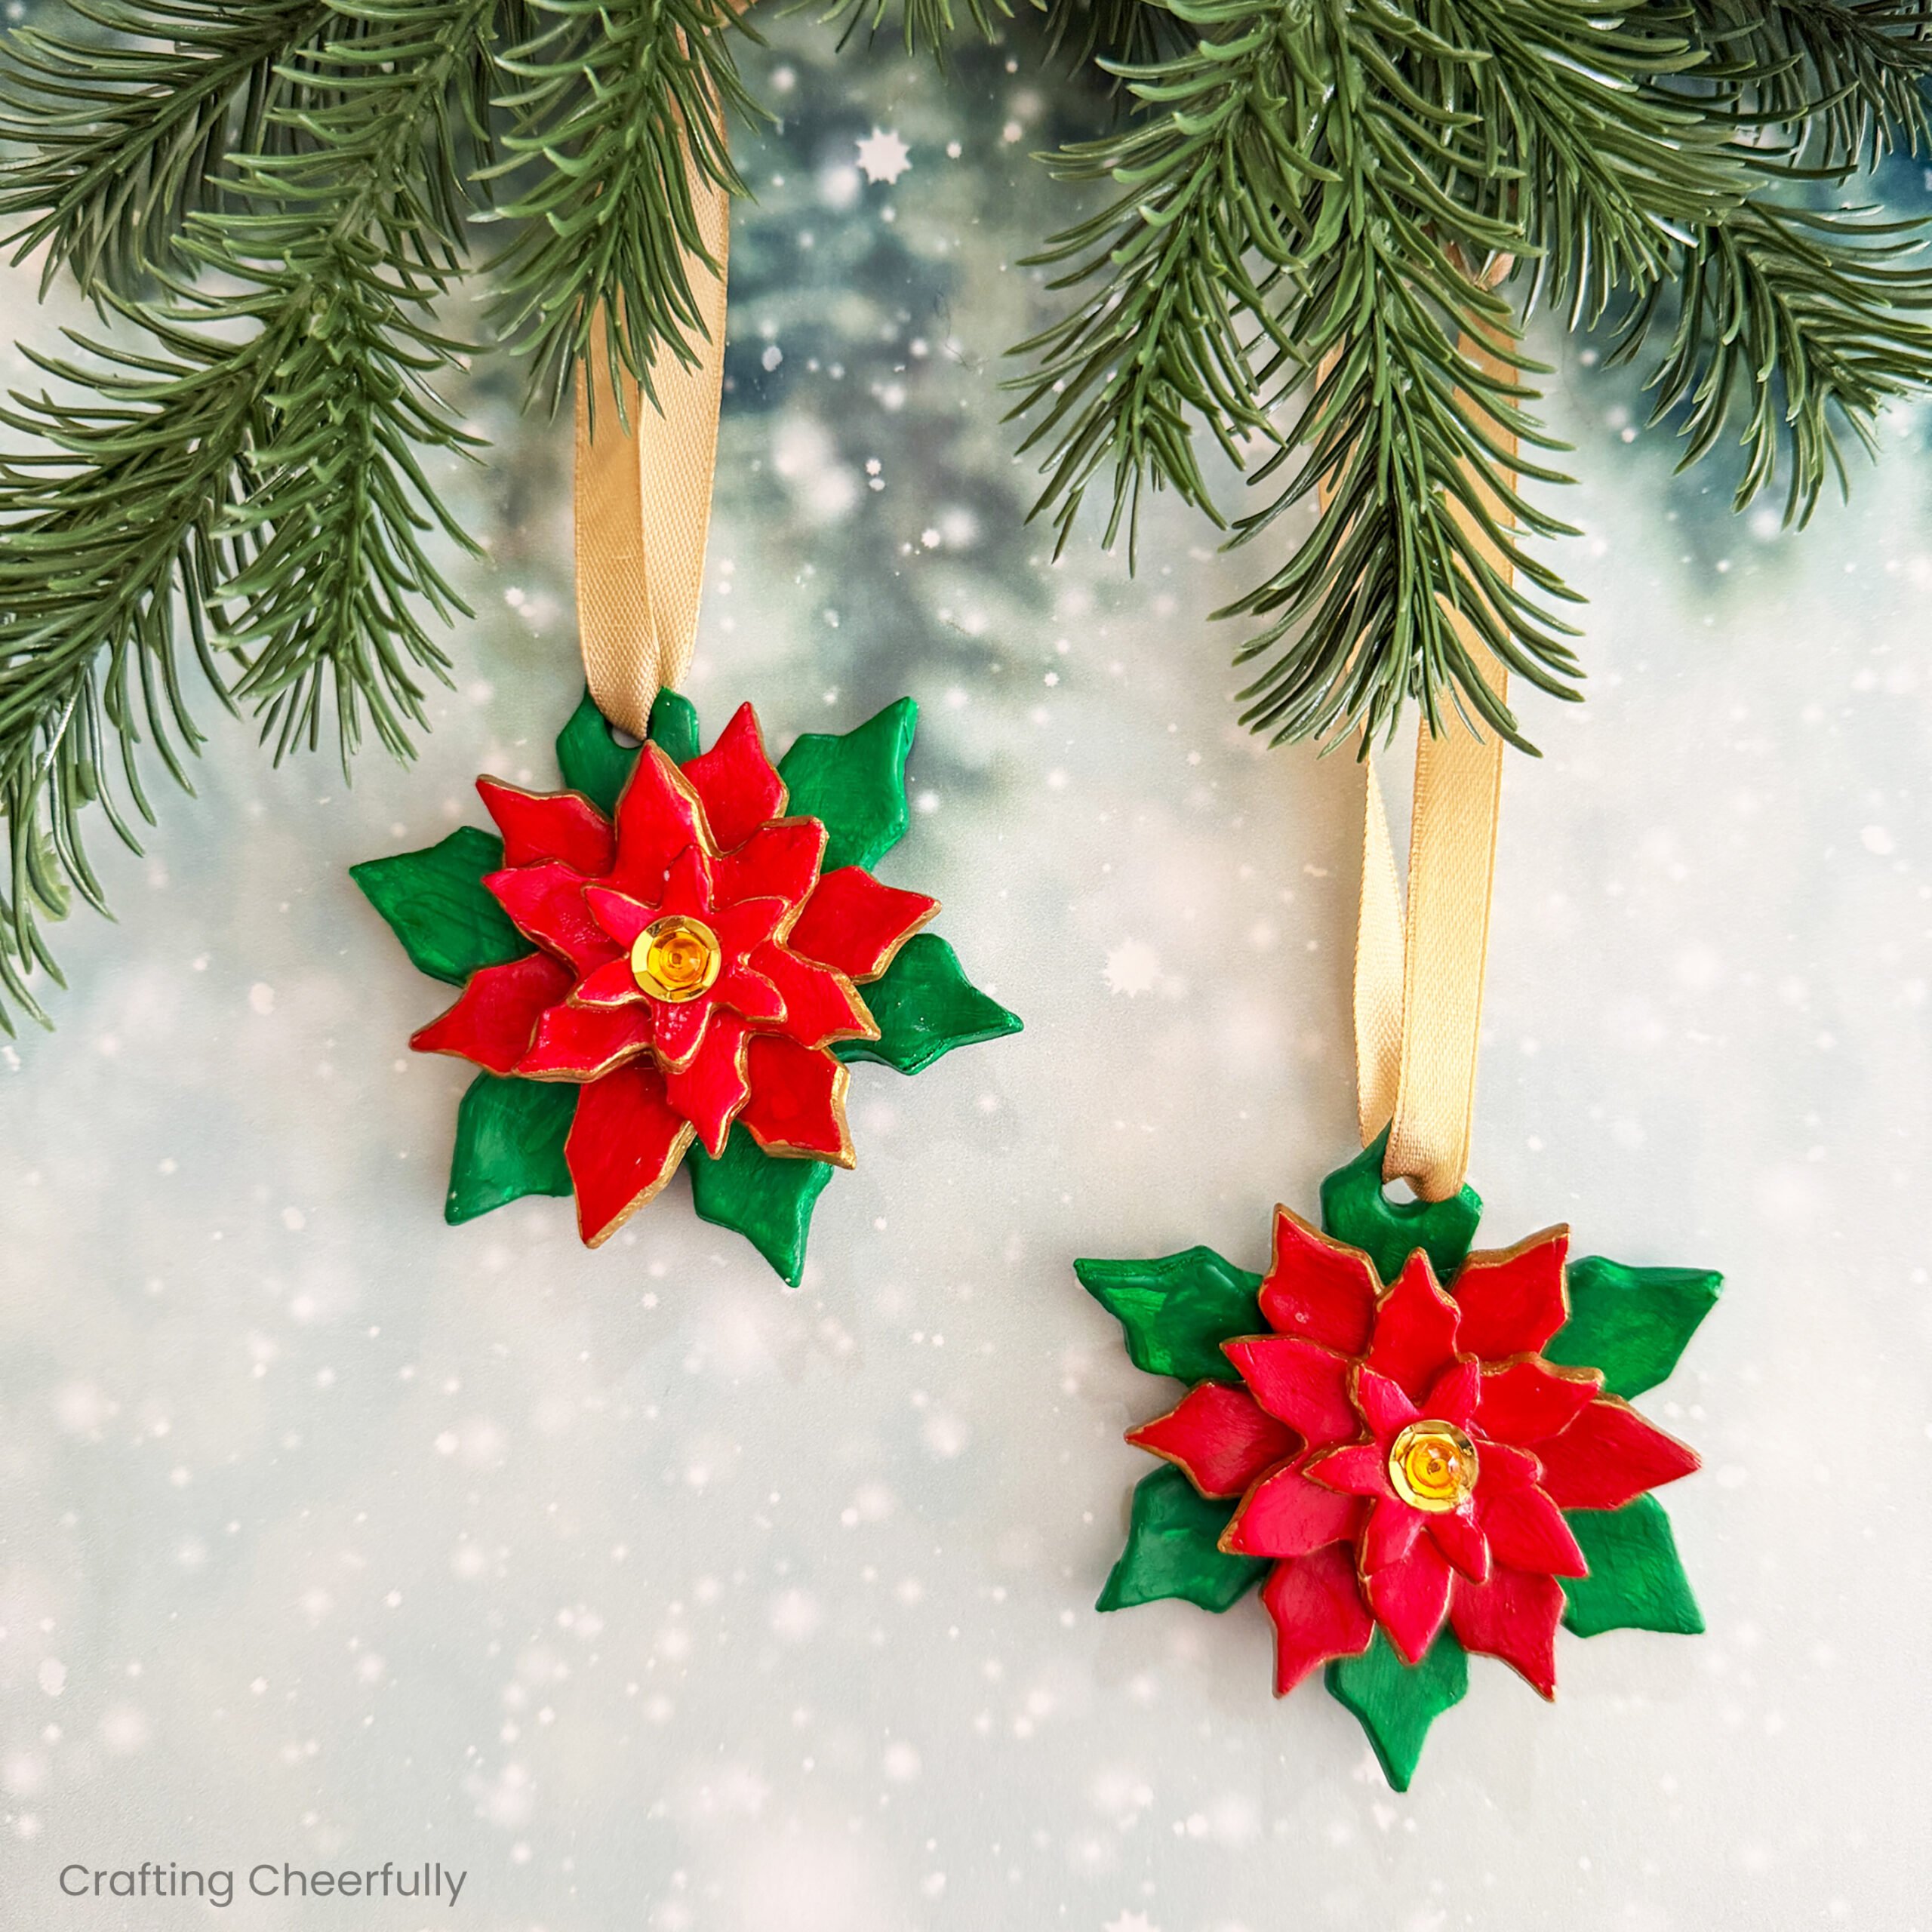
Air-Dry Clay Poinsettia Ornaments
Create beautiful poinsettia ornaments using air-dry clay. A fun way to add something handmade and special to your Christmas tree!

Hello Crafty Friends! Today is the first day of my annual series “12 Days of Holiday Crafts“. This is my eleventh year (wow, how did that happen!) and I am so excited to share 12 straight days of holiday crafts with you, starting with these handmade poinsettia ornaments.
These ornaments are simple to make using air-dry clay and a set of snowflake cookie cutters. The cookie cutters do all of the work and once the clay dries, it’s as easy as painting and layering the snowflakes to form a festive poinsettia.

I love poinsettias and growing up we always had one on display during the holiday season. Last year I created a poinsettia banner from fabric and love the brightness of the red flowers. These ornaments add the same pop of color to our tree and were a lot of fun to make.
DIY Poinsettia Christmas Ornaments
Supplies Needed:
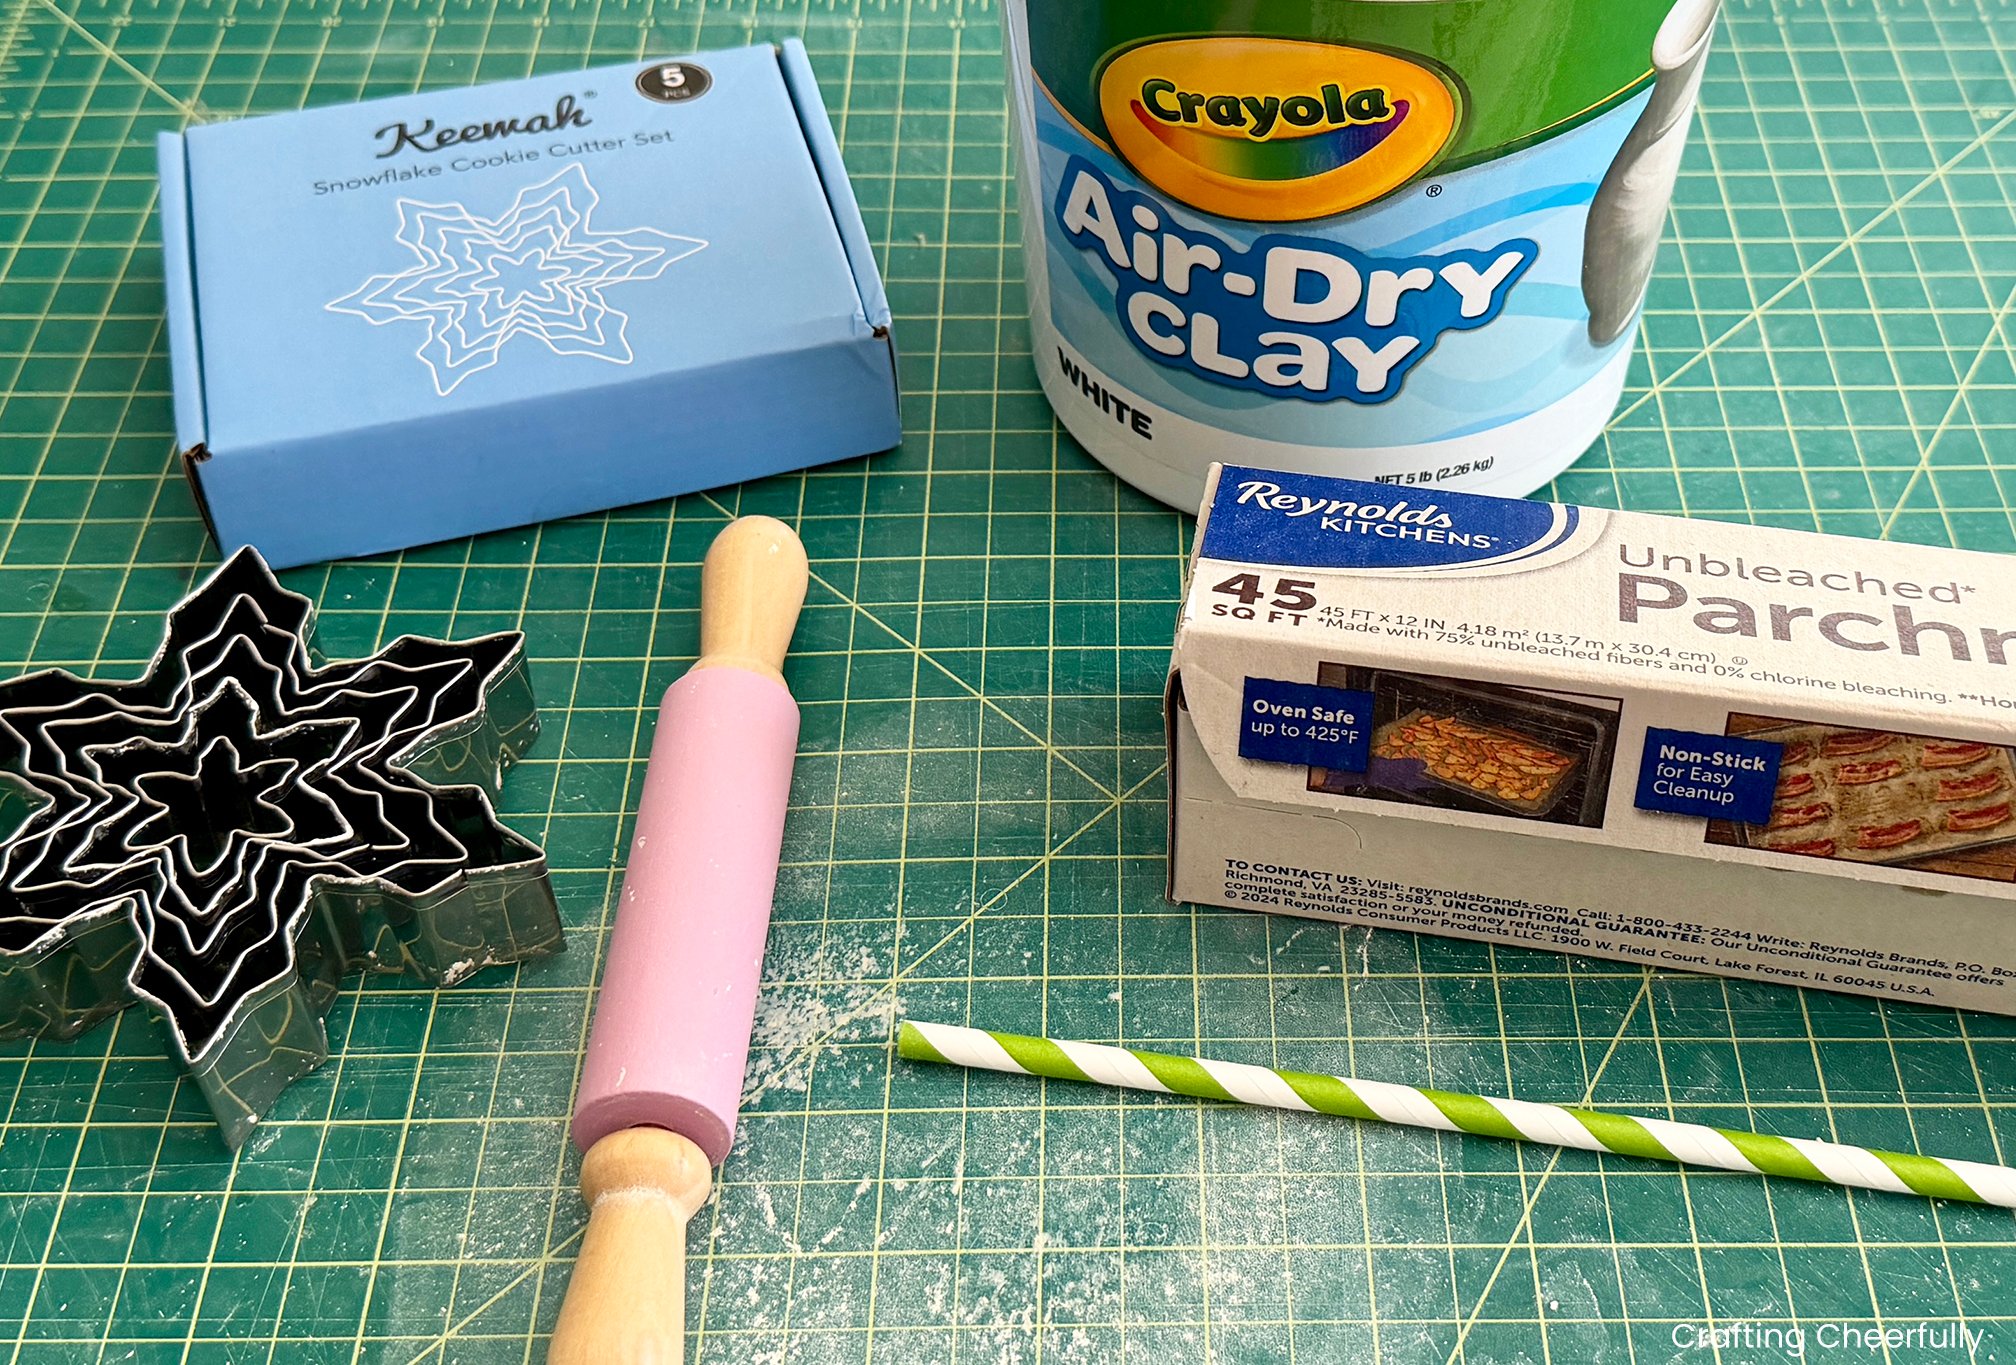
- Crayola Air-Dry Clay
- Snowflake ornament set
- Rolling pin – I used my daughter’s from a sensory kit but the one I linked to is specifically for clay
- Straw
- Parchment paper
- Gold sequins
- Gold ribbon
- Hot glue gun
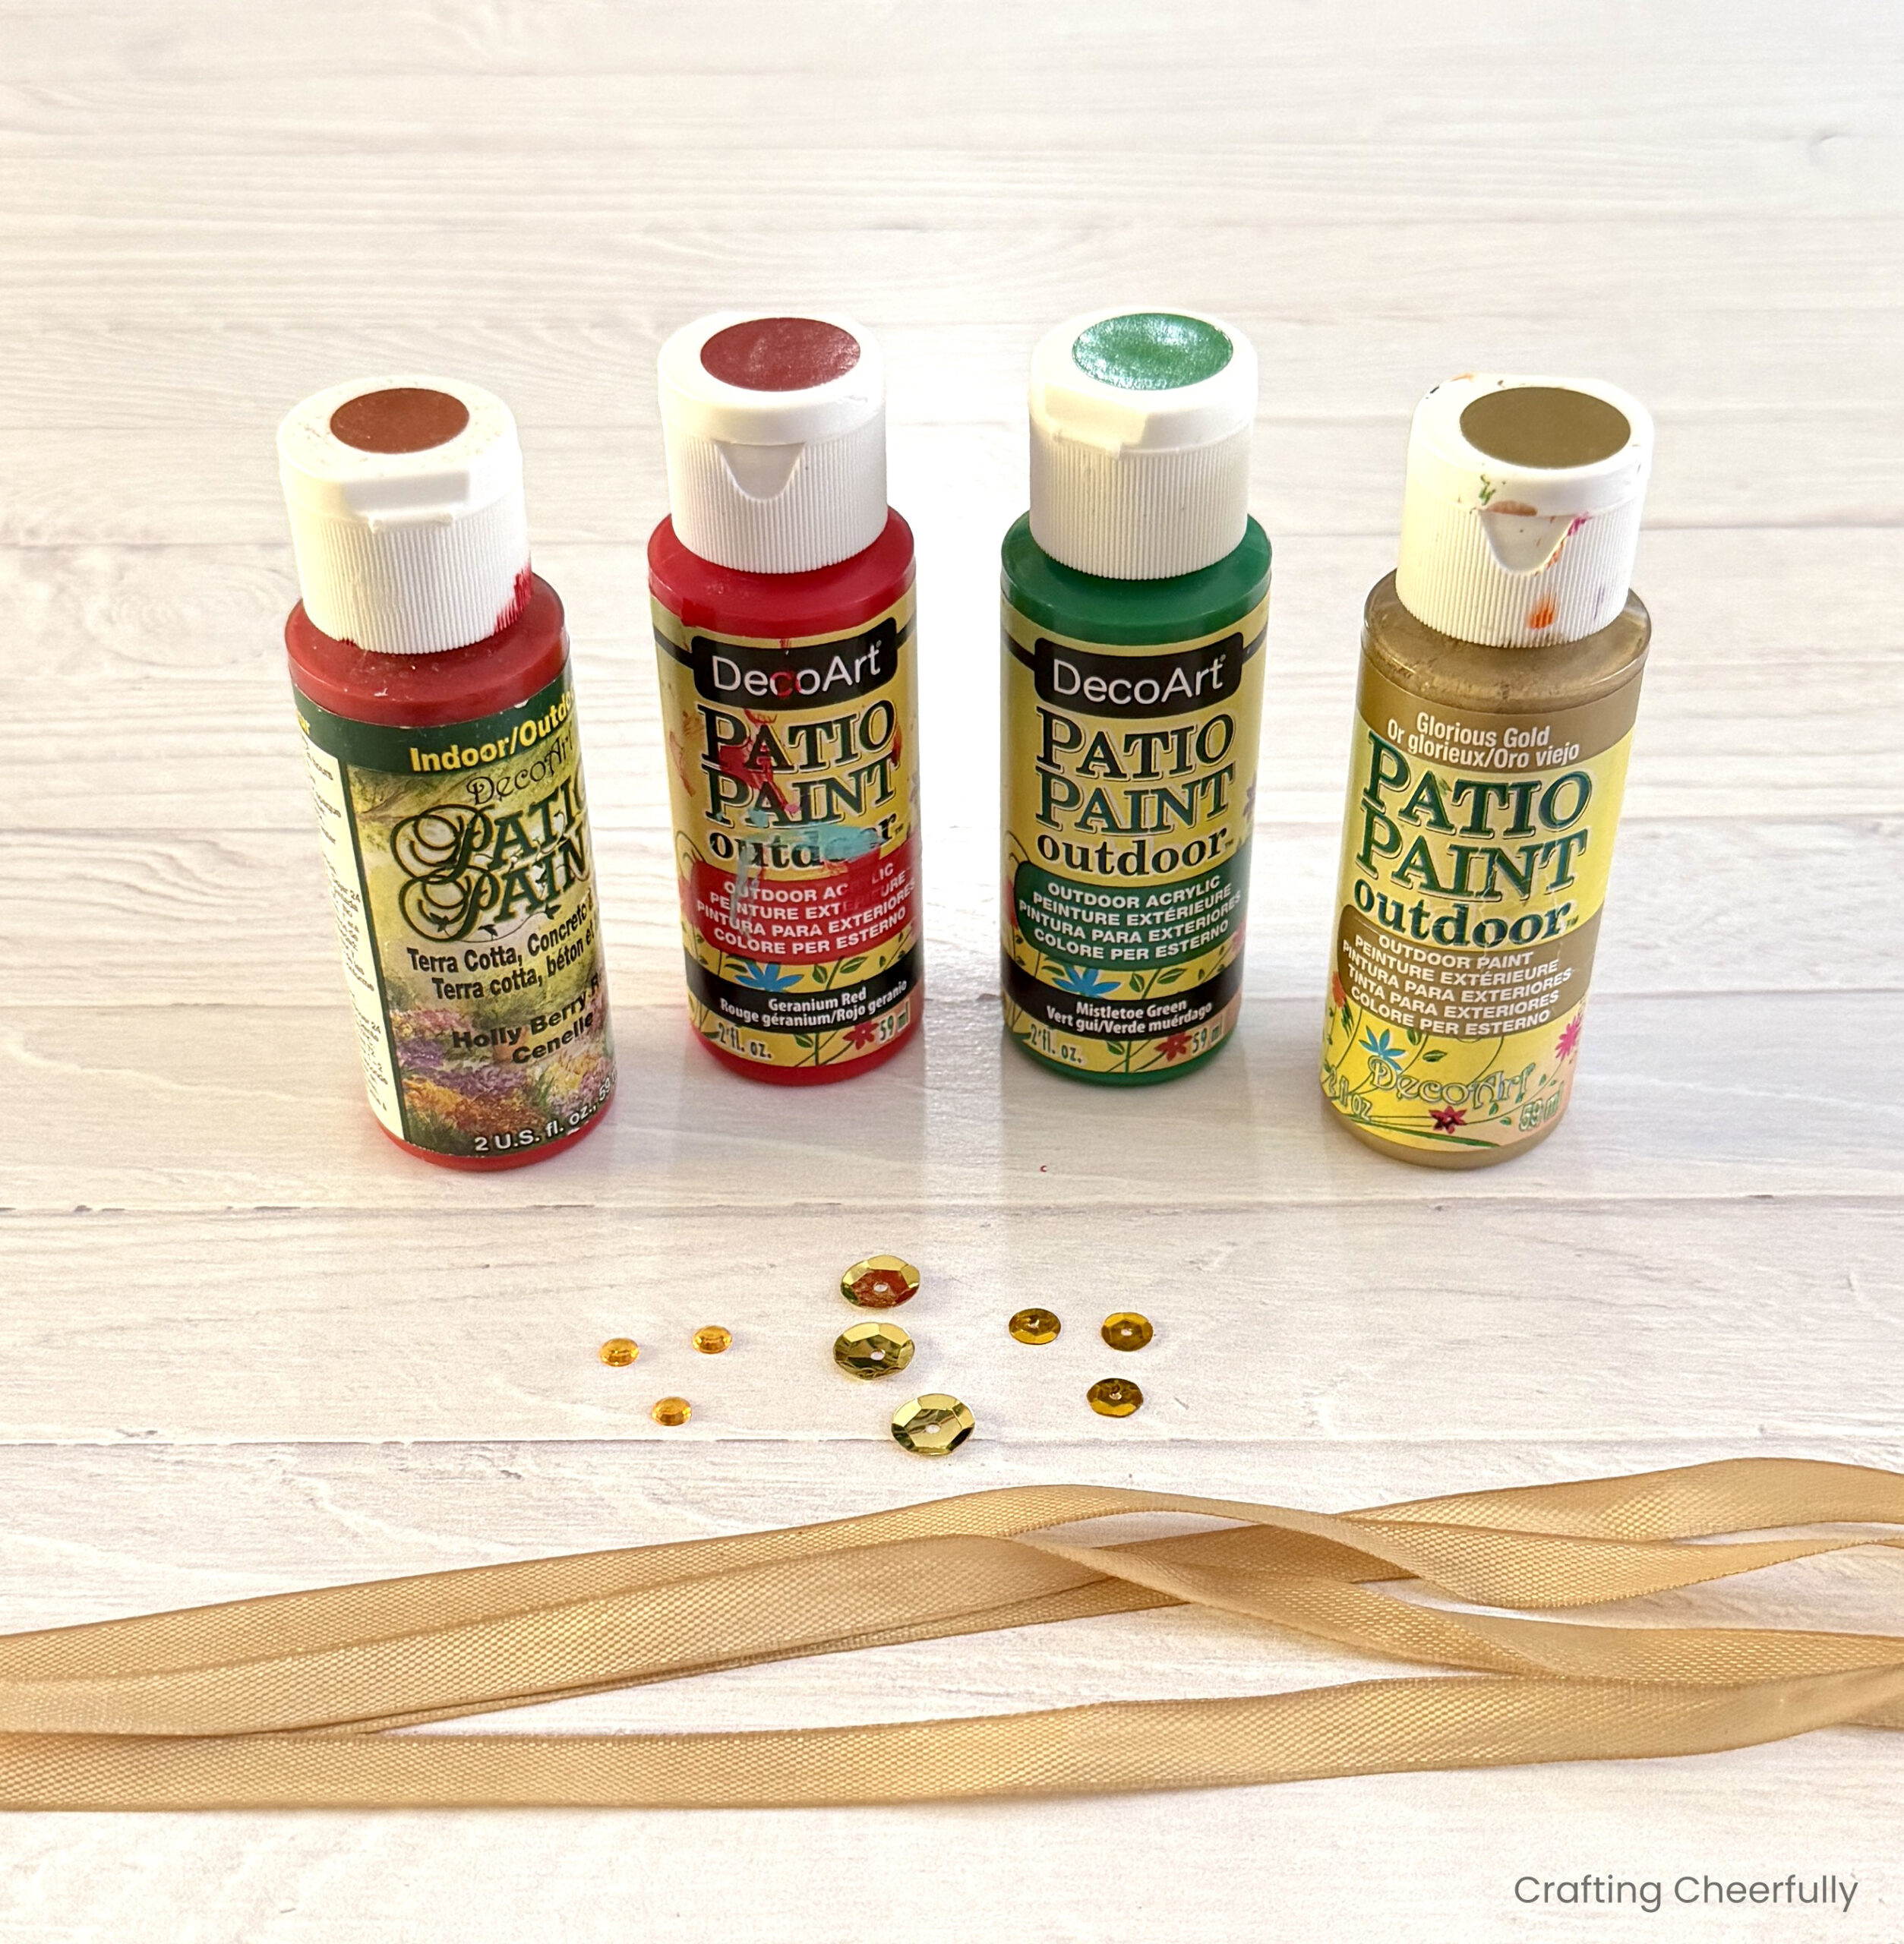
- Paint in red, green and gold
- I used what I had on hand – DecoArt Patio Paint in Geranium Red, Holly Berry Red, Mistletoe Green and Glorious Gold. I linked to the paint on Amazon so you can see the colors, but they are less expensive at Michaels Craft store. You can also use any acrylic paint.
Cutting Out the Clay Ornaments
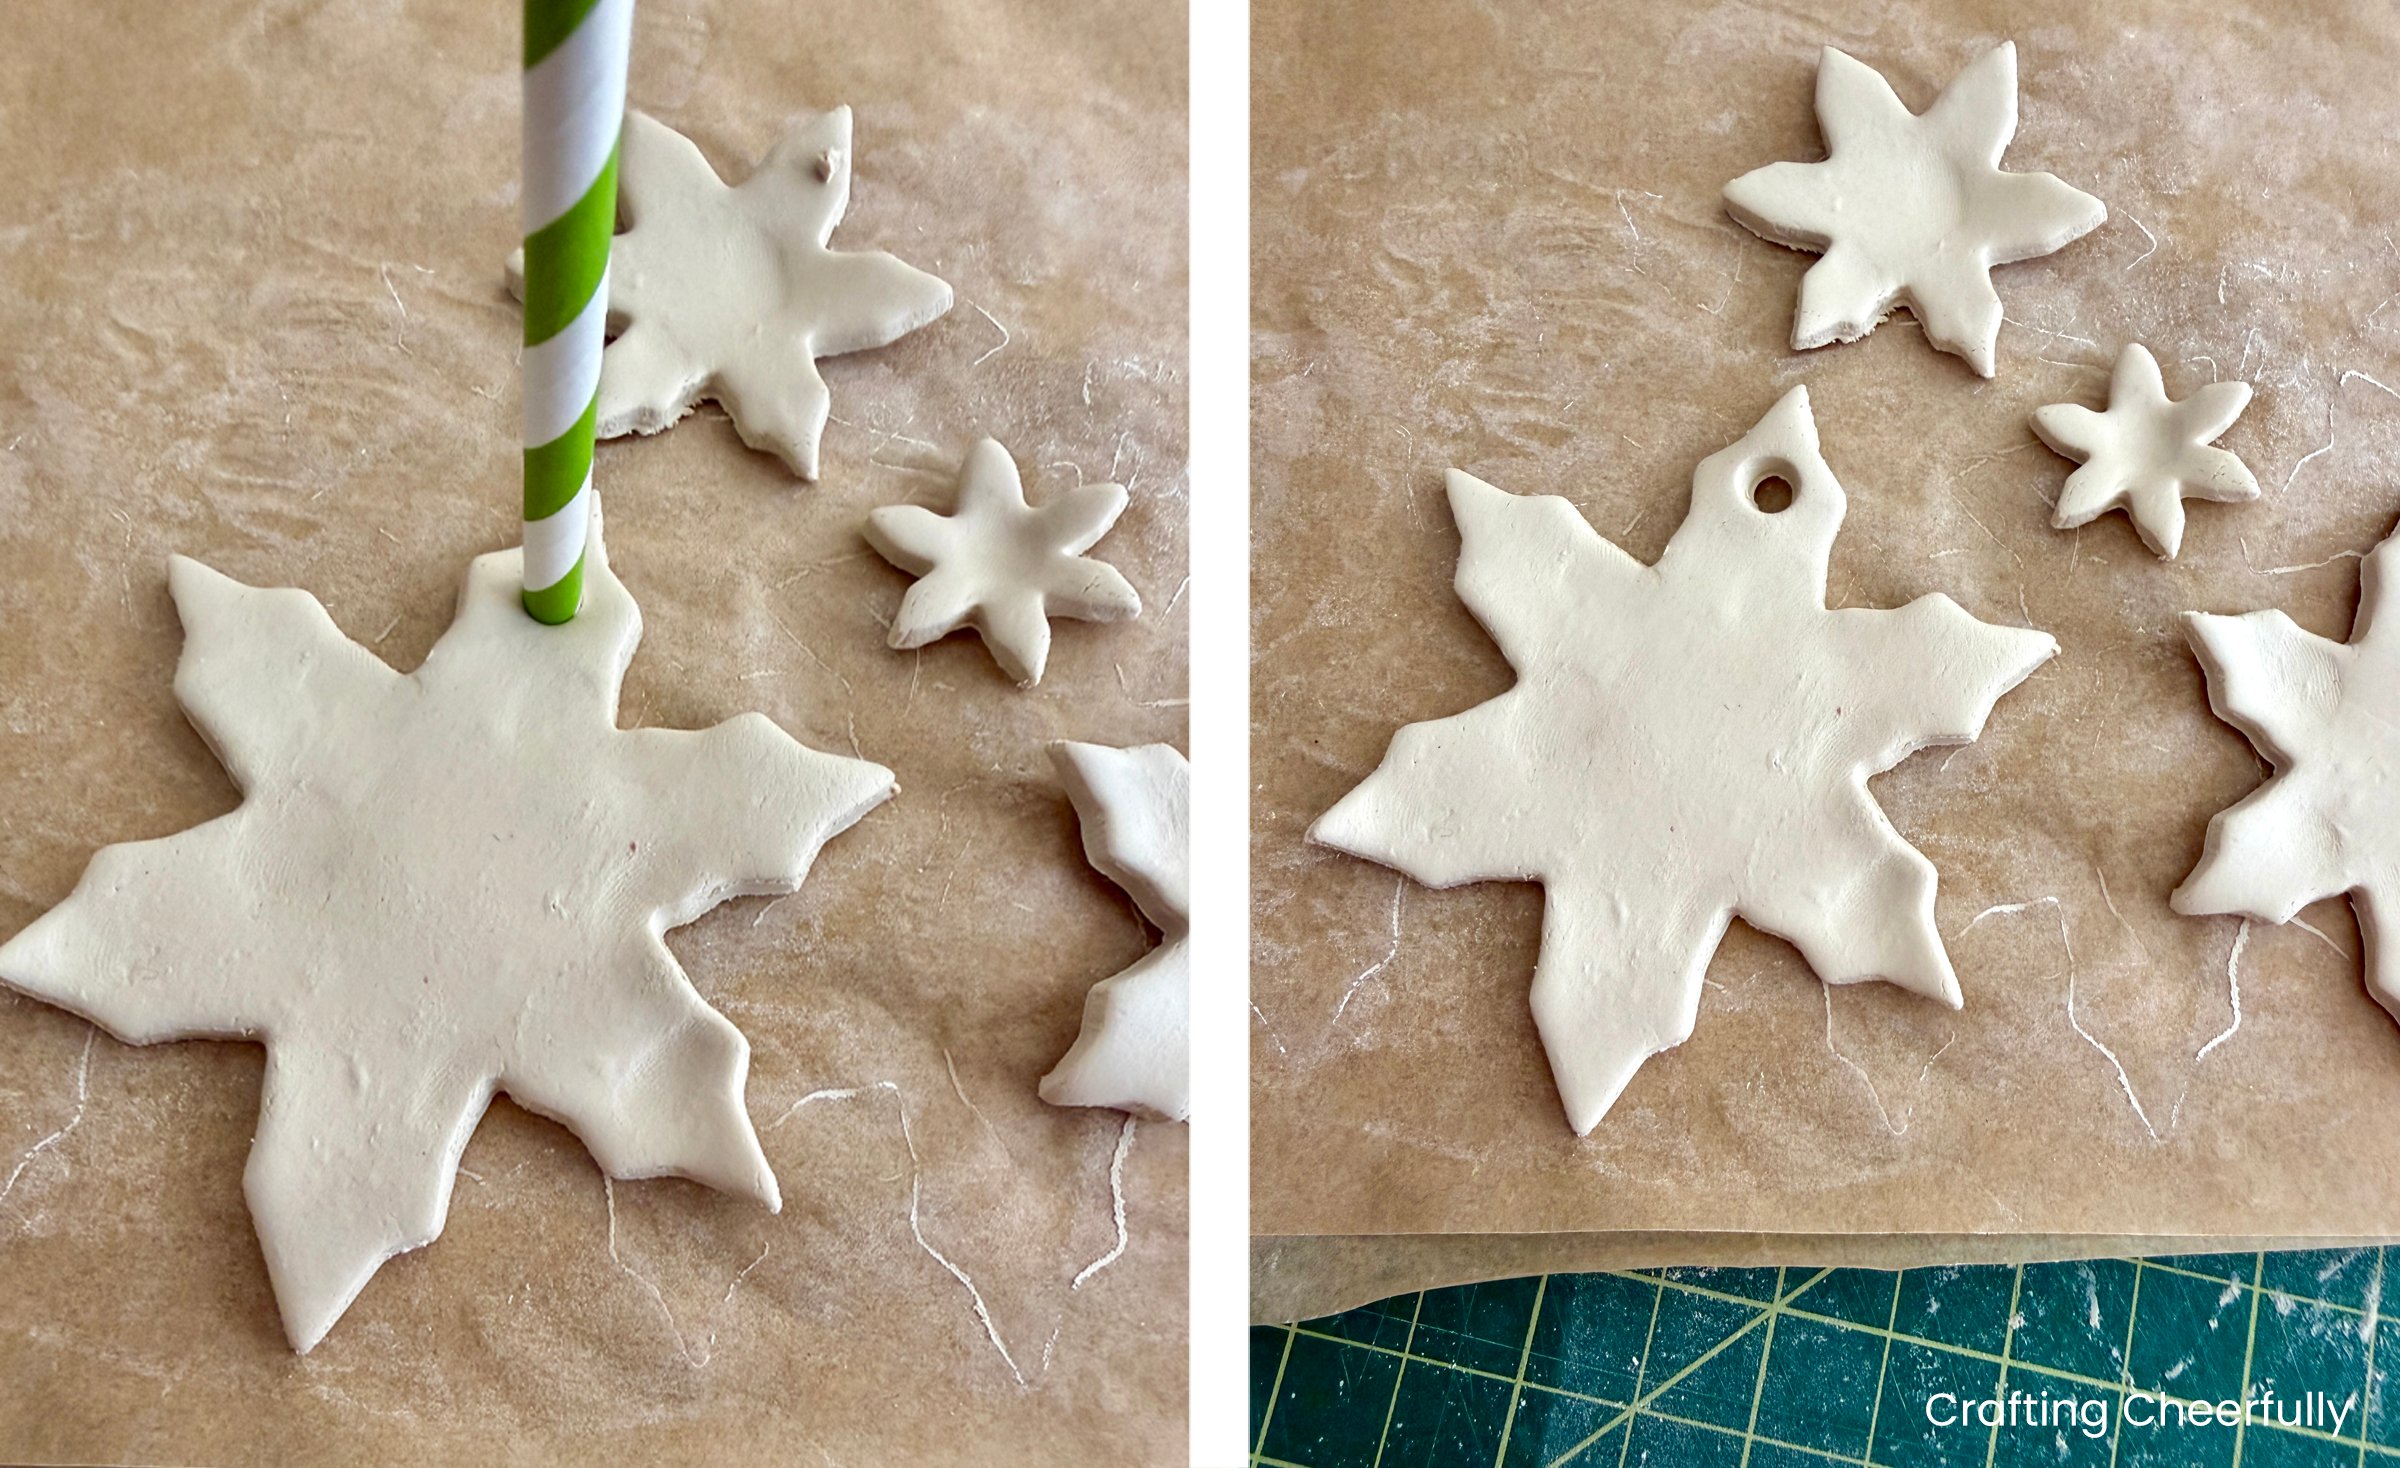
Step One: Roll out a large ball of air-dry clay on a self-healing cutting mat. Move the rolled out piece of clay to parchment paper. This helps the shapes not stick as you use the cookie cutters. I start on a cutting mat because I found the parchment paper shifted around too much as I was rolling.
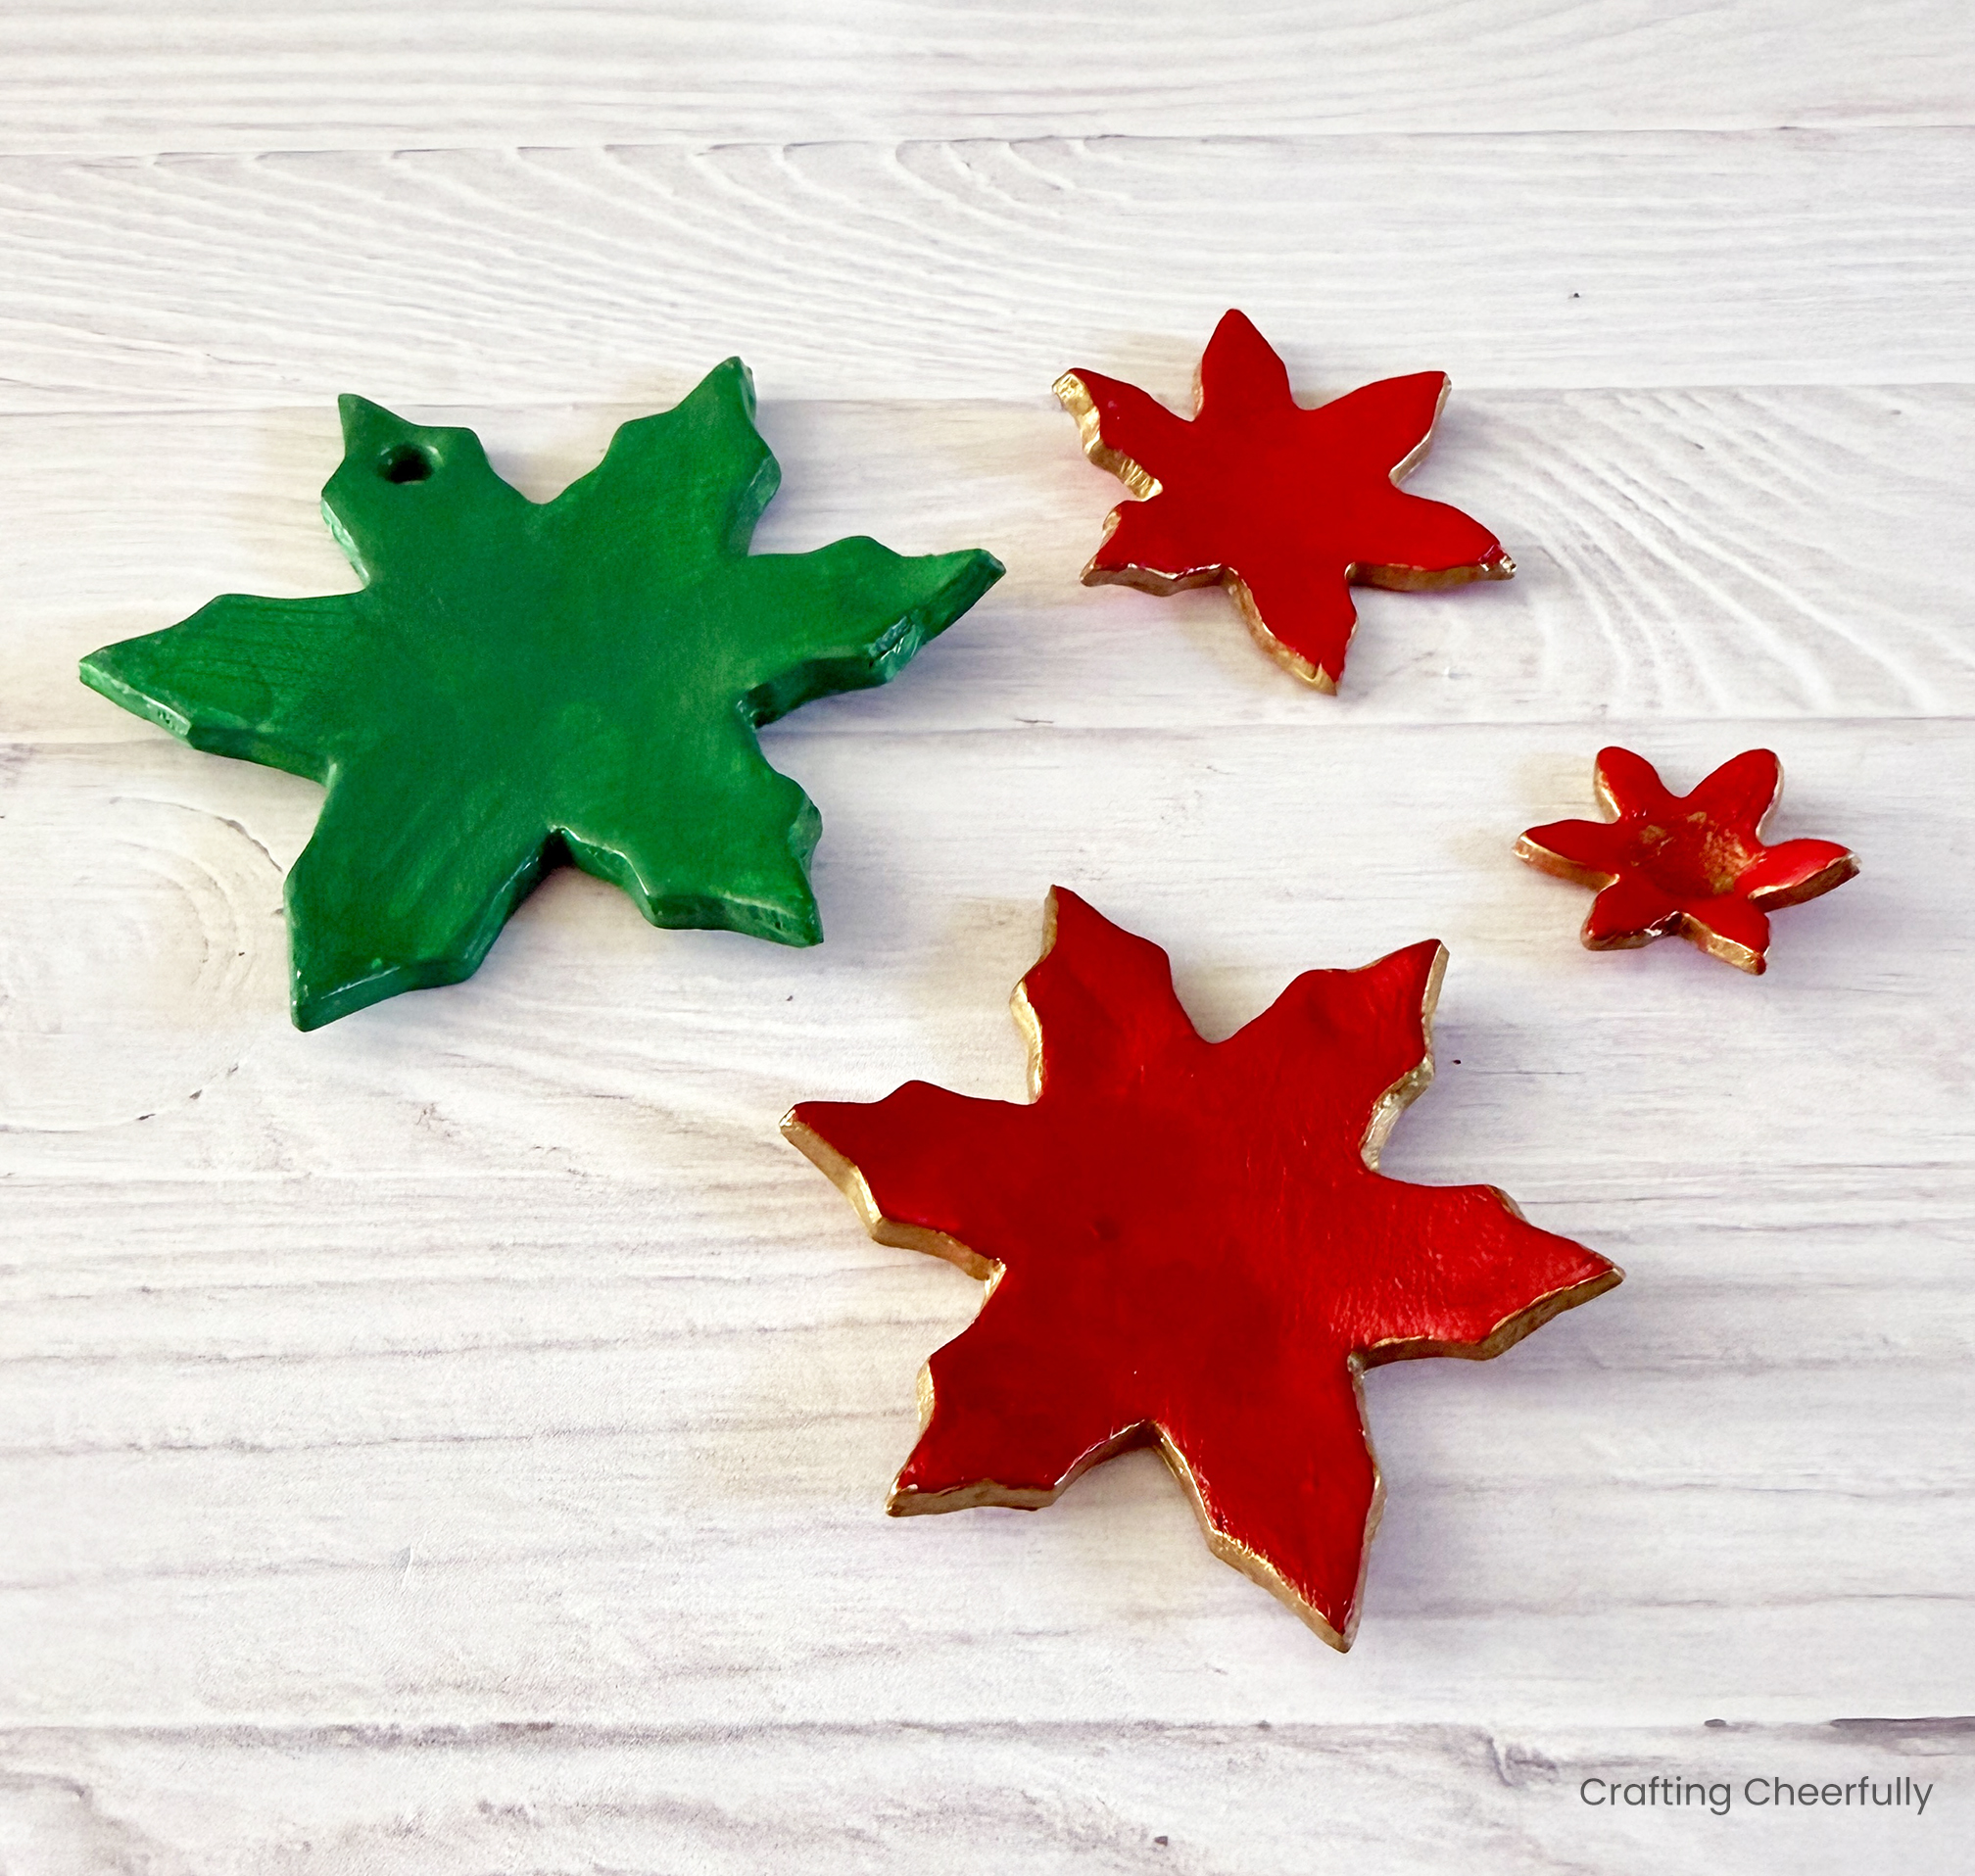
Use the snowflake cookie cutters to cut out four flowers for each poinsettia. I used the four smallest cutters and set the largest one from the set aside.

Step Two: Use a straw to poke a hole in the top of the largest clay flower. Leave the flowers on the parchment paper to dry over the next couple of days.
Painting the Poinsettias
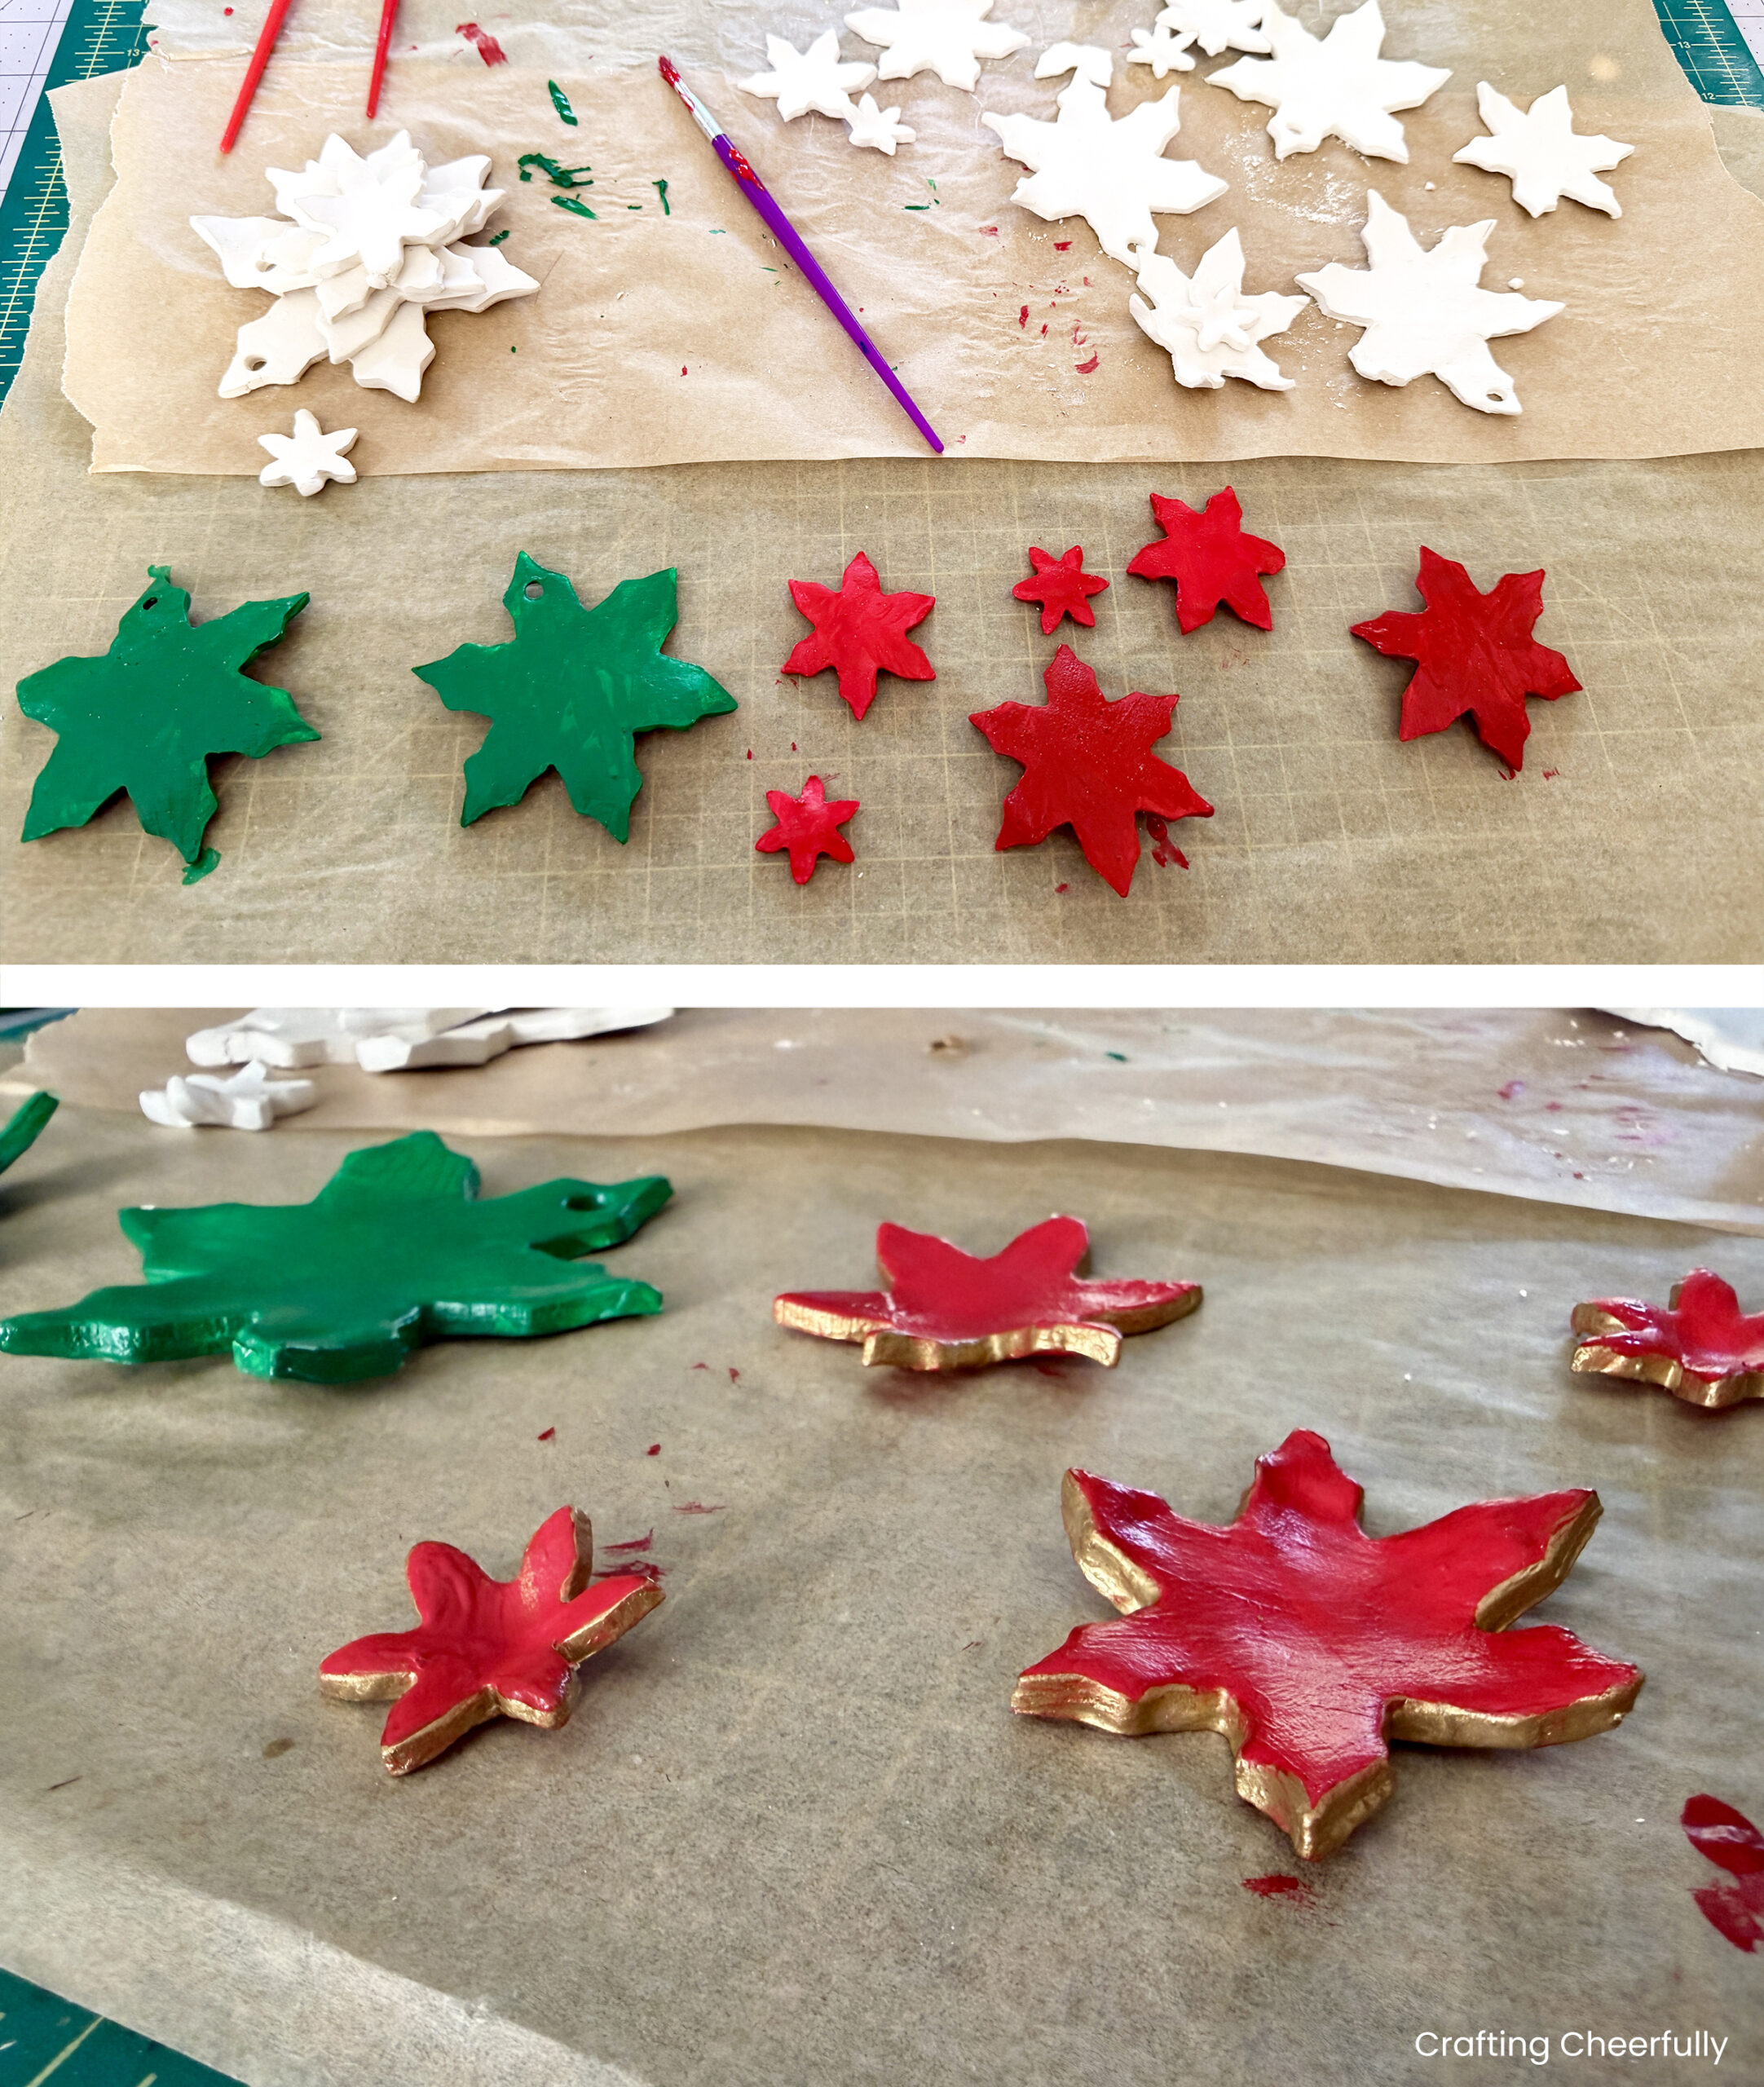
Step Three: Paint the flower pieces using acrylic paint. Paint the largest clay flower green and the three smaller ones red. I used two shades of red, painting the two smallest flowers the brighter Geranium red, and the other one the darker Holly Berry red.
Once the paint is dry, use the gold paint and a small paint brush to paint the edges of each flower piece. I used the paint I had on hand which was DecoArt Patio Paint. I’m not sure if it was the combination of that specific paint or the air-dry clay, but the finished flowers seem to have a shine to them that I really like! I did not go over them with anything – just two layers of the Patio Paint.
Step Four: Layer the clay flower pieces together using hot glue. Glue a few gold sequins to the center of the smallest flower. I layered three gold sequins together to make a fun center point.
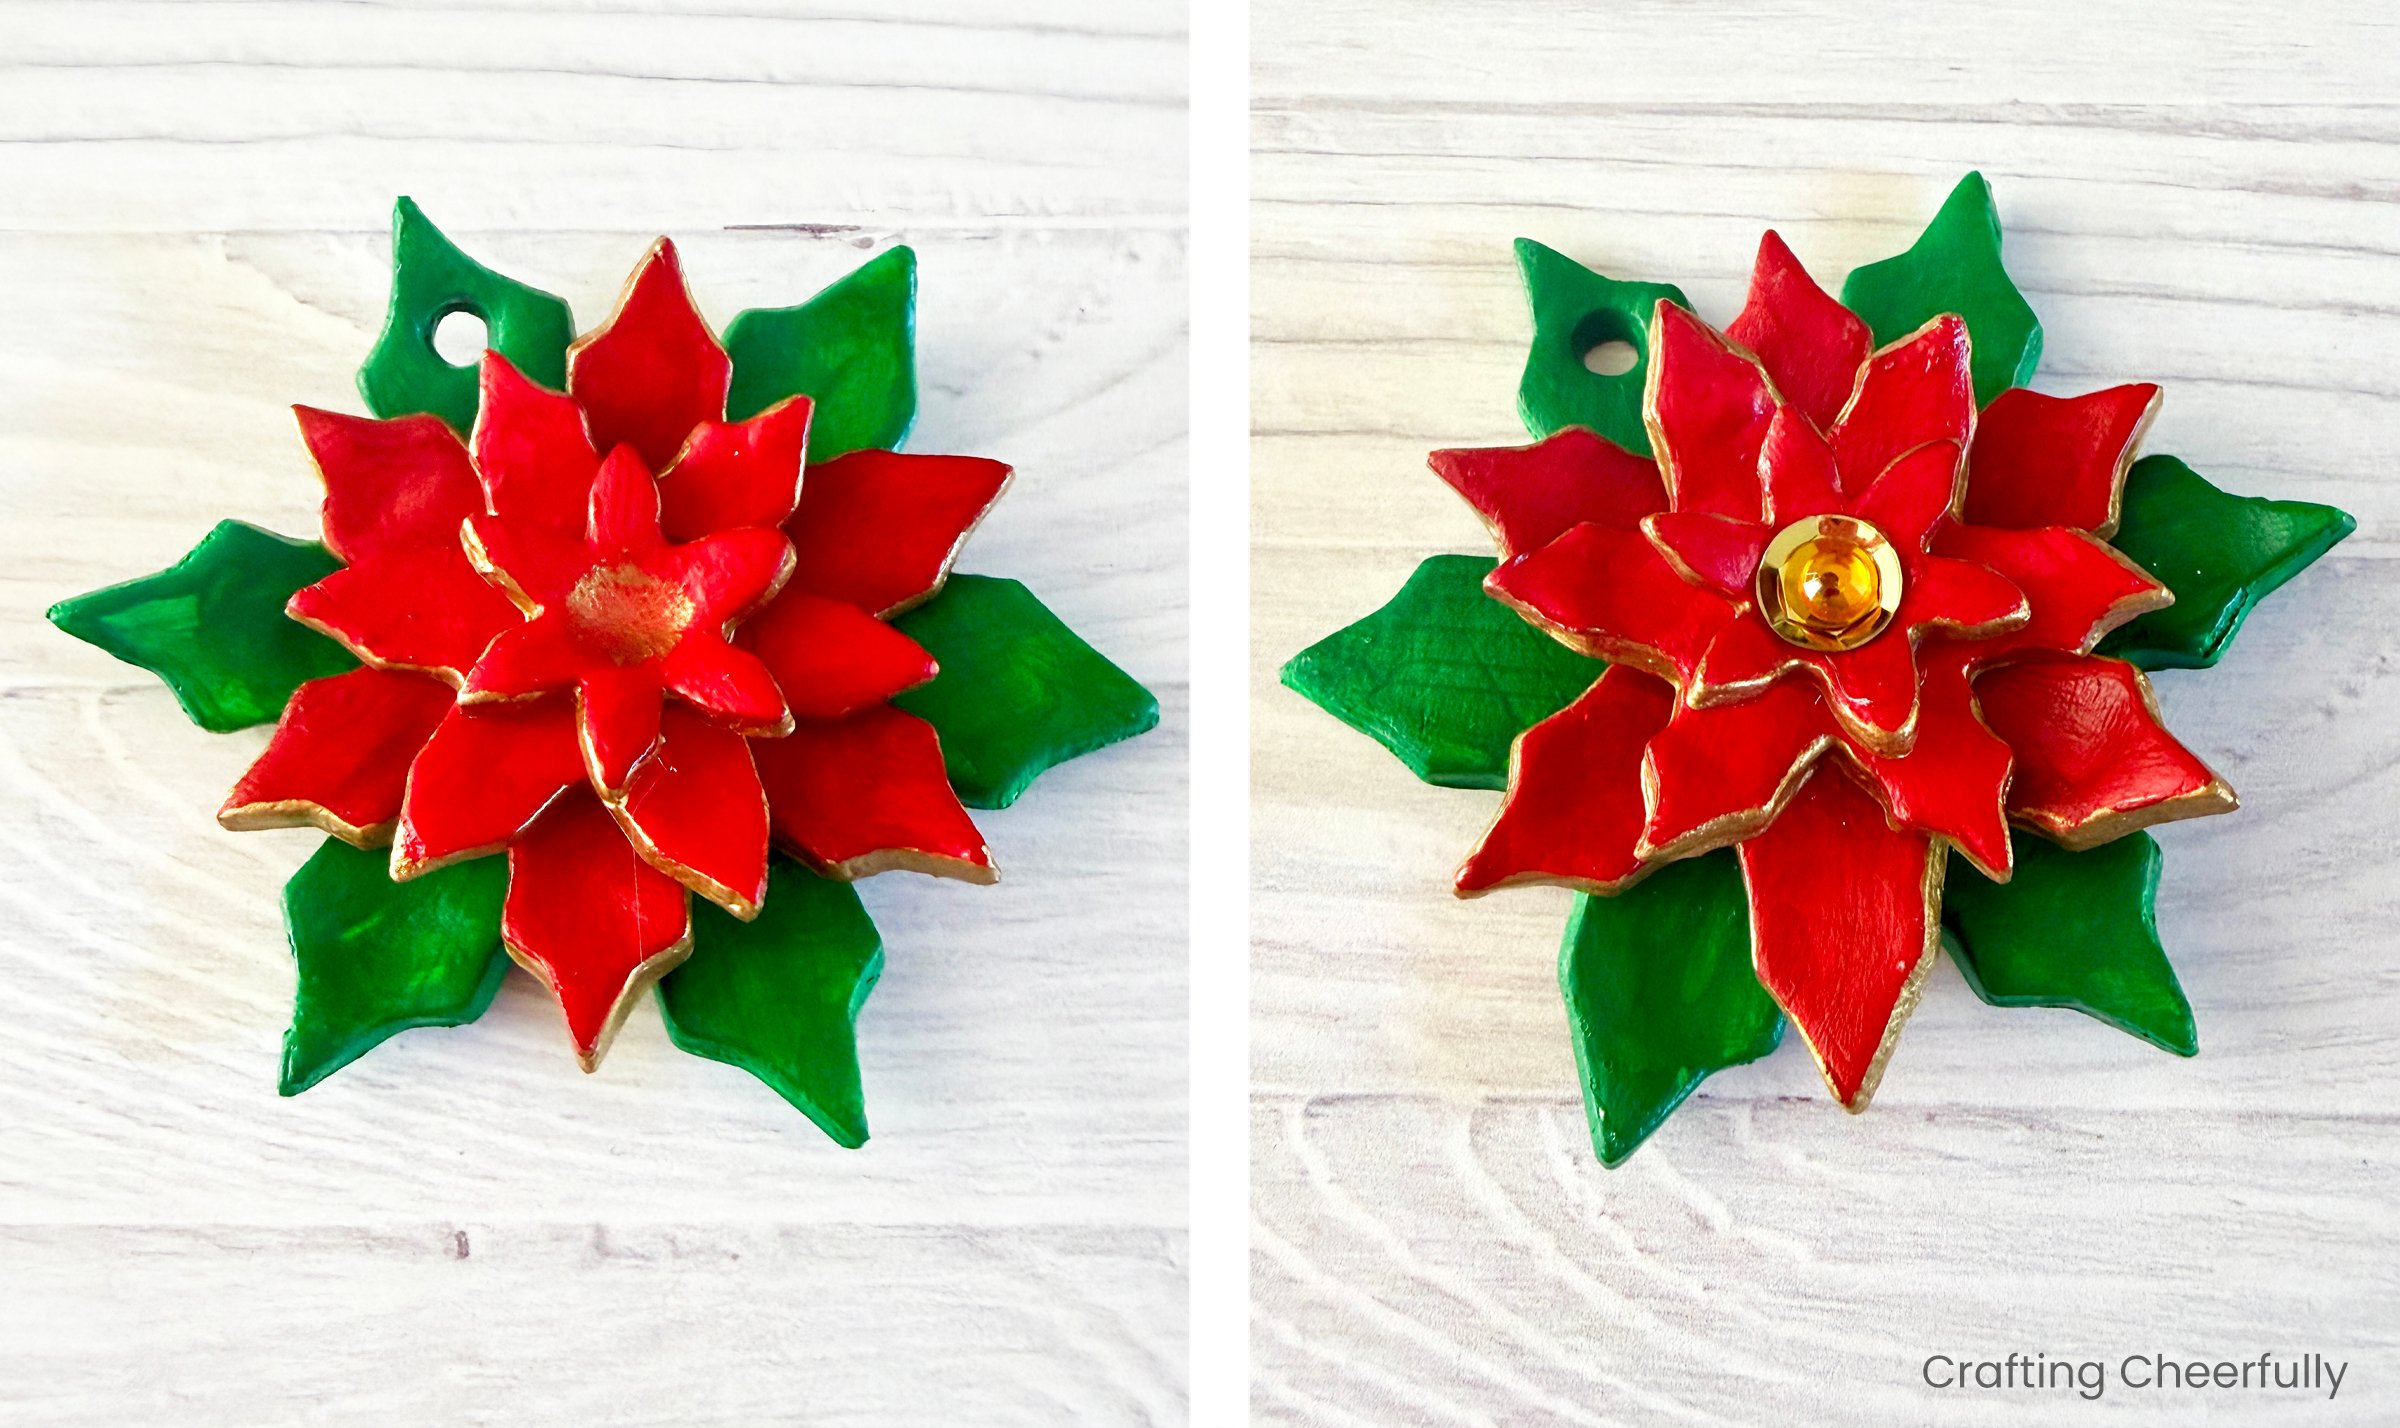
Step Five: The last step is to add a hanging loop to the ornament using gold ribbon, yarn, string or twine.
The ornaments are finished! I love how they turned out. Because we layered four shapes together they are a little heavier than something made from fabric, but not as heavy as some of my other ornaments that are ceramic or metal.
I hope you enjoyed this fun ornament tutorial! In this series, I’ll be sharing five more ornament tutorials so if making handmade ornaments are your jam, be sure to follow along! You can also check my collection of DIY Ornaments for even more fun ornament craft ideas!