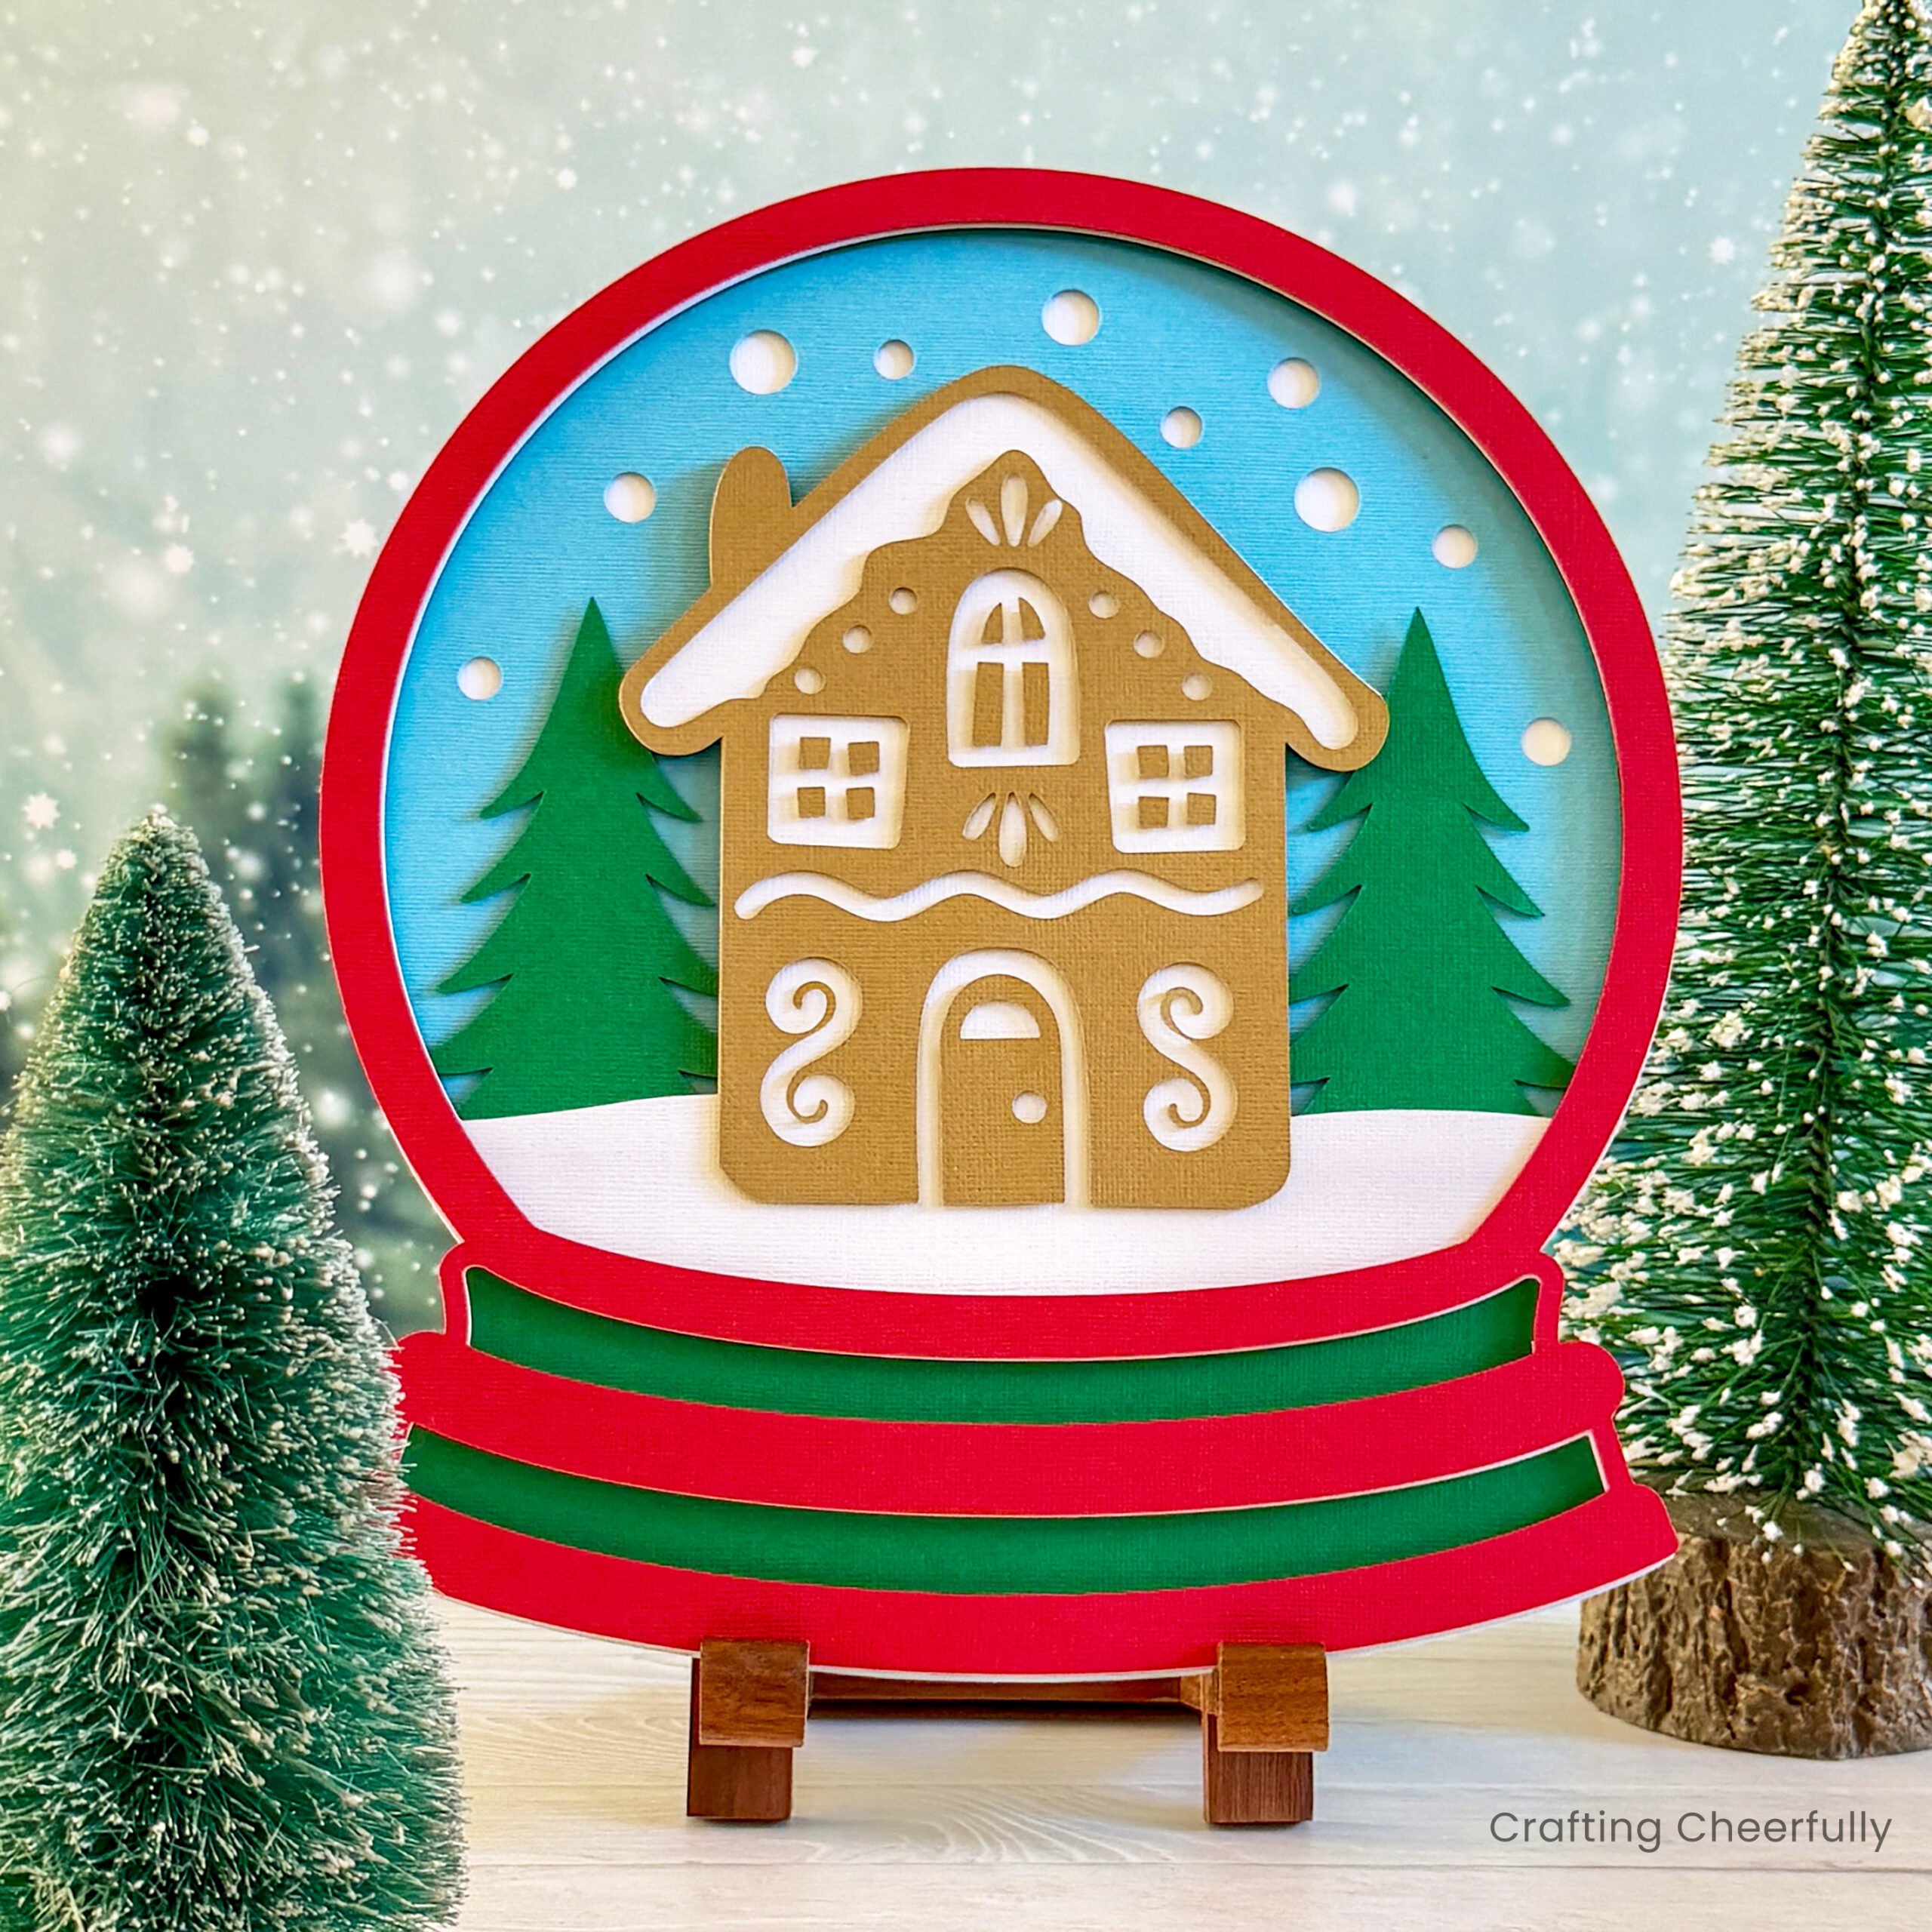
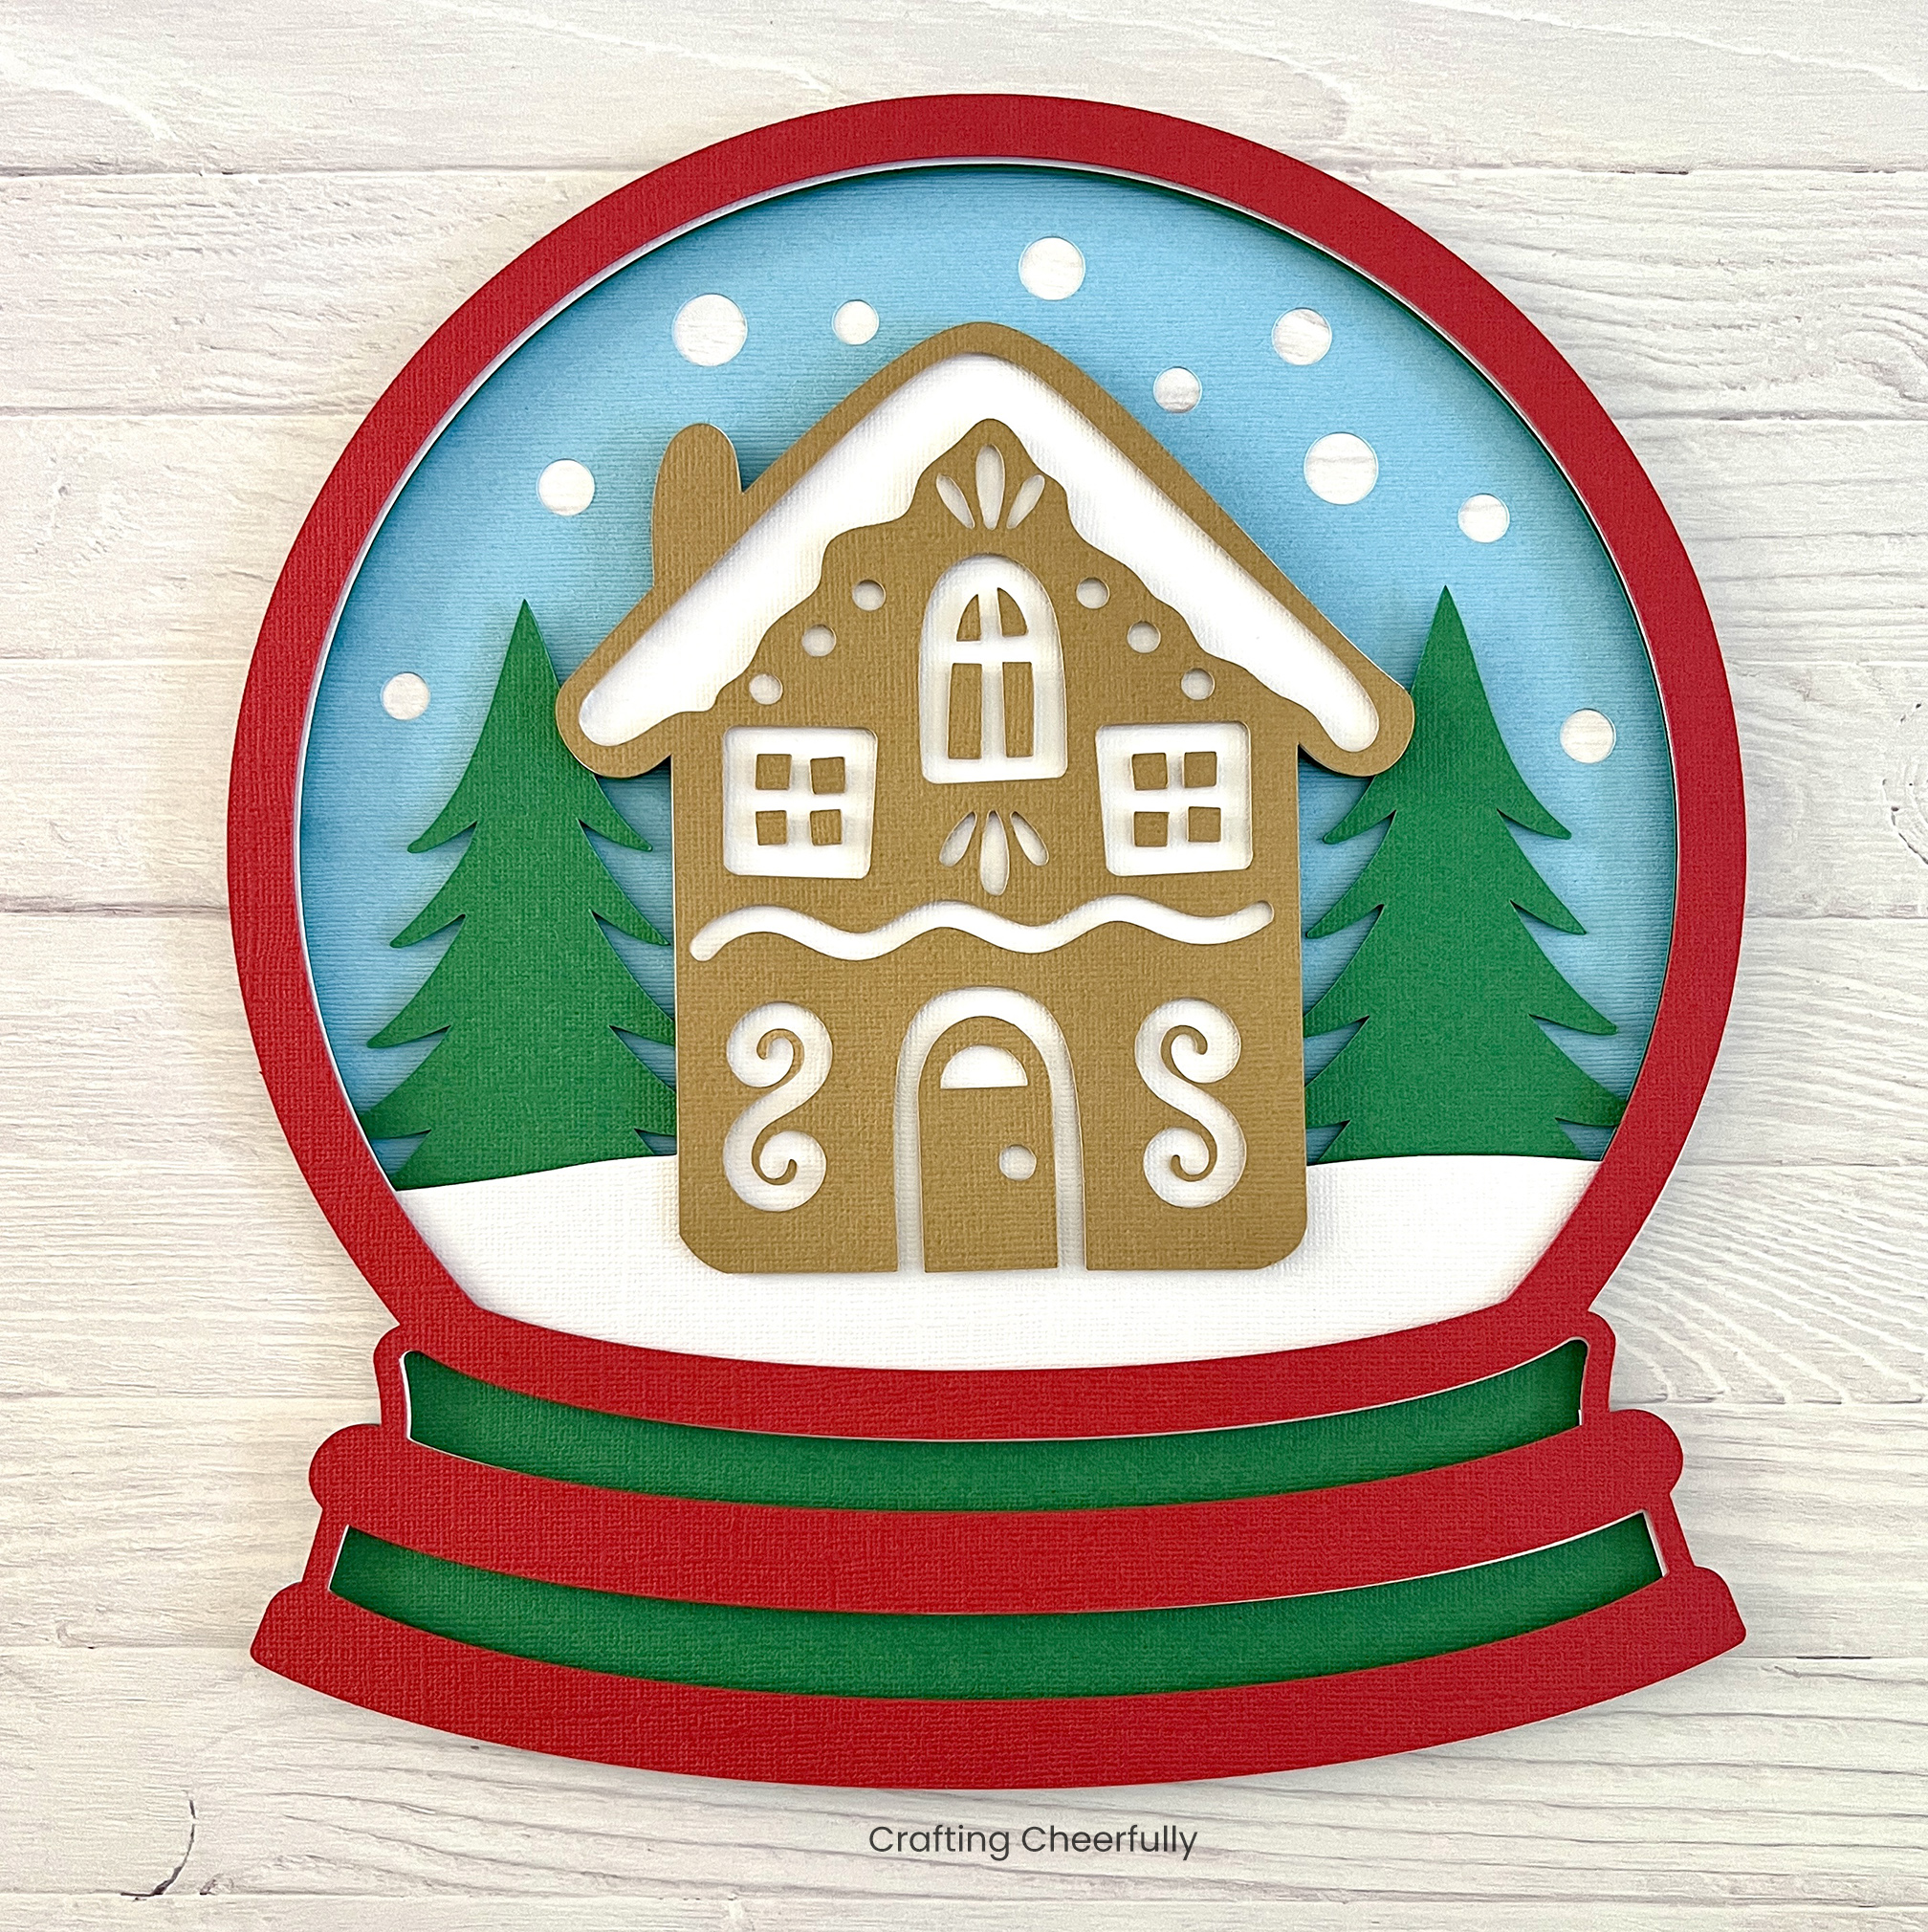
Layered Paper Snow Globe
Use cardstock and foam dots to create a layered paper snow globe. This festive winter scene is perfect for the holidays and a fun craft to make with your Cricut cutting machine!

Hello Crafty Friends! It’s the second day of my series “12 Days of Holiday Crafts” and today I’m sharing one of my favorite paper crafts to make – a layered paper project! I have made several layered paper projects in the past but this snow globe is my new favorite! It’s so festive and a fun decoration to display this holiday season.
I love layered paper crafts because they only take a few supplies – paper and foam dots! The end result is a beautiful, dimensional piece of art for Christmas. I like to display my layered paper crafts in easels, but they can also be hung on the wall. If you love making layered paper crafts, also be sure to check out my Layered Paper Ornament frame which has a spot for a picture.
Choosing the Paper
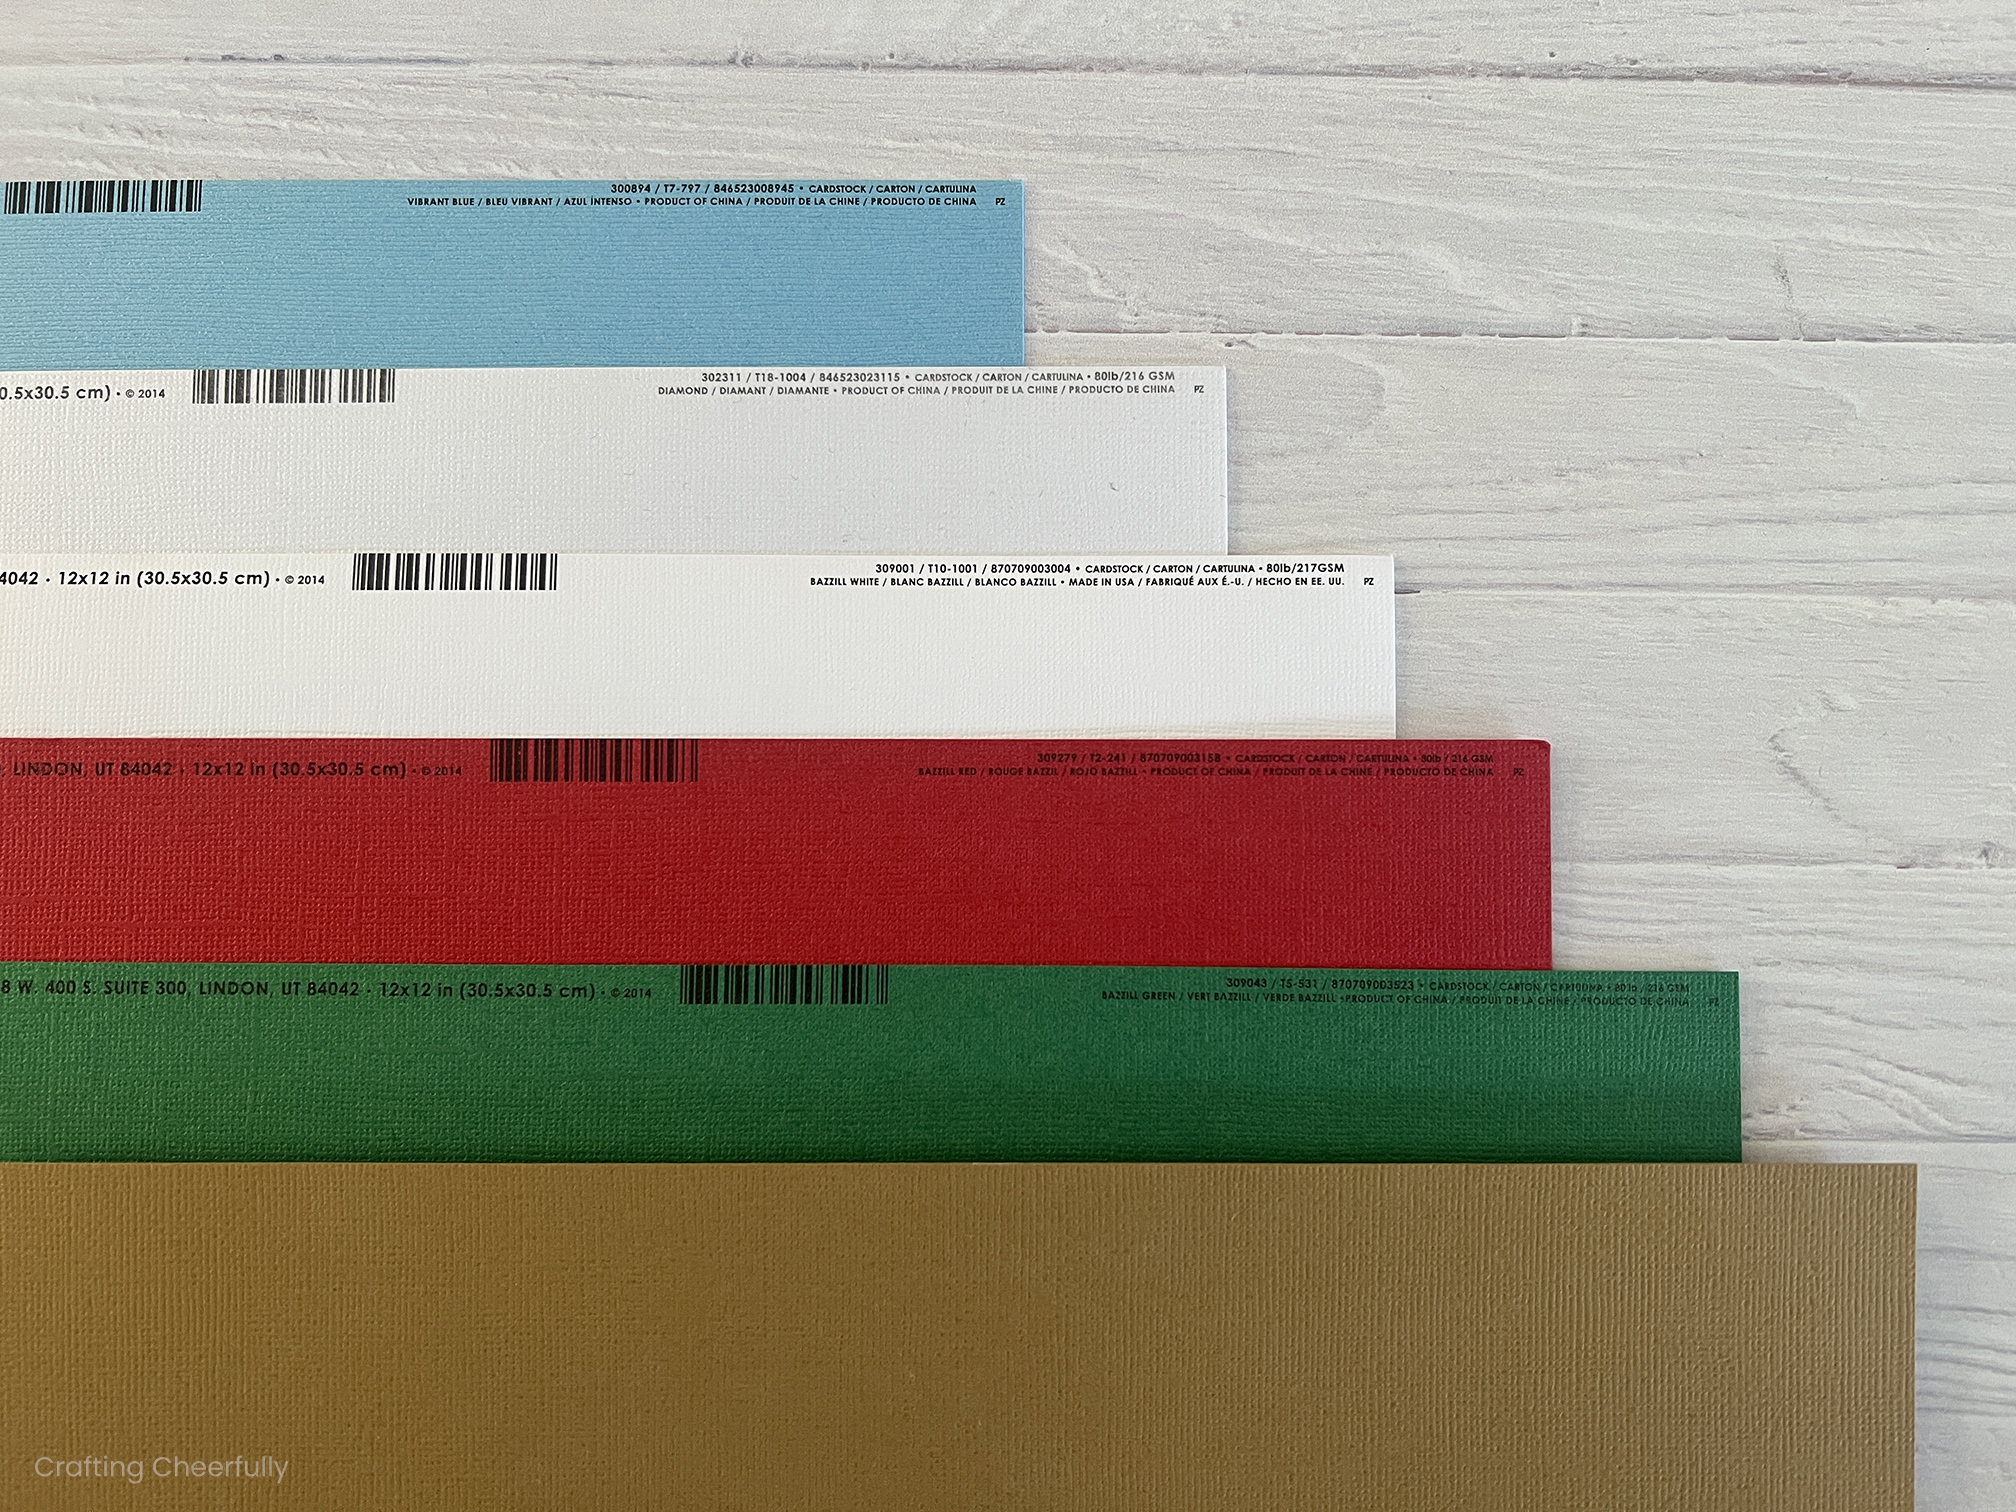
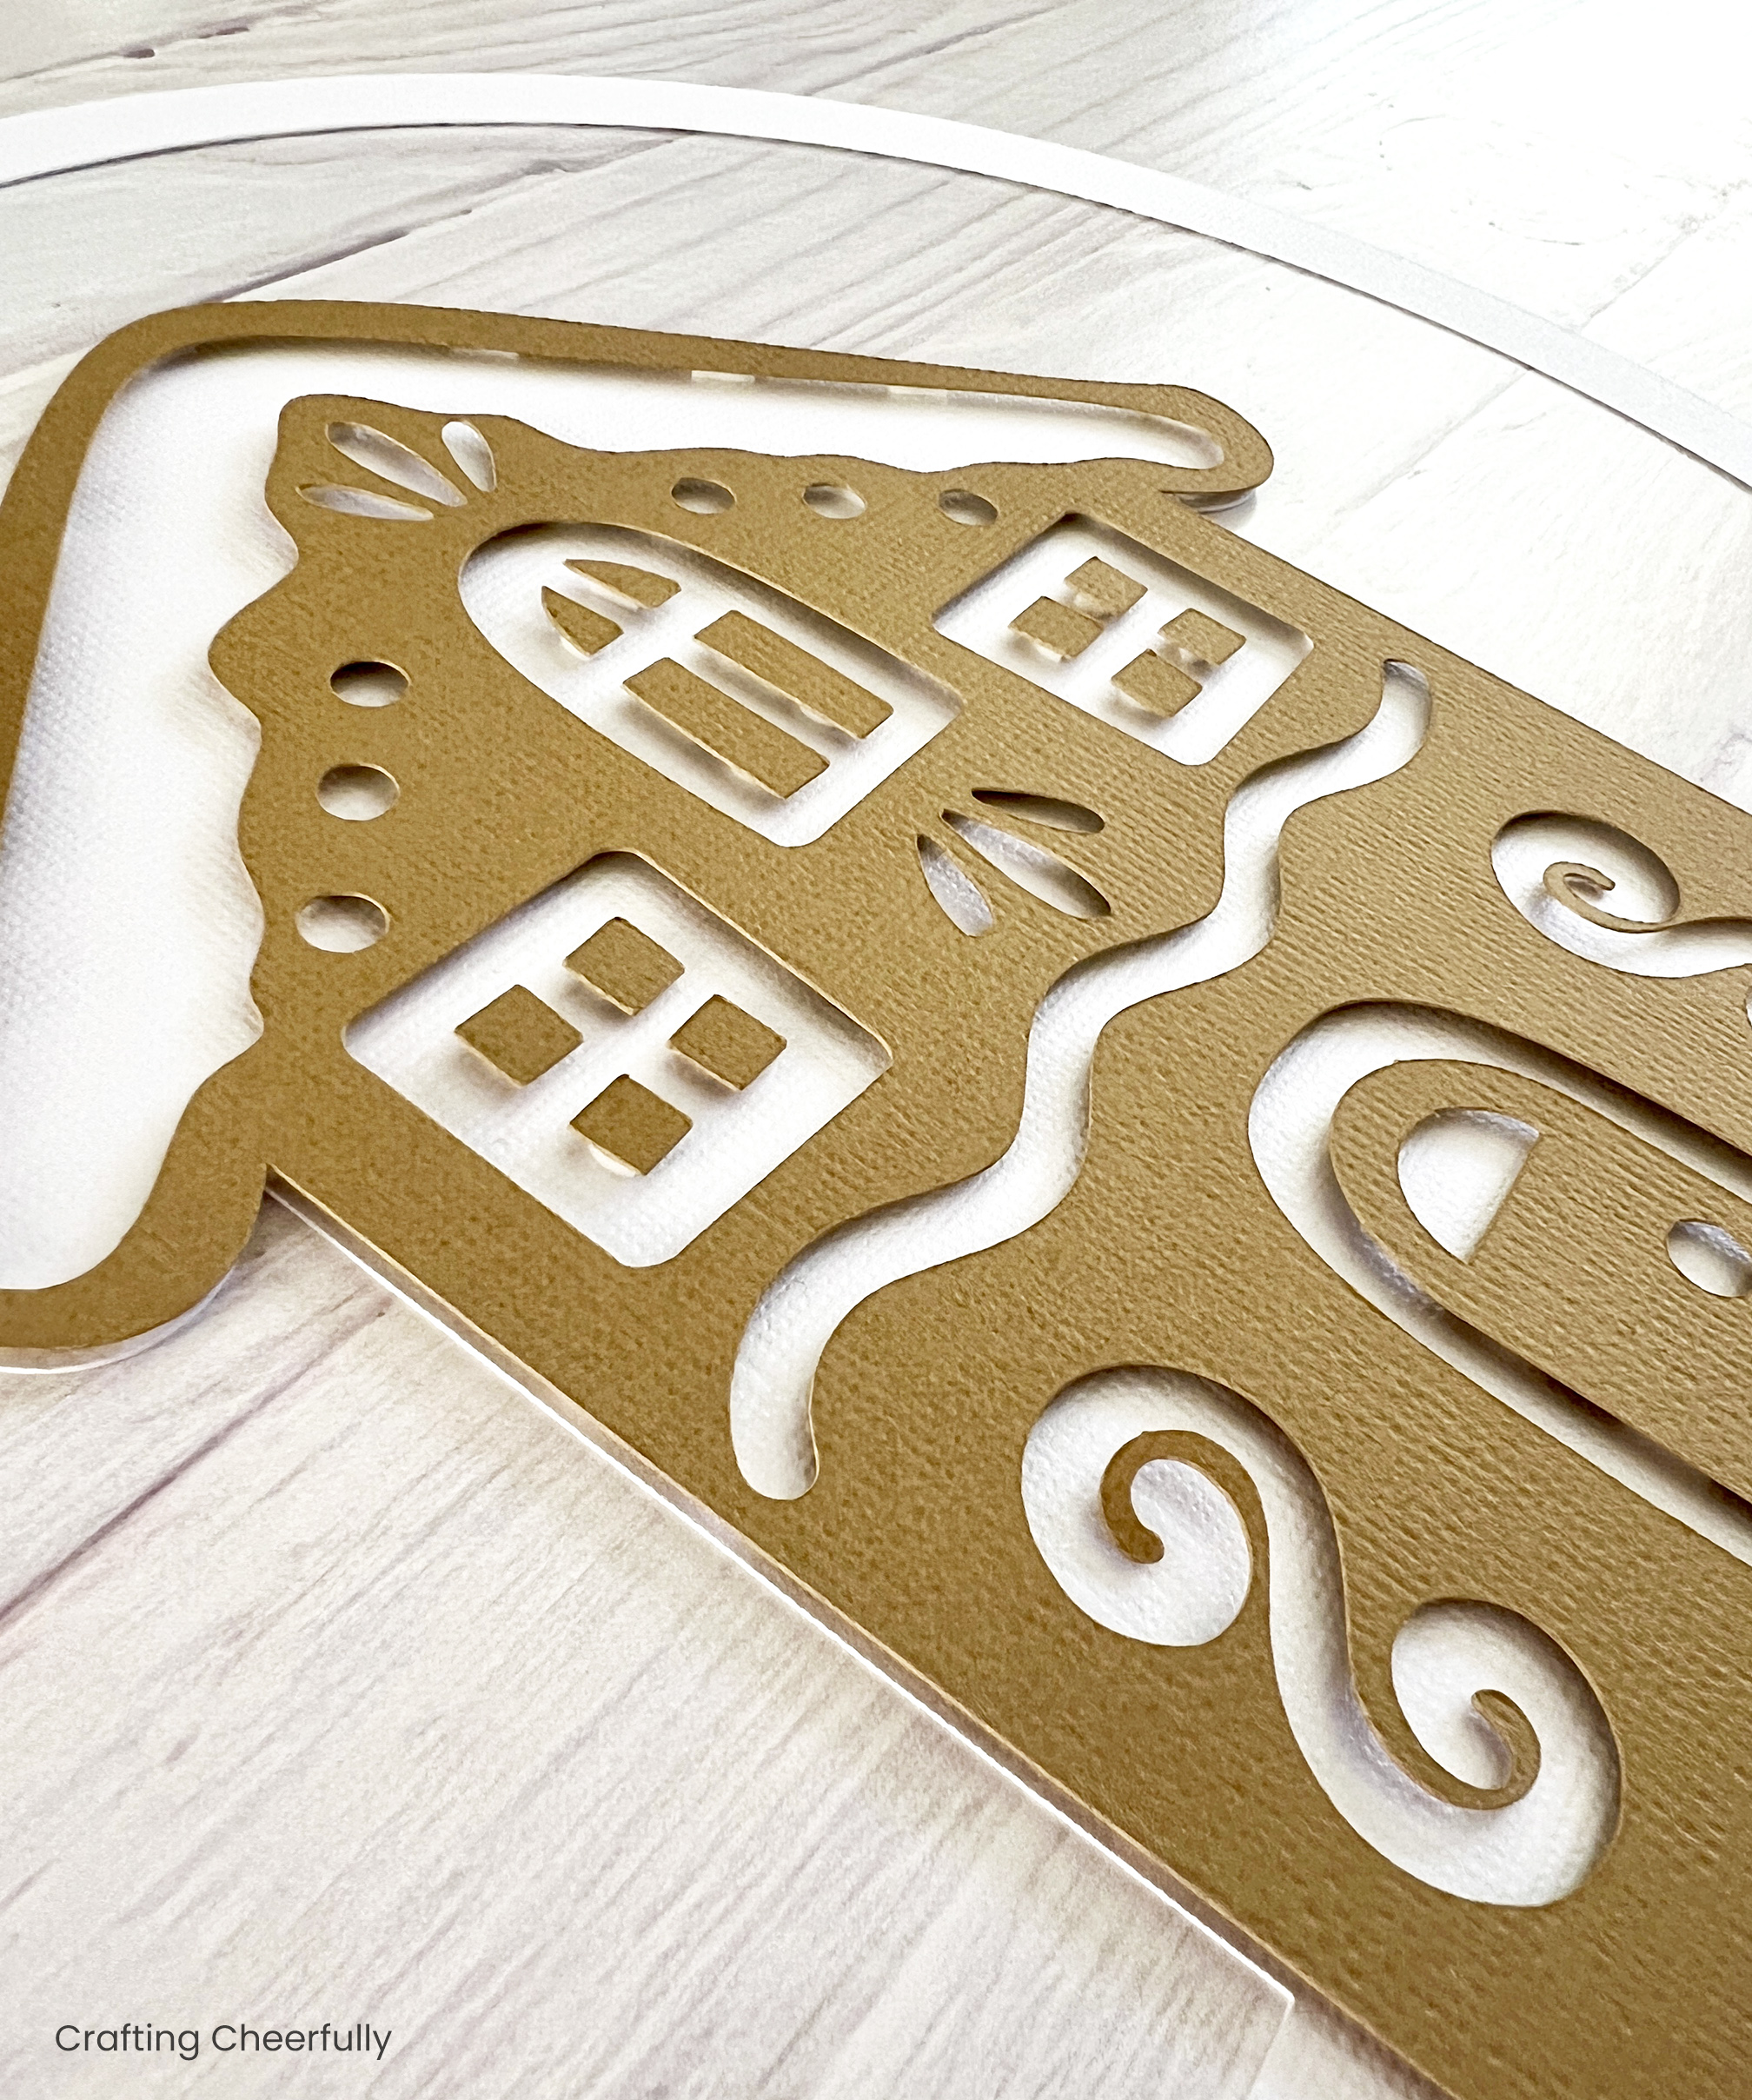
For my layered paper projects, I like to choose a sturdy cardstock that is also solid core. Solid core means the paper is the same color on the outside as it is on the inside. White core, or printed cardstock, is paper that is colored on just the front and back and the inside is white. I find with the intricate cuts of the layered paper design, that solid core cardstock gives a more polished look and there is no white visible that may distract from the design.
I used Bazzill textured cardstock that is 80lb for five of the six layers and used an American Crafts textured cardstock, that is also 80lb, for the gold layer. This sturdier weight cardstock will hold up better. If you plan to display the snow globe in an easel, I recommend using a layer of chipboard on the back of the snow globe to give the design even more structure and to keep it from flopping over in an easel.
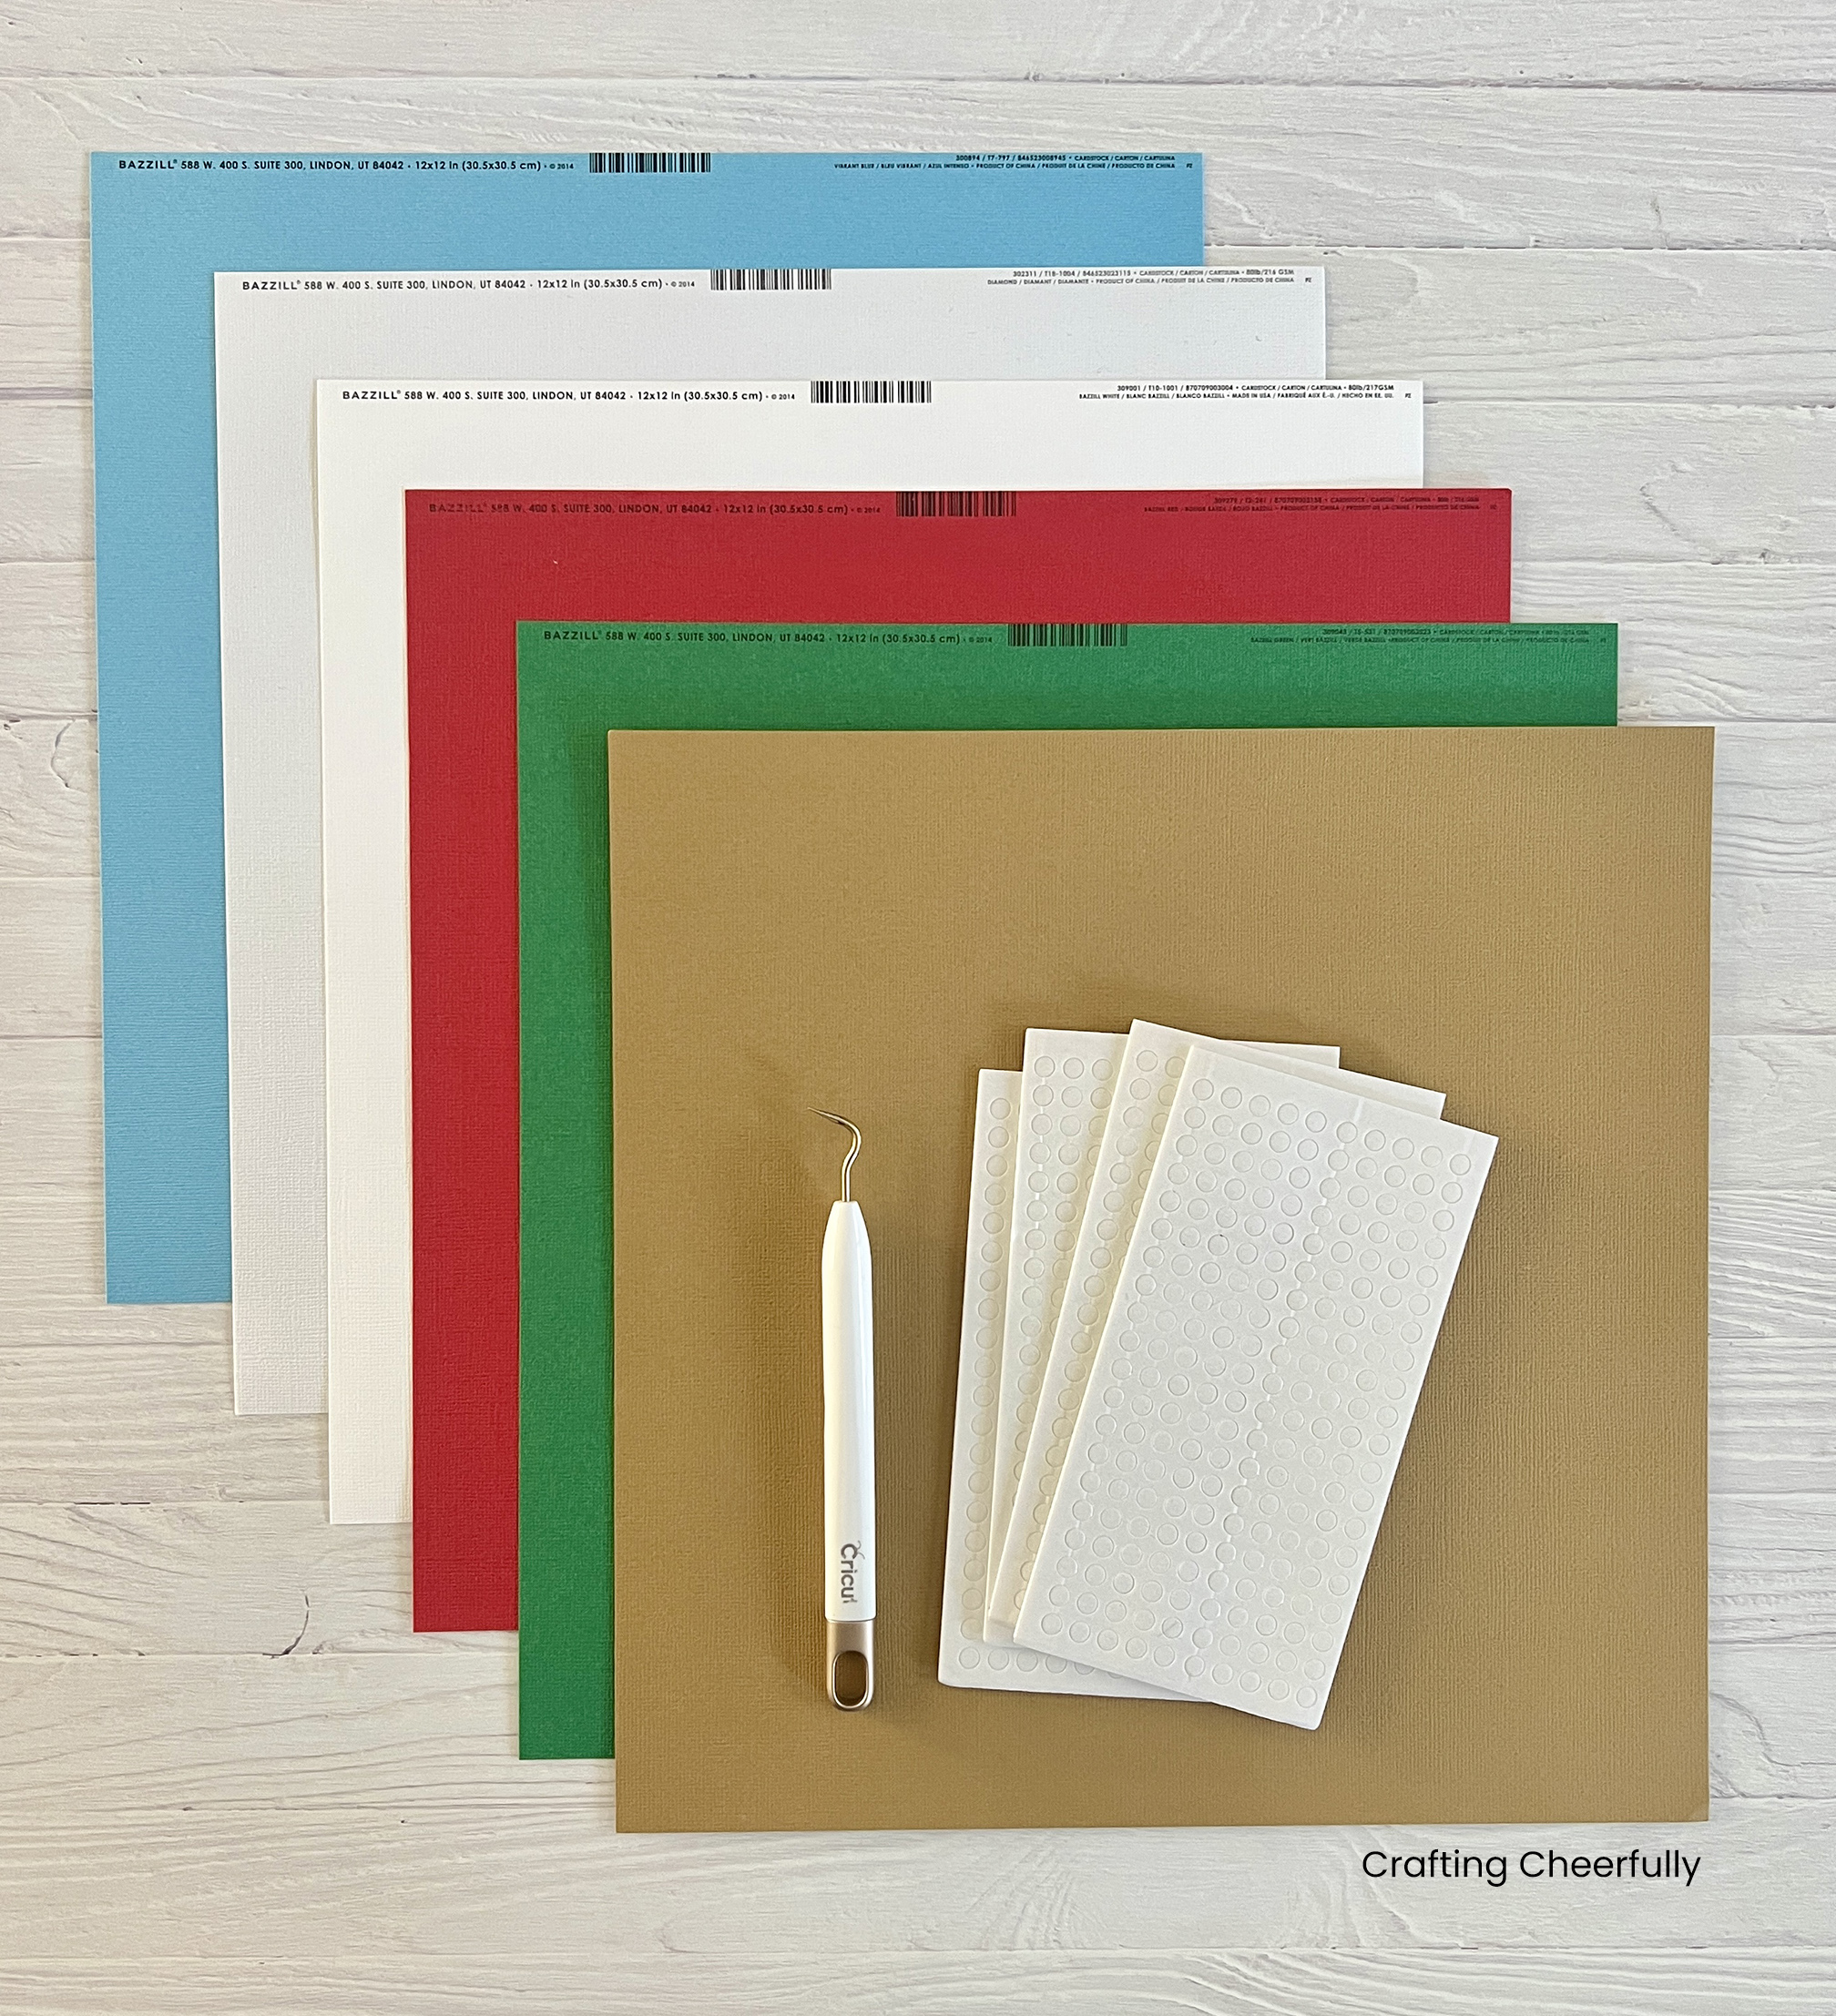
Supplies Needed:
- Cricut Design Space File
- Cardstock – I used Bazzill 80lb paper in Bazzill Green, Bazzill Red, Bazzill White, Diamond (for the snow) and Vibrant Blue. Plus a sheet of gold cardstock from American Crafts.
- Chipboard – I used Medium Weight 0.057 chipboard but my Explore was not able to cut all the way through it so I used a craft knife to finish cutting it.
- Foam Adhesive Dots
- Craft Glue
- Display stand
- Cricut Explore or Cricut Maker
- Cricut Tools
- Standard Cutting Mat
- Cricut Brayer
Preparing the File in Cricut Design Space
I designed this Holiday Snow Globe in Cricut Design Space. My snow globe measures 11.5″ tall by about 10.25″ wide. You can resize the snow globe or change the colors of the layers.
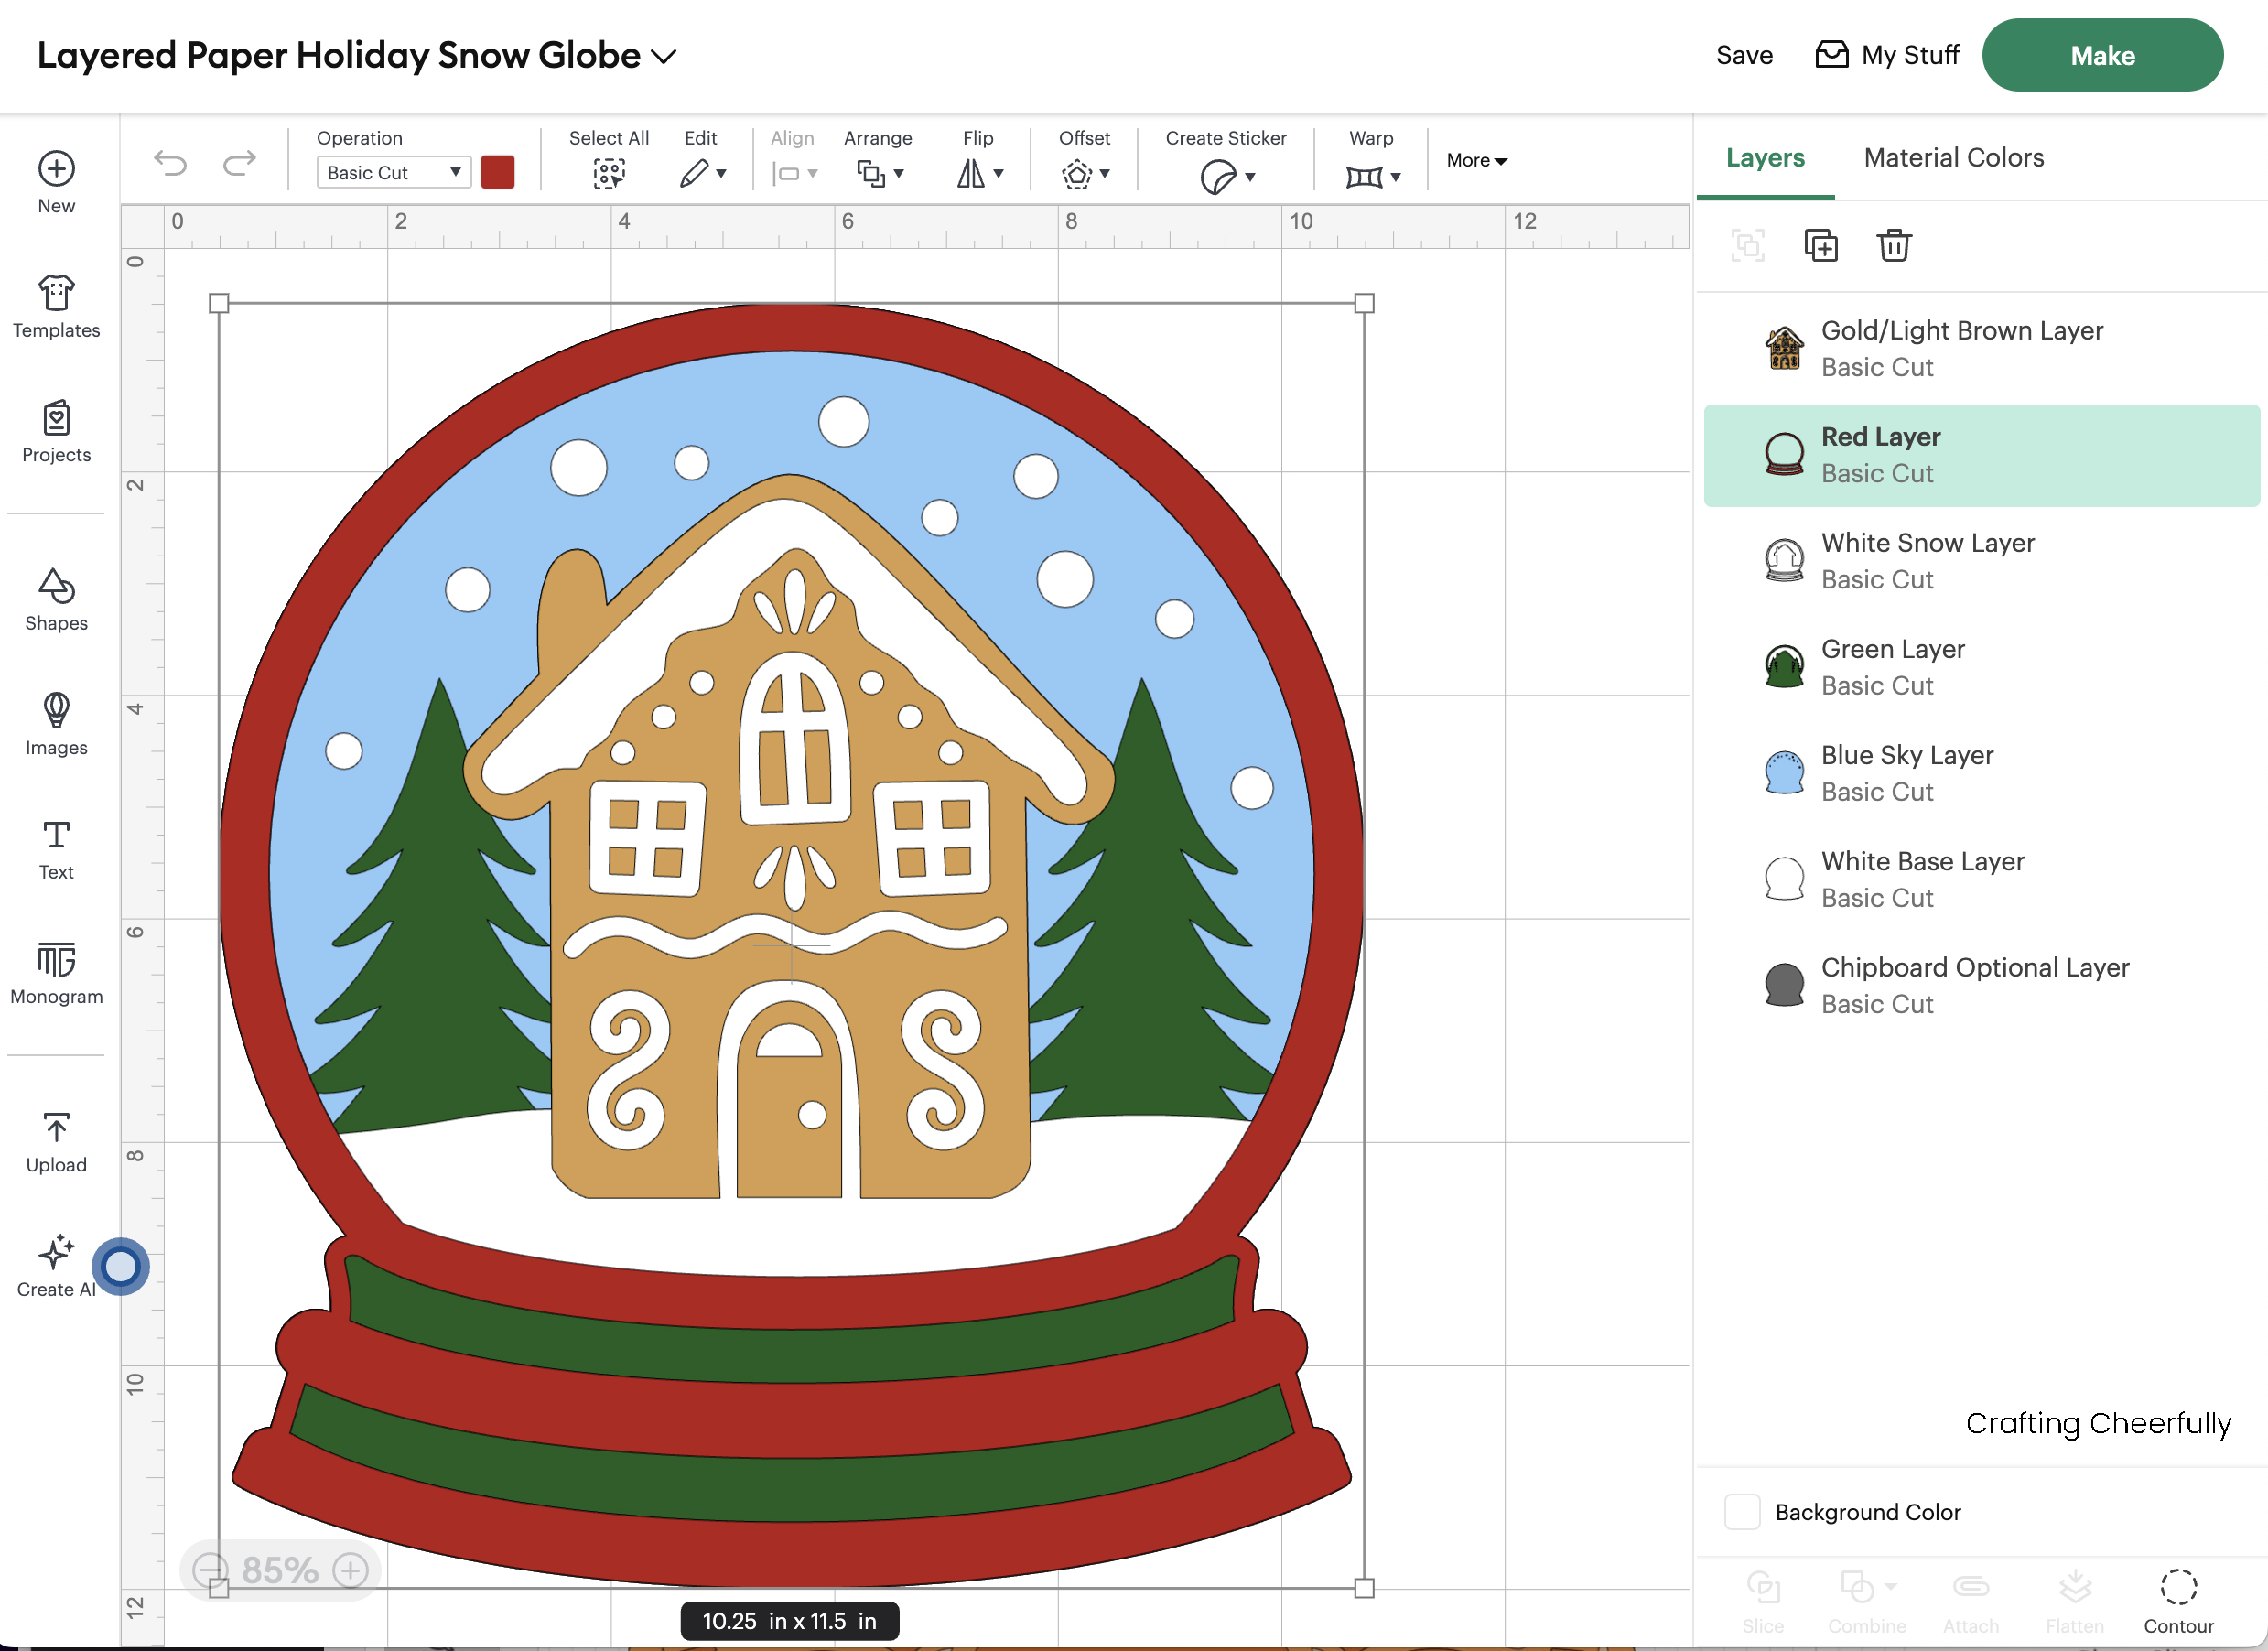
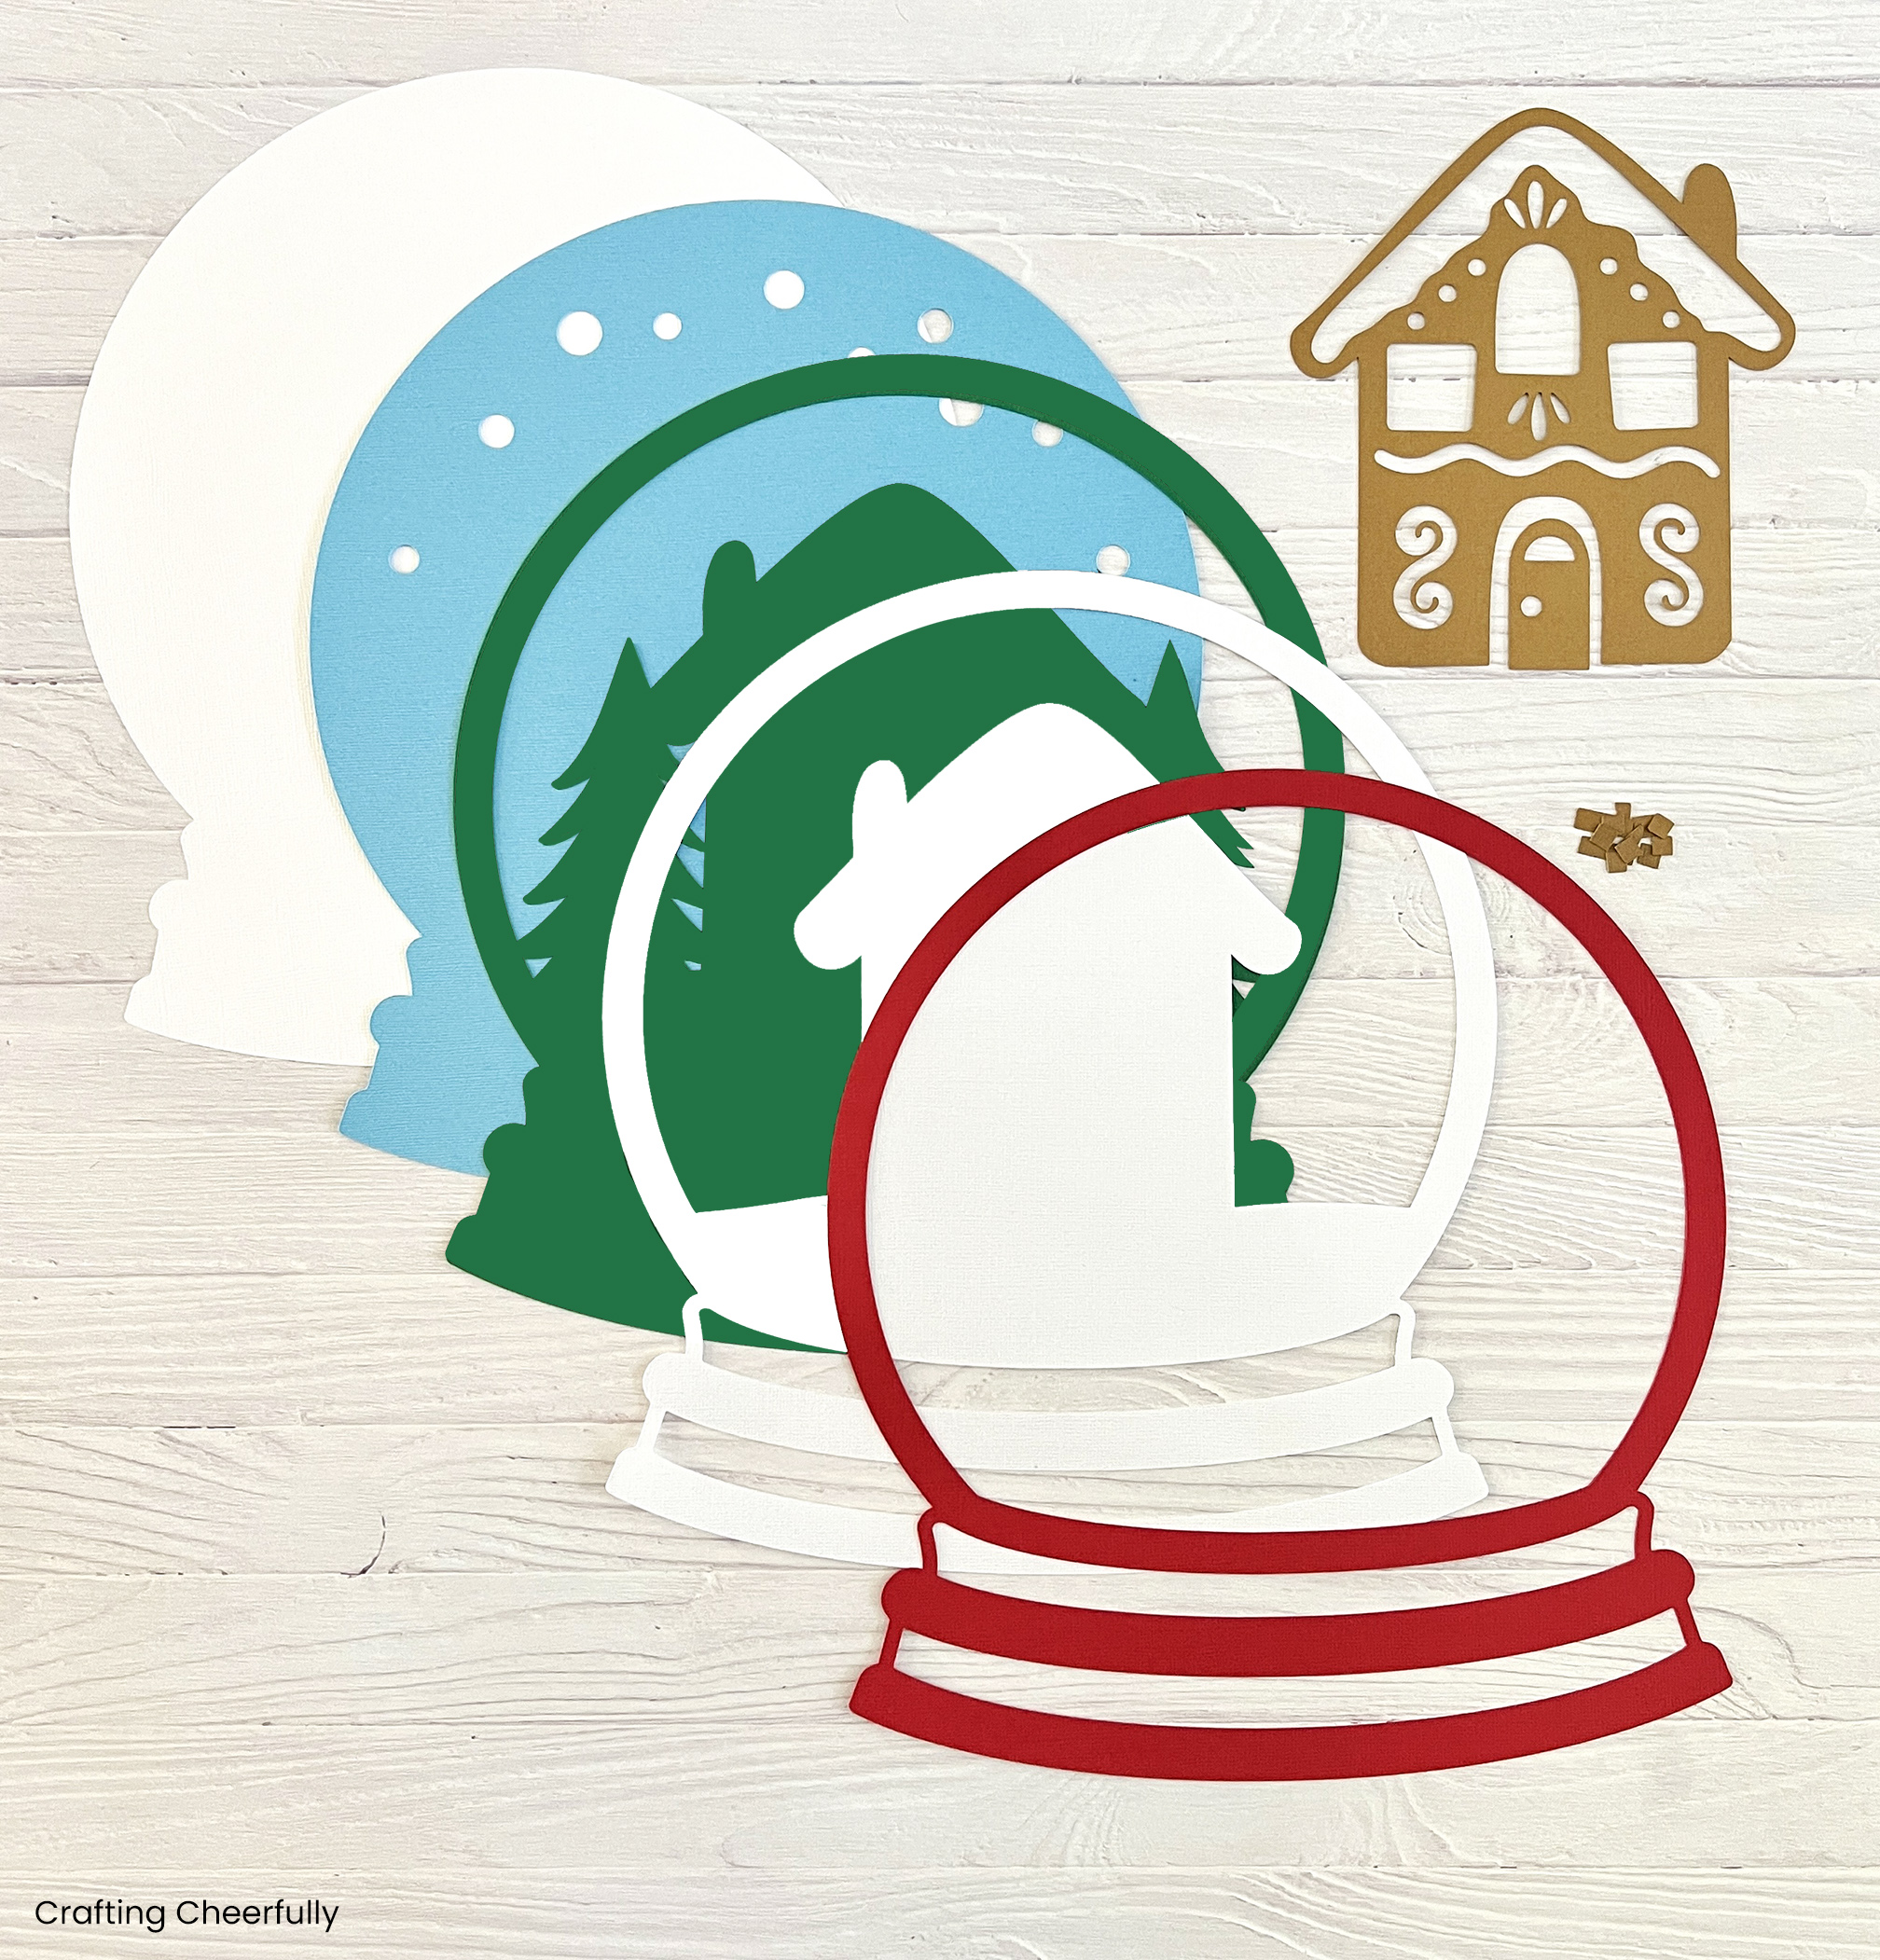
Once the file is ready, cut out all of the layers of paper using your machine. You can cut a chipboard layer to back the entire snow globe and add stability. Make sure to save the little cut-out pieces from the windows and door on the gingerbread house.
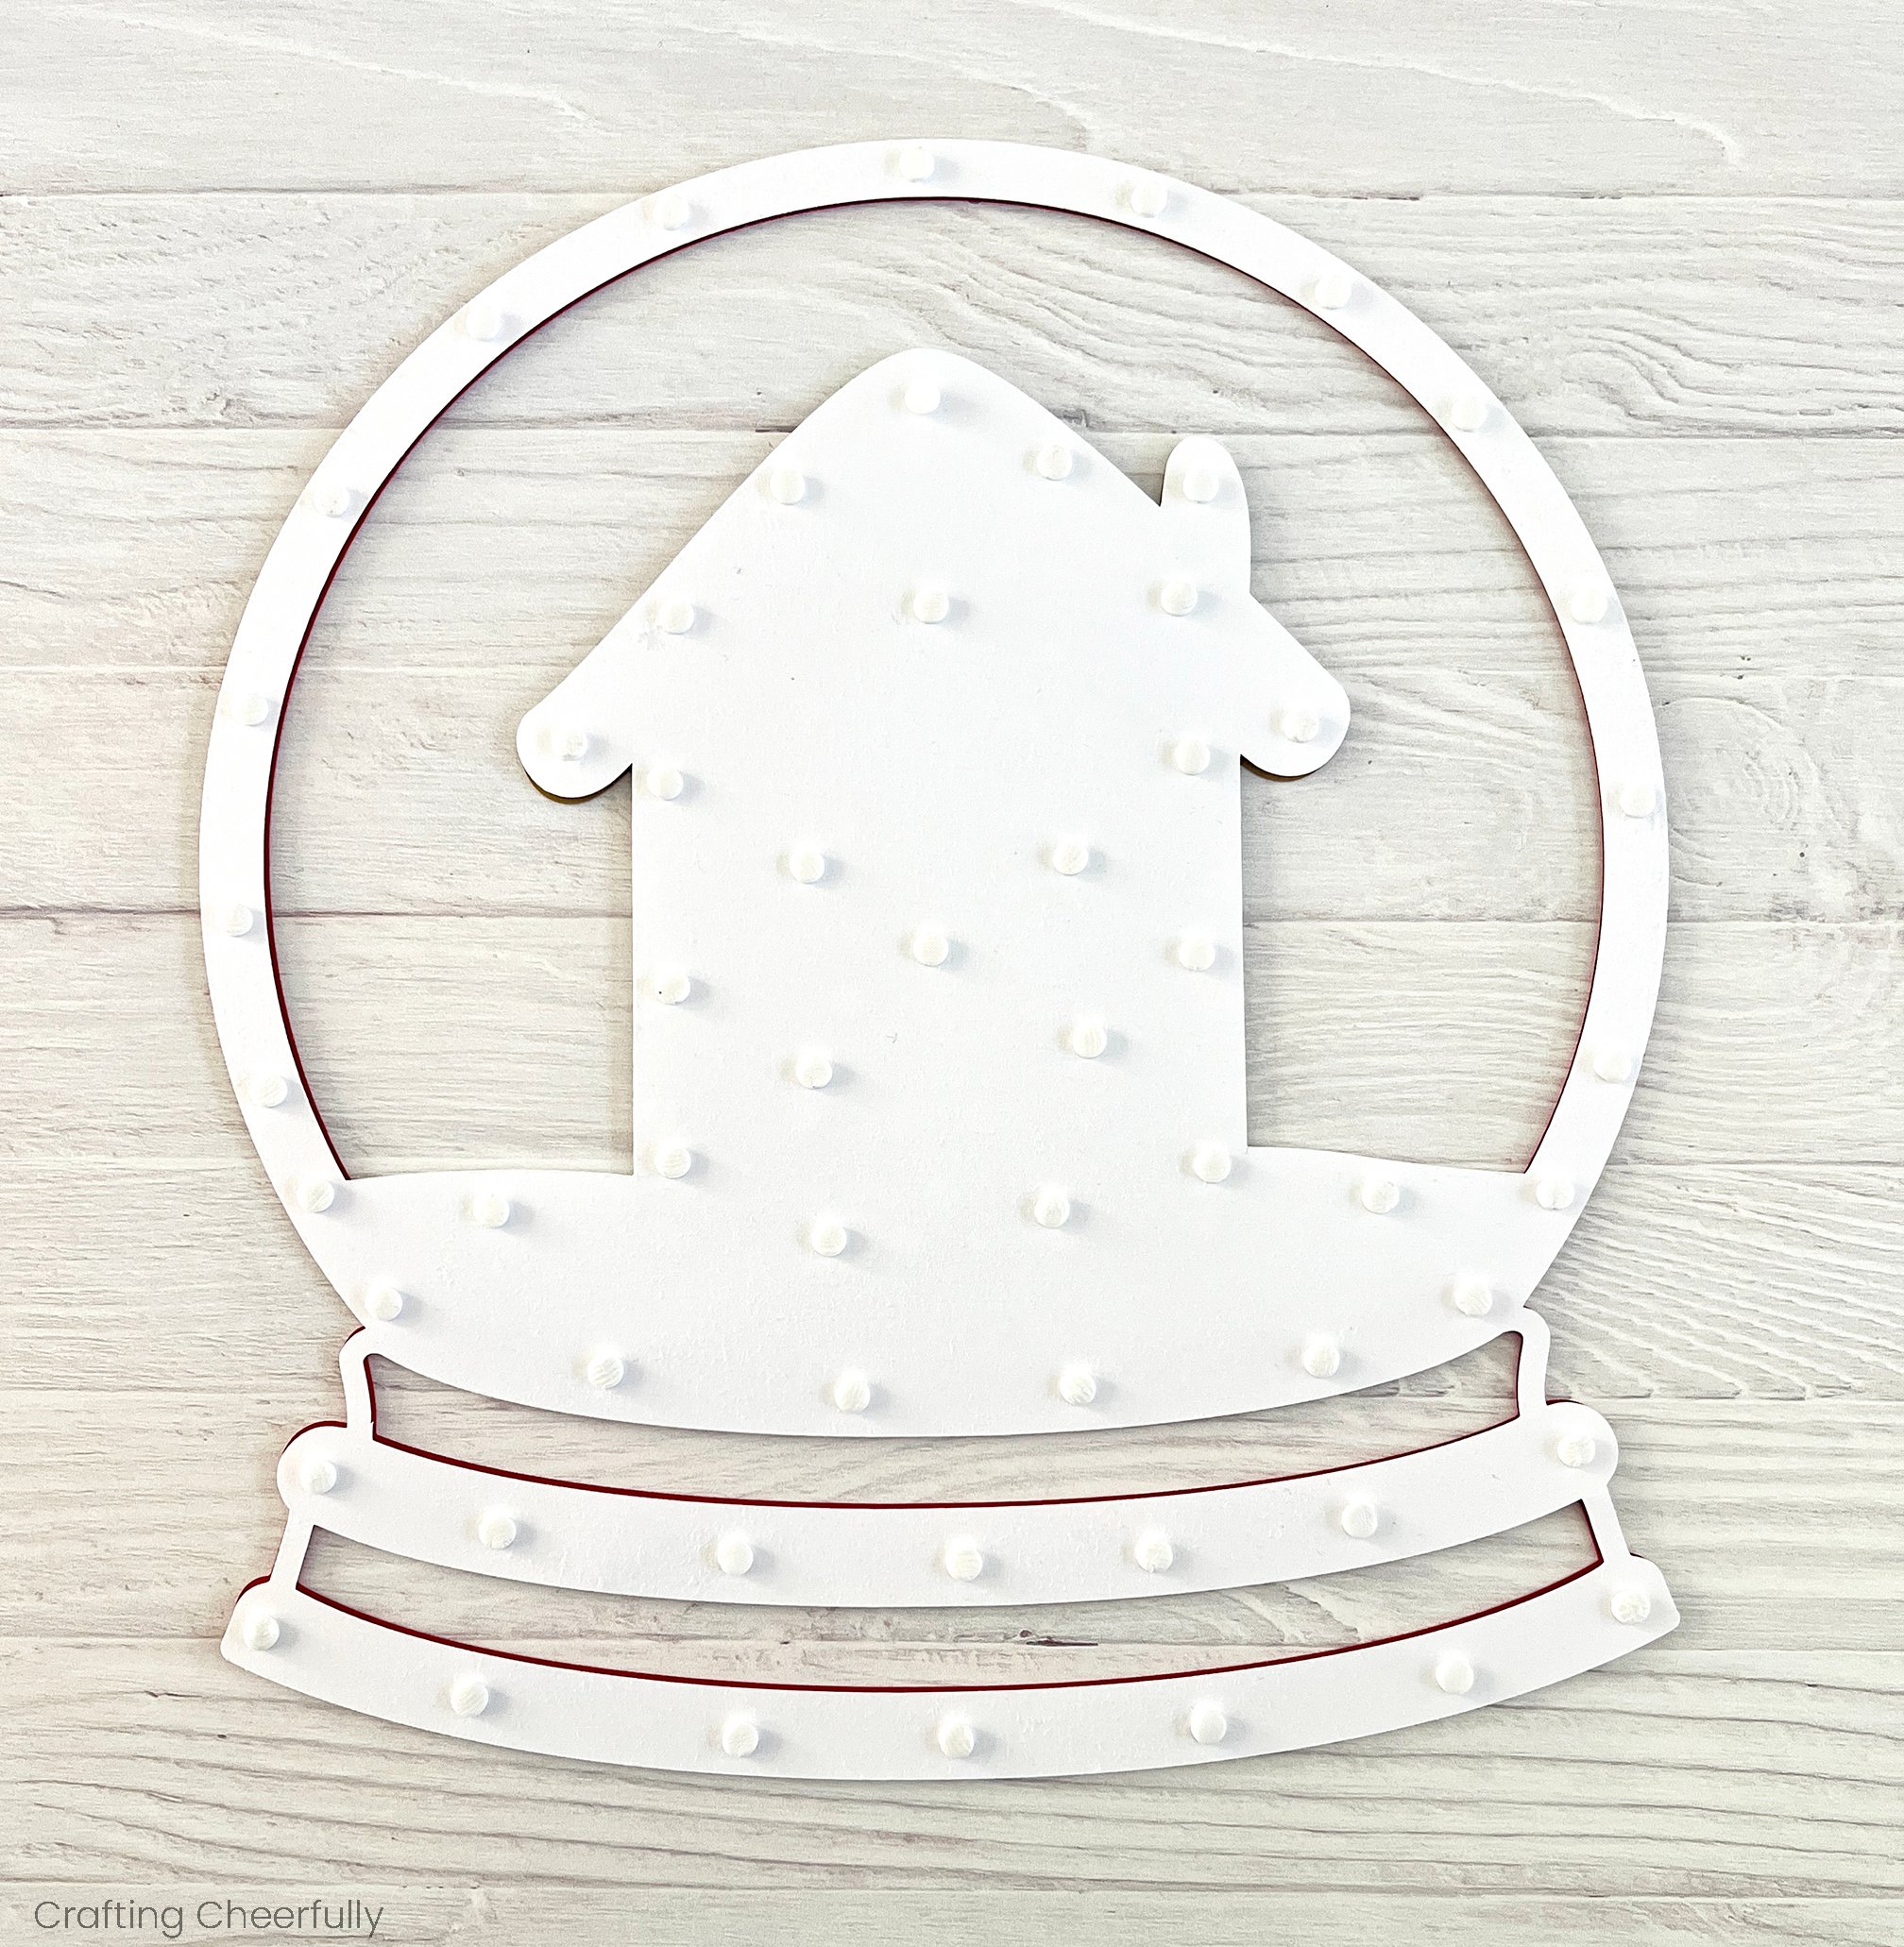
Preparing the Back of the Snow Globe
If you are using chipboard, which I recommend if you will be displaying the frame in an easel or on a stand, attach the bottom white layer of cardstock to the chipboard using craft glue.
Layering the Paper Snow Globe
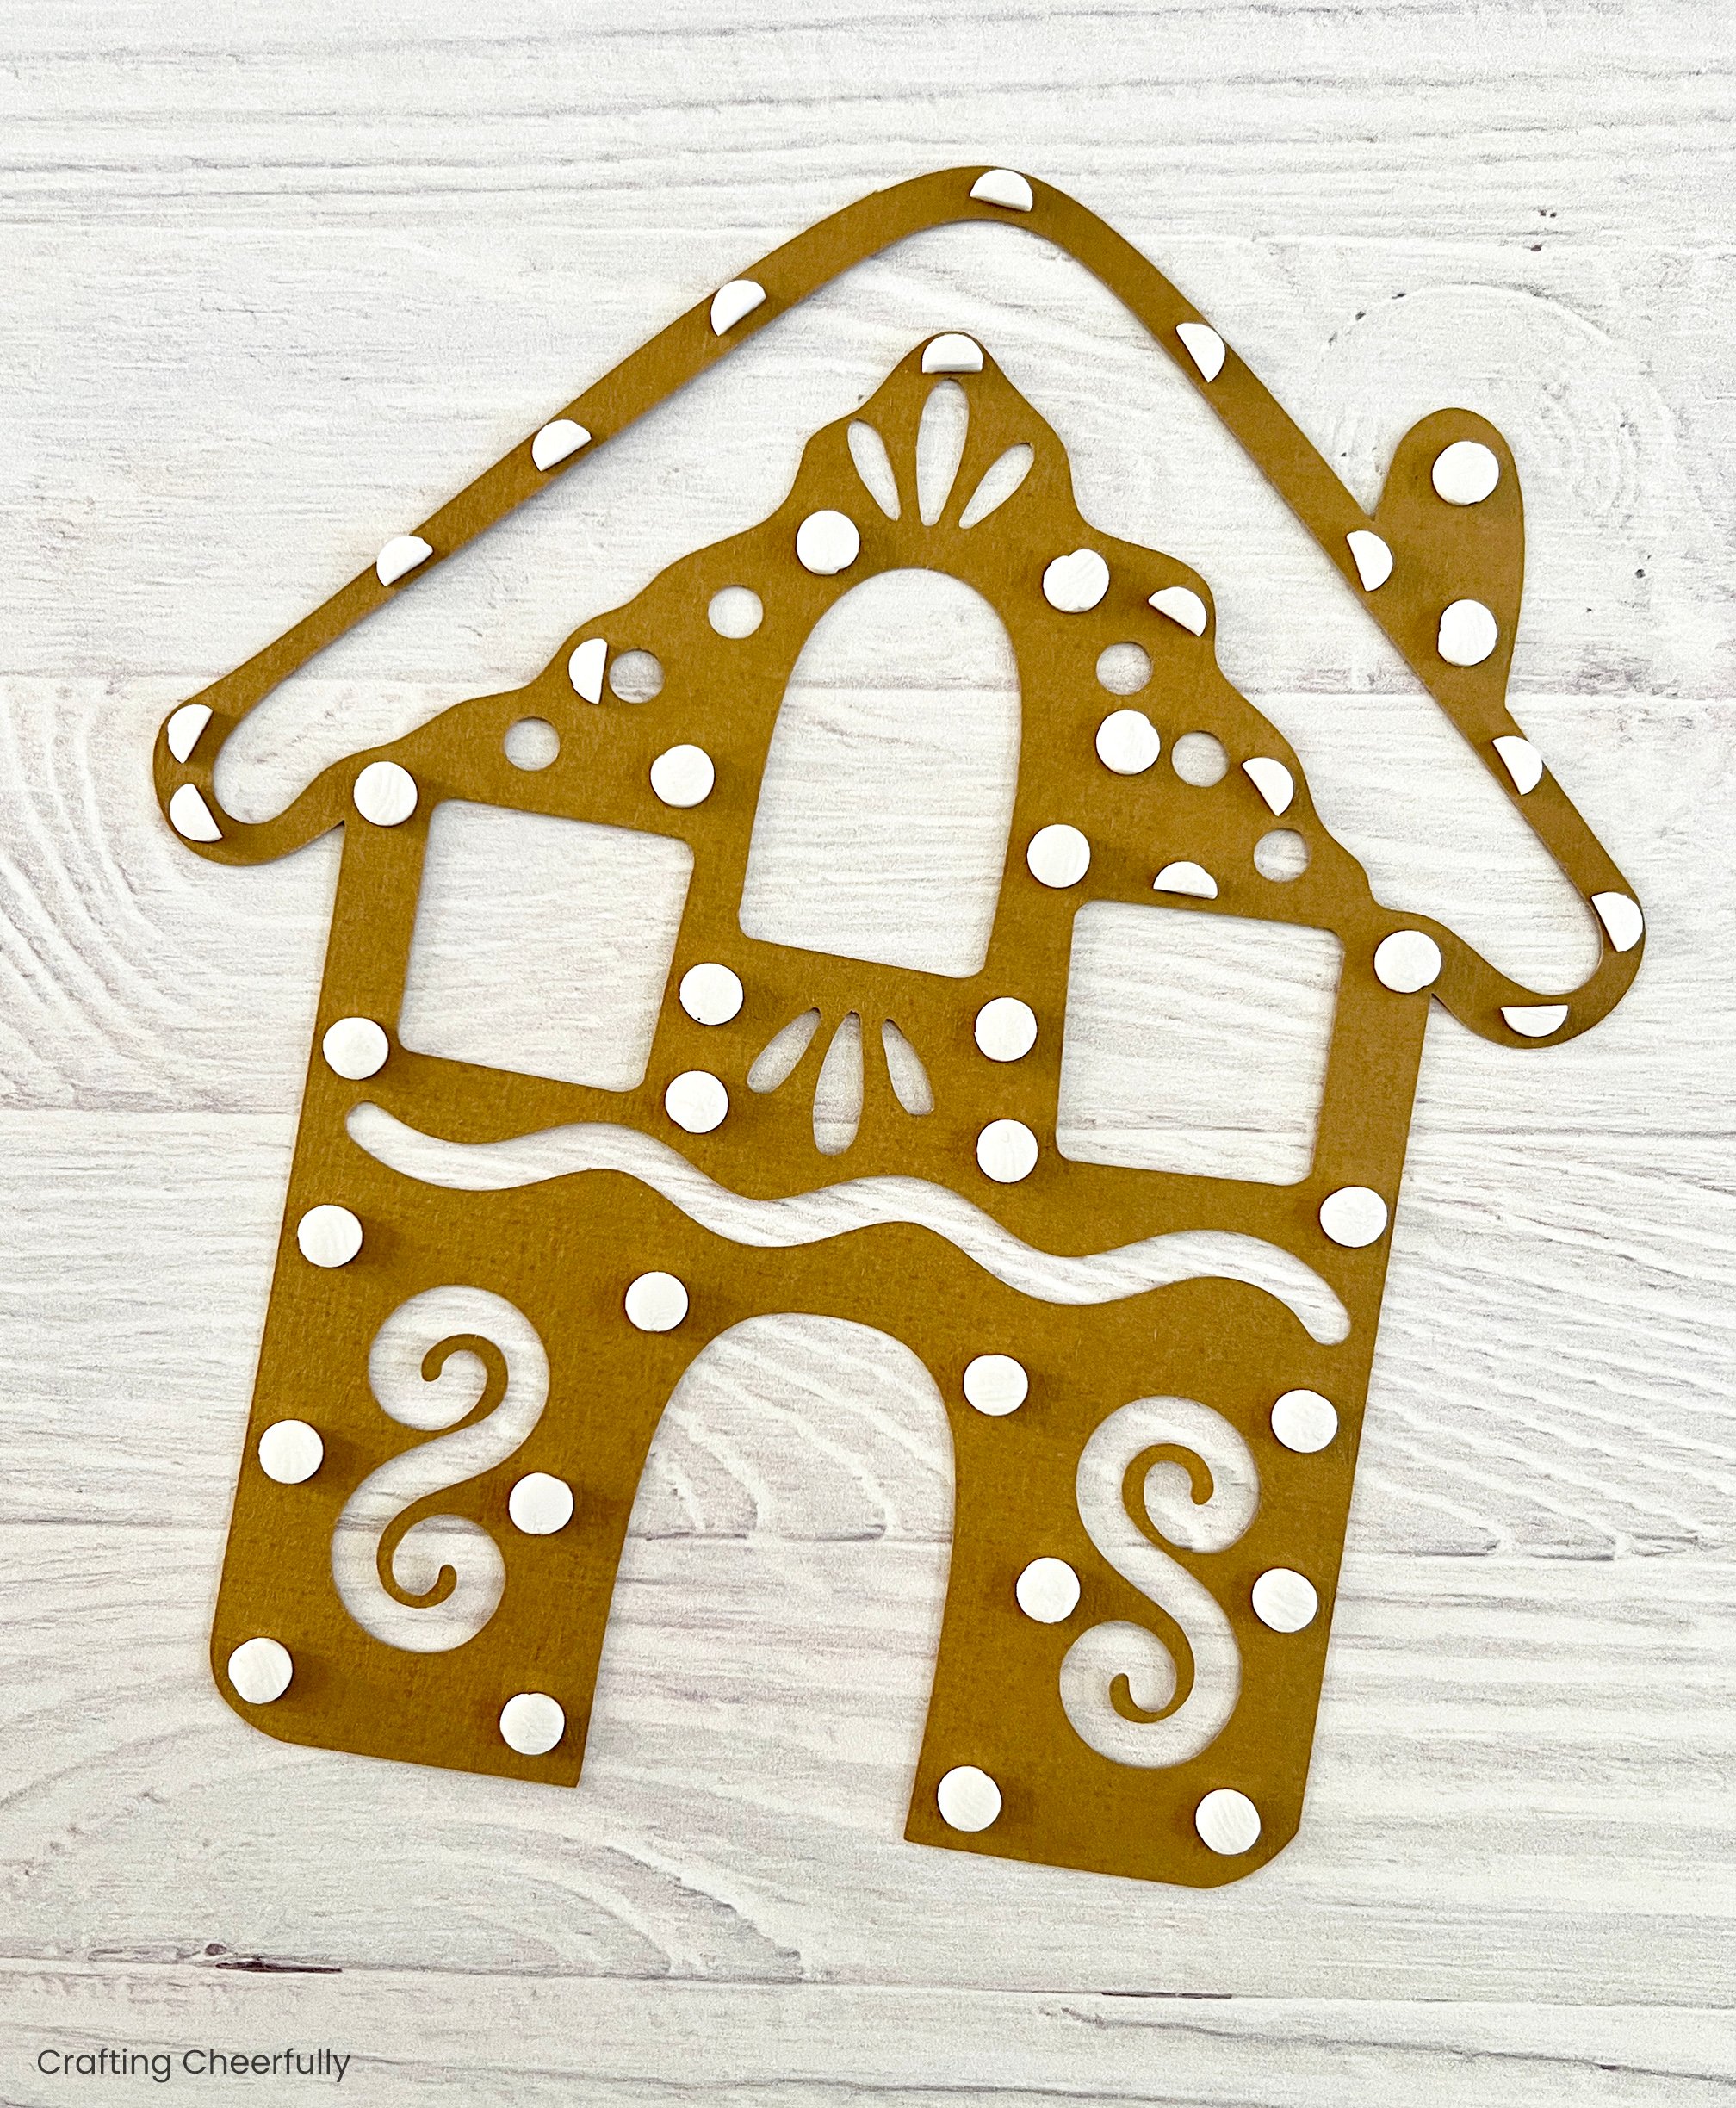
Gingerbread House Layer
Start by covering the back of the gingerbread house with foam adhesive dots. I cut my foam dots in half for the roofline of the house so the dots wouldn’t stick out past the edge of the cardstock. Once you’ve covered the back with adhesive, apply this layer to the white snow layer. It can be tricky getting the little dots out of the adhesive sheets, so I use my Cricut weeding tool to help remove the paper from each dot and also the dots themselves!
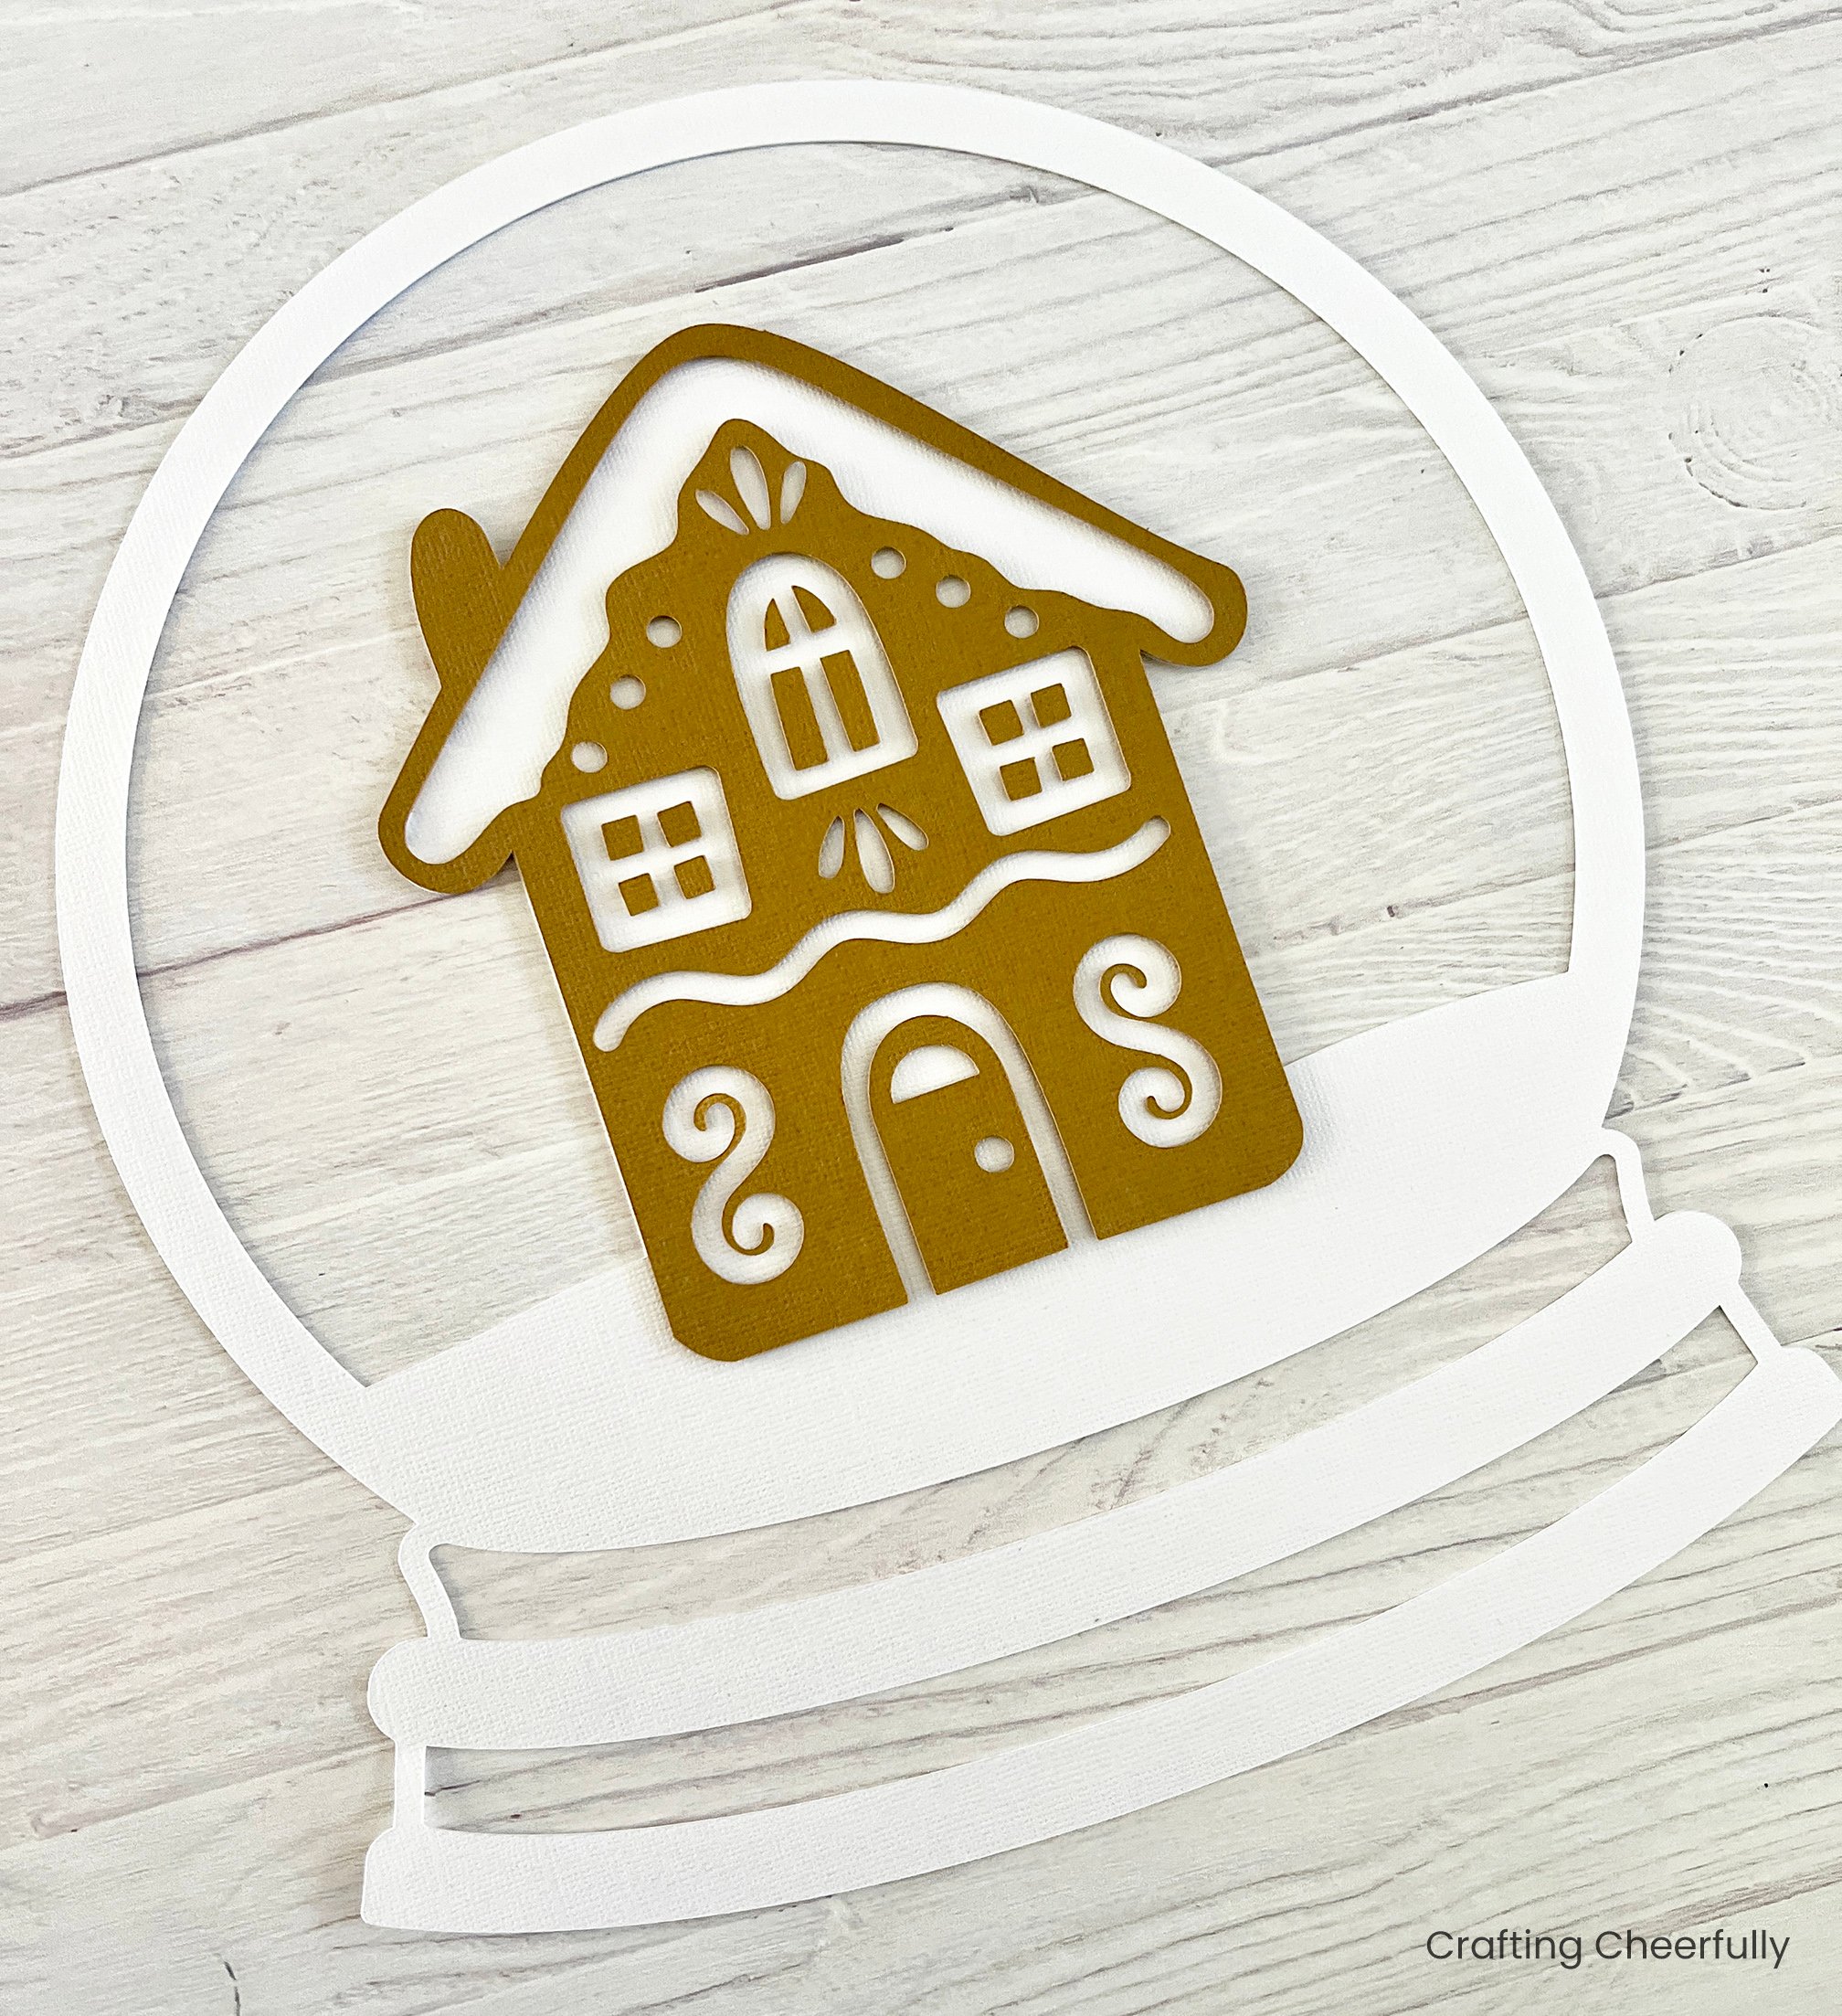
Add little foam dots to the back of the door and window cut outs and position them in the openings on the gingerbread house.
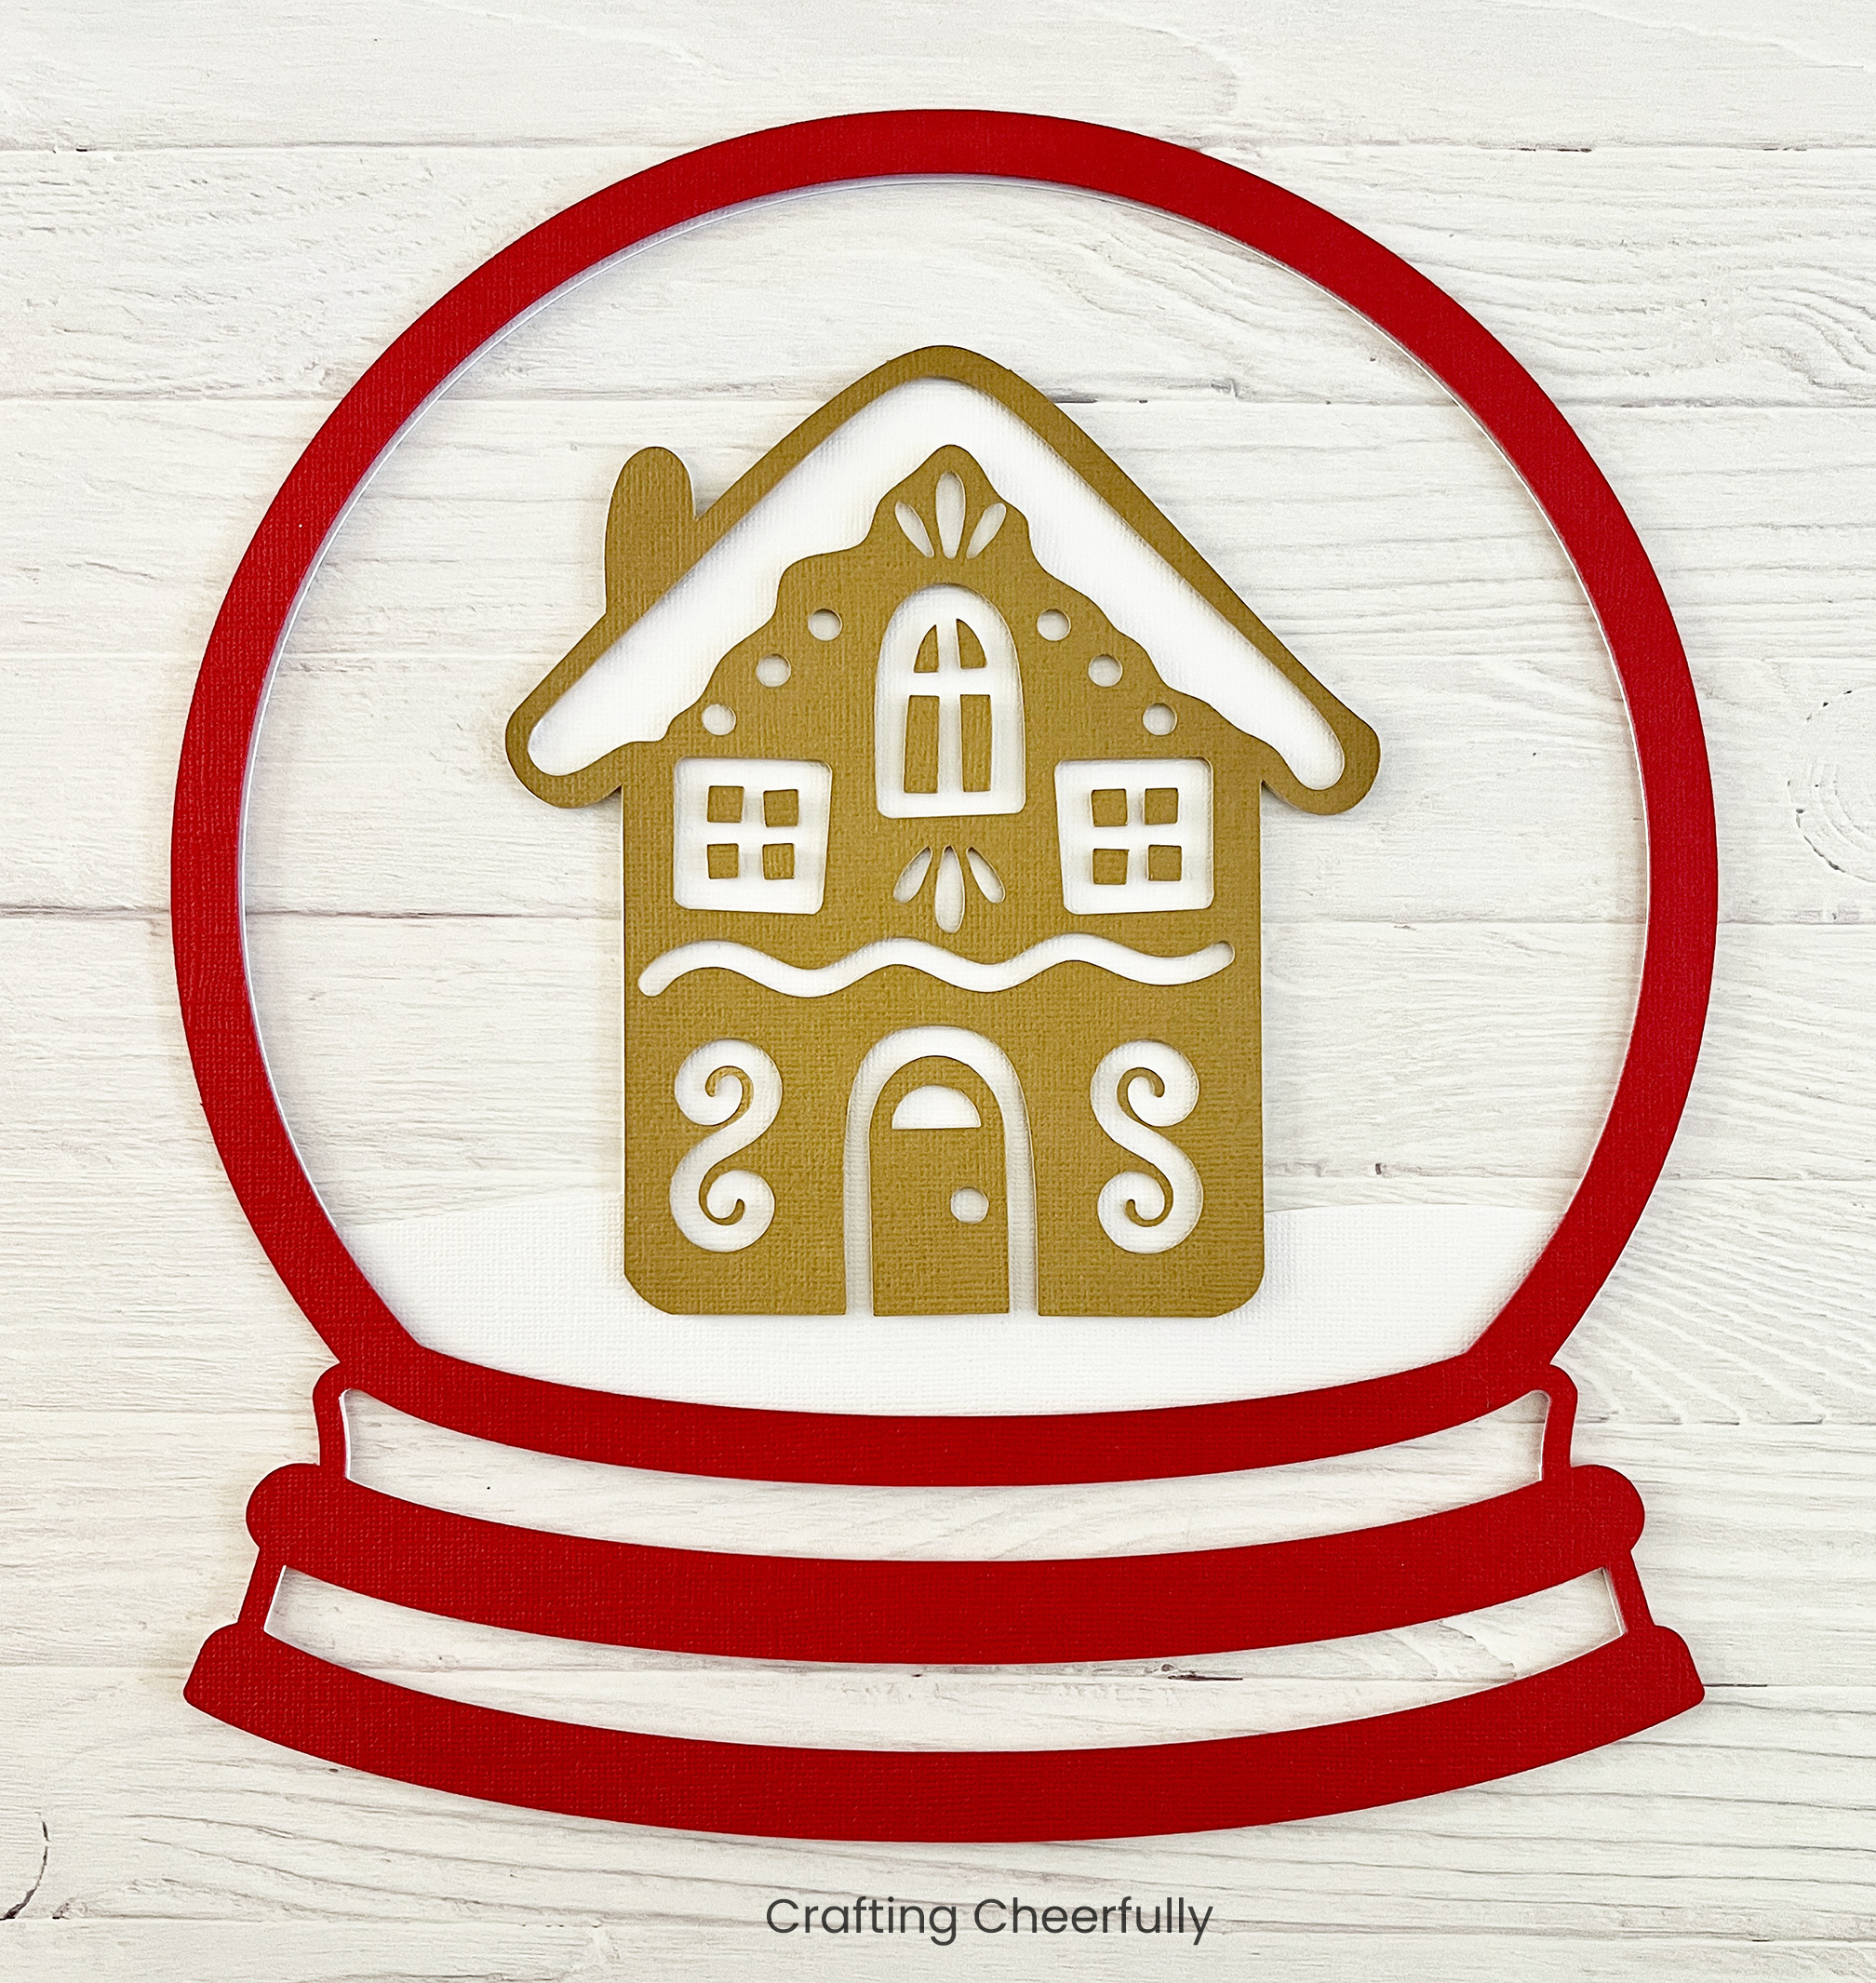
The Red Layer
Add foam dots to the back of the red layer and position it over the white snow layer.

The Snow Layer
Repeat adding foam dots to the back of the white snow layer and place it on the green layer. I find it best to add my dots in a similar place from layer to layer, especially around the top edge of the snow globe.
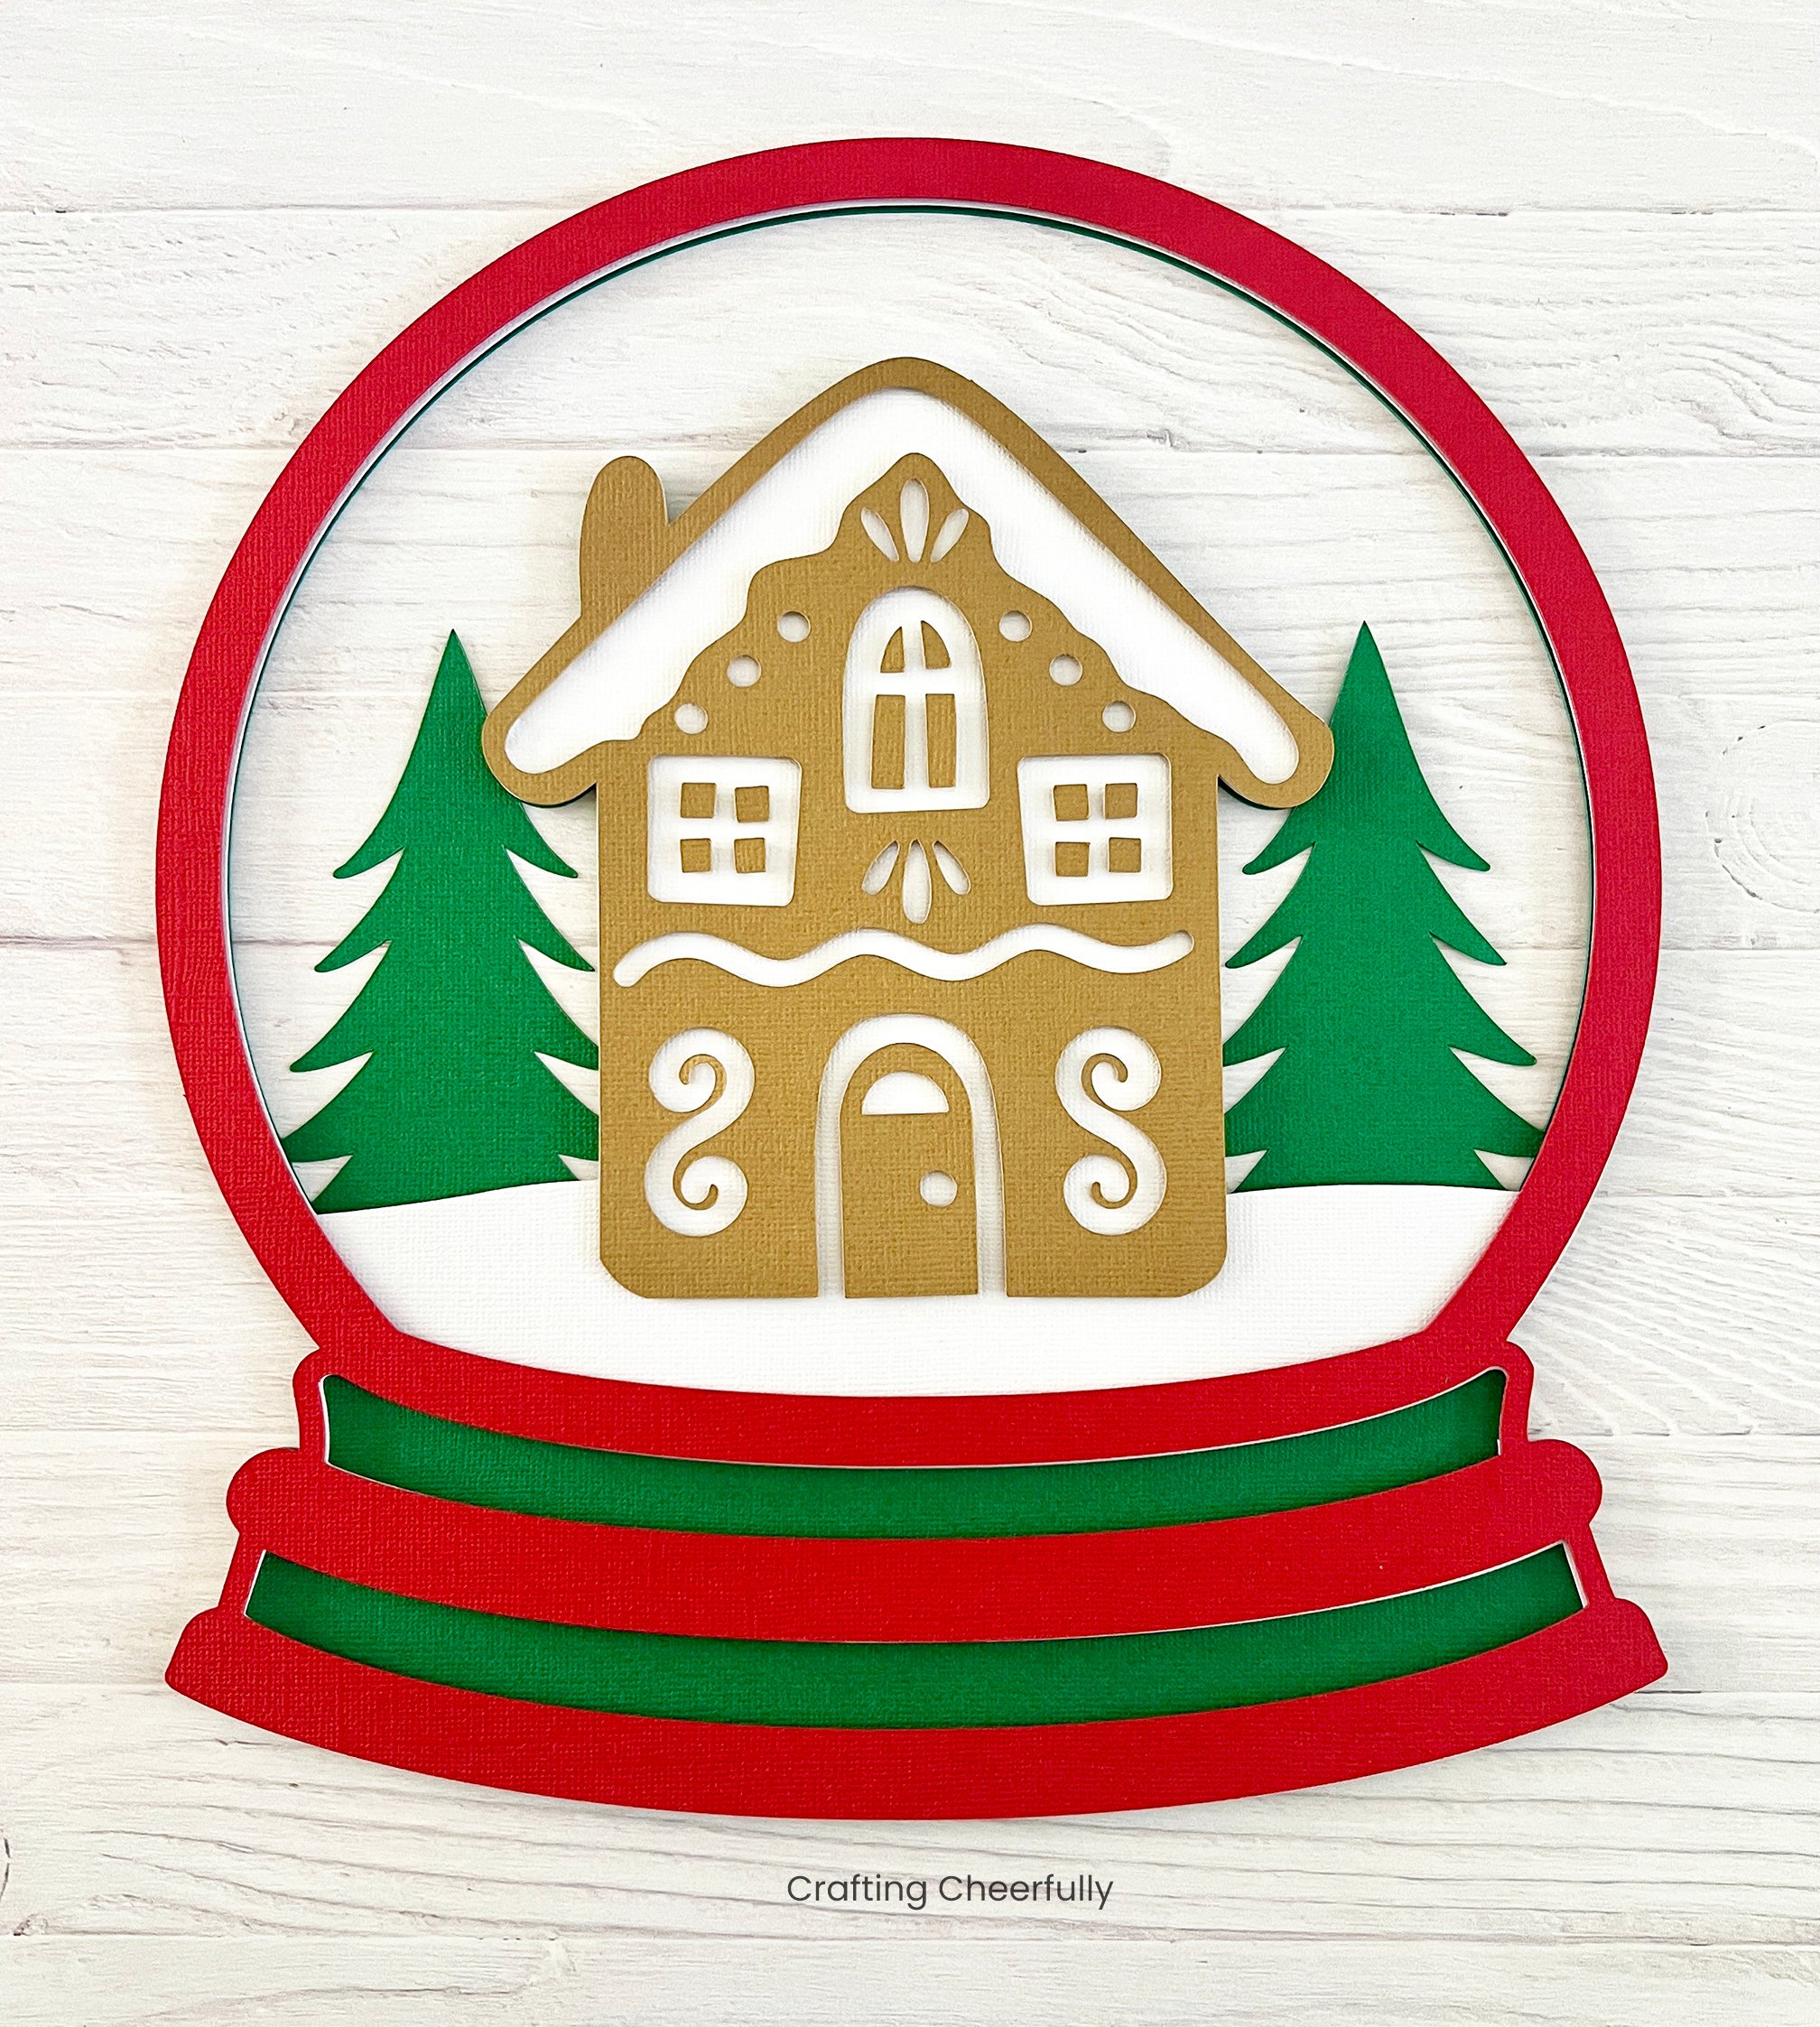
The Green Layer
Follow the same steps as the previous layers and add foam dots to the back of the green layer, then attach it to the blue sky layer.

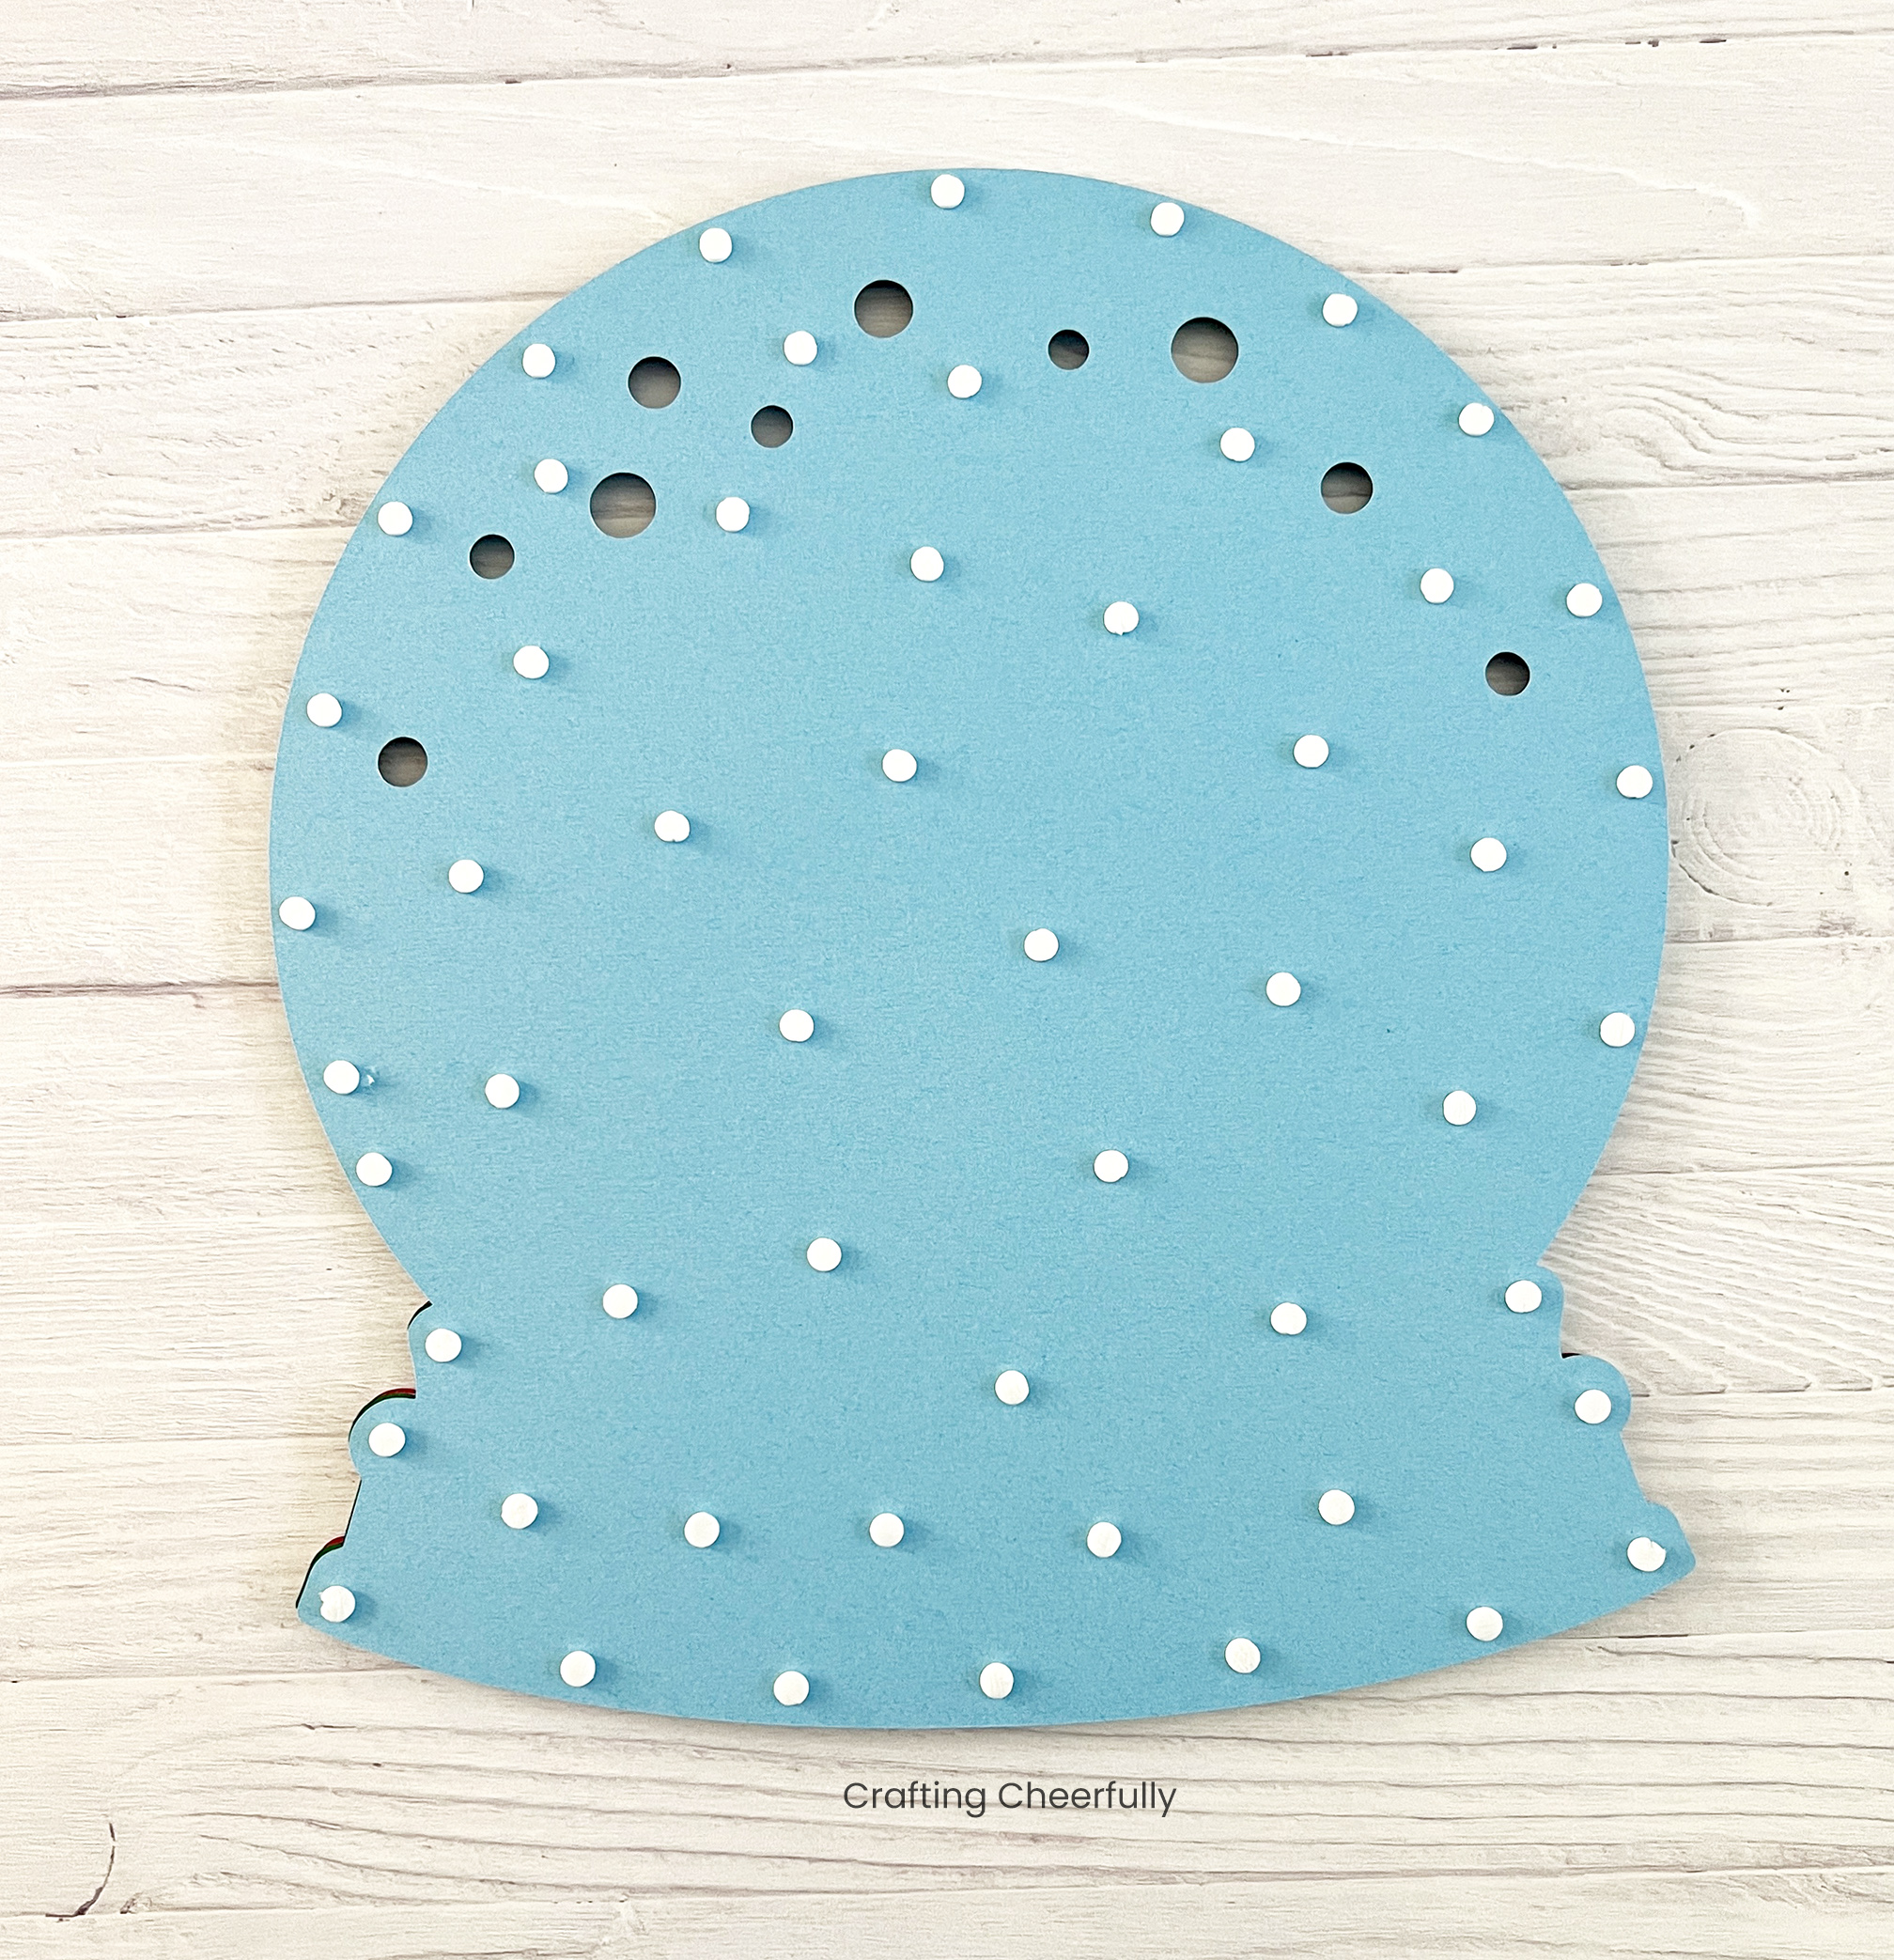
The Blue Sky Layer
The final step is placing foam dots on the back of the blue layer and attaching it to the white base piece.
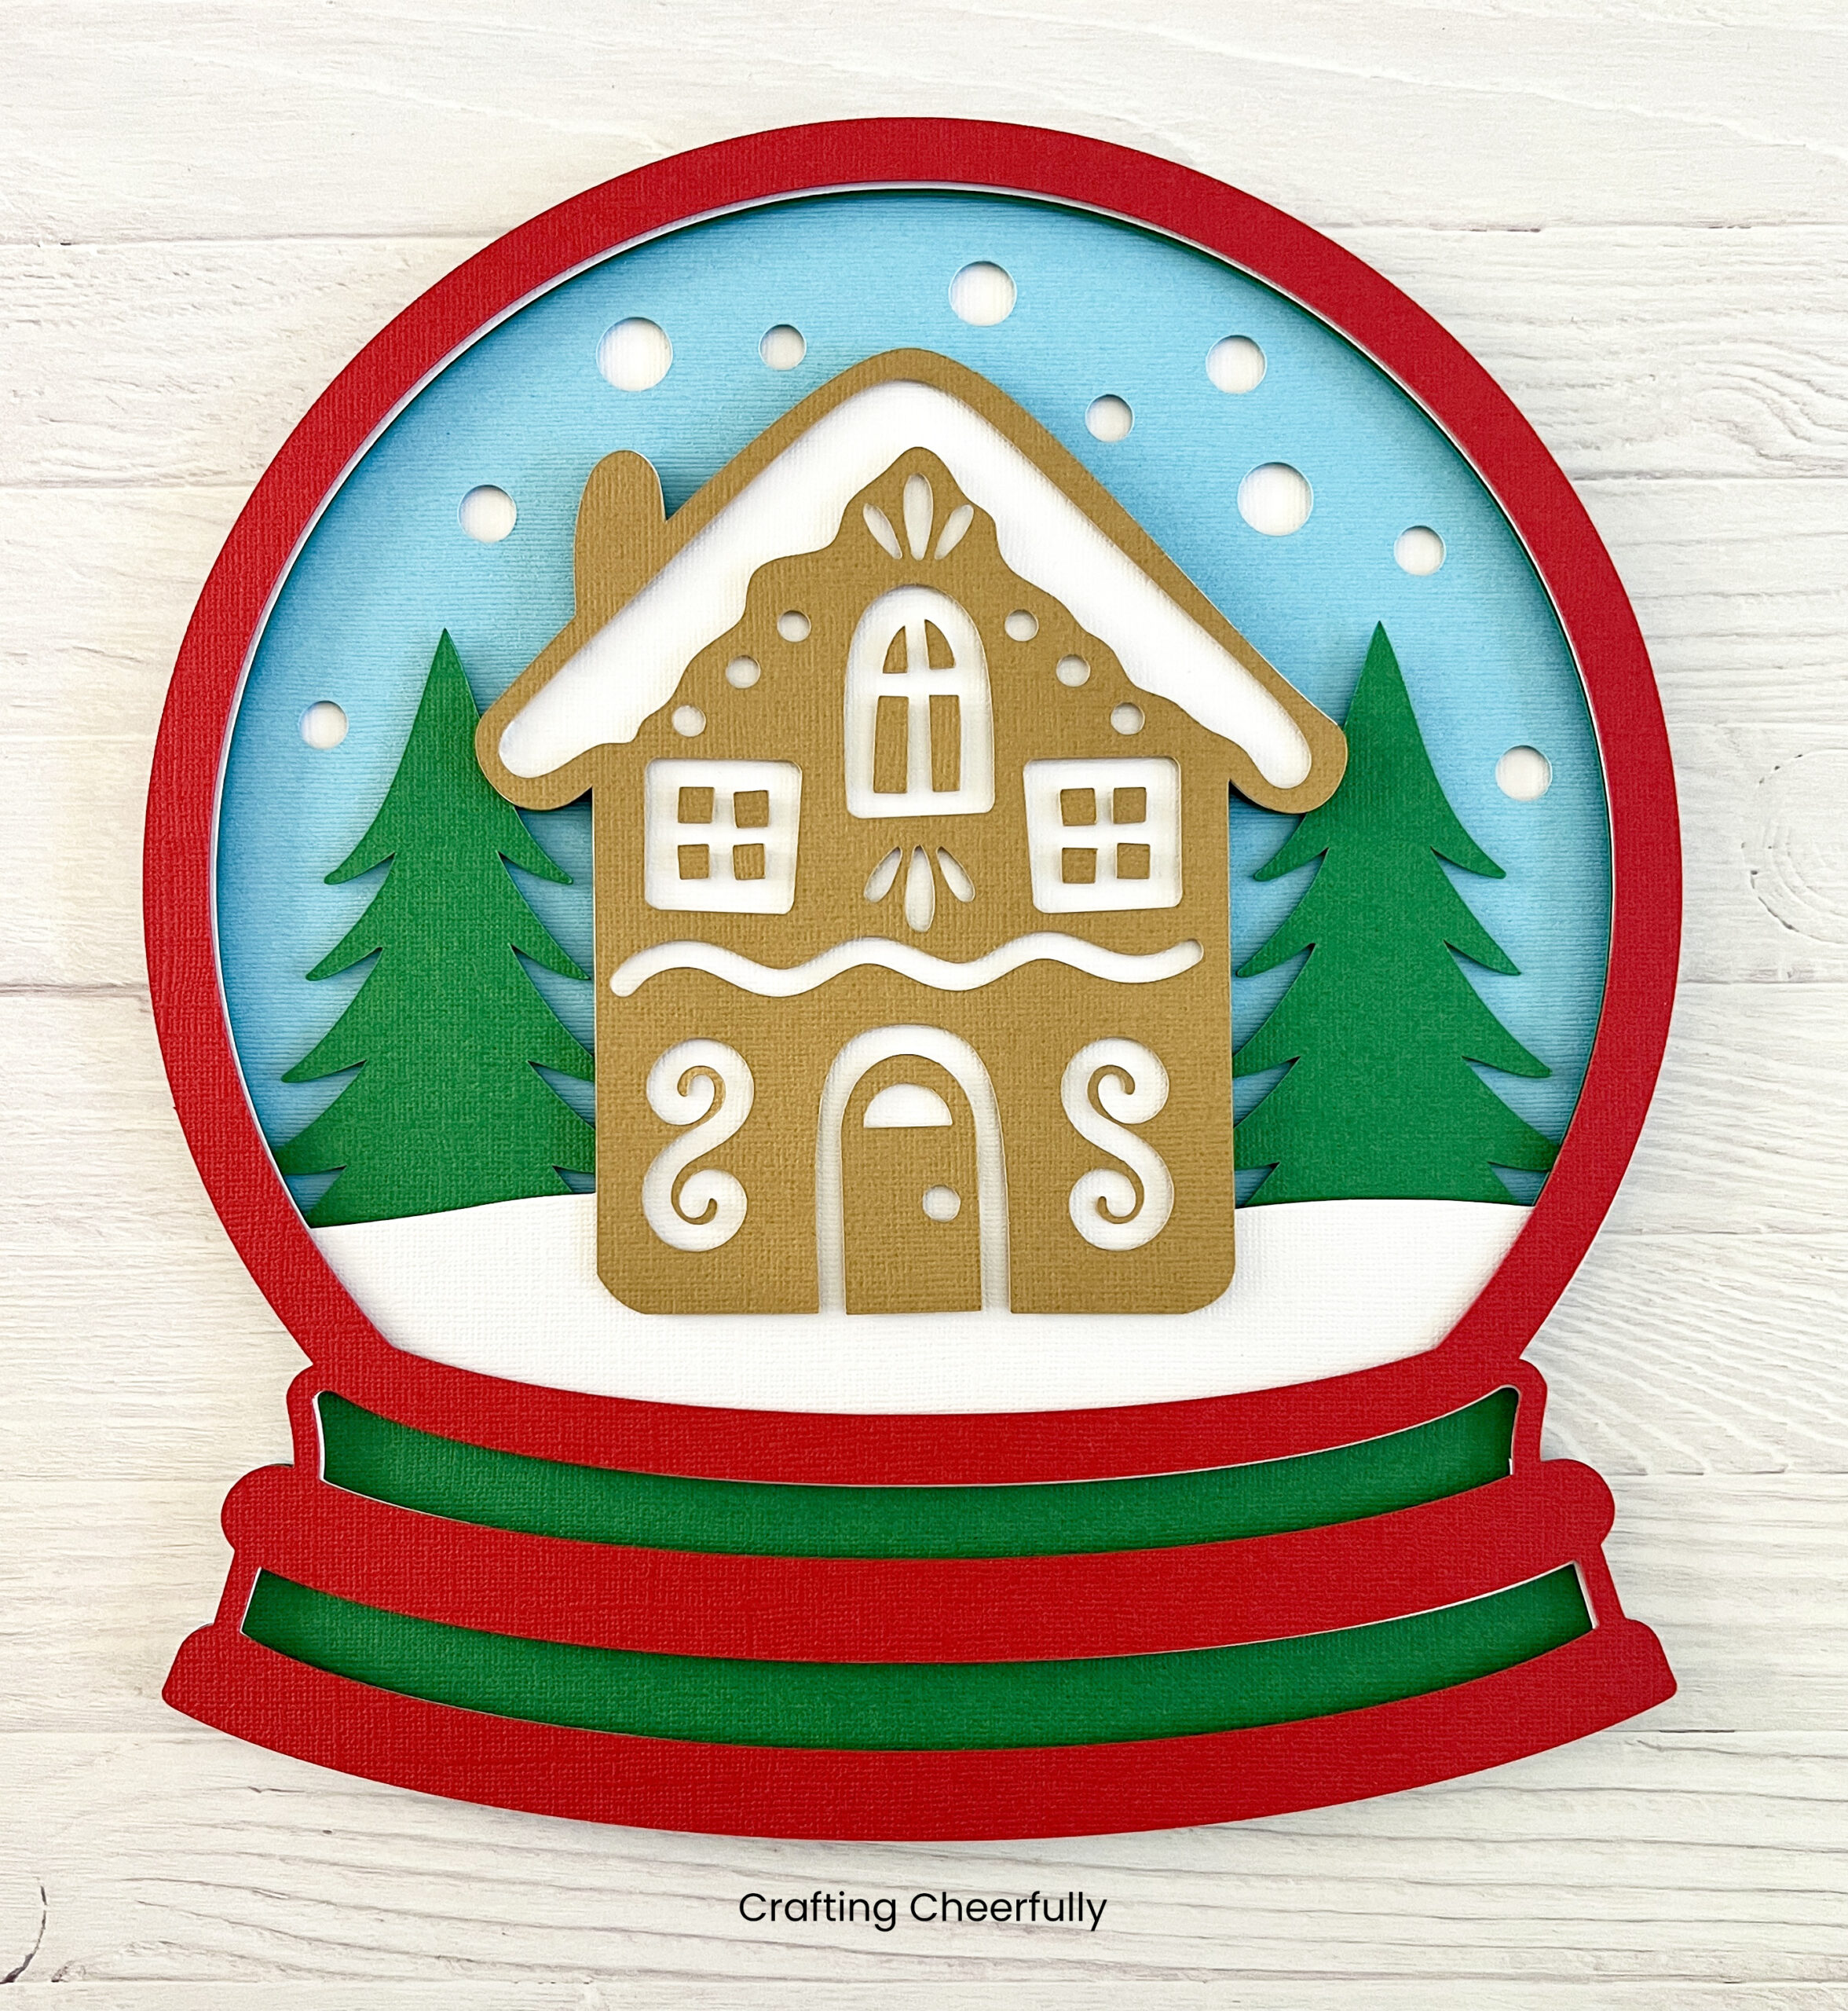
The layered paper snow globe is complete! Display the snow globe in an easel or use ribbon and hang it on the wall. This sweet craft makes a fun and festive Christmas decoration and a wonderful gift for family and friends!
If you enjoy making this craft, be sure to check out my other layered paper crafts! I have other designs for Halloween, Easter, St. Patrick’s Day, Christmas and winter time! I’ll be back tomorrow with another DIY craft as part of my “12 Days of Holiday Crafts” series!