DIY Baseball Mason Jar Gift
Create a fun baseball mason jar gift perfect for baseball fans, Father’s Day and more! Fill the jar with their favorite game-time treats!

Hello Crafty Friends! Baseball season is here and I wanted to pop on the blog to share a quick baseball-themed craft! These baseball mason jars make great little gifts and come together quickly.
You can customize them with your favorite team’s colors and fill them with your favorite baseball-themed snacks. These jars make a great Father’s Day gift for dads who love baseball!
These jars are simple to make by just painting the lid of the jar to look like a baseball. Look for mason jars that have a one-piece lid, rather than a lid and band (or ring) as some do. Add a coordinating ribbon to the lid and the jar is ready to be filled.
My son and I filled our jars with my husband’s favorite baseball snacks and gave them to him for Father’s Day. After the treats have been enjoyed, the jars can be reused and enjoyed again.

Supplies Needed for Baseball Mason Jar Gifts:
- Glass Mason Jar or Plastic Mason Jar – look for jars with one-piece lids.
- White acrylic paint
- Red acrylic paint or red permanent marker/Sharpie
- Red and white gingham ribbon
- Paintbrush
- Scissors
- Pencil
- Treats to fill your jar – *please see my note below!
*A note about treats: I found that the caramel corn and licorice bites became sticky and hard after a couple days so they are not good options unless your treat will be enjoyed the same day you fill it. Opt for candies that won’t get hard or sticky or choose wrapped candies and treats.
Painting the Baseball Lid
Start by painting the lid of the mason jar white. I gave the lid several coats of white acrylic paint letting them dry in between.
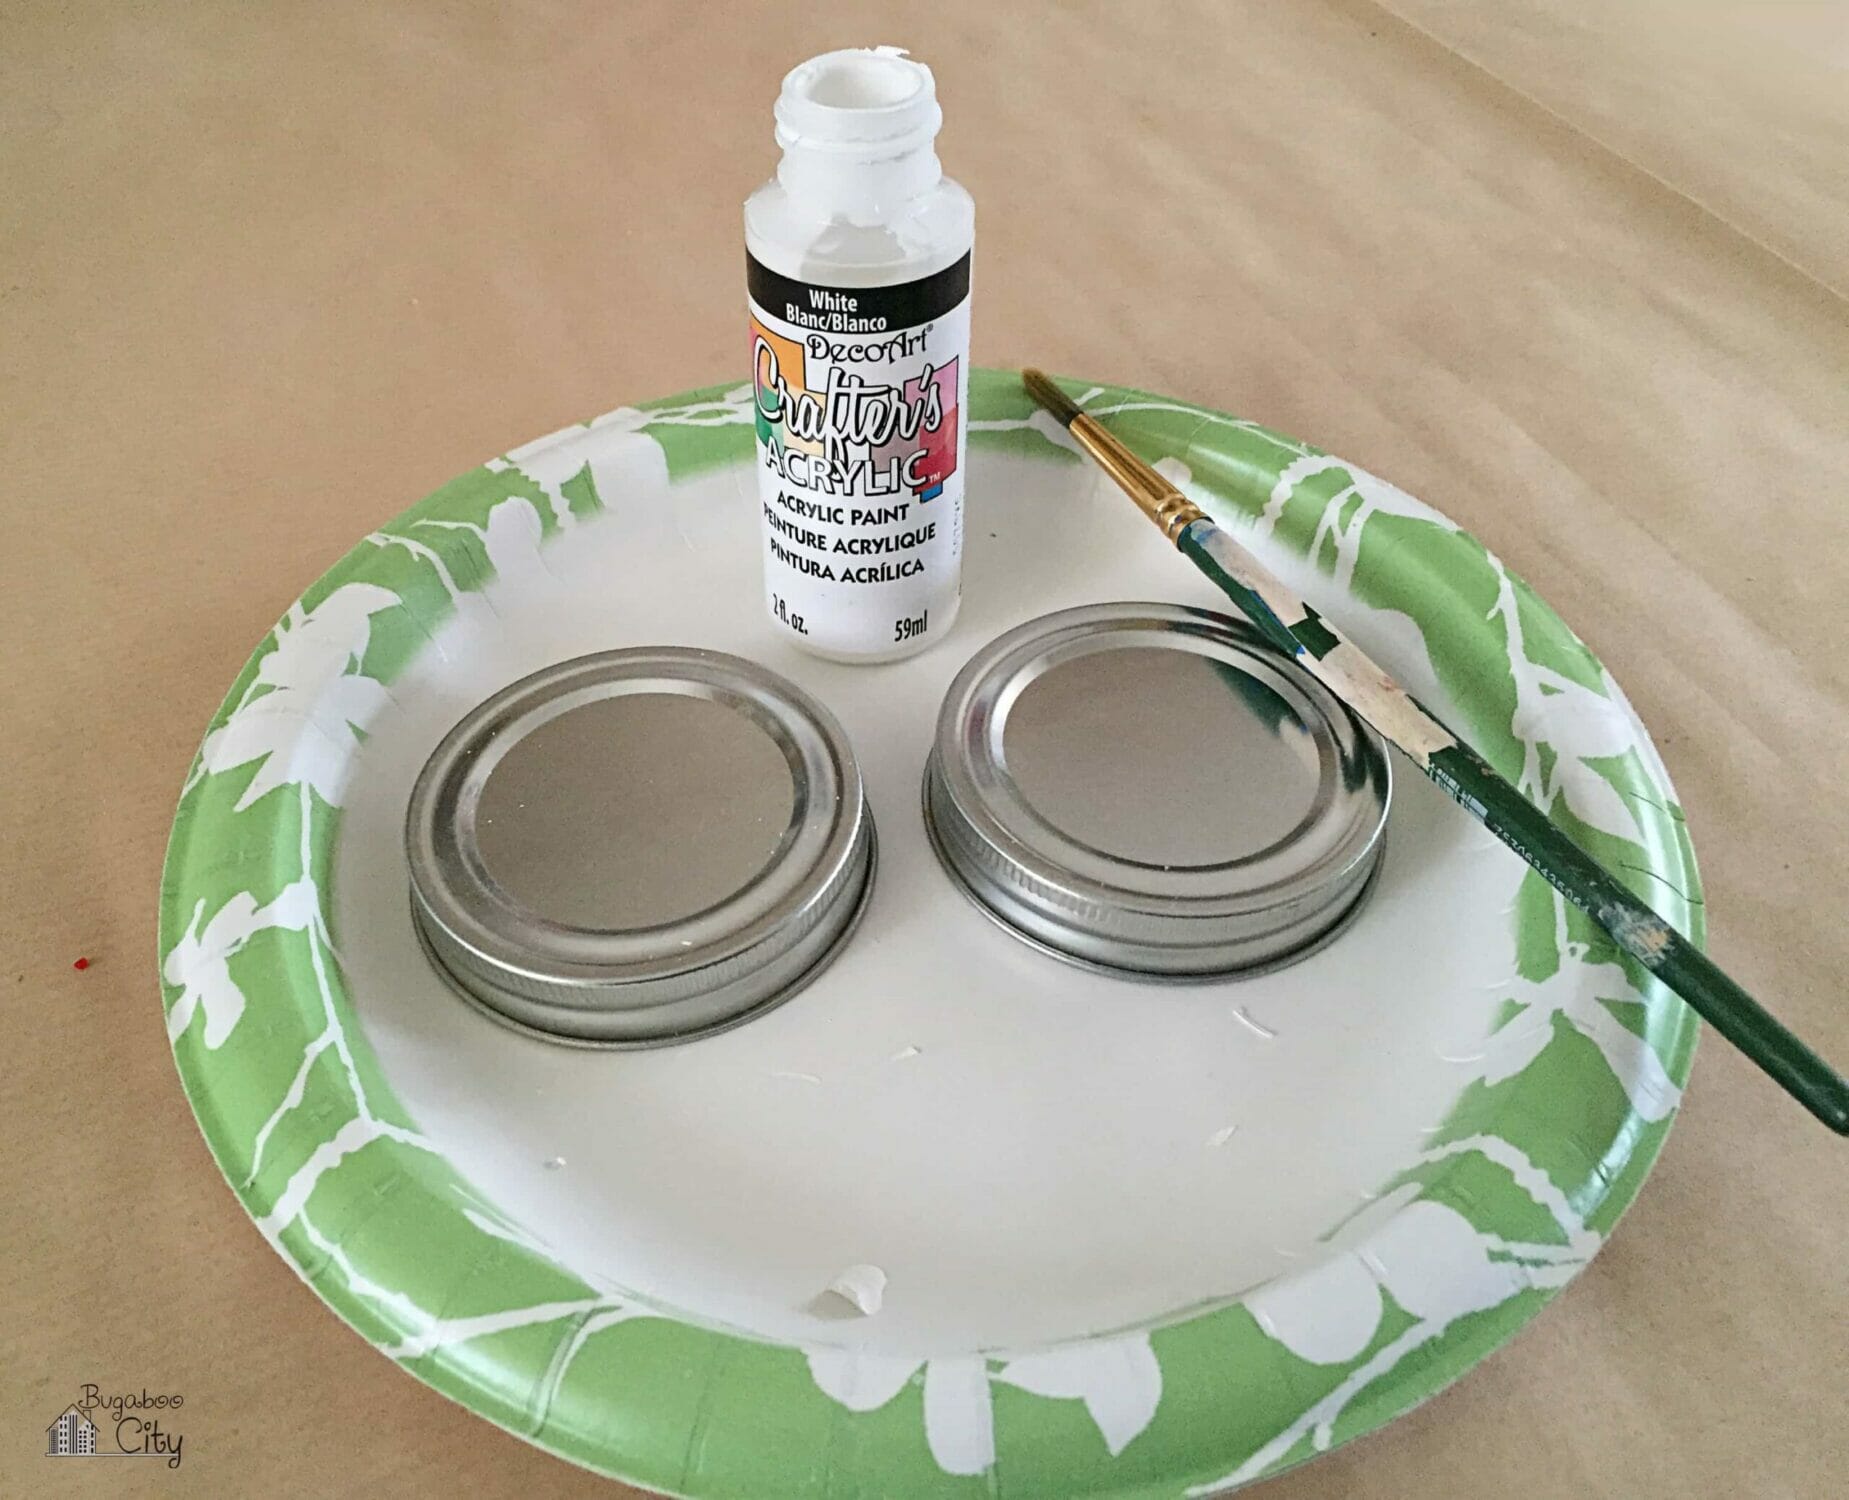
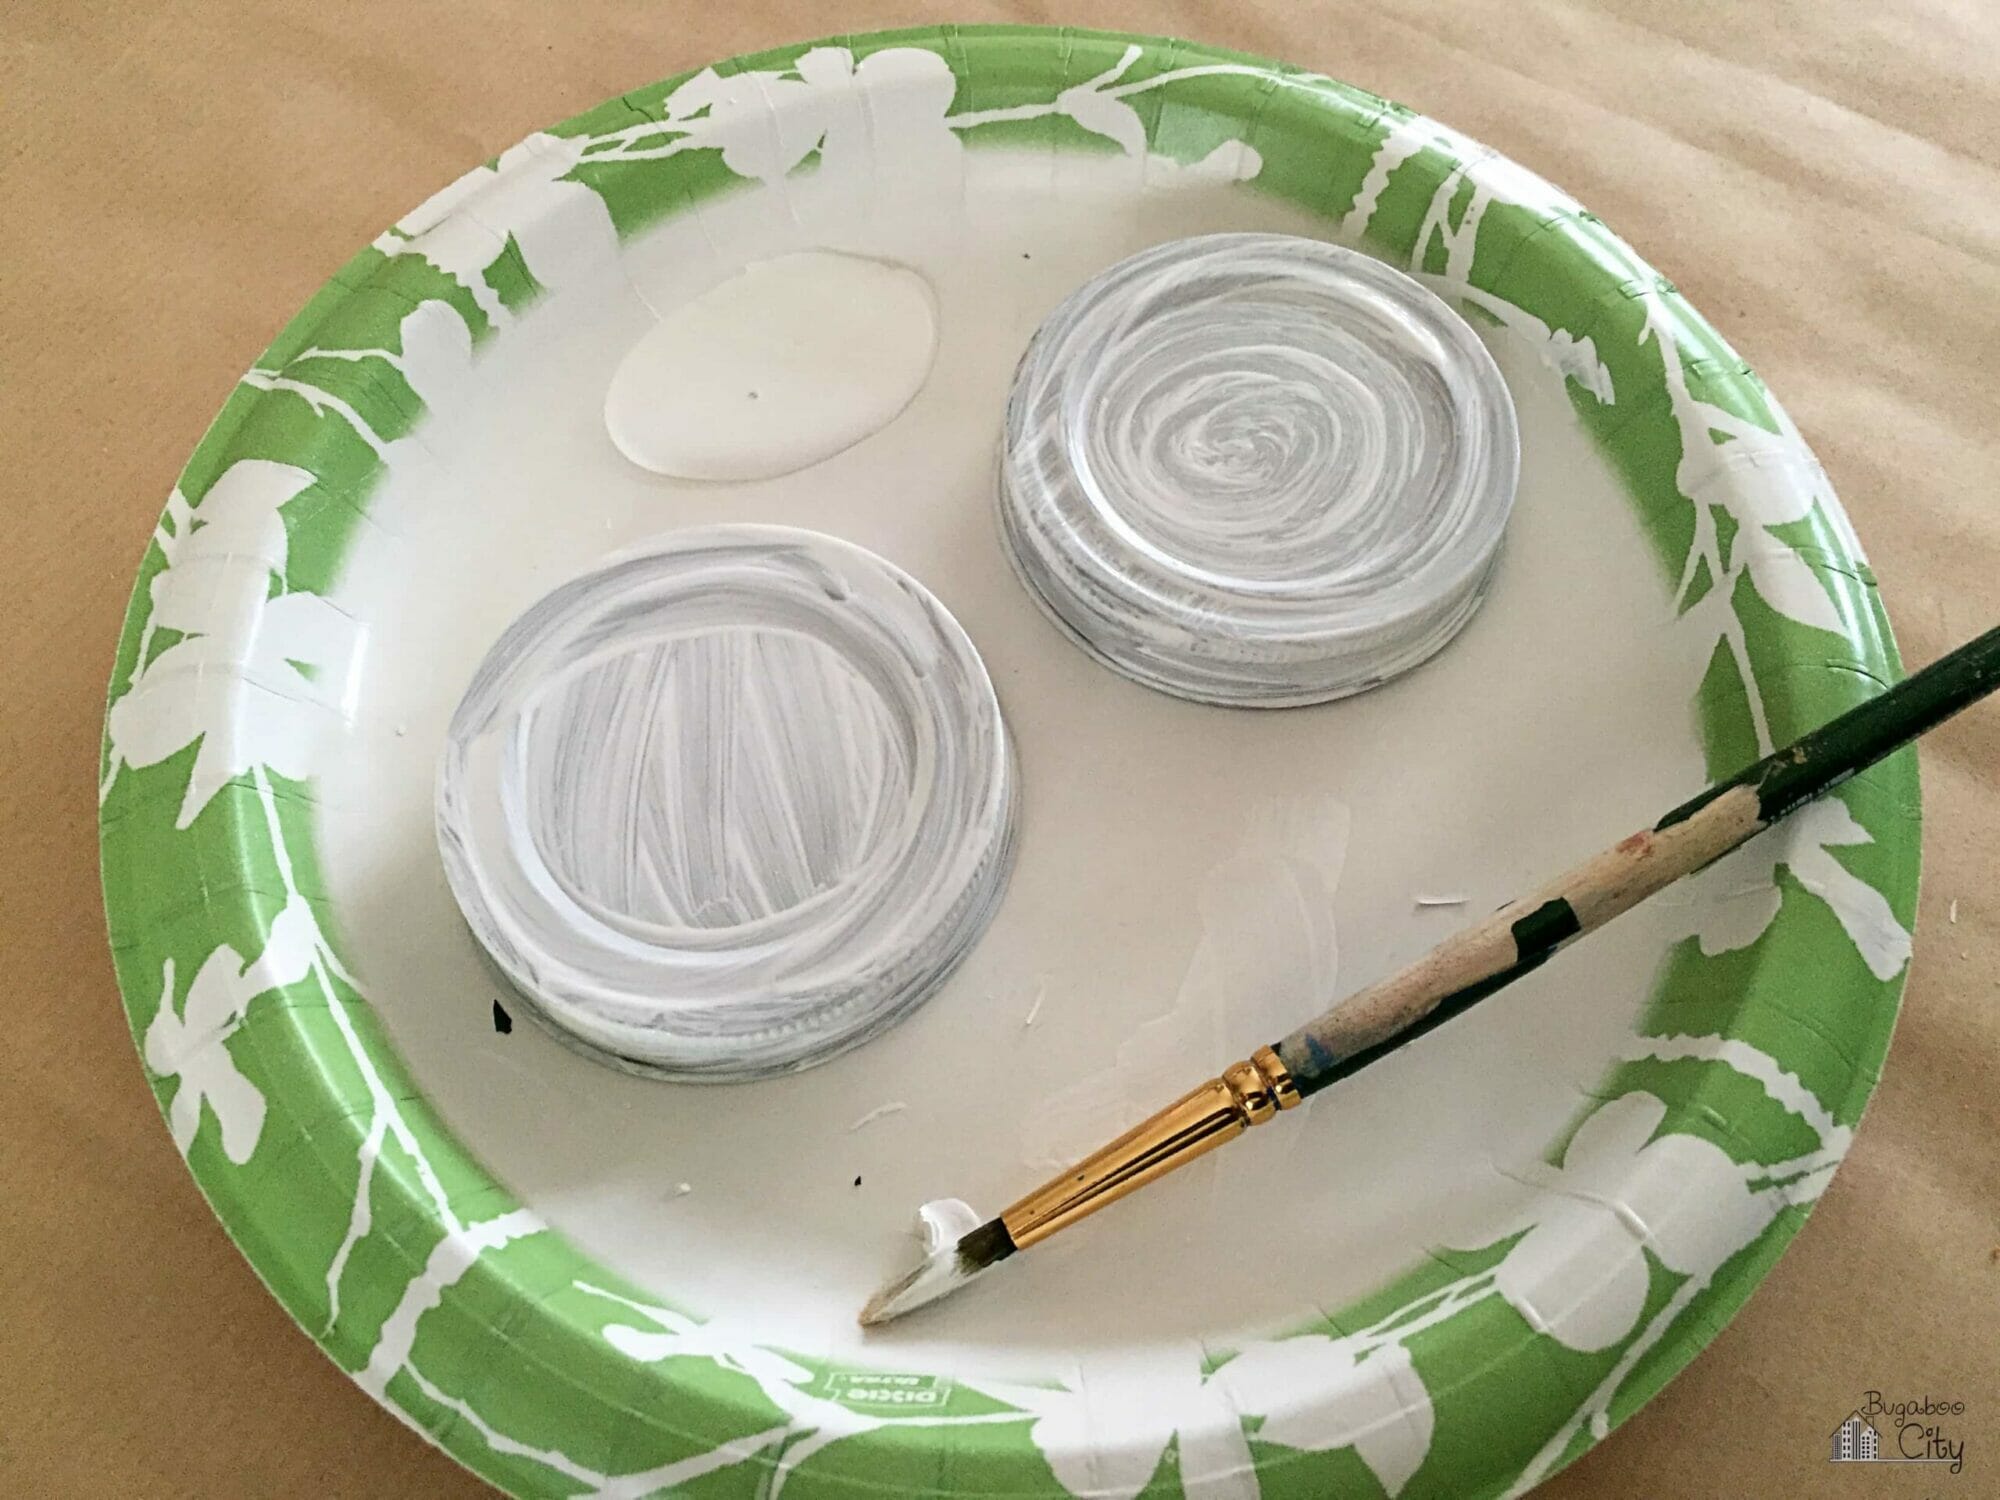
Next, add the baseball stitching to the mason jar lid. Before adding the lines, put the lid on the mason jar and mark lightly on the lid where the front is. This is helpful if your mason jar has a clear front and you want your baseball to line up nicely.
To create the stitch lines, I used a lid from another jar to help me draw the two curved lines. I traced around the edge of the extra lid with pencil and then moved it to the other side and repeated this. Be sure your stitch lines are symmetrical. If you are doing lots of these, I would create a quick pattern!
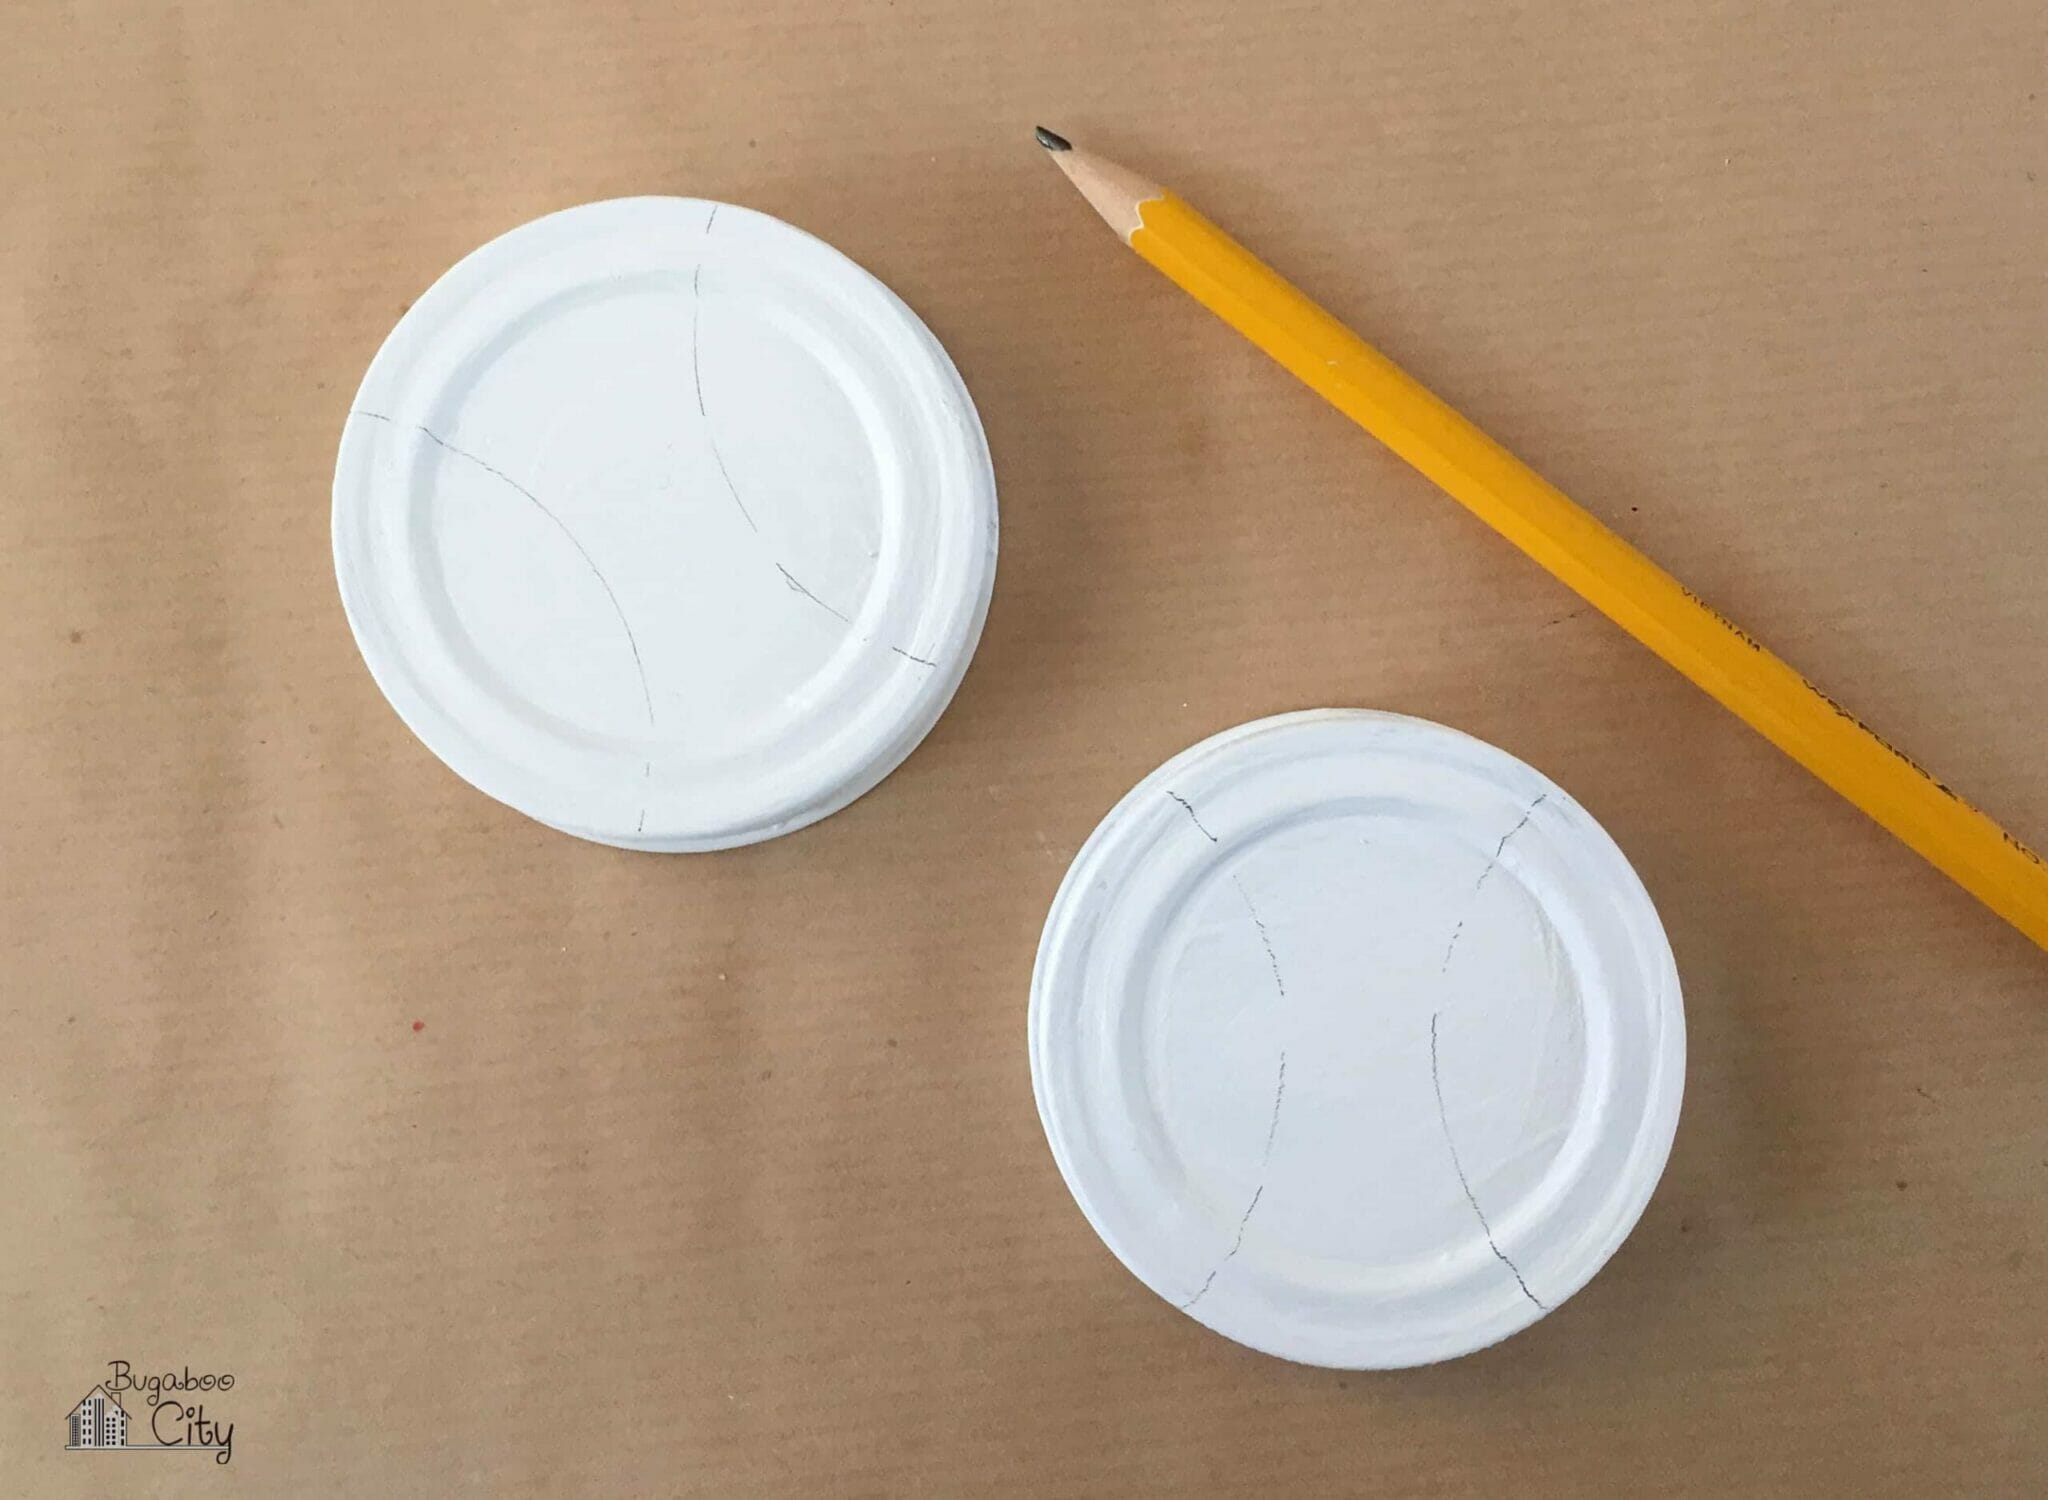
Trace your pencil lines with red acrylic paint and a tiny brush or use a permanent red marker as I did. Trace the lines and then add small Vs along them.
You can see in the picture below I made my rows of Vs go in the same direction, but on a real baseball, the Vs will go in opposite directions, which my husband kindly pointed out. So the pictures below are incorrect!

Finally, wrap a ribbon around the lid. I chose to use a thin red and white gingham ribbon.
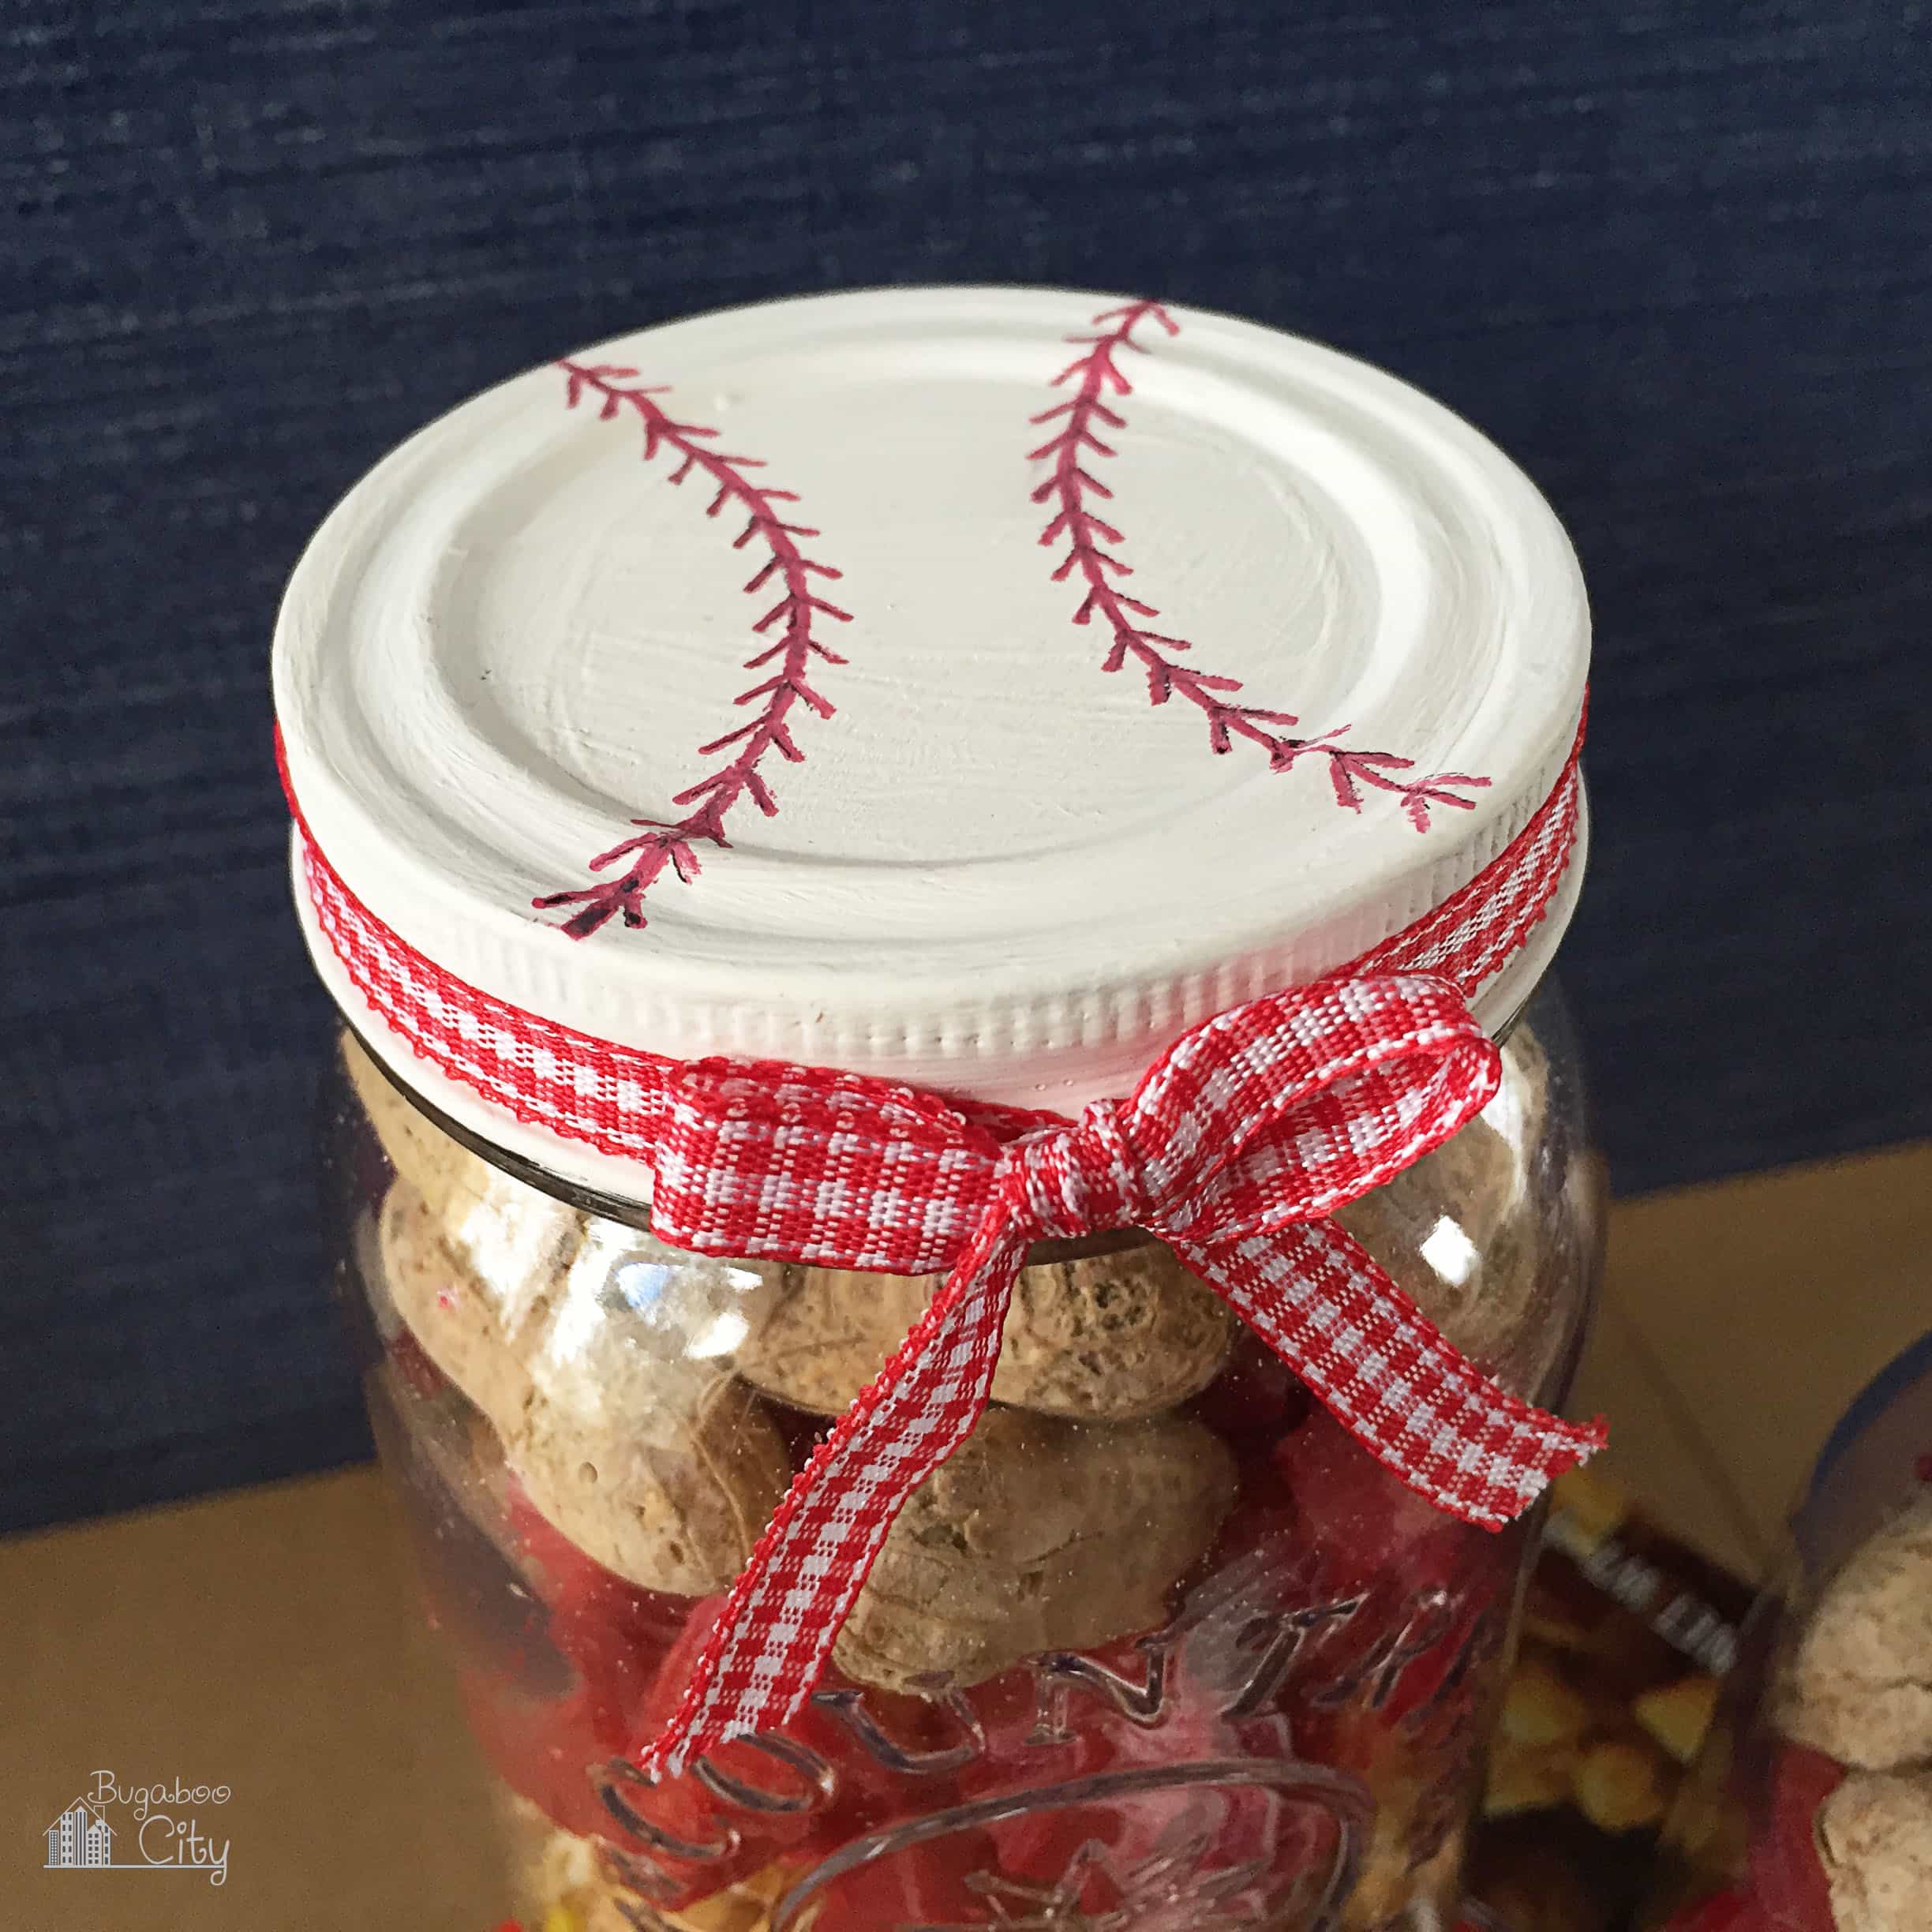
Fill the Jars with Baseball-Themed Treats
The jars are ready to be filled with baseball-themed goodies! I filled my jars with traditional game-time snacks like Cracker Jacks and peanuts. I also filled them with Brewers-themed m&m’s! You don’t need custom candy, though; you could pick any candy that matches your favorite team’s colors and add that to the jar.
If the gift won’t be enjoyed the same day it is gifted choose treats that are wrapped or won’t go stale.
When filling the mason jars, start with the smallest item first. If you wait and add the smallest item last, they may fall down in between the larger items. If you are filling a bunch of jars, do one first to get a sense of how much of each snack will go in each before moving on to all the others!


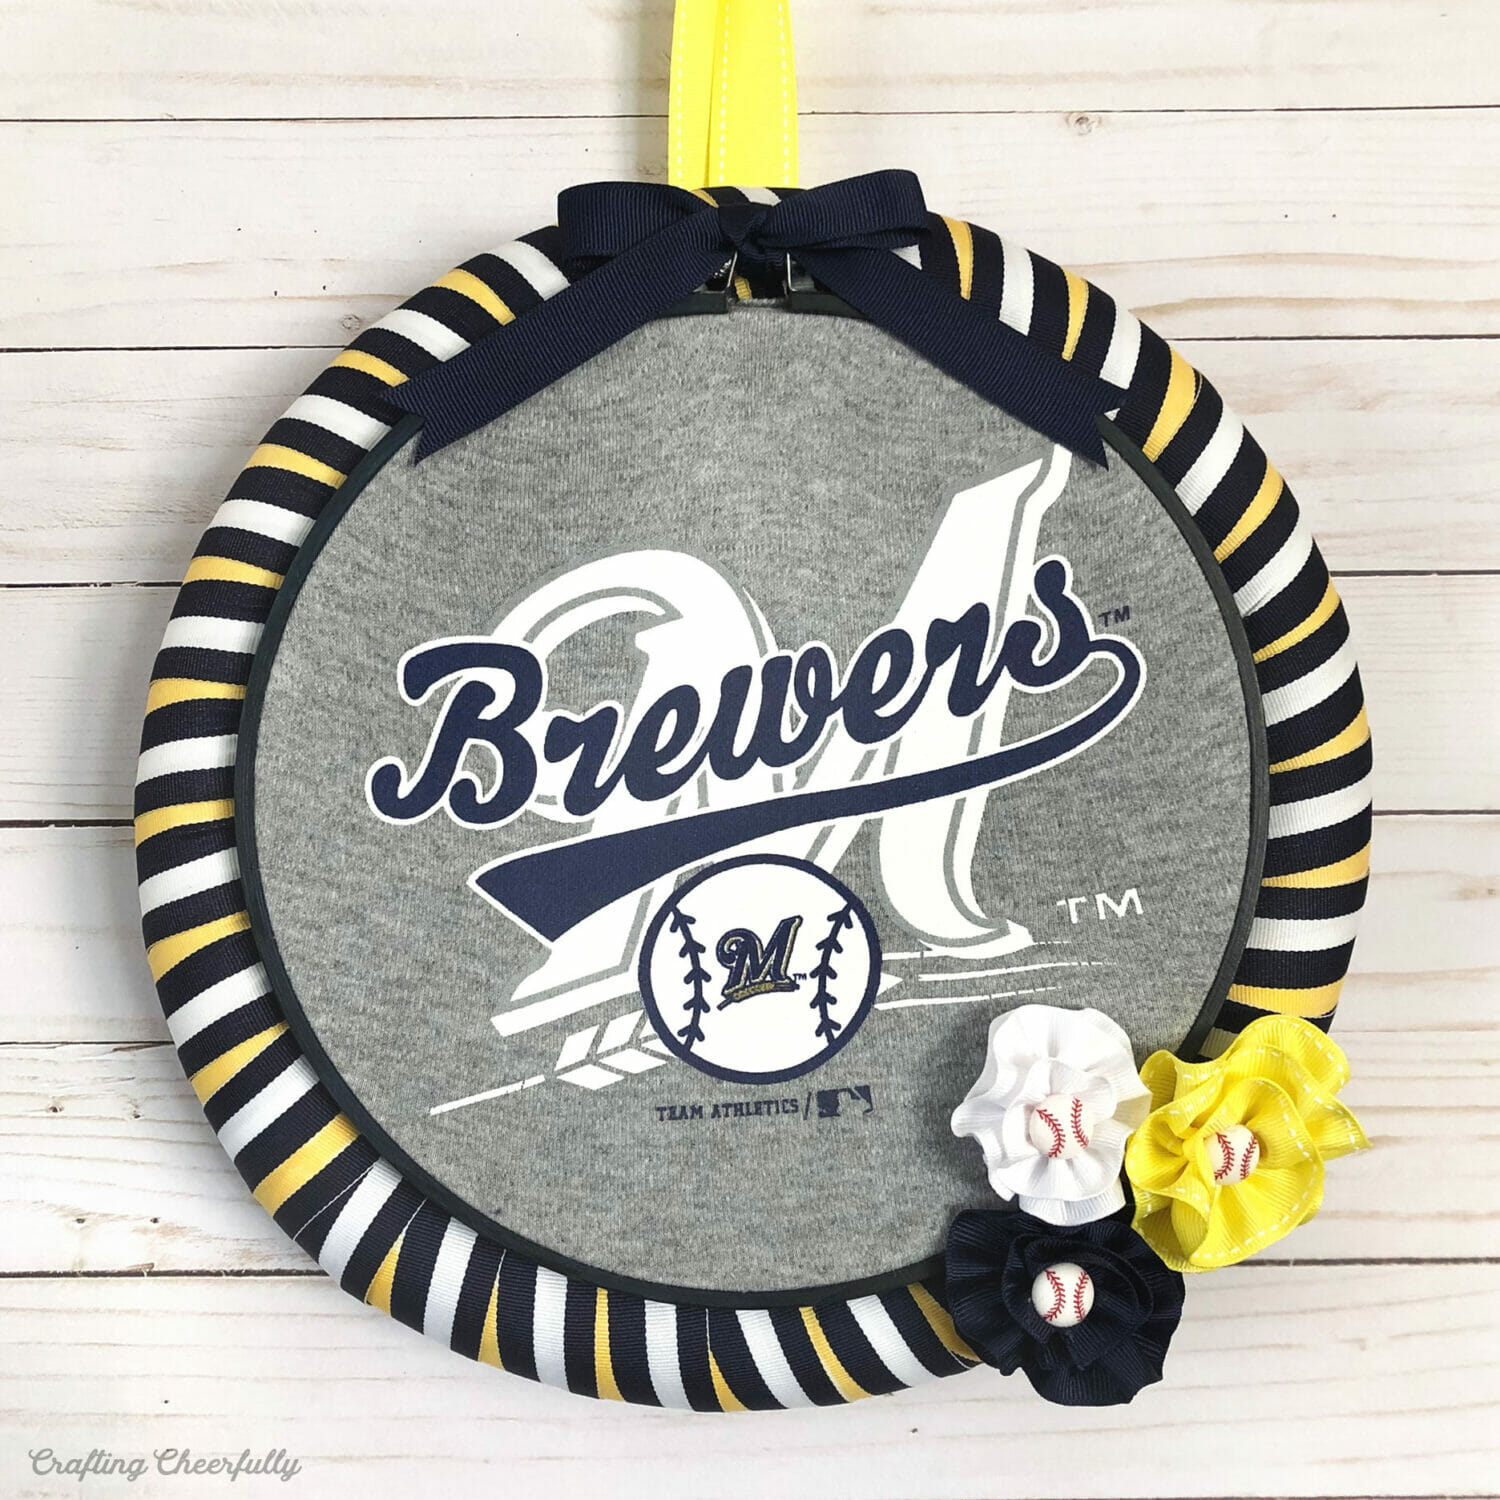
I hope you enjoyed this fun baseball-themed craft! Interested in another summertime baseball craft? Check out the DIY Cornhole Boards we made a few years ago or the Upcycled Baseball Wreath I made using an old baby bodysuit!





2 Comments