DIY Wreath Made from Upcycled Clothing
It’s baseball season! Create a new DIY wreath using something old clothing! This is a great project for upcycling some of those old sports shirts!

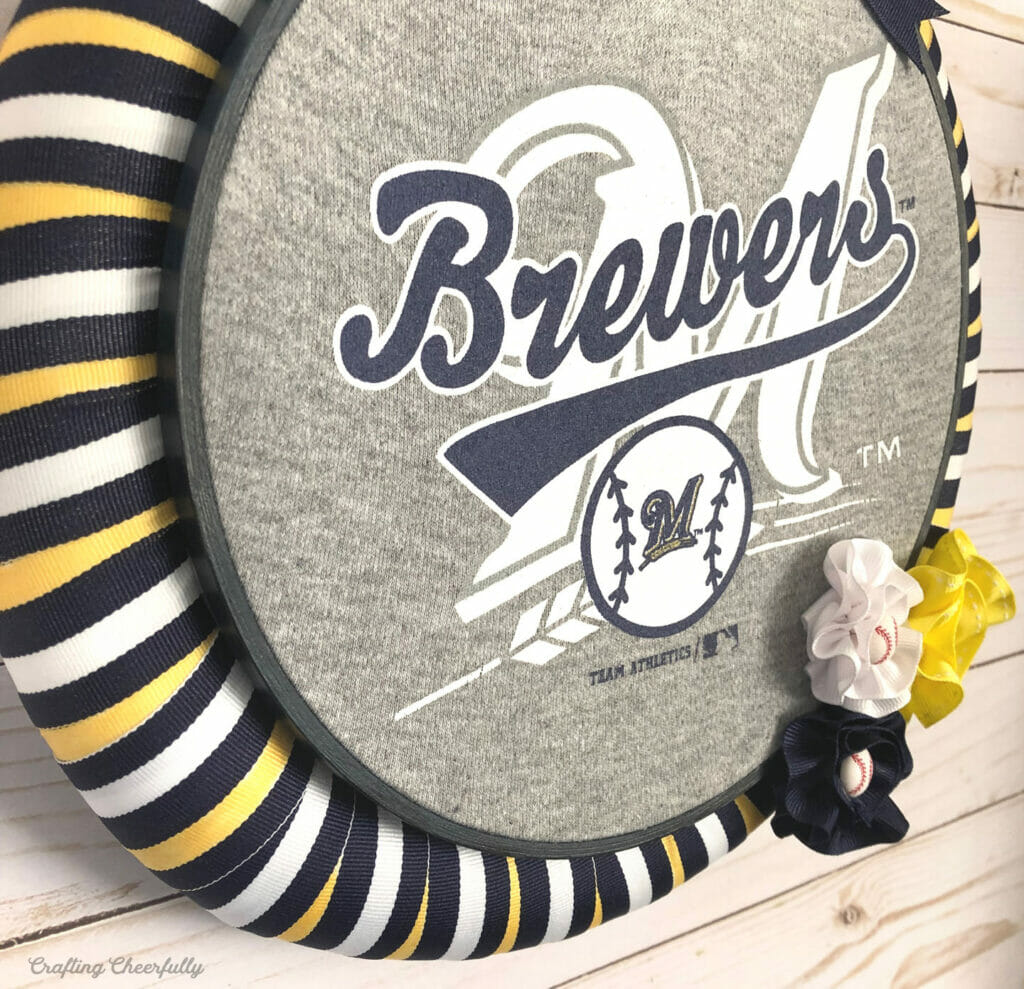
Happy Opening Day! Today marks the first day of baseball season and it is finally starting to feel like spring! I have a fun tutorial today for upcycling an old baby bodysuit or child’s shirt and turning it into an awesome DIY baseball wreath you can keep up all summer long.
While doing some spring cleaning this year, I came across a bunch of old baseball bodysuits my kids wore when they were babies. I used one of the bodysuits to create this wreath and love how it turned out! You can use a child’s shirt or even an adult t-shirt that has a smaller graphic print on the front.
The baby bodysuit was perfect for my 9″ embroidery hoop. If you have a larger graphic, size up with both your embroidery hoop and the size of the foam wreath. Official baseball clothing can be pricey, so this is a great project for upcycling something your kids have out-grown, stained or ripped – just so long as the sports graphic is in decent shape you can use it!
Below is the tutorial for creating this wreath! This tutorial can be used for any sports team and also for any type of sport. It would also be fun for a college University wreath.
DIY Baseball Wreath
Supplies Needed
- Baseball bodysuit or kid’s shirt with a graphic featuring your favorite sports team
- 9″ embroidery hoop
- 11.7″ Foam wreath form
- Acrylic paint in your team’s colors
- Ribbon to wrap the wreath
- Needle and thread for ribbon flowers or pre-made fabric flowers
- Baseball buttons
- Hot glue gun

Step by Step Tutorial
Step One: Stretch the shirt design in an embroidery hoop. This wreath uses an embroidery hoop to display the shirt graphic. After painting my embroidery hoop navy blue, I cut open the back of my baby bodysuit so I could frame the graphic that was on the front. At first the image wasn’t very centered in my hoop, but I kept stretching the bodysuit until the image looked nice and was centered.

Cut away the rest of the bodysuit so only a small amount is left on the back of the hoop. Use a running stitch around the edge of the fabric. Pull the thread so the fabric gathers and is held in place on the back of the hoop.


Step Two: Wrap the foam wreath form with ribbon. I chose to use a striped ribbon in blue and white. To add the yellow, I used one of my kids’ markers, a yellow Pip-Squeak, and colored every other white stripe yellow. It worked out really well. I’m not sure if the color will fade, but since my wreath is living indoors it should be fine. We’ll see!


Step Three: Make ribbon flowers. My flowers were made using 10-12″ strips of ribbon in yellow, blue and white. I used a running stitch along one of the edges of the ribbon and then pulled the thread which gathered the ribbon. I then wrapped the ribbon into circles and stitched in place.
There are lots of fun tutorials on Pinterest for making ribbon and fabric flowers. Joann’s also sells some pre-made fabric flowers! I found these fun baseball buttons at Joann Fabrics to add to the center of each of my flowers.

Step Four: Time to assemble the wreath. Glue the embroidery hoop with your graphic to the center of the foam wreath form. I used hot glue.

Pin the flowers in place to get an idea of layout then glue them down. Add baseball buttons to the centers of each flower with more glue – or stitch them in place.


Optional – add a bow to the top of the embroidery hoop!

Be sure to add a ribbon loop to the back of the wreath so it can be hung up!
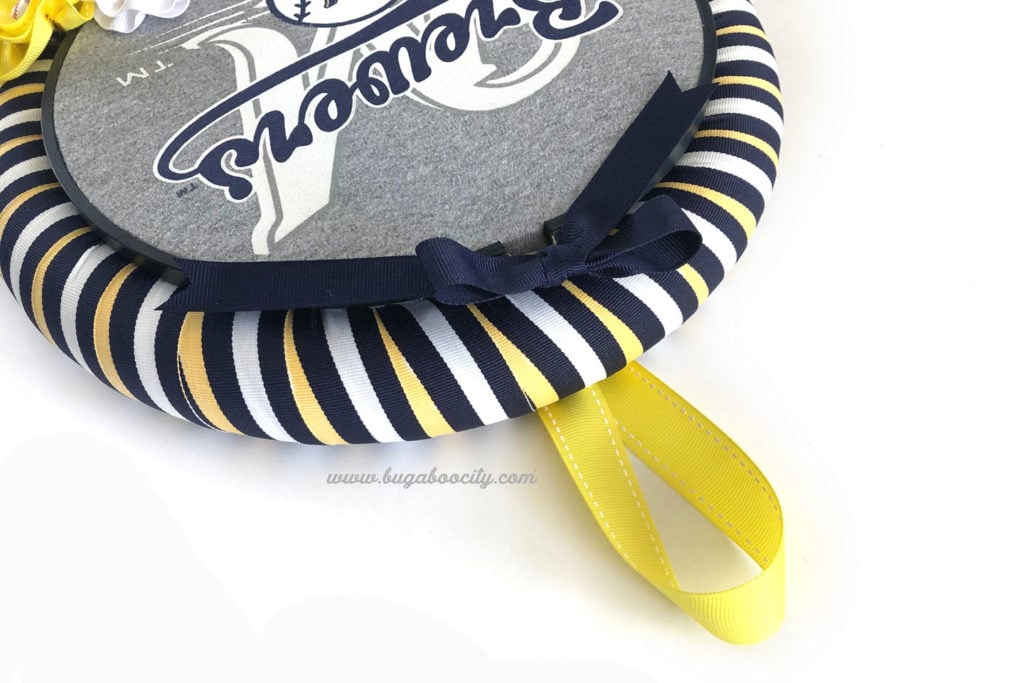
The wreath is finished!! Yay!

I love how fun this wreath turned out! It was a great way to upcycle one of our baby onesies! Plus, seeing the wreath reminds me of my little ones which is always nice :)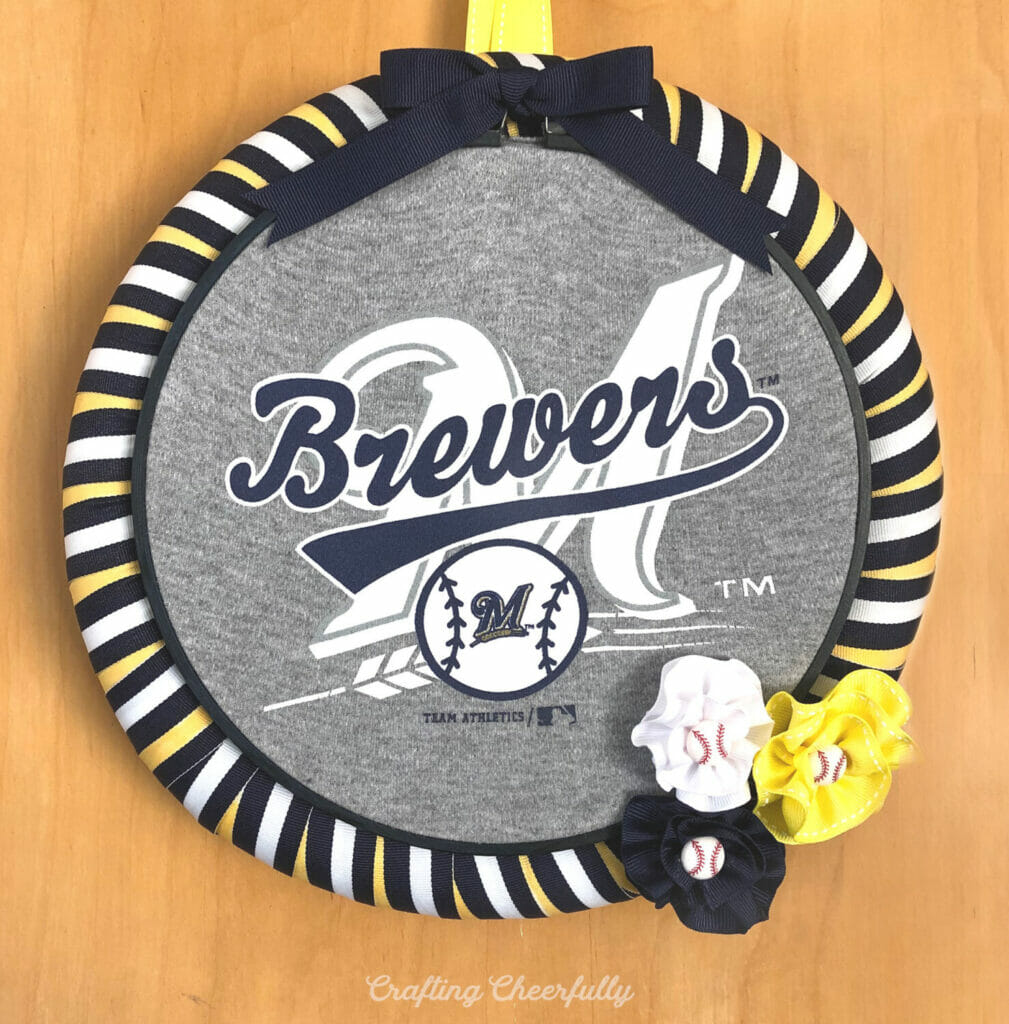
Do you have any old sports shirts or bodysuits you could upcycle? This wreath is a fun way to celebrate any sports team!
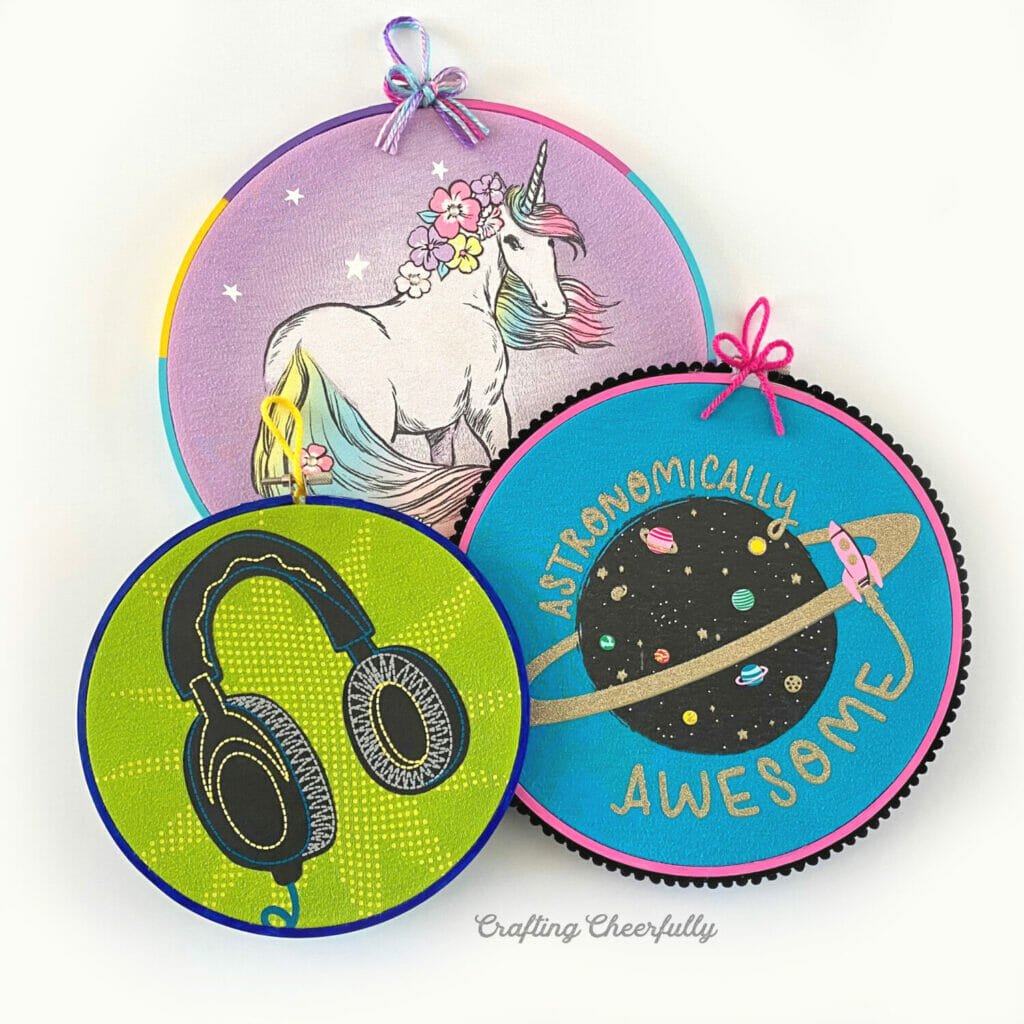
This isn’t my first time upcycling old clothing with an embroidery hoop! Check out my DIY Kids Wall Art for another fun upcycling project.


