DIY Beer Advent Calendar
Learn how to create a DIY Beer Advent Calendar for someone special. This makes a great gift for anyone who loves craft beer and this Christmas countdown can be used year after year! Download the free printable number labels to help create your own!
Hello Crafty Friends! For the last few years, I have done a “12 Days of a Beer Christmas” for my husband, gifting him a beer each day for the 12 days leading up to Christmas. It is such a fun holiday tradition and the perfect gift for my craft-beer loving husband! This year I stepped up my game and created this awesome DIY beer advent calendar! I love how it turned out and plan to use it year to year.
I have seen lots of beer advent calendars on Pinterest and love the ones that use circular mail tubes. After looking into them, I realized they would cost more than I wanted to spend. In my search for more affordable round ones, I came across these square mailing tubes on Amazon that were cheaper and came in a bundle of 25 – perfect! I know many advent calendars are just 24 days, but I decided to do 25 so there would be a box to open on Christmas Day.
The mailing tubes are a great size and will fit just about any can or bottle of craft beer. I sometimes get my husband bombers and larger special release beers and they still fit in these square mail tubes! Below you can see all the different size beers I was able to fit in the mail tubes :)

DIY Beer Advent Calendar
Filling and Storing the Advent Calendar
Update: This upcoming Christmas 2022 will be my seventh year using the original advent calendar I created. It has held up so well! I store it in a large unscented garbage bag throughout the year. Some of the cardboard tabs used to open the boxes have become a little worn, but the boxes can still stay closed and can easily be opened.
If you do this calendar year after year as I have, it can be fun to come up with themes! Last year I did a calendar filled with all local beers and found 25 beers from 25 different local breweries – including some new breweries my husband hadn’t tried yet. The year before I filled the calendar with all seasonal beers just available for the winter season.
Another fun addition to the calendar has been adding a special surprise along with a beer in box 25. In years past I have added tickets to tour a local brewery in the last box. I scheduled the tour for a day in January as a fun date day after the craziness of the holidays. A beer tour is perfect for exploring and supporting local breweries!
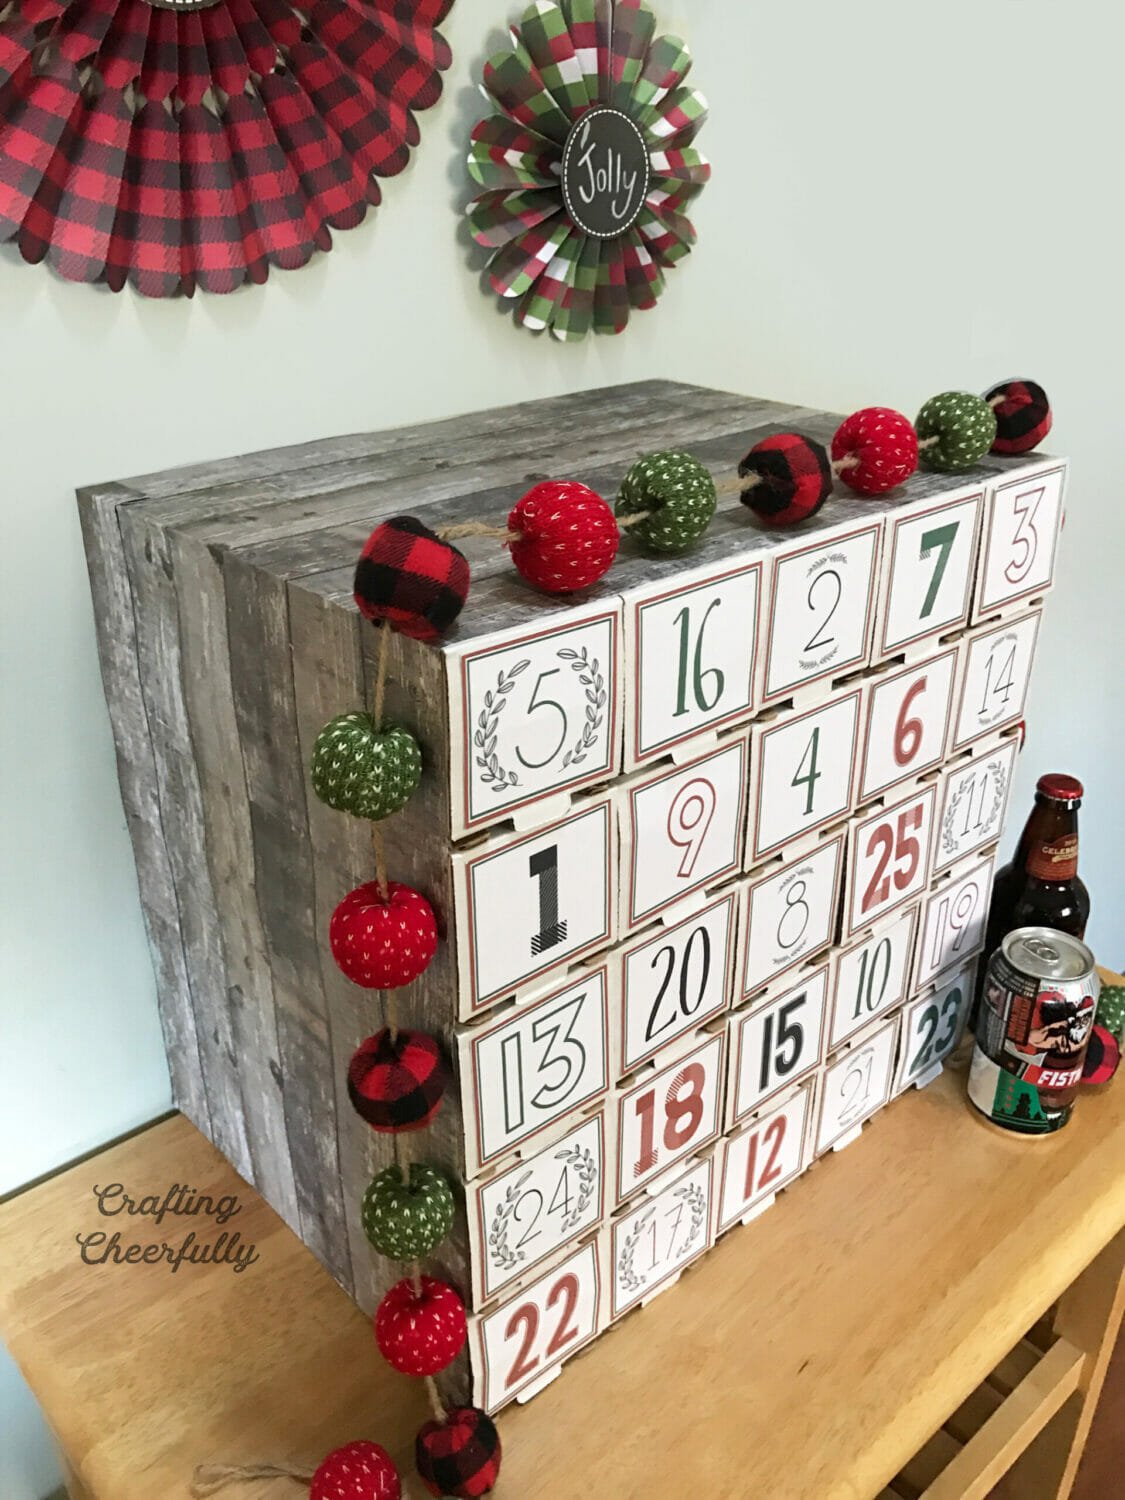
Using the Advent Calendar
Each day the recipient of the calendar can open one of the doors and find a new beer waiting for them. My husband opens one of the doors each morning before he heads to work and puts the beer in the fridge so it is cold for that evening. It’s a fun way to count down the days until Christmas!
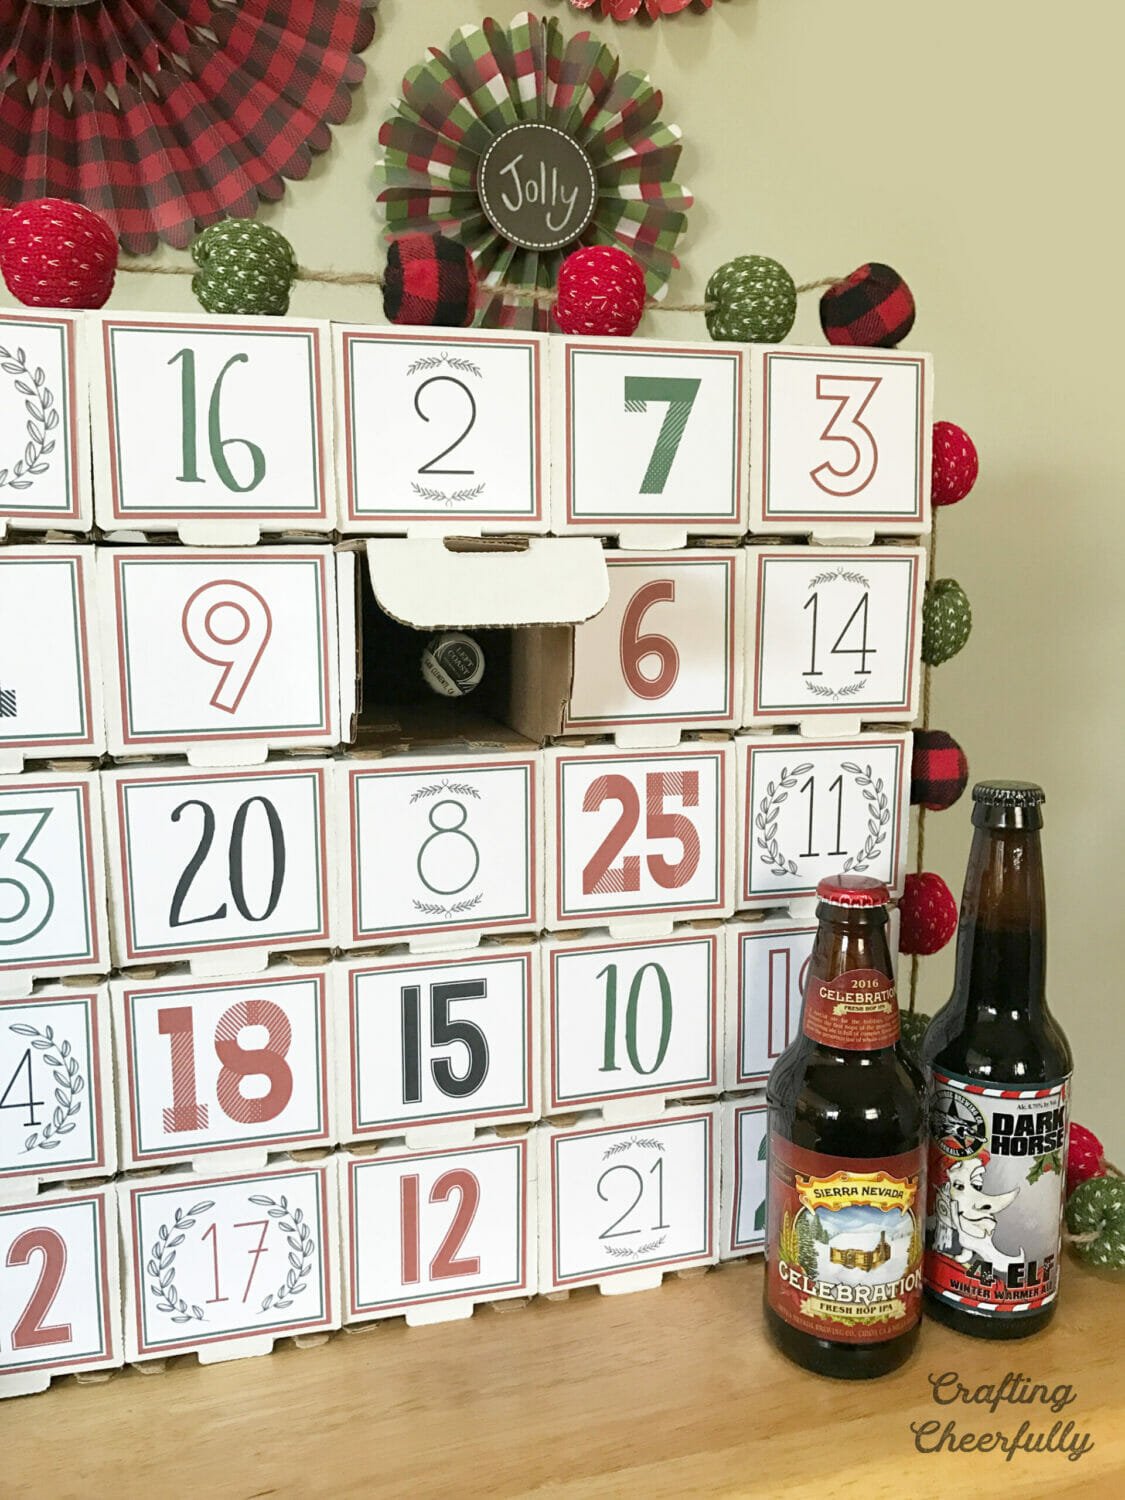
Supplies Needed:
- Pack of 25 square mailing tubes that each measure 3″ x 3″ x 12″. The boxes I originally purchased have gone up in price so I’ve added a few more option that look to be the exact same.
- BOX USA square mailing tubes
- Tape Logic square mailing tubes
- Aviditi square mailing tubes (these are the ones I used)
- 6 sheets of 12″x12″ scrapbook paper with a wood pattern
- Adhesive like a Tape runner, double-sided tape or a gluestick
- Clear Packing tape
- Number labels! You can create your own using stickers or download my free printable number labels! They use slightly different fonts than what is in the pictures but are very similar. Grab the free number labels by filling out the purple form at the end of this post.
Assembly Instructions
Step One: Assemble the mailing tubes.
Assemble 25 mailing tubes by cutting off the cardboard tab on one end of each tube. This end will be the one that is opened.

Step Two: Label the tubes.
Label each tube with numbers 1 through 25. You can do this with my free printable number labels (grab the files by filling out the form at the end of this post). You can also create your own using colored, stickers, stamps or create them on the computer like I did. My free packet includes blank labels if you’d like to add your own sticker numbers. Each finished label should measure 3″ wide by 2.75″ high to fit the 3″ x 3″ tubes.
Glue or tape each label to the end of the box that has the tab removed from it.
Step Three: Build the calendar by stacking the cardboard tubes.
Arrange the packing boxes in 5 rows of 5 boxes. It took me awhile to arrange the boxes so I didn’t have too many boxes with the same color or font next to each other. I also tried to arrange them so that the boxes would empty out on top first rather than on the bottom just to help keep things from becoming top-heavy.
Once you the boxes arranged, use packing tape to wrap each row separately and then tape all of the rows together. A second pair of hands comes in handy for this part! It worked out that my mom was over while my husband was at work and she helped to hold the tubes together as I taped.


Step Four: Cover the sides and top of the advent calendar.
Cover the box with wood patterned paper. You can find this at craft stores like Joann Fabrics or Michaels in the scrapbook paper section. It took five 12″ x 12″ sheets of paper to cover the top and sides of the box. I did not bother covering the bottom or back. Use a scissors or paper trimmer to cut them to the correct size.

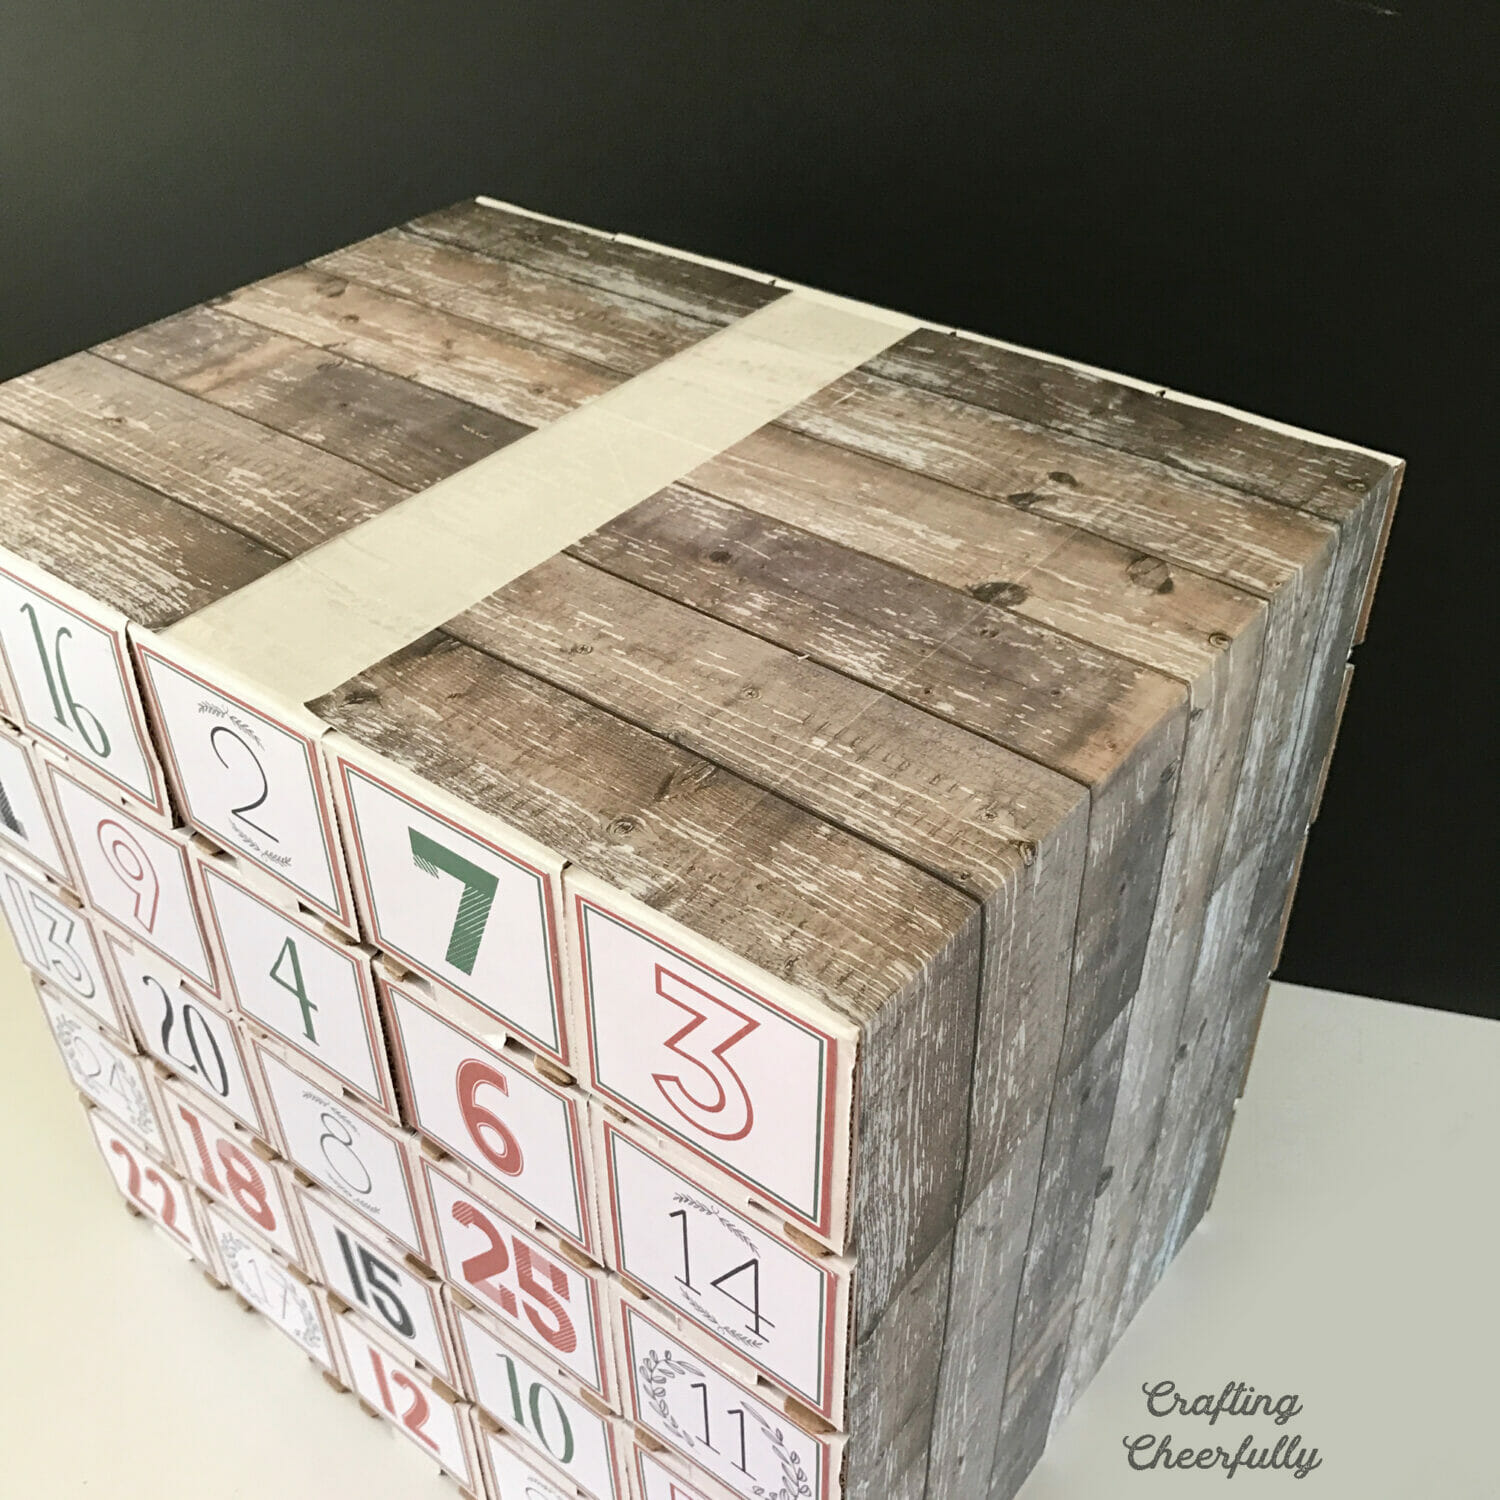
There was a thin line of white box still showing along the back, so I cut thin strips from the sixth sheet of paper to cover the gaps.

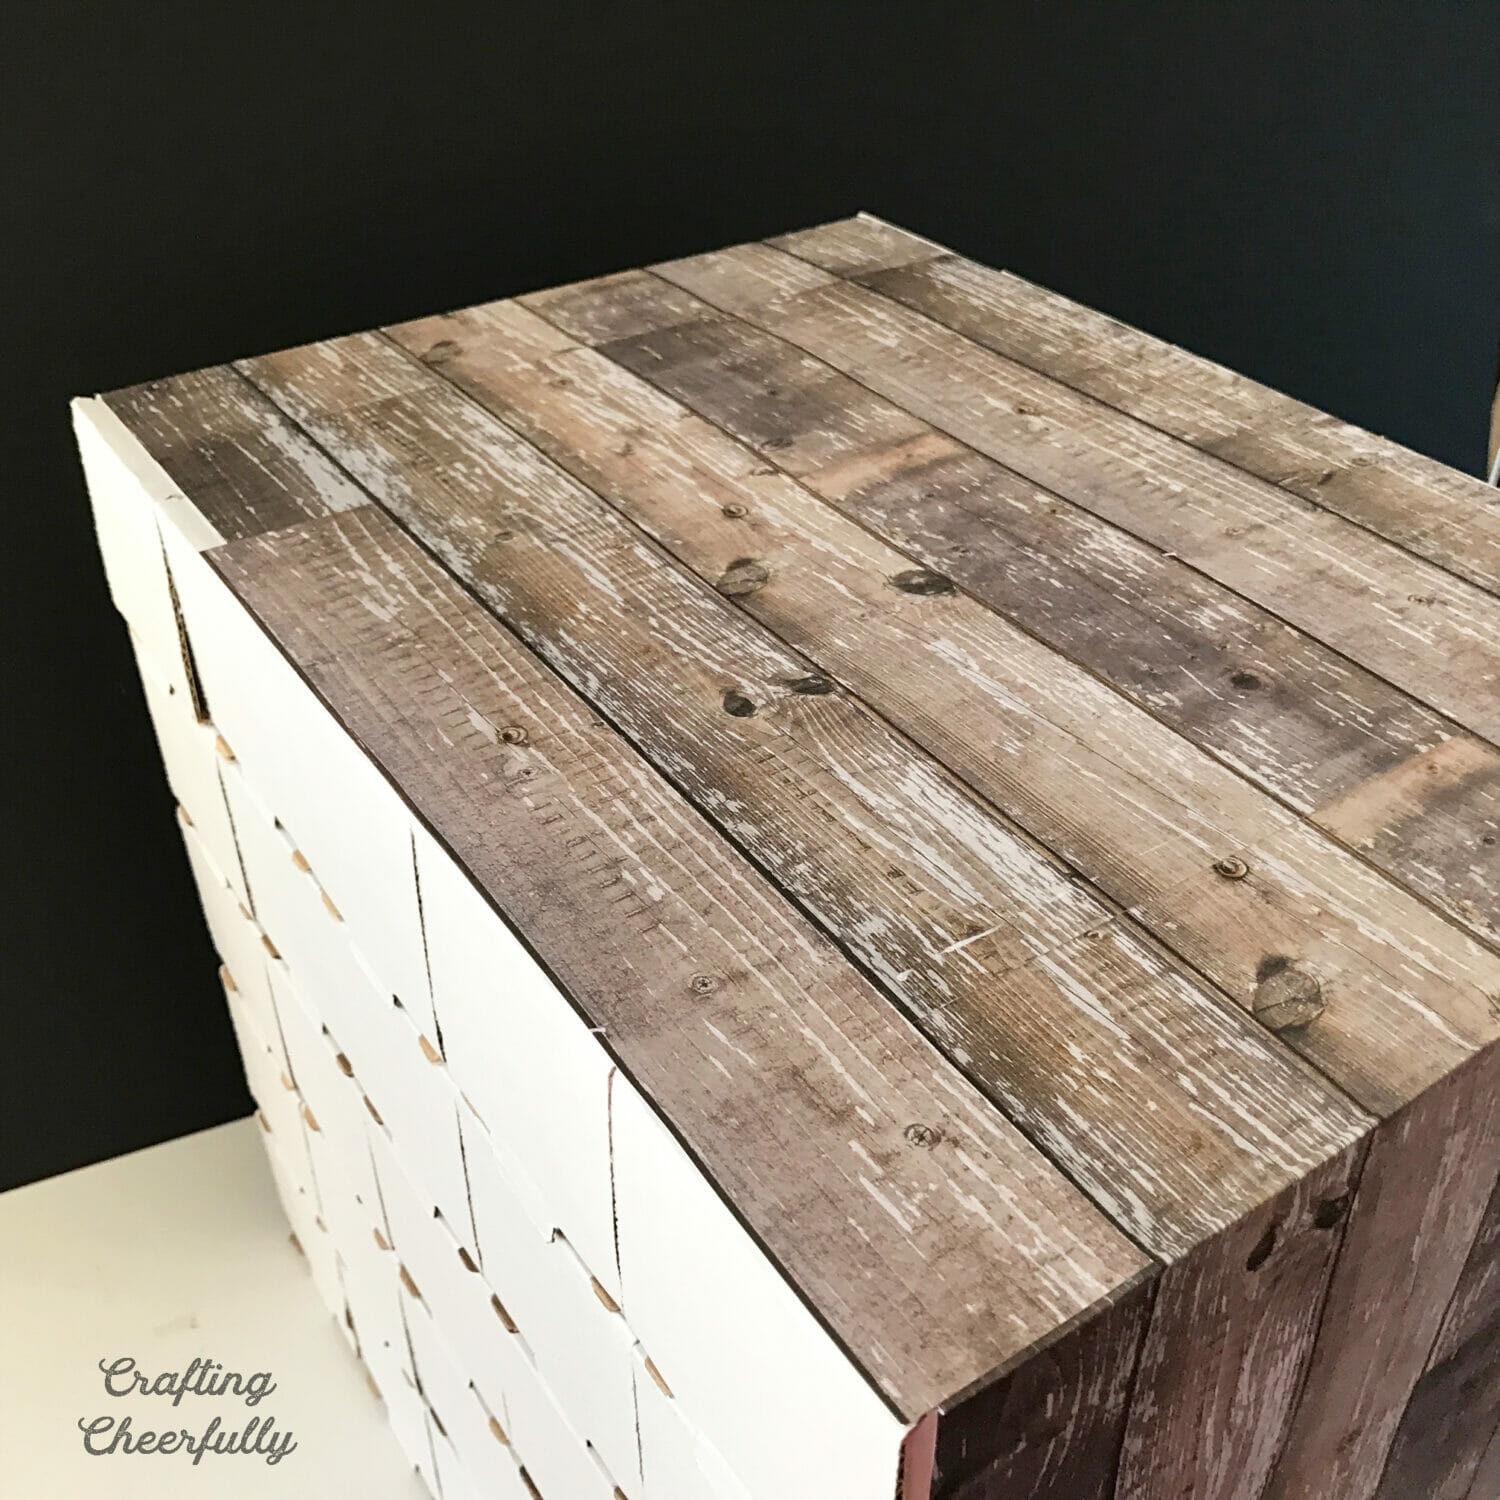

Filling the Calendar with Beer
The beer advent calendar was finished and I was ready to fill it with beer!! It did get heavy once it was full. If you think it will be too heavy to lift, you can set it in its final spot before filling it. I filled it on the floor tipped up and was fine to lift it onto our counter where it would sit for the month of December!
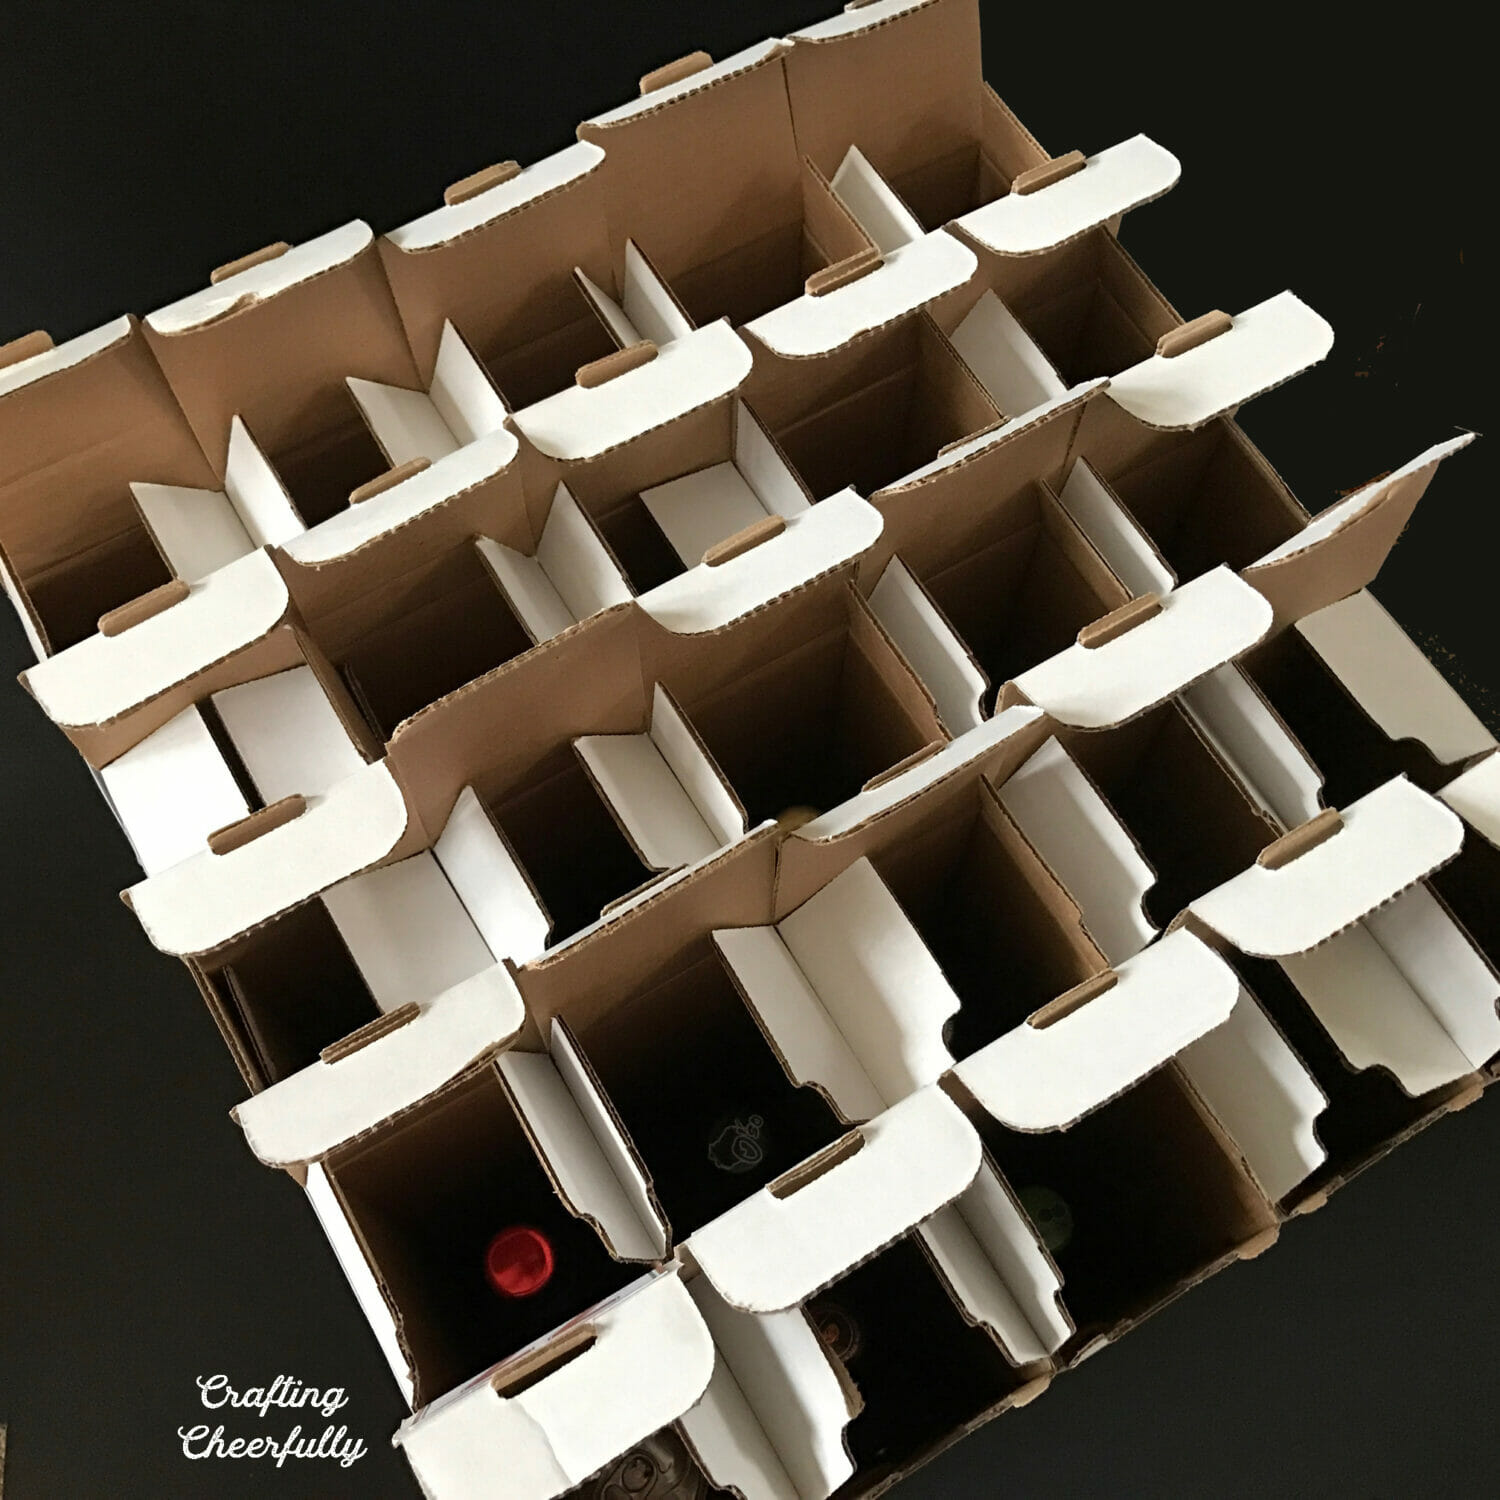
If you know the recipient of this calendar will want to enjoy a beer each evening, encourage them to open the calendar in the morning and put the beer in the fridge for the day. If some of the beers you purchase are already cold, keep them in the fridge hidden until their day. Add a piece of paper with the name of the beer to the boxes.

When the advent calendar is done being used, pack it up and save it for next year! The best part of this calendar is it is reusable. Make it once and use it again and again. I store mine in a large unscented garbage bag with our holiday decorations. Then in November, pull it out and start searching for fun beers to fill it with! Check out my other Christmas crafts including my more handmade Advent Calendars!

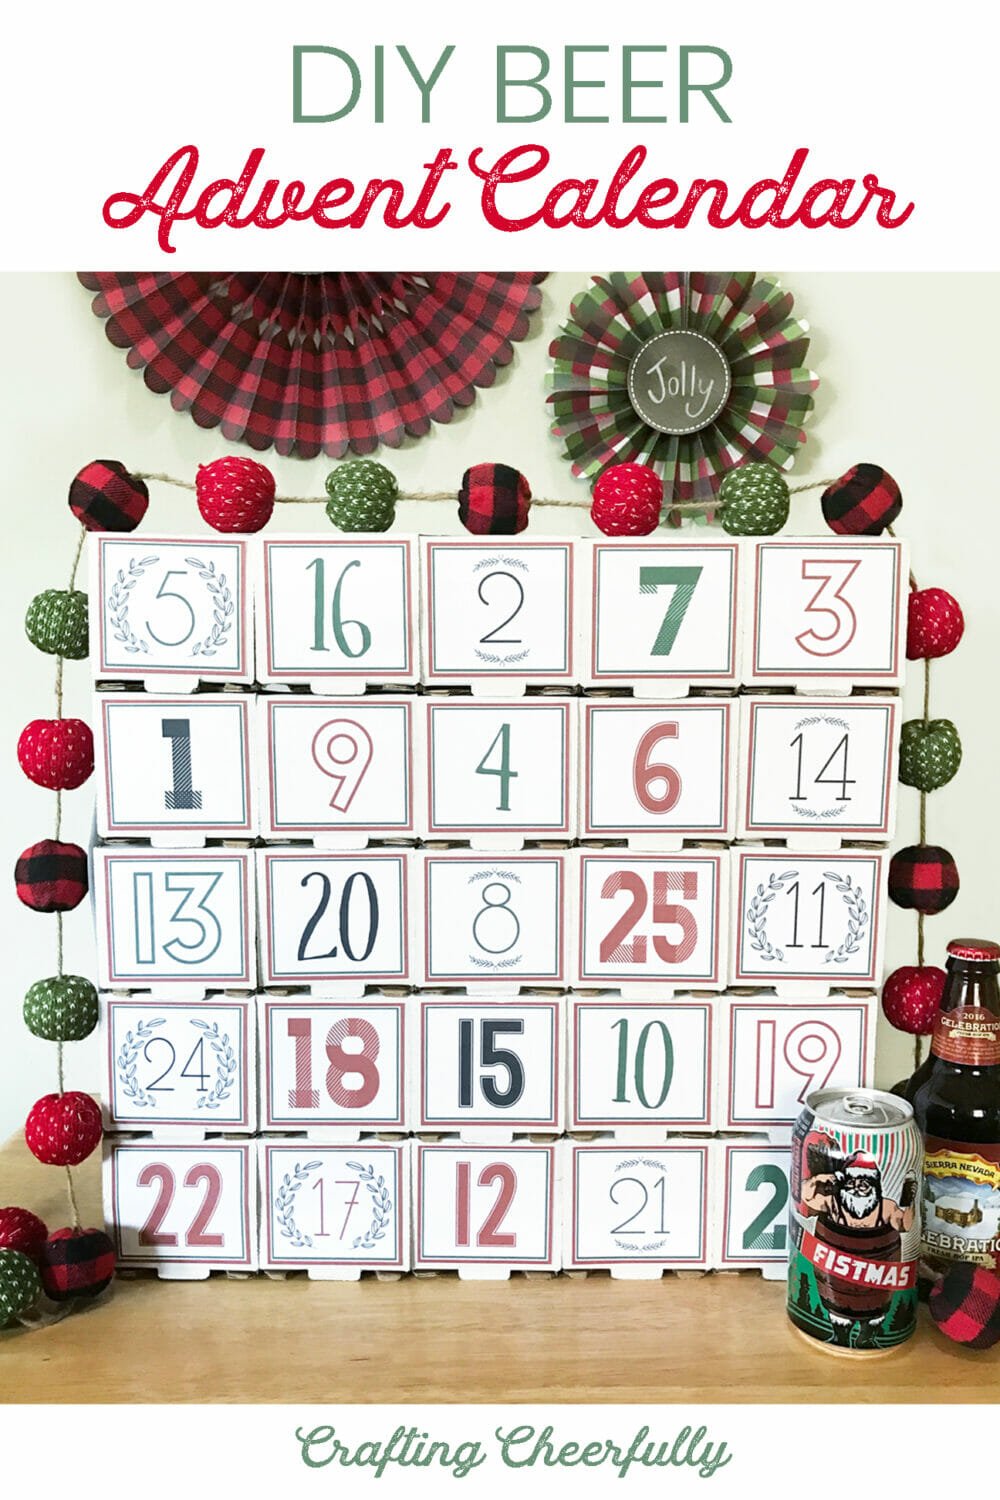
Get the Free Number Labels!
Fill out the purple form below with your first name and email address! The free file will be sent straight to your inbox! If you have already filled out the form below, don’t worry – you won’t be added to my list twice! This freebie is for personal use only. I hope you enjoy crafting something special. Please let me know if you have any questions :)


One Comment