DIY Recycle Bin with Adhesive Foil
Turn a plain trash can into a pretty recycle bin using adhesive foil. Perfect for your office or craft area!

With Earth Day coming up this weekend, I thought this would be the perfect time to share this Recycle Bin DIY project! As a crafter, I end up with a lot of paper scraps. While I do save a lot of my scraps for other projects, I still end up with lots of paper that is too small or ripped that needs to be recycled. I finally decided I needed a separate trash bin in my craft area just for paper, and why not make it look pretty? :)

I found these nice white trash bins at Target for under $5 each. I liked how thin they were since I could squeeze them into my small craft area side by side. I added the recycle symbol to both the front of the trash bin and the side so that no matter how I placed it in my craft area, I’d see the symbol.

Below is the tutorial for making these DIY Recycle Trash Bins. I used Cricut Adhesive Foil I had on hand and love how fancy it makes my recycle bin! Check out my other Earth Day recycled crafts for more fun craft ideas!
DIY Recycle Trash Bin with Cricut Metallic Foil
Supplies Needed:
- Trash Can – I found a 7.5 L Umbra trash cans at Target.
- Cut File in Cricut Design Space
- Cricut Adhesive Foil in Rose Gold
- Transfer Tape (I used Stencil Material on I had on hand in the tutorial pictures but recommend Transfer tape)
- Cutting machine
- Standard Grip Mat
- Brayer
- Cricut Tools
- Painters tape *optional to help with placement of the design on your trash bin

Step by Step Tutorial
Step One: Cut the design with your cutting machine. I created my design in Cricut Design Space. I originally used a system font Poppins, but when I made a second trash can I used the Cricut font Cricut Sans. I made the design in two different sizes. One is large for the front of the trash can and measures 4.5″ wide. The second smaller design is 2.5″ wide and is for the front of the can.


Weed the designs using your weeding tool.
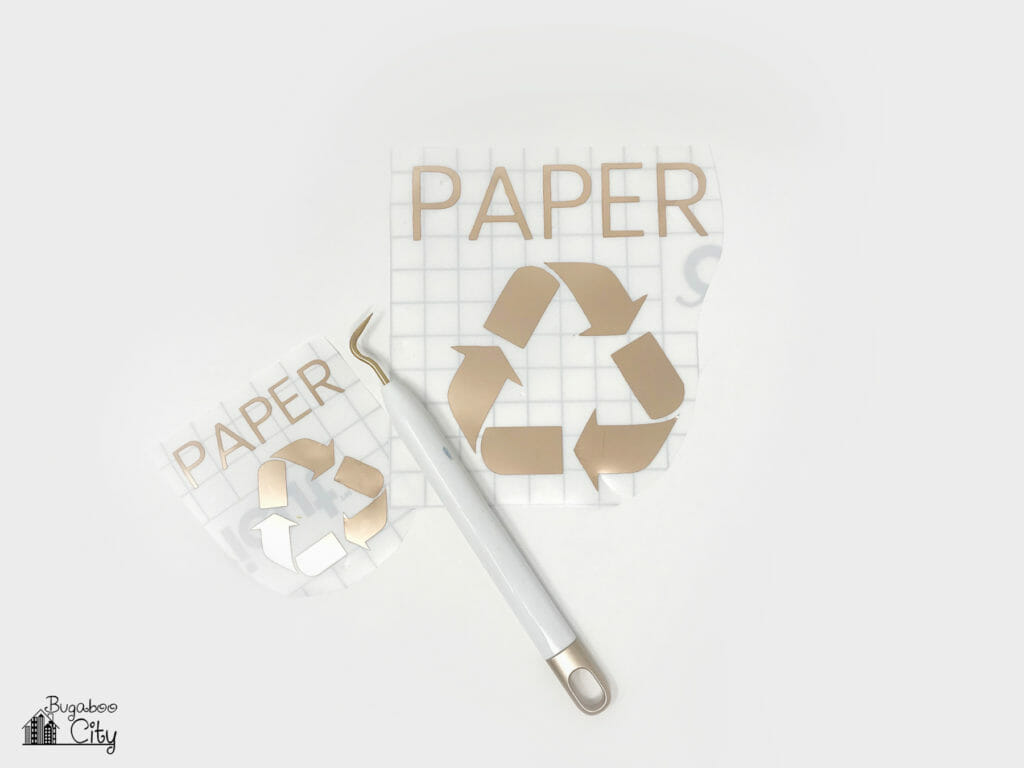
Step Two: Transfer the images to the waste paper basket. Use Transfer Tape to transfer your images onto the trash bin. I used Cricut Stencil Material which I had on hand. Line the grid of the Transfer Tape up with the word PAPER to help with placement.
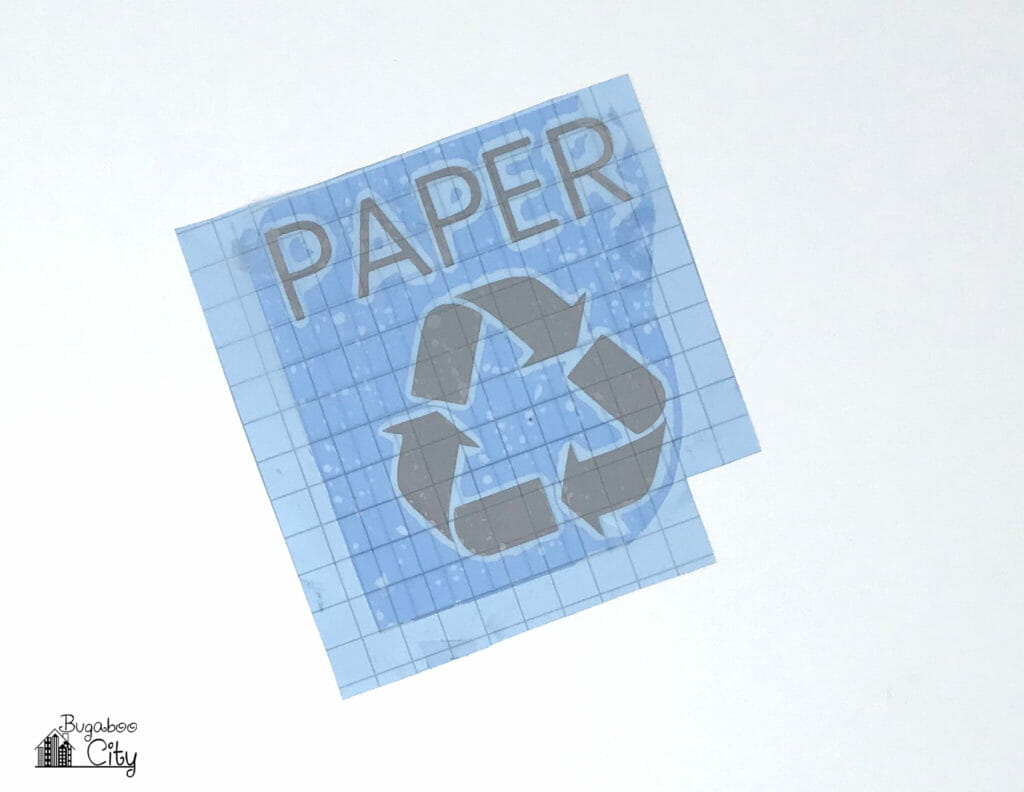
Place the Transfer Tape with your design onto the trash bin. I used painters tape to mark the center of my trash can and lined the center of my design up with that.


I added a smaller version of my design to the side of my trash bin following the same steps. You should be able to reuse the same piece of Transfer Tape a few times like I did with the Stencil Material.


The DIY recycle bin is all finished and looking awesome! It was fun to make something pretty that I normally wouldn’t have thought twice about. This will also help make recycling my paper scraps while crafting super easy!
Happy Earth Day!

![]()