Kid-Friendly Snowpal Ornaments
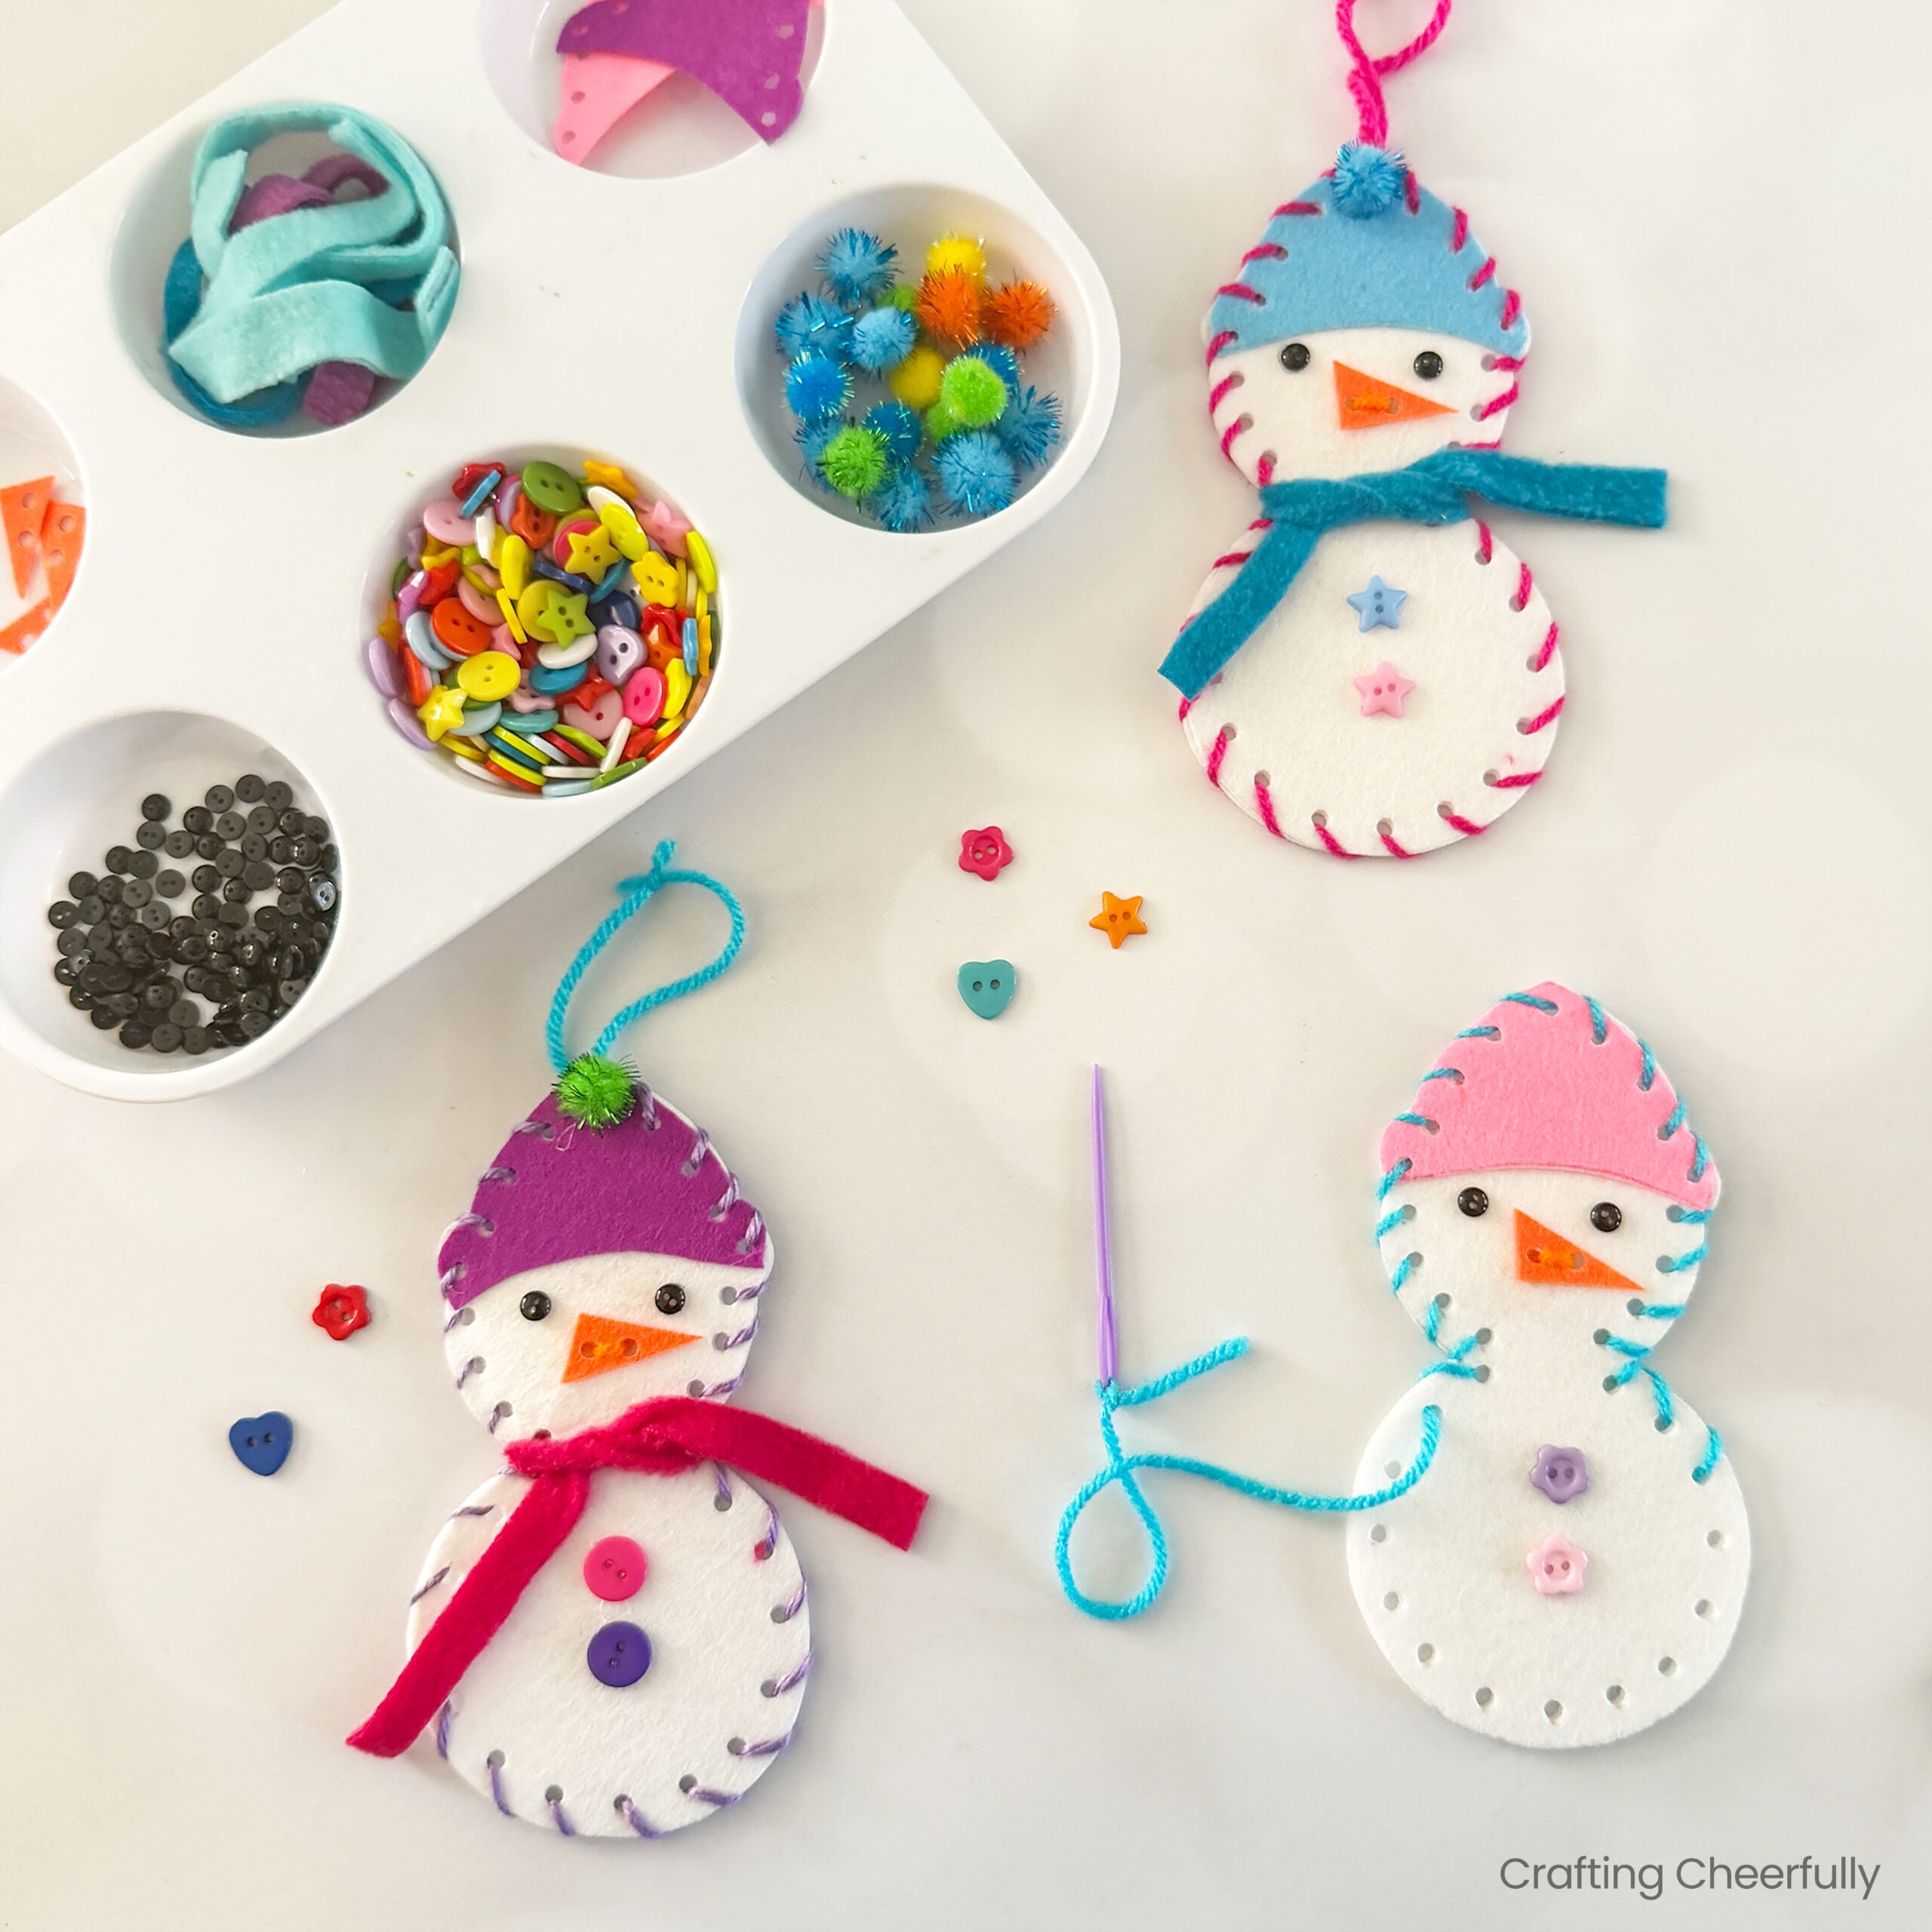
Create cute and colorful snowpal ornaments this holiday! These ornaments are kid-friendly and great for beginner sewers. Grab the free pattern to get started!
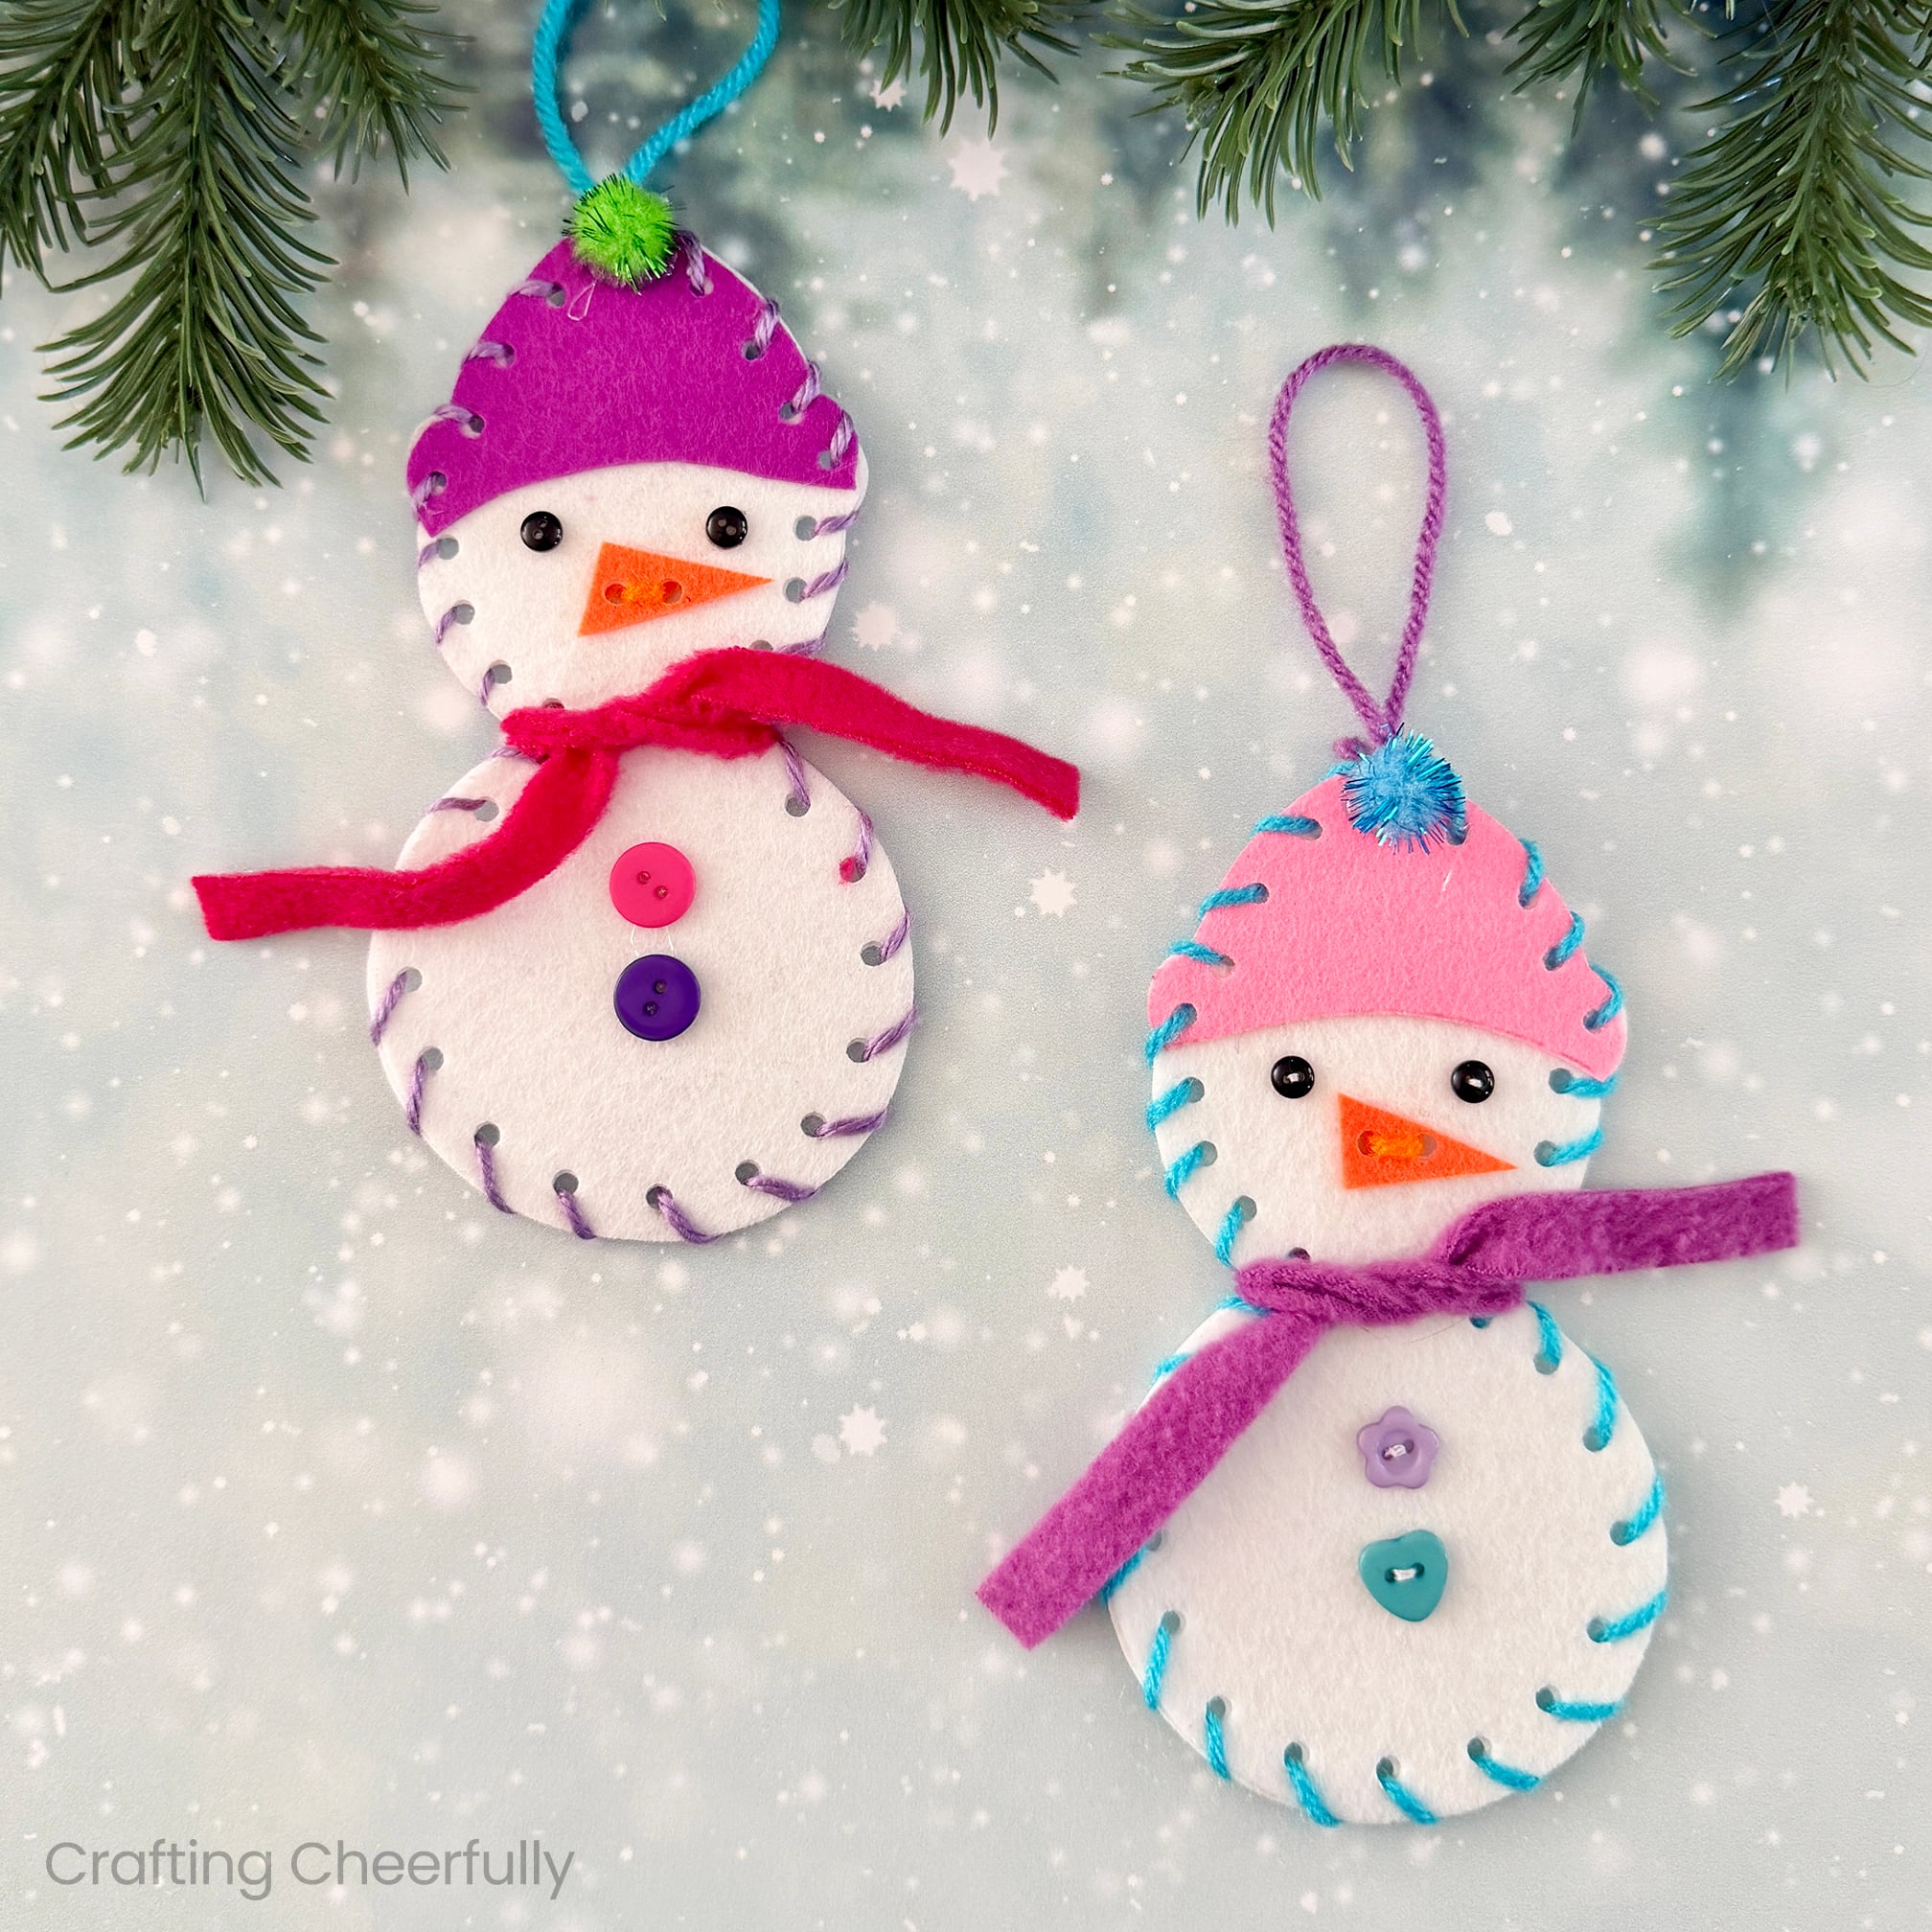
Hello Crafty Friends and welcome to Day Eight of my annual series 12 Days of Holiday Crafts! Today we’re making these adorable and kid-friendly snowpal ornaments! These are great for beginner sewers and perfect for kids interested in learning how to stitch.
Preparing this craft includes creating pre-punched holes which makes stitching the snowpal together easy with a large plastic needed. While their is a bit of prep that goes into setting up this craft, this time helps make the activity go well for kids, especially if they are sewing for the first time!
Making Snowgirl Ornaments with the Girl Scouts
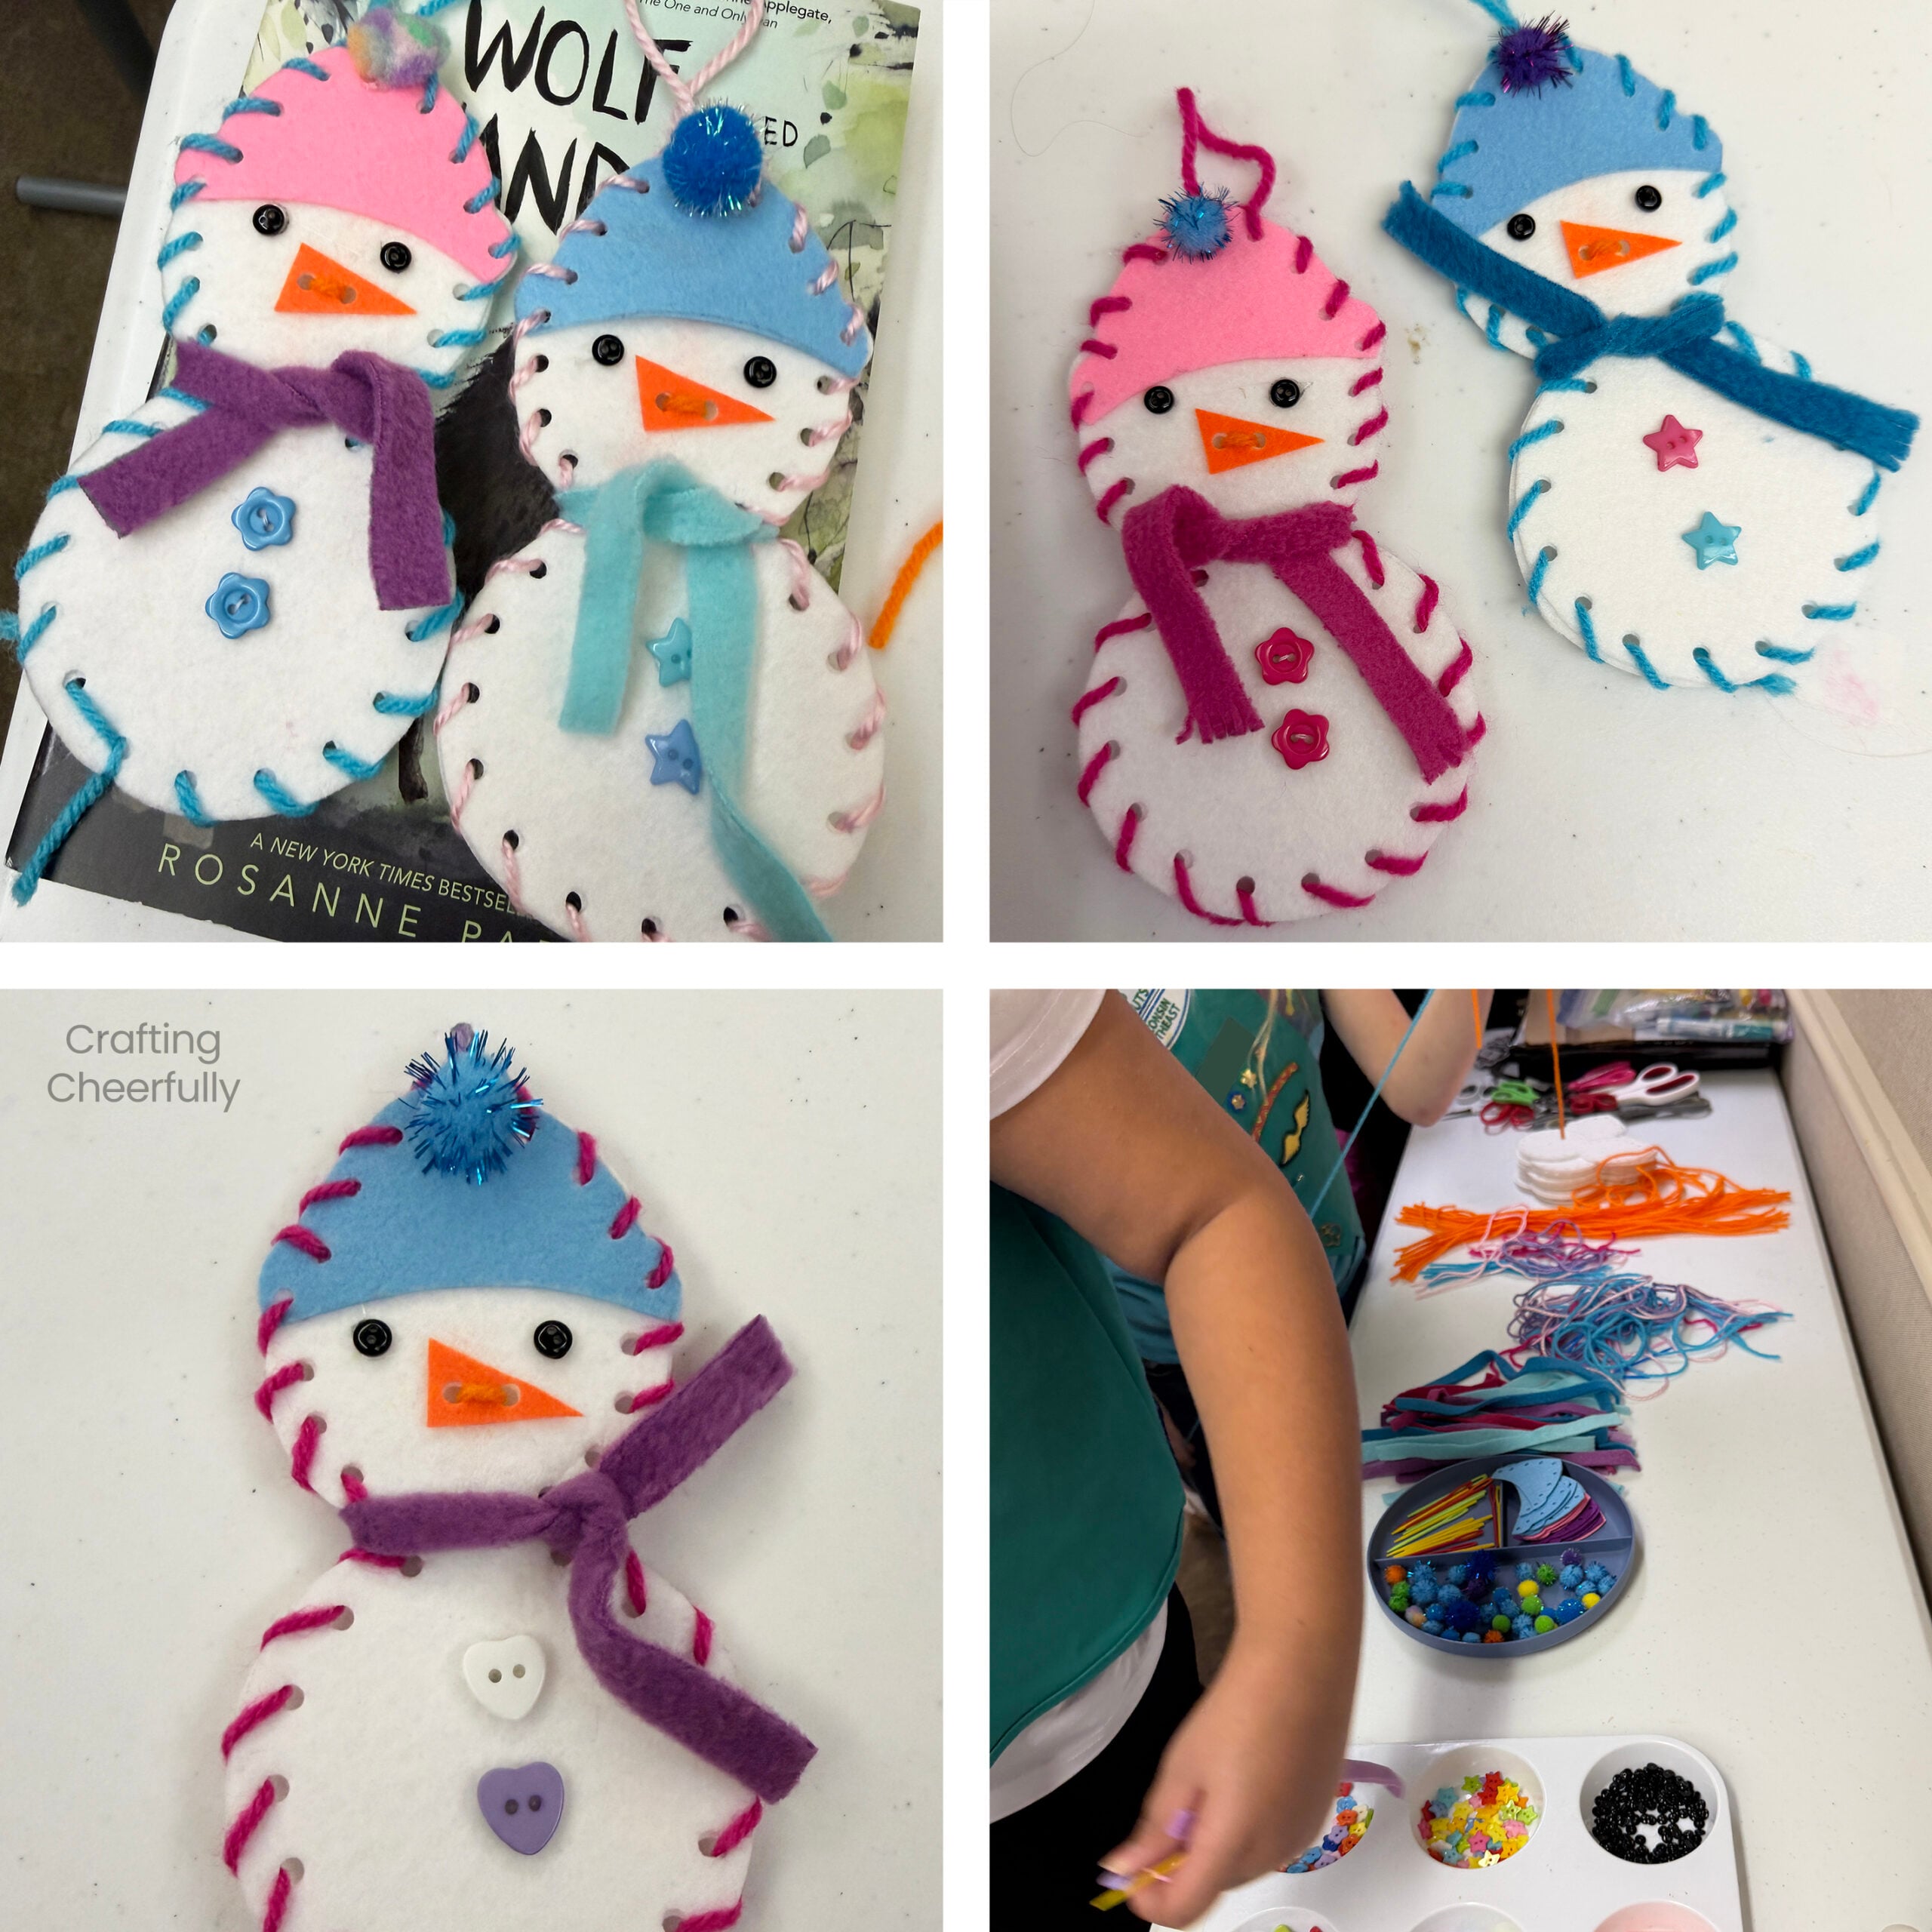
Last year we made these ornaments with a Girl Scout troop and it was a really fun project for the group. We calle them Snowgirls! It took a bit of time to prepare for a group of ten girls, but it was a great introduction to hand sewing and a cute ornament the girls could keep or gift.
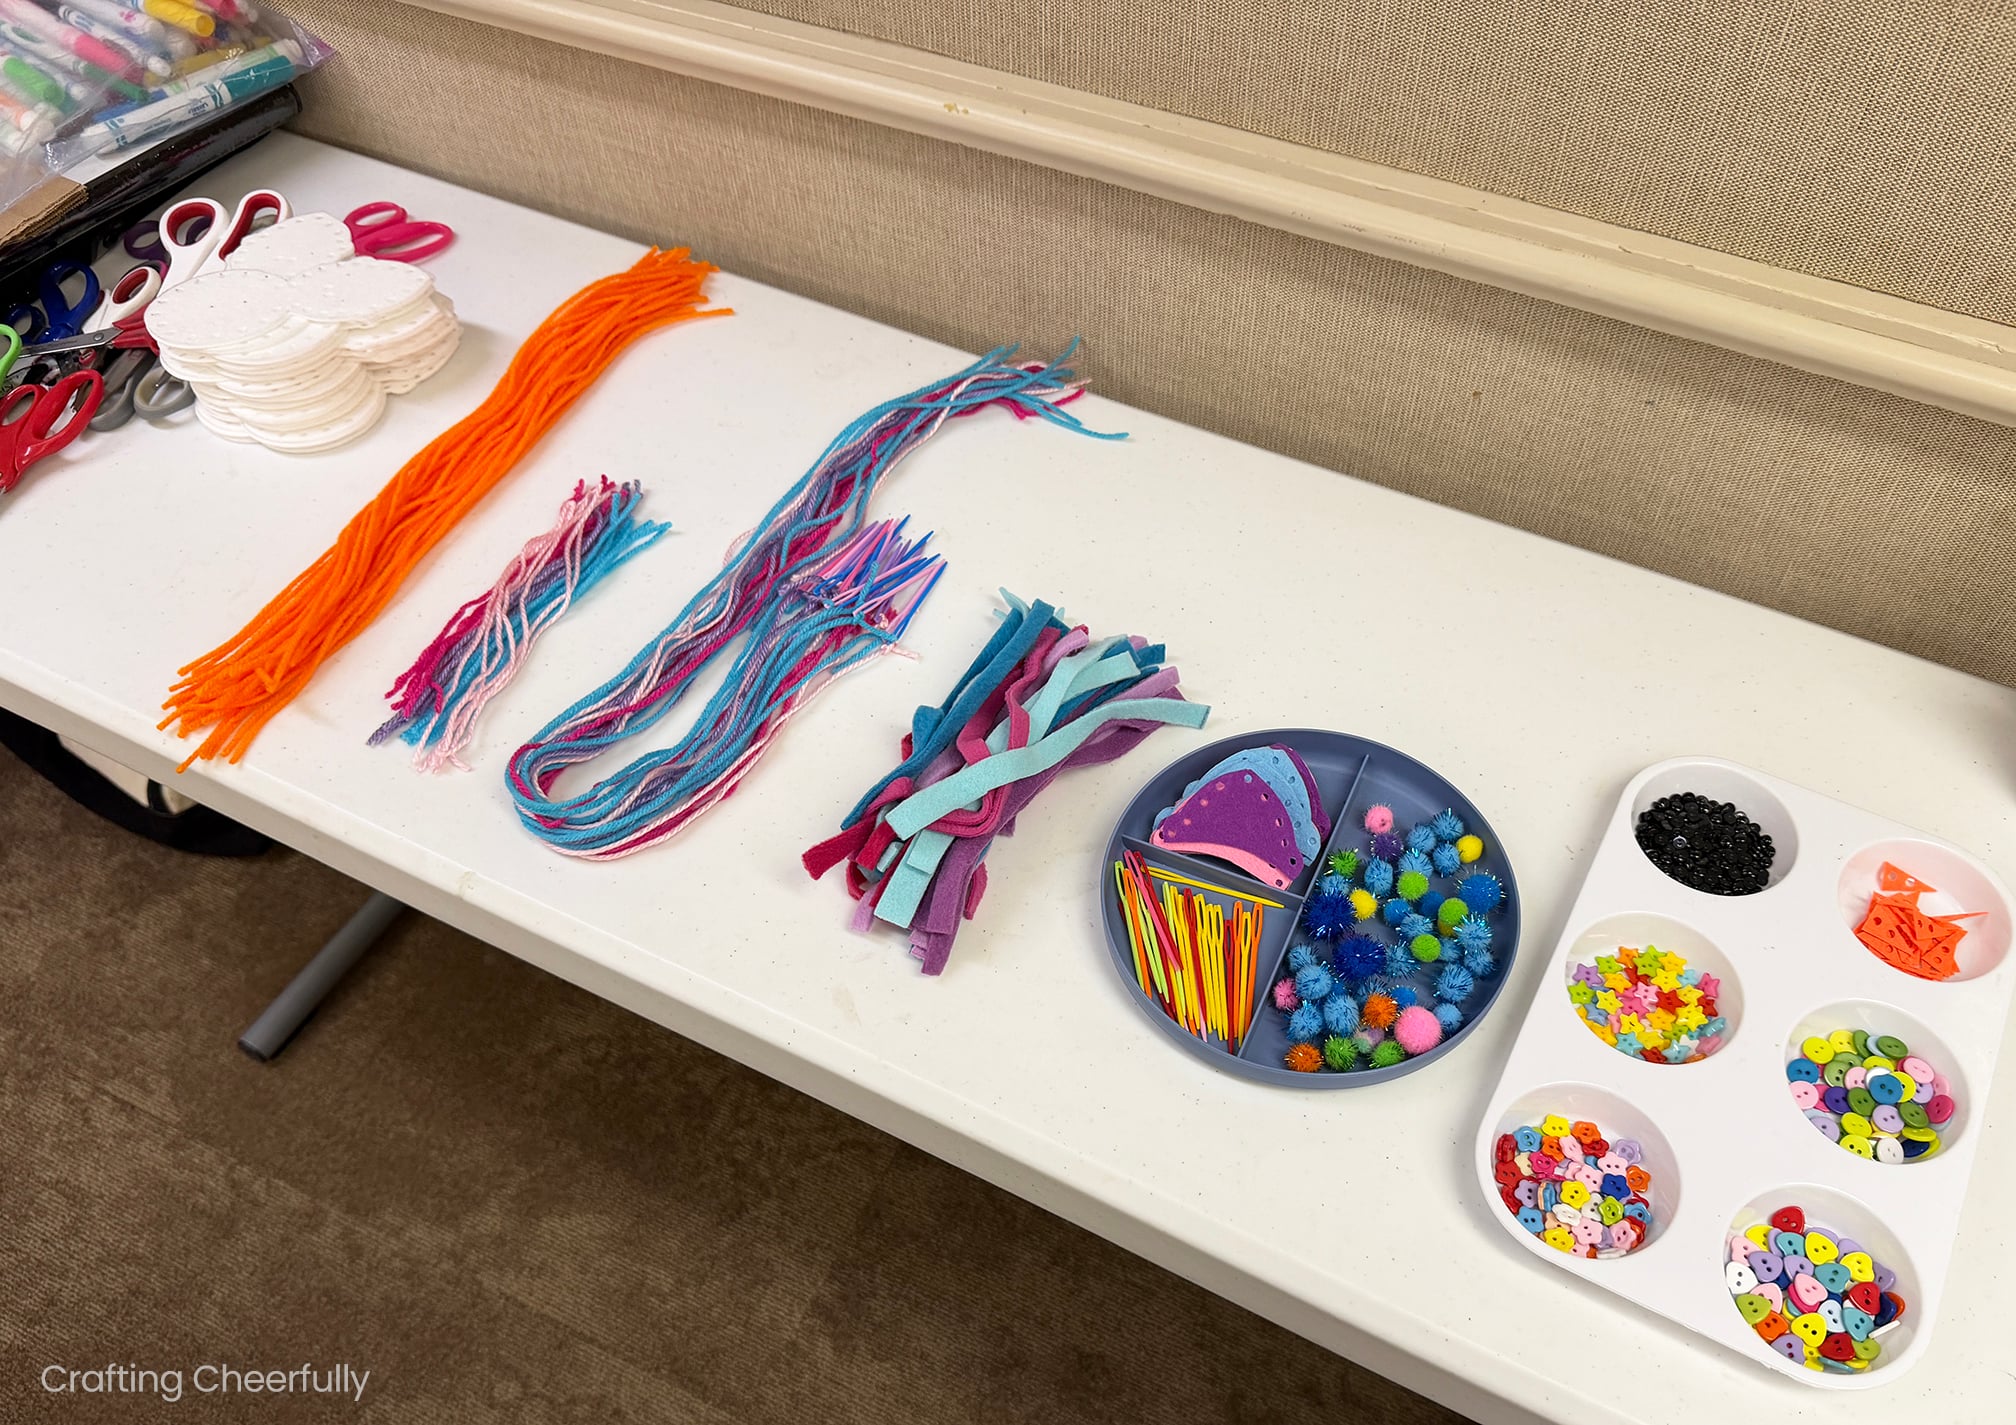
Below you can see how I set up the craft with all of the supplies prepped. The girls were able to go down the table and pick up all of the supplies they needed and put them into a bin to take to their table. I pre-punched the holes in the snowpal body, hat and noses and pre-cut their yarn for stitching the fleece for the scarves.
This set-up was great and it allowed the kids to pick the colors for the yarn, fleece scarves, pompoms, hats, buttons and more! It’s always fun when you get to choose your own colors for projects and it was cute to see the different combinations of color they created!
Below is the tutorial for making these cute snowpal ornaments!
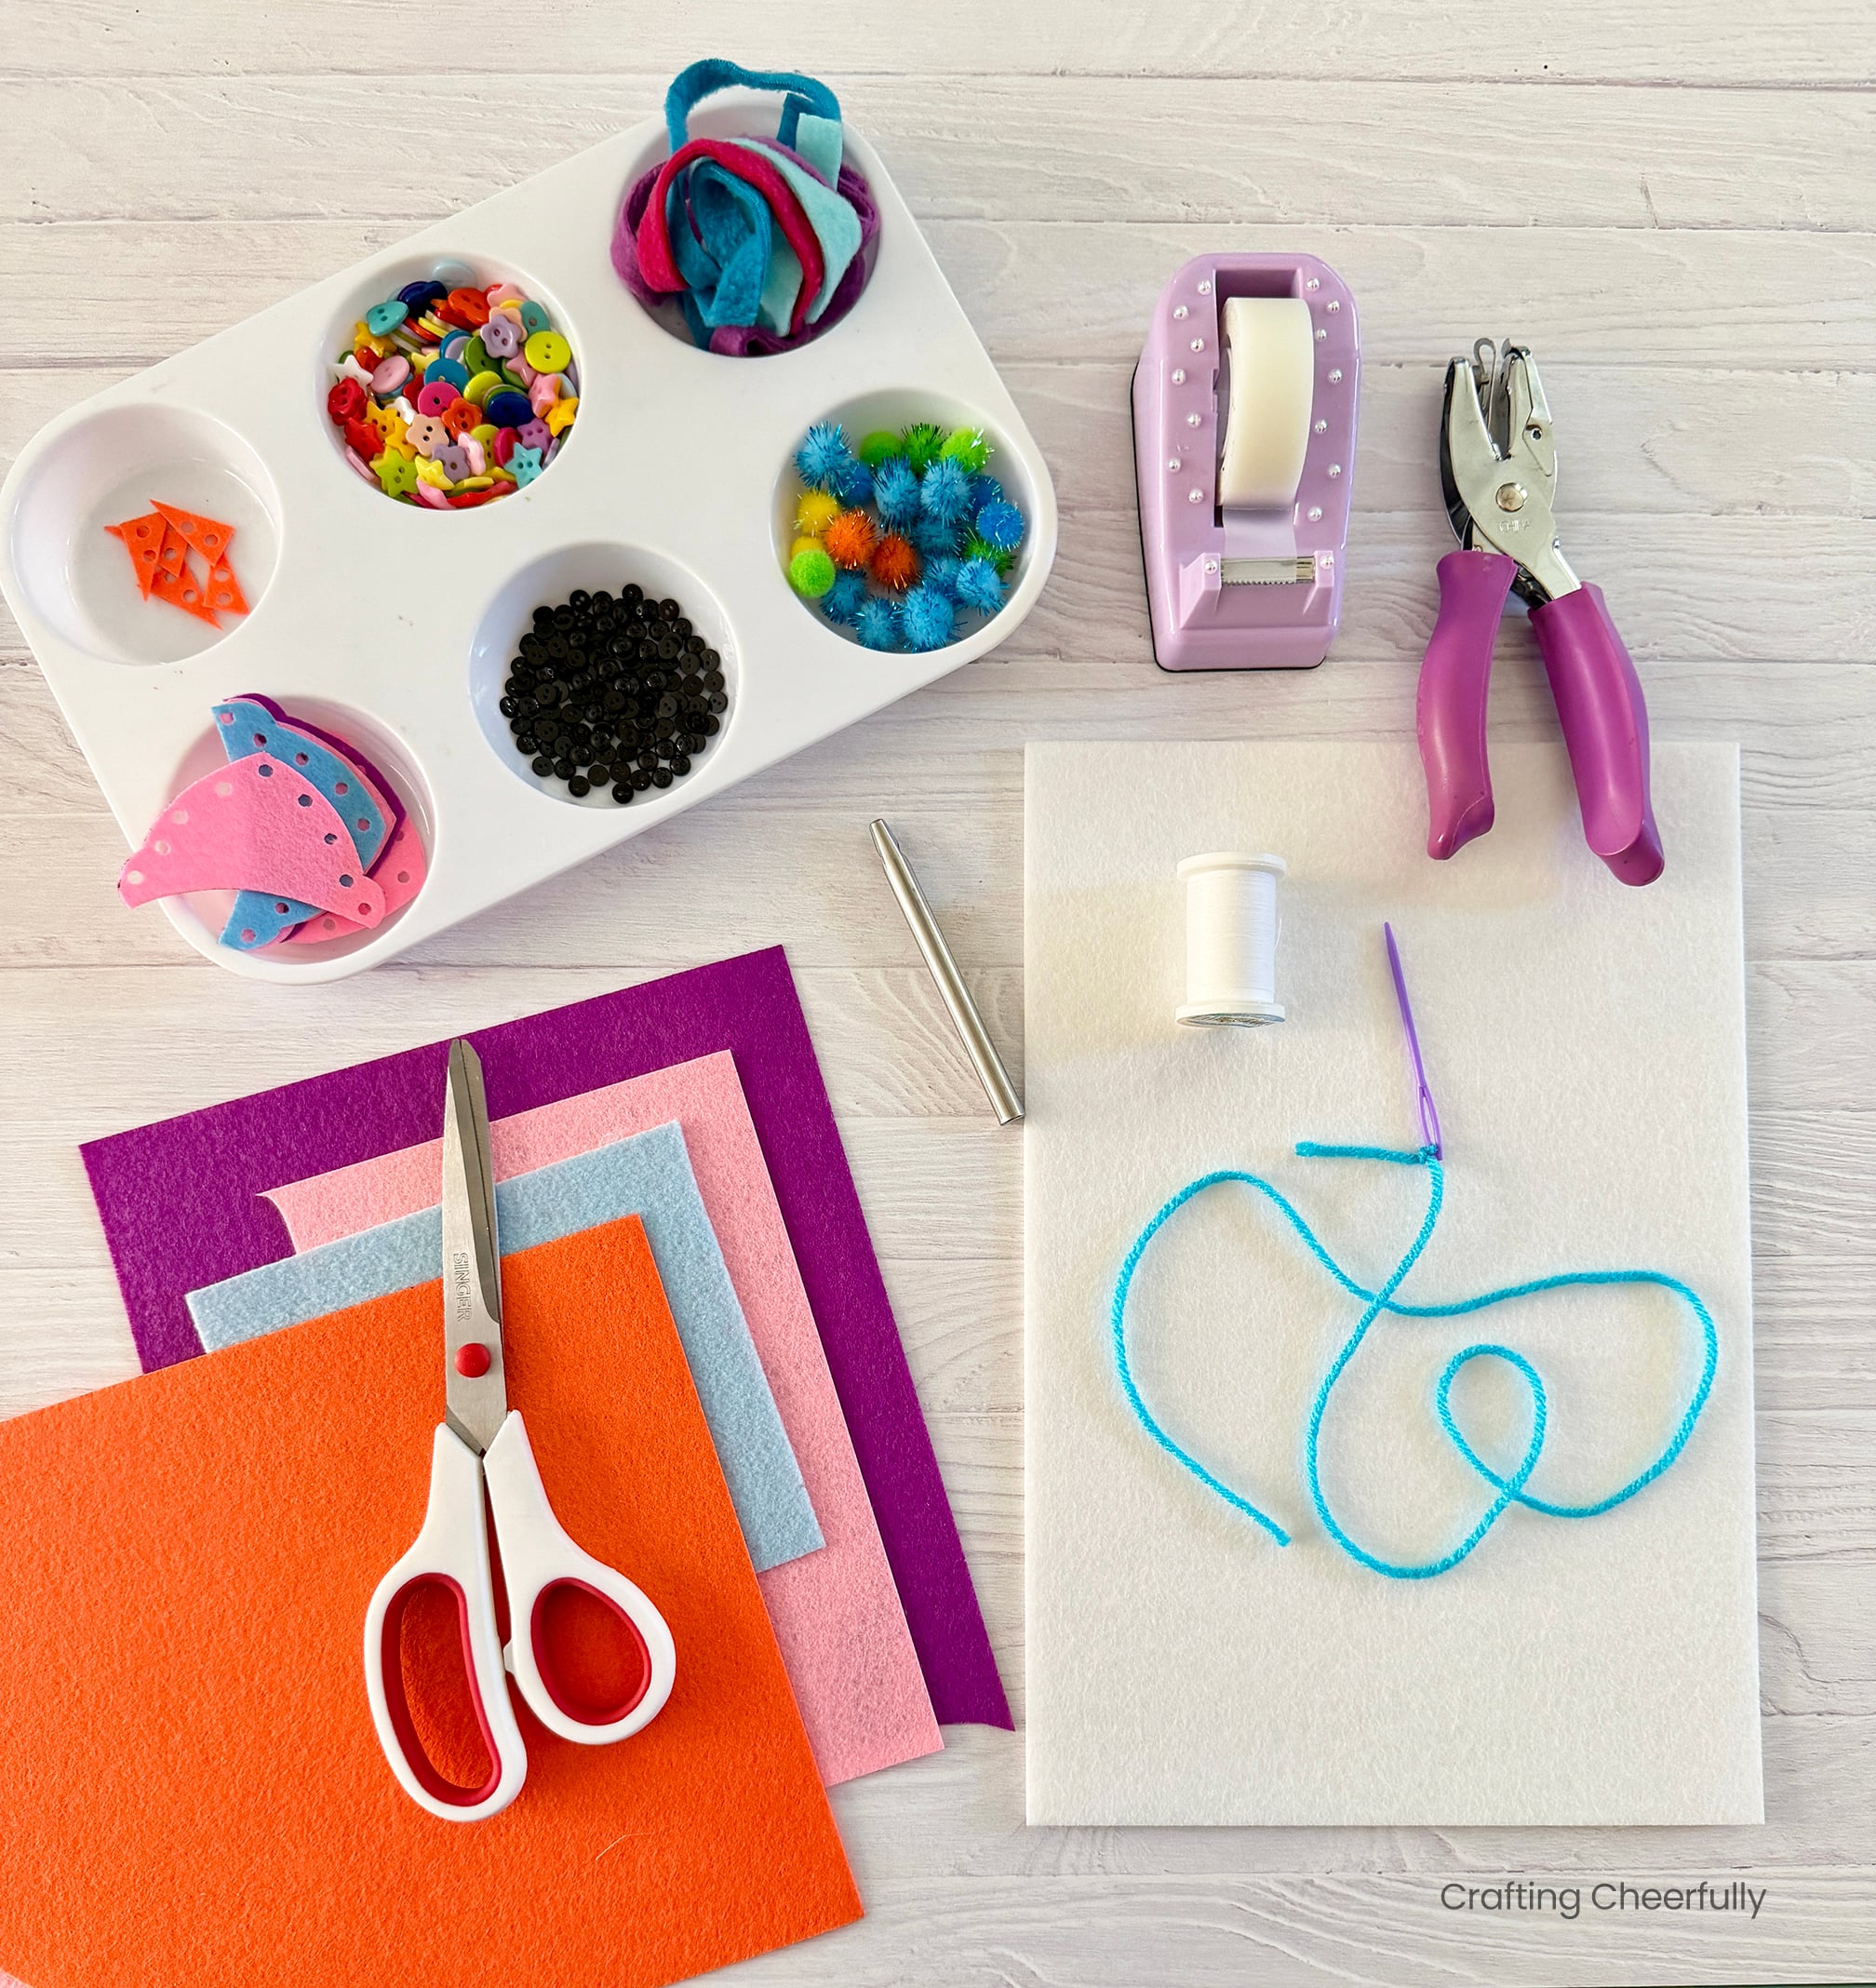
Supplies Needed
- Free Template: Fill out the purple form at the bottom of this post to grab the free file!
- White stiffened felt
- Colorful stiffened felt for the hat and orange for the nose
- Colorful yarn
- Orange yarn for the nose
- Black buttons for the eyes
- Buttons for the front of the snowpal
- Fleece for the scarf
- Large plastic needles for sewing
- White thread and needle if sewing on the buttons
- Hot glue gun for pom pom and buttons if not sewing them
- Pom pom!
- 1/8″ Hole punch or eyelet hole punch
- Fabric scissors
- Pencil
Cutting and Preparing the Pieces
Step One: Cut out the pattern pieces and use an 1/8″ hole punch to punch out the holes.
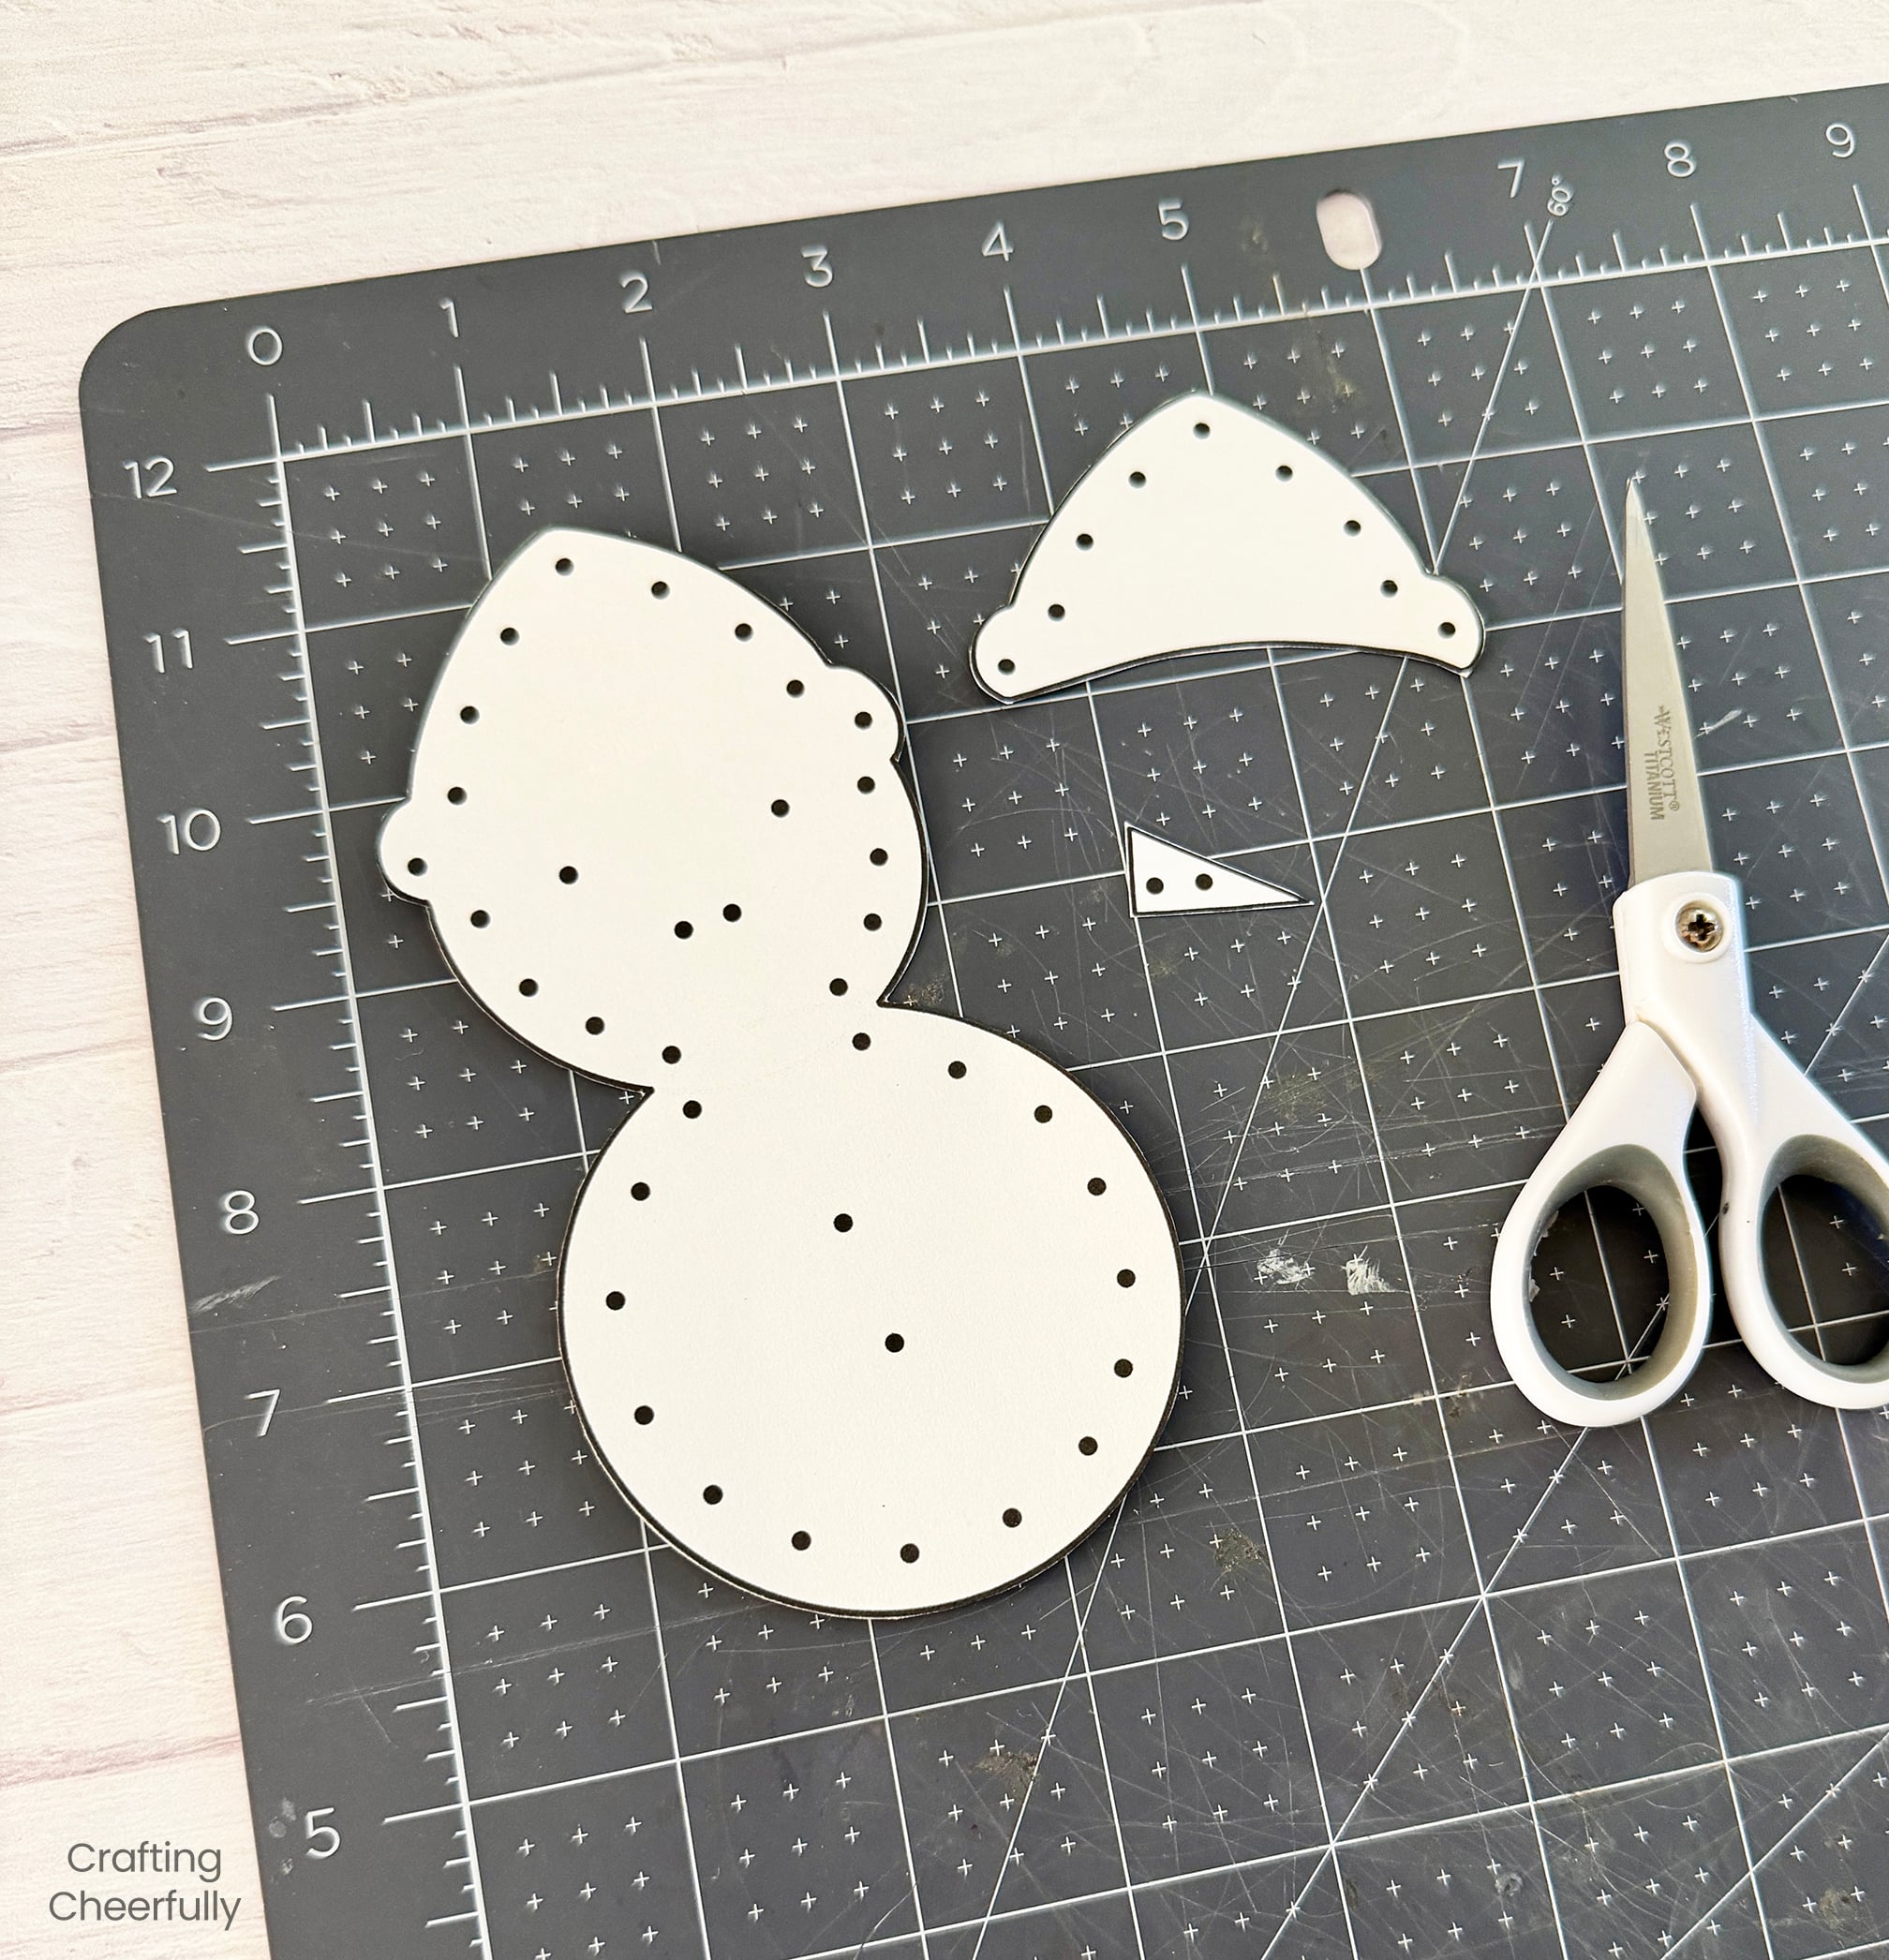
Step Two: Use the pattern to cut out two felt snowpals, one hat and one nose from felt.
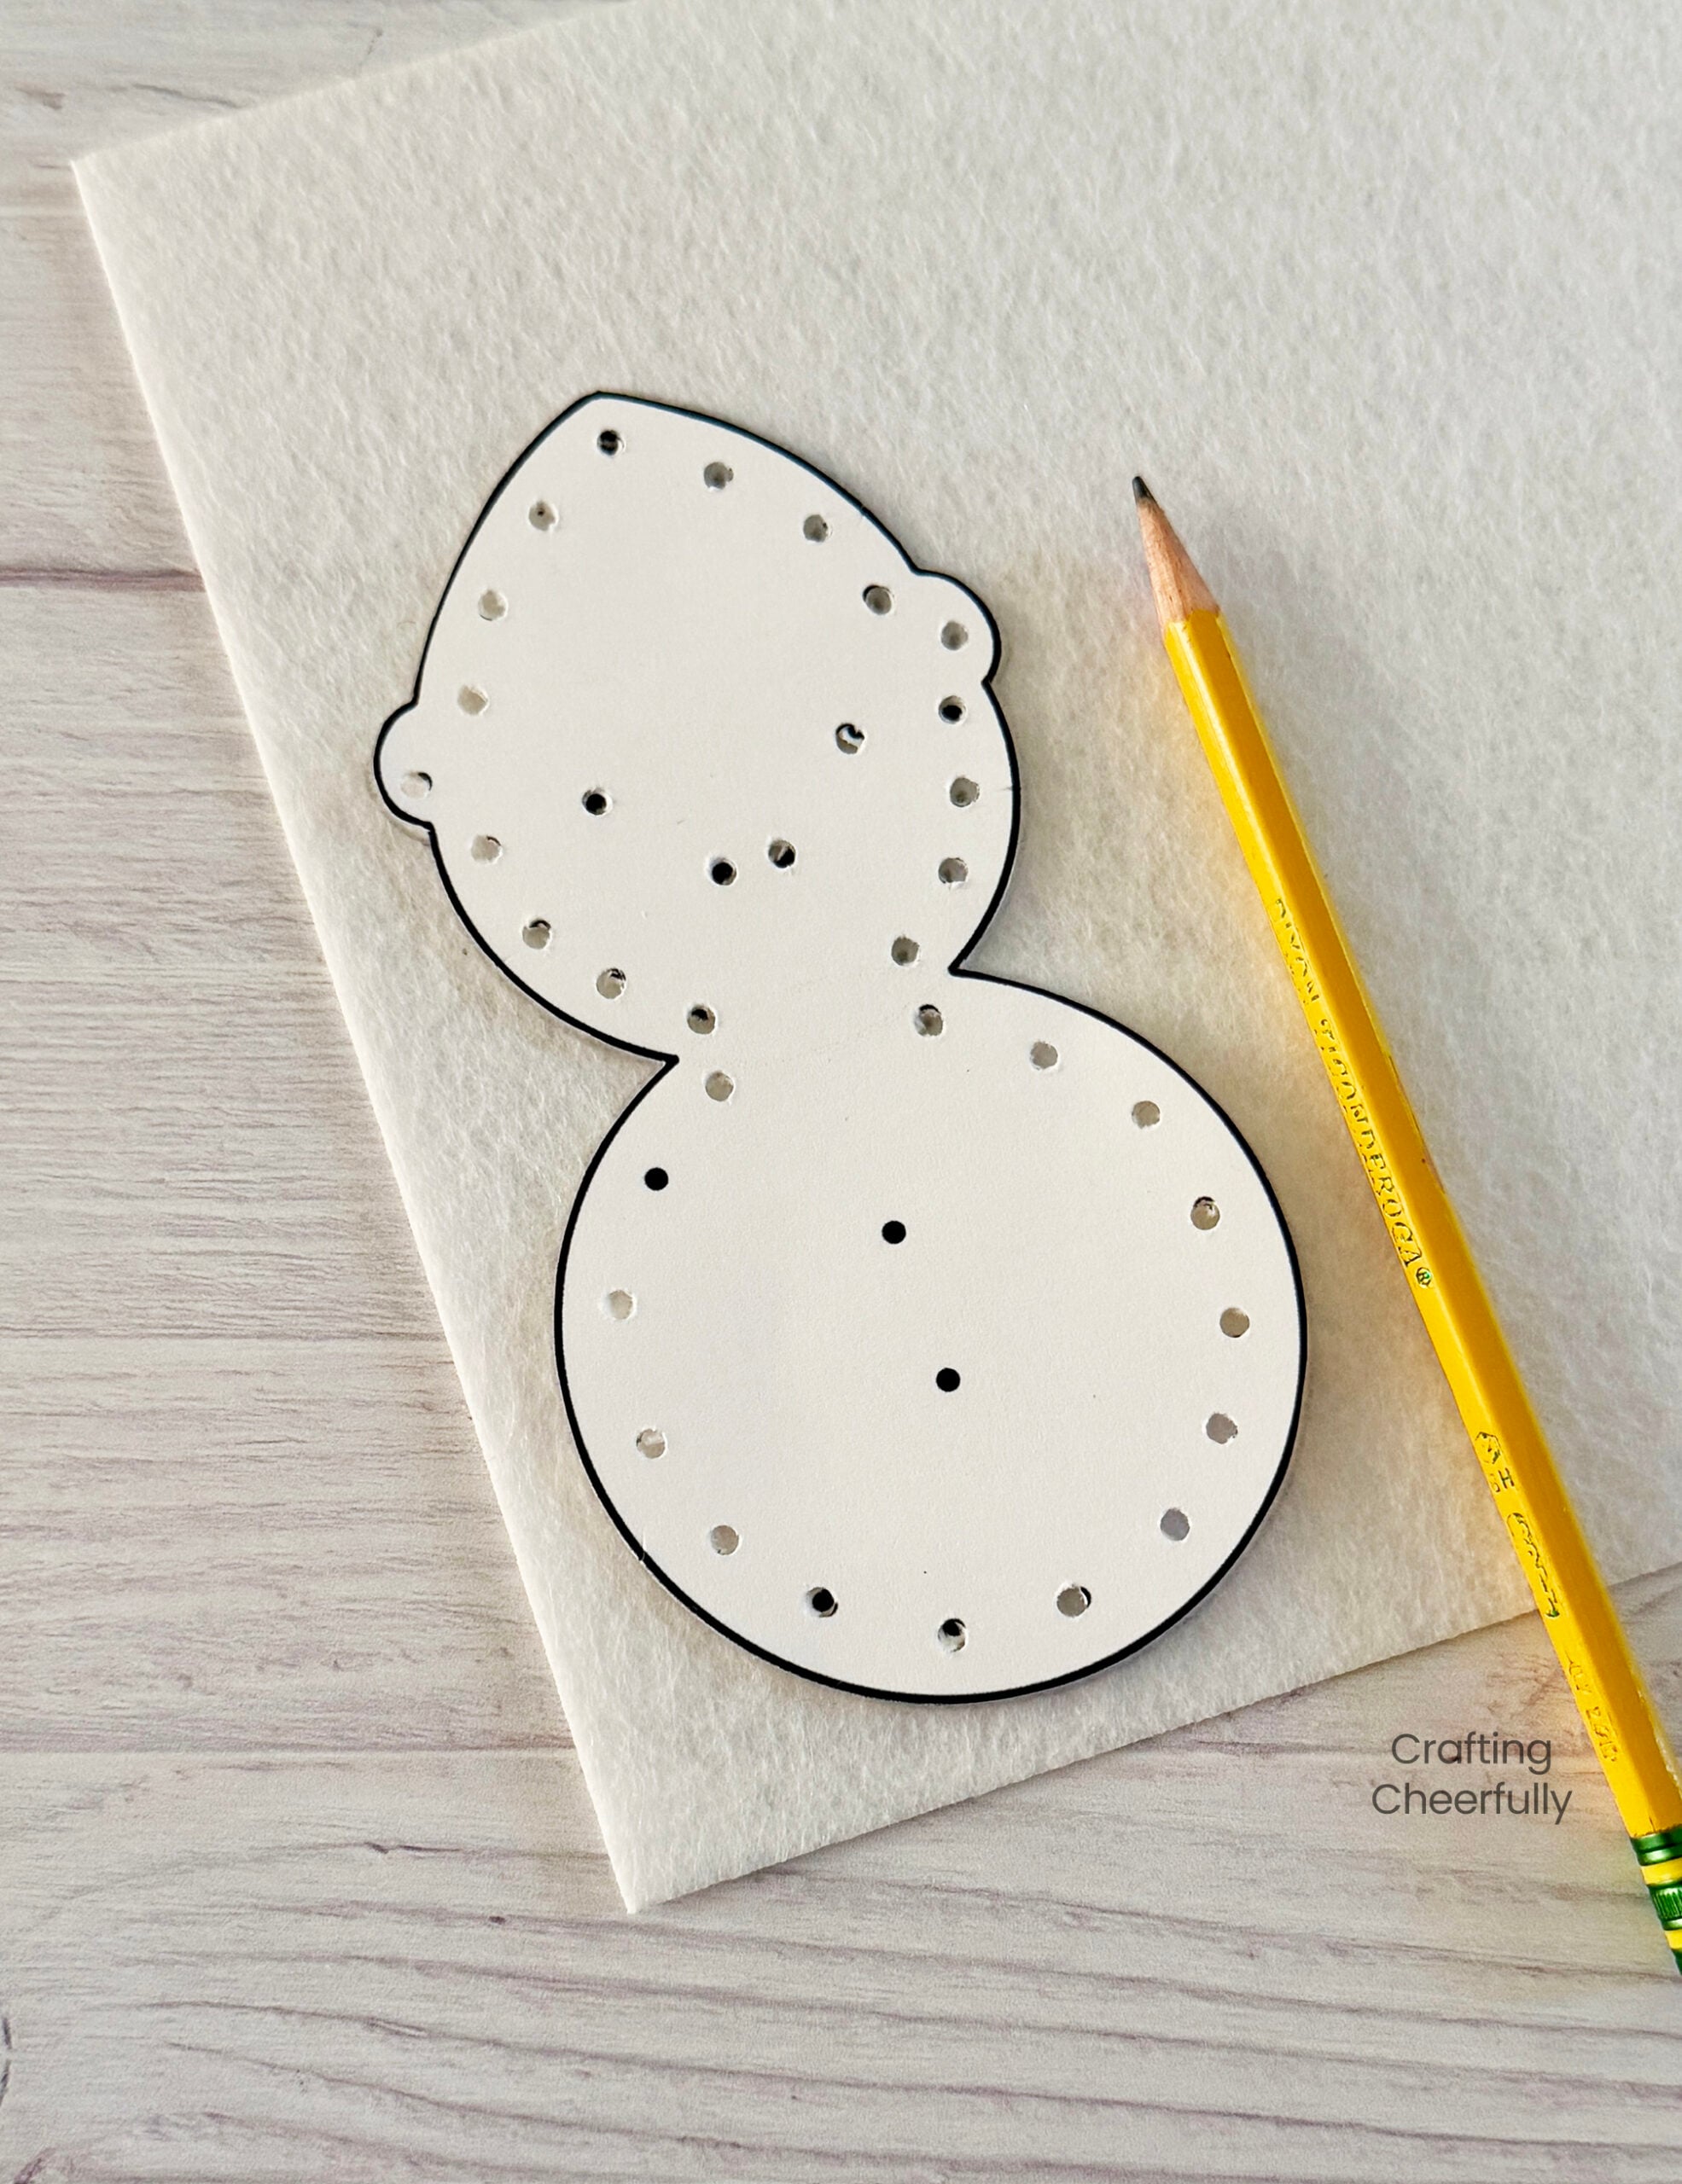
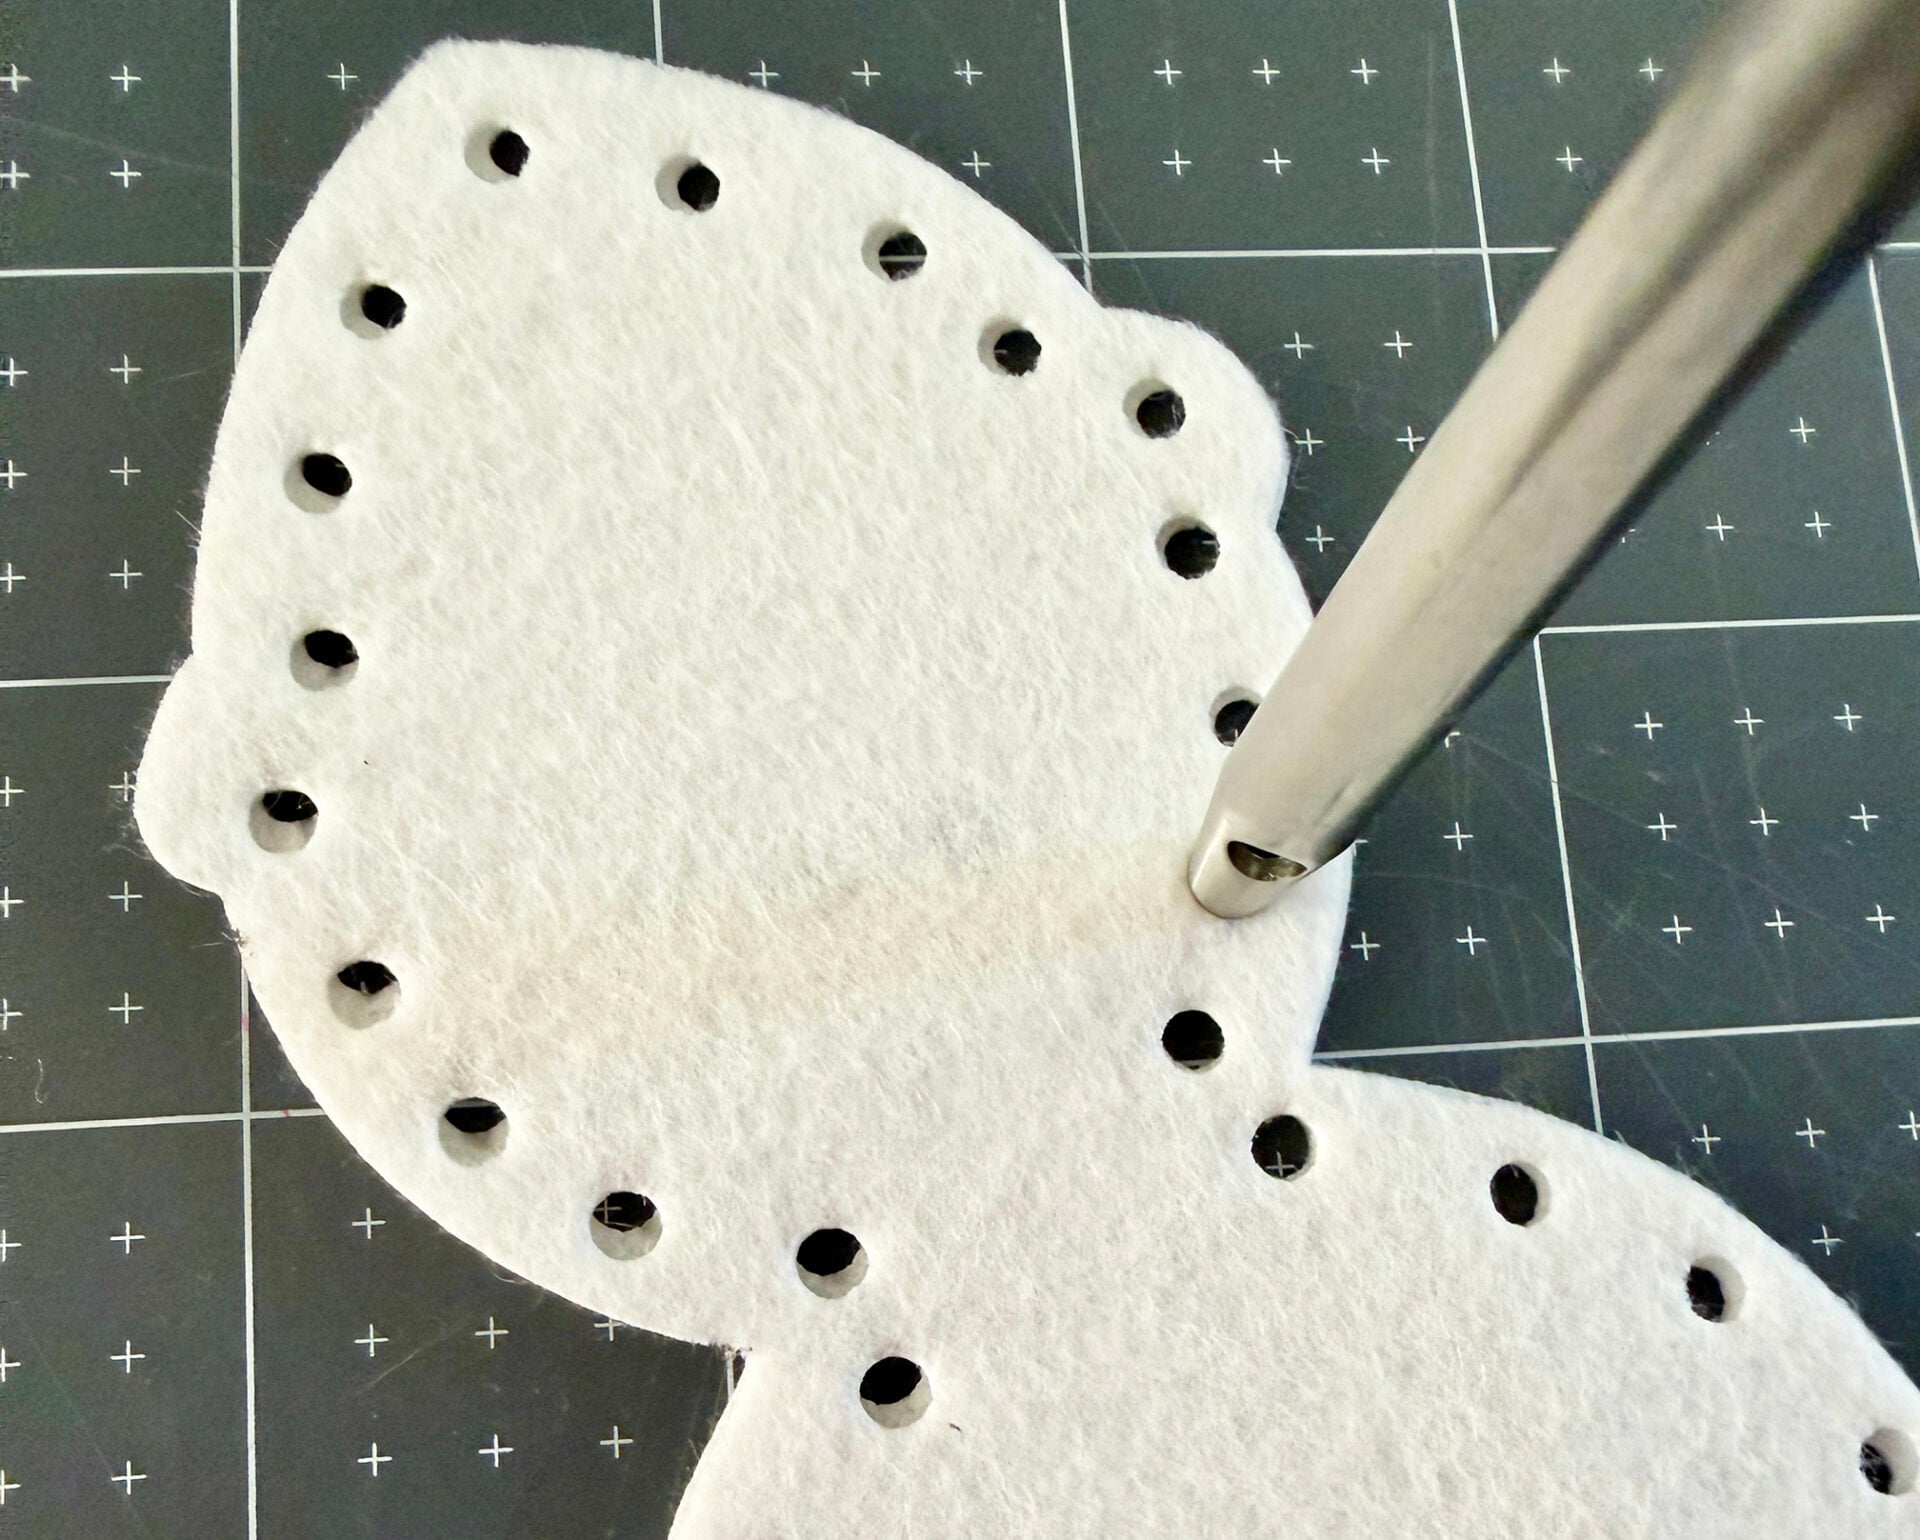
Use the pattern to mark the holes on the felt with pencils. Punch out the holes using an 1/8″ hole punch or eyelet setter. I had better luck using an eyelet setter. I was able to just mark one snowpal and then layer them together and punch through two at one time. The holes were super crisp and since I was able to cut through both layers at once, the holes lined up perfectly.
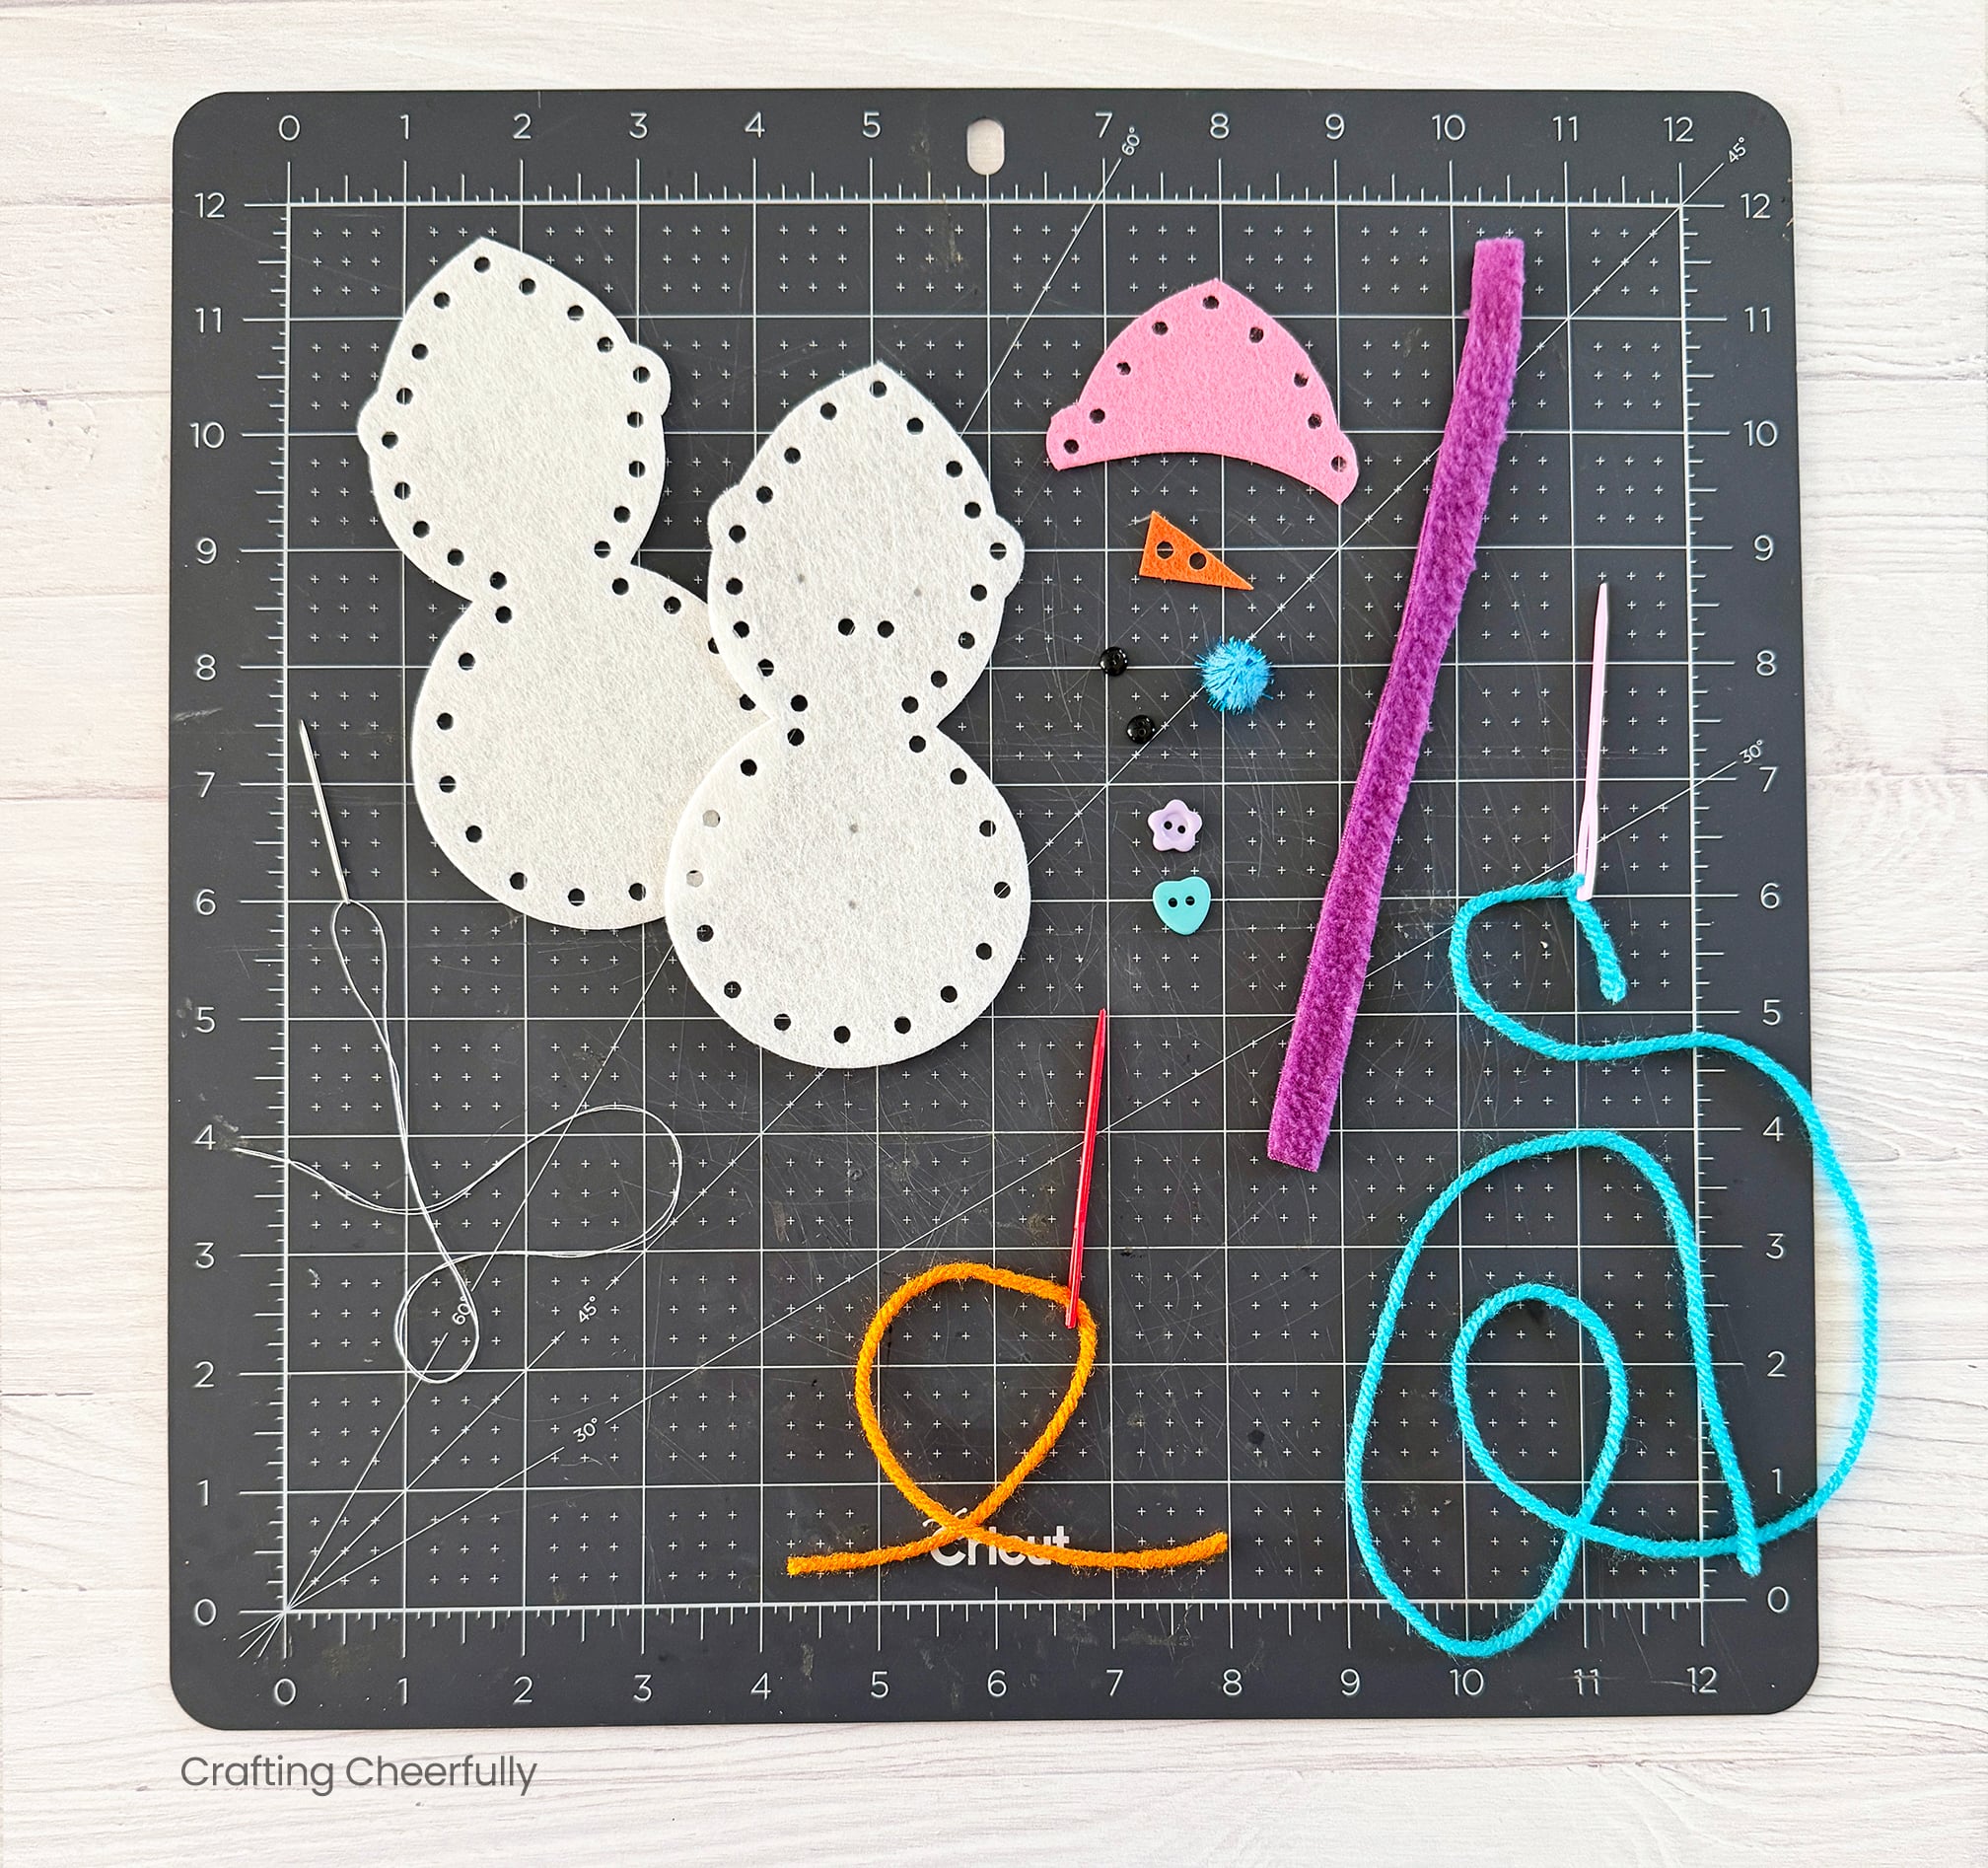
The Pieces Needed for Each Snowpal
Below you can see all of the items needed to make one snowpal ornaments.
- 2 snowpal shapes from white felt
- 1 snowpal hat from colorful felt
- 1 snowpal nose from orange felt
- 2 tiny black eye buttons
- 2 colorful buttons for the front of the snowpal
- 1 pom pom for the top of the hat
- 1 strip of fleece for the scarf
- 1 piece of orange yarn about 6″ threaded in a plastic needle
- 1 piece of colorful yarn about 32″ threaded in a plastic needle
- White thread on a needle or hot glue for attaching the buttons
Attaching the Buttons
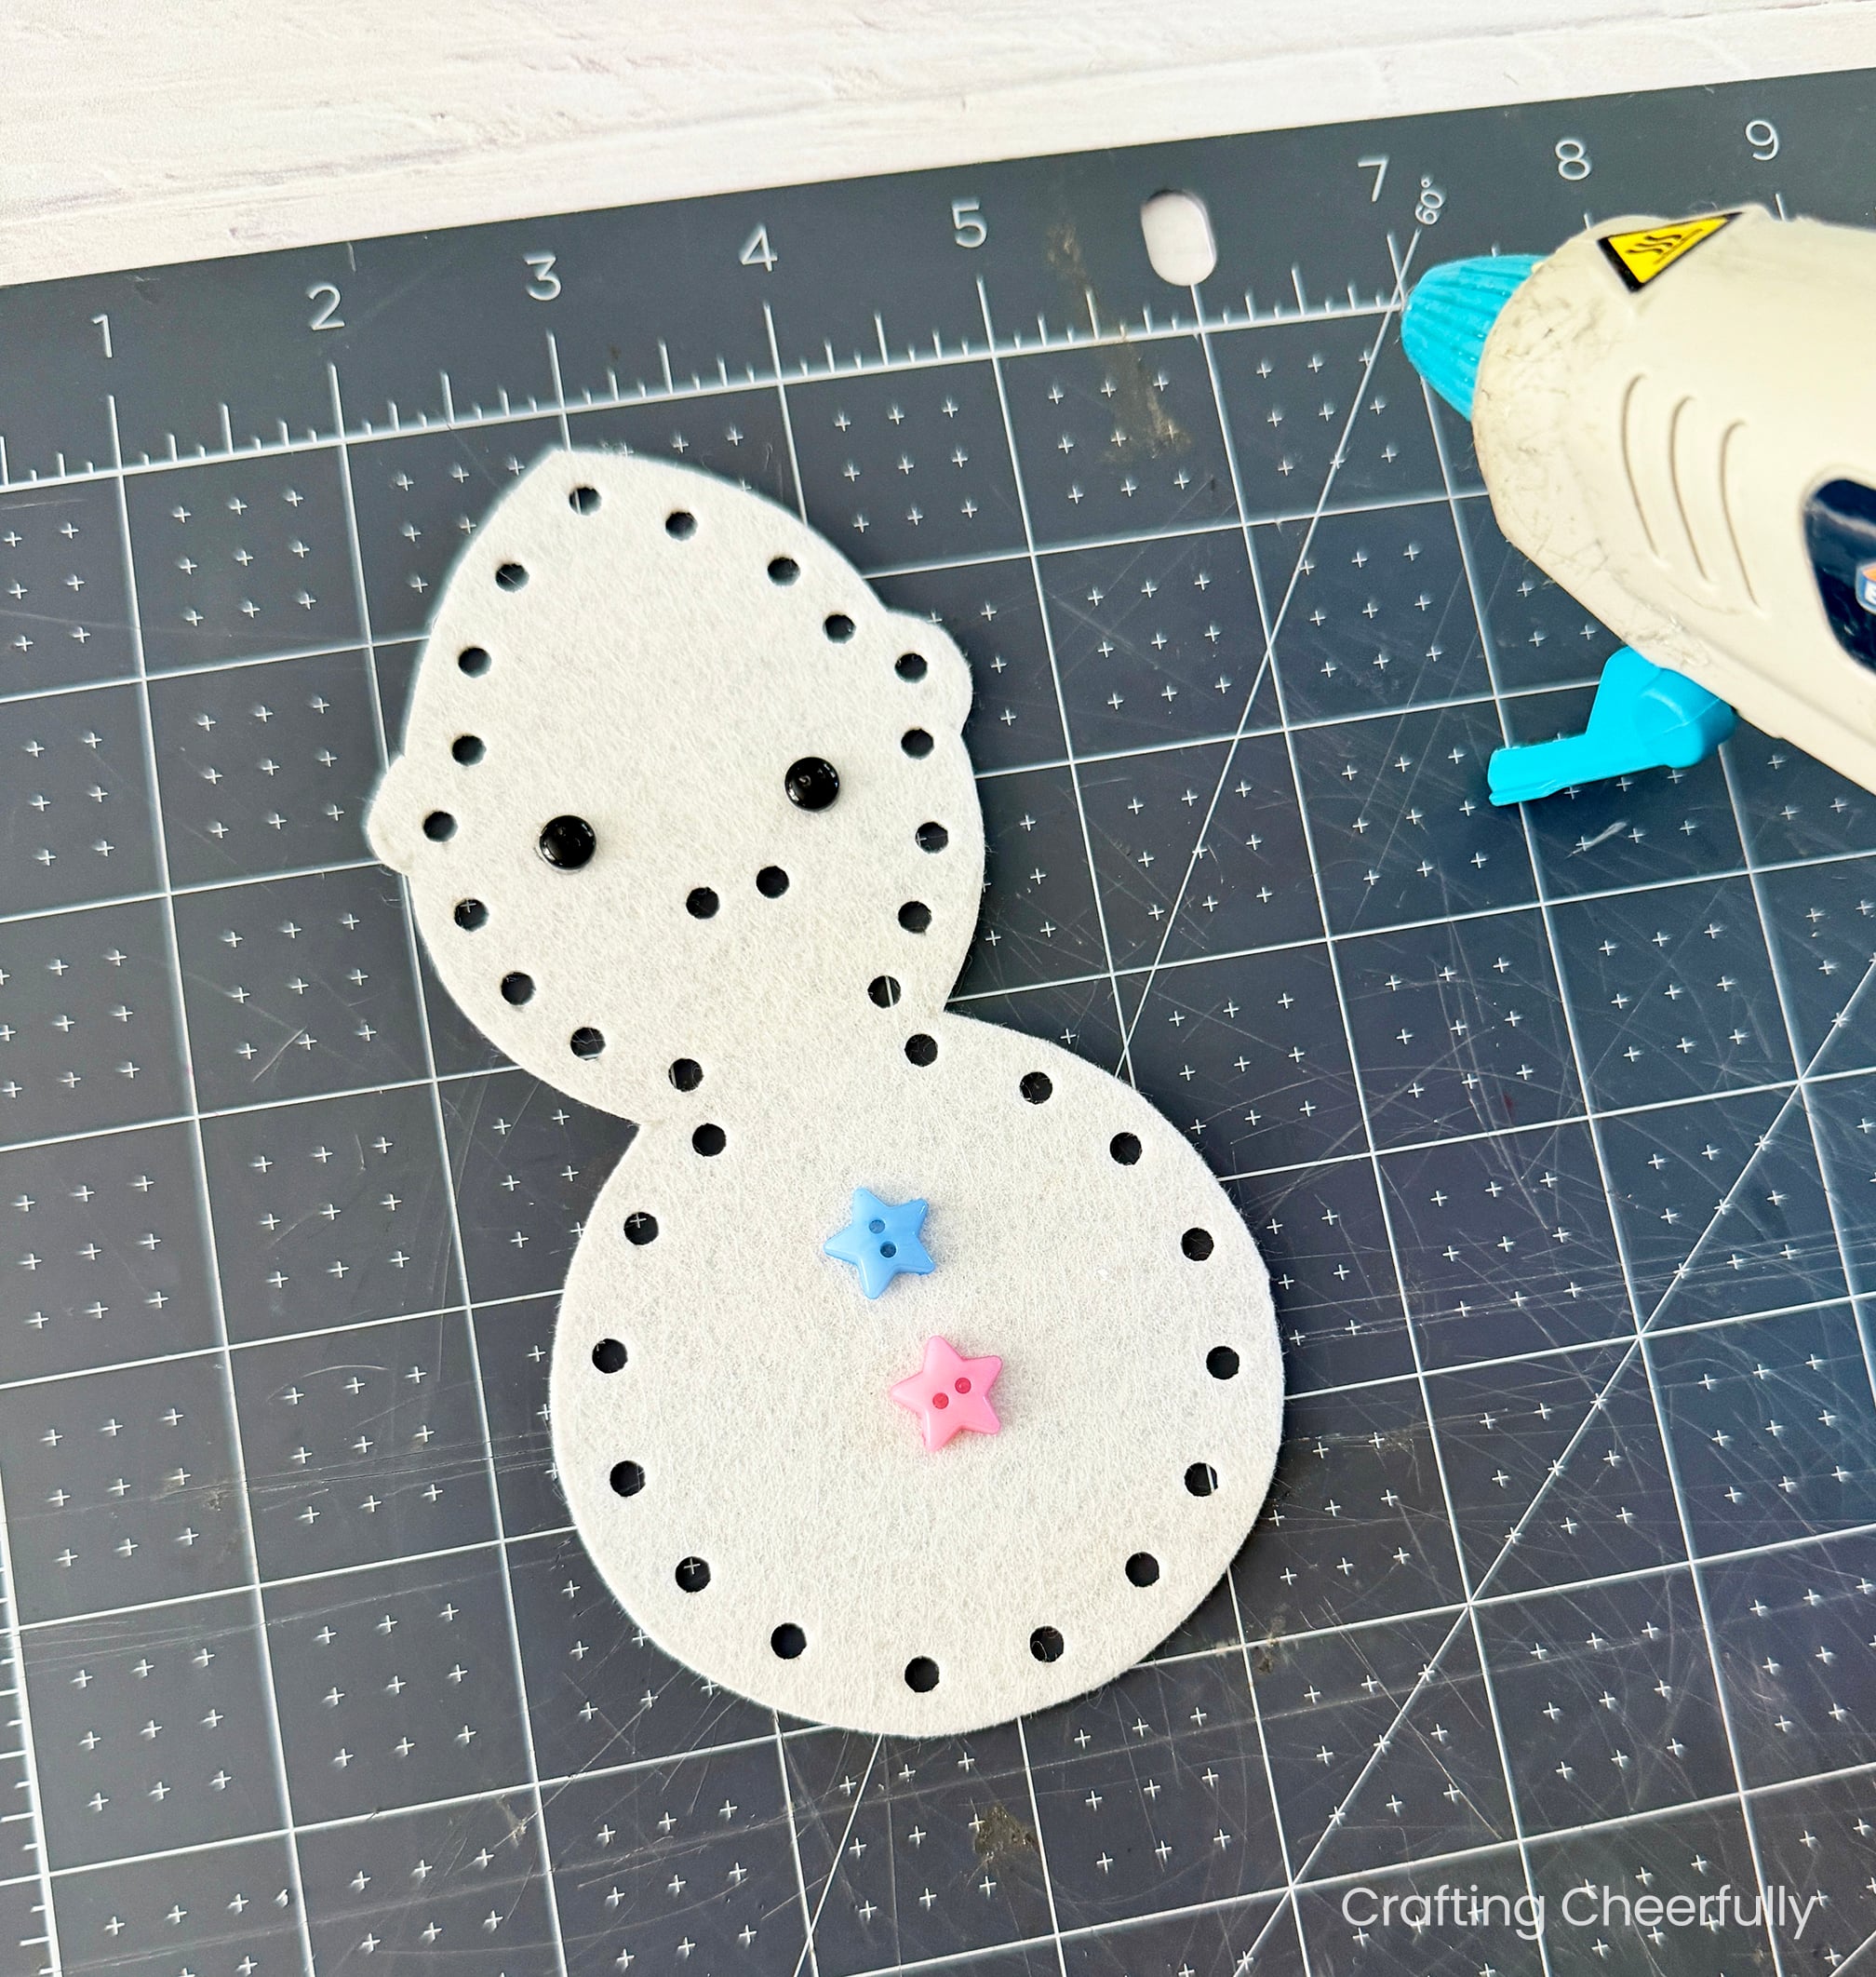
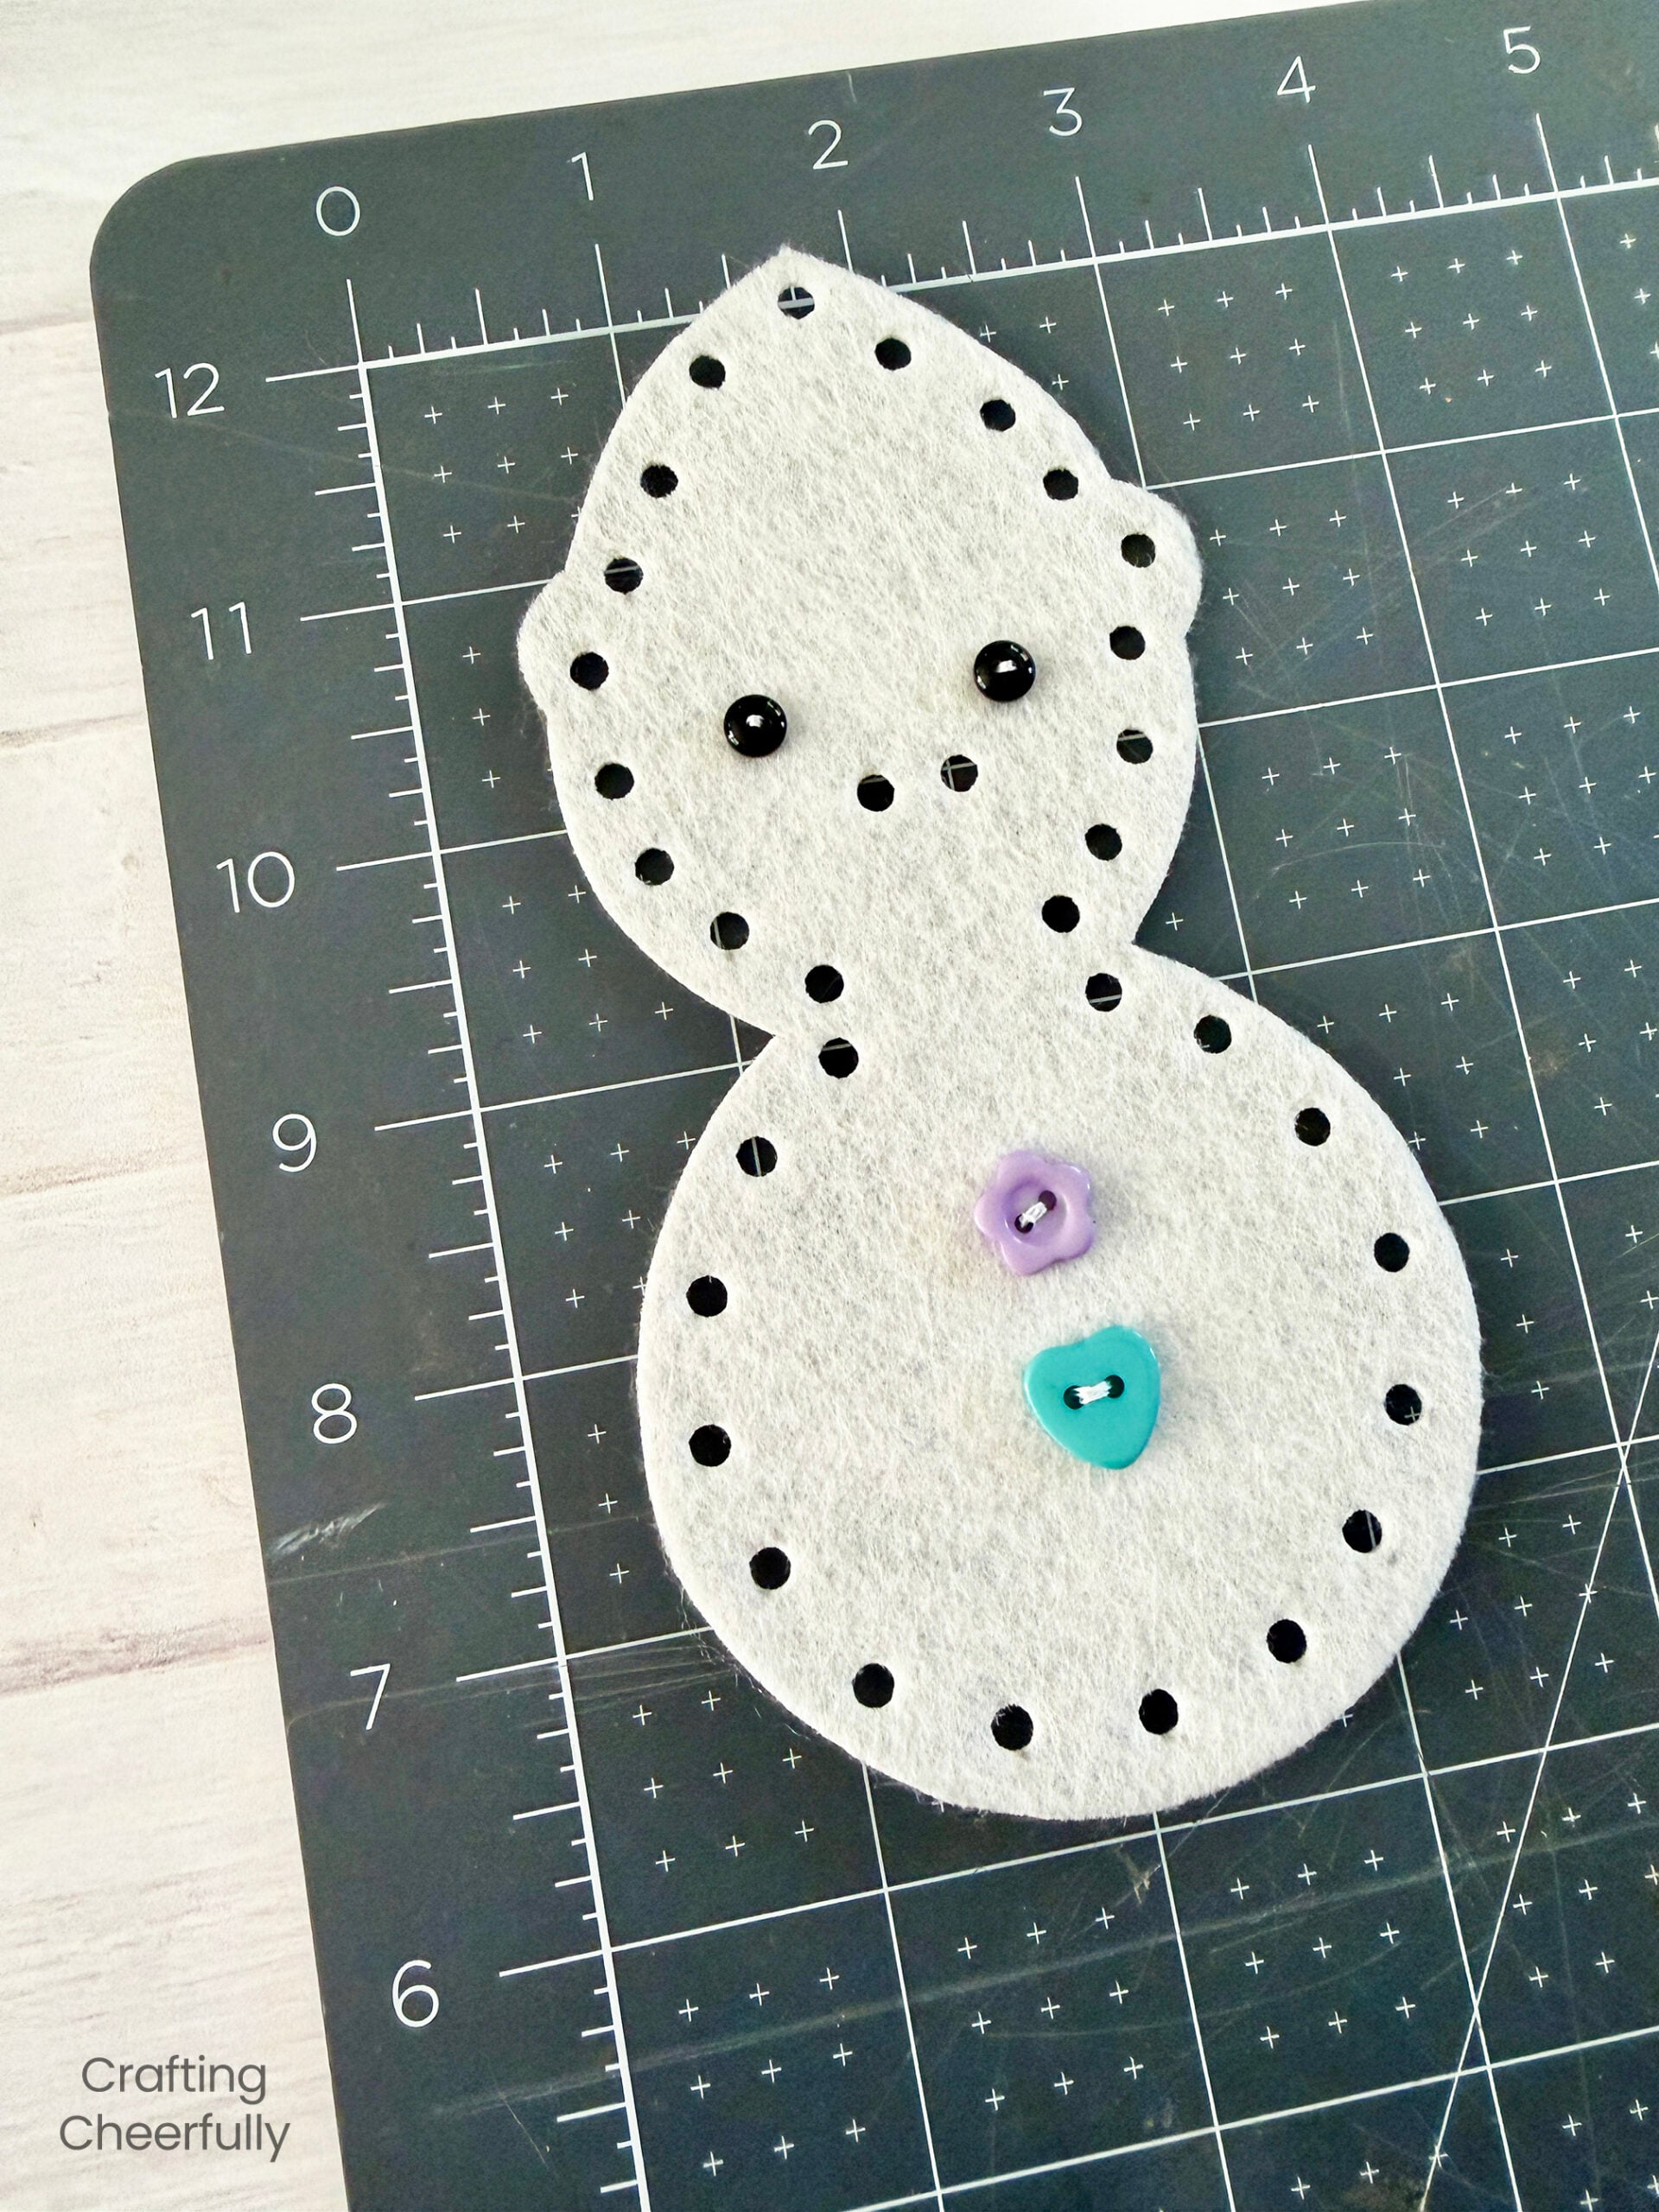
Step Three: Attach the buttons to the top snowpal piece either using hot glue or white thread and a real needle. Some of the kids who are making these ornaments will be ready to sew with a smaller, sharper needle and some won’t. Pick the option that best fits the skill level of the child making the ornament.
Adding the Felt Nose
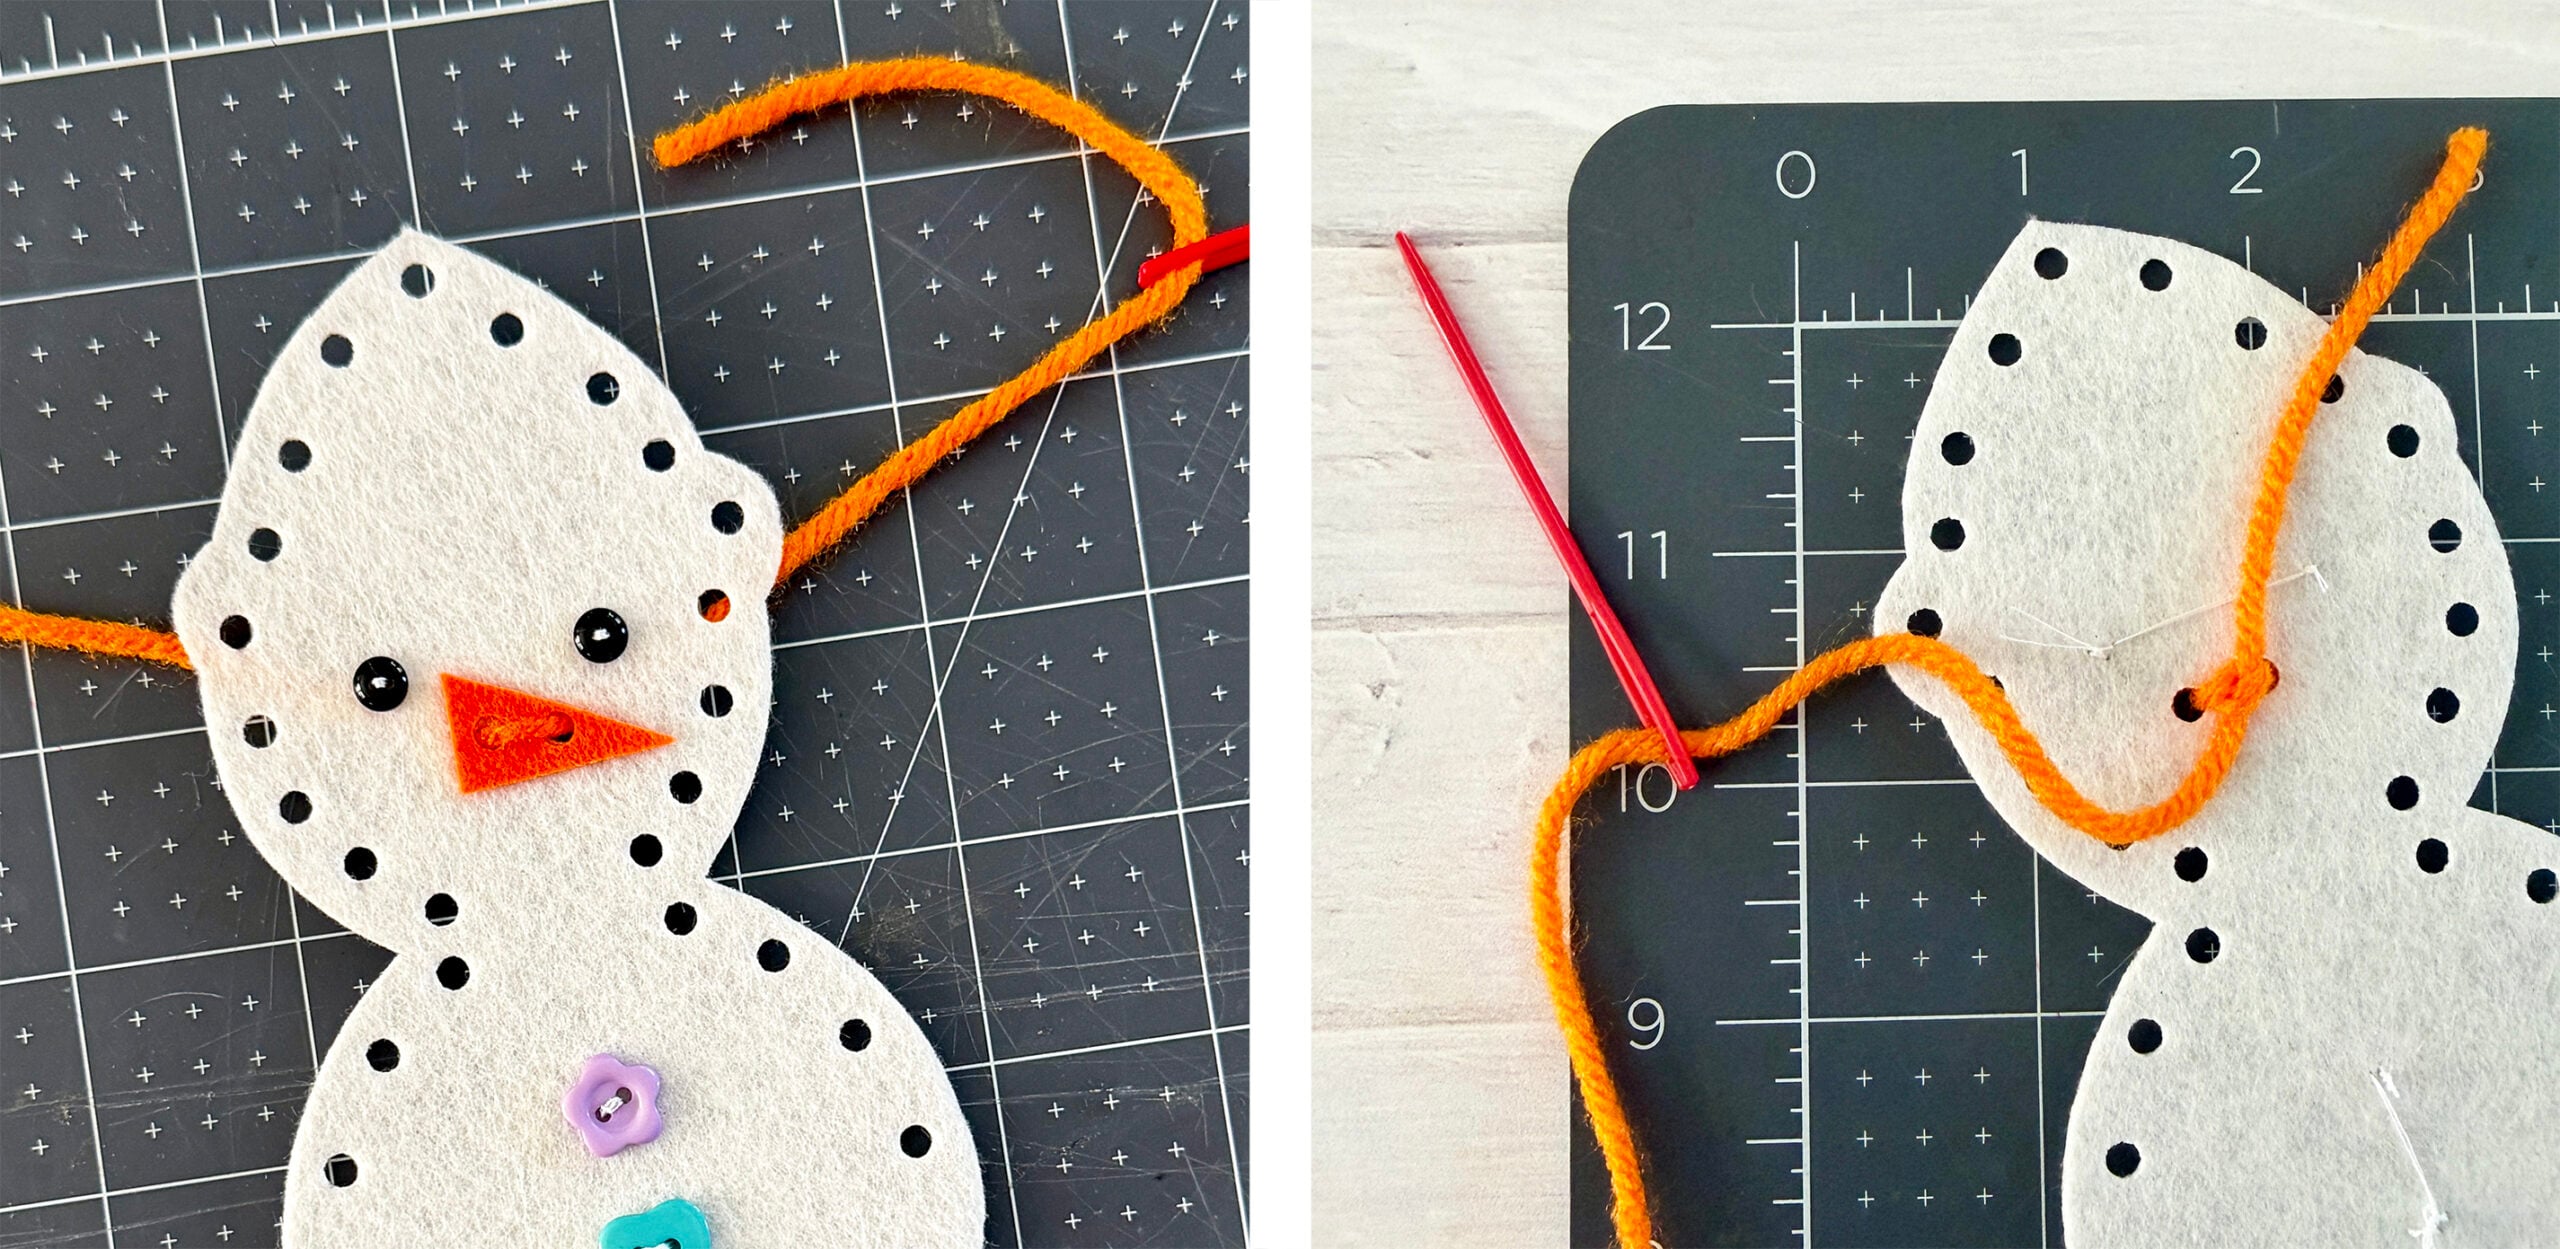
Step Four: Use a small piece of orange yarn to attach the snowpal’s nose. Line up the nose holes with the holes in the snowpal and stitch through the nose then tie a knot on the back.
Stitch the Snowgirl Together
Step Five: Use a piece of yarn, in any color, to stitch the two pieces of the snowpal together while also attaching the snowpal’s hat.
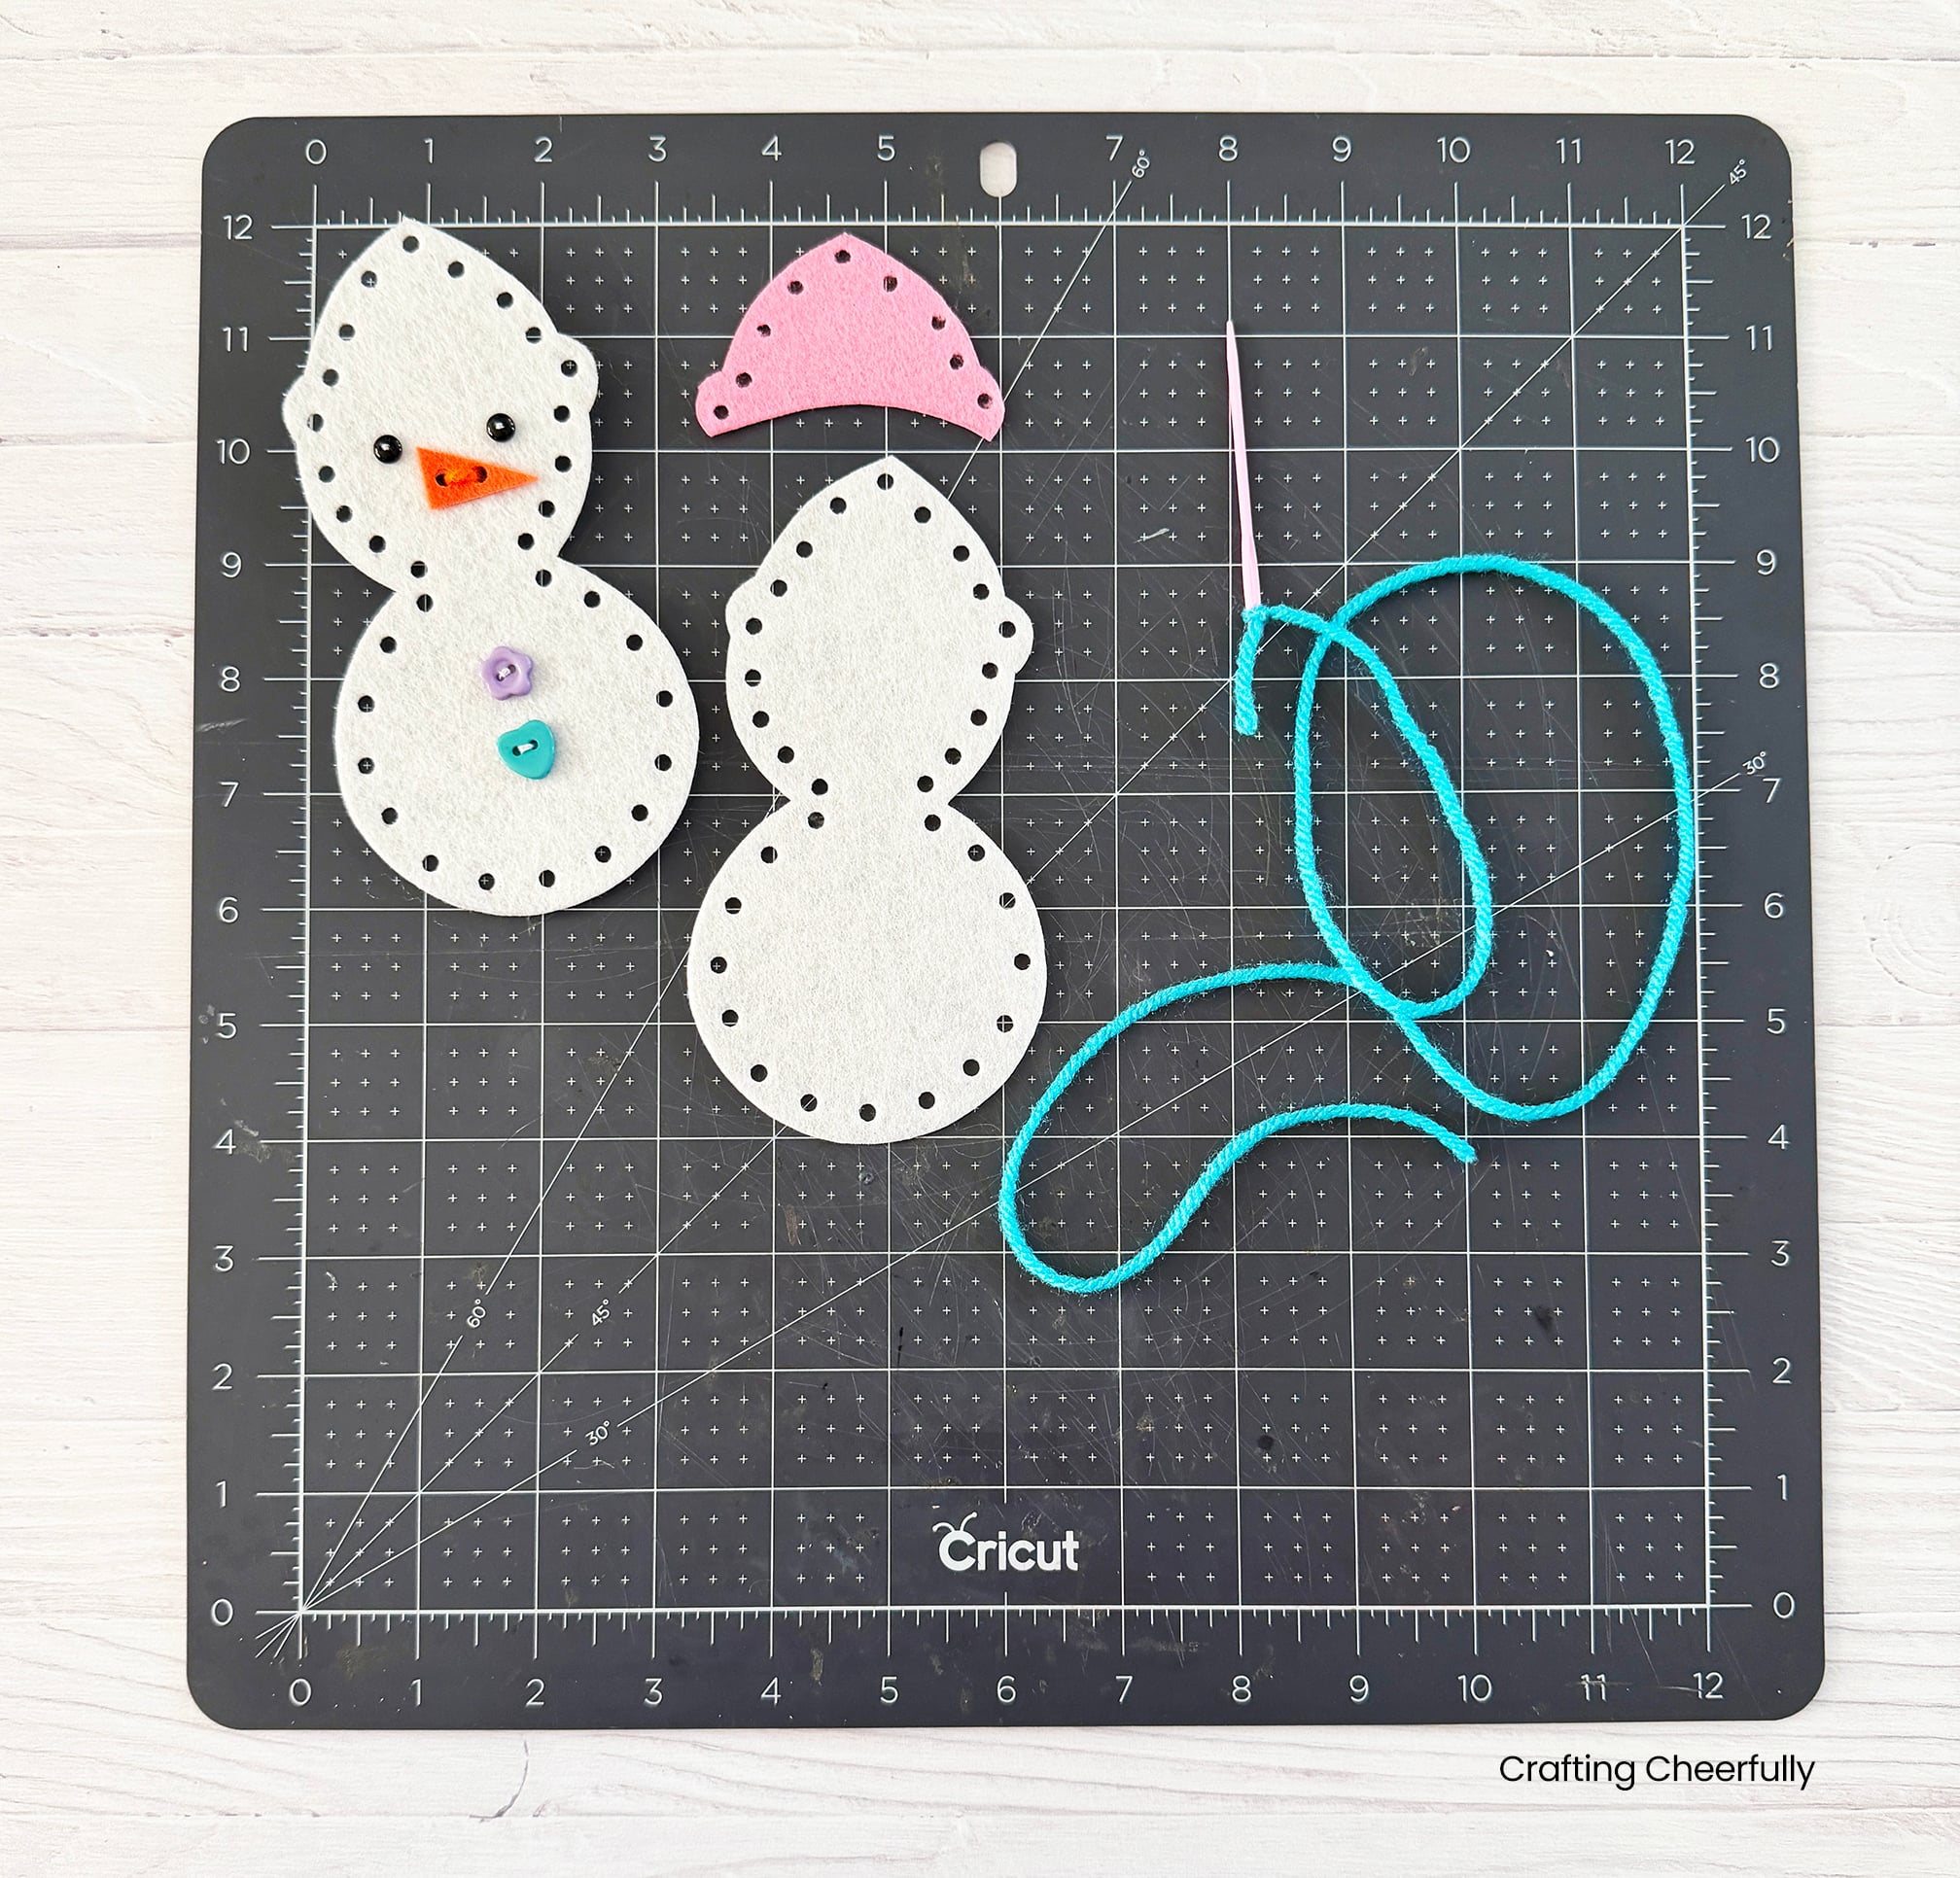
Start by pulling the threaded needle up through one of the holes on the side of the snowpal ornament, then tape the end of the yarn to the back of the snowpal.
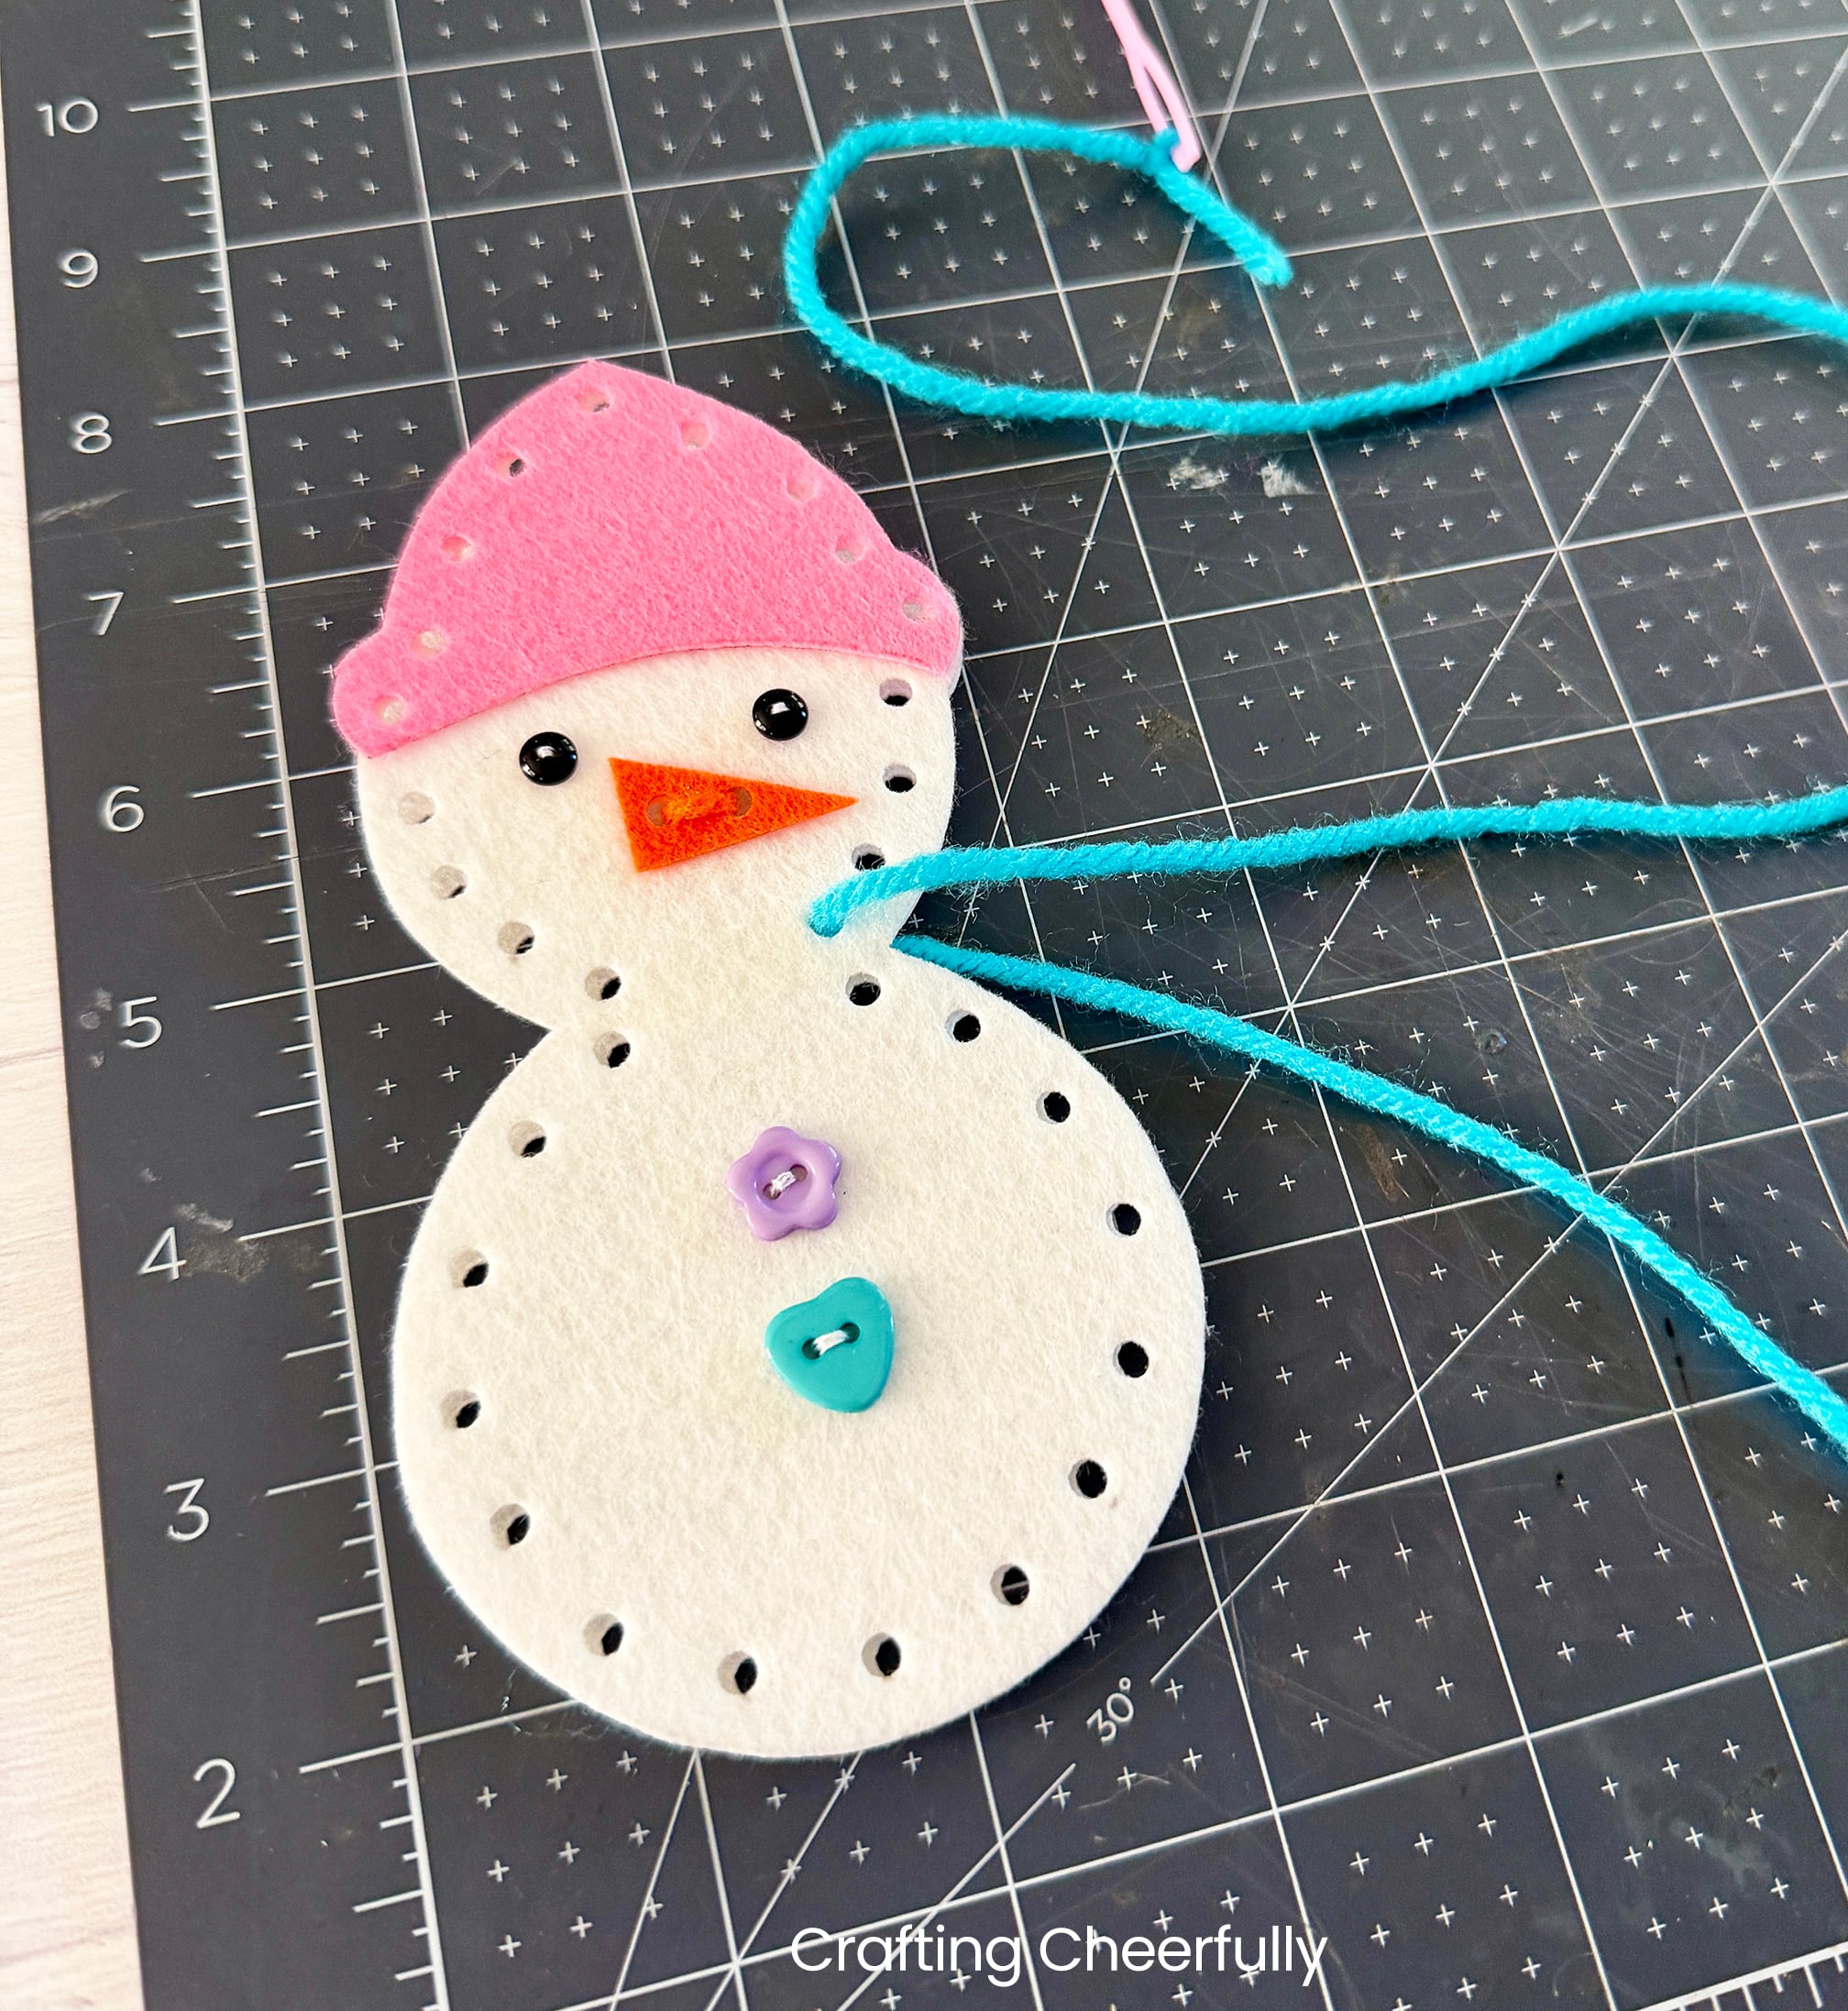
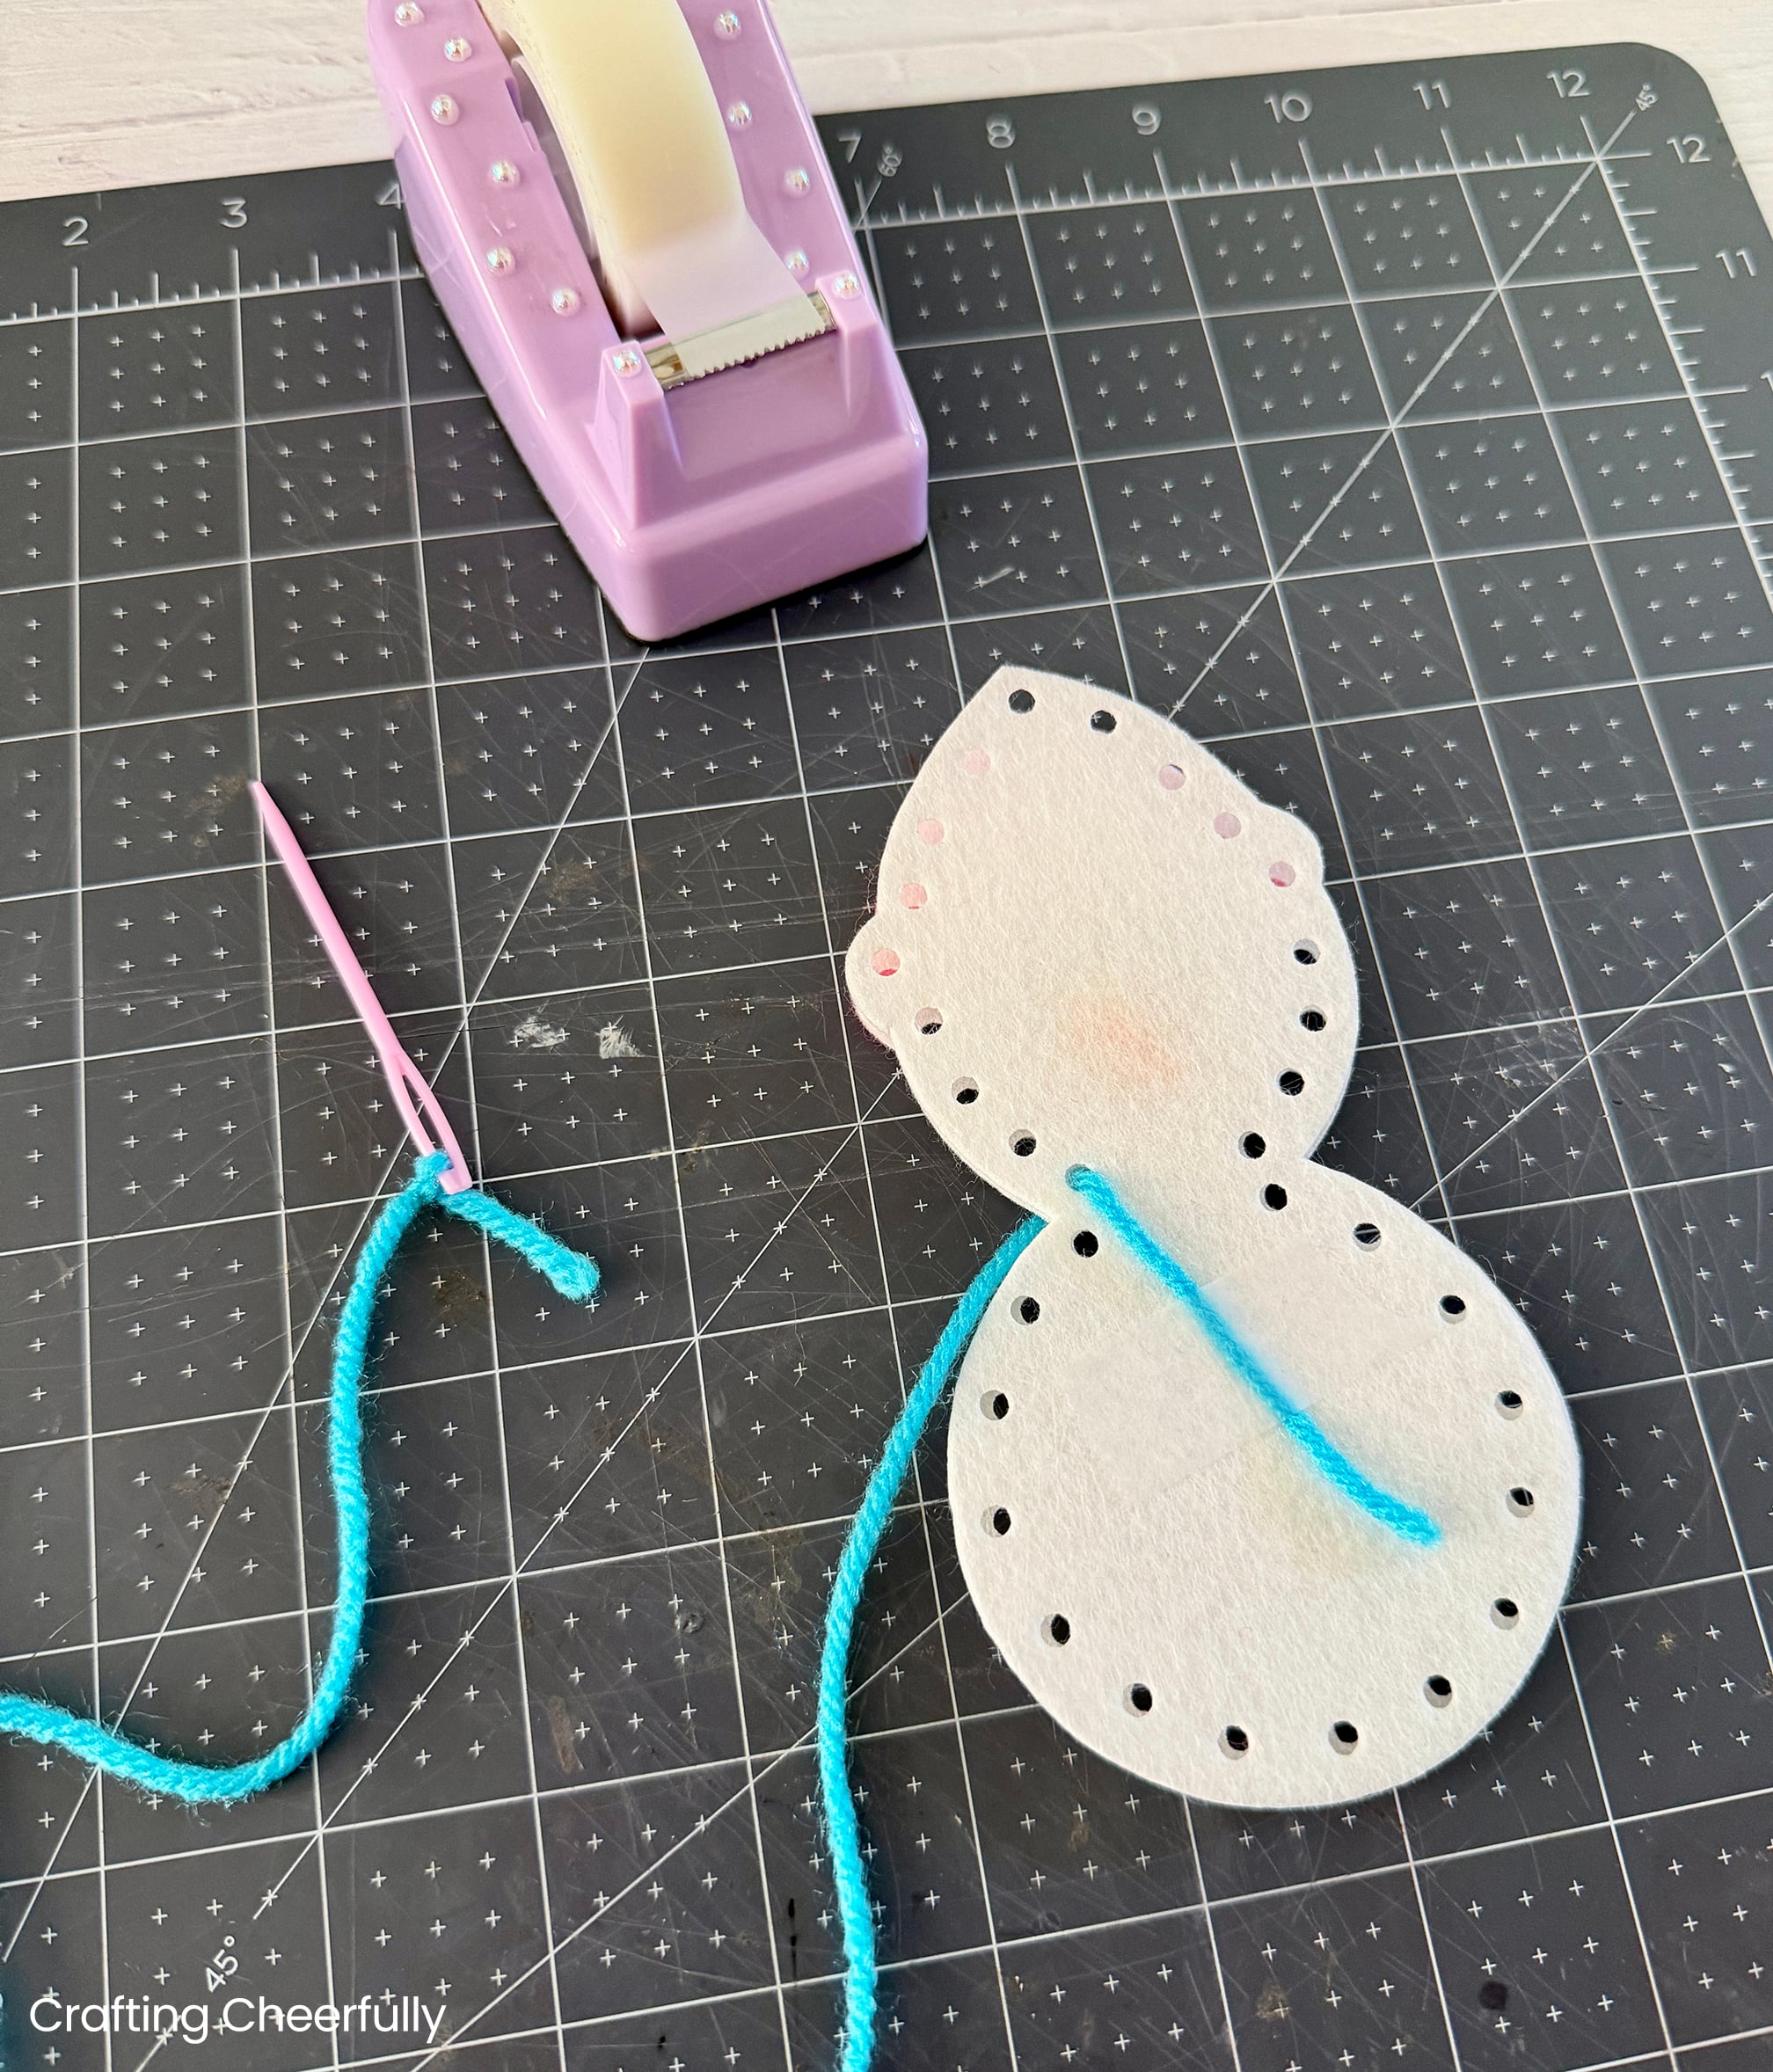
Stitch around the edges of the snowpal using a simple whip stitch, bringing the needle up through each hole. When your stitching gets to the hat make sure you stitch through all three layers to attach the hat while sewing.
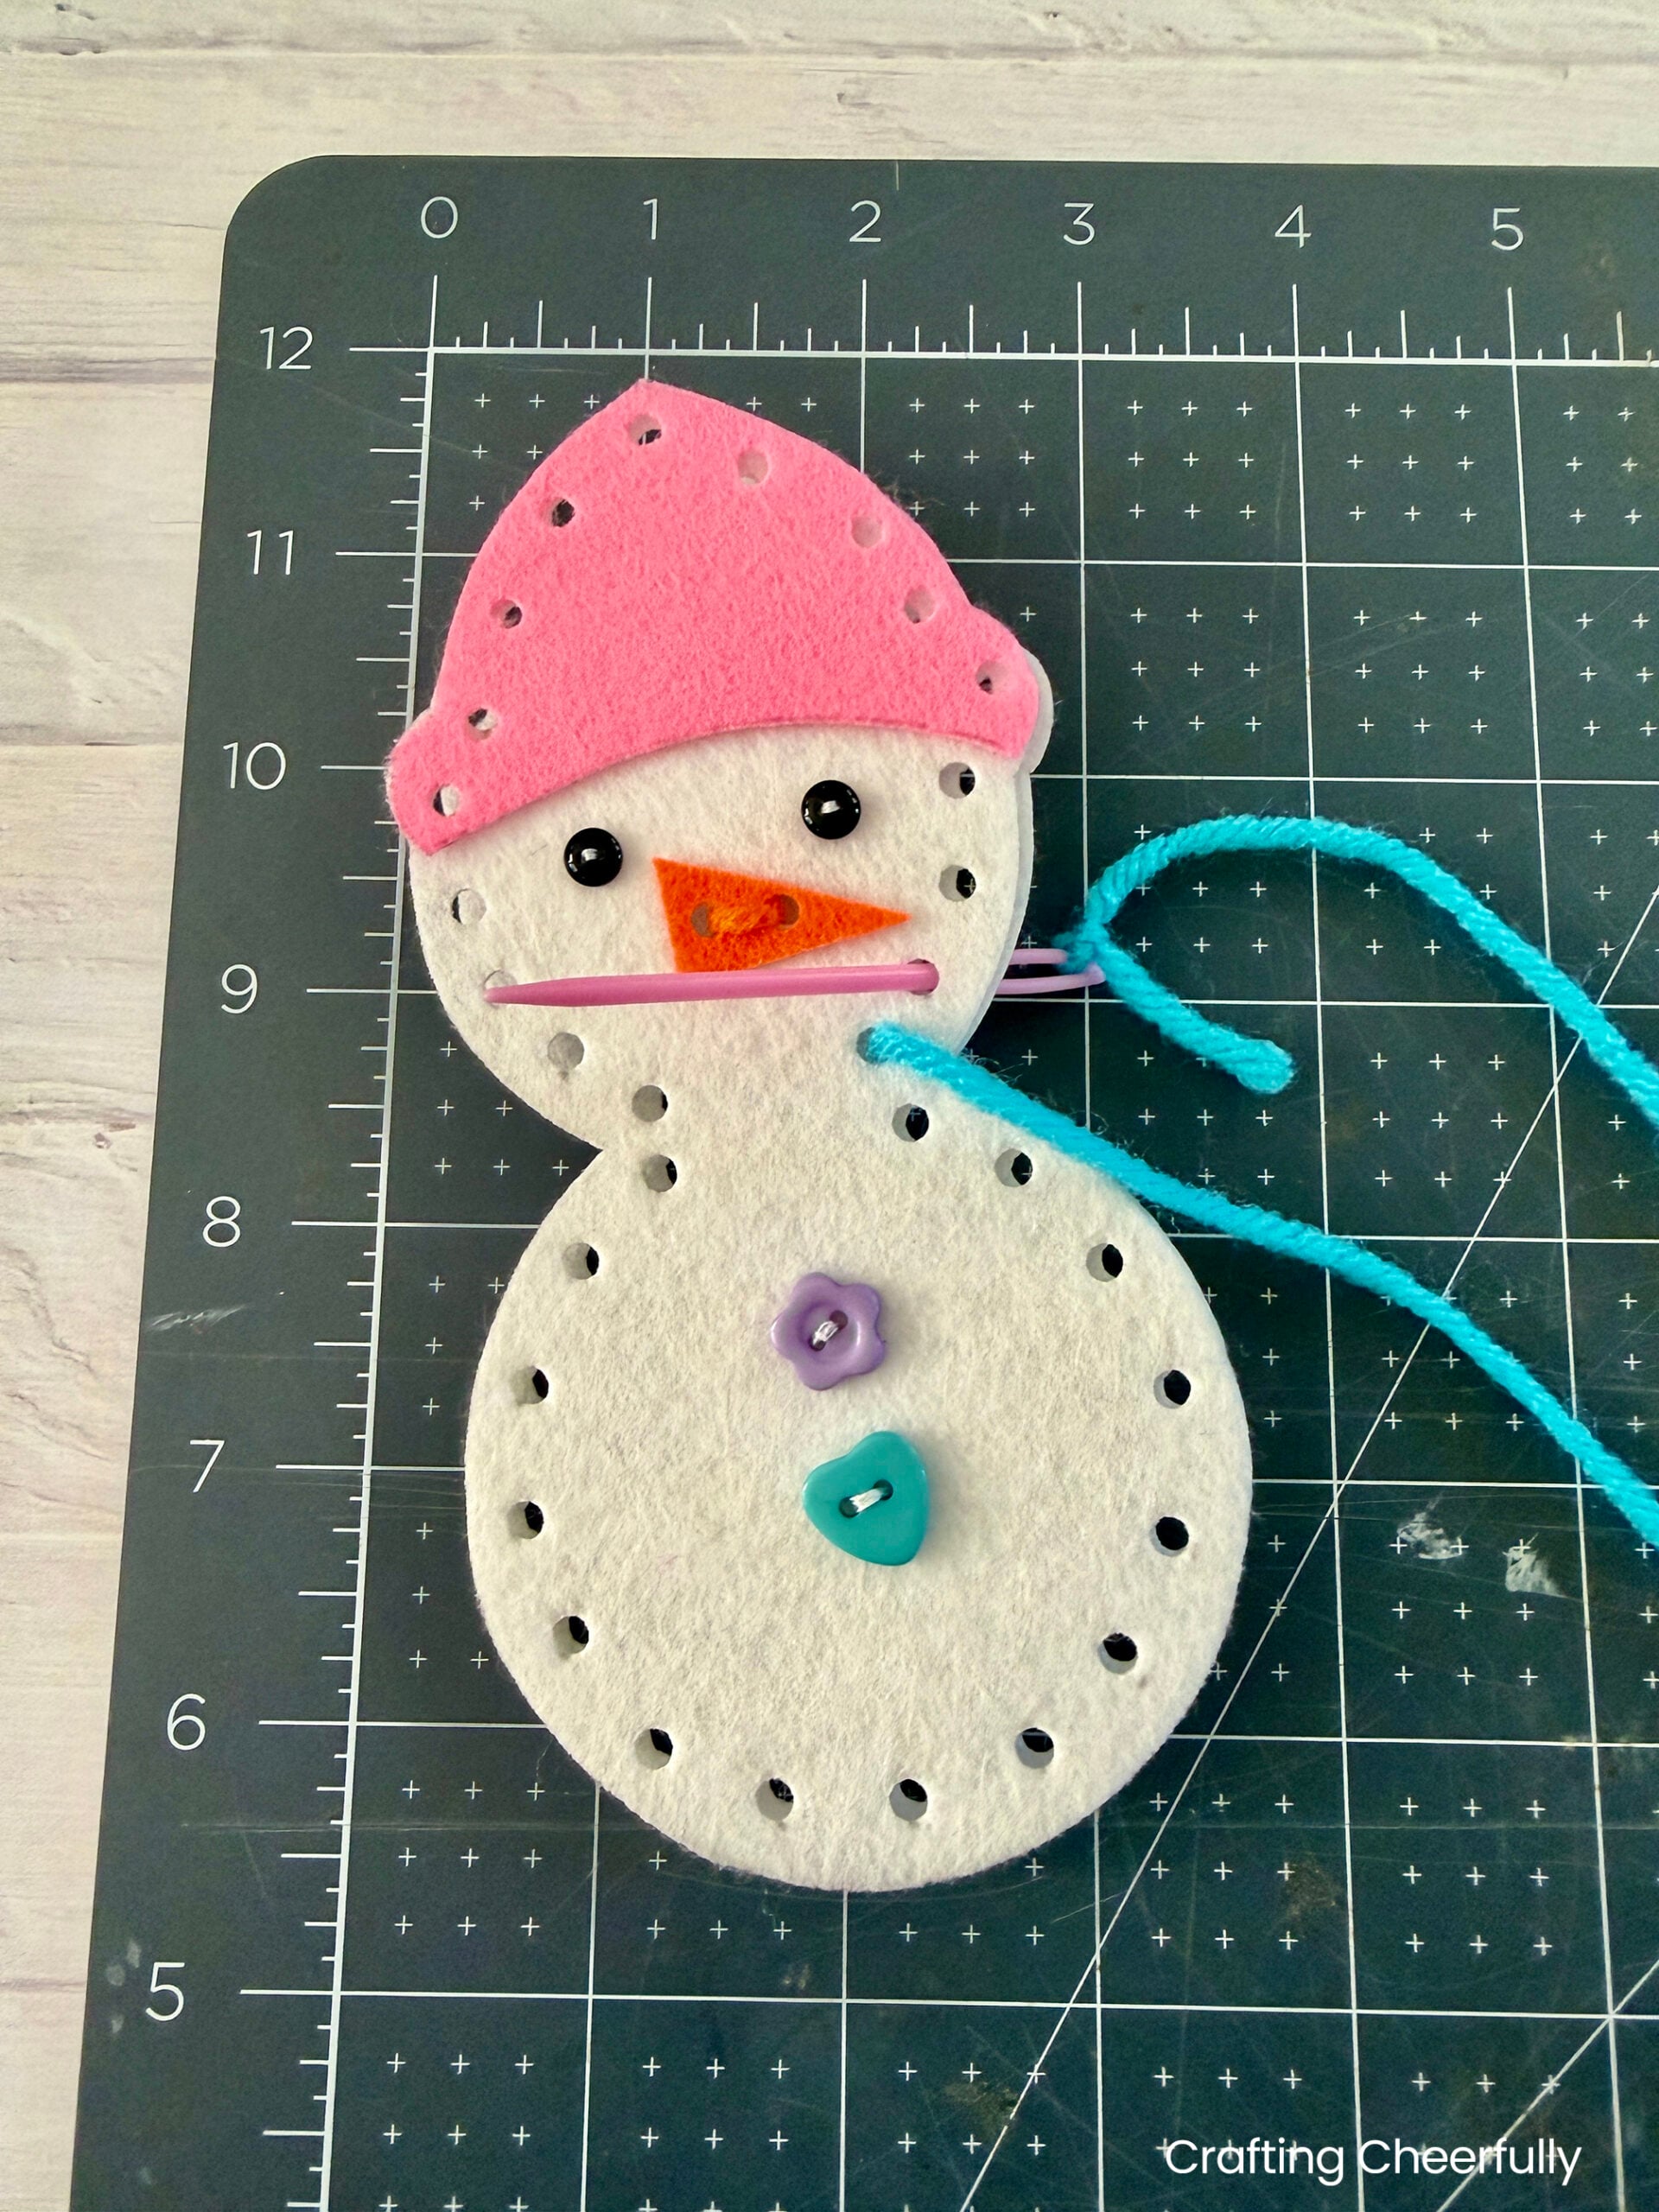
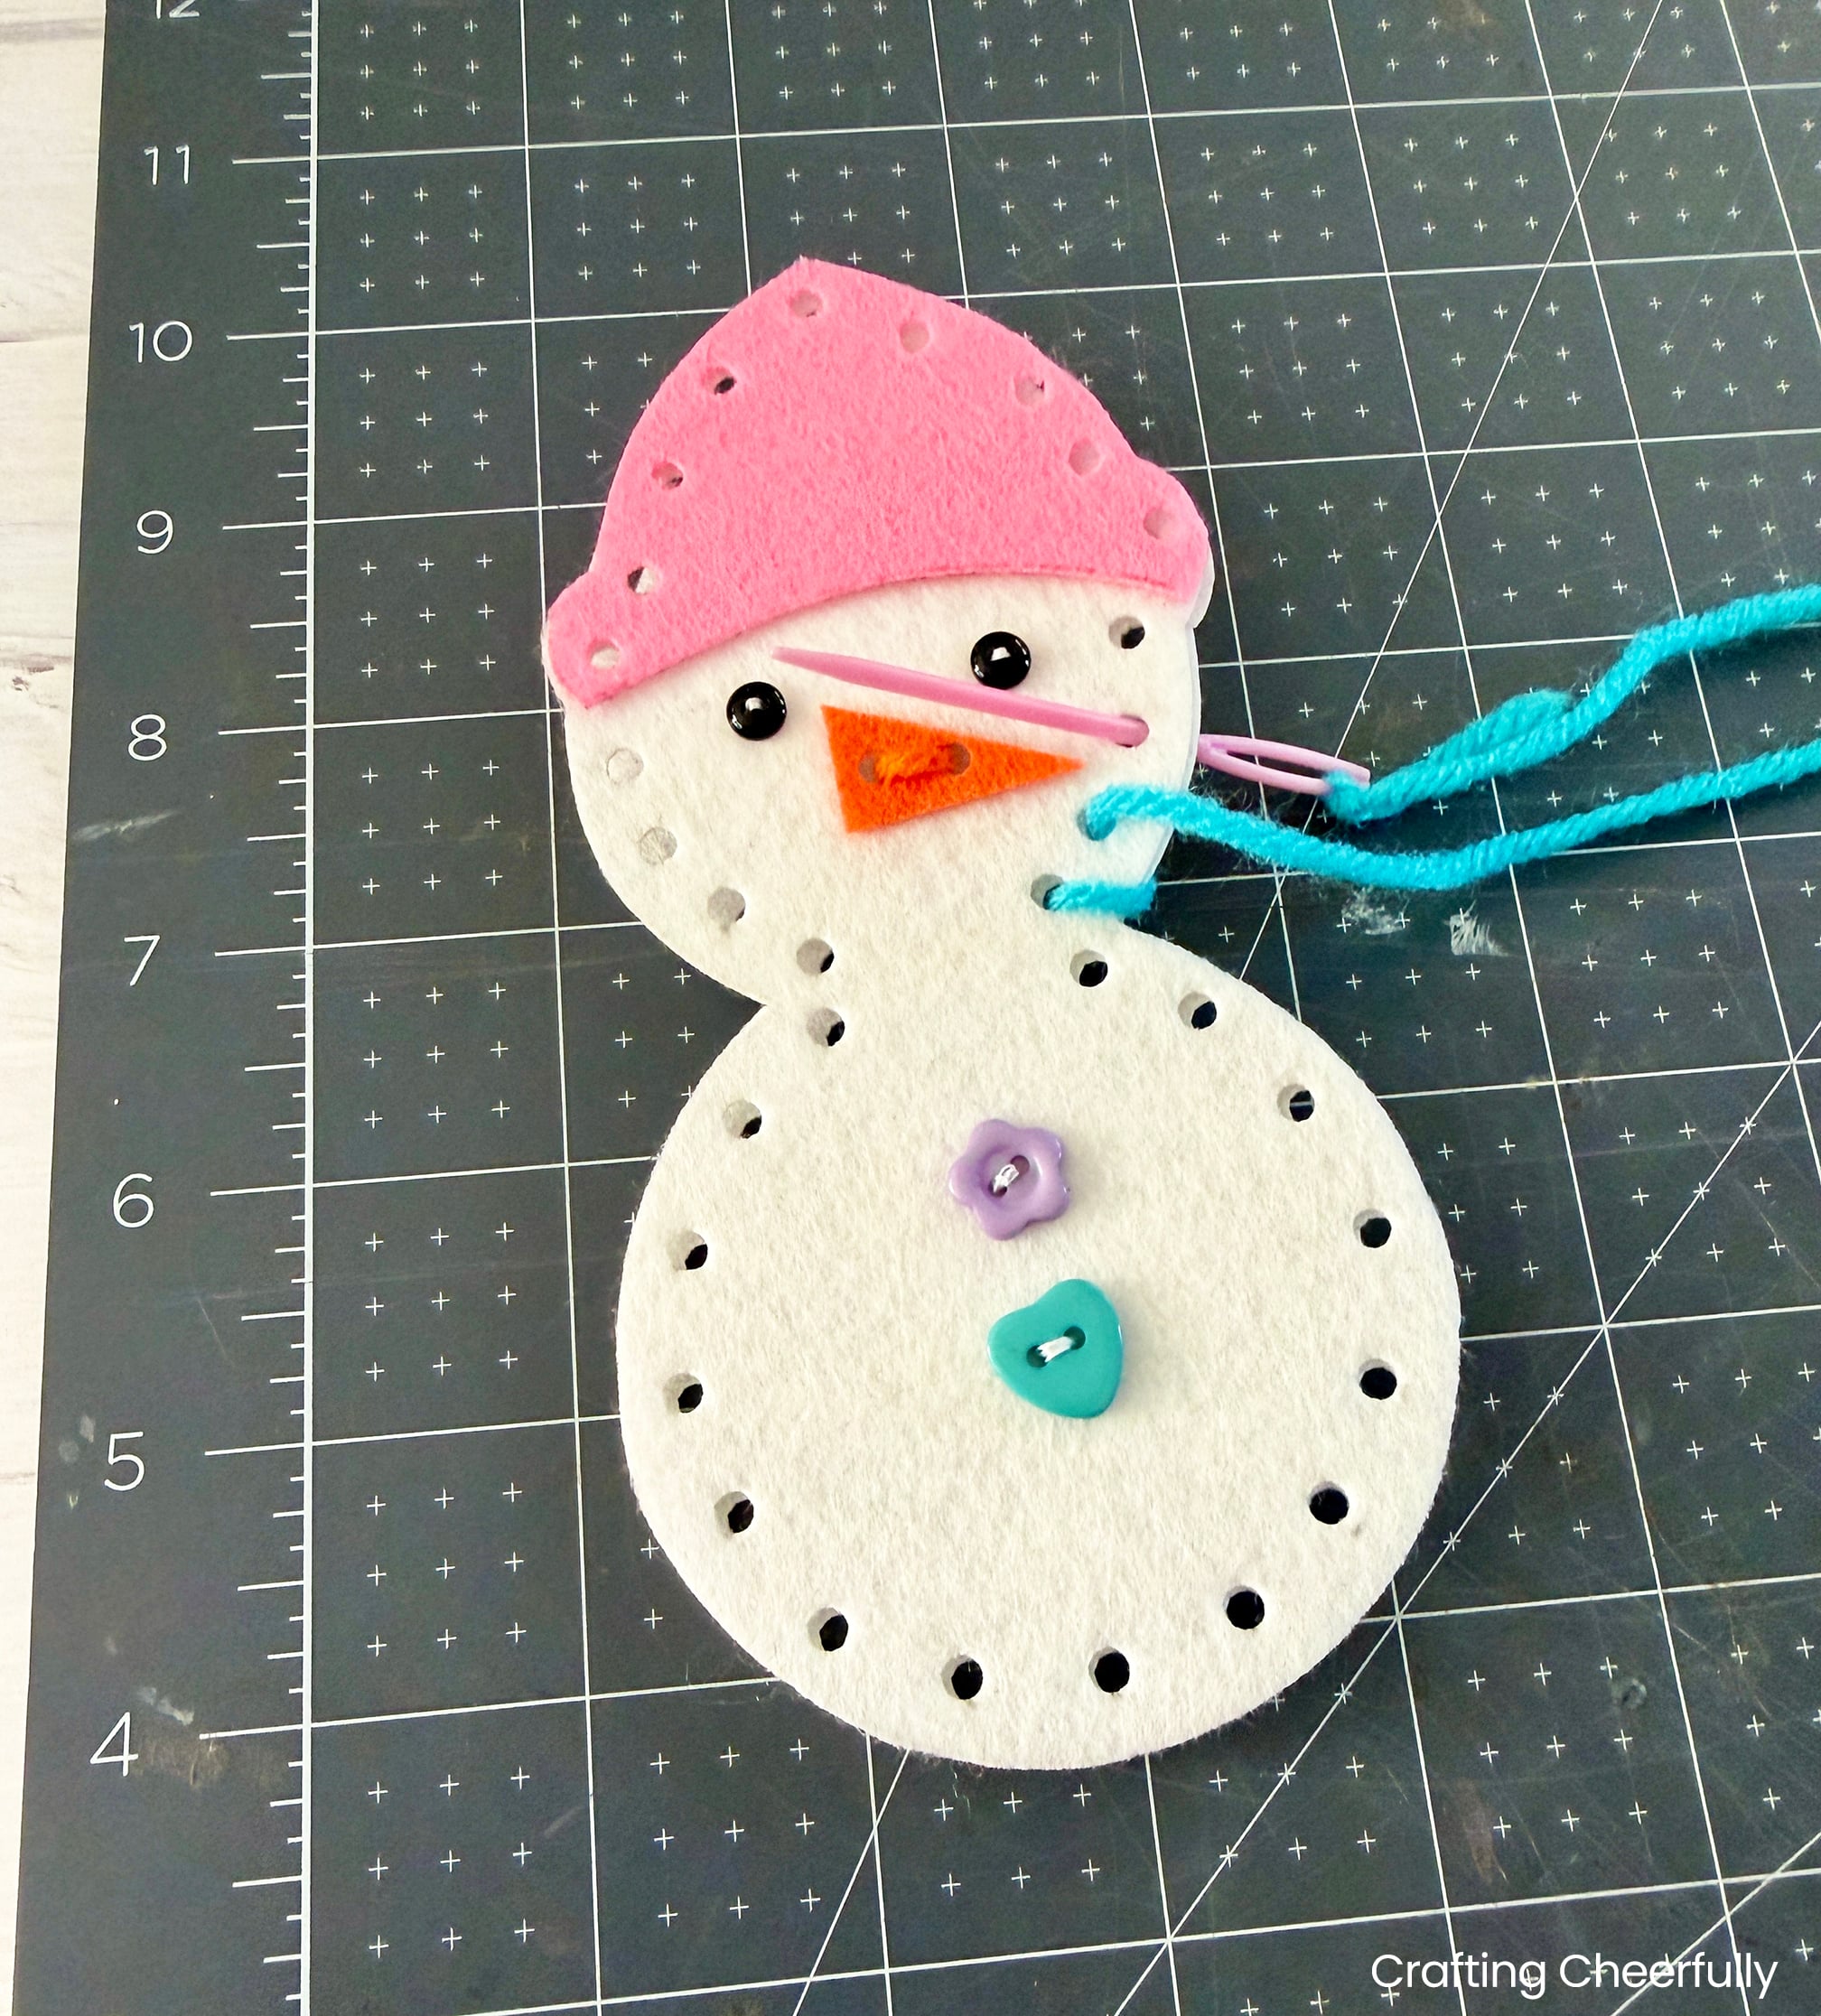
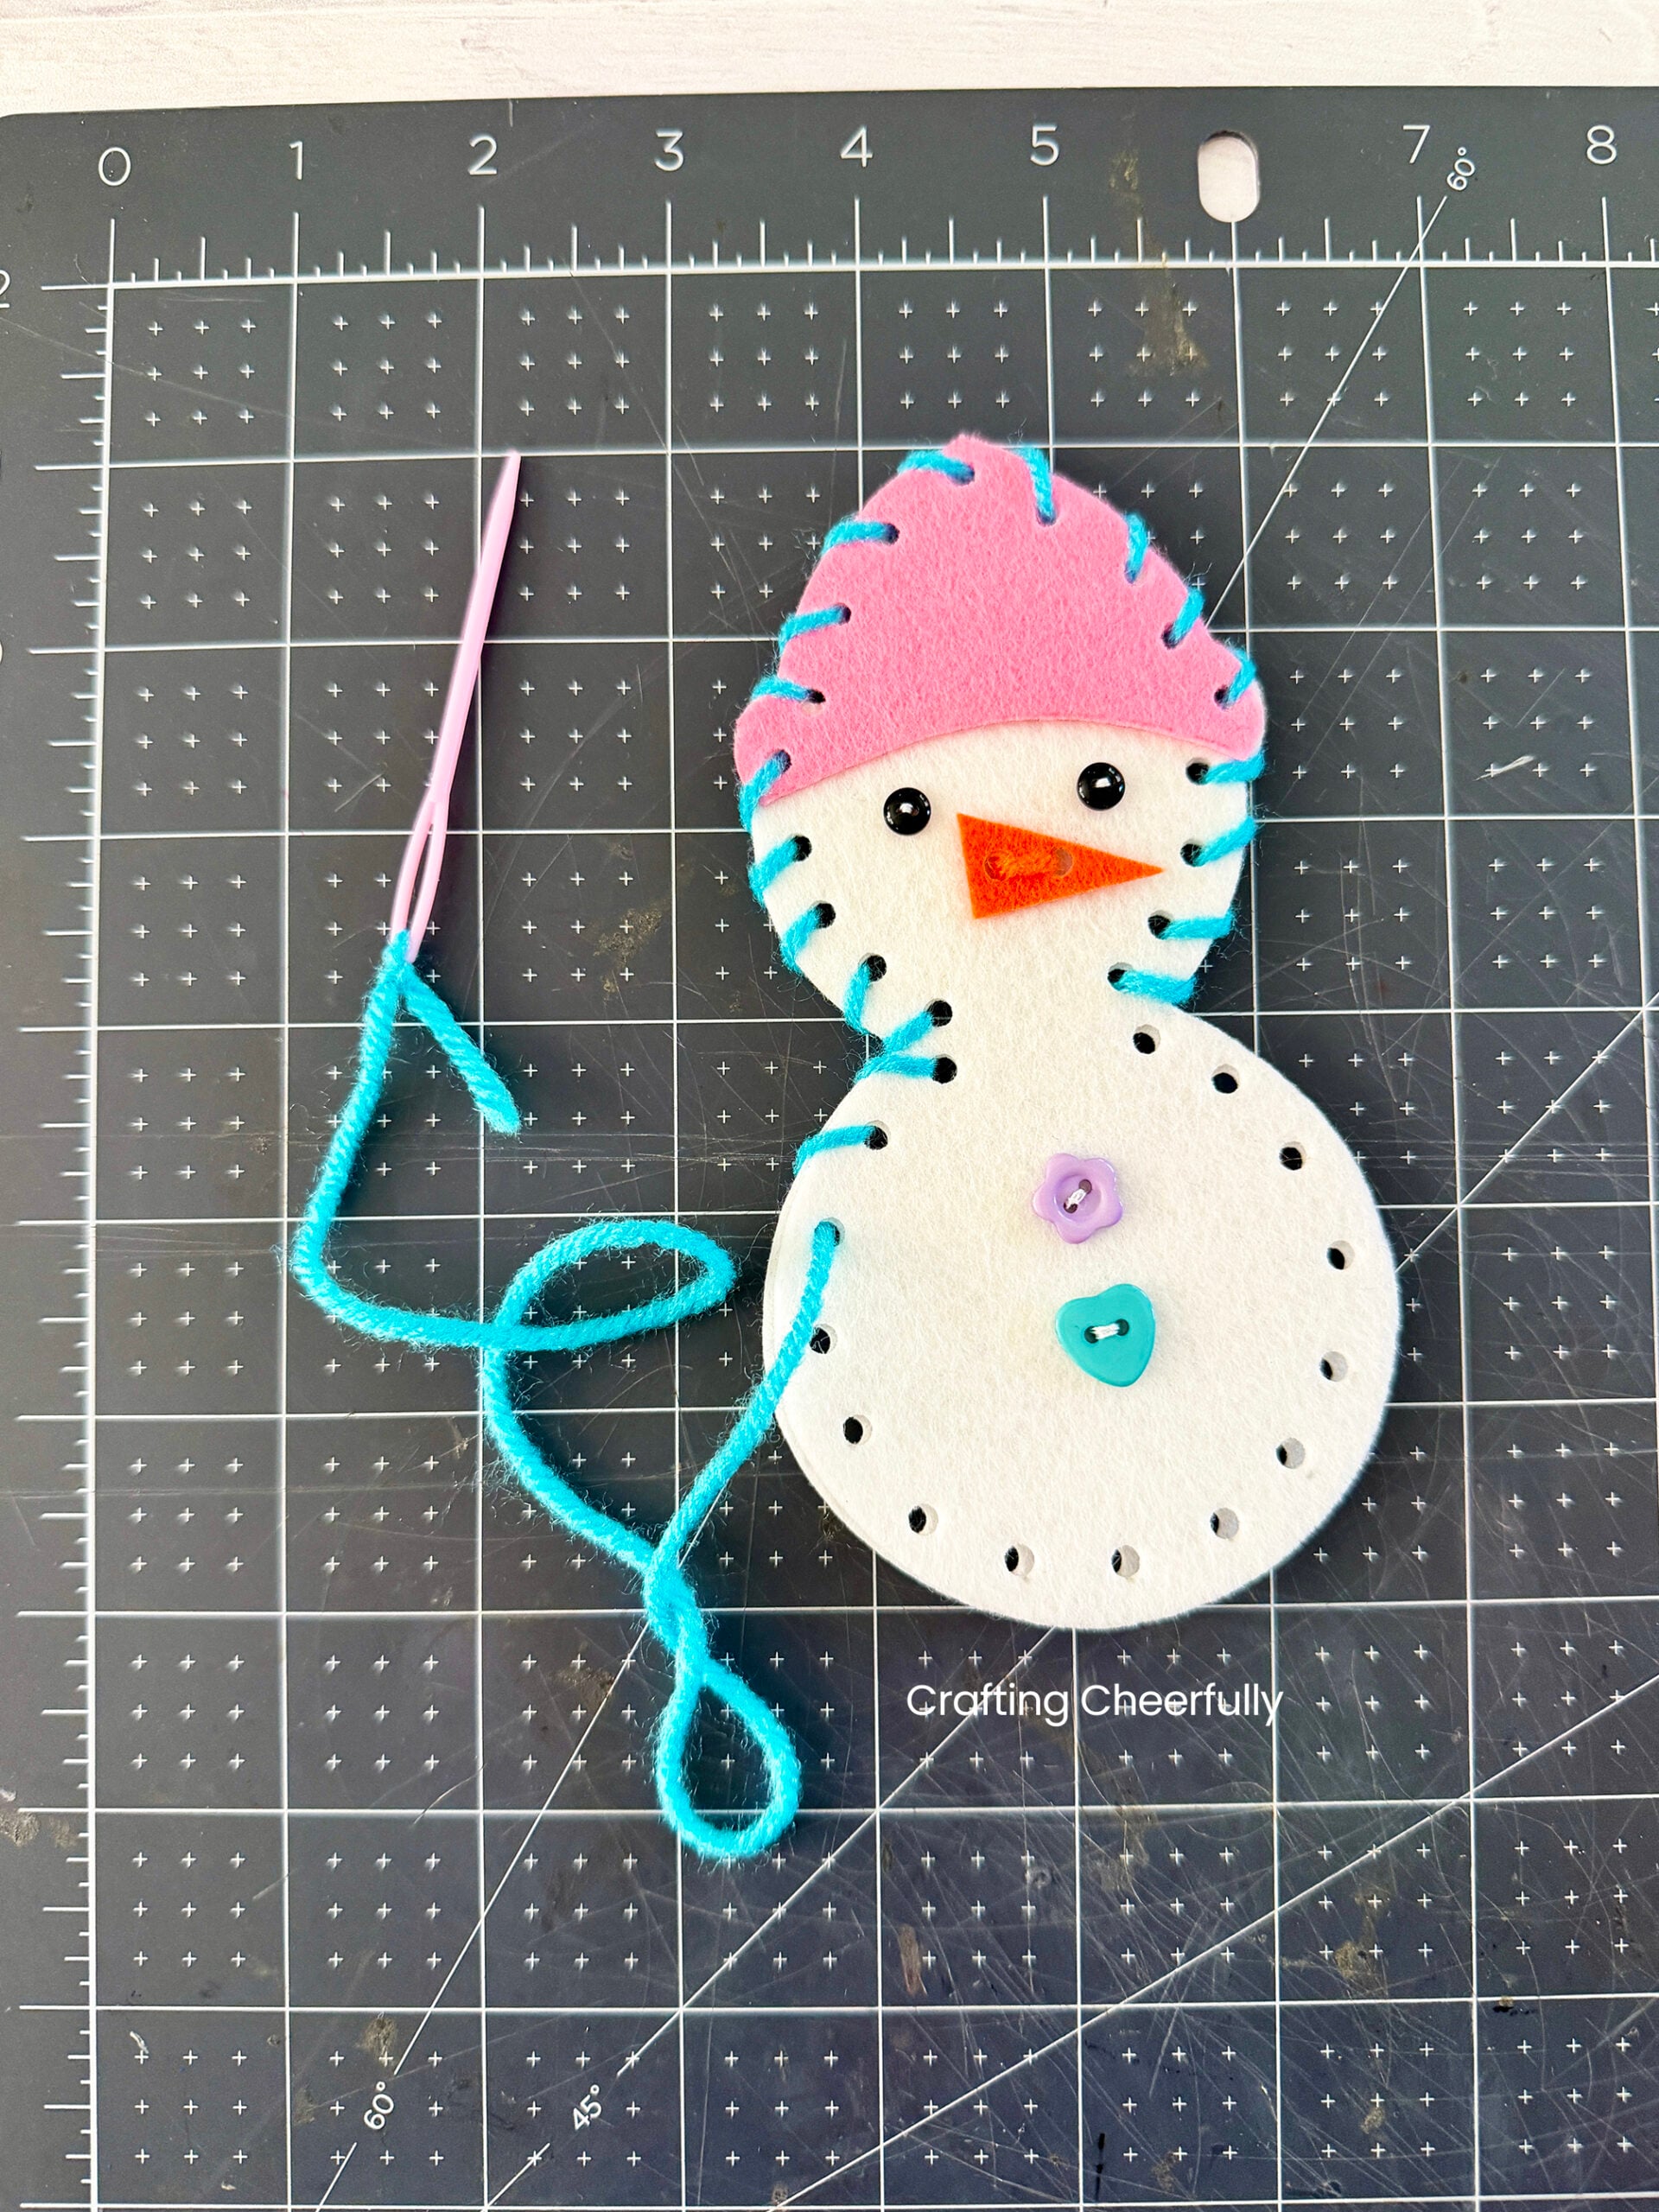
When the ornament is stitched all the way around tape the end to the back of the ornament. There are definitely ways to hide these ends, but in an effort to not make this too complicated, we decided to just tape the ends on the back and it worked well!
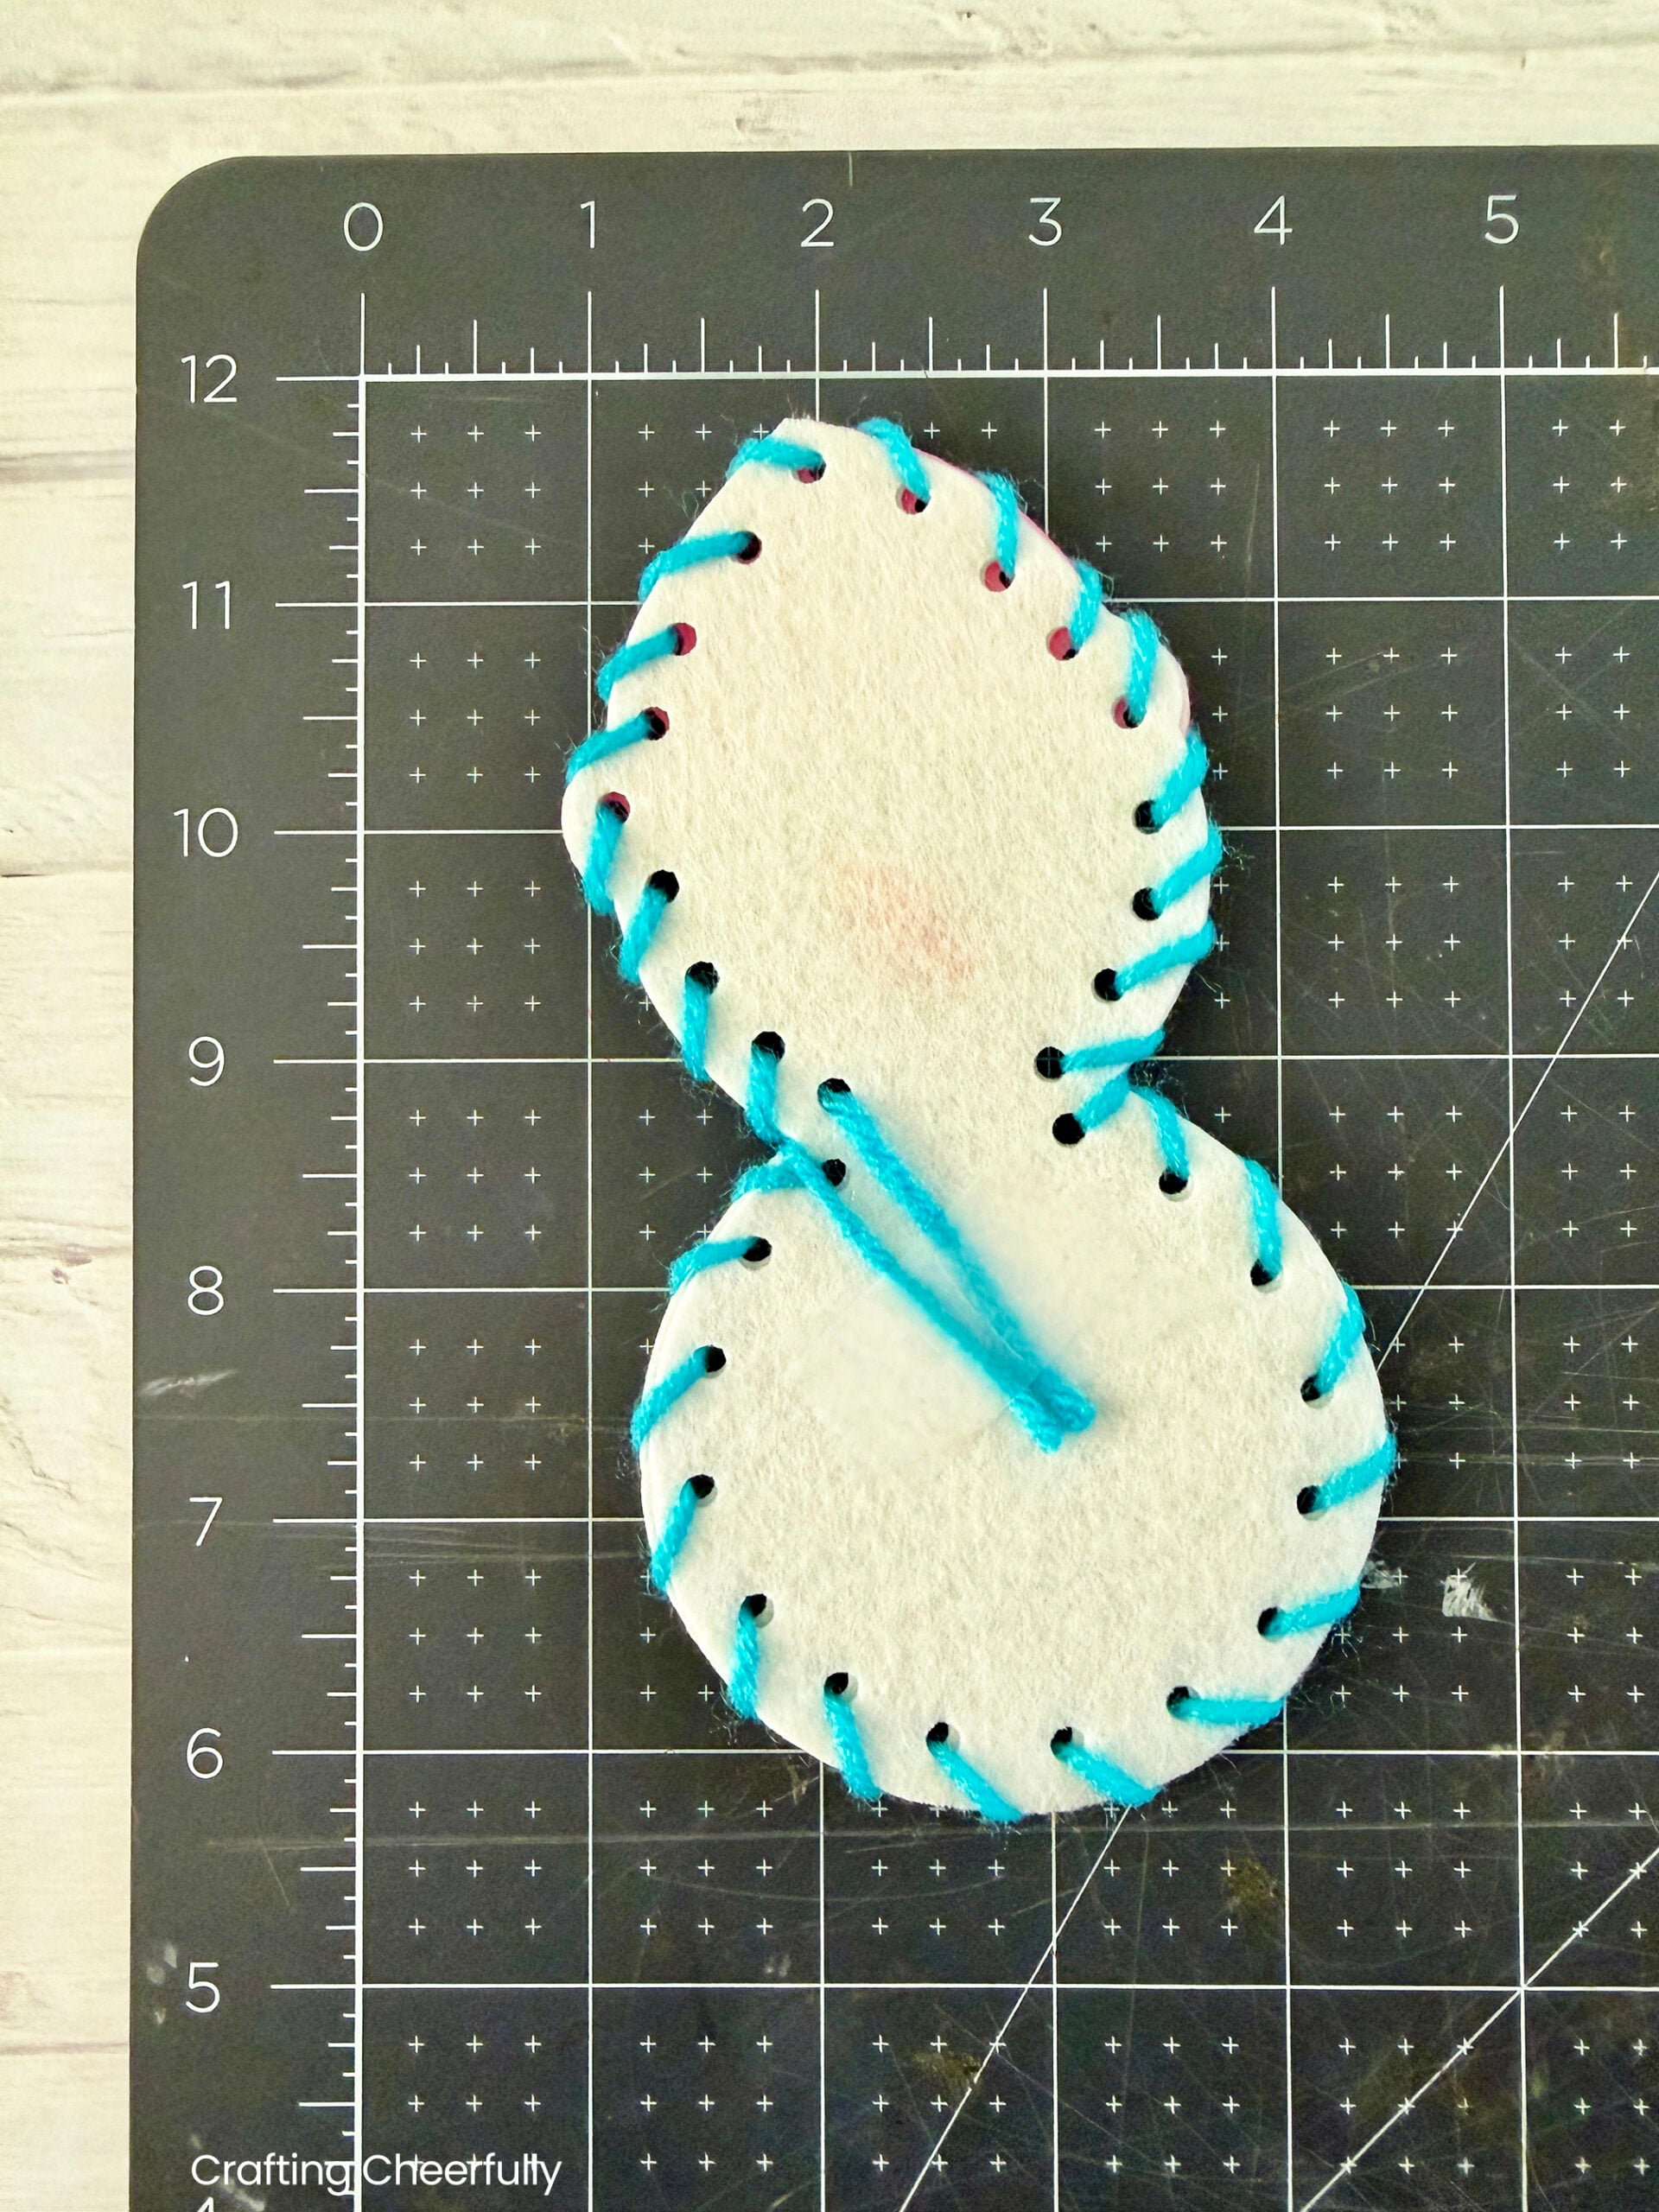
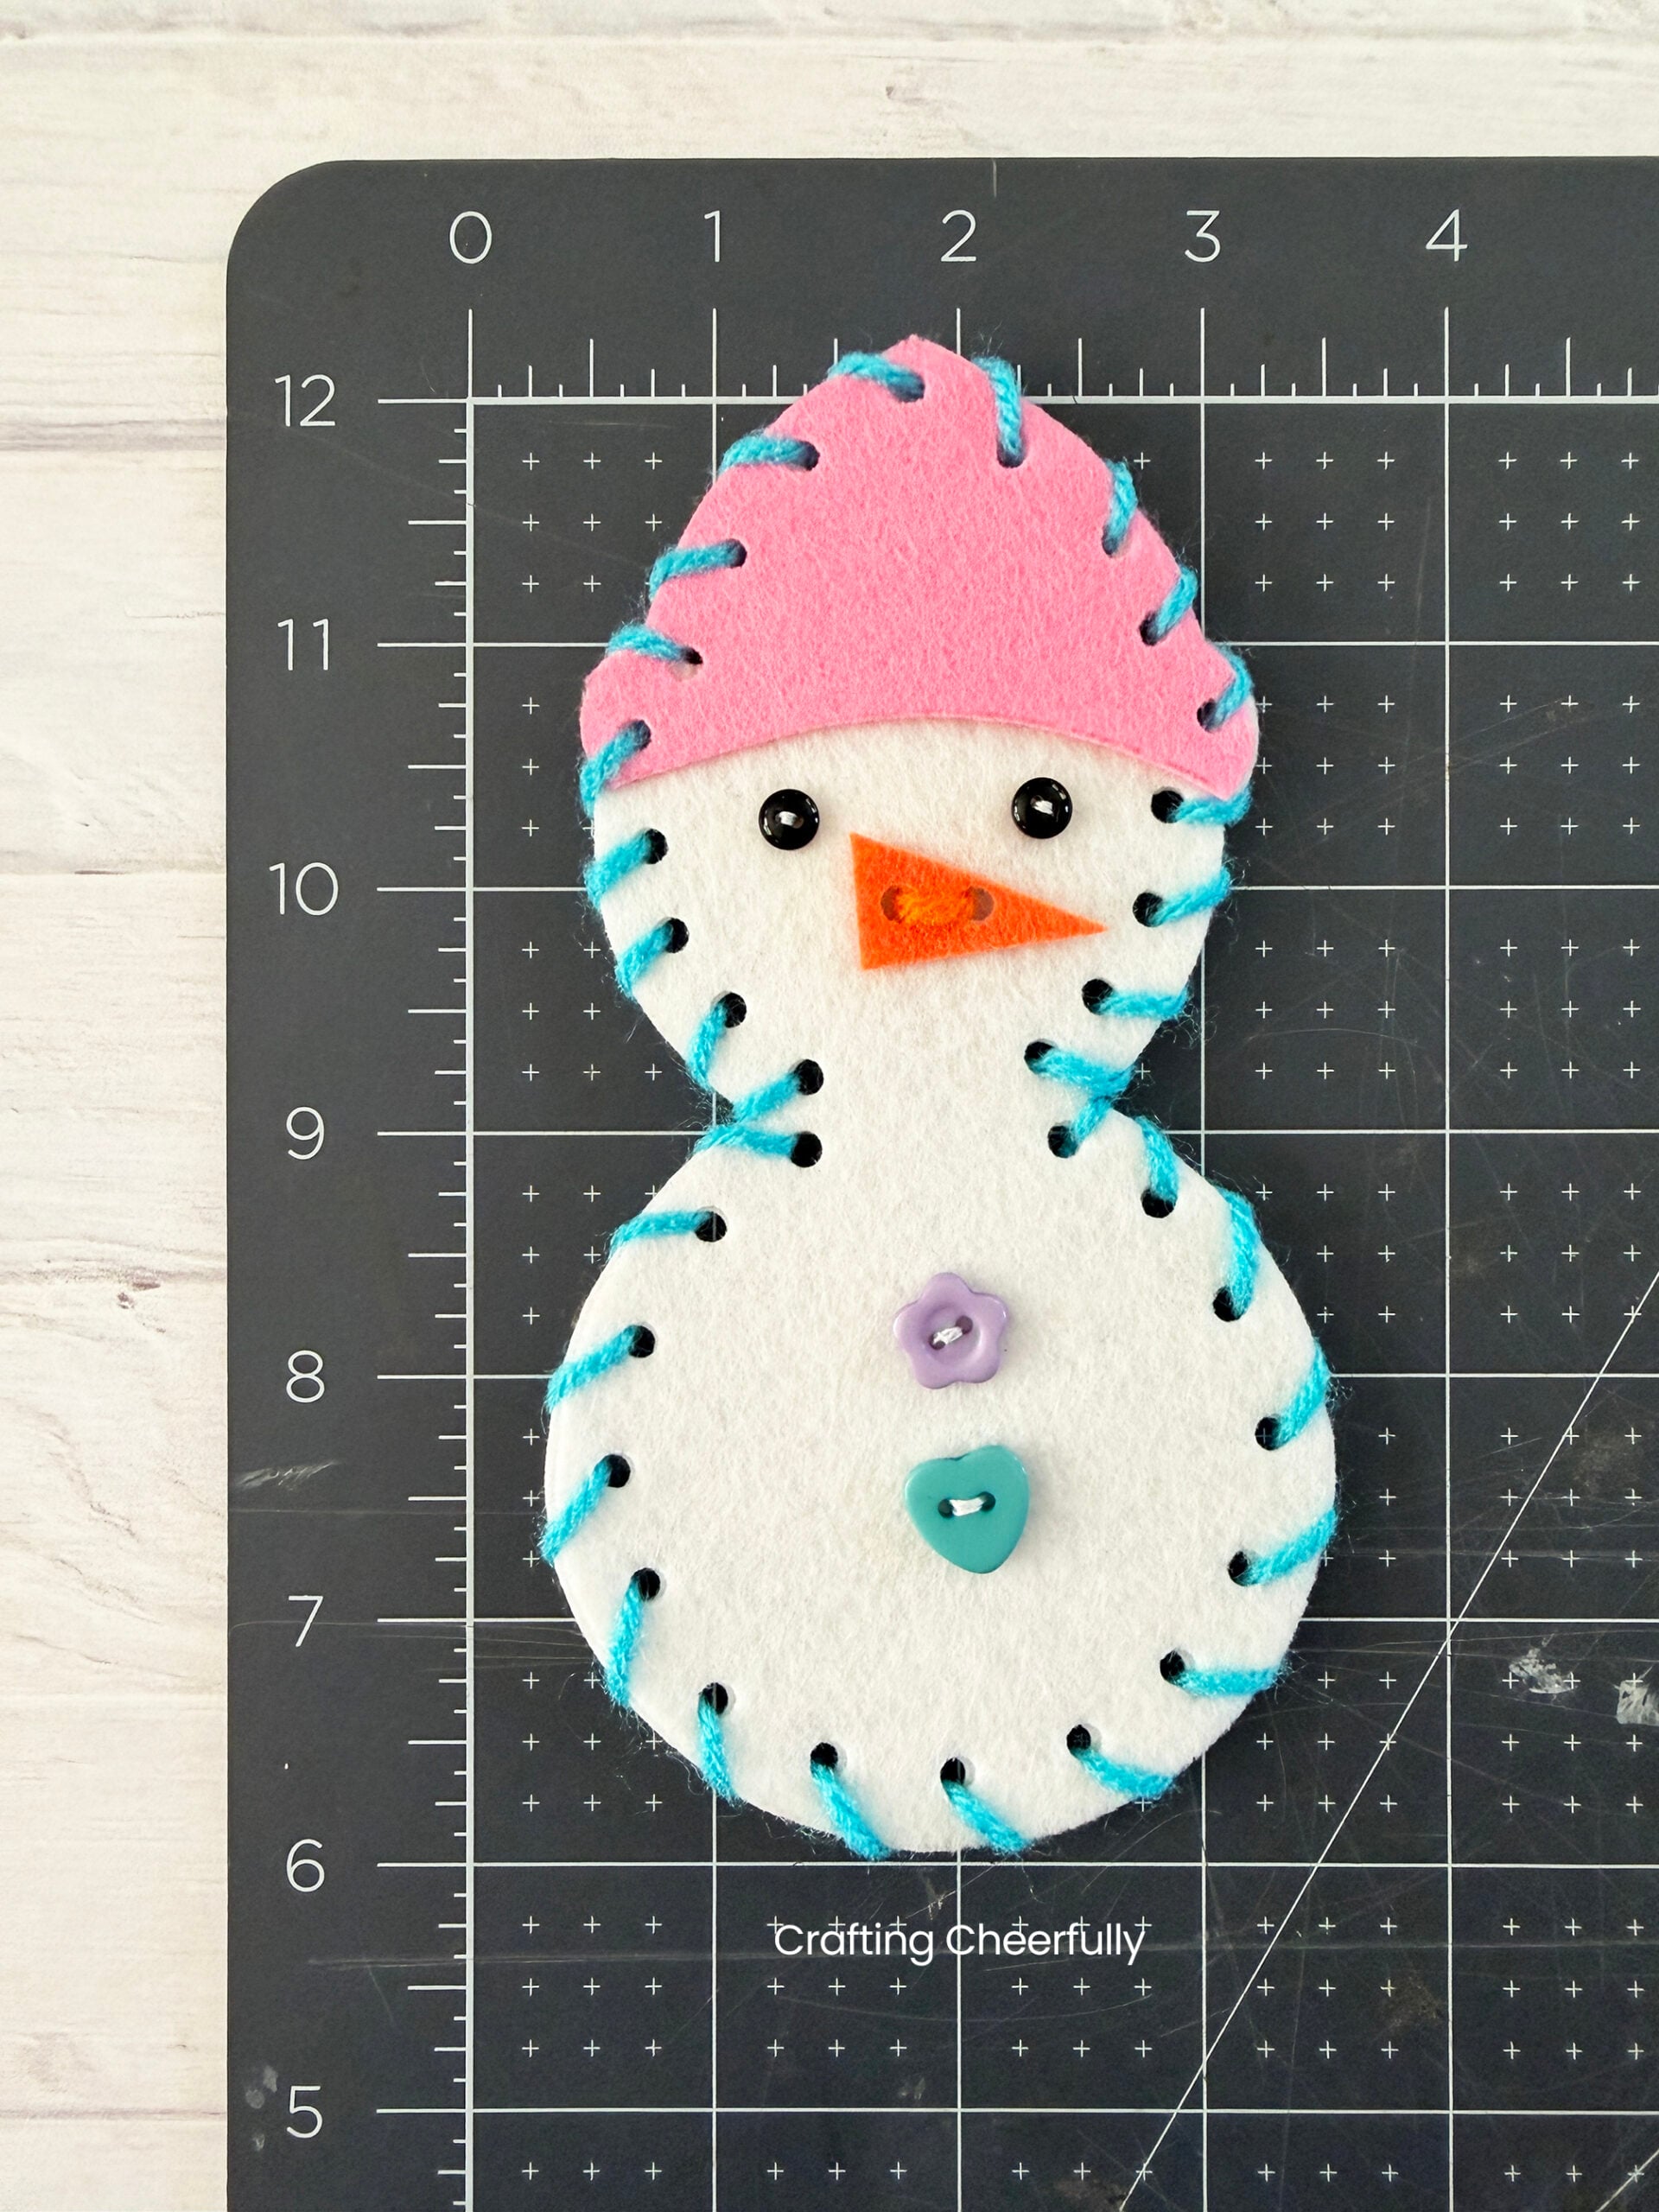
Add the Scarf and Pom Pom
Step Six: Tie the strip of fleece around the snowpal’s neck. Use a piece of colorful yarn to add a hanging loop through the top hole of the hat.
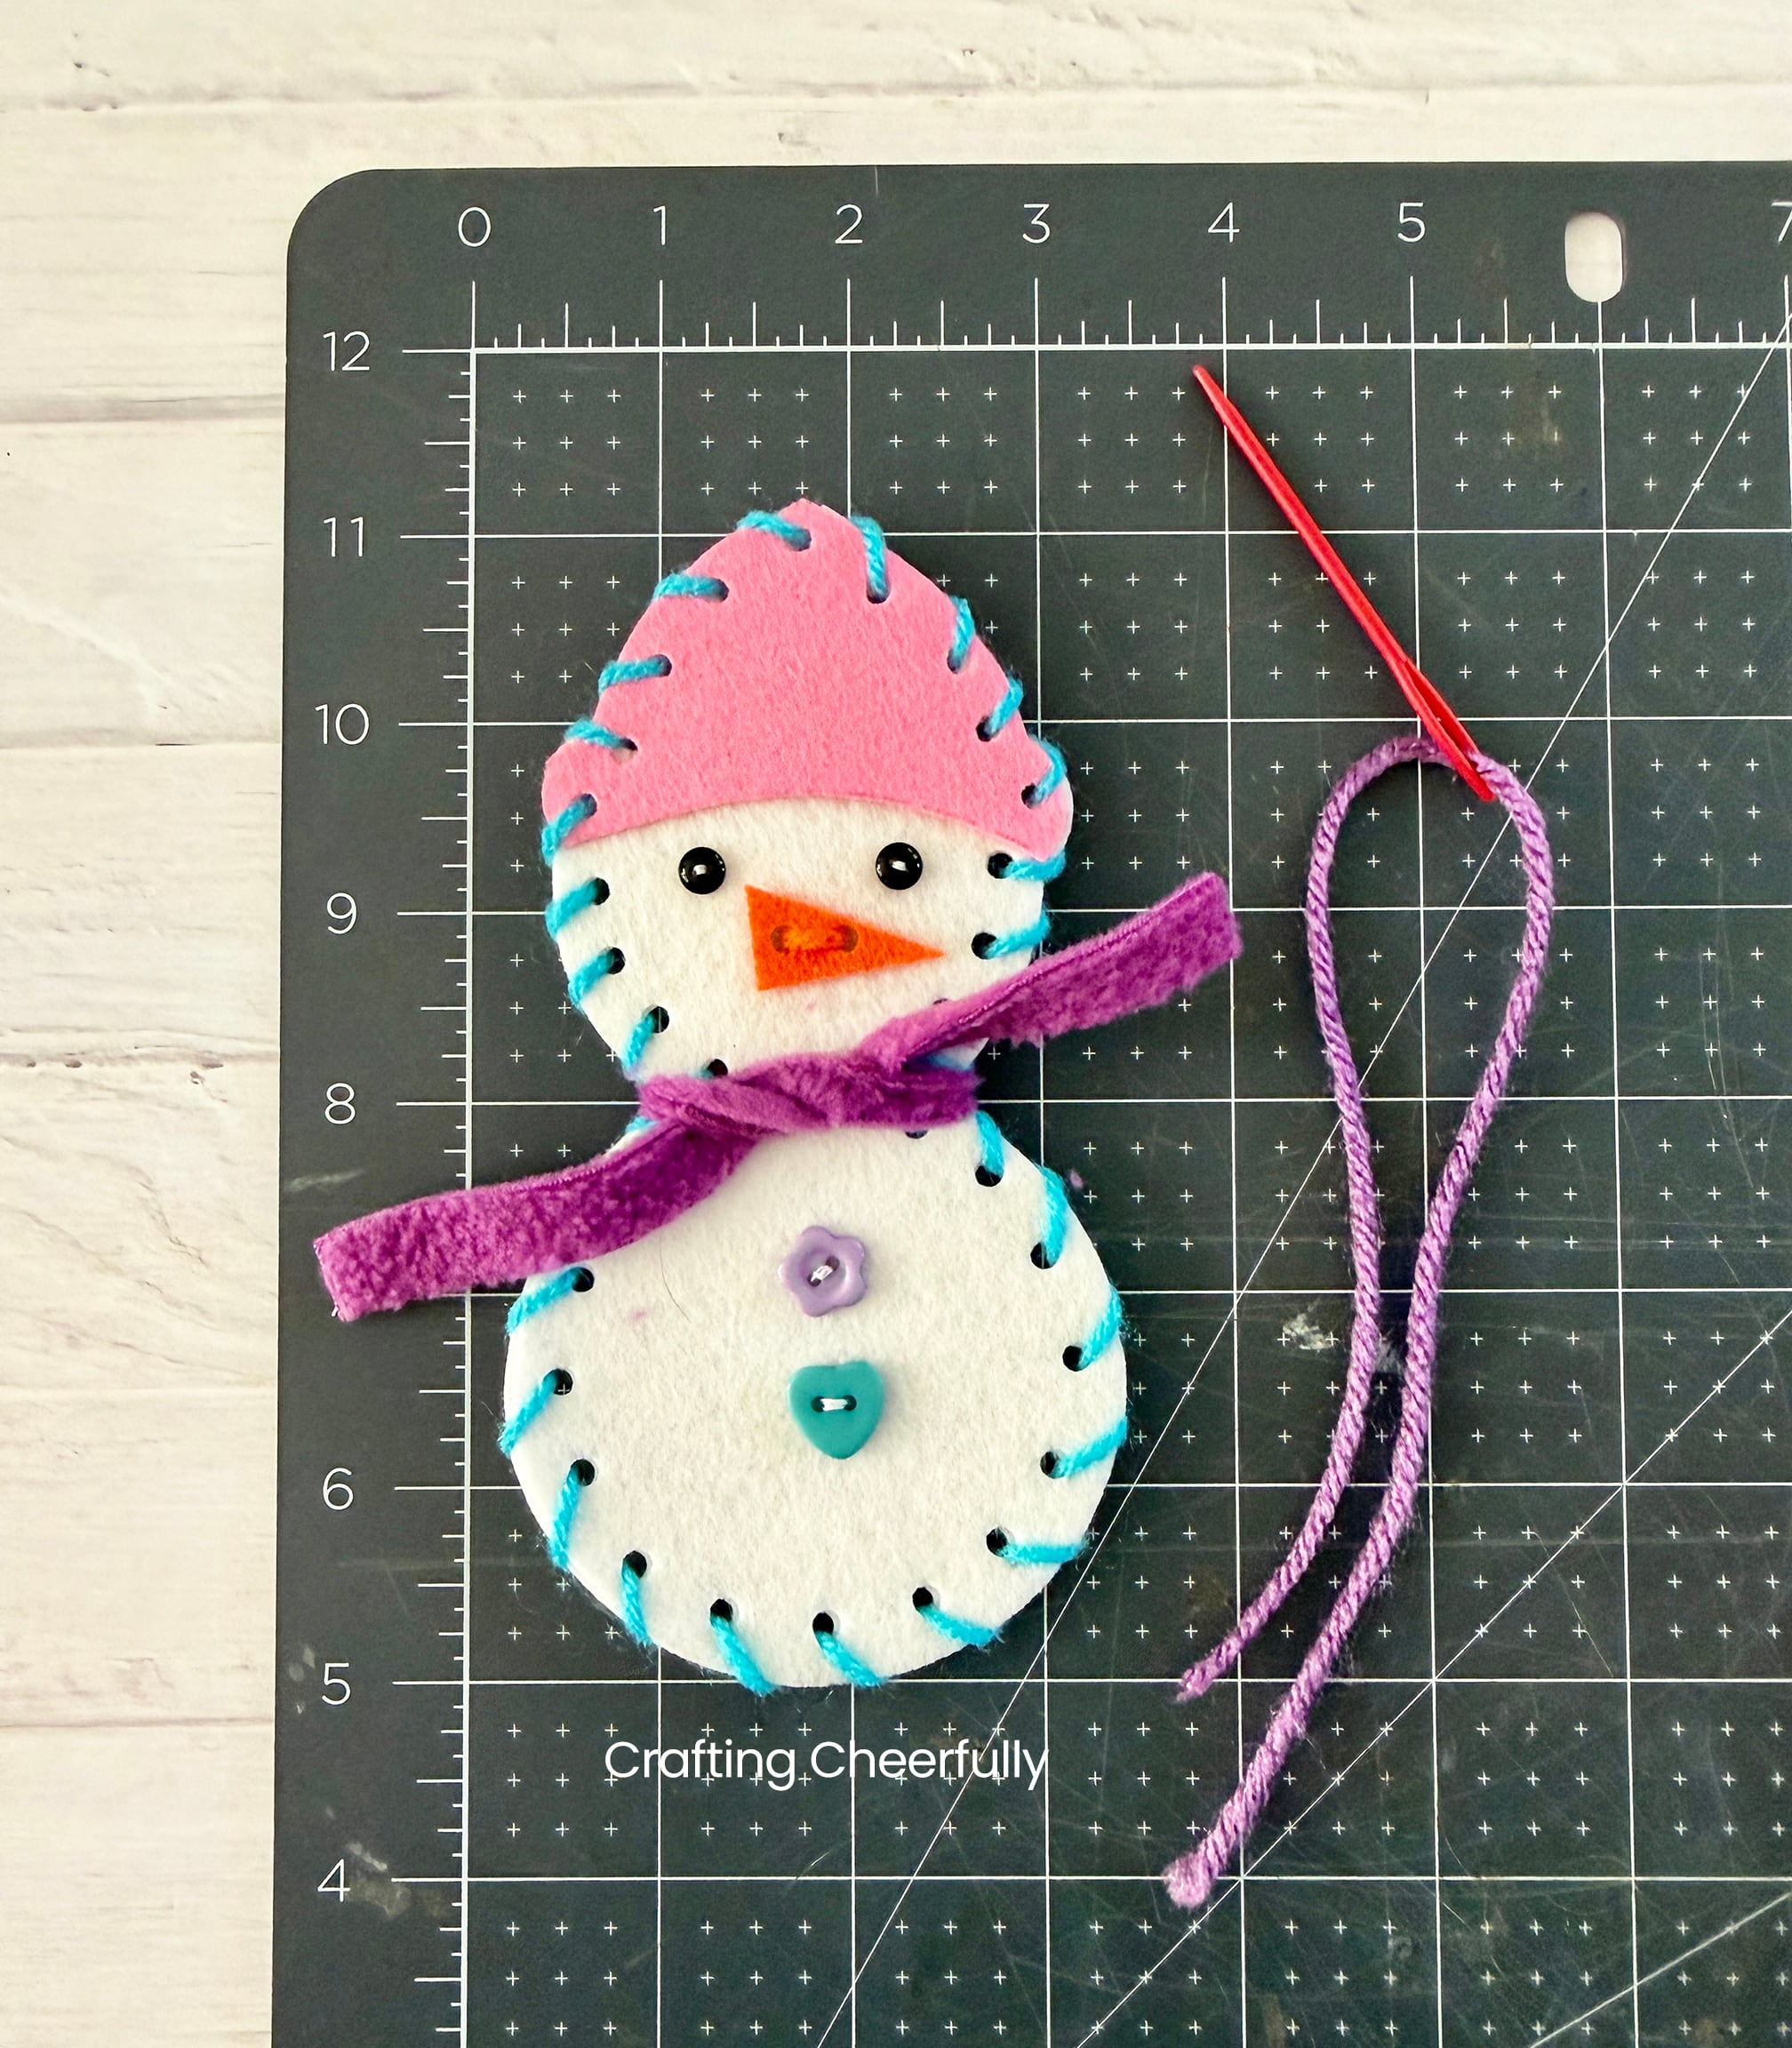
Use hot glue to add a pompom to the top of the hat.
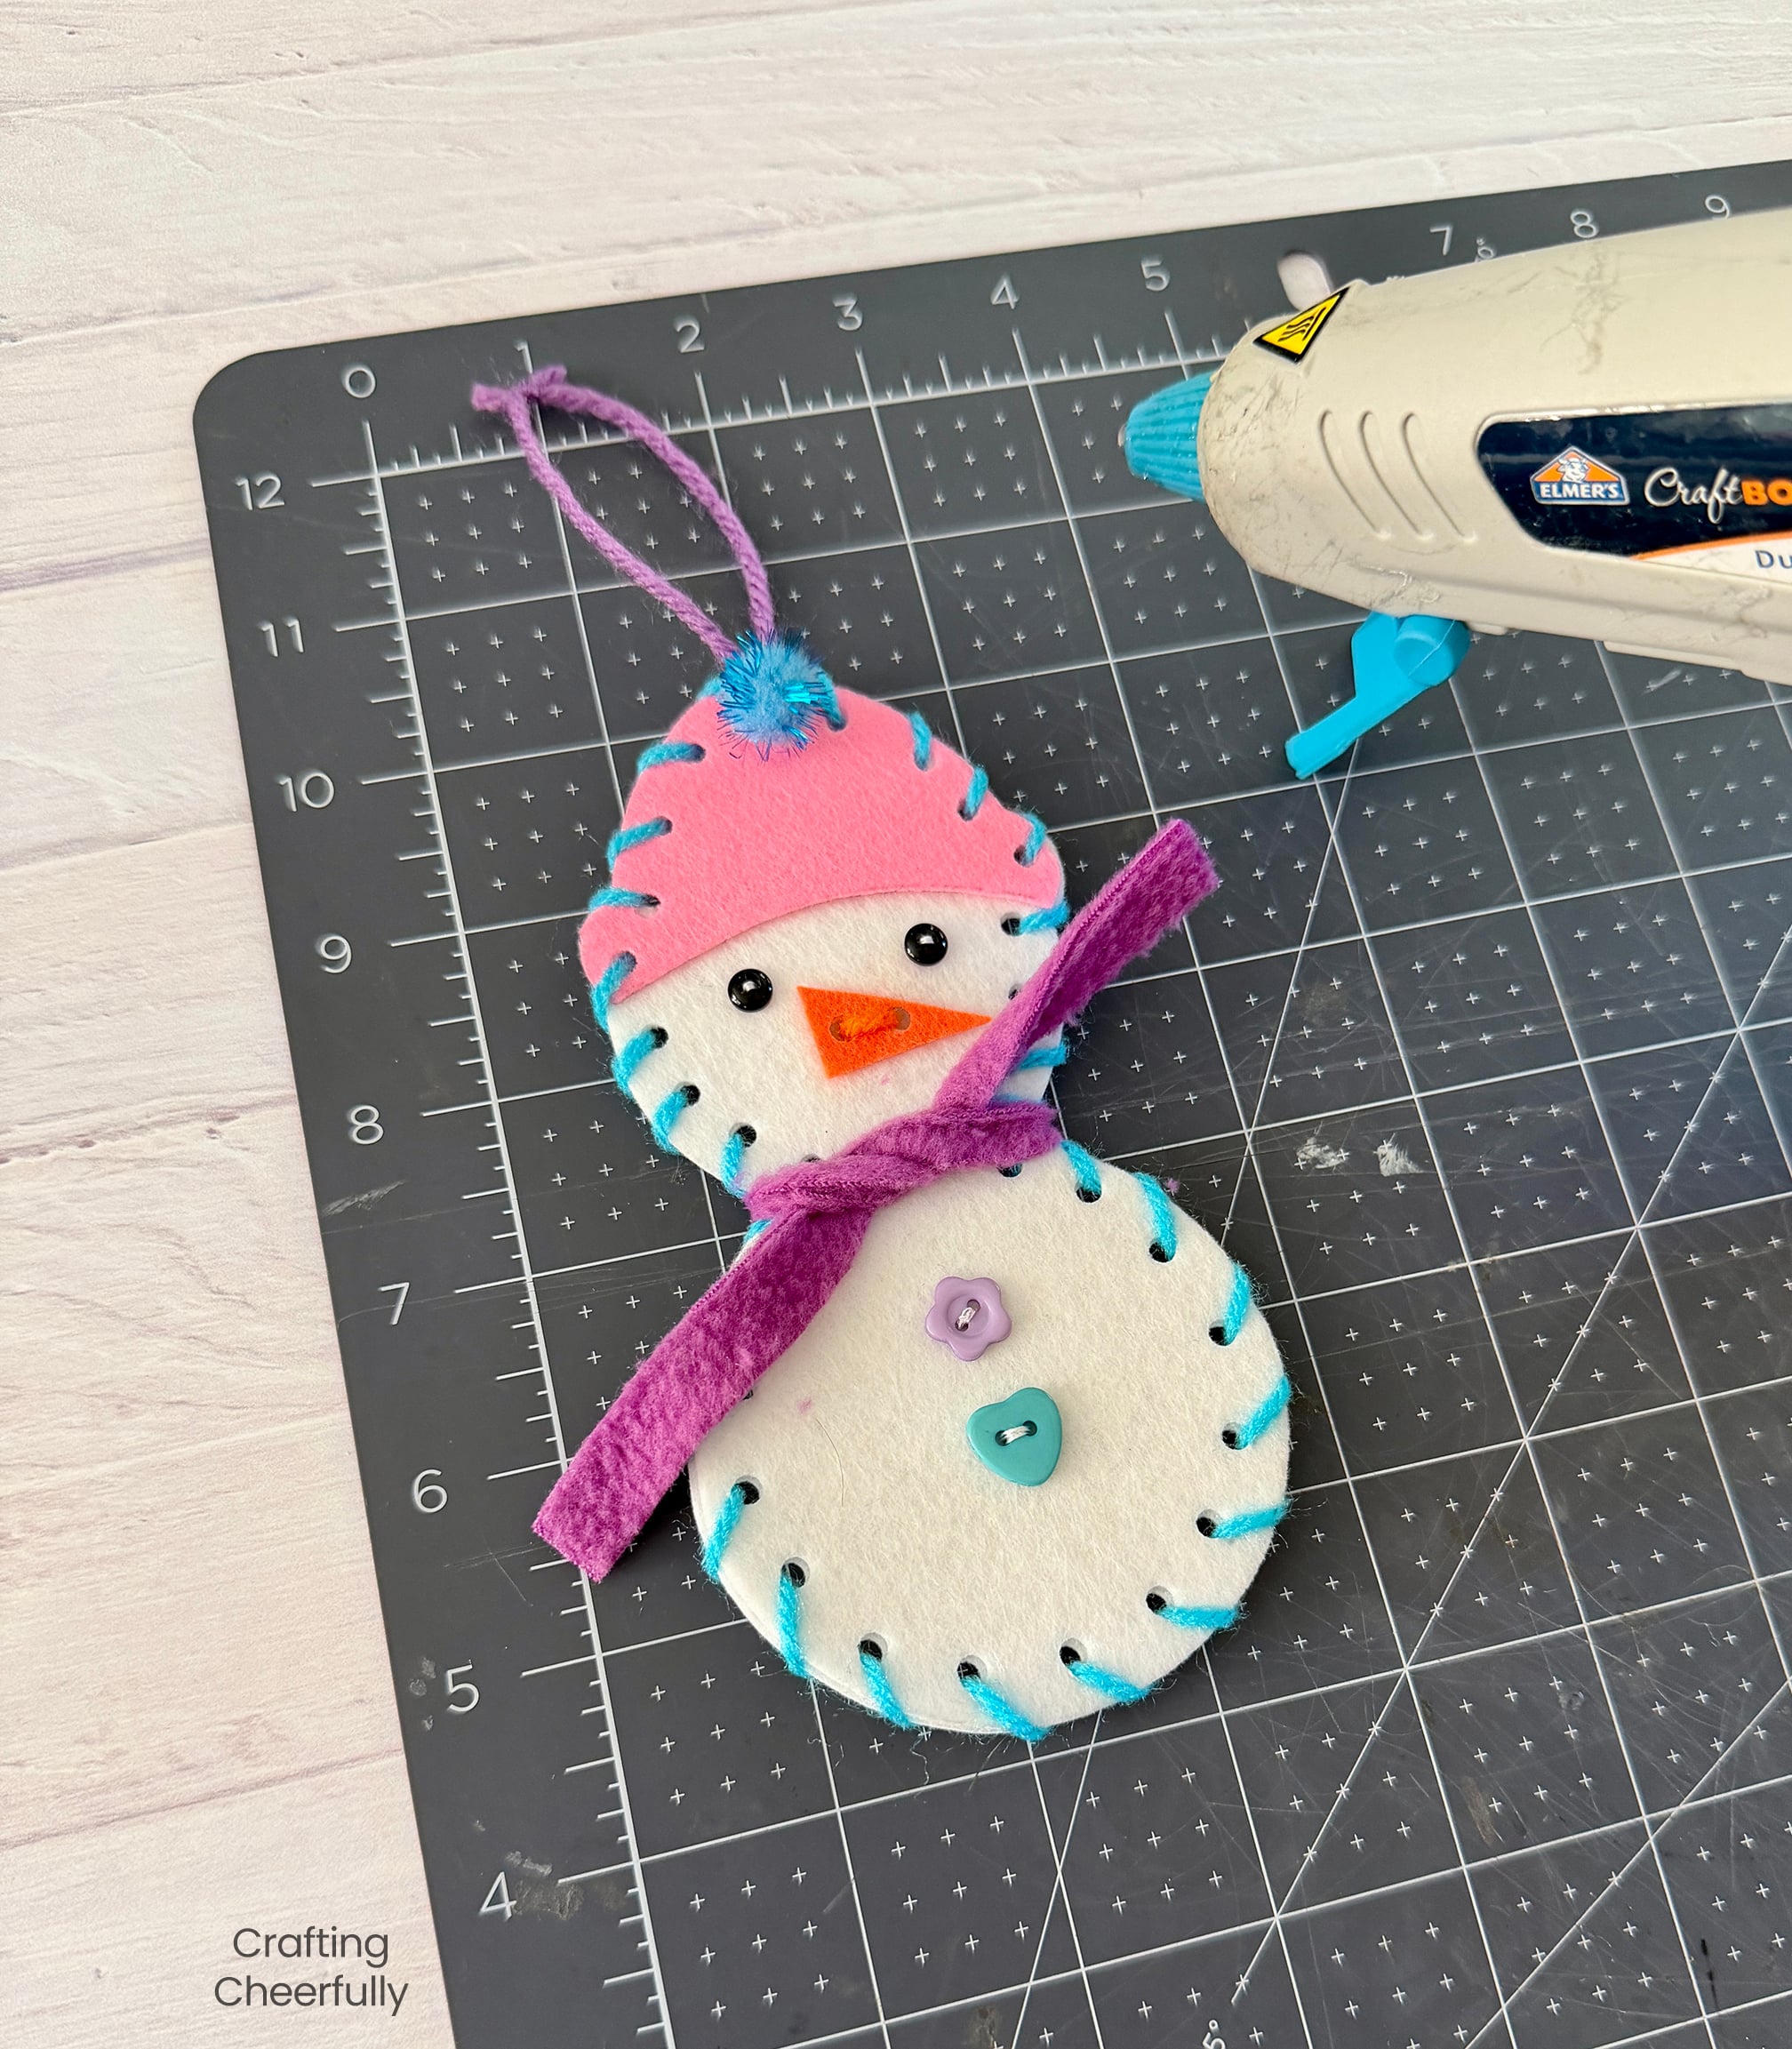
The snowpal ornaments are finished! They turned out so cute and are a great beginner sewing project for new sewers!
I hope you enjoyed these cute snowpal ornaments! They are a great craft to do with kids and beginner sewers! If you’re looking for more craft ideas for kids check out my Christmas Kid Craft page. I’ll be back tomorrow with day nine of my series, 12 Days of Holiday Crafts.

Get the Free PDF Pattern
Fill out the purple form below with your first name and email address! The free file will be sent straight to your inbox! If you have already filled out the form below, don’t worry – you won’t be added to my list twice! This freebie is for personal use only. I hope you enjoy crafting something special. Please let me know if you have any questions :)