Christmas Tree Embroidery Hoop with HTV
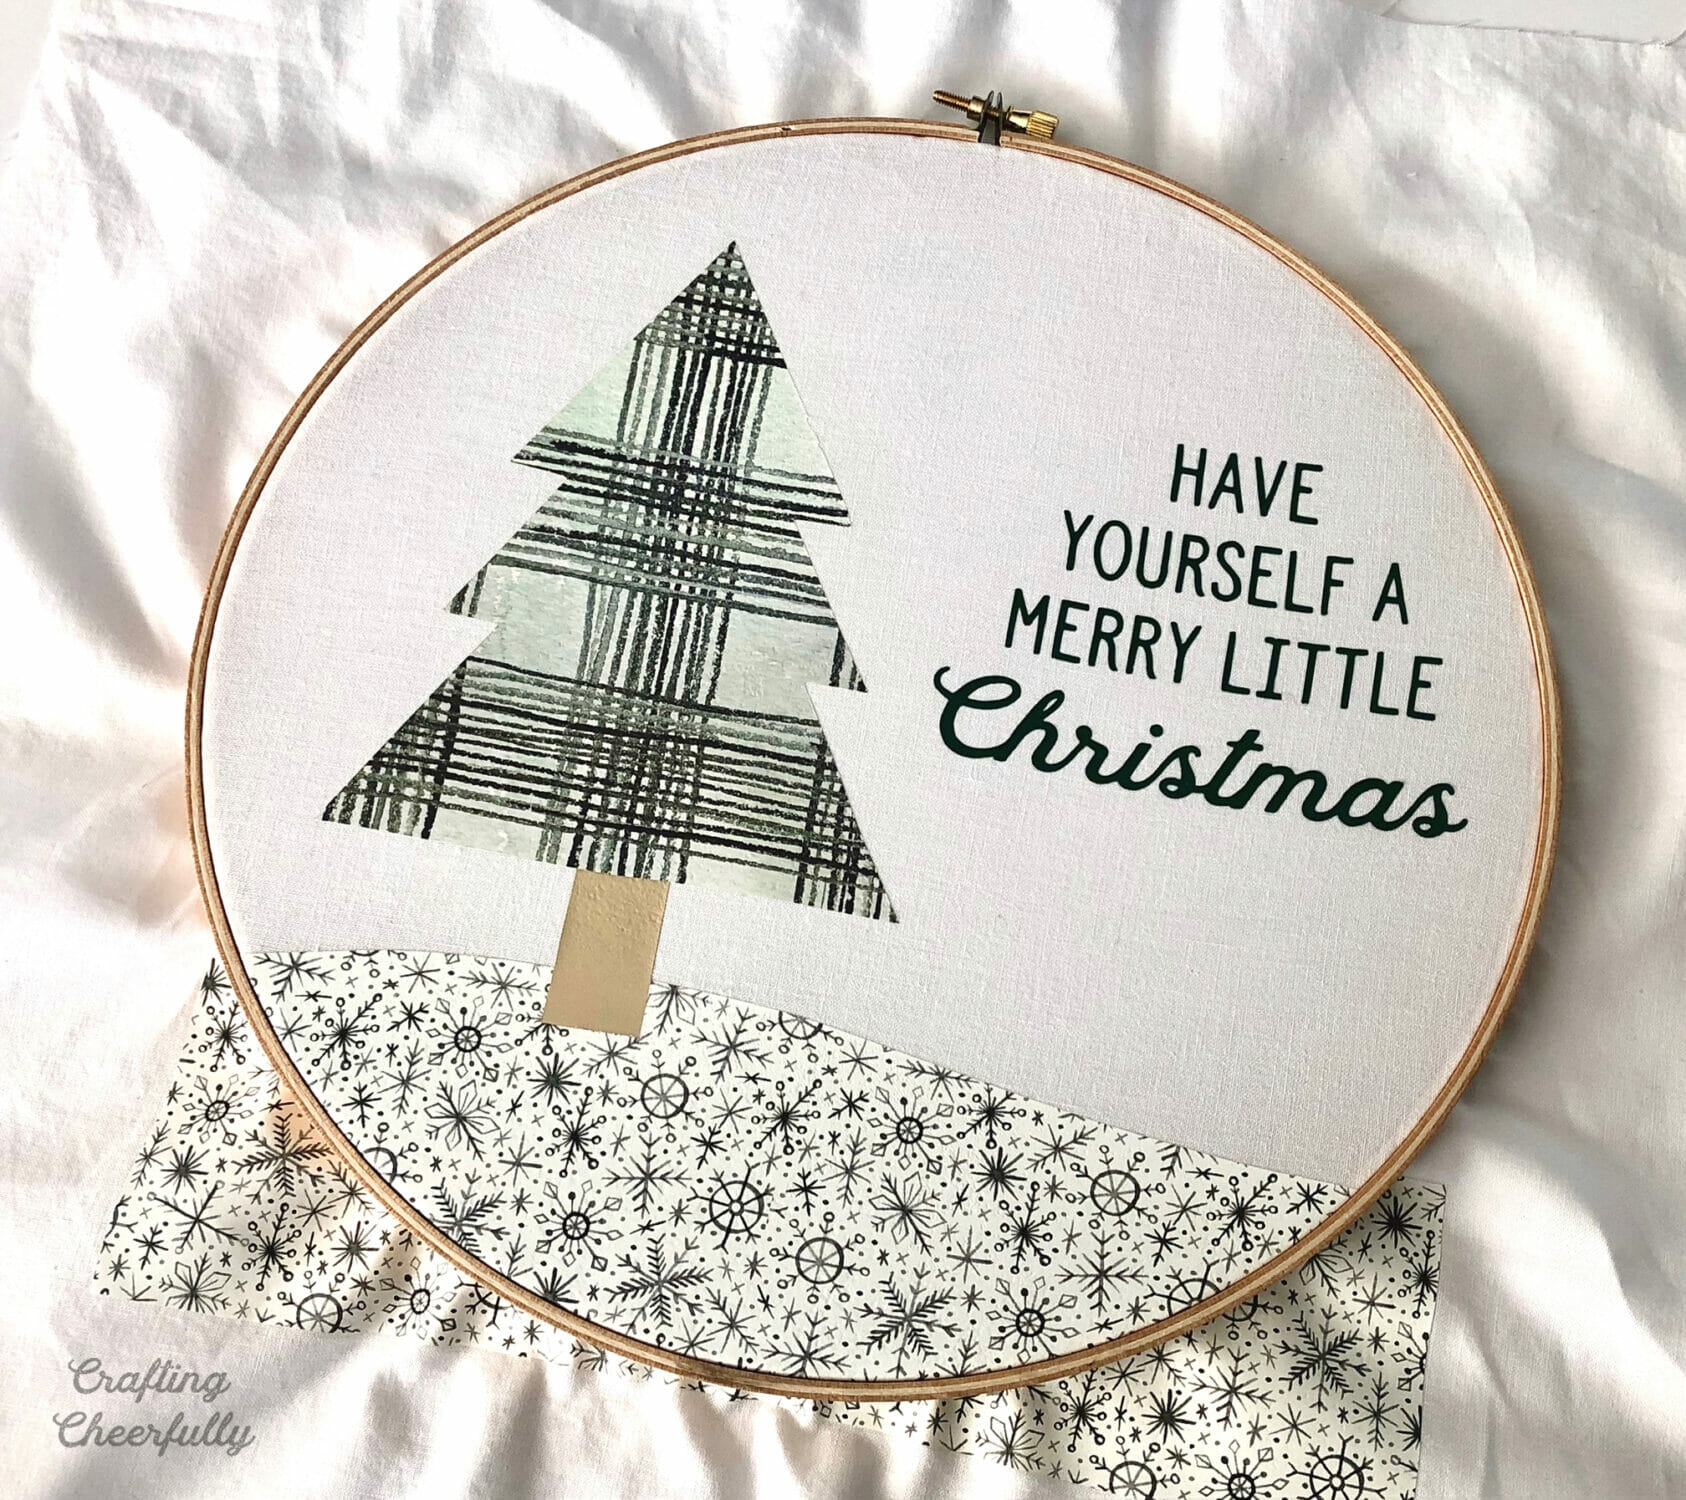
Use Heat Transfer Vinyl to create a simple and sweet embroidery hoop for the holidays! Simple embroidery stitches and patterned Iron-On combine to create a fun holiday decoration.
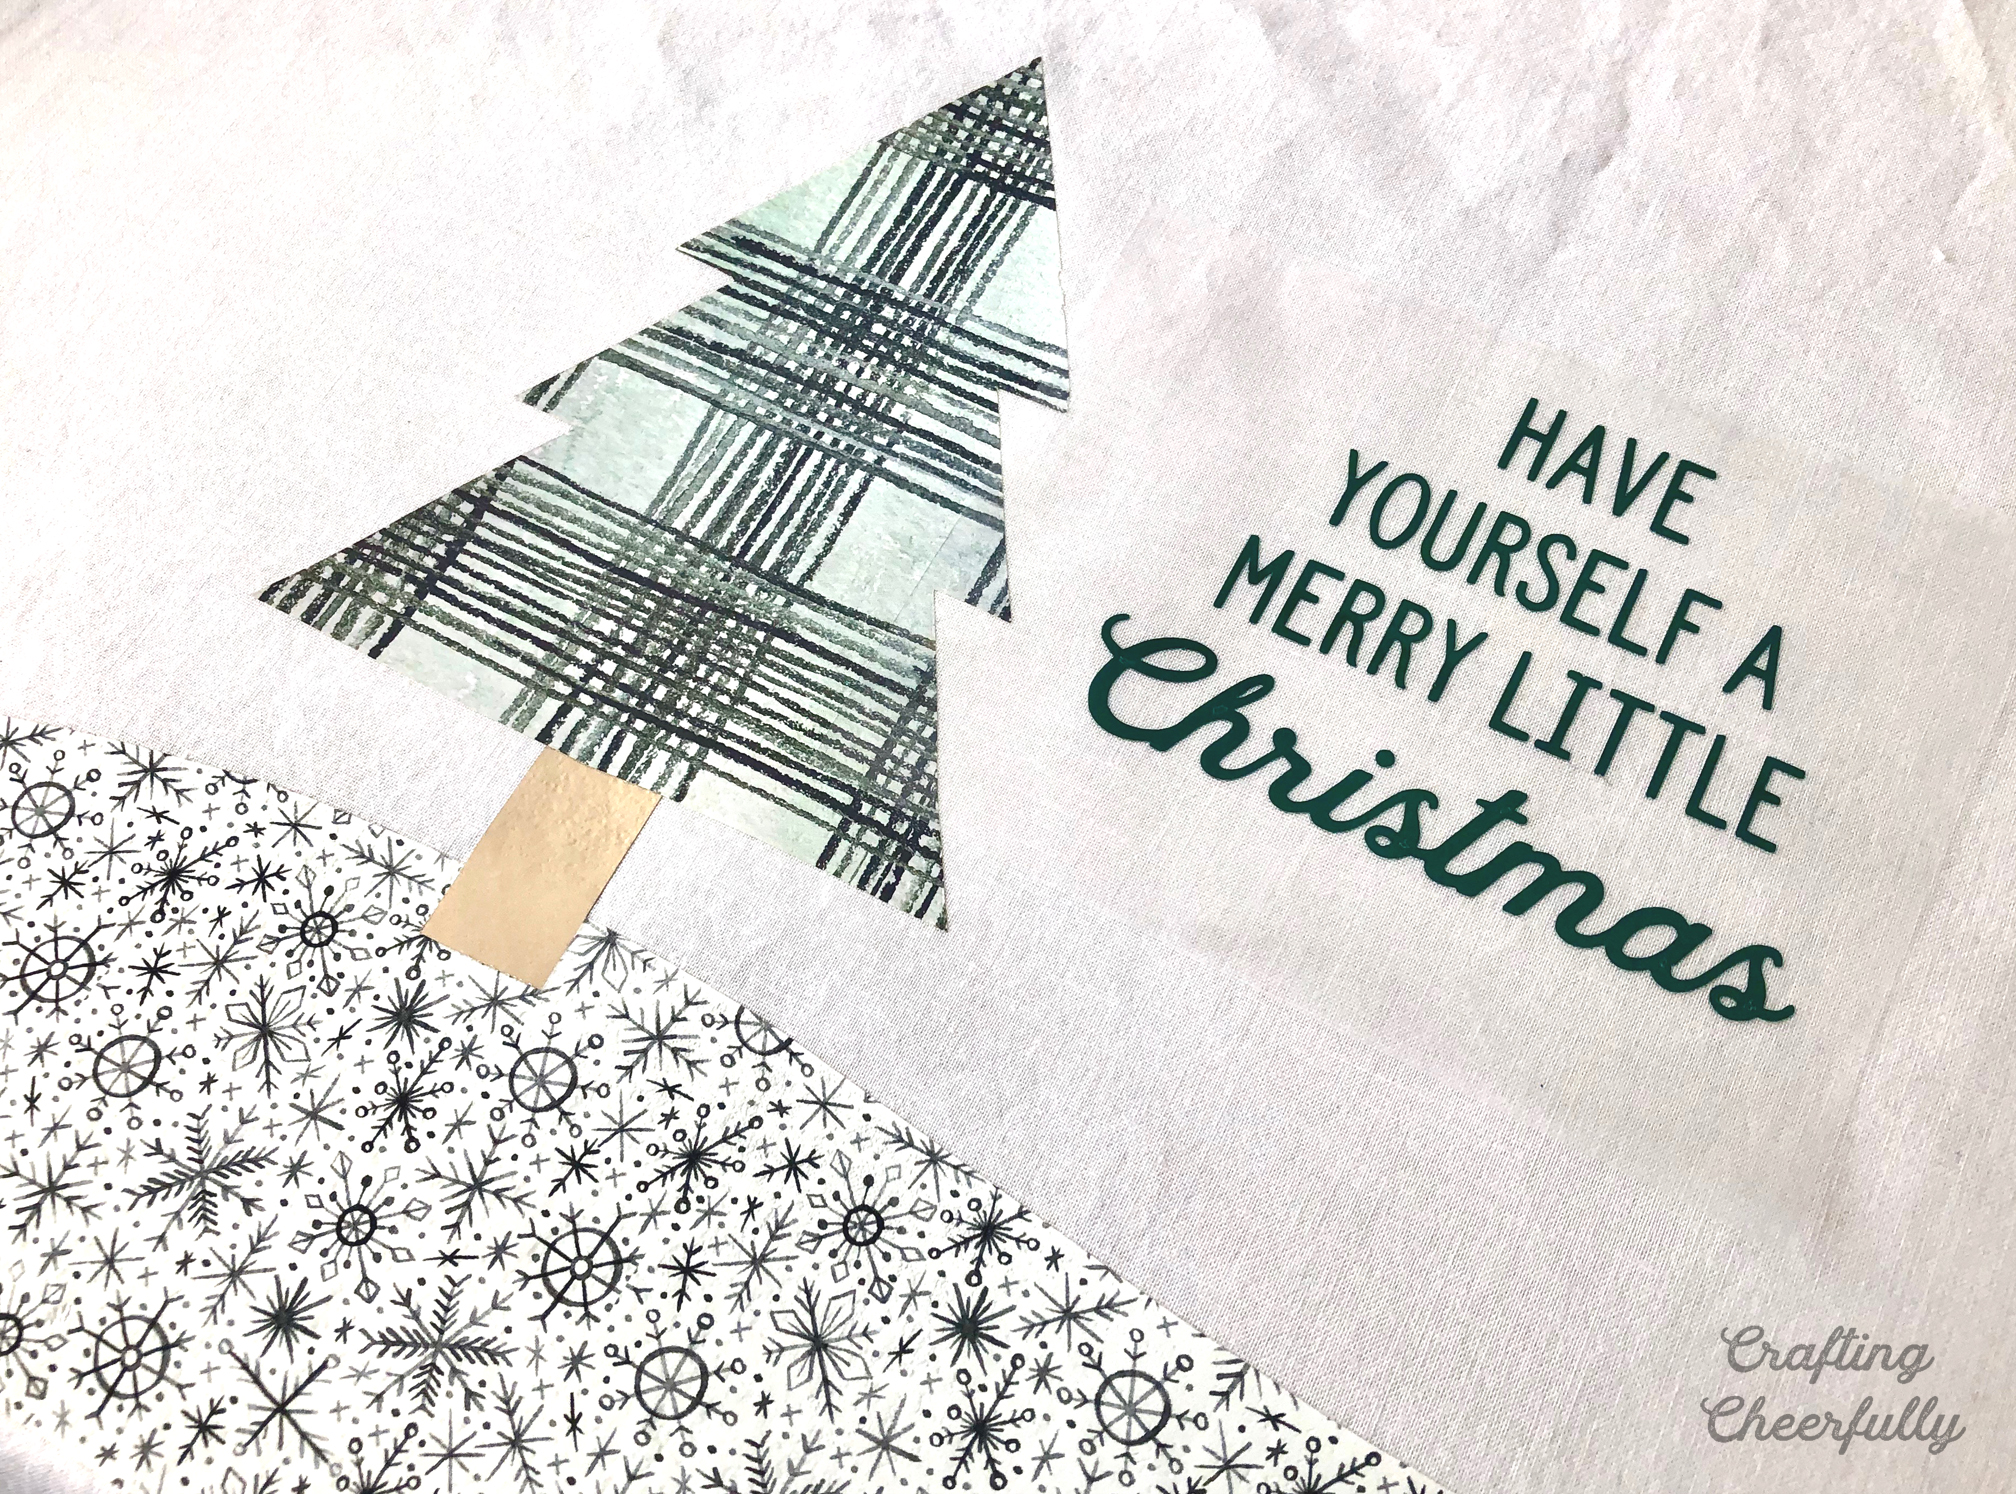
Day 4 of a Crafty Christmas is here! Today I’m sharing this simple embroidery hoop I created using Cricut Patterned Iron-On. I recently used Patterned Iron-On for the first time on my Polar Bear Pillow and really loved the look of it! Mixed with a little hand embroidery, it mimics fabric without the worry of fraying or the need for appliqué. A simple running stitch around the tree added so much to this hoop design without taking up a ton of time! :)

For this embroidery hoop, I cut all of the Iron-On by hand except the Christmas message, which I used my Cricut Explore to cut. If you don’t have a cutting machine no worries! You can skip the message OR add it using hand embroidery. If you skip the message, you could center your tree or keep the tree off to the side and add hand-cut gold stars with the Iron-On or embroider snowflakes falling around the tree. Lots of fun possibilities!
If you liked this hoop, be sure to check out my other tree-themed crafts like my Scrap Fabric Tree Banner and my Oh, Christmas Tree Wood Sign!
Christmas Tree Embroidery Hoop
Supplies Needed
- Free template – Grab the free file by filling out the purple form at the end of this post.
- 10″ Embroidery Hoop
- White cotton – about 17″ x 17″
- Cricut Patterned Iron-On, Winter
- Green HTV and Gold HTV
- Green embroidery floss
- Green ribbon
- White felt and white thread – to cover the back of the hoop
- Press cloth
- Scissors and Fabric scissors

Creating the Embroidery Hoop Design
Step One: Cut out the tree, trunk and snow shapes from the patterned HTV using the free template. Cut the snow piece to be wider and longer than the pattern shows. This will make it easier when it comes time to put the fabric in the hoop. You can see how I cut mine in the pictures under Step Two :)

If you’d like to add a Christmas message, you can create one in Cricut Design Space (or the design program for your cutting machine) in the font of your choosing. Use green Iron-On. You can also wait to add a message with embroidery floss later!

Step Two: Adhere the Iron-On to the cotton fabric. Use the template as guide for placement. I placed the template underneath my cotton fabric and was able to see it through the cotton. This helped me to place the snow first, then the trunk and tree.
Use a lightweight pressing cloth when adhering your Iron-On if you cut it by hand. When you cut the Iron-On by hand, there isn’t plastic left overlapping the edges. This means when you iron it the edges could melt a little. A pressing cloth takes care of this problem!
Adhere your Christmas message if you are using Iron-On for it.

Step Three: Put the hoop around your design! You will want to pull the fabric taut, but be mindful that pulling the fabric will affect your Christmas message. I was able to get my fabric pulled taut in the hoop and then pull small sections of fabric at a time near my message until it was pretty straight. You can tell it still isn’t perfect, but that’s the beauty of handmade!

Step Four: Use embroidery floss to outline the tree with a small running stitch. I used four strands of floss for a noticeable outline. Now is the time to add any other bits of embroidery you’d like! Snowflakes, an embroidered message, stars are just a few ideas :)


Step Five: Time to finish off the back of the hoop! Trim your fabric so there is about 2″ all around the hoop. Use white thread and a small running stitch around the edge of the fabric and pull it tight. Cut a piece of white felt the size of your hoop and glue it on using tacky glue. Trim any bits of the white felt that are hanging over the edge of the hoop.


Step Six: Finish the hoop with a sweet bow on the top! You can also add a ribbon loop for hanging.

The hoop is finished!! The perfect holiday decor or a wonderful gift for someone special!

Day 4 is a wrap! Tomorrow we’re switching to paper with a craft all about spreading kindness this holiday season!

Get the Free PDF Pattern!
Fill out the purple form below with your first name and email address! The free file will be sent straight to your inbox! If you have already filled out the form below, don’t worry – you won’t be added to my list twice! This freebie is for personal use only. I hope you enjoy crafting something special. Please let me know if you have any questions :)


