
DIY Kindness Advent Calendar – Spreading Christmas Cheer
Spread Christmas cheer this holiday season! Create a handmade Advent Calendar focused on random acts of kindness your whole family can do together!


Welcome to Day 5 of my 12 Days of Holiday Crafting series! Today is all about spreading Christmas cheer and kindness this holiday season. With the hustle and bustle that comes with this time of year, it’s easy to forget about some of the most important things – spreading kindness to those near and dear!
I created this Advent Calendar as a fun way for our family to focus on some of the ways we can spread kindness this holiday season. I decided to make a huge heart out of paper with numbered flaps that we can lift each day to reveal an activity to focus on.
Filling the calendar was a lot of fun. I found so many great ideas online and I also incorporated a couple of the service projects and traditions we like to do each year. My hope is that this calendar will help prioritize those little things and keep them from getting lost in the busyness of the season!
You’ll find the tutorial for how to create this heart shaped Advent Calendar below. I used the paper collection, Merry Little Christmas by Pebbles, but you could use any holiday-themed paper or colored construction paper. If you need ideas on what to include in your calendar, head to Pinterest and do a quick search for Random Acts of Kindness Advent Calendar and you will find so many wonderful ideas! :)
DIY Kindness Advent Calendar
Supplies Needed
- Foam Board, 20in. x 30in or large poster board
- Glue stick
- Pencil and Ruler
- Glue Pen is handy for gluing paper letters!
- Scoring Board and stylus*optional
- 2″x2″ Post-It Notes
- Holiday-themed cardstock or construction paper. I used 12″ x 12″ sheets of paper from the collection Merry Little Christmas from Pebbles by American Crafts. A 6″x6″ paper pad would also work for this project. *Update: The paper collection I used is hard to find online but is available as digital papers.
- Numbers – you can write them on with marker, use number stickers or cut numbers with your cutting machine as I have done. I used the file “Advent Numbers #M102C13E6” from Cricut Design Space.
- “Spread Christmas Cheer” title – I used the file, “Spread Christmas Cheer #M8B27A22” from Cricut Design Space and cardstock to create the title for my calendar. You could type this on the computer and print it off, write it on by hand, use stickers or skip it altogether!
How to Assemble the Advent Calendar
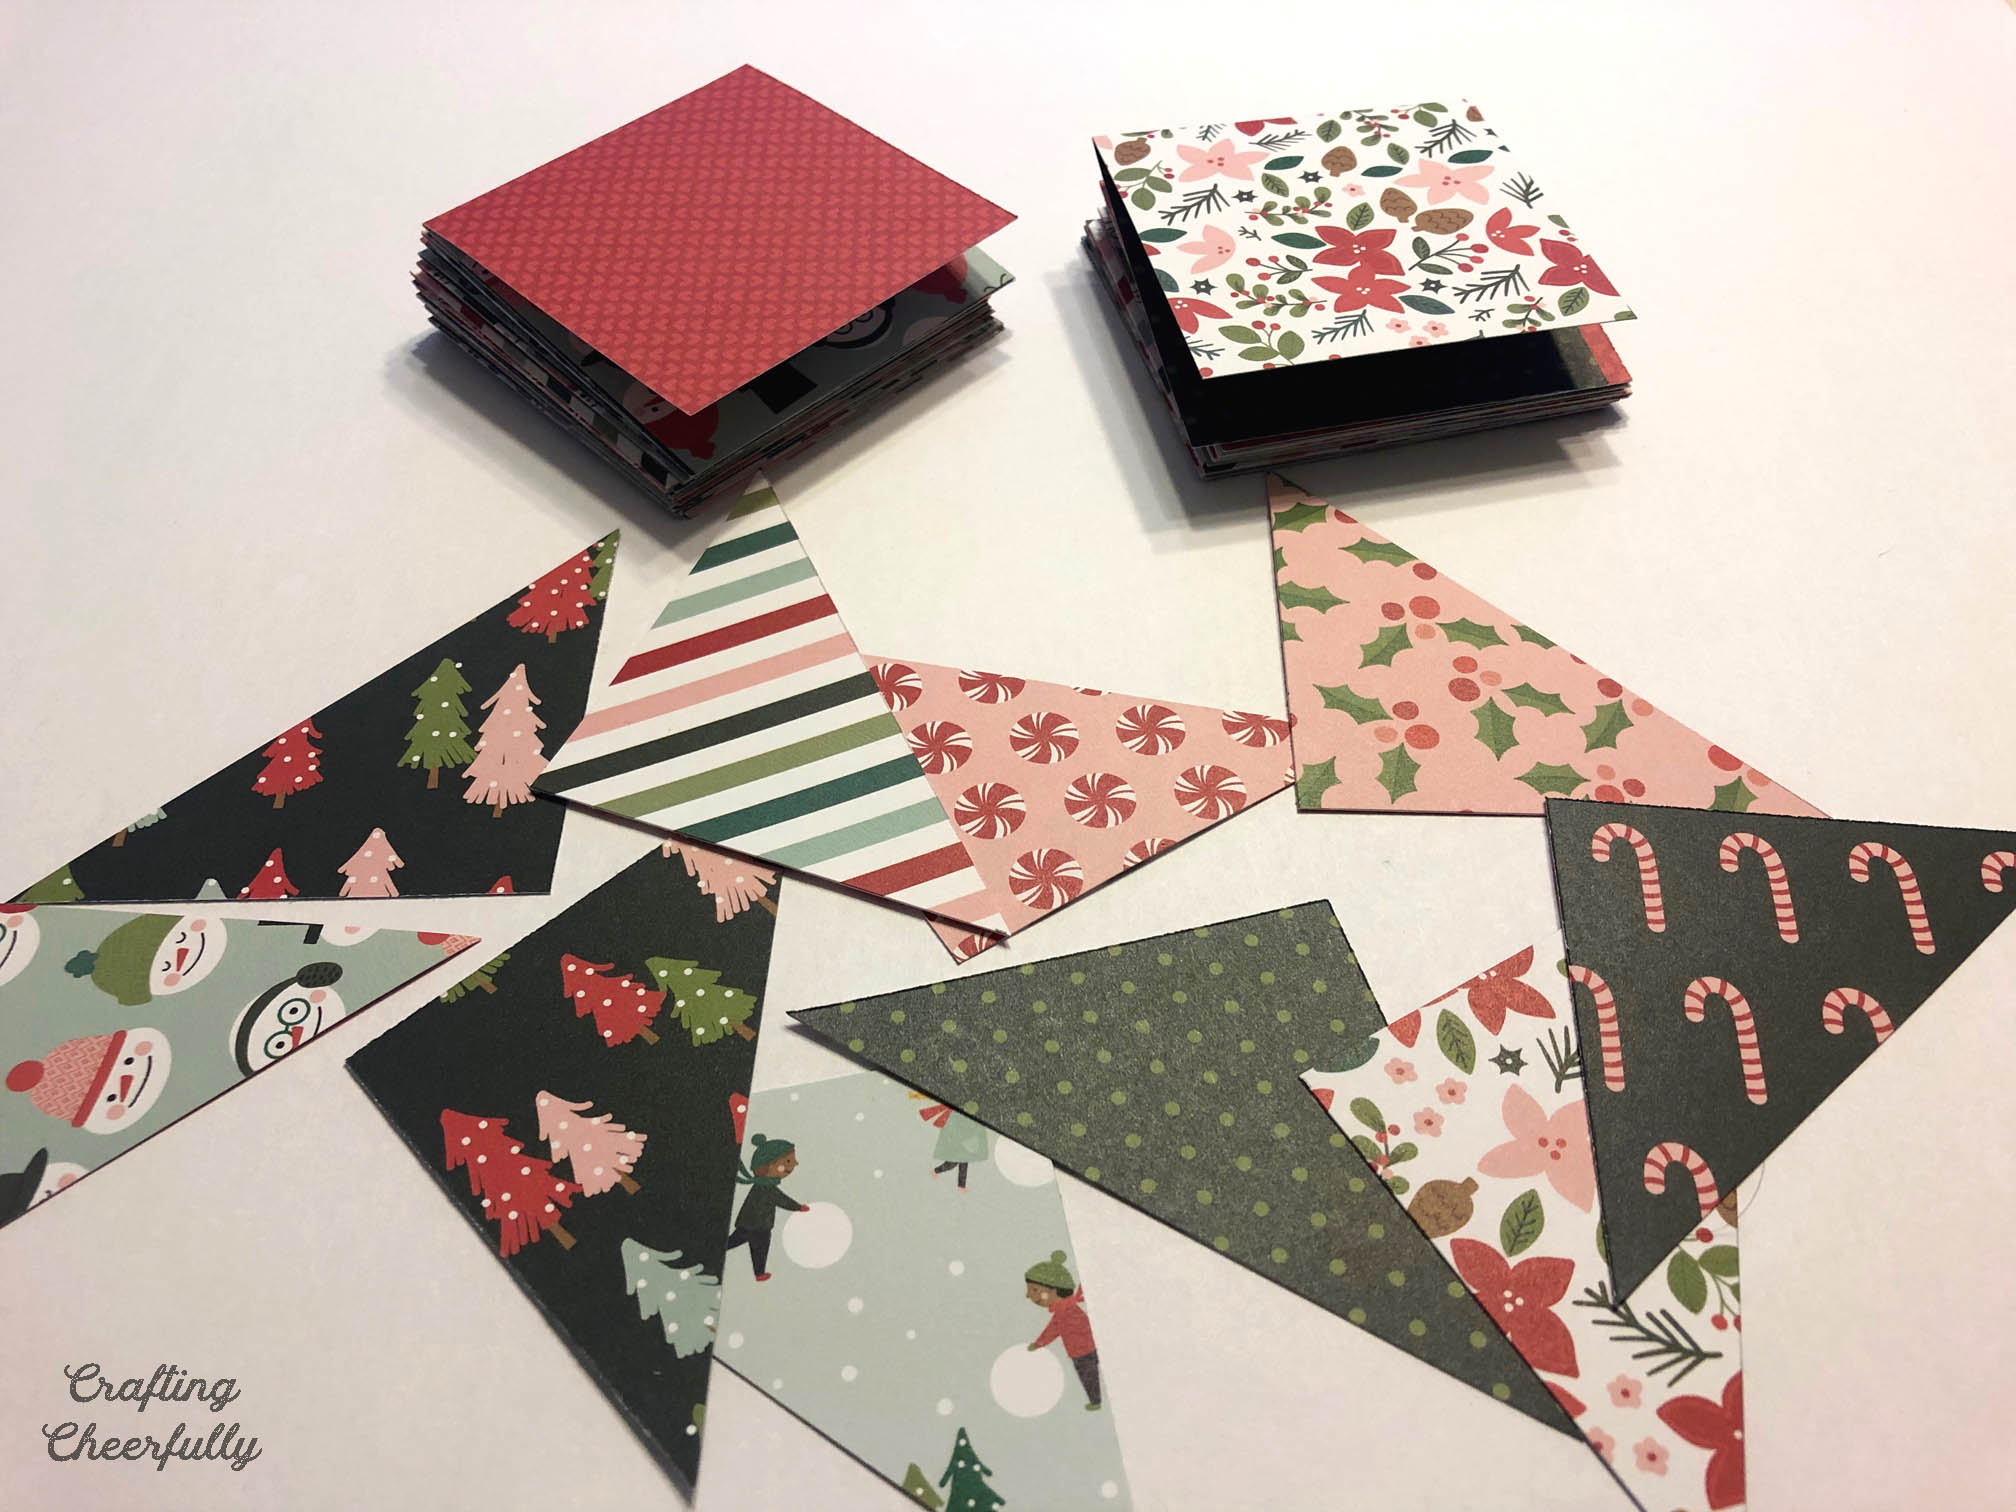
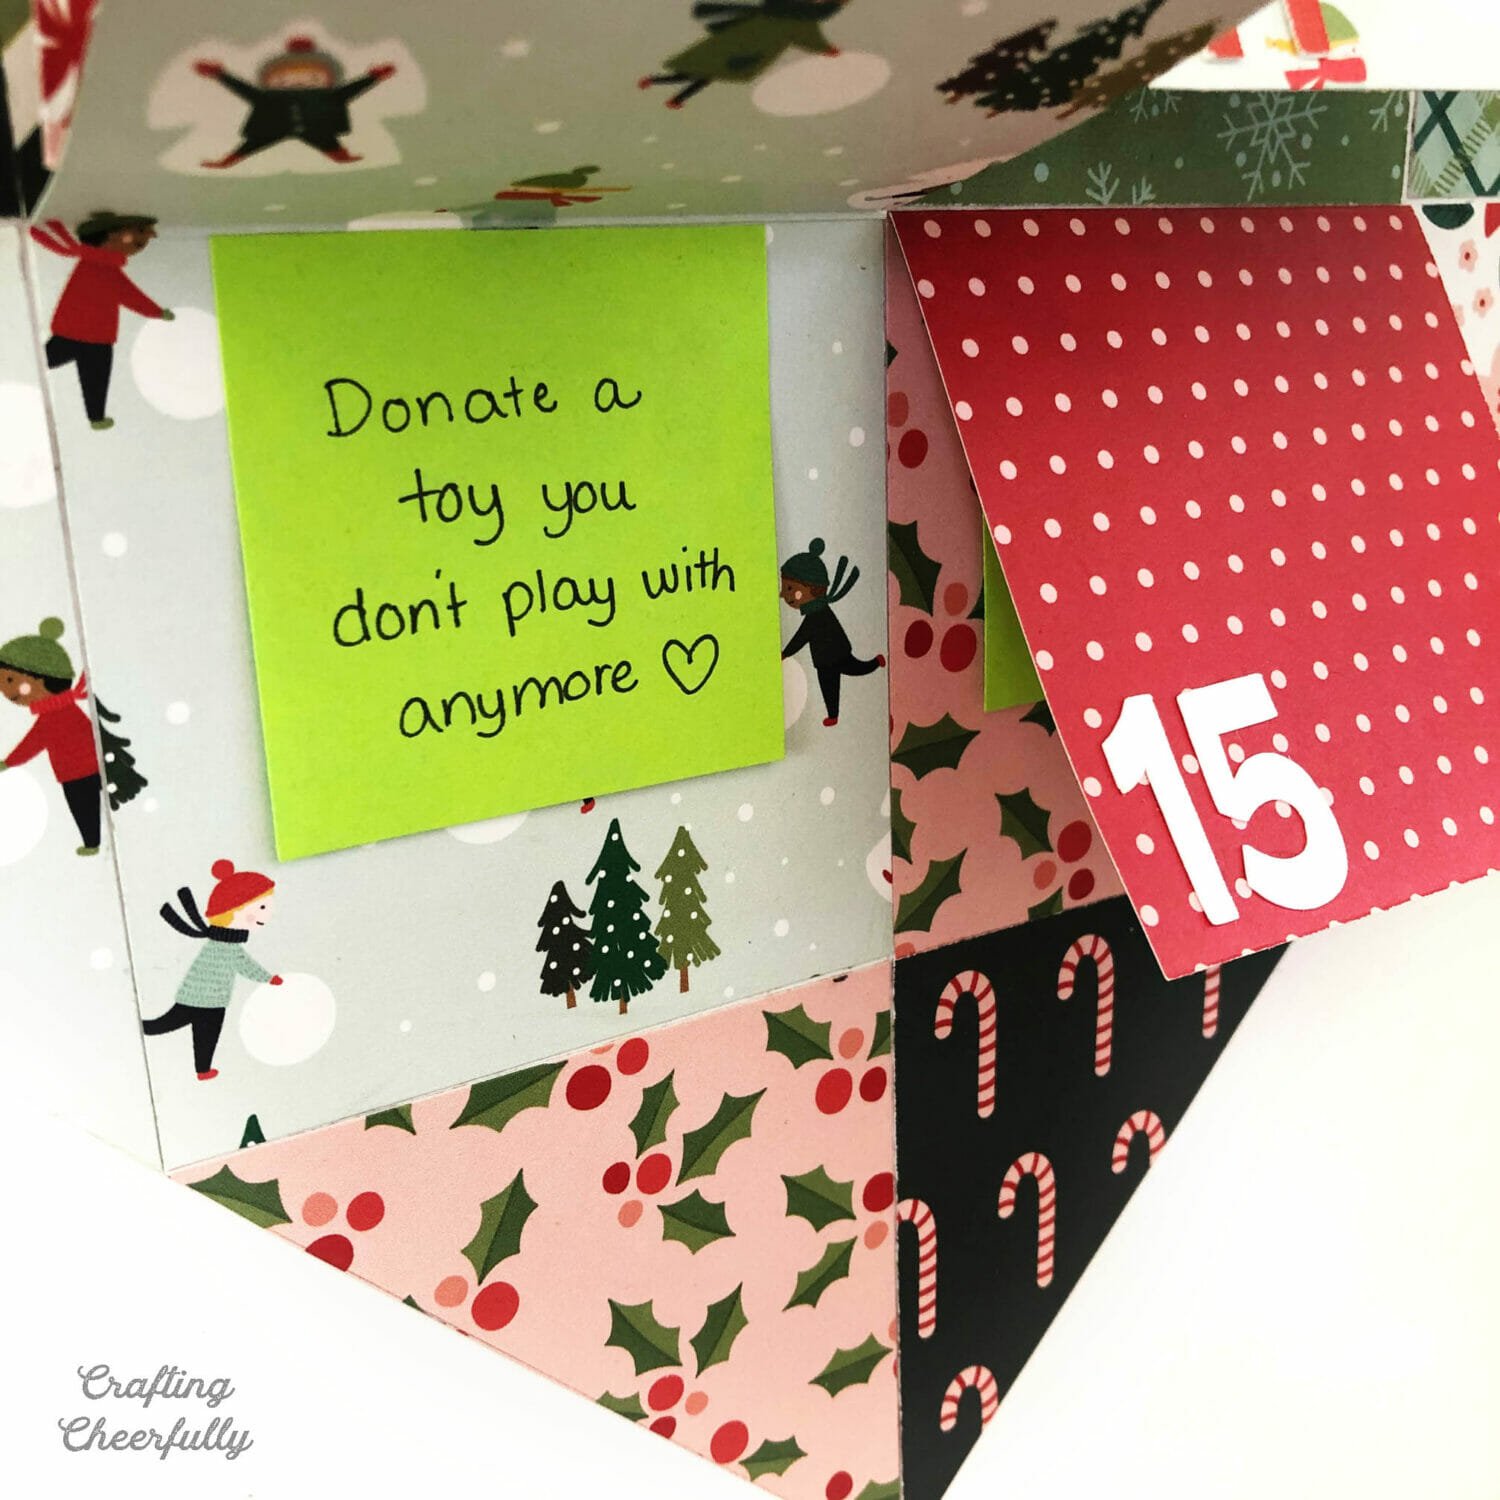
Step One: Cut the square flaps. Cut 24 rectangles 3″ x 6″. Fold in half to create a square. I used a scoring board and stylus to score each rectangle prior to folding. This isn’t necessary, but if you have these tools handy, they will make your folds crisp and smooth.
Cut 8 right triangles. To make these, I first cut a 3″ x 3″ square and then cut it on the diagonal to get a perfect 3″ right triangle. The more accurately cut your pieces are, the better they will all line up! Cut 2 squares that are 3″ x 3″.
Step Two: Form the heart on a large foam board. Follow the guide below to assemble your heart. I used a ruler and pencil to draw light grid lines on my foam board. This helped me line everything up! Any lines that were showing when I was finished, I just erased. The finished heart measures 21″ tall and 18″ wide. I placed it 2″ from the bottom of my board which left 6″ on the top for my title. Since my board was 20″ wide, I was left with a 1″ margin on either side.
I used a glue stick to adhere the paper flaps. This allowed me to quickly reposition them if needed!


Below you can see how helpful my grid was! Definitely worth the time to lightly pencil that in! I marked the center of the heart and the 1″ margins on each side plus a horizontal line every 3″ for each row.
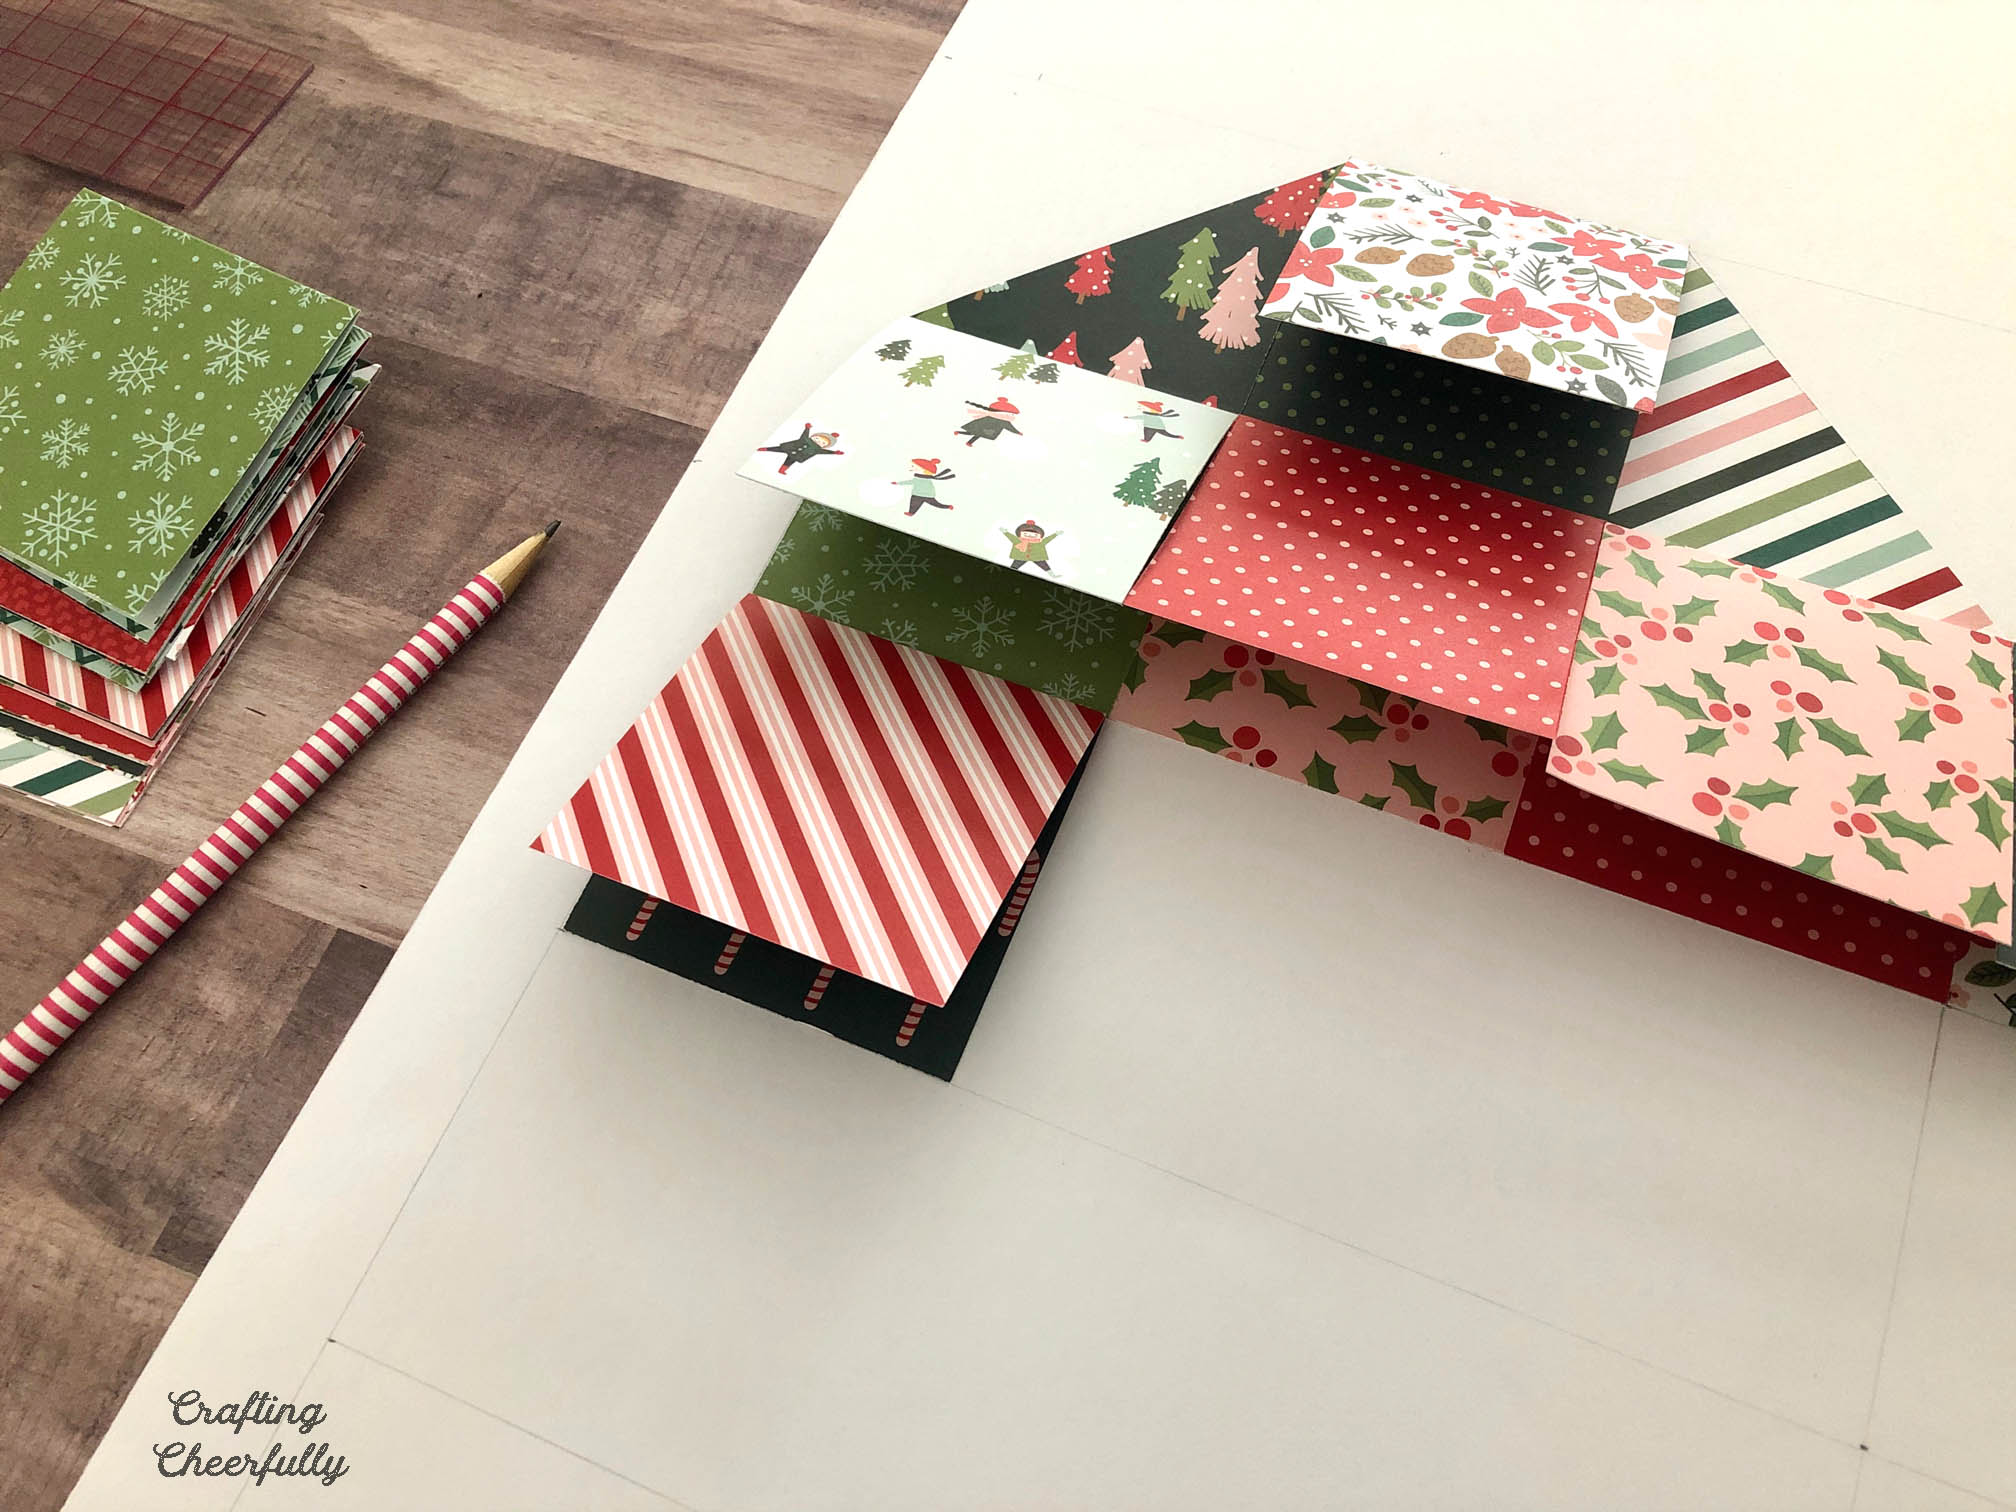
The Merry Little Christmas paper collection from Pebbles is so pretty! I love the cute snowman and children skating, plus all the fun prints. To help me decide on how to arrange my papers, I laid them all out before adhering them to the board. I futzed with them until I had a layout I loved and then snapped a picture with my phone I could reference when it was time to glue them down.

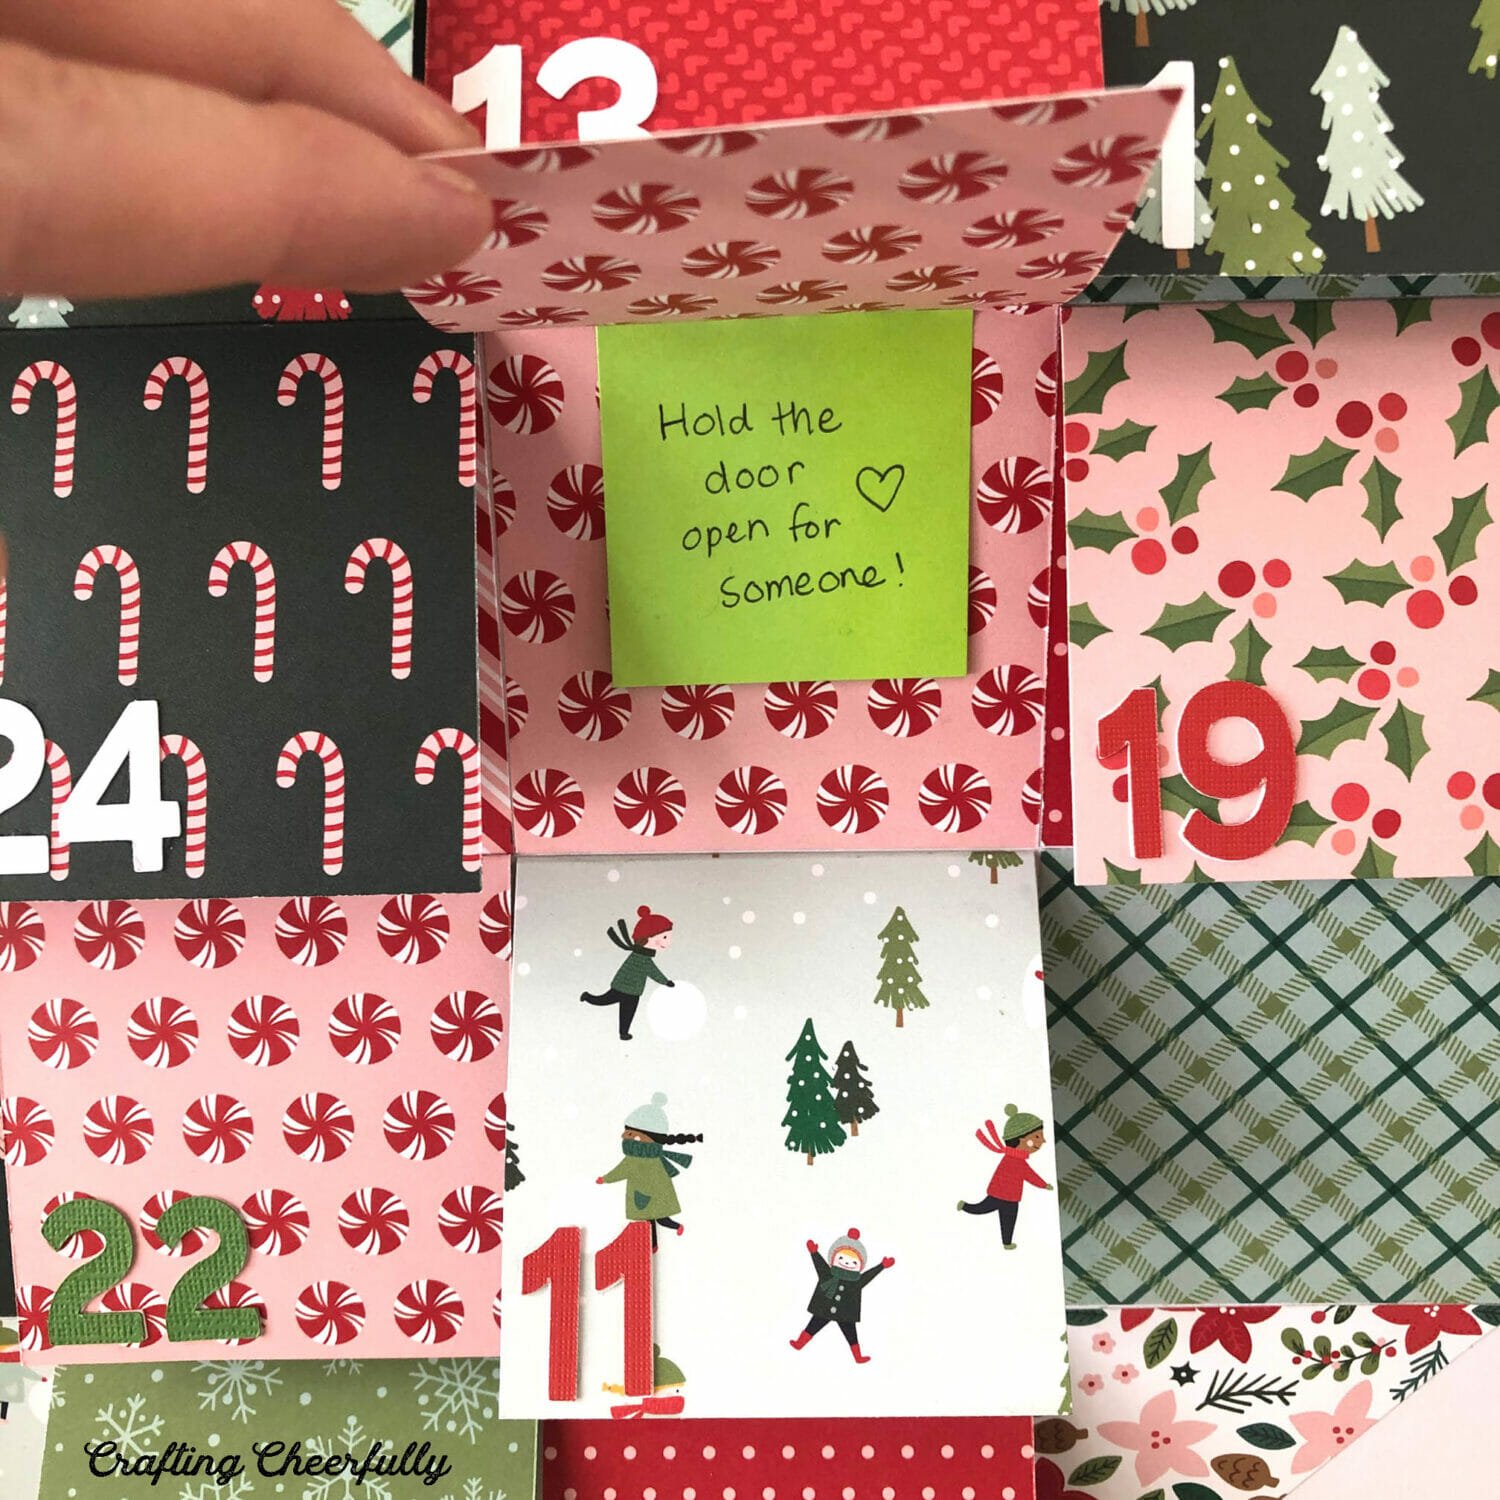
Step Three: Add the numbers! After the heart is assembled, it is time to add the numbers! I almost ran to the store for sticker numbers, but at the last minute, I found a cut file in Cricut Design Space with the numbers 1-25 all ready to cut! Yay! I cut the numbers out of red, white and green papers and glued them to the bottom left corners using a glue pen.

Step Four: Add the title and decorations to the foam board. Adding the title and little holly decorations was a lot of fun! I used a cut file I found in Cricut Design Space and then cut two extra holly designs to add to the bottom of the heart. You could add a title in a number of different ways; including hand writing it, typing or designing something on a computer and printing it out, writing it in stickers, or finding a phrase you like on holiday scrapbook paper and using that.

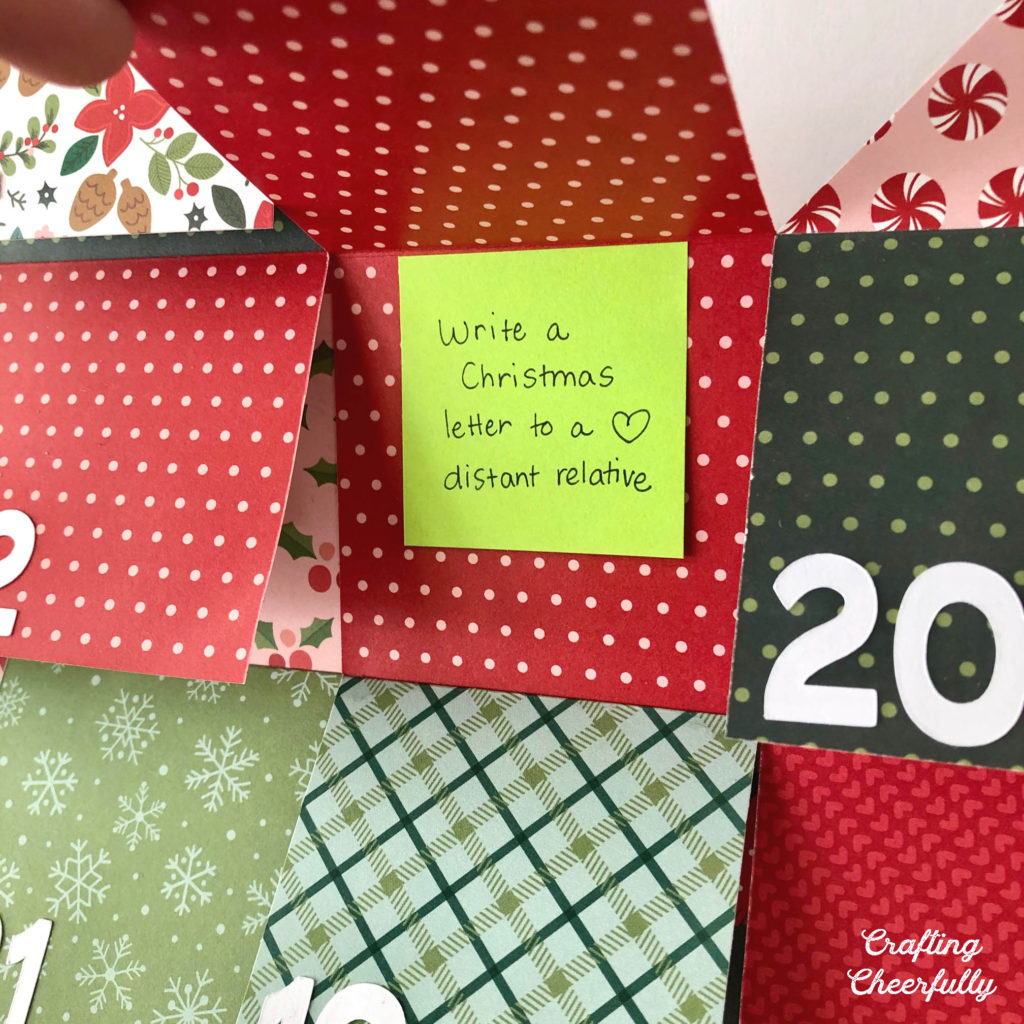
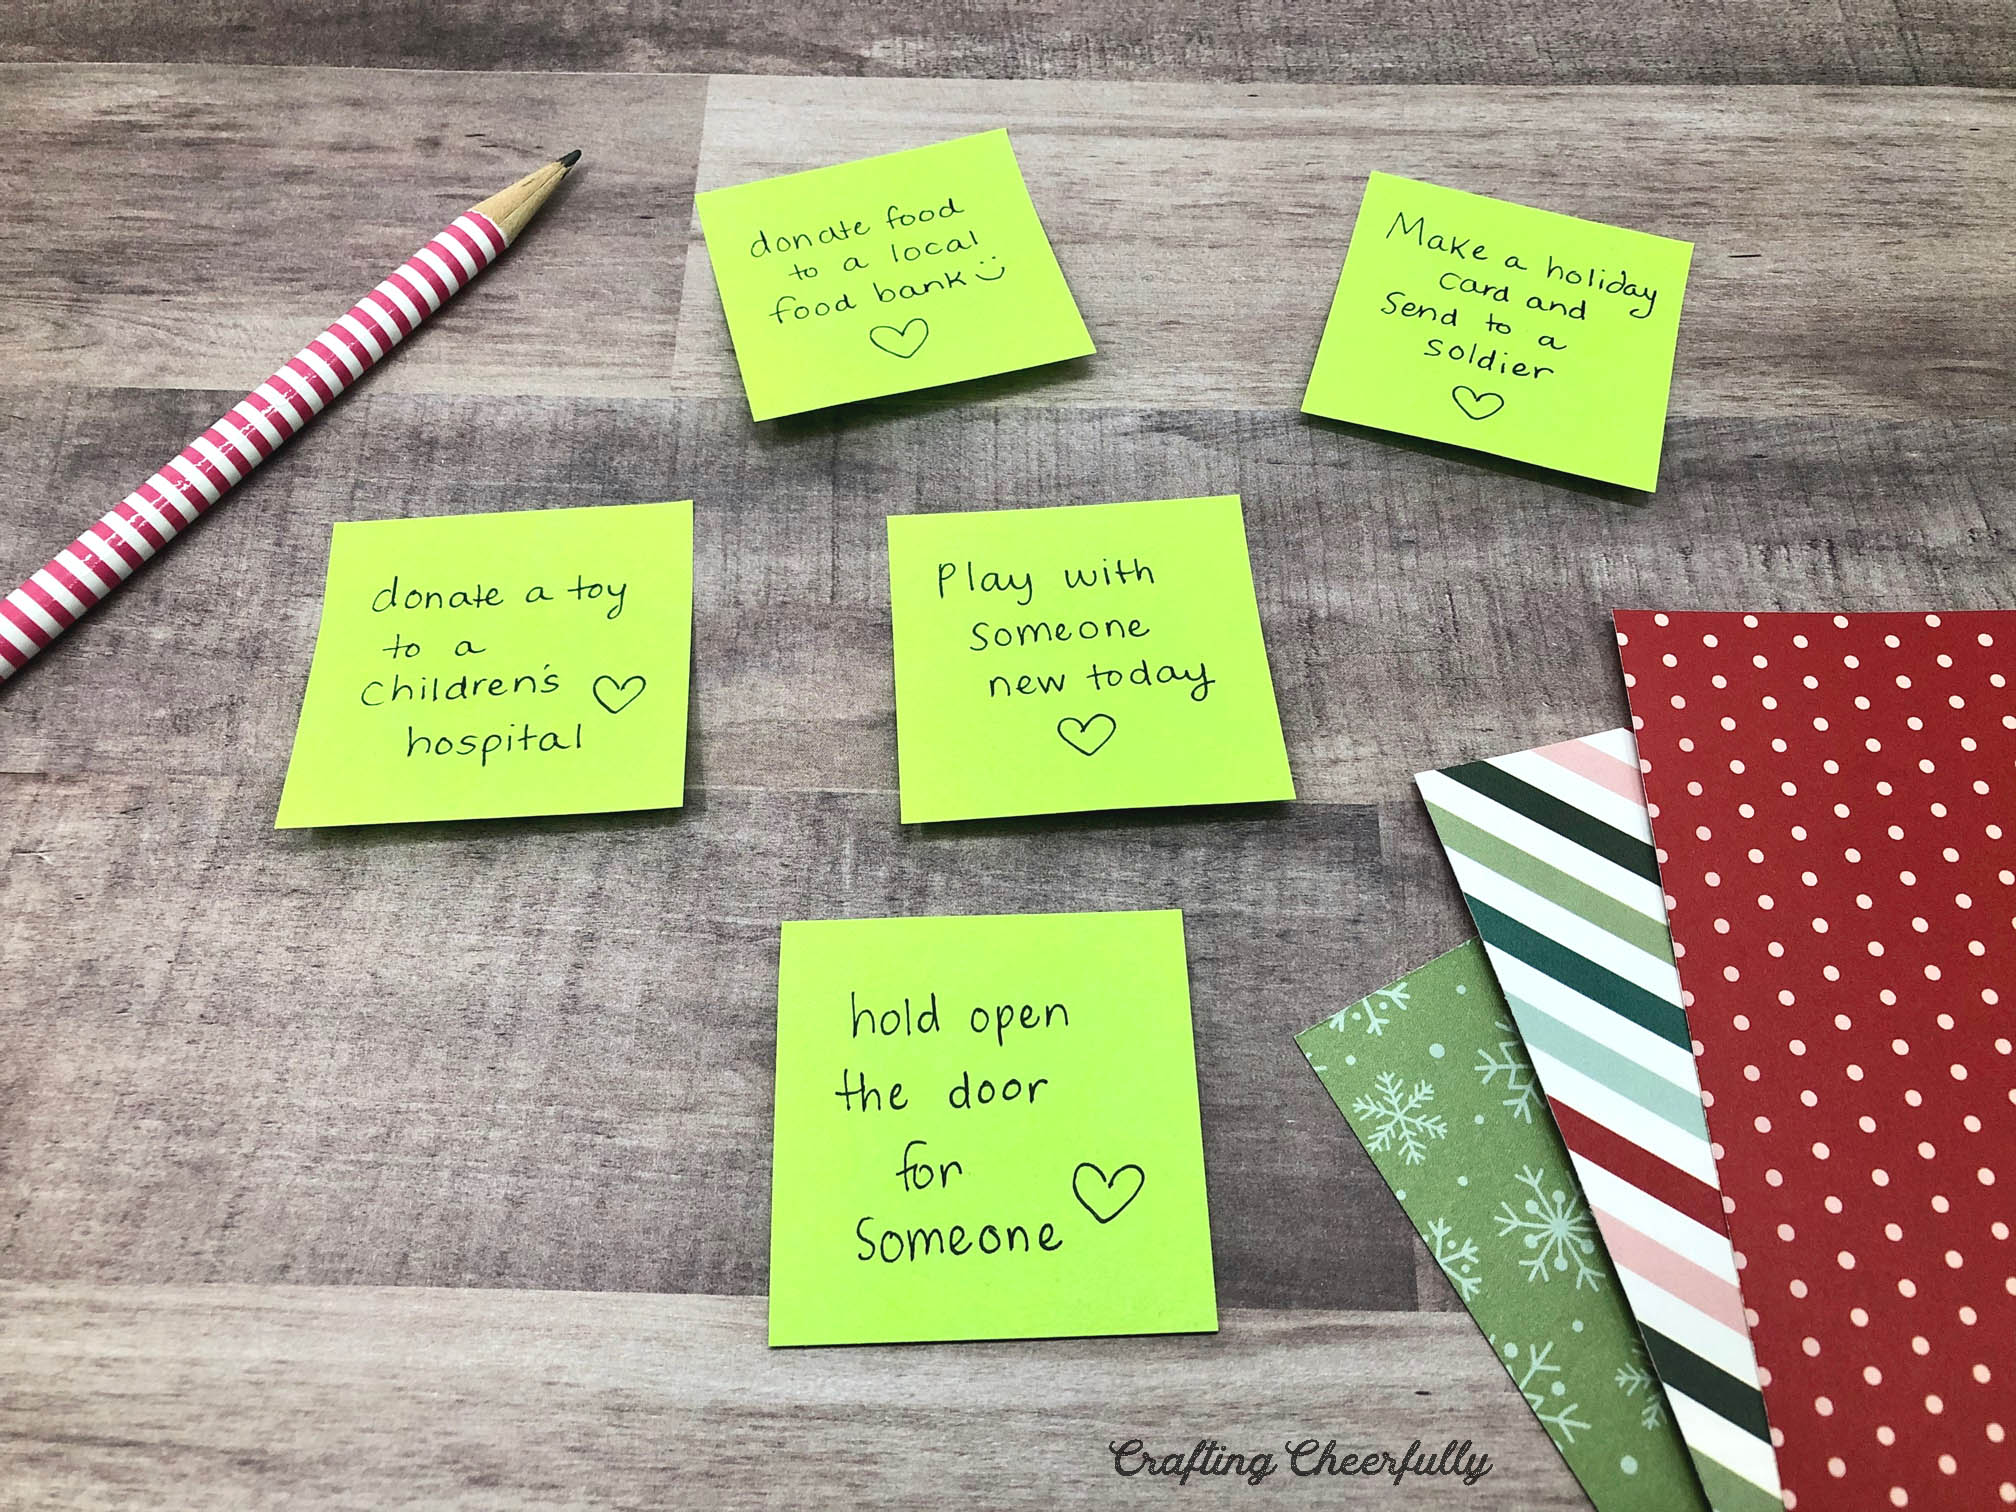
Step Five: The last step is to add random acts of kindness to the calendar! I used mini Post-it Notes so that I could re-use this calendar in the future with different prompts! This also turned out to be a really efficient way to add the activities. I wrote them all out first and then added them.
If you know there are activities that will work best on the weekends vs. school days or activities you want to do on a certain day – like leaving the mail carrier a card/treat, start with those. Then fill in with the ones that would work any day.

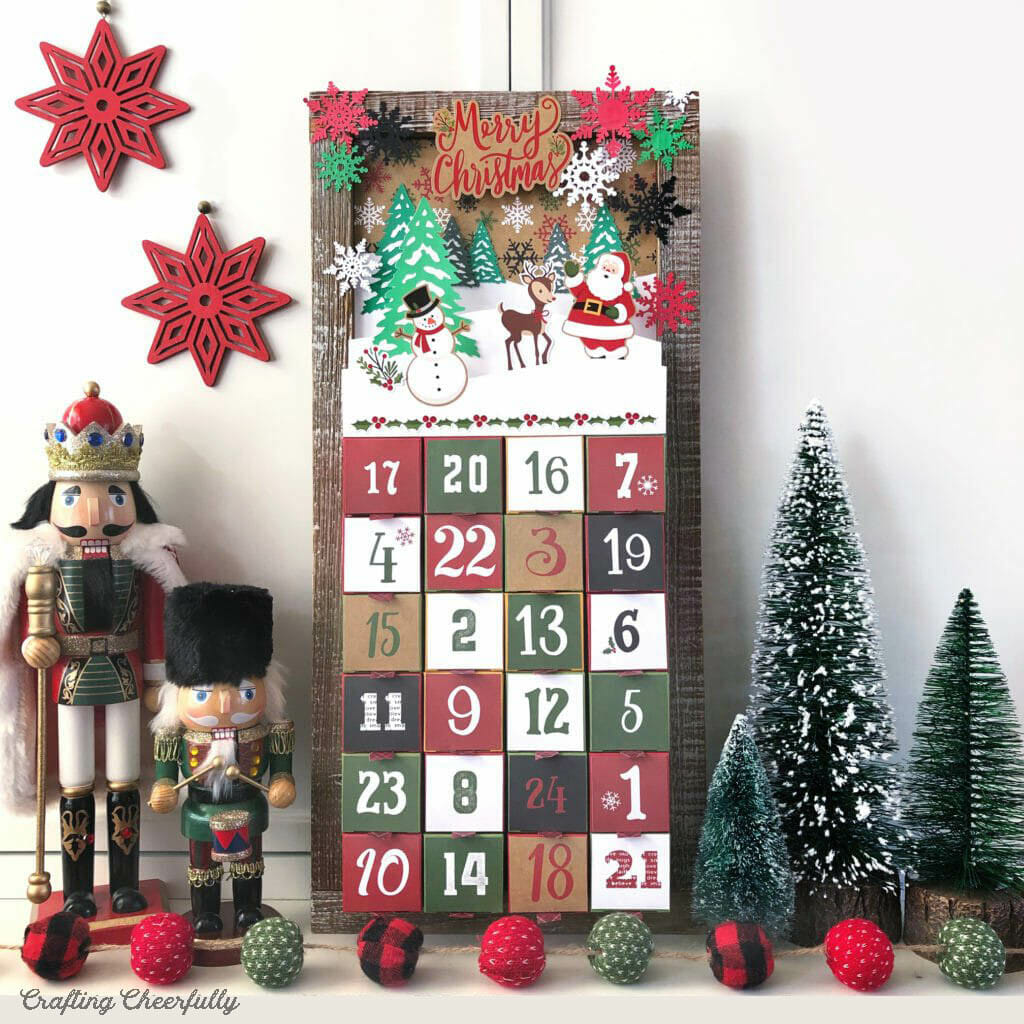
Below is my completed DIY Kindness Advent Calendar! This basic idea can be done simpler or fancier which is why I think I love it so much. It doesn’t matter what materials you use. As long as it has great ideas for spreading kindness this holiday season, it will be a winner! :)

Thank you for following along with my 12 Days of Holiday Crafting series! Tomorrow marks the half-way point, which means there are still so many more fun DIY crafts coming your way!
You can check out some of my other Advent Calendar and Christmas Countdown ideas! A few of these we have been doing for years now and my family still enjoys them :)

DIY Puzzle Christmas Countdown


I used paper from the collection Merry Little Christmas by Pebbles. I purchased individual sheets of 12″x 12″ at my local scrapbook store but here are two paper pads you can purchase on Amazon that include paper from the same collection! 6″x 6″ paper would also work well.

![]()

![]()


