How to Make a Daily Calendar For Kids
Create a daily calendar for kids that you can use for at-home learning! Free calendar printables, available in six languages!

My kid’s calendar comes with so many fun free printables that you can download from my blog plus there are extra add-ons available in my shop. The free calendar is available in six different languages (English, Spanish, French, Italian, Hawaiian and Korean) and comes with the months, days of the week, weather cards, calendar pages and super cute bunnies kids can dress for the weather! Extra cards like holidays, daily activities and flashcards are available in my shop :)
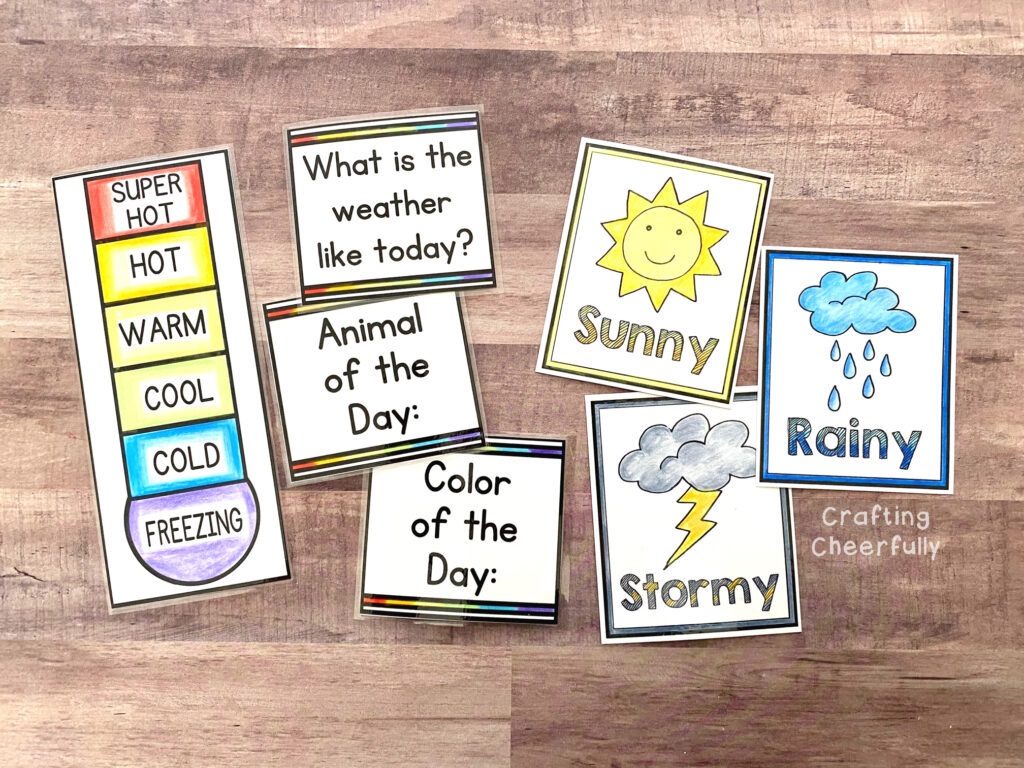
Today I’m sharing our calendar as we have been using it since starting virtual learning. Since my youngest has a letter of the day at school for phonics and writing, I started incorporating that into our calendar. Each day, we choose an animal and color that go with the letter of the day. The color cards are fun vocabulary builders that my oldest enjoys.
The Parts of Our Kid’s Calendar
*Free printables are available in my Resource Library*
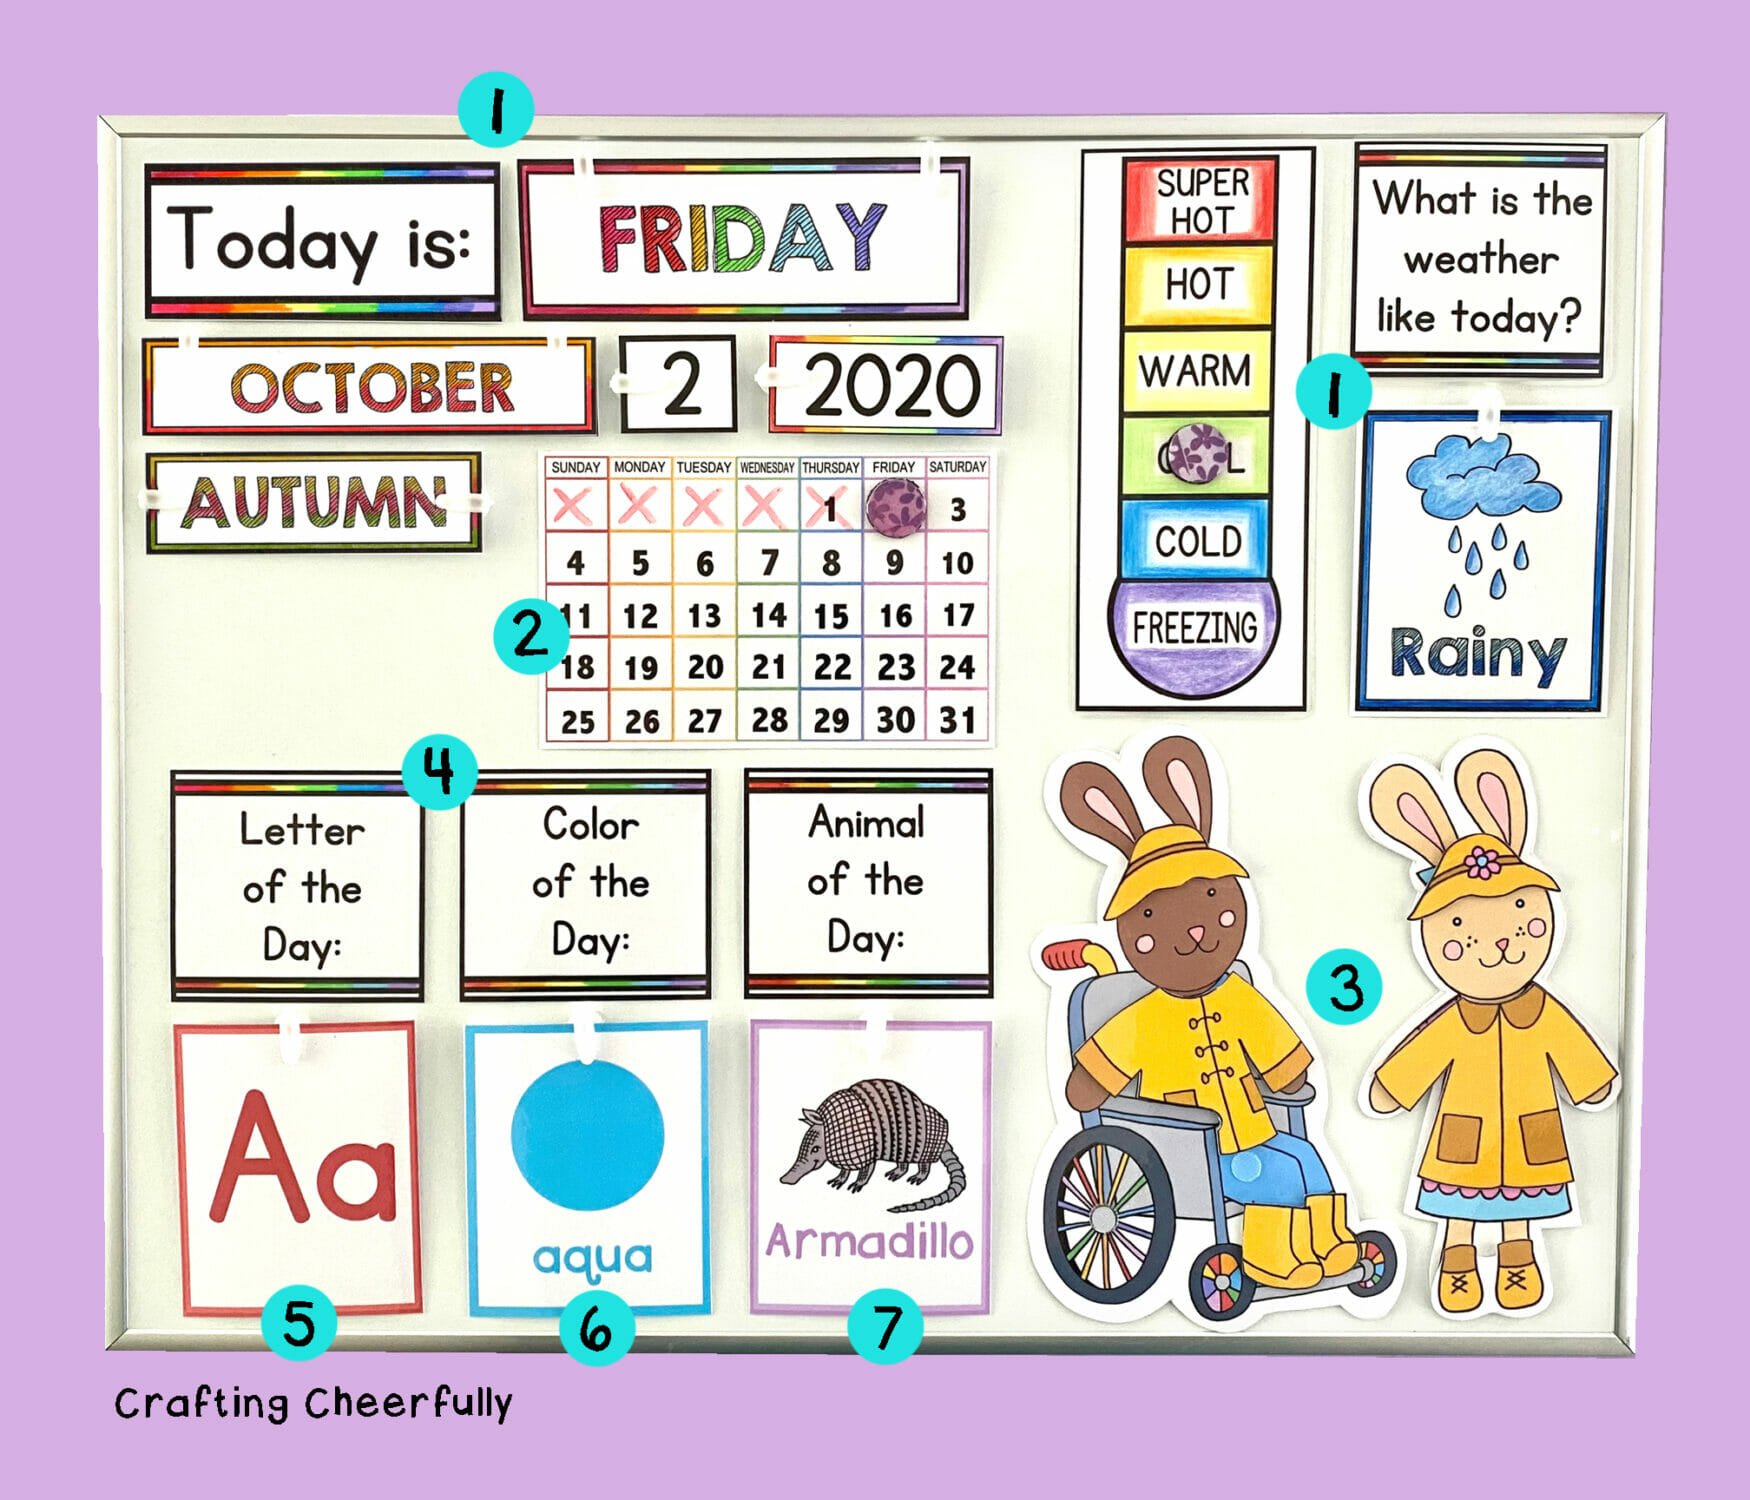
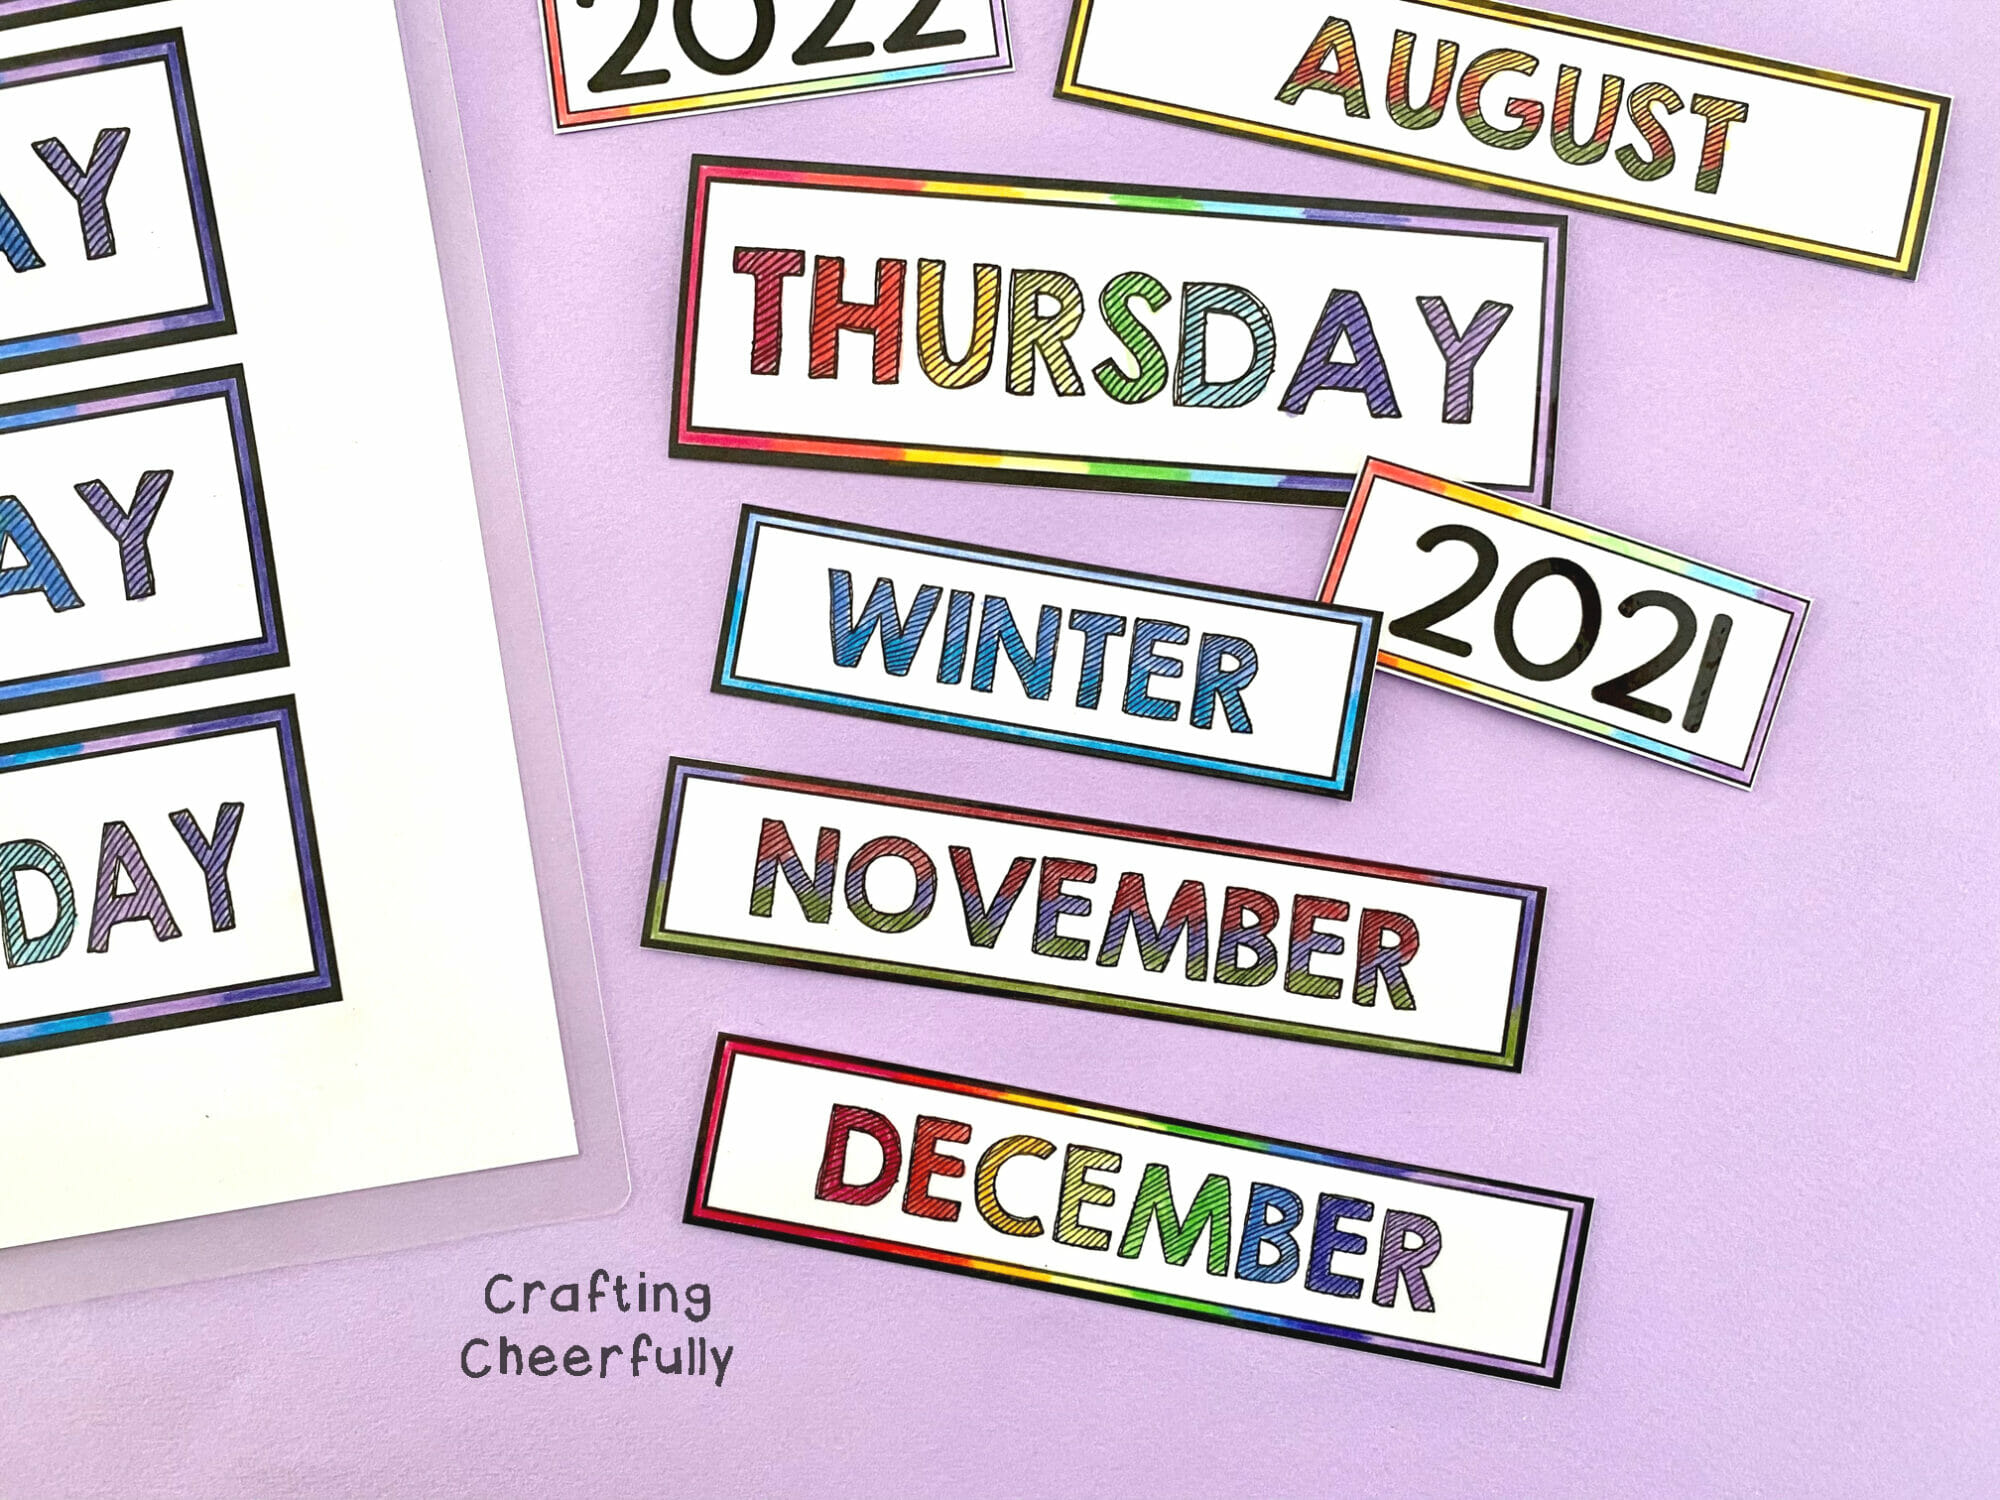
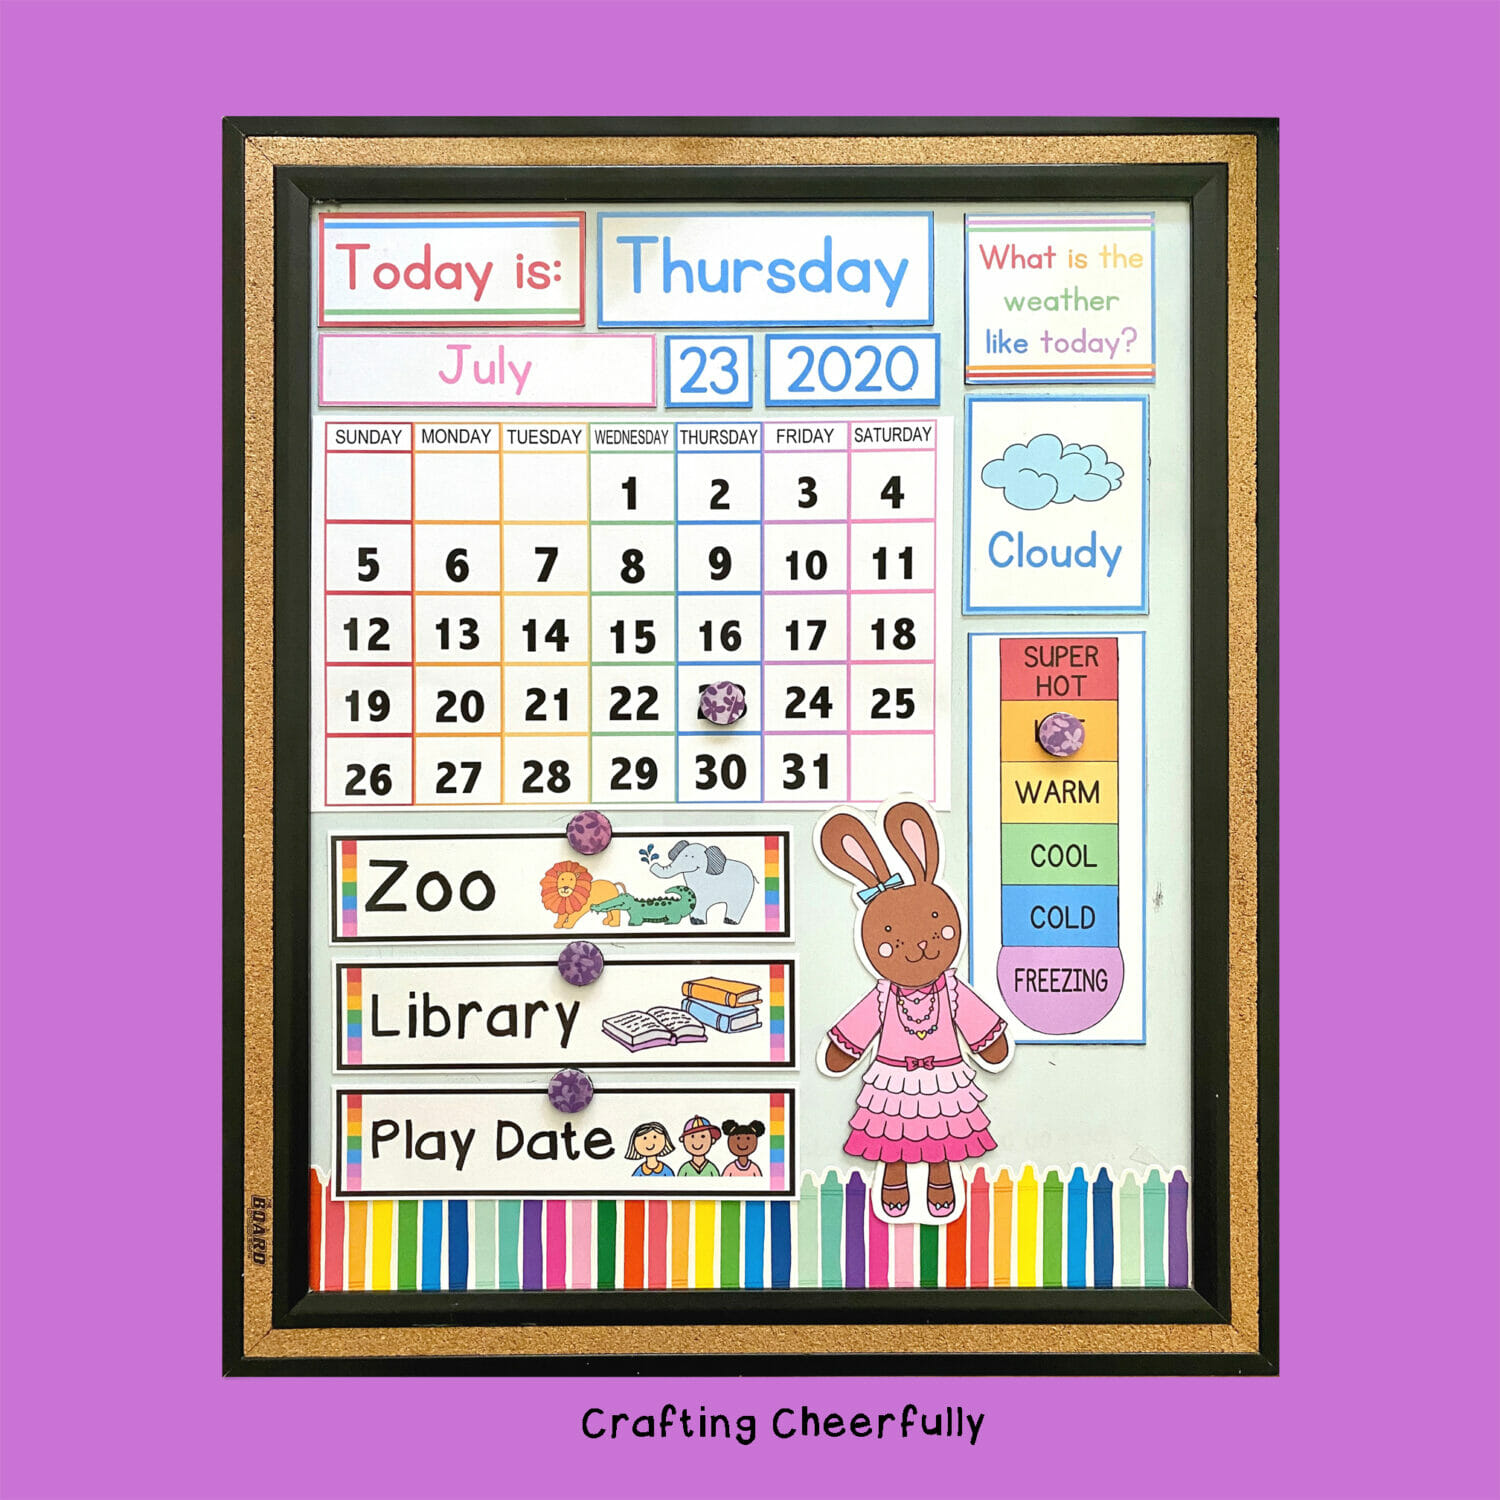
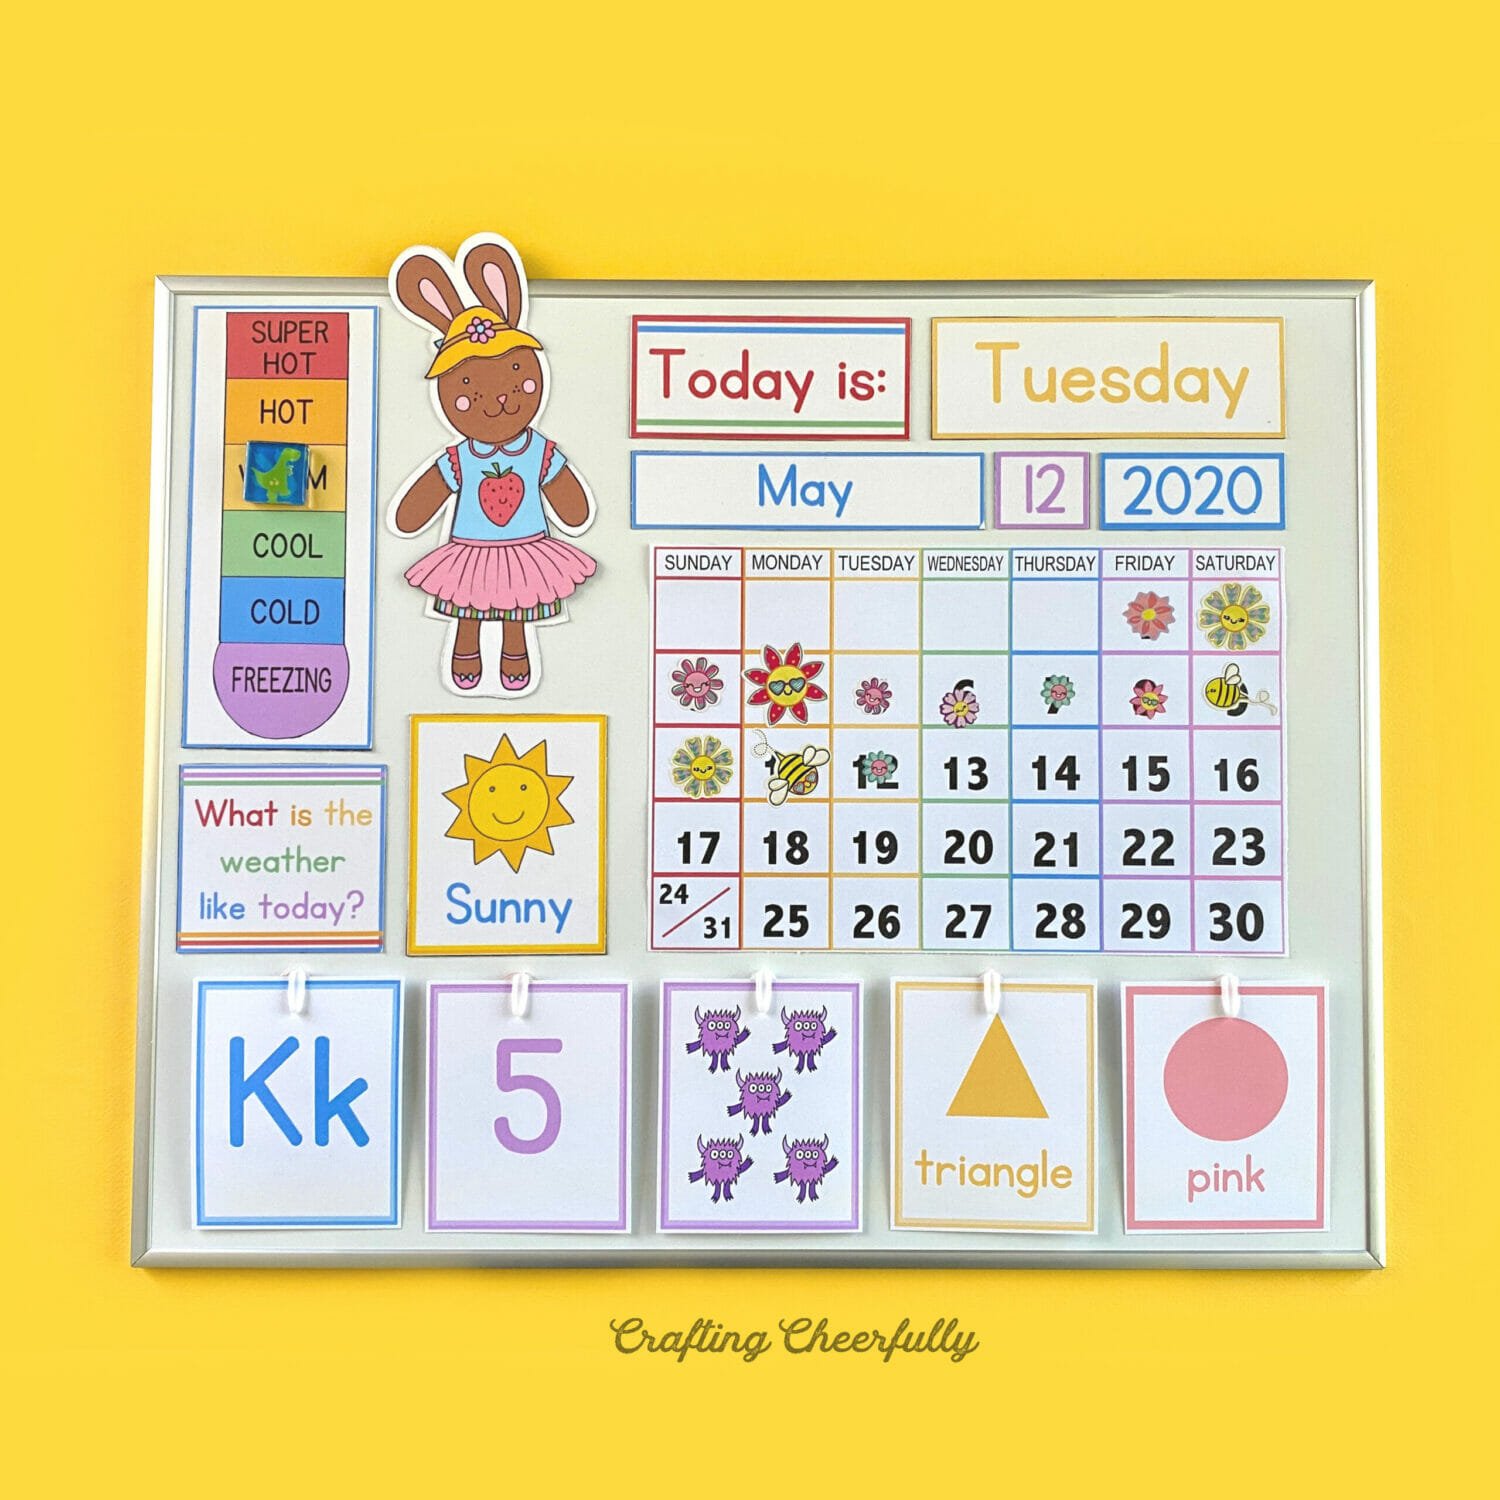
1. Free DIY Children’s Calendar Printables: The main part of this calendar is all free! Yay! This is the part that comes in six languages and includes a color-your-own versions in English which is what is shown above.
2. Free Monthly Calendar Pages: 2022 calendar pages are available to download for free. I printed the calendar pages at 50% scale to make it small enough to fit on my board.
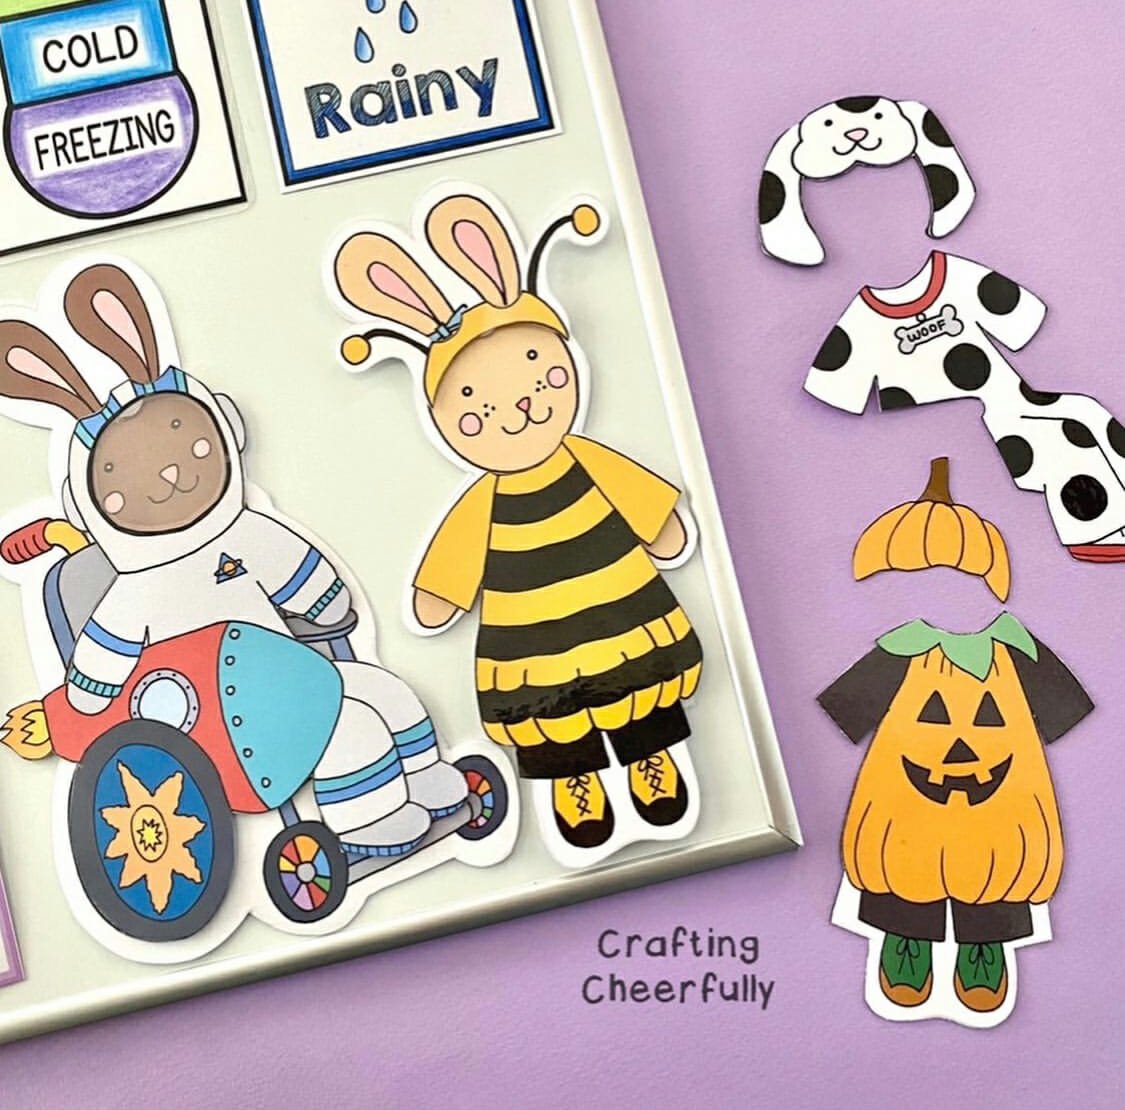
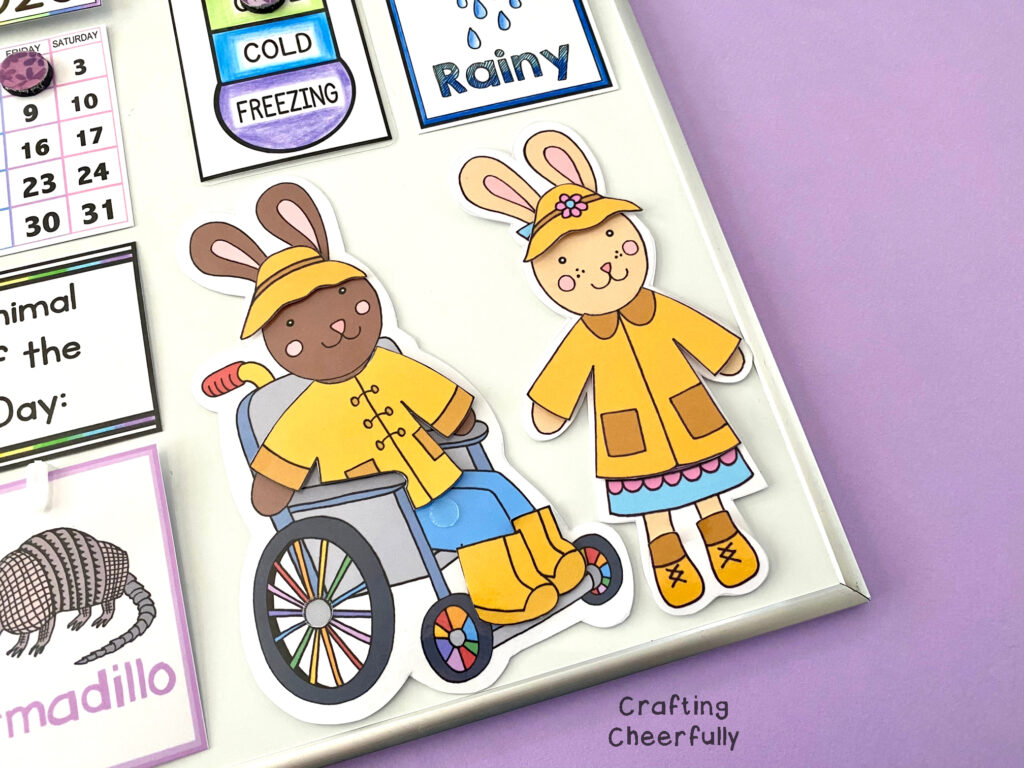
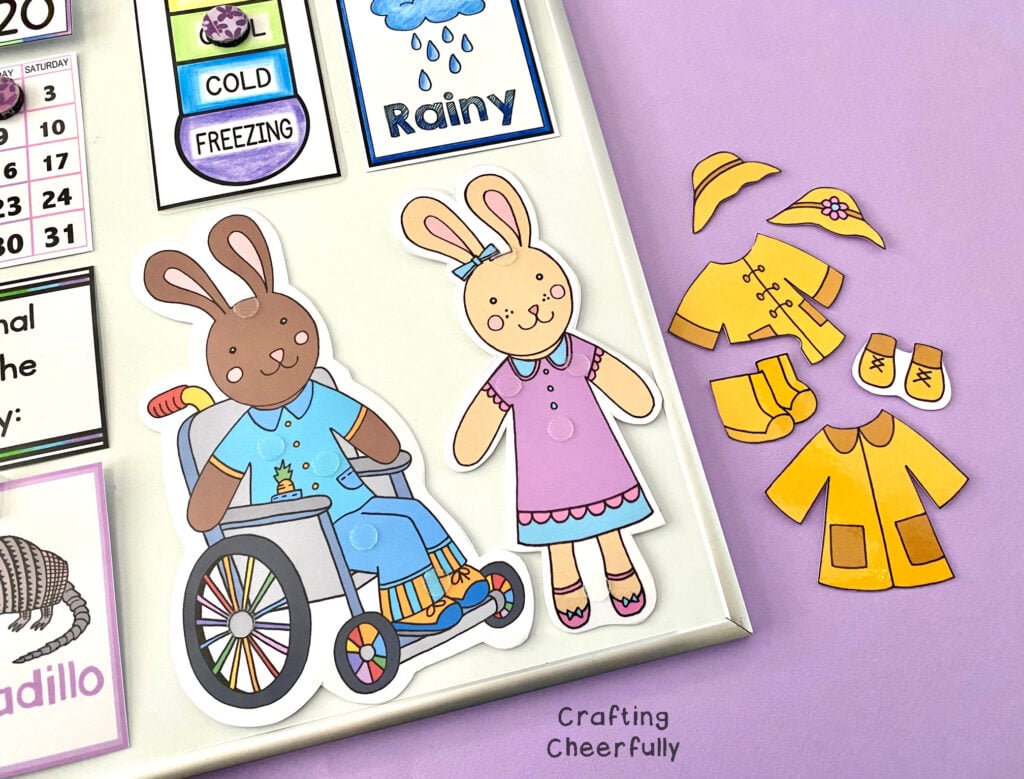
3. Free Bunnies kids can dress for the weather!: My favorite part! These bunnies are so fun to dress for the weather and they comes with so many cute clothes. The bunnies come in four different fur colors and you can download bunnies that are standing or bunnies sitting in wheelchairs.
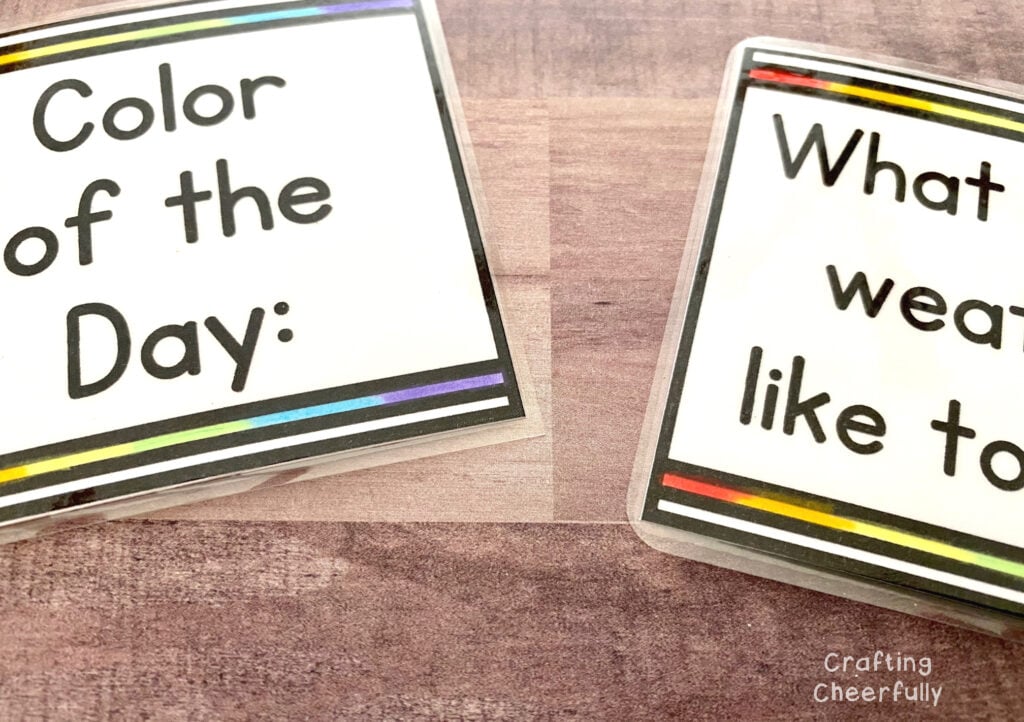
4. Free calendar labels: These are a free printable that are great for labeling the parts of your calendar and keeping things organized!
5. Preschool Learning Cards (available in my shop): Available in four languages, this set of cards includes letters, numbers, shapes and12 color cards.
6. Color Cards (available in my shop): This fun set of cards and worksheets is all about color and includes over 50 color cards including colors that may be new your kids like turquoise, vermillion, sage and amber.
7. Animal Flashcards (available in my shop): This cute set of cards includes lots of fun animals. We feature a new one each day on our calendar and try to learn something new about the animal.
How to Make the Calendar Cards
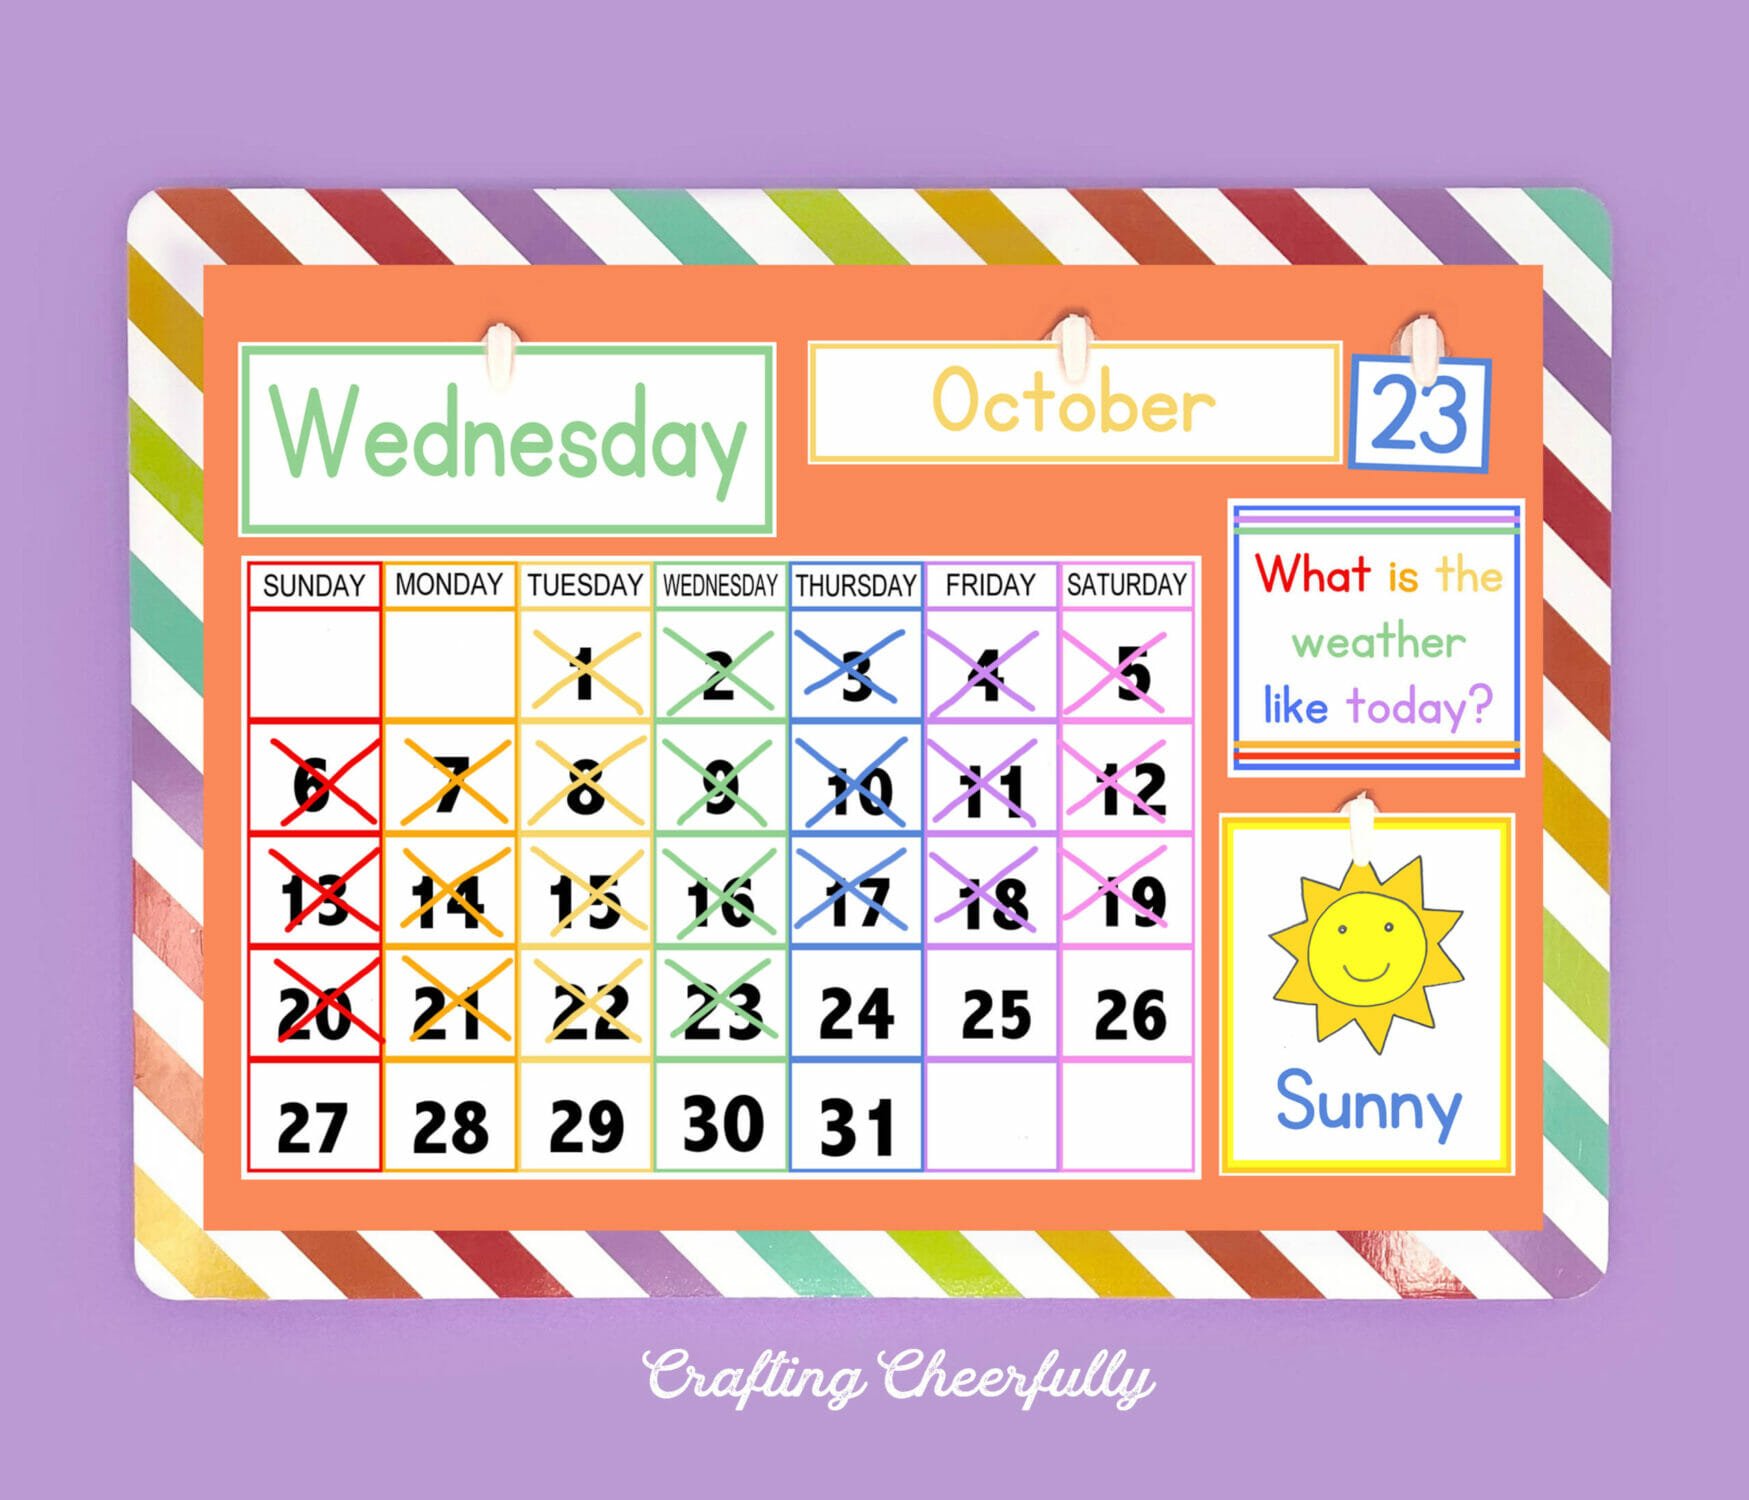
Below you can see how I made the calendar cards for this calendar. There are lots of different ways you can make these and in the past I have always turned my cards into magnets. You can read about that process under my DIY Children’s Calendar post. For this calendar, I decided to laminate the cards and use Stikki-Clips and Velcro Dots on a 16″ x 20″ dry erase board. You can use a dry erase board, poster board, tri-fold board, or even the side of your fridge!
DIY Daily Calendar For Kids
Supplies Needed:
(these are what I used, but you really can make this calendar lots of different ways!)
-
- Free printables – located at the end of this post
- Printables from my Etsy Shop
- White cardstock – I print on Neenah 110 lb white paper

- Laminator and 3mil laminating sheets
- Self-Laminating sheets for the bunnies – I use Avery Self-Adhesive Laminating Sheets
- StikkiCLIPS
- VELCRO Dots 3/8″– I used 3/8″ dots. 5/8″ would work too!
- Paper Trimmer and scissors
- Corner Cutter (optional)
Step by Step Tutorial
Step One: Print the calendar cards you want to use for your calendar!
I print on white card stock. If you choose to use the Color-Your-Own versions of the cards, color them in after printing.
Step Two: Laminate the cards for extra durability.
This is optional but will extend the life of your cards. This is the first time I used a laminator and it was super fun! In the past I have always used self-laminating sheets. If you plan to make the bunnies into magnets, I recommend using the self-laminating sheets because you can just laminate the top of the bunny pieces and then put the magnet sheets on the back. For more details on turning your cards into magnets, visit my DIY Children’s Calendar Post.
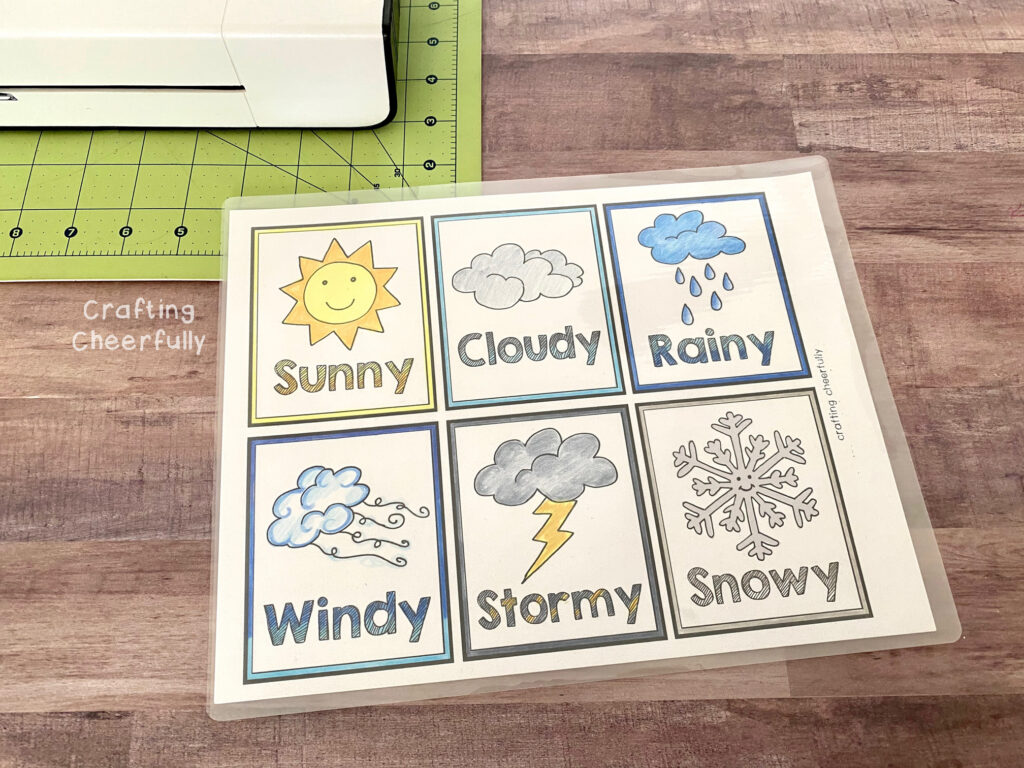
Step Three: Cut everything out!
So much cutting! If you can use a paper trimmer for all of the straight-edged cards that will save a lot of time. Use a good paper scissors for the bunnies. This is a great activity to do while streaming your favorite shows :)

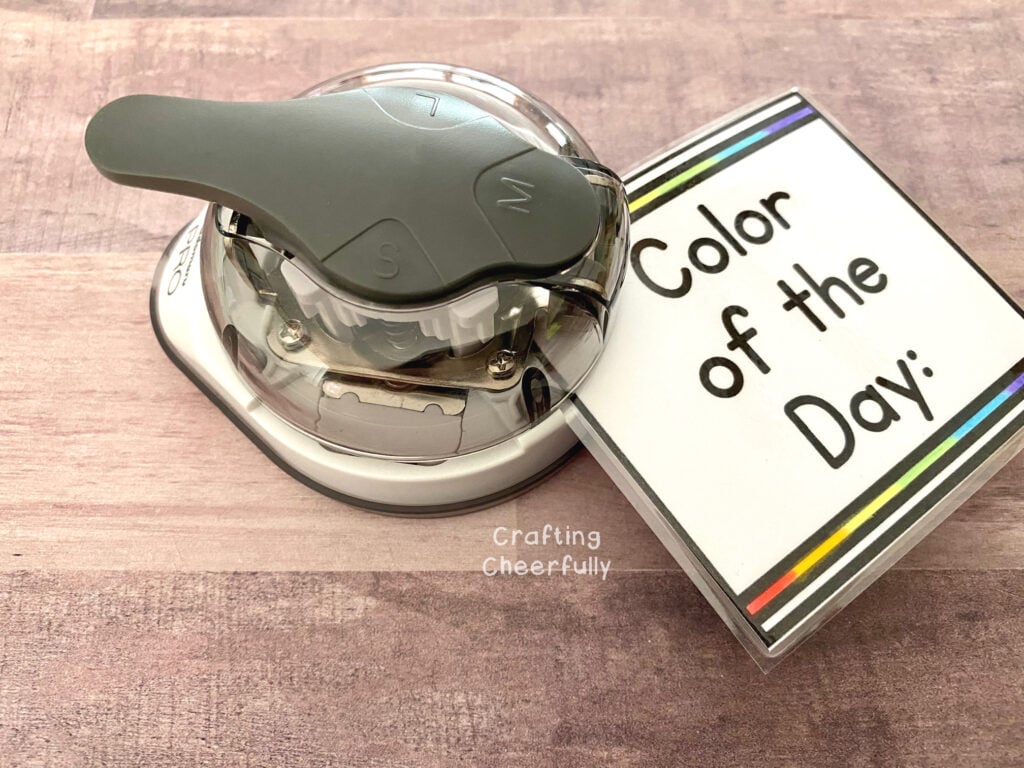
If small kids will be handling the cards and you are worries about the sharp corners, you can round the corners with a corner punch. I found a great corner punch on Amazon that worked really well!
Step Four: Add Velcro Dots to the bunnies!
Place clear Velcro Dots first on the bunnies themselves. I used the rough side because they are more clear. Place the soft dots on the rough dots with the sticky side up. Press a piece of clothing onto the bunny and hold for a few seconds until the dots stick to the back of the clothing pieces. Repeat this process for all of the clothing pieces you want to make!
Step Five: Assemble the calendar!
Put it all together in any order you want! You may have different things on your calendar than mine. There are so many options and readers have sent me pictures of their calendars set up and they are all so different from each other.
DIY Children’s Calendar Examples!
Here are a few pictures of calendars I have created with my printables – you’ll see there are lots of different ways you can use them!


Other Calendar and Schedule Tools for At-Home Learning
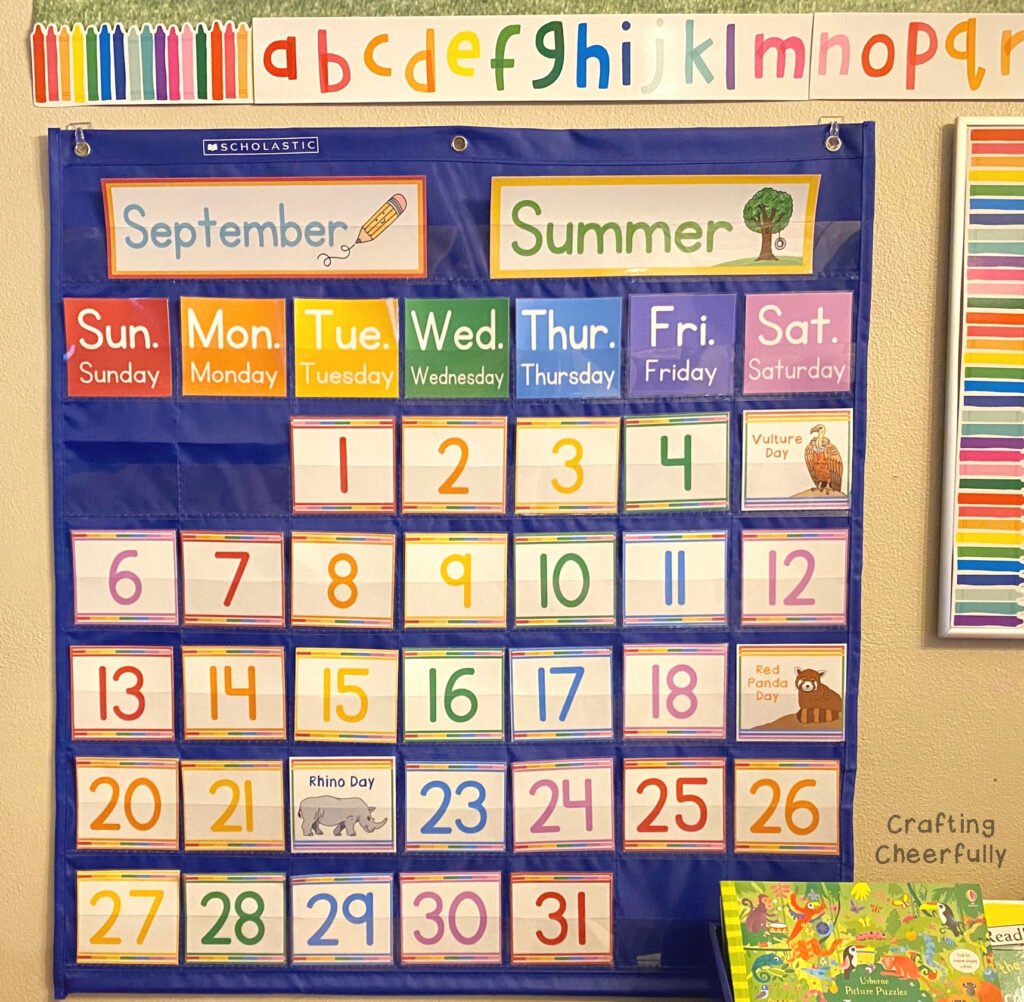
I hope this was useful! We use a few other calendar/schedule tools for virtual learning like my Pocket Chart Calendar kit which is where we mark holidays and important events – as well as fun days to celebrate like National Days and Animal Holidays. All of these cards and kits are available in my shop!
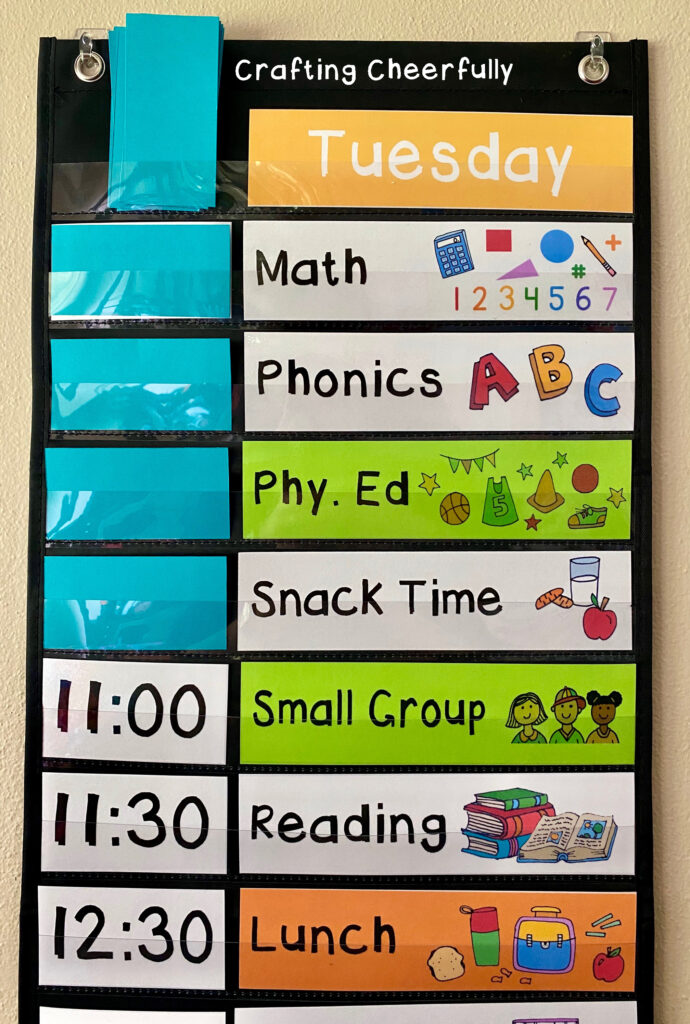
We also use Visual Schedule Charts for our school schedules. Since my kids are each virtually learning, they have a schedule with live meetings and things they need to complete each day. These schedule charts have been SO useful! We are a month in and we use them daily. I printed their live sessions on green-colored paper to help them stand out on the calendar chart. We also use sheets of colored paper to mark off each activity by covering the time cards. I created these visual schedule cards over the summer and sell them in my shop as well. The best part – they are editable! So you can write your own school subjects or activities on the cards.
Download the Free Calendar Files. The free calendar files are in my Resource Library! Enter your first name and email to get the password to download this file. You’ll also have a chance to sign up for my newsletter to receive updates on the calendar and the free monthly calendar card plus craft tutorials, tips, updates and more FREE files to help make crafting something special and unique easier!
Shop Calendar Extras in my Etsy Shop. You’ll find calendar card extras, preschool learning cards and more fun cards that coordinate with my free files! Visit my Etsy Shop.
Shop the Supplies I used!