DIY Garden-Themed Vegetable Platter
Create a cute garden-themed vegetable platter for your next spring or summer gathering! This fun veggie tray is a great way to include veggies at your party and decorate your food table!

Hello Crafty Friends! A few weeks ago I posted about the Winnie the Pooh party we had for our children. The main dish of our food table was a vegetable platter designed to look like Rabbit’s garden. Today I thought I’d share with you the tutorial for how I put it together.
Vegetable platters are such a great food option for any party. They help balance out all those sweets and treats! A garden-themed vegetable platter works for so many different occasions, holidays and party themes! This would look adorable at a Peter Rabbit party, on Easter day or for any spring or summer gathering.

Our garden-themed vegetable platter was really fun to make and my kids were able to help. I had to do some research on the best way to prepare the vegetables to keep them fresh.
Our party started in the late morning which meant I wanted to do some of the prep work the day before. At the very end of this post I have included links to the sites I found that had great tips for preparing veggies and storing them overnight to keep them looking fresh and tasting crisp for the day of the party!

For this platter I used a cutting board we already owned that was curved along two of the edges. If I was purchasing a cutting board for this platter, I would have bought one with straight edges, however the great thing about this tutorial is you can make any size or shape platter work – even one with curves! Using a thick cutting board is really helpful since it will help the fence stand up. The cut out handles on our cutting board were also helpful, but not necessary.
Below is the tutorial for how I assembled our vegetable party tray. After that is a great section on prepping the veggies and some cute ideas for how to cut them!
Garden Vegetable Platter
Supplies Needed
-
Cutting board – A straight-edged board with cut-out handles is great but not necessary.
- I used a 14″ x 20″ bamboo cutting board with handles.
- Make sure the board is thick enough to support the fencing.
- Here are some options on Amazon – Bamboo Board 14″ x 20″ or this XXL Bamboo Board
- Yarn or string
- Fairy fencing (I found mine at a craft store and needed two packages)
- Garden signs and scarecrow – printed or hand written and cut out
- Toothpicks or wooden skewers cut to size
- 1 stick of String Cheese
- Vegetables! For my platter I used cucumbers, celery, broccoli, green, red, yellow and orange peppers, cherry tomatoes, carrots and radishes.

Assembling the Garden!
Step 1: Attach the fencing to your cutting board.
Since I didn’t want to do anything permanent to my cutting board I found using yarn to tie the fence to the board was a great solution. The yarn gets covered up by the vegetables so you won’t see it. You could use yarn or string! They will most likely not be food grade so if this is a concern, you could lay down foil, plastic wrap or food grade doilies on top of it. This first part – attaching the fencing – can be done the day before!
Since my board had handles, I started by tying the ends of one of my fencings to the cutting board through the handles. If your cutting board does not have handles, no worries, just wrap the yarn around the entire board.

Once I had both ends tied, I pulled the fence in close to my board by tying it at two places along the long side of the board and one along the shorter sides. My cutting board was curved so this was necessary to keep the fence close to the board. I moved all of my knots to the underside of the cutting board so they wouldn’t be seen.
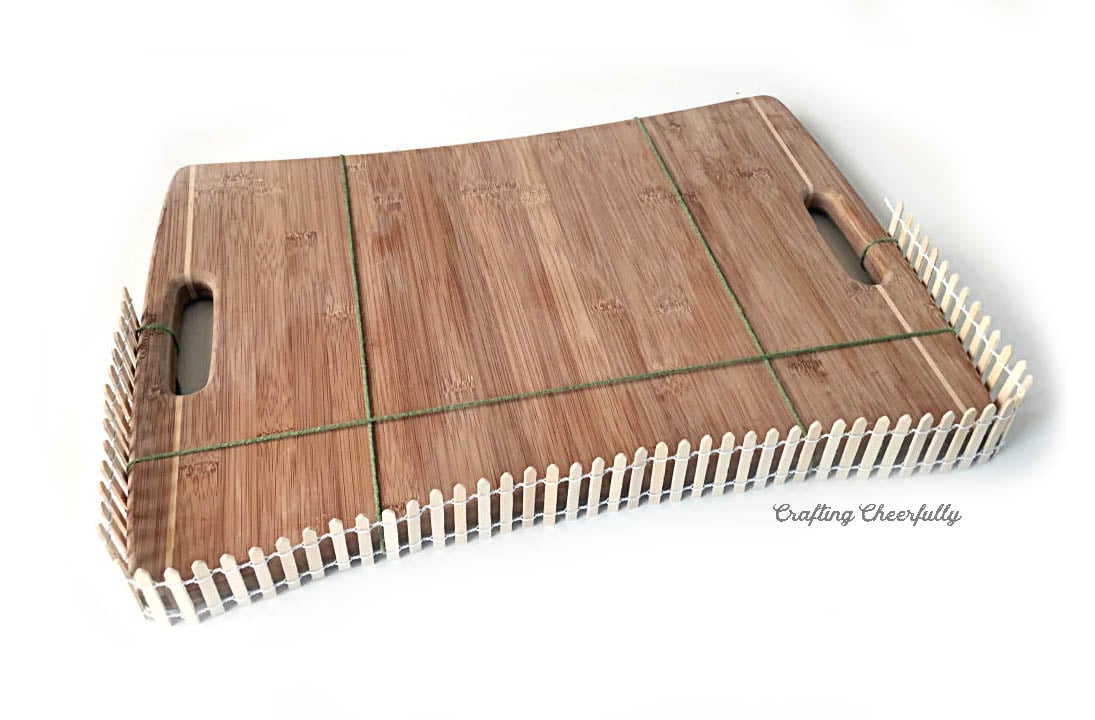
Next, I added the second piece of fencing in the same way using my yarn and keeping my knots underneath the cutting board. To attach the two pieces of fencing together, I removed the overlapping wooden pieces by sliding them out of the wire. I could then use the leftover wire from each piece of fencing to tie them together.

STEP 2: Create the garden signs!
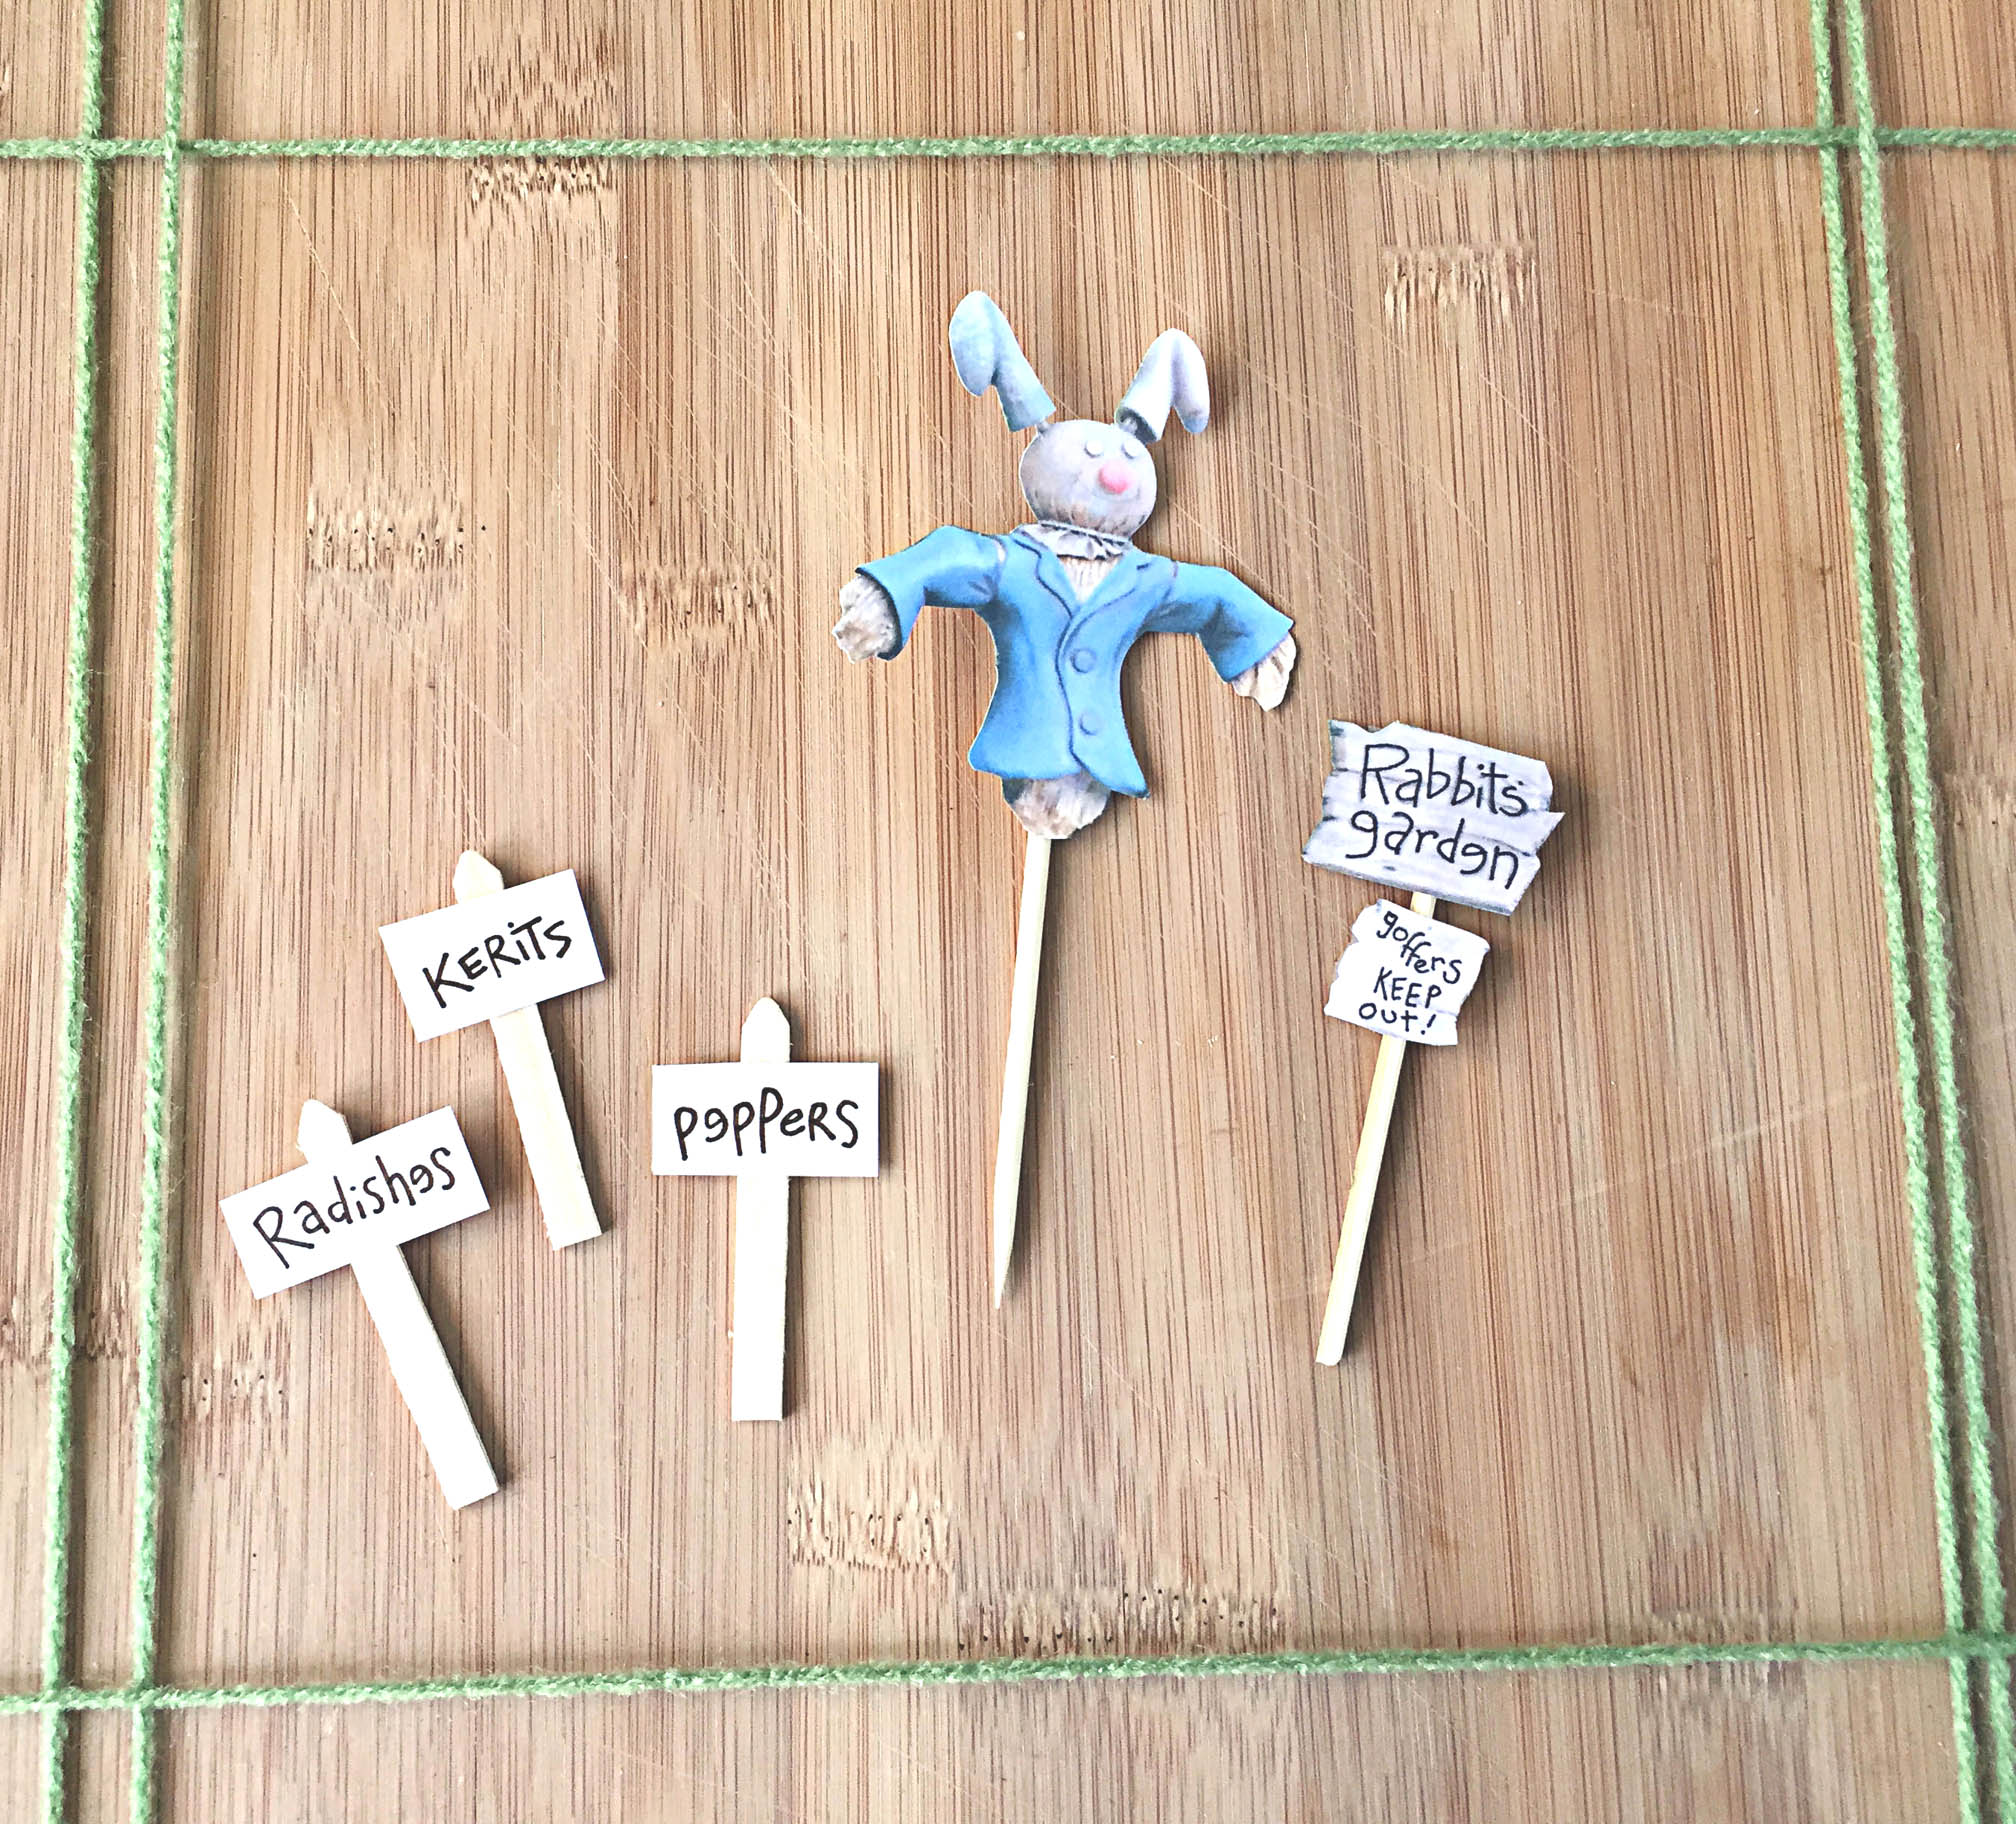
Adding cute little garden signs adds so much to the garden veggie tray and you can create them any way you like! Since this was a Winnie the Pooh-themed party, I found images of Rabbit’s scarecrow online and printed it and cut it out.
I made little signs that said “Kerits”, “Peppers”, “Radishes”, “Rabbit’s Garden” and “Goffers Keep out” all written and spelled like Rabbit does in the books. I taped the signs to toothpicks and to some of the left over fence posts! To make the signs stand up on the cutting board, I stuck them into a 1/2″ chunk of string cheese.
Step 3: Prep the veggies!
The night before the party, prep the veggies! I had to do a little research to make sure I prepped my veggies so they wouldn’t turn mushy or chalky. Check out the section toward the bottom of this post all about prepping your veggies with helpful links and pictures. I stored my veggies in plastic baggies after wrapping them in a damp paper towel.

Step 4: Arrange the vegetables on the tray!
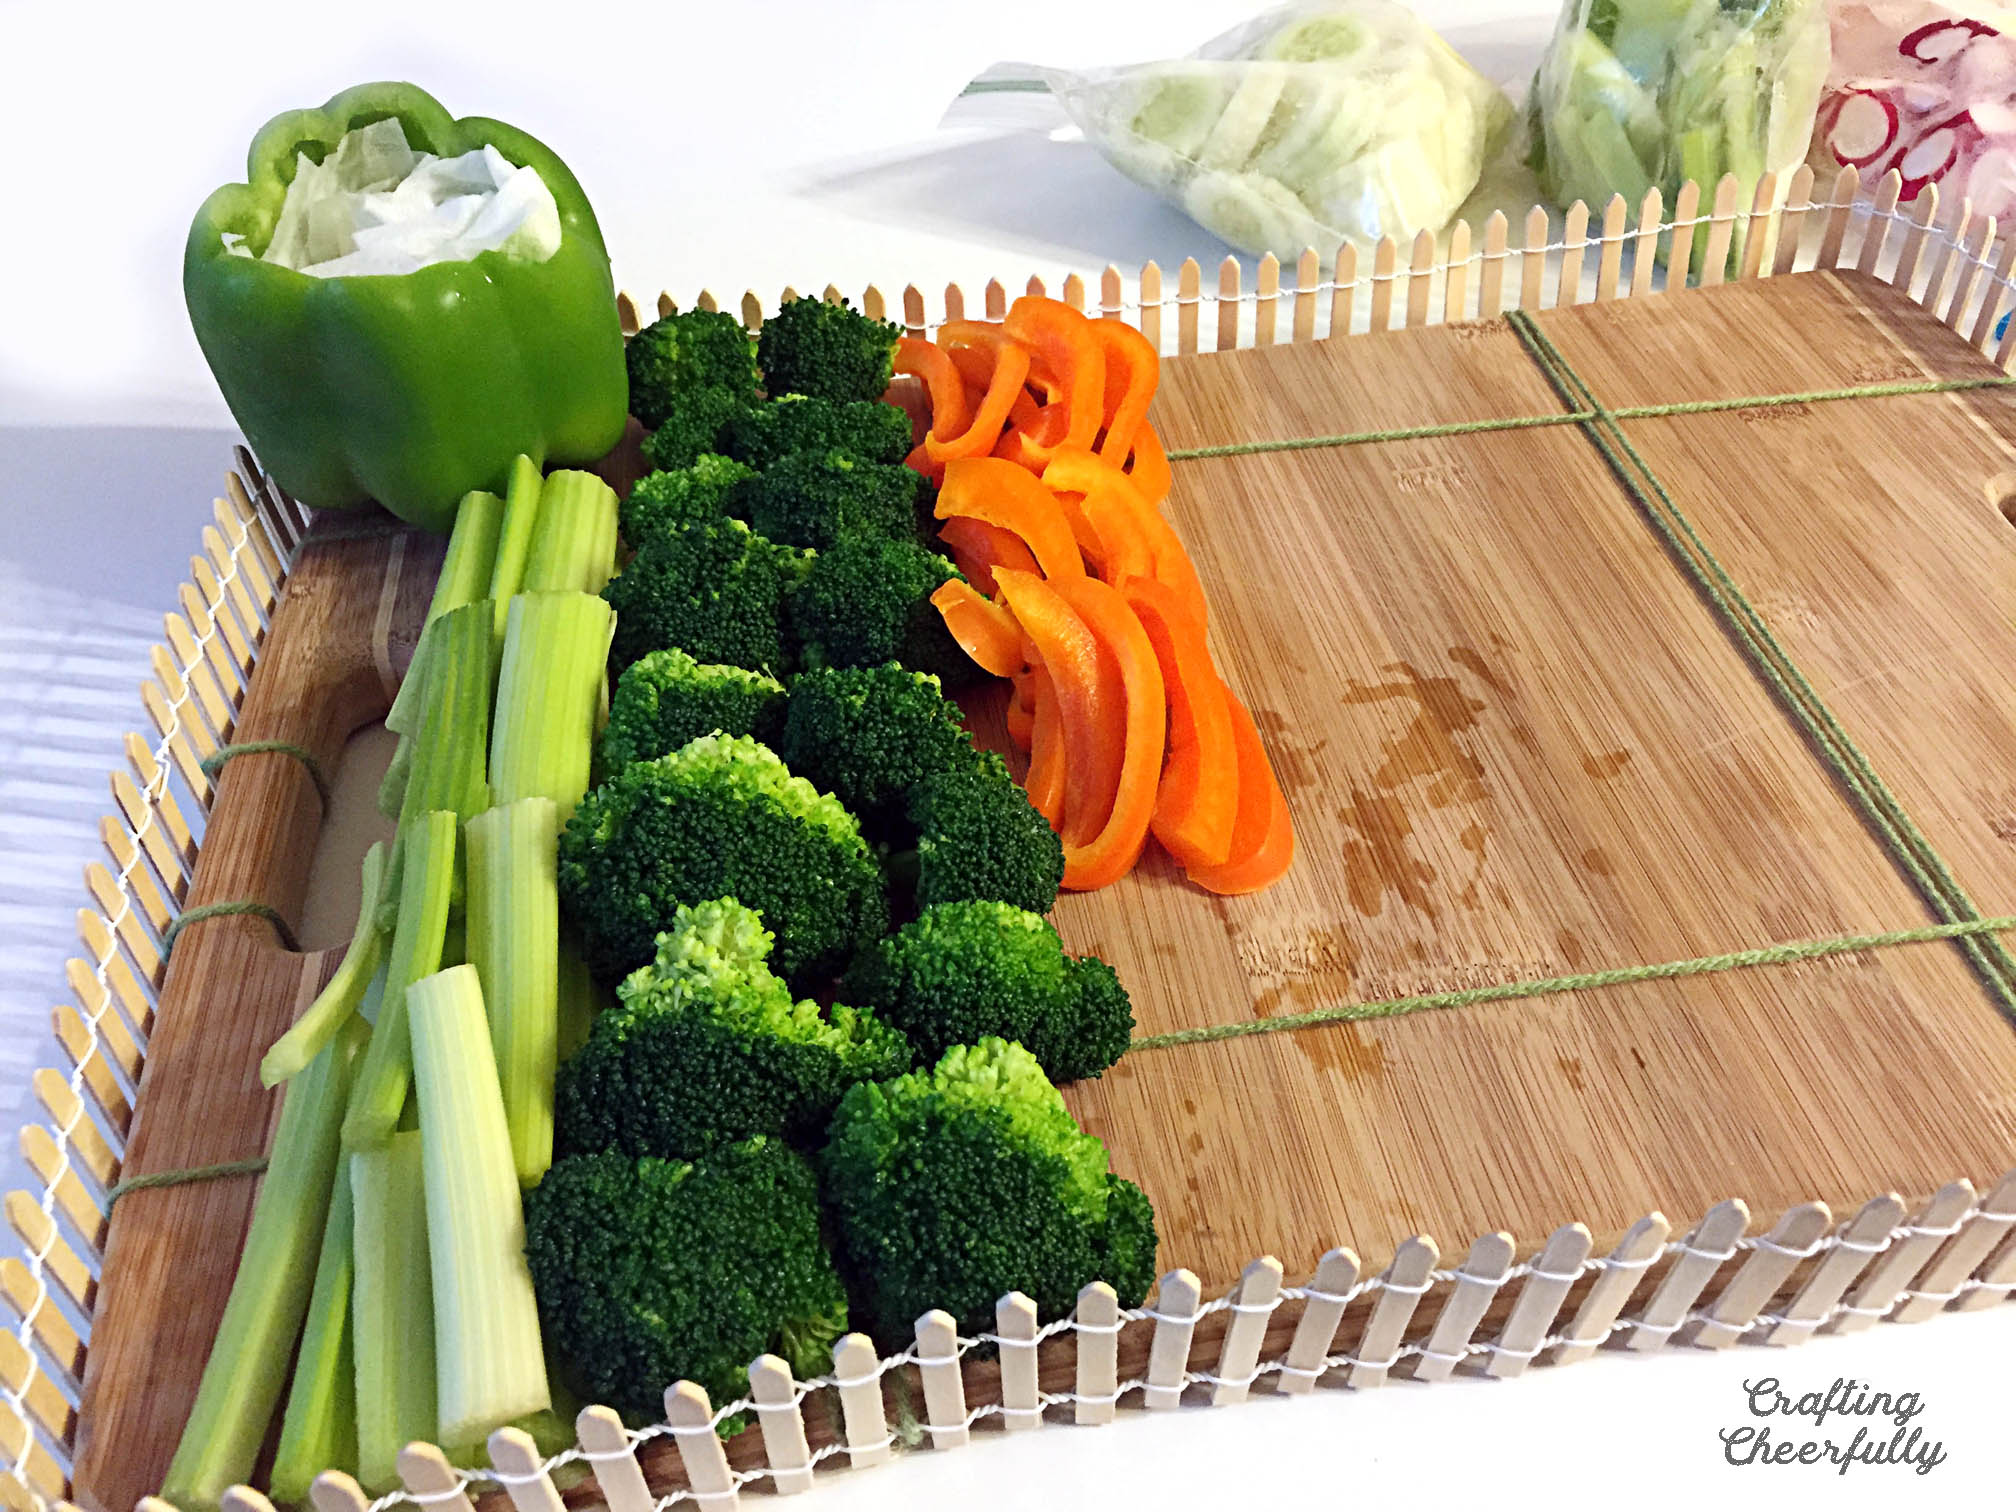
The day of your party, either right before your guests arrive or when you plan to serve the food, arrange the vegetables on the tray! I used a hollowed-out green pepper for my dipping sauce so I placed that in one corner of the board. Then I laid out my prepped vegetables in lines on the board as if they were planted in rows in a garden.
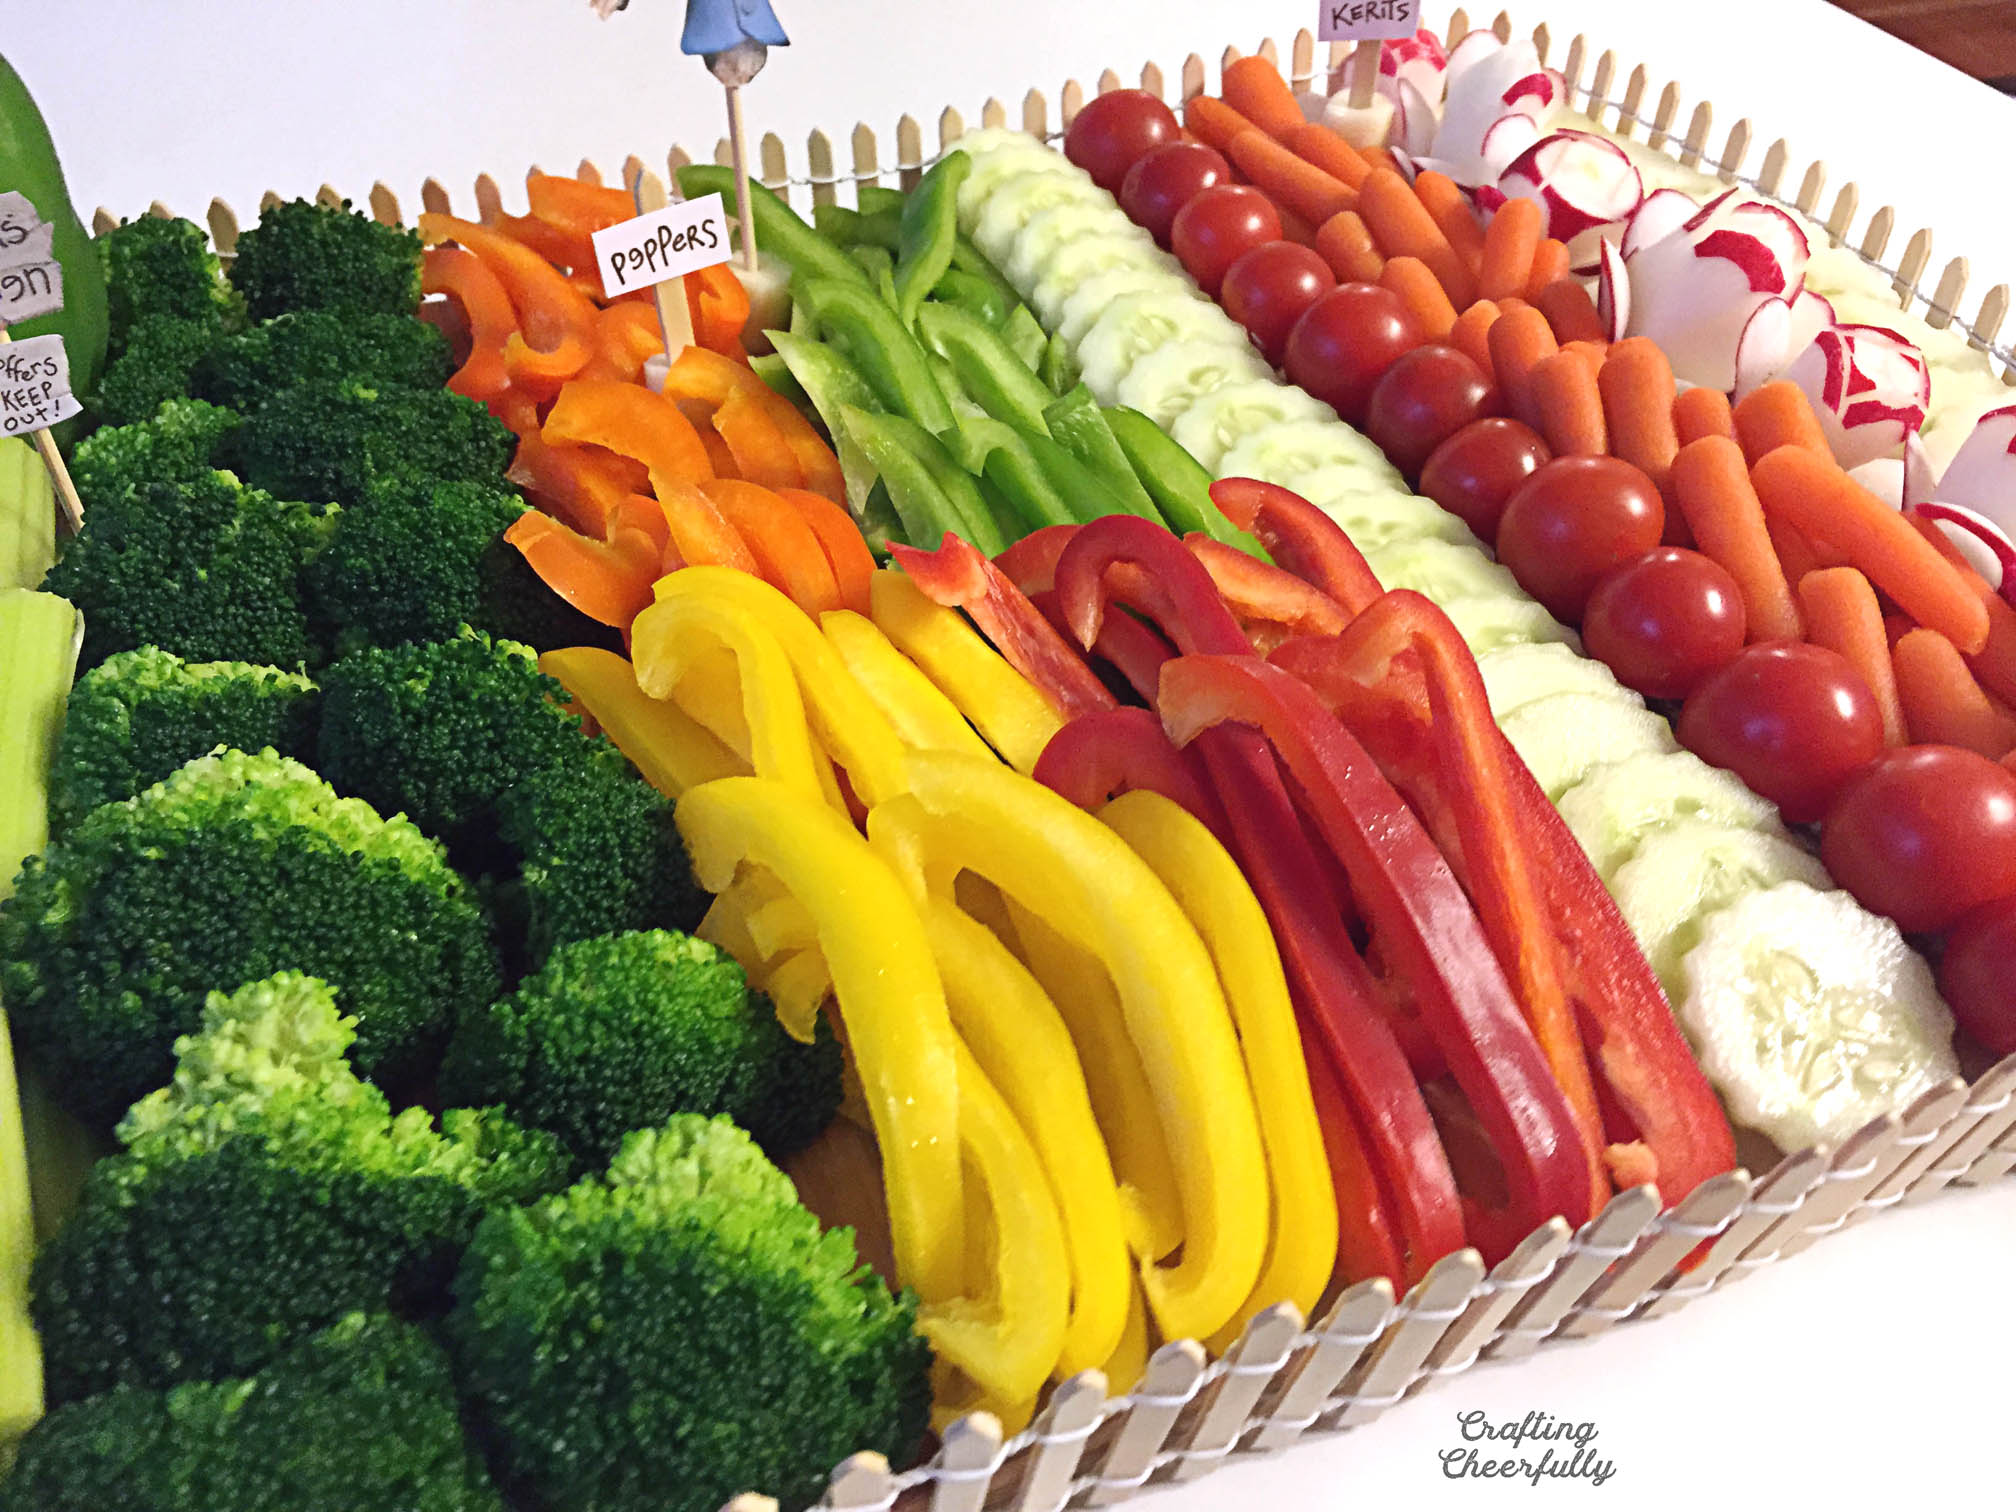
STEP 5: Add garden signs!
Cut the string cheese into 1/2″ size pieces. Stick each sign into a chunk of string cheese and place them around the board, tucking them in-between the veggies.


Once the tray was complete I set it out and then right before our guests arrived I filled the green pepper with Italian Vegetable Dip using this great recipe by Six Sisters’ Stuff. I snapped the picture below before putting the dip in. :)

I love the way this turned out and I was shocked how quickly the vegetables were eaten up! We barely had any leftover and any we did have left were gone by the next day. The clean up of this was super easy too – I just cut the yarn, threw it out, and rolled up the fencing to be used for some other project!
How to Prep the Veggies for the Garden-Themed Vegetable Tray
Perhaps you have made a vegetable platter before – I had not, and I needed some advice and ideas on how to prepare them! I chose veggies I knew my kids and family liked and went from there. We ended up using cucumbers, celery, broccoli, yellow, red, orange, and green bell peppers, tomatoes, carrots, and radishes.
Below are two really helpful articles on how best to prepare and store veggies for a vegetable platter. I went ahead and did what they suggested and blanched the broccoli and carrots. I was happy I did as it really brought out the color and taste of the broccoli and kept the carrots from looking chalky.
At the party, I also had more than one guest comment on how great the broccoli tasted so I think it was worth it! As I said above, I stored the veggies in plastic baggies in the vegetable crisper drawer of our fridge and either wrapped the veggies in a damp paper towel or stuck one in the bag with the veggies.
How to Assemble an Awesome Vegetable Platter – Serious Eats
How to Blanche Vegetables – Better Homes and Garden
I found a lot of awesome ways to cut and present veggies. I decided to try a few of them (radish flowers and cookie cutter cucumbers) but ran out of time and space to try any others. Below are some of my favorite ideas with links where you can read more.

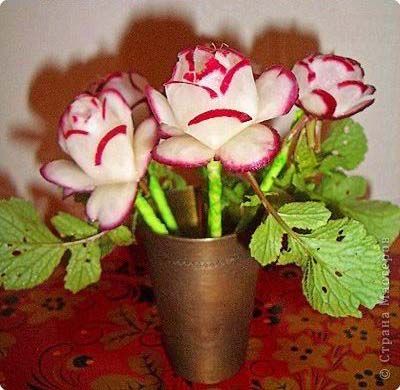
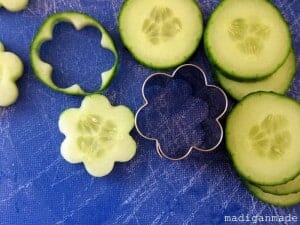
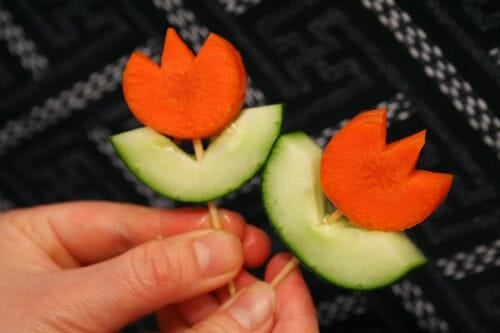
I hope this post helps you create a wonderful vegetable platter! I was happy to have such a healthy food dish go so quickly and I think the presentation helped – or at least I’m claiming it did! :)


