Winnie the Pooh Party
Our Winnie the Pooh celebration was so special and so much fun to plan! I’m sharing all of the details and DIY projects I did to create a party with this sweet theme.

This post was originally posted June 22, 2015 and updated March 31, 2022 with helpful links to the craft tutorials.
Hello Crafty Friends! Last weekend we celebrated my son’s birthday and daughter’s Baptism with a Winnie the Pooh-themed party. Winnie the Pooh is such a cute party theme, especially for little ones. I had so much fun planning it and even more fun celebrating. The weather cooperated and we were able to be outside, which was wonderful. We kept the food and most of the decorations inside and around the food table since rain was a possibility.
I really enjoyed getting crafty for this party! Everything was based off of the book The Many Adventures of Winnie the Pooh – one of our favorite books. My favorite DIY project for the party decor was definitely the giant storybook pages I created for the food table. I also created banners, treat boxes, games and more. Here are all of the details!
The Invitation
Let’s start with the sweet invitation! I had so much fun creating this invitation and designing the pattern. After getting my Cricut cutting machine, I made it into an SVG cut file. Update: I now have a tutorial for this cute honey pot card, plus you can download the free pattern and cut file. Below is the invitation, but not our exact one. I remade the tutorial earlier this year with an easier-to-use template. :)

Winnie the Pooh Food Table
The food table was definitely the focal point for our party with the giant storybook pages! I knew I wouldn’t have the time to go crazy so focusing on specific spots, like the food table or game table, seemed way more doable. The food table a place all of the guests will go at some point during the party and a great place for decorations – especially if you plan on having themed food as I did.
The storybook pages were the star of the table and I created them using large sheets of watercolor paper. We love reading The Many Adventures of Winnie the Pooh, so the pages are modeled after that book. I added a “story” about each of our kids to each side of the open book, along with hand-painted watercolor illustrations. Update: So many of you have asked for a tutorial for making these storybook pages. I have added one, DIY Storybook Party Backdrop, with a tutorial plus a free template!

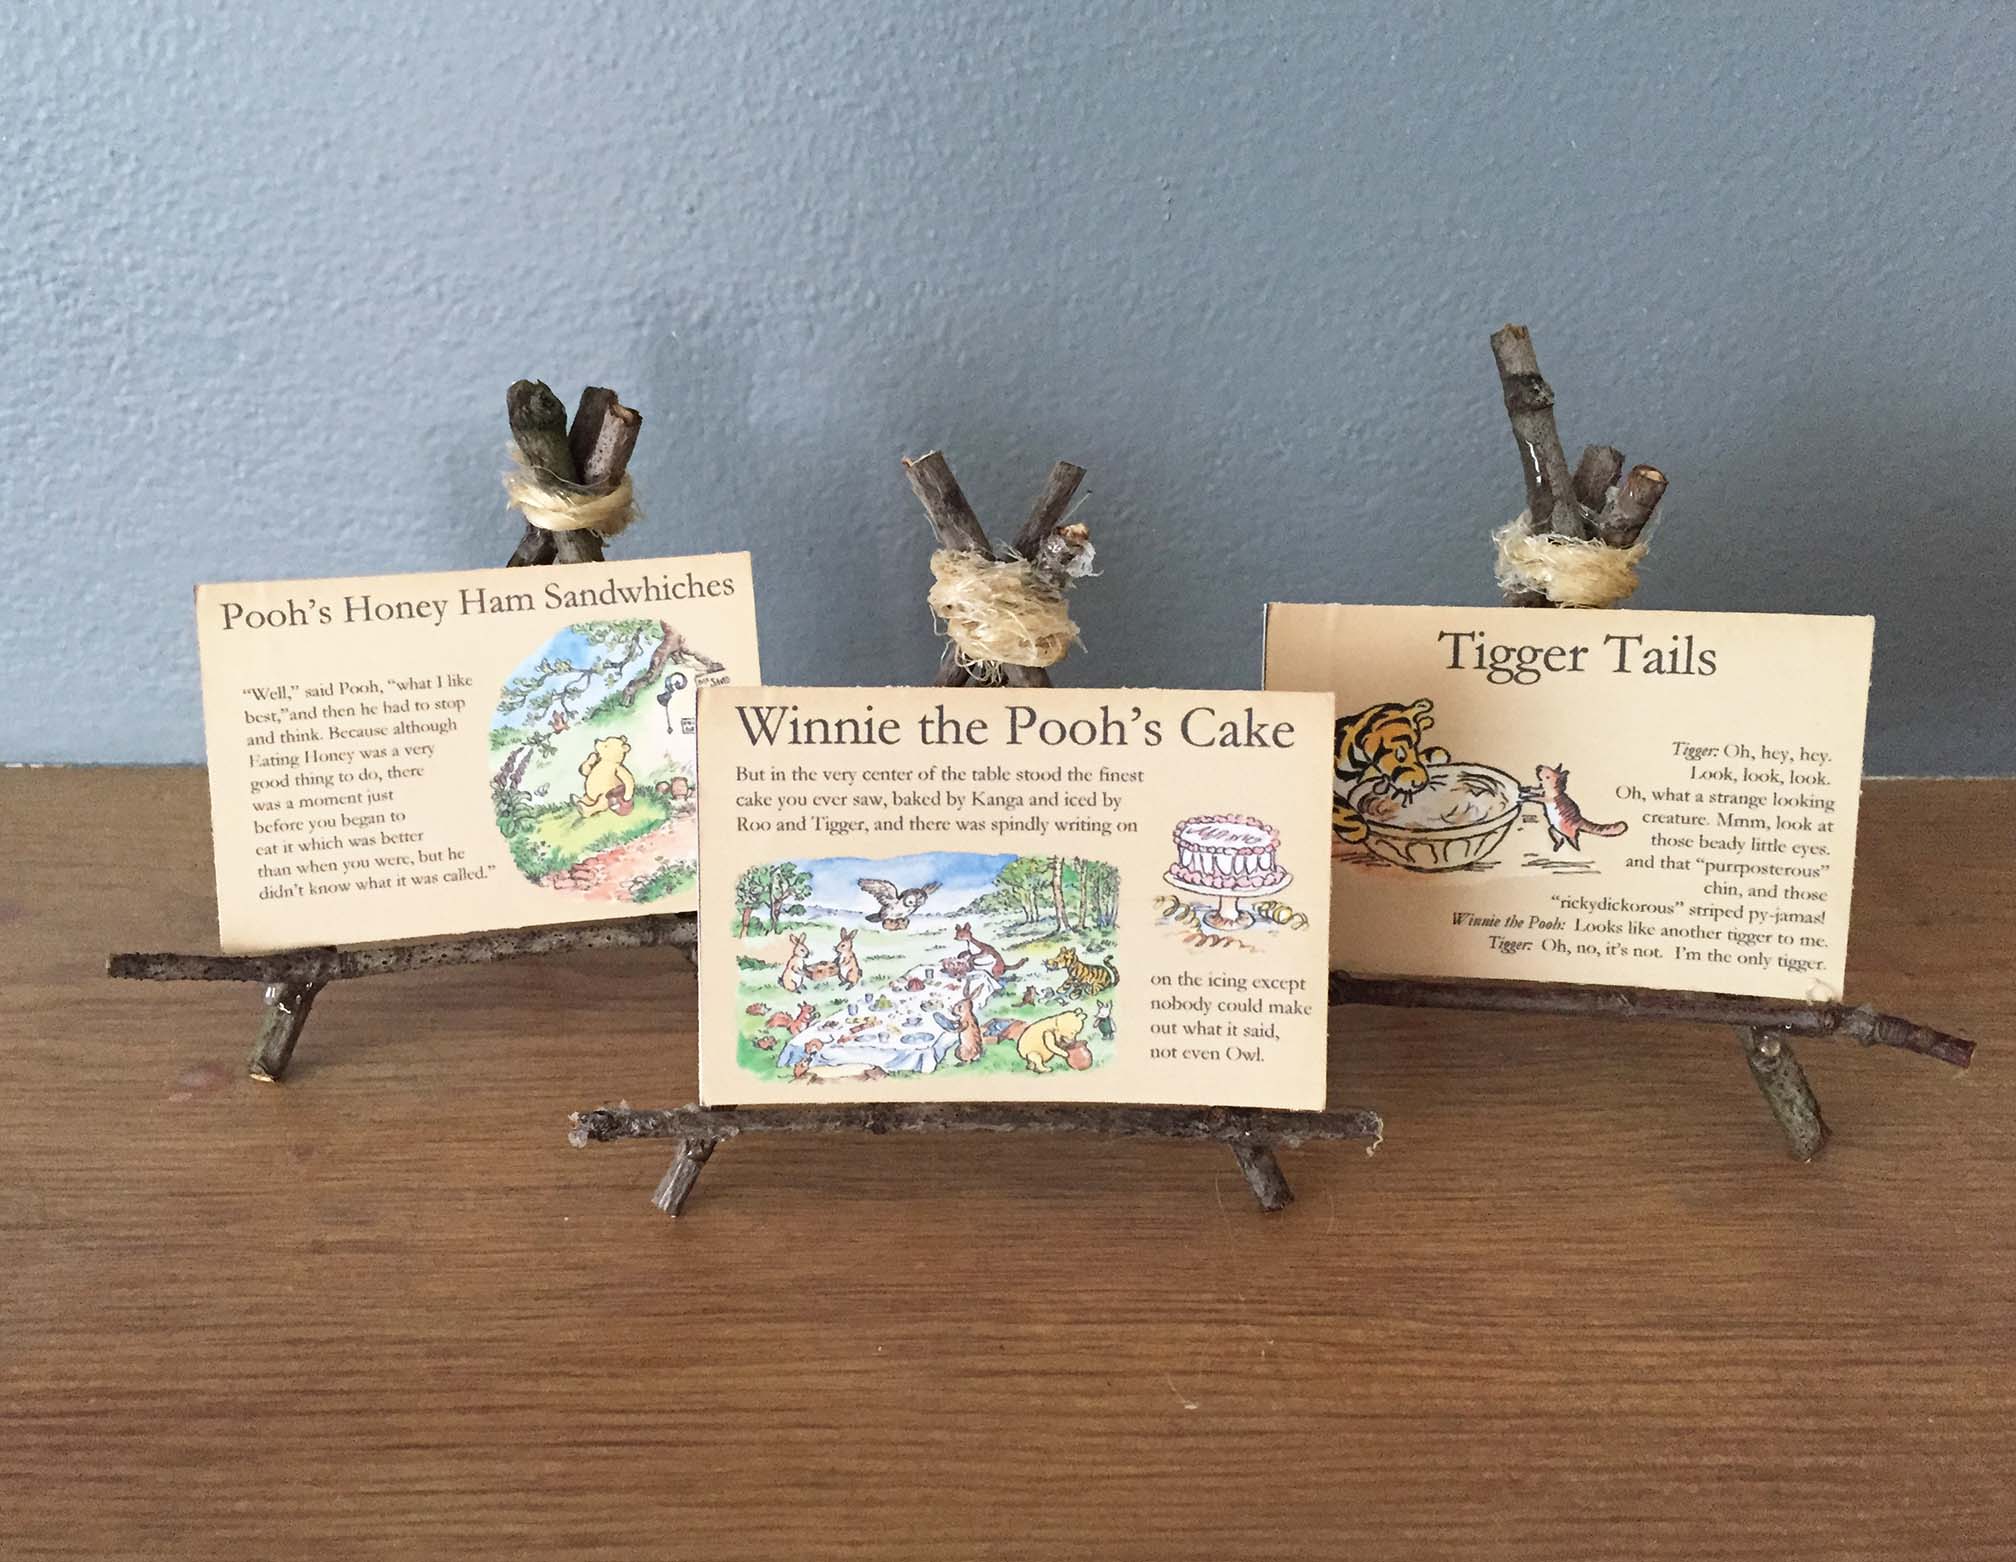
Our food table featured lots of fun Winnie the Pooh-themed food that I created little foods cards for. The label cards had the name of each food item with an image I scanned from our different Pooh books. They also had a quote from the books that I felt matched each food item. The food cards were displayed on little easels I made from sticks and twine. This gave a nice Hundred Acres Woods-feel to our table!

I placed all of the plates and utensils in a picnic basket near the food table. The plates were a great clearance find at Target back in the Fall and the napkins came from Joann Fabrics. The friendly bee is actually a pin cushion from my sewing supplies :)

You can read all about our Winnie the Pooh Party Food. It was so cute to make!
Winnie the Pooh Party Decorations
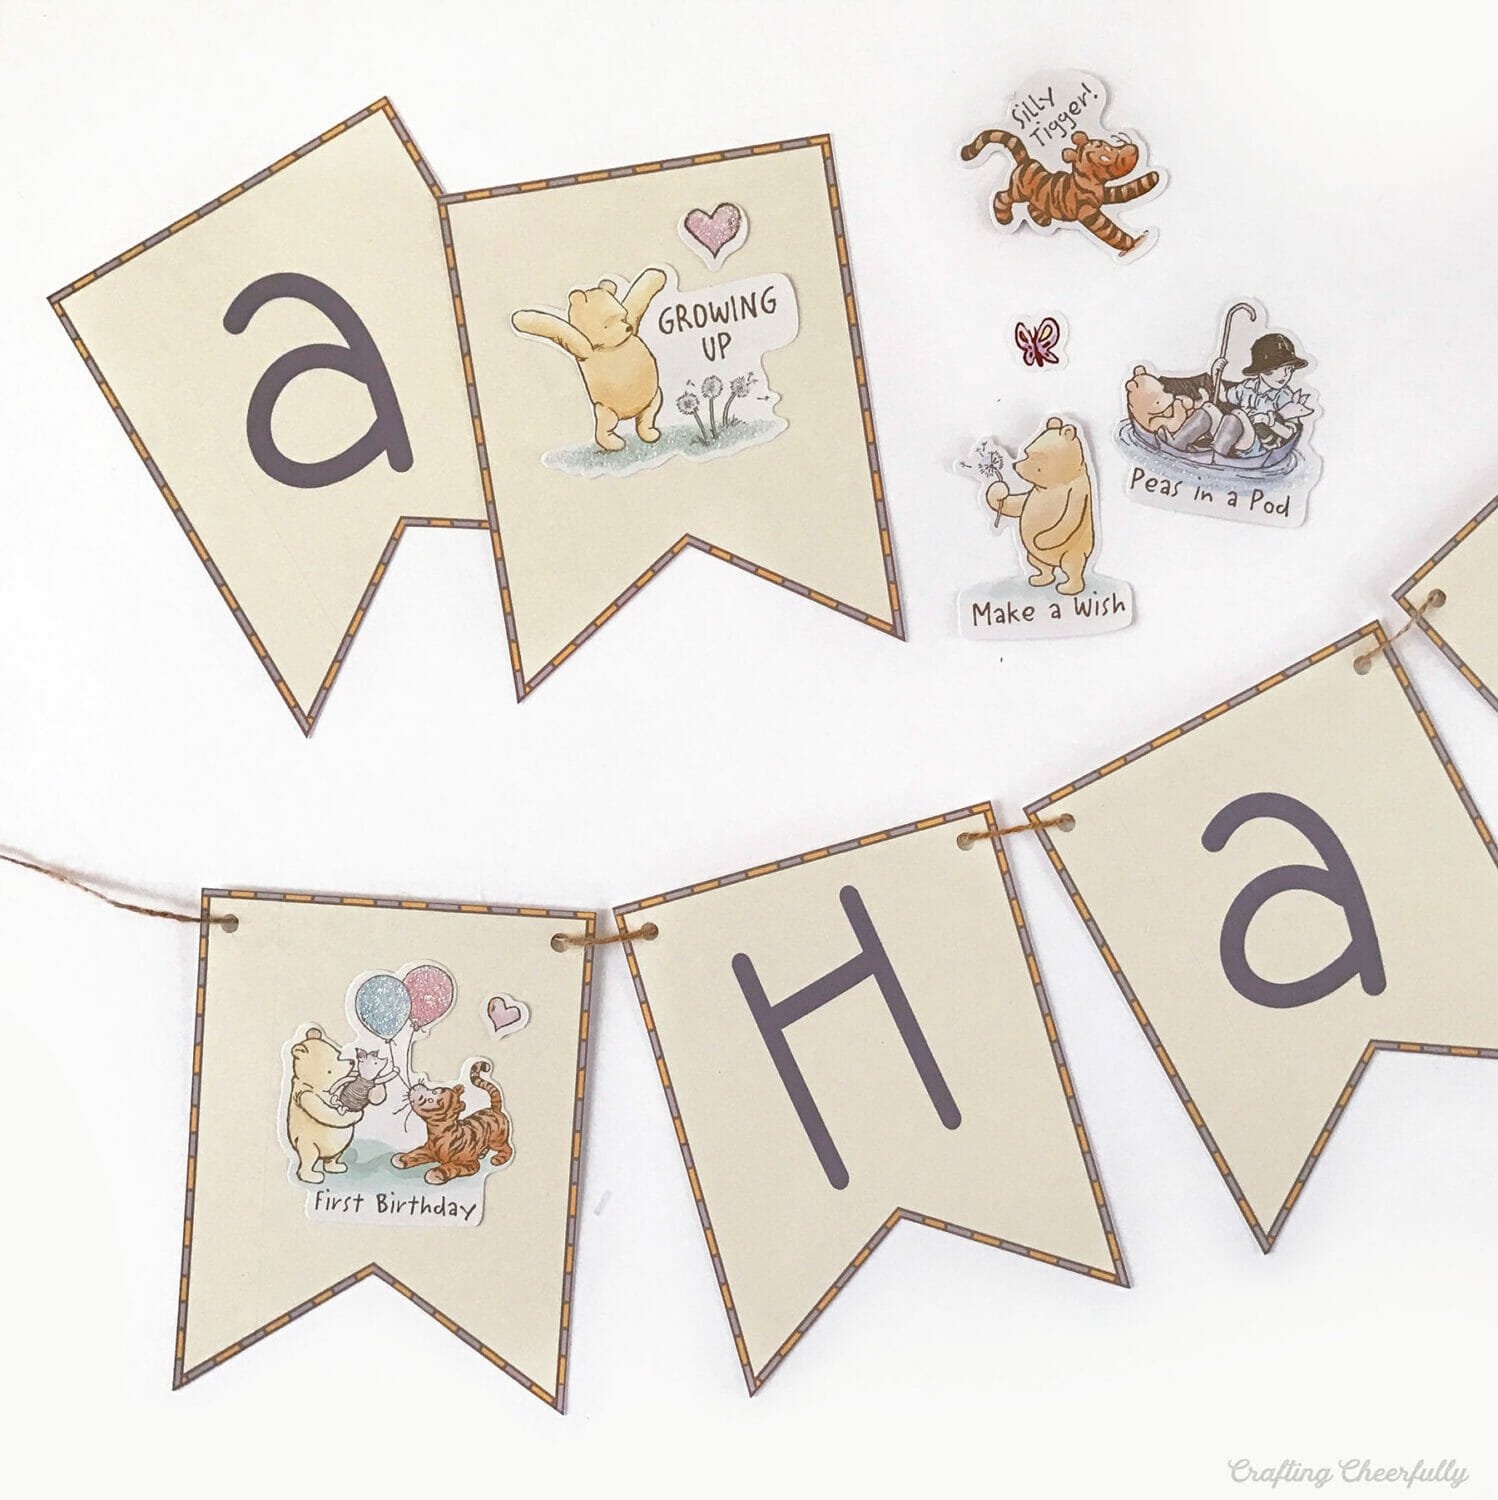
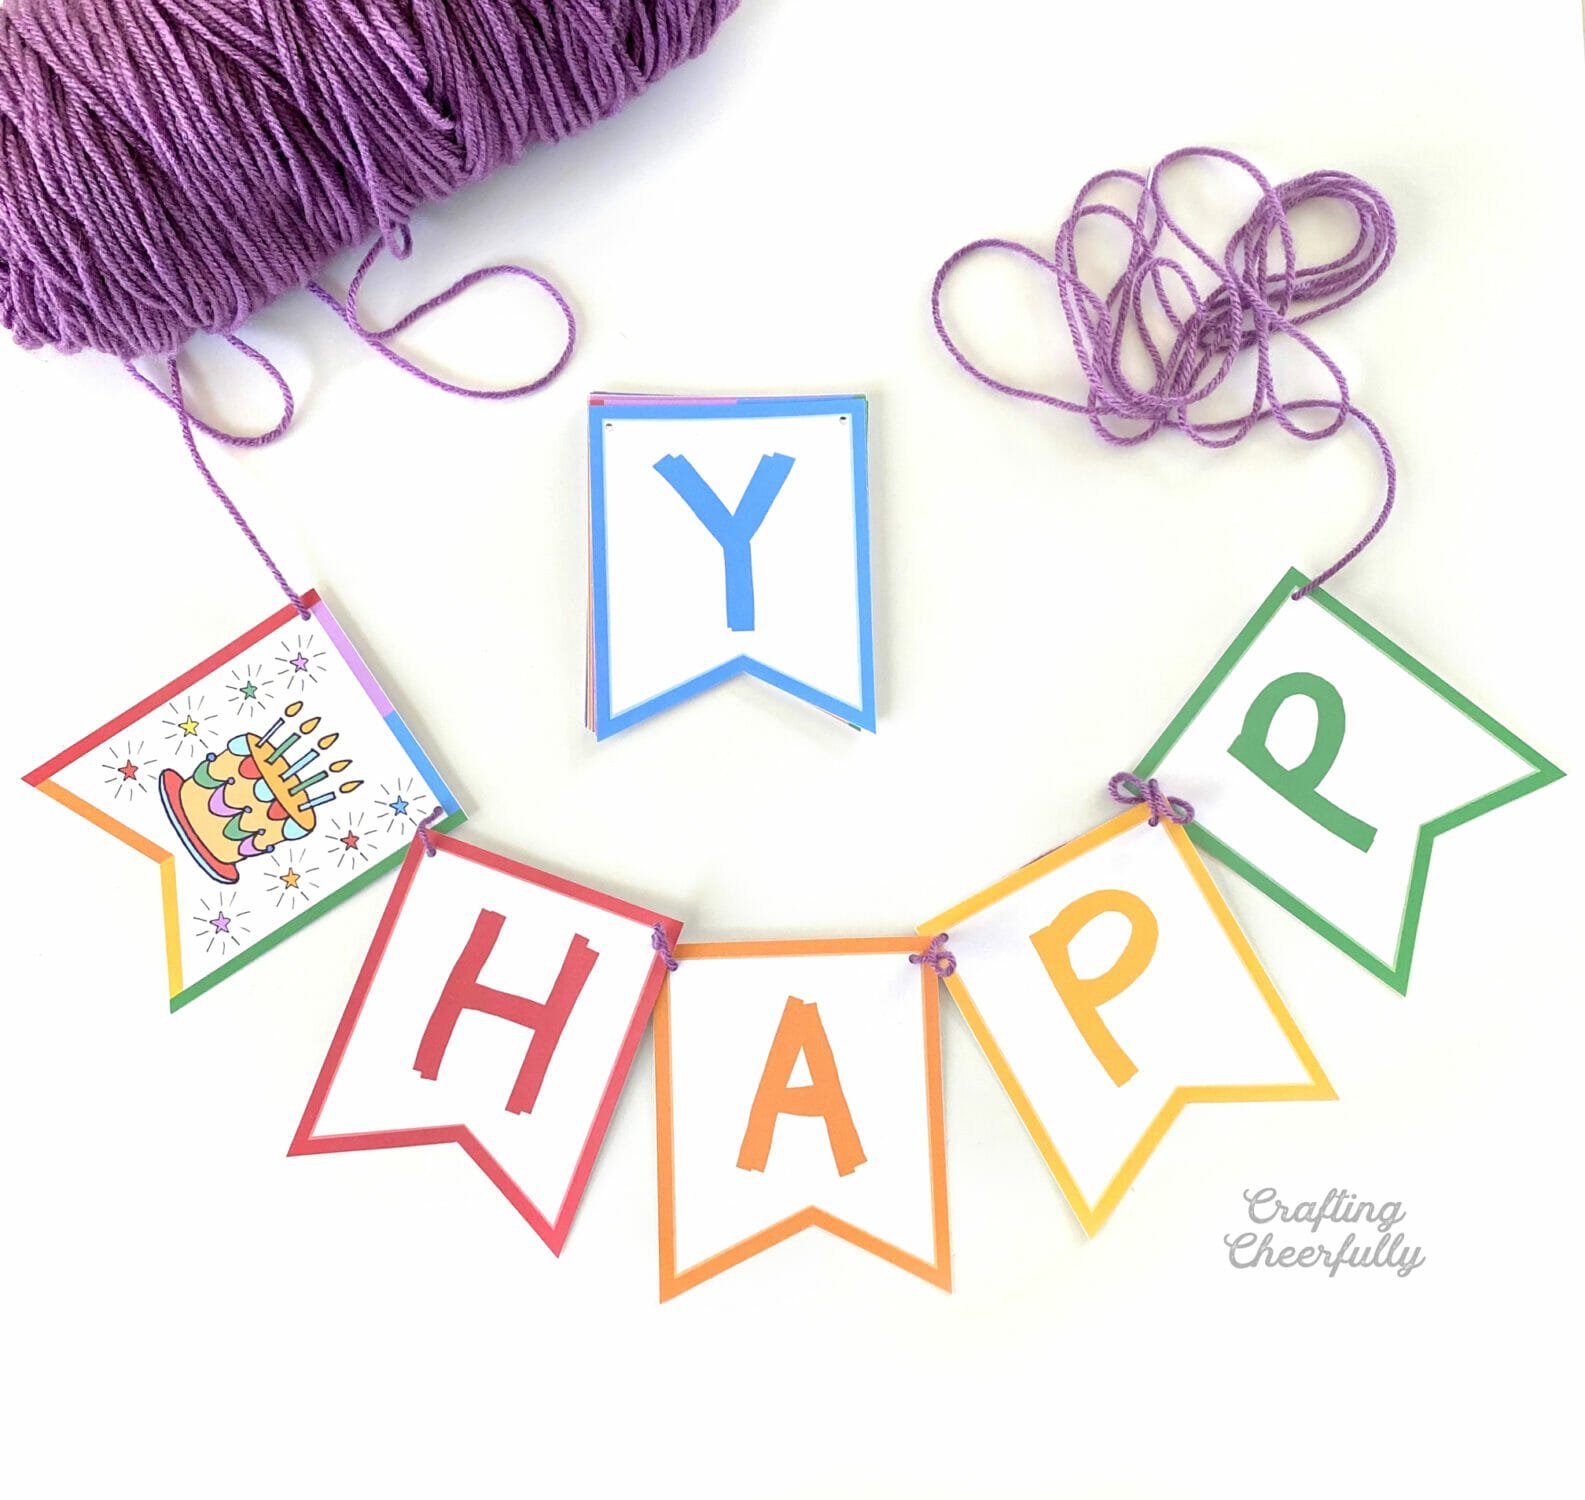
While our food table was the star of the party, I created a few other decorations including a fun Happy Birthday paper banner. I made the pennants and added cute Winnie the Pooh decorations to it using scrapbook embellishments. You’ll find the tutorial for the banner and the free printable pennants here, DIY Winnie the Pooh Banner.
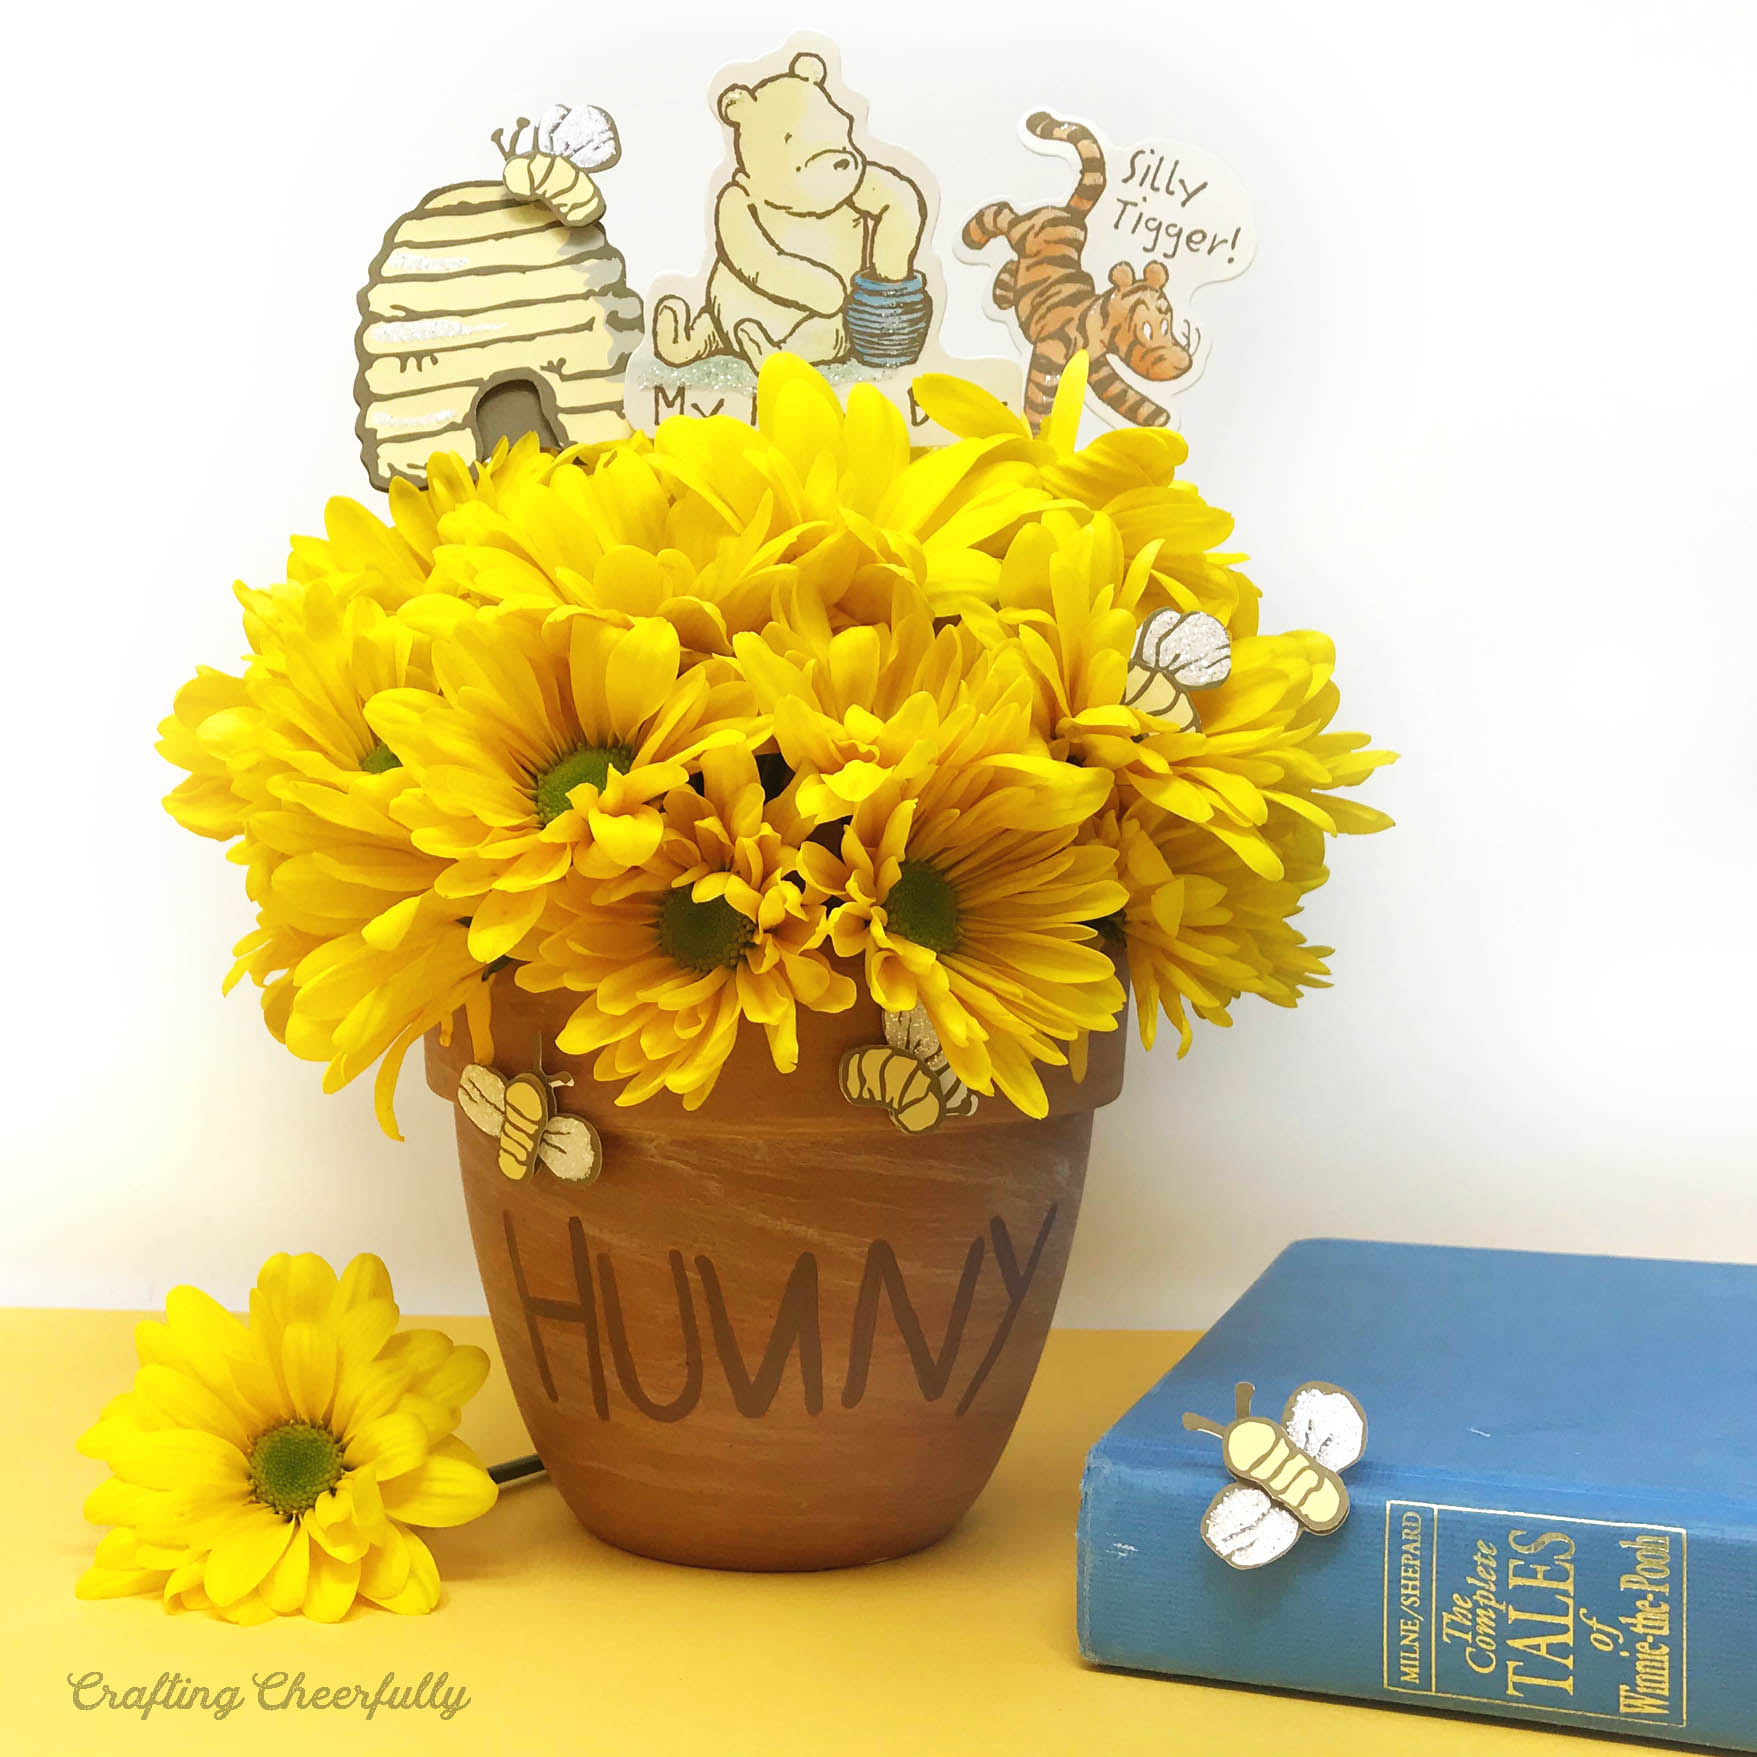
On the food table I had a few honey pots filled with yellow flowers. I found plain vases and pots and added dripping honey with yellow acrylic paint. I added the word “HUNNY”, spelled as Pooh bear does with a backwards N, to the front of each pot. Update: Many of you asked for a tutorial on the honey pot centerpiece so I created a tutorial for that too, DIY Honey Pot Centerpiece.
Since this was a spring party, I wanted to add even more flowers so I added a few more mason jar vases with white flowers around the room. I decorated the mason jars with scrapbook paper and a bee hive sticker from the same set of Winnie the Pooh Scrapbook embellishments that my little bees came from. I used the little bees on our invitations and all over the party! I set the vase up next to a couple Winnie the Pooh books.

I painted a sweet Happy Birthday plate to use at our party and to save as a keepsake to use at later birthdays.

Finally, my son helped decorate for the party by coloring pictures in his Winnie the Pooh coloring book. These are probably my favorite decorations, because of how excited he was to be helping!

Party Wear
Our birthday boy needed a cute hat so I created one from scrapbook paper and added more of the adorable paper bees to it! The DIY tutorial can be found here, Paper Party Hat.

I also made pins for the Godparents to wear to honor them at the party! The DIY tutorial for can be found here, Paper Medallion Pins.

Winnie the Pooh Party Games
We played a few games at the party like Pass the Honeypot (like Hot Potato) with a stuffed honeypot my son got for Christmas (it was part of a cute Winnie the Pooh stuffed bowling set. My husband put together a playlist on Spotify of Pooh-themed songs to play the game to.
We also played Pin the Tail on Eeyore. I drew a picture of classic Eeyore with Sharpie on a big sheet of poster board and then drew a bunch of tails and cut them out. It was fun watching everyone play :)

The final game was a Winnie the Pooh Guessing Game. I got the game idea from this photo I found online (Unfortunately, I cannot find the original source!) and thought their Tigger rhyme was so cute! I filled mason jars with Honeycombs (Pooh’s Honeycombs), Cheetohs (Tigger’s Tails), and pretzel sticks (Eeryore’s House Sticks) and made little guessing sheets for everyone to fill out. I decorated the jar tags using Pooh scrapbook paper.


So there you have it! I had SO much fun planning this party. If you want to get even more ideas for a Winnie the Pooh-themed party, be sure to visit my Winnie the Pooh Pinterest Board – there are a ton of wonderful ideas out there! I’ll be back Wednesday with a post about the party food and recipes!
Winnie the Pooh Party DIY Craft Tutorials
- Honey Pot Invitation
- Giant Storybook Backdrop
- Honey Pot Centerpiece
- Winnie the Pooh Banner
- Paper Party Hat
- Paper Medallion Pins
- Rabbit’s Vegetable Garden Tray
Resources for Winnie the Pooh Party
- The Many Adventures of Winnie the Pooh – the book that inspired it all!
- Winnie the Pooh scrapbook embellishments – I used these little bees everywhere!
- Winnie the Pooh scrapbook paper – this isn’t the exact paper I used, but it’s so cute!
- Mason Jars – for the flowers and guessing game!
- Winnie the Pooh Die-cut Embellishments – used for the honey pot flower arrangements
- Winnie the Pooh Coloring Books – a great way to involve little ones in the decorating!






Hello! Can you please give me some tips on using photoshop to create the birthday map sign? I am new to photoshop and am not quite sure where to start! Thank you!!
Would love to know how you did the story book pages!
Check out this post! I have a tutorial and a free template to create your own :) https://www.craftingcheerfully.com/storybook-party-backdrop/
Everything is amazing and beautifully thought-out. Do you have a template of the birthday sign to share? I’m blown away by it and am so glad you’ve shared what you so lovingly made in this post.
Thank you for your sweet comment! I do not have a template I can share – I created it in Photoshop after finding a copy of the real map online. I moved a few things around on the map to make room for the text I wanted to include. I have a lot of things I would love to share but I recently found out it goes against Disney’s copyright laws. Thank you for visiting :)
So adorable!
Thank you so much for sharing your Pooh party details. I’m trying to plan my own birthday party (my 31st) with a Pooh theme, since I still love that bear and have admired the fun themed parties I have seen online. You have given me a better idea of how to make it happen. Thanks!
Thank you!! I’m so glad you liked my Pooh party! I hope you have fun planning your Pooh party and have a wonderful birthday!
Would you mind sharing how you made the storybook pages? I LOVE them. I am planning a classic Winnie the Pooh themed party for my two year old little guy! Such cute ideas!!!!
Thank you! I am actually already in the process of putting together a DIY Tutorial for the storybook pages! I have had several readers ask about one so I thought it would be a good post! It will probably be posted in early April so be sure to check back! Happy party planning for your little one! Pooh parties are so much fun!
These are absolutely adorable!! My Jr is turning 2 in March and he STILL loves Winnie the Pooh. We did a Winnie the Pooh theme for his 1st birthday and happen to be doing it again for the second, we just can’t help it. There aren’t many “purchasable” winnie the pooh decorations around that are affordable let alone available. I love so many of these ideas! I wish I had half your talent for your decor, I can only hope to brainstorm off of them. I hope you don’t mind but I am just going to have to use some of these! Thank you for sharing!
Thanks so much for taking the time to comment! I’m so happy you found my post helpful! That is so fun you are doing Winnie the Pooh again, it is such a fun theme! Happy Birthday to your little one!!