Winnie the Pooh Honey Pot Centerpiece
Create a sweet honey pot centerpiece for baby showers, birthday parties or special events!
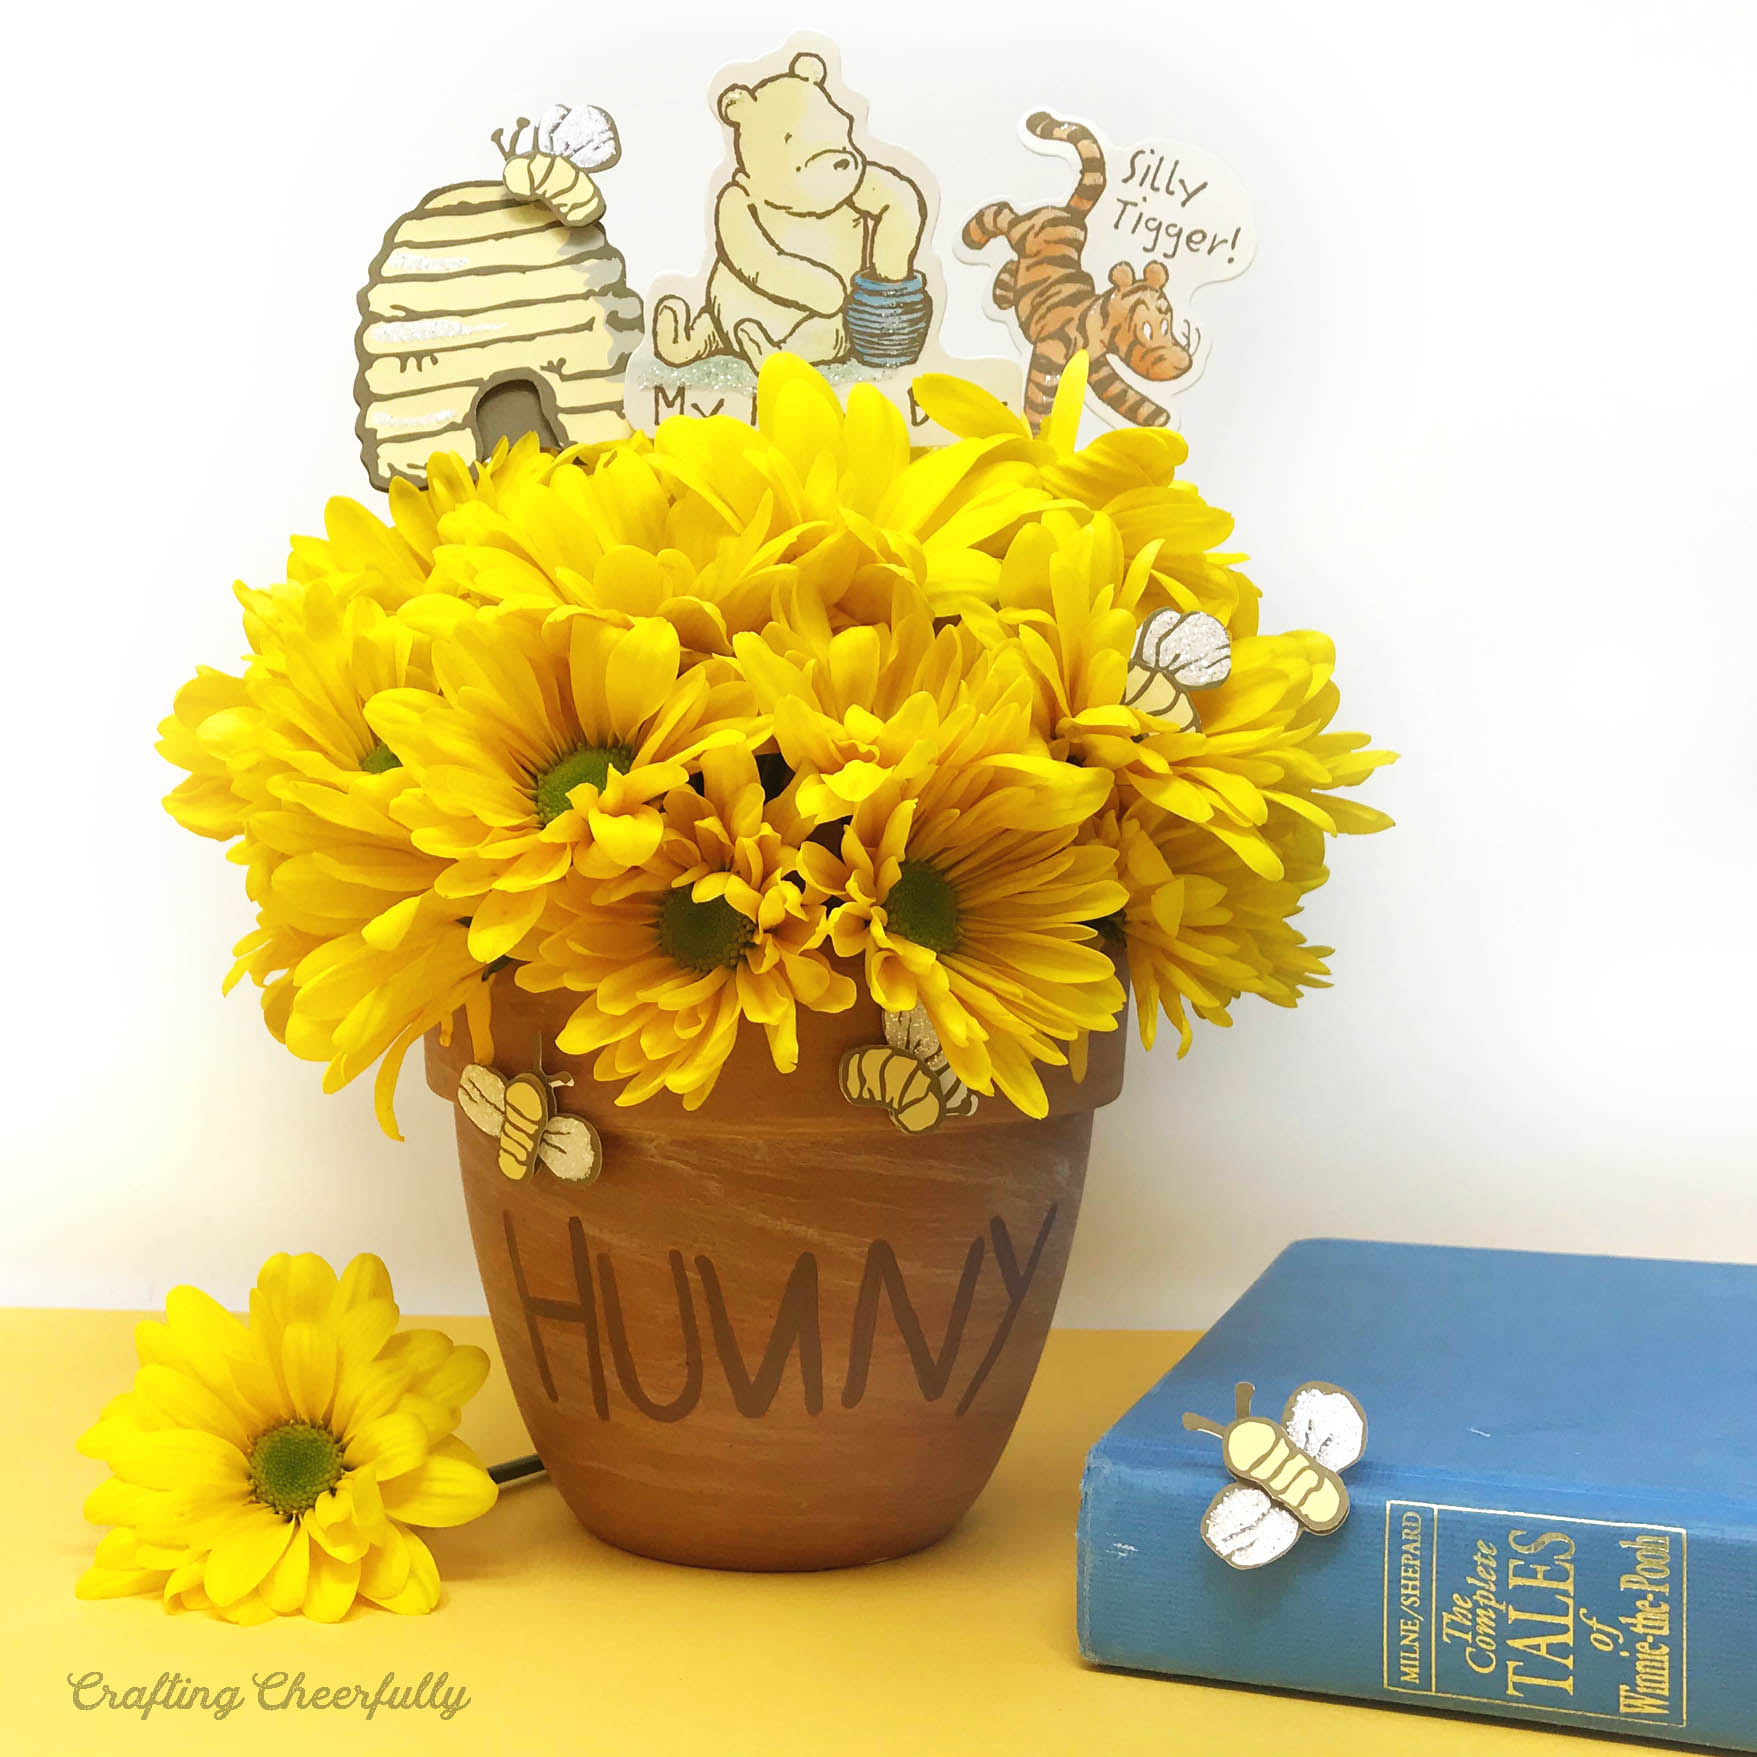
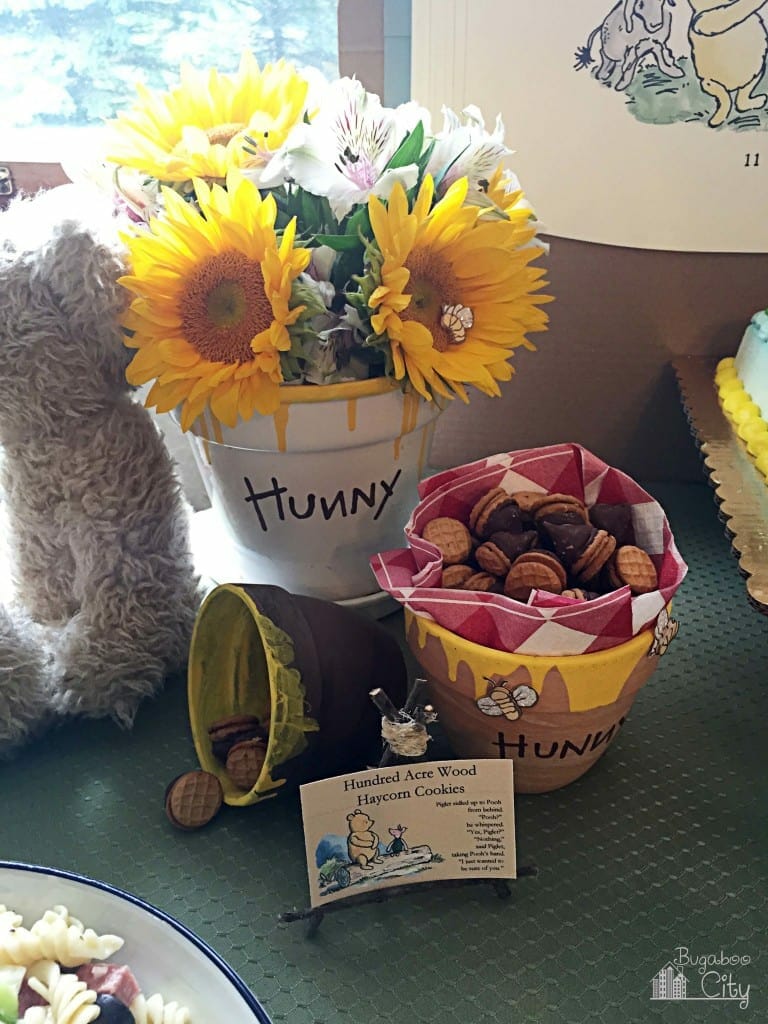
Hello crafty friends! Today I have a fun Winnie the Pooh craft to share with you! Our whole family loves Pooh Bear, and when my son turned two, we celebrated with a Winnie the Pooh birthday party/Baptism party for my youngest. It is such a cute theme for a children’s party with so many ideas on Pinterest for cute food and decorations. I created a bunch of honey pots for the party to put food and flowers in. They were so easy to make, and nothing says Pooh bear like lots and lots of honey!
I recently needed to make another Winnie the Pooh centerpiece and decided to make a honey pot filled with yellow flowers. I added plant stakes decorated with classic Pooh. Below is the tutorial – it’s fun to make and an adorable centerpiece for a Pooh-themed party or as a gift.
I filled my pot with water and used real flowers, but the pot did “sweat” after a while. I had my pot set on a trivet so it was fine. You may want to use fake flowers or a ceramic pot instead of terra cotta to keep a tablecloth or table from getting wet if set directly on it. :)

More Winnie the Pooh-Themed Posts
You can check out all of my Pooh Bear party projects for more fun ideas including some of my favorite below :)
- Honey Pot Slider Card and Invitation
- Winnie the Pooh Banner
- Rabbit’s Garden Vegetable Tray
- Winnie the Pooh Party Details!
How to Make a Honey Pot Centerpiece
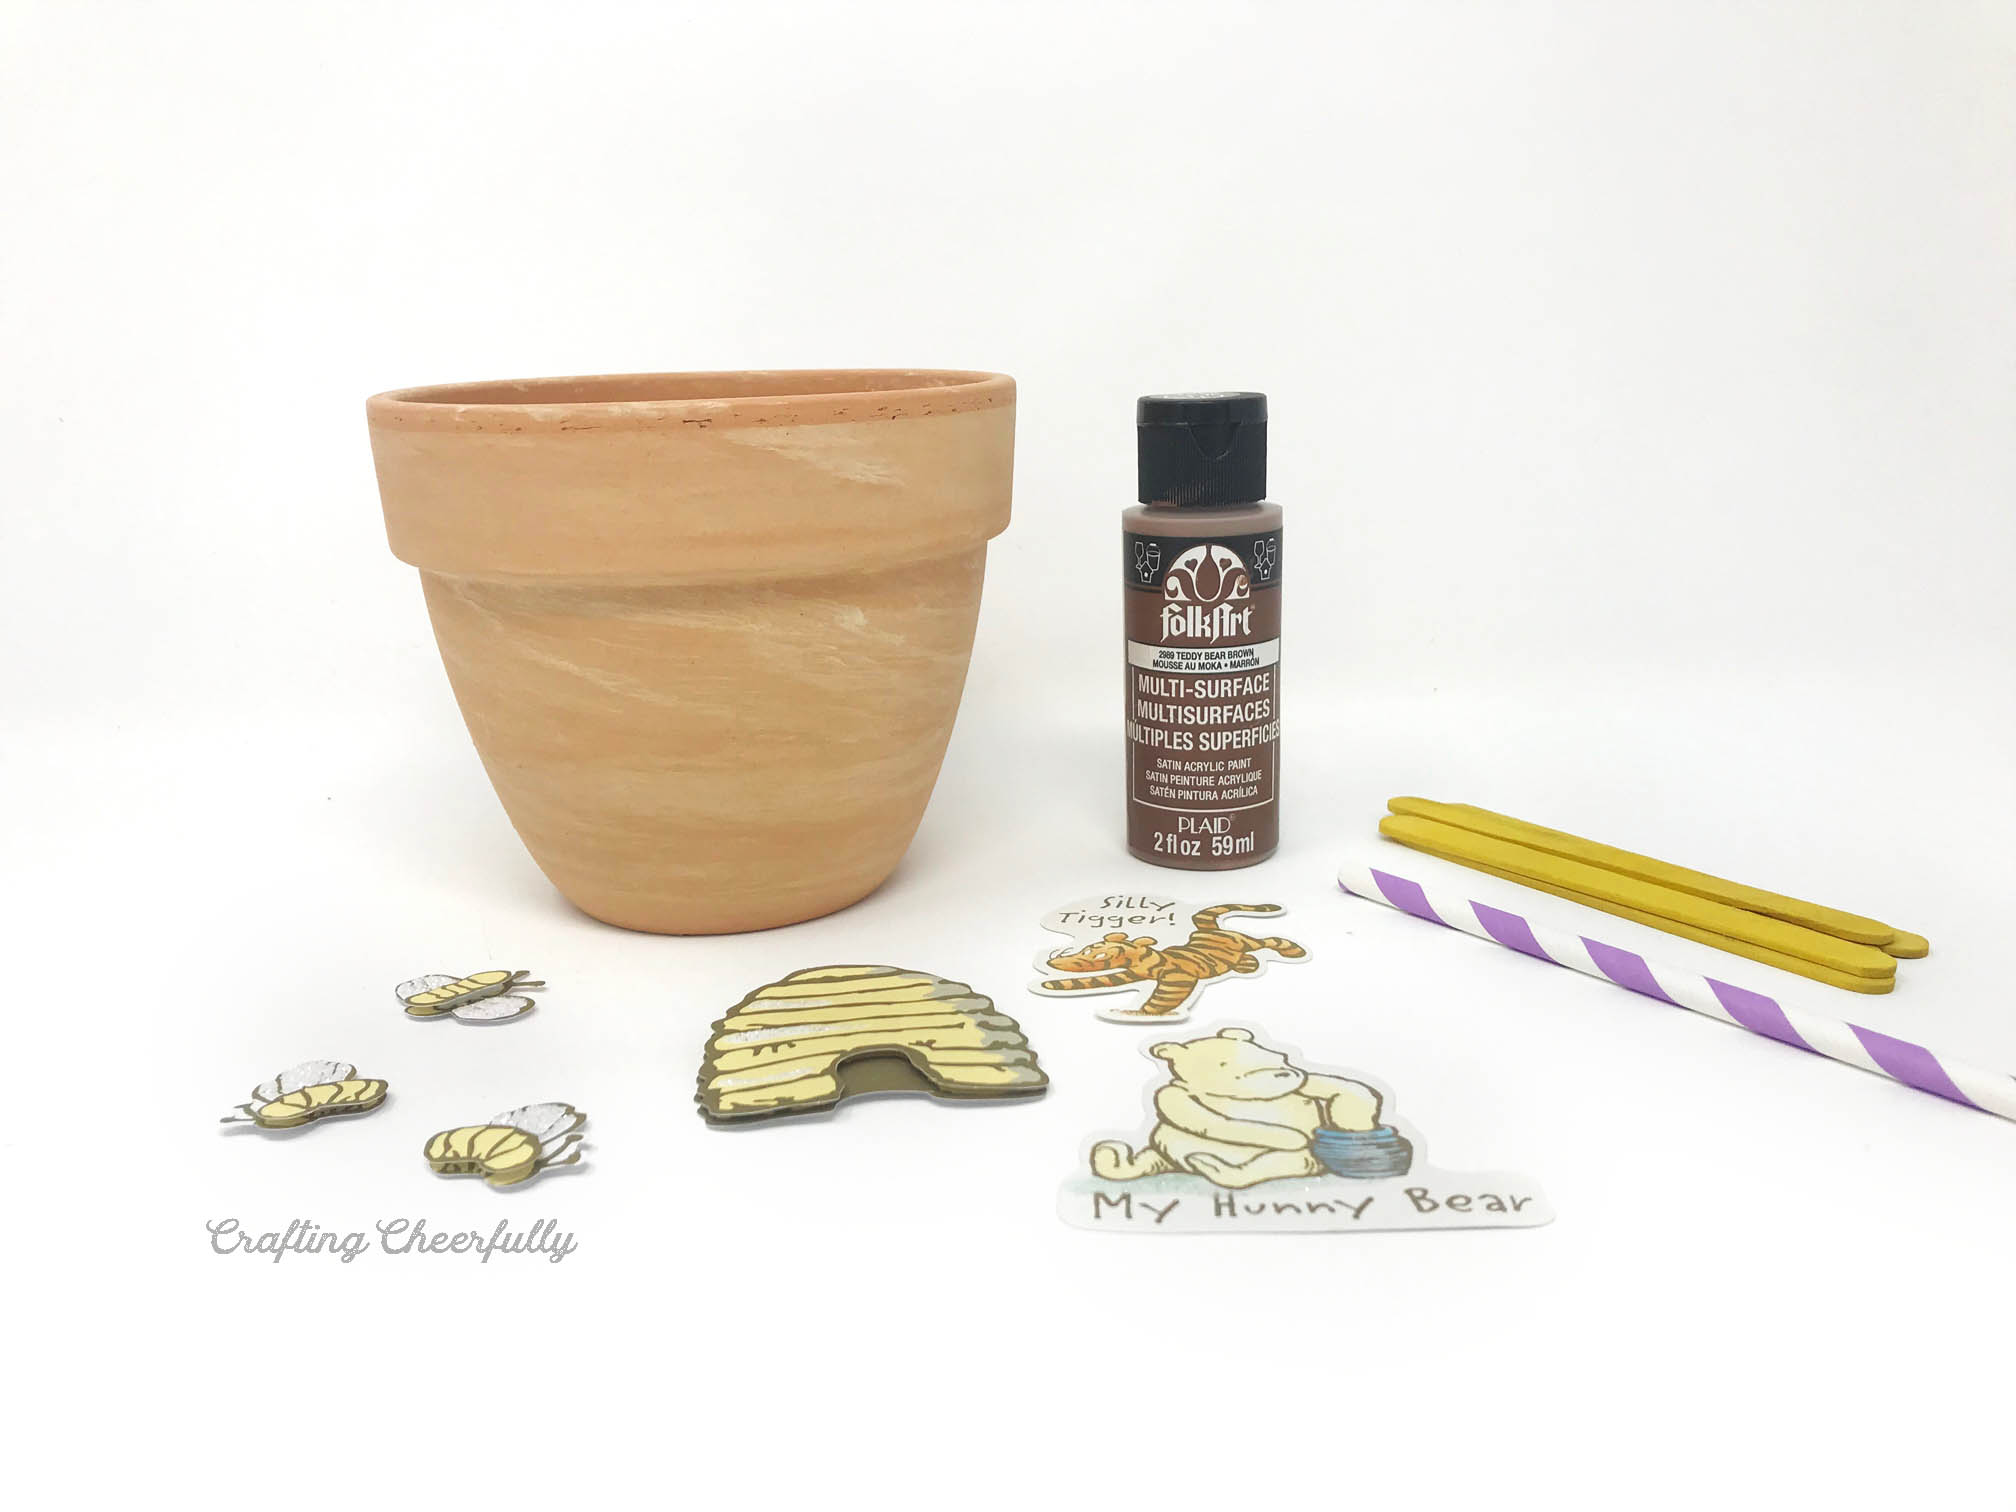
Supplies Needed:
- Pot/vase – I used a terra cotta pot that measured 8″ wide at the top from Joann Fabrics.
- If you use real flowers as I did, set a smaller vase inside the pot to hold the water and flowers. Filling the terra cotta pot with water will cause it to sweat since the terra cotta is porous.
- If you use real flowers as I did, set a smaller vase inside the pot to hold the water and flowers. Filling the terra cotta pot with water will cause it to sweat since the terra cotta is porous.
- Brown acrylic paint – I used FolkArt Acrylic Paint in Teddy Bear Brown
- Yellow acrylic paint – I used DecoArt Acrylic Paint in Bright Yellow
- Popsicle sticks or straws
- Winnie the Pooh Classic Pooh Bees – the bees can also be found at craft stores like Joann Fabrics.
- Winnie the Pooh Die-cut characters – The exact characters I used don’t seem to be available anymore, but these die-cut characters are really similar!
-
Yellow flowers
- Glue
Step by Step Tutorial
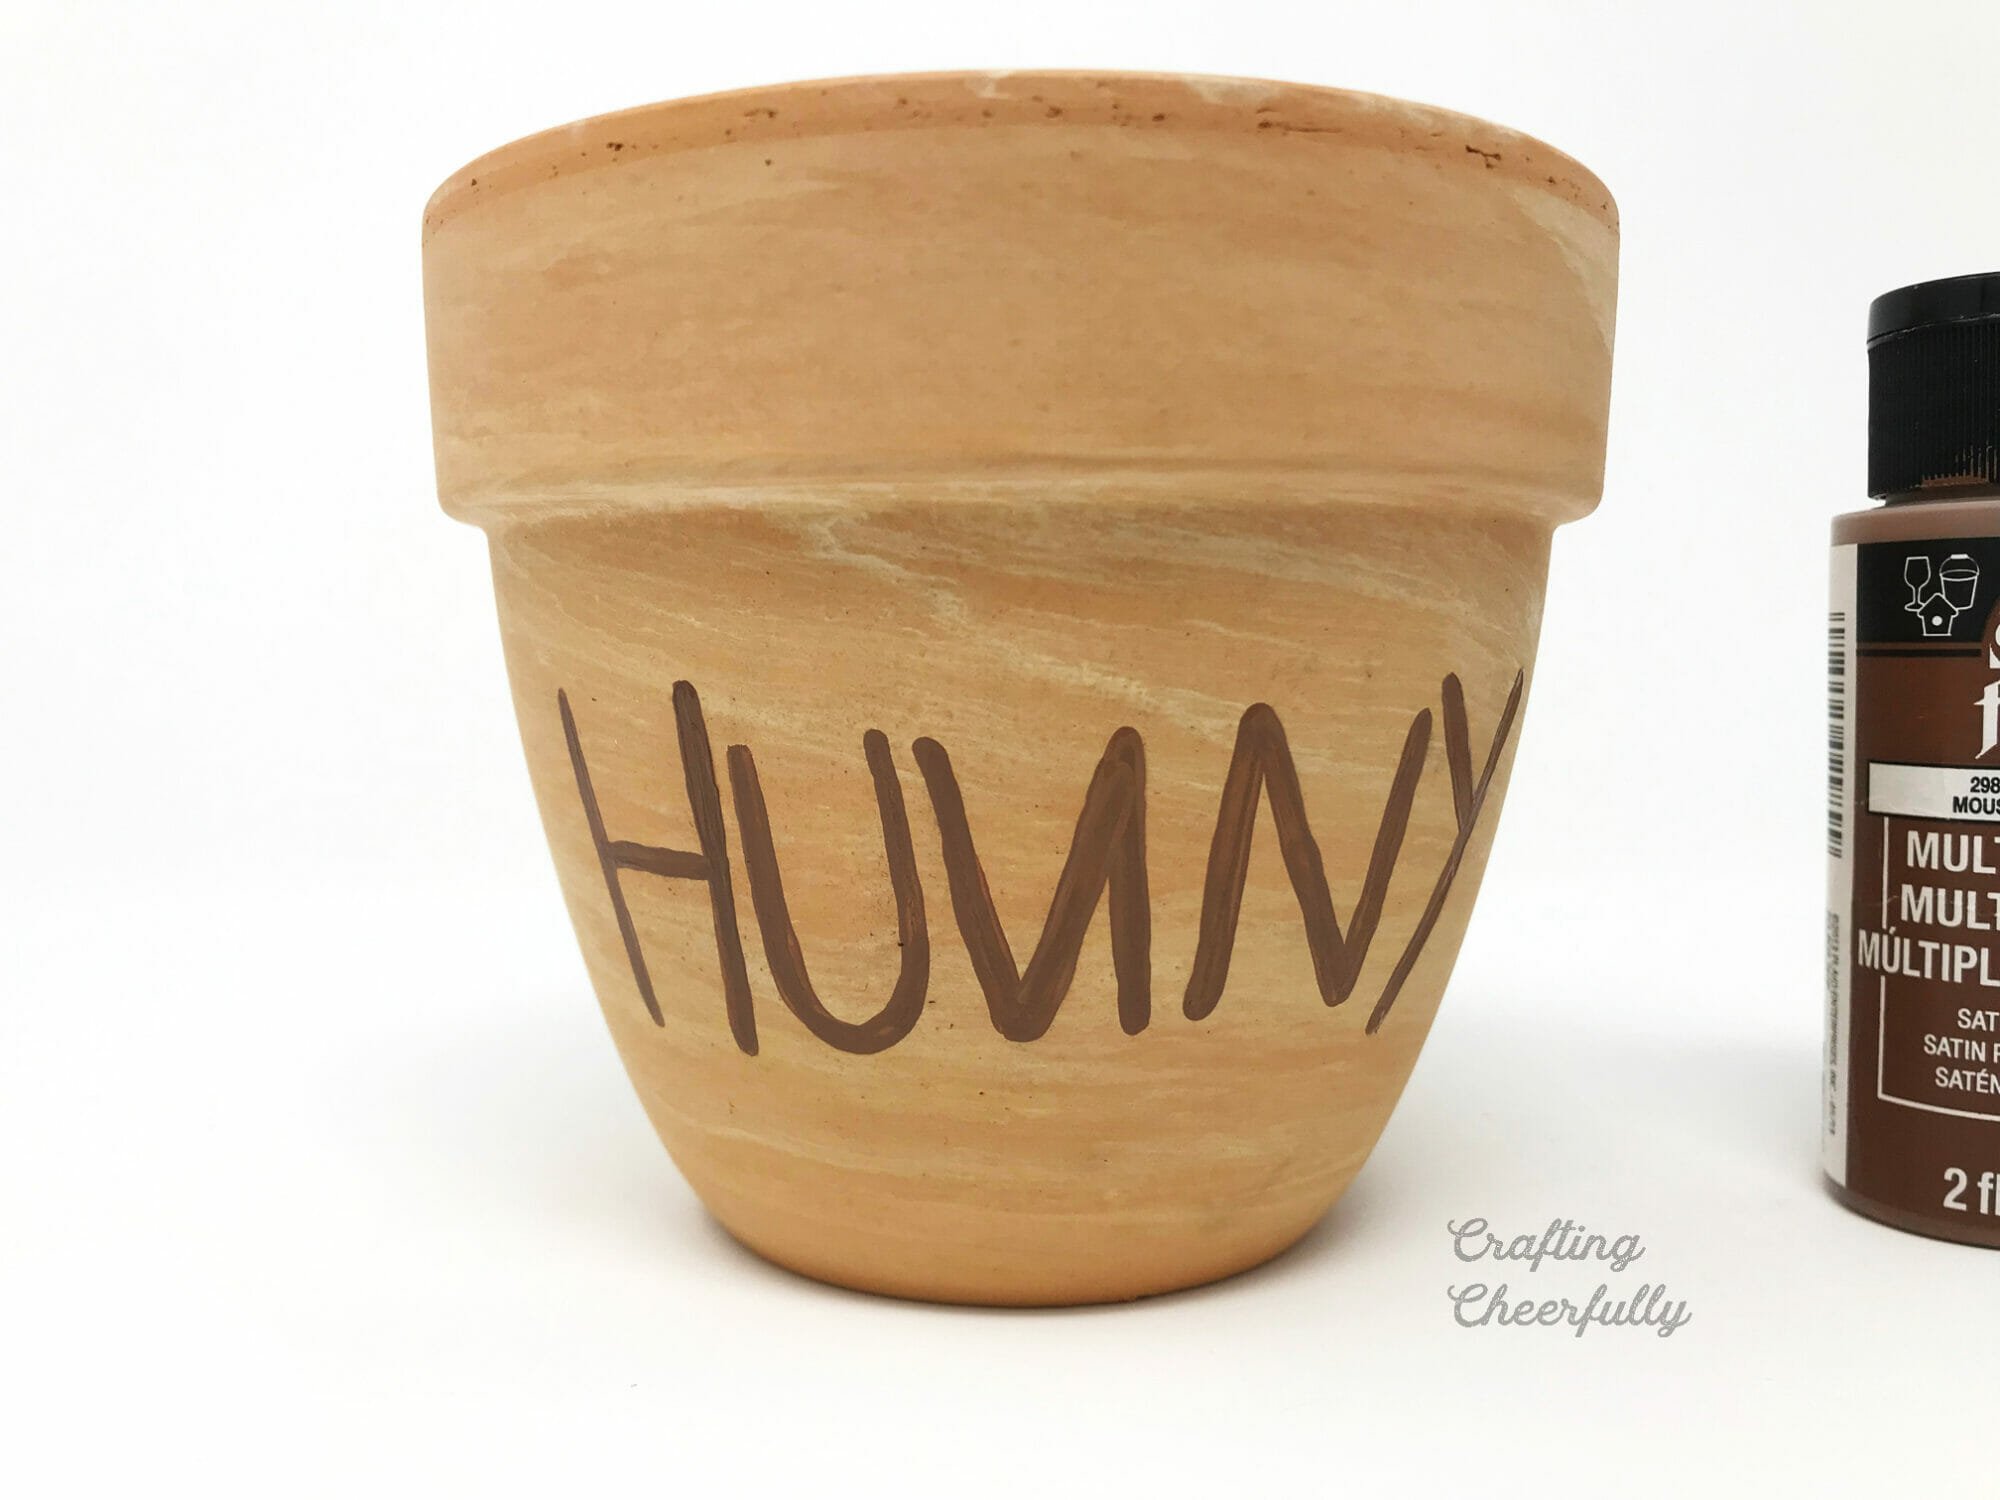
Step One: Paint the word “HUNNY” on the front of the pot.
Using brown acrylic paint, paint the word “HUNNY” on your pot. Make sure to write the first “N” backwards like in the stories and movie. :)
Step Two: Add drips of honey.
Using yellow acrylic paint, add honey drips along the top of the pot all the way around.

Step Three: Create the plant stakes.
I used Classic Pooh scrapbooking embellishments to create my plant stakes. They look so cute popping out of the yellow flowers! I glued a few to the top of yellow Popsicle sticks. You could also glue them to straws or wooden dowels.

I ended up making all of my stakes two Popsicle sticks tall so they would poke out of the top of the flower arrangement.
Step Four: Fill your pot yellow flowers to look like honey.
I noted above that the terra cotta pot will sweat when filled with water. If you’d like to use real flowers, just set a smaller vase inside the pot to hold the water and flowers or use a different type of pot like a ceramic or glass post. If using fake flowers, no need to worry!
After arranging your flowers in the vase, stick the plant stakes into the center of the flower arrangement. I had to play around and find spots where they would stand up straight.
Step Five: Add tiny paper bees all over!
The little bees are my favorite part! I used them on my honey pot slider card and just love how sweet they are! They come with a little foam sticker on the back so they are ready to be added to anything!

The Winnie the Pooh honey pot centerpiece is finished! It turned out so cute I wanted to make more than one! I have used these Classic Pooh paper embellishments for so many things and definitely recommend them. I hope you enjoyed this quick Winnie the Pooh craft – you can view all of my Winnie the Pooh crafts for more fun ideas!





One Comment