Printable LEGO Pencil Valentines
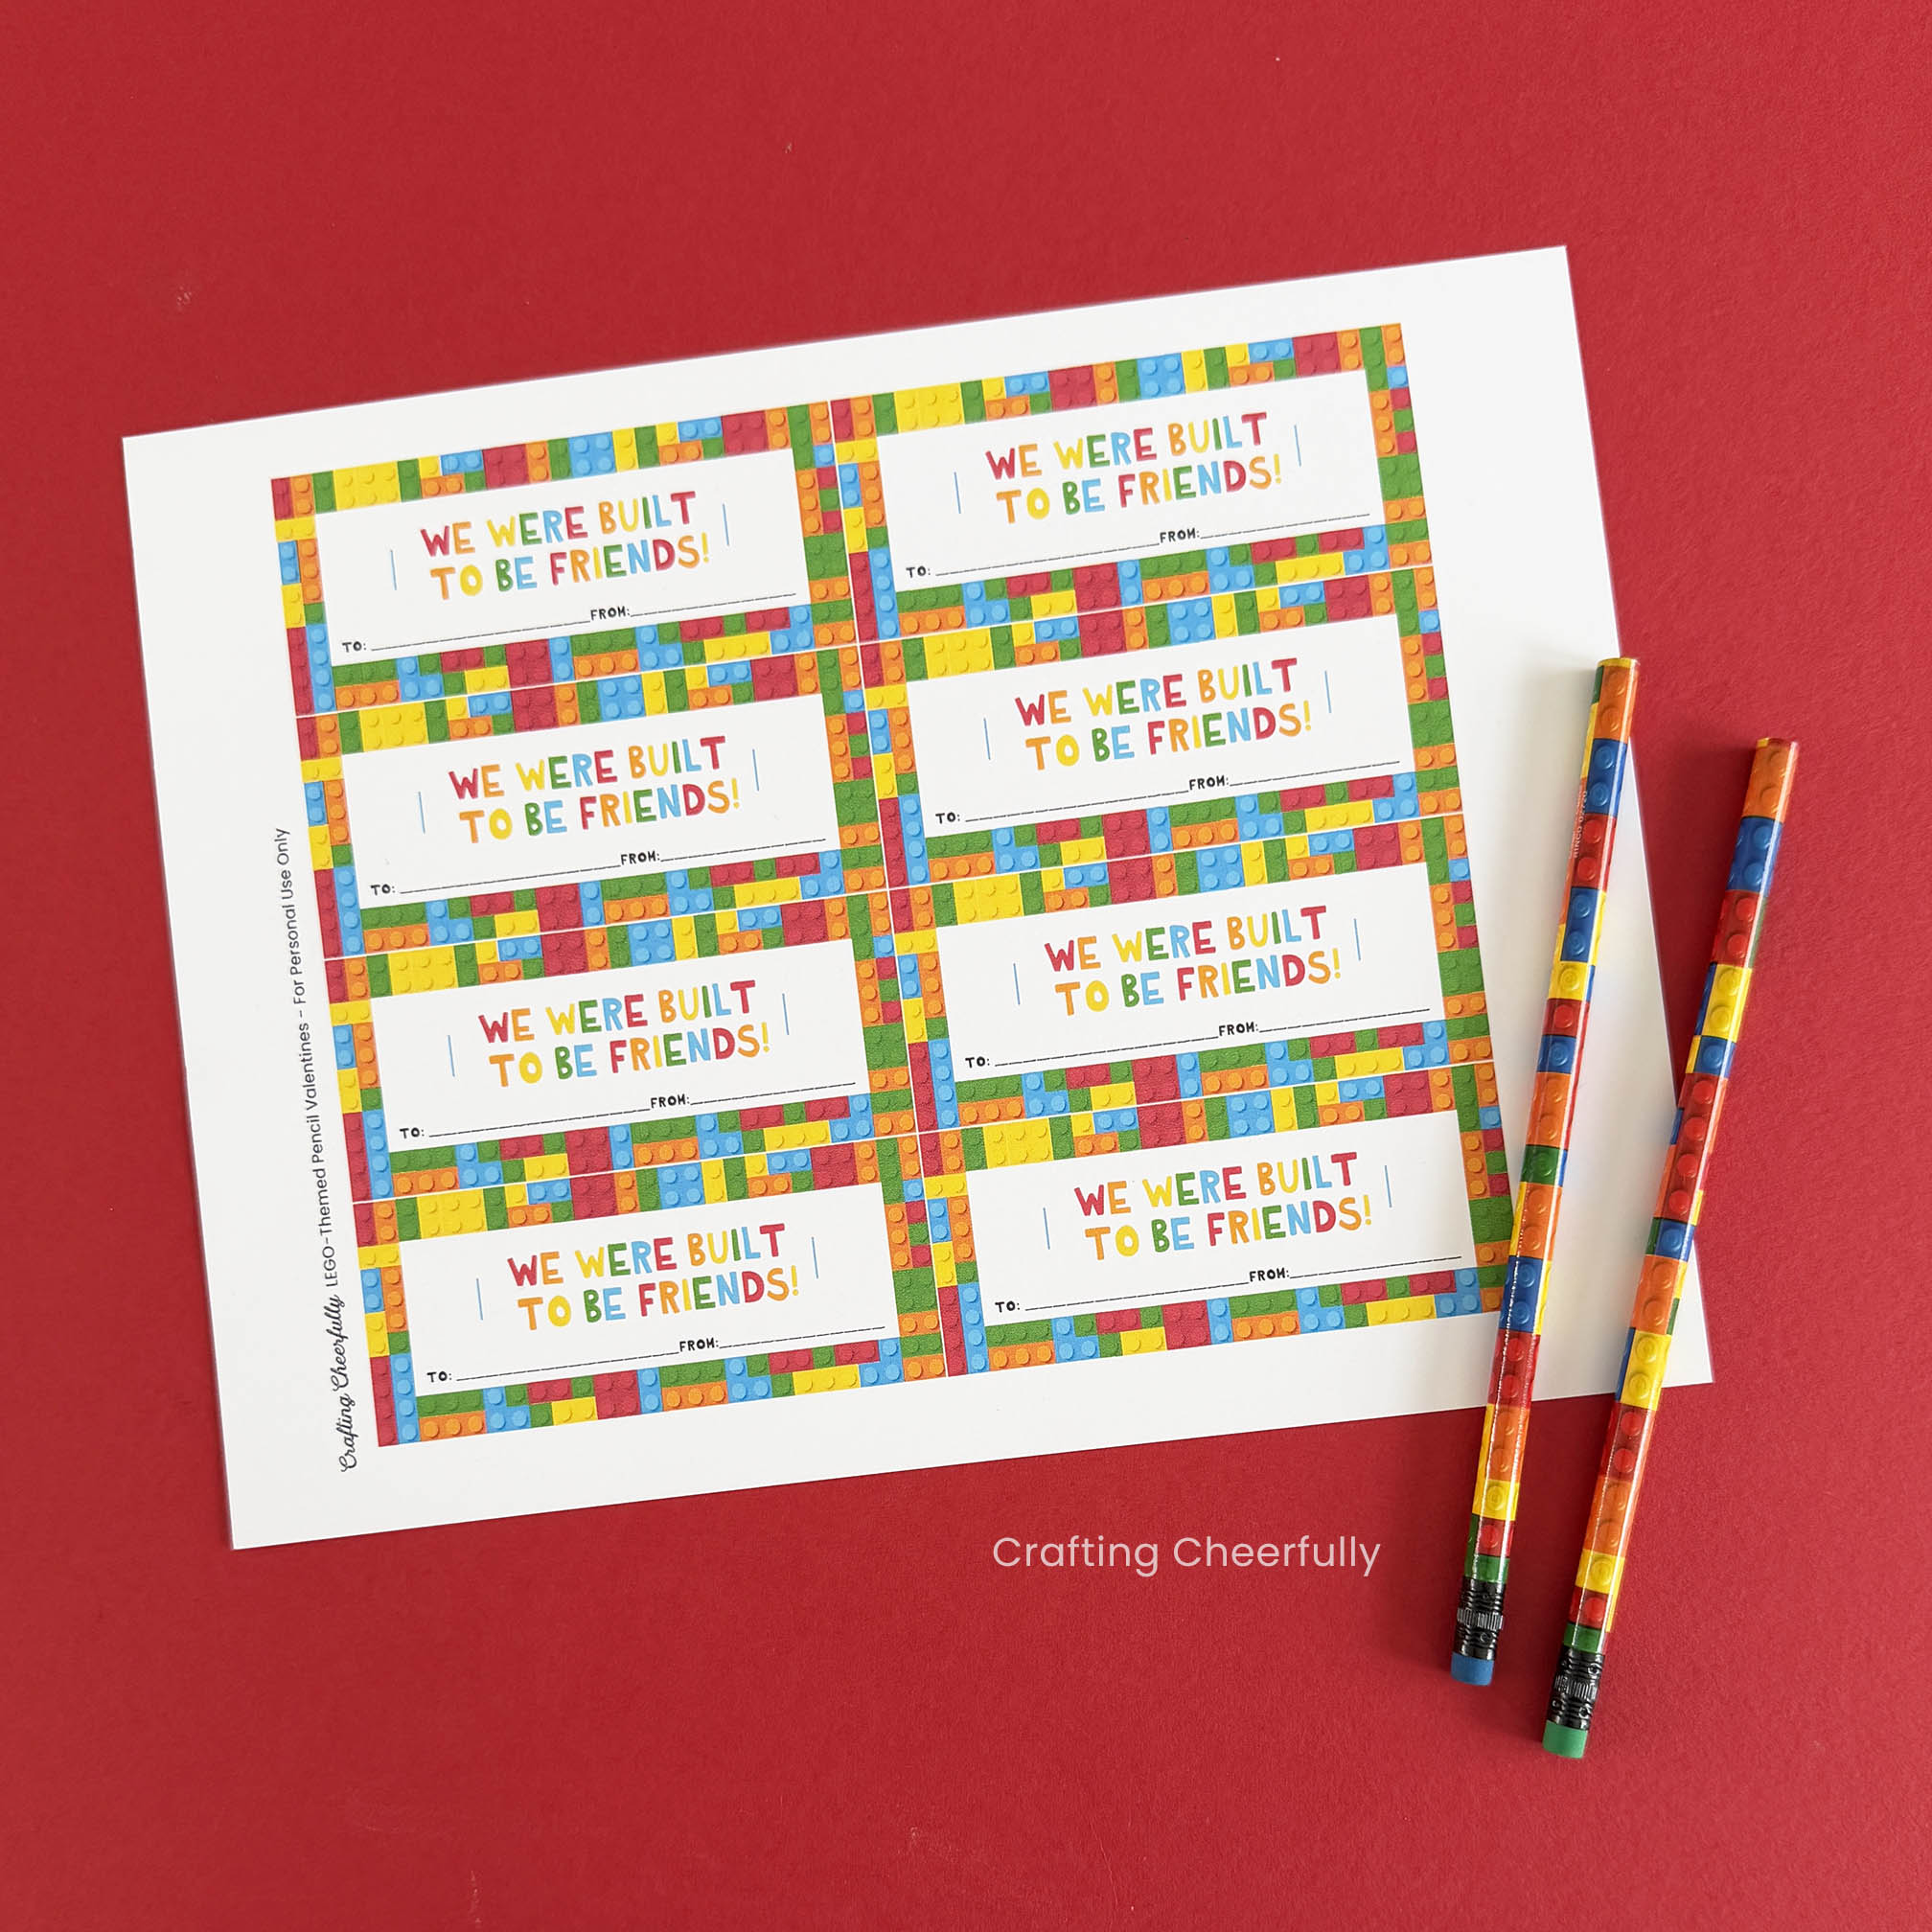
Create LEGO-themed classroom valentines! These free printable valentines are designed to slide over a LEGO-themed pencil for a cute valentine gift!
Hello Crafty Friends! It’s that time of year – time for a new, cute classroom valentine! My kids have always loved Valentine’s Day at school. It’s so much fun choosing valentines for your classmates and creating a fun box to collect them. These LEGO-themed valentines are quick to print and easy to make!
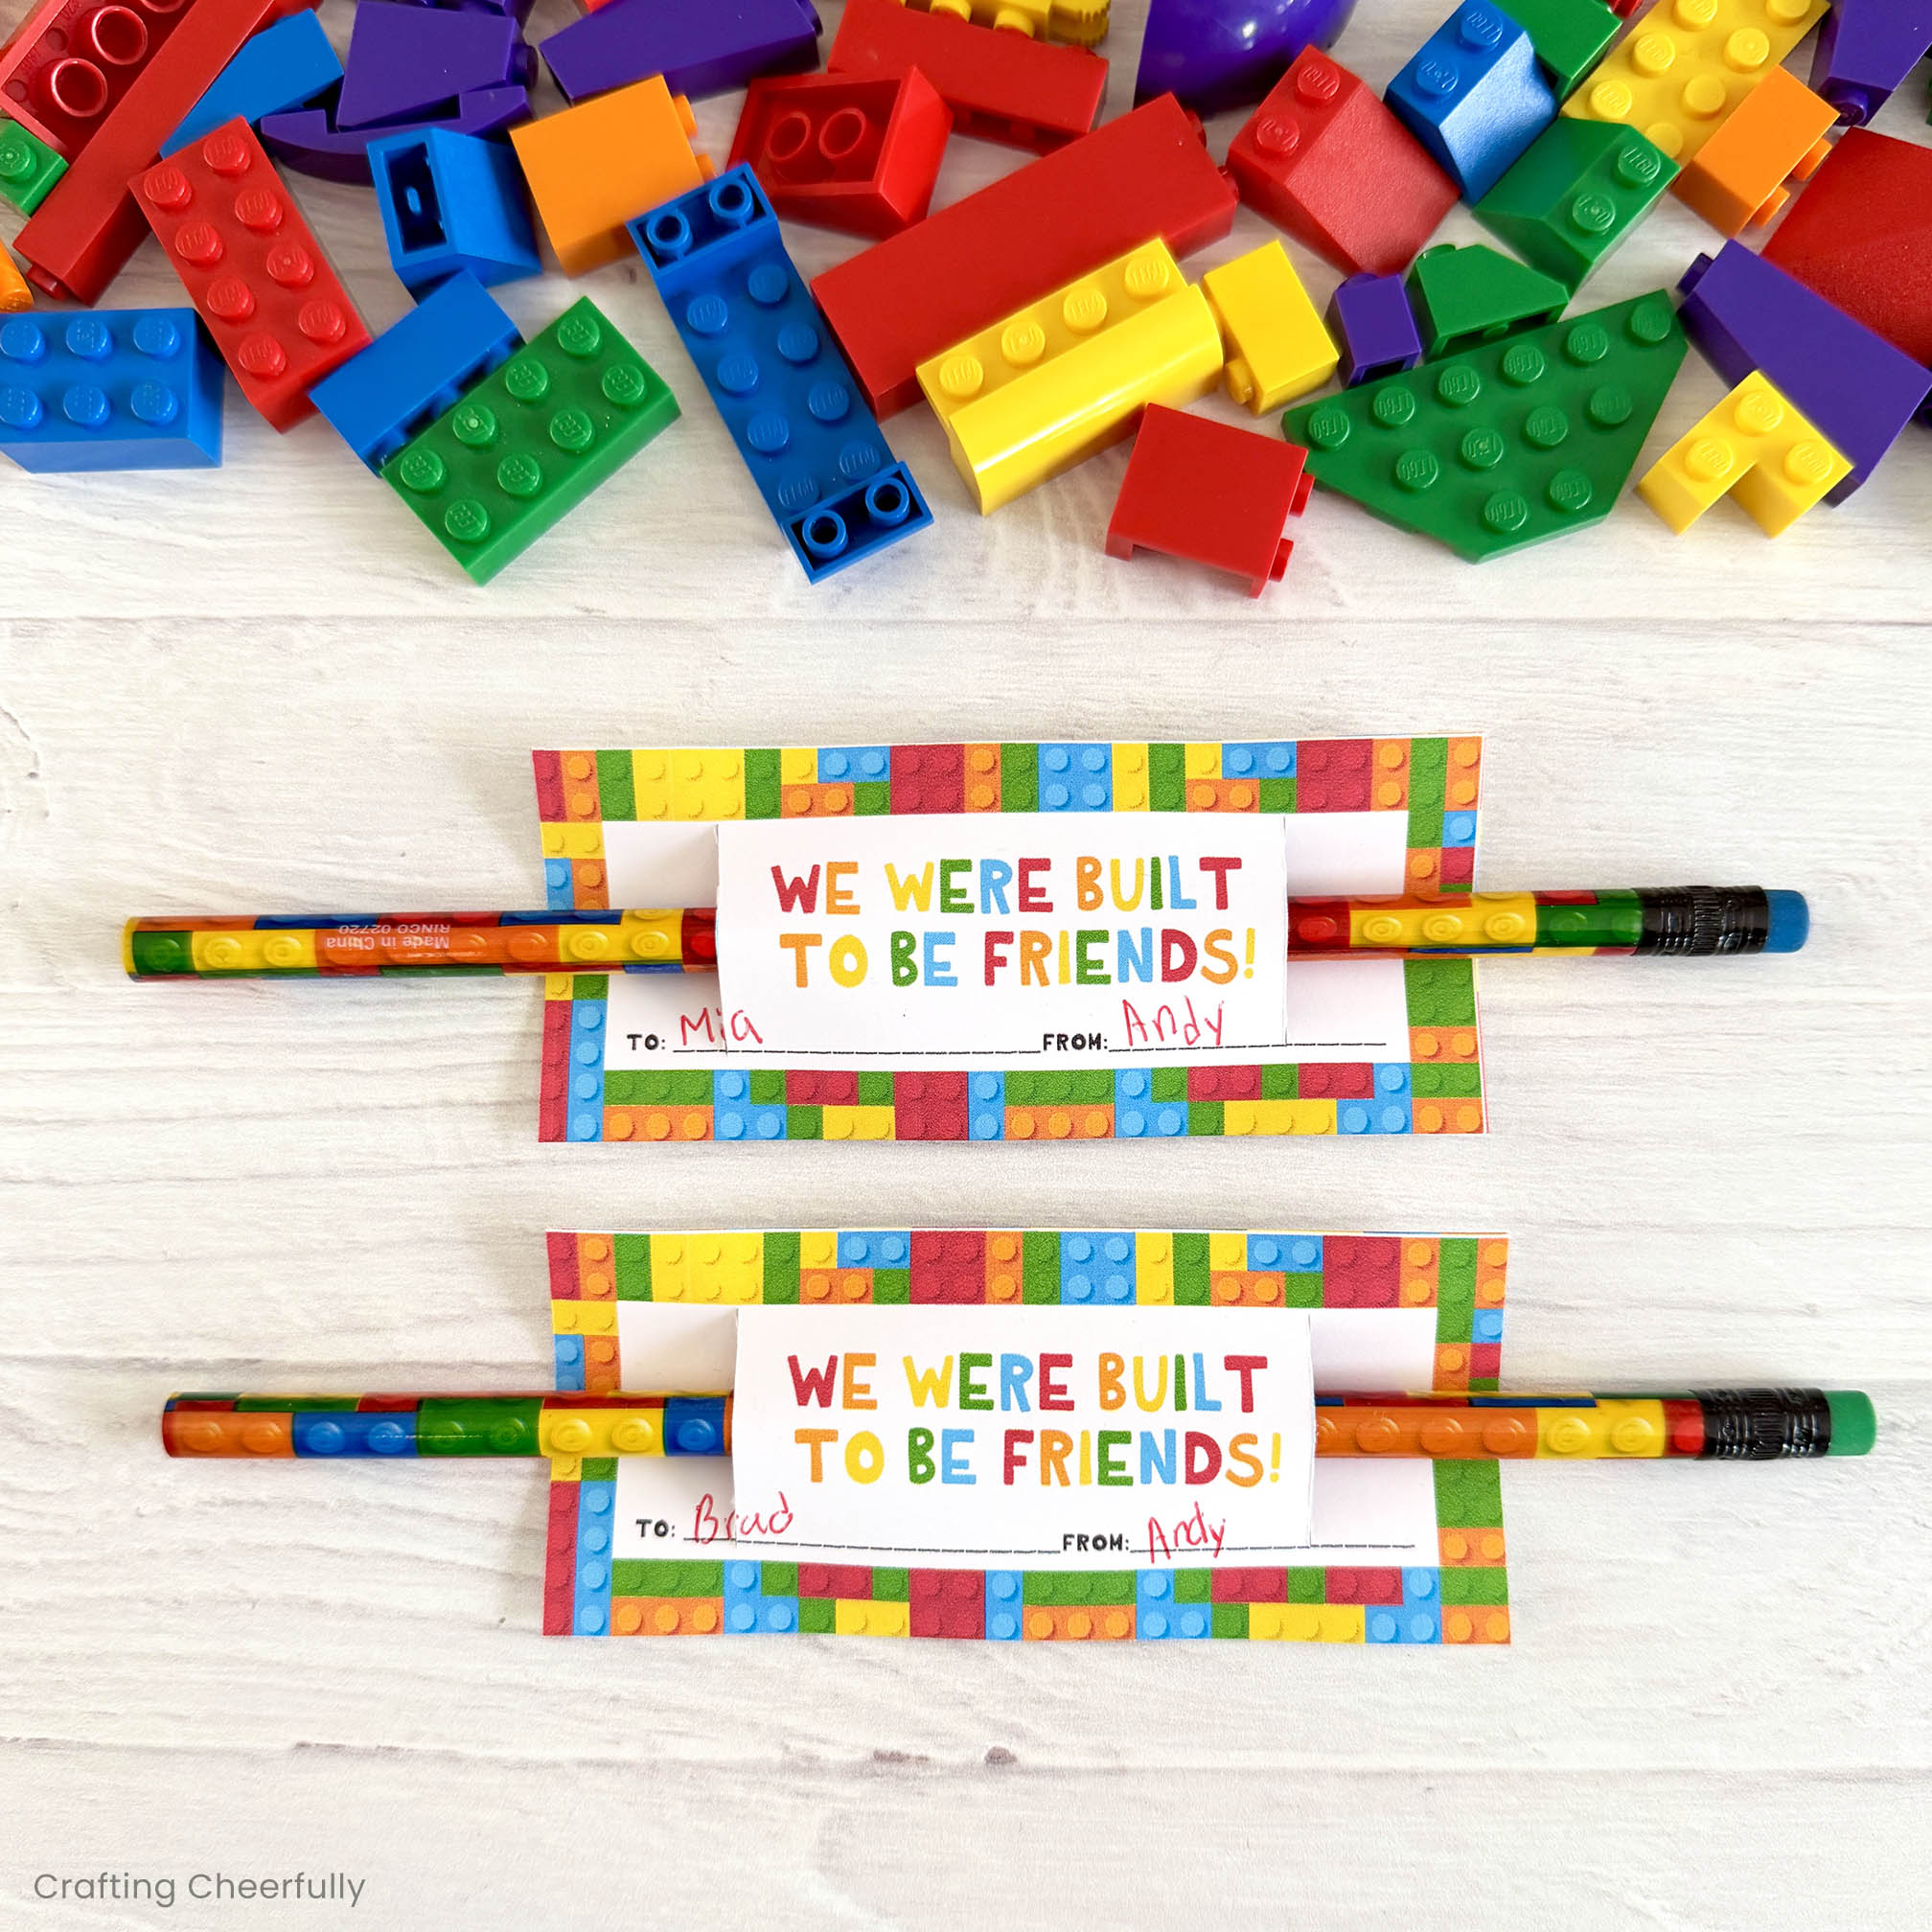
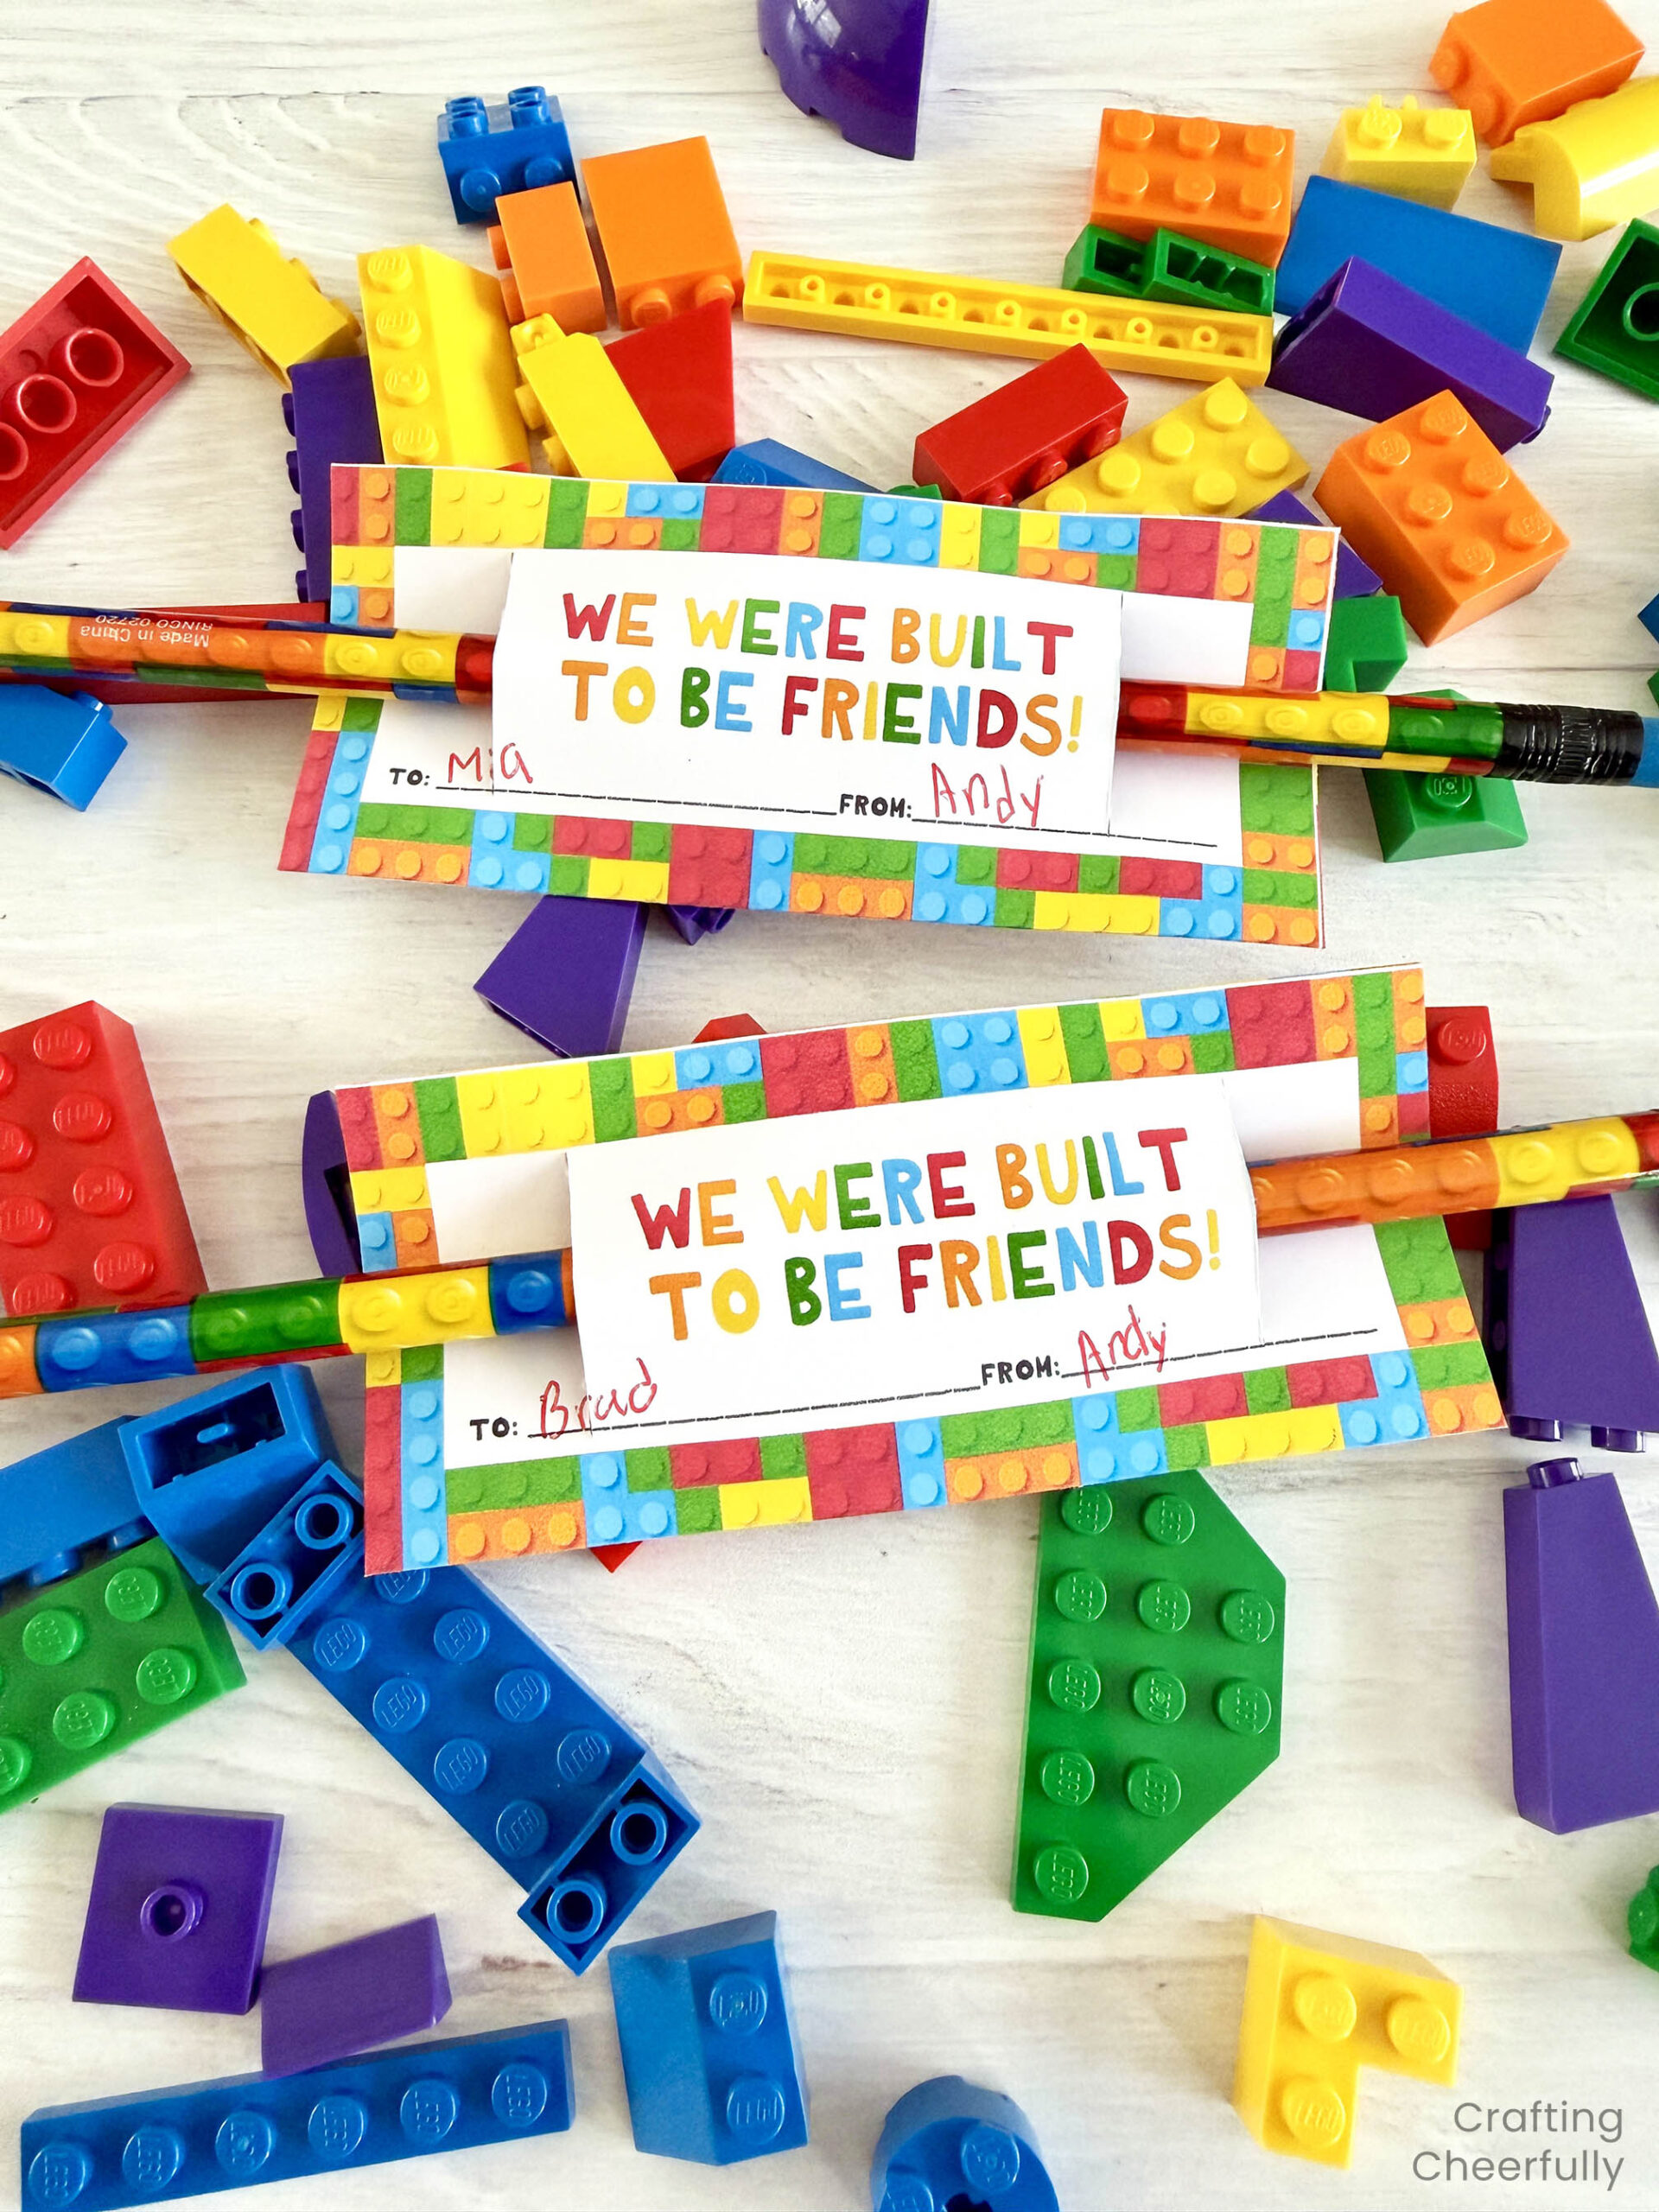
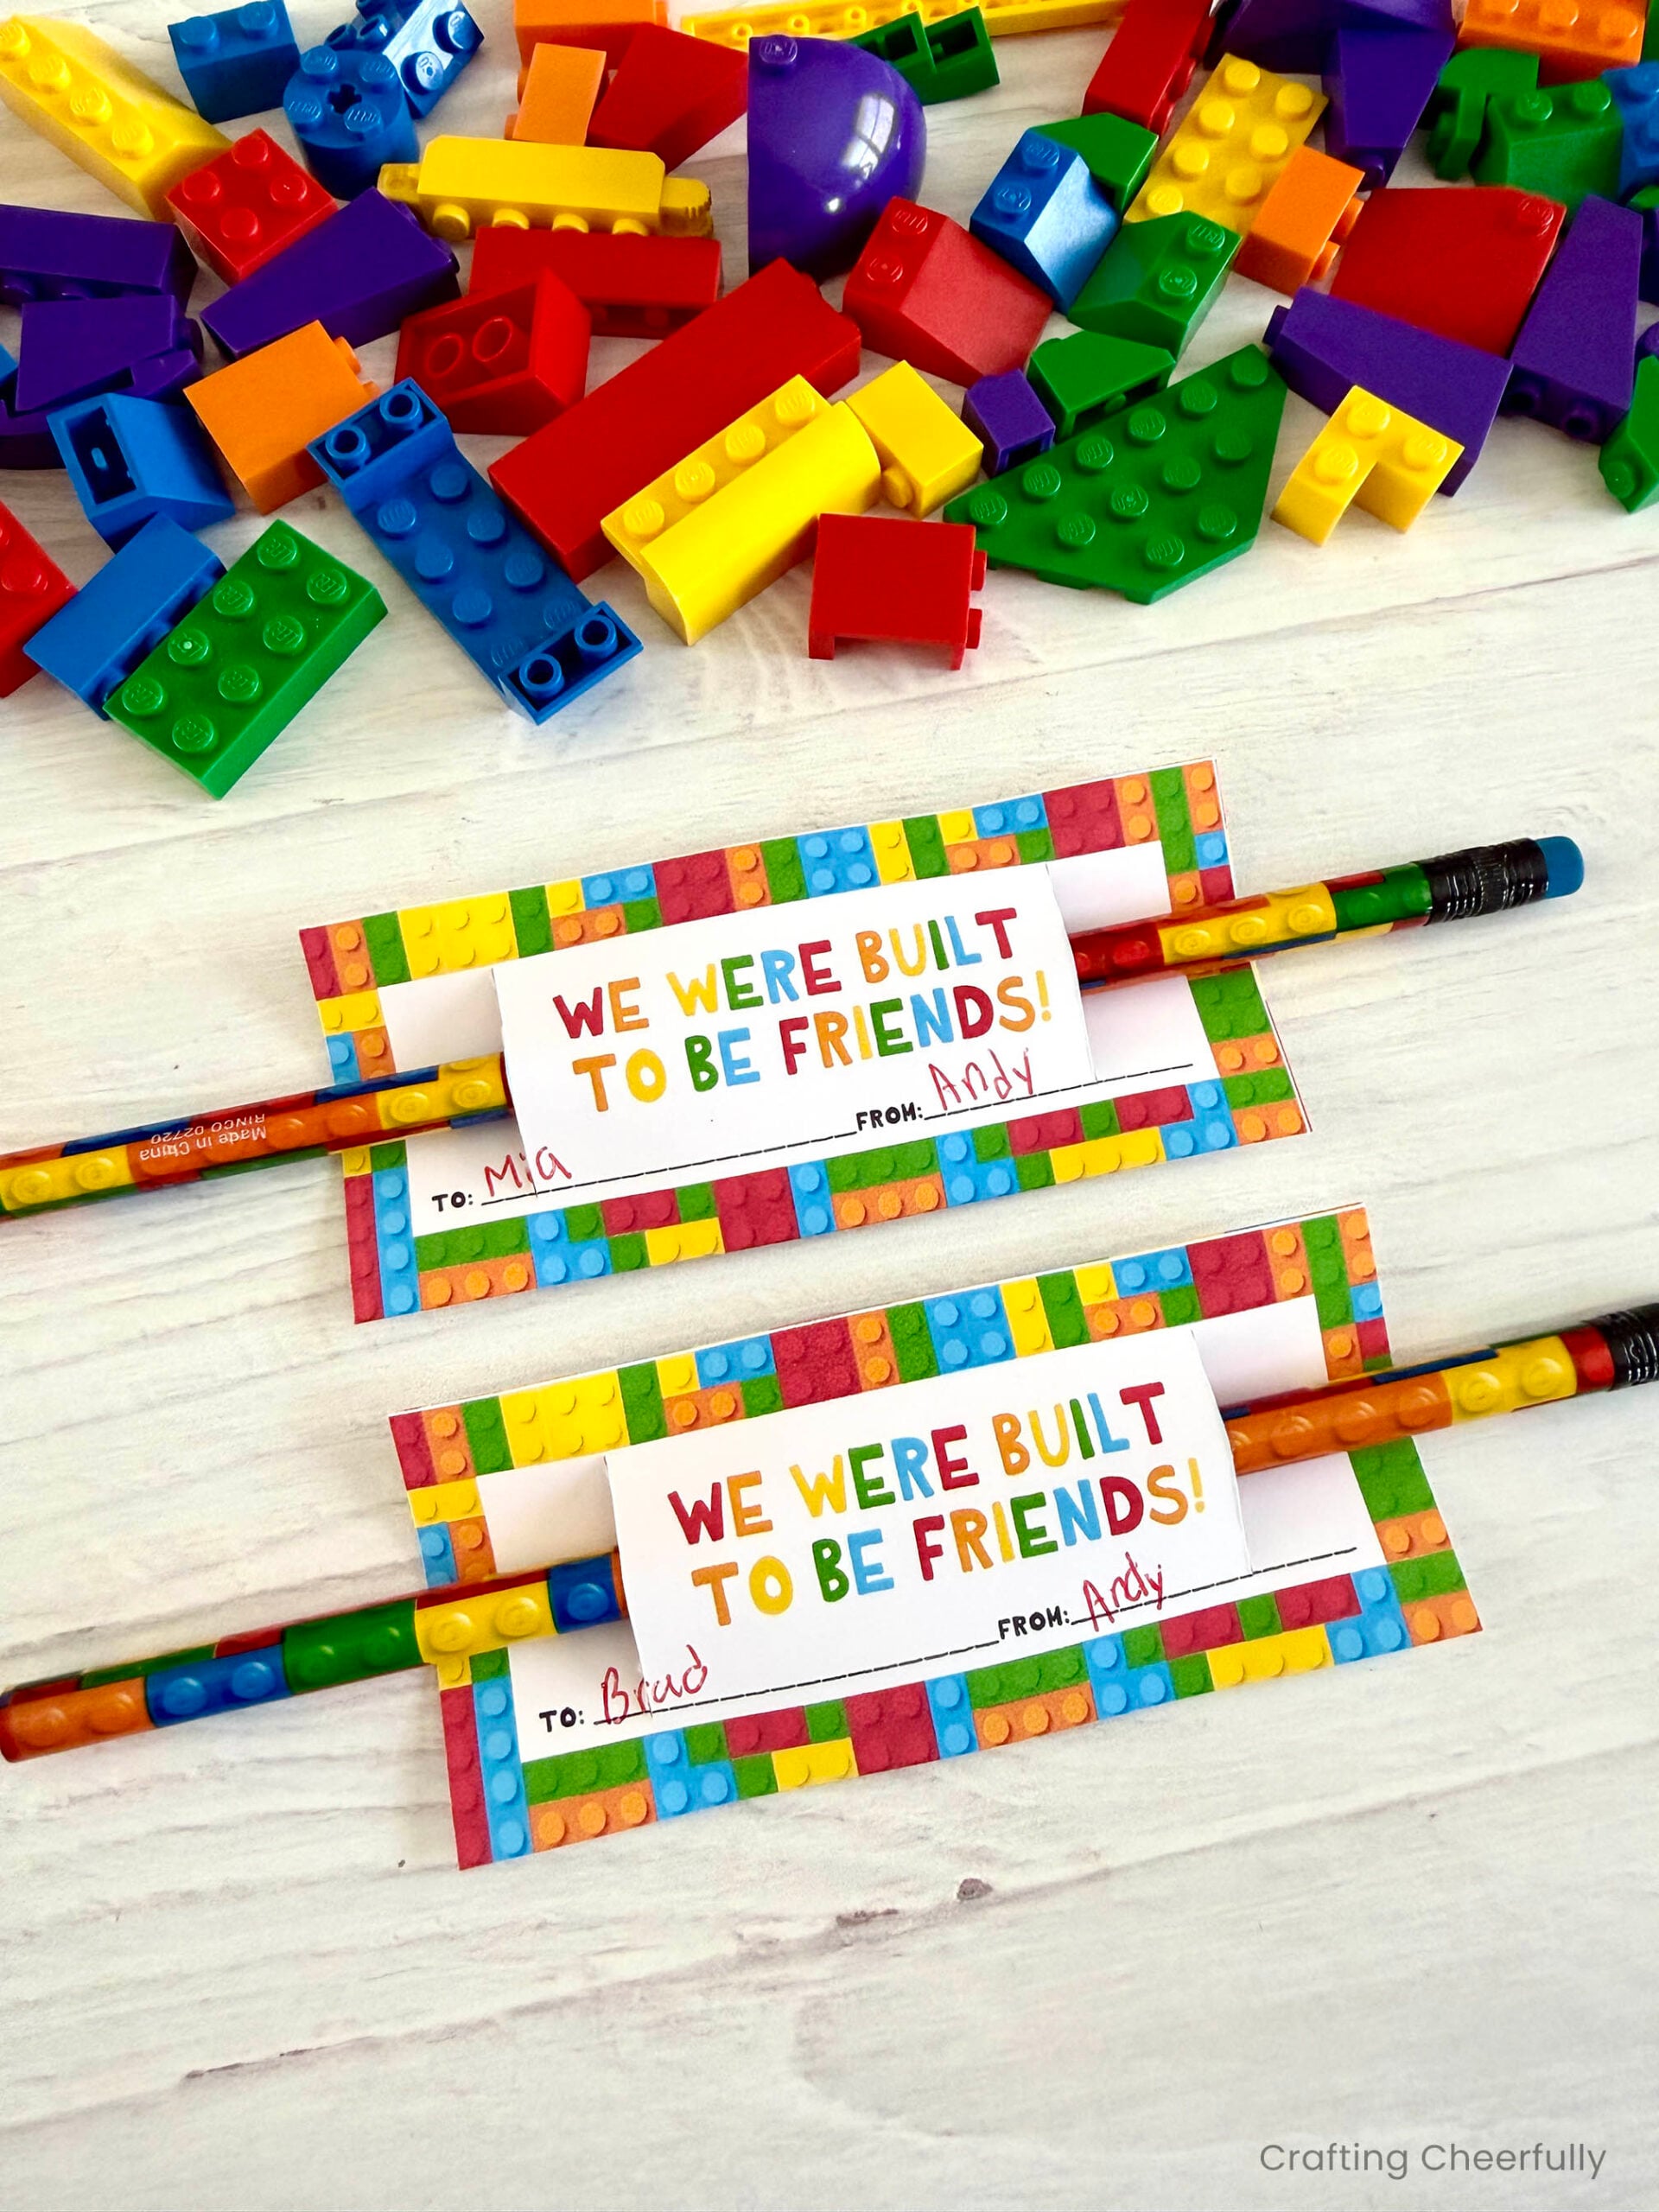
When my son was younger he wanted to hand out valentines that were LEGO-themed, but giving out actual LEGO bricks can get a bit expensive. We decided to switch it up and give out LEGO-themed pencils we found on Amazon. To fit the pencils, I designed a valentine that can slide on the pencil with room for my son to write who the valentine is for and who it is from.
Below are the supplies needed to make these valentines and the quick step-by-step tutorial for making them – don’t worry – it’s simple!
LEGO Pencil Valentines
Supplies Needed:
- Printable valentines – grab the freebie by filling out the purple form towards the end of this post
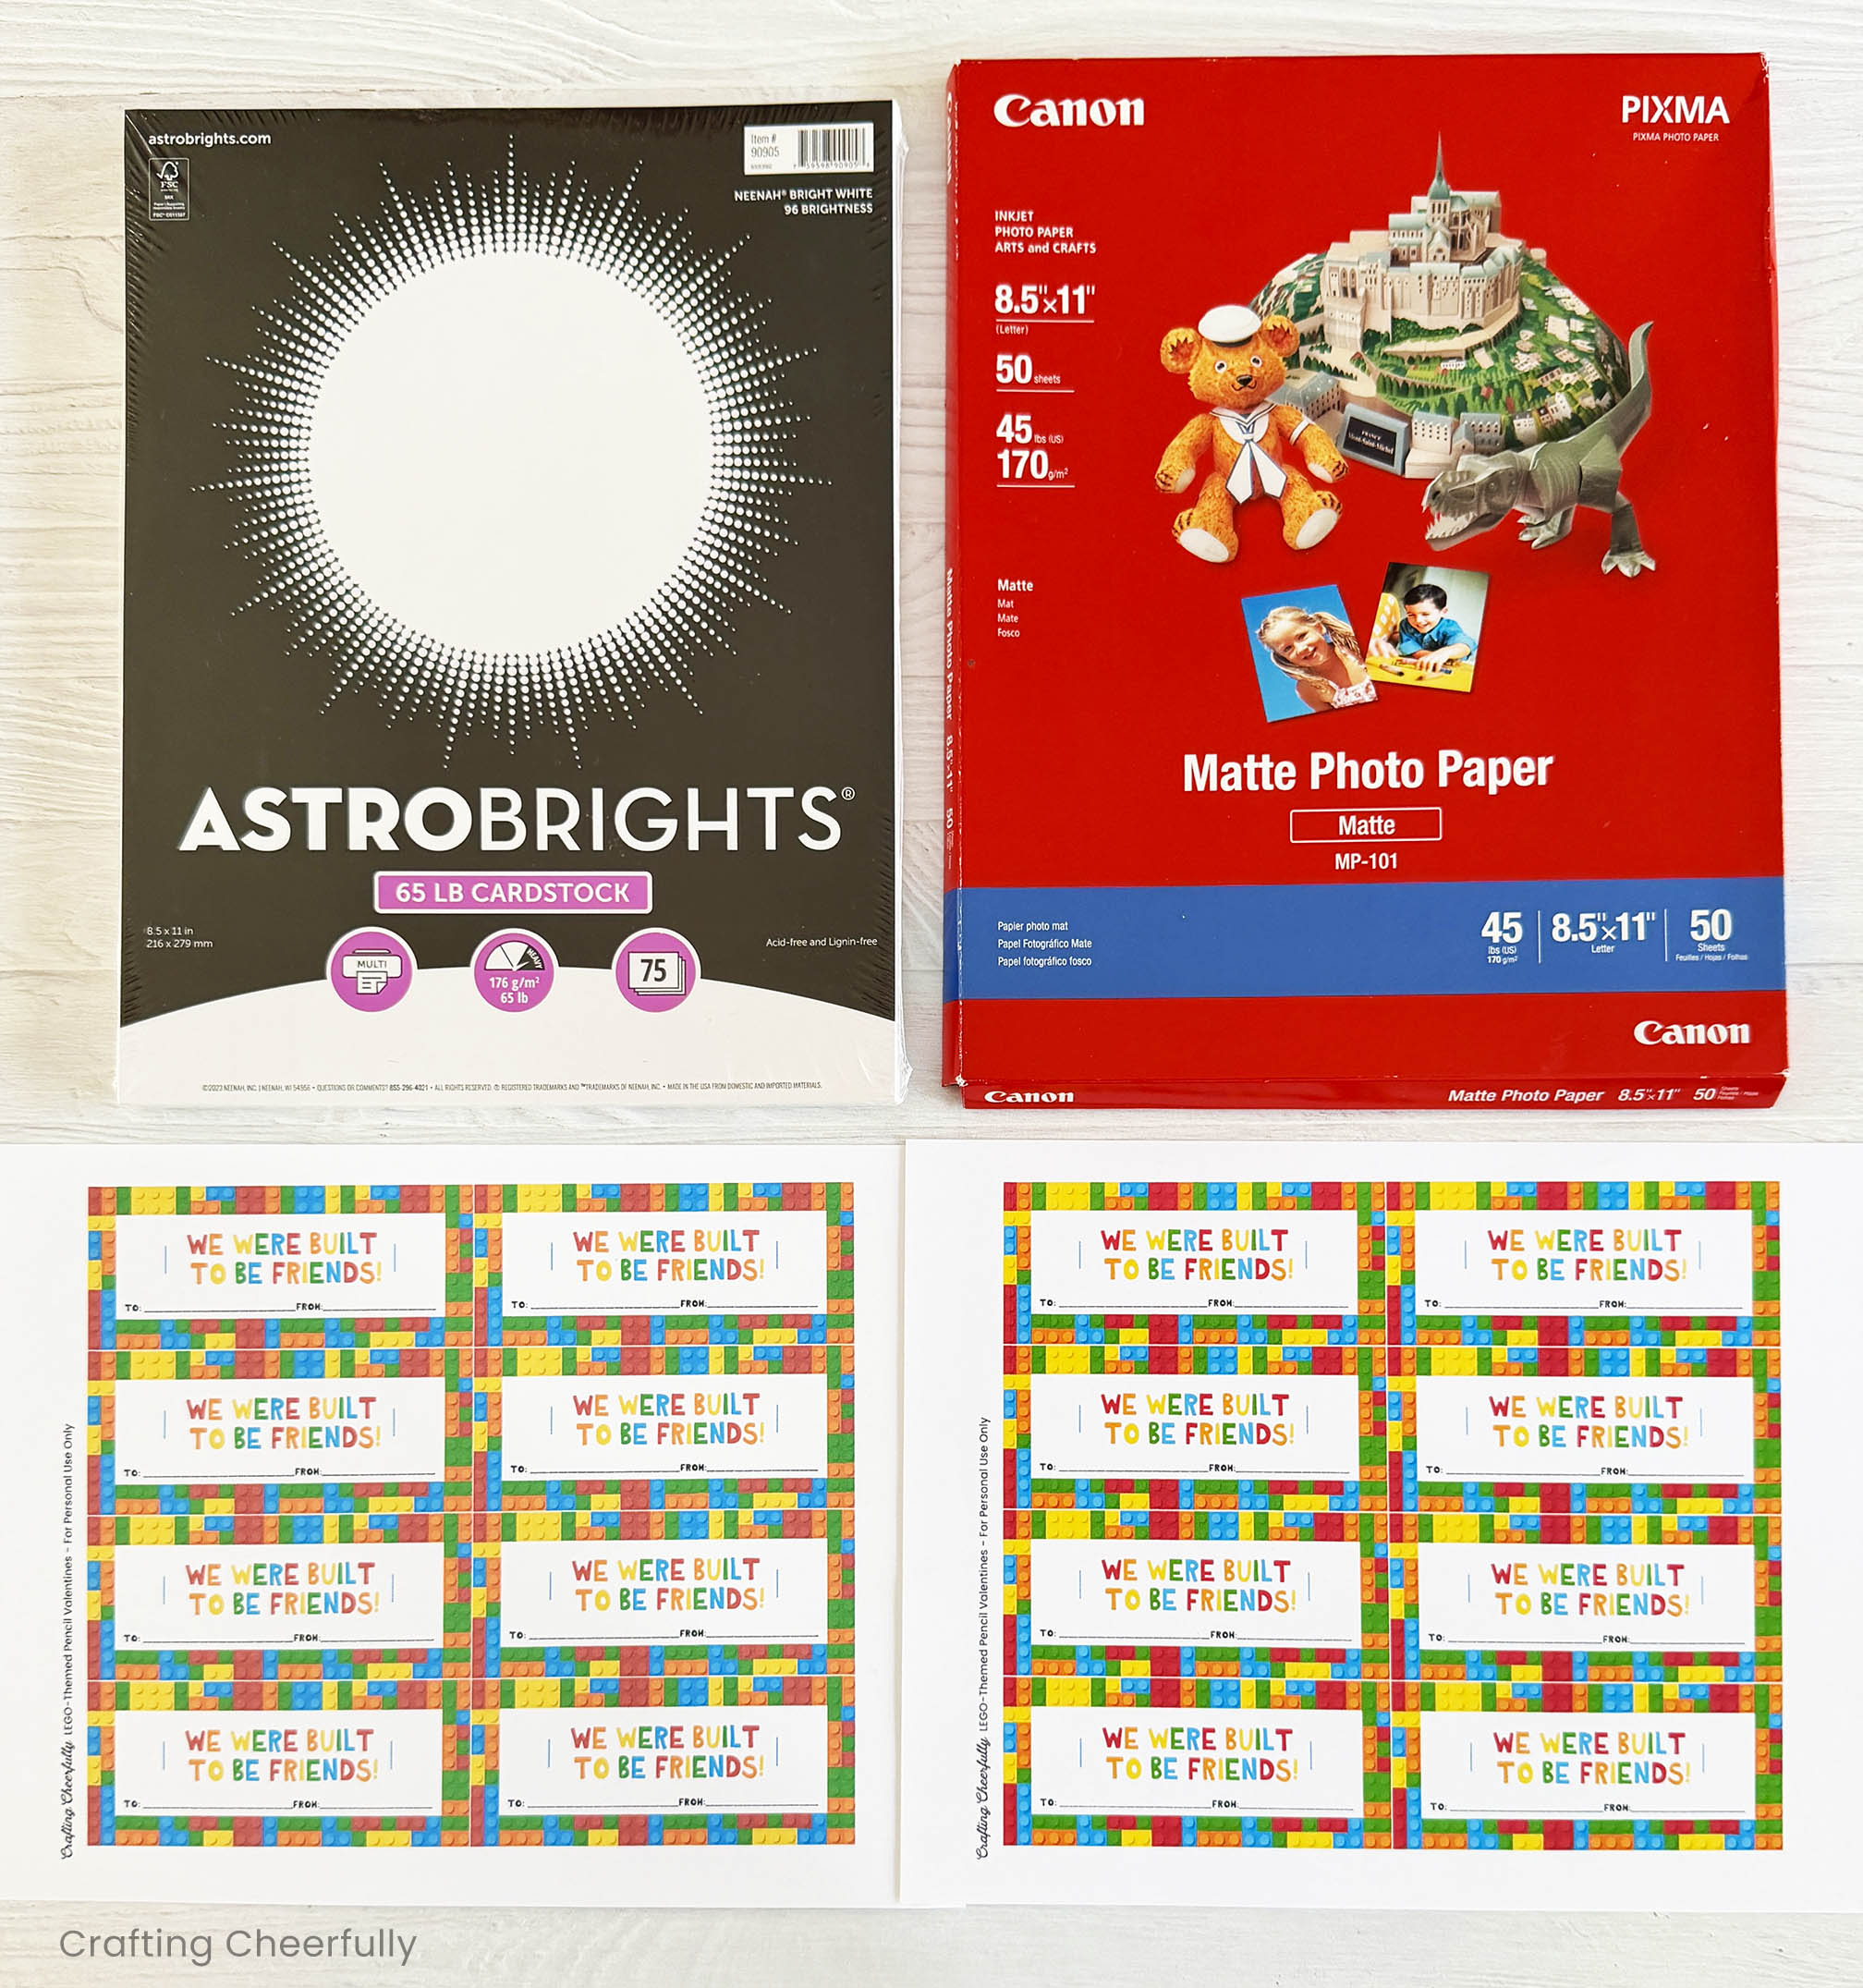
- White cardstock or white photo paper (I used the white photo paper, see below for more details)
- Scissors or paper trimmer
- Craft knife and self-healing mat
- Lego-themed pencils – these Lego Push Pencils would work too!
Step One: Start by printing the valentine’s on white cardstock. I did a little test between my usual go-to paper, Astrobrites Bright White, and a new paper I just started using, Canon Matte Photo Paper. You can see in the picture below, the print on the Canon photo paper is brighter and more vibrant, so I ended up printing these on that paper.
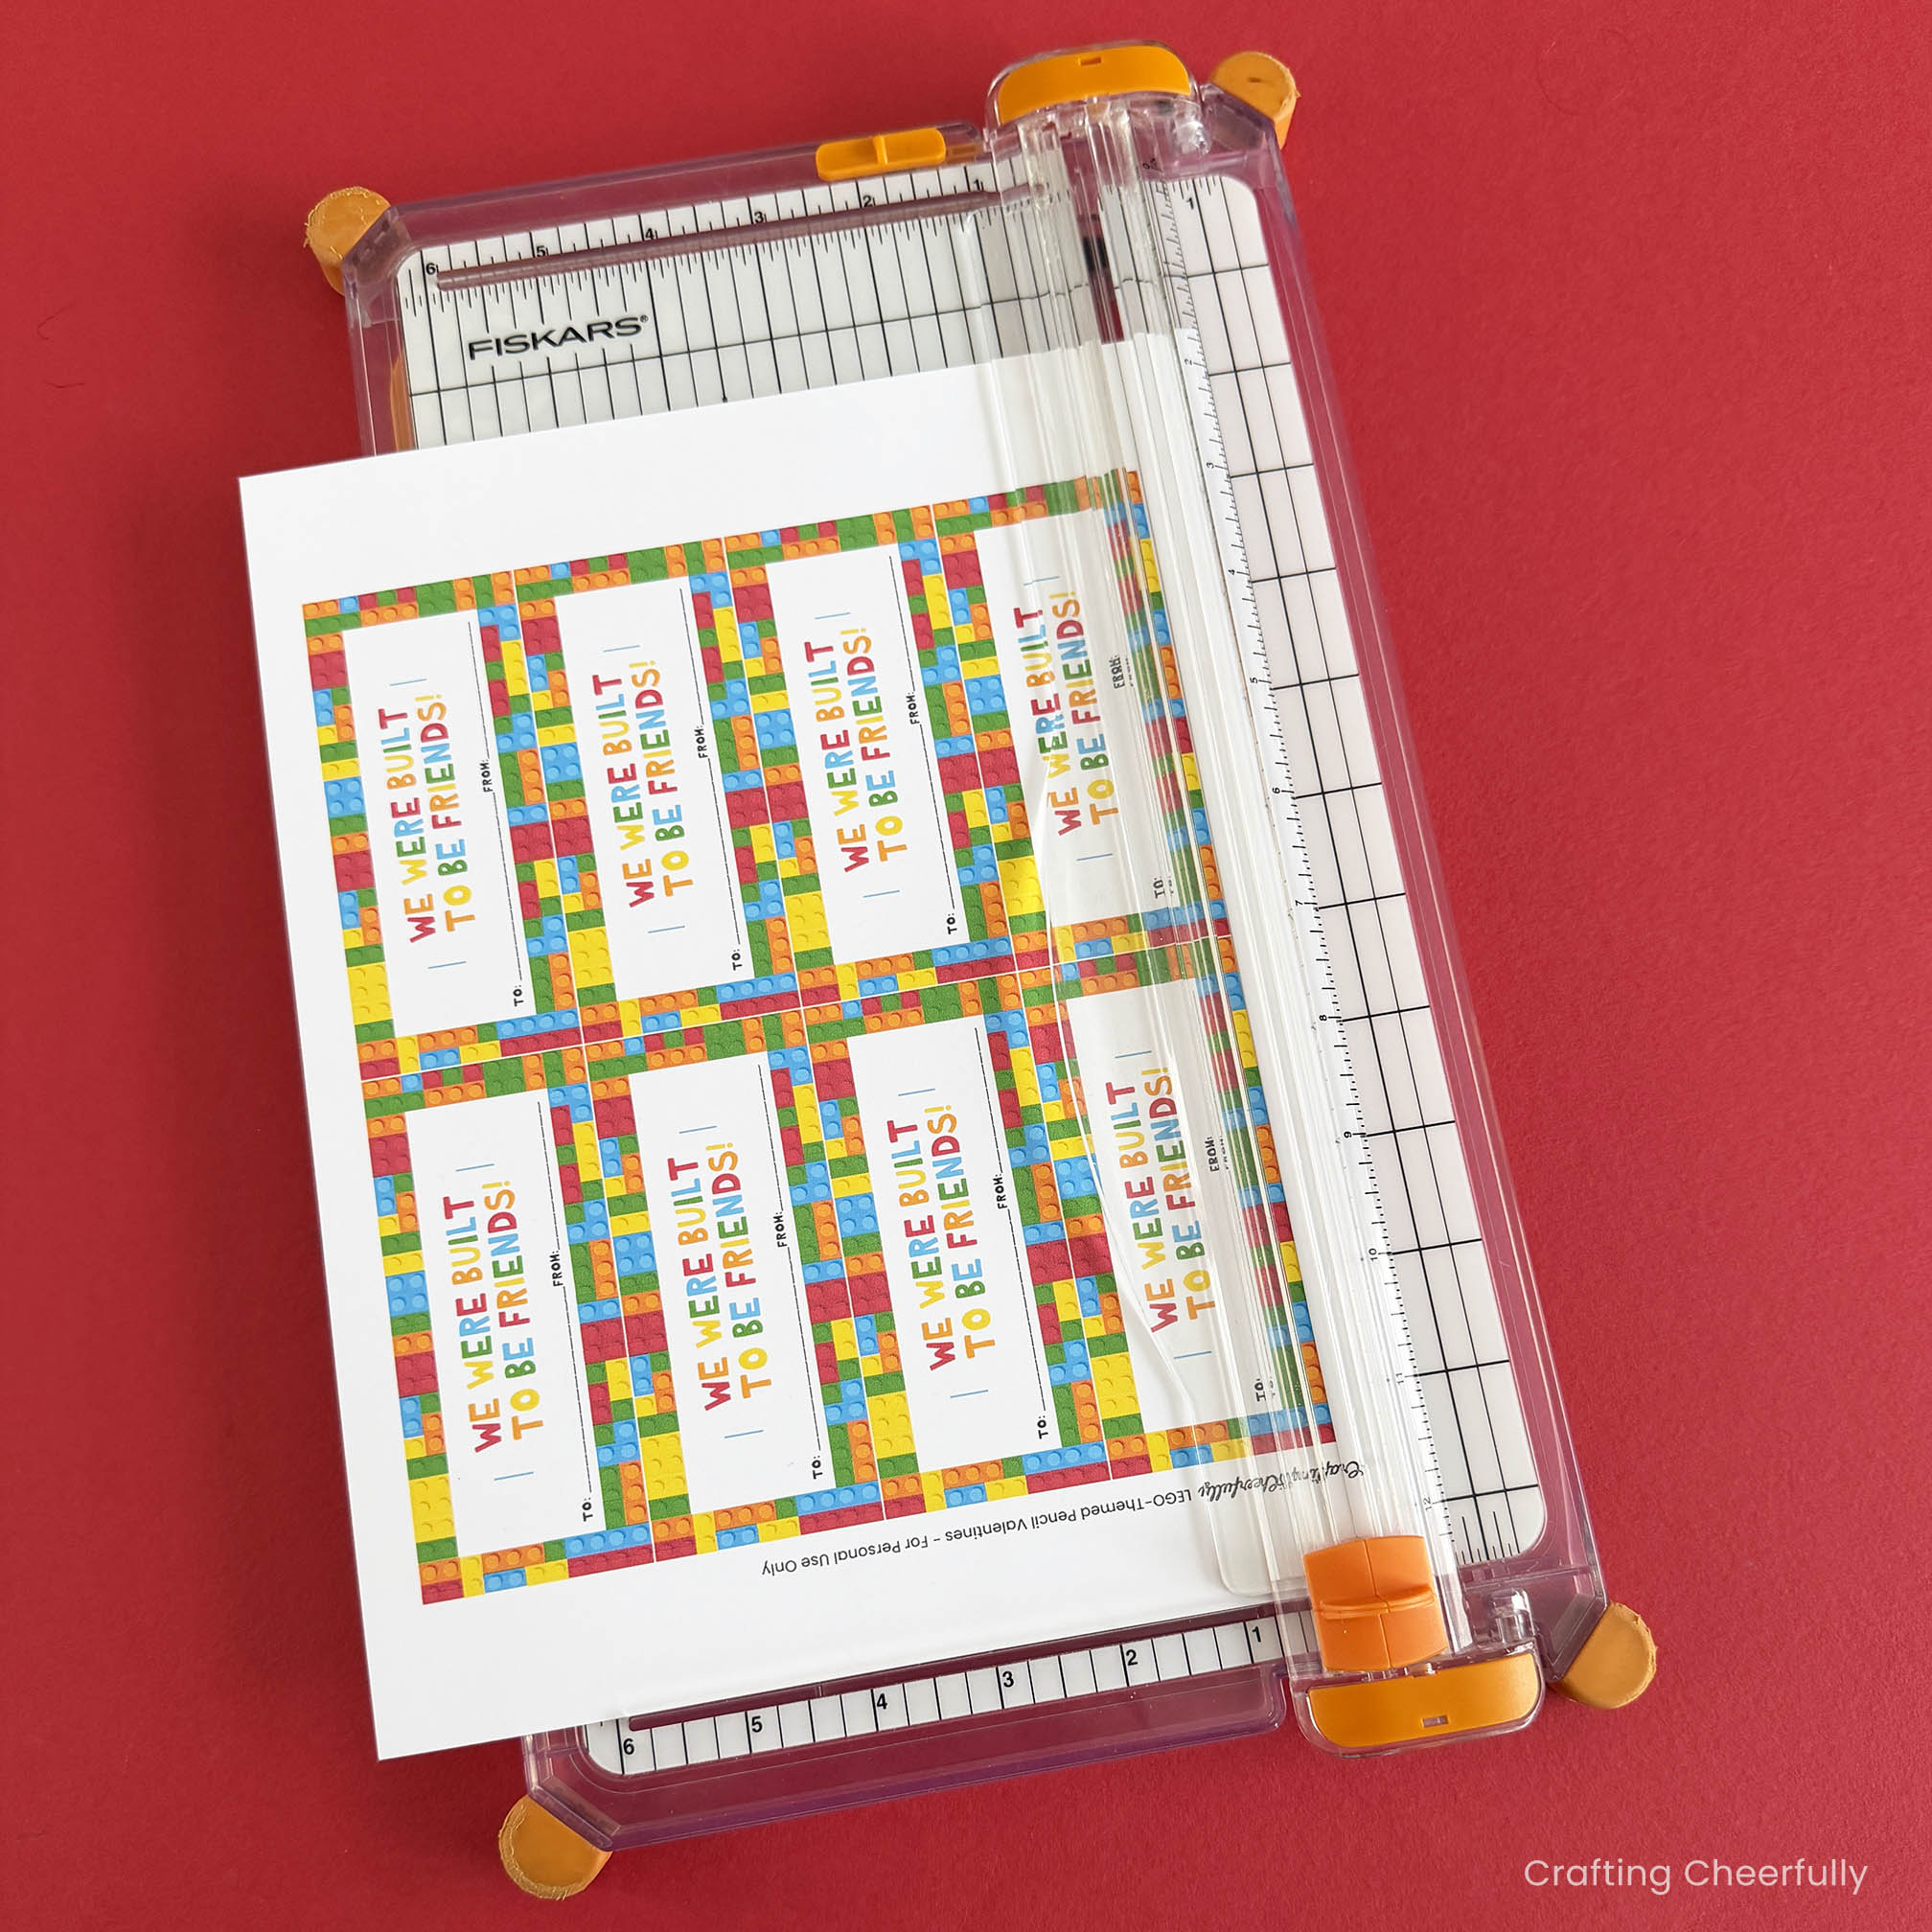
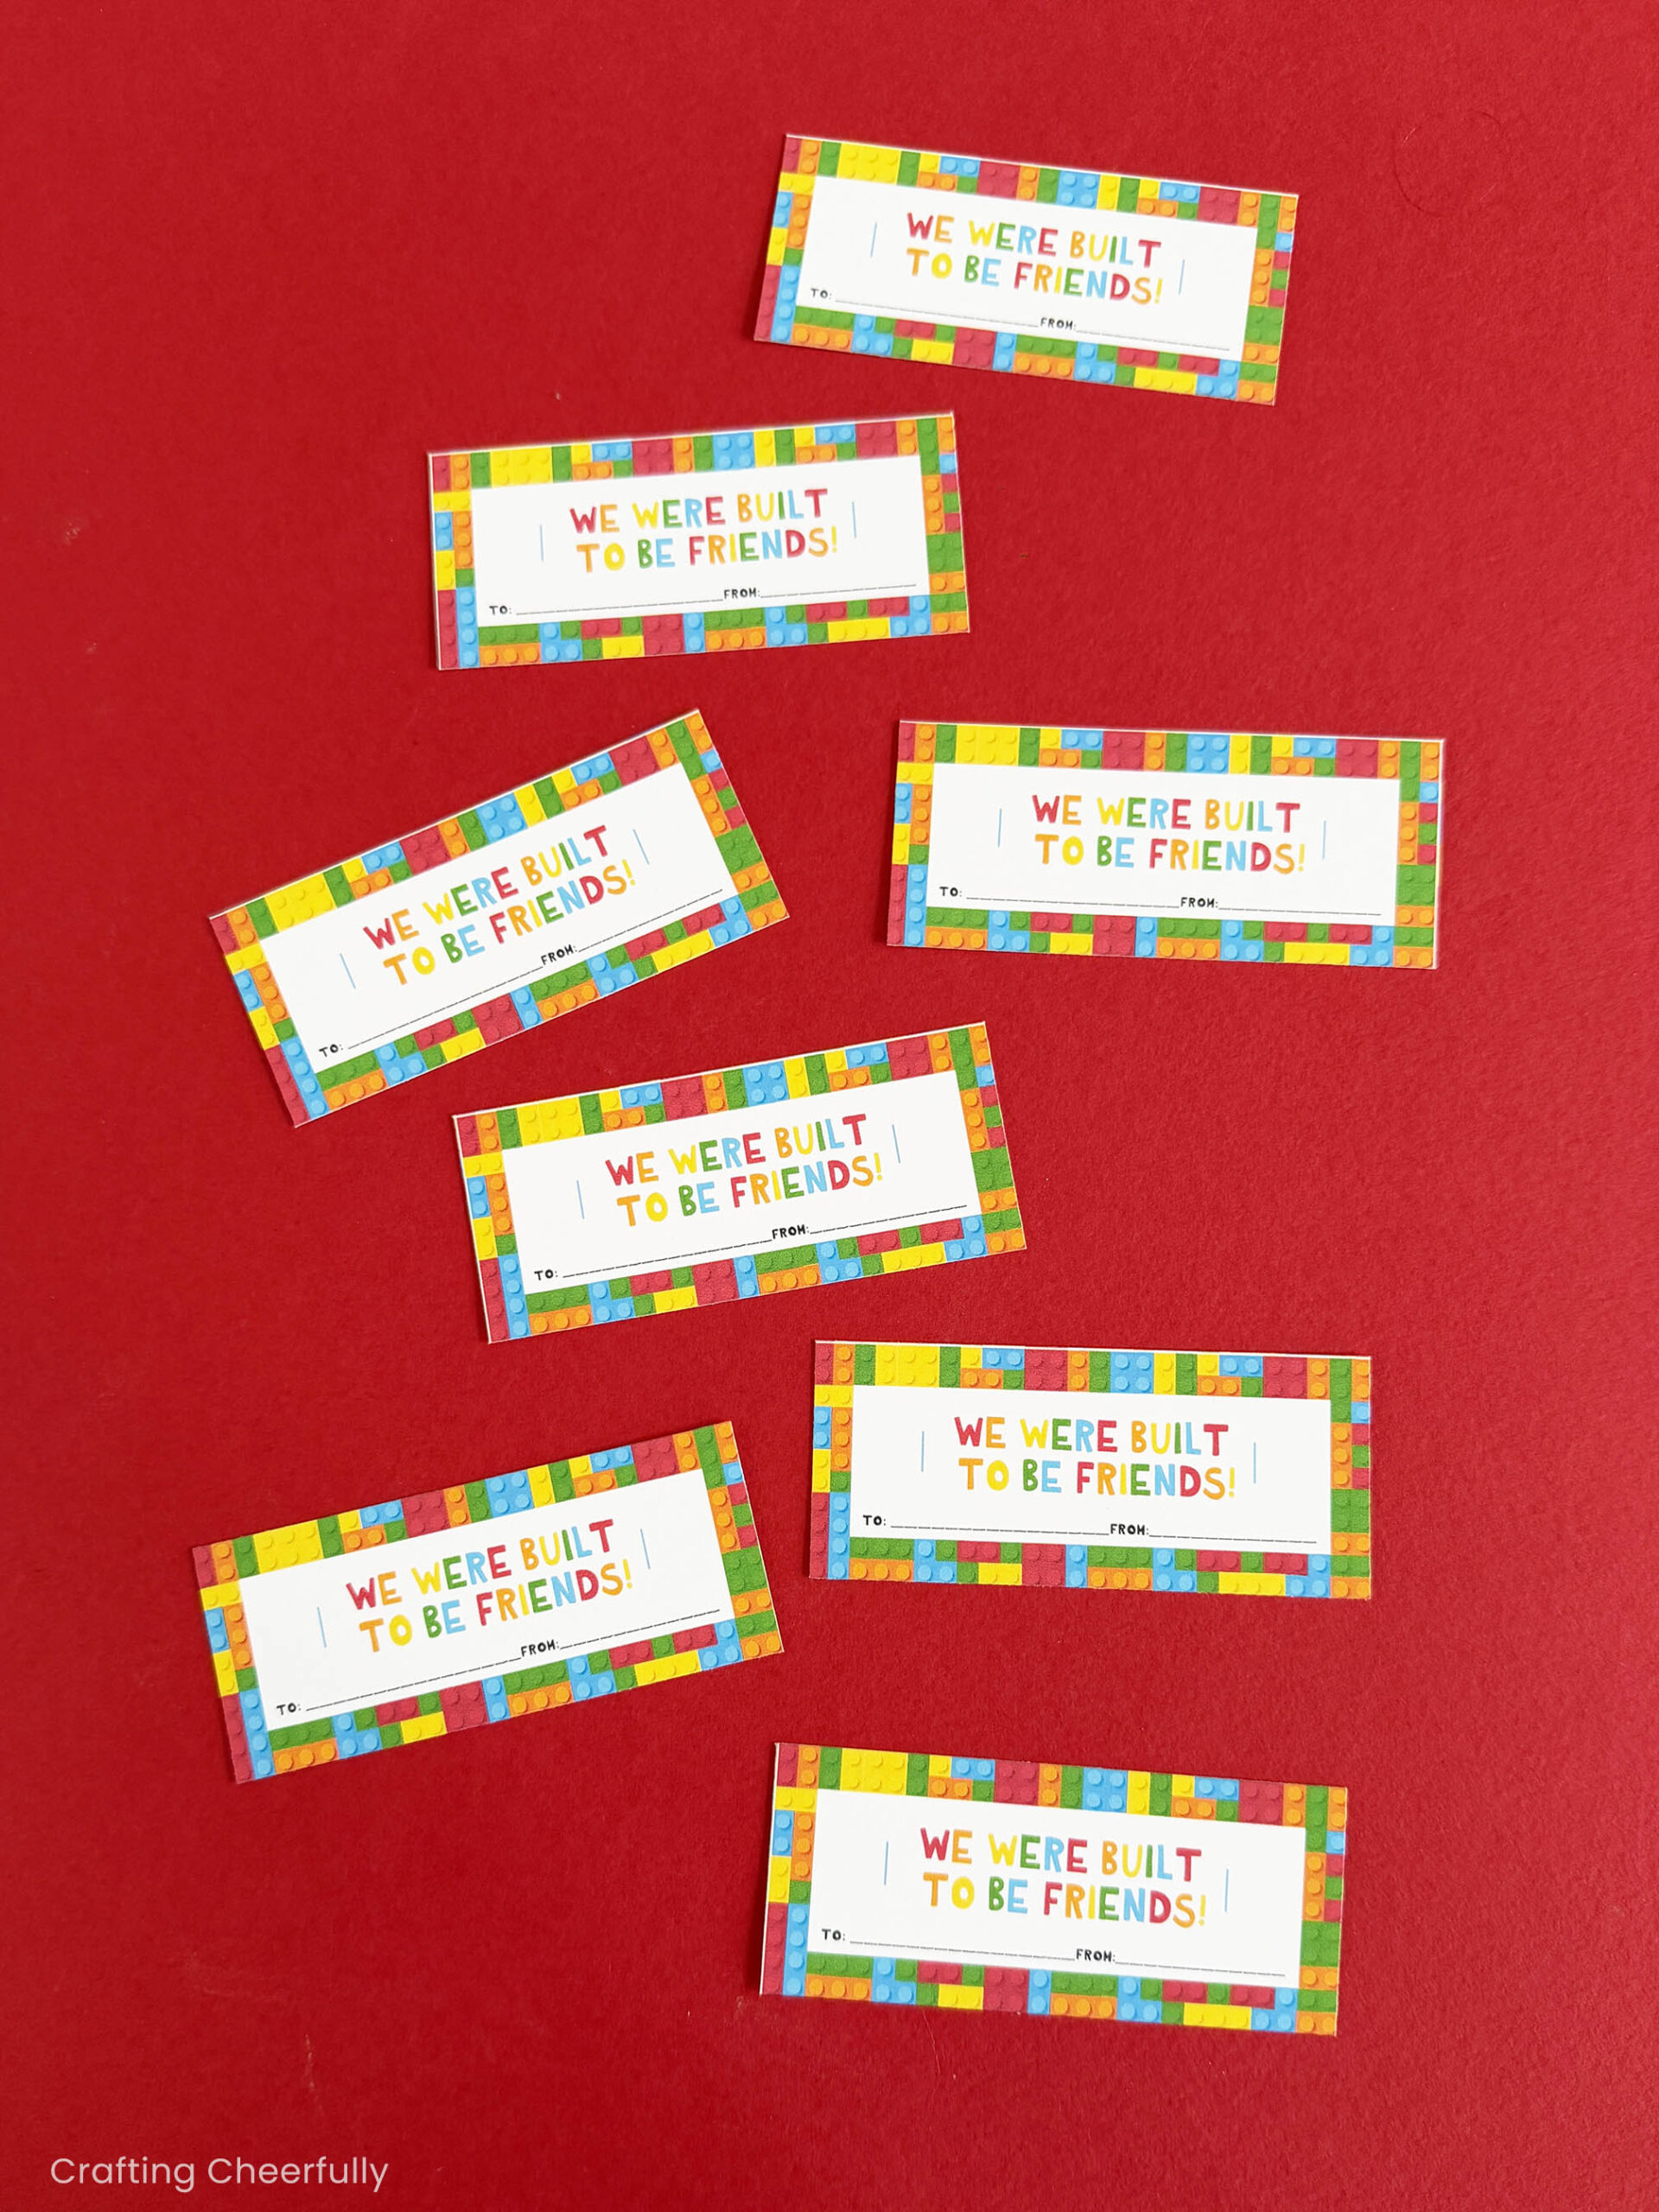
Step Two: After printing the valentines, cut them out using a paper trimmer or scissors. Using a paper trimmer will really make this step go quickly, but a scissors will work just fine as well!
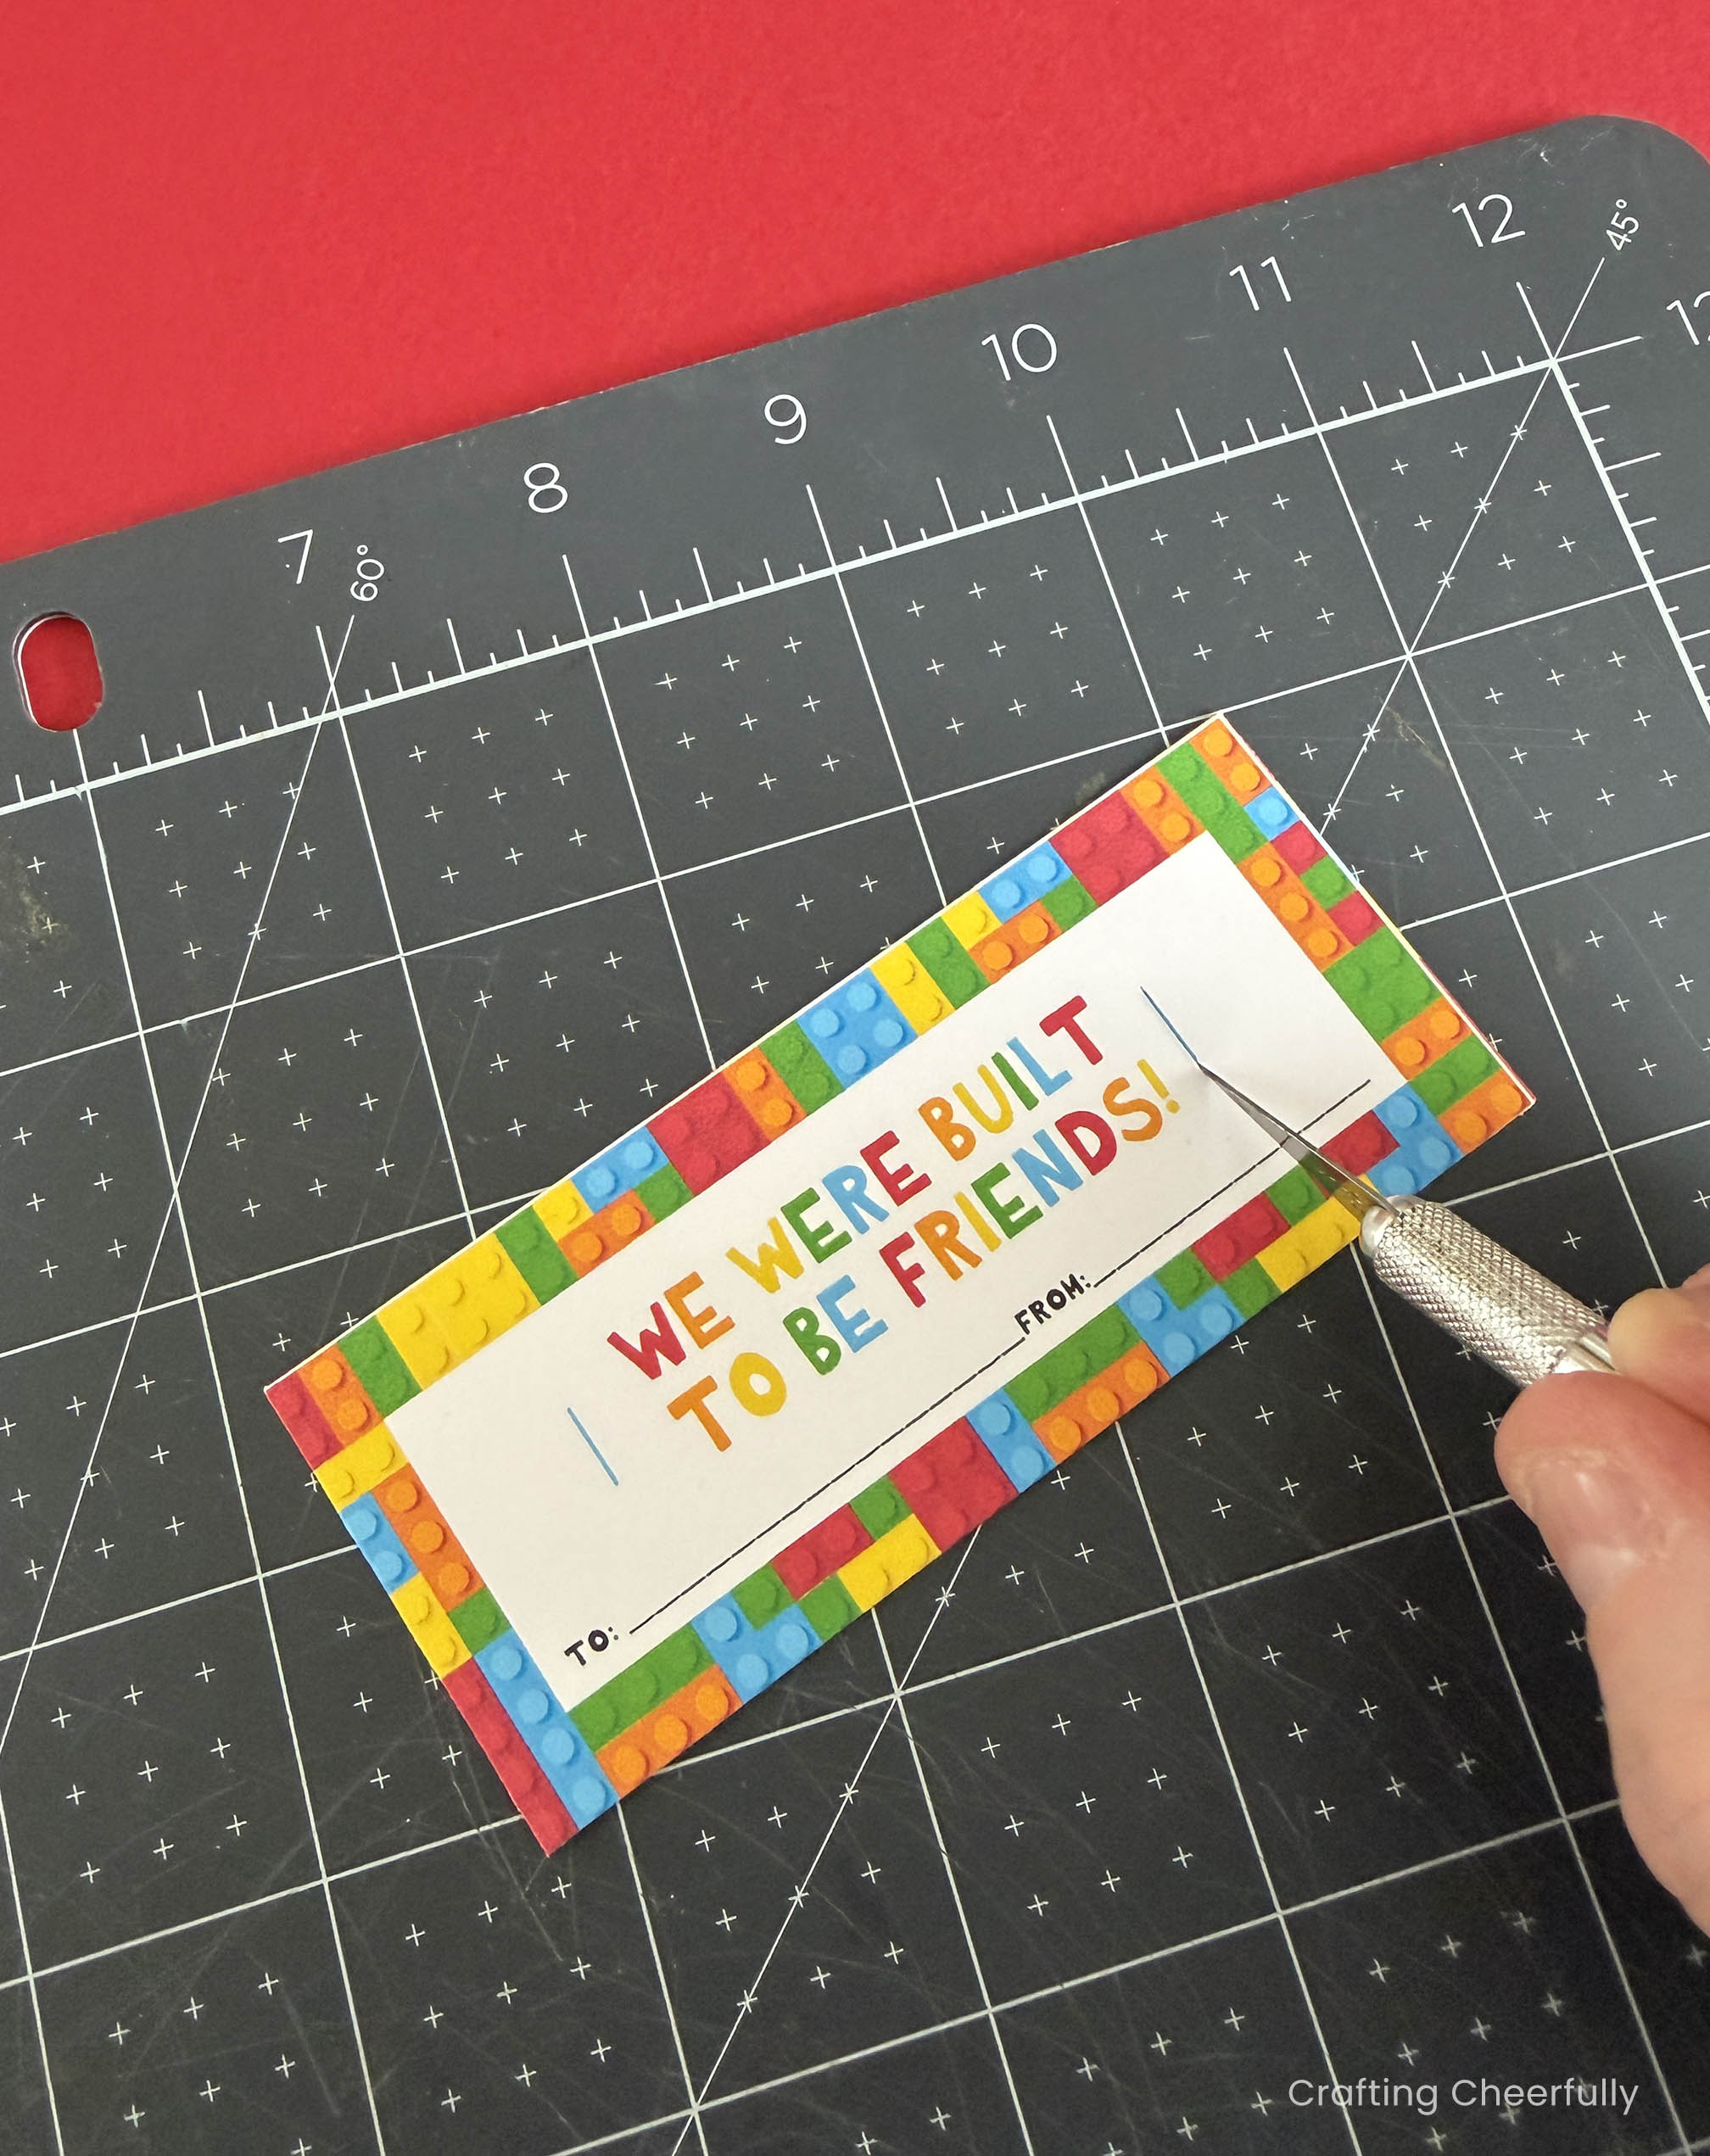
Step Three: Use a craft knife and a self-healing mat to cut slits on either side of the valentine. Follow the blue guide lines but make sure your cut goes up to the LEGO border and down to the “TO” and “From” spots. Before cutting these slits, you may want to have your child write on the valentines first since the slits will make it harder for them to do so.
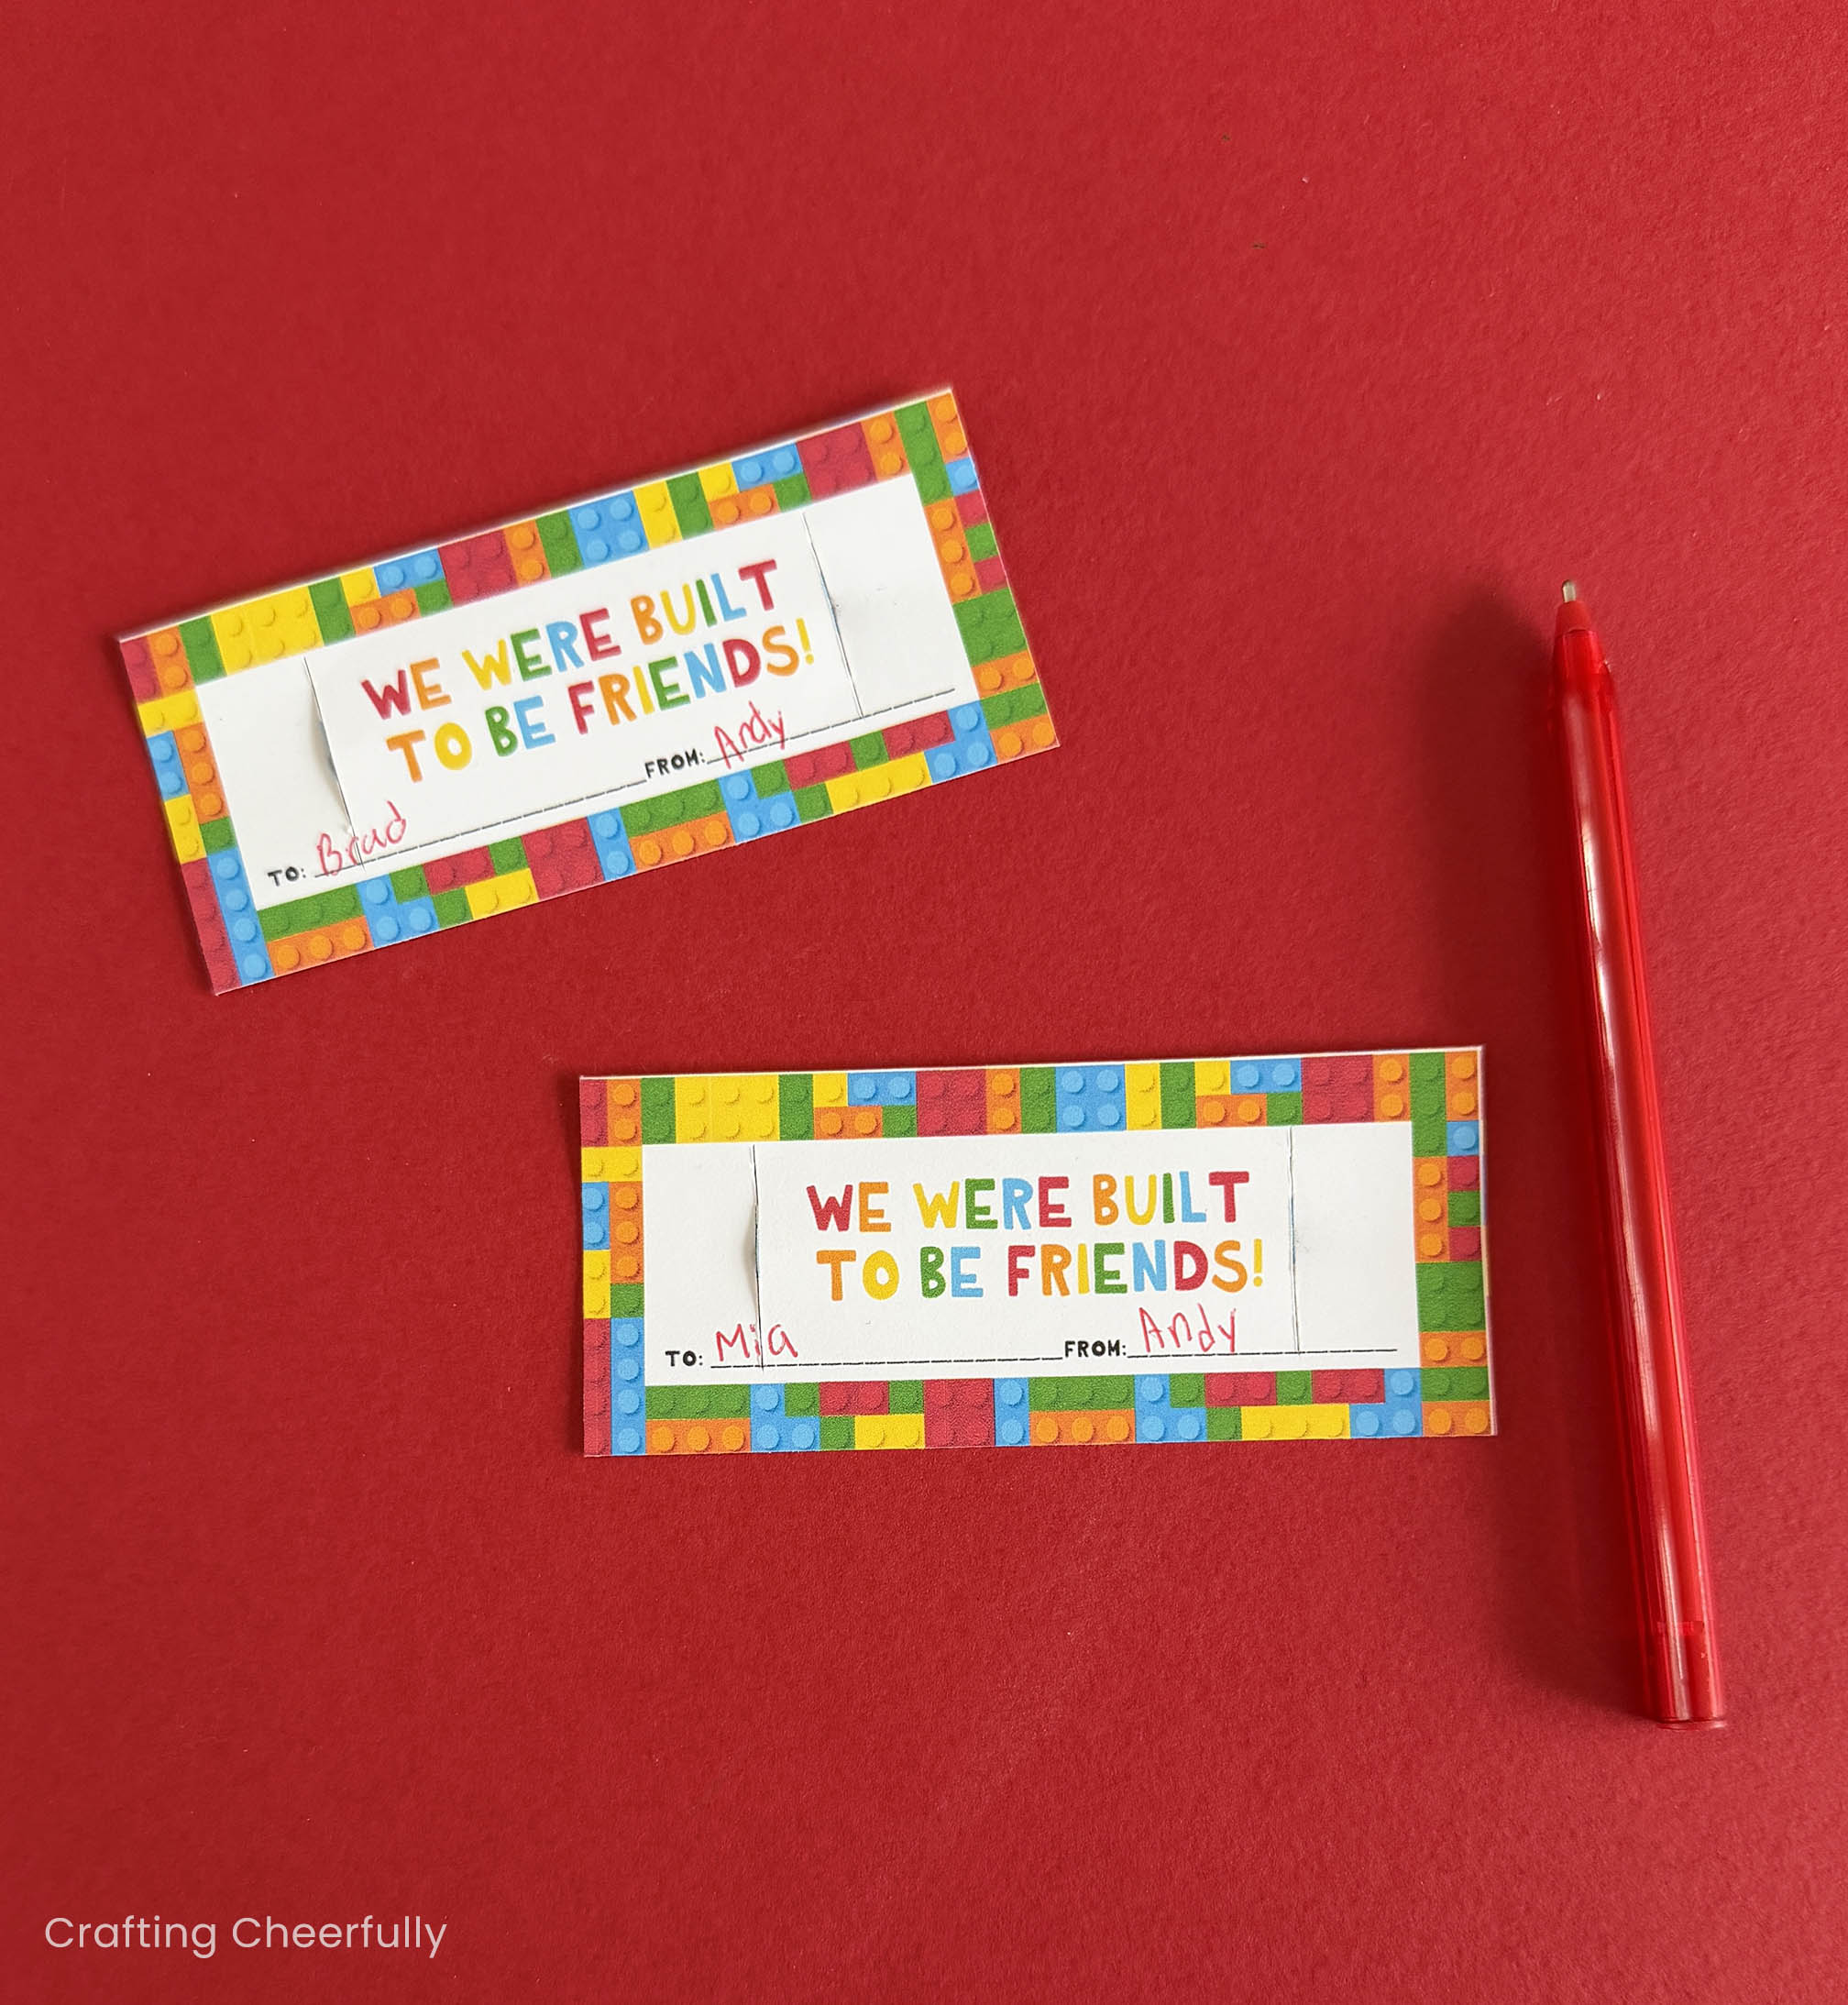
Step Four: Your child can fill in their name and who the valentine is for. You could go ahead and have your child do this part before cutting the slits and even before cutting out the valentines!
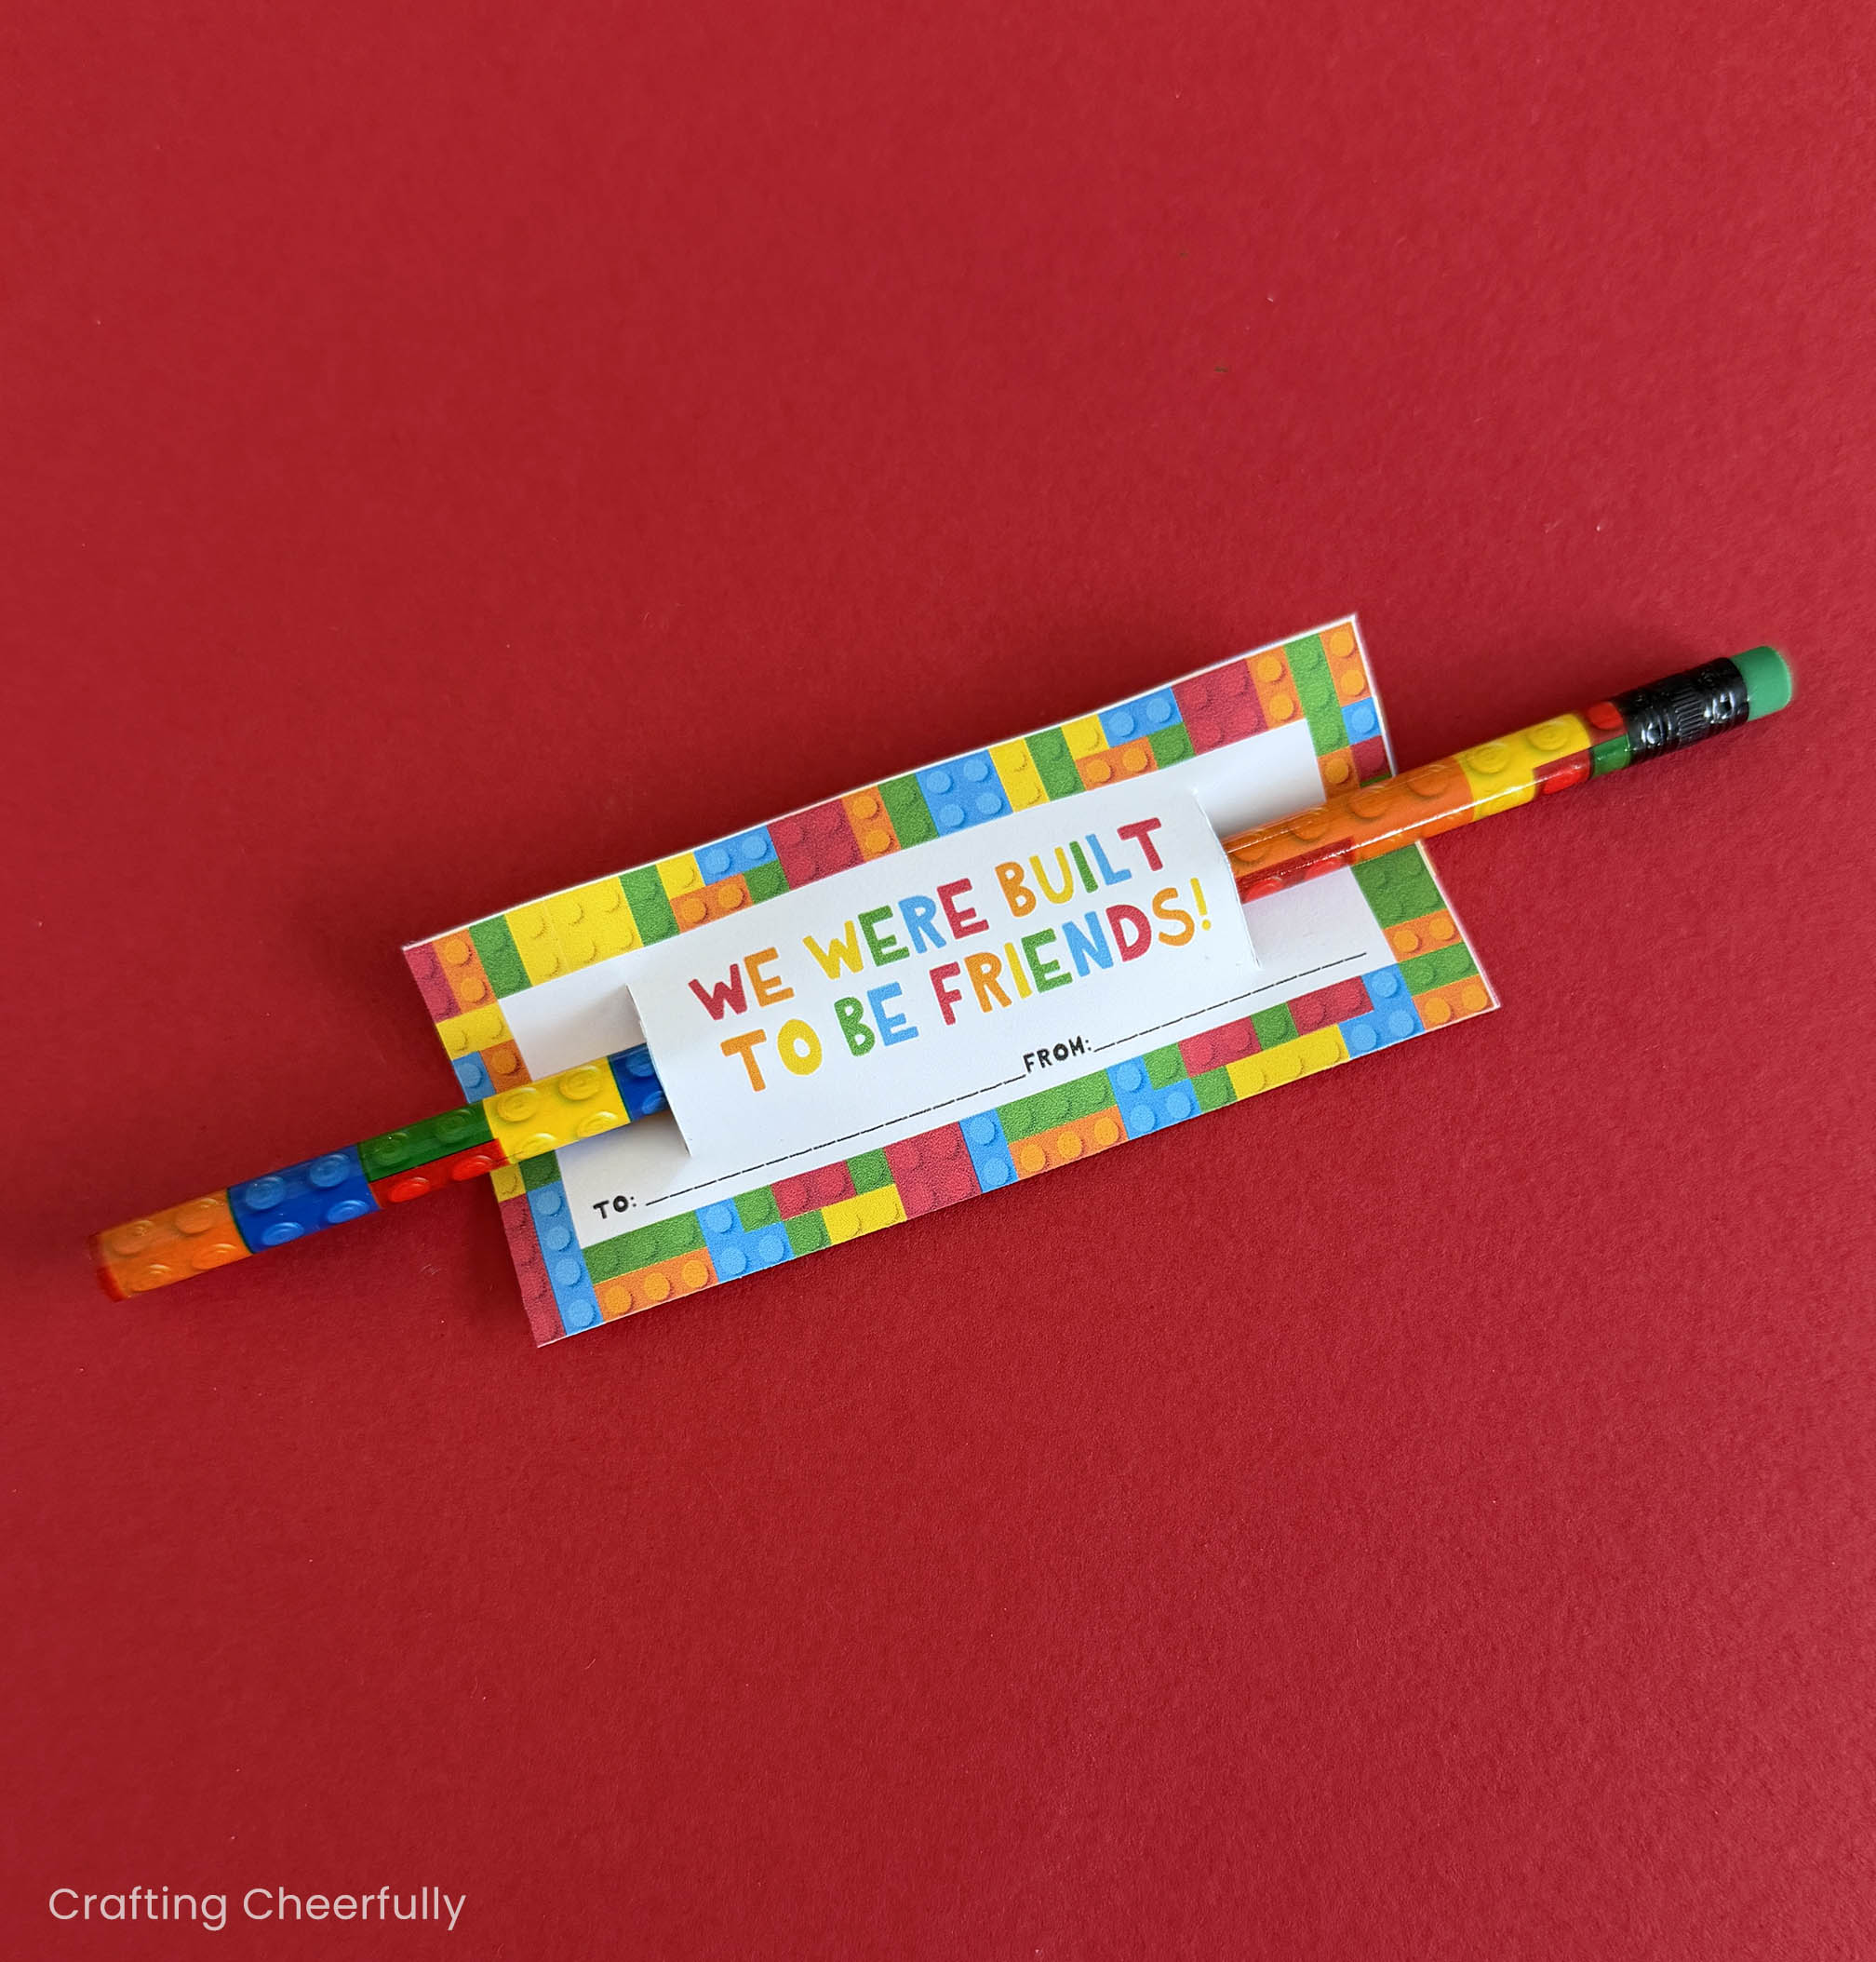
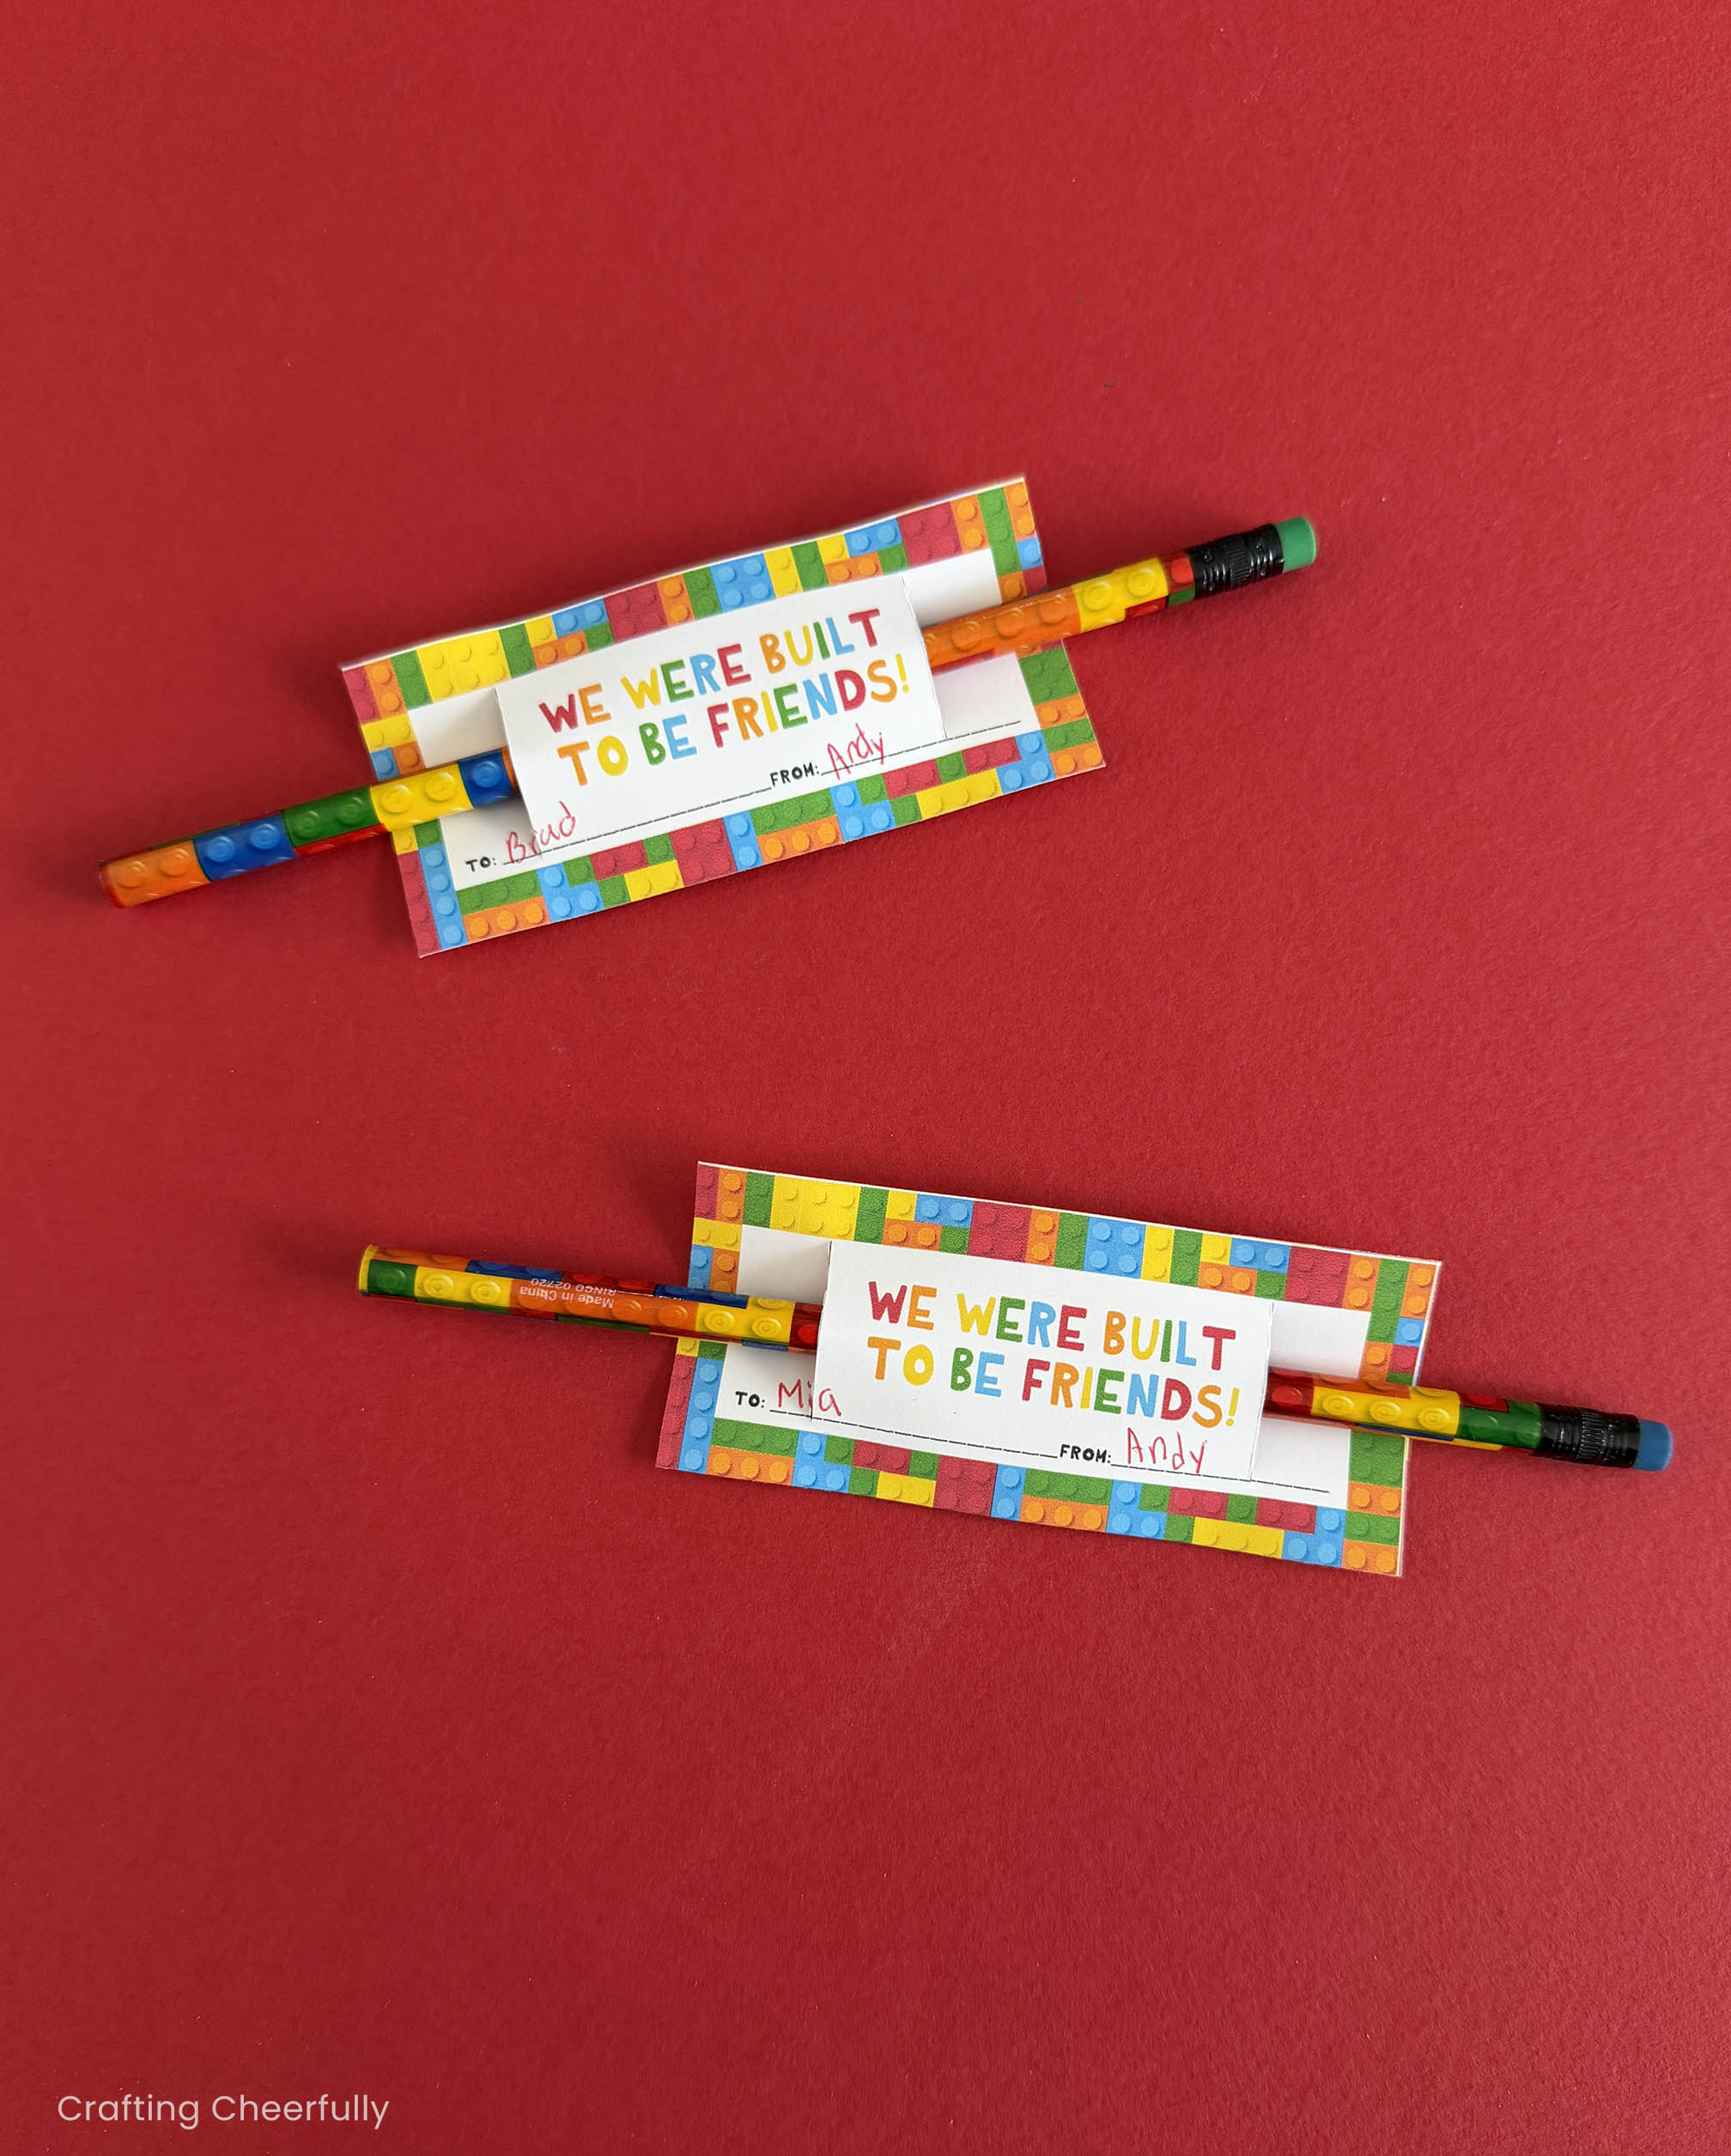
Step Five: Slide a pencil through the valentine. The valentines are finished and ready to be gifted to
I hope you enjoy these cute valentines! Grab the freebie by filling out the purple form at the end of this post! Interested in more fun valentine crafts? Visit my DIY Valentine’s Day craft page! I have a few more classroom valentines including Paint-Your-Own Bookmark Valentines, Animal Pun Valentines, and Secret Decoder Wheel Valentines.

Get the Free Printable Valentines
Fill out the purple form below with your first name and email address! The free file will be sent straight to your inbox! If you have already filled out the form below, don’t worry – you won’t be added to my list twice! This freebie is for personal use only. I hope you enjoy crafting something special. Please let me know if you have any questions :)