DIY Halloween Pillow Wreath
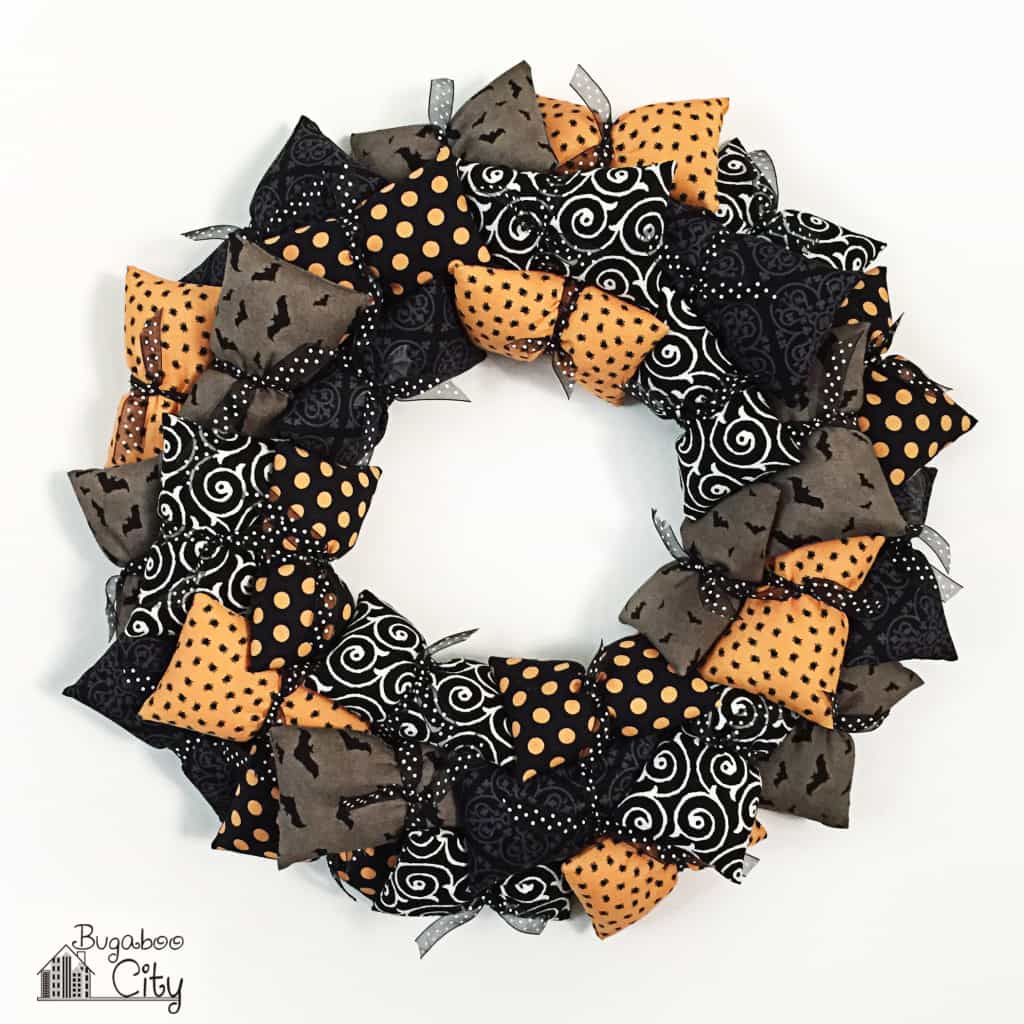
Use your favorite Halloween fabrics to create a fun Halloween Pillow Wreath for the holiday! Easy sewing project that is great for beginner sewers!
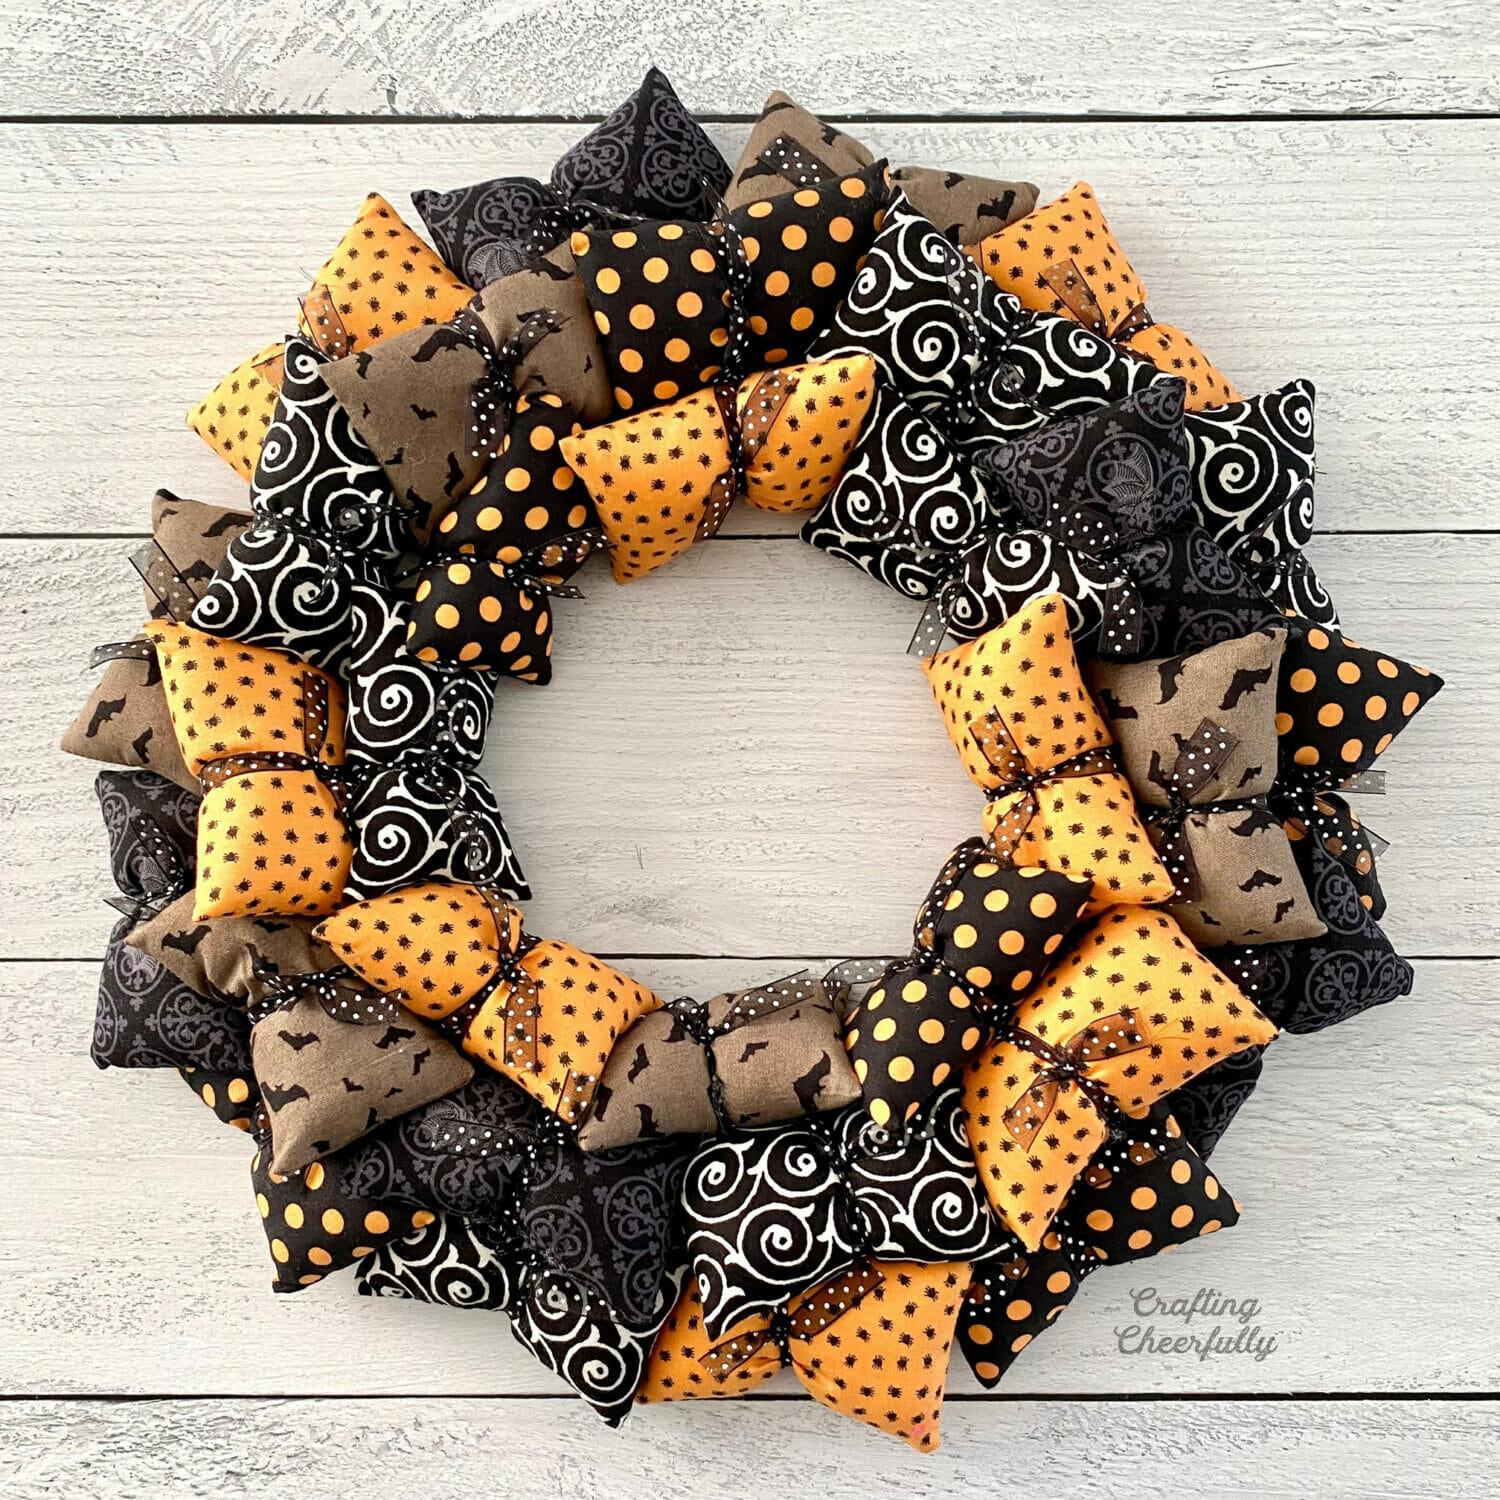
Hello Crafty Friends! I’m excited to share another fun Halloween crafting project – a DIY Halloween Pillow Wreath! I love a good pillow wreath. They are quick and easy to make and can be customized to any holiday or event you can imagine! My mom and I love making these and have always thought it would be fun to have one for each month of the year. This Halloween one gets us one step closer!
> Check out my Ultimate Guide to Making Pillow Wreaths
We found the fabric for this wreath at our local quilting store as a fat quarter stack and loved the color combinations. The pack came with six fat quarters and that was enough for both our wreaths. We both ended up using just five of the six fabrics. Above you can see my fished pillow wreath and below is my mom’s – they look almost identical of course but we arranged our pillows a little differently.
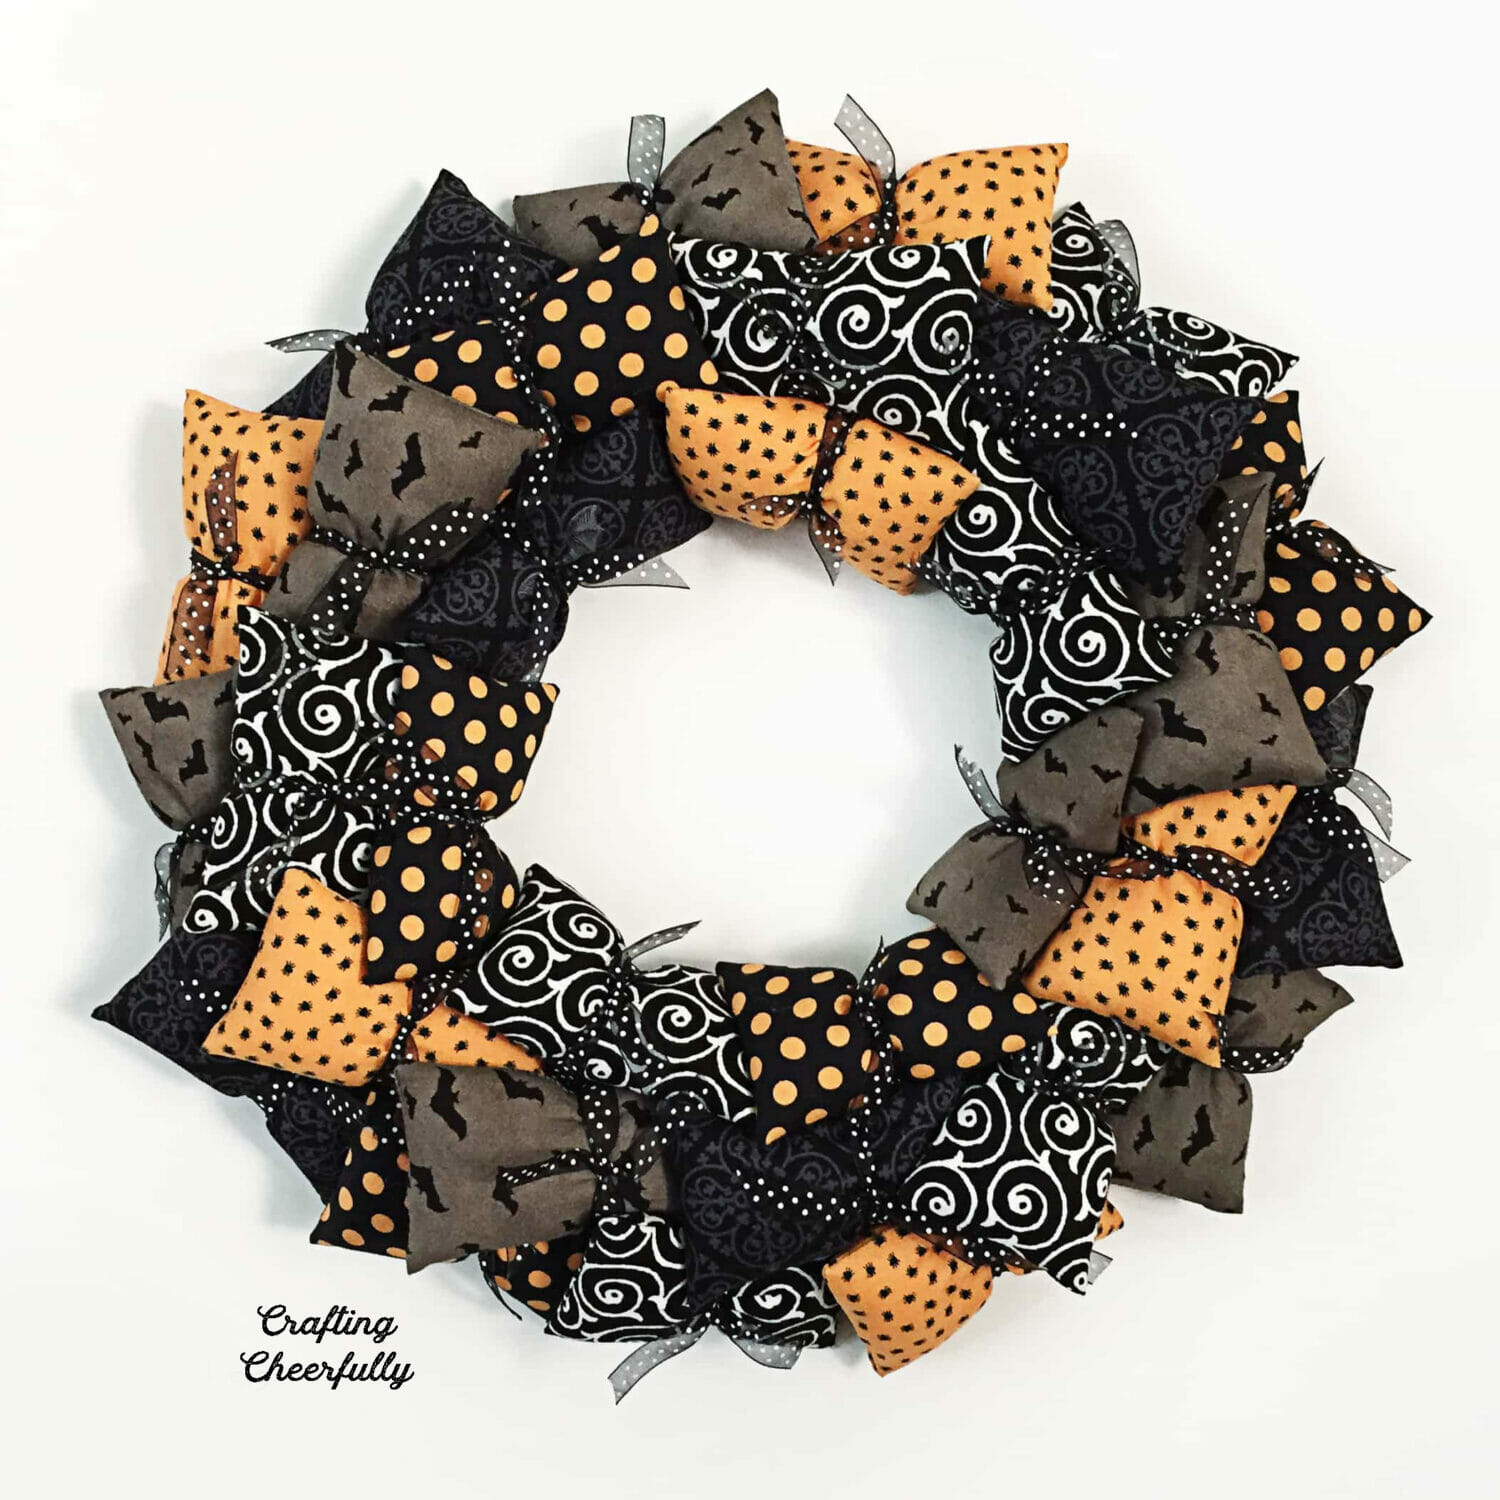
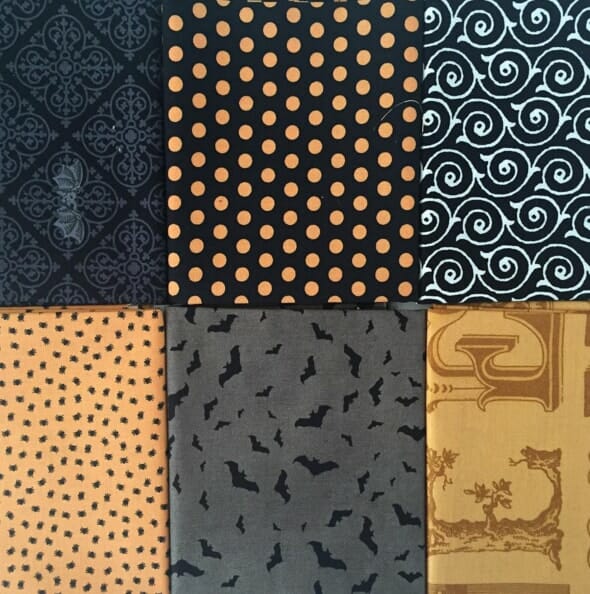
My mom made her first pillow wreath before I was born, a Christmas one that matched our tree skirt and stockings. I loved seeing the wreath hung up for the holidays and love that I have pillow wreaths in my home now too. They have really become something my mom and I enjoy planning for and doing together. We already have the fabrics for Thanksgiving so hopefully I’ll be able to make that before the holiday!
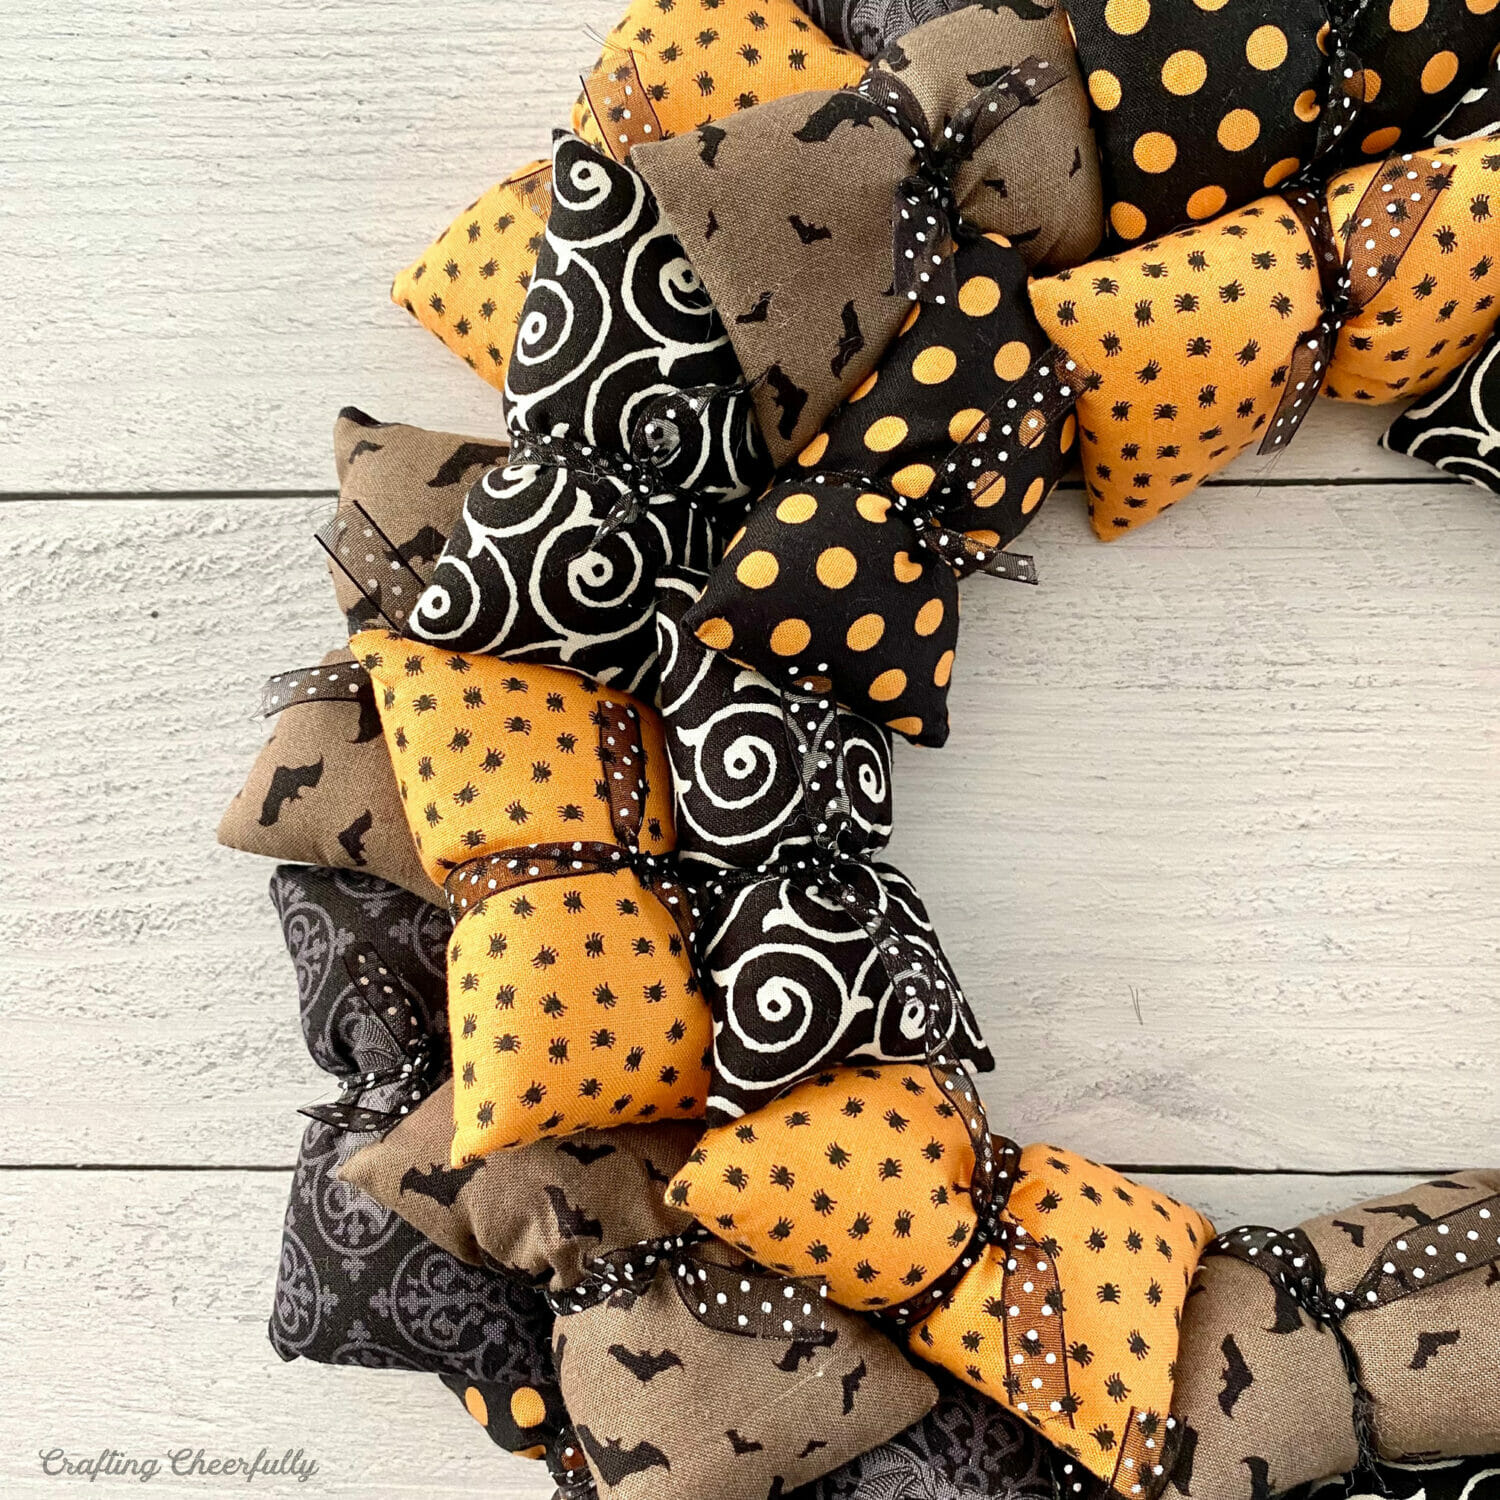
How to Make a DIY Halloween Fabric Wreath
Supplies Needed:
- Free template – Grab the free file by filling out the form at the end of this post.
- Fabric – 5 or 6 different fabrics. 1/4 yard of each is plenty. The fabrics I used were from a curated collection of fat quarters from my local quilt shop.
- 12″ wire wreath form
- Poly-fil Stuffing
- 3/8″ ribbon – two rolls
- Thread
- Point turner
- Pins
- Needle
- Fabric scissors (I also find small embroidery scissors are useful too!)
Step by Step Tutorial
Step 1: Create a cardboard template to use for cutting your pillows. The pattern should measure 4.5″ x 5.5″. There is also a template in my Resource Library if you prefer to download, print and cut it out.

Step Two: Cut out the fabric pillows using the pattern. The pattern includes a 1/4″ seam allowance. Each pillow will get folded in half.
For the 12″ diameter wreath you will need between 30-35 pillows depending on how full you want your wreath to look. Mine ended up being 32 pillows and my mom’s was made with 30. Most of our pillow wreaths are made with five fabrics and about 6 to 7 pillows of each fabric. You can also use a charm pack to make your wreath. Check out this Charm Pack Pillow Wreath tutorial to see the slight differences in making the pillows this way.
Step Three: Sew the fabric pillows together. For each pillow, fold the fabric in half, right sides together, 4.5″ side to 4.5″ side. Sew with a 1/4″ seam allowance along each side of the pillow, leaving an opening to stuff the pillow along the long side. Trim the corners. Flip the pillow right side out and poke out the corners.
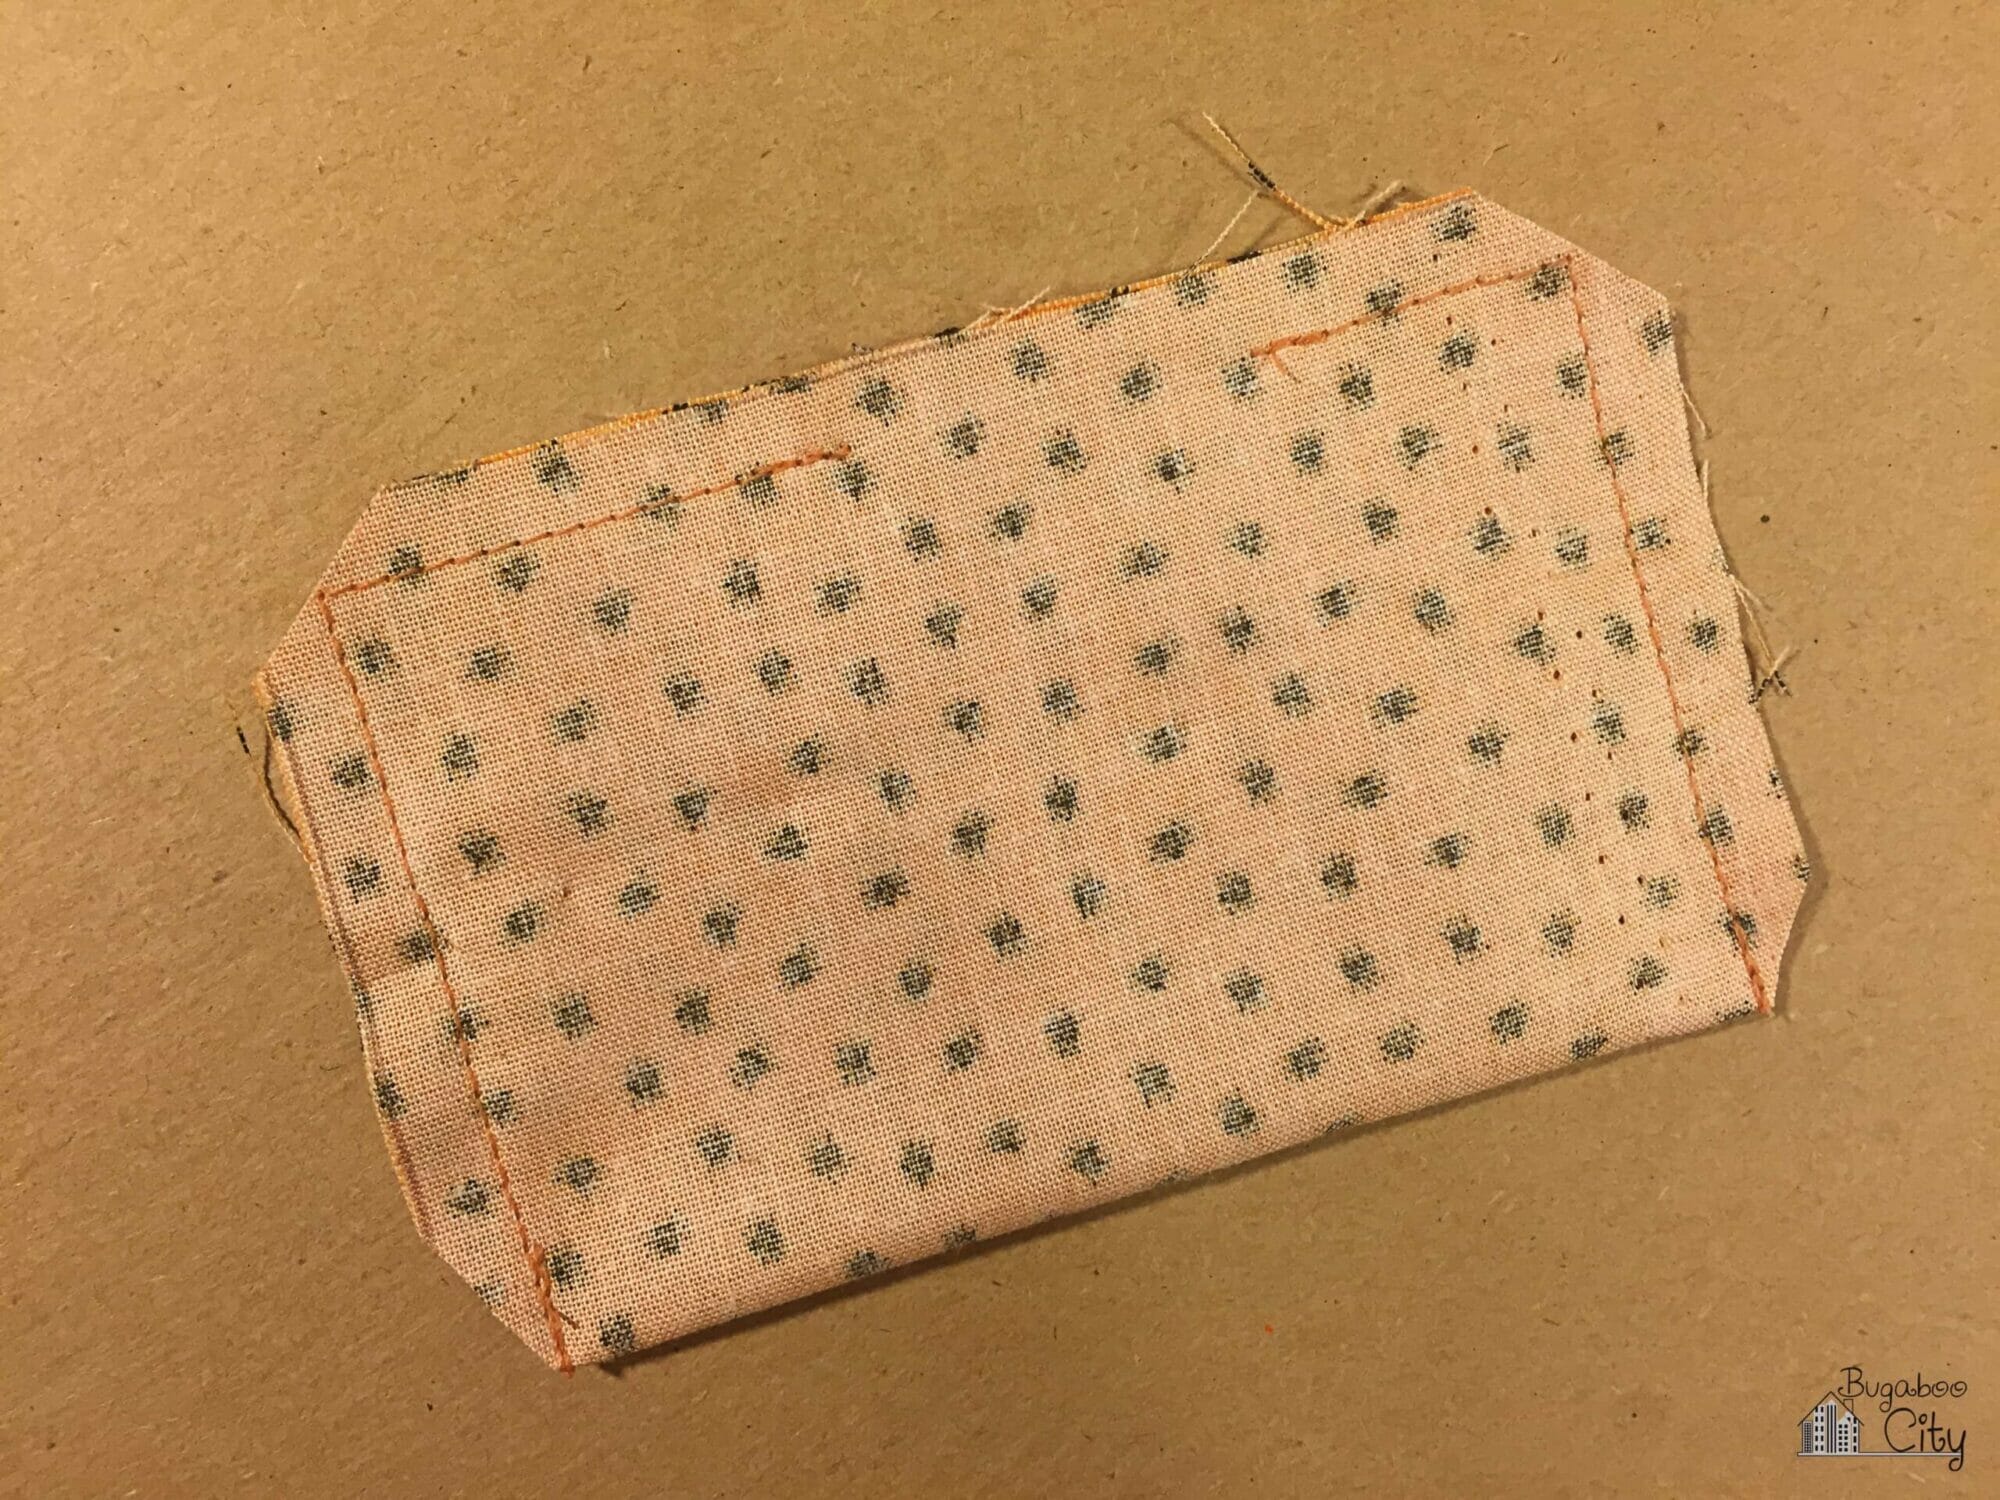
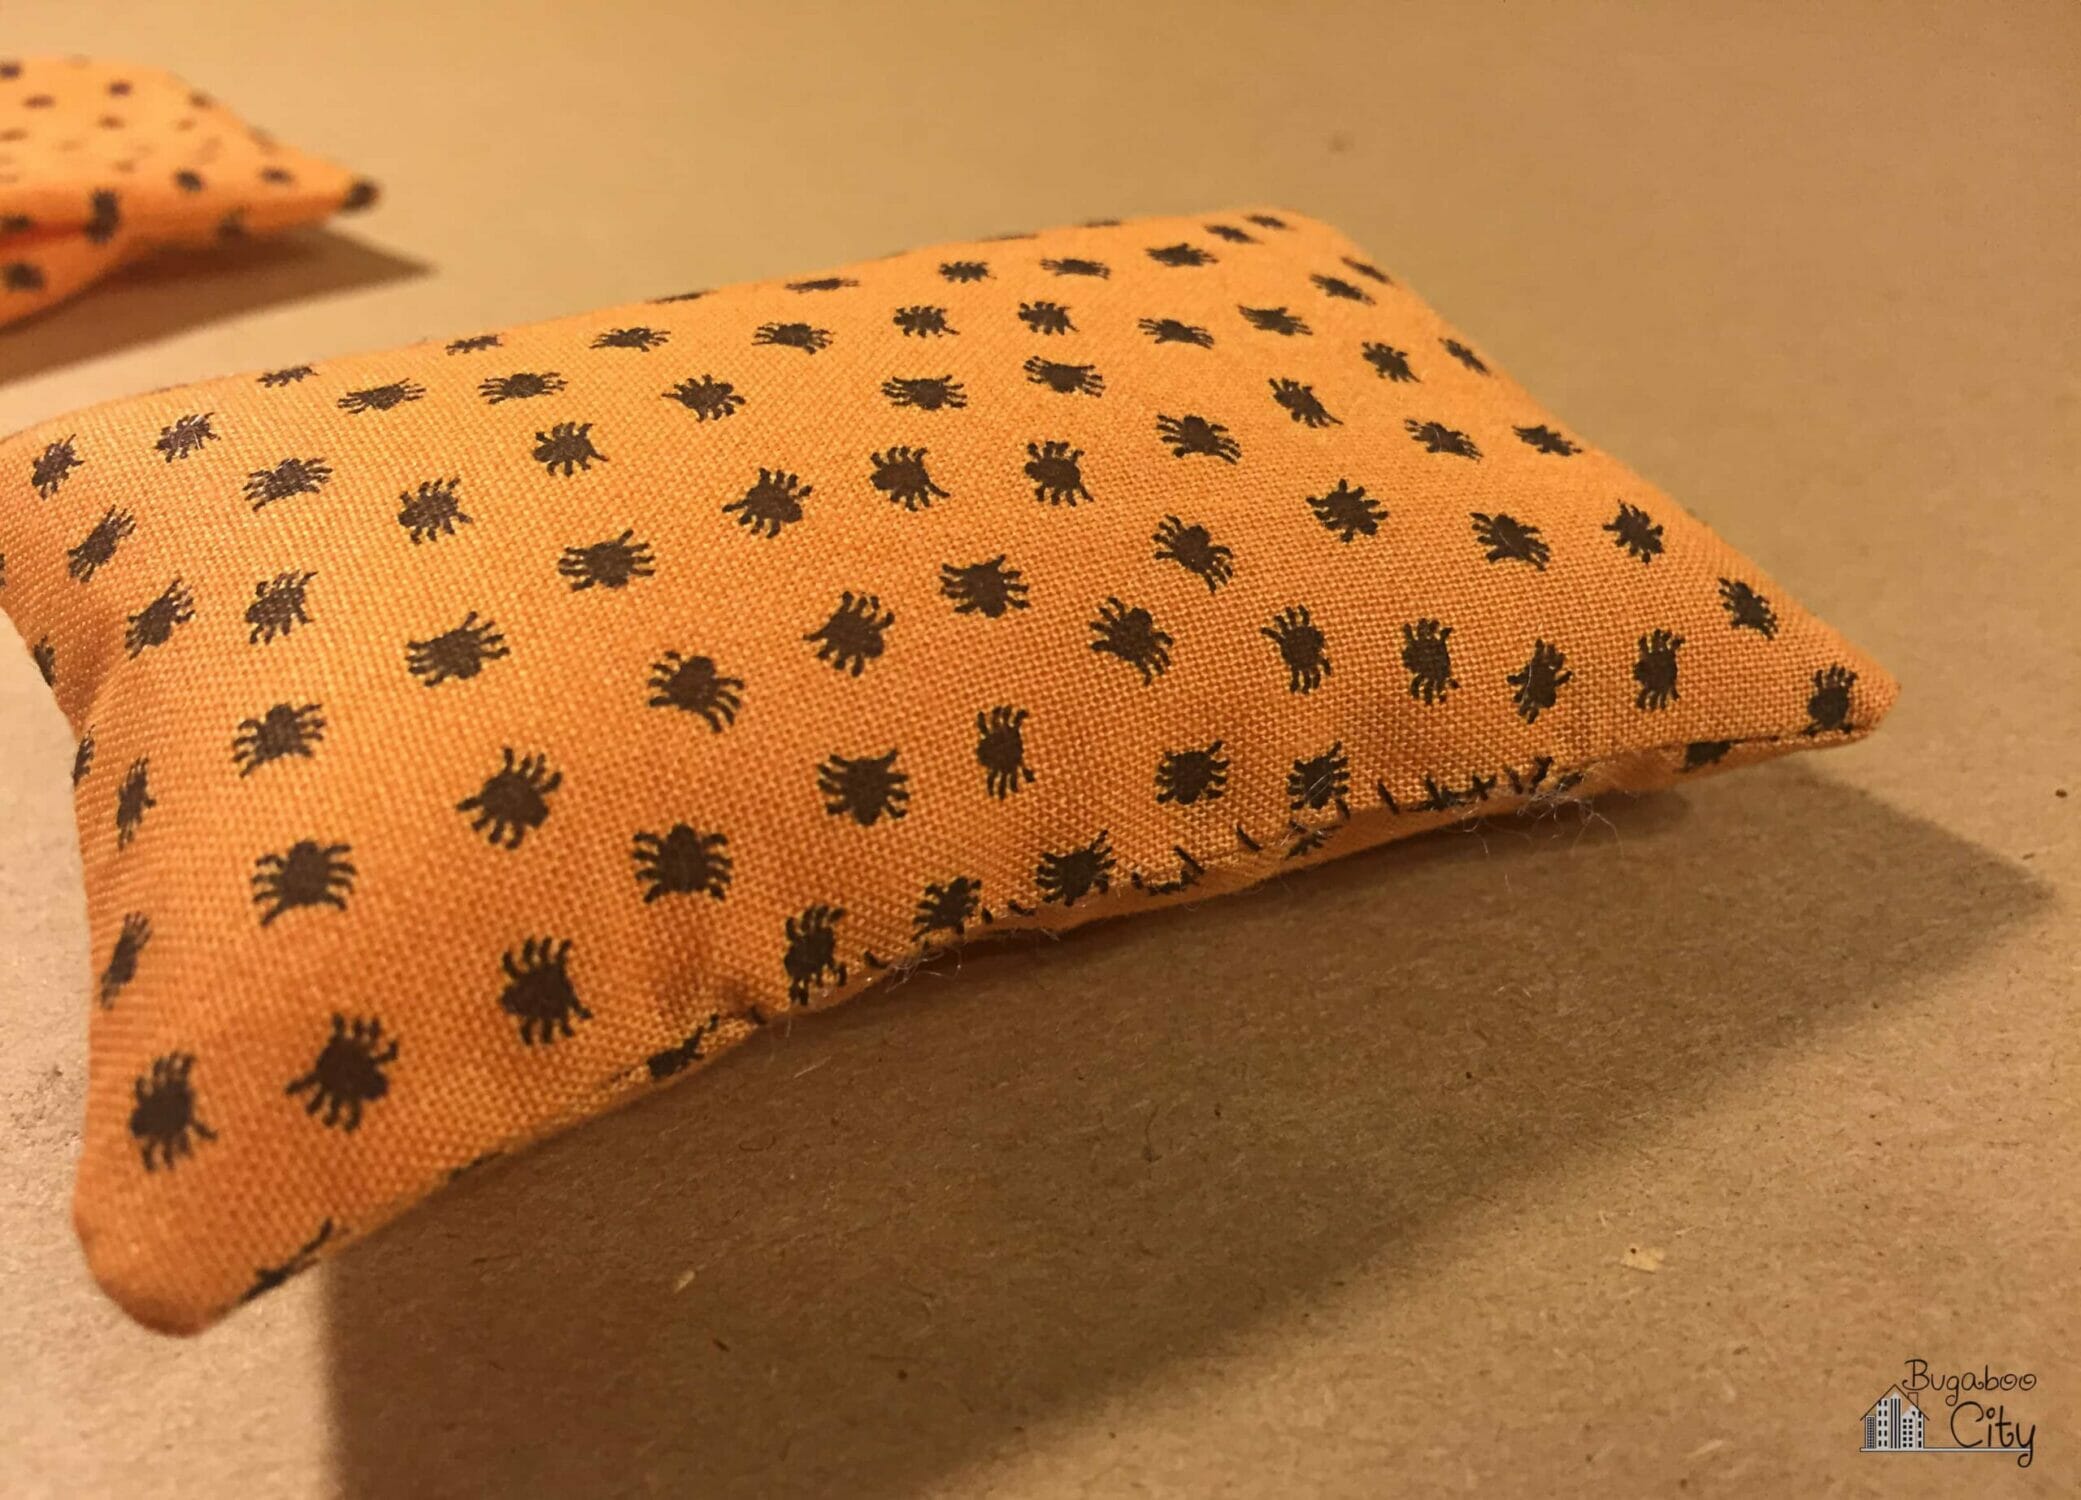
Step Four: Stuff each pillow and hand sew the opening closed. Be careful not to overstuff the pillows as this will make them too hard and harder to tie on to the wreath form with ribbon.

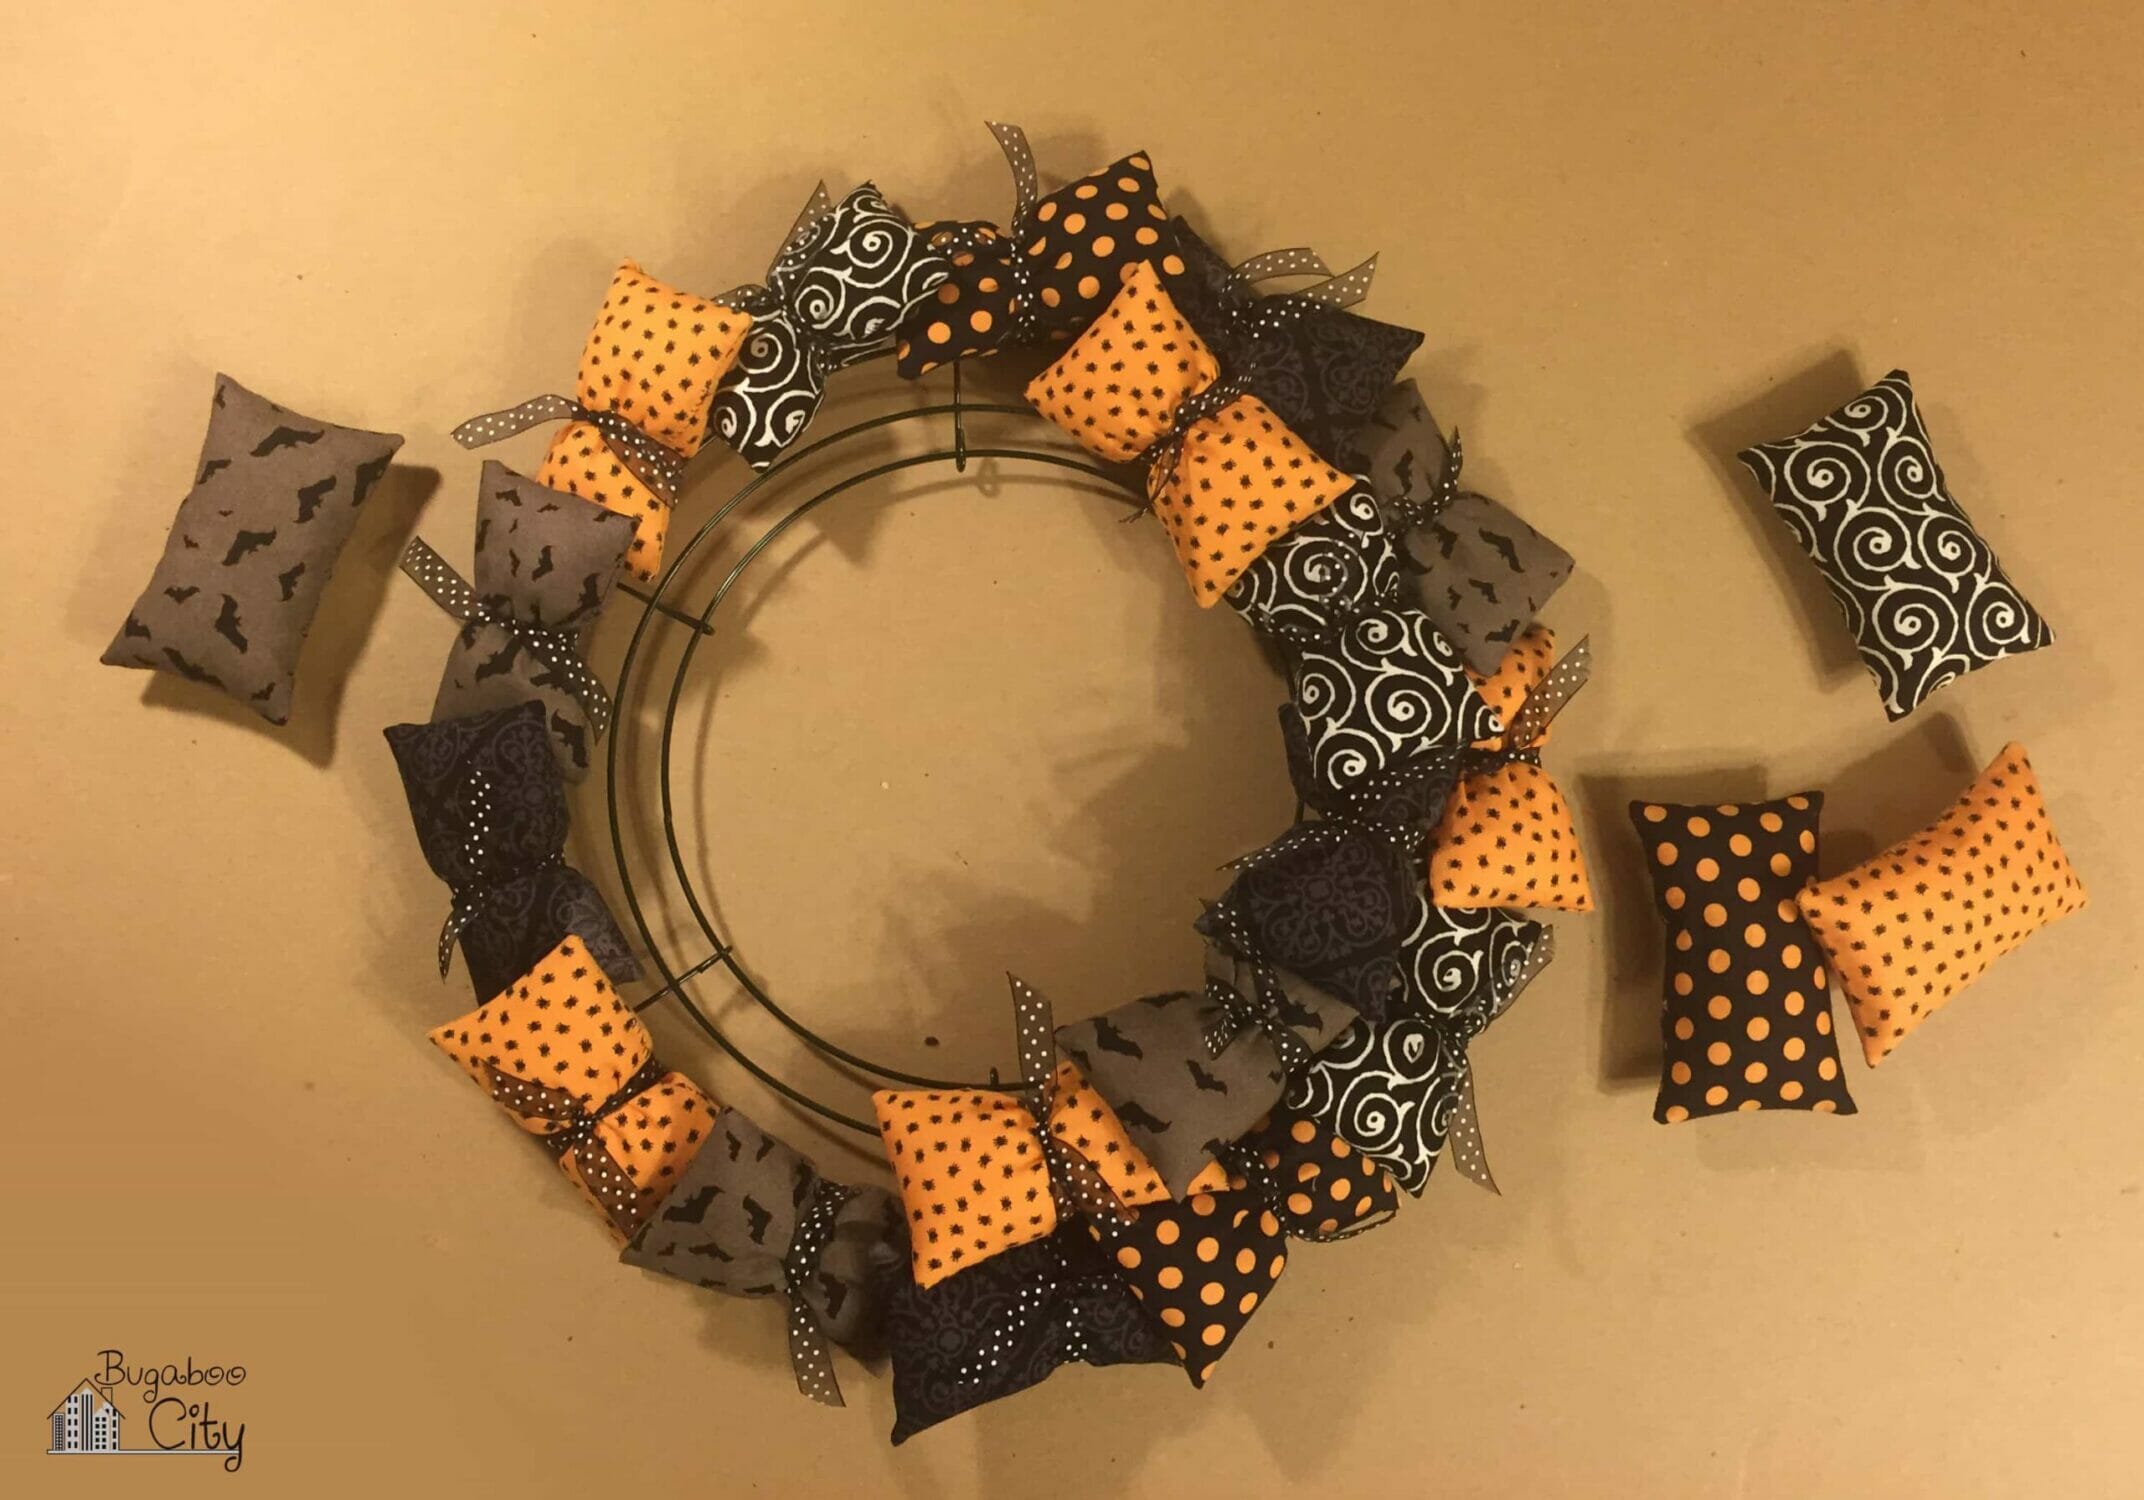
Step Five: Tie the pillows onto the wreath using the 3/8″ ribbon. Each piece of ribbon can be about 6-8″ long. I recommend doing a test with one ribbon before cutting all of them so you can find the ideal length for your ribbon. After tying the pillows on you can trim the ends of the ribbons a little so everything looks uniform.
My wreath has 13 pillows on the outer ring, 11 pillows on the middle ring, 8 pillows on the inner ring. My mom’s wreath used 13 pillows on the outer ring, 10 on the middle and 7 on the inner. You can decide how full you want your wreath to look and always do less. My Christmas wreath was made with 35 pillows; 14 for the outer ring, 12 for the middle ring, and 9 for the inner ring. My Packers wreath was made with 30 pillows; 14 for the outer ring, 9 for the middle ring, and 7 for the inner ring. So really, whatever works and looks best!
I like to plan my wreath before starting to tie them on, whereas my mom prefers to start tying them on and figure it out as she goes. There is no wrong way to make these wreaths! The great thing about these pillows just being tied on is you can adjust things easily. You can also slip the pillows out of the ribbon loops if you just need to swap pillows.
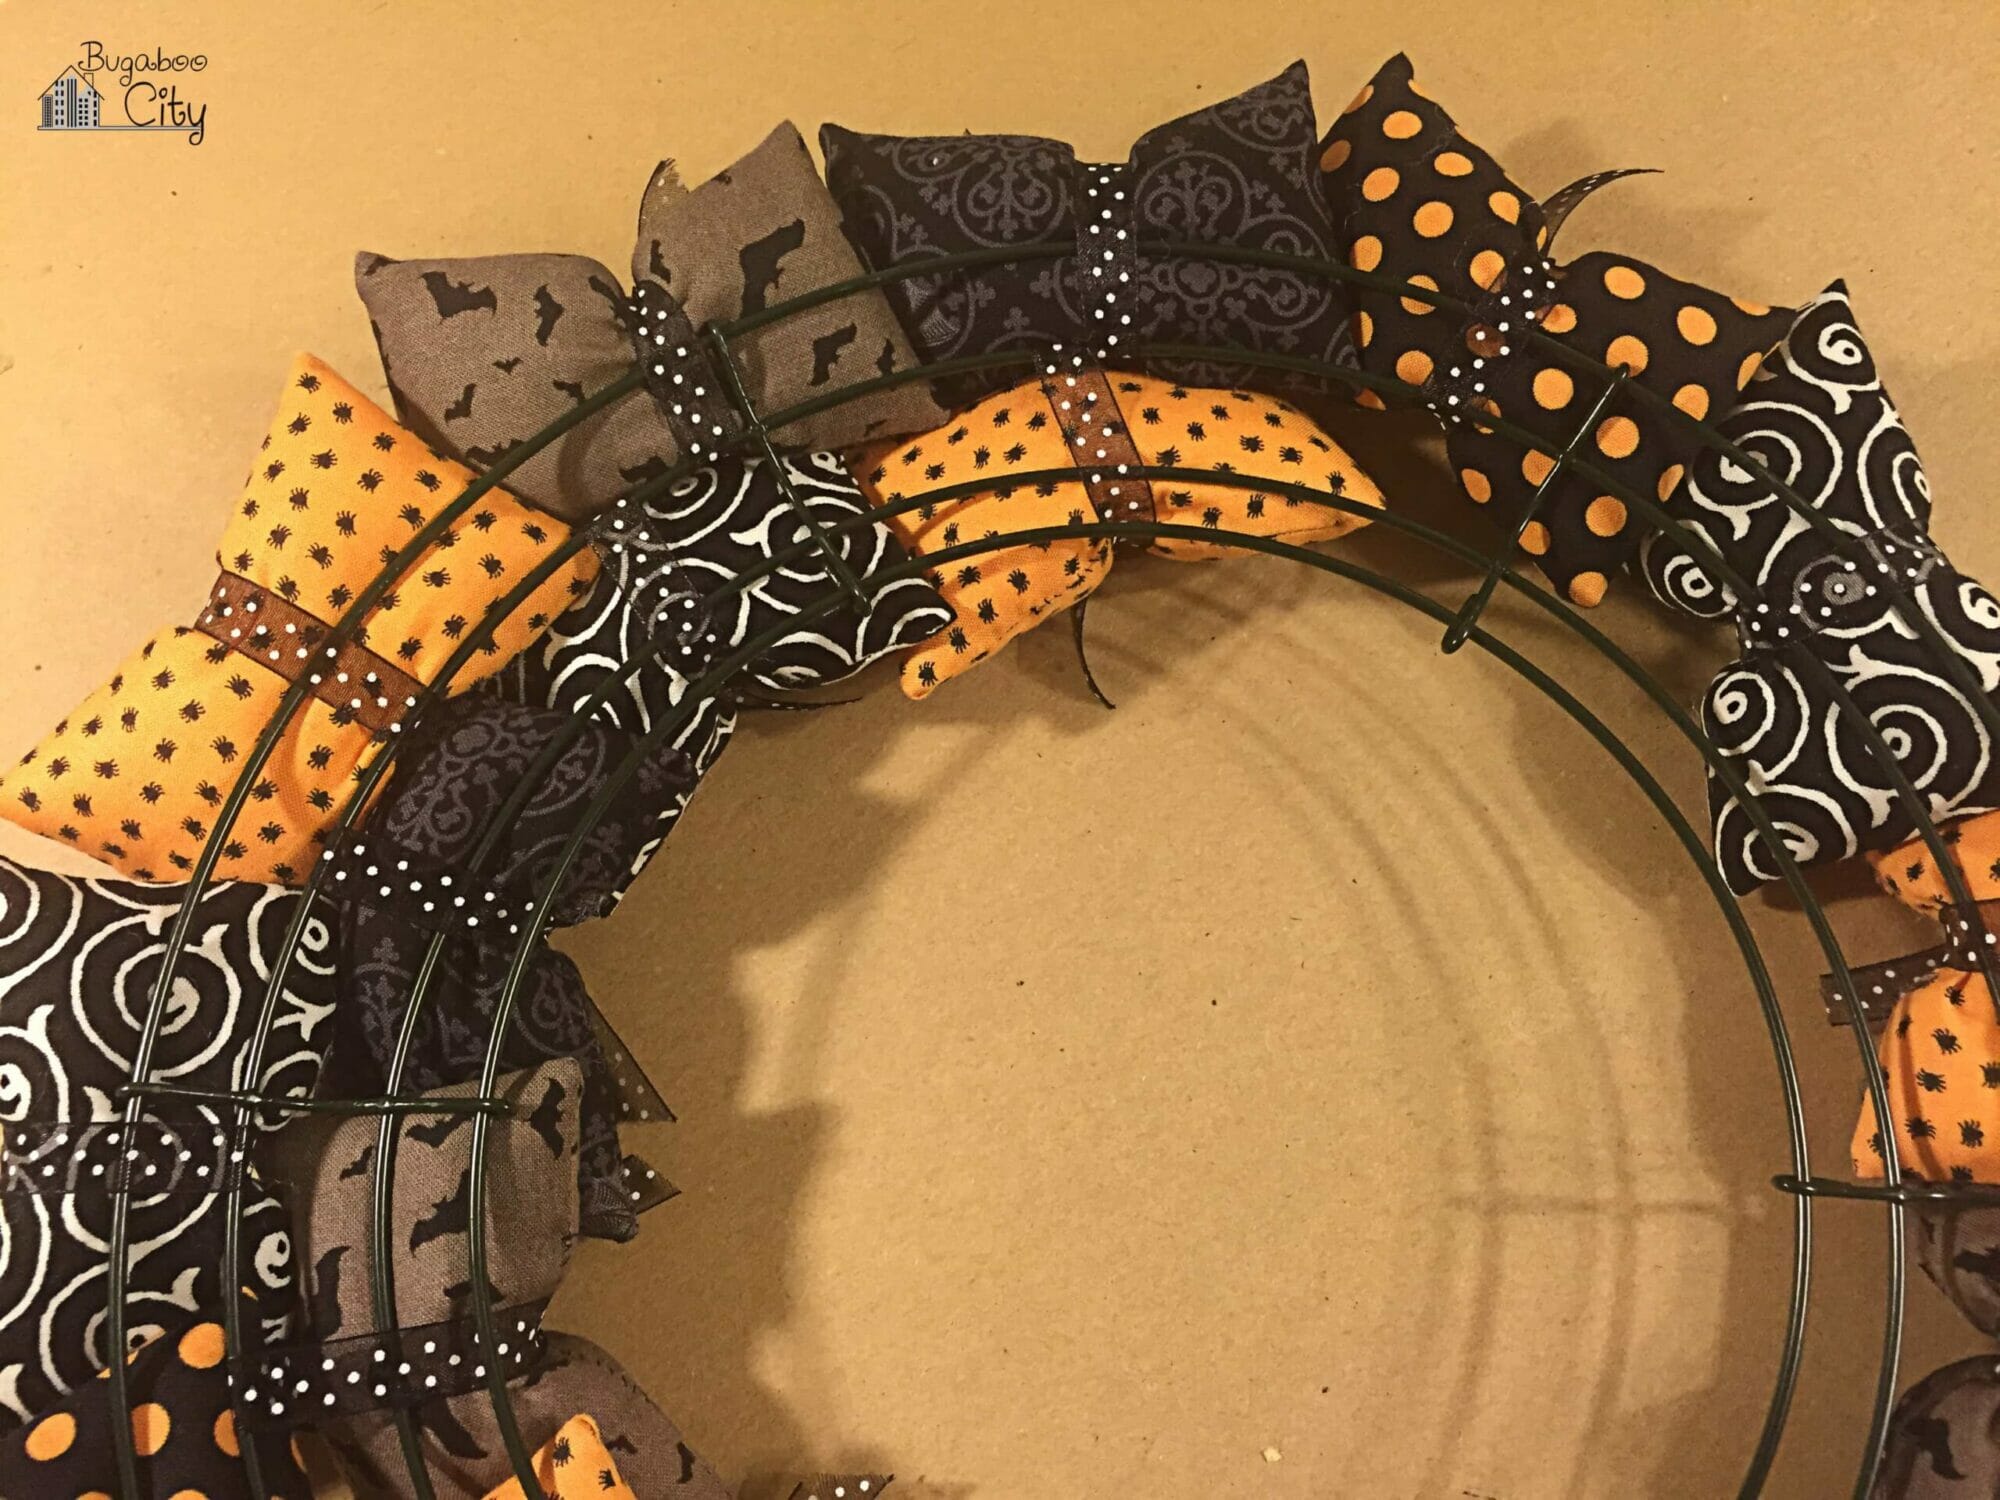
STEP 6: Add a little ribbon loop to the back so it can be hung up. The wreath is finished and ready to be enjoyed!
My mom’s Halloween Pillow Wreath, shown below, uses 31 pillows.
My Halloween Pillow Wreath, shown below, uses 32 pillows. I have an extra pillow in the center circle of pillows.

I love the way this wreath turned out! The fabrics look great together and I love the sheer black polka dot ribbon my mom found. It reminds me of little bats on each pillow!
> Check out my Ultimate Guide to Making Pillow Wreaths

Get the Free Pillow Wreath Pattern!
Fill out the purple form below with your first name and email address! The free file will be sent straight to your inbox! If you have already filled out the form below, don’t worry – you won’t be added to my list twice! This freebie is for personal use only. I hope you enjoy crafting something special. Please let me know if you have any questions :)





Cute! I’ve got a Craft Gossip post scheduled for tomorrow evening that links to your tutorial: http://sewing.craftgossip.com/?p=85069 –Anne
Thank you for sharing Anne!