How to Frame a Jigsaw Puzzle
Learn a quick and simple way to frame a favorite jigsaw puzzle! Puzzles make unique and interesting decor for your home!
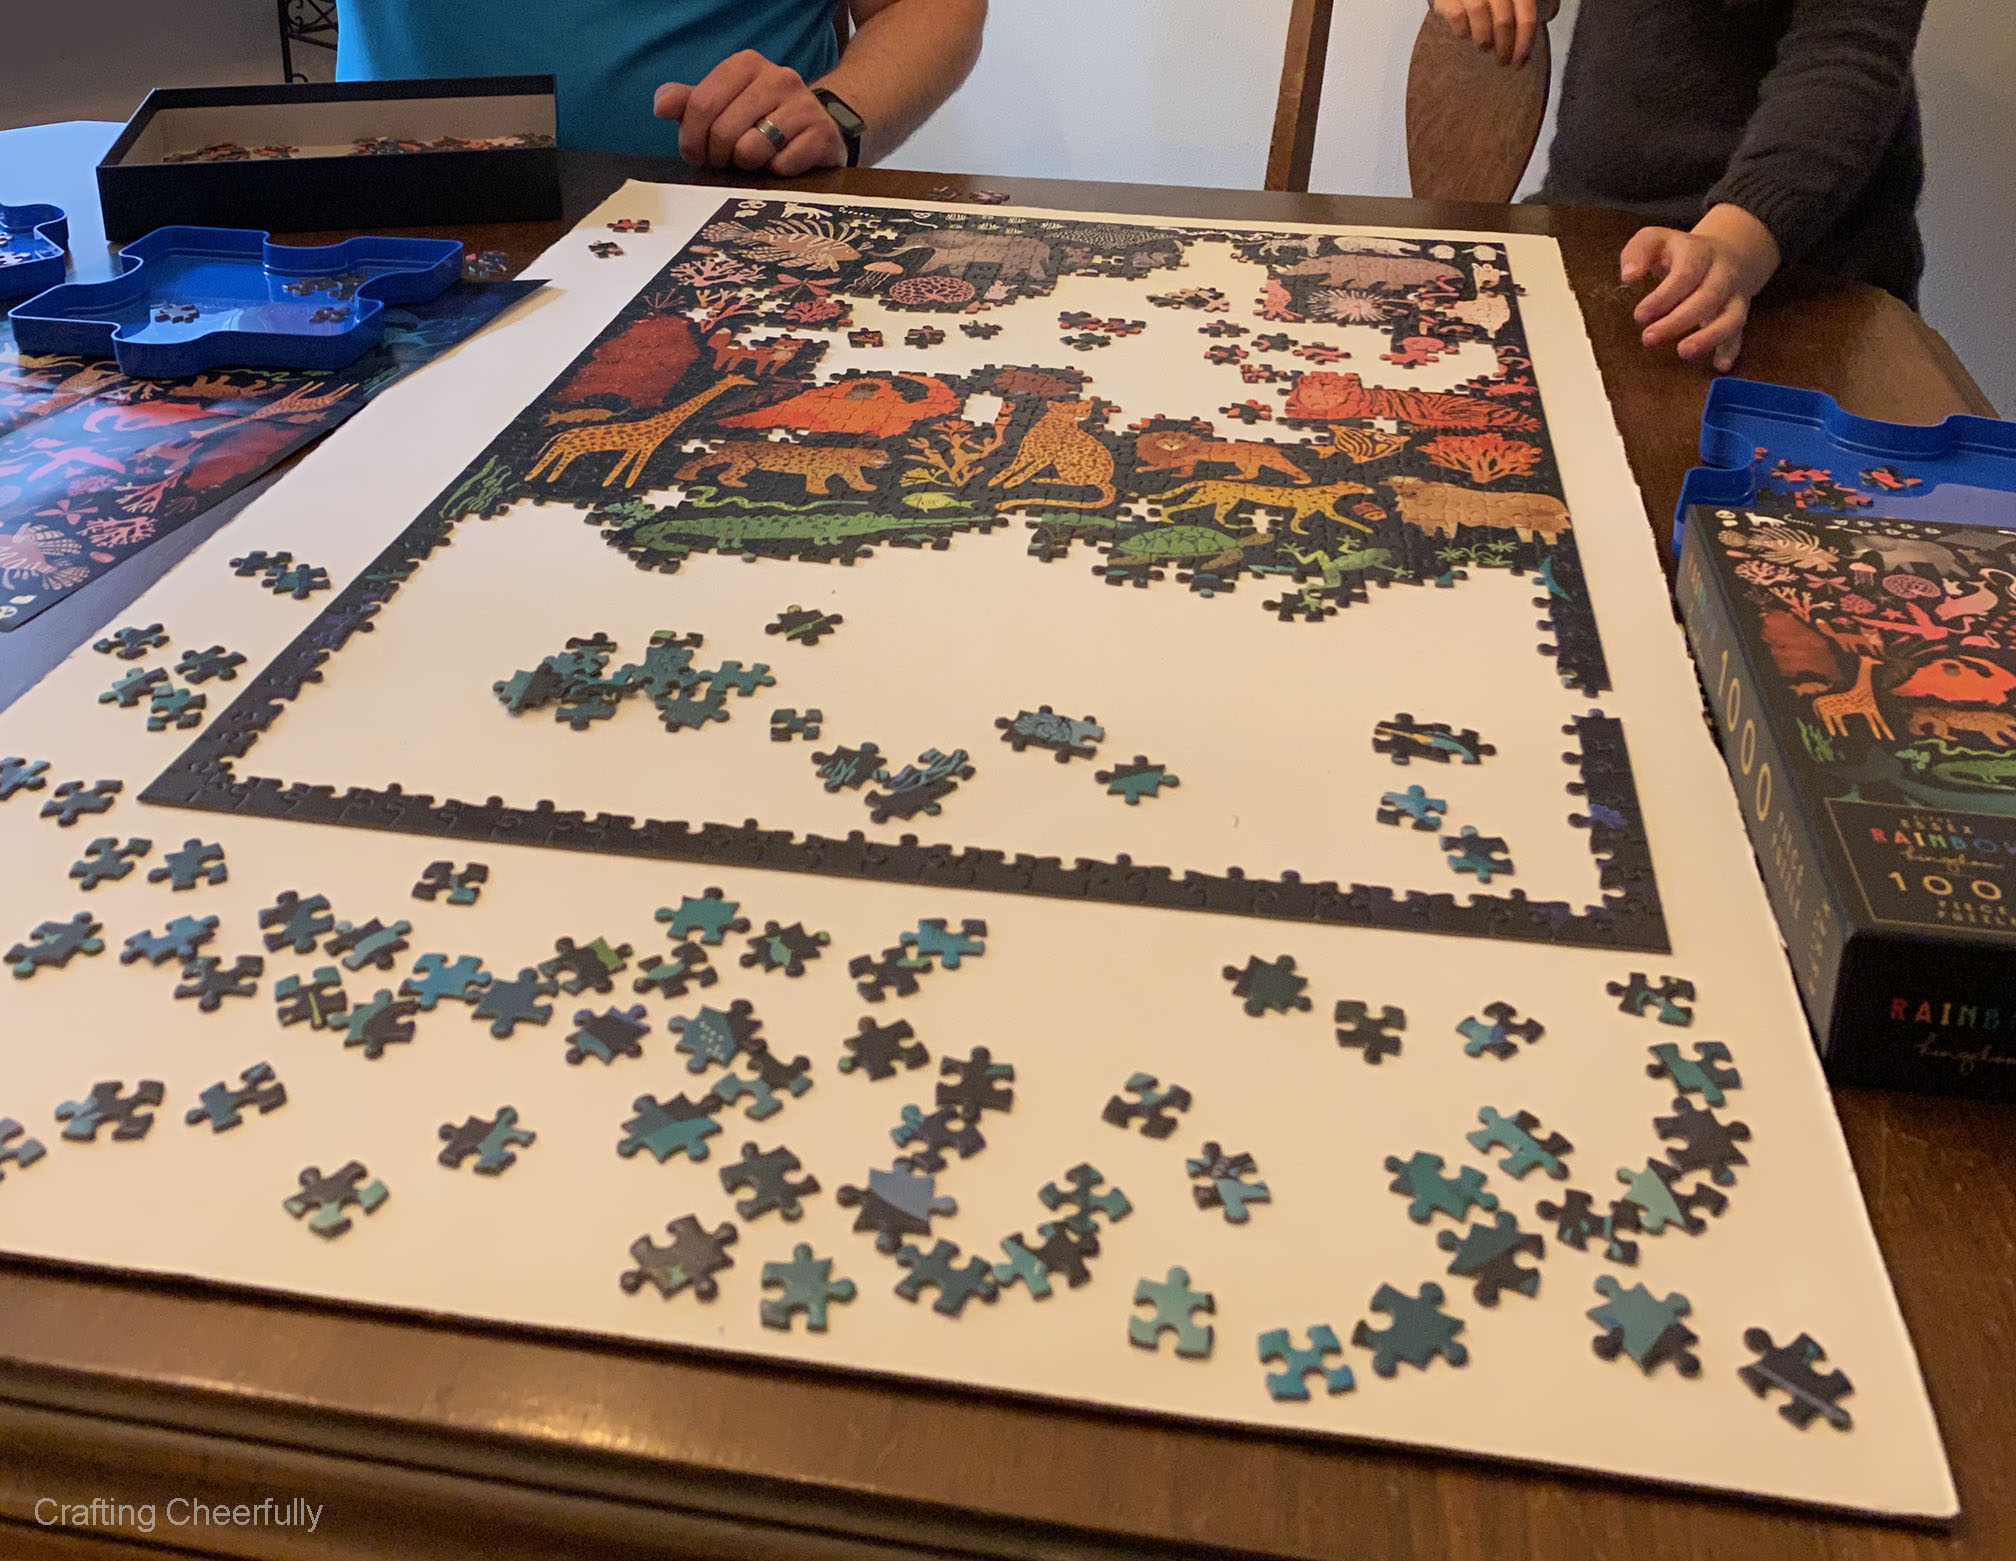
Hello Crafty Friends! Have you completed a jigsaw puzzle and thought it would look amazing framed? Today I’m sharing a quick and simple way to frame a puzzle to display in your home. It only takes a couple supplies and doesn’t involve any glue!
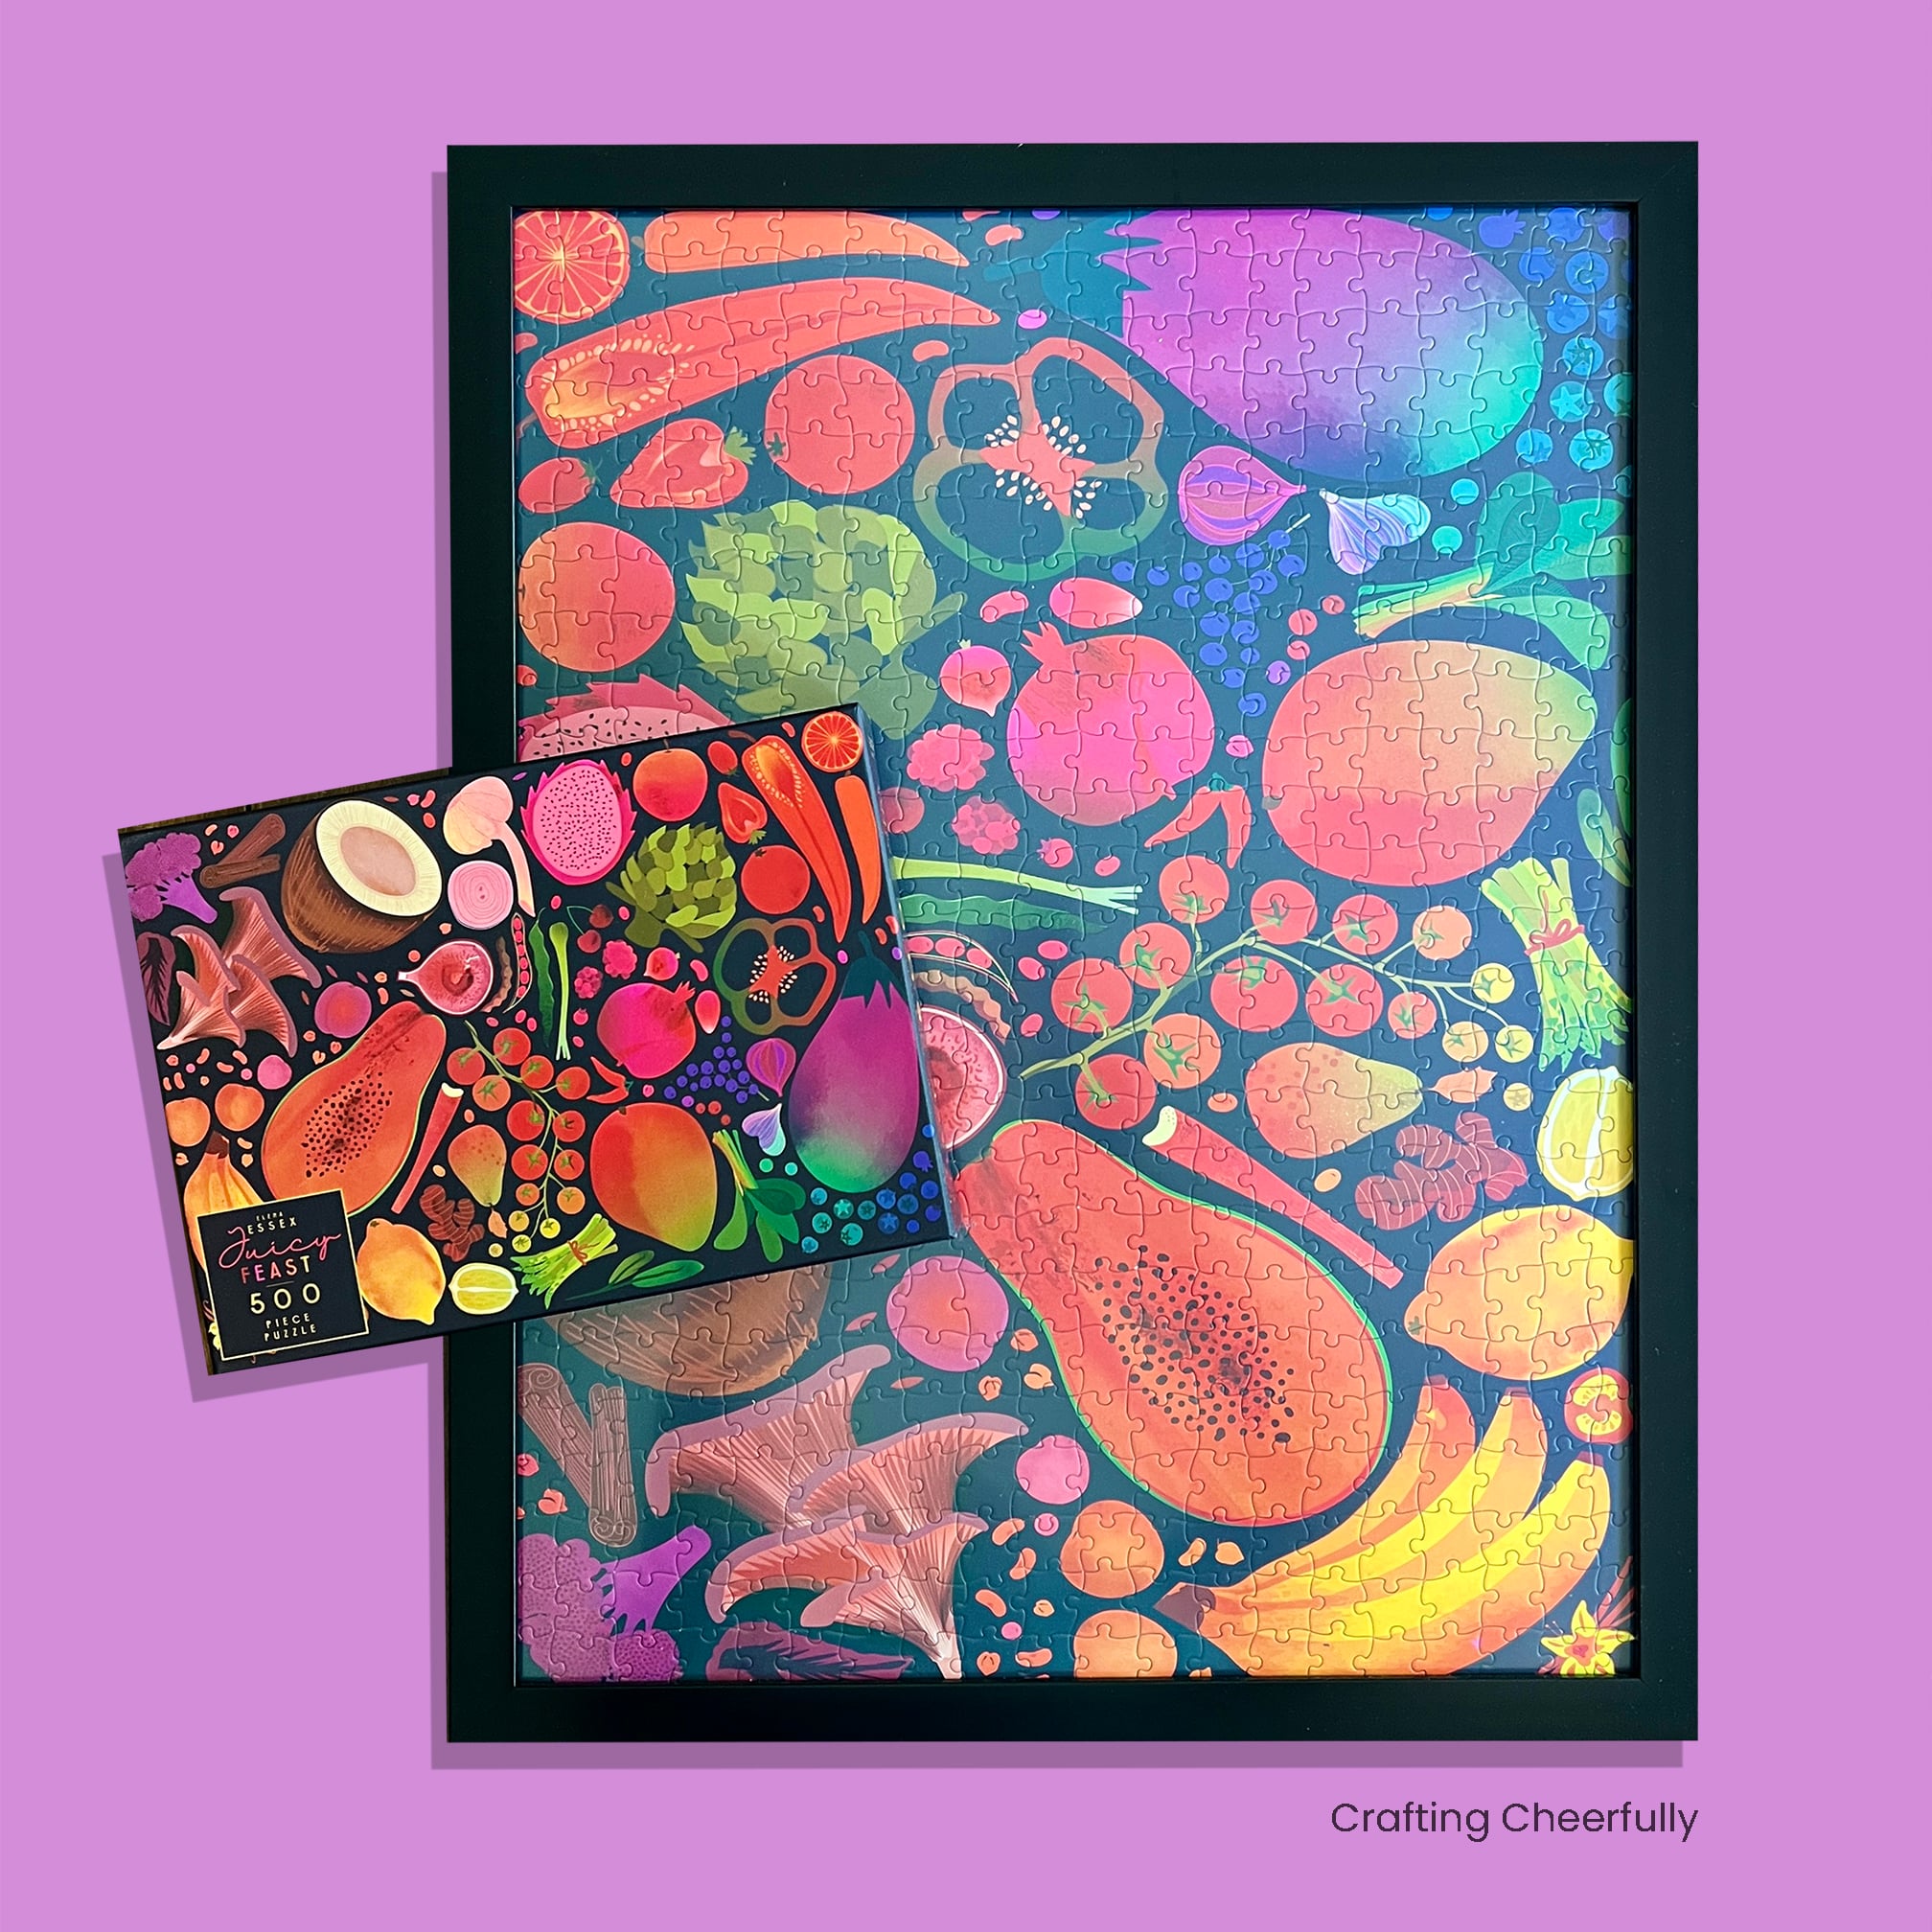
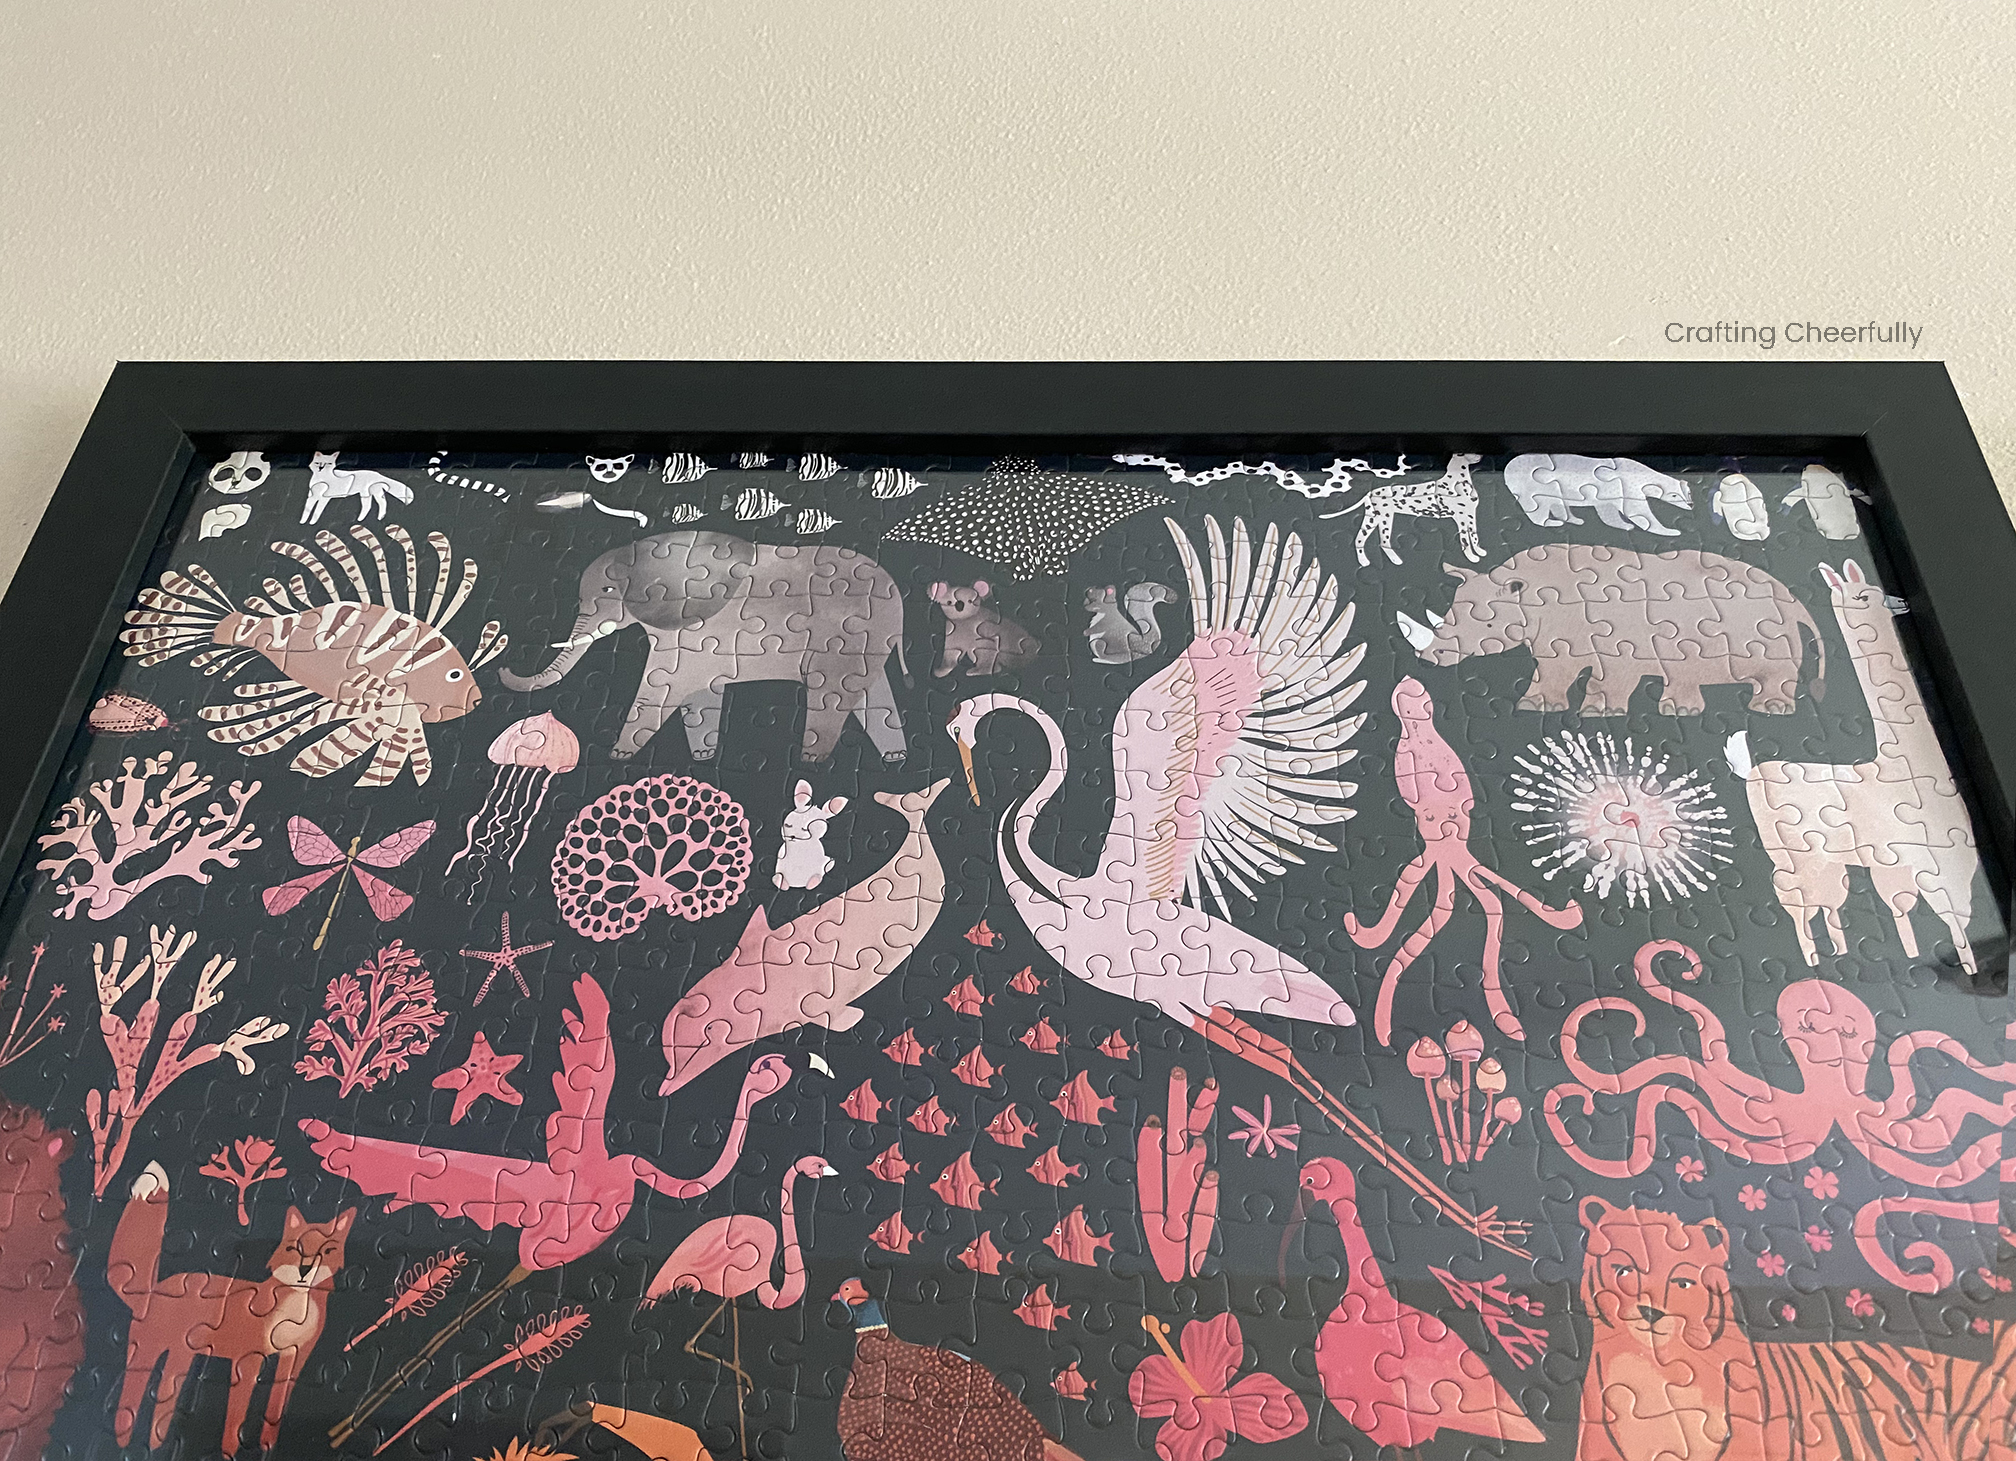
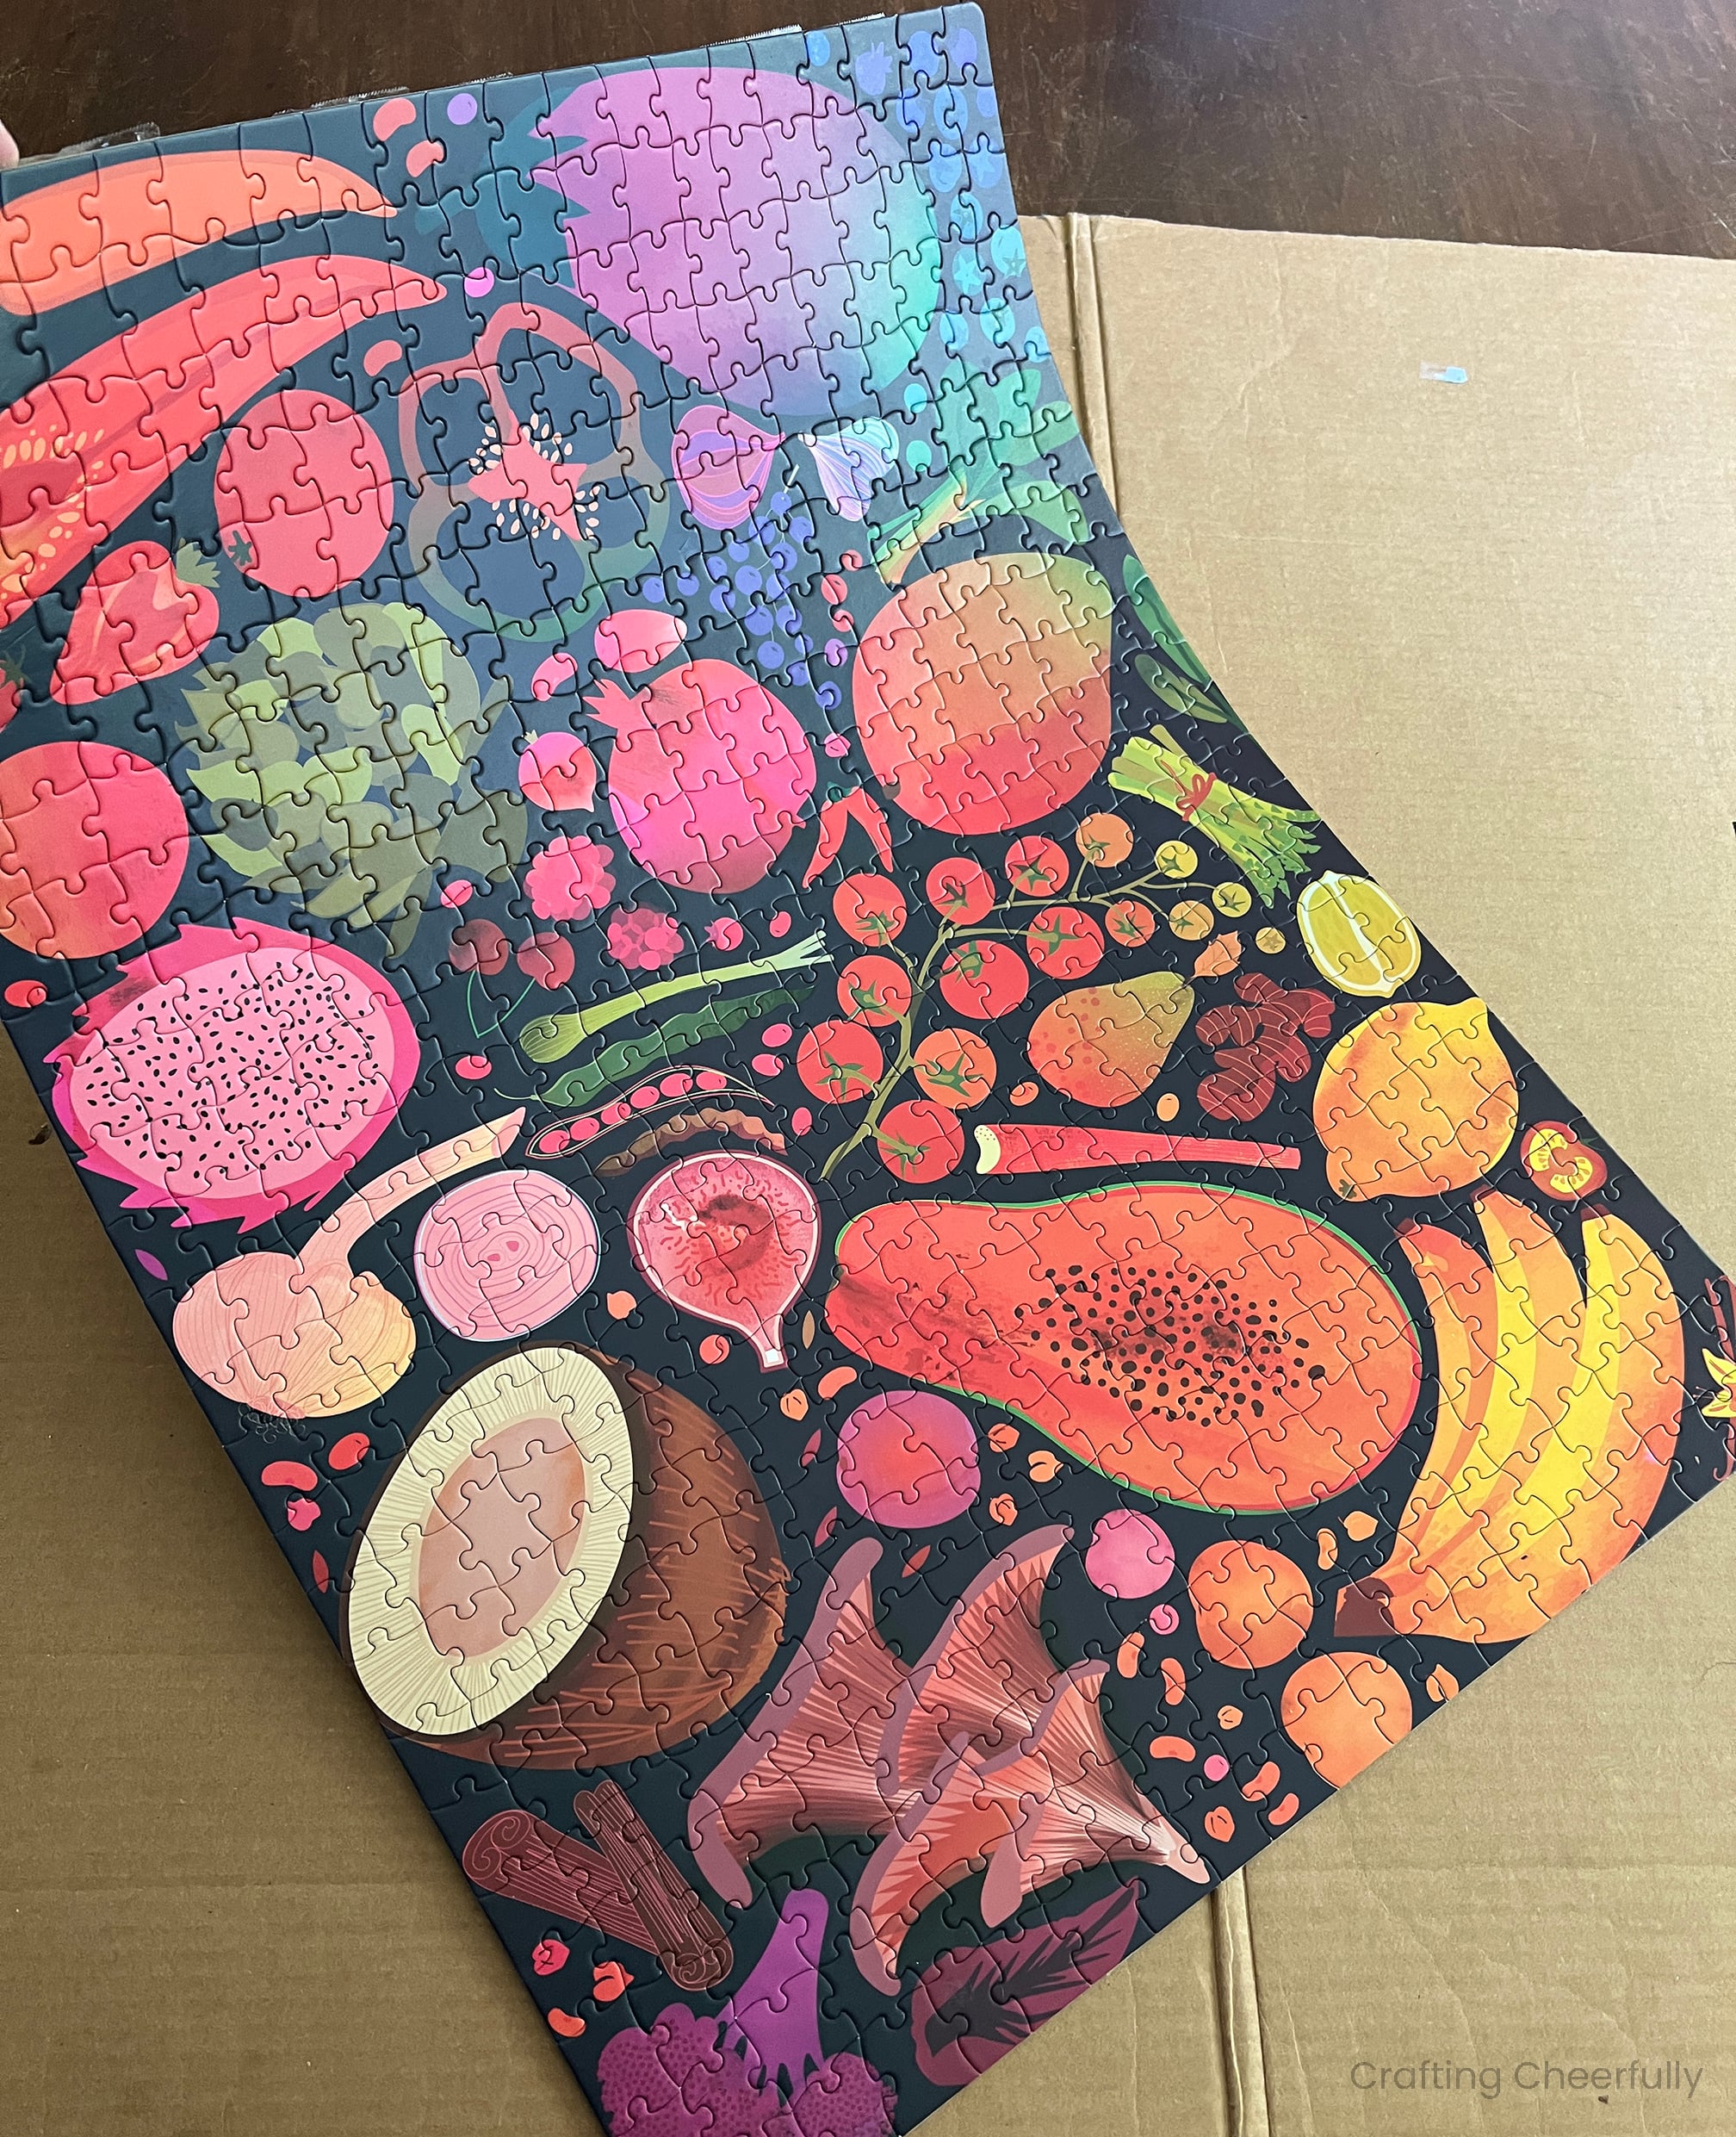
A few years ago we put together an animal puzzle called Rainbow Kingdom by Elena Essex. We all loved it so much we decided to frame it! When I see the puzzle hanging on our wall it reminds me of a chilly, winter afternoon with my family assembling this puzzle. Since then we’ve framed a few more, including this fun fruit and vegetable puzzle. It hangs in a little nook in our kitchen and adds a fun pop of color. I thought I would share the process of framing a jigsaw puzzle in case anyone else is hoping to quickly frame one of their own puzzle creations!
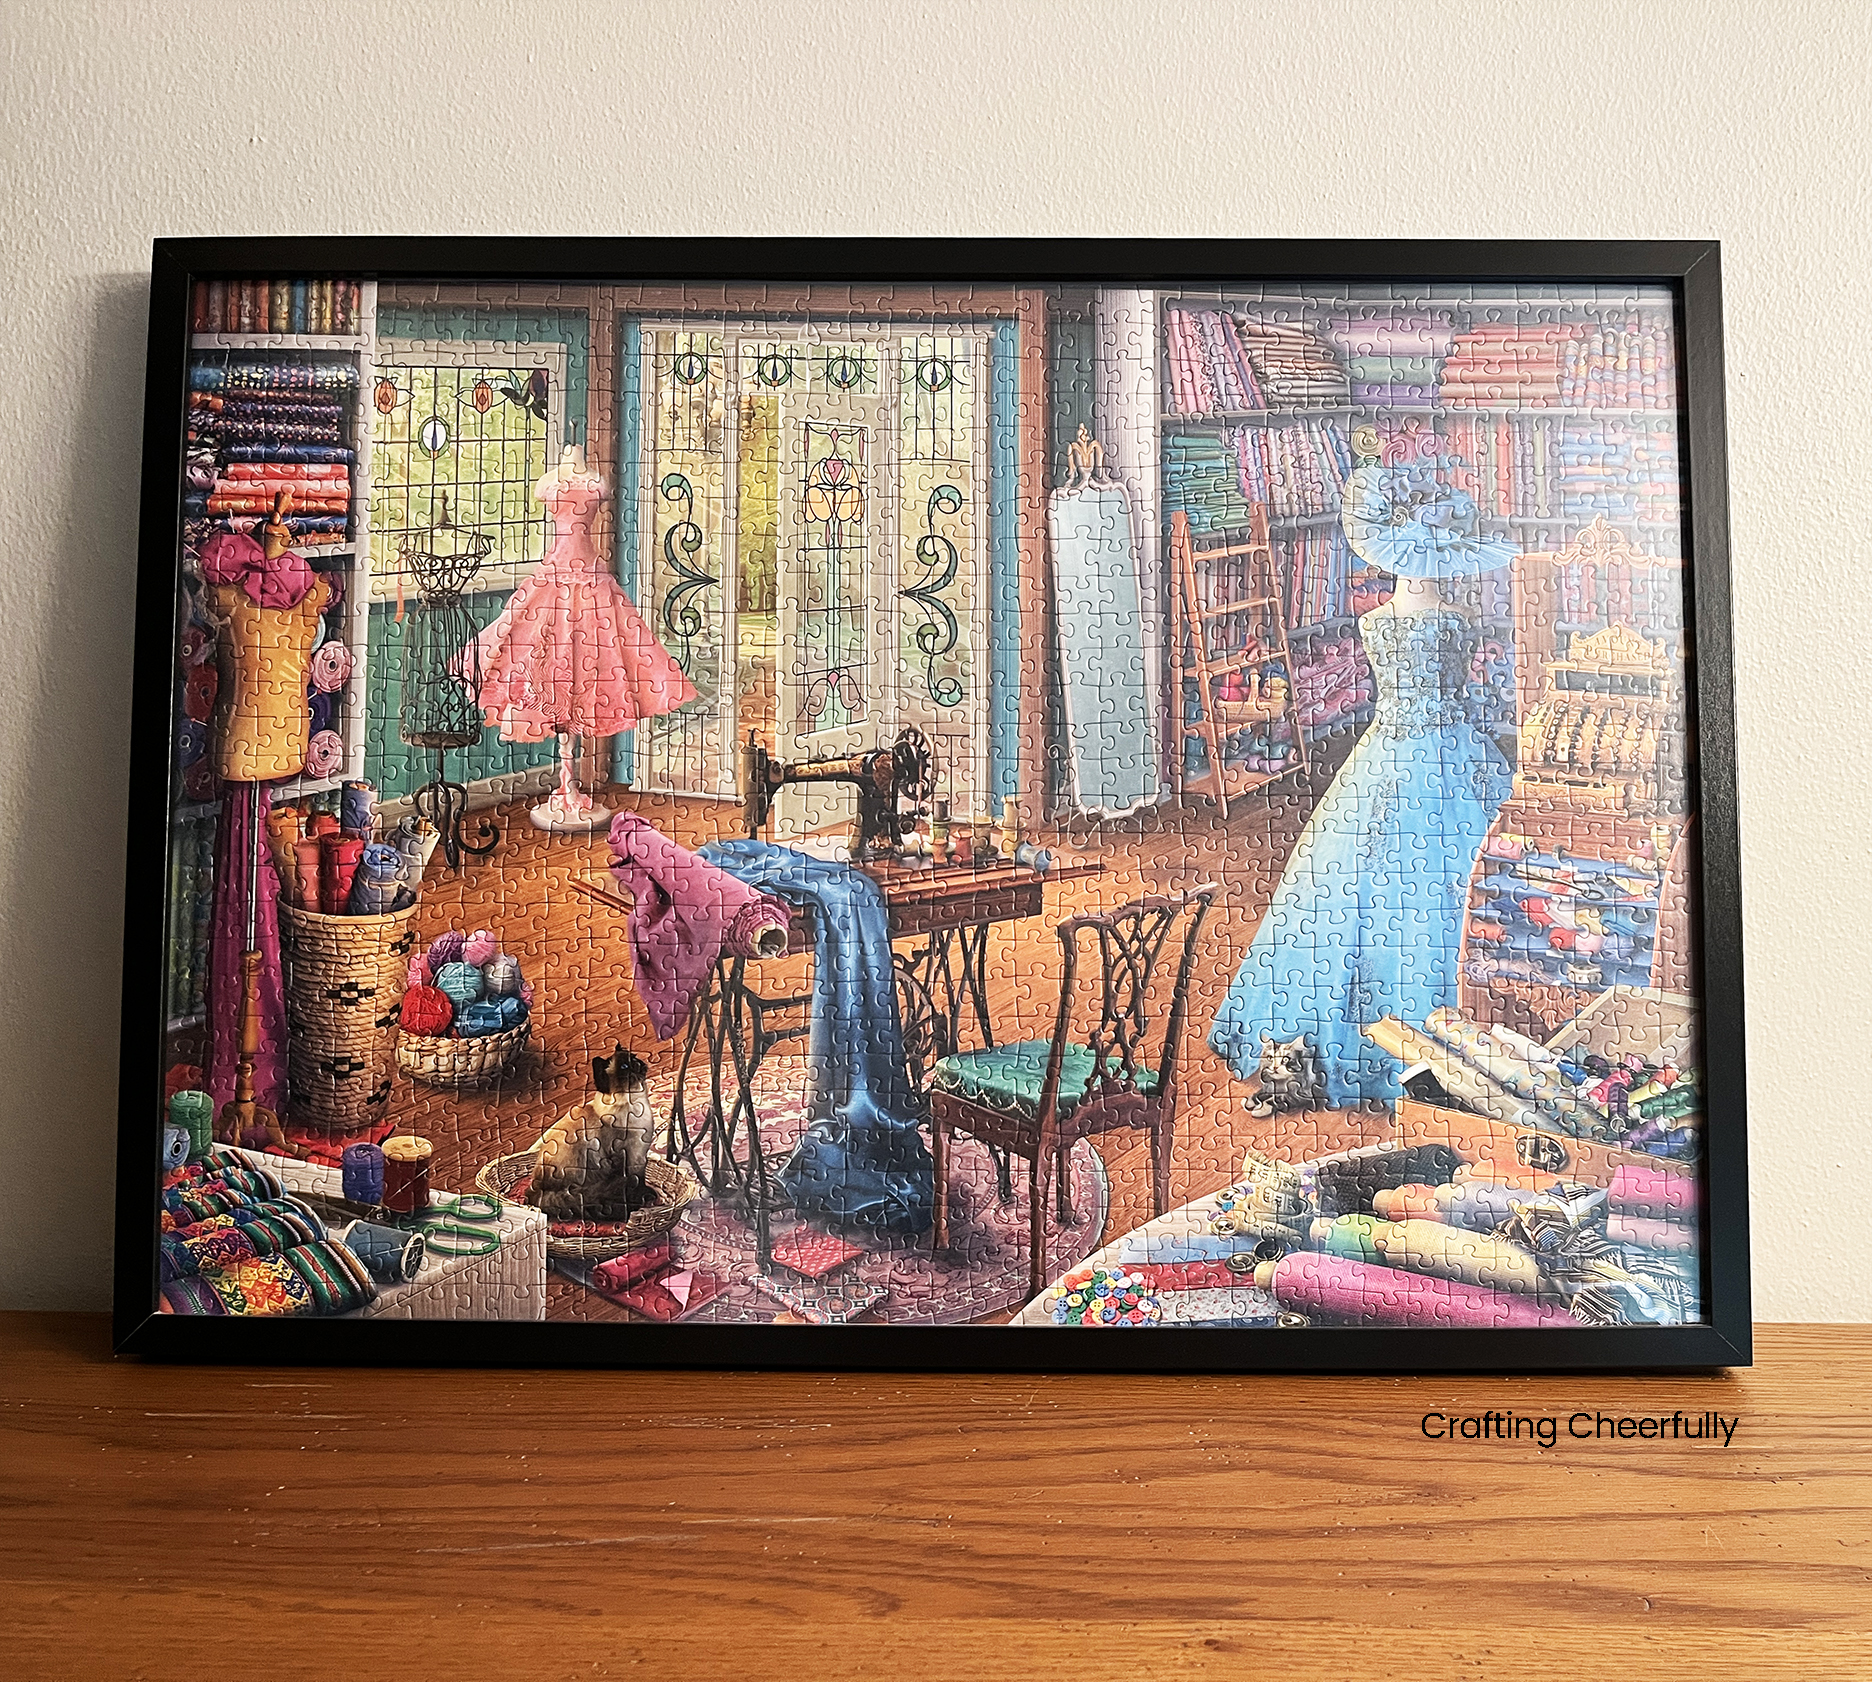
Below is a puzzle I gave my mom as a gift for Christmas one year. After she finished the puzzle, she framed it and displays it on top of her sewing cabinet.
Supplies Needed
- Puzzle of course!
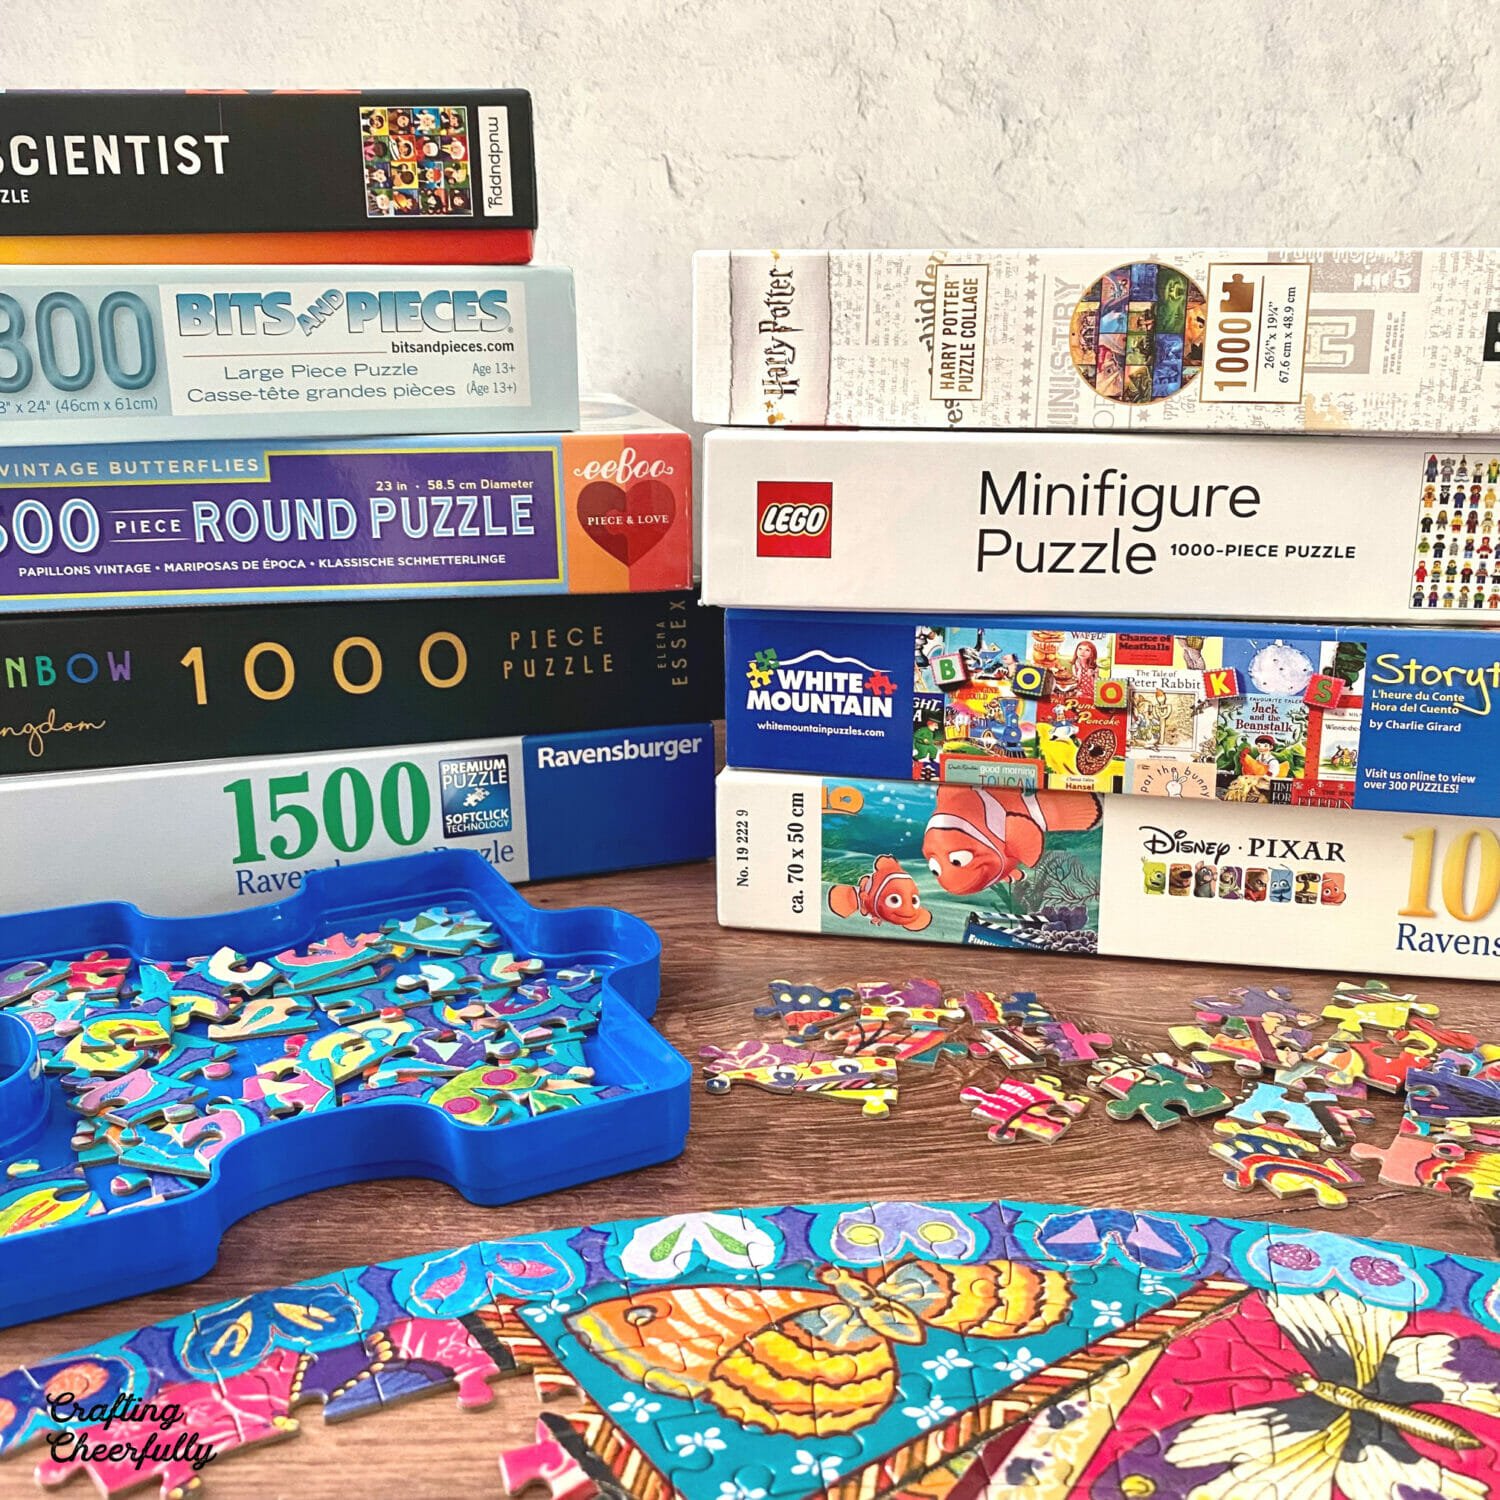
- For this tutorial you’ll see framed puzzles by Elena Essex, Juicy Feast and Rainbow Kingdom and Ravensburger Seamstress Shop.
- Frame that fits your puzzle
- I used a Target Room Essentials 18″ x 24″ Profile Poster Frame for my Juicy Feast Puzzle
- I used a 19.7″ x 27.6″ Black Puzzle Frame from Amazon for my Rainbow Kingdom Puzzle
- Board – this can be a poster board, foam board, a large piece of cardboard – something to help you flip the puzzle over.
- Clear packing tape
- Sharp scissors
How to Frame a Puzzle
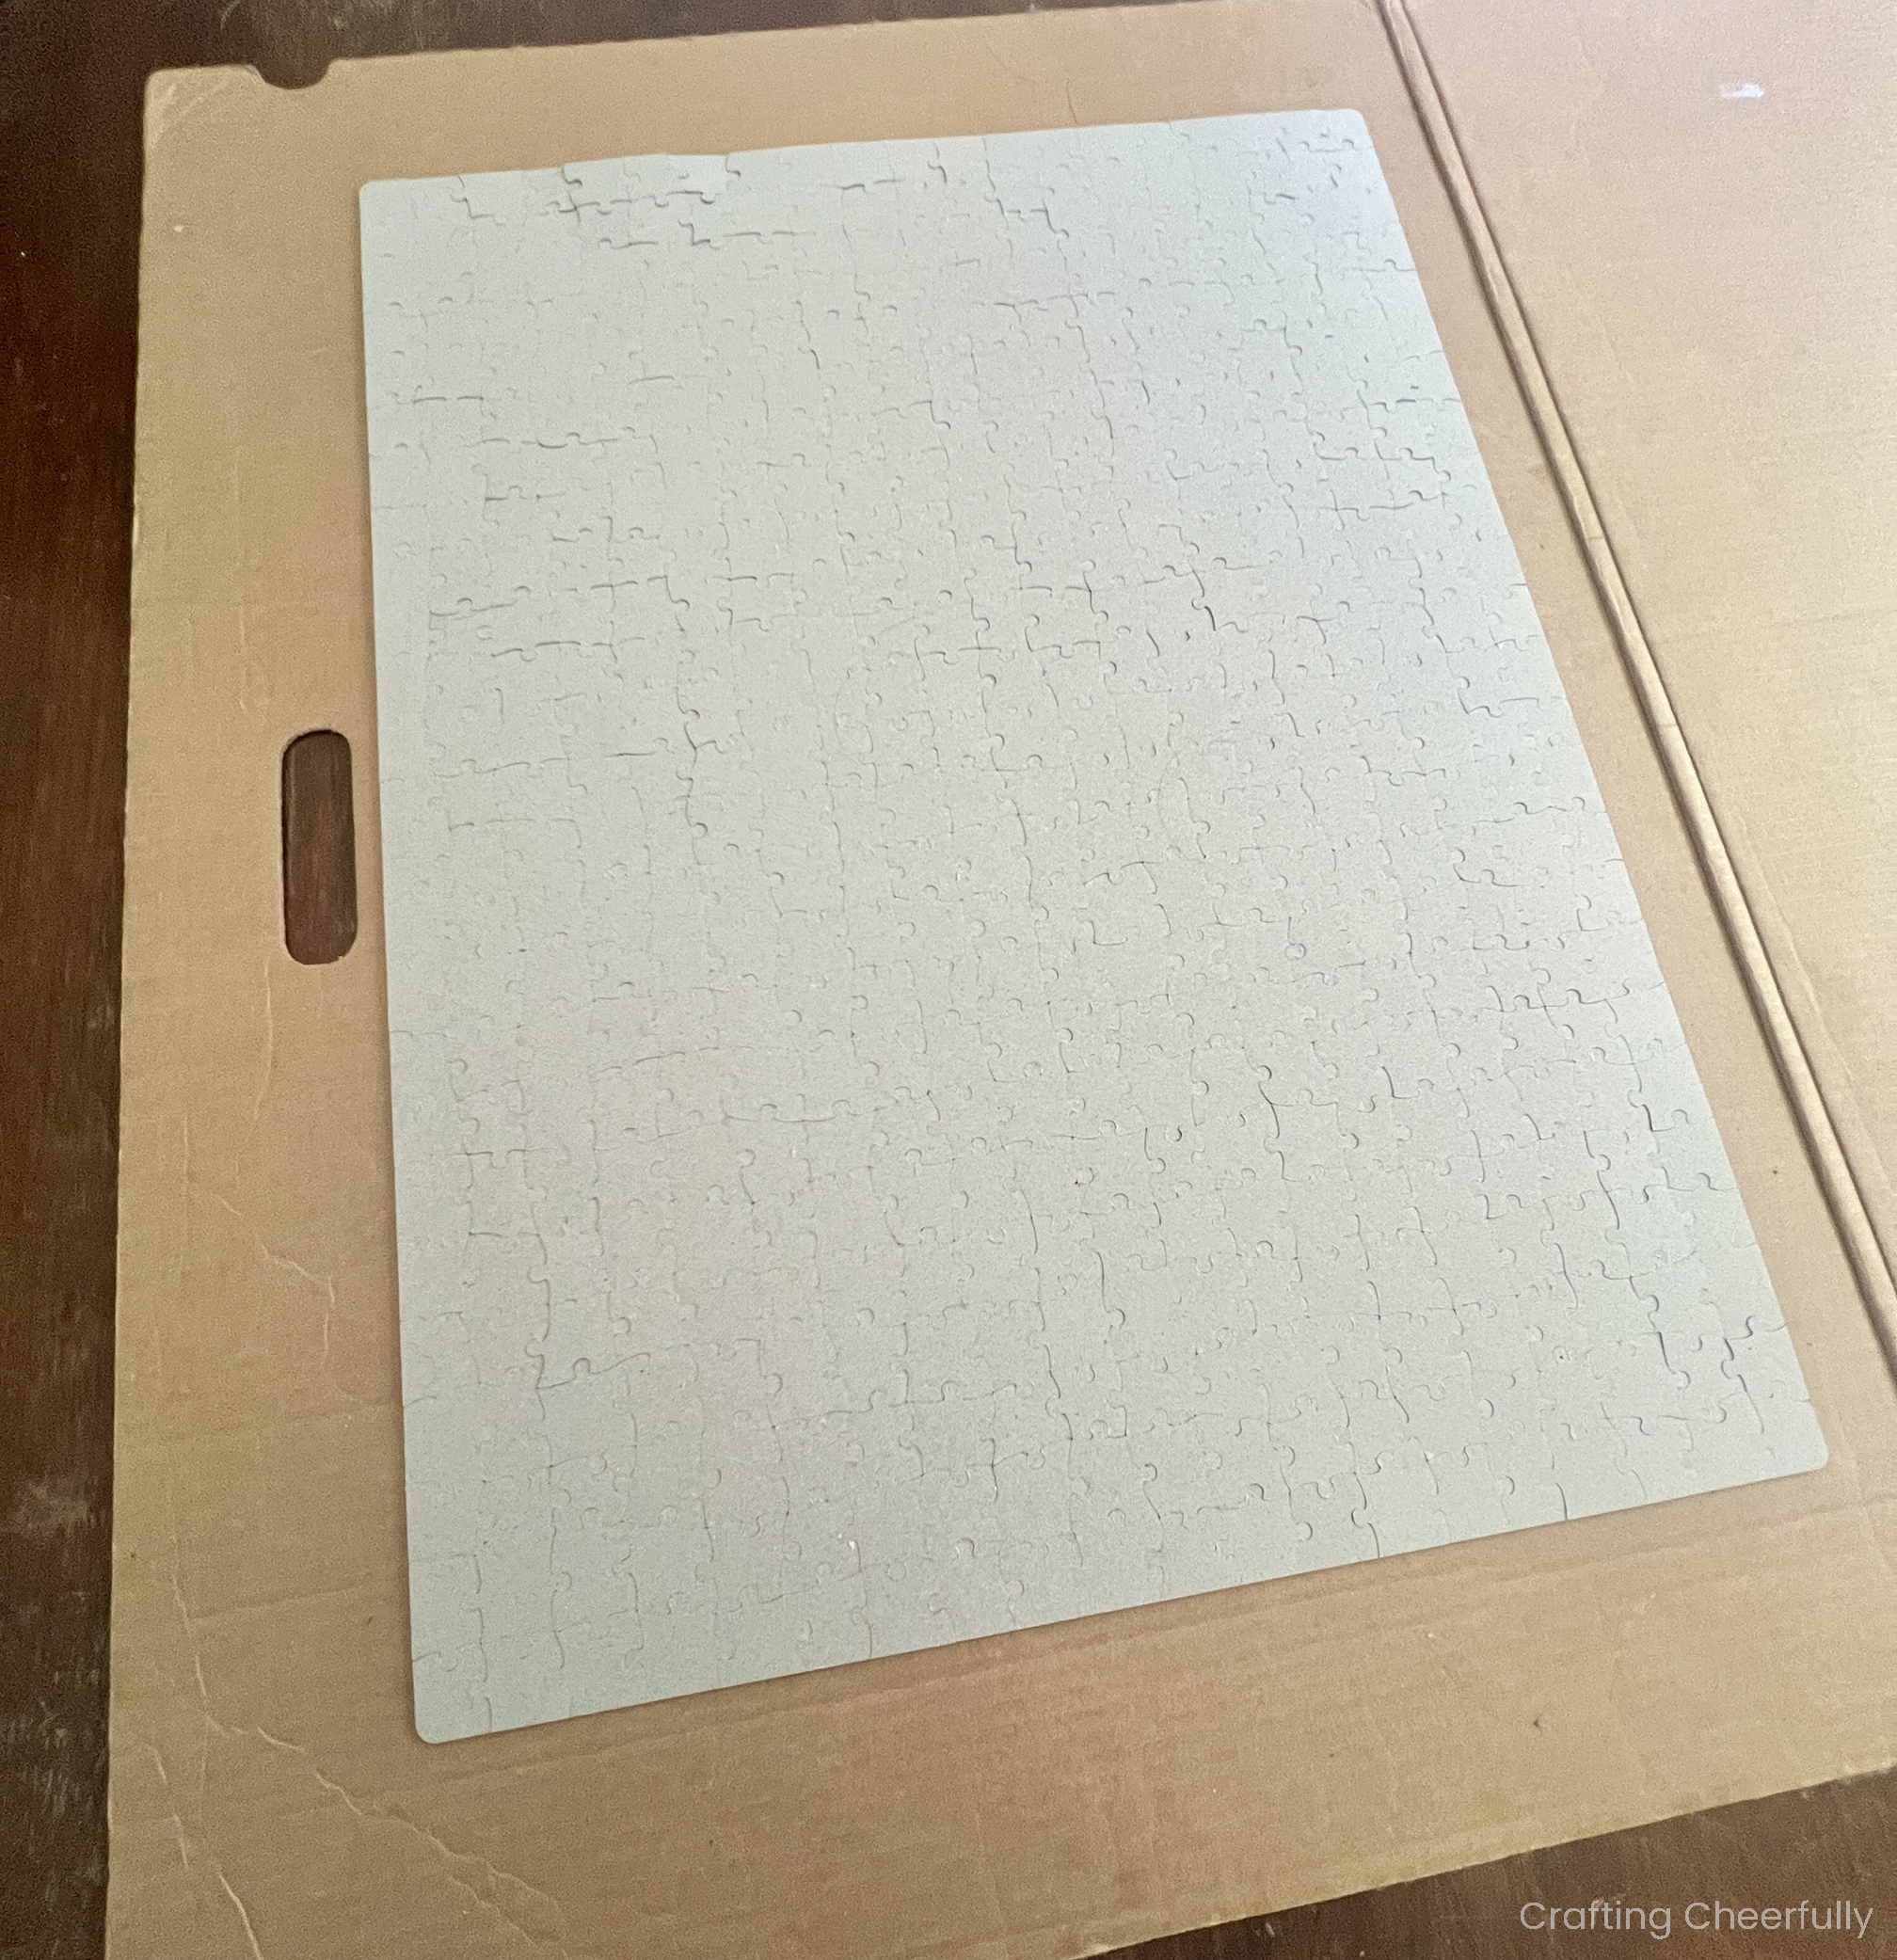
Step One: Start by flipping the puzzle over so the back side is facing up. I like to do this with my giant cardboard folder. We generally build our puzzles on a cardboard folder or foam board like in the picture below. This makes it easy for us to store our puzzle as we are working on it if we aren’t able to finish it in one sitting. Building the puzzle on a board makes it really easy to flip. Simply place another board (cardboard, foam or poster board) on top of the puzzle and flip it between the boards.
If you didn’t build the puzzle on a board, you can slide it onto a poster board carefully. Sometimes you can even lift the puzzle up slightly if the pieces are a tight fit.
Step Two: Tape the back of the puzzle. Using clear packing tape, cover the back of the puzzle with strips of clear packing tape. You can overlap your strips of tape or place them side by side. Use your hand, or a Cricut Scraper if you have one on hand, to smooth the tape as you go.
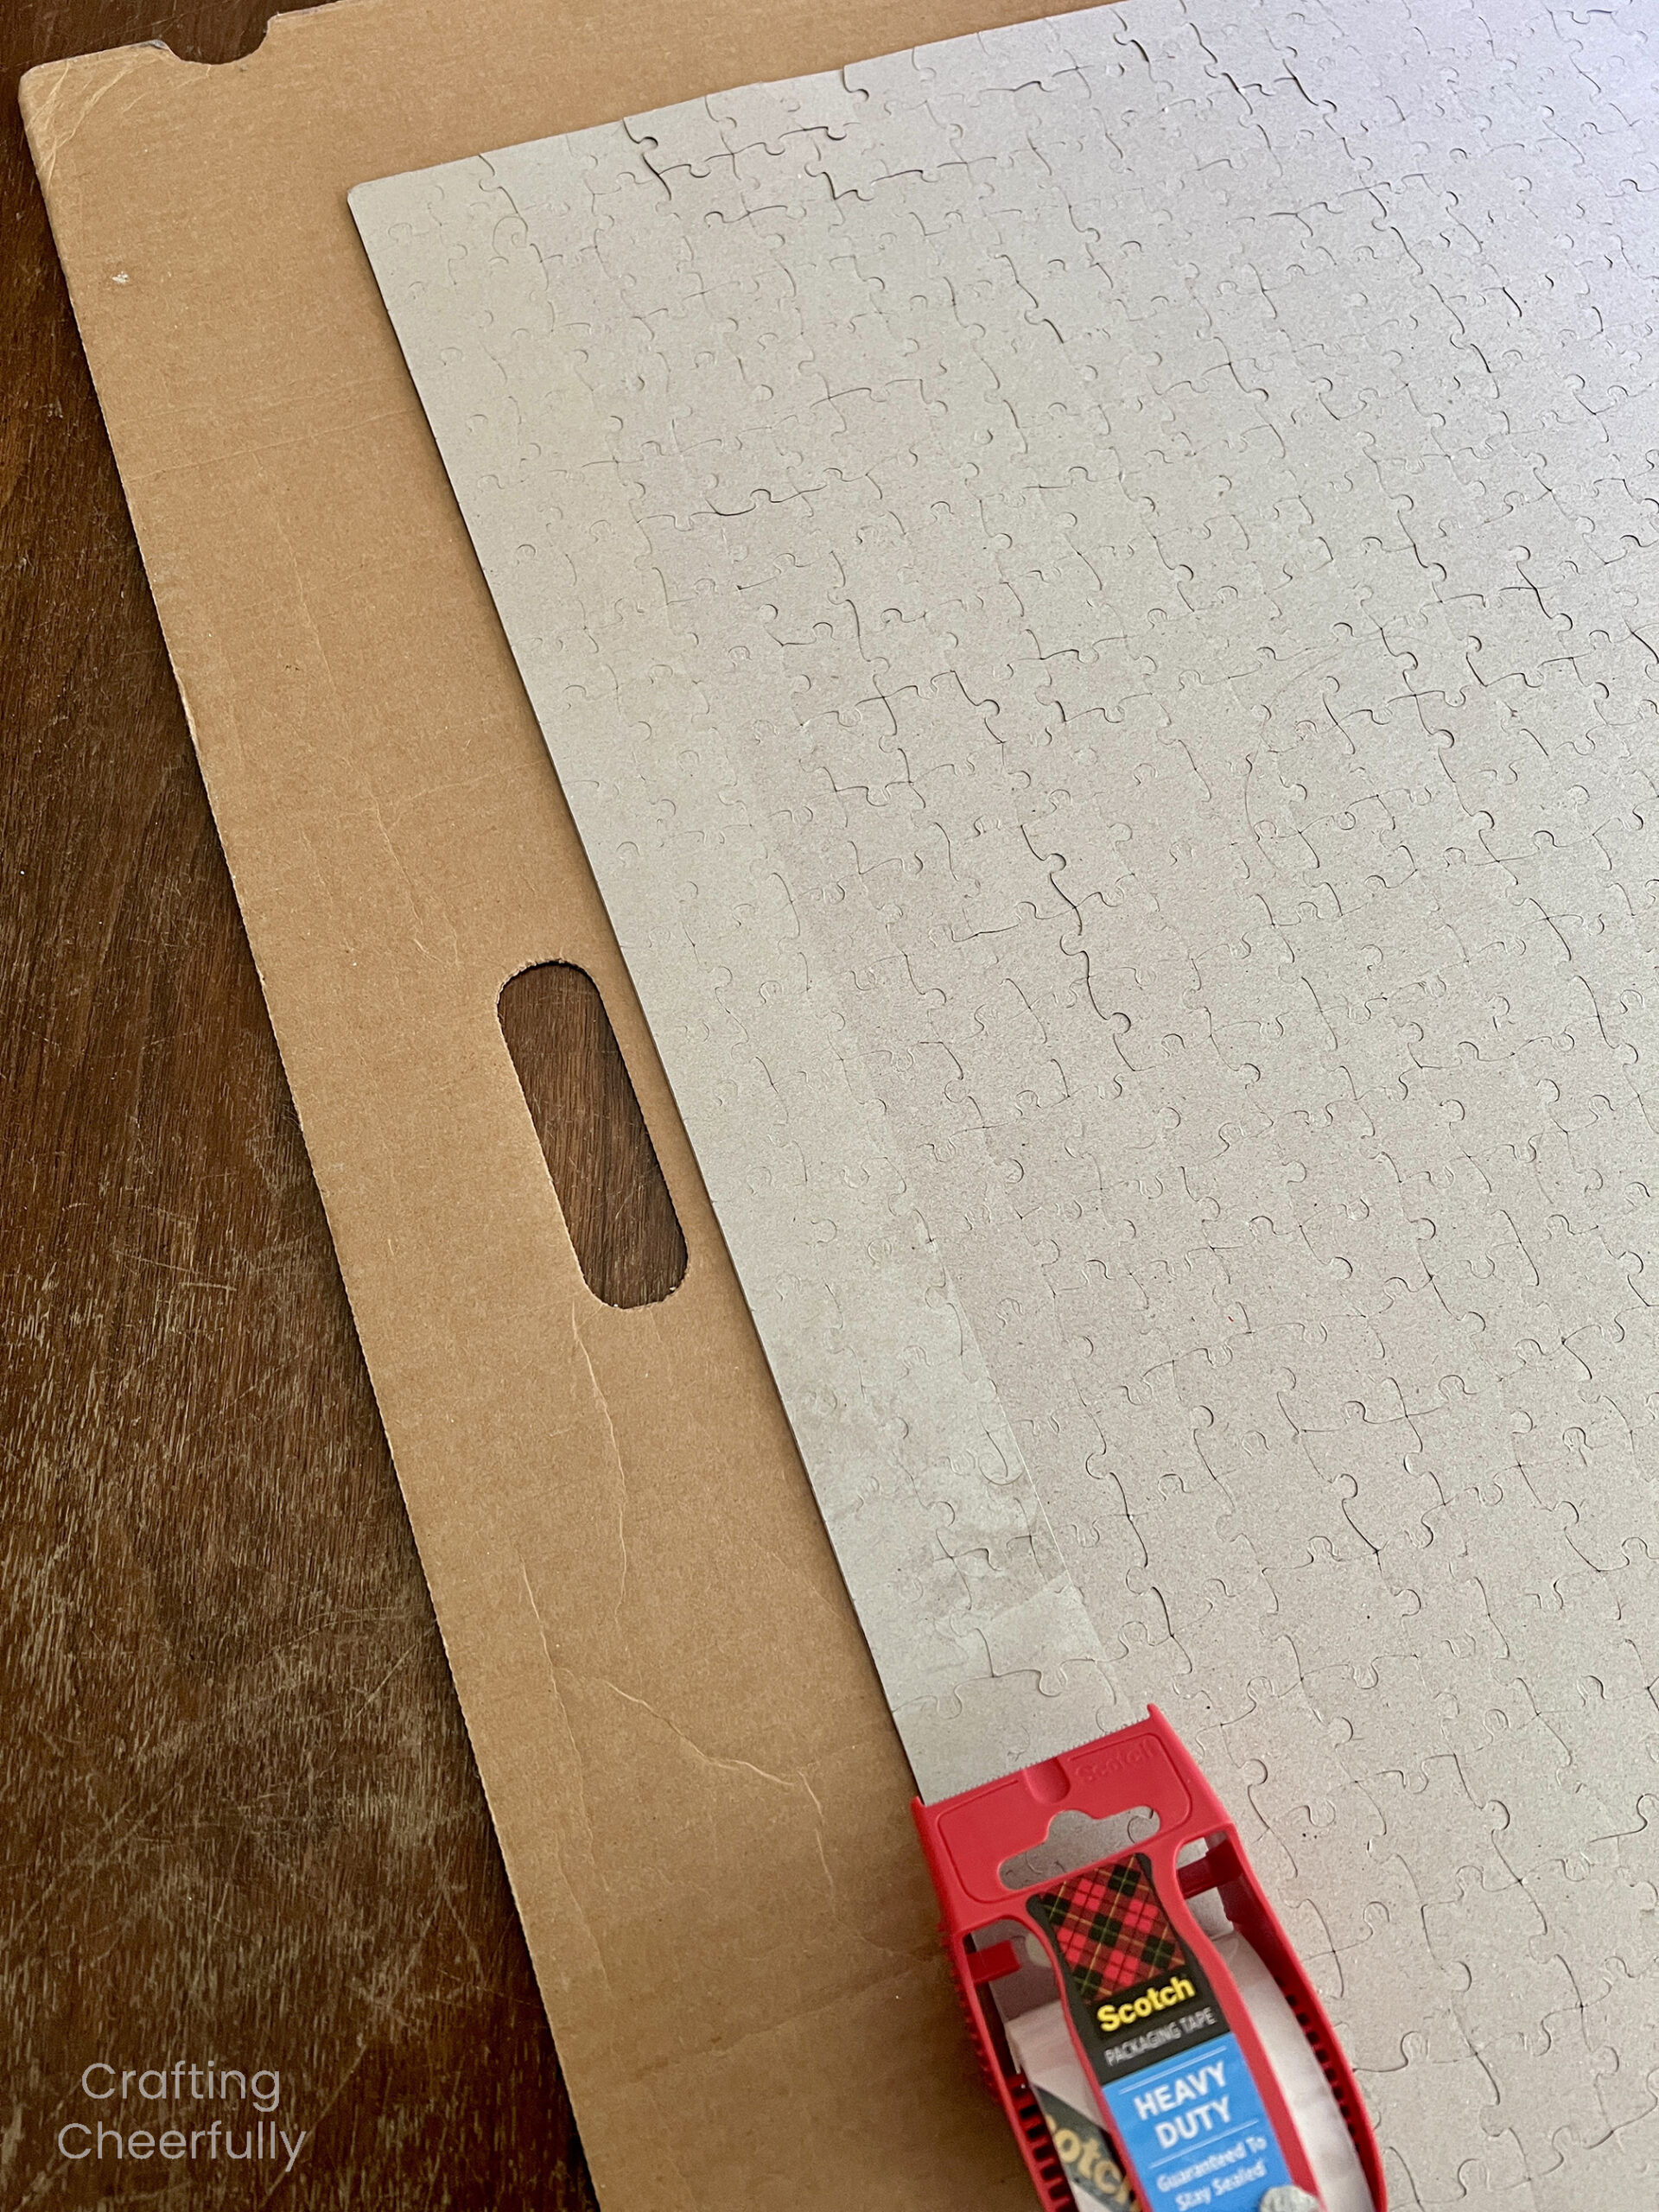
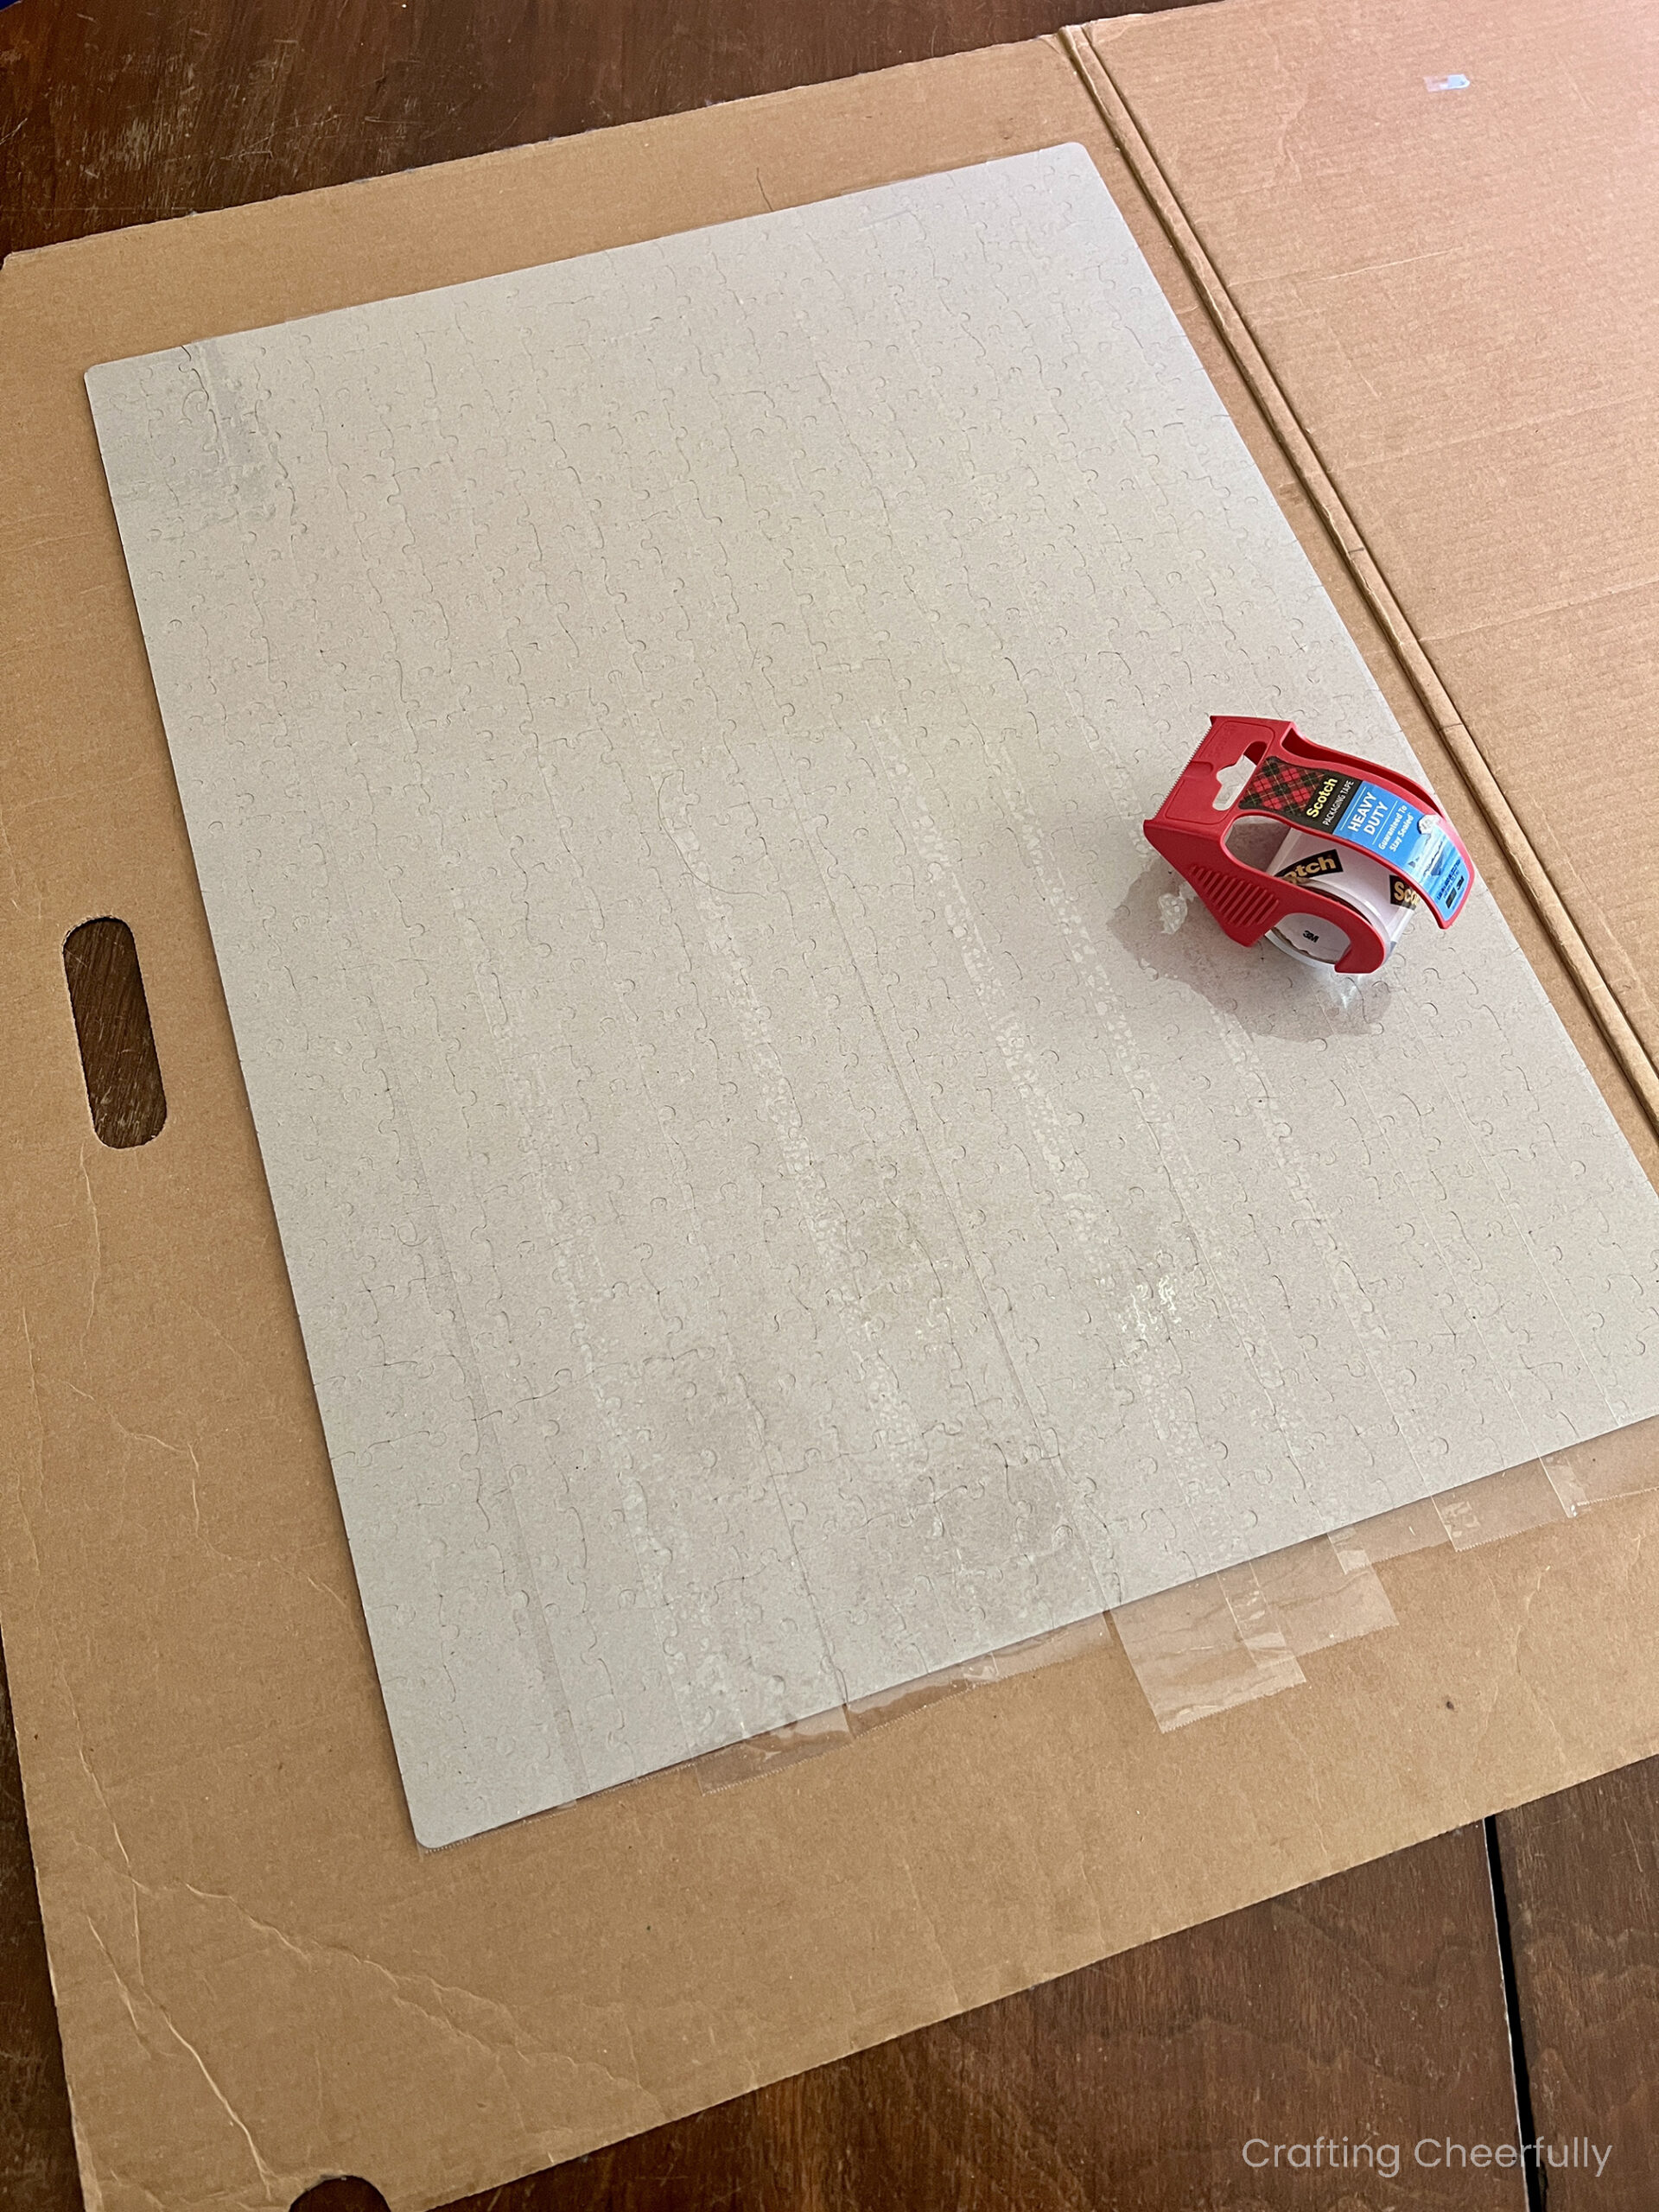
Once the entire back of the puzzle is covered with packing tape, use a scissors to trim any tape that is hanging over the sides of the puzzle.
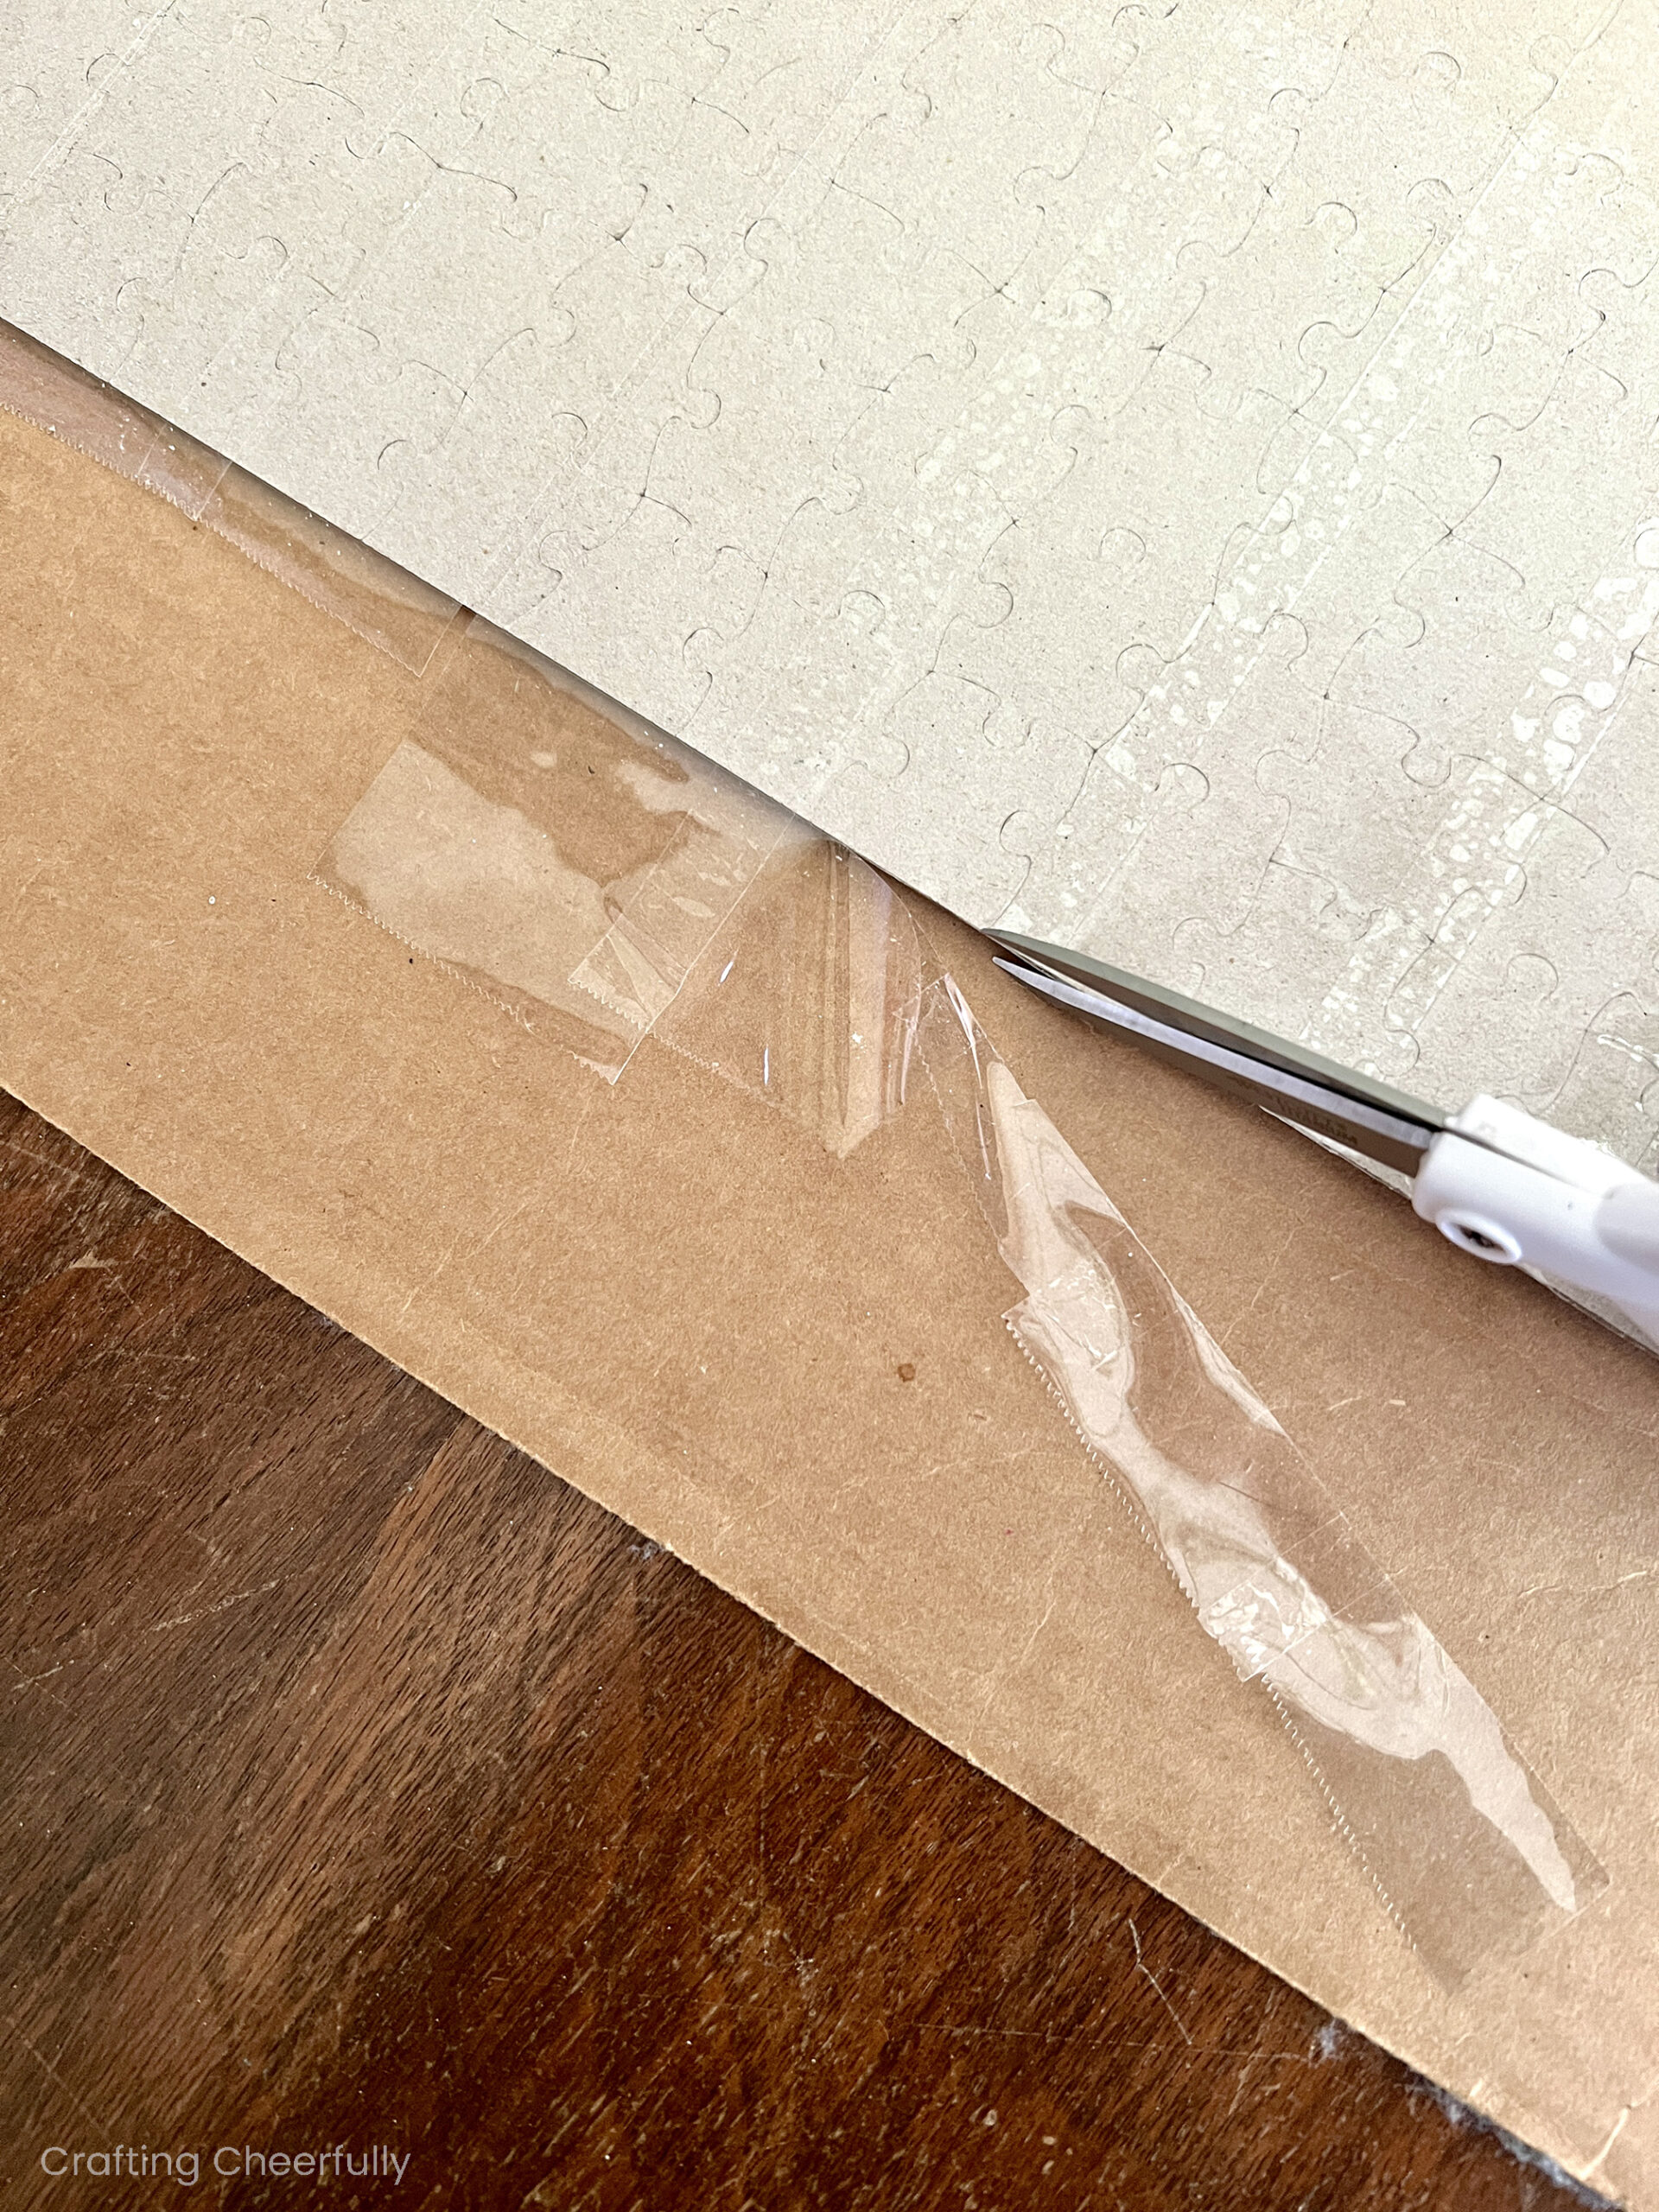
You should be able to lift your puzzle up with the entire puzzle staying together.
Step Three: Frame the Puzzle. Place the puzzle into a frame that fits and you are finished! I like to use my Cricut scraper to help lift up the little metal tabs on the back of the frames.
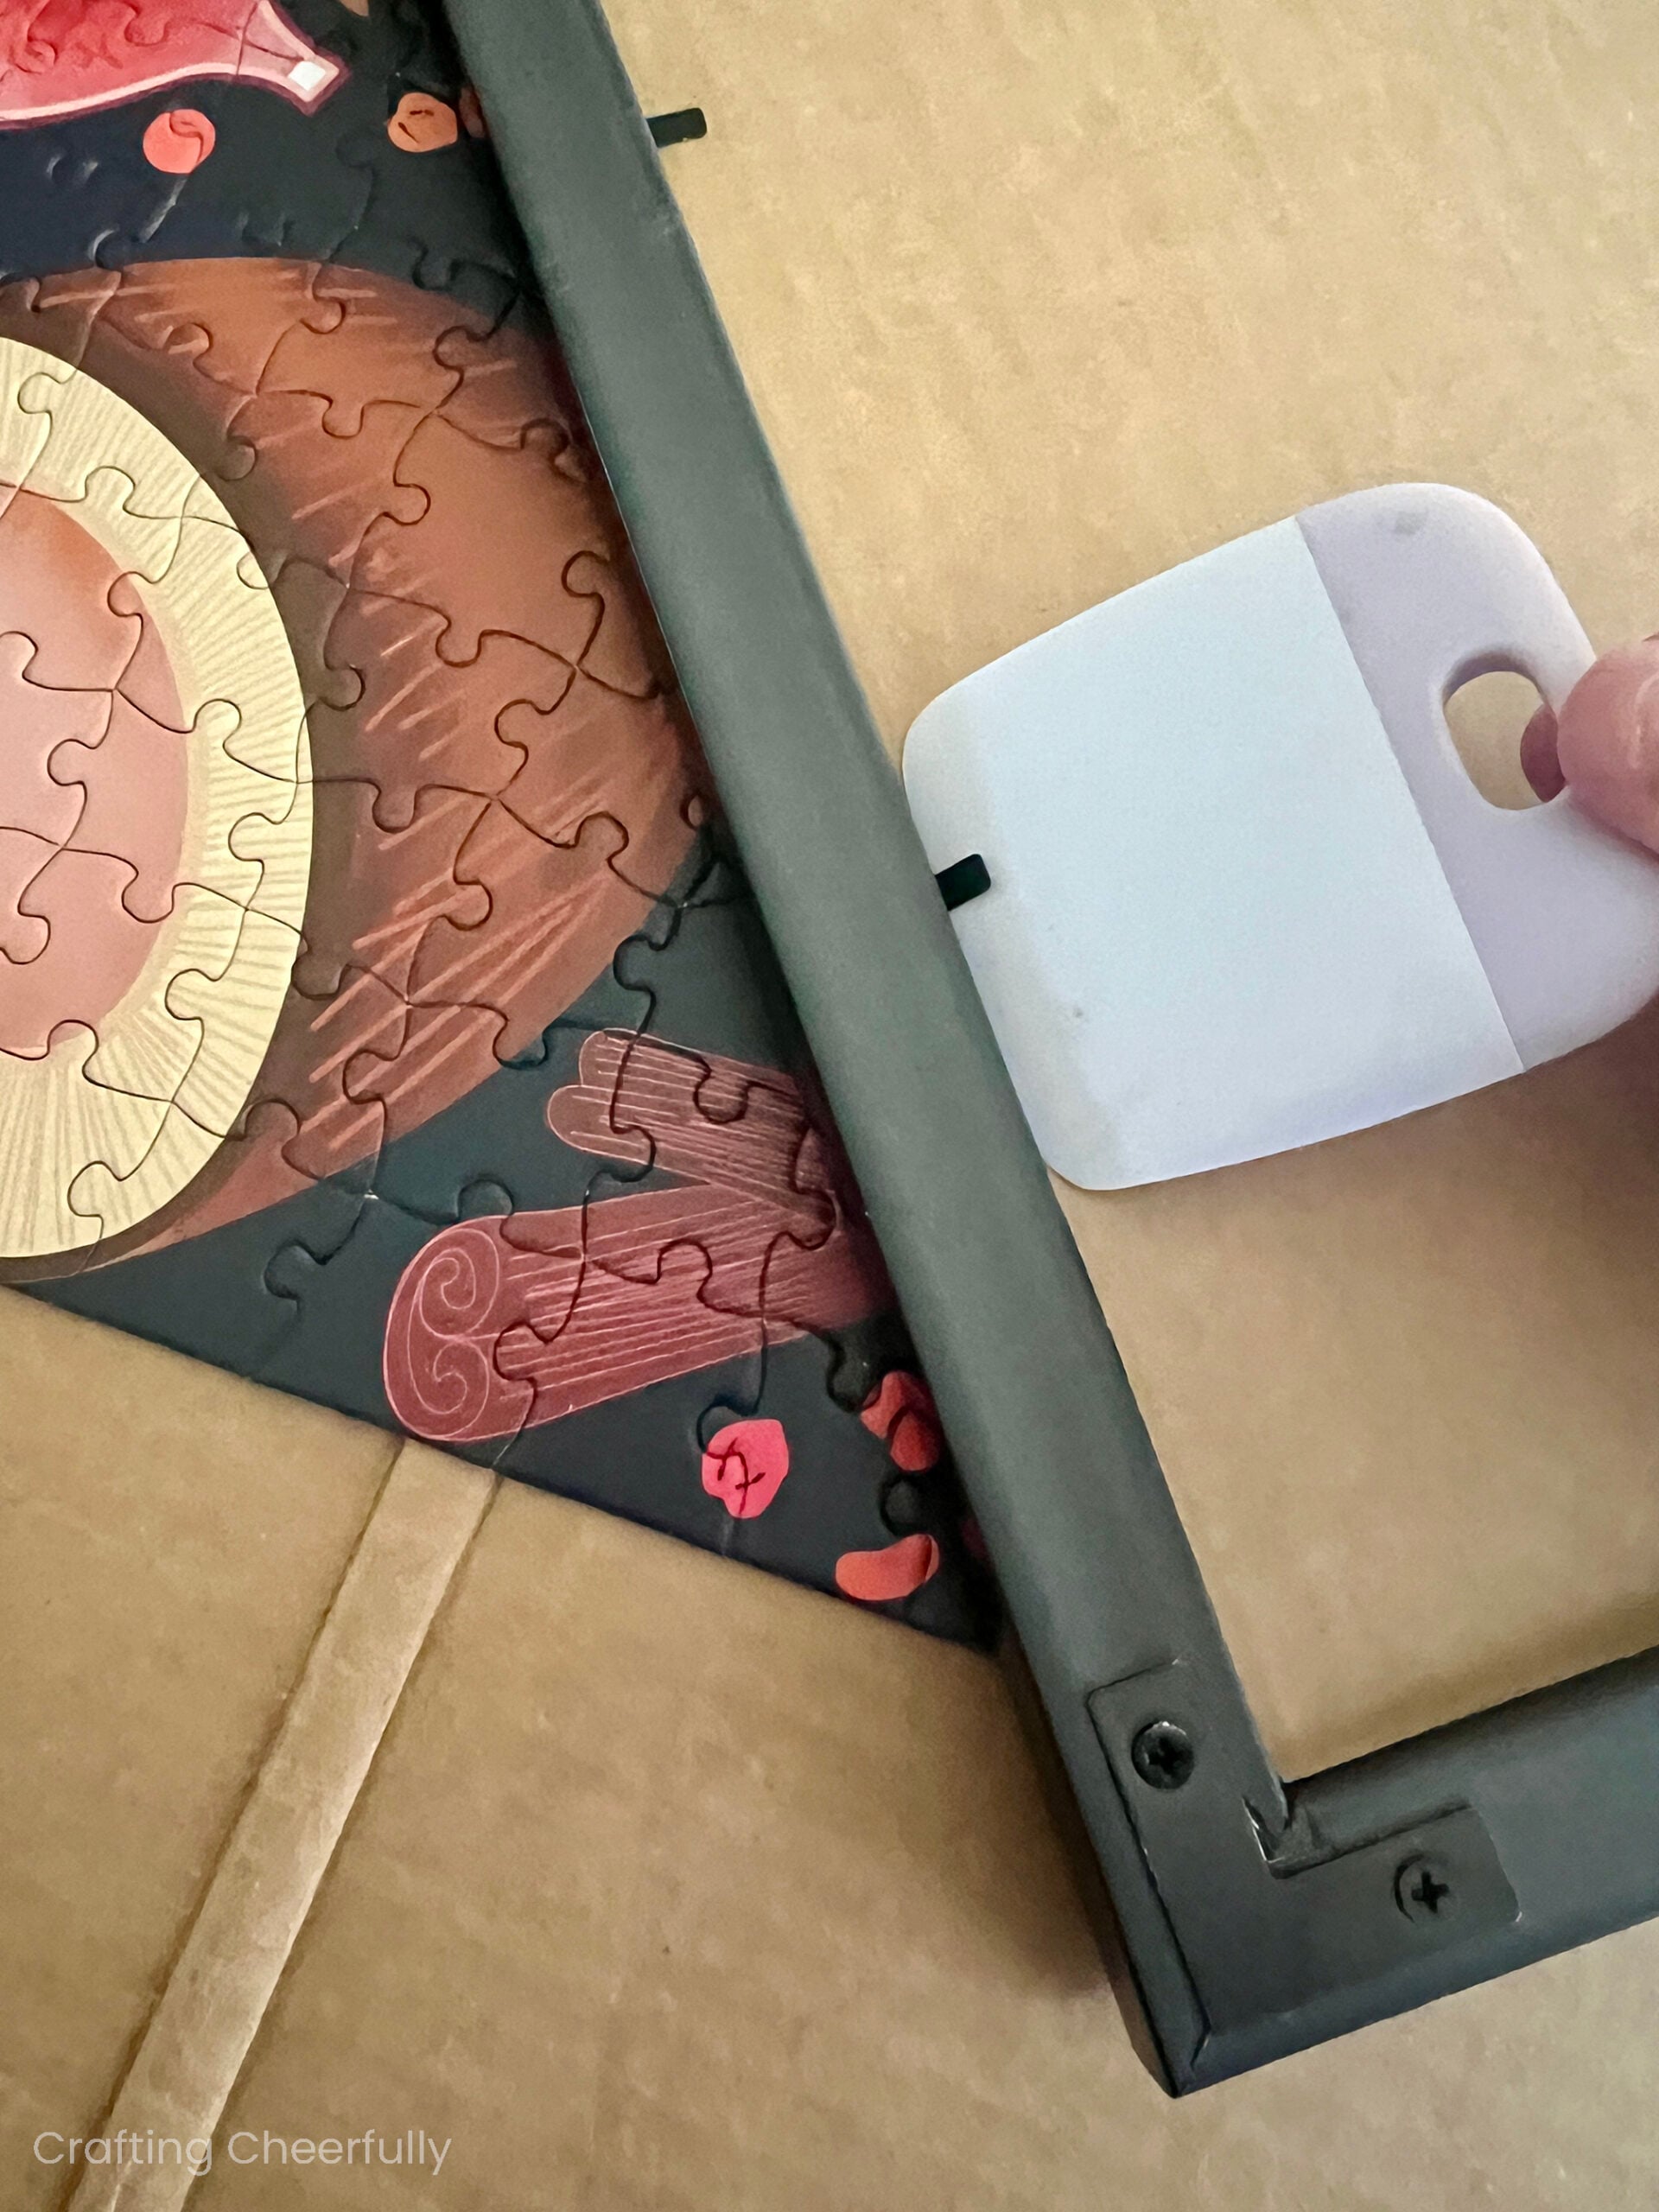
Finding a frame that fits your puzzle perfectly will help the process go smoothly. I have had a lot of luck finding frames on Amazon and at my local Target. Most of these frames come with plastic instead of glass which makes them lightweight and easy to hang.
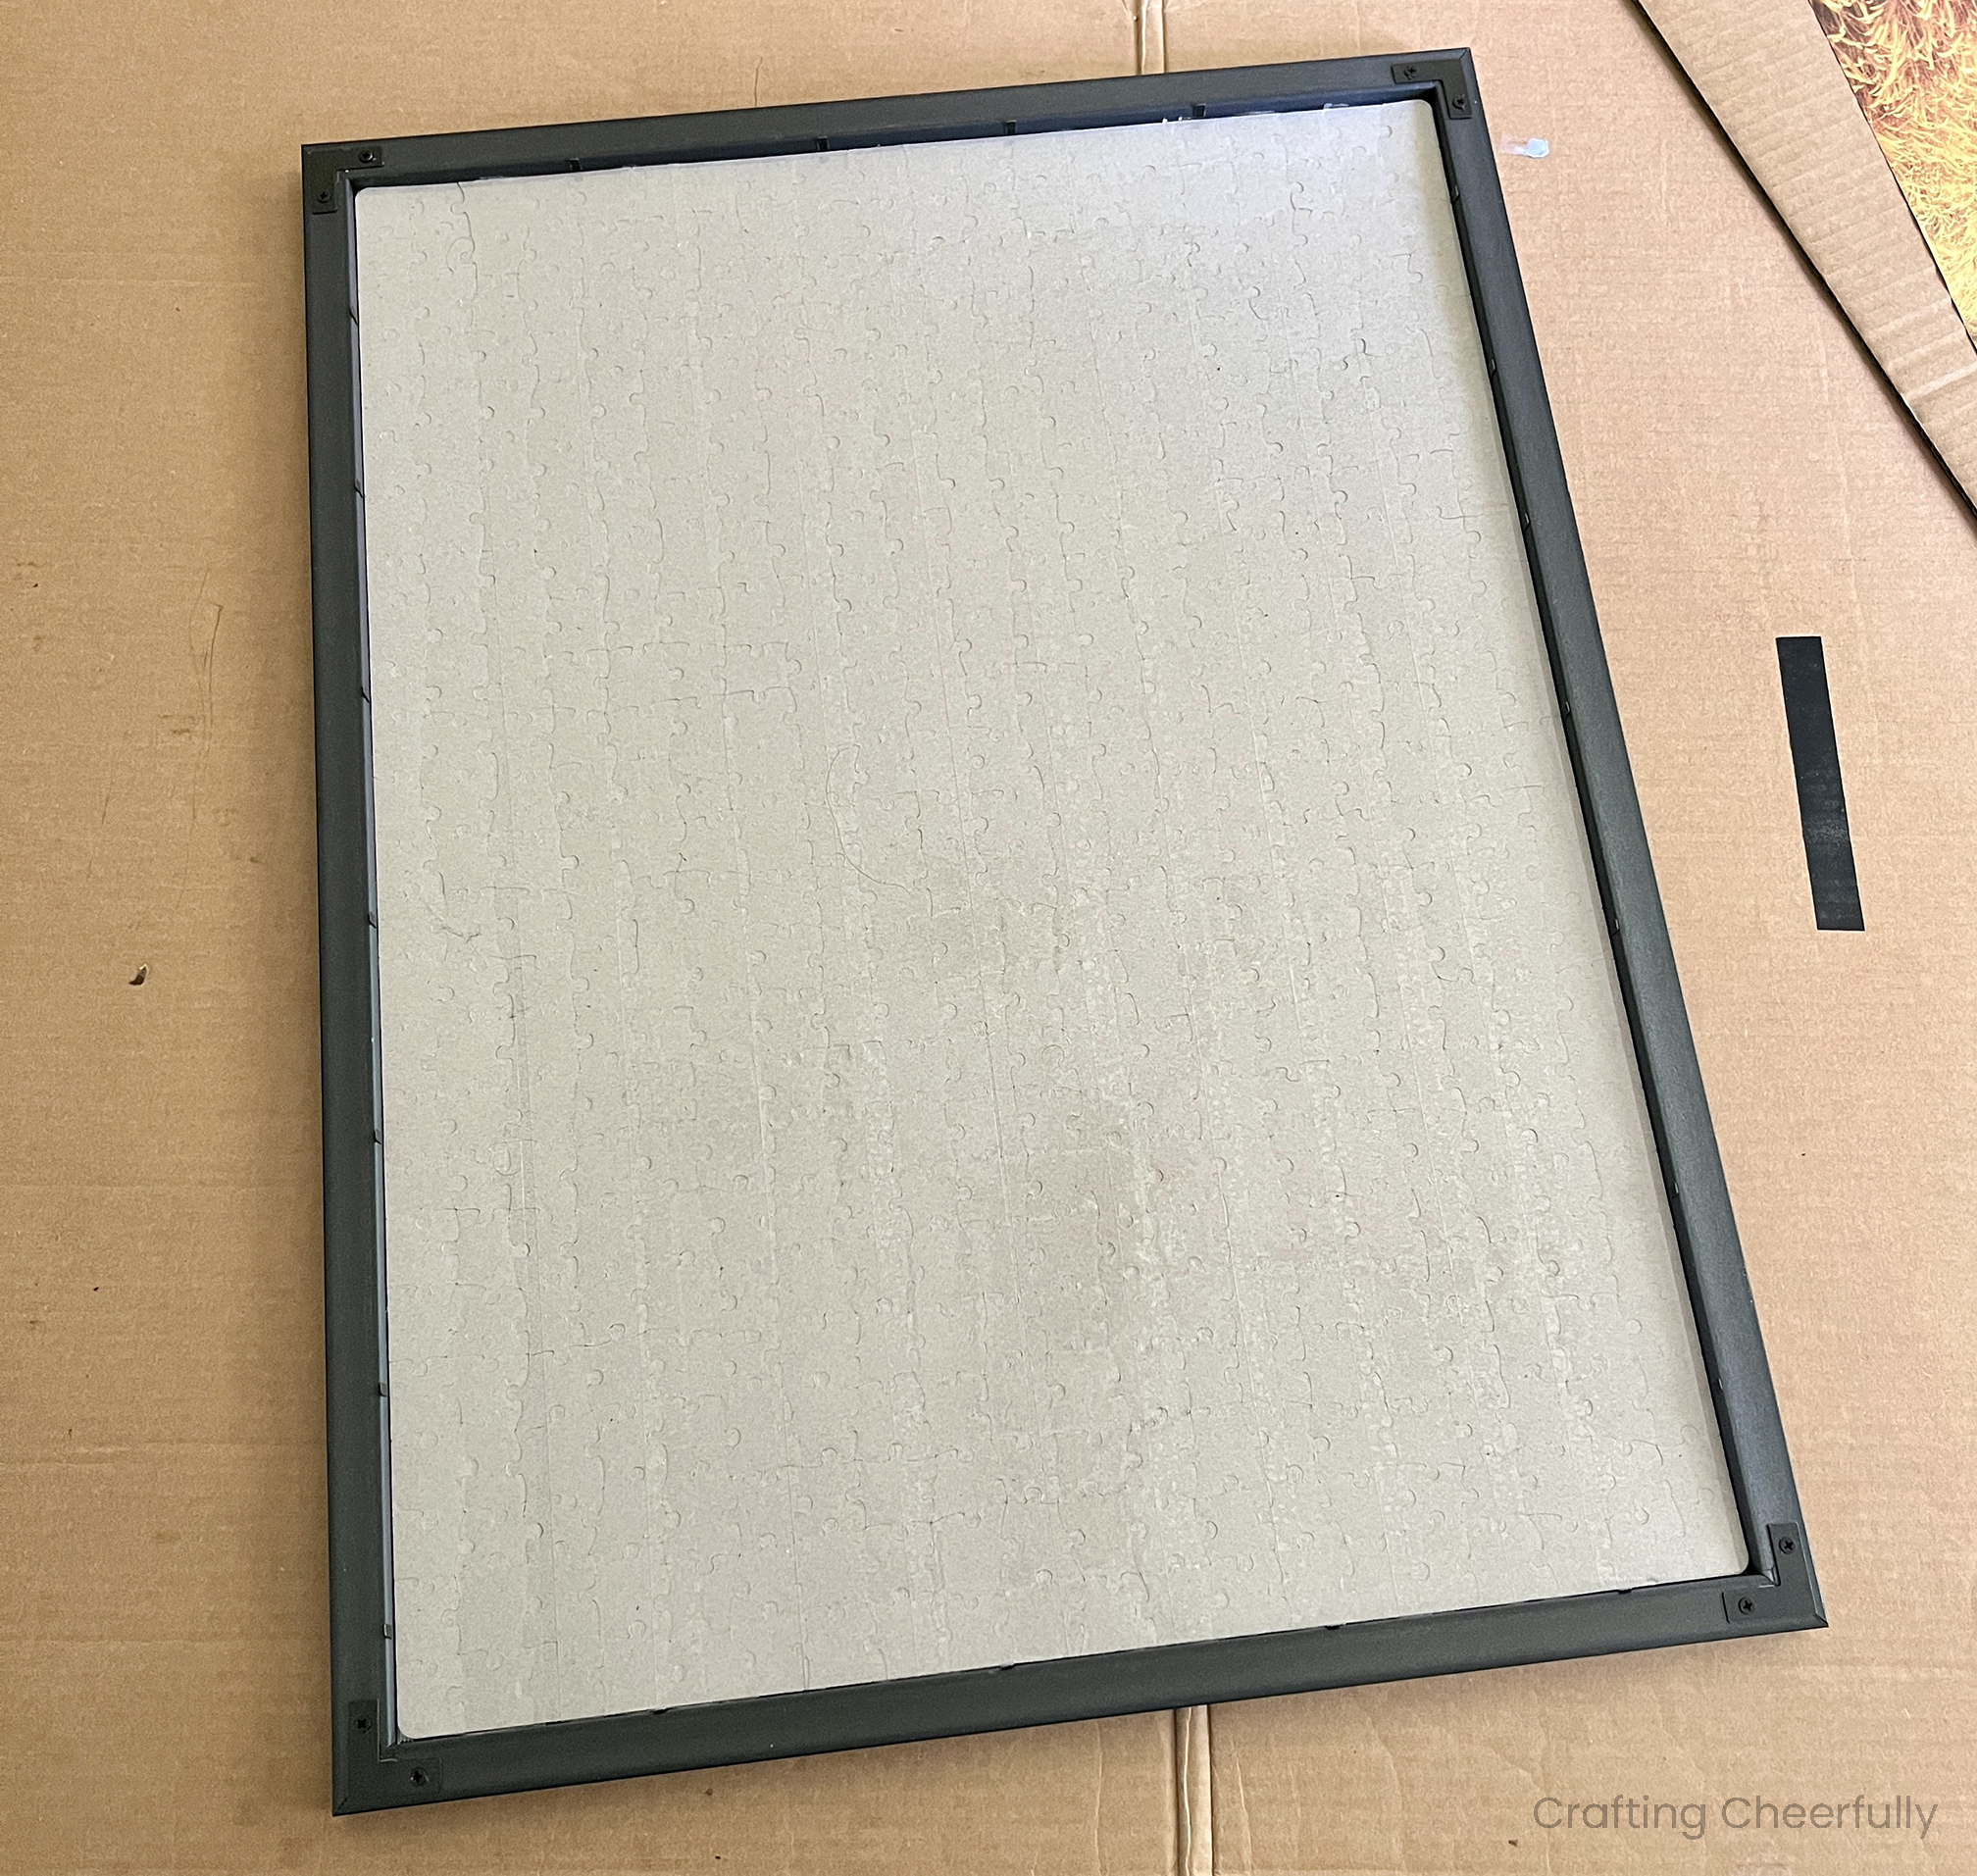
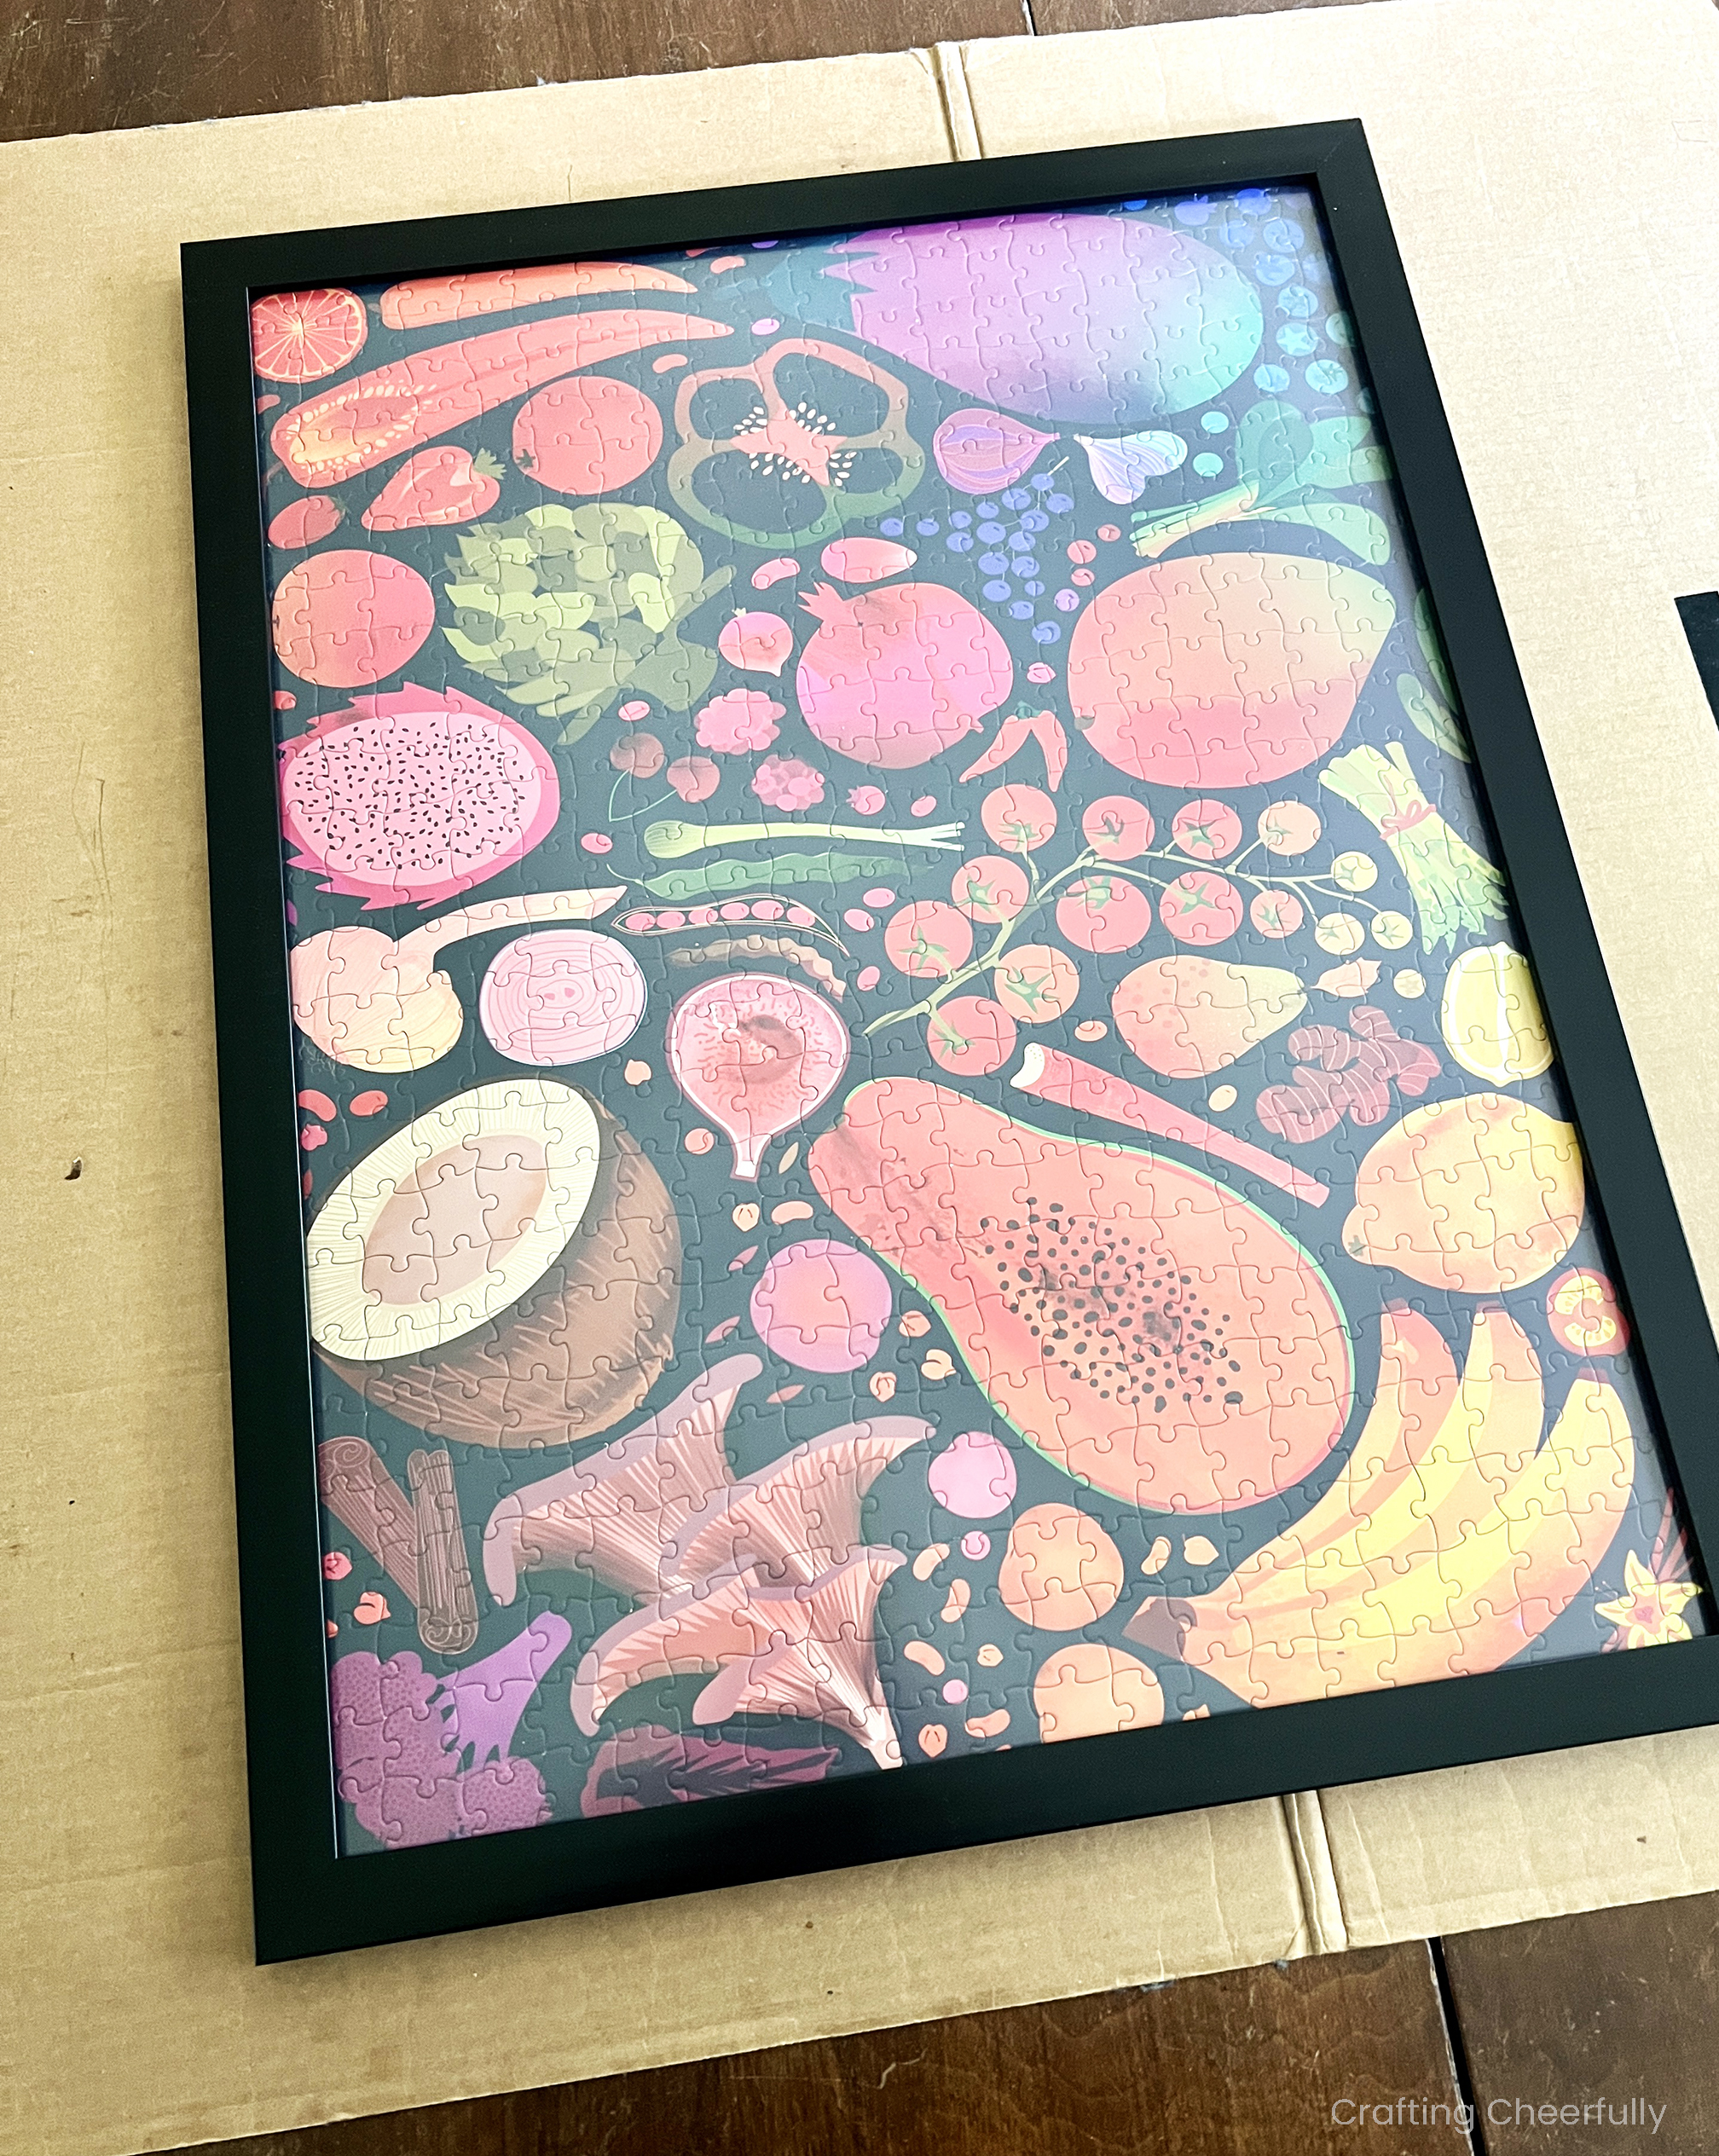
The puzzle is framed and ready to be hung up and displayed. I love the pop of unexpected color this puzzle adds to an otherwise dull spot in our kitchen. Our whole family helped build it, so we all enjoy seeing it hung up.
I hope you enjoyed this quick and simple tutorial for framing a puzzle. Be sure to check out my round up of 48 Fun Family Puzzles – many of these would look awesome framed and displayed!