
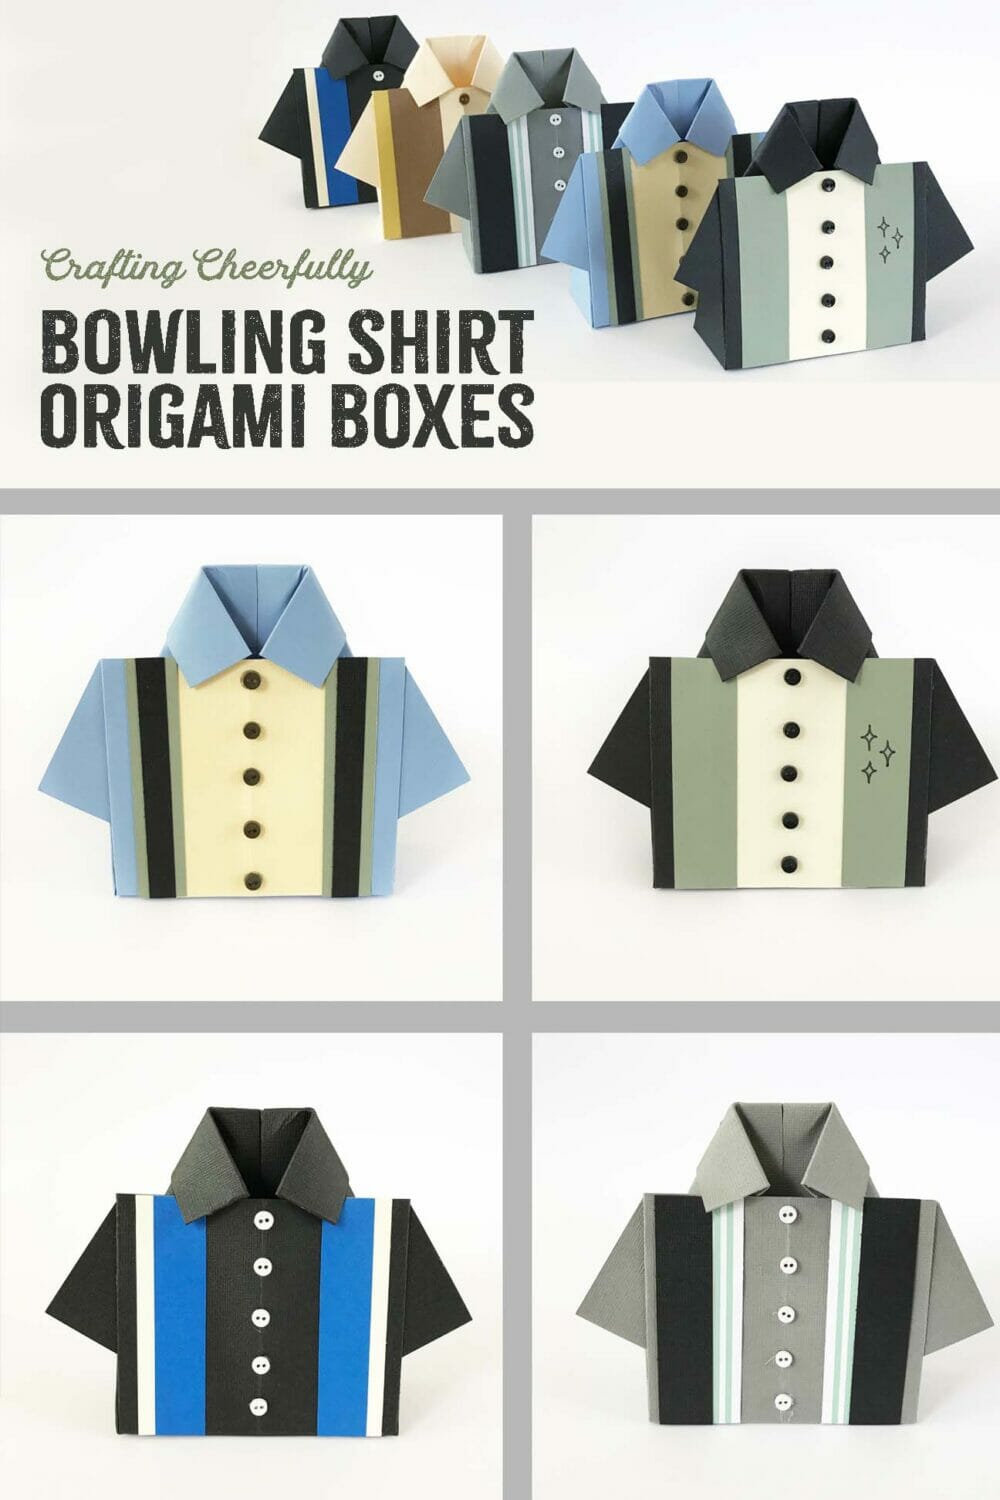
Bowling Shirt Origami Treat Boxes
Create bowling shirt origami treat boxes for Father’s Day or for your next bowling-themed party. These cute shirt boxes can be filled with sweets, treats or gift cards.

Hello Crafty Friends! Father’s Day is coming up soon so I thought I’d share these fun bowling shirt origami treat boxes I created! They would make great little gifts filled with Dad’s favorite treats or a gift card to somewhere special. These boxes would also make cute party favors for a bowling-themed party.
I have not done origami in such a long time and forgot how much fun it is. These boxes are not true origami, as I used a scissors to cut along a couple fold lines and used glue in a couple spots at the end.
Creating these boxes is a fun folding craft project and once you make one, making multiples are even easier. I have included a very detailed picture tutorial for folding them, so while there are a lot of pictures, these don’t take too long.
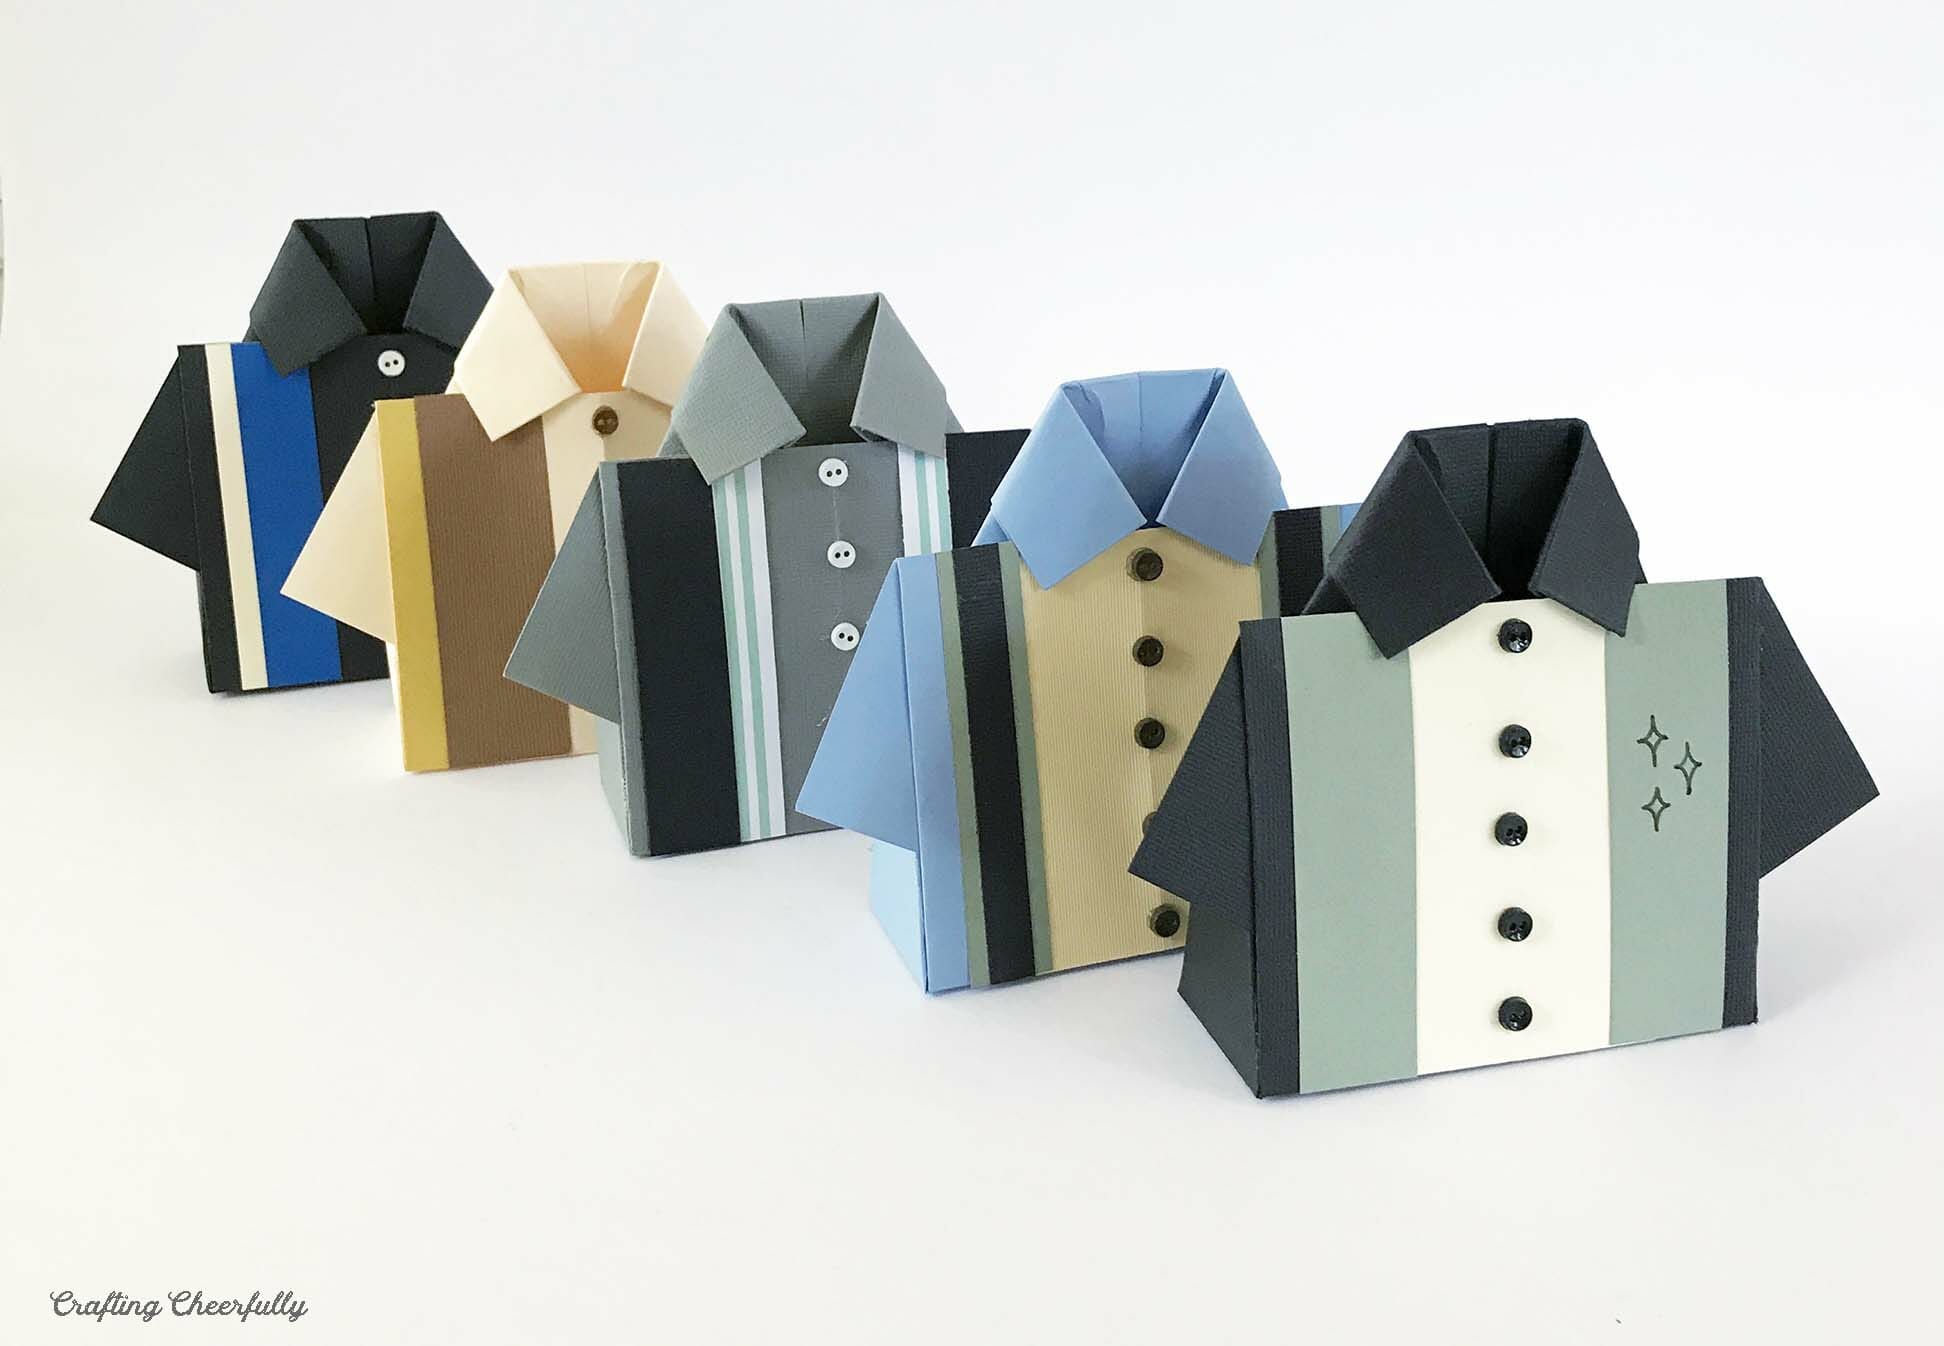
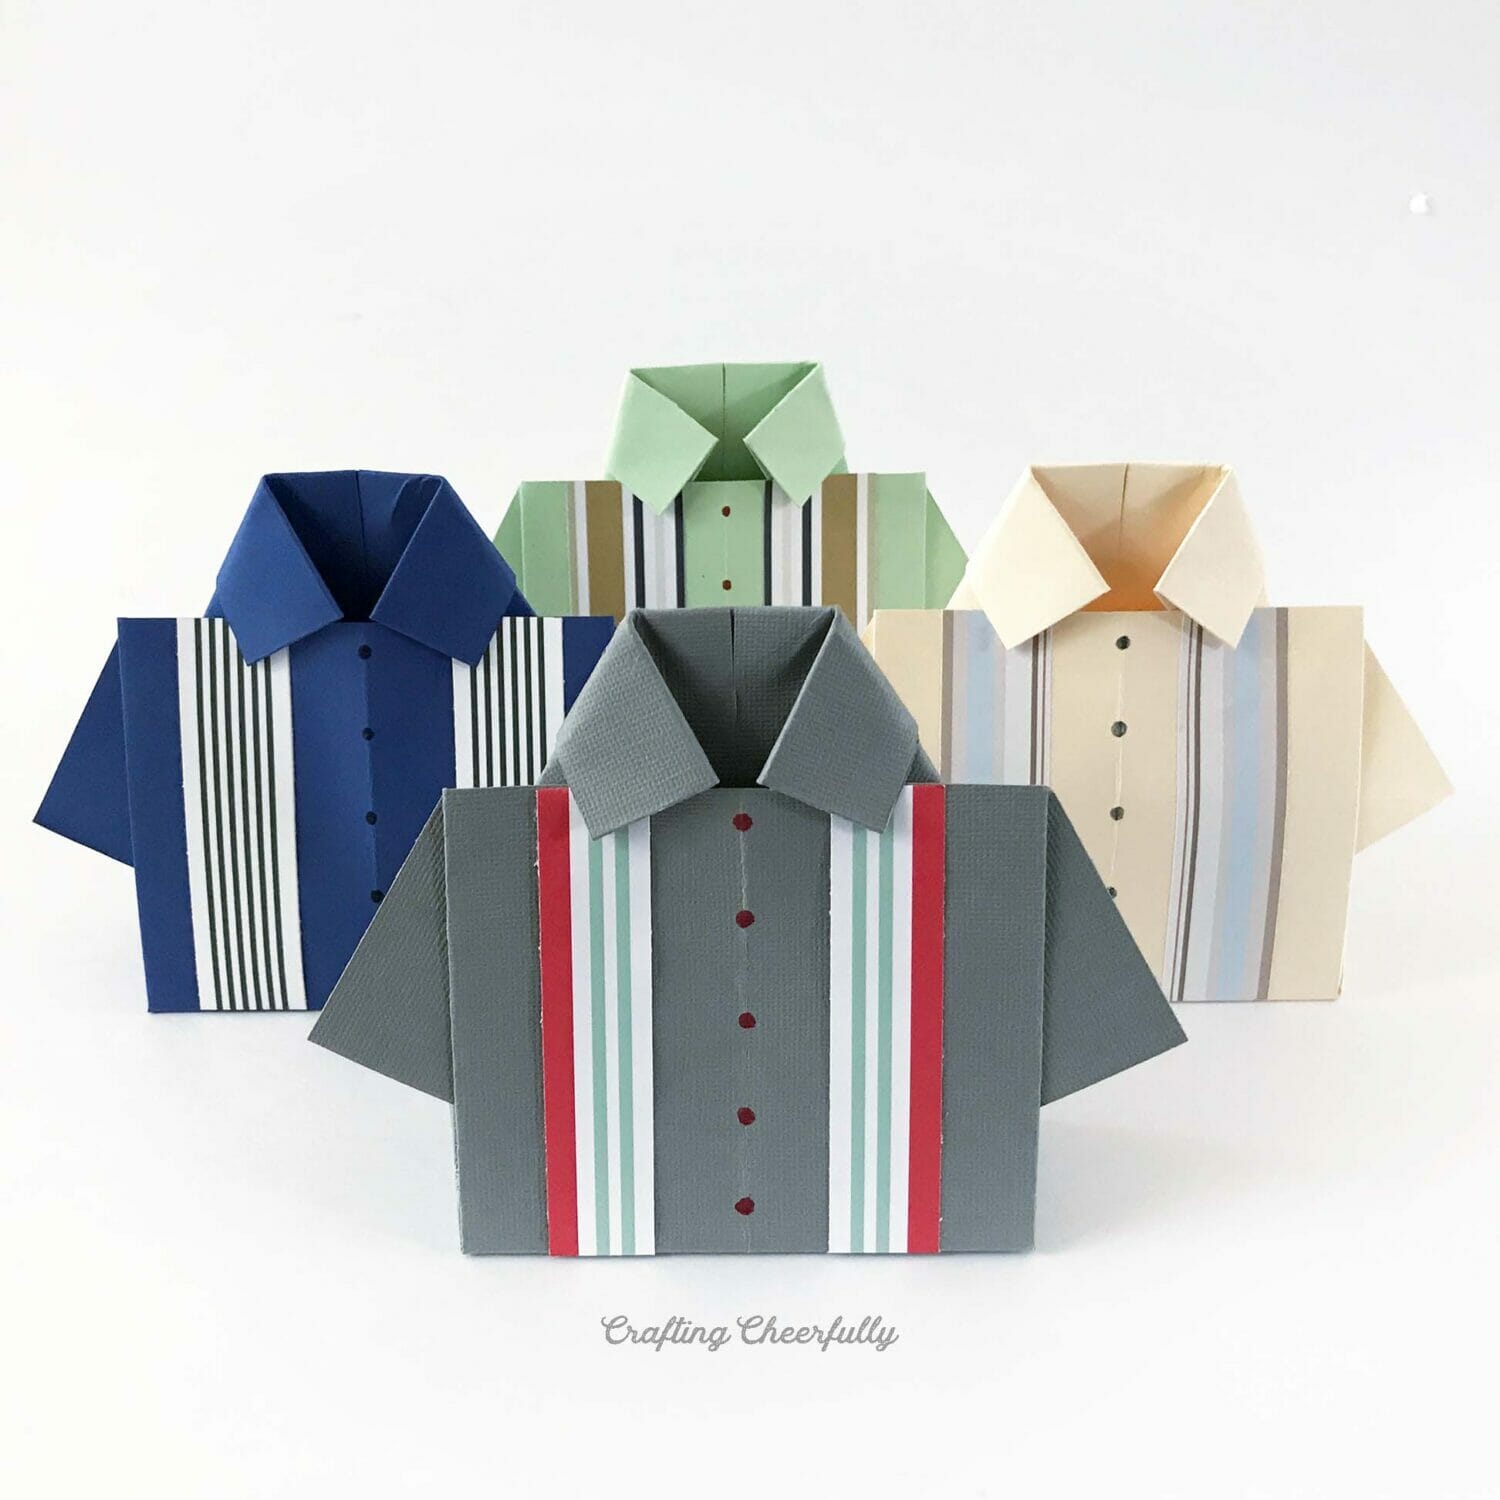
You’ll need one sheet of 8.5″x11″ of cardstock for each bowling shirt box. Once the boxes are created you can decorate the shirts any way you like – add a tie or a bow tie, a sweater vest, or turn them into bowling shirts as I did here. The tiny buttons are my favorite!
To come with bowling shirt ideas, I used a book I owned called Bowl O’Rama; The Visual Arts of Bowling. It was full of amazing visuals that helped me create these boxes.
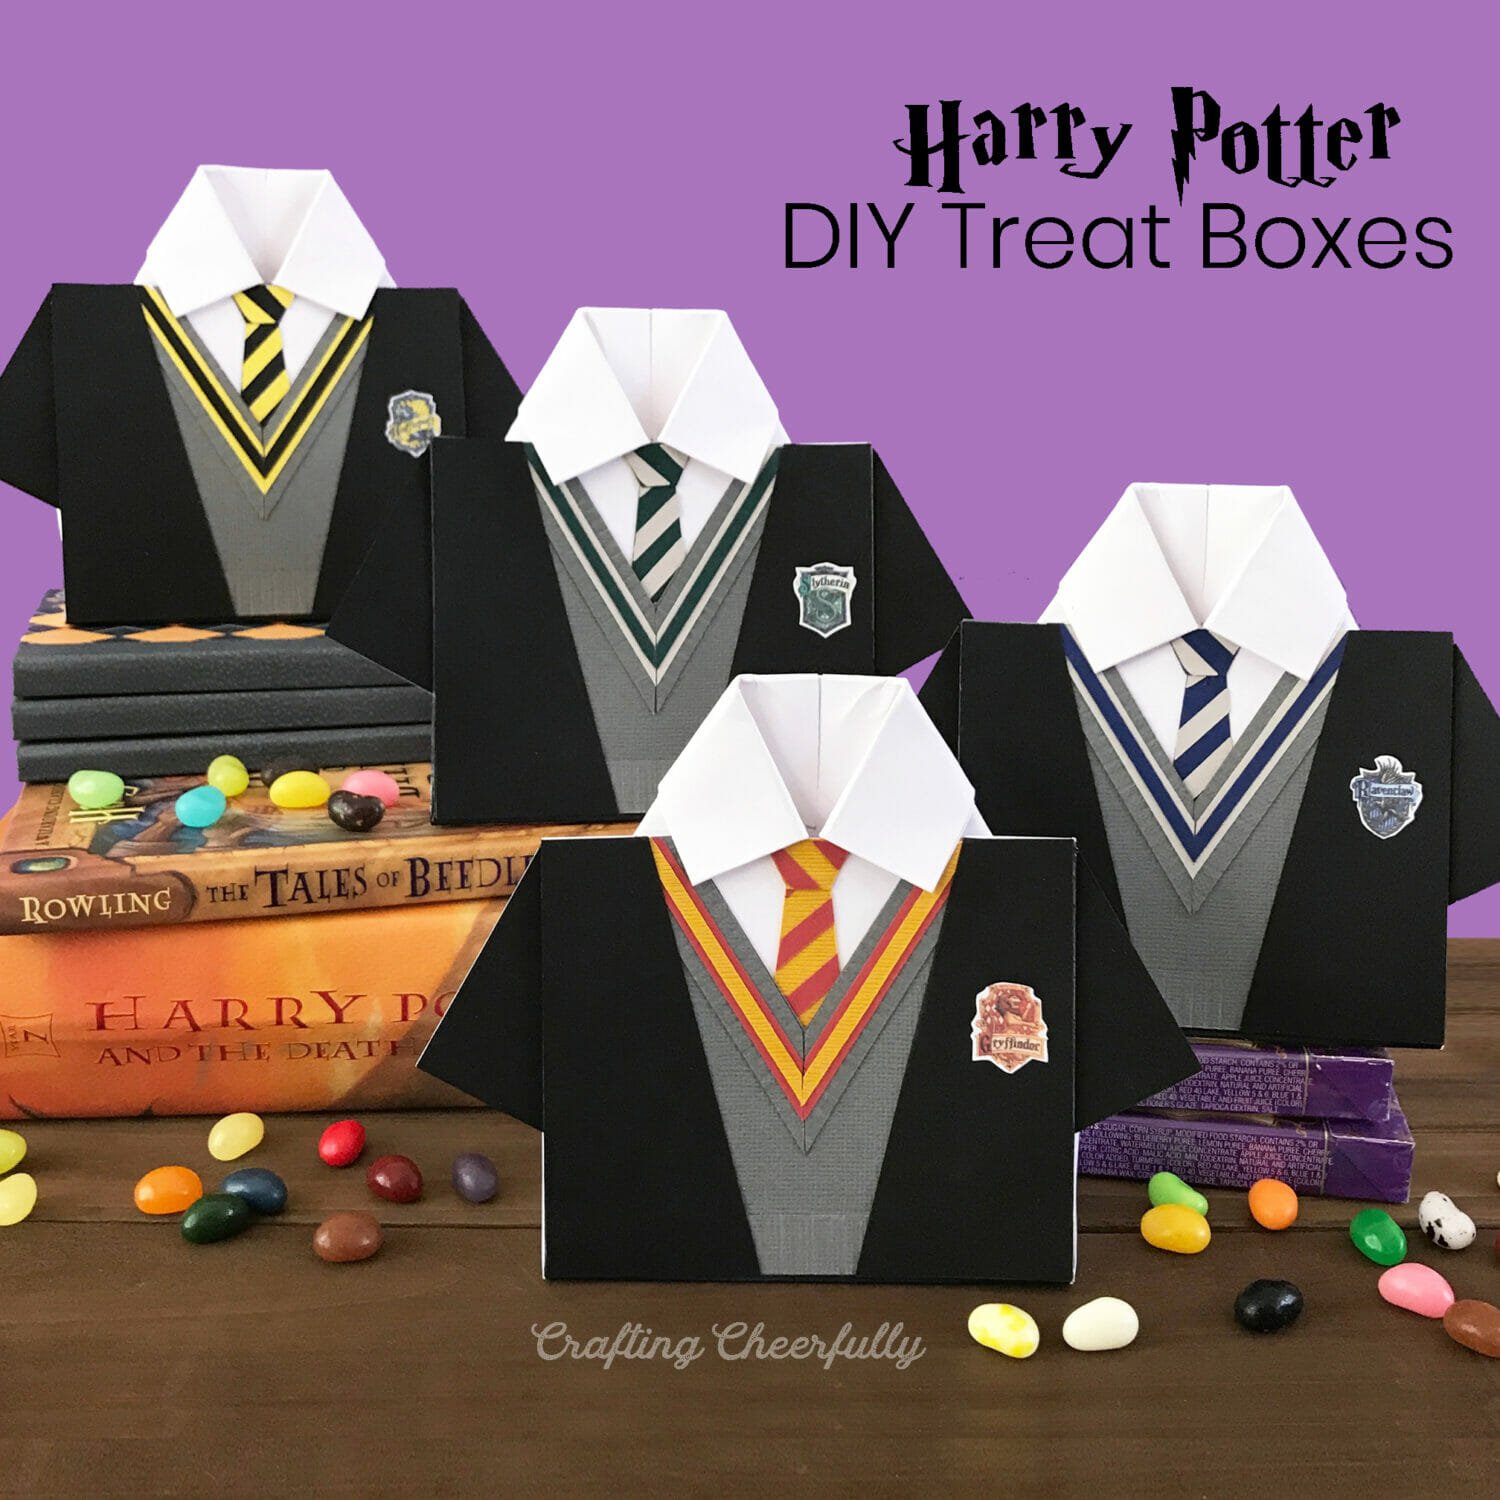
Making these bowling shirt boxes was so much fun, I decided to make similar boxes but this time Harry Potter-themed. Check out my Harry Potter House Robe Boxes.
How to Make a Bowling-Themed Treat Boxes
Supplies Needed
- Cardstock – one sheet 8.5″ x 11″
- Scraps of paper for decorating the boxes
- Hot glue
- Scissors
- Ruler
- Mini buttons or marker for drawing buttons
- Pencil
- Mini buttons or marker for drawing buttons
How to Fold a Bowling Shirt Box
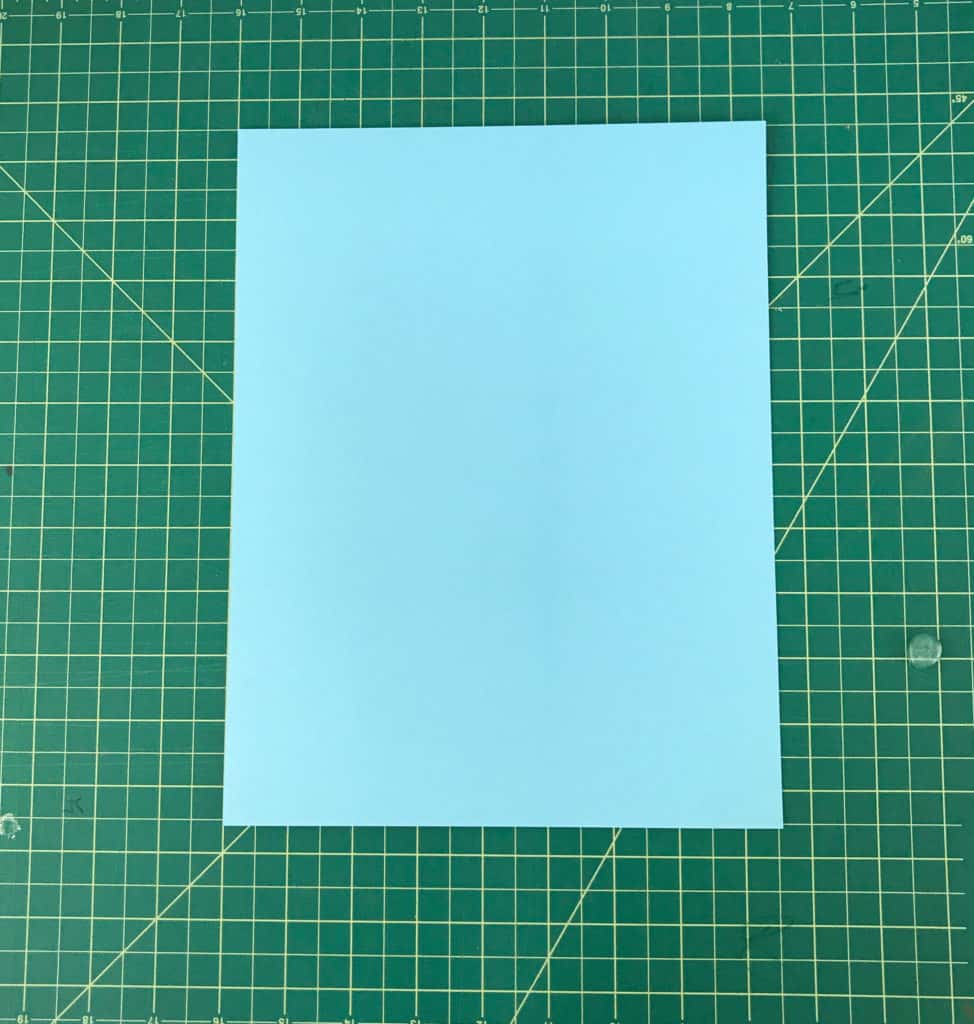
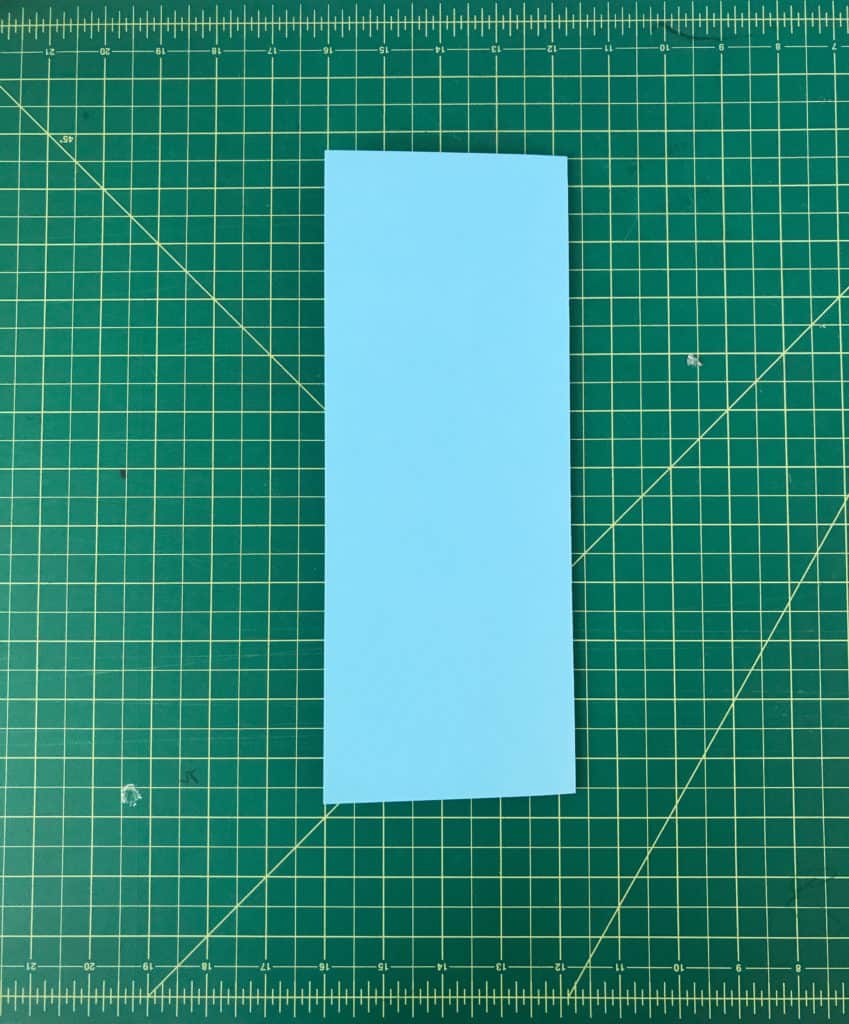
Start with a sheet of 8.5″ x 11″ cardstock.
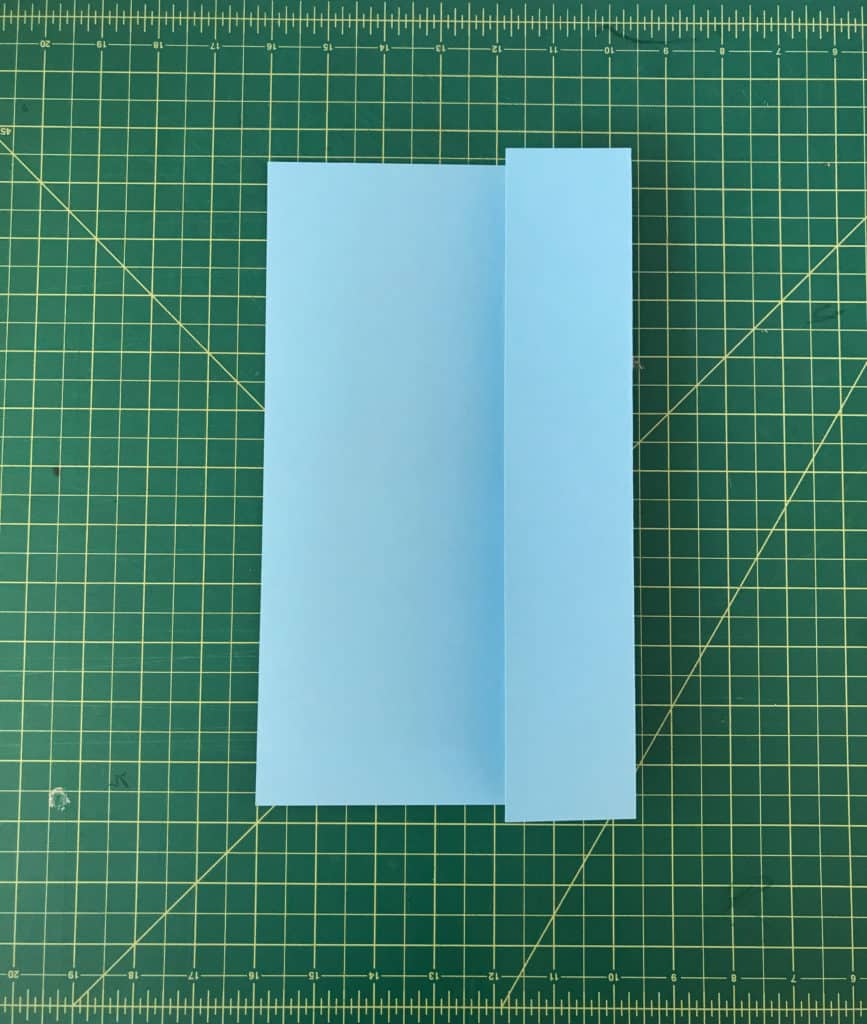
Fold it in half lengthwise.
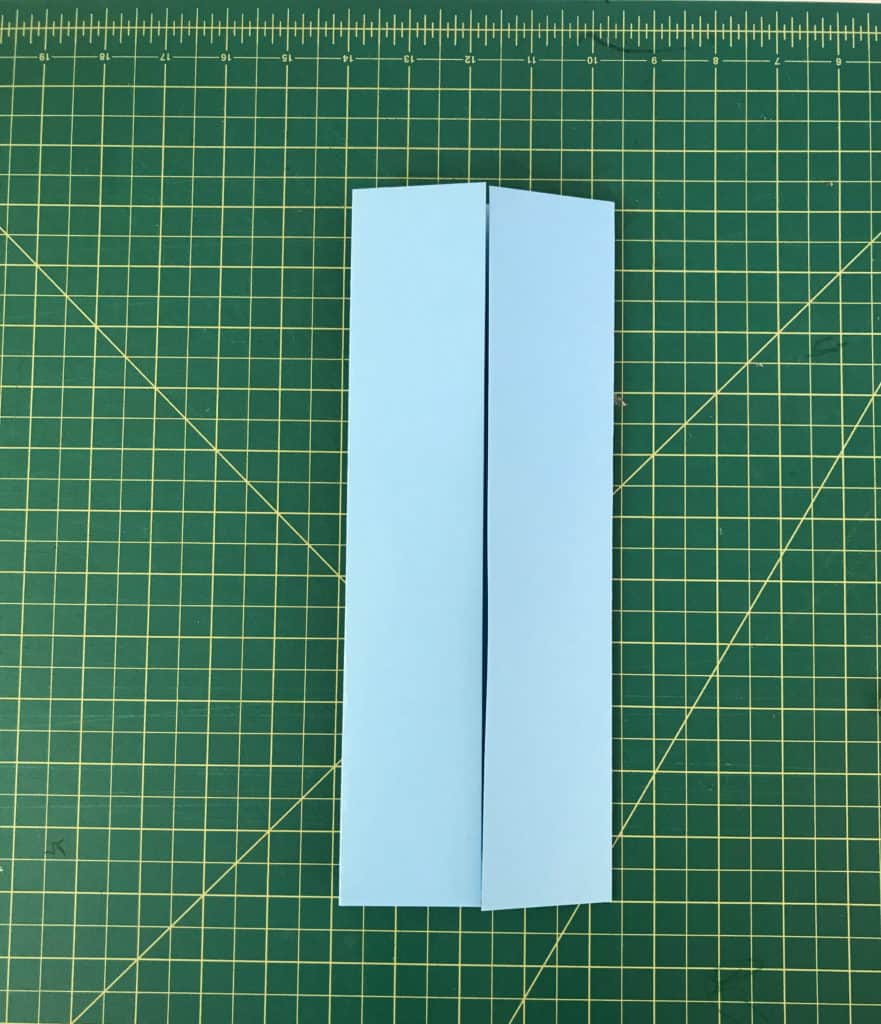
Open it back up and fold the left and right side into the middle.
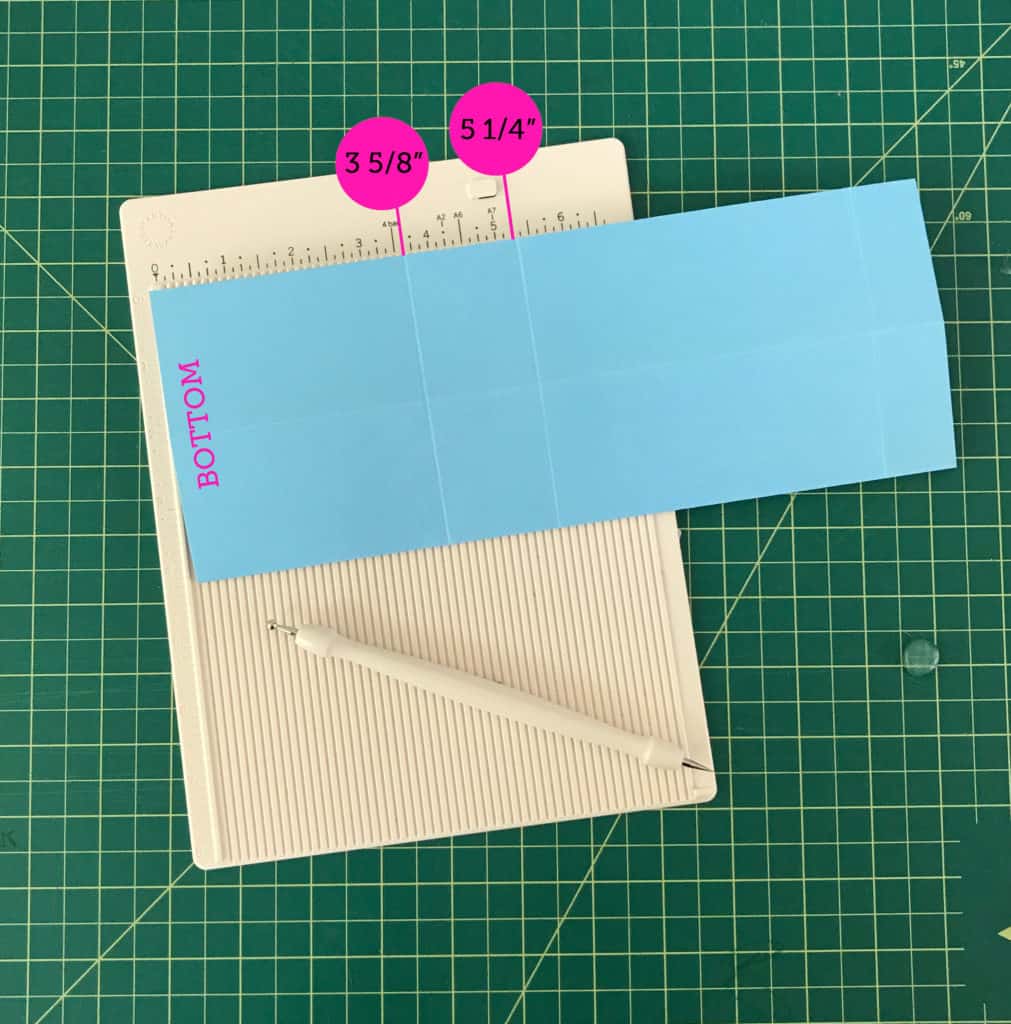
Turn over to the back and score 1″ from the top.
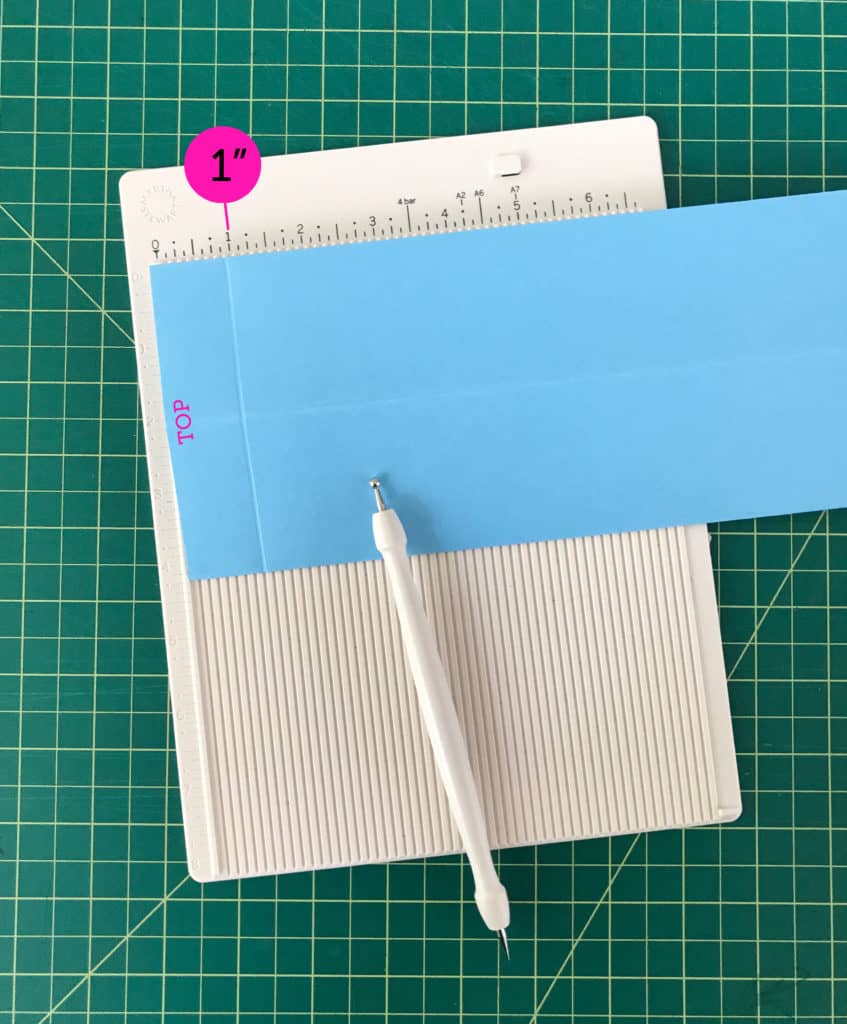
Score 3 5/8″ and 5 1/4″ from the bottom.
Fold the top down along the 1″ score line towards the back.

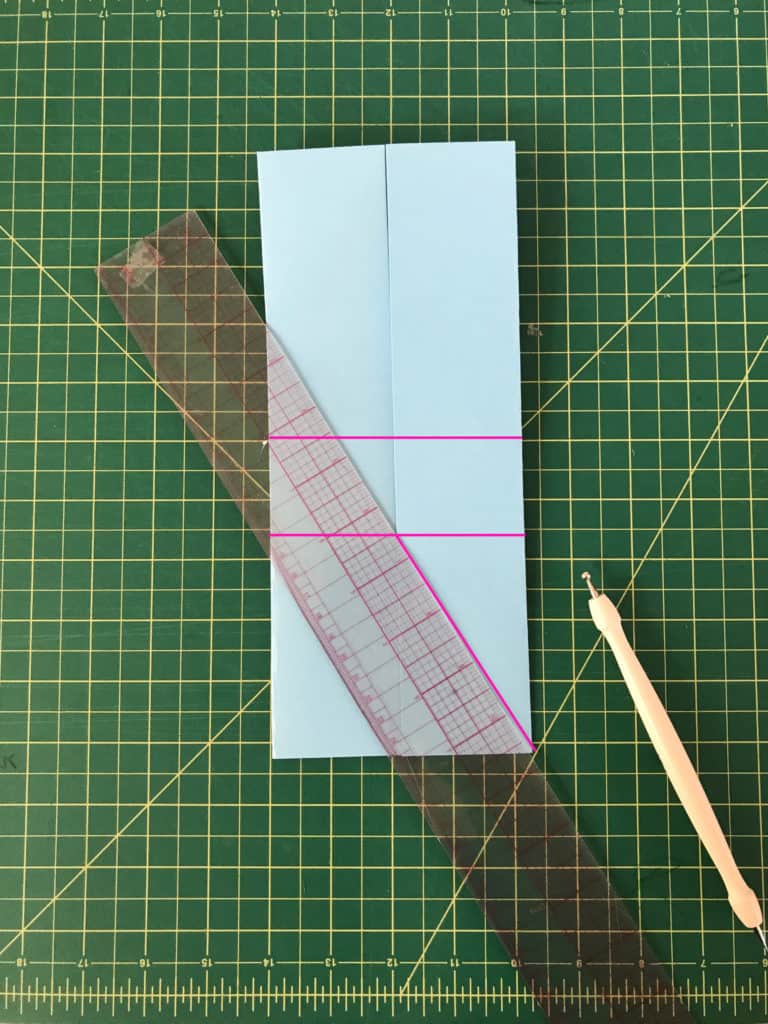
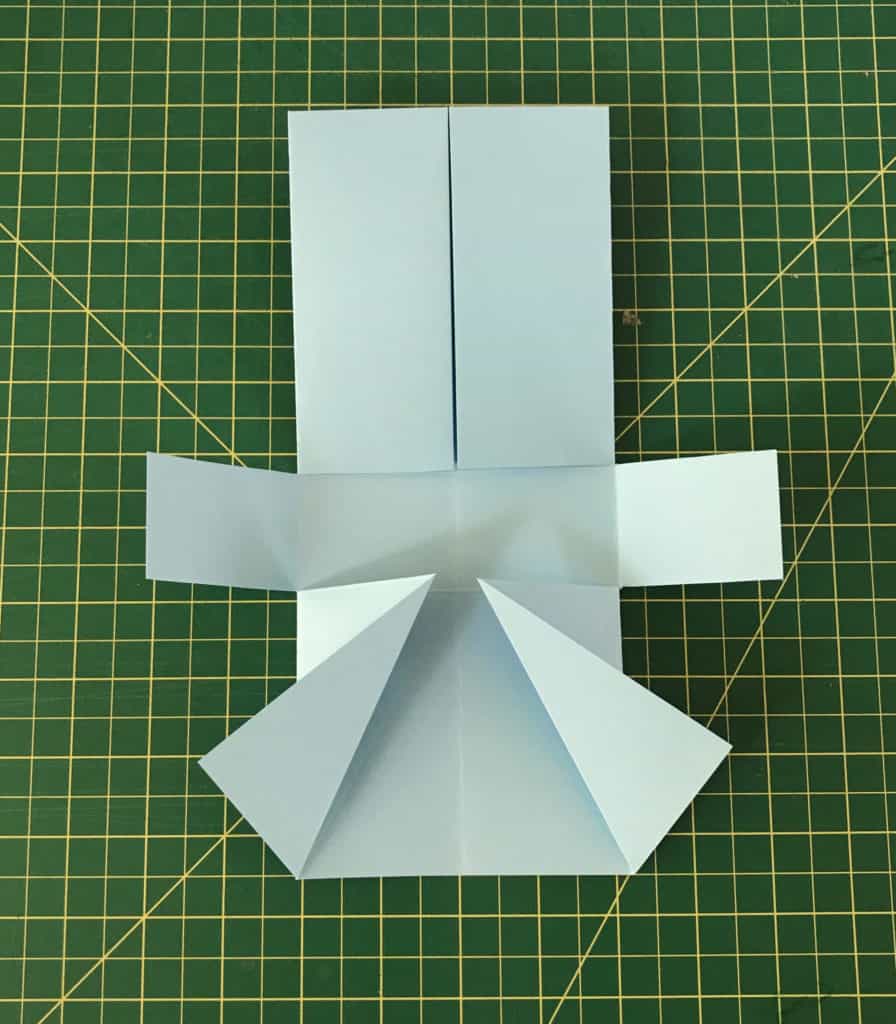
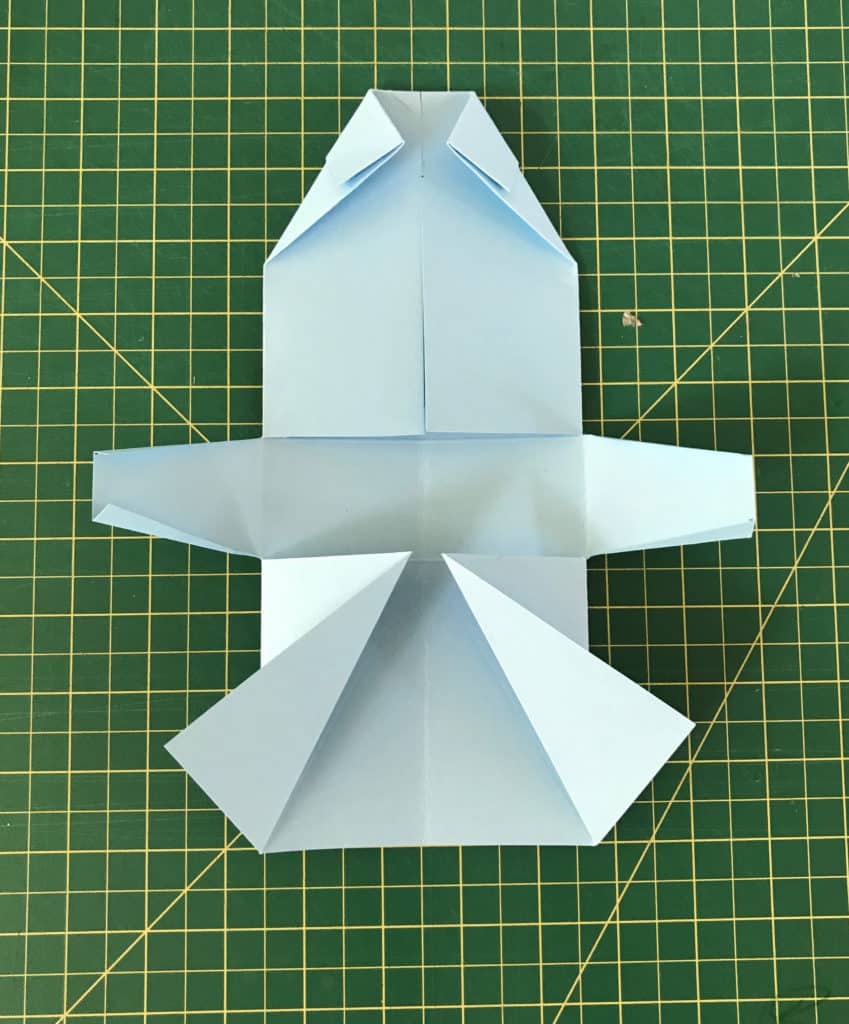
Turn to the right side. Create the sleeves of the shirt by scoring lines from the center of the bottom score line out to each corner as shown below. Fold along those lines.

Cut along both bottom score lines from the center to the folded edges.
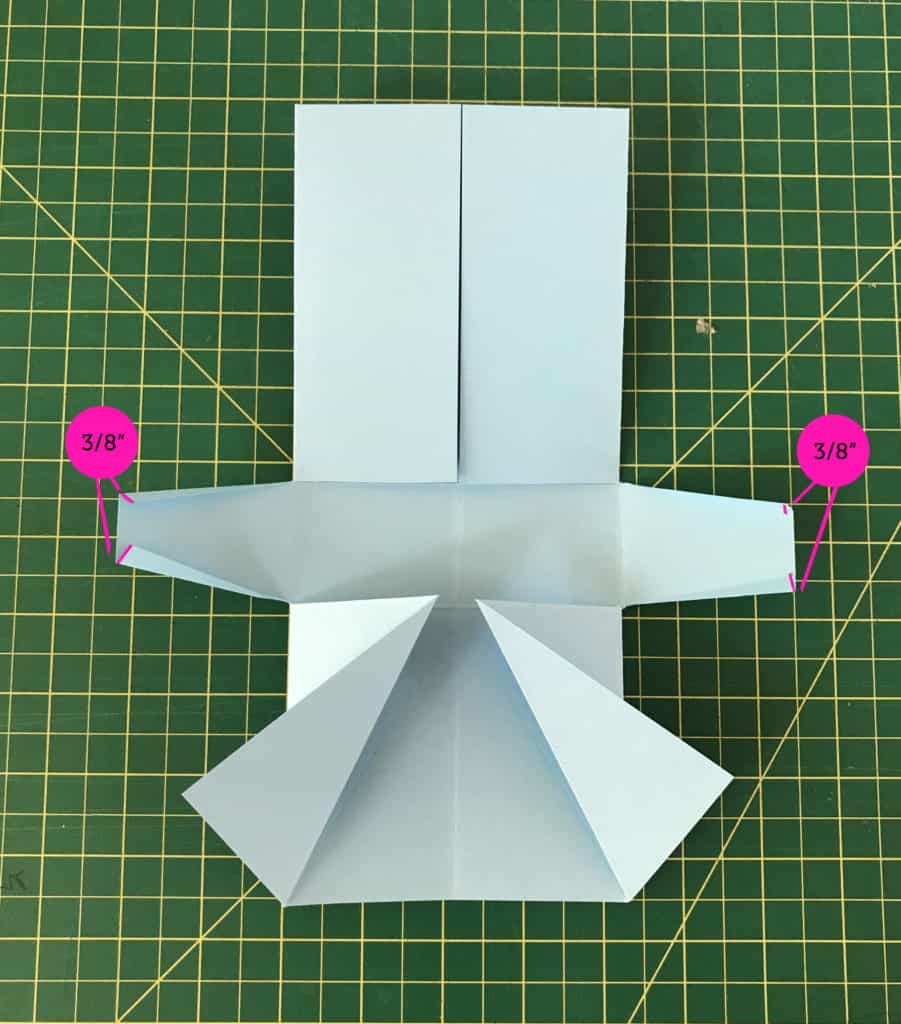
Create four small tabs by marking 3/8″ from each end. Score and fold flaps.
Create the collar next by marking 1 1/4″ down from the top along the center line. Fold both of the top corners to this line.

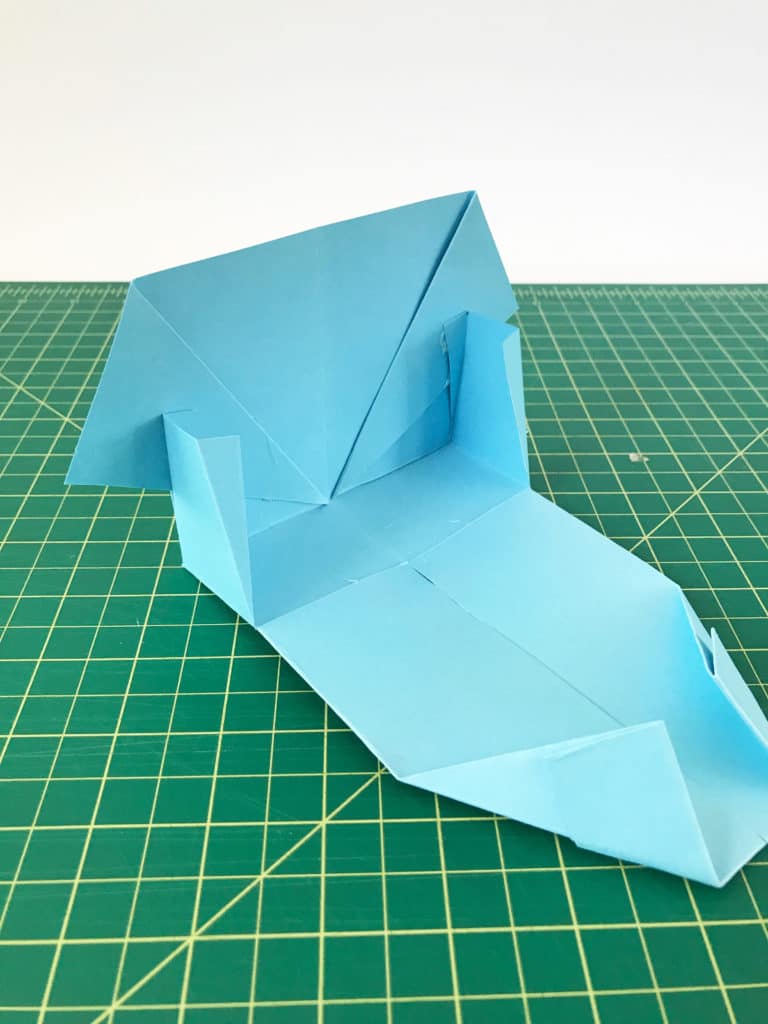
Glue bottom sleeves flaps down and the two flaps on top down.

Glue the bottom tabs to the bottom of the shirt back.
Glue the top tabs to the shirt front.
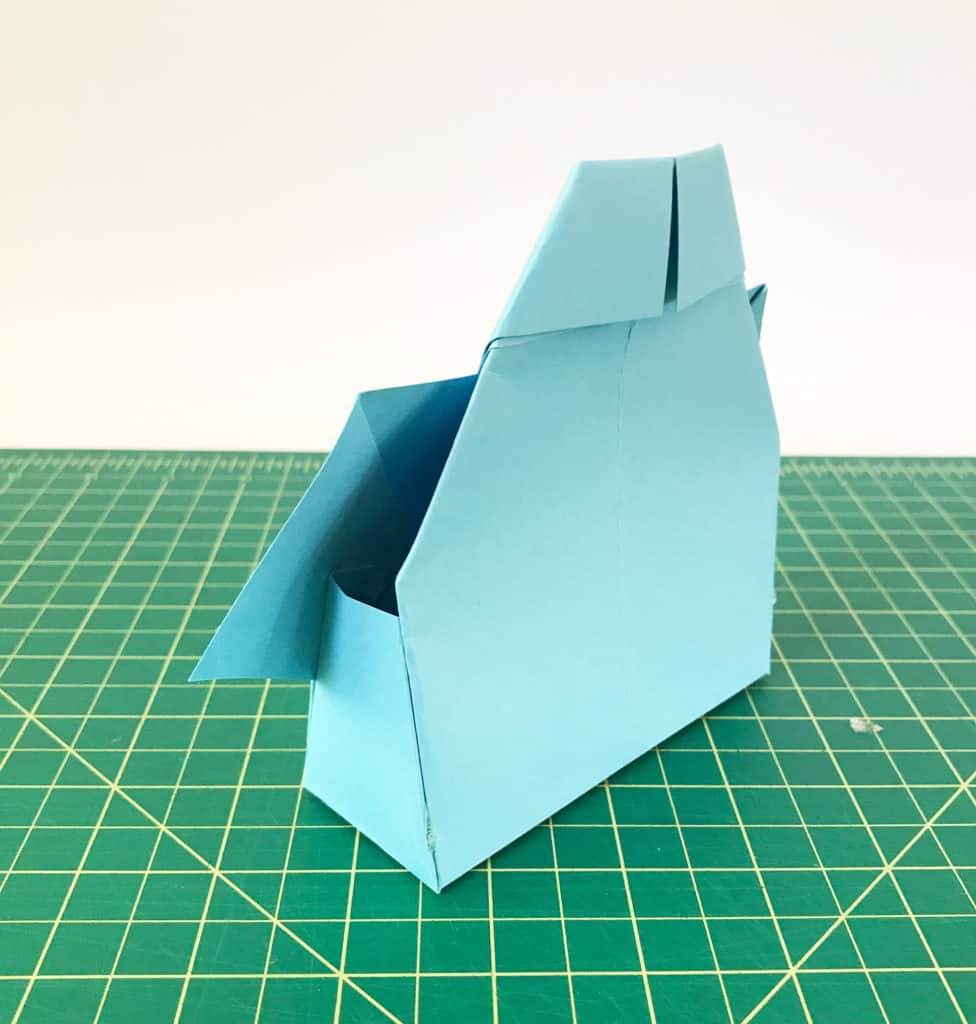
The collar keeps the front of the shirt closed. Just pull back on the collar to slip the front of the shirt under the collar points and the shirt box is finished!

You can decorate these any way you want. To create bowling shirts, cut strips of paper and glue them to the front of the shirt box. On a few of them, I used a thin marker to create retro diamonds. I found the cutest and tiniest buttons and added five to the front of each shirt.


Fill them with treats, candy, gift cards – whatever you want! They make the perfect Father’s Day gift and would also be great for party favors at your next bowling party!
>>Check out my other Father’s Day crafts like this Father’s Day baseball card kids can make or these football treat boxes.

![]()


2 Comments