DIY Birthday Award Ribbon!
Create a fun Birthday award ribbon to celebrate someone’s special day!
 Hello Crafty Friends! Today I’m continuing with the birthday fun and sharing this colorful Birthday award ribbon! This is such a cute craft to make for someone’s special day! I love making award ribbons for special occasions like Mother’s Day, Father’s Day, Halloween, weddings and of course, birthdays! They make cute pins and can also be used on gifts or as party decoration.
You can make your award ribbons using scrapbook paper (like I did for my Mother’s Day ribbons and Halloween Ribbons) or by using printables like I did for these birthday ribbons and my Gingerbread Award ribbons. My birthday printables come with 20 decorative tags so you can customize the ribbon for any birthday occasion. It includes numbers 1-12 as well as sayings like “Happy Birthday” which can work for any age.
Happy Birthday Ribbons
Supplies Needed:
-
- Cardstock – I recommend 65lb-80lb paper
- Option 1: Scrapbook paper
- Option 2: Birthday Award Printables and white cardstock to print on (I use 65lb or 110lb index)
- Paper Trimmer or scissors
- Scoring board and stylus
- Adhesive – Hot glue and double-sided tape (I used 1/2″ Scor-Tape)
- Cardstock – I recommend 65lb-80lb paper

Step by Step Tutorial
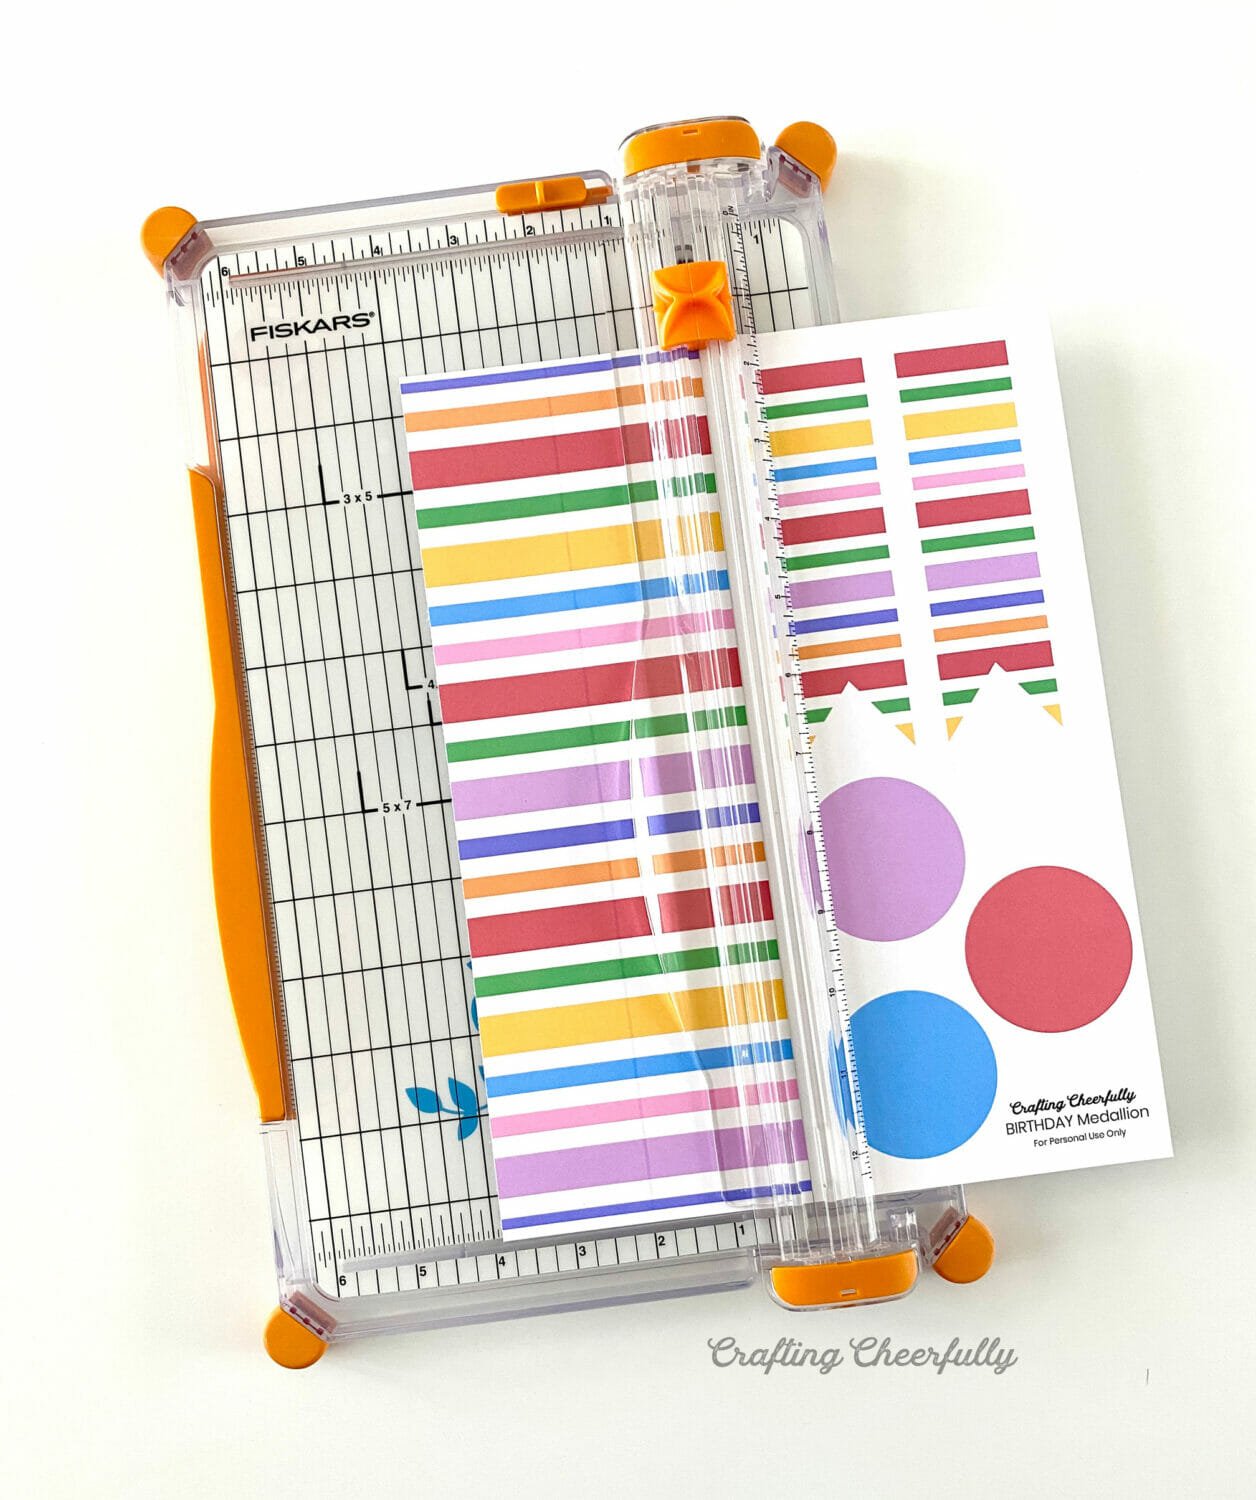
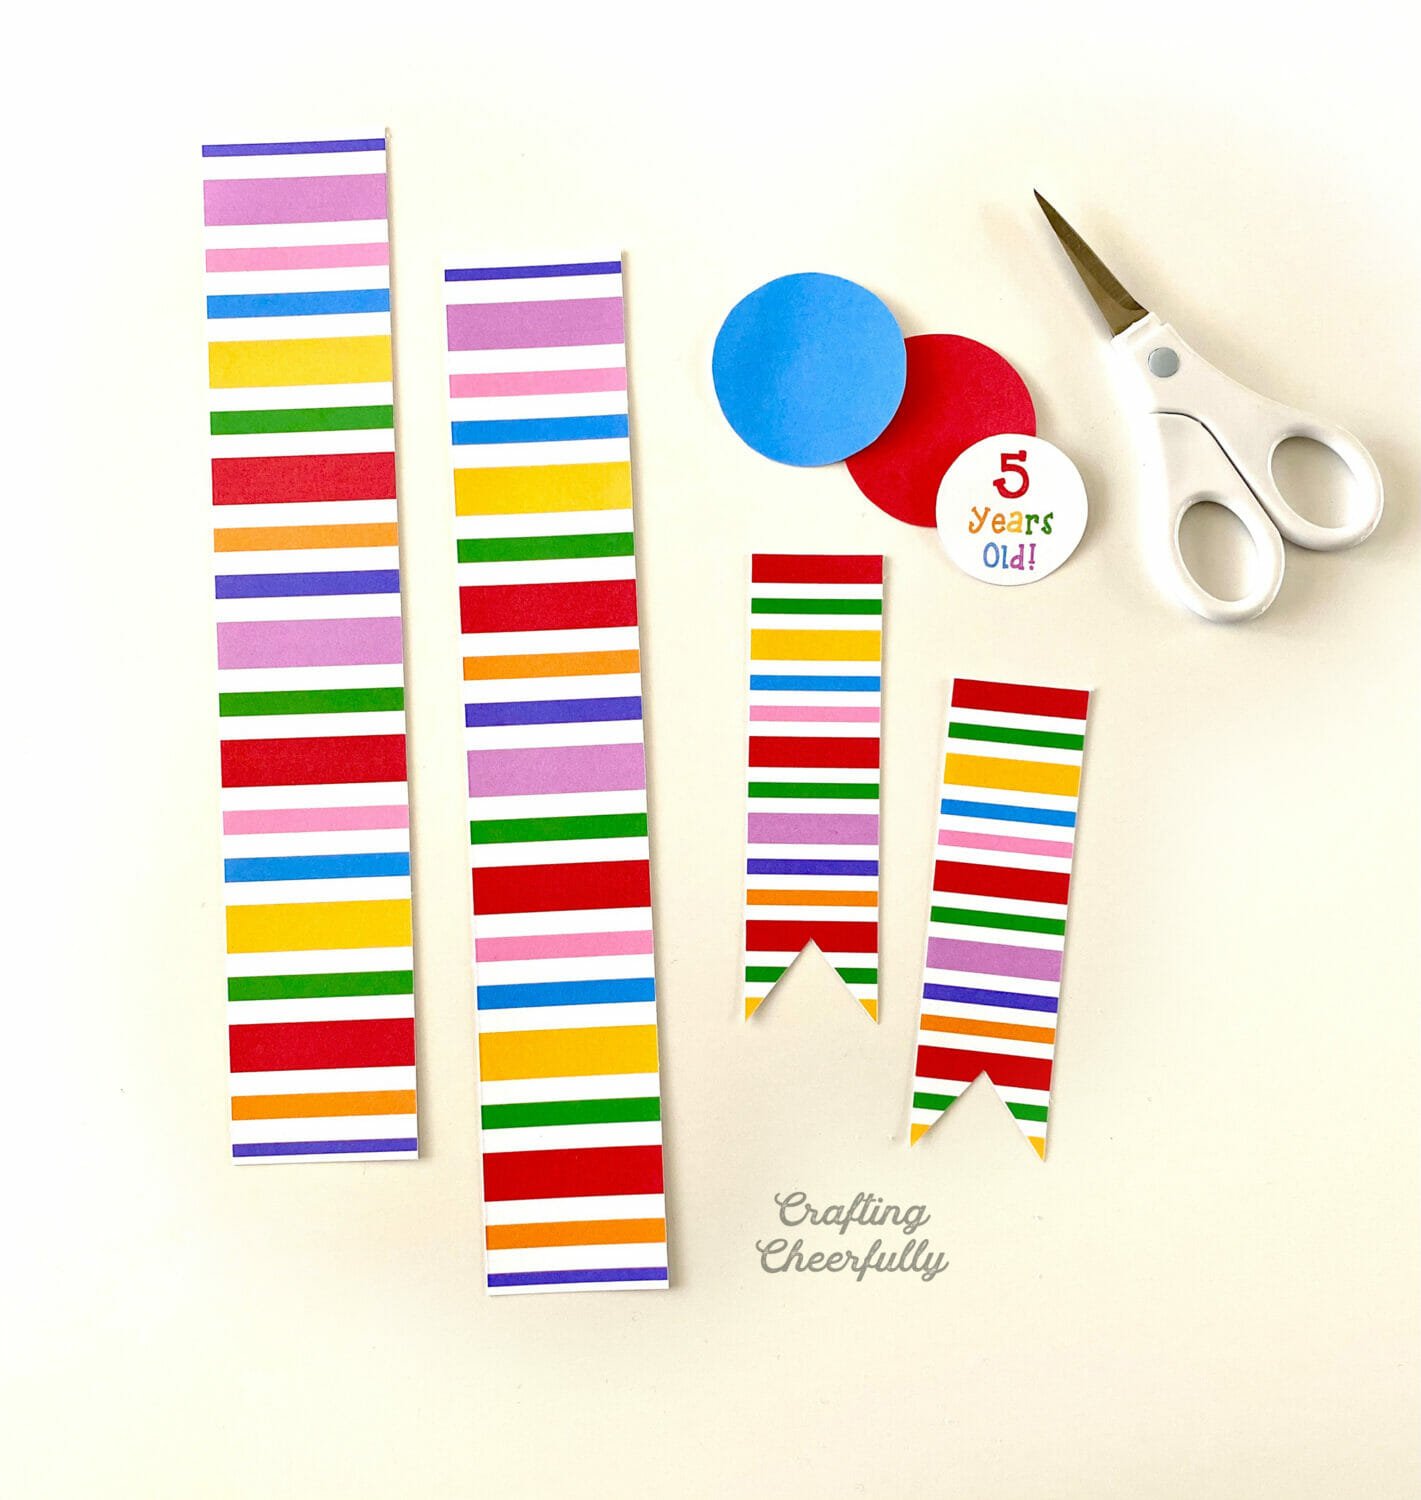
Step One: Cut all of the pieces out including decorative tags for the medallion. If using my printable, cut out the strips of paper, all three circles and choose a decorative tag. If using scrapbook paper, cut two strips of paper that measure 2″ x 11″, two strips of paper that measure 1.5″ x 5″ and three 2″ circles. Cut triangles out from the bottom of the shorter strips of paper to form the ends of the ribbon.
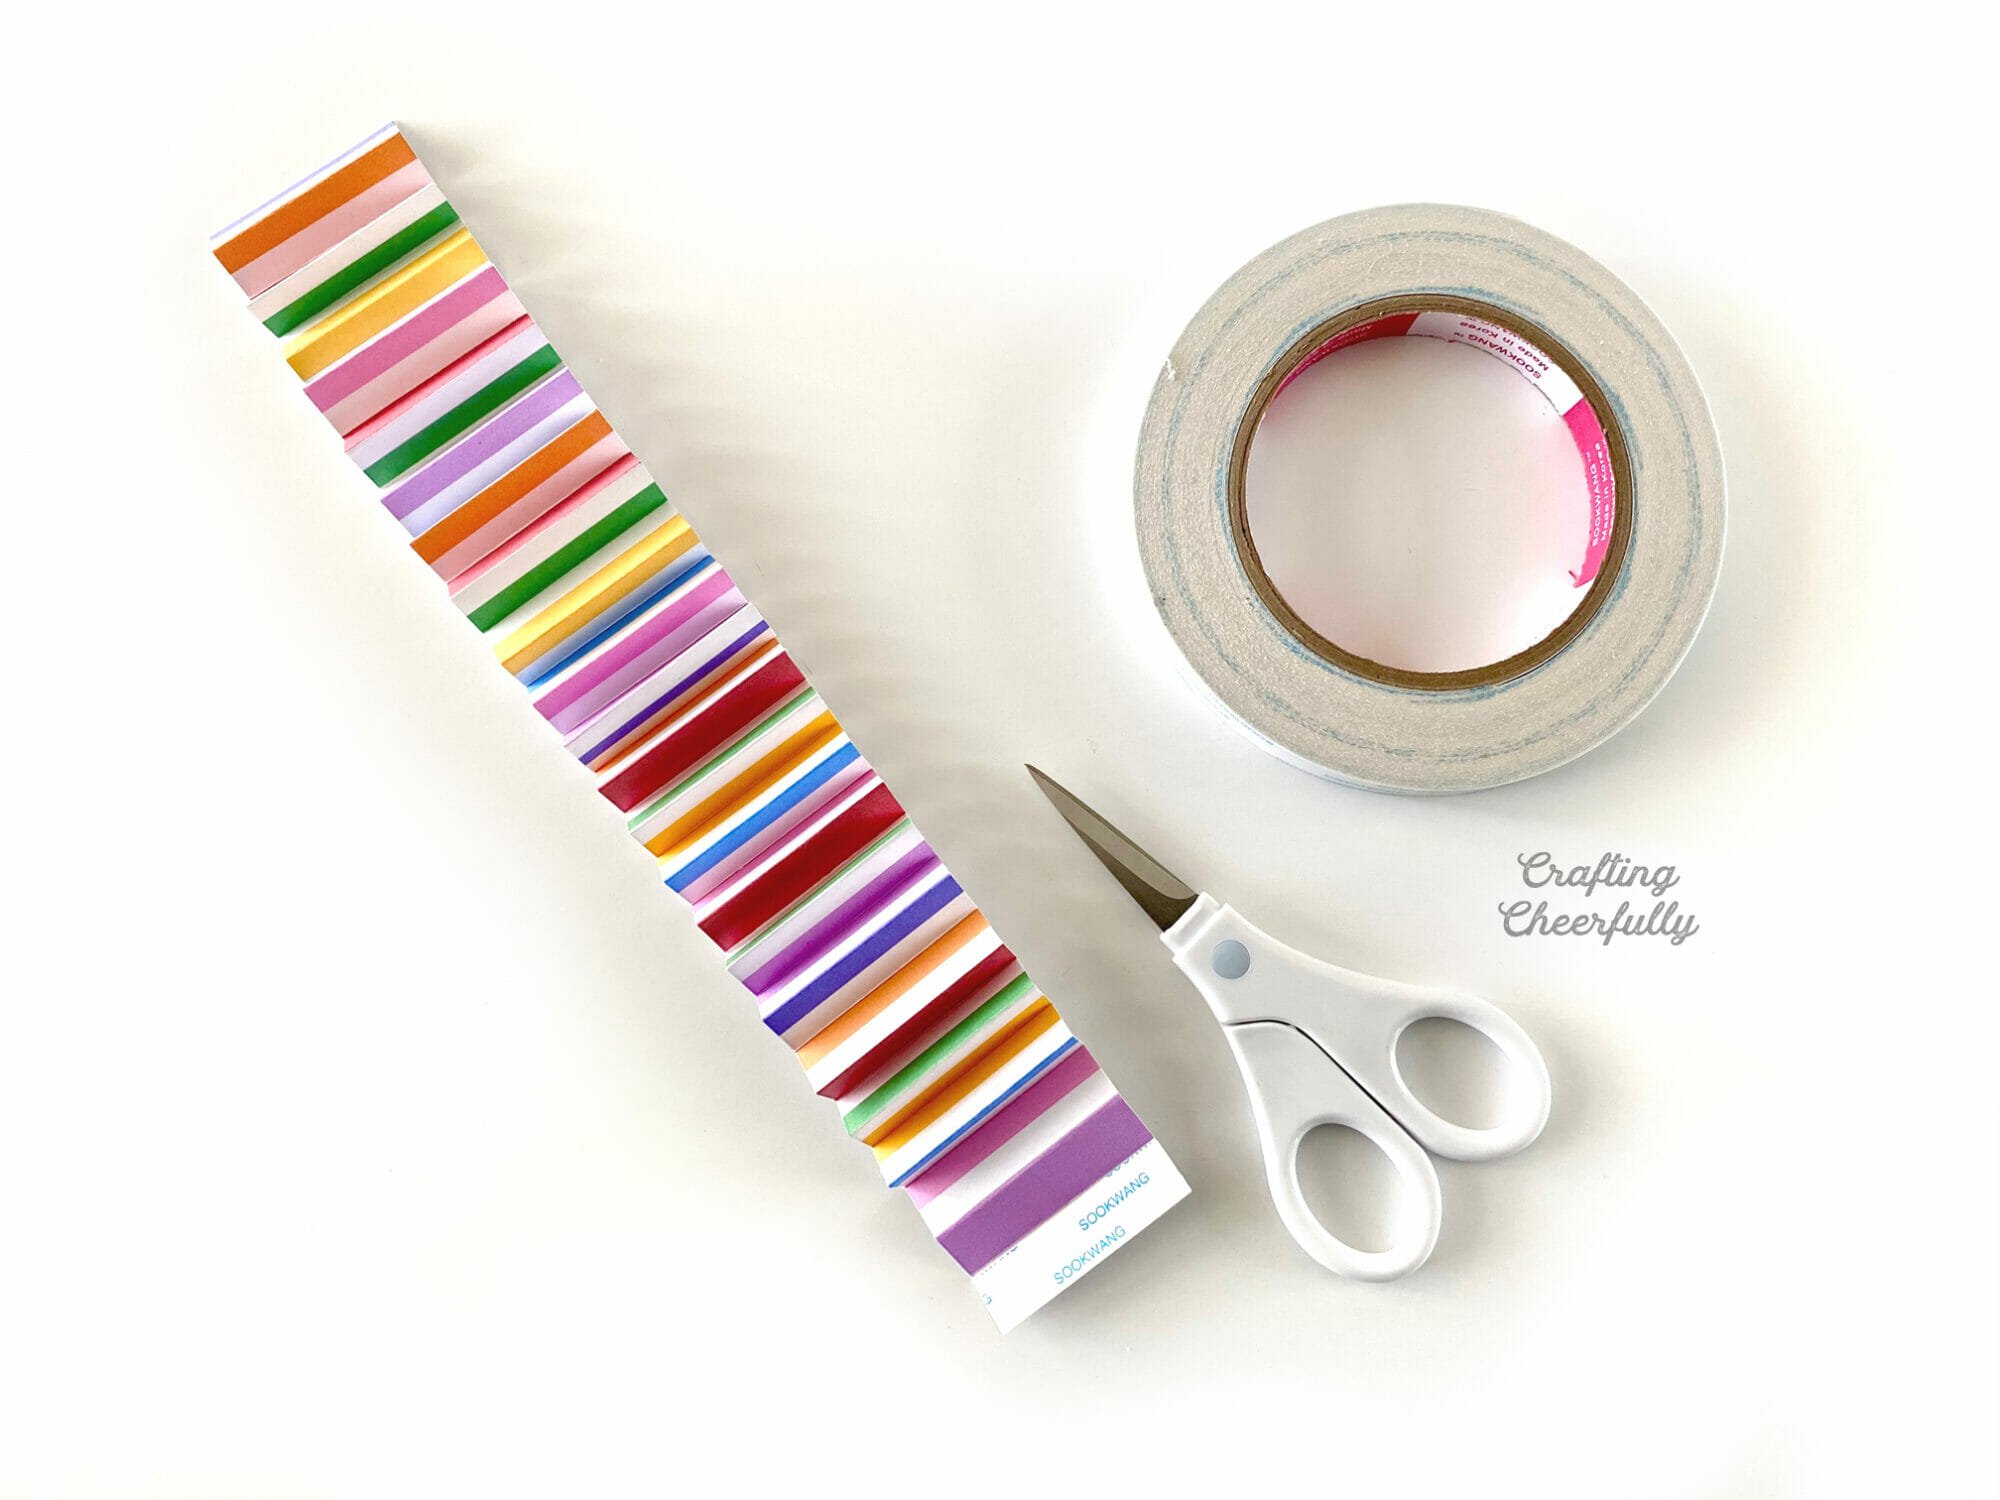
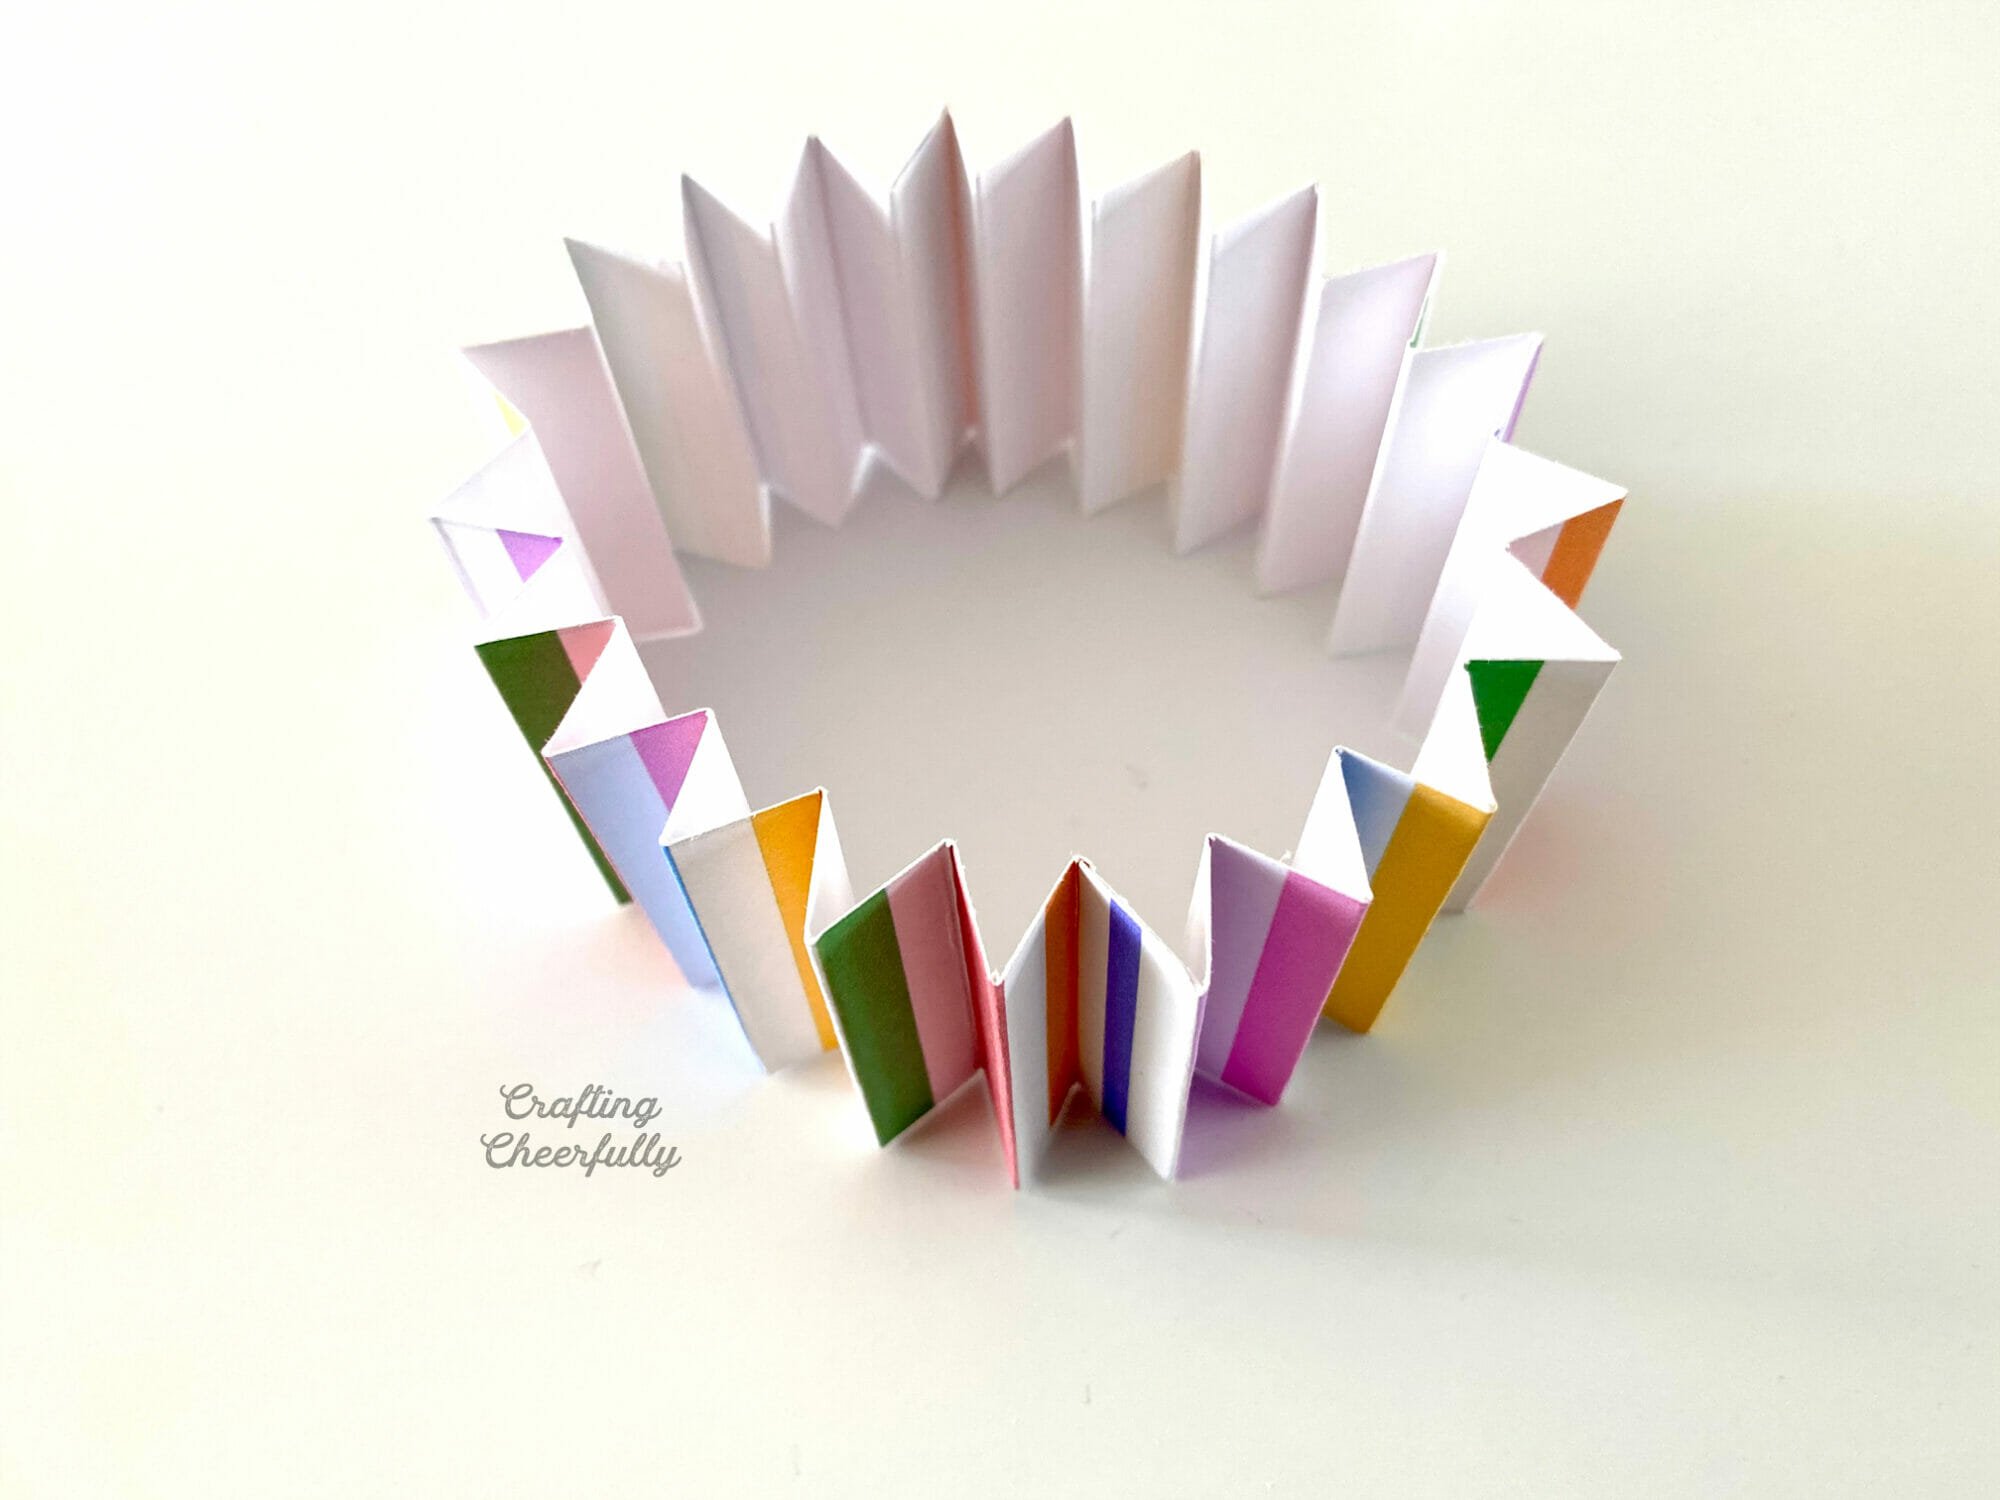
Step Two: Create the paper medallion. Start by scoring the two long strips of paper every 1/2″. Then accordion fold them along the score lines. Using a scoring board and stylus will help a lot. If you don’t have one, mark the strips of paper every 1/2″ with a ruler. Then accordion fold every 1/2″ using your markings as a guide.


Use double-sided tape or hot glue to attach the two pieces together. Then attach the other ends so they form a circle.
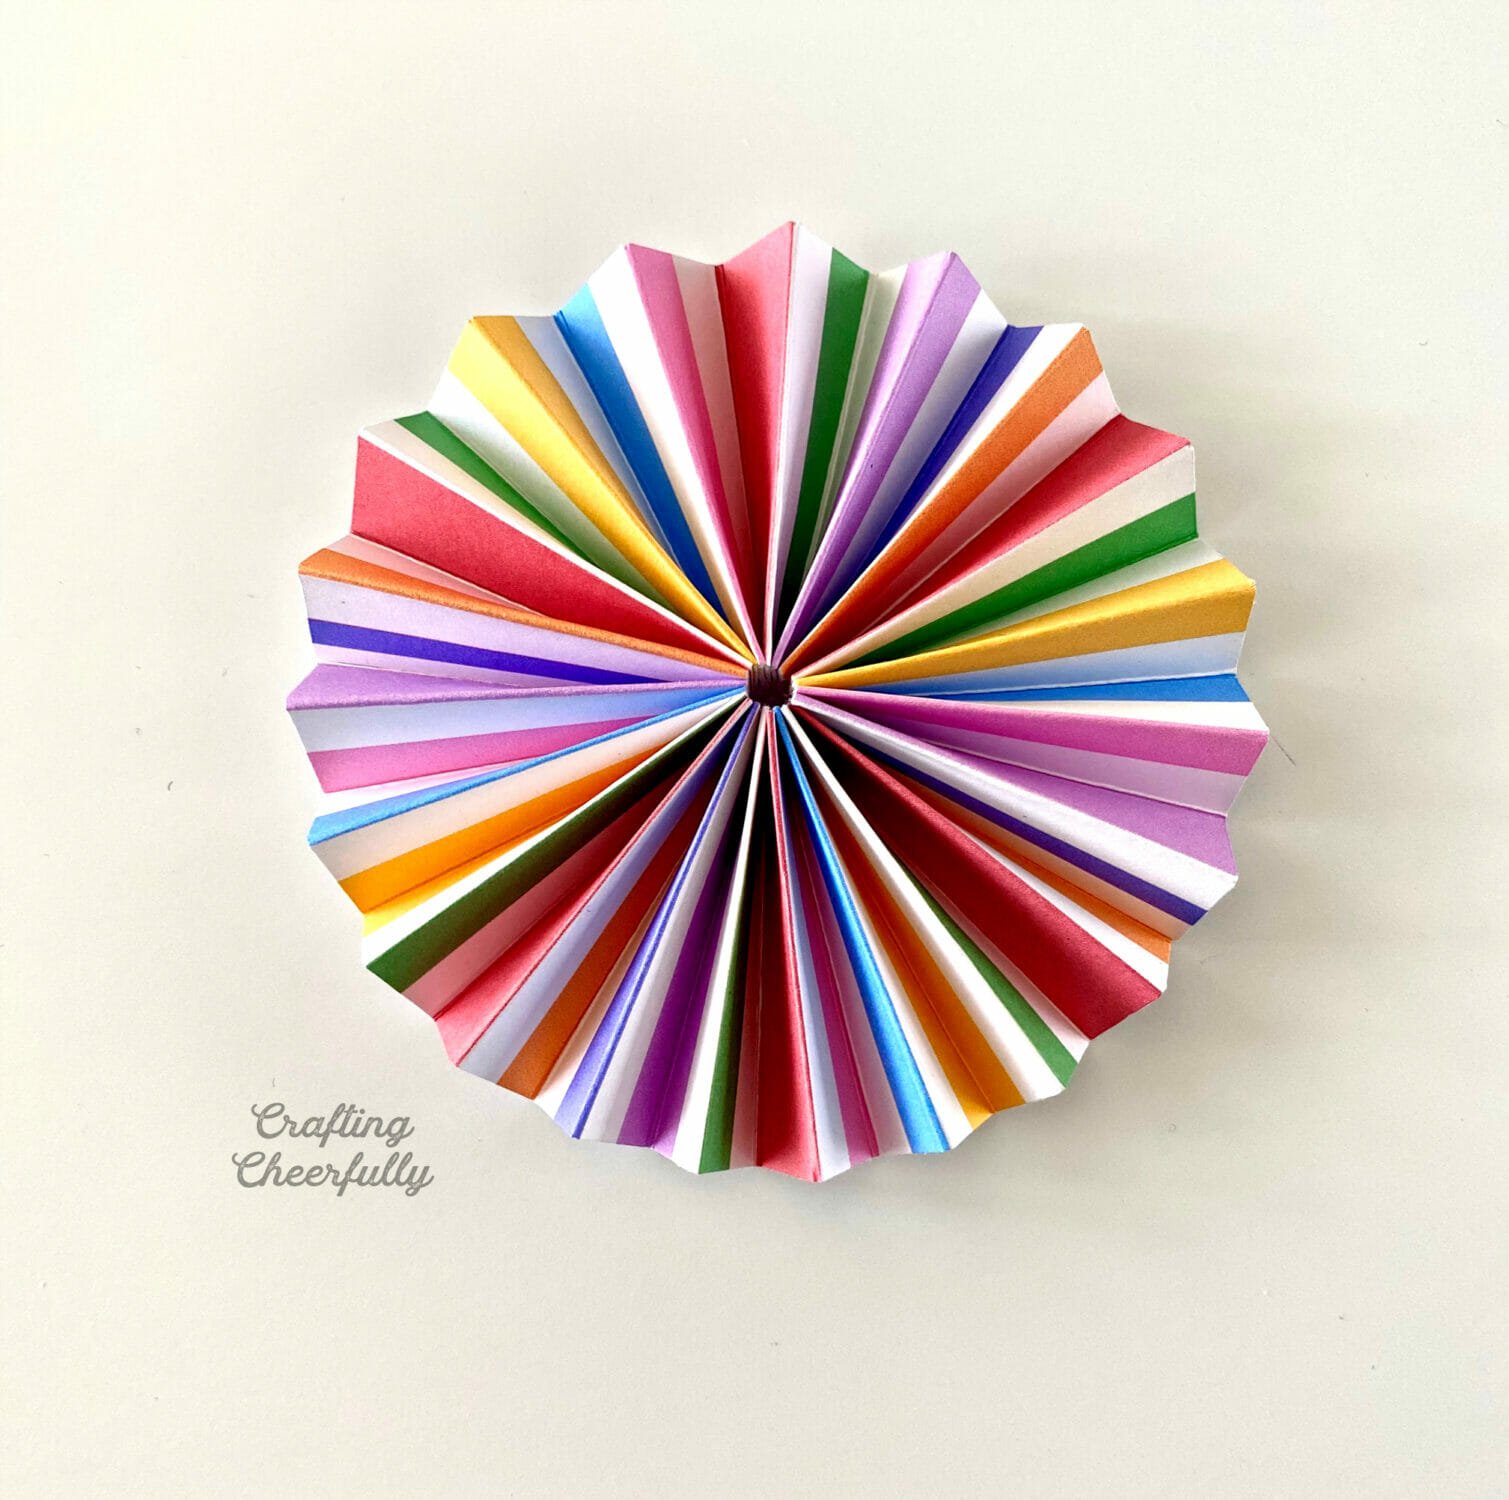
Place a little mound of hot glue on the center of one of the paper circles. This paper circle will not be seen. Next, carefully push the accordion-folded paper down so that it forms a paper rosette. The center of the medallion (or rosette) will be positioned in the hot glue. Hold it until the glue sets.

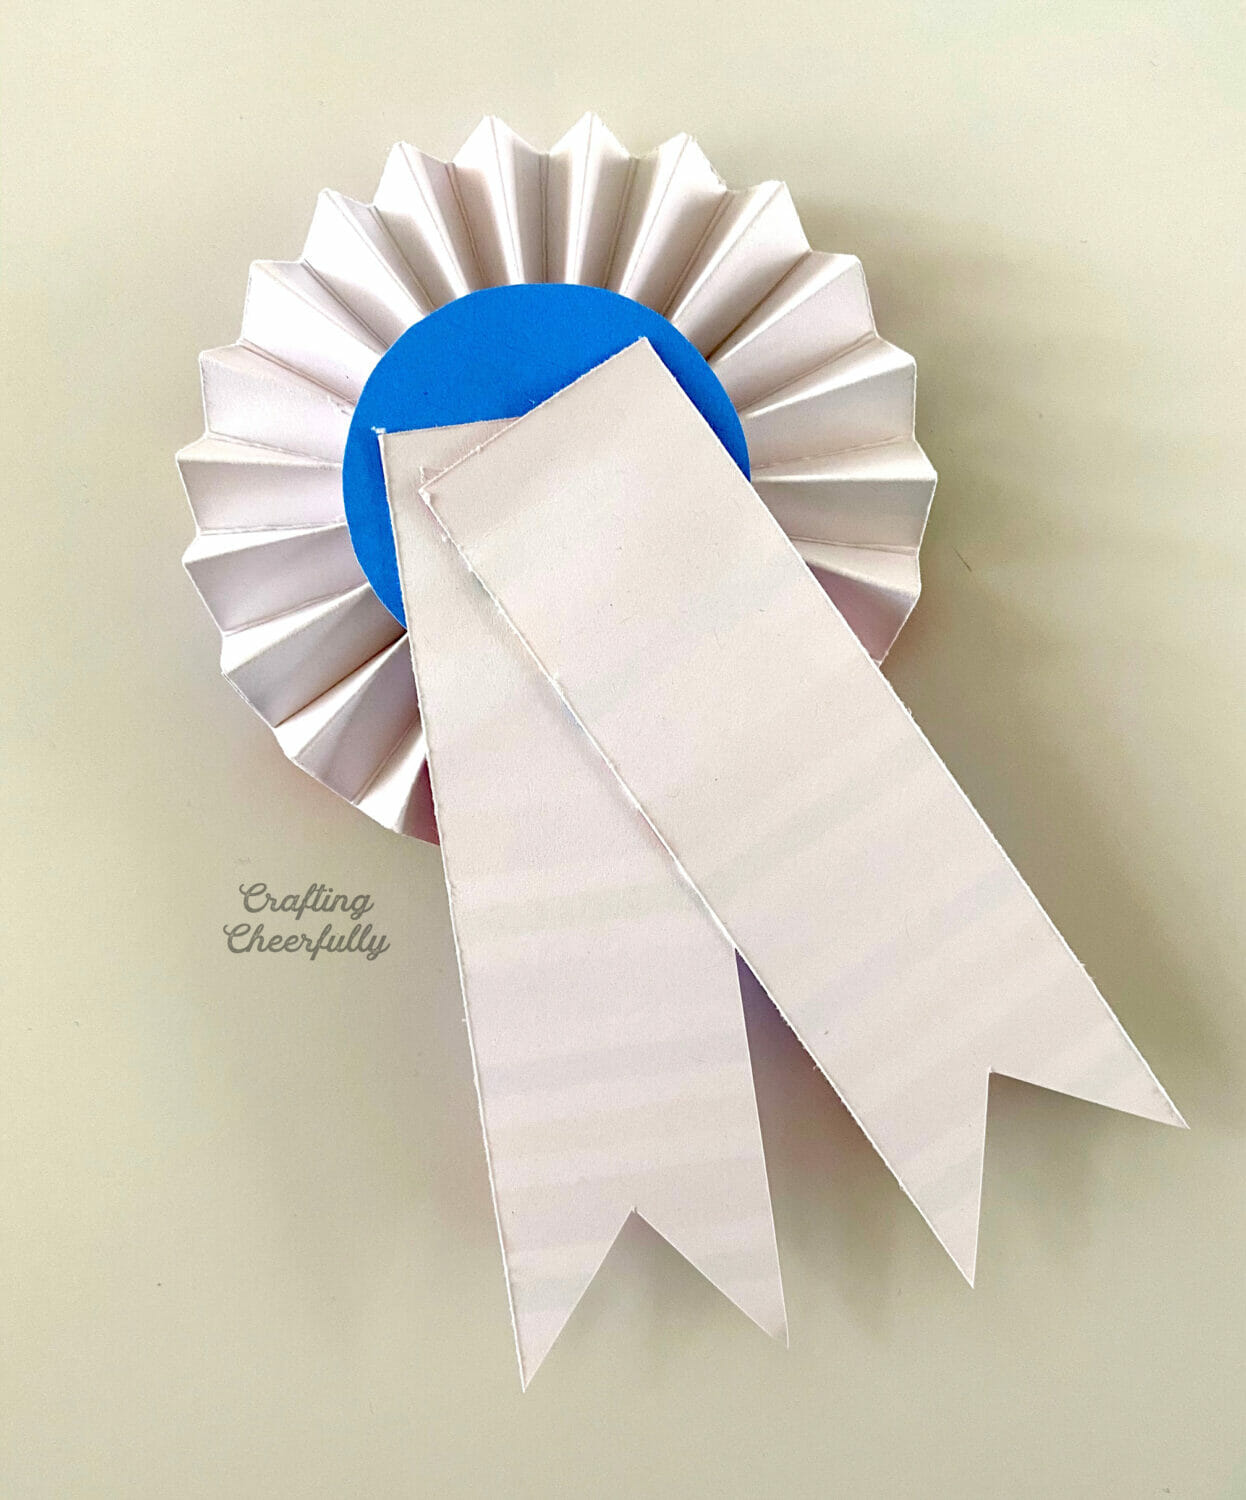
Step Three: Finish the medallion by adding the decorative tag! Layer it on top of a second paper circle and then adhere it to the top of the rosette.

Step Four: Add the paper ribbons. Overlap the paper ribbon pieces and attach them to the back of the medallion so they hang down.

Step Five: Finish the back of the award ribbon. Cover the back of the ribbon with the third and final colored circle to finish the back of the award ribbon! Add a pin bar to the back to make the medallion into a pin or leave it blank to use on a gift or as decoration.

The birthday award ribbon is finished!! This ribbon is so fun to gift to the birthday person and it also looks really fun on a gift. I hope you enjoyed this craft! The printables to make this award ribbon are available in my shop!